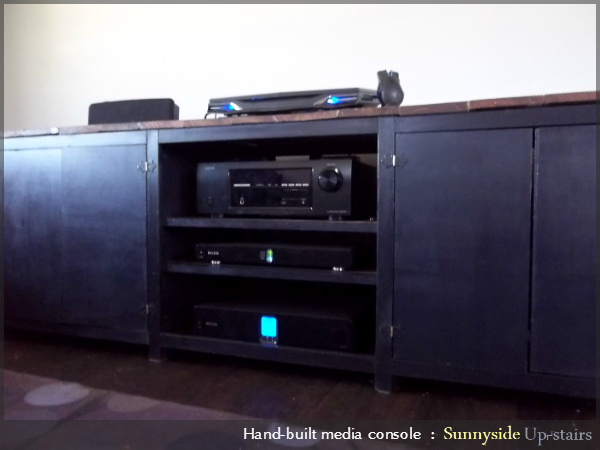
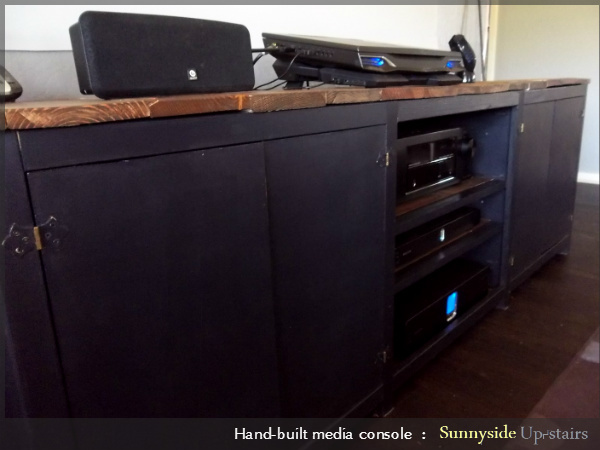
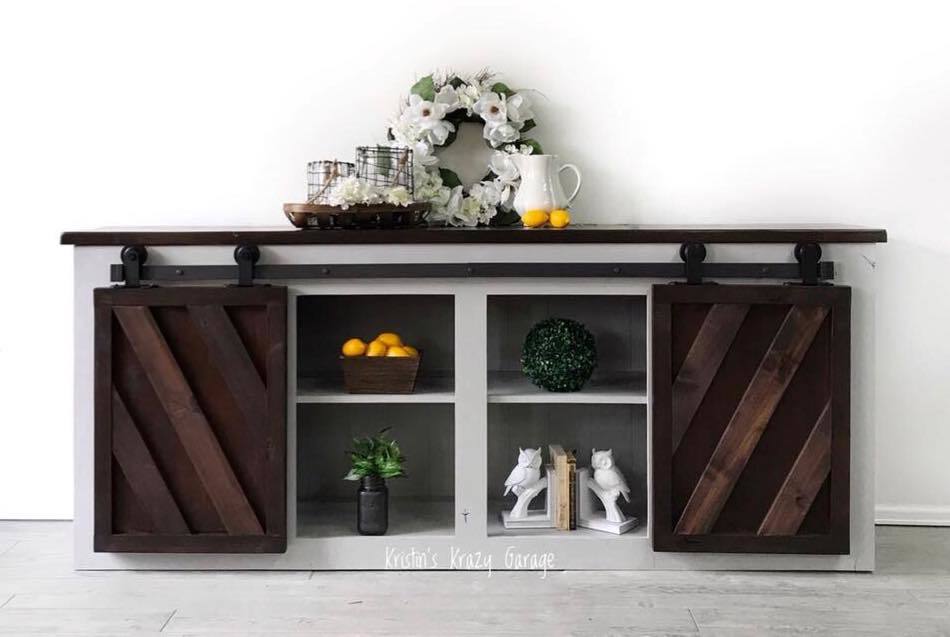
Leftovers and Reclaimed Wood Media Console
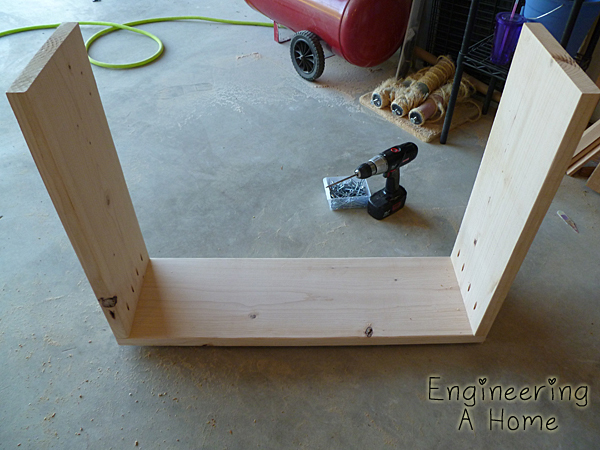
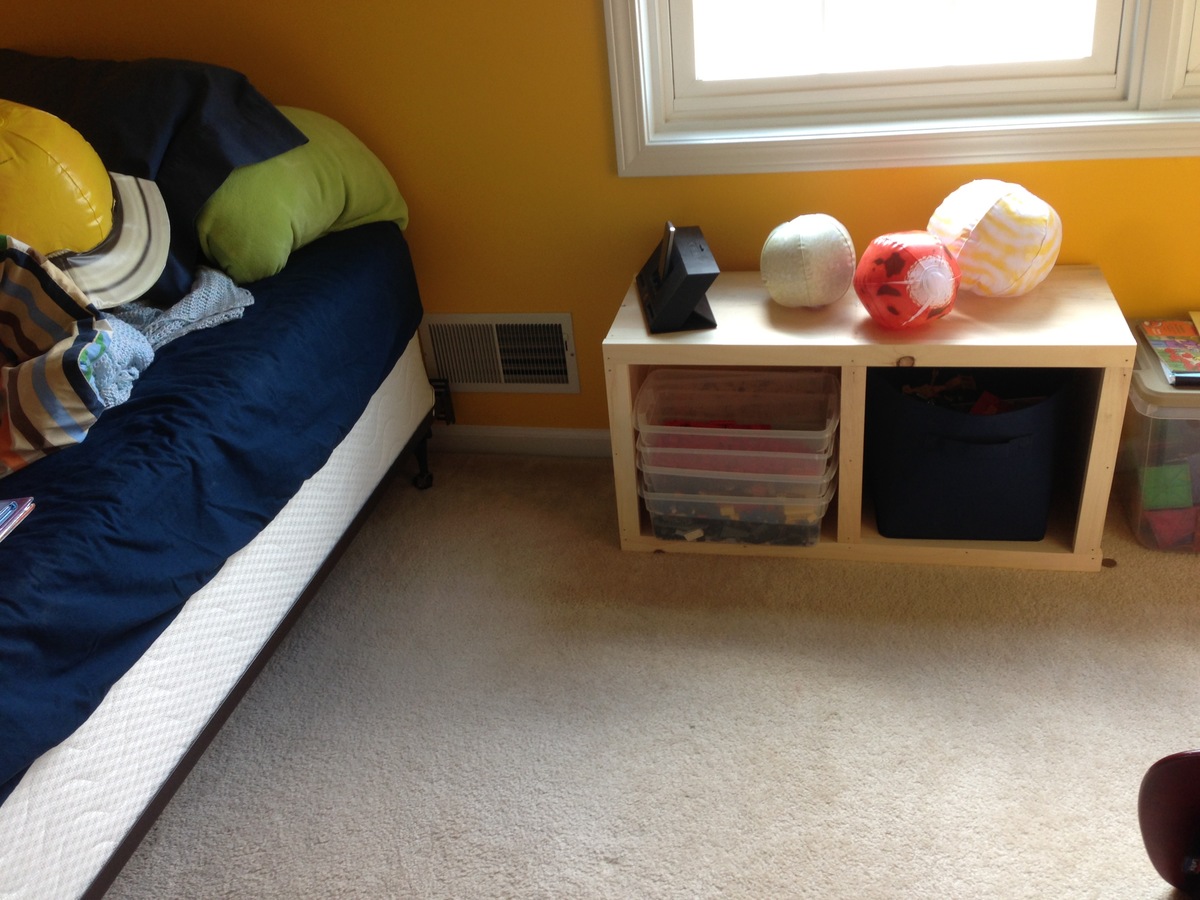
Last winter, our friend's boss built our kitchen cabinets. We've had cuts of plywood leftover, sitting in our garage since then.
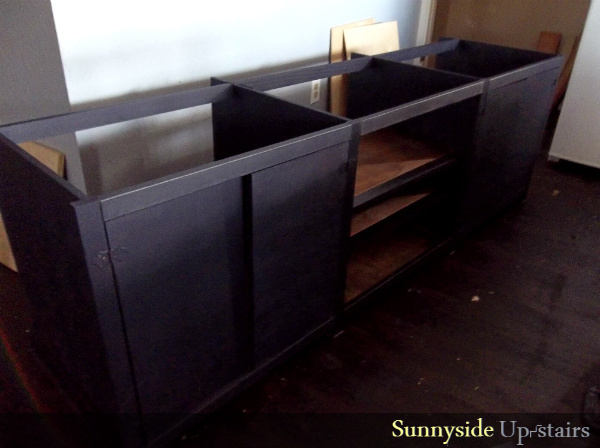
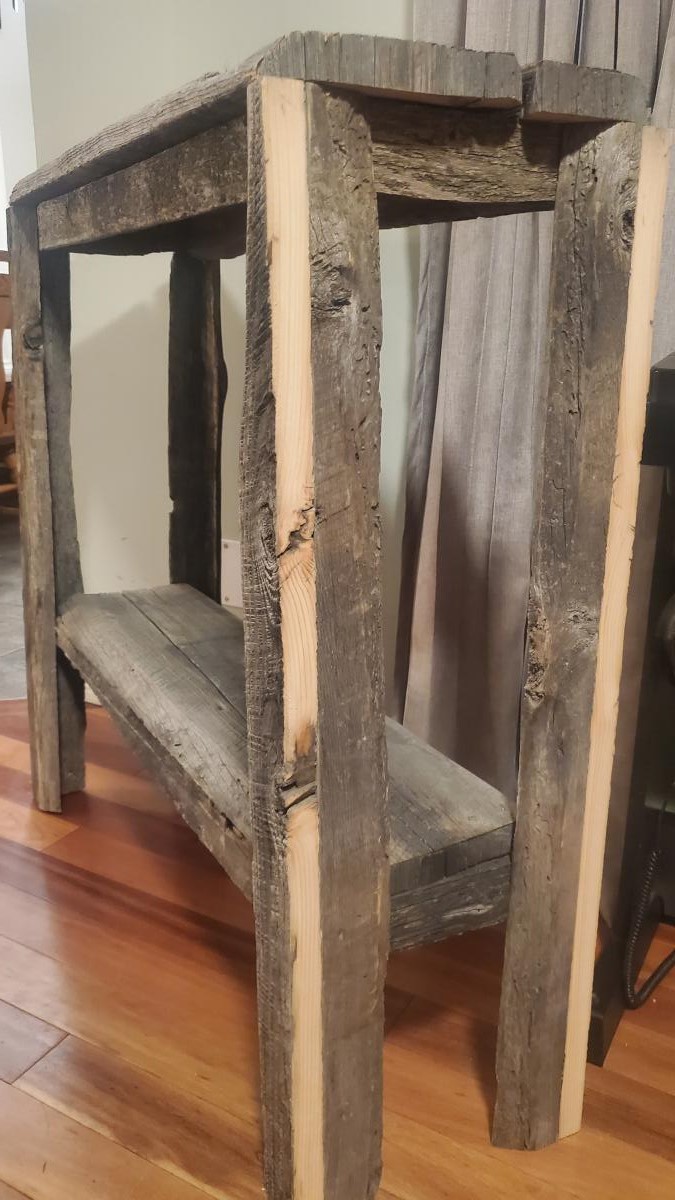
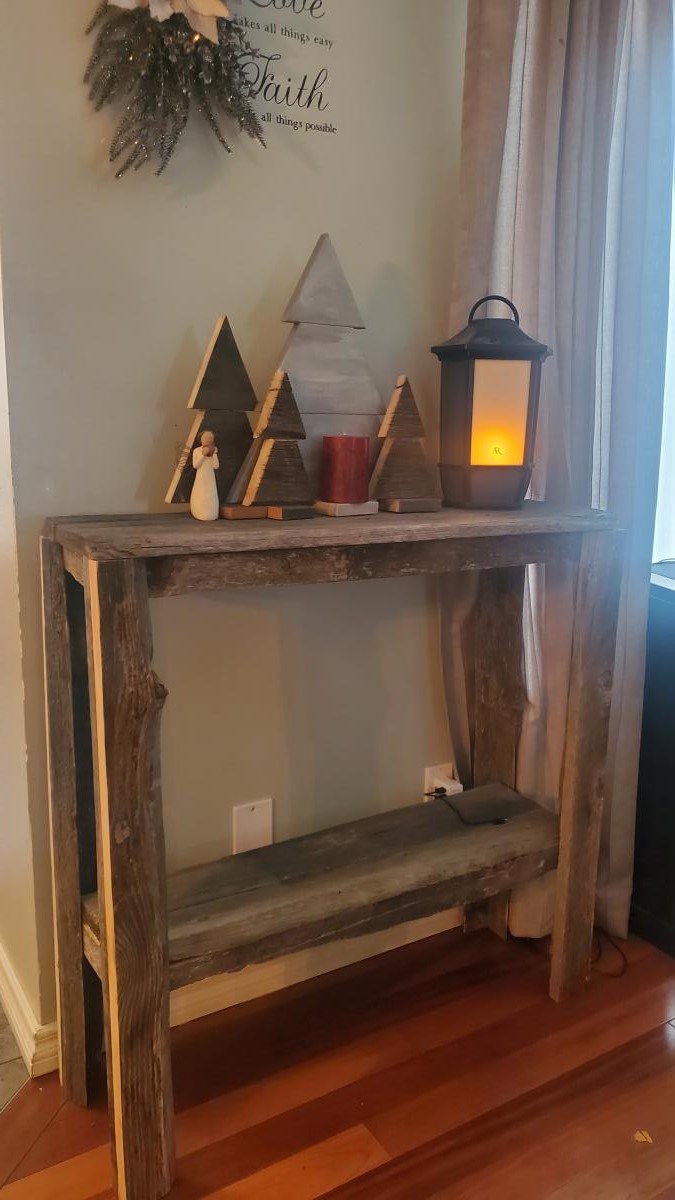
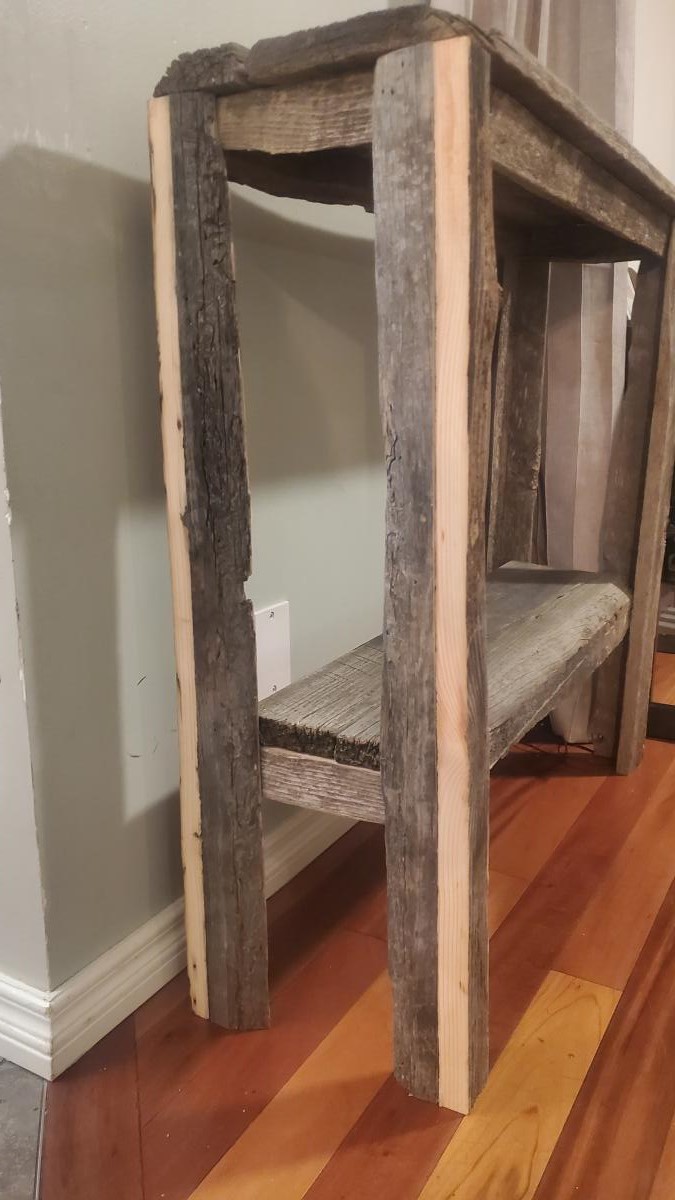
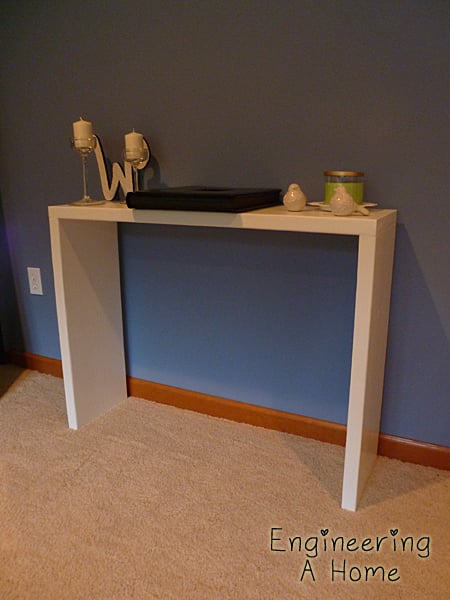
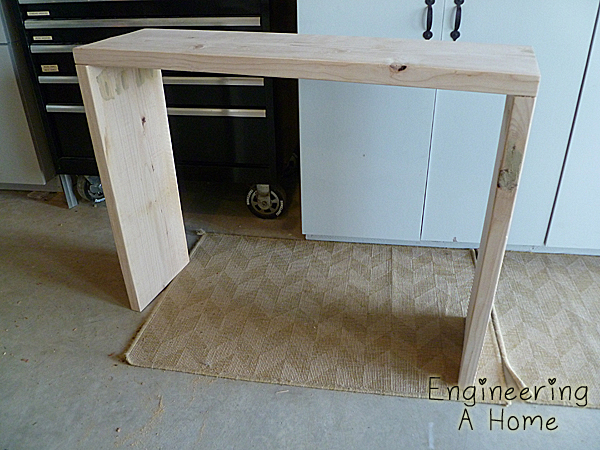
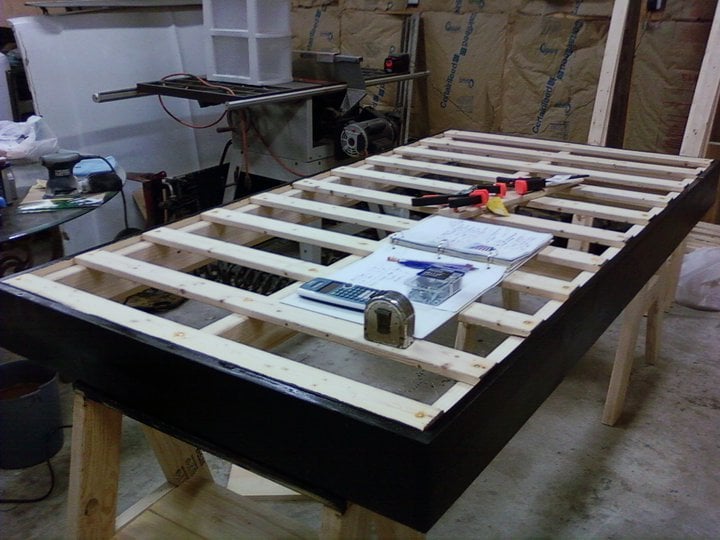
Our home needed a media console, so I thought to give building one a shot now that I own a circular saw and am only slightly afraid of it. I didn't follow a plan, honestly, but I did look at Ana's Classic Storage Wall, Extra Wide Media Unit as inspiration.
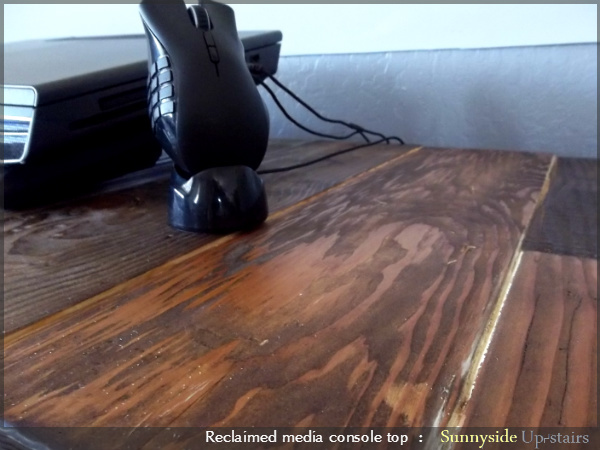
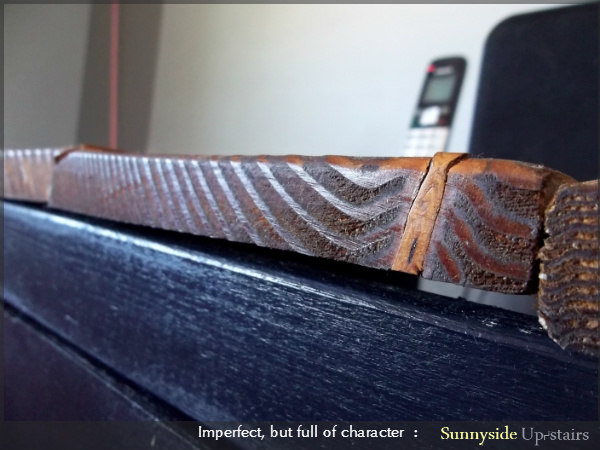
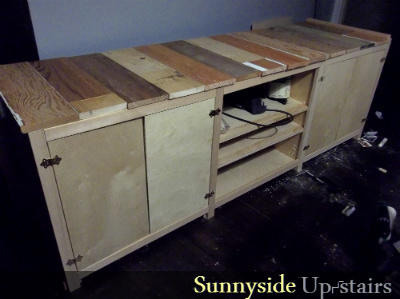
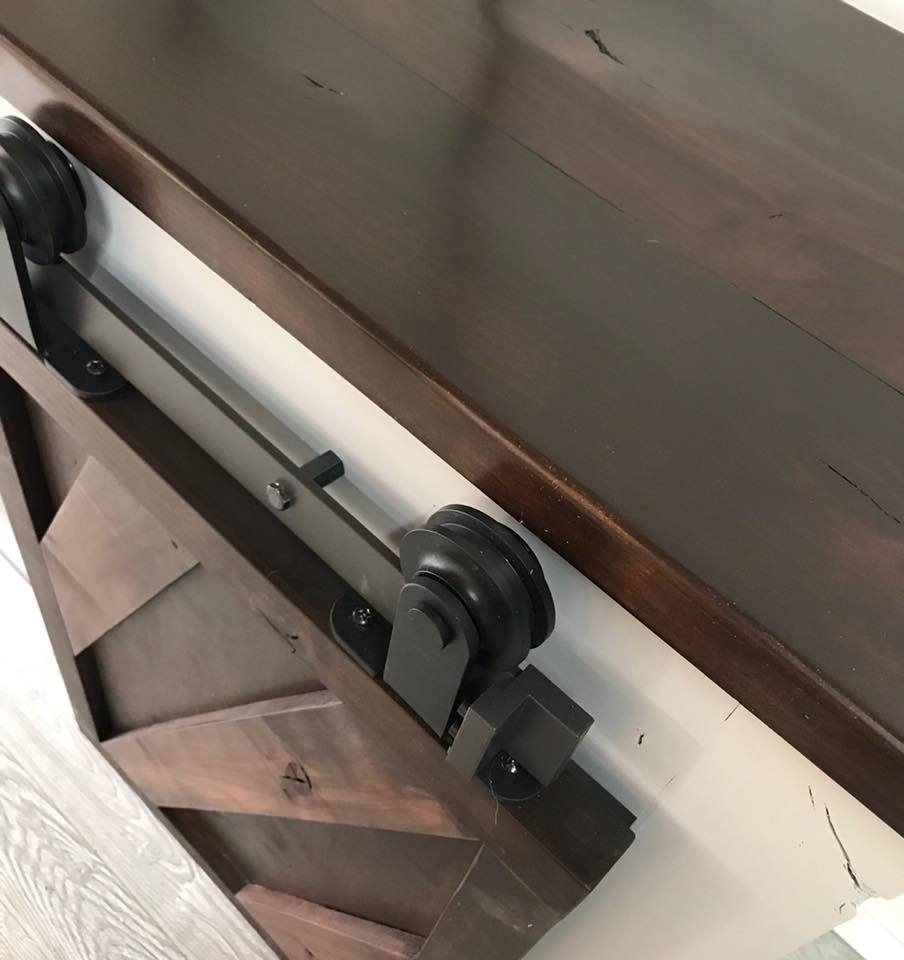
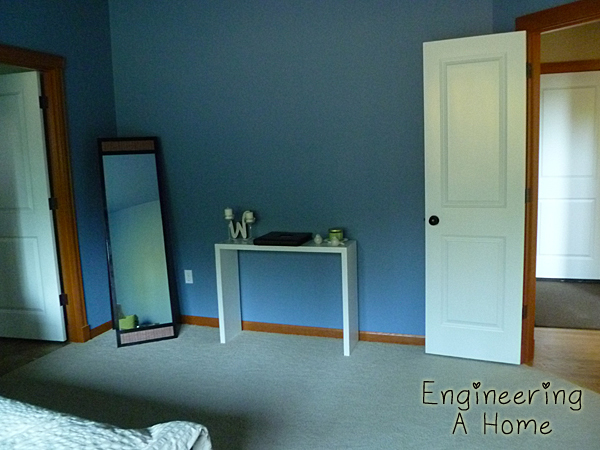
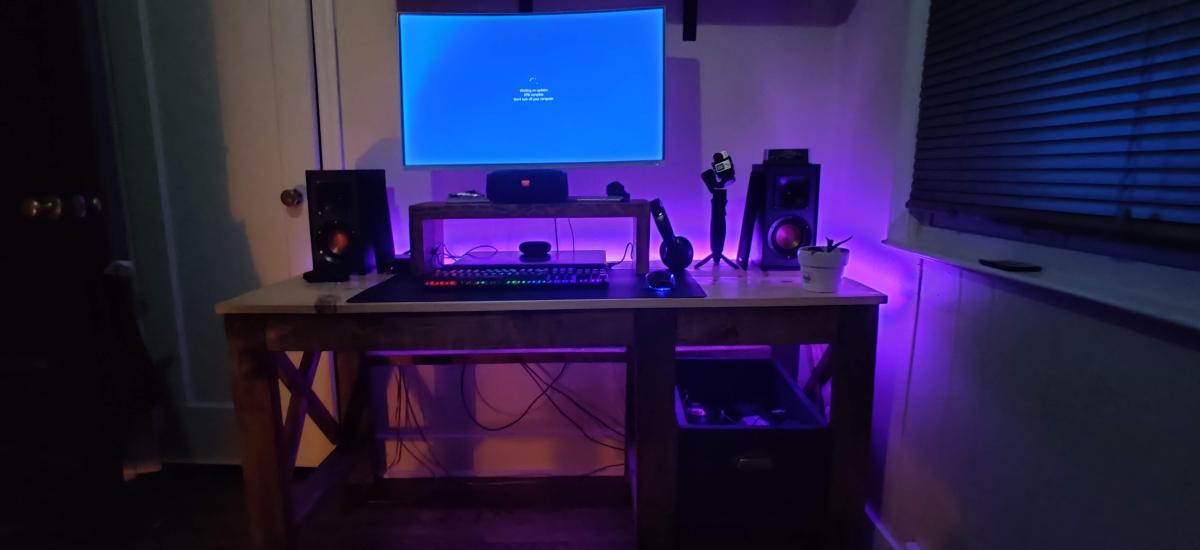
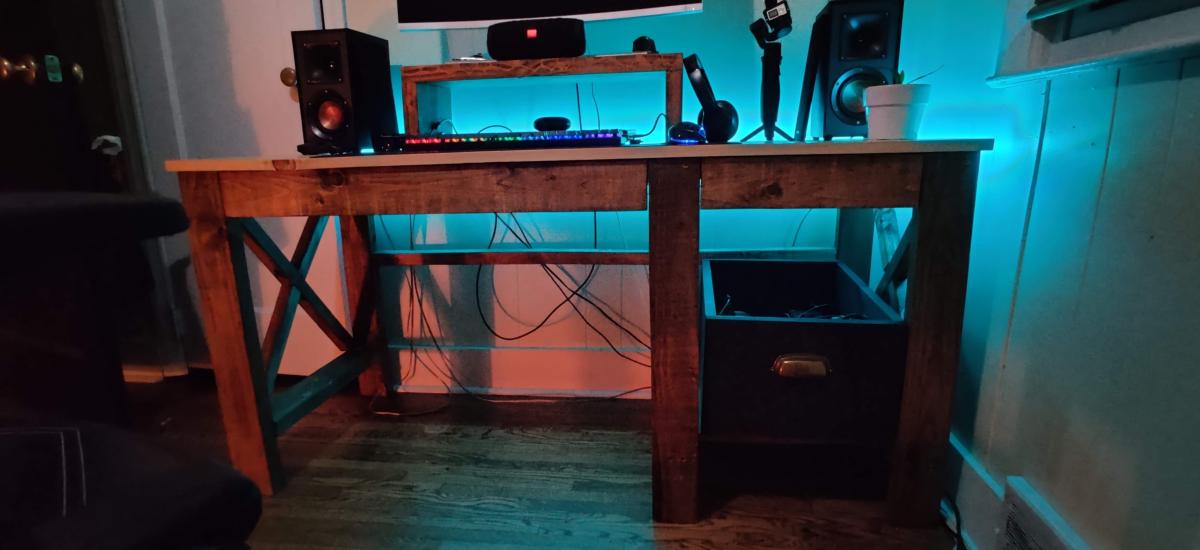
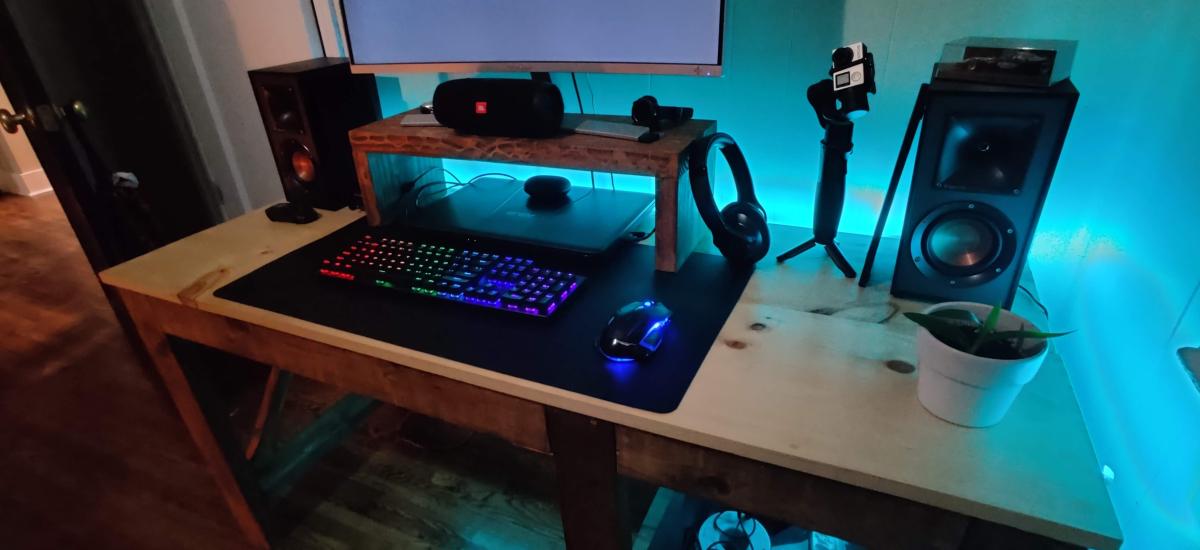
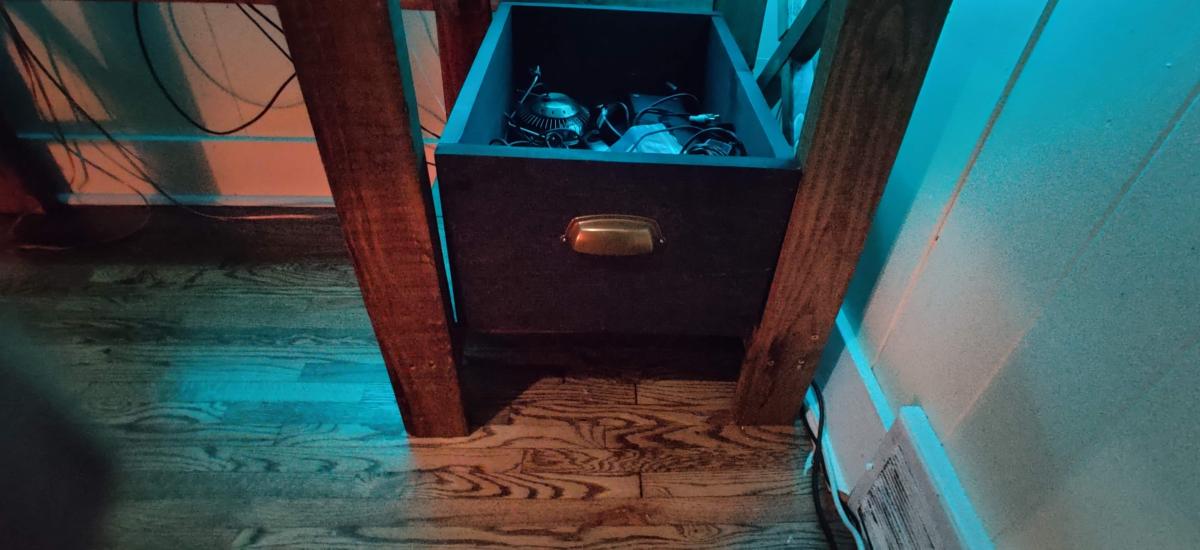
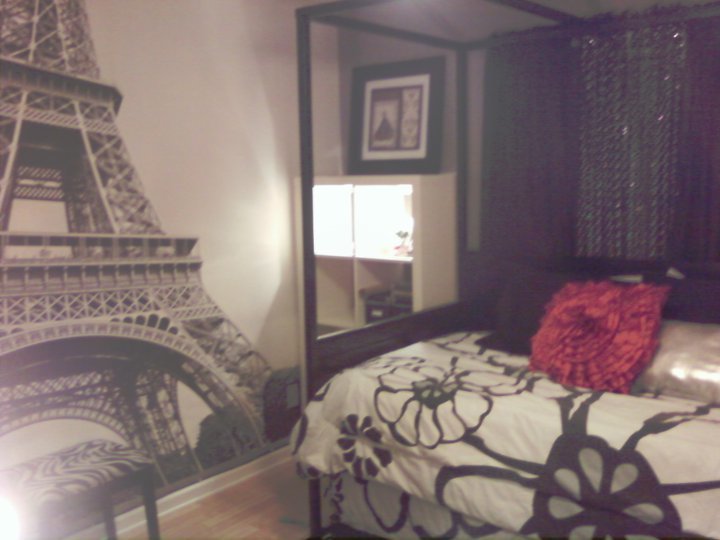
The console is actually a slate-indigo-black, called Napoleon. The top is made of reclaimed 1x6s that I mixed and matched with scrap 1x6s and gave one coat of Dark Walnut. We ordered handles for the doors and it needs another coat of paint (we ran out of the quart we had on hand), but we love it!
Built from Plan(s)
Estimated Cost
$30 using leftover plywood, otherwise, $100
Estimated Time Investment
Week Long Project (20 Hours or More)
Finish Used
Olympic Flat in Napoleon
Watco Danish Oil in Dark Walnut, Watco Wipe-On Poly
Watco Danish Oil in Dark Walnut, Watco Wipe-On Poly
Recommended Skill Level
Intermediate


Comments
JoanneS
Tue, 07/09/2013 - 16:30
Love this!
Love this! The reclaimed wood top is fab, and the color looks perfect. I checked out your blog - your apartment is looking awesome!
yurra-bazain
Wed, 07/10/2013 - 02:18
Thank you!
Thank you for your kind words. :) Our apartment wouldn't be furnished today if not for ana-white.com. The motivation I've gained by learning and sharing back here has been key to keep me building the things we need, the way we want them. =D You've built so many things; I'm so impressed!