Farmhouse Play Table and Chairs

Loved this! It was really easy. Can't wait to build more!


Loved this! It was really easy. Can't wait to build more!
Pretty blue painted finish on simple bed
Not bad for our first project...We love it and so does our daughter! Followed the directions except we did 1x10's instead of 1x6's and we left one inch to hold the mattress on instead of the 1/2 inch it called for since we bought her a foam mattress it needed a piece of plywood for extra support.
I loved this plan. It fits perfect in our daughter's bedroom as a night stand.
Combined the 2x4 sofa and 2x6 chair plans. Added the extra 2x6 under the arm rest, to keep future pillows from falling through the gap. Great plans! Thanks!
Mon, 07/22/2019 - 11:54
Love this! The 2x4 arms are so much better too. Thank you for posting!
Wed, 08/14/2019 - 23:38
Thank you! Actually added another couch, two side tables, and a ottoman to match! Looks like it came out of a magazine! Planning on doing one of your bedframes next. Love your site!
Mon, 12/21/2020 - 12:04
@papadog - I love your build and the way you iterated on the plans to make it work best for your specific needs. I'm in the process of building off these plans myself, and the one thing I cannot figure out is how the base of the back is intended to be secured to the sides. In the plans (step 7) it just says "secure to the sides using 2 1/2" screws". Am I supposed to drill from the outside of the sides into the back base? I'd like to avoid that, and based on the pictures, it looks like you have. If you can share how you secured the back base to the sides for your build, I would be very grateful.
Tue, 01/10/2023 - 10:24
So sorry, didn’t know there was a question/response to this! I didn’t secure them. Hasn’t been an issue.
Our family uses the dining table for homework and work with laptops. I have drawers in a window seat, so I added the stick on dividers to create laptop storage in the drawer. This was super quick and easy.
I used ripped 1/2” thick plywood pieces.
loved the results! So easy and exactly what I needed!
A cooperative project. Hubby made the bed and I did the bedding.
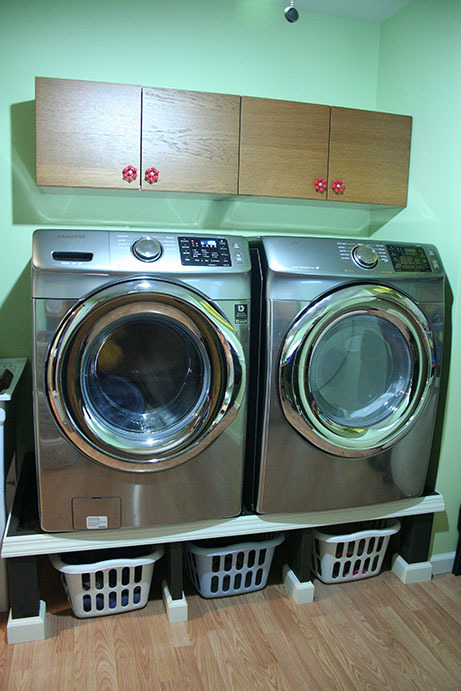
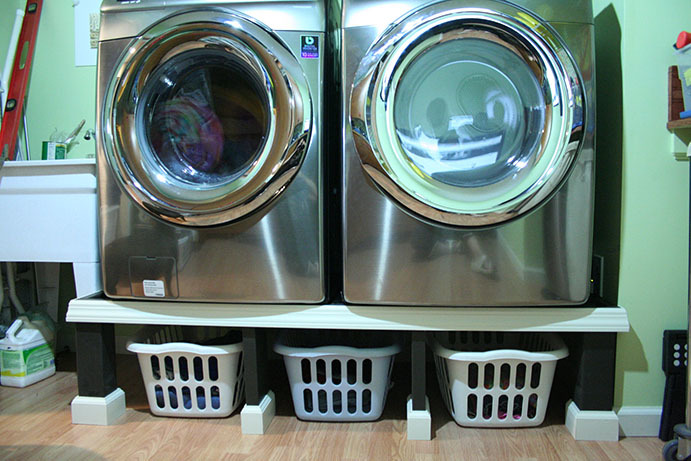
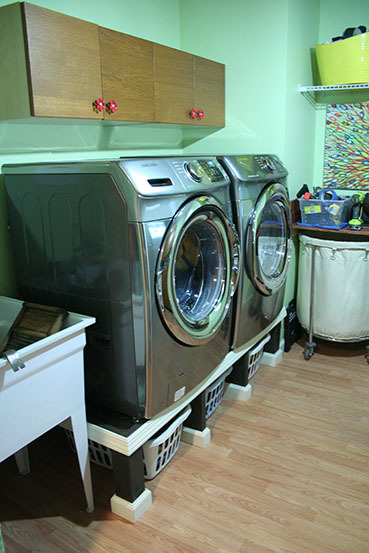
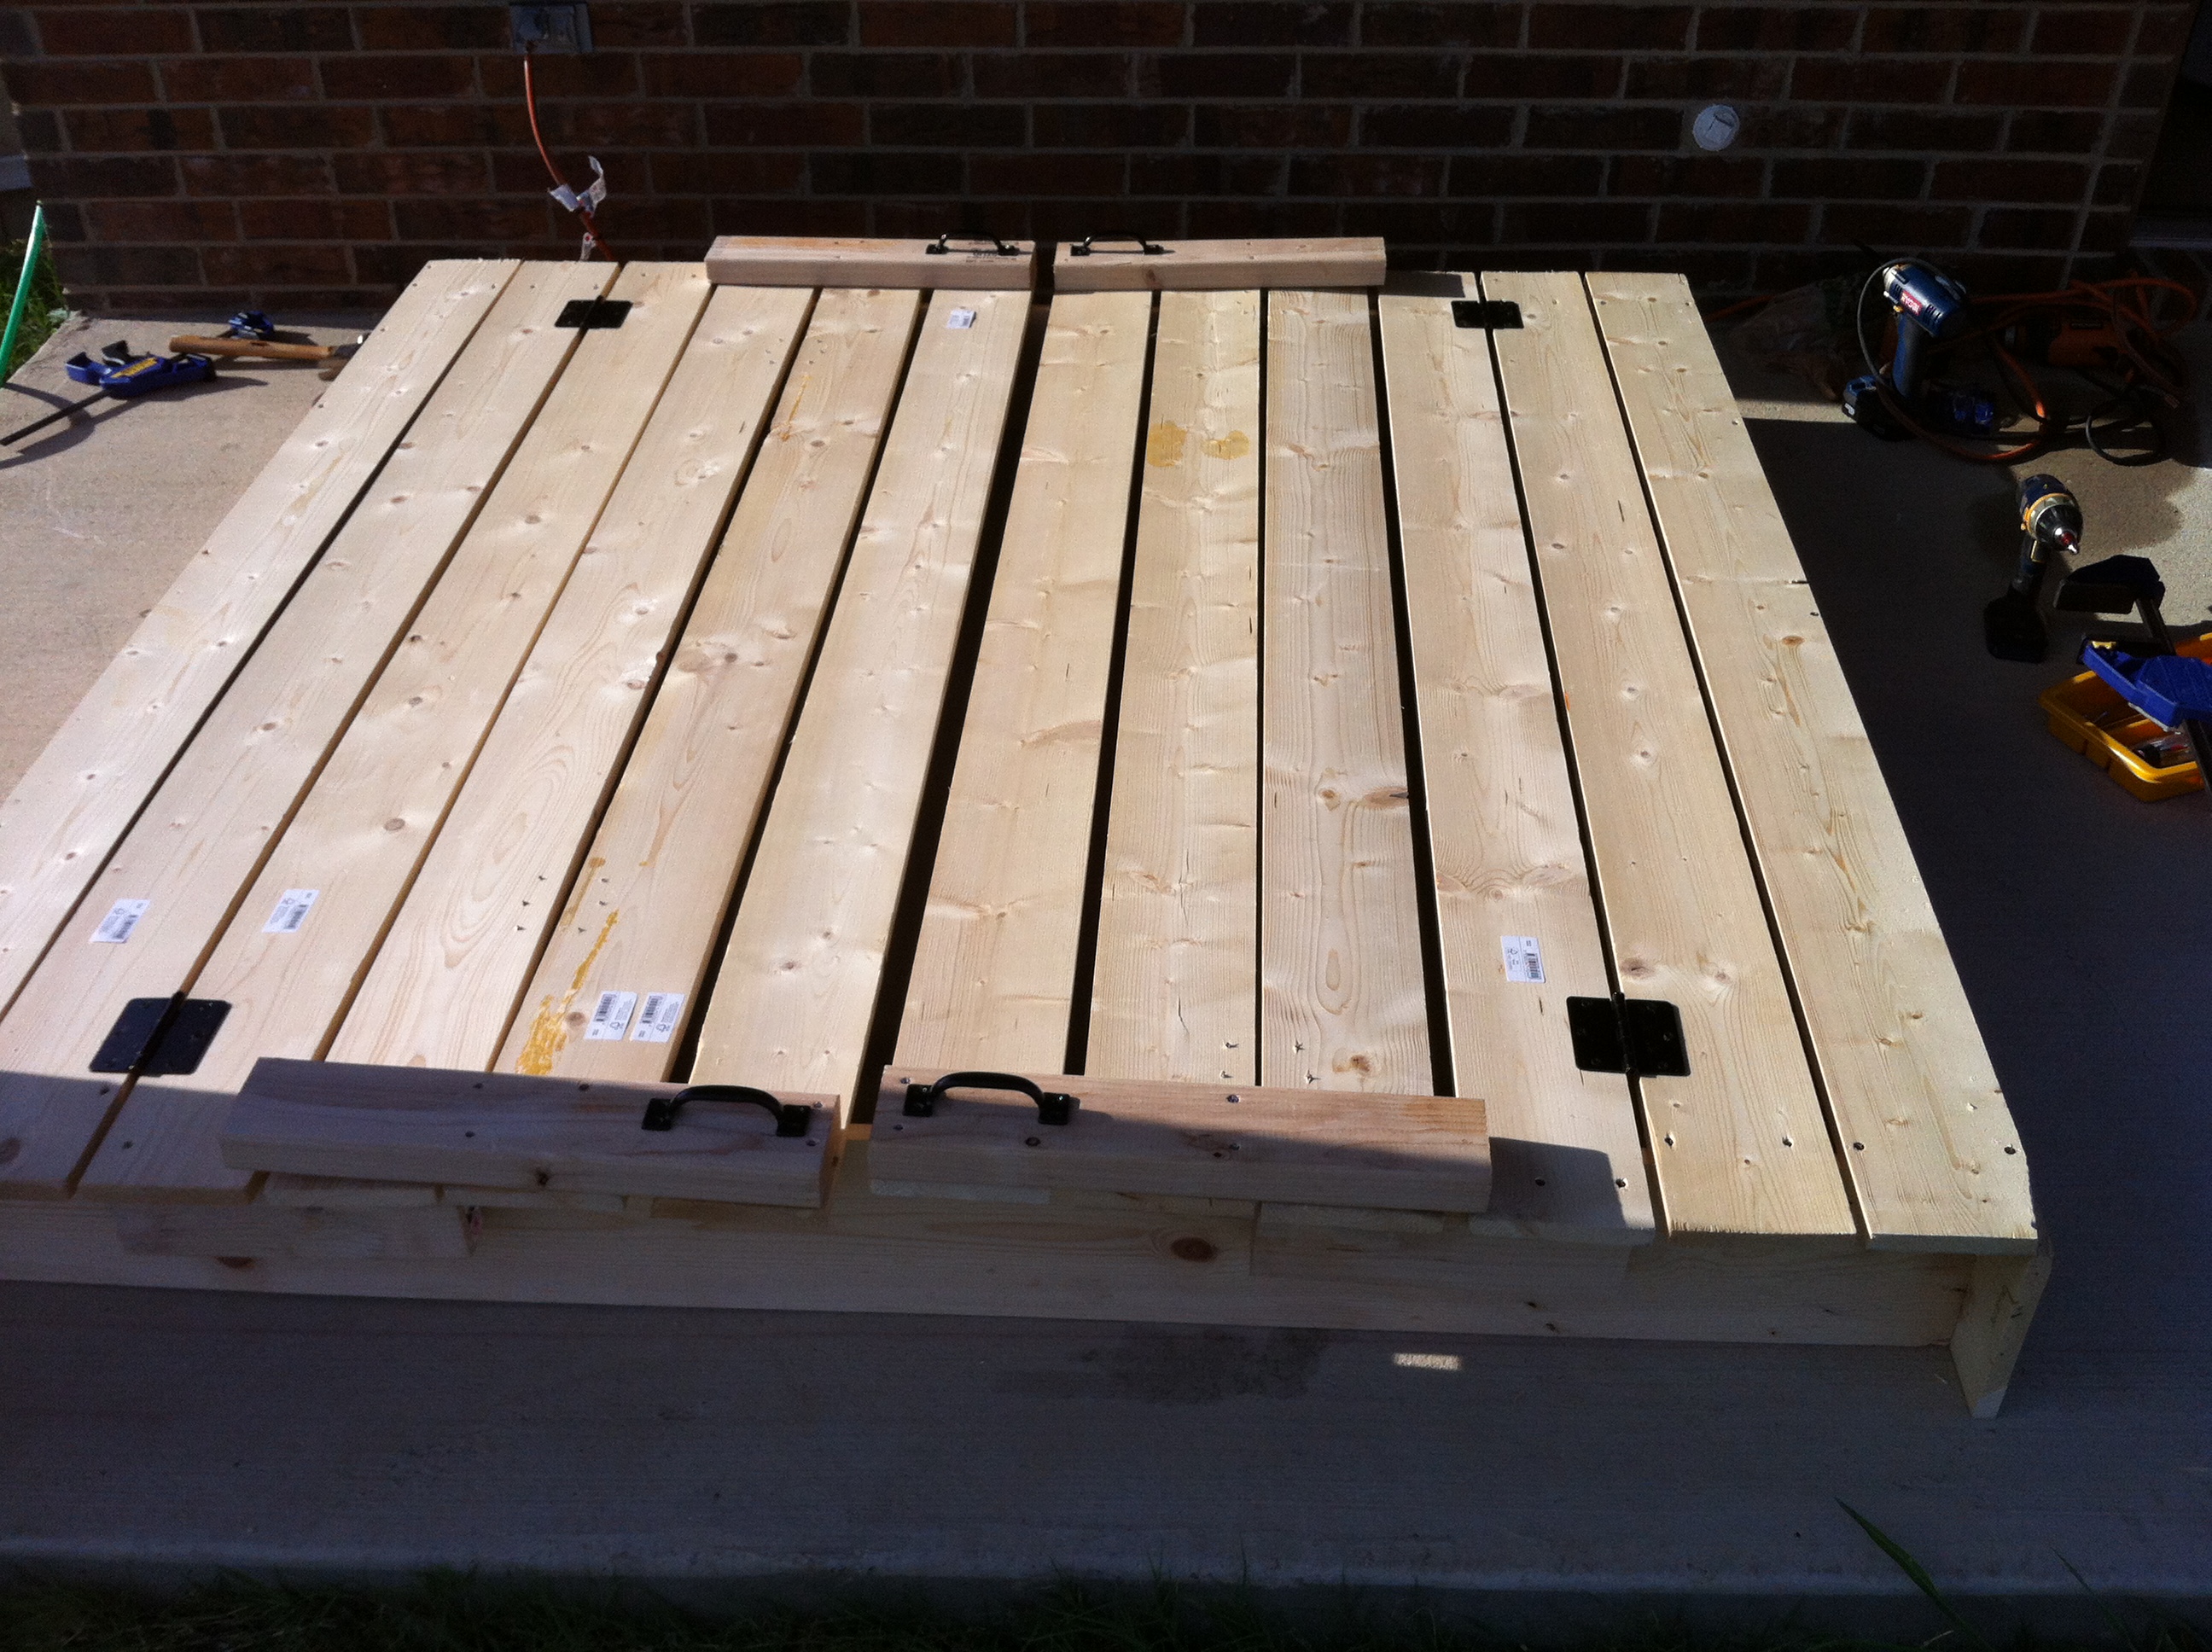
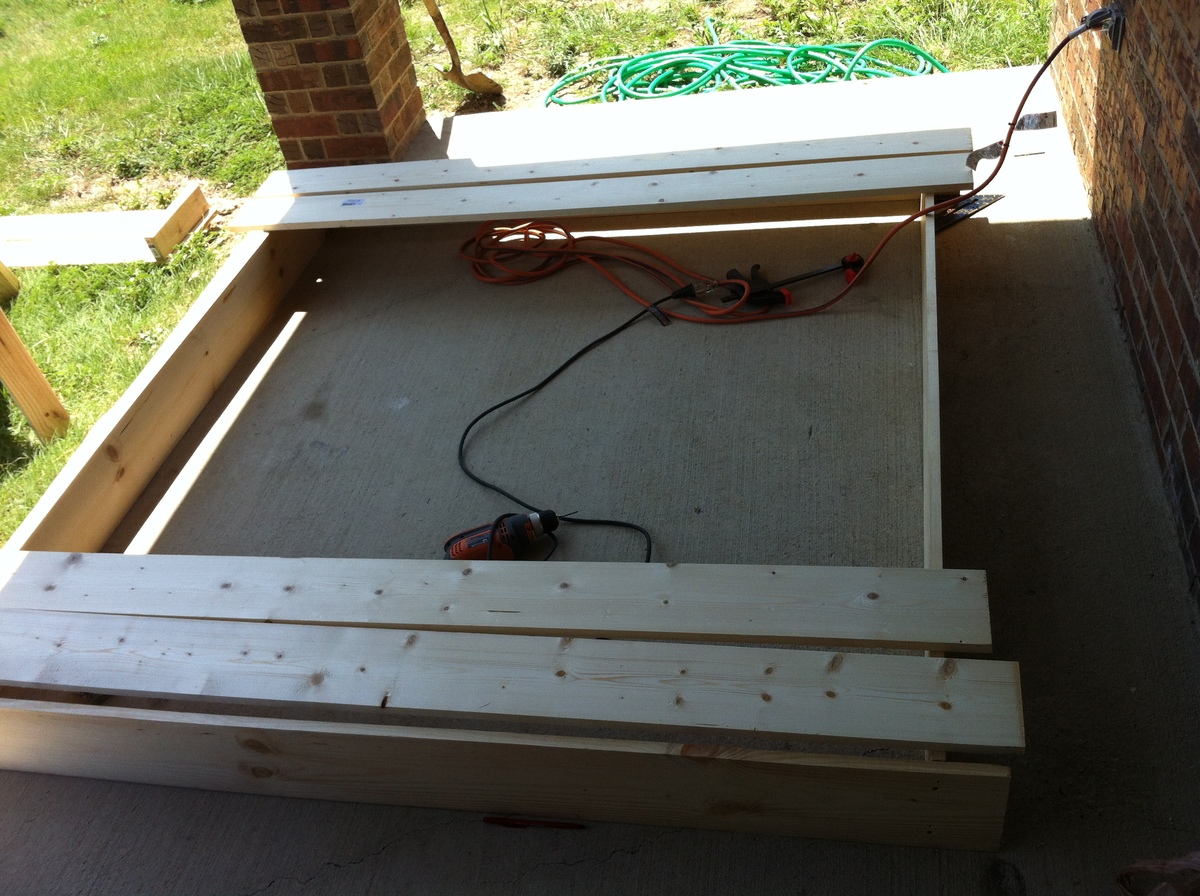
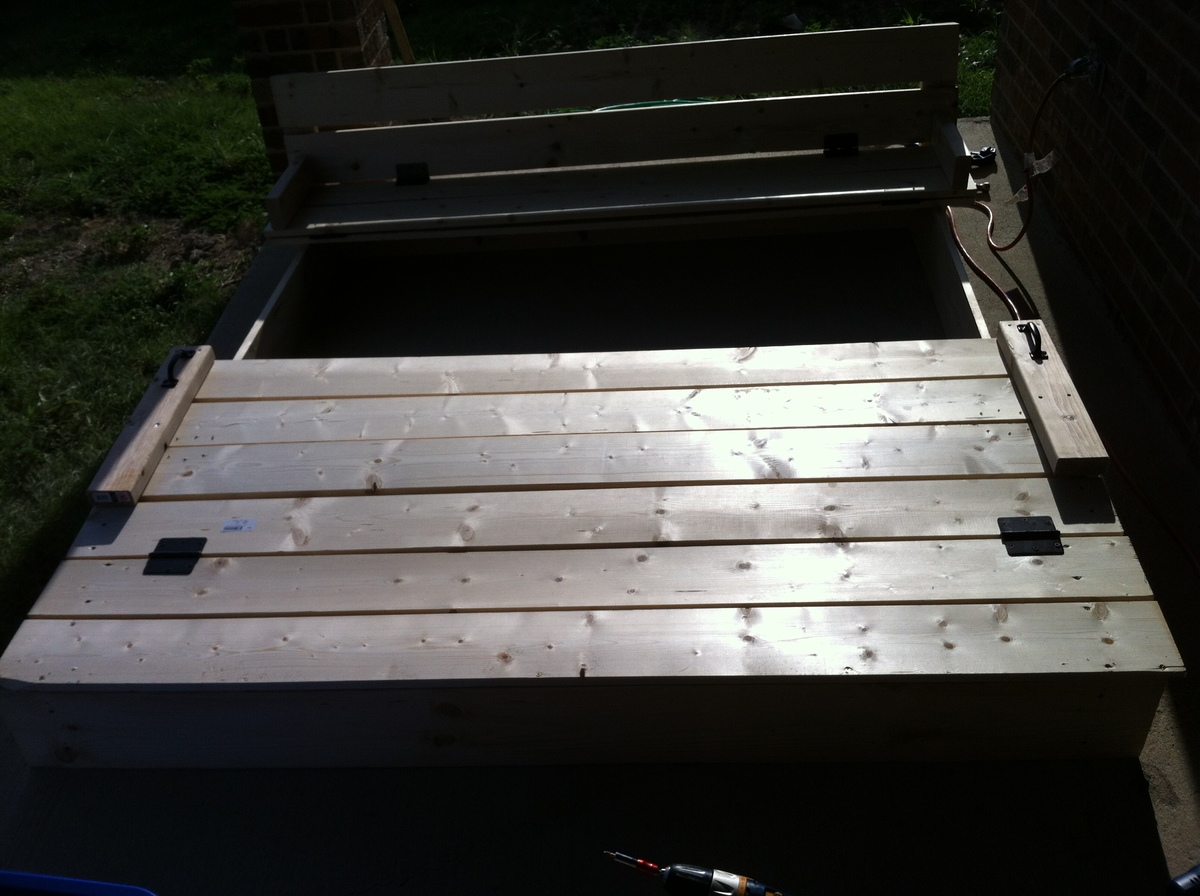
I loved the idea of building a washer and dryer pedestal for extra laundry basket storage underneath! Sashua's is beautiful so I took her idea and modified it a bit to work for me. My washer is very, very heavy and I was worried that if there was no support under the weight in the middle, it would start to bow and sag. The original plan also put the washer too high for me to have been able to use without a step stool. So in my modification I screwed cleats into the 2X4 frame of the laundry room wall, placed the 3/4" plywood on top of it and screwed it in. In the front, I used 4X4's as the two corner leg supports and then added two 1X6 supports in the front center, creating three laundry basket bays. I placed it directly onto the floor as opposed to building the bottom base. This saved me money since I was able to buy half the lumber and also allowed me to lower the height of the platform while leaving enough space for my baskets. The top of my platform is approximately 14 1/2" high, which is just low enough so that I can see into the soap filling compartment at the top of the washer. Being that I'm only 5'2" I would have needed to use a step stool to use my washer at the original 19 1/2" plan height. I framed the top edge of the platform with 2X2's, to ensure that my washer or dryer never walked off the edge. Finally, I added some trim along the front edge and around the legs and that's it!
Mon, 02/15/2016 - 12:25
I REALLY like this modified version, I think it looks GREAT! when you say you screwed cleats to the back wall, are you talking a 2x4 across the back fastened to the studs, or what did you use? I think my wife would love this version, and I may just have to get started on one myself.
After looking for an outside table with no luck, not to mention the unbelievable price tag, I asked my husband to make me this table..He worked on it for the day with my son and ILOVE the way it came out!!! The plans were simple and easy to follow. Thank you Ana!!!
We're still working on these but I wanted to show an in progress picture. Getting organized is fun! I've got lots more details on my blog if you're interested.
Update: We're all done with the drawers and they are the perfect way to organize and create storage in the entryway. It was a lot work getting them to fit into the closet but well worth it.
Tue, 09/04/2012 - 11:21
Do you have a detailed how-to for these closet drawers.
I love the cut out portion at the top - and I have been trying to find an affordable alternative to the Ikea Stolmen drawers ($120 for 2 drawers)
If you could perhaps send me some details on materials, sizes, how you did the cut out at the top - that would be great.
Thank you
Stephanie
We bought our first home this year and I wanted a new bed frame for my new home. This plan was perfect for our narrow bedroom in our small 100+ year old home. It fits right in with the character of the home and provides a lot of needed extra storage. I did try to make the drawers but as the instructions state drawers are tricky for beginners! So for now I will leave the drawers off. This bed is very sturdy. No one can believe I made it all by myself!
Sat, 01/25/2014 - 04:37
I think your bed is stunning and hope mine turns out close to the same!
The plans were great! I hadn't built anything this big before but just followed the instructions step by step. I did also built a base to put it on (pavers on sand then pressure treated 2x6 frame). It took quite a while but that's just mostly because I had "helpers" and had to work on it when I had a spare minute. I was pleasantly surprised by how much we were able to pack in there. We added electricity and made a few other modifications to a larger shed we had so my husband could use that as an office. I built this to store all the tools, yard equipment, etc that we moved out of there.
After a successful attempt at Ana’s farmhouse desk I decided to make a bed for my wife... needless to say I think she likes it! Thanks to Ana and Pretty Handy Girl’s plans! (This is my 3rd woodworking project)
So I followed the plan except I tried to use more pocket hole screws. I managed to use them for all parts except the seat and back. Looking at them I see how I can use them for those areas too ( just a little pre planning next time)
I’m using Behr Wedgwood waterproofing stain and sealer to complete the project.
I love all your plans and can’t wait for my next project.
Sat, 05/06/2023 - 07:39
The chairs loolk really great, love the finish! Thanks for sharing.
This is my first woodworking project ever. I didn't like the numbers in Ana's plan so I changed it up a little for my taste. I also made this to sit on my desk and added felt to the bottom so that it wouldn't scratch the surface when my kids moved it around. It probably should have only taken me an hour but I was having issues with the brad nailer and not nailing straight.
This is the first project of any kind I have built from the Ana White website. It is for my grand daughter (her 1 year birthday present)I built this project from the large covered sandbox plan. I followed it pretty close to the original plan. Cut the wood at my home and then packed it in my SUV to be assembled at the grand daughter's home 30 miles away. It turned out great. Mom and Dad just need to get the sand out there now and we are set to go...
Started as a tool chest for garage and after reading a article on ana white about finishings thought I would give it a tfy
I am embarrassed to admit, but we had been using a 8ft plastic folding table with a table cloth and folding chairs for TWO YEARS prior to this build. I had struggled to find a table that was large enough and that I actually liked. I was so fed up that we decided to build this table. It was a huge learning curve because we had never build anything before. BUT IT IS DOABLE and FUN!
Tue, 09/03/2019 - 17:46
What a beautiful table! Thanks for sharing and encouraging others!
This is a craft table following the Modern Craft Table Plans. There were some adjustments to increase the size of the table to fit the entire width of the window. The final dimensions of the top turned out at 72" x 36" and fits my wifes cutting sheet perfectly on top with no overhang. The project did turn out a little taller than anticipated (built it as if it was a standing workbench or elevated) so that posed an issue with the foot pedal but overall, the wife approves. Future additions may be to add a drawer and attach a couple of adjustable lights, but on to other projects to improve her craft room.
Sun, 11/21/2021 - 13:10
Looks great…. Where are the plans ? Is there a link I’m not seeing?