Mudroom Bench and Hooks
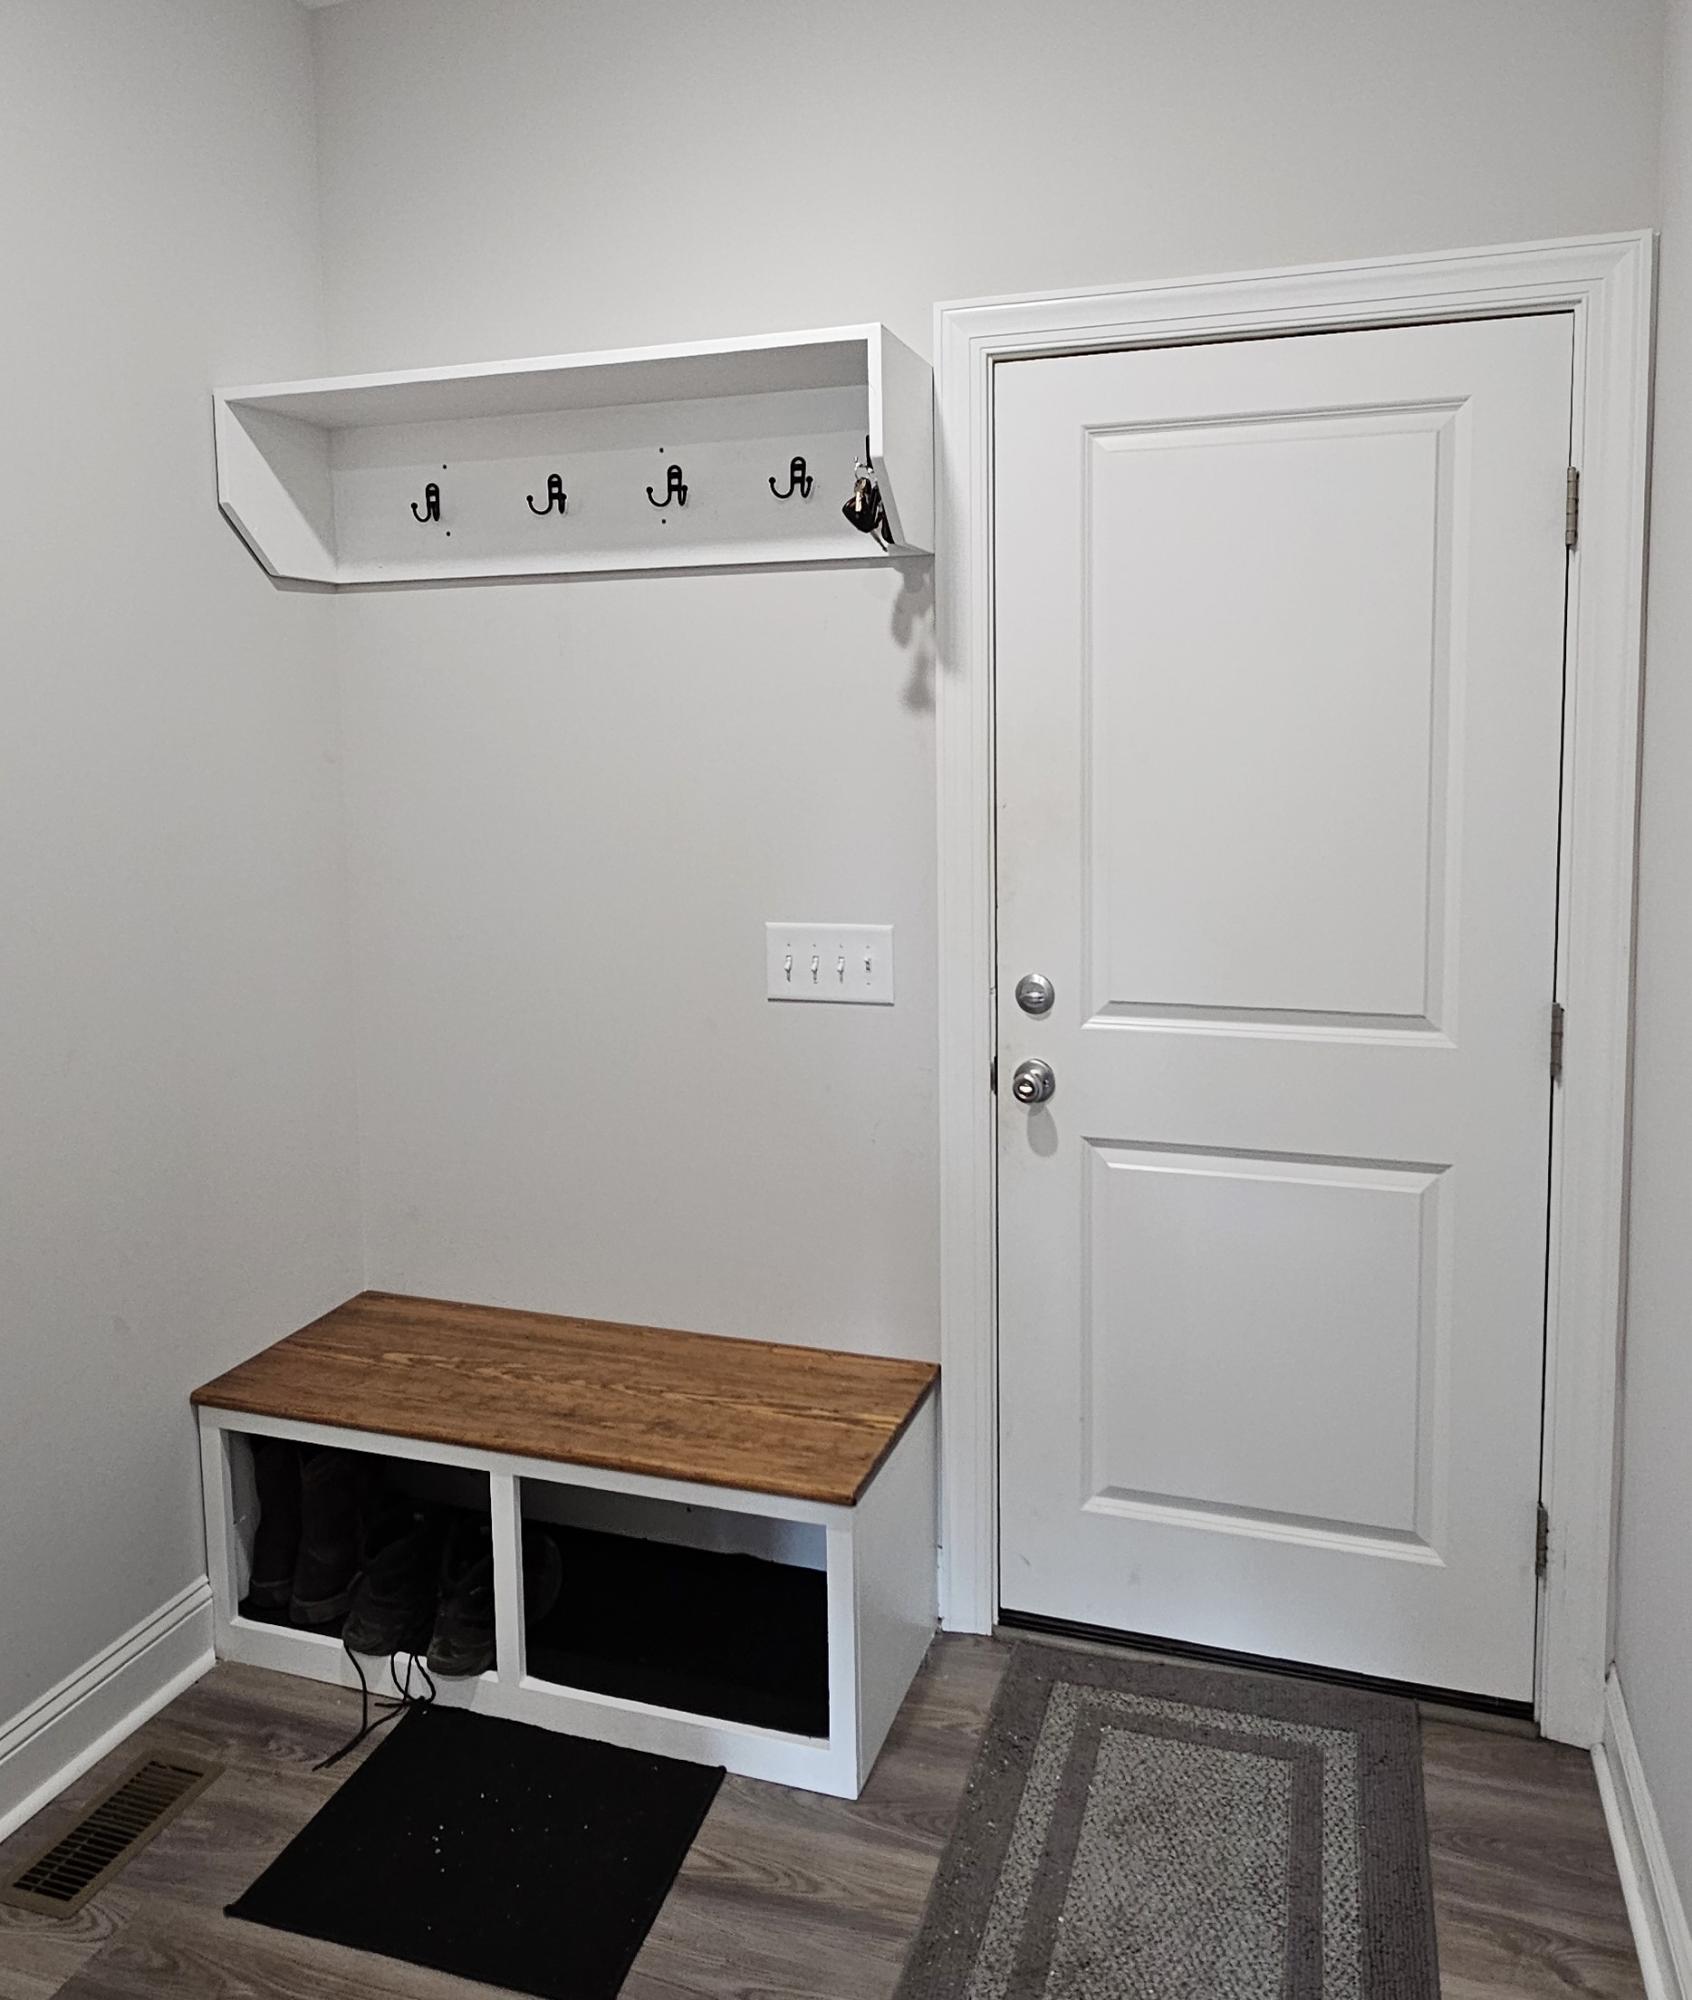
Built my wife a bench and coat rack for our mudroom also a bench for garage.
Thanks to Ana watched her on youtube.
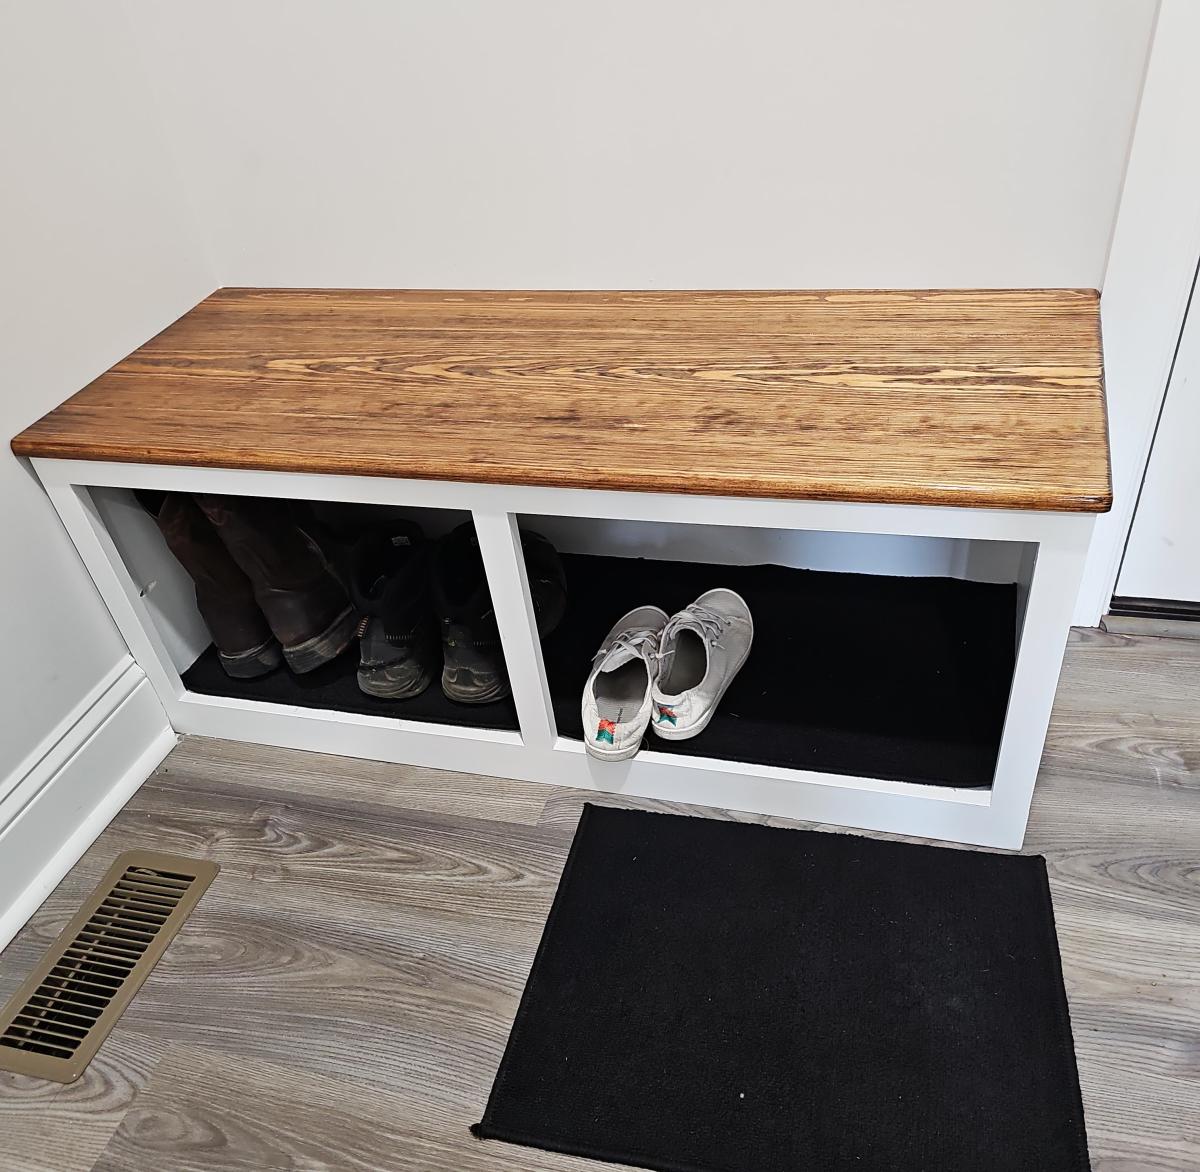

Built my wife a bench and coat rack for our mudroom also a bench for garage.
Thanks to Ana watched her on youtube.

I think I Iove this bed more than my little girl. It's really a beautiful bed with lots of storage. I put magnetic closures on the insides of the cabinets to hold them closed. I also put the same applique on the headboard as Ana. I looked for a different one, but it's the girliest we could find at the time and my little princess loved it. It's a very sturdy bed. I put a week long project, but again, as I've stated before on other posts, it would probably not take nearly as long if you have help with the building or especially with the kids! When you have to stop every 5 minutes and take care of kids and home, it takes a little longer. All the building mommies out there know exactly what I'm talking about! Thank you so much, Ana, for all you do and for all of the empowerment and motivation.
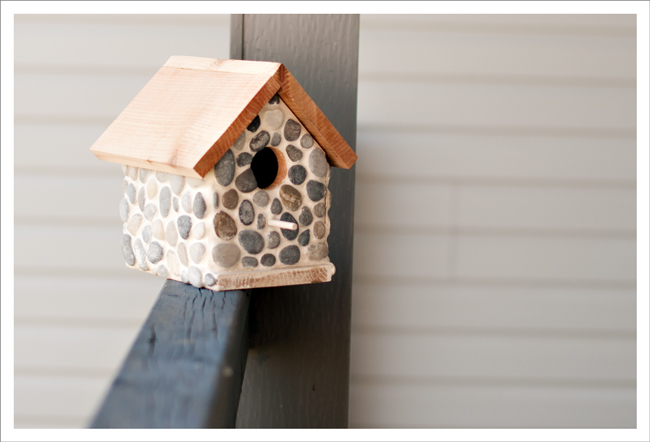
I've been collecting small flat rocks off the road every time I take the dog for a walk. Unfortunately my grout cracked, I probably used the wrong type. Anyone who can tell me what I should have used instead? Suggestions very welcome, as I might try this again.
Mon, 06/09/2014 - 14:28
I love this idea! What kind of grout did you use? I would imagine that for such large gaps between the rocks, you'd have to use a sanded grout (most state whether they're for indoor/outdoor use, but I've only seen ones that say both). But it could have cracked because the wood underneath expanded or contracted or the grout wasn't the right consistency.. Love, love, love!
In reply to Too cute! by Lady Goats
Wed, 06/18/2014 - 09:30
Thank you for your comment on my birdhouse! I talked to a contractor who suggested that my grout was too watery when I started. I also used Polyblend non-sanded grout. I may use sanded next time. Trying to decide if I should give it another go, I kind of want to!
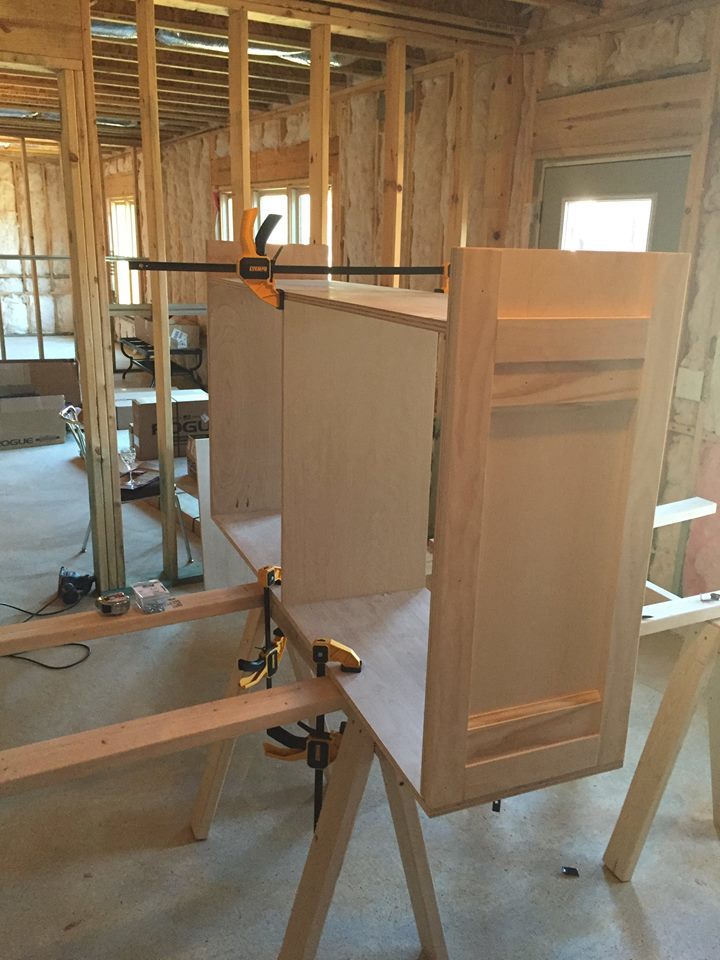
This was my first woodworking project ever - and am thrilled!! Thank you Ana-White.com!! I needed a beautiful china cabinet for a fraction of the retail cost. Once I found plans on this website, I bought some power tools and got started! I only worked a couple of hours each weekend so it took a while to finish.
I modified the Shanty sideboard and Shanty hutch plans in a few ways: Shorter overall width to more comfortably fit my dining room, shorter height (which I now regret), fewer shelves in the hutch, different method to attach shelves, and added glass doors to the hutch. My shelves were not perfectly flush with the cabinet walls (oops) so I couldn't use pocket holes to attach them. Because I detest traditional shelving hardware, I just secured 1/2-in quarter round to the walls and rested the shelves on that.
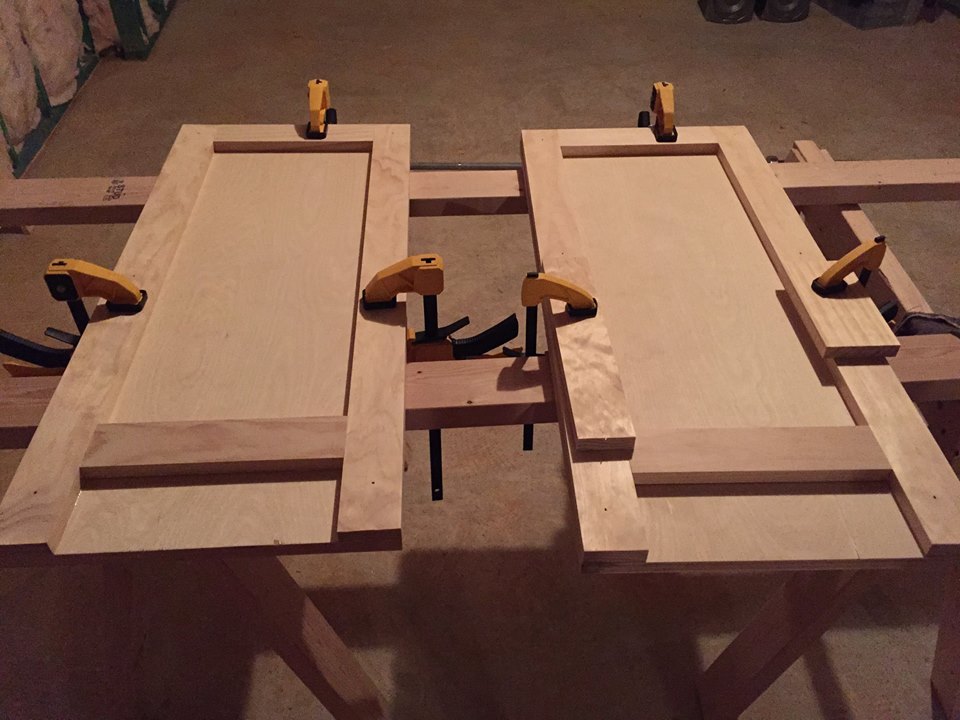
For the glass hutch doors, I built frames similar to the sideboard doors' frames -- two frames for each door, for a total of 8 frames. On 4 frames, I used a rabbit router bit to create an inset for the glass I bought and had cut at Lowe's. I secured the glass with glazier's points and silicon caulk, then attached an un-routered frame to the back of each door with screws. I chose to keep the screws on the back visible and accessible so that I could easily replace the glass if needed without destroying the door.

Wed, 12/05/2018 - 10:10
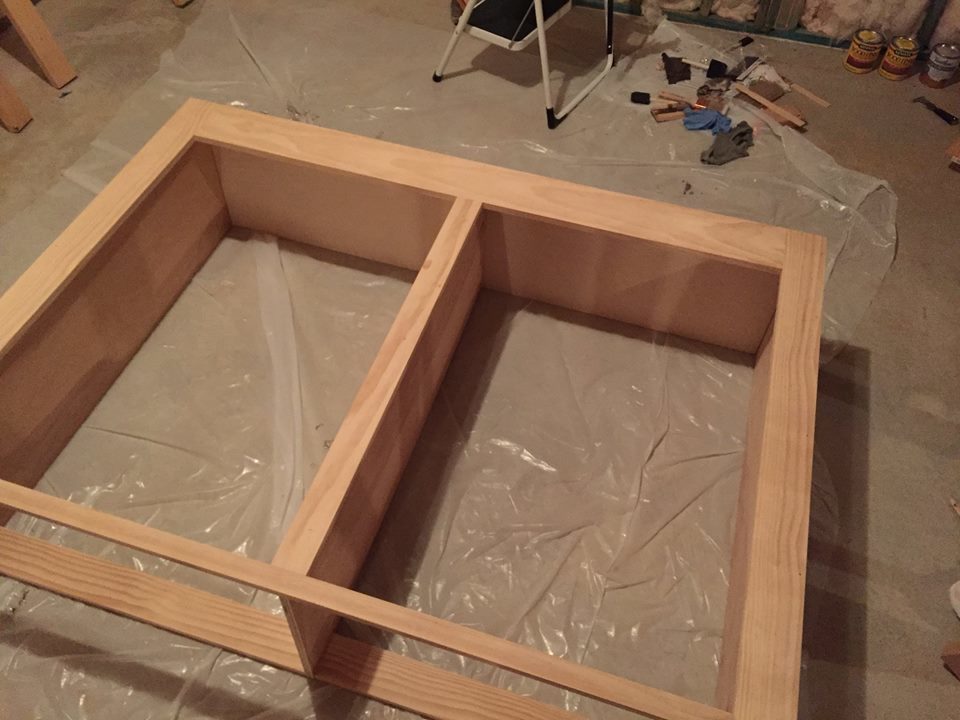
Looks awesome! Did you use Pine/Maple/Birch plywood? Just wondering - i always have trouble matching my plywood to select pine!
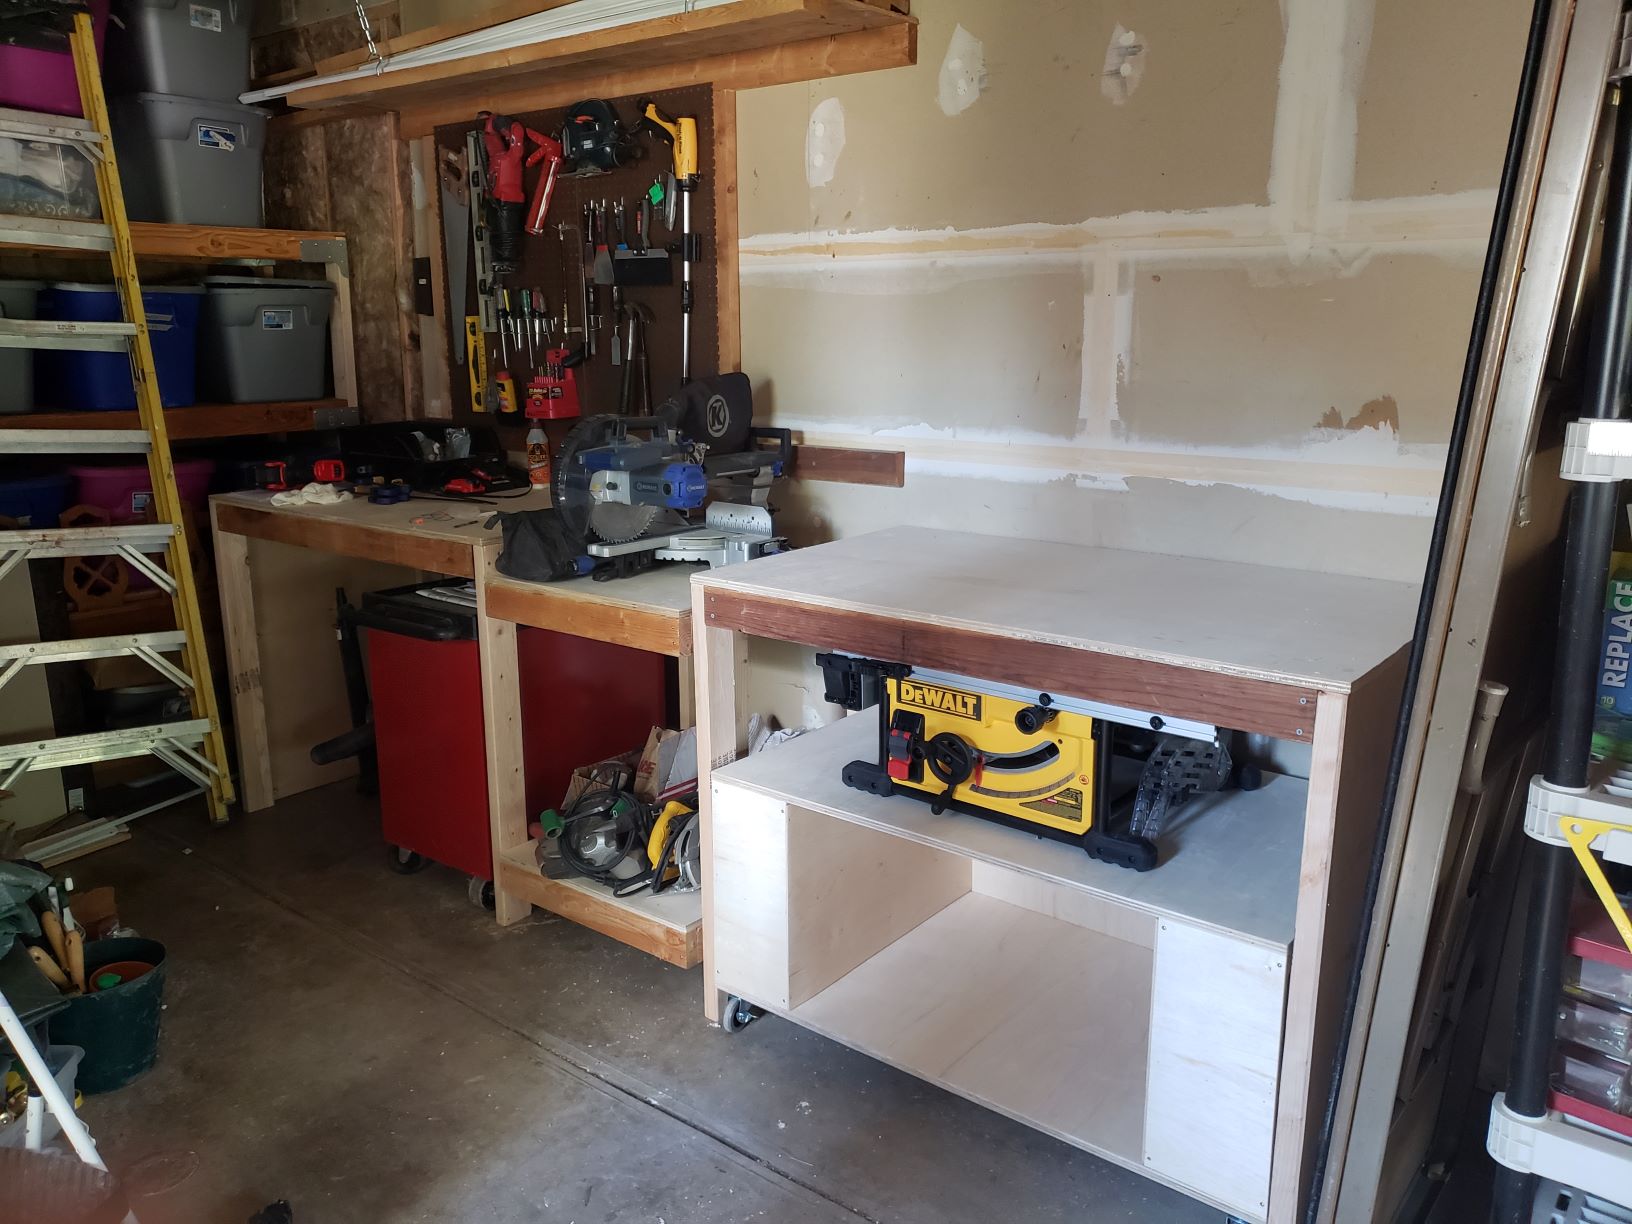
I altered the original plans in the following ways:
I'm not that experienced with projects so here are a couple of things I learned:
Thanks for the great plan! Now I can start on all the other projects on our improvement list.
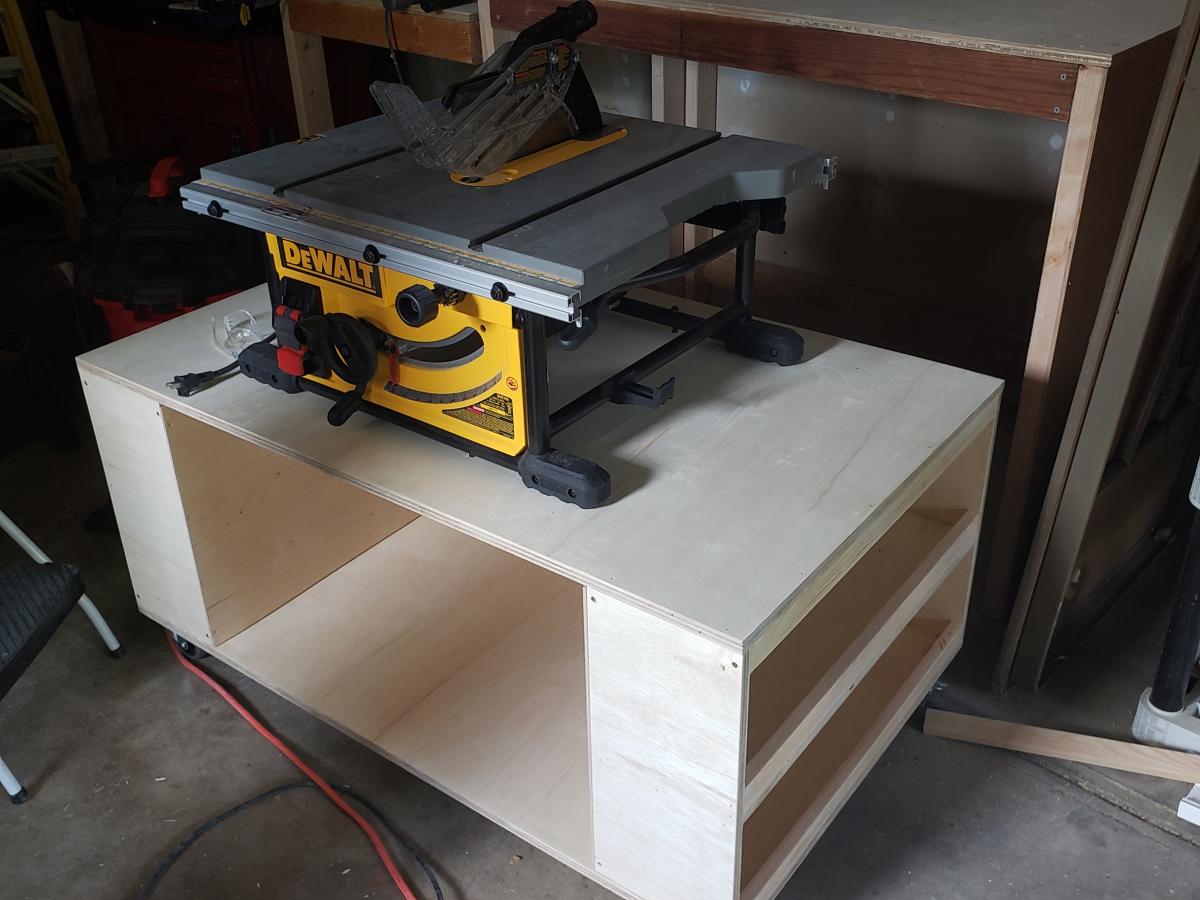
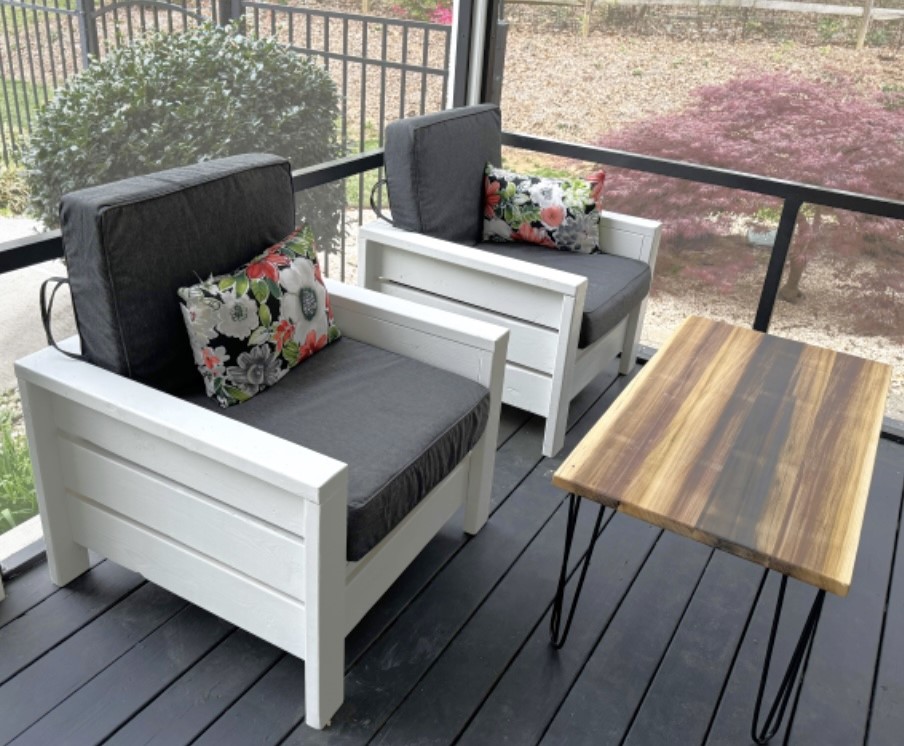
Modern Outdoor chairs. Great plan that I’ve wanted to do for a while. Very easy to execute the cut list and plans as written.
Mike Sebazco
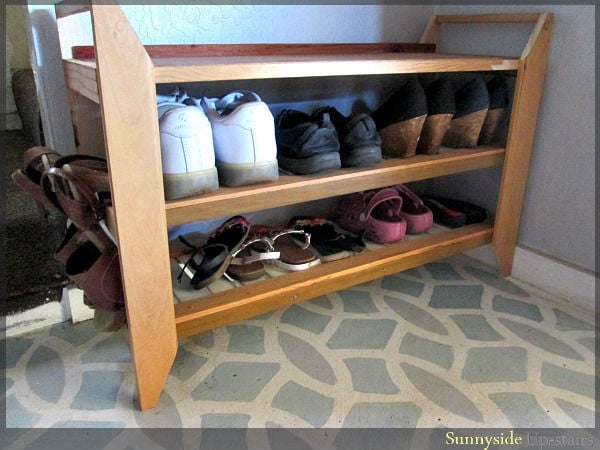
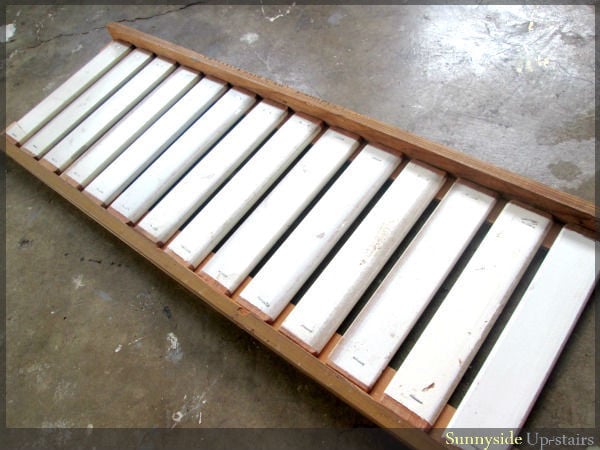
I love the legs on Crate&Barrel's Boardwalk Bench, but I was on a tight budget (under $10), so I needed to make many modifications so that I could use the random pieces of wood I had accumulated from my local deconstruction warehouse, including free wood louvers for the slatted shoe shelves. If you'd like to make your own, more photos of my process are on my little blog: http://sunnysideup-stairs.blogspot.com/2014/05/boardwalk-shoe-bench.html
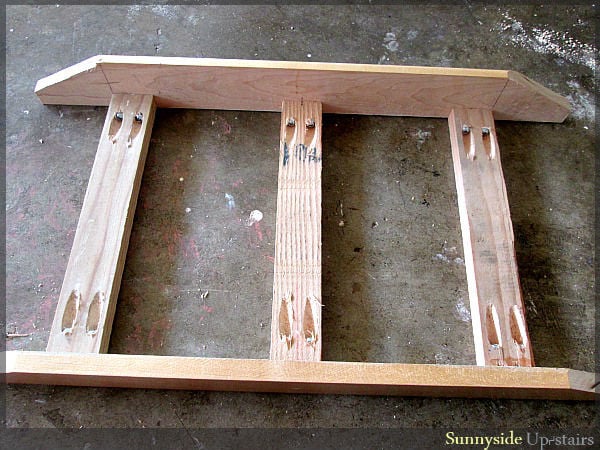
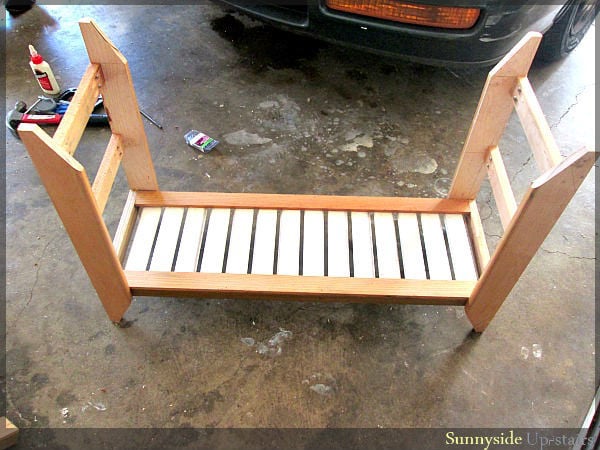
Tue, 06/10/2014 - 17:06
Great use of materials! The lines are elegant, it's a wonderful build! (Also, I love the floor!)
:)
Joanne
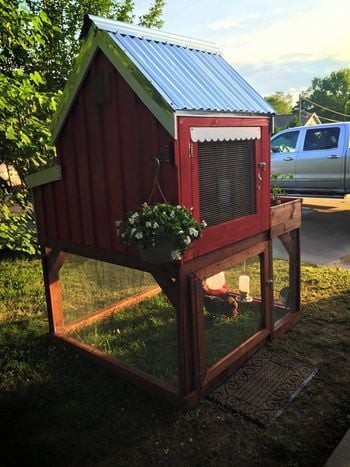
http://www.backyardchickens.com/a/connies-coop
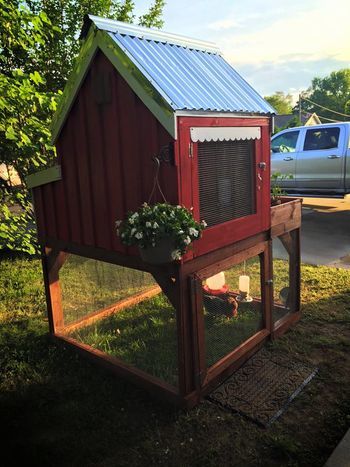
I built this and posted it on 6/8/15 on backyardchickens.com and it has been "pinned" a few thousand times since then...
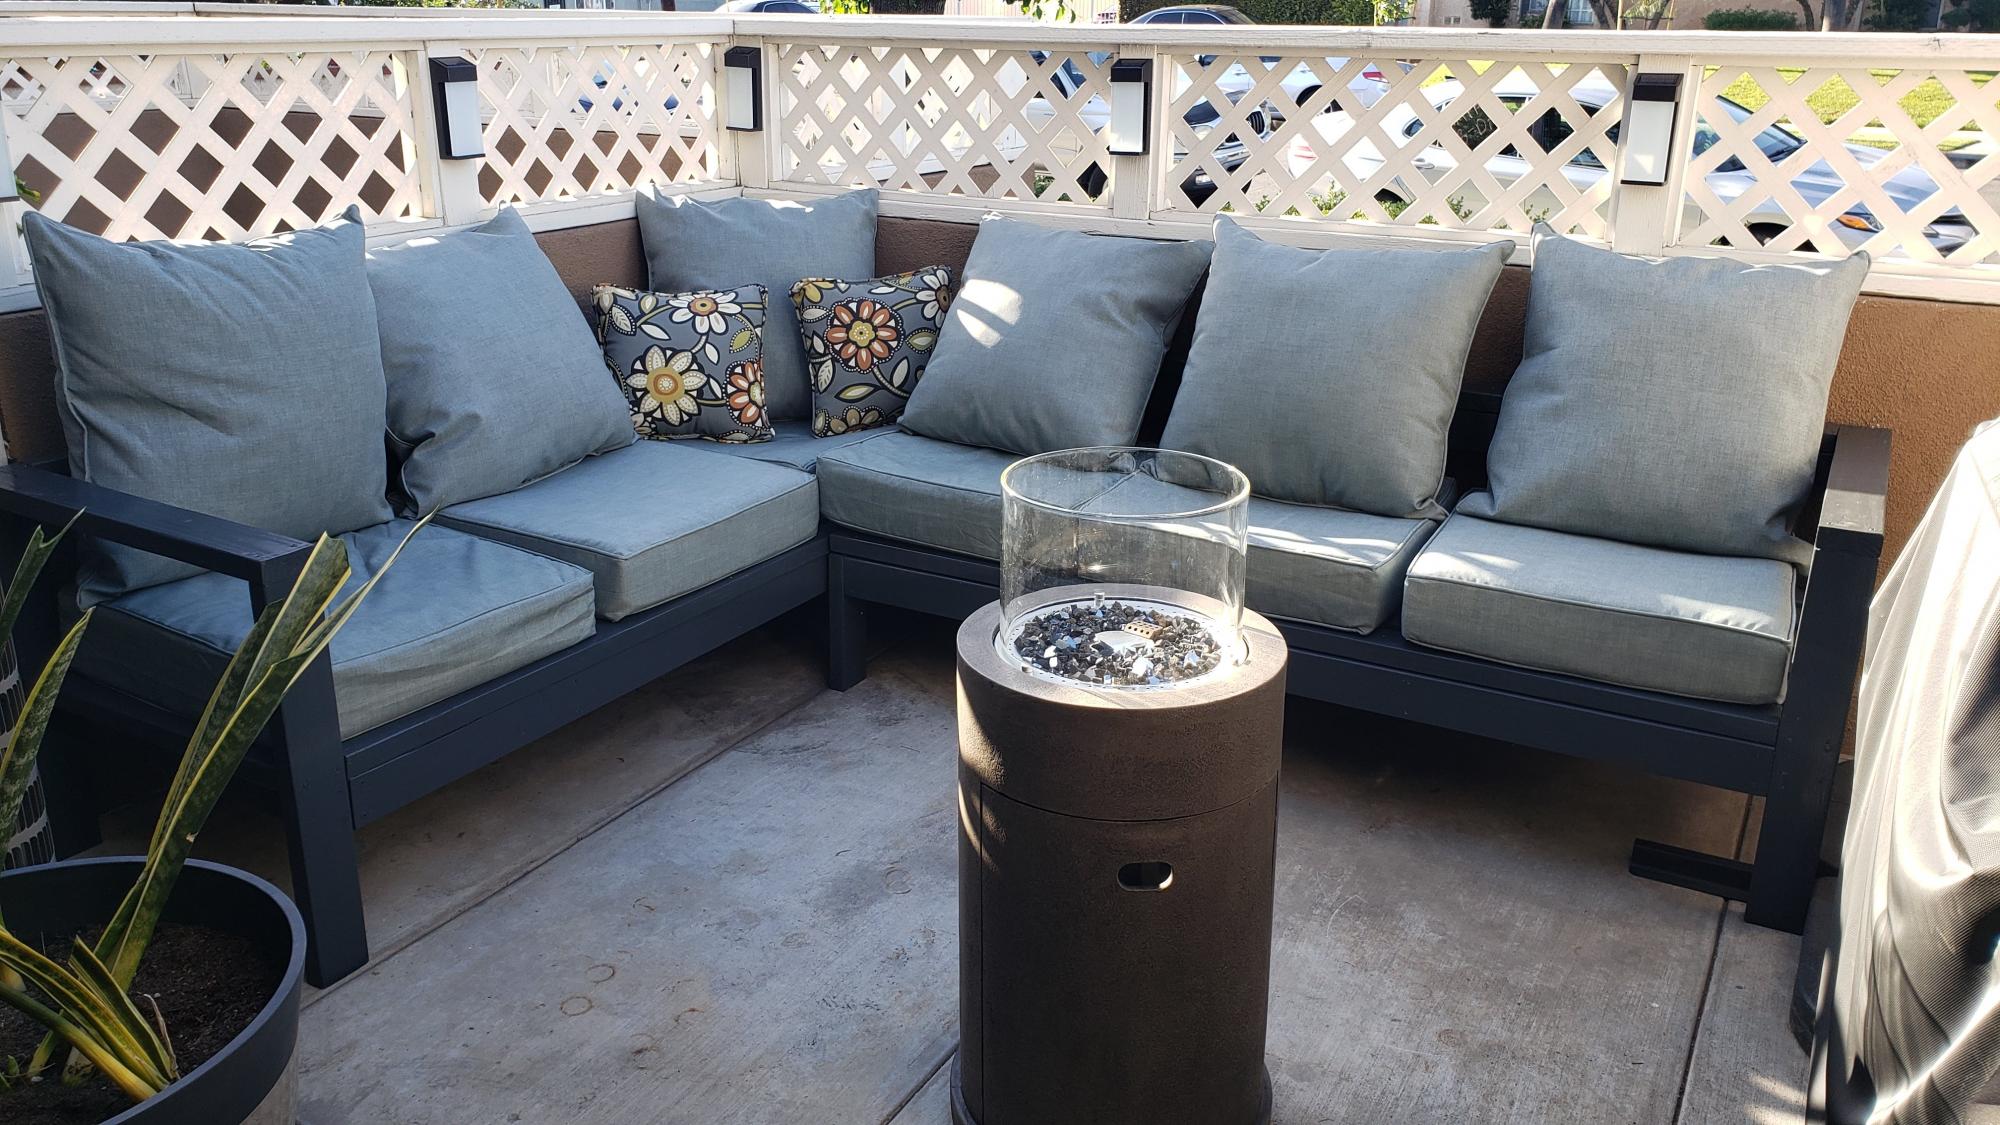
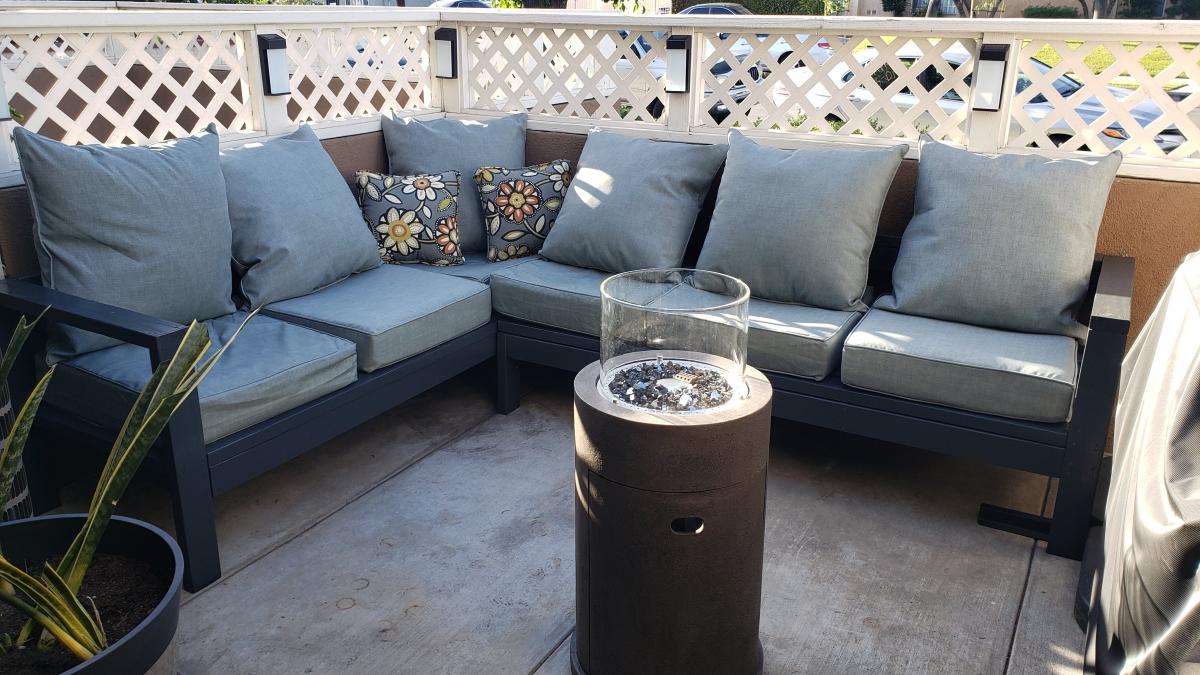
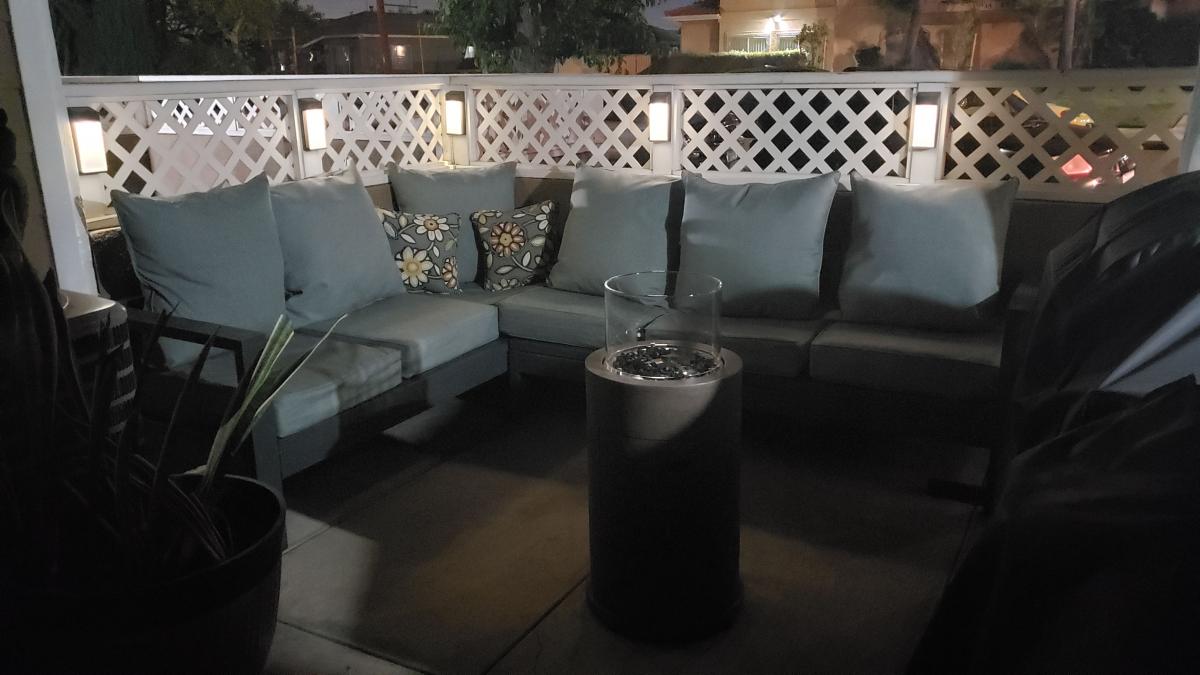
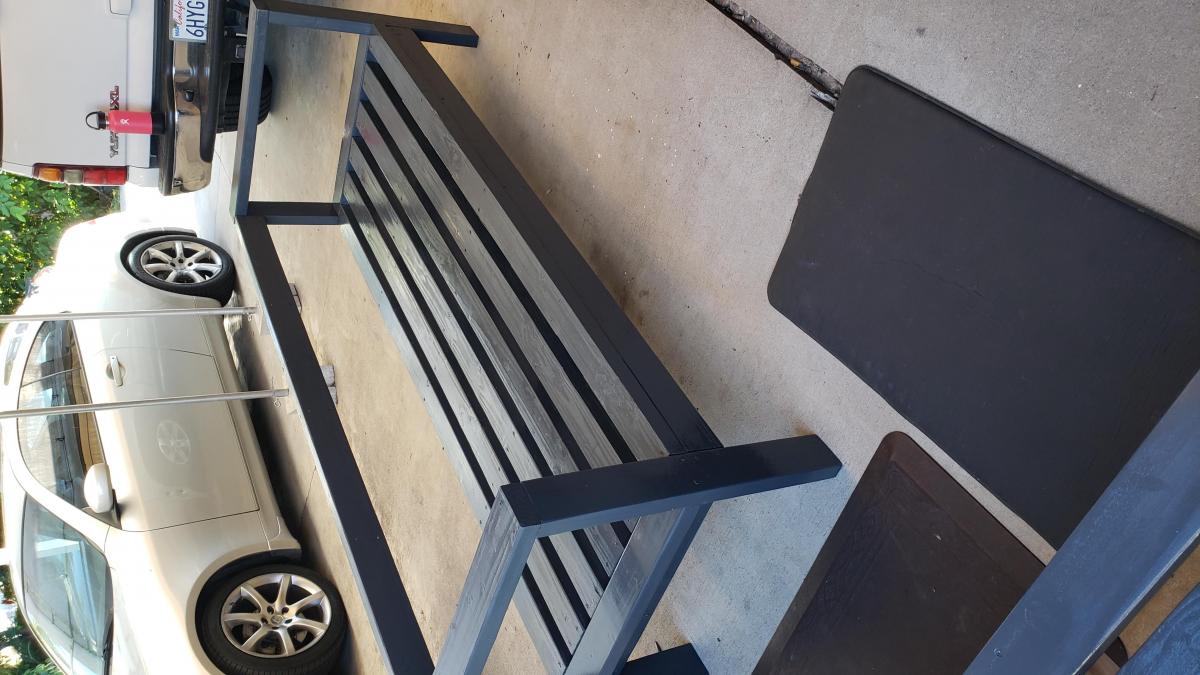
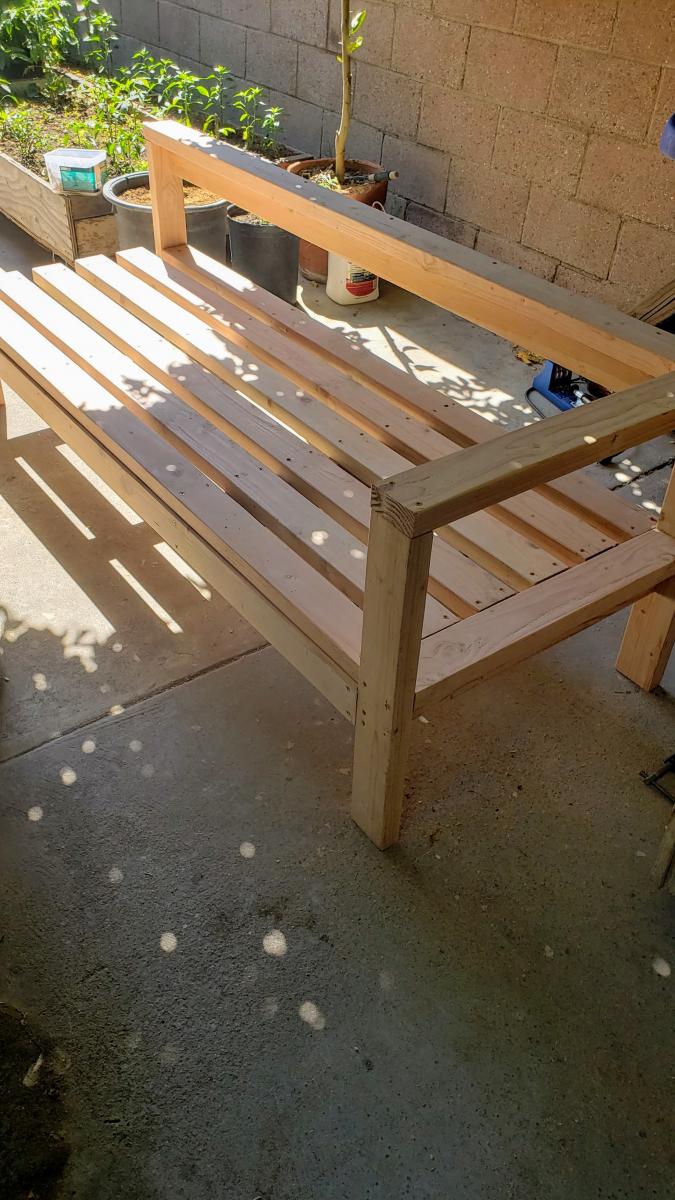
Have been wanting to spruce up my little outdoor patio with an outdoor sectional, but couldn't bear to purchase one due to the high cost. Made the decision to build the outdoor sectional, but purchased the cushions first in order to commit myself to the project. While I worked on the outdoor sectional, my younger sister built herself a bed frame from Ana's plans. I purchased the pre-drill screws, but my dad suggested I pre-drill the wood with his horizontal table drill (made the screws go straight in). Extremely happy and proud of the final product. Super affordable and it was a great project to work alongside my parents.
You do need to add an additional 28.5" 2x4 Outdoor Sofa /One Arm 2x4 Outdoor Sofa (missing from the plans). I can't remember which one was missing the piece.
~$350 ("grey" cushions were a little less than ~$200 from Big Lots (used 15% discount during Memorial Day Sale). Wood, stain, screws, wood putty, and glue ~$150.
Originally used Valspar Tintable Neutral Base Semi-Transparent Exterior Stain and Sealer (1 quart) in the color "Dutch Licorice". The color was more of a blue-grey, which was not what I was going for. Had some leftover Varathane Carbon Gray Interior Wood Stain (less than 1 quart) from a ladder blanket project and painted over the Valspar Stain/Sealer.
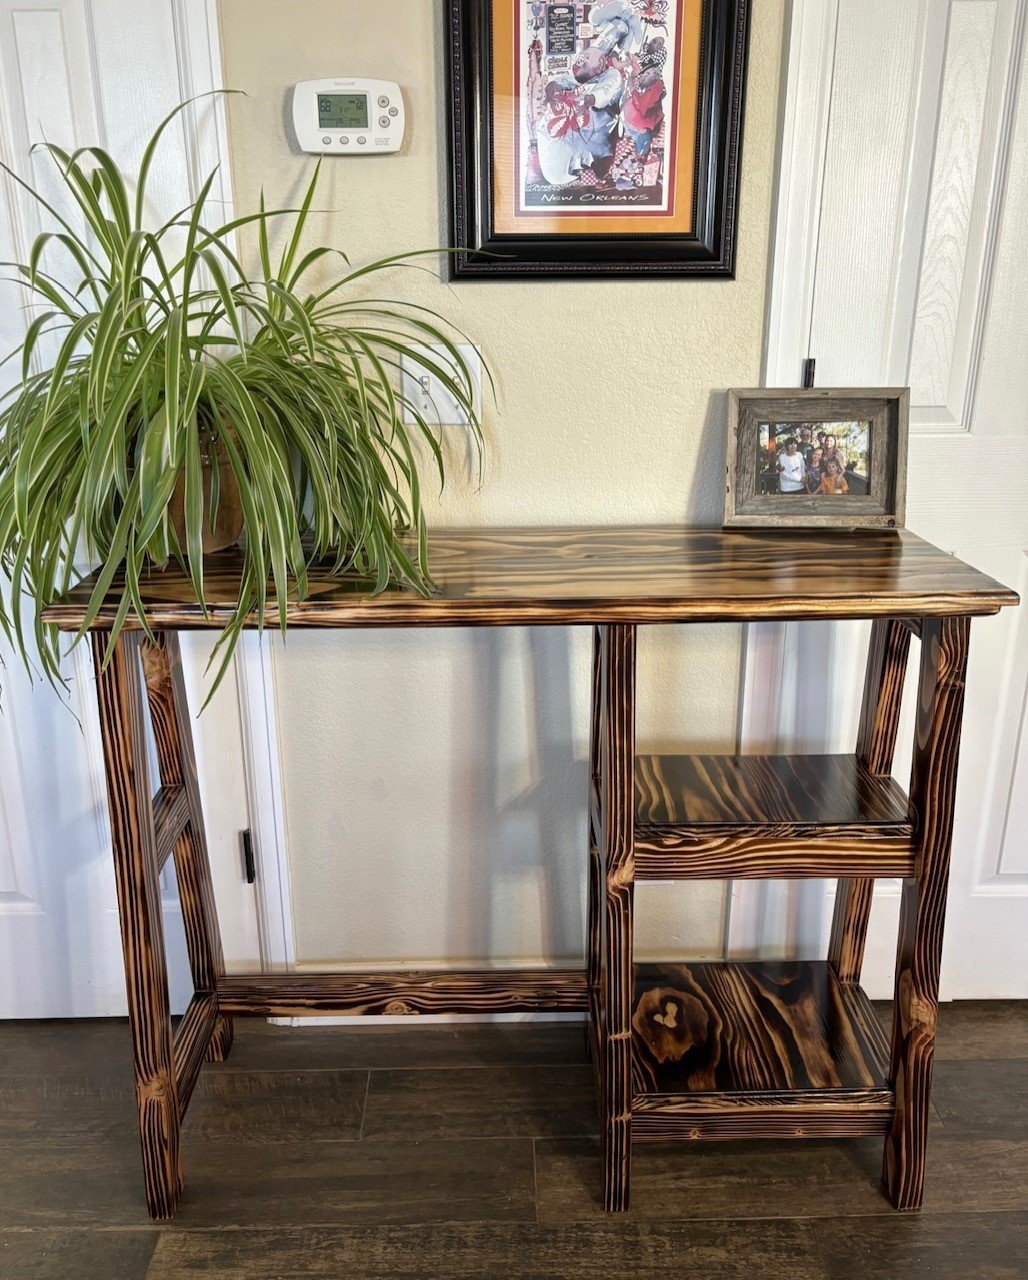
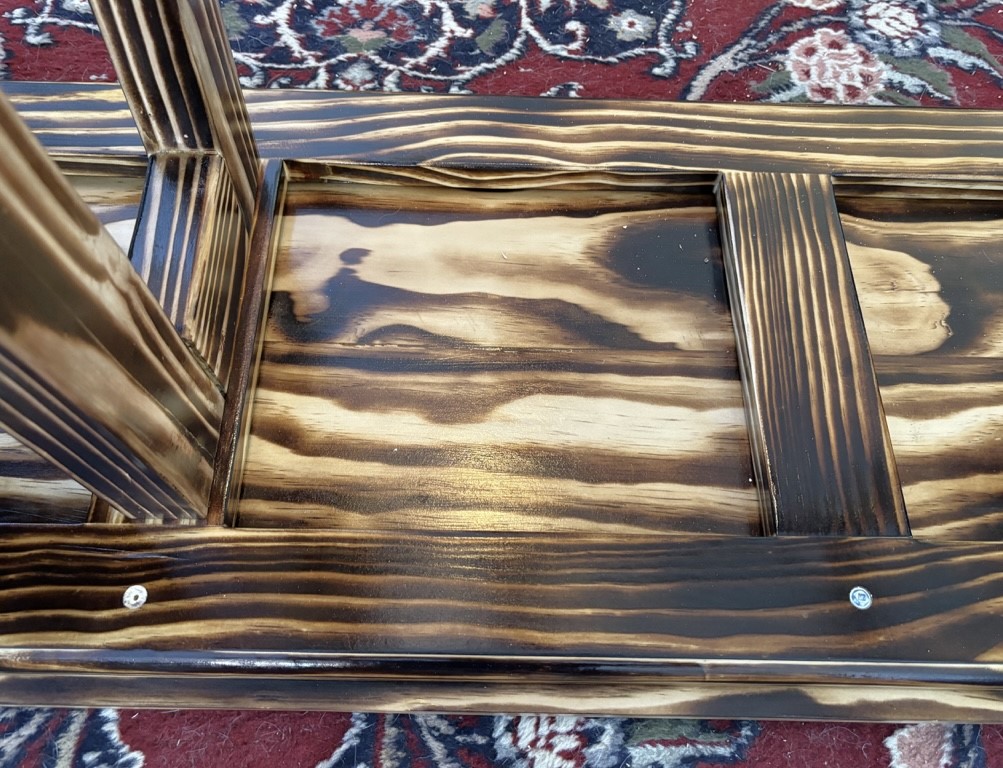
I am a teacher and constantly bending over lower desks and I did not have a table to teach off of in the front of the room. So, I built one with Ana’s ideas of a console table with two shelves. I found a link to Kreg from her site and here was this table. I changed the height and width to give proper support of my back (counter hight) and a width that would hold a teacher book. I liked the A-Frame loom and had not built anything like this before, so I learned. I burned the wood for a fun mix of light and dark wood tones. My dad gave me some router bits and I used one to curve the edges of the top, ropy under frame, and shelves. That way all edges are curved for myself and students. I finished it with a coat of poly and a light sanding in between. Thank you Ana for the skills, confidence, and now a love for creating something useful and fun! My students and parents were shocked !! Plus it adds so much warmth to the classroom. Blessings, Jennifer
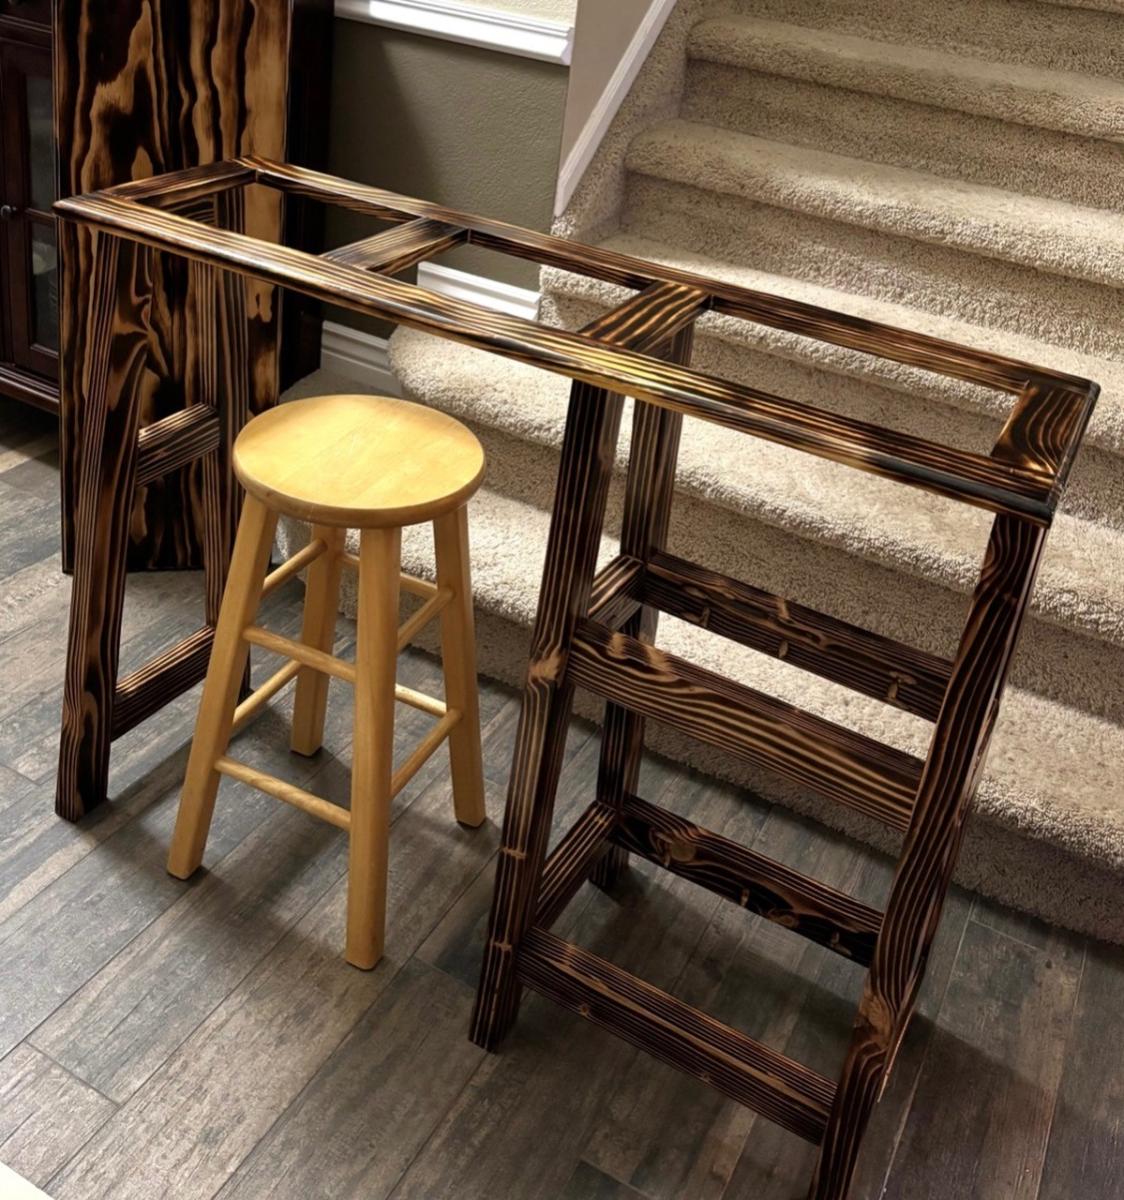
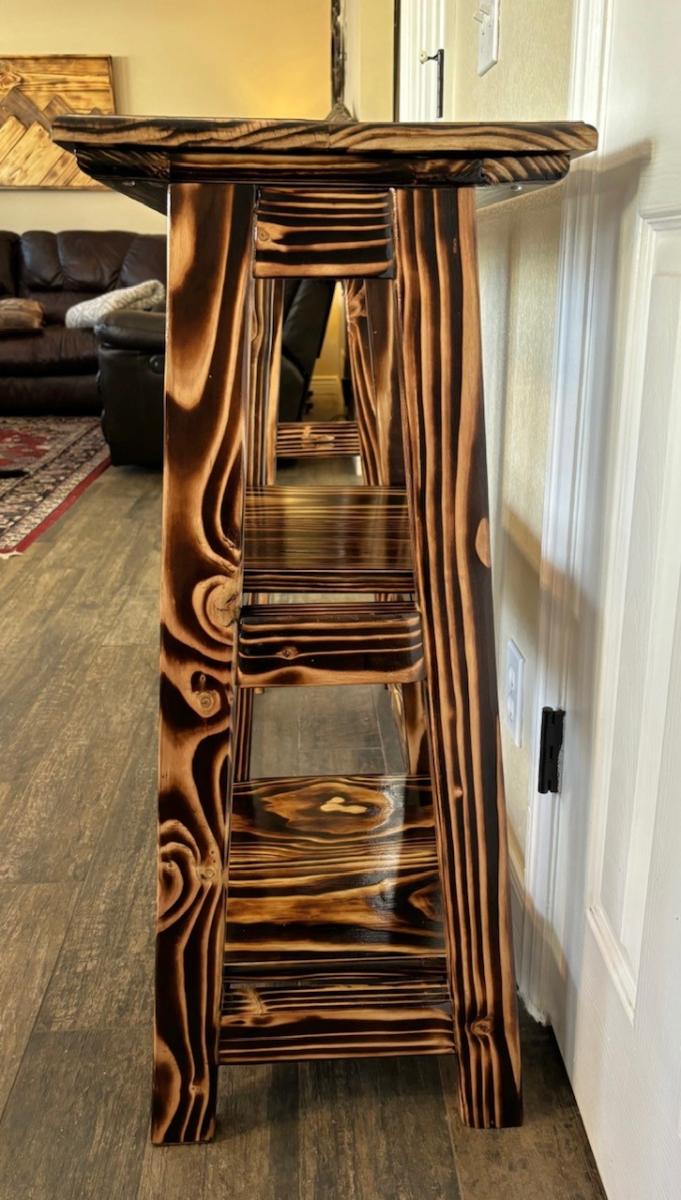

Our two boys are really starting to get into Legos so we knew we needed a place for them to play (especially after repeatedly stepping on Legos--ouch!). My husband designed this simple plan after looking at some expensive designs online. He cut a small notch out of the top so legos can be pushed into the storage container. We just used a simple under bed storage box, which is great because it is large and holds a ton of legos.
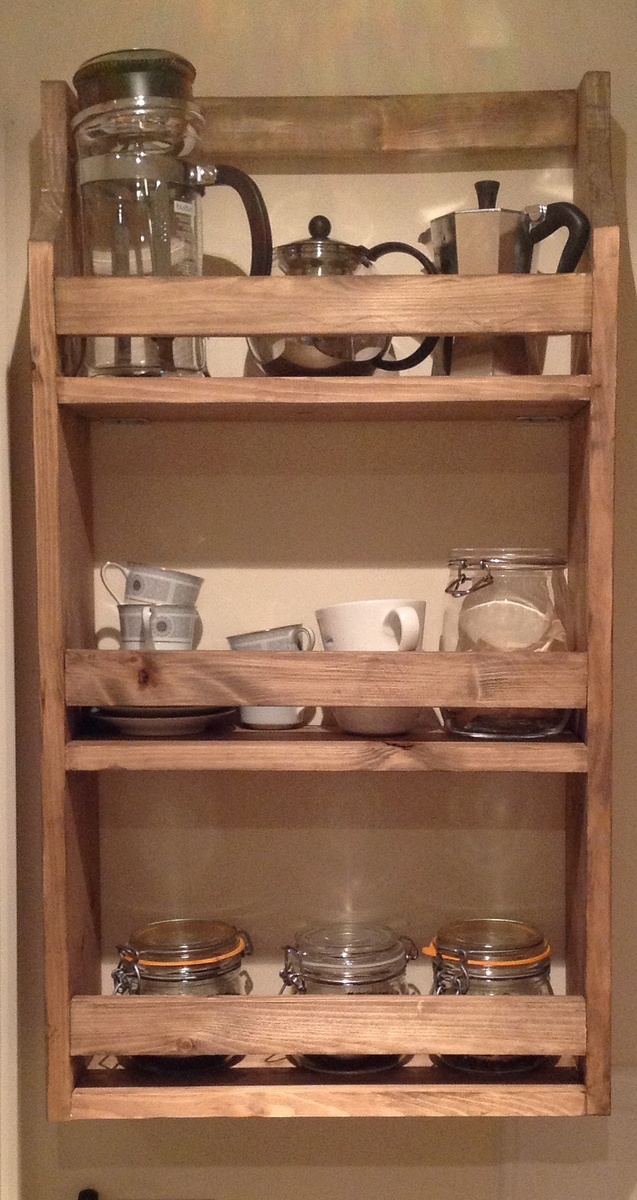
This was my first ever project. I initially intended to use it for office storage but it ended up taking its place in the kitchen - and proving most useful for storage there too!
Stained with Minwax Jacobean. Thank you for the plans!
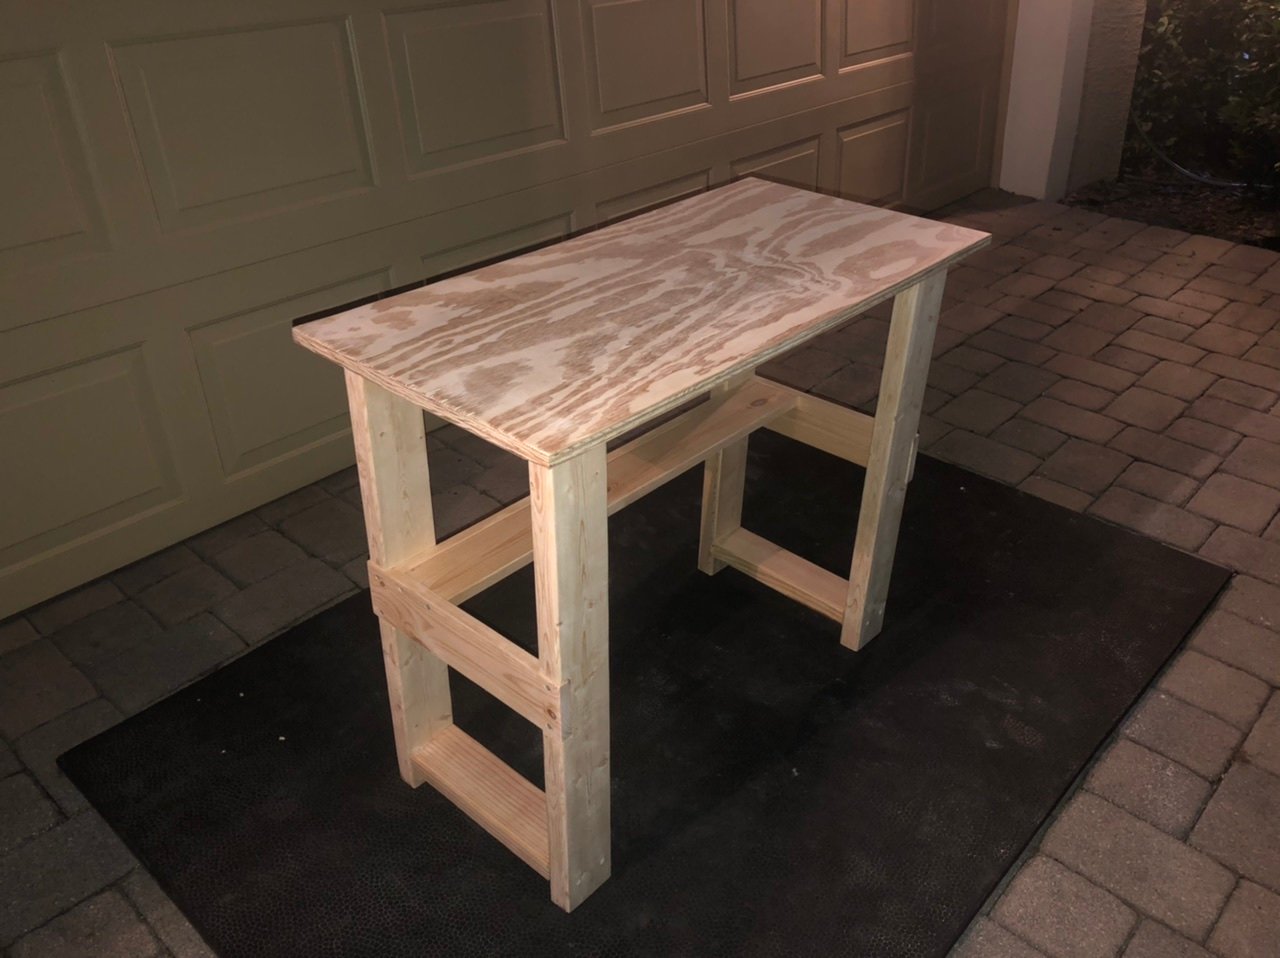
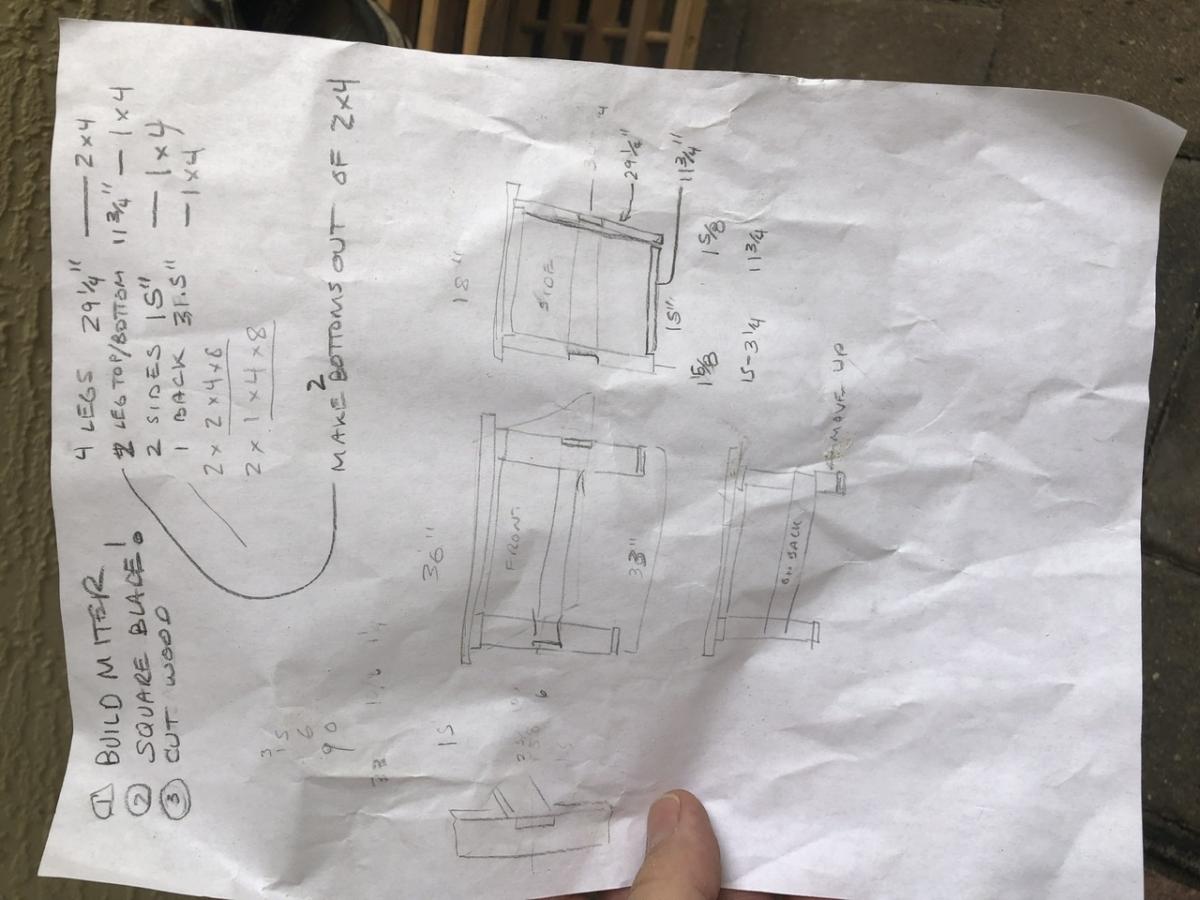
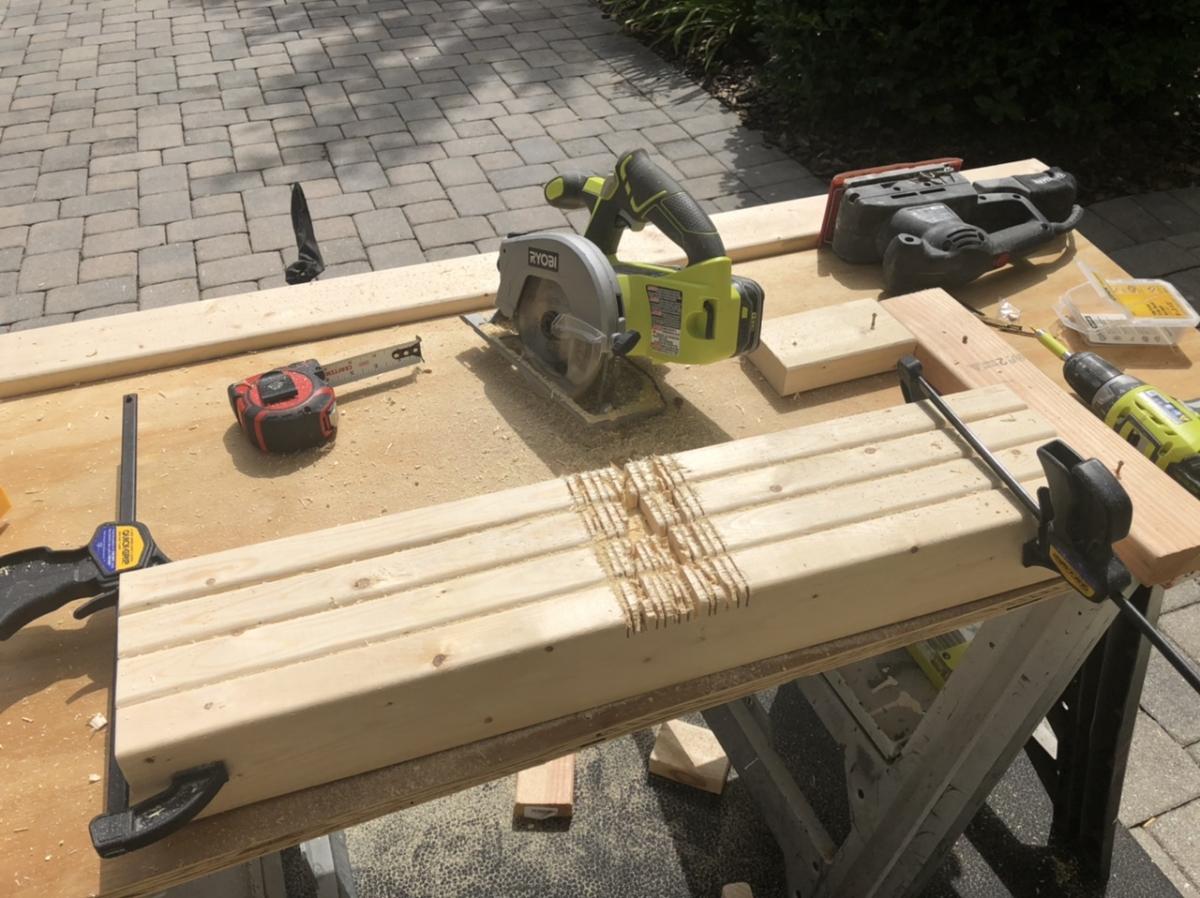
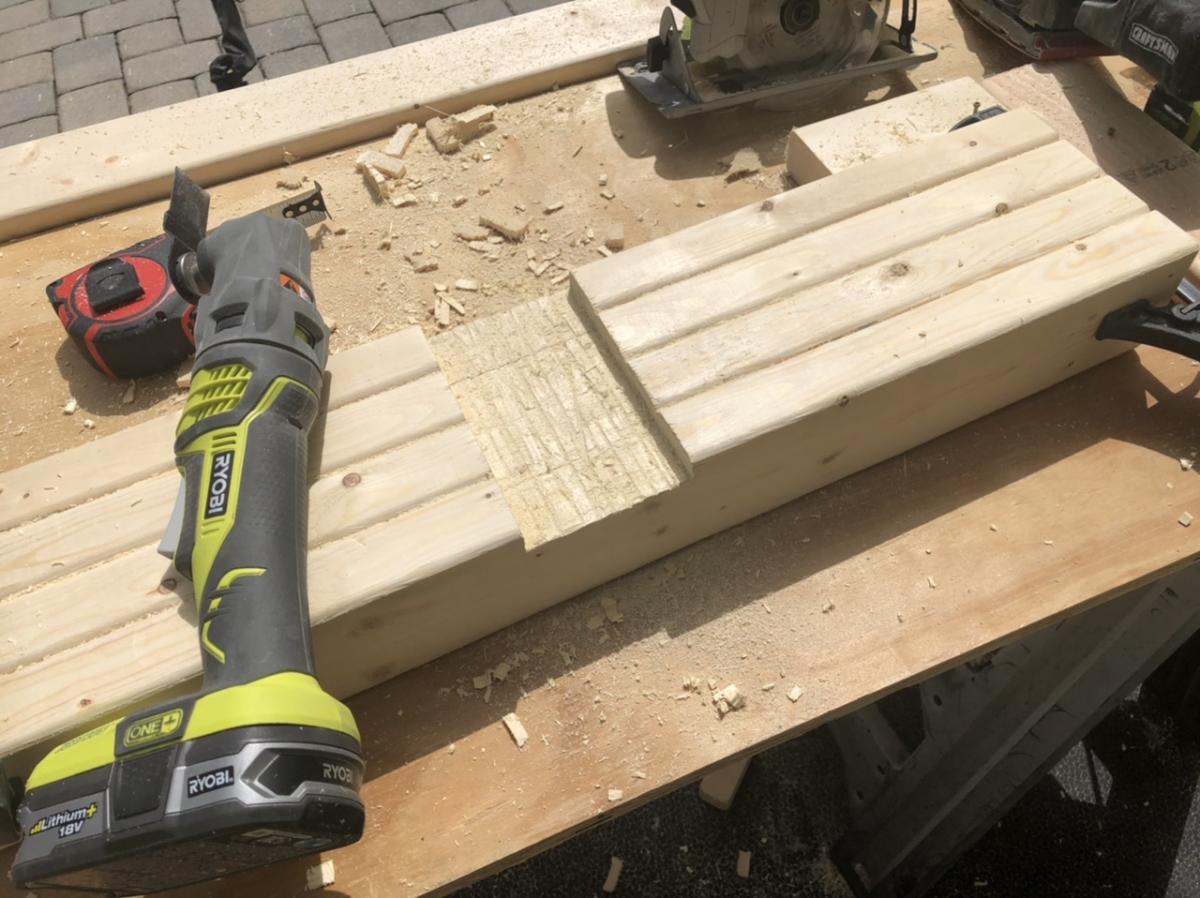
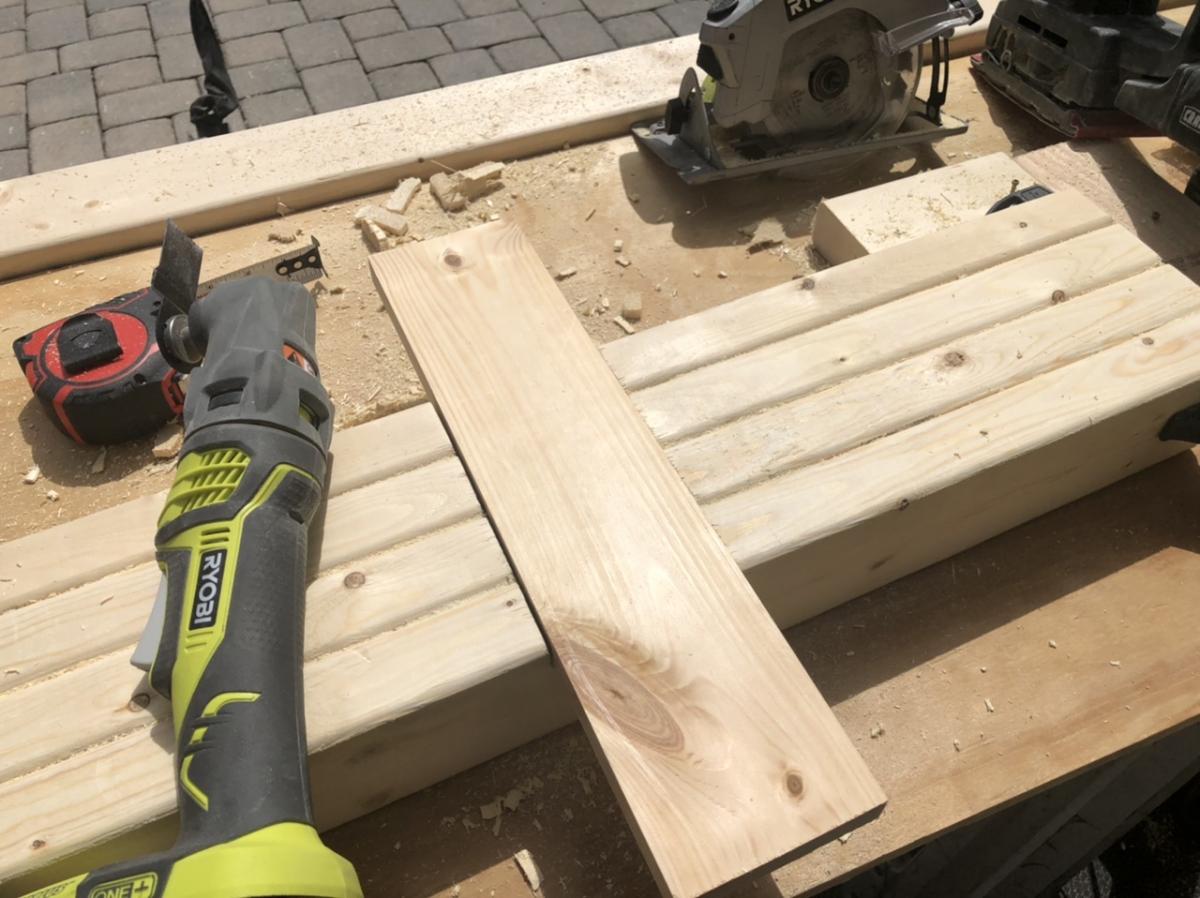
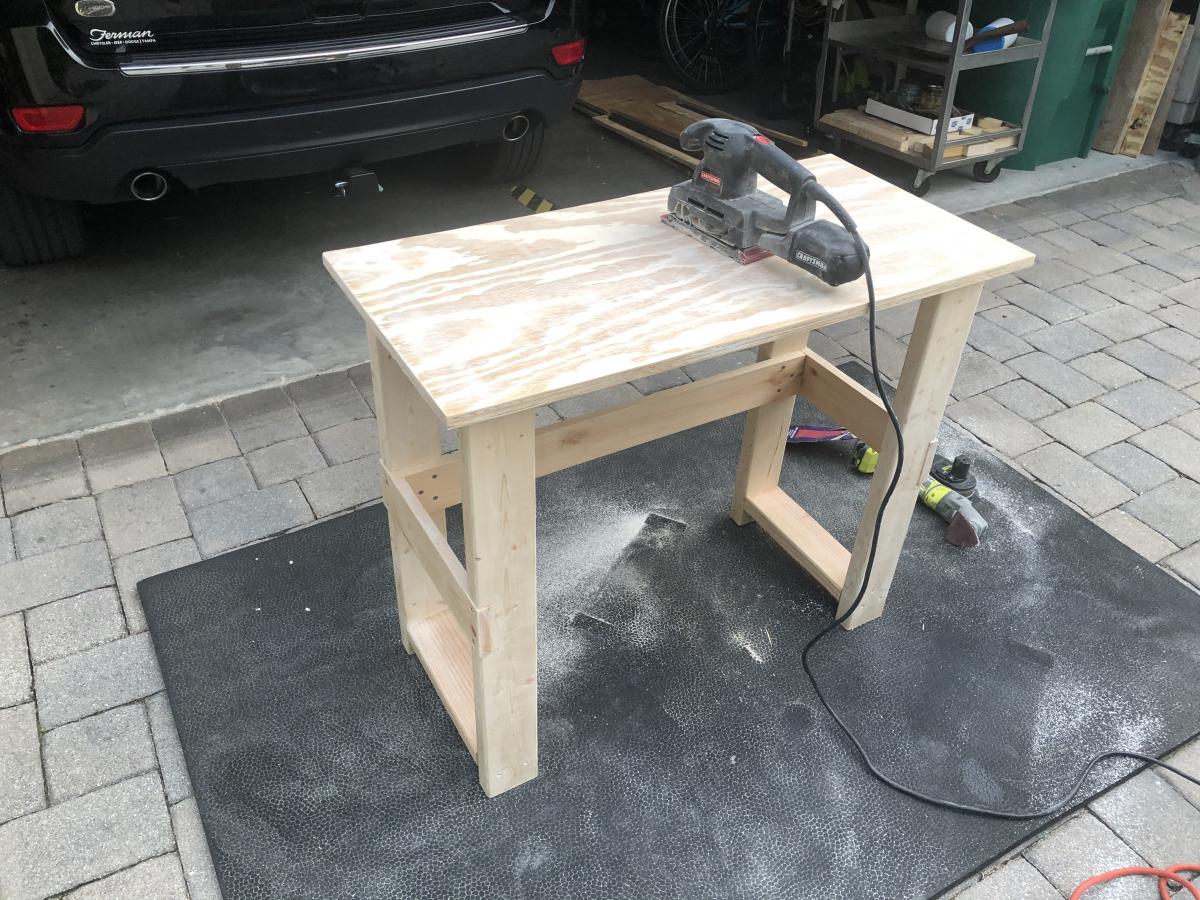
With all my recent prowess in woodworking my 9-yo daughter asked me to build a desk for her room. She drew something up, something simple with a shelf for her “phone and tablet”.
I complied and built a 18”x36”x30”desk, just the right size to fit at the end of her bed. I formed the legs using 2x4s and used my circular saw and my multi-tool to create an embedded 3/4x4 “design feature” to hold the shelf up. The top is 3/4” plywood that I had sitting around with wood filler and a lot of sanding (60 grit and 220 grit). Would have preferred a hardwood top but was shooting for $30 total materials cost. My wife and daughter have chosen a color and they will paint the desk tomorrow.
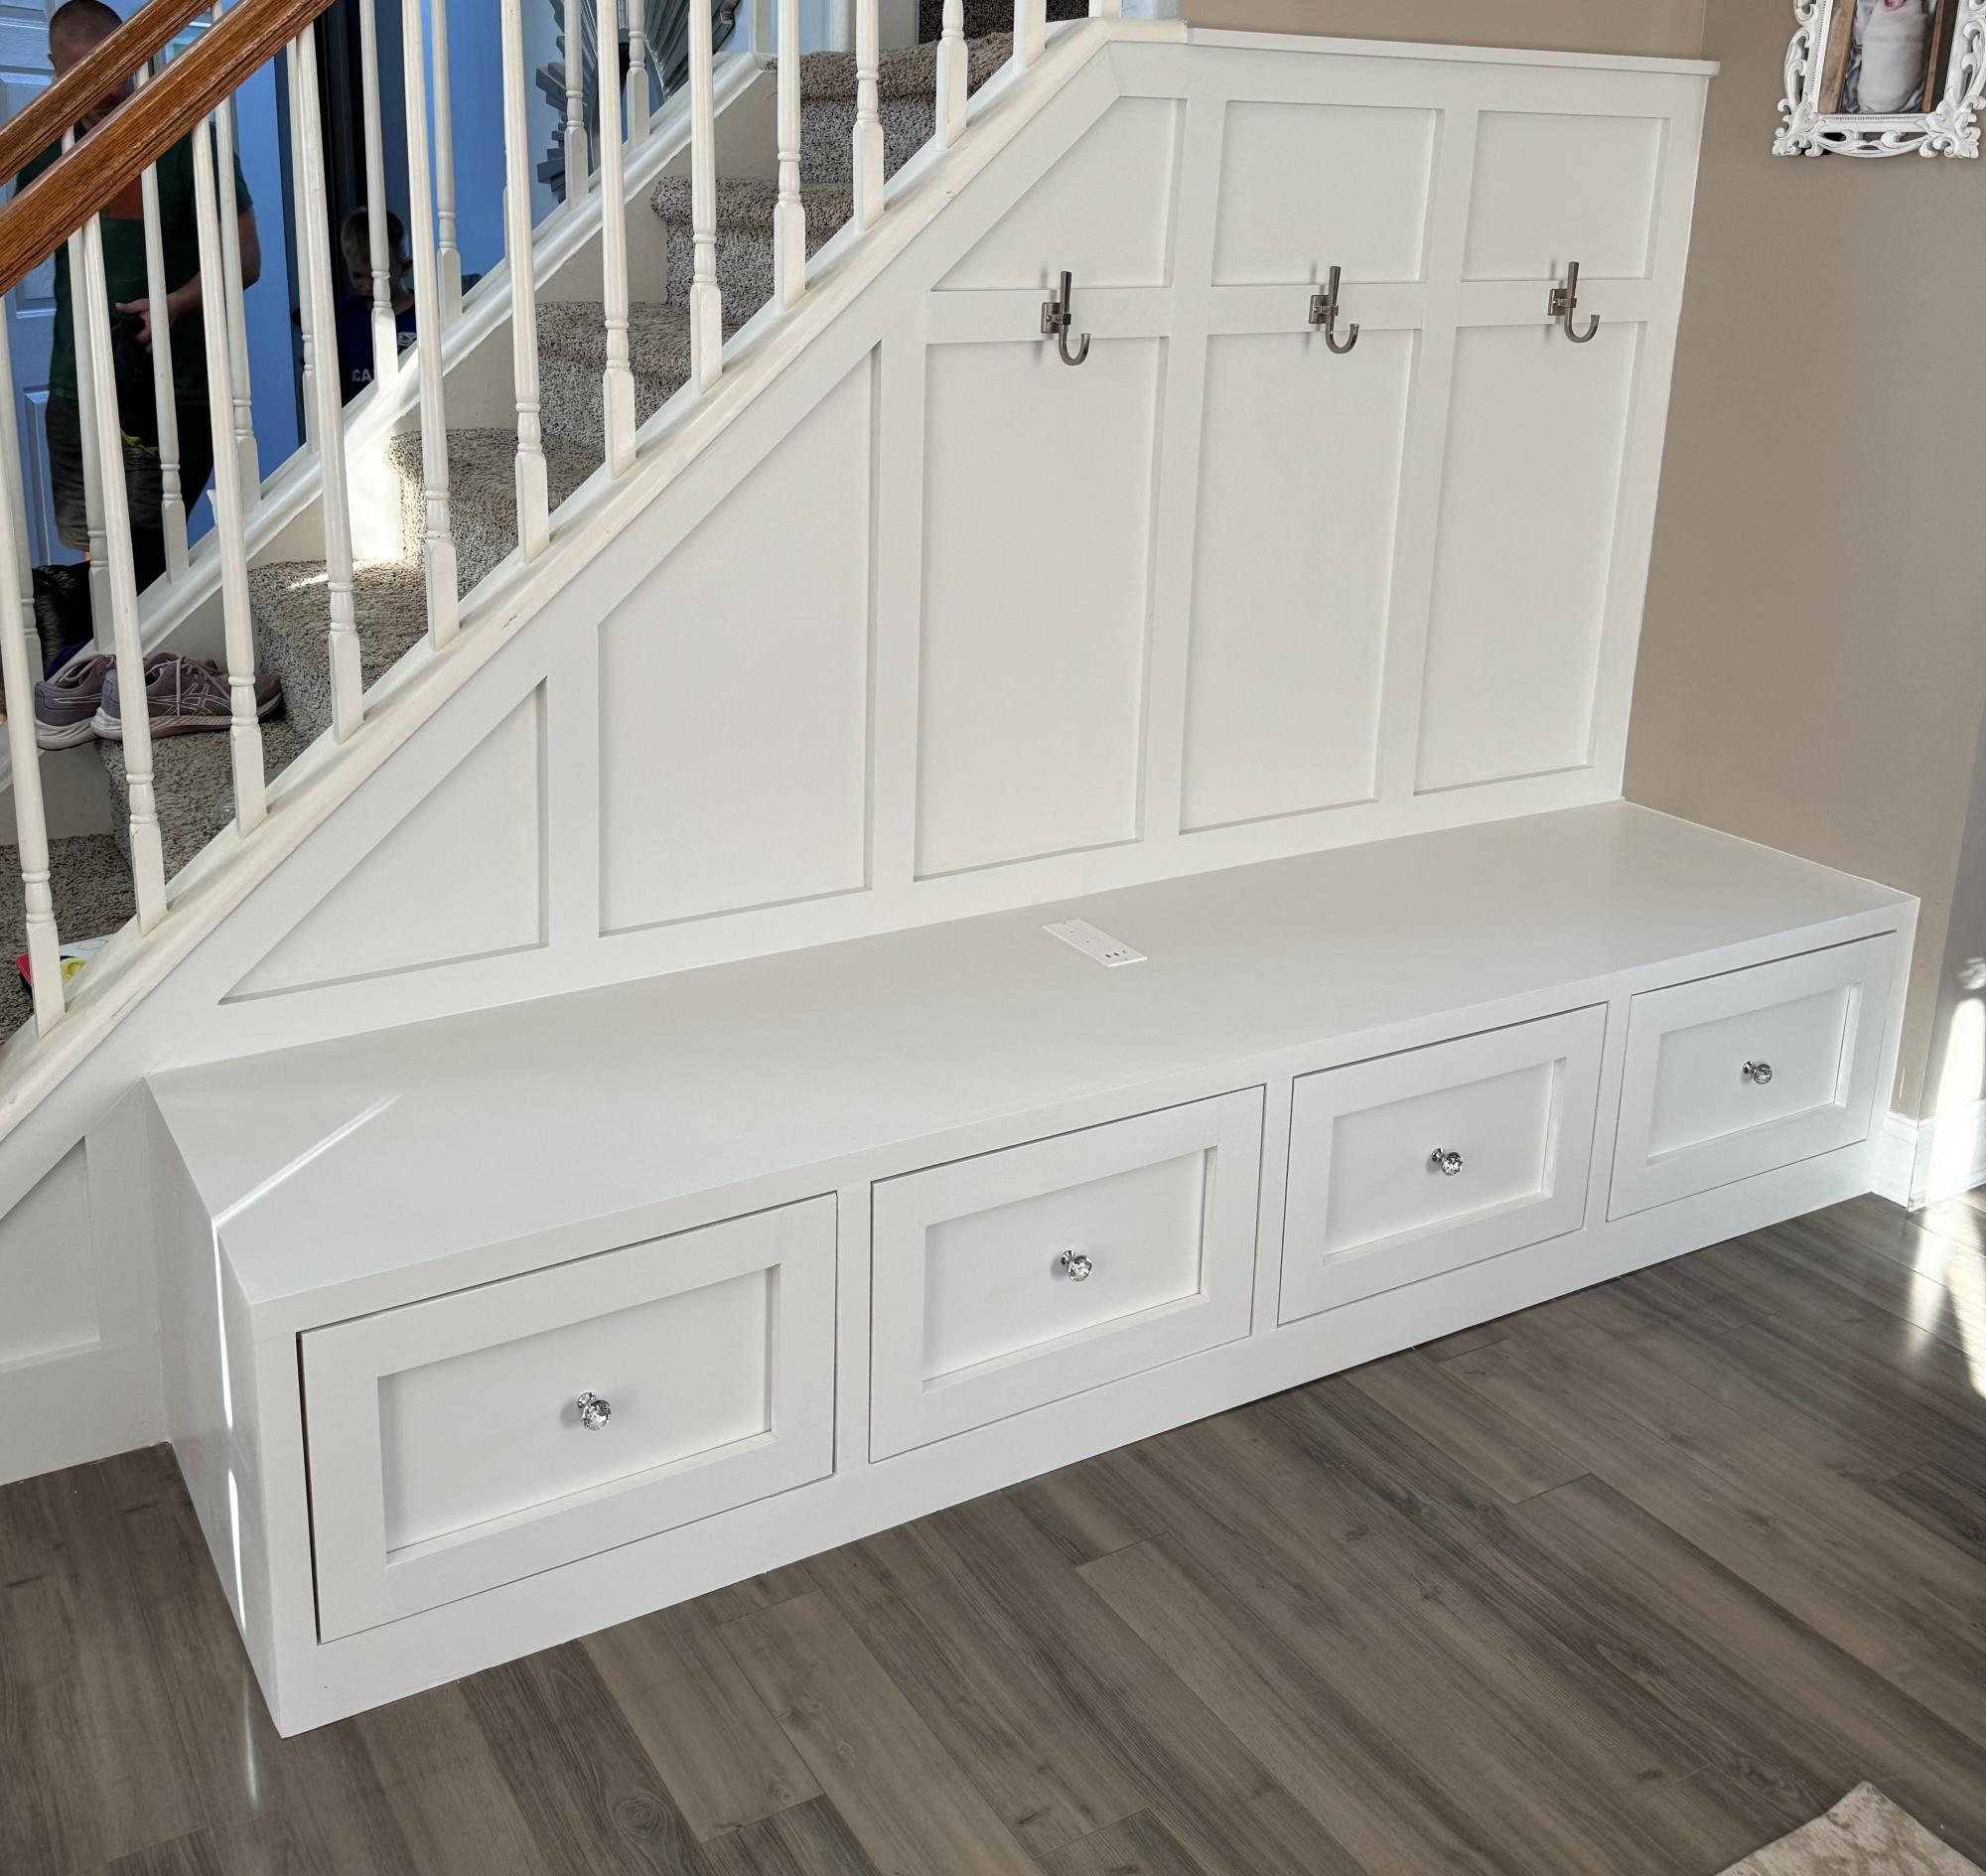
I had an empty space next to my stair case and desparately needed a place for my kids to hand their back packs and put their shoes that wasn't all over the place! I adjusted Ana's plans for 4 drawers since there are 4 of us and added board and batten. I also was placing the bench over an outlet which I didn't want to lose so I got an extension piece and cut a space out for it on top with a jig saw. Love the way it came out!
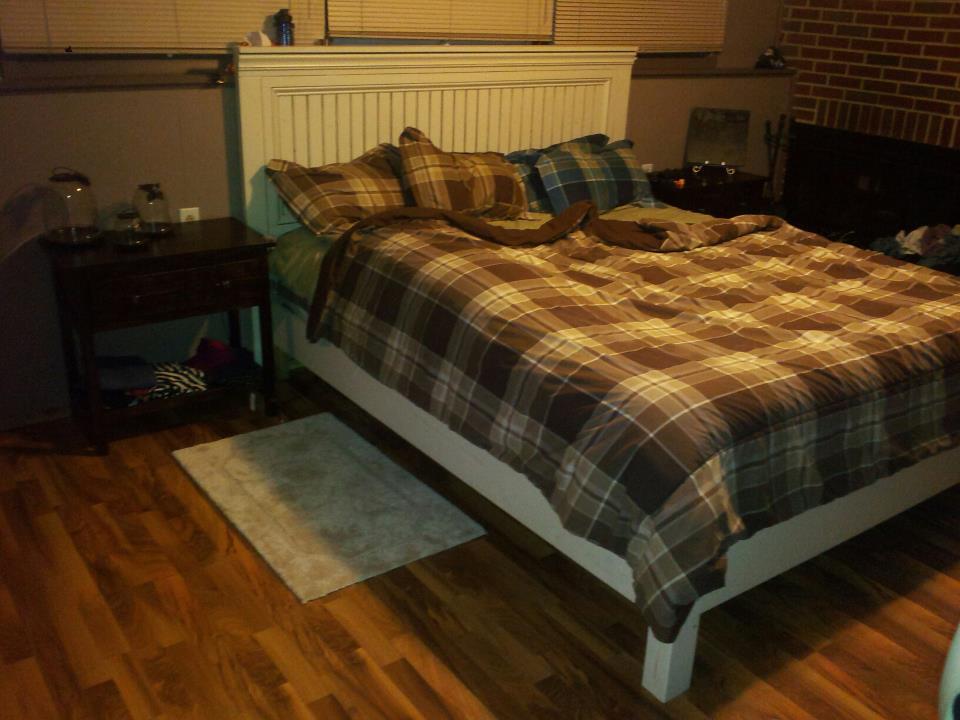
Mom's Fancy Farmhouse in California King, Glazed.
I used the headboard measurements from the original plan, and the width/length measurements from the California King plan. My first plan was to distress (above picture) and I loved it, but when I brought it downstairs it didnt really match... So I repainted and Glazed :) Not to bad for buying my first "power tool" less than a month ago!!
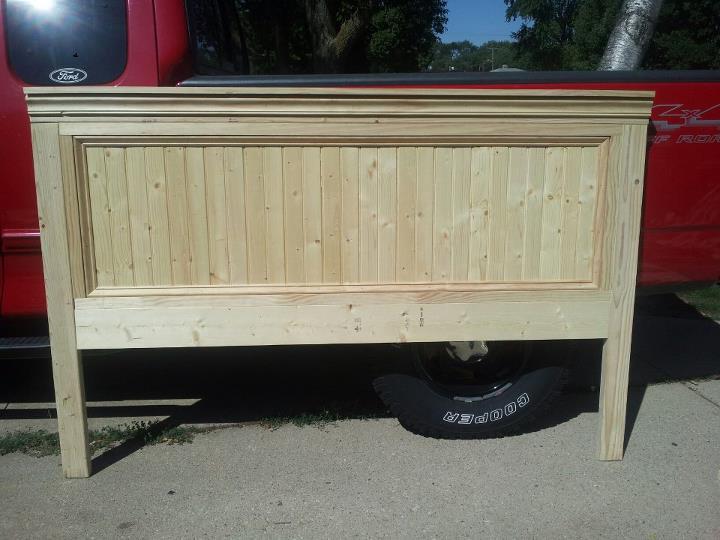
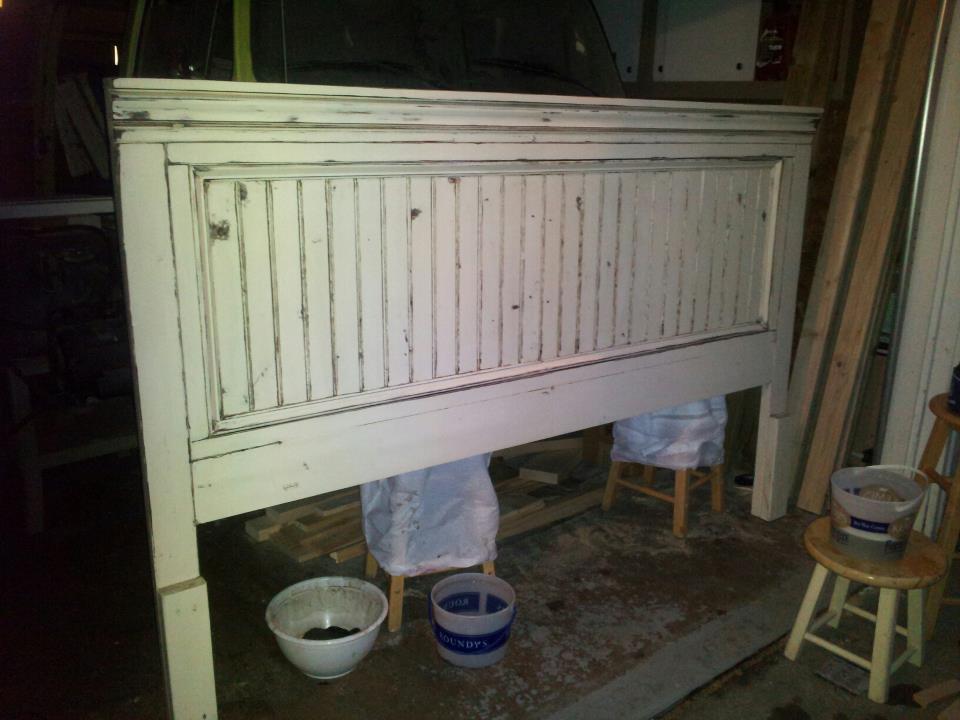
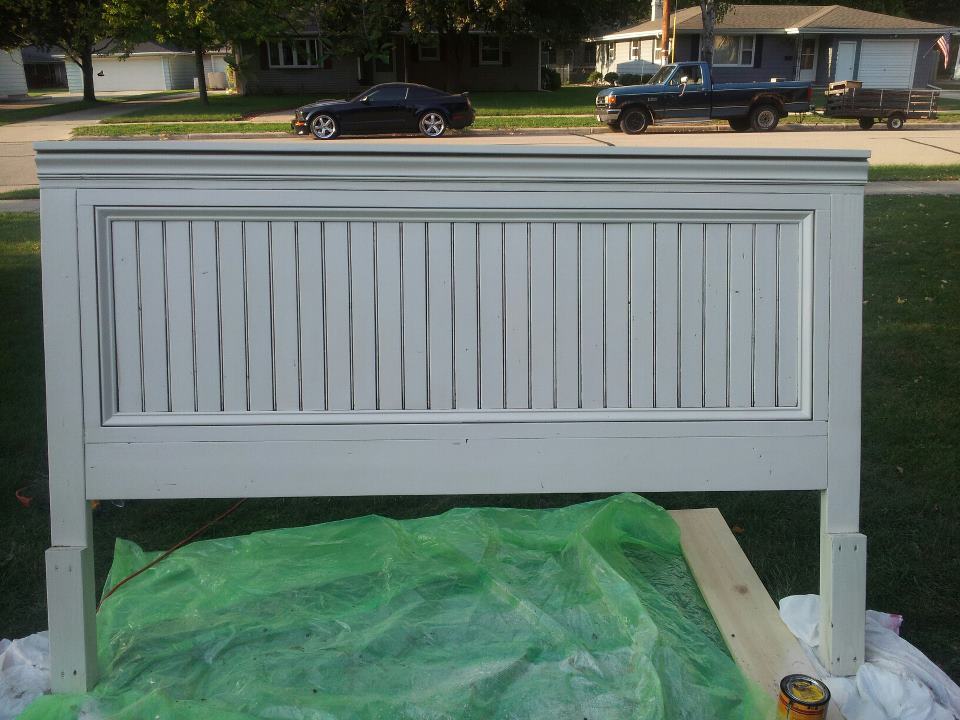
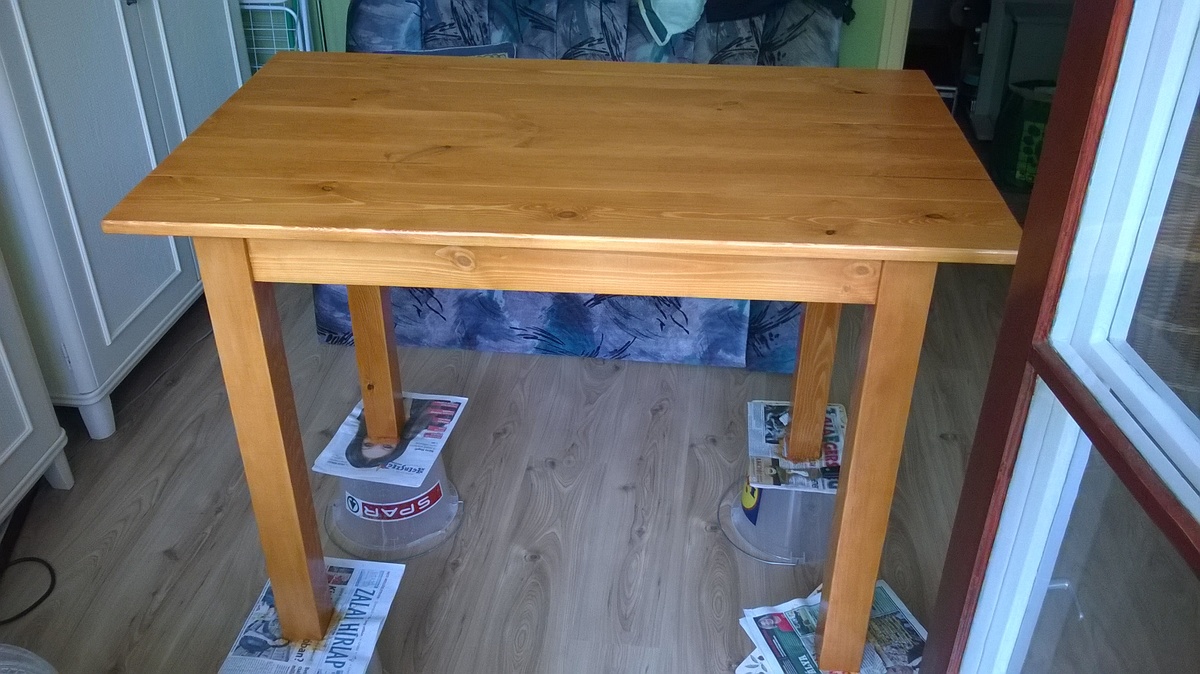
I'm homemade woodworker. This is my first job!
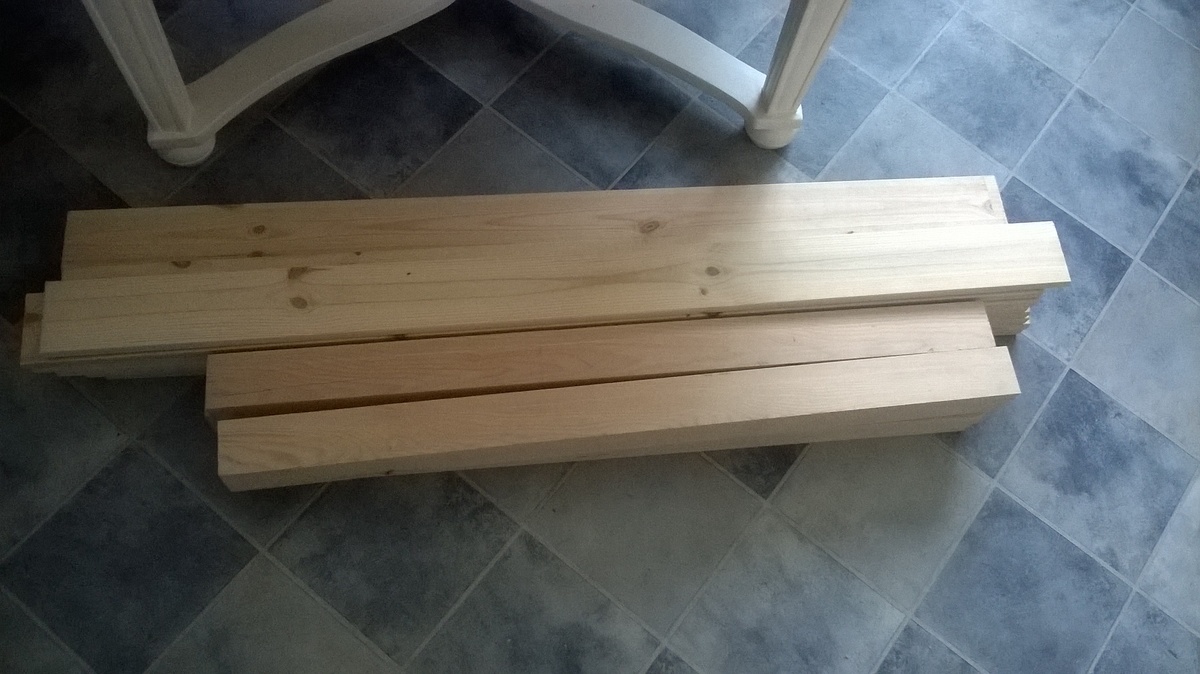
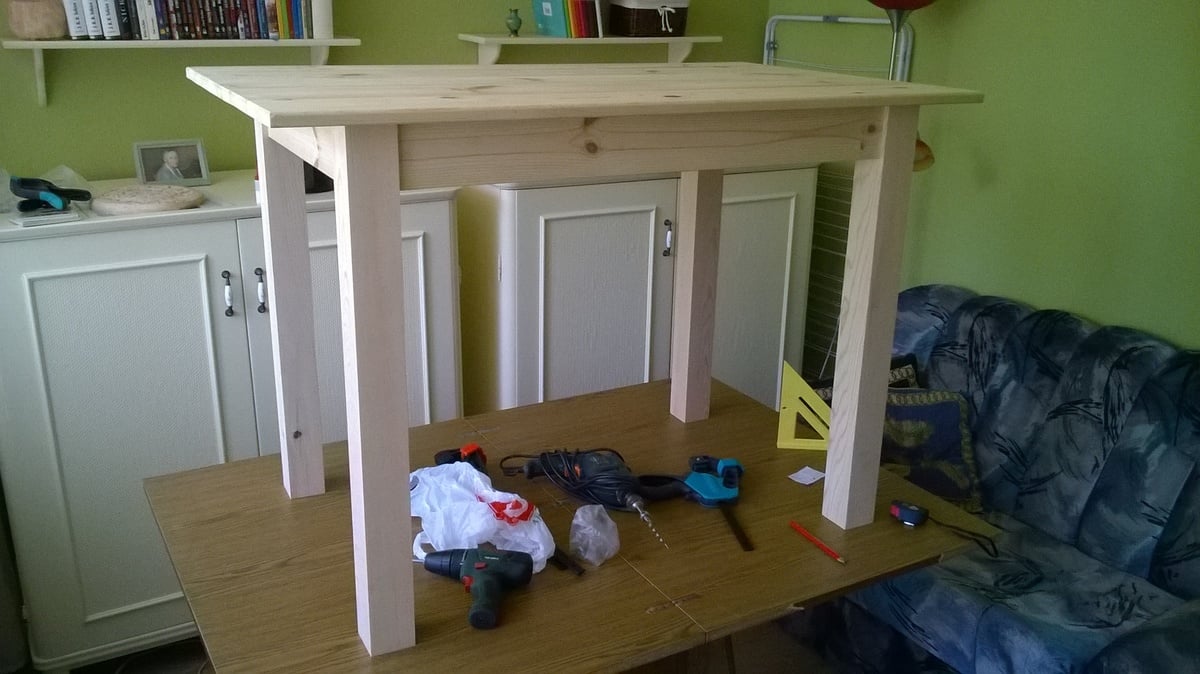
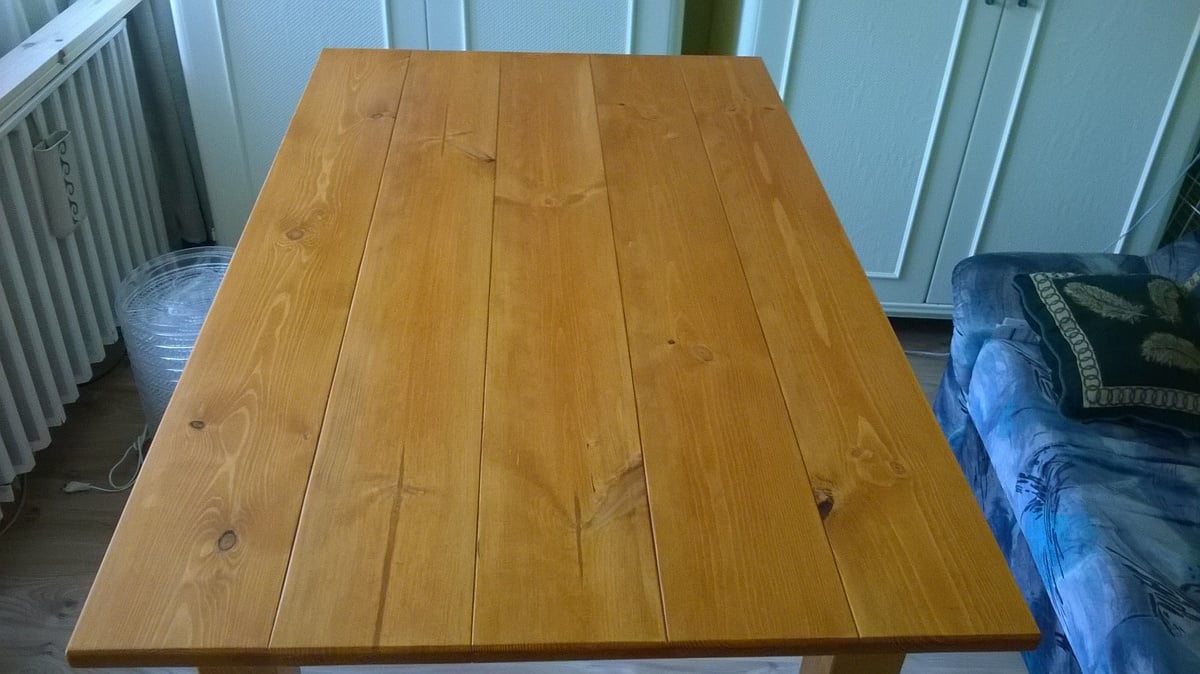
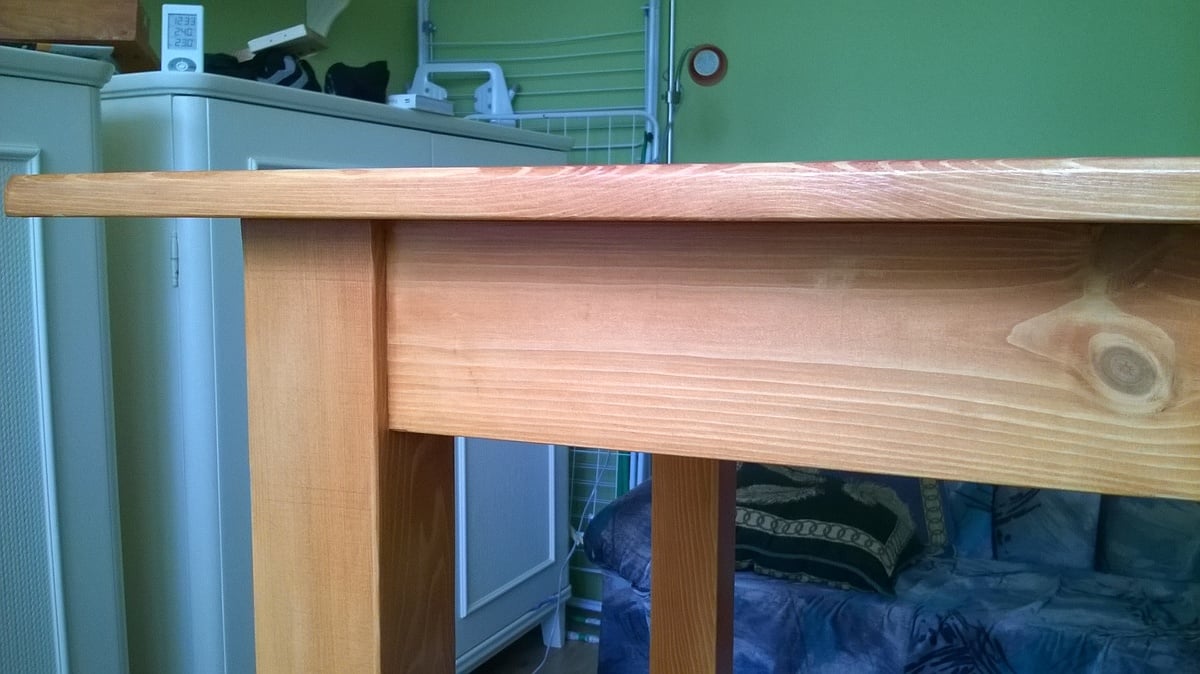
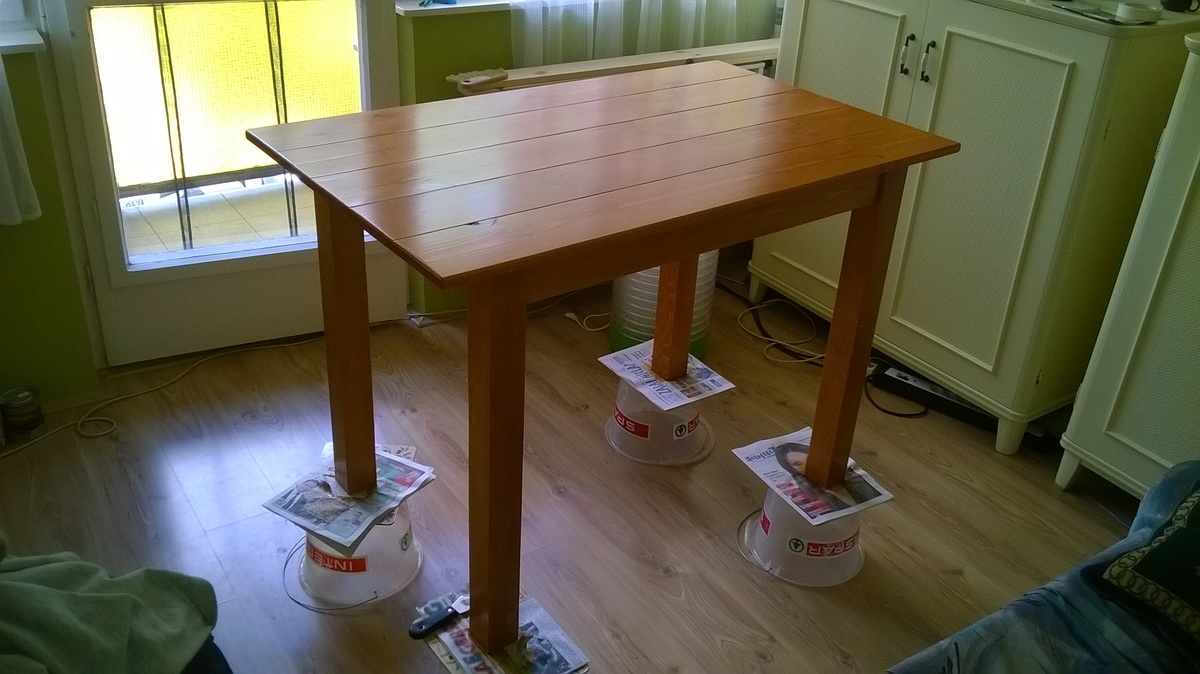
Thu, 06/19/2014 - 21:49
Very nice looking! I really like the blonde stain.
I built this for fun and my sister ended up wanting it. Therefore I never stained it as she has her own style. Hopefully I can update it when she stains it.

This was a fun family project! Thank you!!
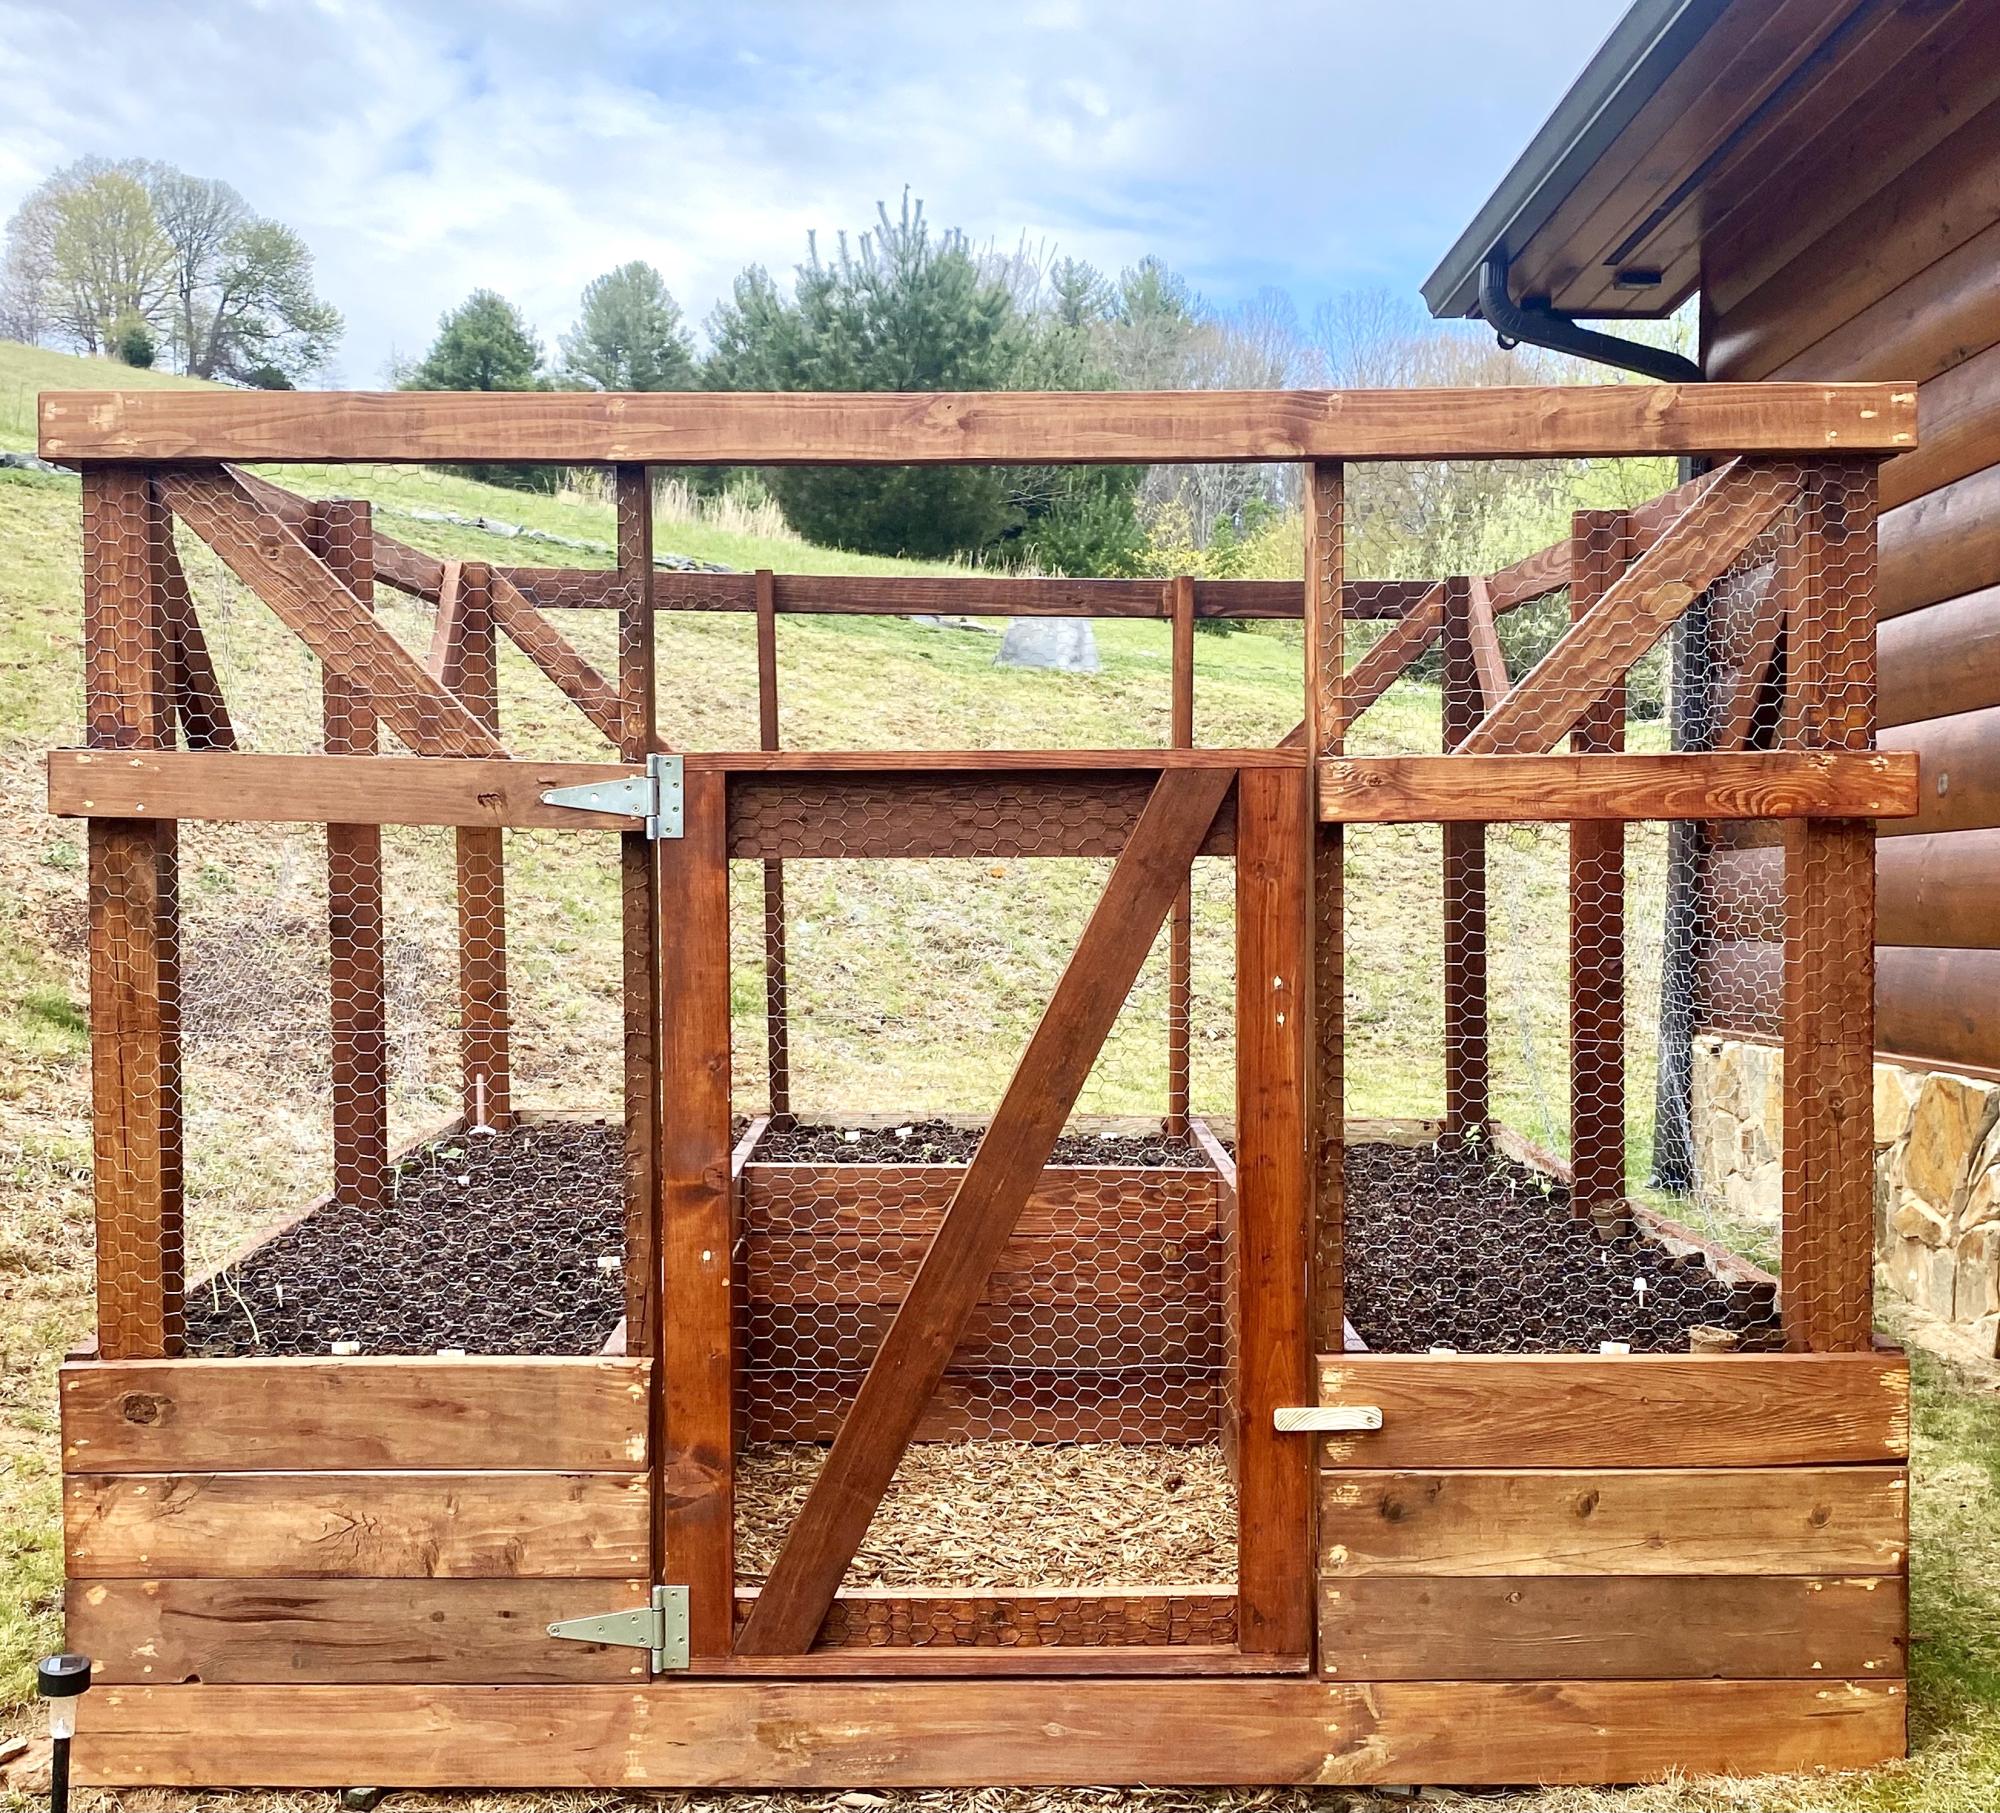
I finished my first project. Although there are some cosmetic errors, I think overall it’s amazing. We had a lot of wood left behind by the builder of our log home. So, I was able to use a lot of that. I made some adjustments to the height of the boxes to help the back!
Michelle M - Jefferson, NC