Community Brag Posts
Garden Bench
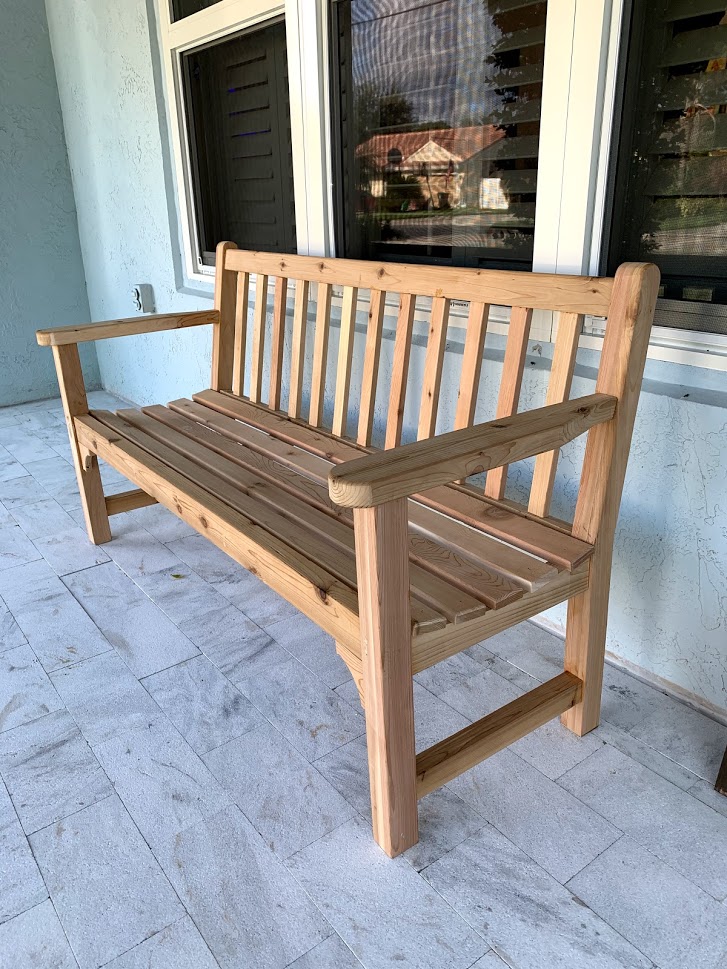
This project was made using cedar. Most of the joints are dowels or mortise and tenon. It was my first time using this complex joinery and gave me a great sense of accomplishment. It was also complex recreating the plans in Sketchup
Comments
Mudroom Update with Lockers and Drawers
Rustic X Coffee Table
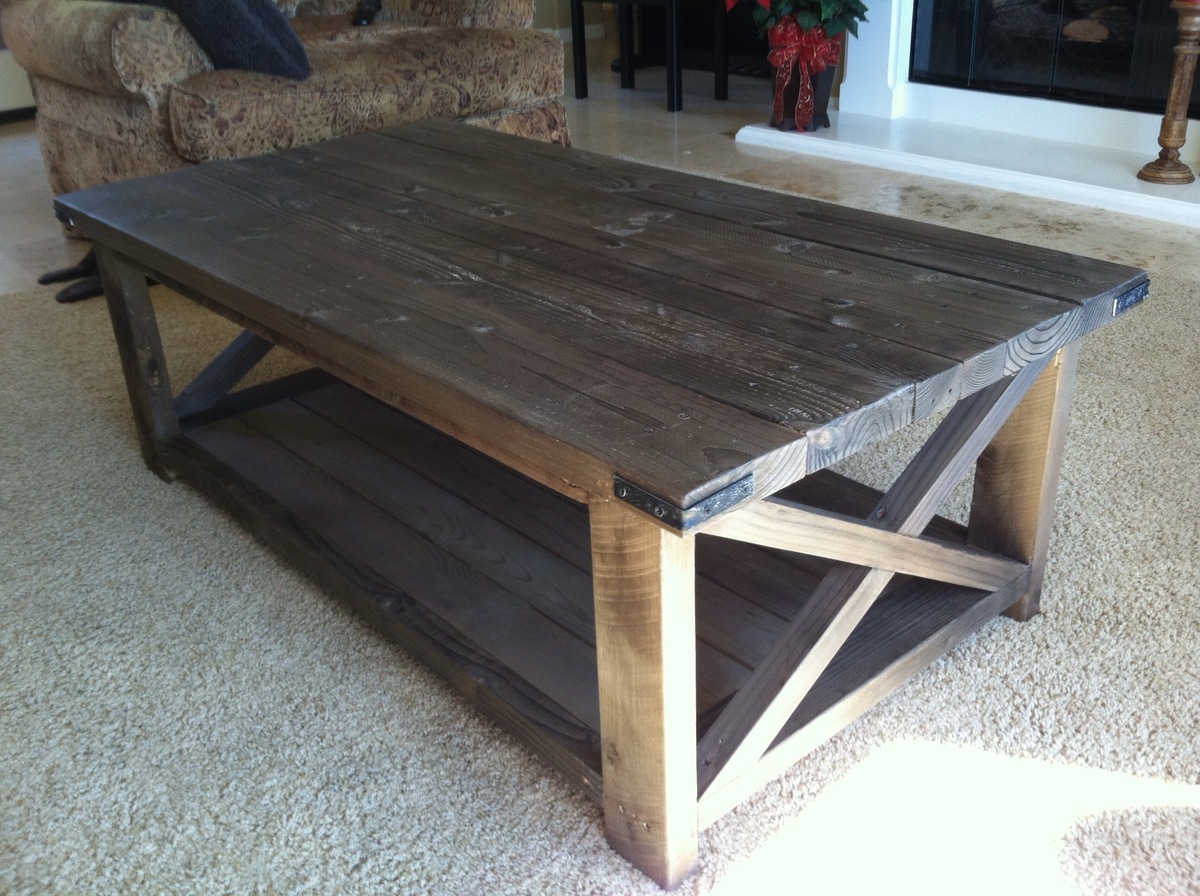
To build my Rustic X coffee table I went about it as cheap as I could. I found all of my wood either through crap piles at lumber yards or from free wood piles on craigslist. The interesting part was trying to find the pieces for the top which I had to improvise with the two 2x3 pieces in the middle of the four 2x6's also instead of using the two 1x42x12 pieces for the bottom shelf I could not find what was asked for so I used a few 1x4's which worked out great. The only other change I made to the plans was to change how the X's attached to the main frame. The original plans wanted the X's to butt up against the sides while I cut them to be flush with the top and bottom of the frame.
The only things that I purchased were the bracers, steel wool and vinegar and tea for the stain, and the screws. The only tools I own are a measuring tape and a pencil, luckily I have a friend with a full woodshop who helped me out. I followed the instructions on http://thefriendlyhome.blogspot.com/2012/07/how-to-oxidize-wood.html to make the stain. I left a wad of steel wool in white vinegar (about 2/3 of a pasta sauce jar full) for about 5 weeks. After all the cuts had been made and the table put together I sanded it by hand and then stained it. After the stain had dried I waxed the surface with Minwax paste finishing wax. I would love to enjoy my table but for lack of room in my 160 foot dorm room I've had to leave it in a friends apartment for now.
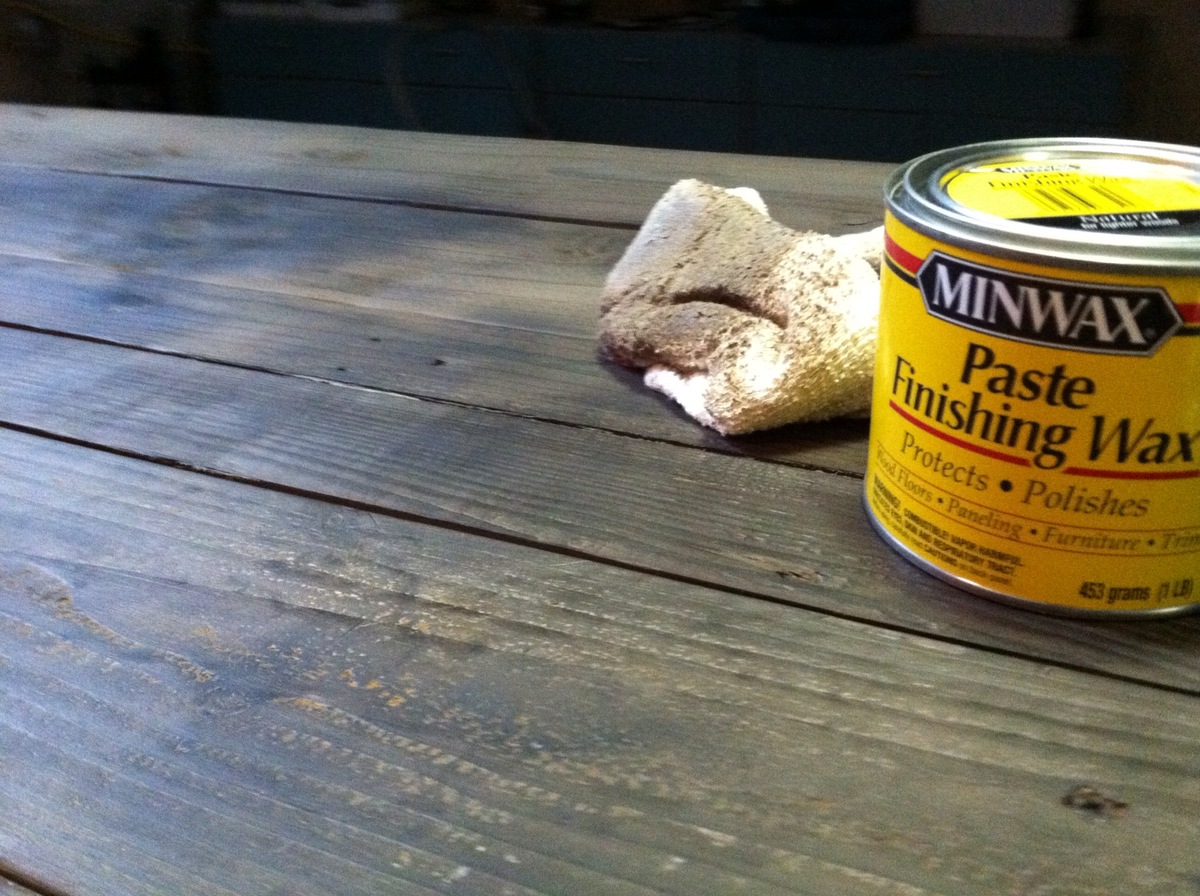
I followed this website almost exactly. I left my steel wool in for about 5 weeks. I used an earl grey tea and put on 2 coats for the whole table except for the lighter pine which made up the bottom shelf in which I put on 3 coats, I now wish that I had put on four or five to get the colors closer, these ended up lighter than the rest of the table. I did not sand the table after I applied the tea. After the tea dried I then applied the oxidizing agent to the entire piece. I put on a second coat of oxidizing agent to the bottom shelf which did not seem to make a huge difference. After this had dried I took a old rag and the minwax finishing paste and went to town on the top. I put on two coats for the top and just a single coat everywhere else (CAREFUL THIS STUFF IS POWERFUL APPLY IT IN A WELL VENTILATED AREA) oh and you might want to work out for a good month if you are planning on buffing by hand, I was sore! When I was done with this I let it dry and brought it inside to show it off. To my dismay I woke up the next morning to discover that my little brother and his friends had spilled something on the table that ruined the stain, this was extremely disappointing, but I took it back out and resanded the stained part and reapplied the tea, oxidizing agent and wax. The redone spot ended up close to the rest of the table but no one else could tell because it is supposed to look rustic. My other frustration was that my friends burnt a candle in a glass jar on the table which kind of burnt a half ring on the table top, but again it just adds to the rustic look I guess.
Comments
Mon, 12/10/2012 - 10:51
That table looks great! I
That table looks great! I agree, any imperfections in the table just add to the rustic look. And it doesn't get any better than free. :)
Mon, 12/10/2012 - 15:47
Stain saving solution
Your coffee table looks awesome, and it's so great that you were able to get free/cheap lumber. I wanted to share a little info that I learned about the vinegar stain. I used it on a picture frame and wanted a little more weathered look. I had read that lemon juice will reverse the oxidation, and sure enough, it did just that. I ended up with a beautiful frame with streaks of natural wood through it, where I brushed on some lemon juice. Perhaps your brother and friend spilled lemonade or other citrus drink that reversed the oxidation.
Industrial Shelf
I took the plans for the indutrial cart and modified them just a little. I needed a shelf, not a cart, so I left the casters off and I made mine 4 feet tall and 5 feet wide. I just had the guys at Lowes cut some 2x12x10's in half for me and the metal angles were already 4 feet long, so I didn't even have to cut them!
Comments
Thu, 11/06/2014 - 11:41
sturdiness of shelves
You did a fantastic job and I love the stain color you used! Just wondering if you have had any issue with the shelves bowing or sagging in the middle? I am looking to build two of these to hold books in my living room. Nothing too heavy... just curious to see how they are holding up.
Wed, 12/23/2015 - 10:20
Just barely saw this comment!
Just barely saw this comment! It's been over a year and the shelf is holding up great!
Great Backyard Adirondack Chairs
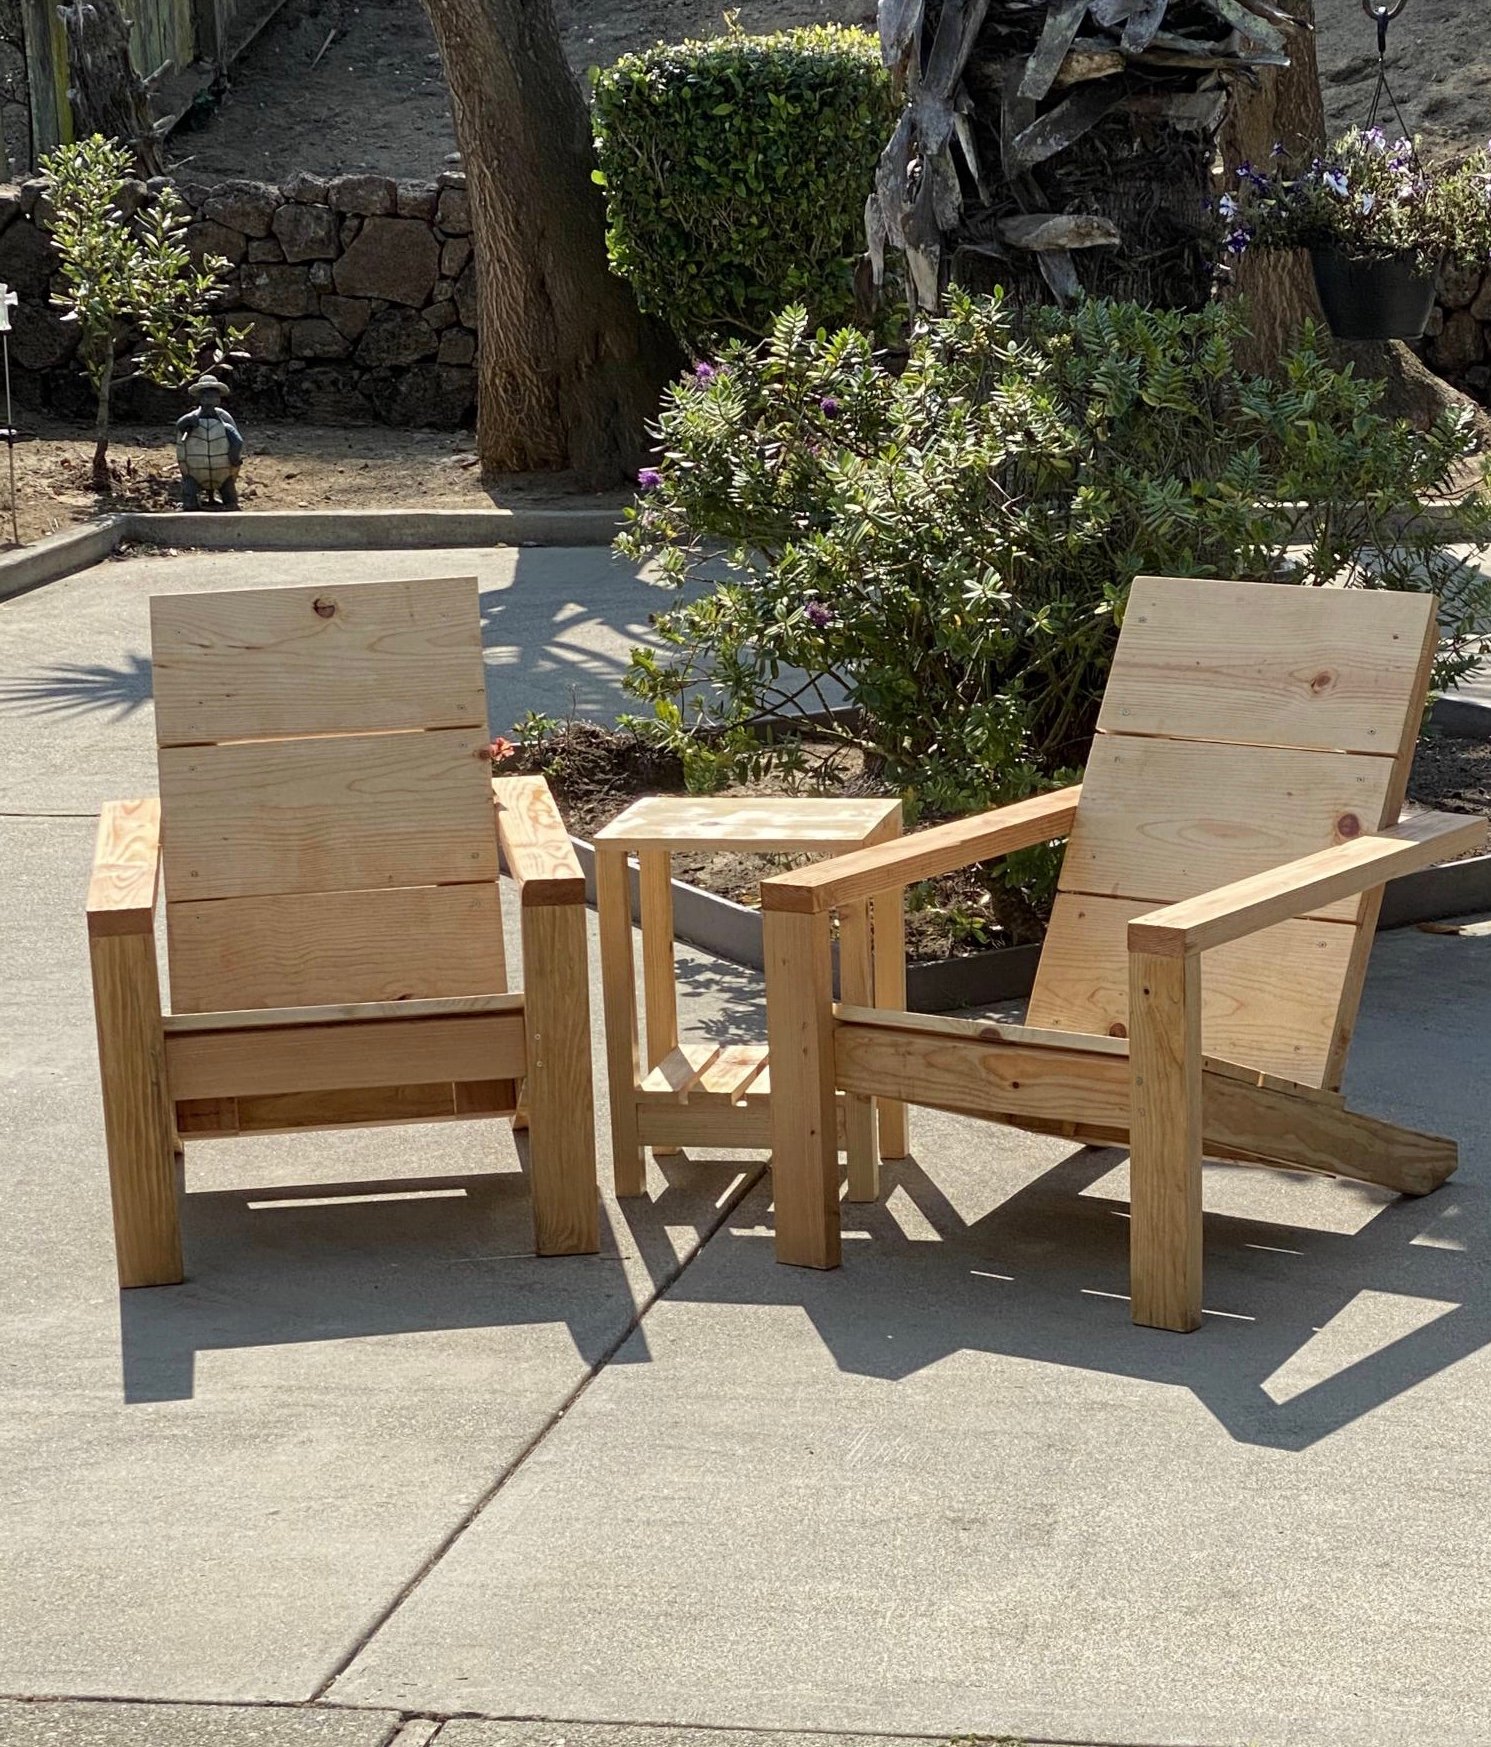
Easy to build! Finally finished them with spar varnish. Made the side table out of scrap wood. Love the chairs!
Rustic X end table
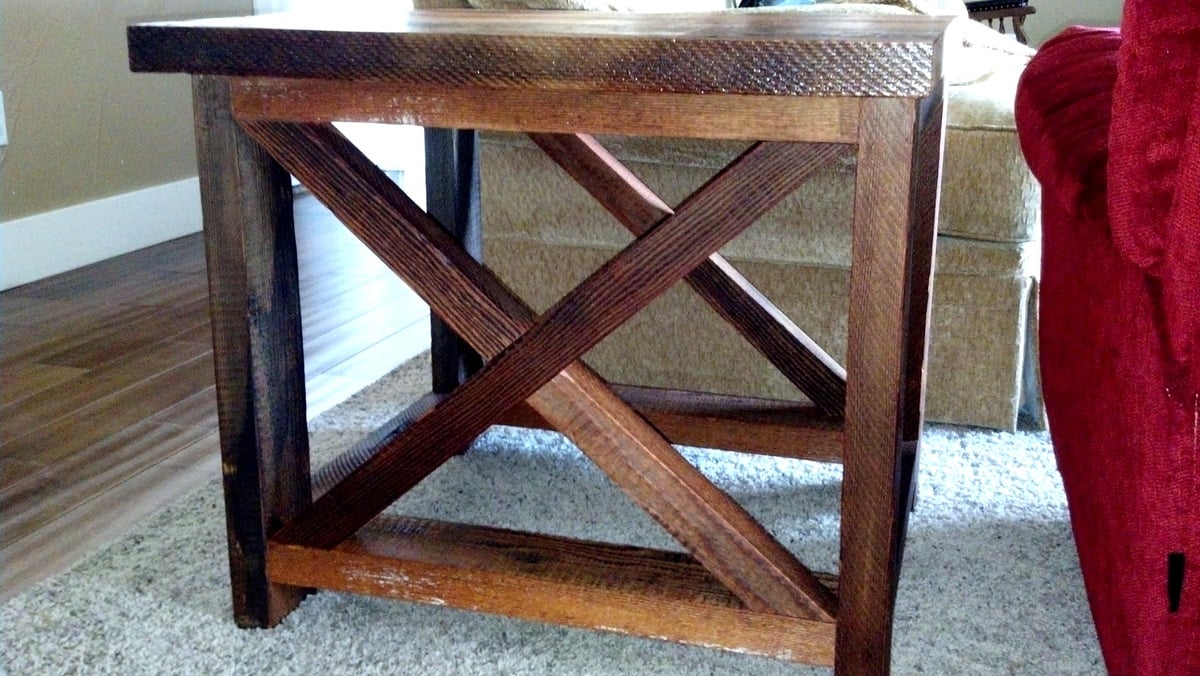
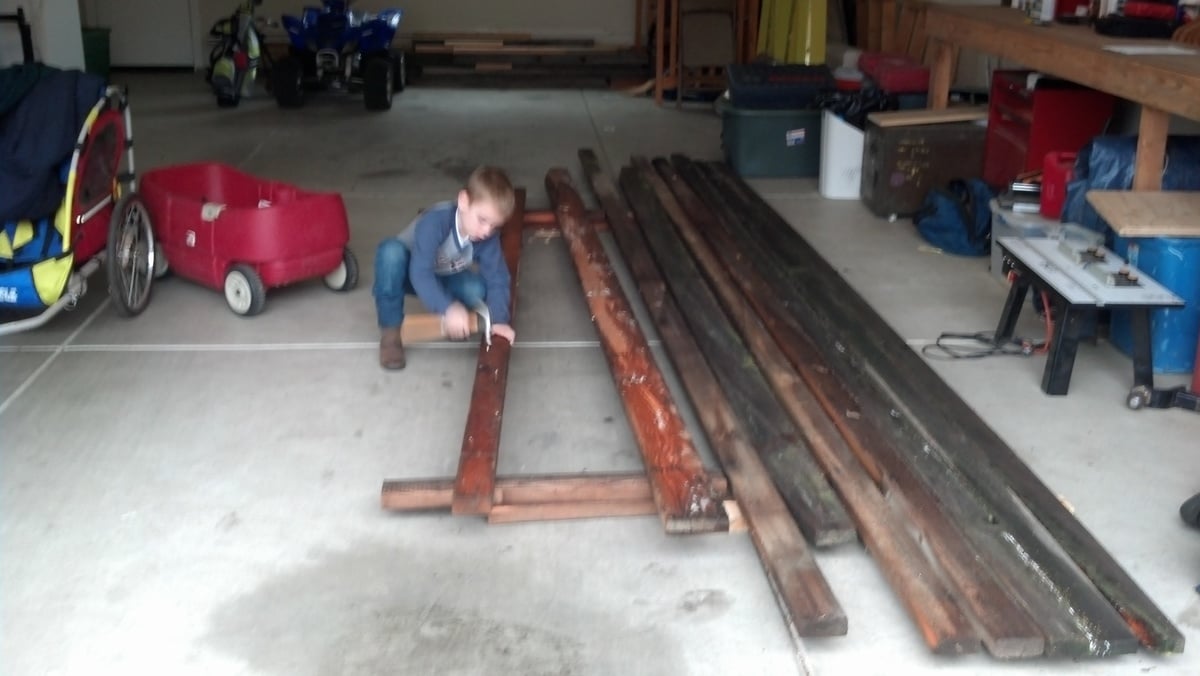
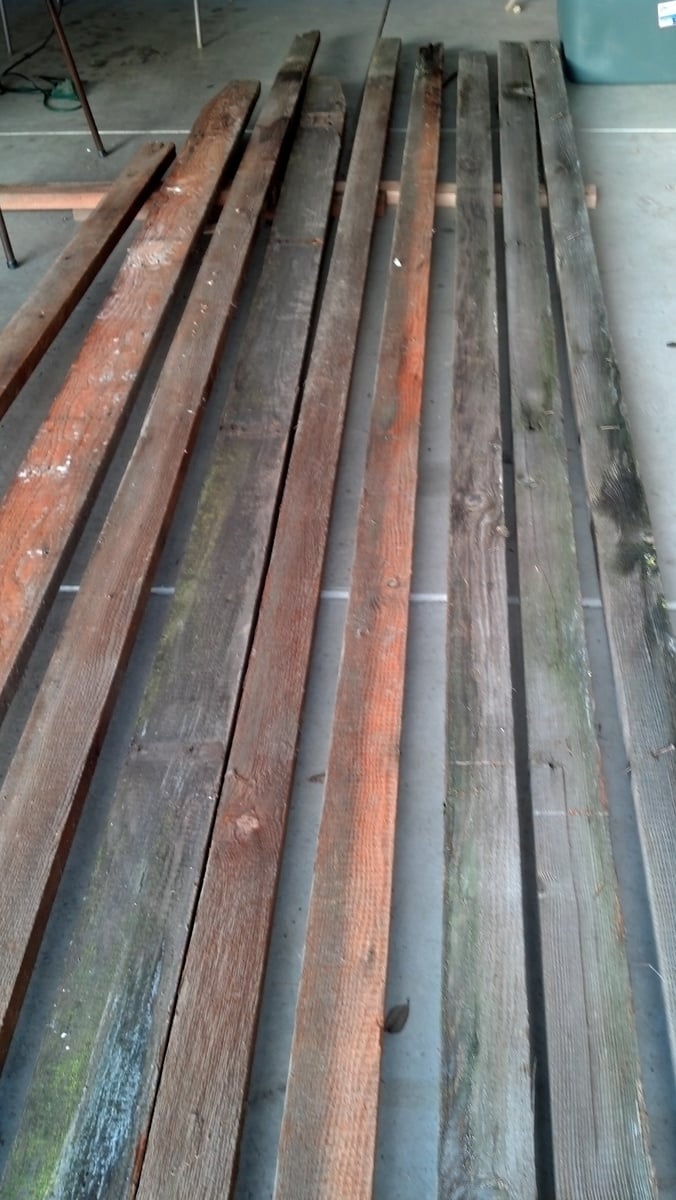
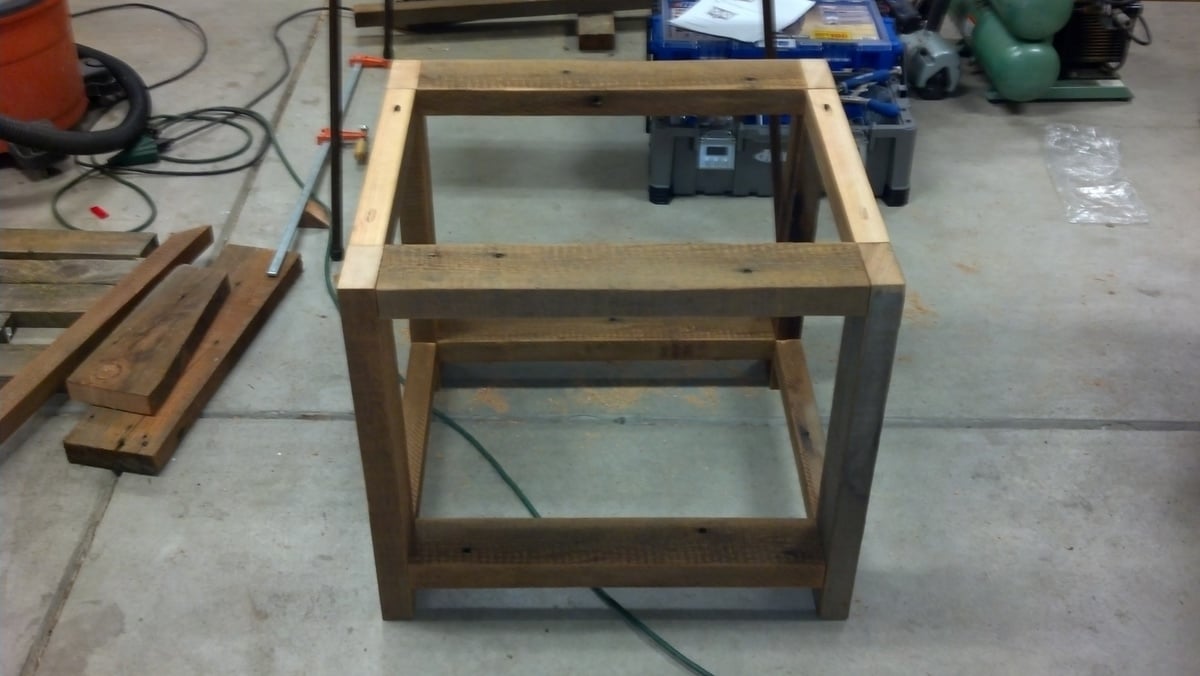
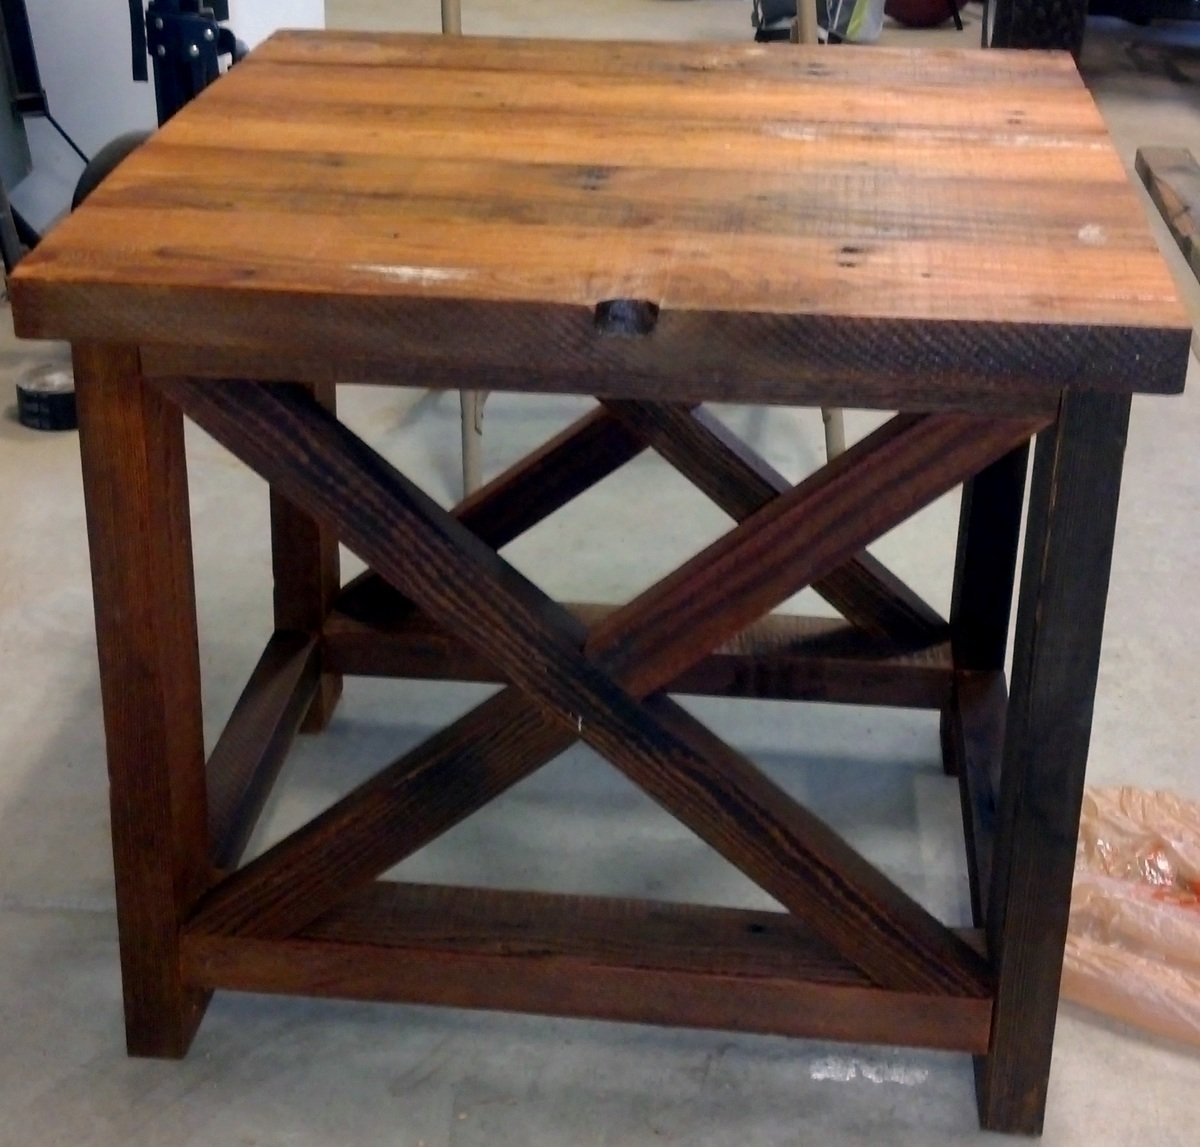
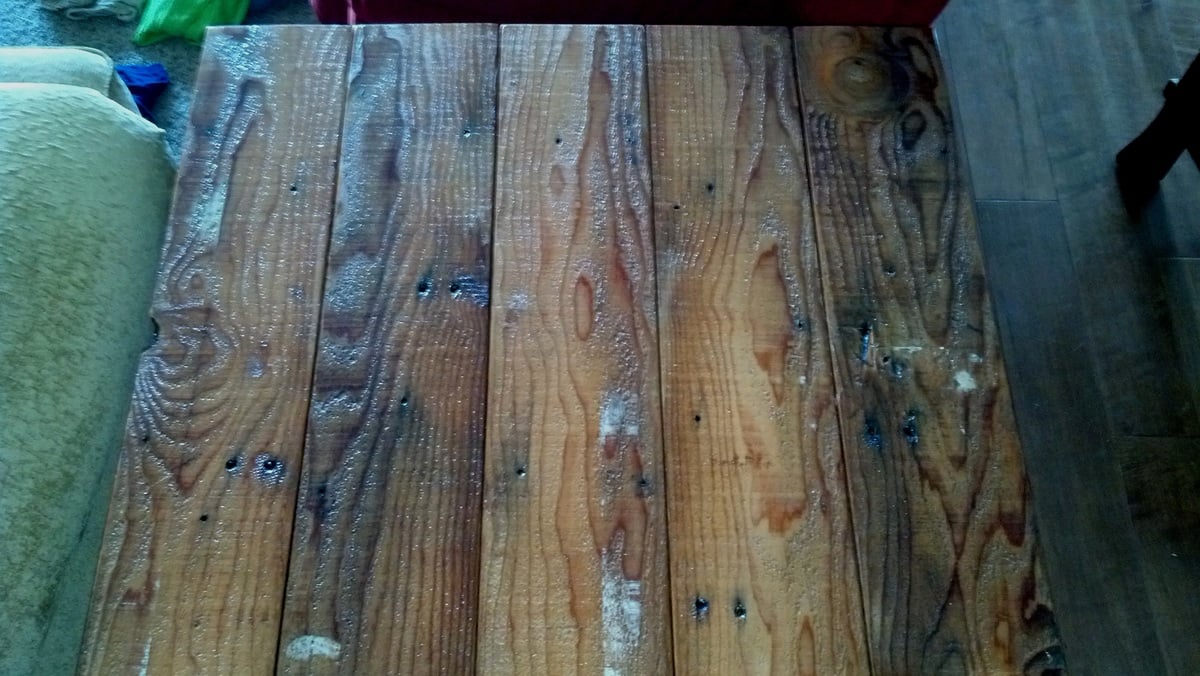
Thank you for the idea for the rustic x end table. My wife is extremely happy with her new end table. Happy wife = happy life!!! I constructed the end table of 2x4 douglas fir rough sawn material I salvaged from a project where we removed a trellis from the house. My son helped me remove all of the nails and we let the wood dry out from the rain. I cut the 2x4 to the lengths described in the directions (I had to modify the x braces in length), sanded the wood and applied natural finish stain. We also added 3 coats of polyurethane to the table top to give it a nice finish and hopefully help with wear and tear over the years.
Comments
Girls Storage Bed

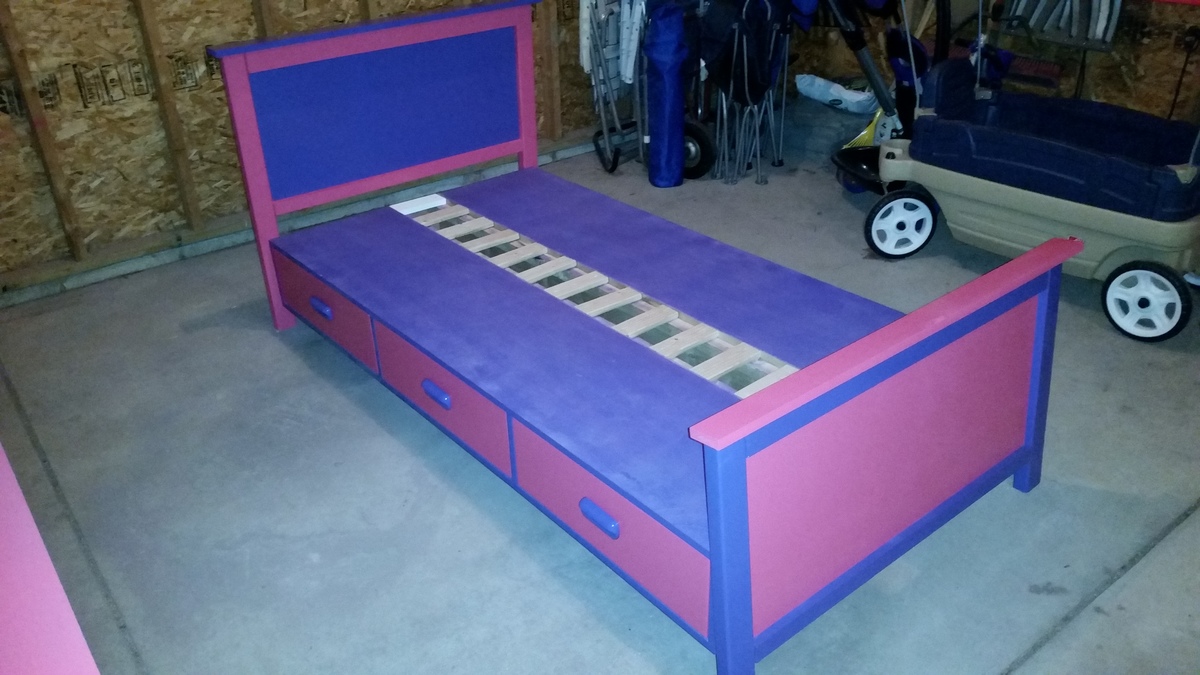
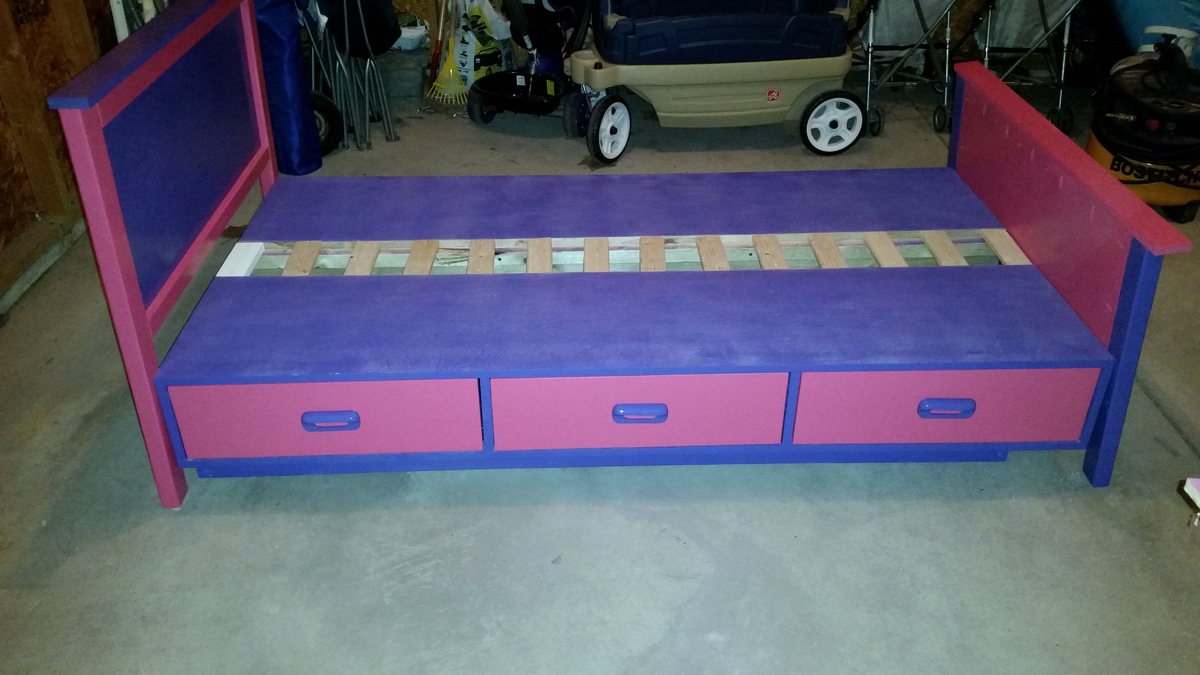
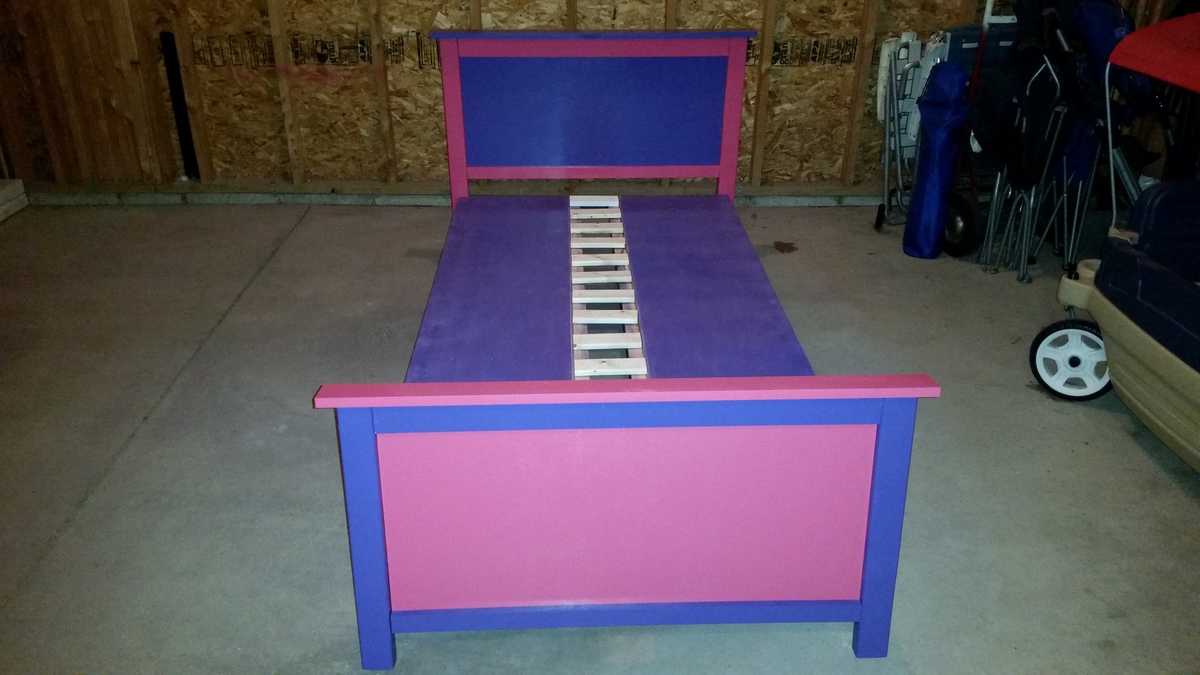
I modified the plans (took out the top set of drawers) to make it a little shorter so my daughter can climb on it easier.
Modified Chicken coop

We live in a termite infested area and as such were nervous about putting wood in contact with the ground. We modified these plans to sit on top of a welded bar frame that is moveable and stands a meter high. The measurements are custom to our welded frame but the shape was based on these plans as was the construction process followed. We dont have a worry about predators so have used a design that doen not have a closed floor - our girls can simply fly or walk up the ladder to the roost and are able to leave the coop when ready in the morning without us opening doors. We are also in a warm environment thus an enclosed coop is not needed.
So far they are happy and are happily laying in the two egg boxes (We left the remaining space closed internally so that we can use it for storage) and as there is no bottom to the coop they poop straight into the run and onto the sand floor.
They are not free ranging yet as we are nervous of our dogs chasing them but once we are happy to let them free range we will use the gate built into the welded run.
Thank you Ana and lady goats for this design - I spent hours (and hours) researching and reading and looking at coop designs before deciding that this cute number was the one we wanted.
From me and my happy hens, thanks again!
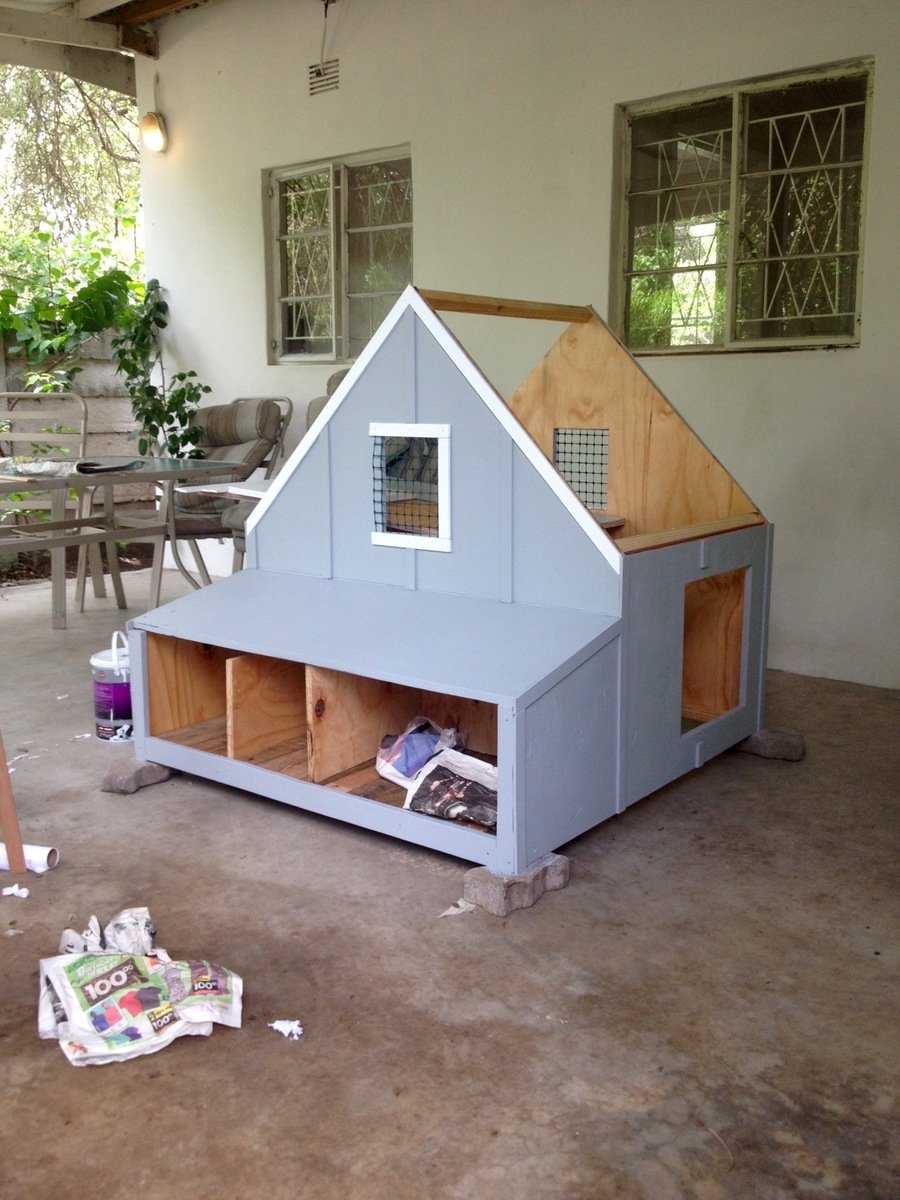
Inside was varnished
Shoe bench mod from spa bench
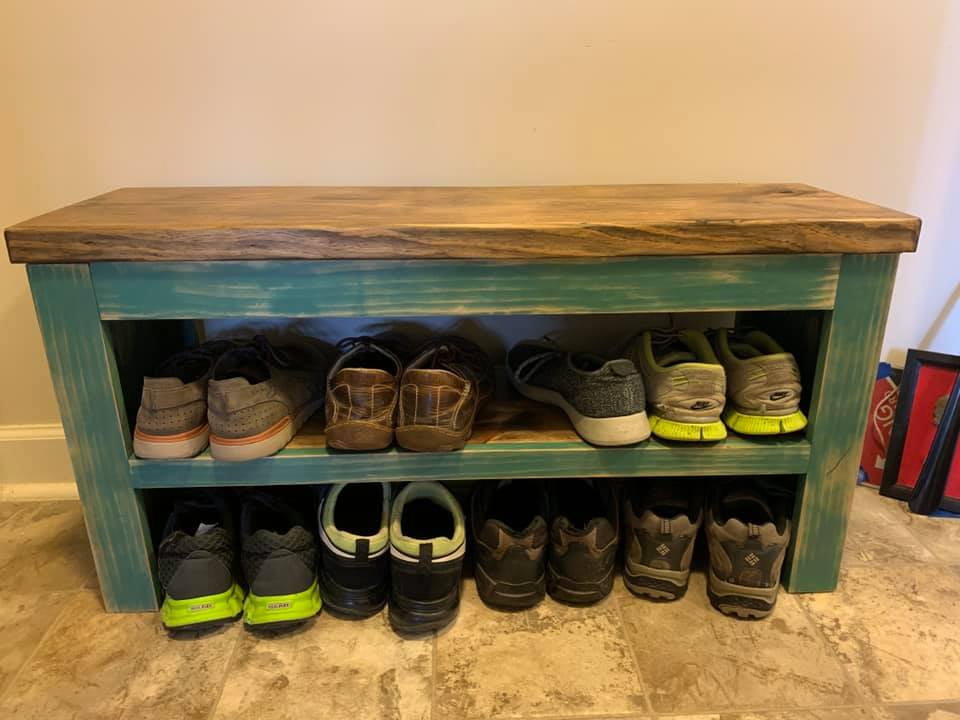
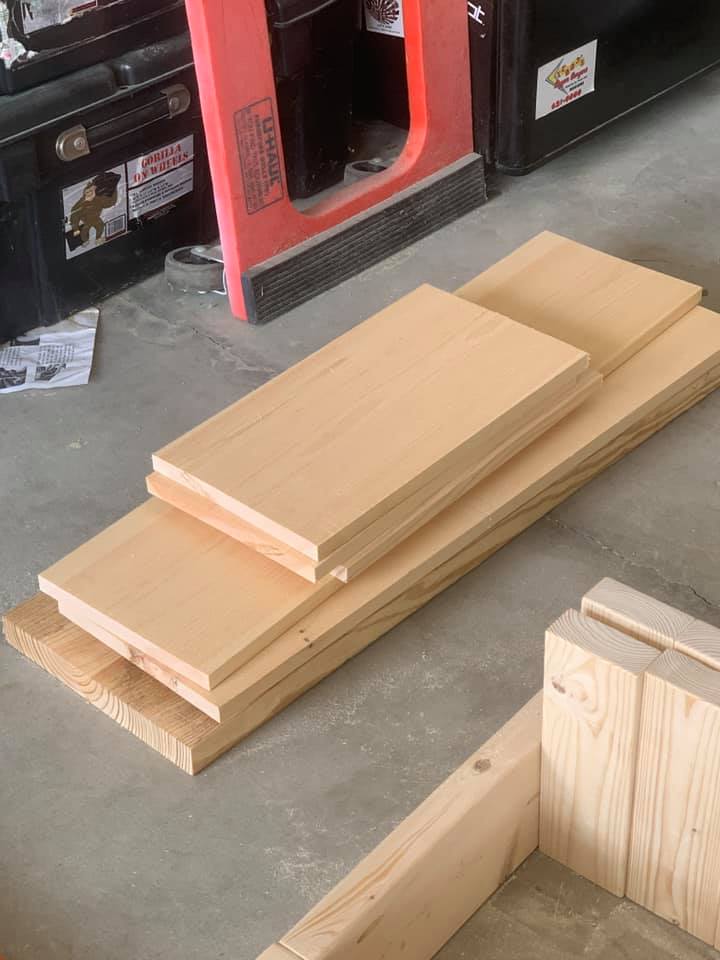
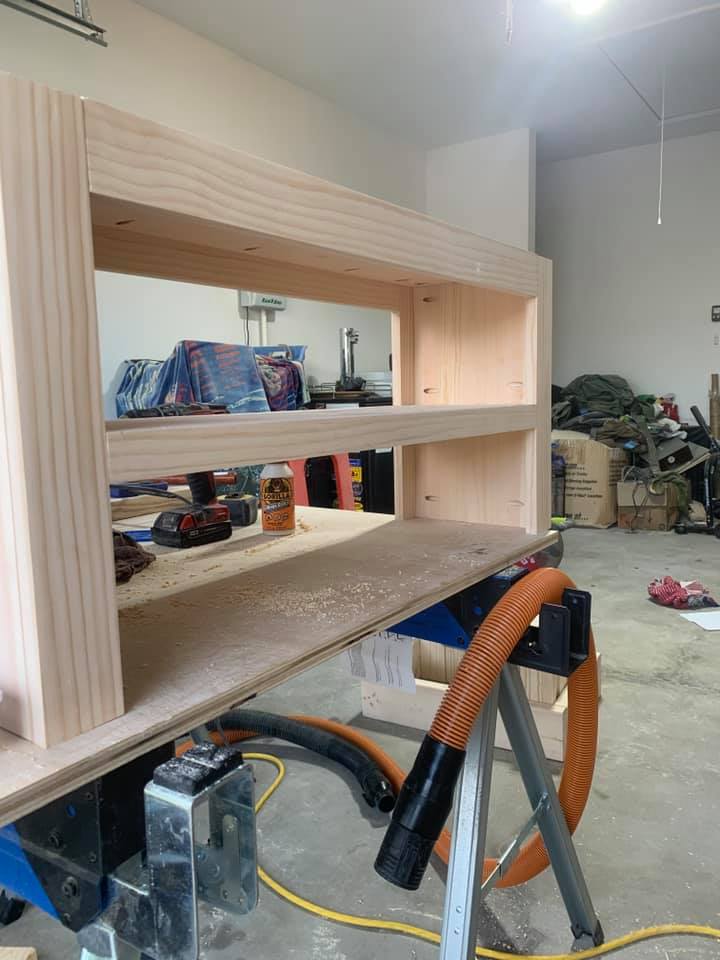
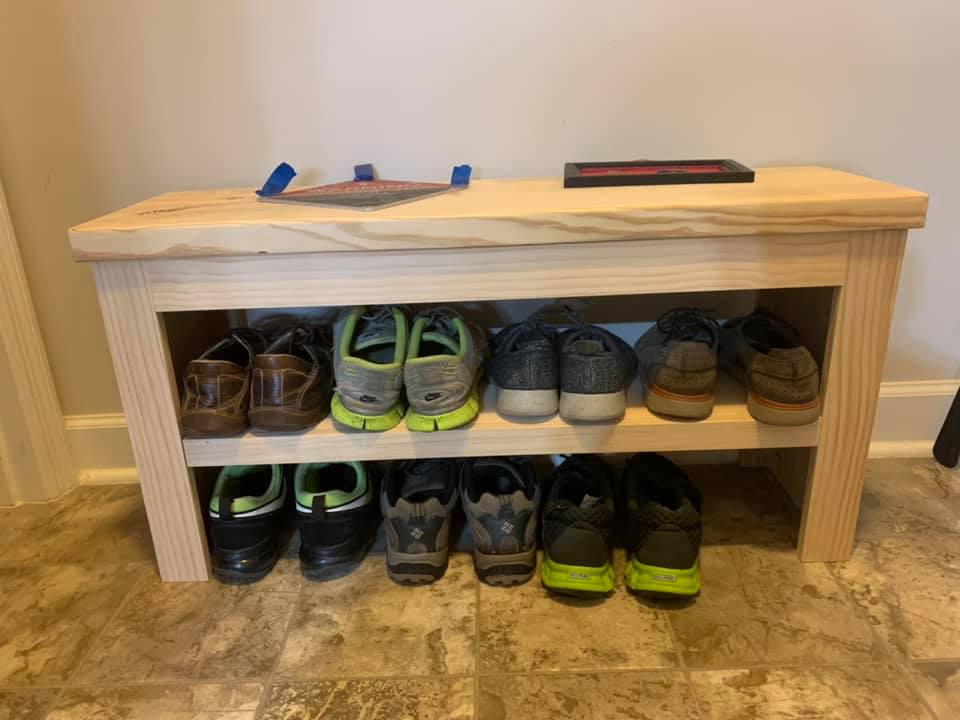
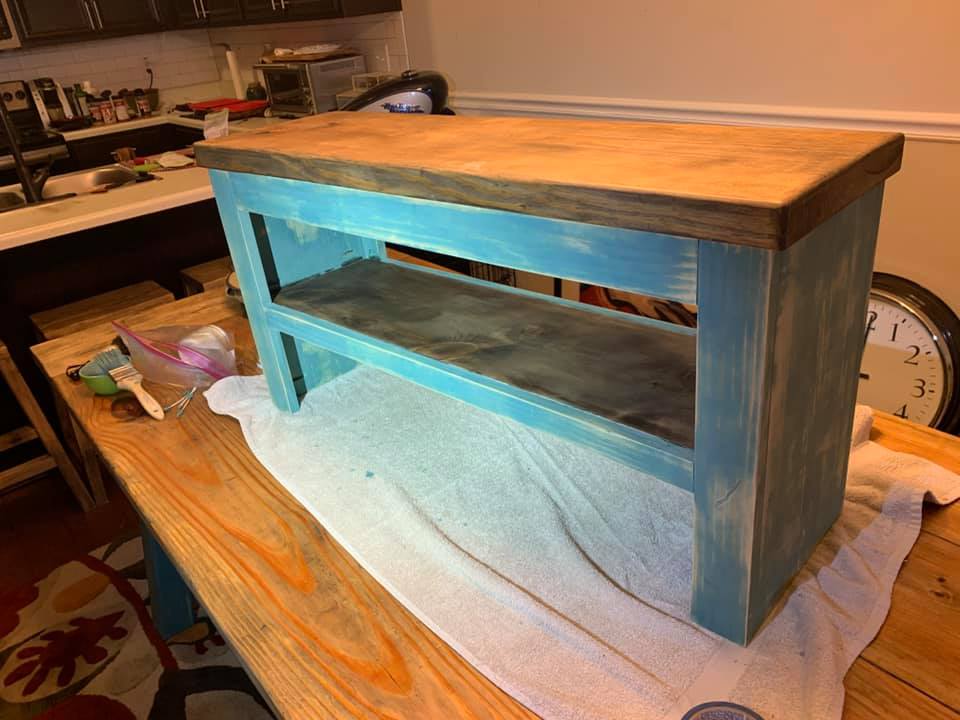
Easy project no crazy cuts or tools needed. I did change a few things on the build. I changed the top from a 1x12 to a 2x12 to match the rest of my builds. And honestly it just looks and feels better! The trim is 1×3’s but I changed the middle shelf trim to a 1×2. Add the shelf 7.5 inches up from the bottom.
Rustic X Coffee Table
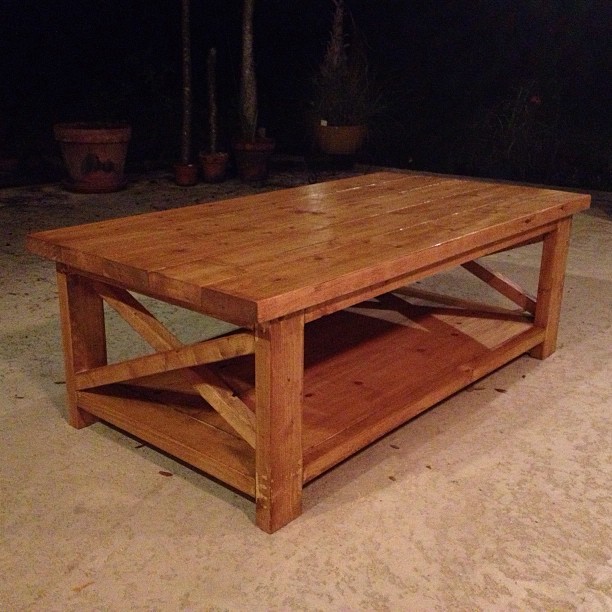
Rustic X Coffee Table. Stain is wet in the photo, so a bit glossier than I'm anticipating. Kept diagonal "X" cross-beams whole and staggered to create more depth in the look of the structure. One coat Minwax "Ipswitch Pine." Changed mind and went with 2-3 more of Minwax "Driftwood." Would have been more grey, less red had I gone with "Driftwood" from the start.
Mini Coffin

I scaled this 1 foot long coffin from a full size version I saw online. I built two versions – see drawing links. The first one (documented below) is from purchased craft wood which was clean and straight. The second version was built from scrap pallets. I’ve also included a quick video of the build along with PDF versions of the plans.
Build Instructions:
http://www.instructables.com/id/Mini-Coffin/
Video:
Toy Storage + Cubbies
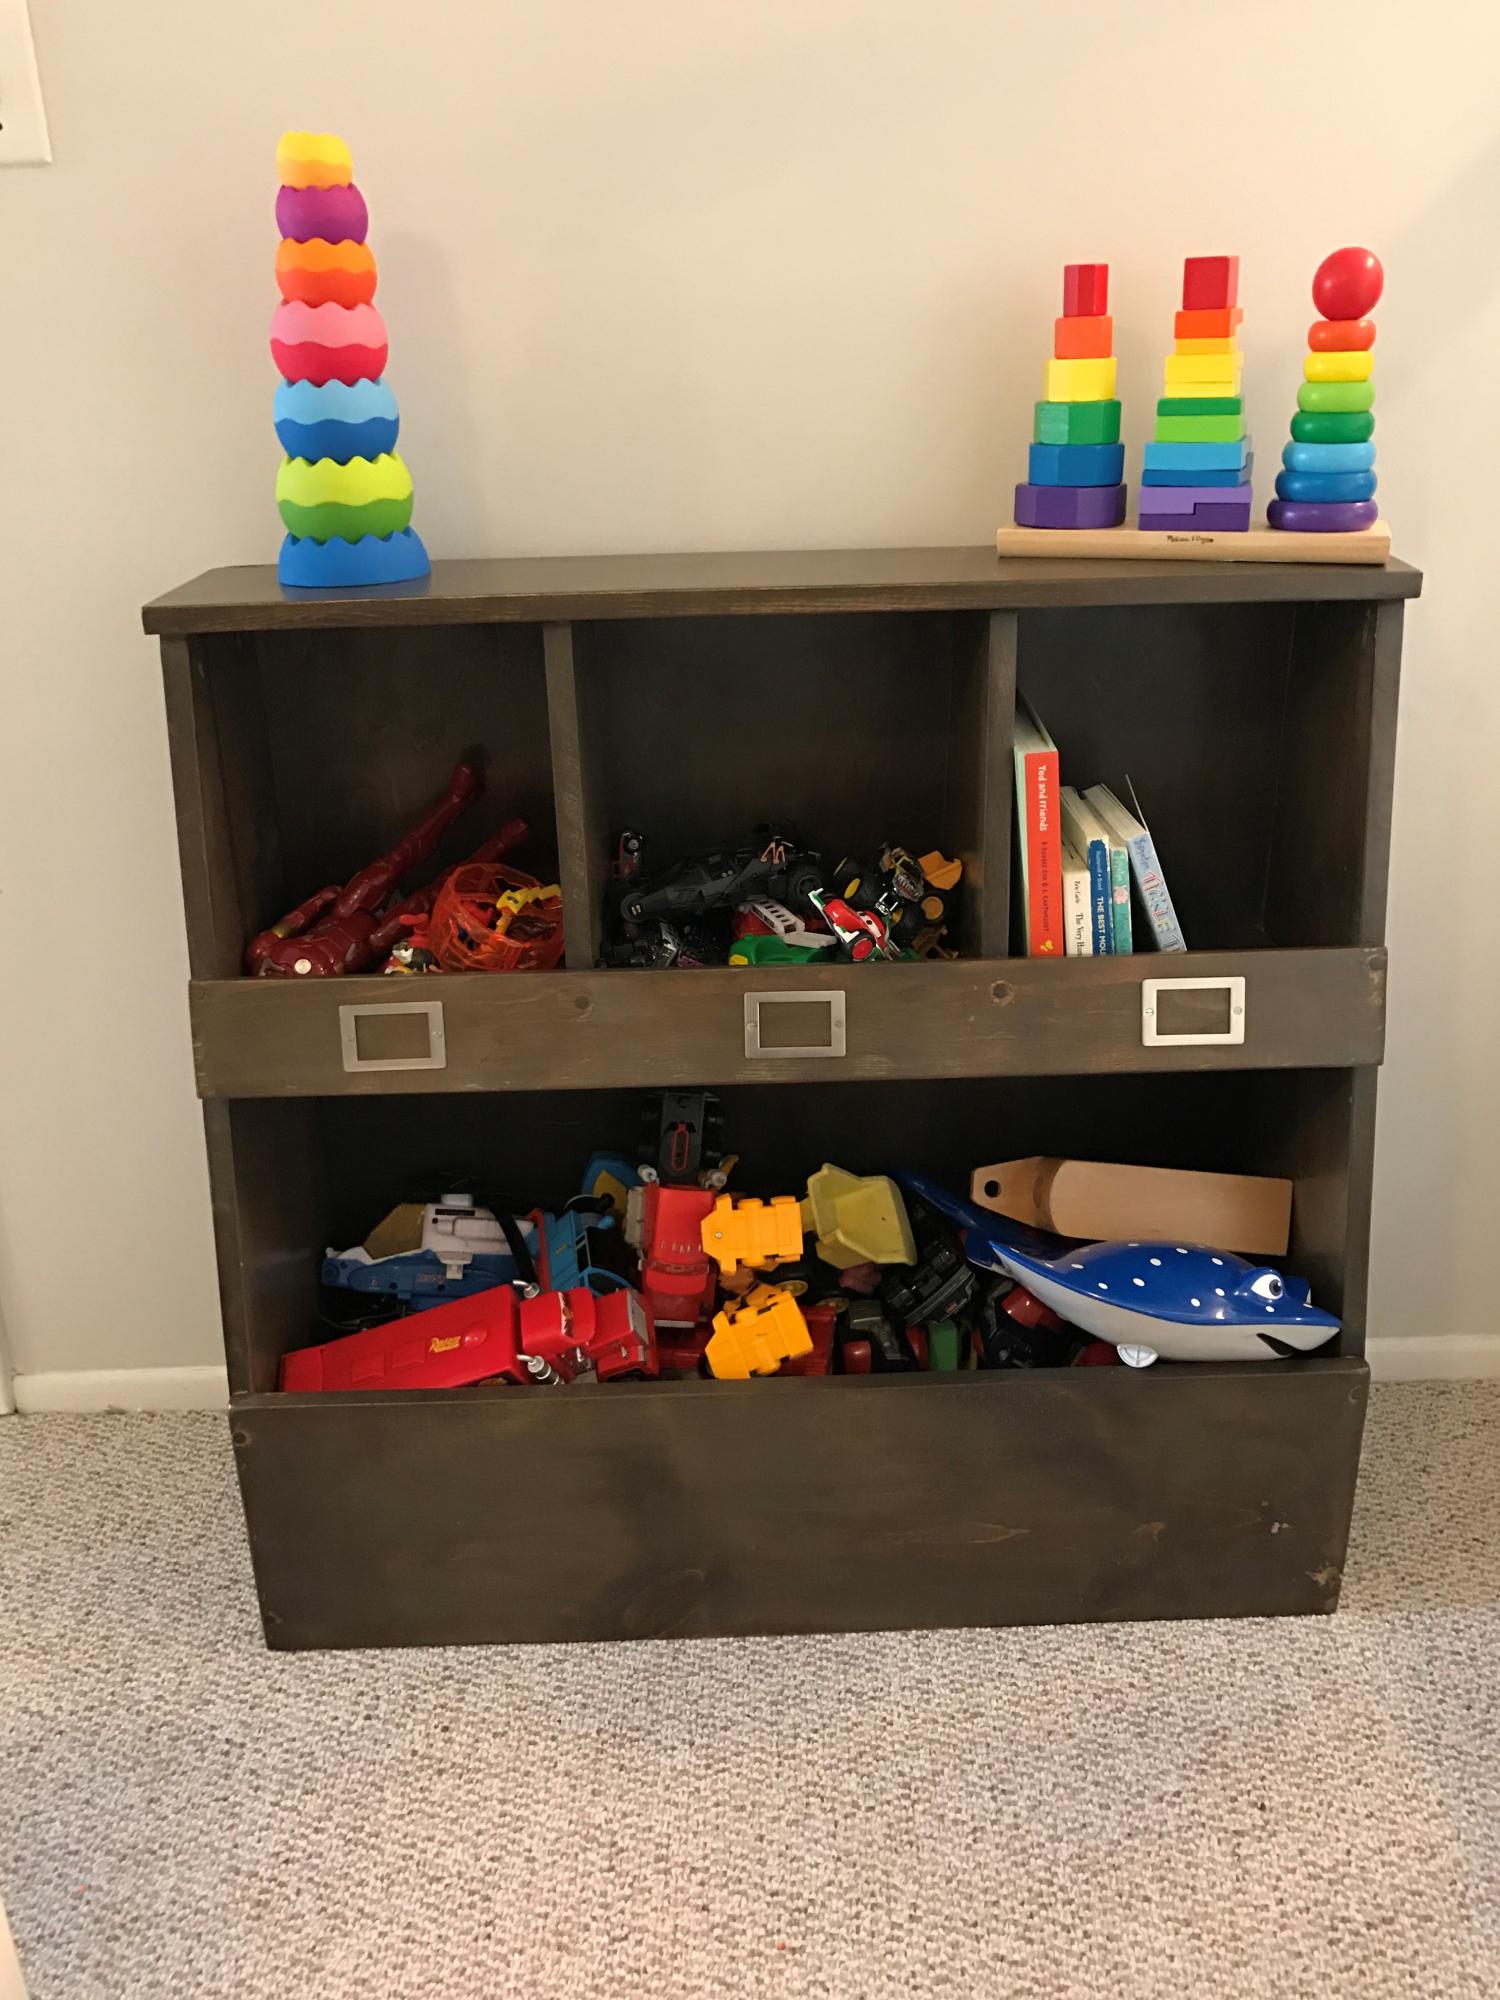
We LOVE how functional this toy bin is!! My husband built it in 3 hours, and then the stain took me 2 days (typical the finishing stain takes the most time! Ha ha) I did a 4 step process after looking at dozens of websites of how to stain- since we used pine board I didn't want the grain to stand out as much. 1: homemade vinegar solution stain 2: rustoleum weathered grain stain 3: minwax special walnut 4: 3 coats of poly
I found the label holders at houseofantiquehardware.com
Corner hutch
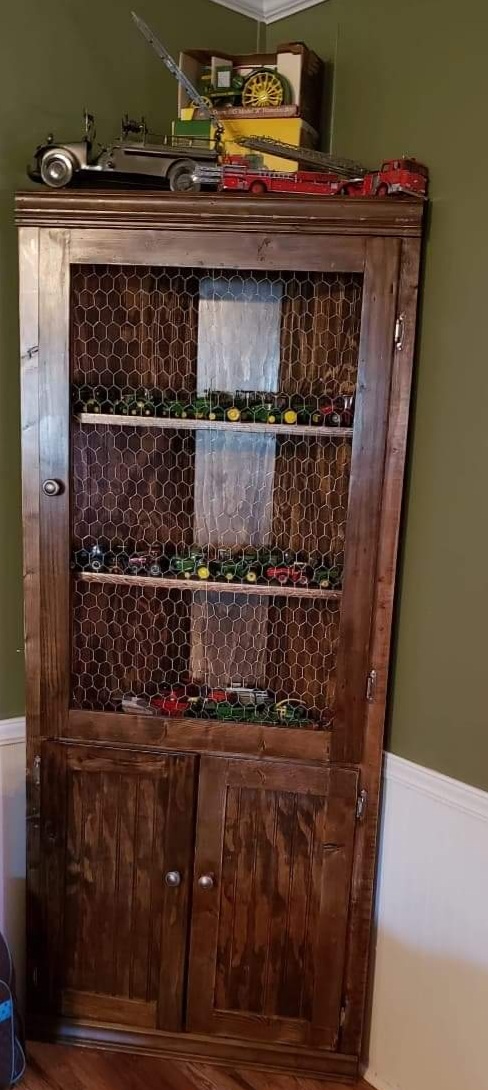
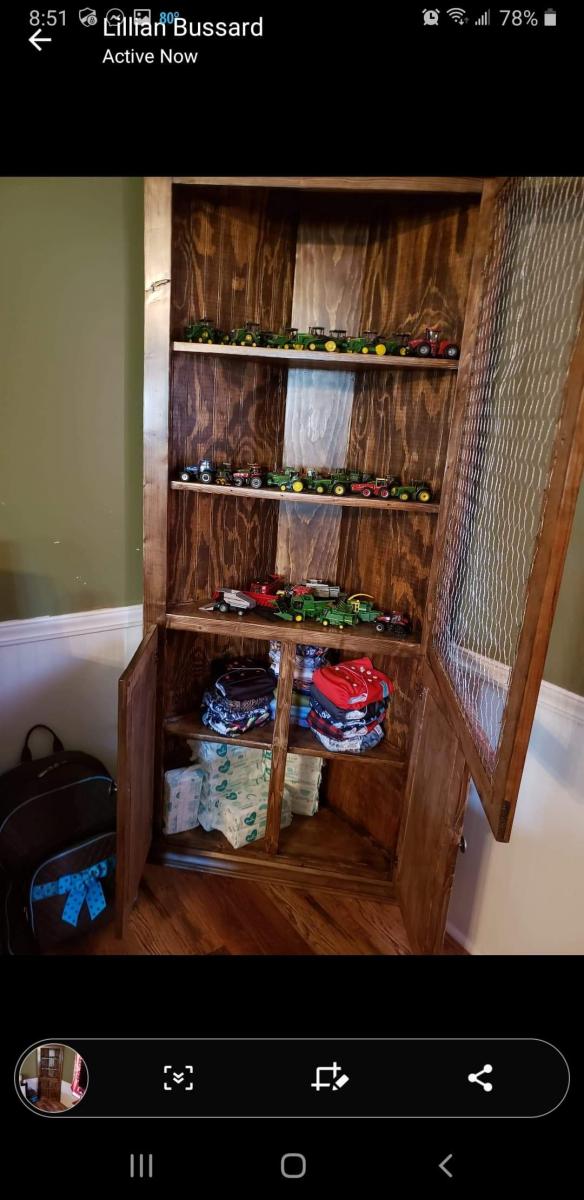
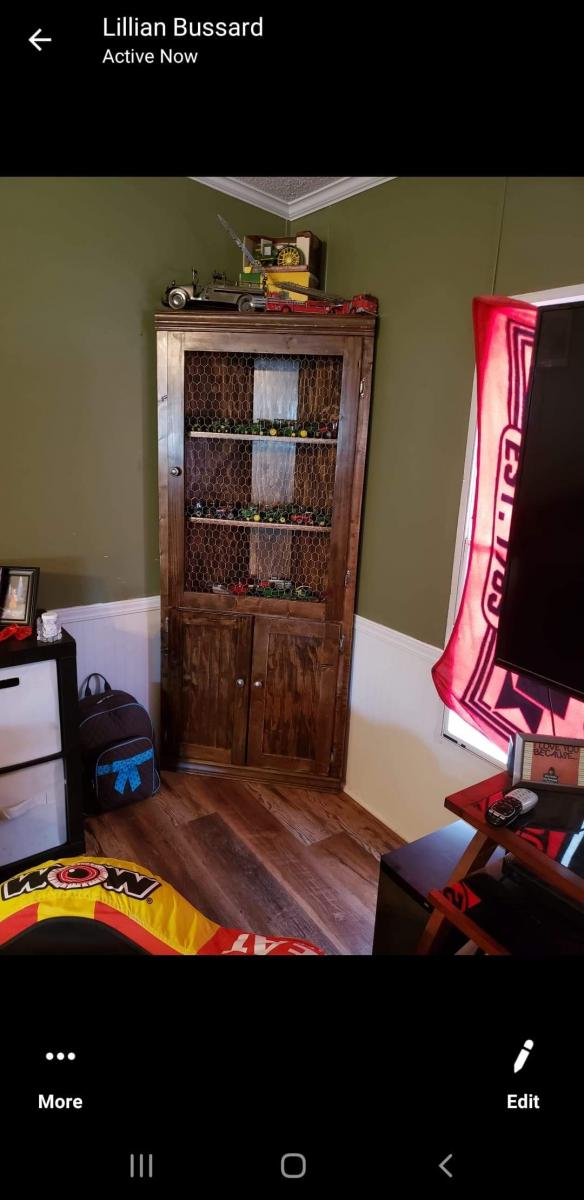
This was challenging, but that made finishing it, so much greater. Ana's plans are so easy to follow.
Comments
Simple Wood Console Table
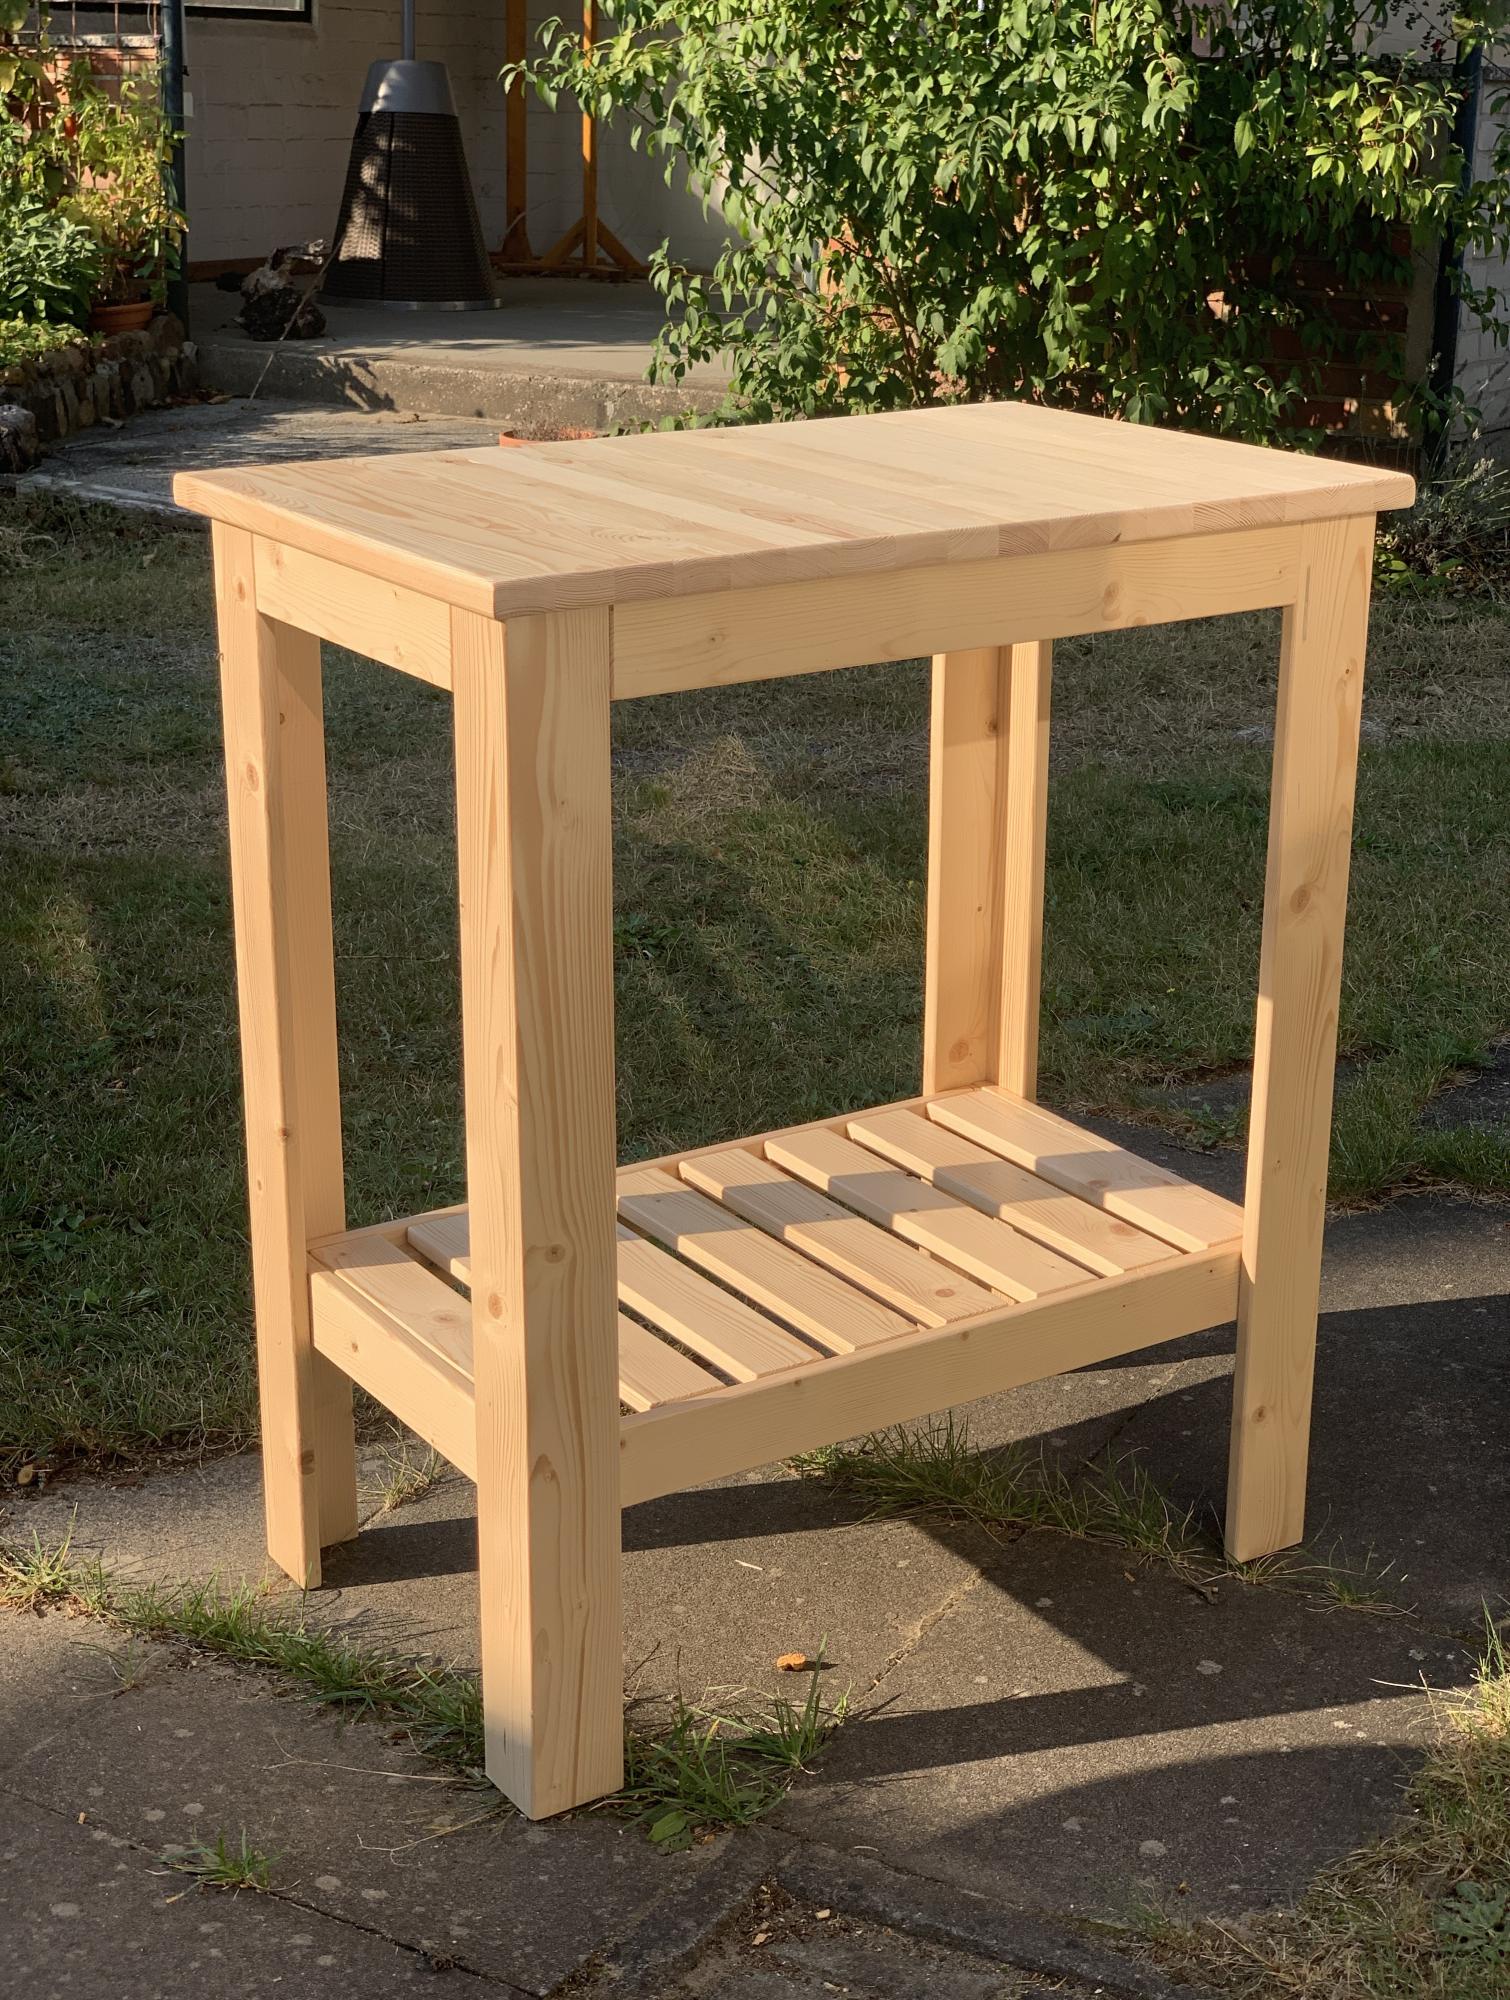
Slightly modified version - Guido
Rustic X Coffee Table
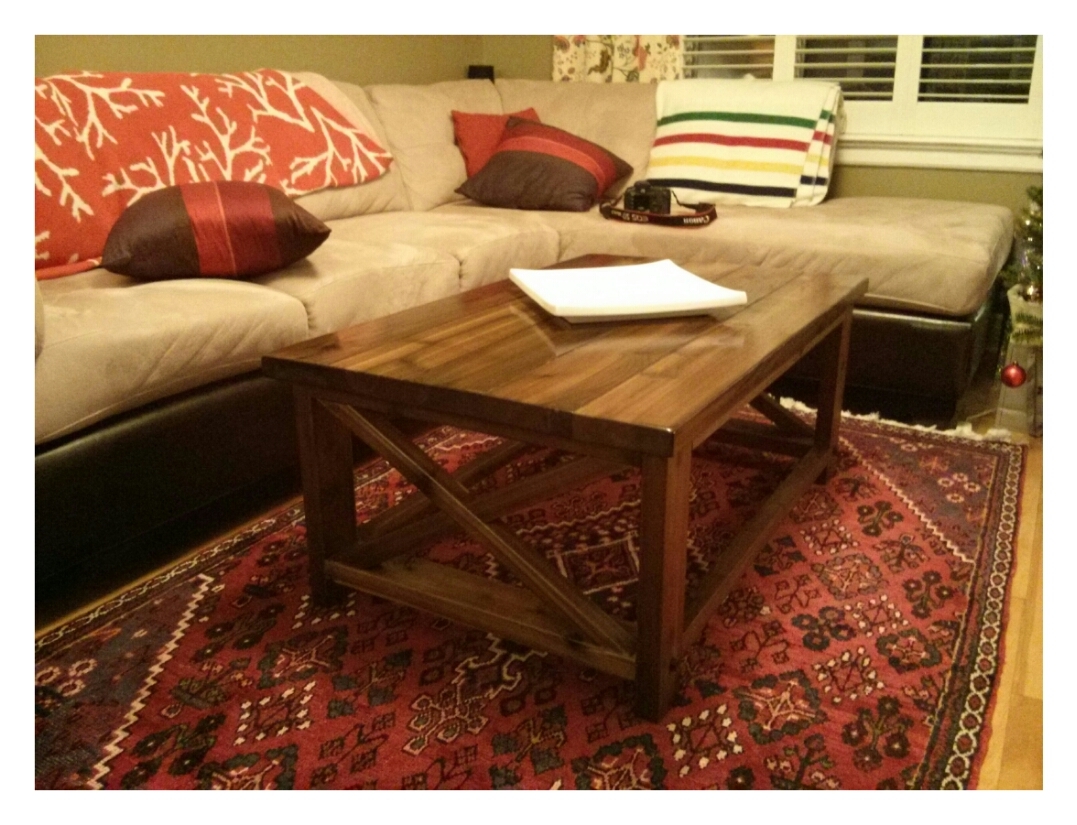
Used cedar wood so I applied a few costs of oil based polyurethane to compensate for the softness of the wood.
Living Wall
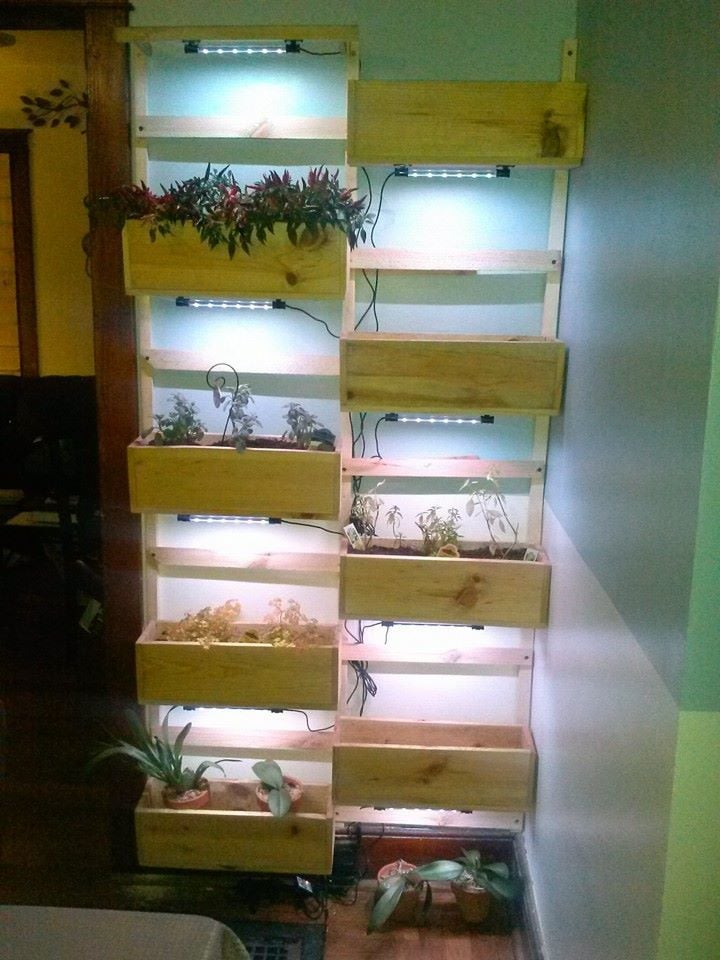
Found the plans for the little 3 tiered planter really interesting. I built a few of the boxes when my wife says "You know...." She has wanted a "living wall" for years, so I modified some of the sizes to make the boxes 18 inches long to accommodate my 37" inch wall. I added a french cleat to the back of each box, cut down a couple furring strips that I anchored to the wall and added the other half of the french cleat to the frame. Woot! Together in moments. The individual planters can be easily removed and rearranged. I added LED's to the bottoms of the planters for additional lighting and it's really a cool affect.
Comments
Mon, 04/20/2020 - 15:30
This is so cool! I love that…
This is so cool! I love that you put lights on it. I will have to ask my brother if he could make me one, he's the one with the talent and the tools!
Lap desk for daughter
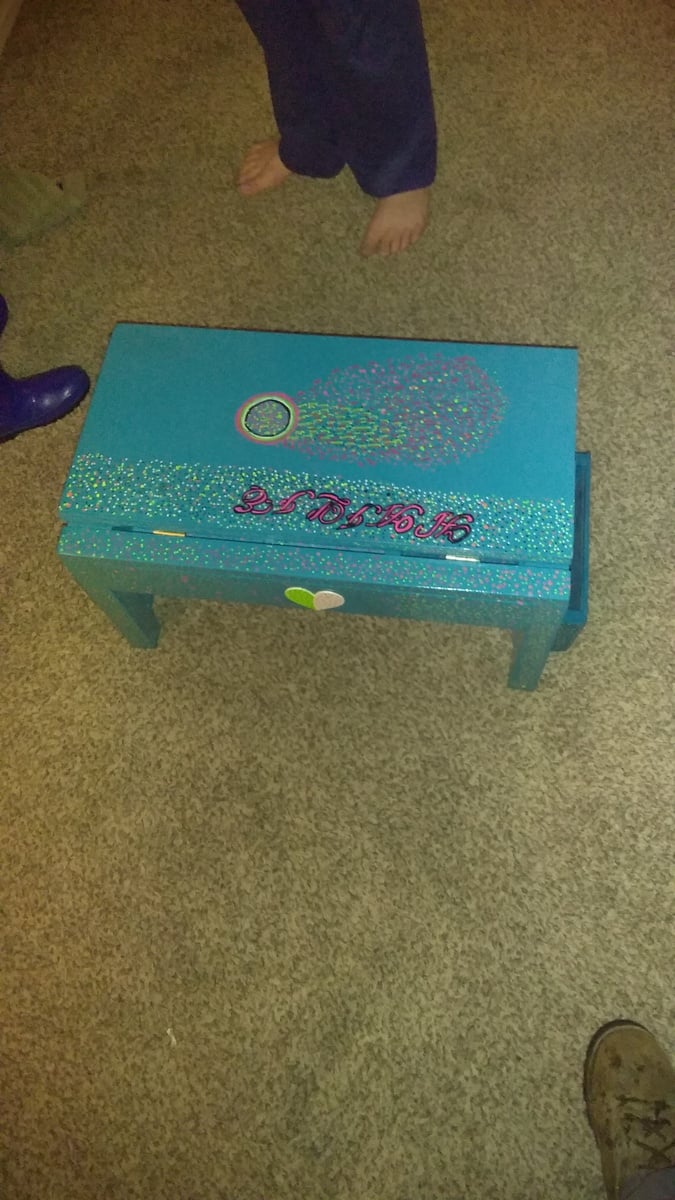
It came out really good my daughter loves pokadots so I filled the thing with hundreds and hundreds of pokadots. This was a lot of fun and very rewarding.
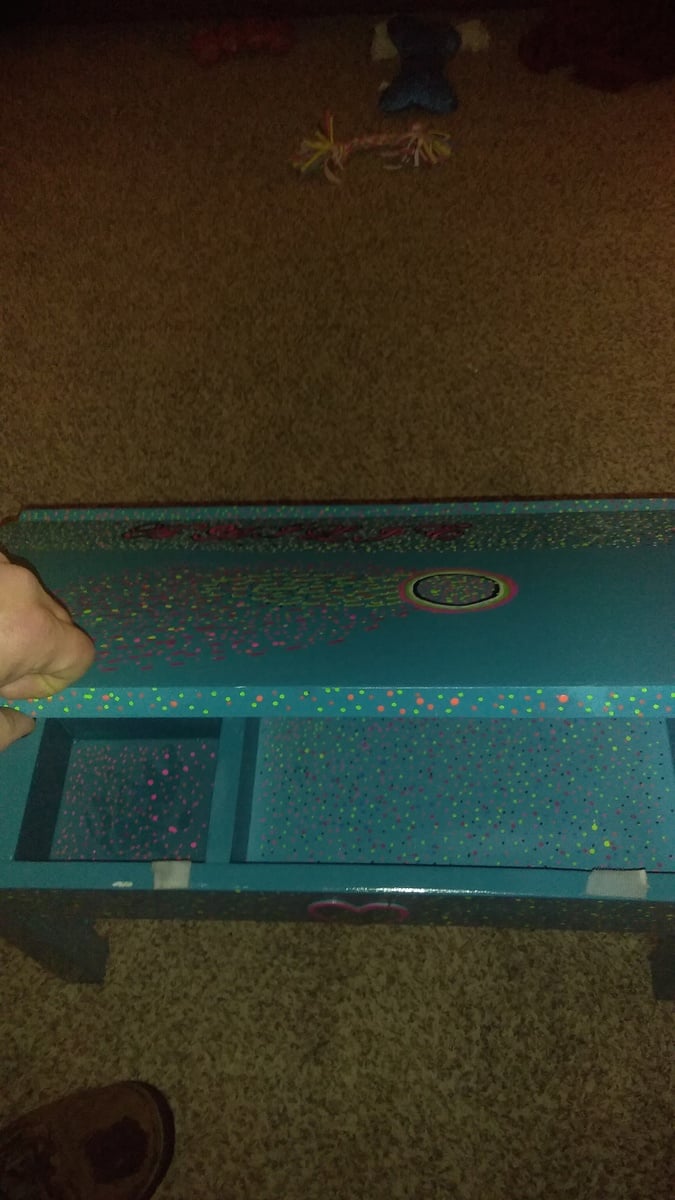
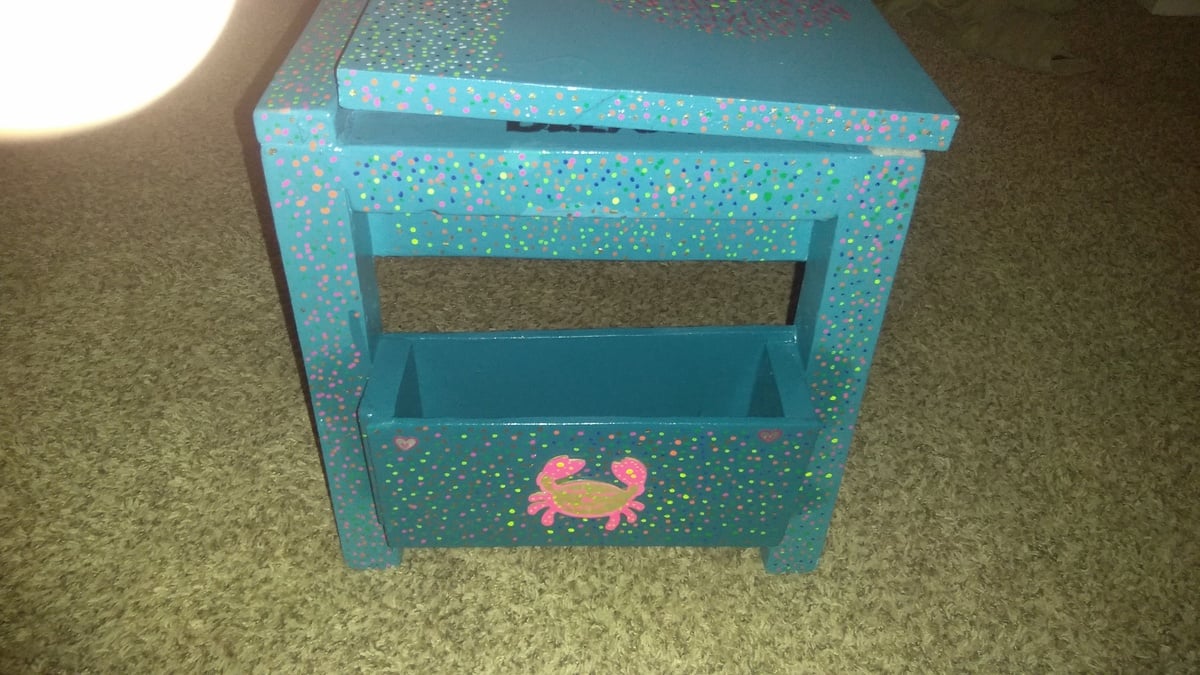
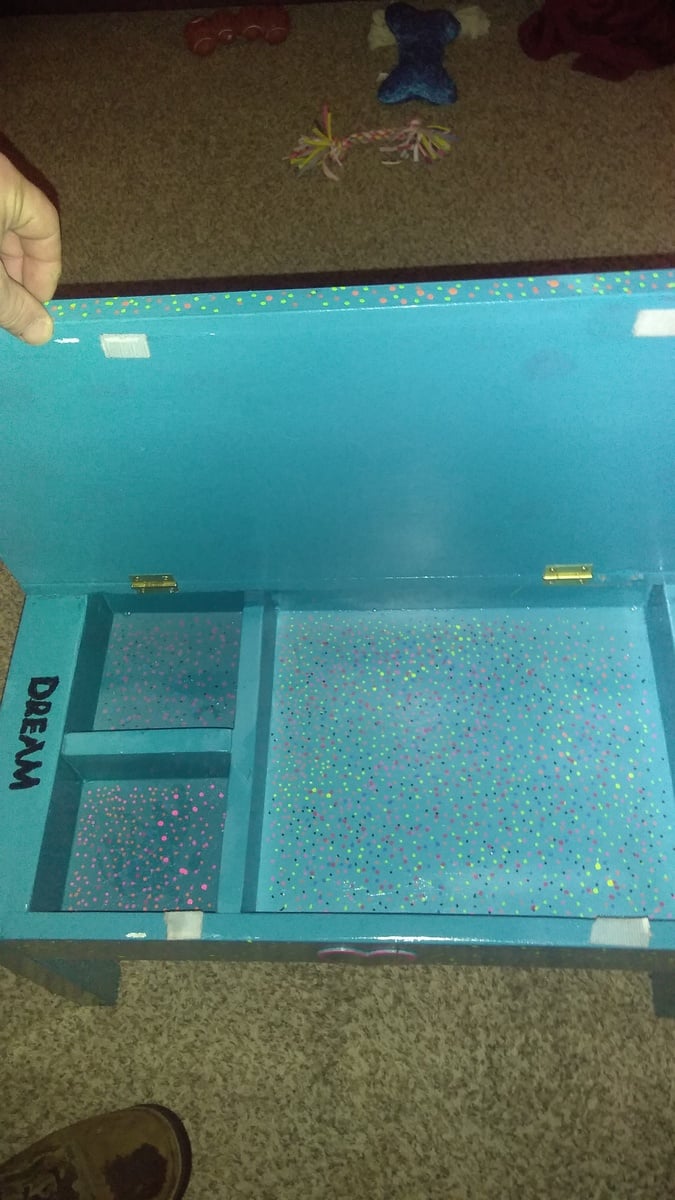
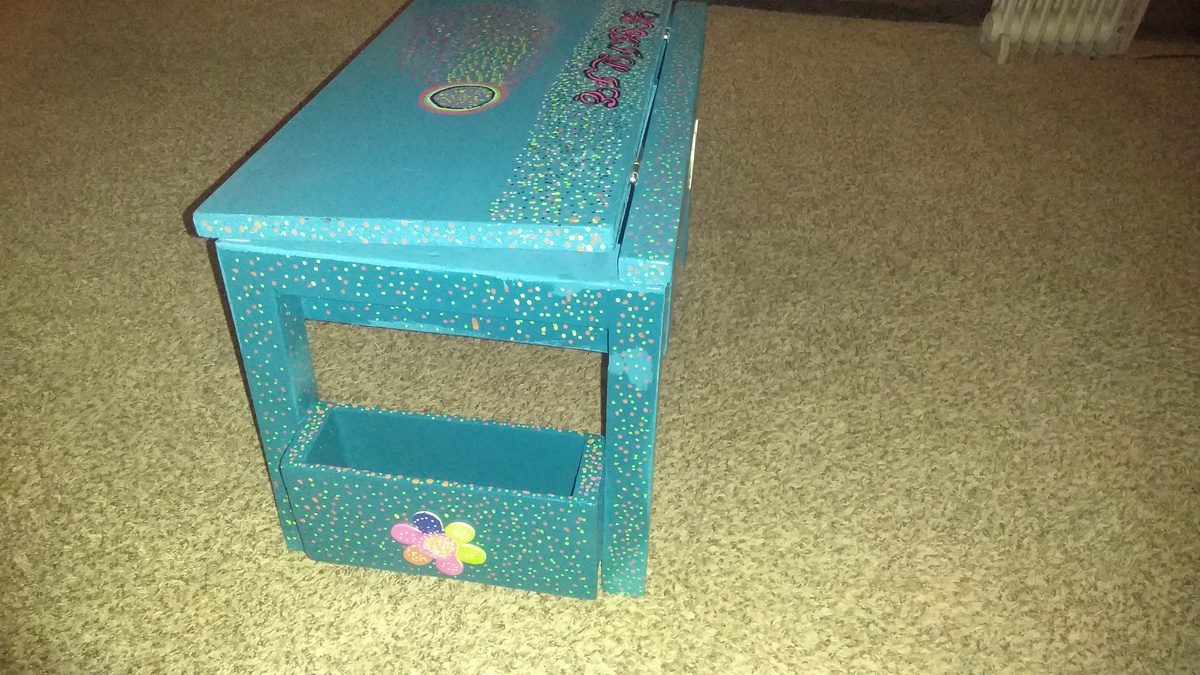
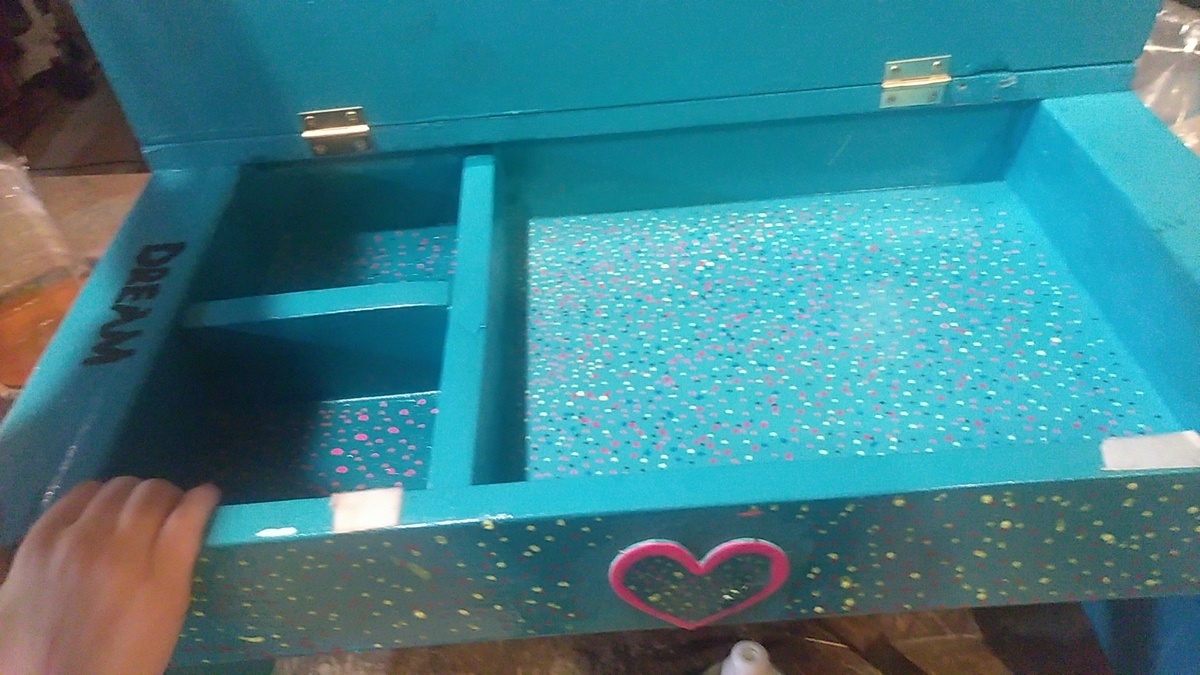
The time it took me cost was priceless.
Ceder, press board, and plywood. I used discounted paint for the solid color and spray gloss clear for that shine. I used a huge assortment of paint pens for all the pika dots. Two standard hinges for the top. Lots of wood glue through out the whole thing and lots of caulking for all the cracks.


