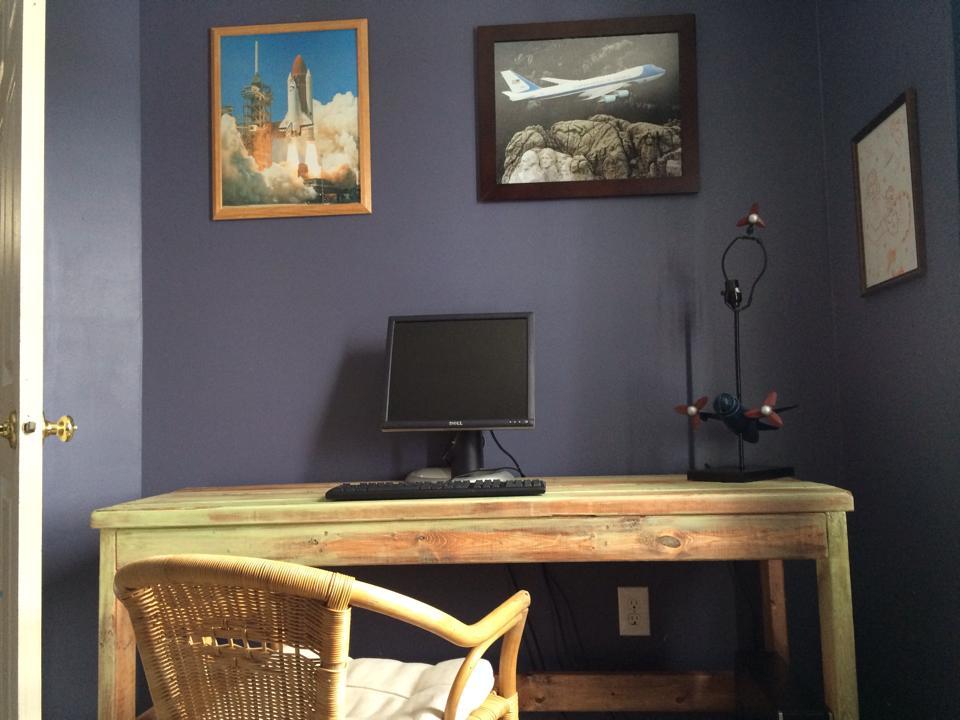
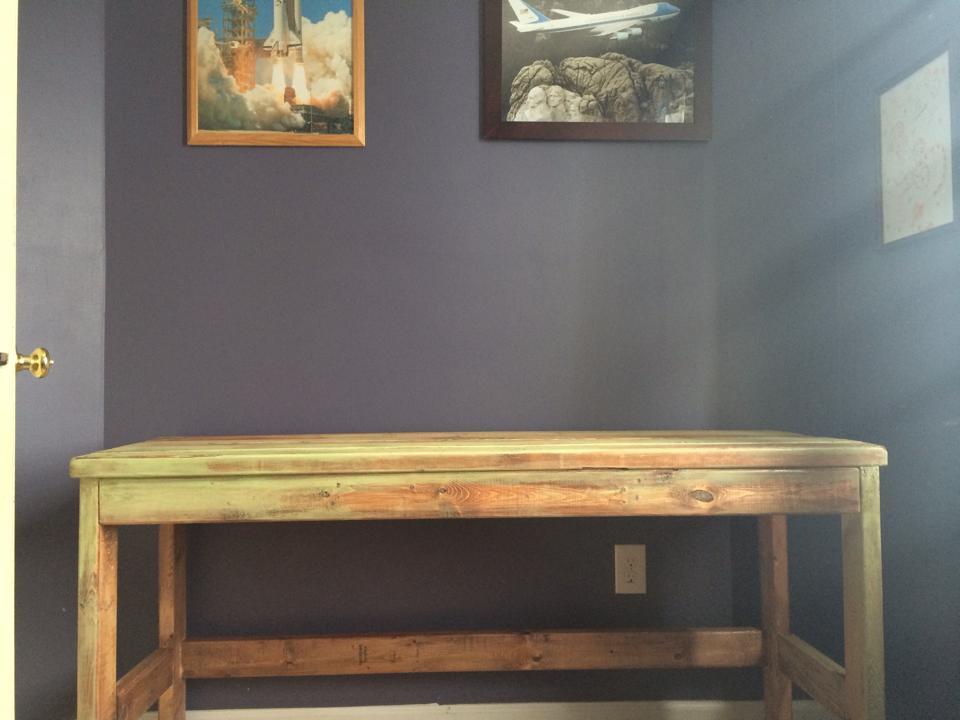
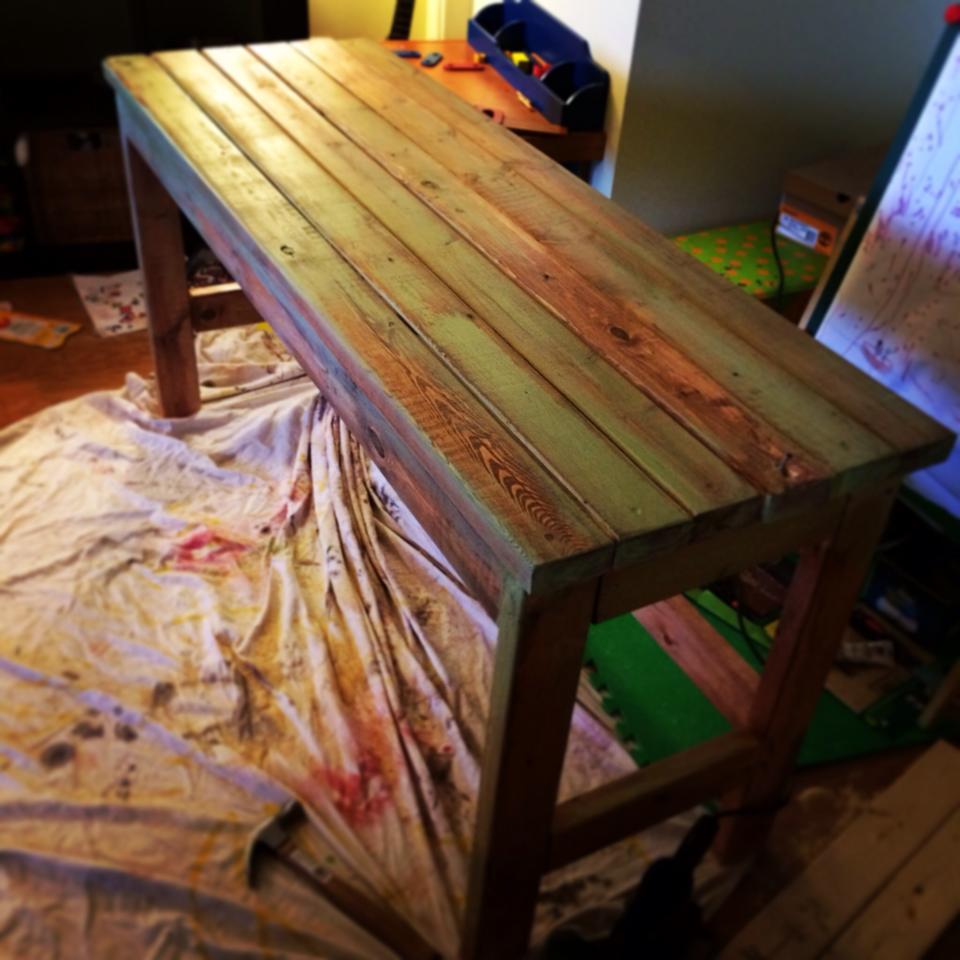
Patrick's Beach Cottage Dresser -
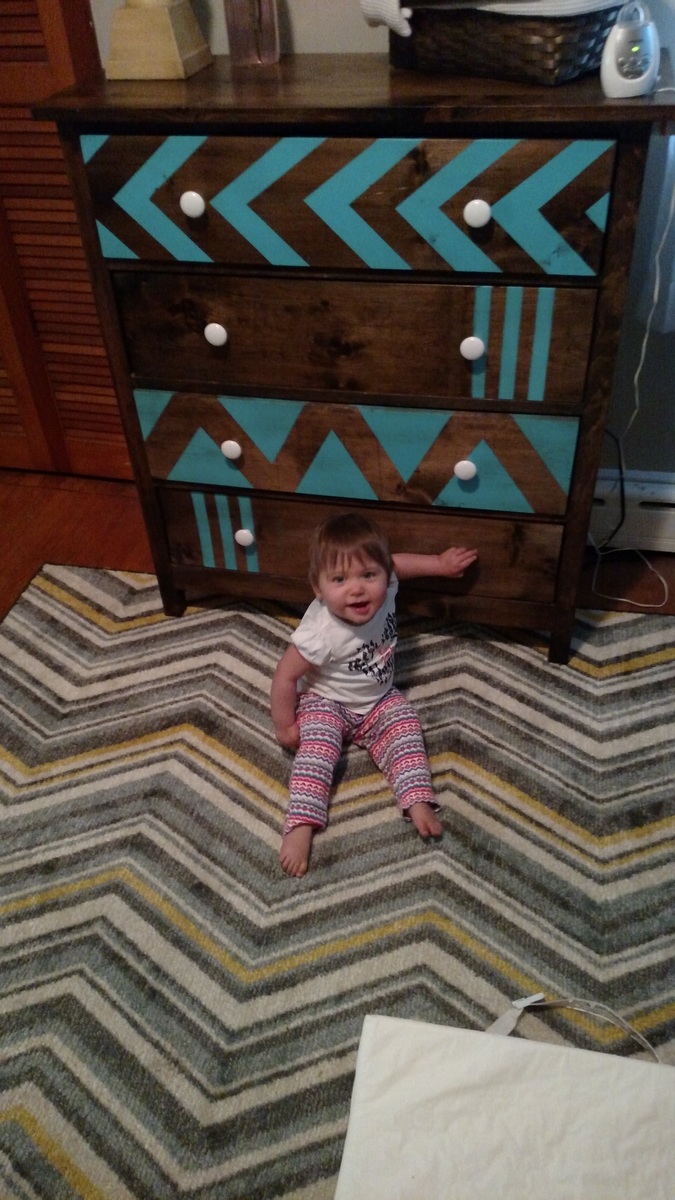
Loved making this dresser, and it works awesome in my baby girl's room.
Built from Plan(s)
Estimated Cost
$100
Estimated Time Investment
Week Long Project (20 Hours or More)
Finish Used
Walnut Stain Finished
Teal Spray paint
Water-based poly
Teal Spray paint
Water-based poly
Recommended Skill Level
Intermediate