Simple Outdoor Table
I was inspired by Handymommy's set, using the arm chairs instead of the standard ones, so thanks to you!
The wood I had was all rough cut 1 x 6's so I had to adjust the plans a bit.
I was inspired by Handymommy's set, using the arm chairs instead of the standard ones, so thanks to you!
The wood I had was all rough cut 1 x 6's so I had to adjust the plans a bit.
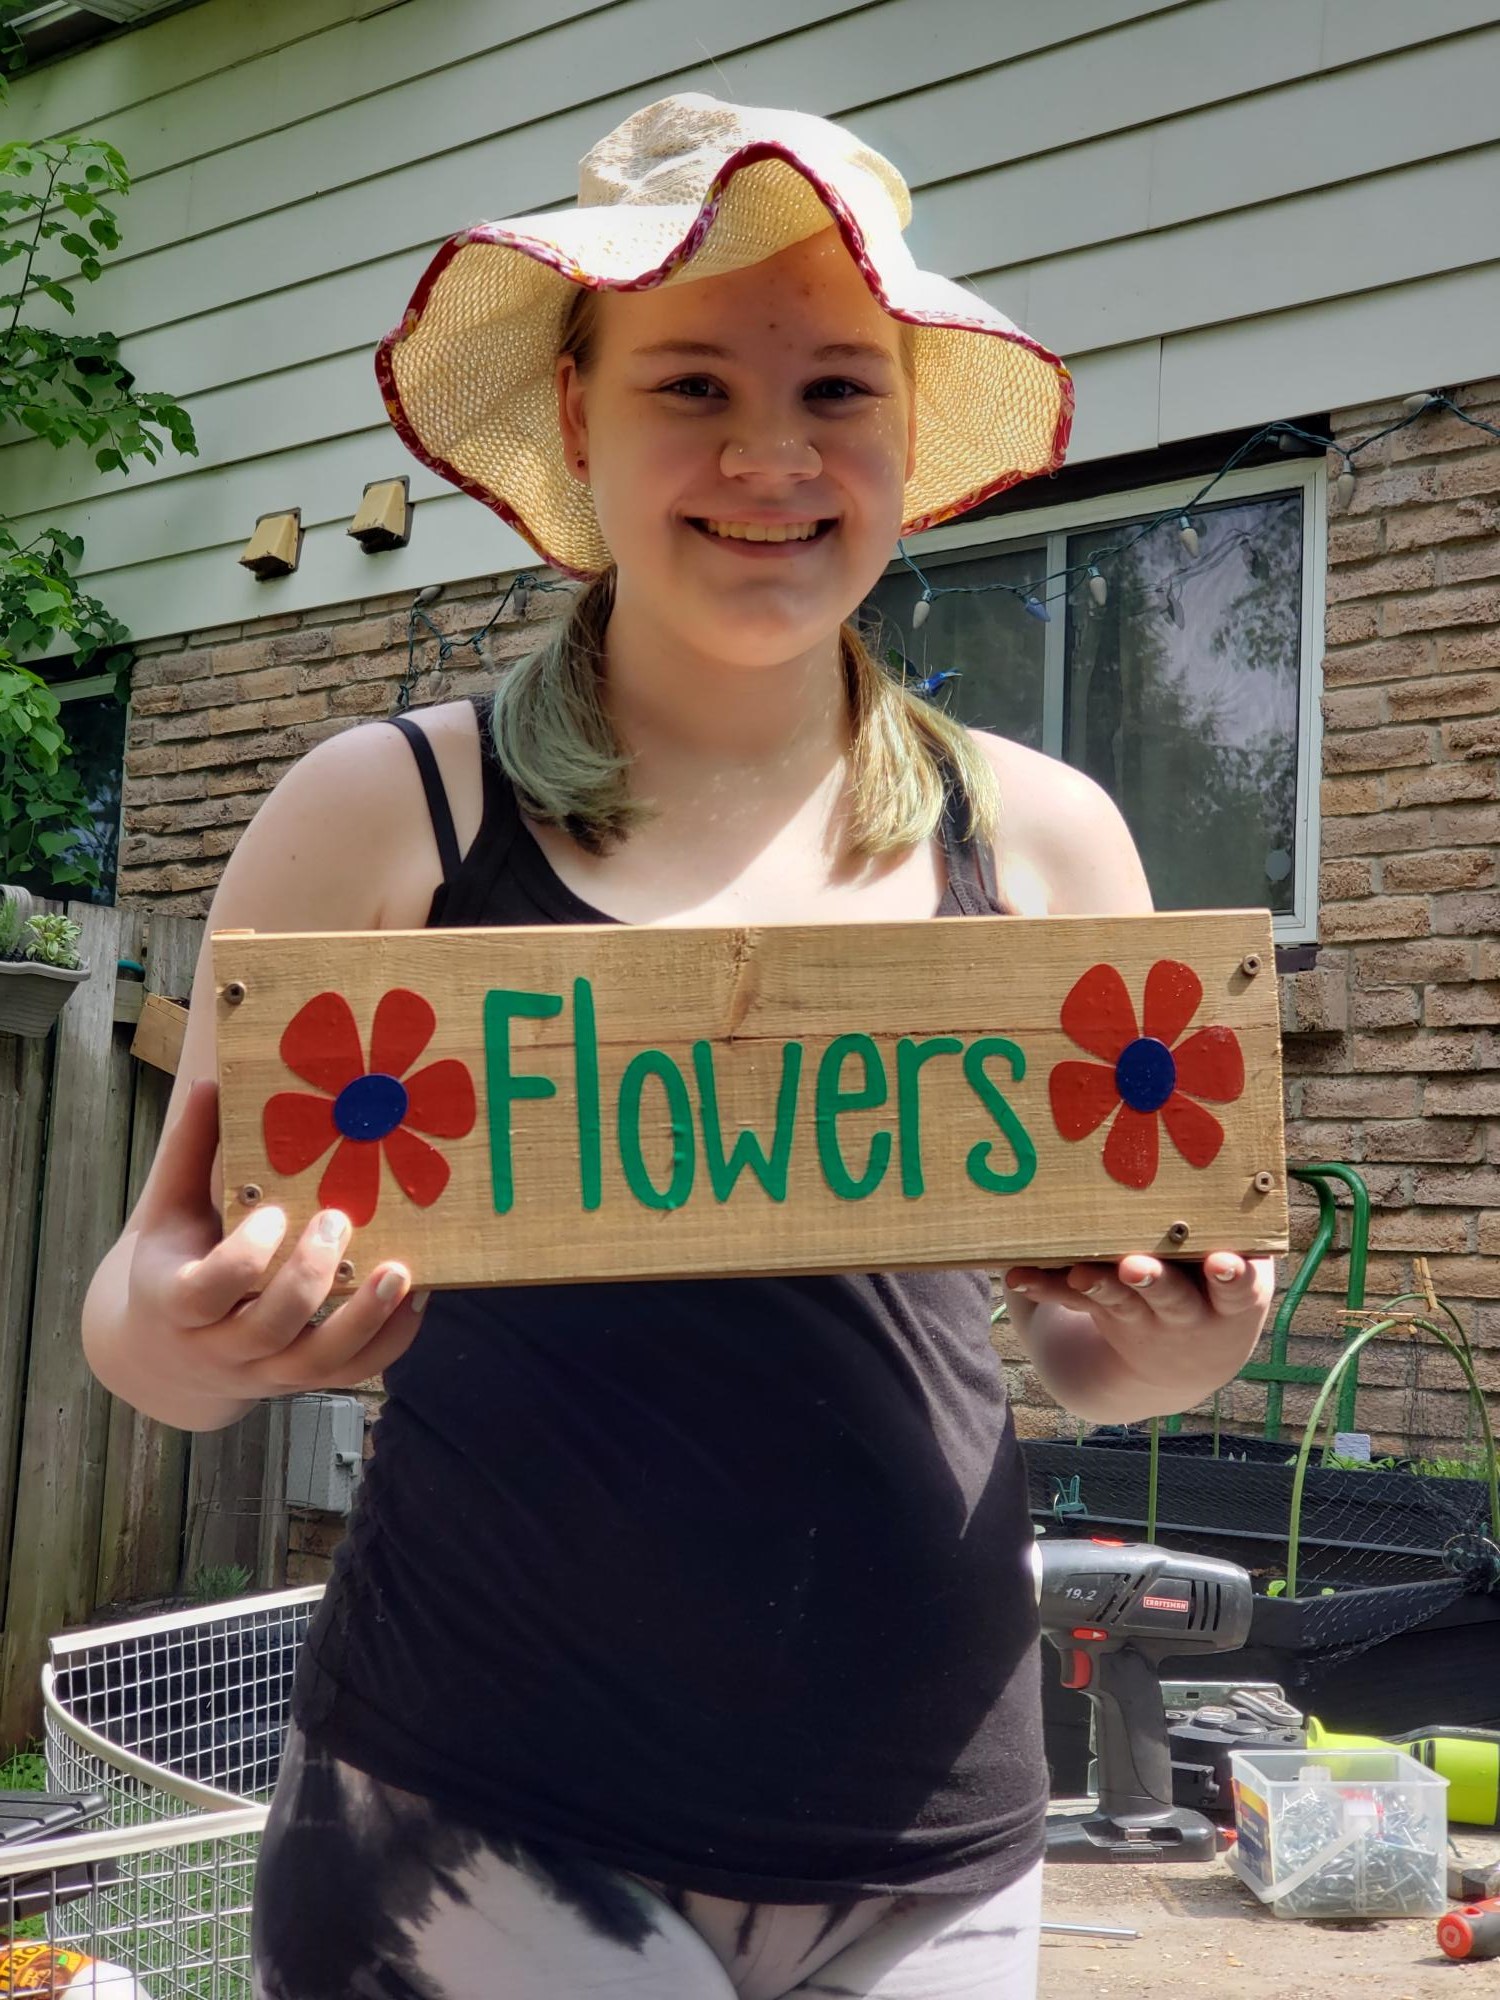
Used the flower box pattern from the $10 Cedar Tiered Flower Planter, and added hanging loops and wire to make planters to hang on our fence !
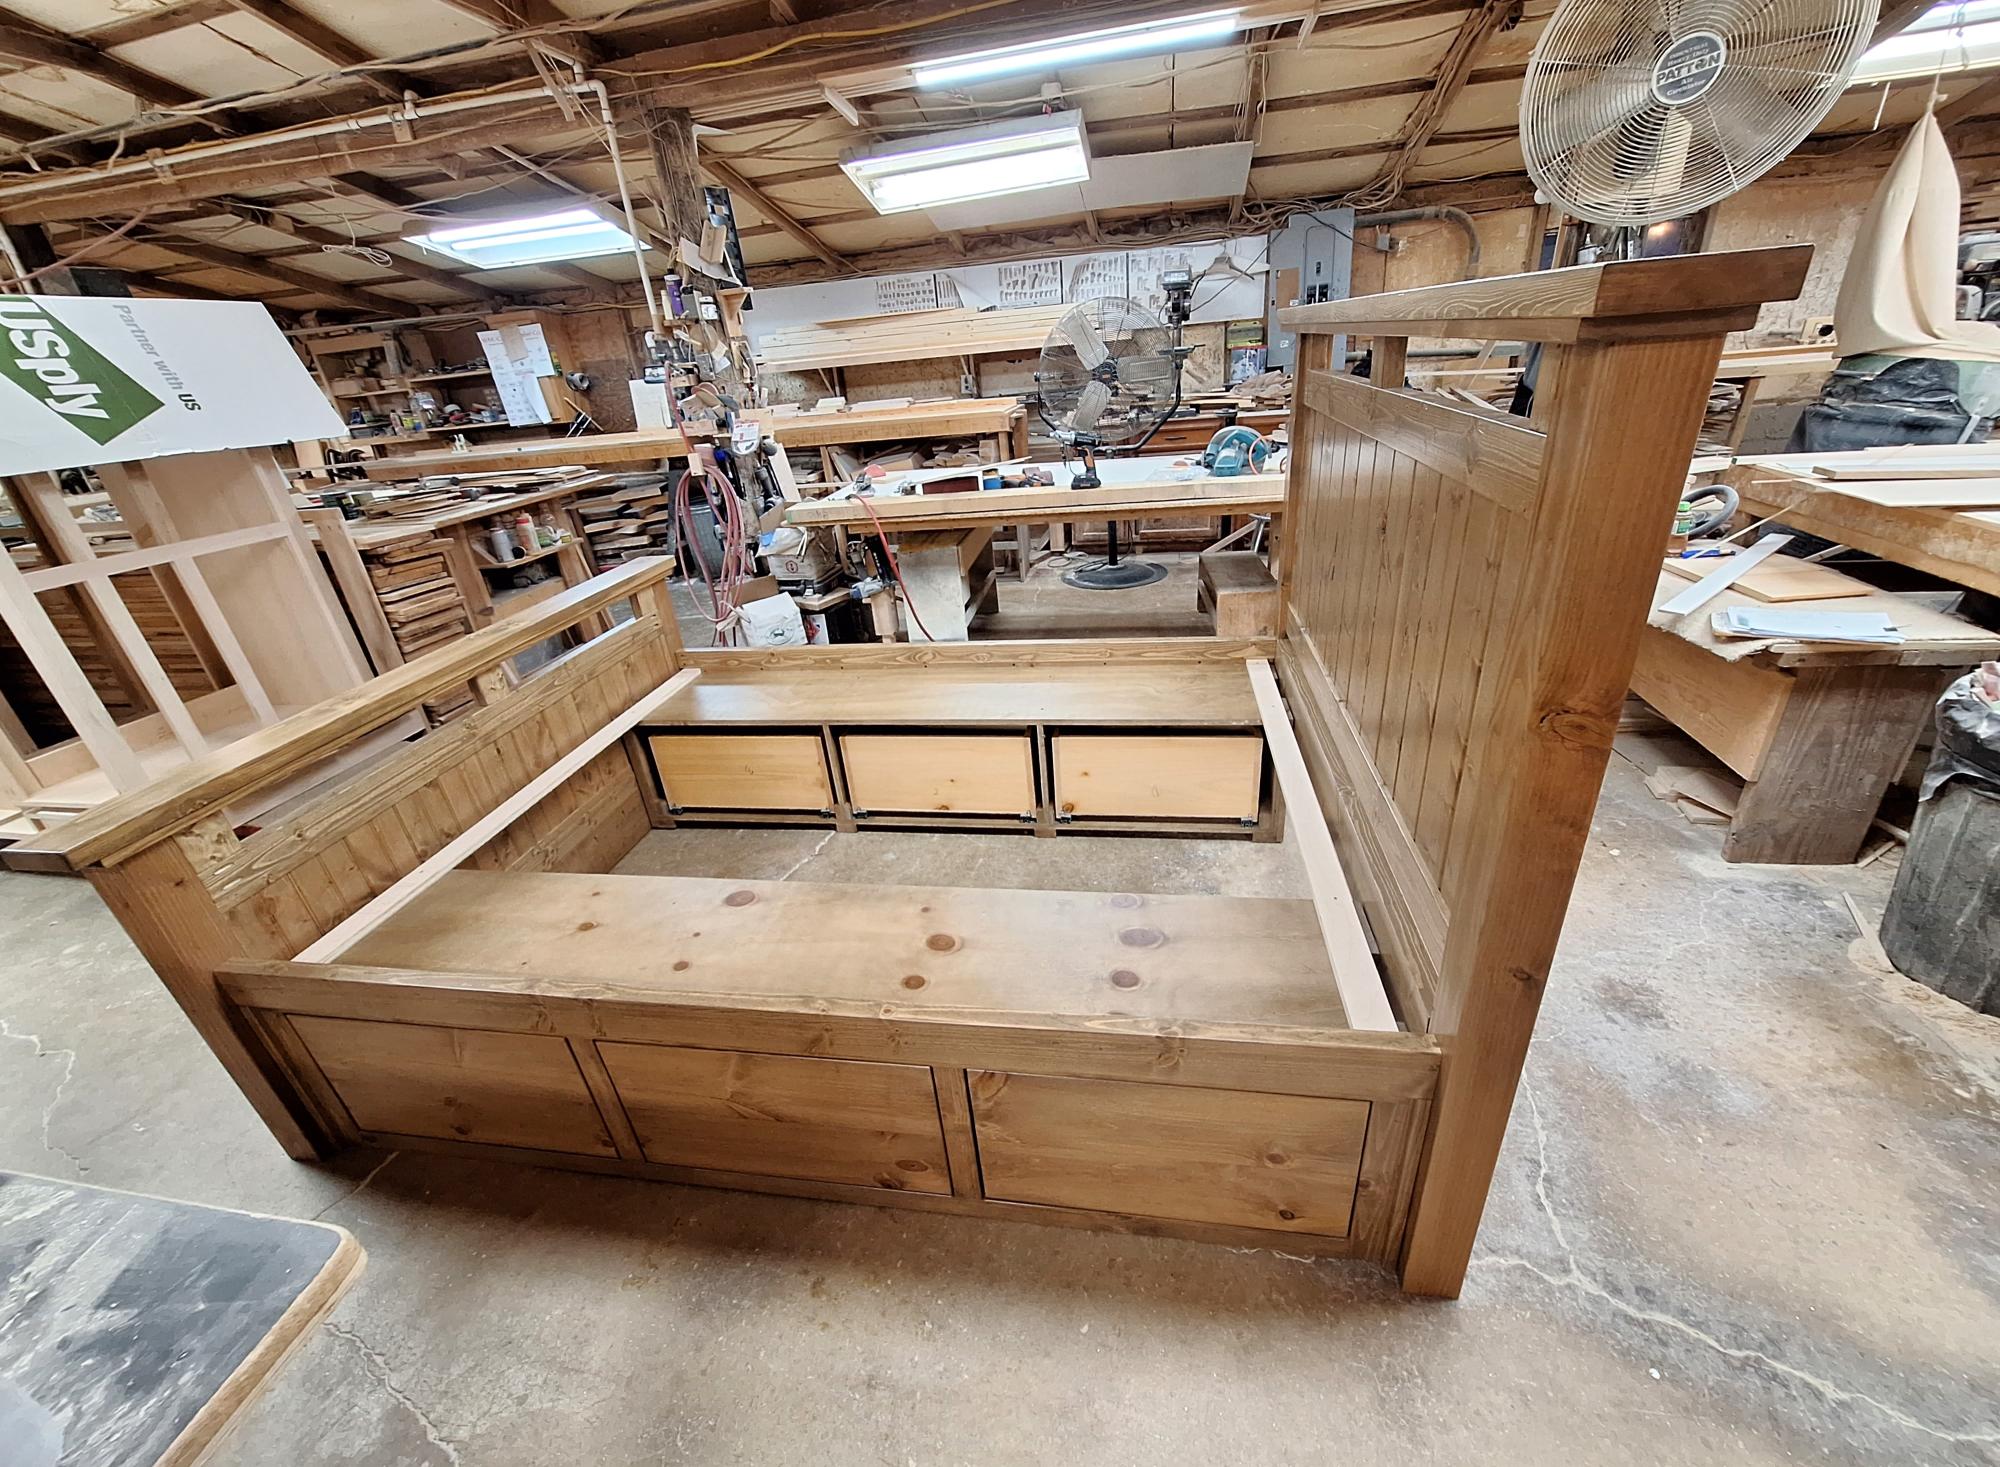
I took a couple of ideas and made this queen size storage bed.
Carol Hicks
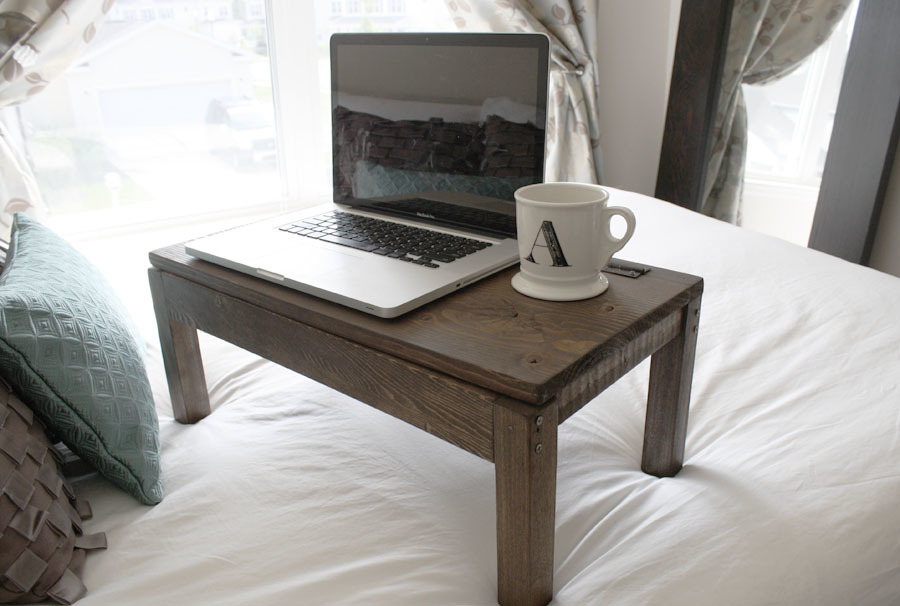
This was a really quick and easy build. I built it with two bucks and two hours with some scrap wood I had laying around. The only thing I bought was a package of 2 standard hinges ($2). Also, I deviated from the plan a little by not including the lower storage compartments (didn't want it to get too heavy), making the legs 4" shorter (so it's more comfortable to use in bed), and not building the storage dividers under the flip-top lid. Check out more info by clicking my blog link!
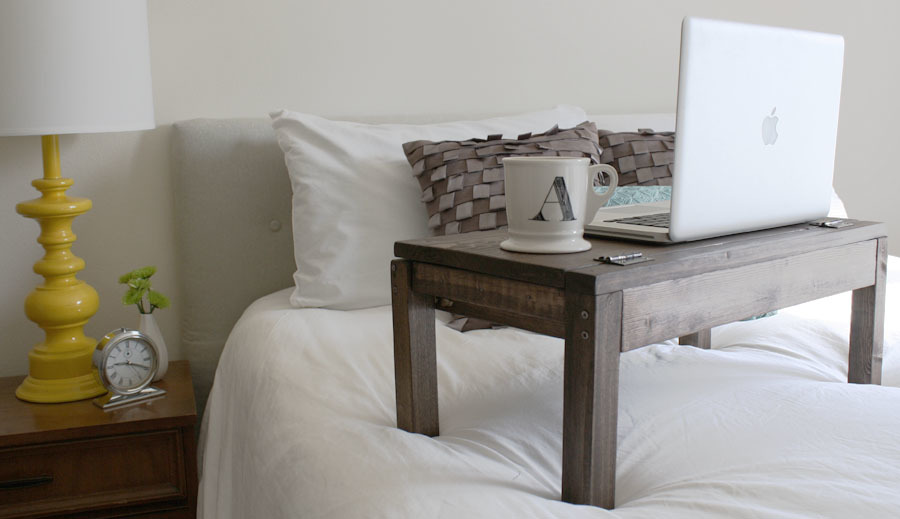
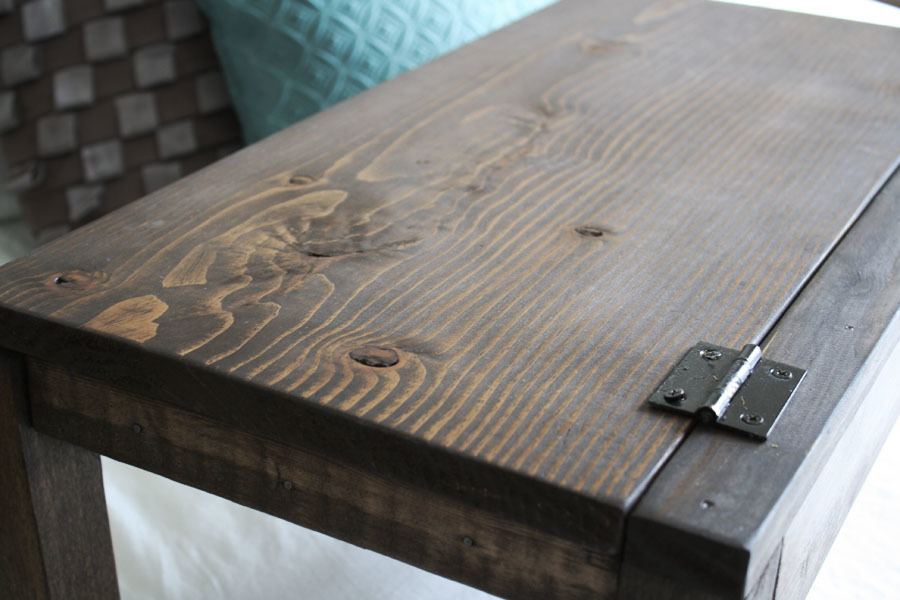
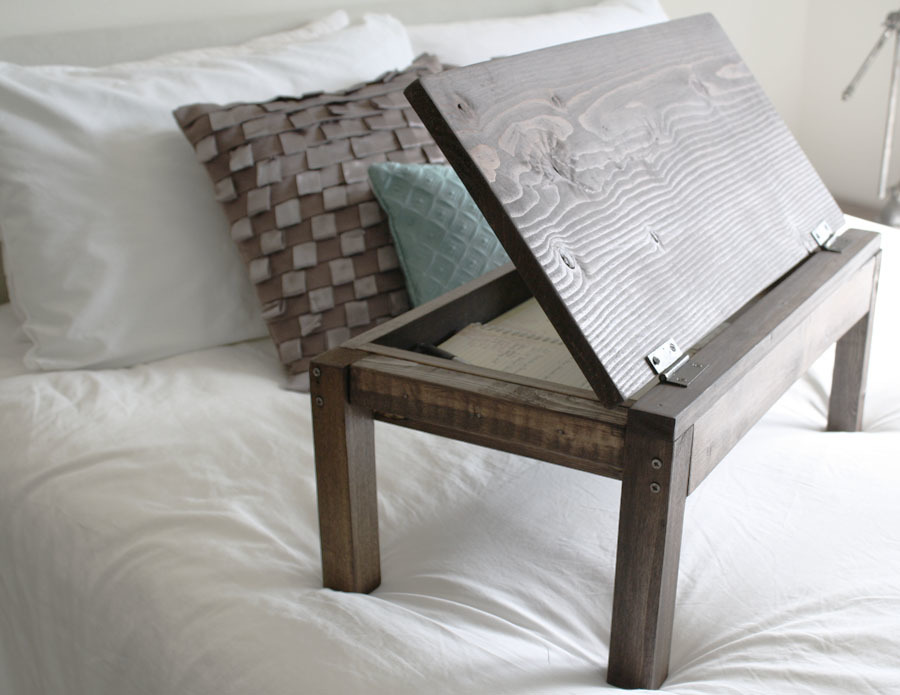
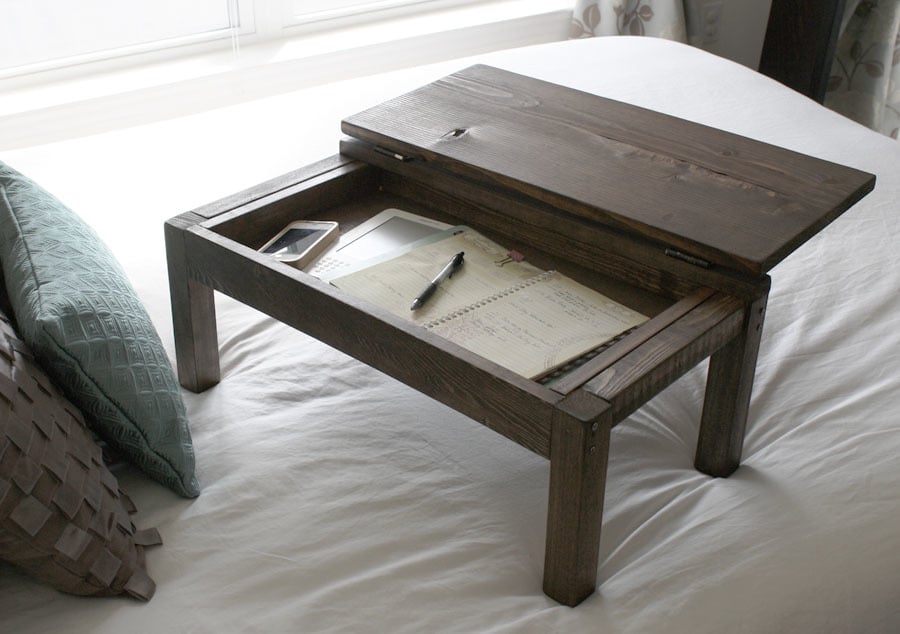
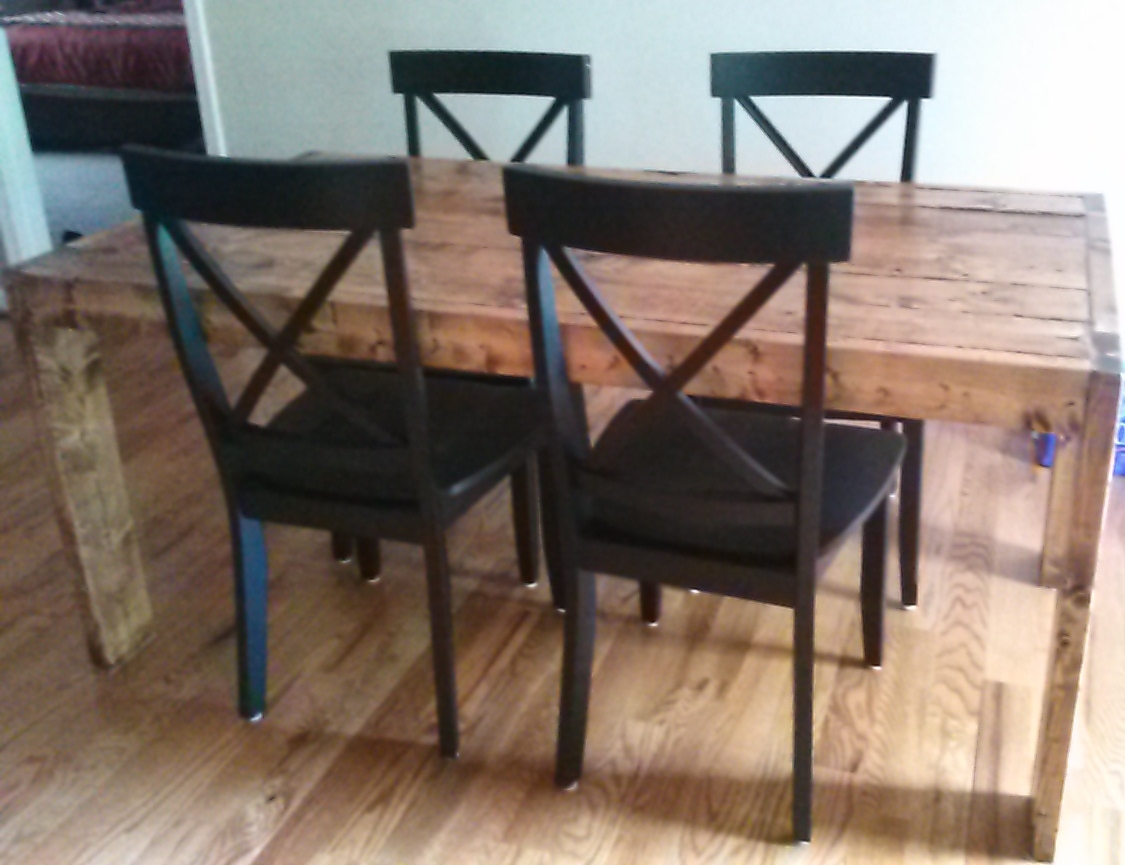
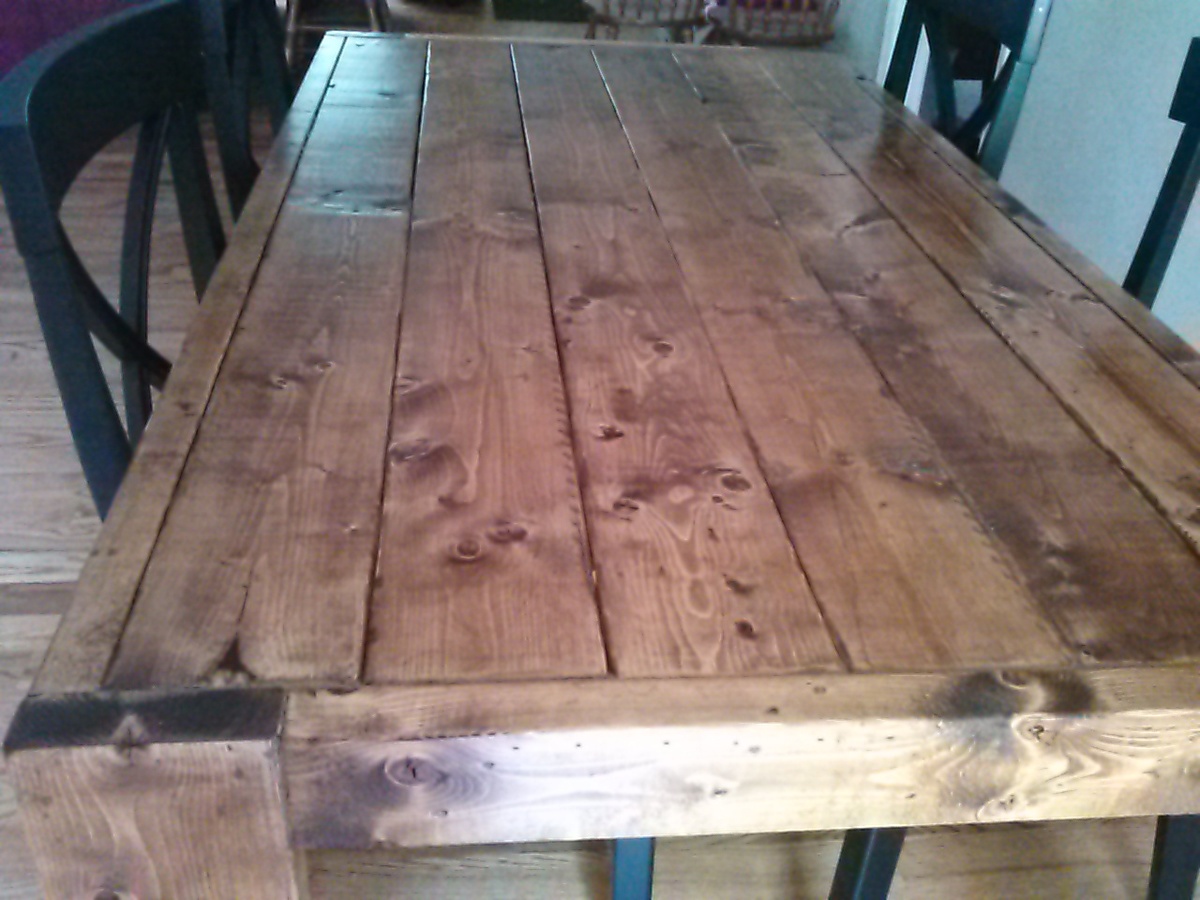
This was my first woodworking project. Thank you Ana for providing the plan and making it easier for me.
Thu, 05/15/2014 - 07:43
This was a fairly simple plan and I'm thrilled about how the table looks.
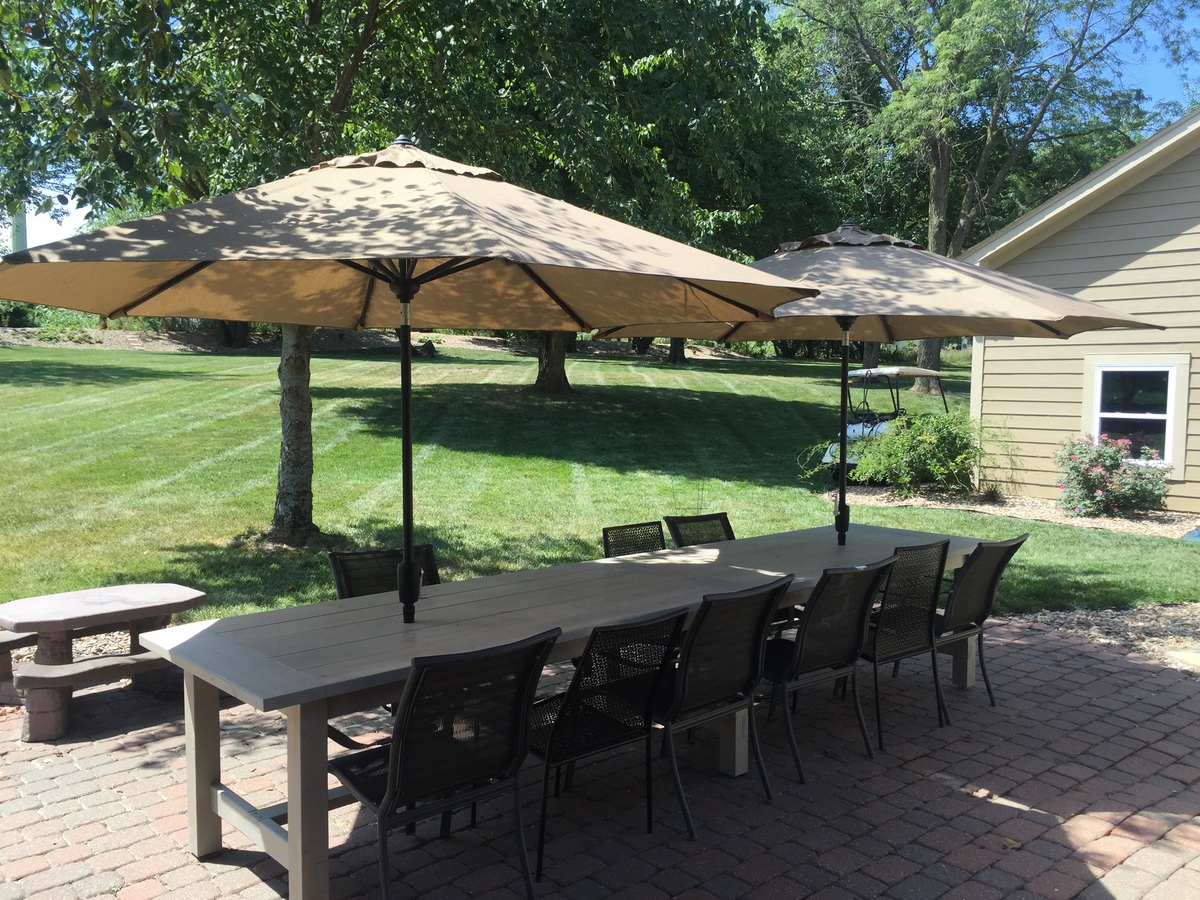
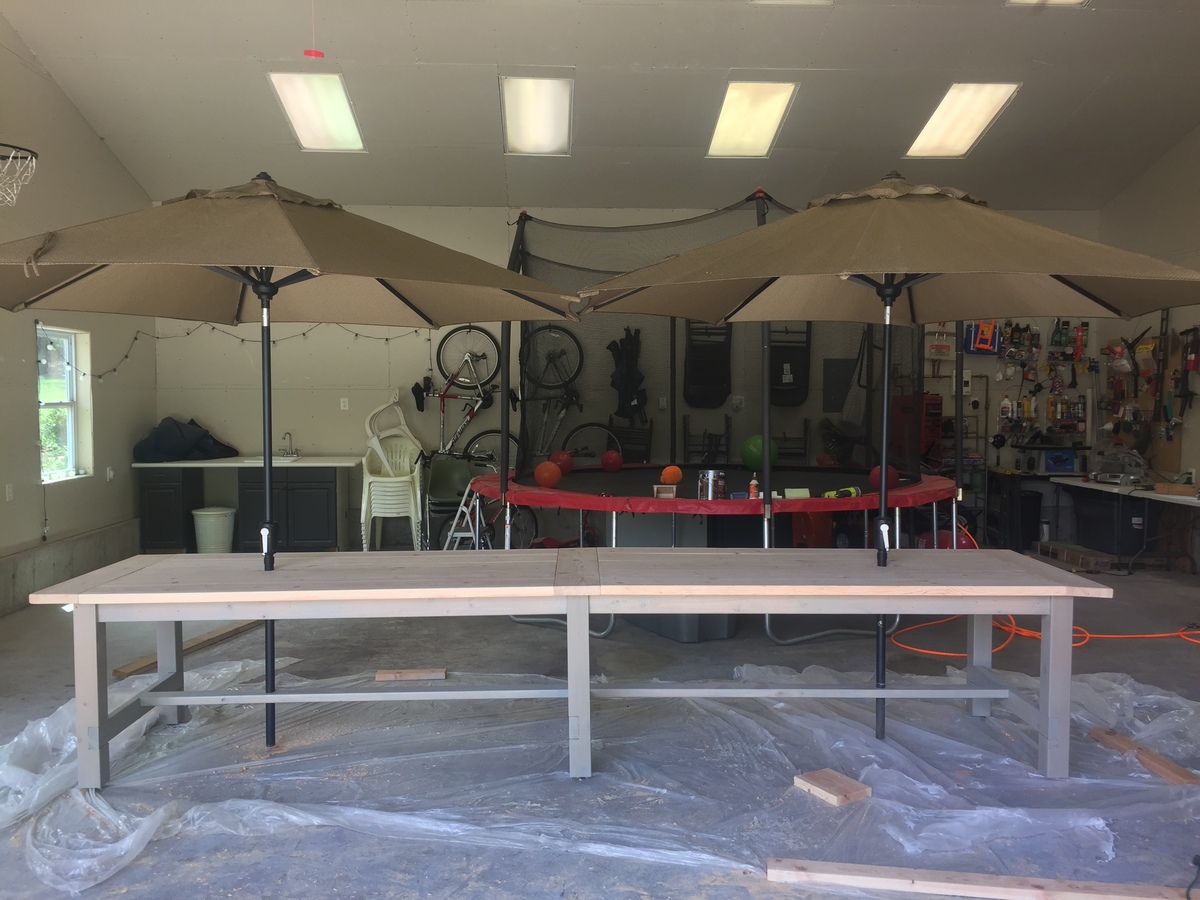
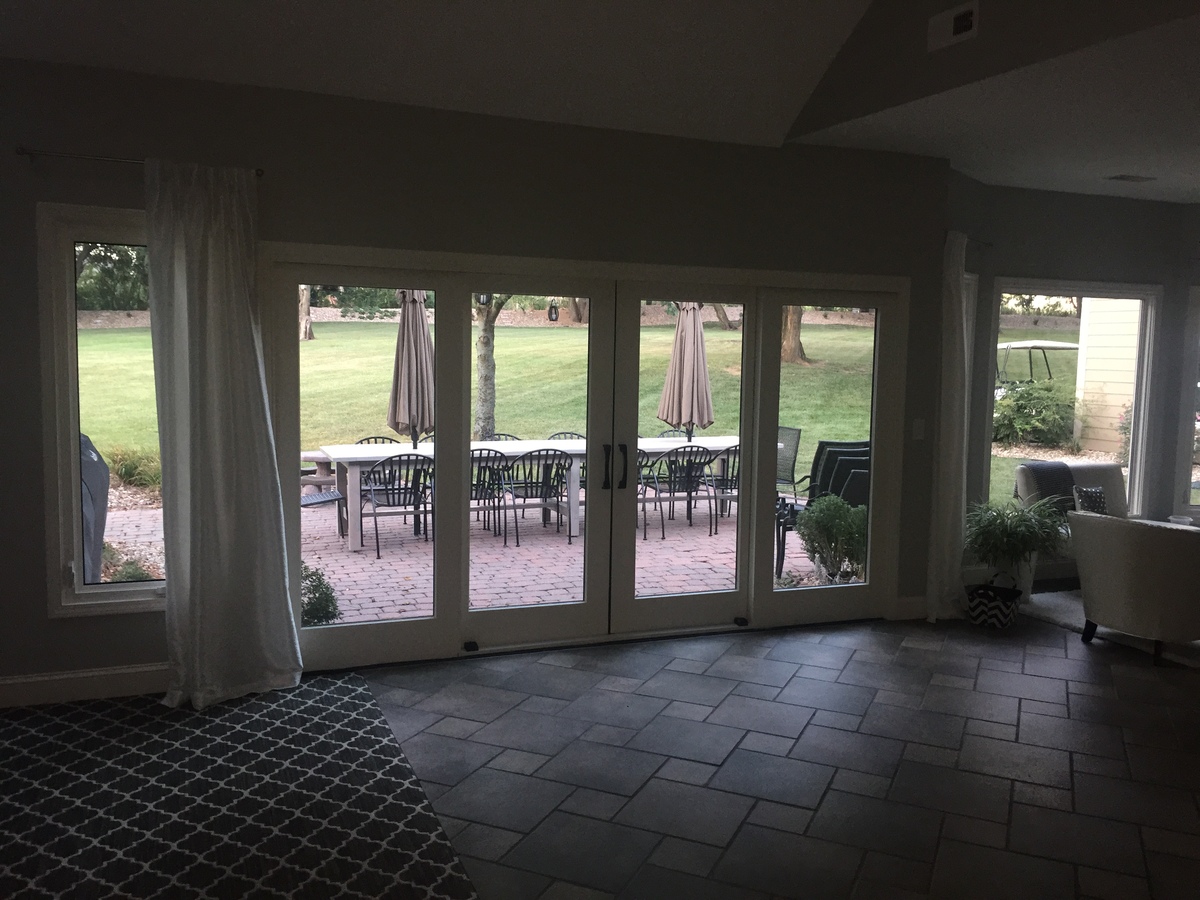
My wife wanted to seat 14, so I basically doubled the plan with a few extra inches on each side. We also wanted umbrellas, so drilled holes where they would just meet. The stain is the Behr semi-transparent deck stain and sealer in Harbor grey.
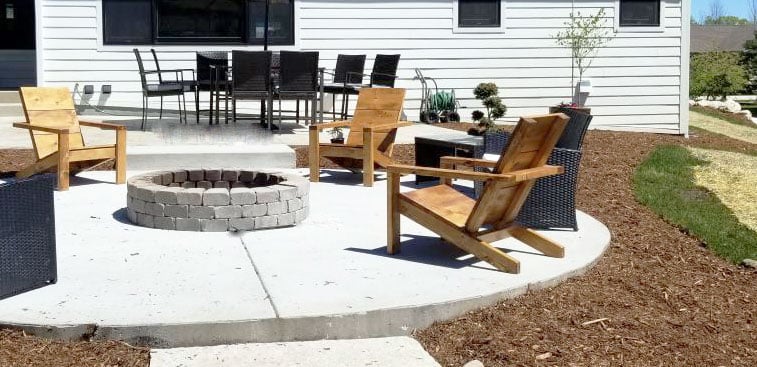
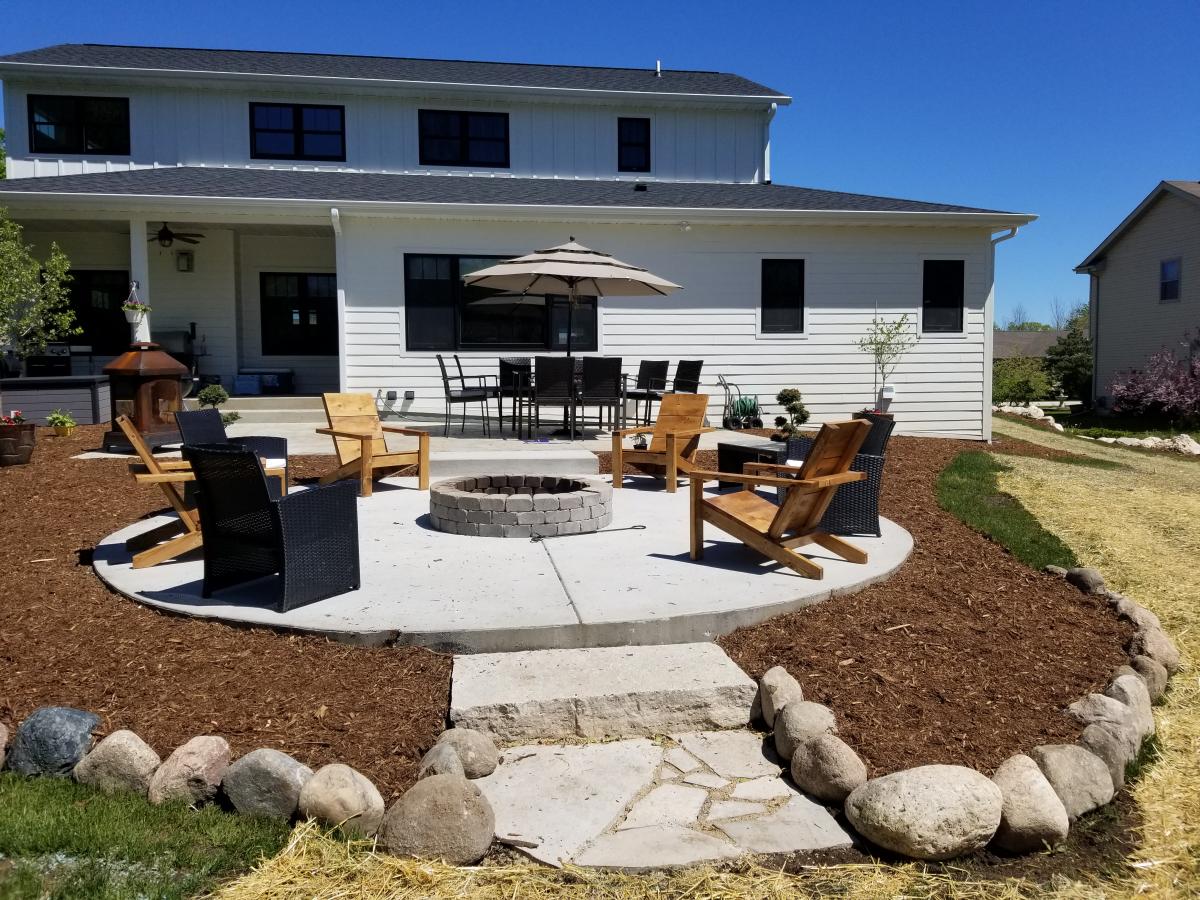
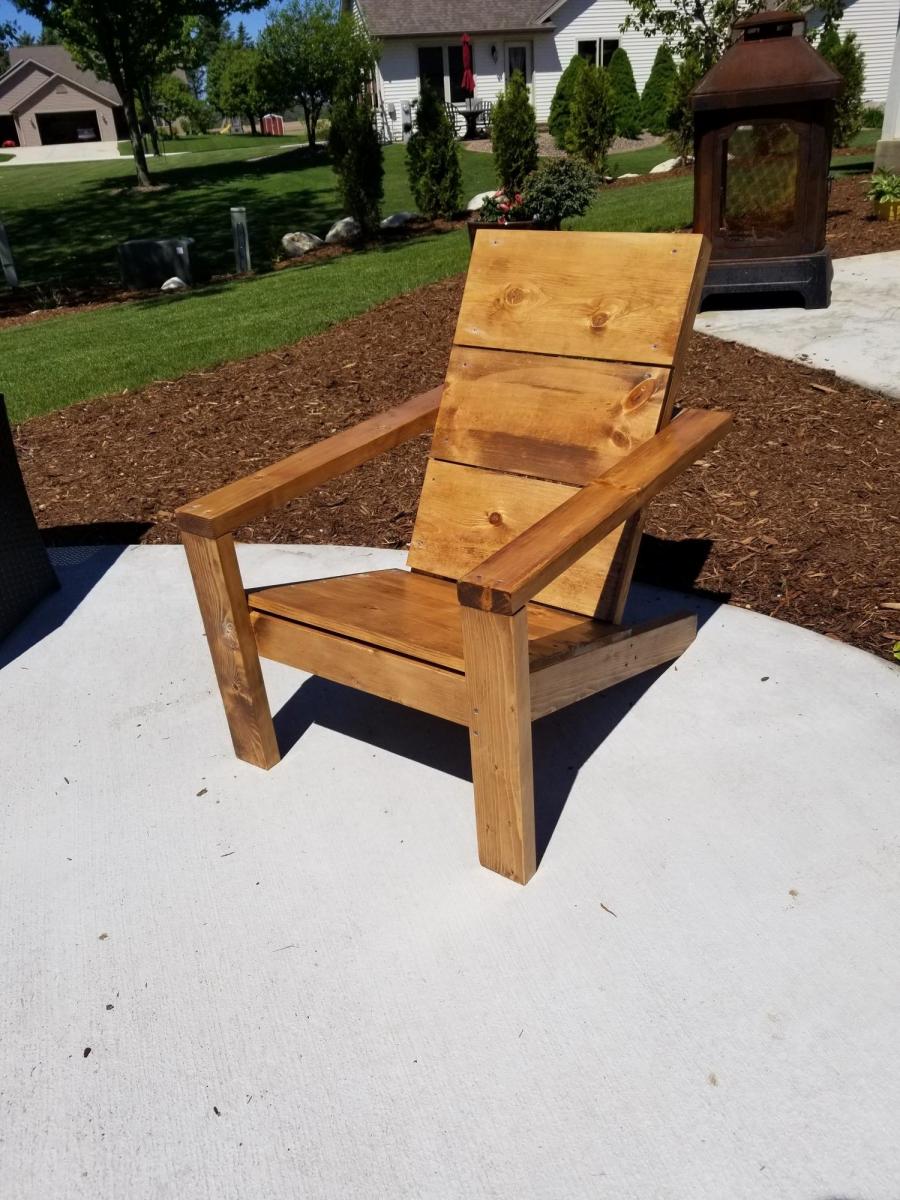
I made 4 of these chairs for around our fire pit. I chose to sand stain and poly before assembling and plan to add another coat of poly now that they are assembled. Sanding was the longest part of the process for me, but if you aren't as particular as I was about the finished project the time investment would be substantially reduced. I also of course had drying time for the stand and poly. Assembly itself was simple and the finished chairs are comfortable and sturdy without being overly heavy and bulky.
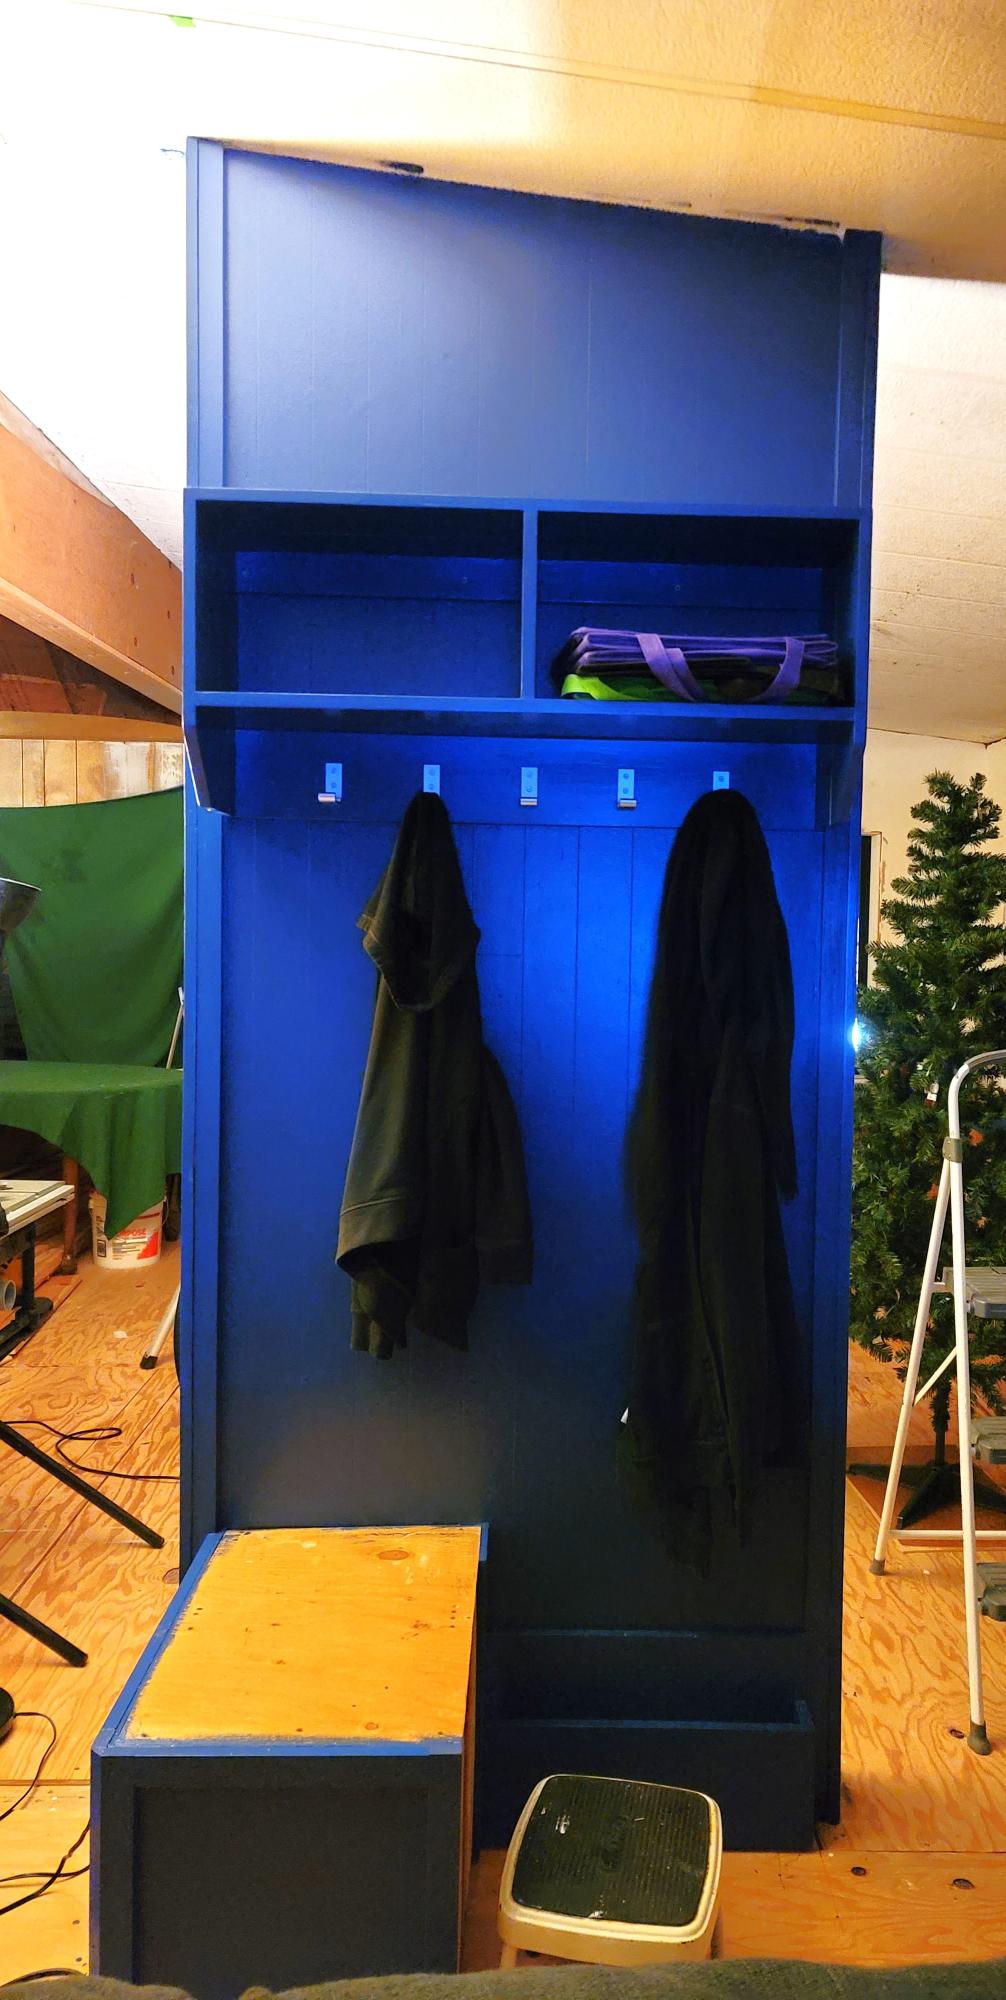
Happy to share this completed project based on Ana White entry shelf with hooks plan. I have a place to land when I come in the door!
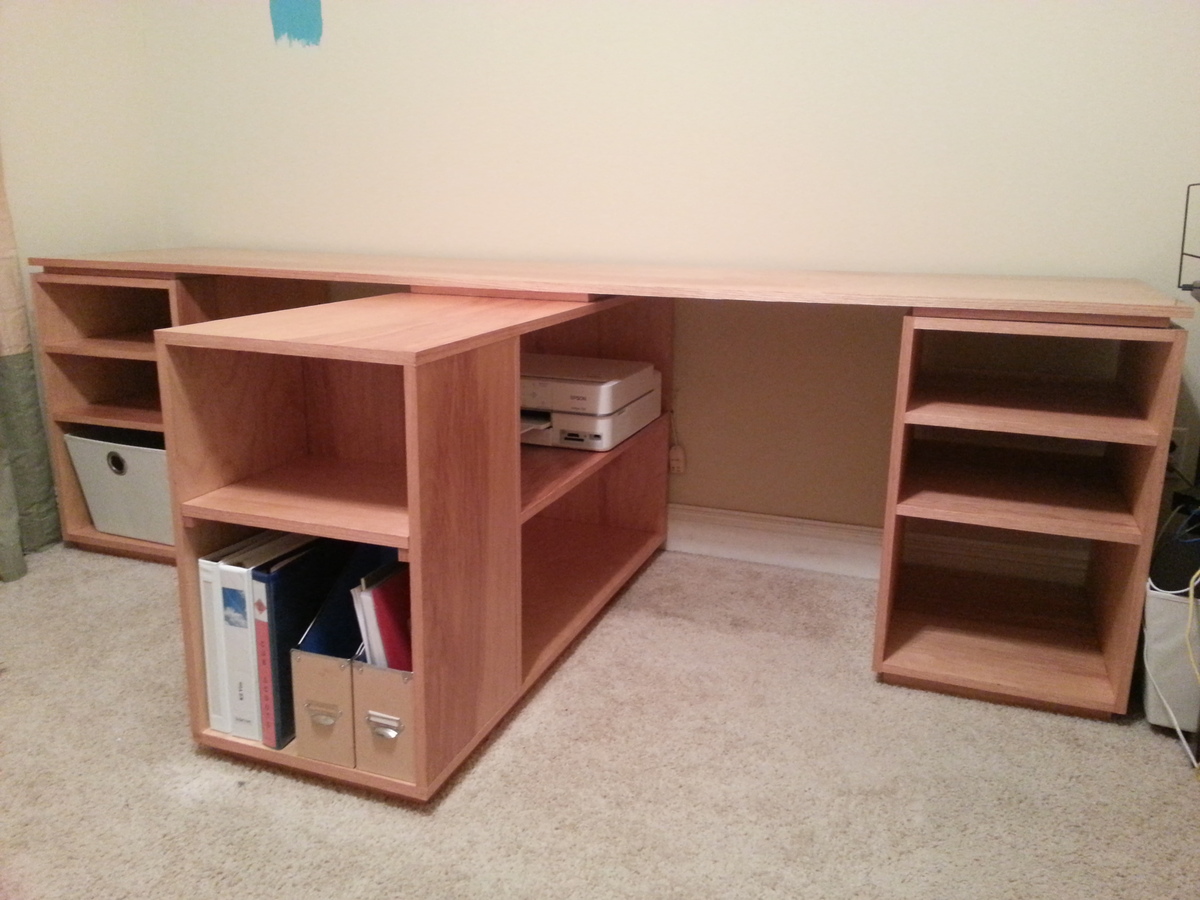
This was our first project! We built it exactly like the plans. We finished it with a clear satin poly and we are thrilled with the results. Next we plan to paint the room.
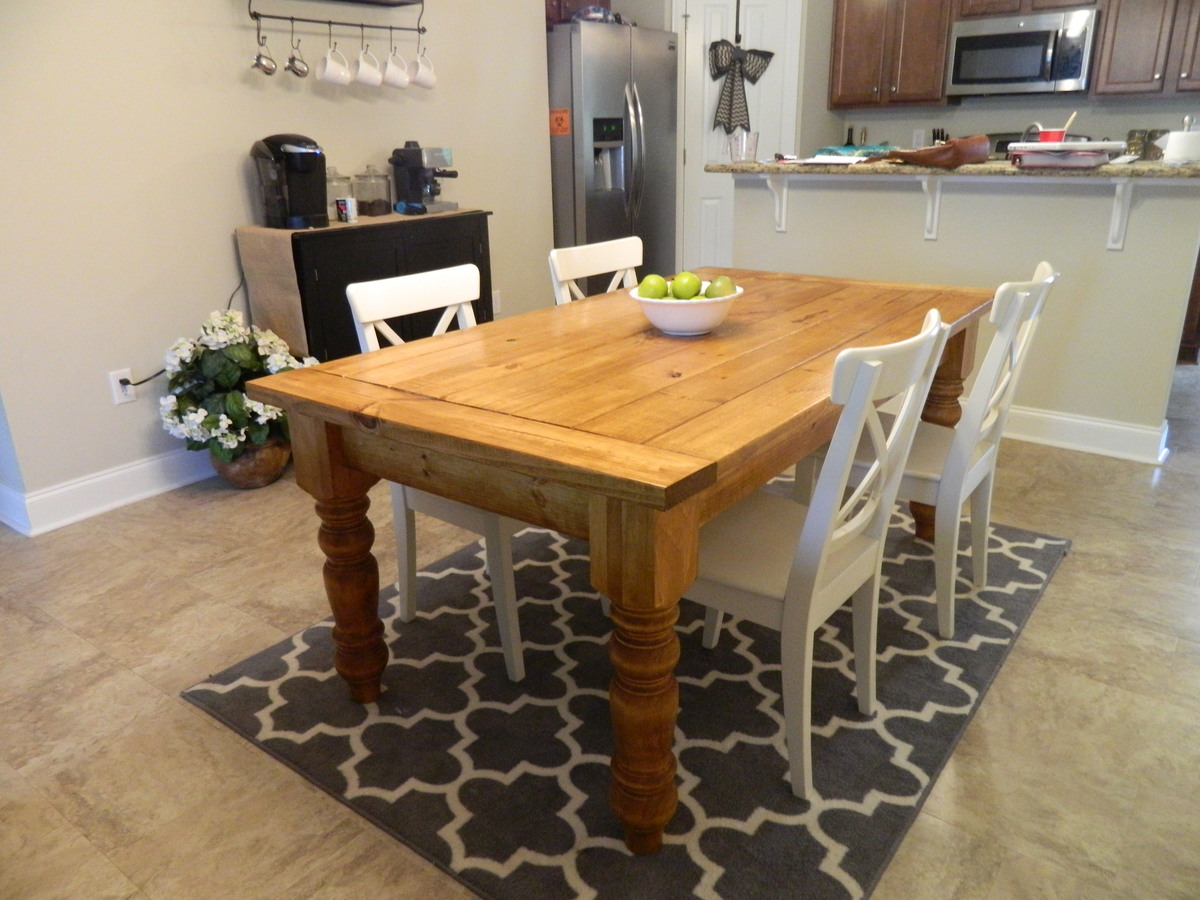
I love building my own wood furniture so that I can have beautiful pieces of furniture in my home while saving money! And while this project definitely cost more than the others I have done, I am so glad I splurged on the table legs. They ran me about $260 after tax and shipping costs, but I really think they give the table that extra OOMF! So a total of about $300 is nothing compared to a price tag at Pottery Barn or Restoration Hardware!
I chose this stain because I really wanted something to contrast with our dark leather couch and white dining chairs and this stain was even more perfect than what I expected it to be.
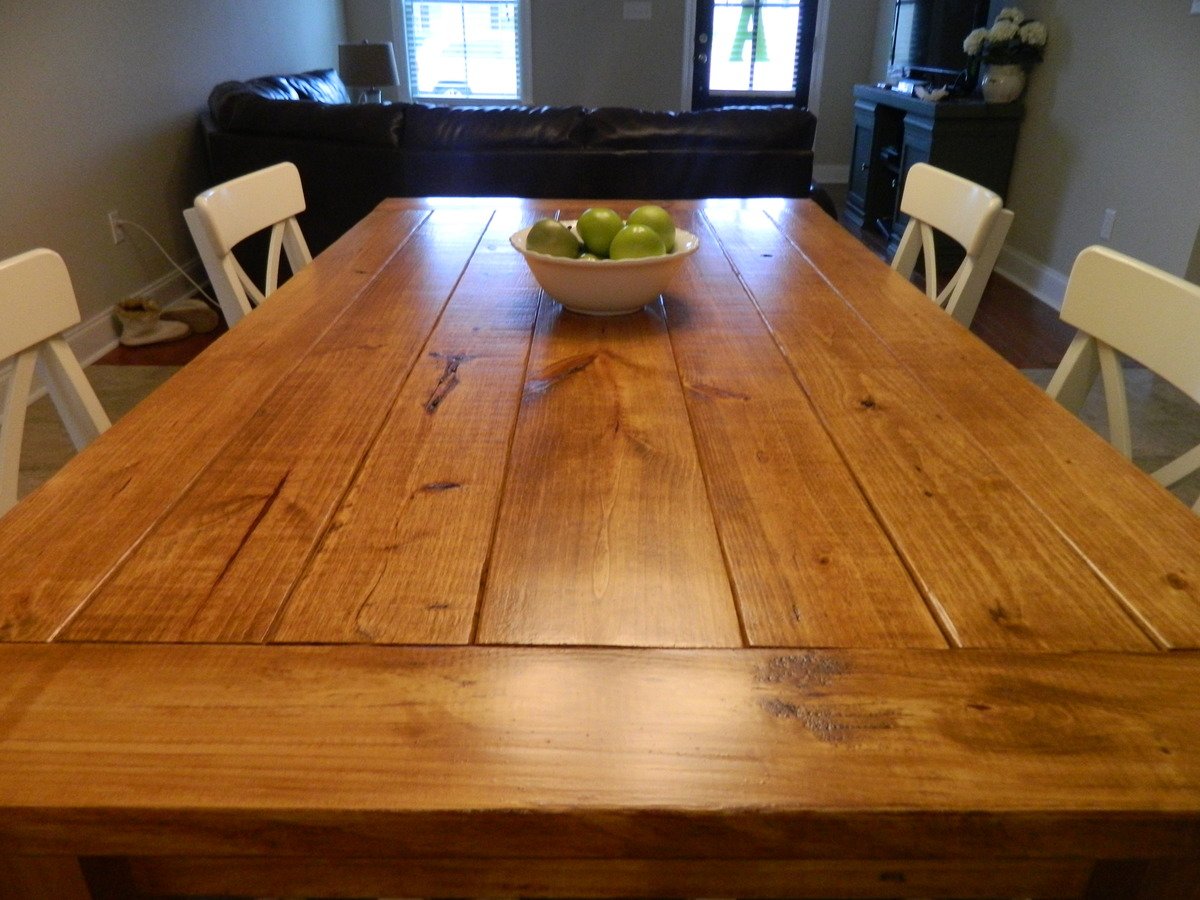
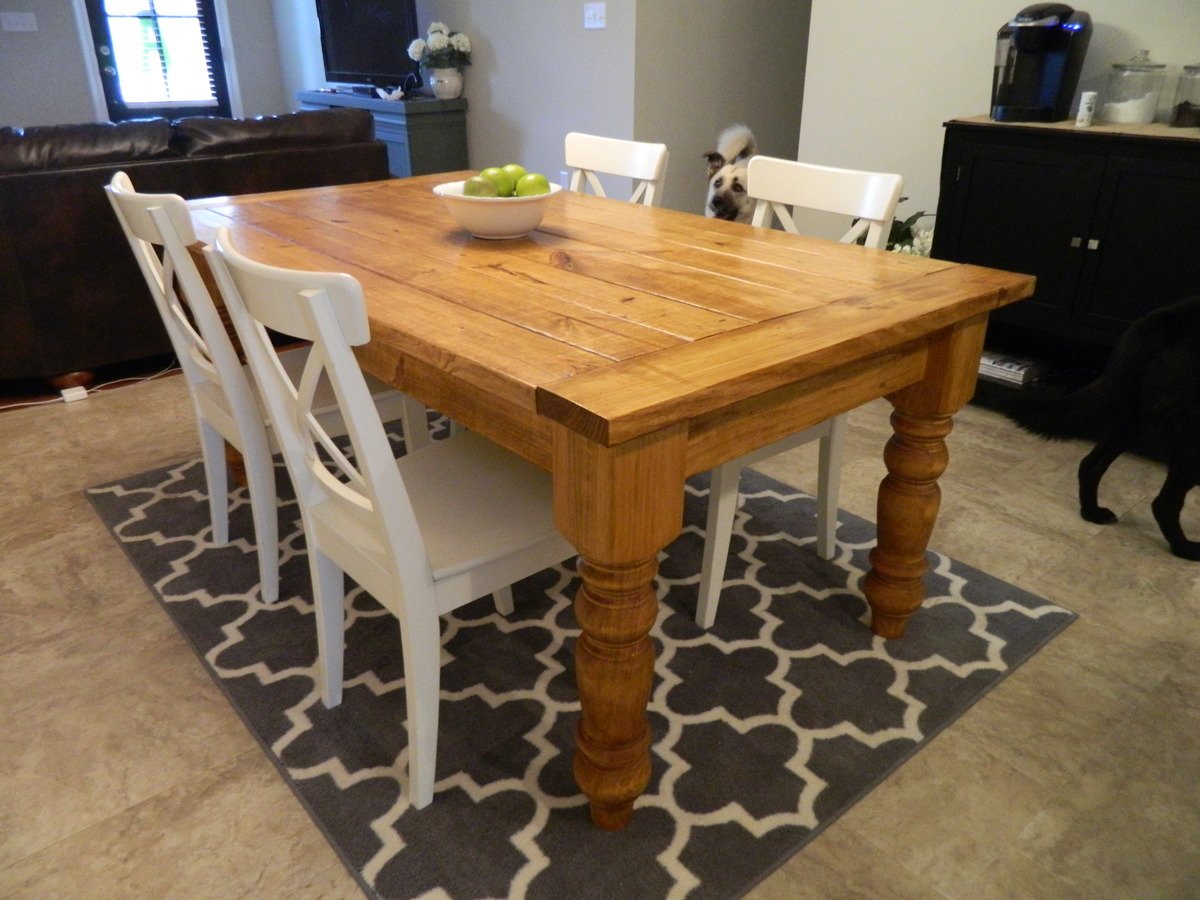

My first building project ever. Love it and plan on putting it in my dining eventually
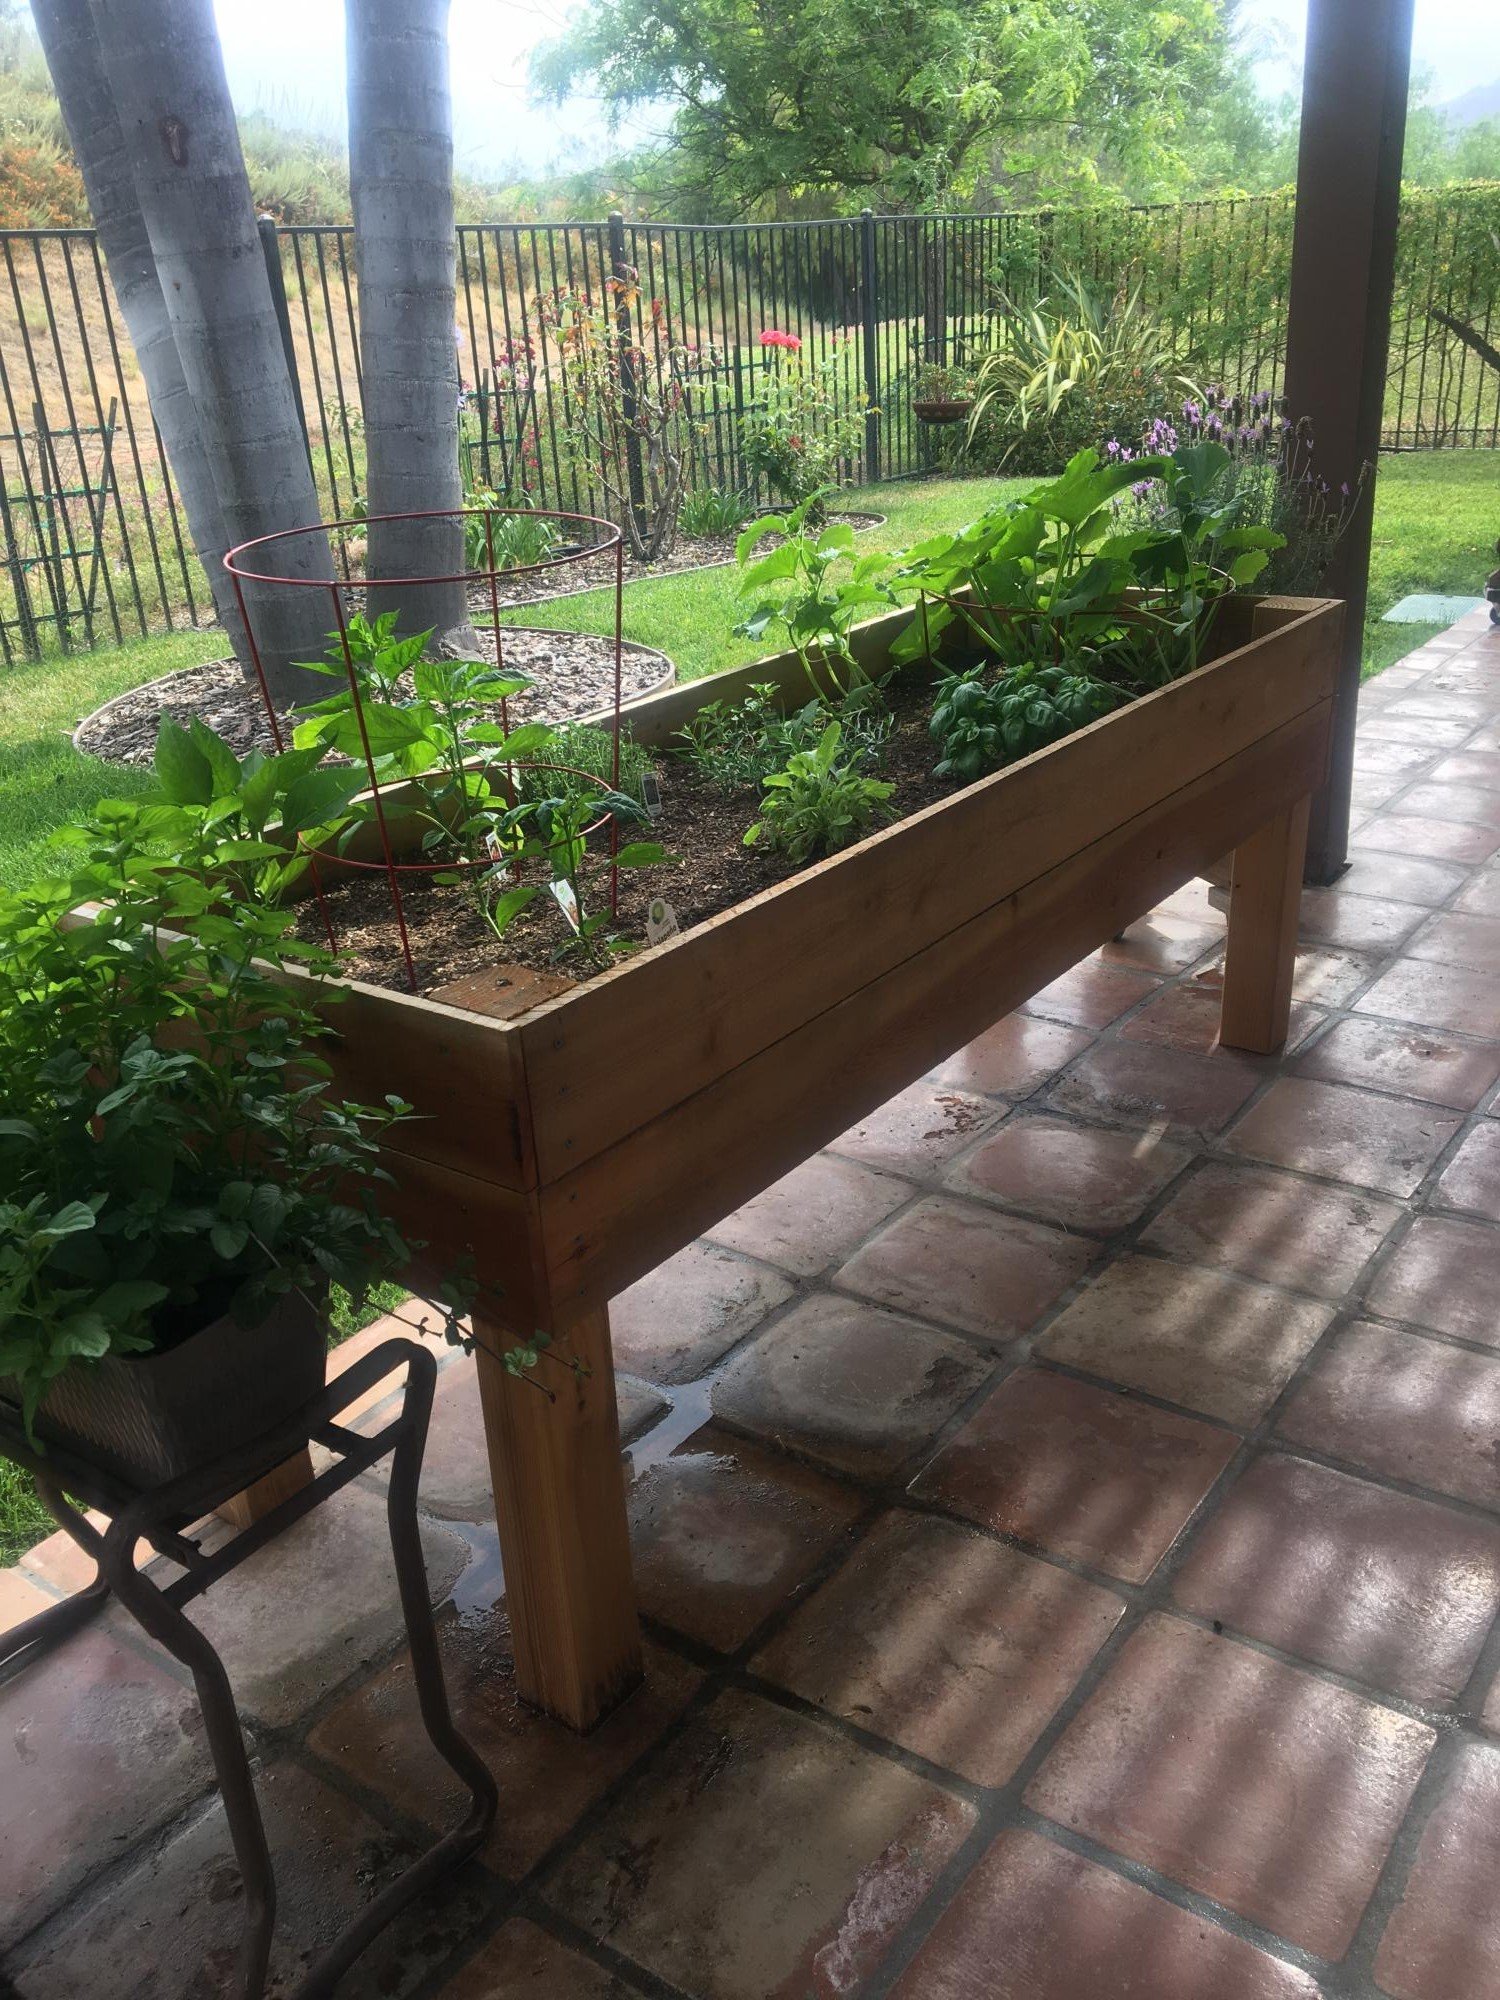
Hey Ana,
I saw your raised bed planter and decided to tackle it for ourselves. It measures 2'x8' and stands 28" to the bottom of the planter. I used redwood fencing for the sides and bottom at a cost of $1.79 each. I didn't use the wire mesh for the bottom but drilled 1/4" holes in the redwood fencing for drainage.
Thanks for the idea!!
Mike Howell
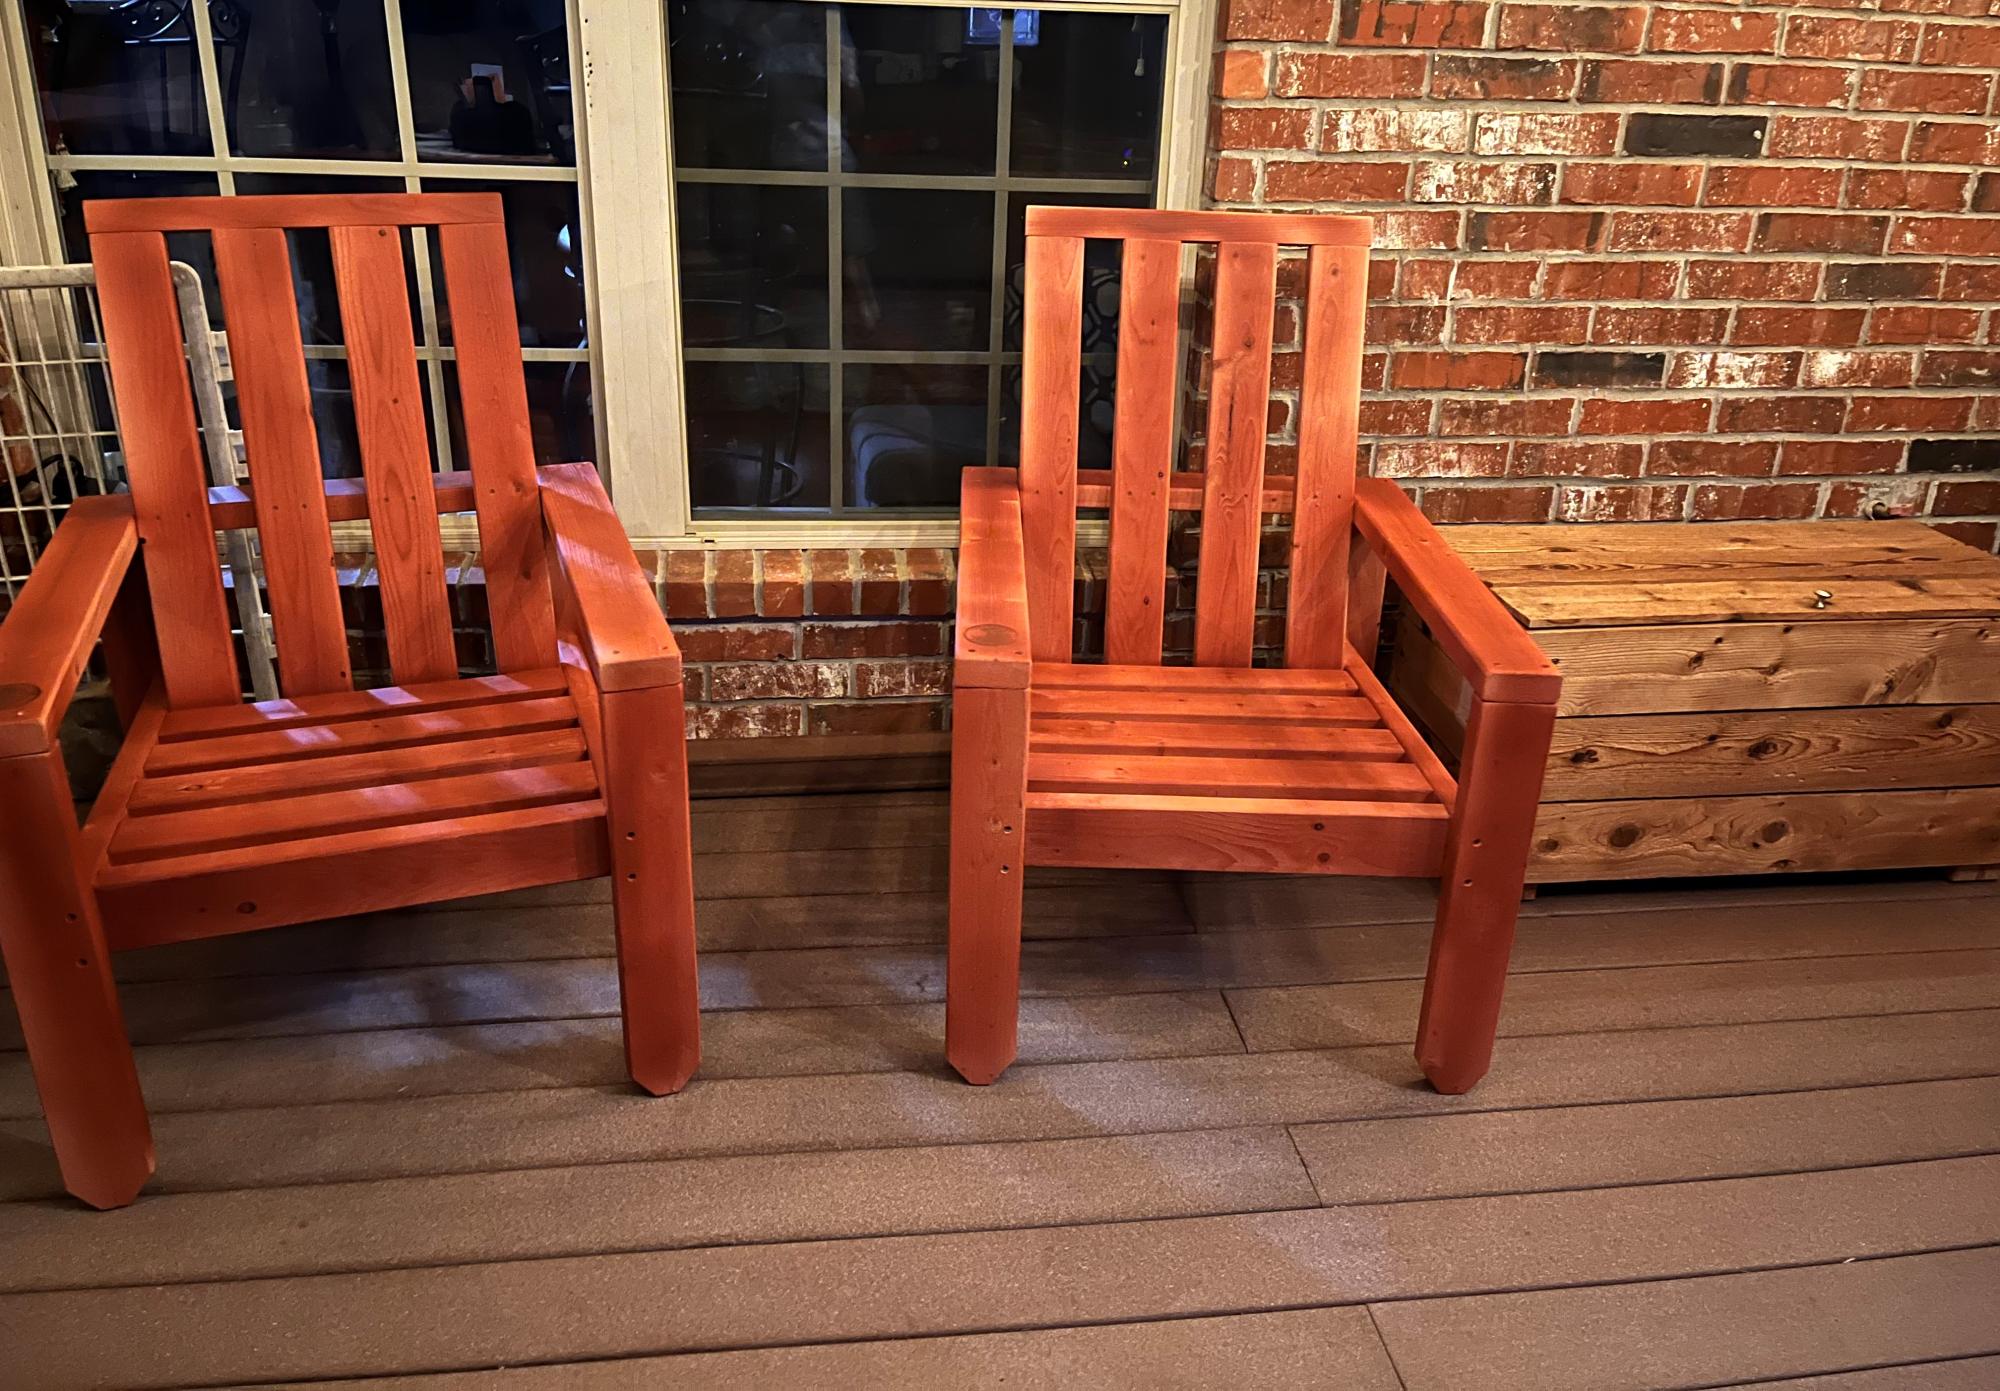
Ana White chairs along side my Ana White cedar storage chest (one of my 1st builds). Ana, thank you for the plans & for inspiring us to build!
Keith from Springdale, AR
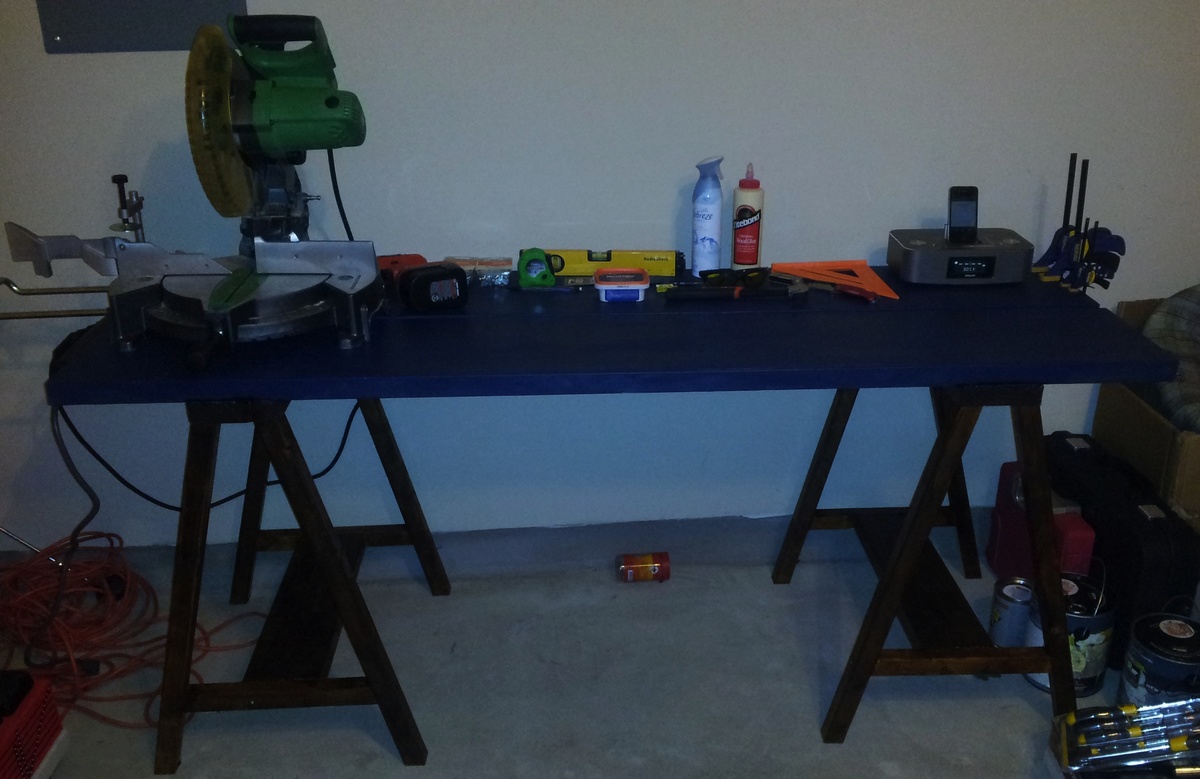
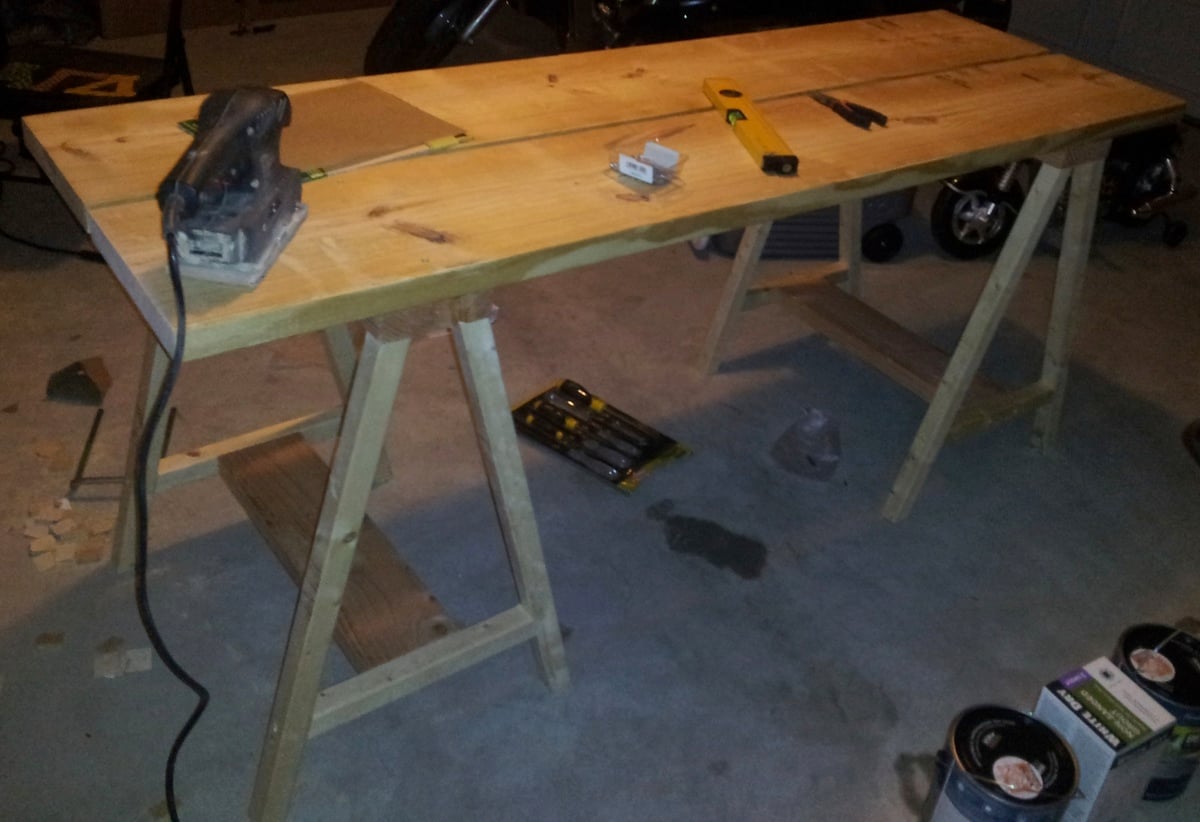
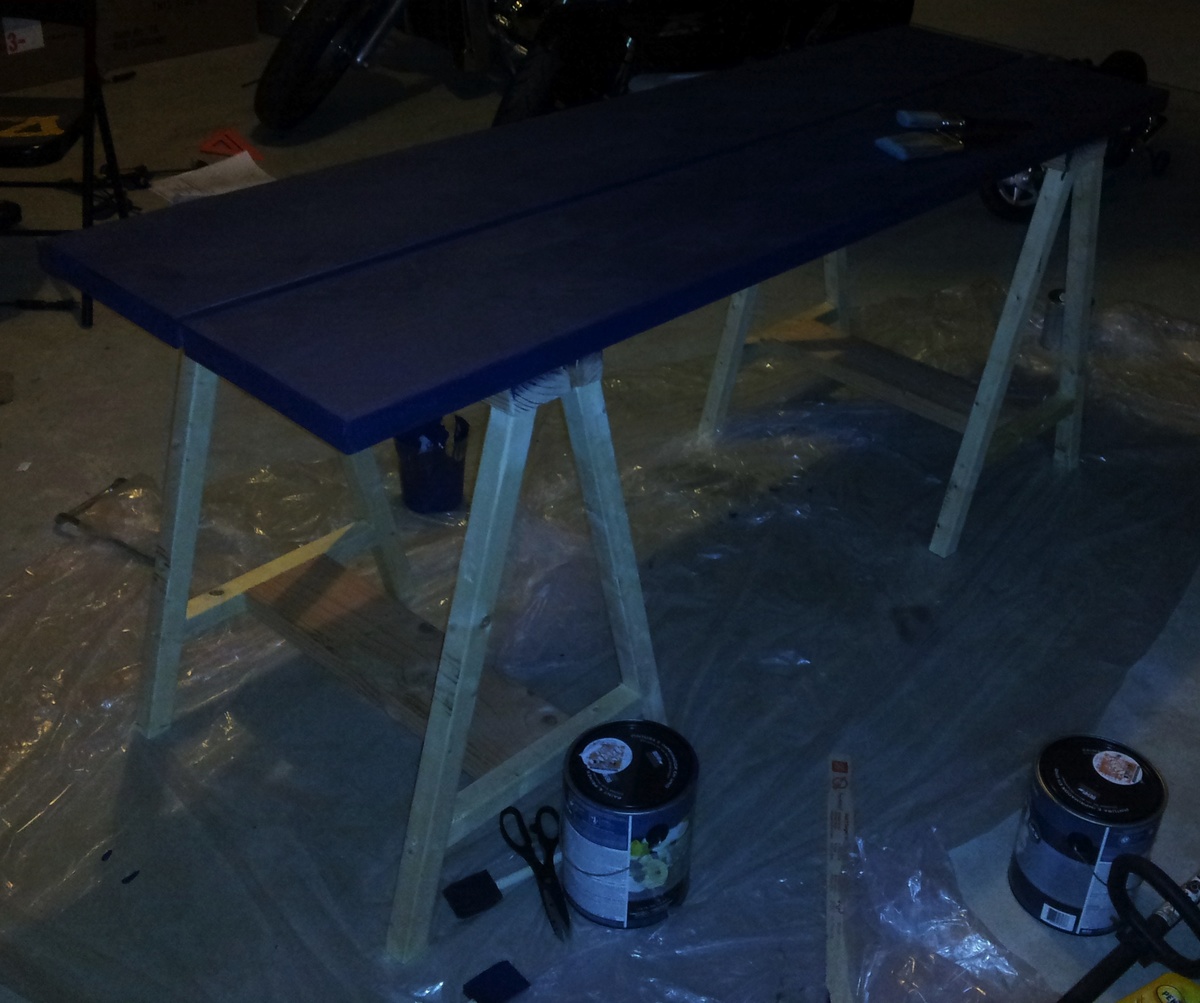
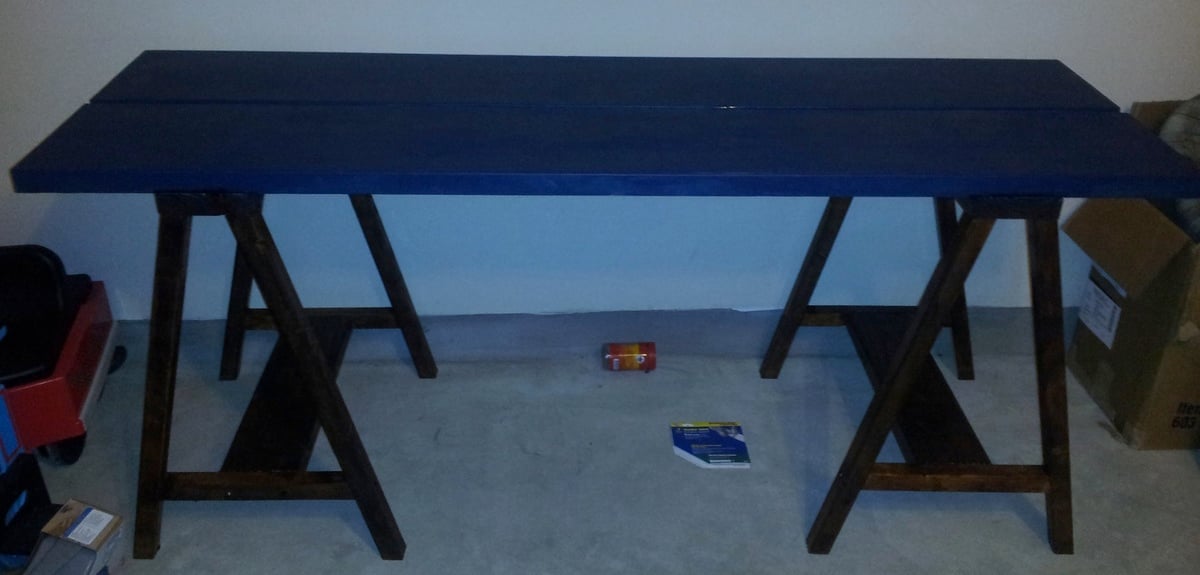
This was my first project off of Ana's site. I followed her simple sawhorse table plans verbatim. The only thing different I did was use a self-made chalkboard paint for the top (instructions under the finish section) and added screws to the left side to mount my power strip with (easy on and off for everything on the bench). I made the top a chalkboard top so that I could write notes on the table and mark measurements for various projects. Costs were $30 for wood (some leftover), $8 for paint, $2 for screws, and $5 for surge protected power strip. If you have any other questions please let me know.
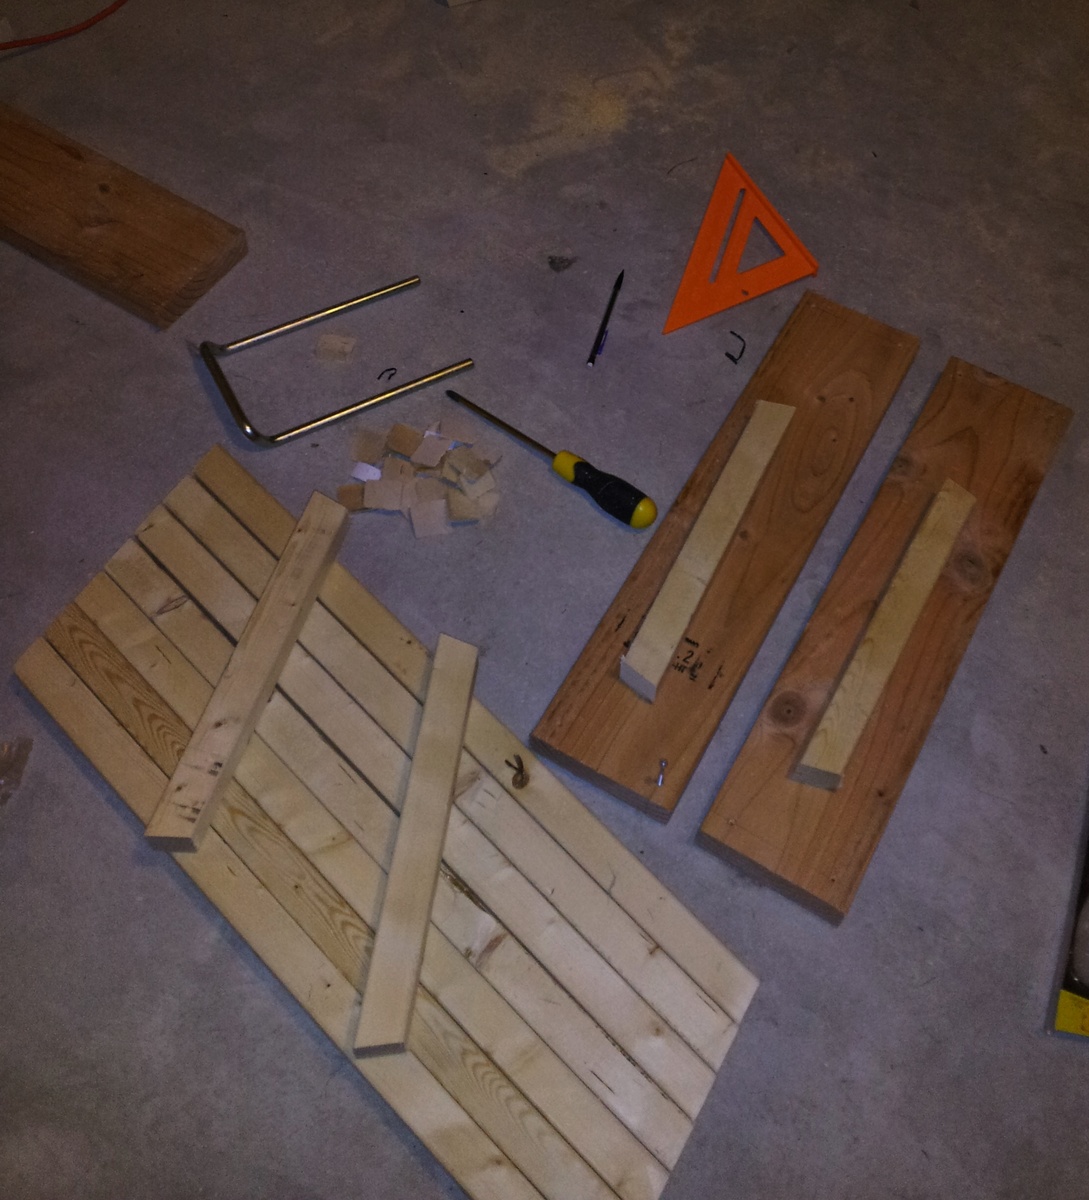
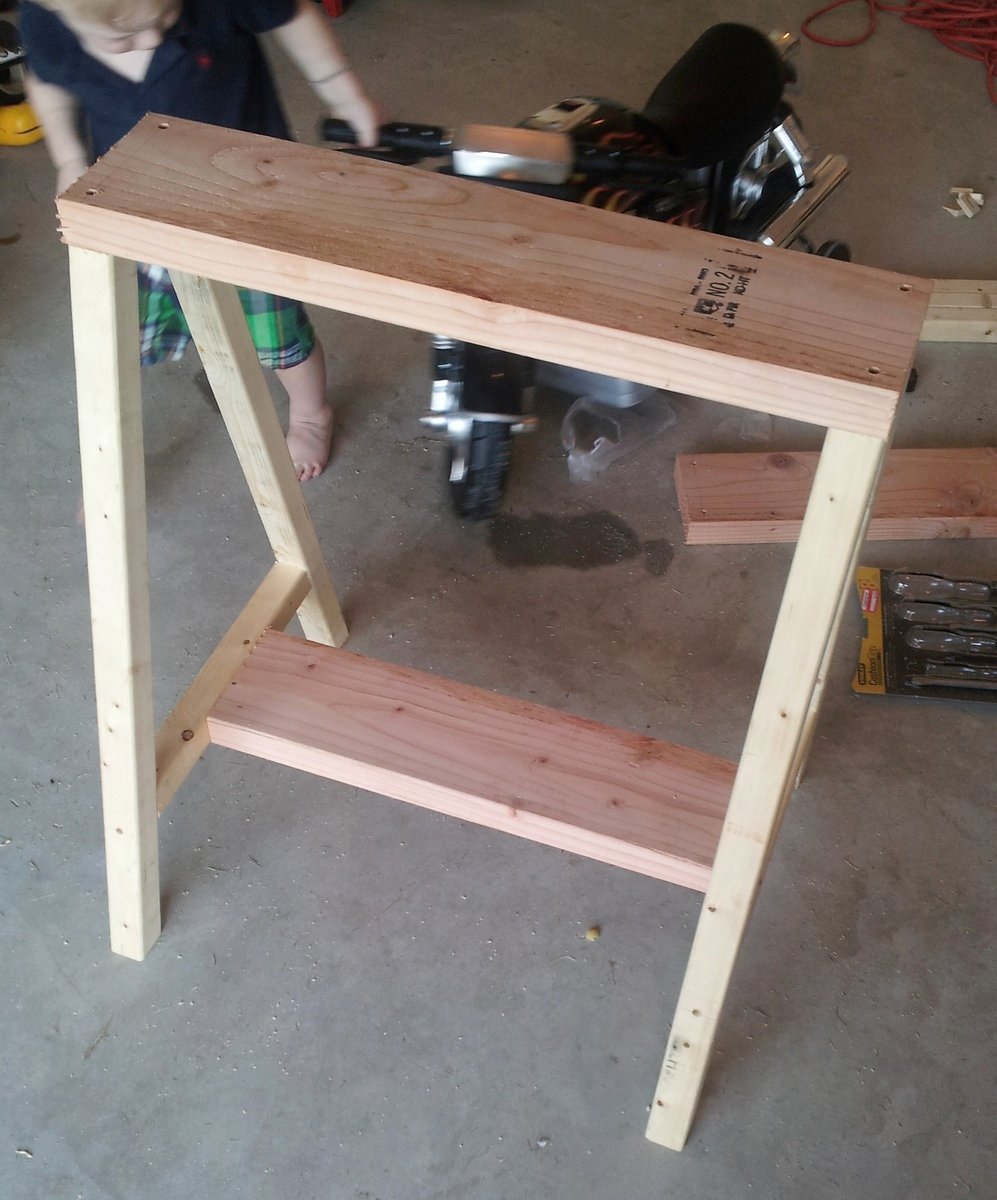
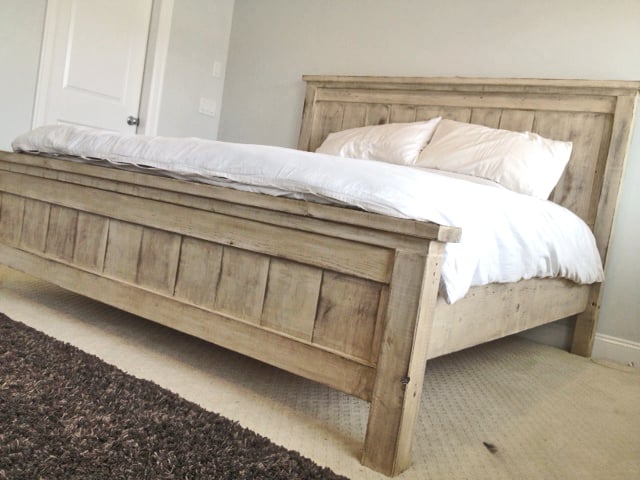
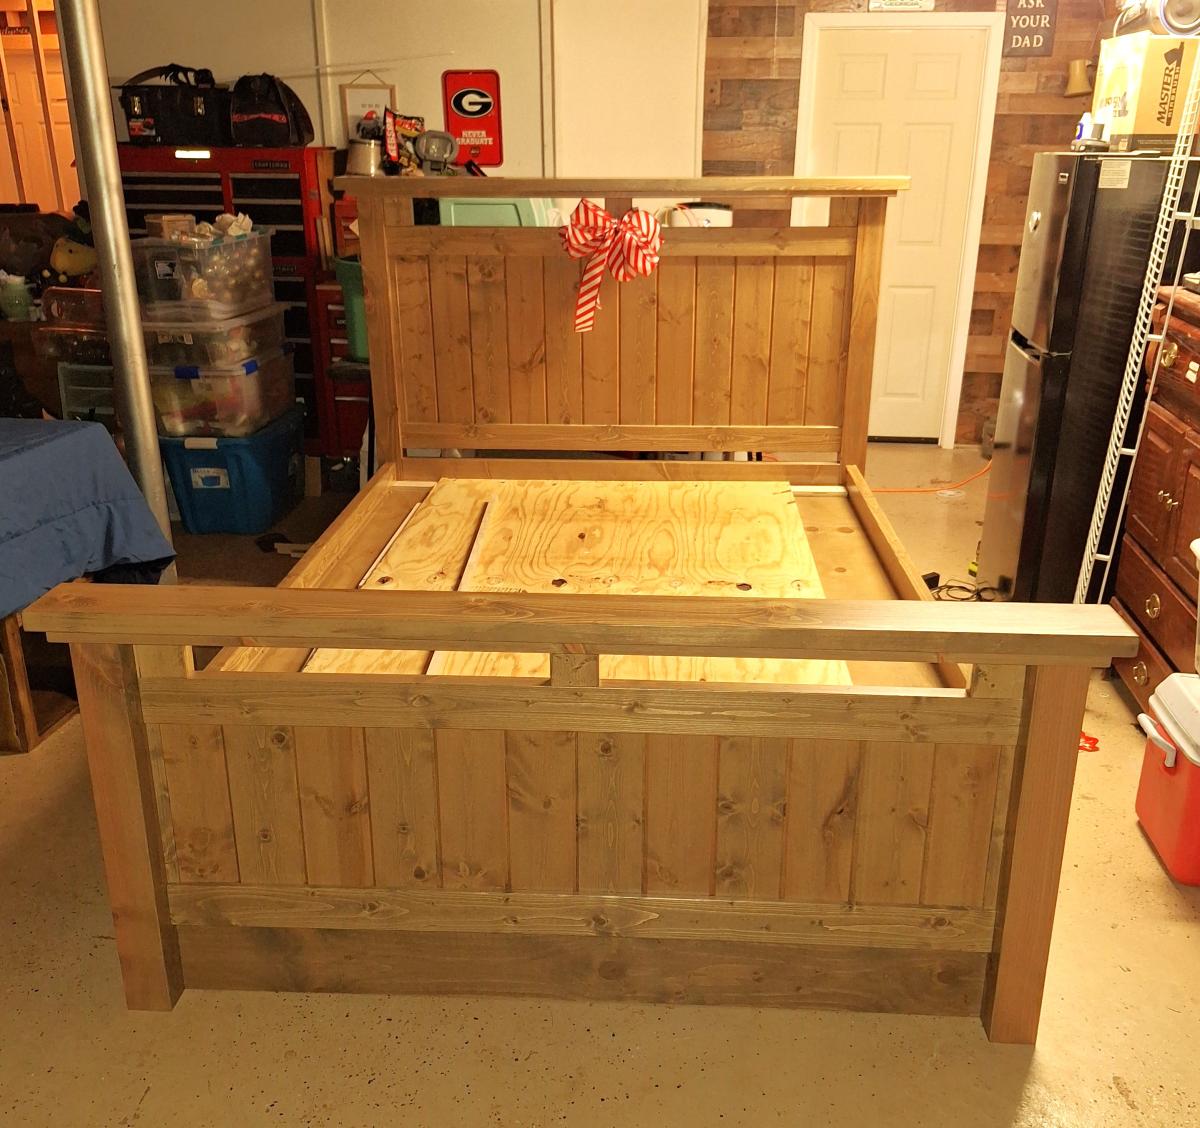
Second project ive completed from Ana White, and I am very happy with how this bed turned out! The only thing I would fix would be the finish, I wanted it a bit whiter. not so creamy. Otherwise very quick and easy fun project to do. =)
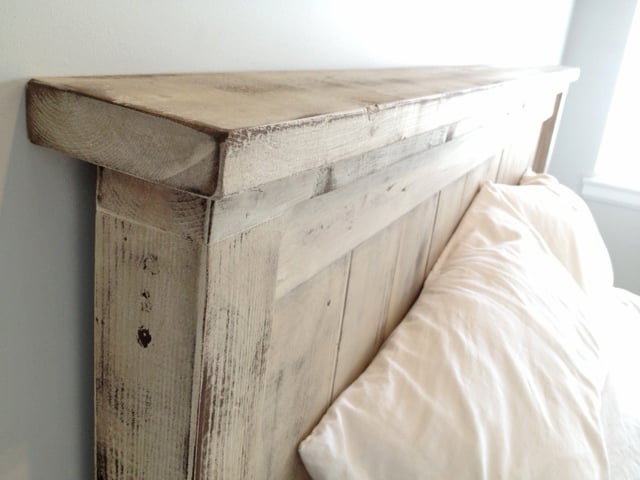
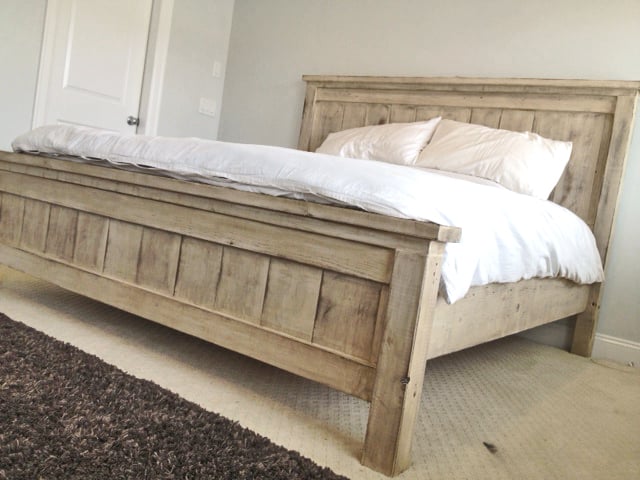
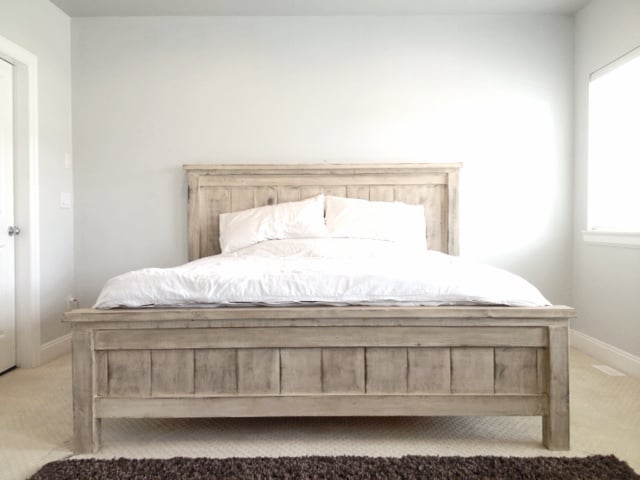
Thu, 05/22/2014 - 16:34
Thank you for sharing all of these awesome projects. I was always hesitant when it came to wood, but now I cant seem to stop!
Tue, 06/10/2014 - 08:13
How exactly did you achieve this finish? sand first, paint second, sand again and then stain?
In reply to More about your finish by JGoates
Wed, 06/11/2014 - 13:43
(You can do all this before or after your project is put together or not.)
Be sure to do a test piece before hand so you can see exactly what your getting :)
The first step I did once the head board and foot board were put together, was to sand any sharp edges or corners. I liked mine rounded and worn looking. I did not sand anything else.
Second step is to paint 1 even coat of a basic white latex paint.
Third step is to sand away some white paint. because we didnt sand it before hand the grains in the wood will be very bumpy. so the paint on the grains will sand off while the paint lower than the grain will remain. makes sense? hopefully i explained that right!
Fourth step is to now wipe on the stain of your choice. I went with Dark walnut. It stains the paint a bit bringing the white to a gray/brown tone. and stains the wood dark walnut so the grain patterns show up dark.
Let me know if you have any other questions and good luck!
Thu, 01/29/2015 - 07:49
What grit of sand paper did you use to sand off the white paint? and did you sand it by hand? Also, for the dark walnut stain, did you wipe off immediately or leave it on for a bit before wiping? Beautiful bed, I want to achieve this look!
Fri, 02/06/2015 - 09:15
Hi jbogan15, thank you!
For sanding I used a palm sander with 120 grit to get the job done a bit quicker, than went over lightly with 220. When staining I actually just dipped a rag in the stain and would wipe the stain on. =)
Good luck!
Justin
Fri, 01/27/2017 - 11:05
Love this look! Exactly what I am trying to achieve...A few questions about the side rails. How high did you connect them to the 4x4 posts and exactly how did you connect them? Did you use brackets or screw right into the posts? Thank You!
Thu, 09/05/2019 - 15:07
I have seen several beds from Anna White. I was wondering if the frame require a box spring mattress or not. If not, are the beds lower than what a traditional mattress and box springs are. Thanks !
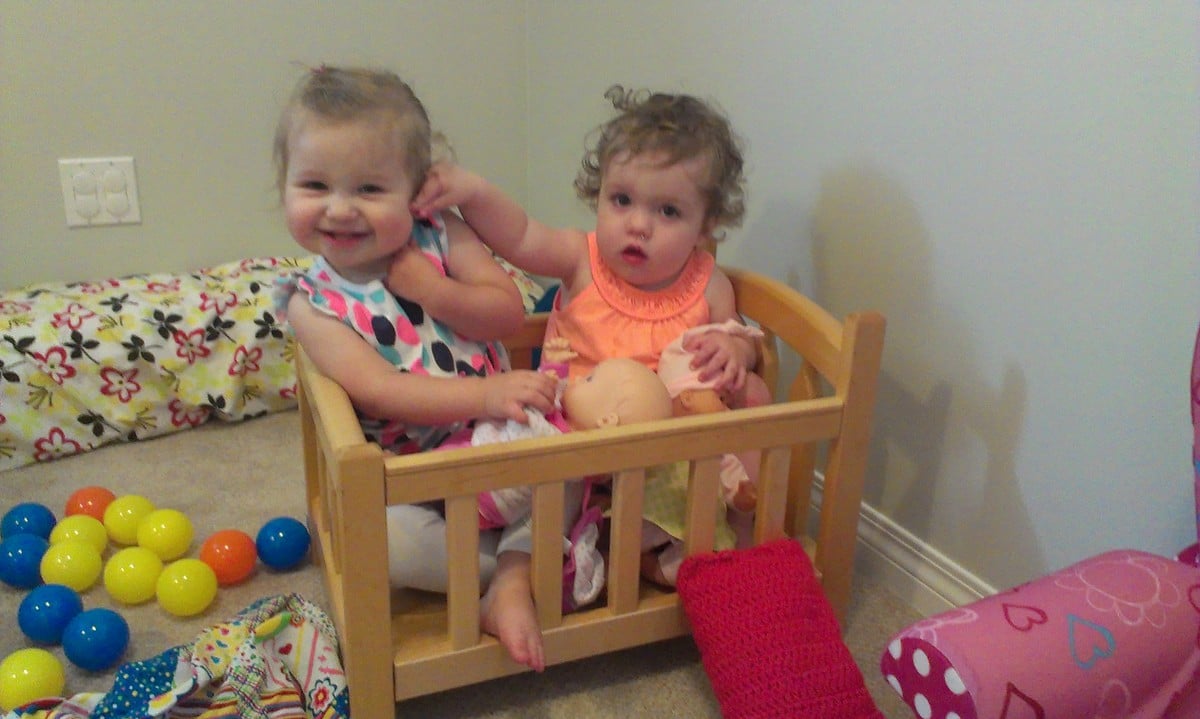
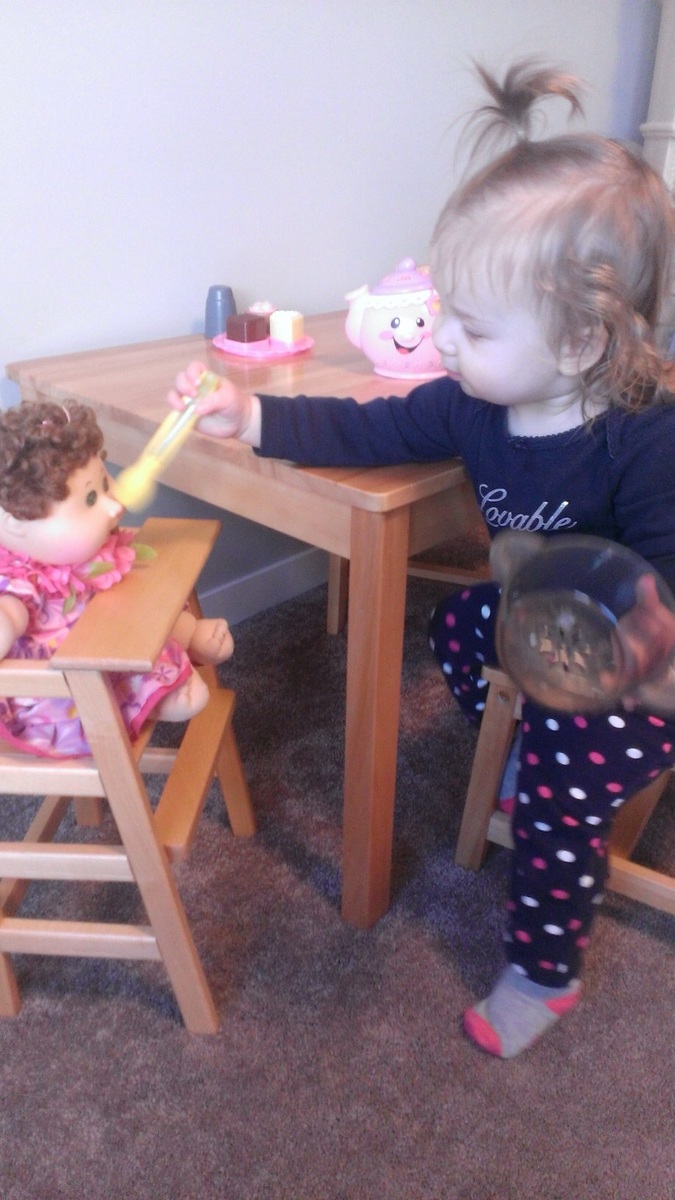
We were trying to figure out what to give our granddaughter for Christmas when the great grandparents arrived with our 2 kids old maple crib from the 80's. After much debate(well, not really, apparently the crib now breaks every law in the book!) we decided to repurpose it into keepsakes. Enter Ana White! We settled on a doll crib and doll highchair. After many design changes trying to best utilize the old wood we came up with these. As you can see they were a hit and luckily very sturdy! There are now 2 doll cribs, 2 high chairs and 4 granddaughters, each family has a set as a keepsake. There are a few scraps left just in case a grandson happens along! Should be enough for a logging truck!
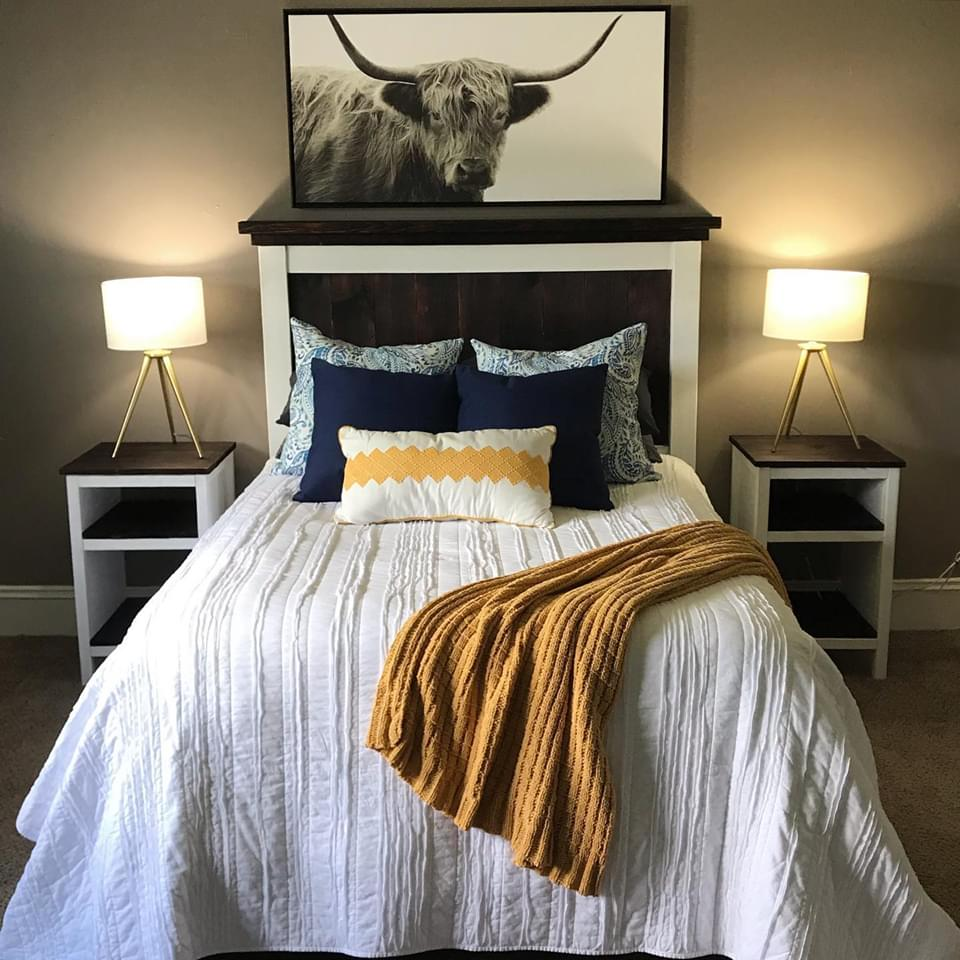
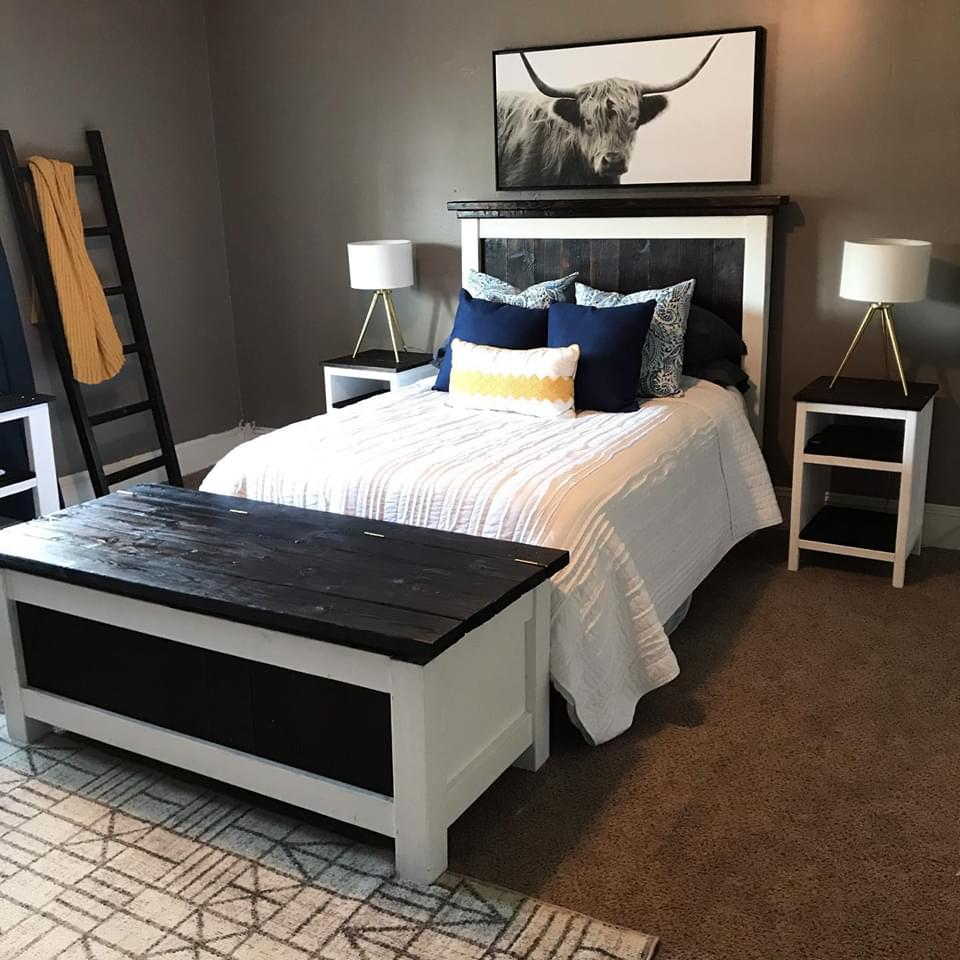
For this project, I made the headboard from the Farmhouse Bed plans. I omitted one of the 1x6 slats to fit to my metal frame. I made two planked wood bedside tables with shelves and I created a lift top bench that was inspired by both the bed, and the side tables. Finally, I threw together a blanket ladder using 2x3s.
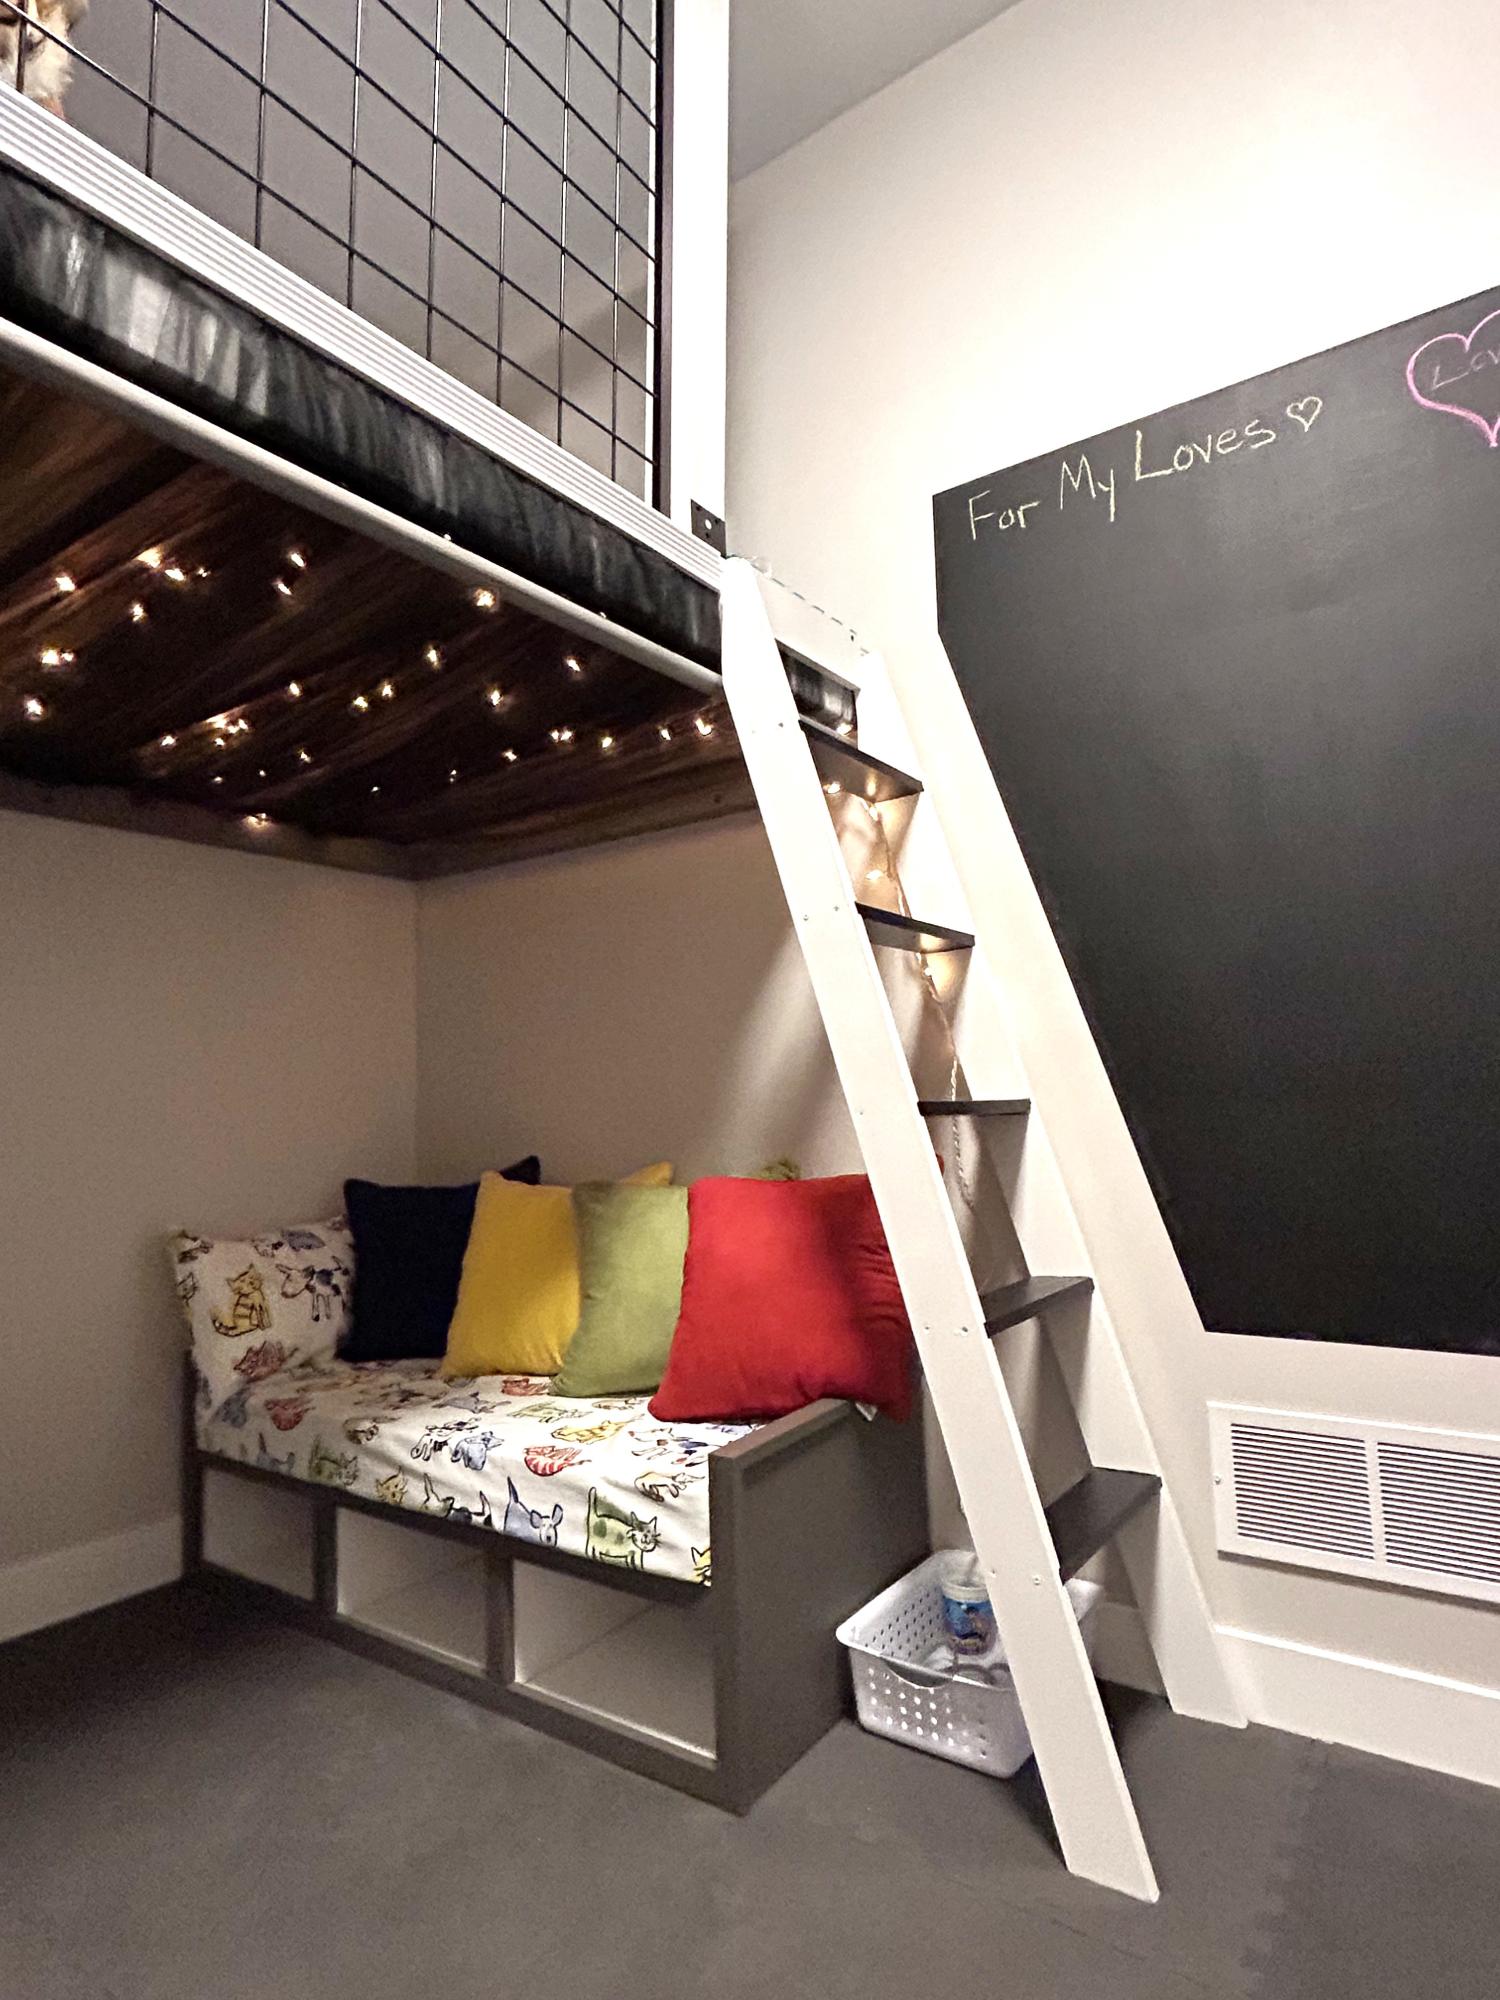
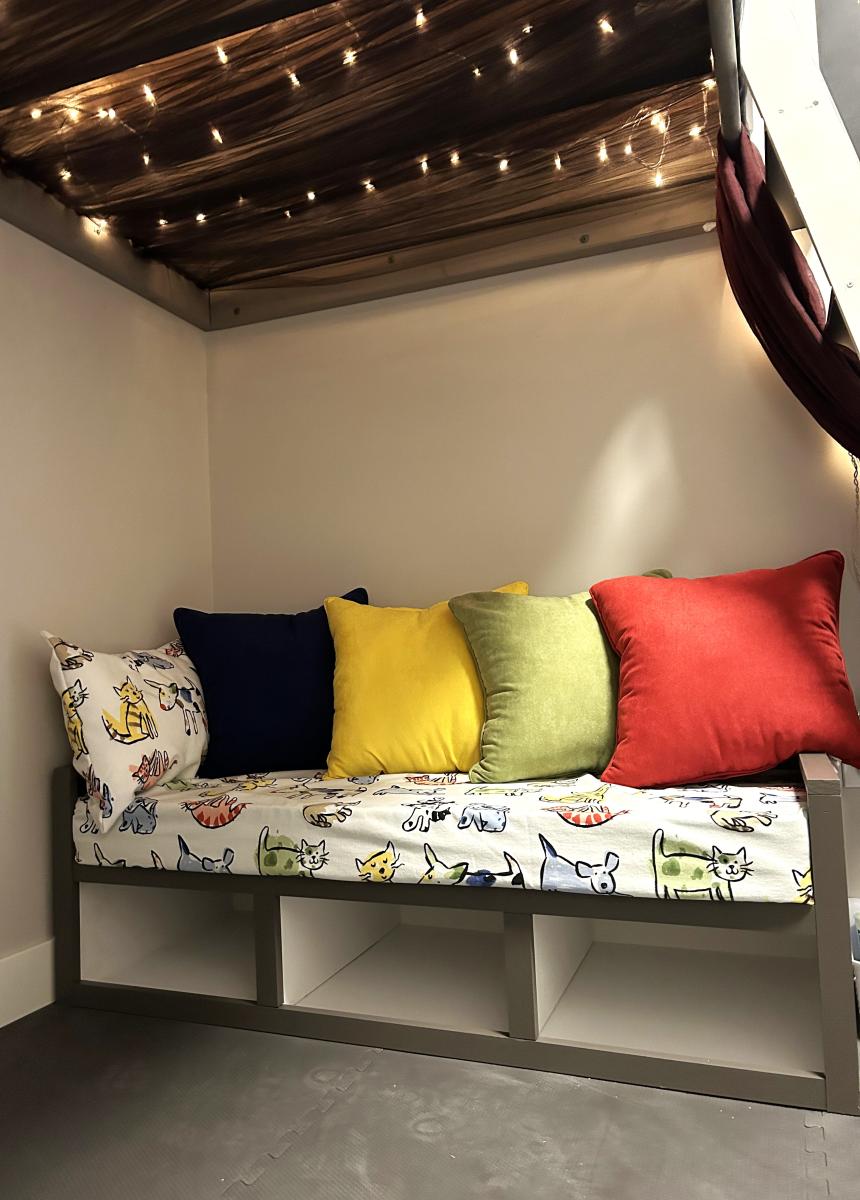
I created what I call the Kid Kave for our grandkids. I used the front entry bench plan to make a small sofa for under the loft. My best piece yet!
Our very first project! We absolutely love how it looks and that there's an easy way for our kids to sort their laundry. Can't wait to start more projects! You can see how we built it here http://addicted2diy.com/2014/01/14/diy-laundry-pedestal/
My 11 year old son made this library cart for our homeschool books. He followed Ana's plans with a few changes on dimensions. I love how it turned out, and it is a perfect addition to our school room. We kept the cost low by using some wood and paint that we already had.
Simple pine farmhouse table, top is 2x6 Pine cut down to 5" wide strips top was joined with pocket screws and glue
Base is 4x4 pine joined with lag bolts
Longest part of the buld was sanding the top smooth, special care was needed in measurig the notches to fix the X-Brace legs
Tools: Drill, Table Saw, Circular Saw, 1/2 socket drive