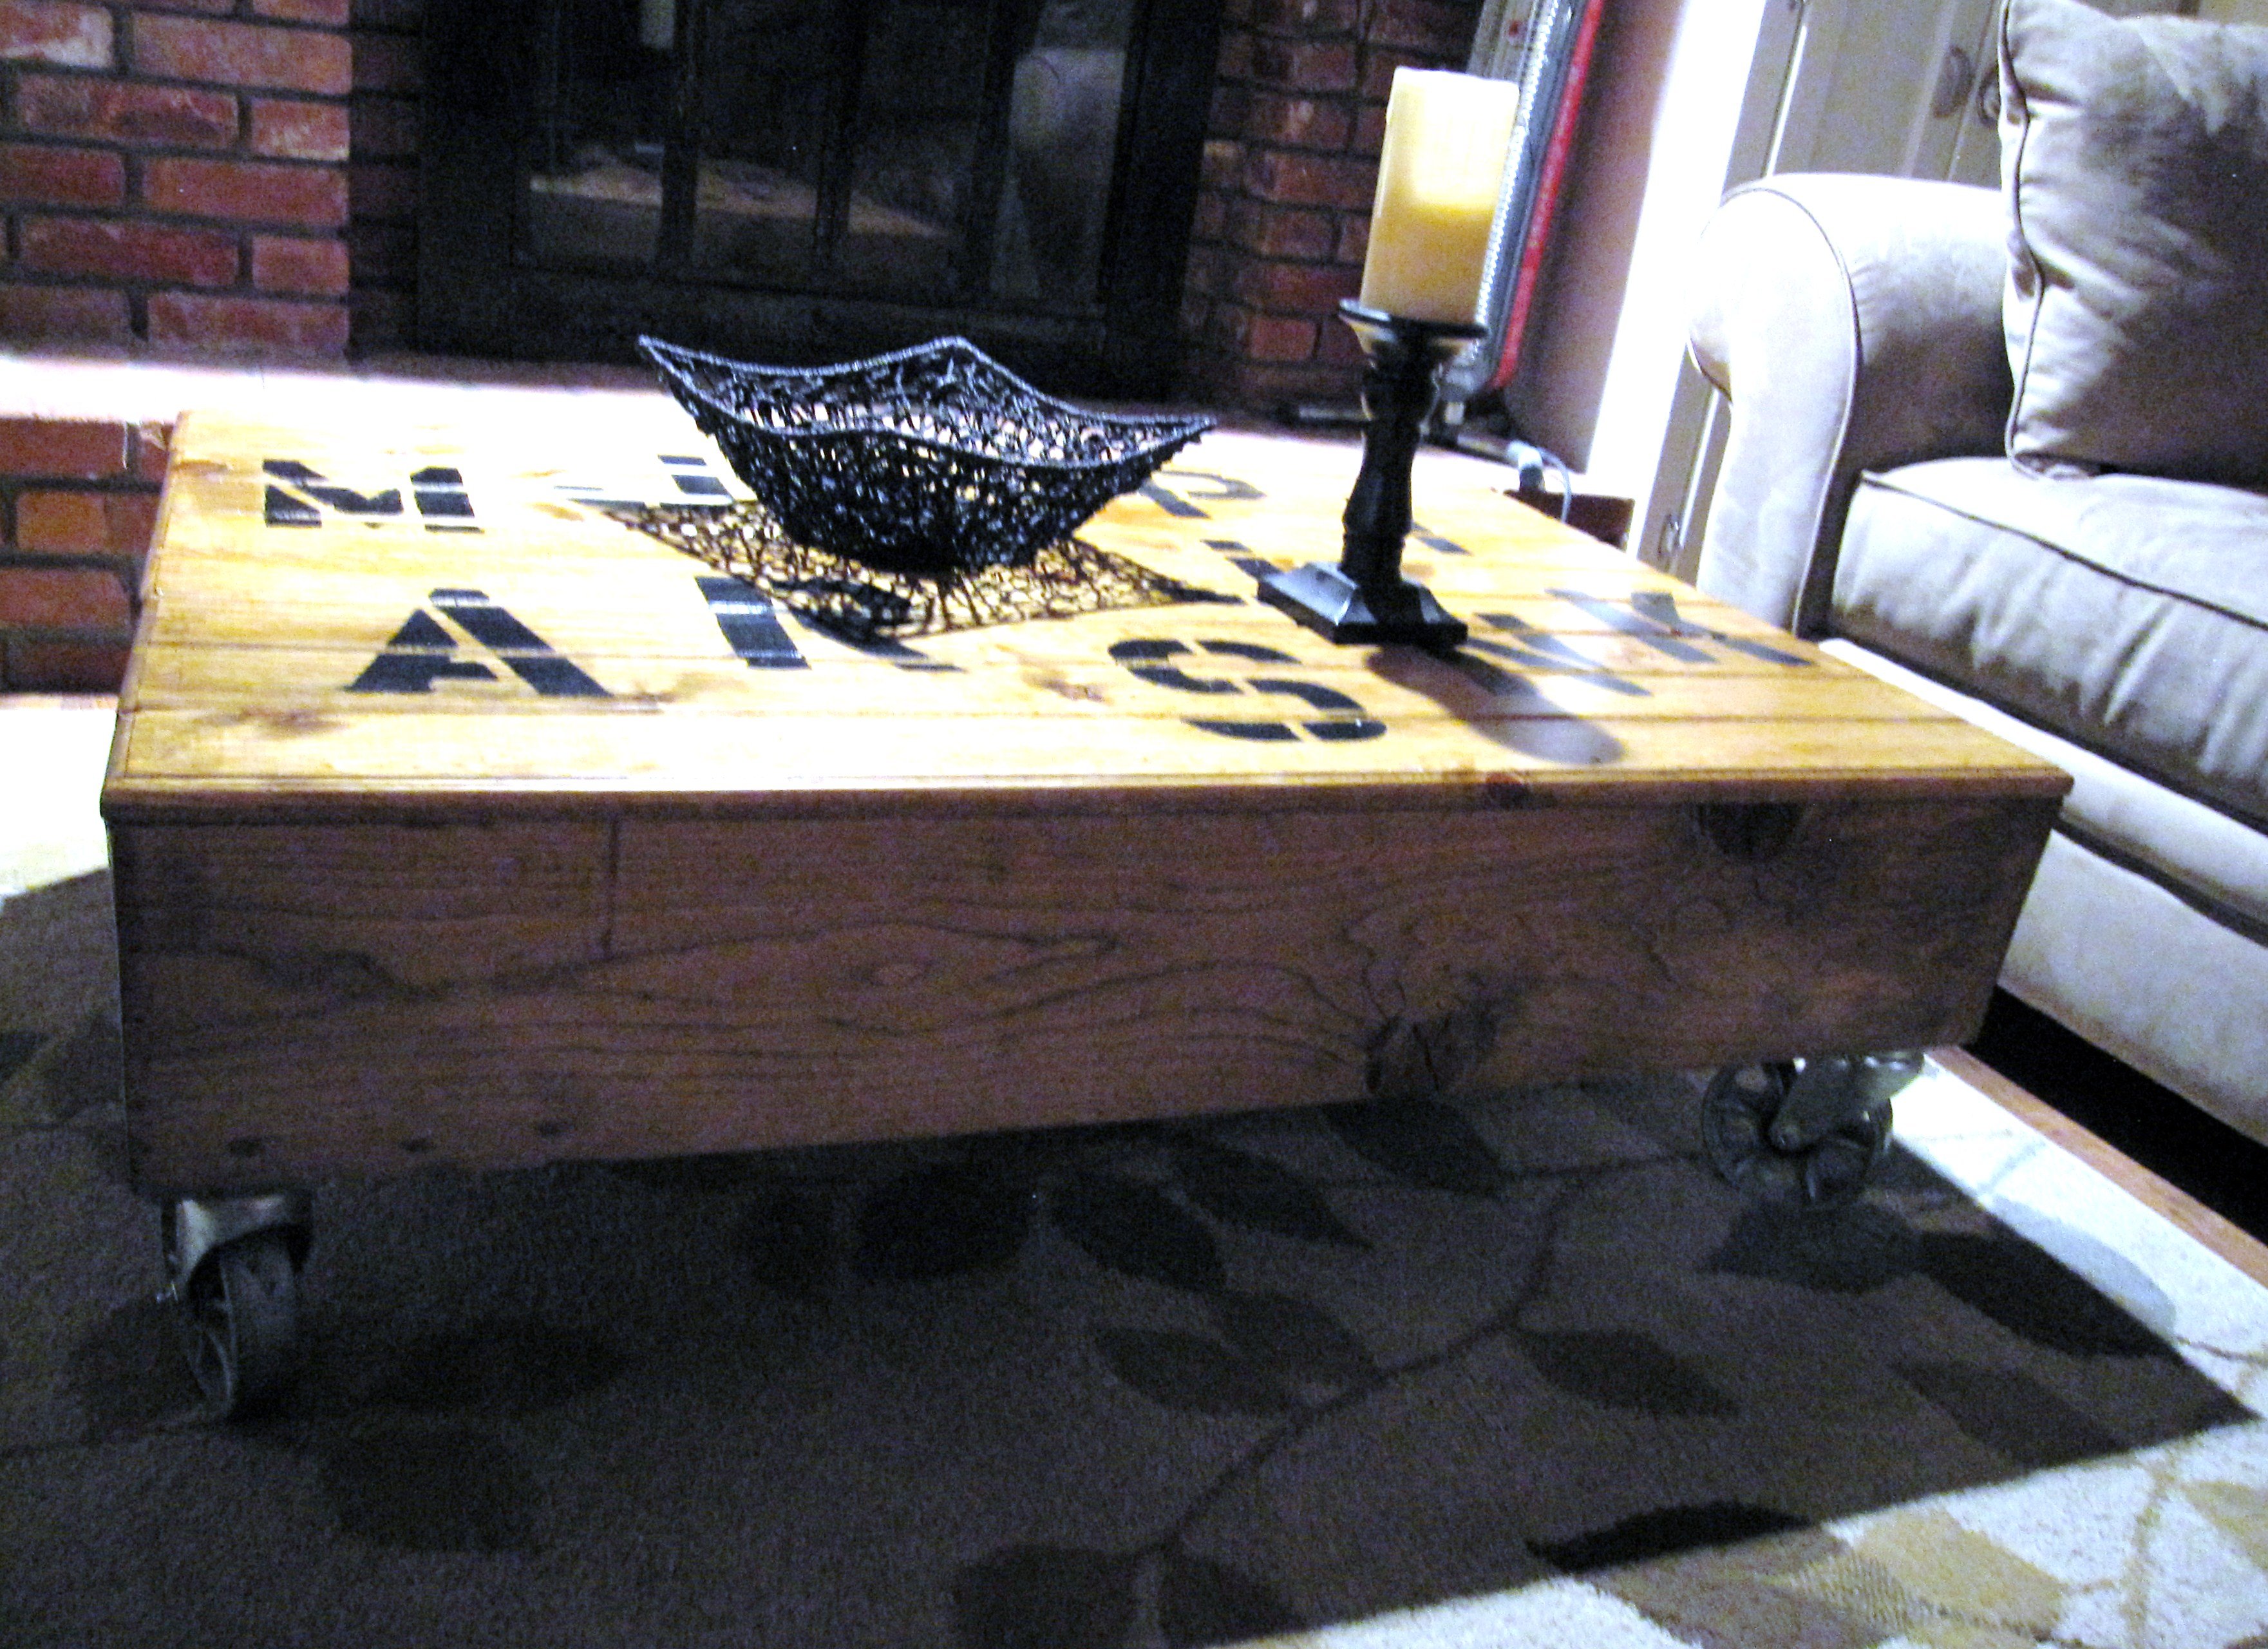
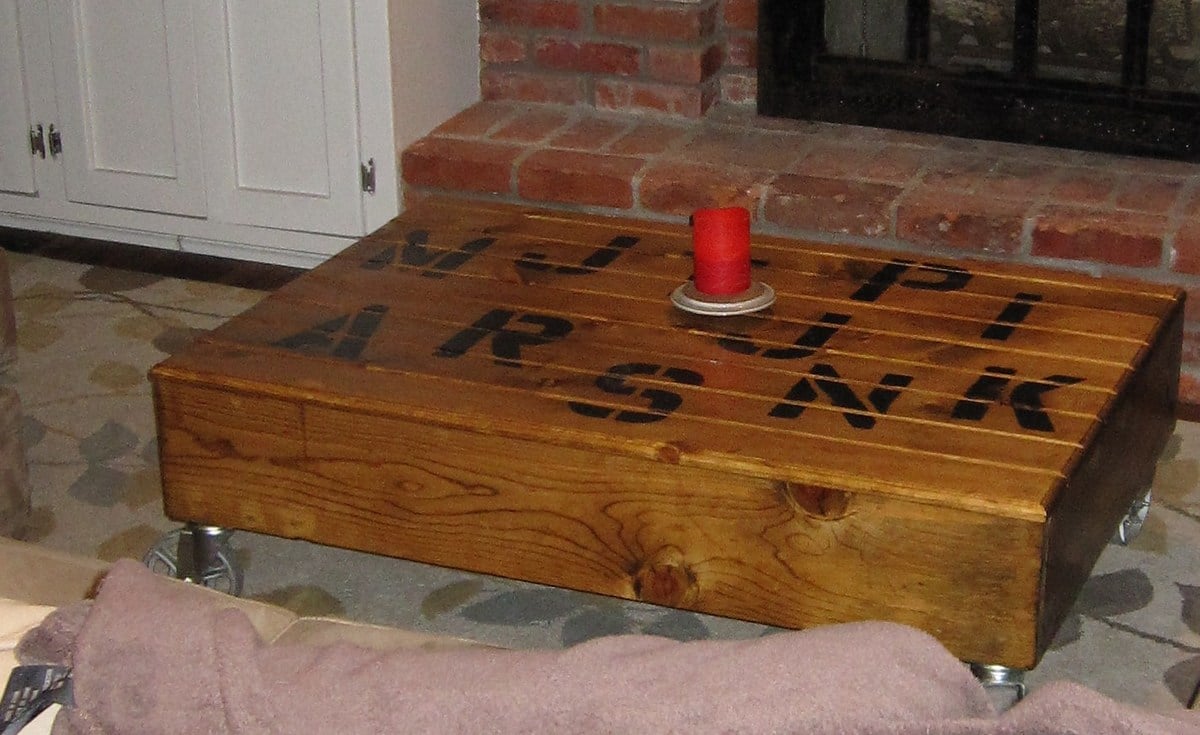
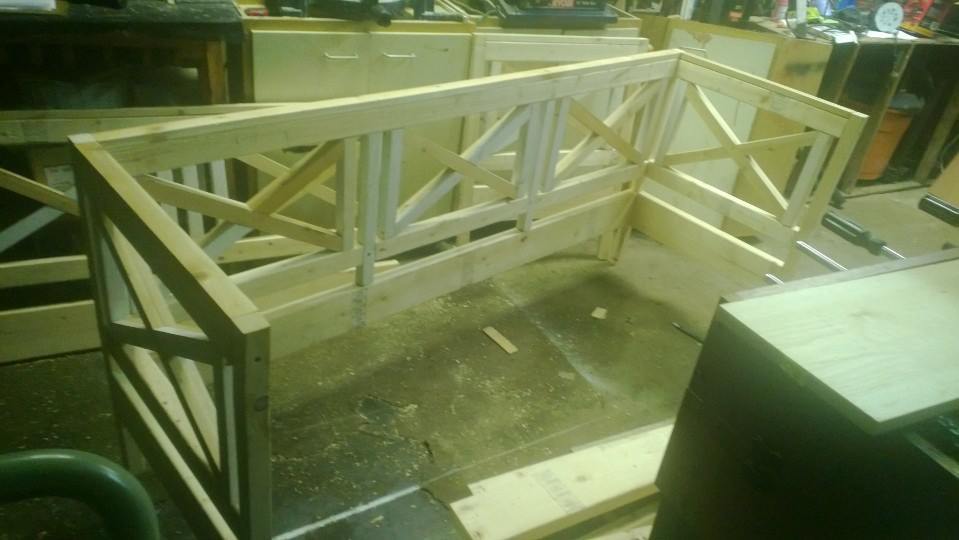
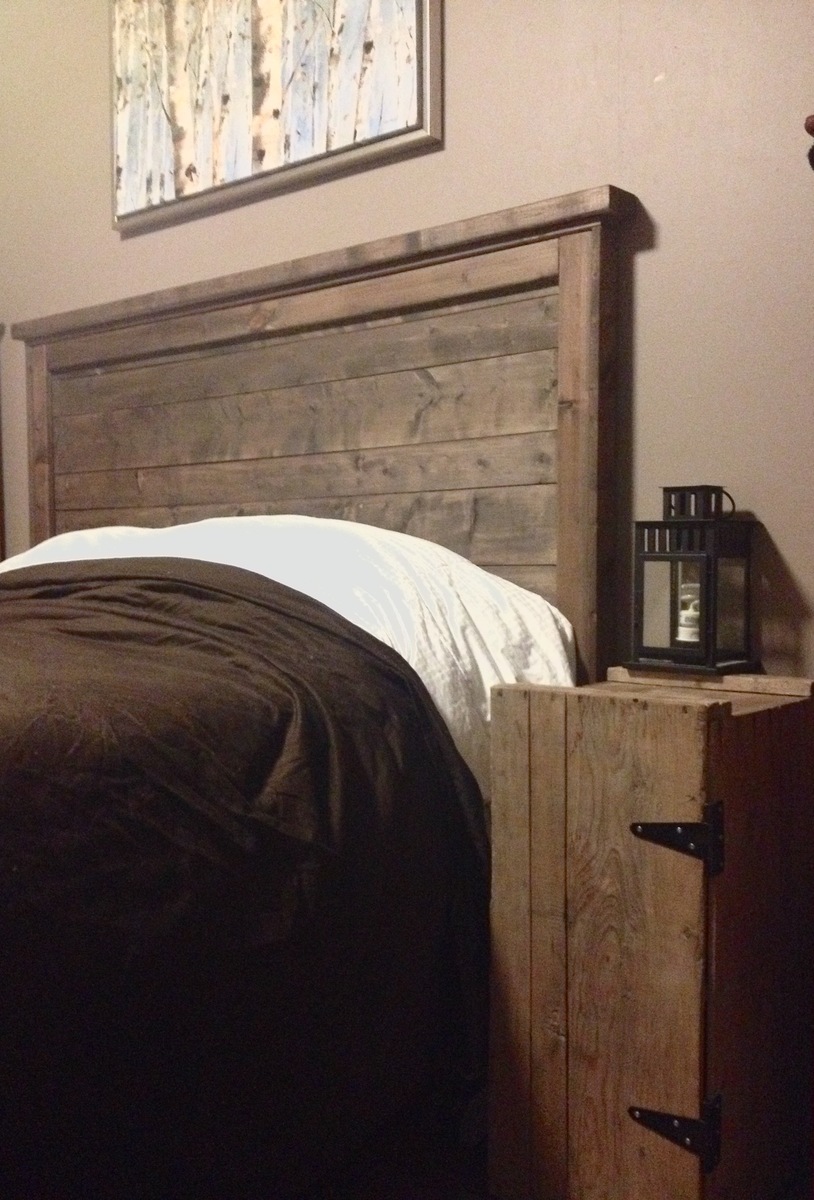
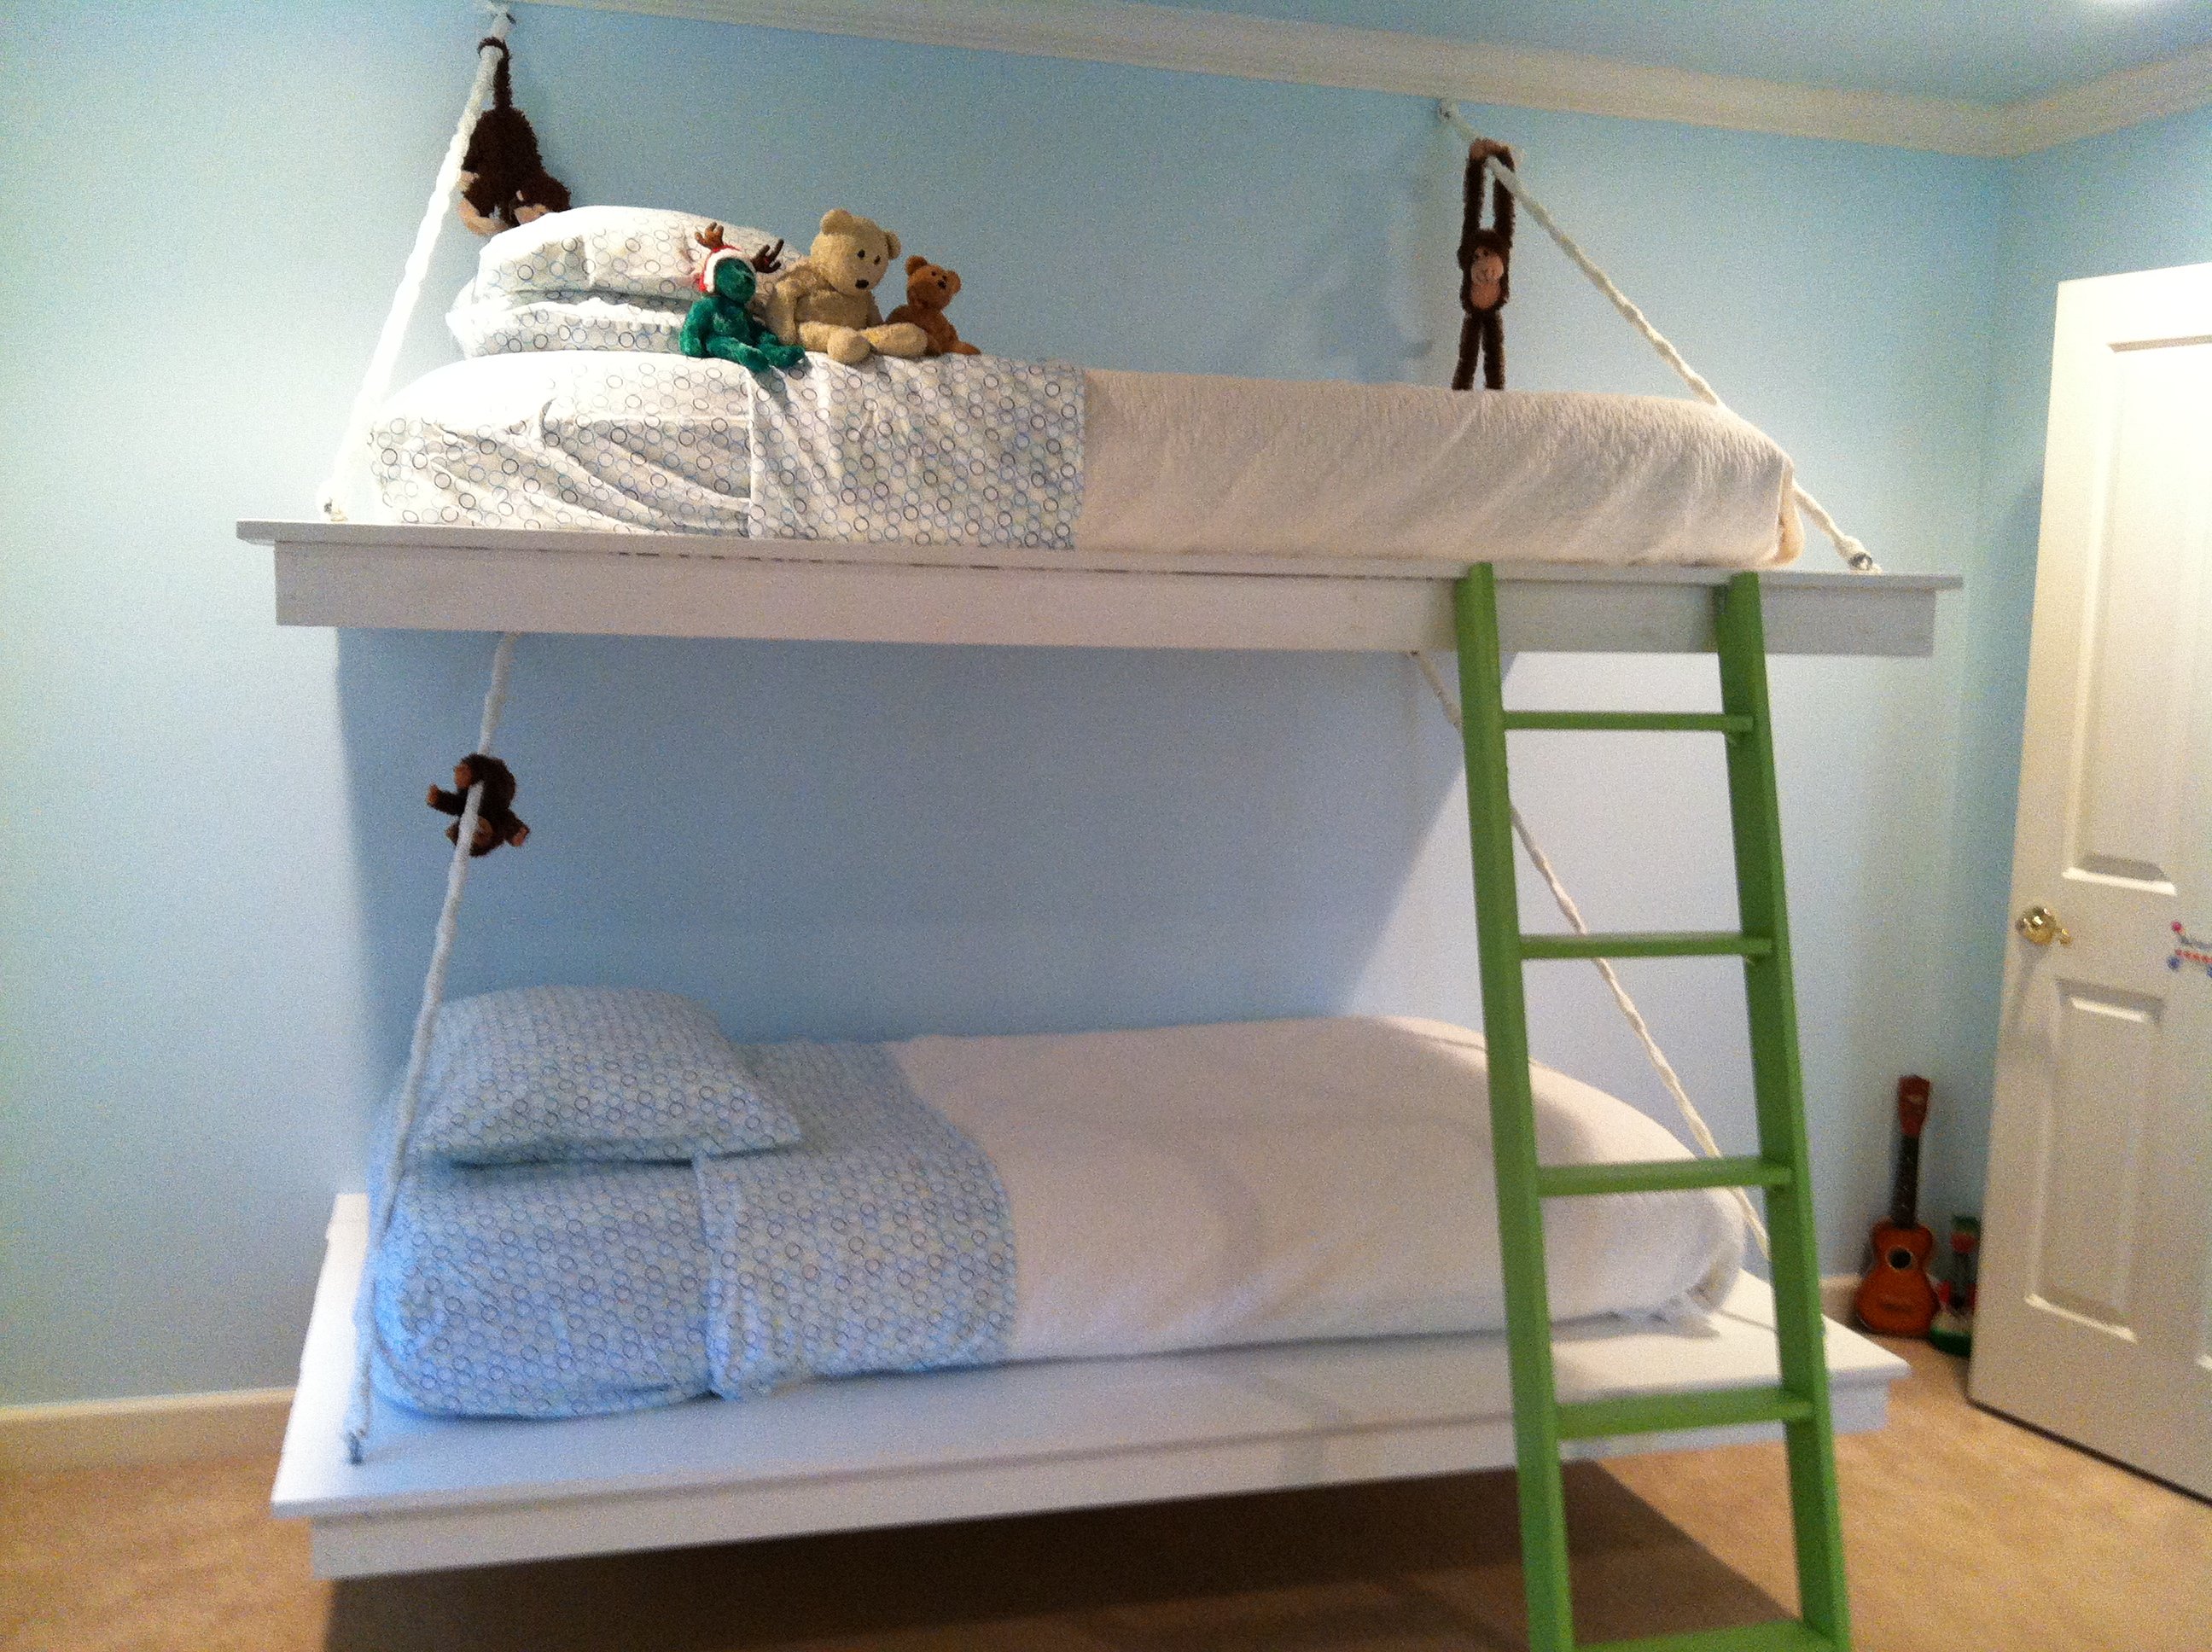
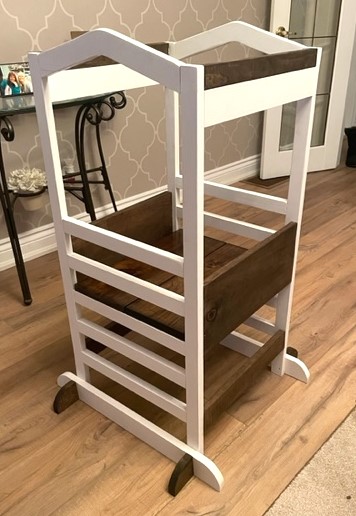
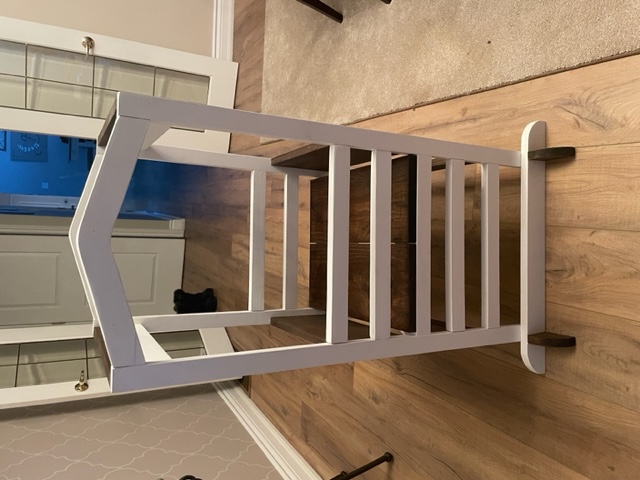
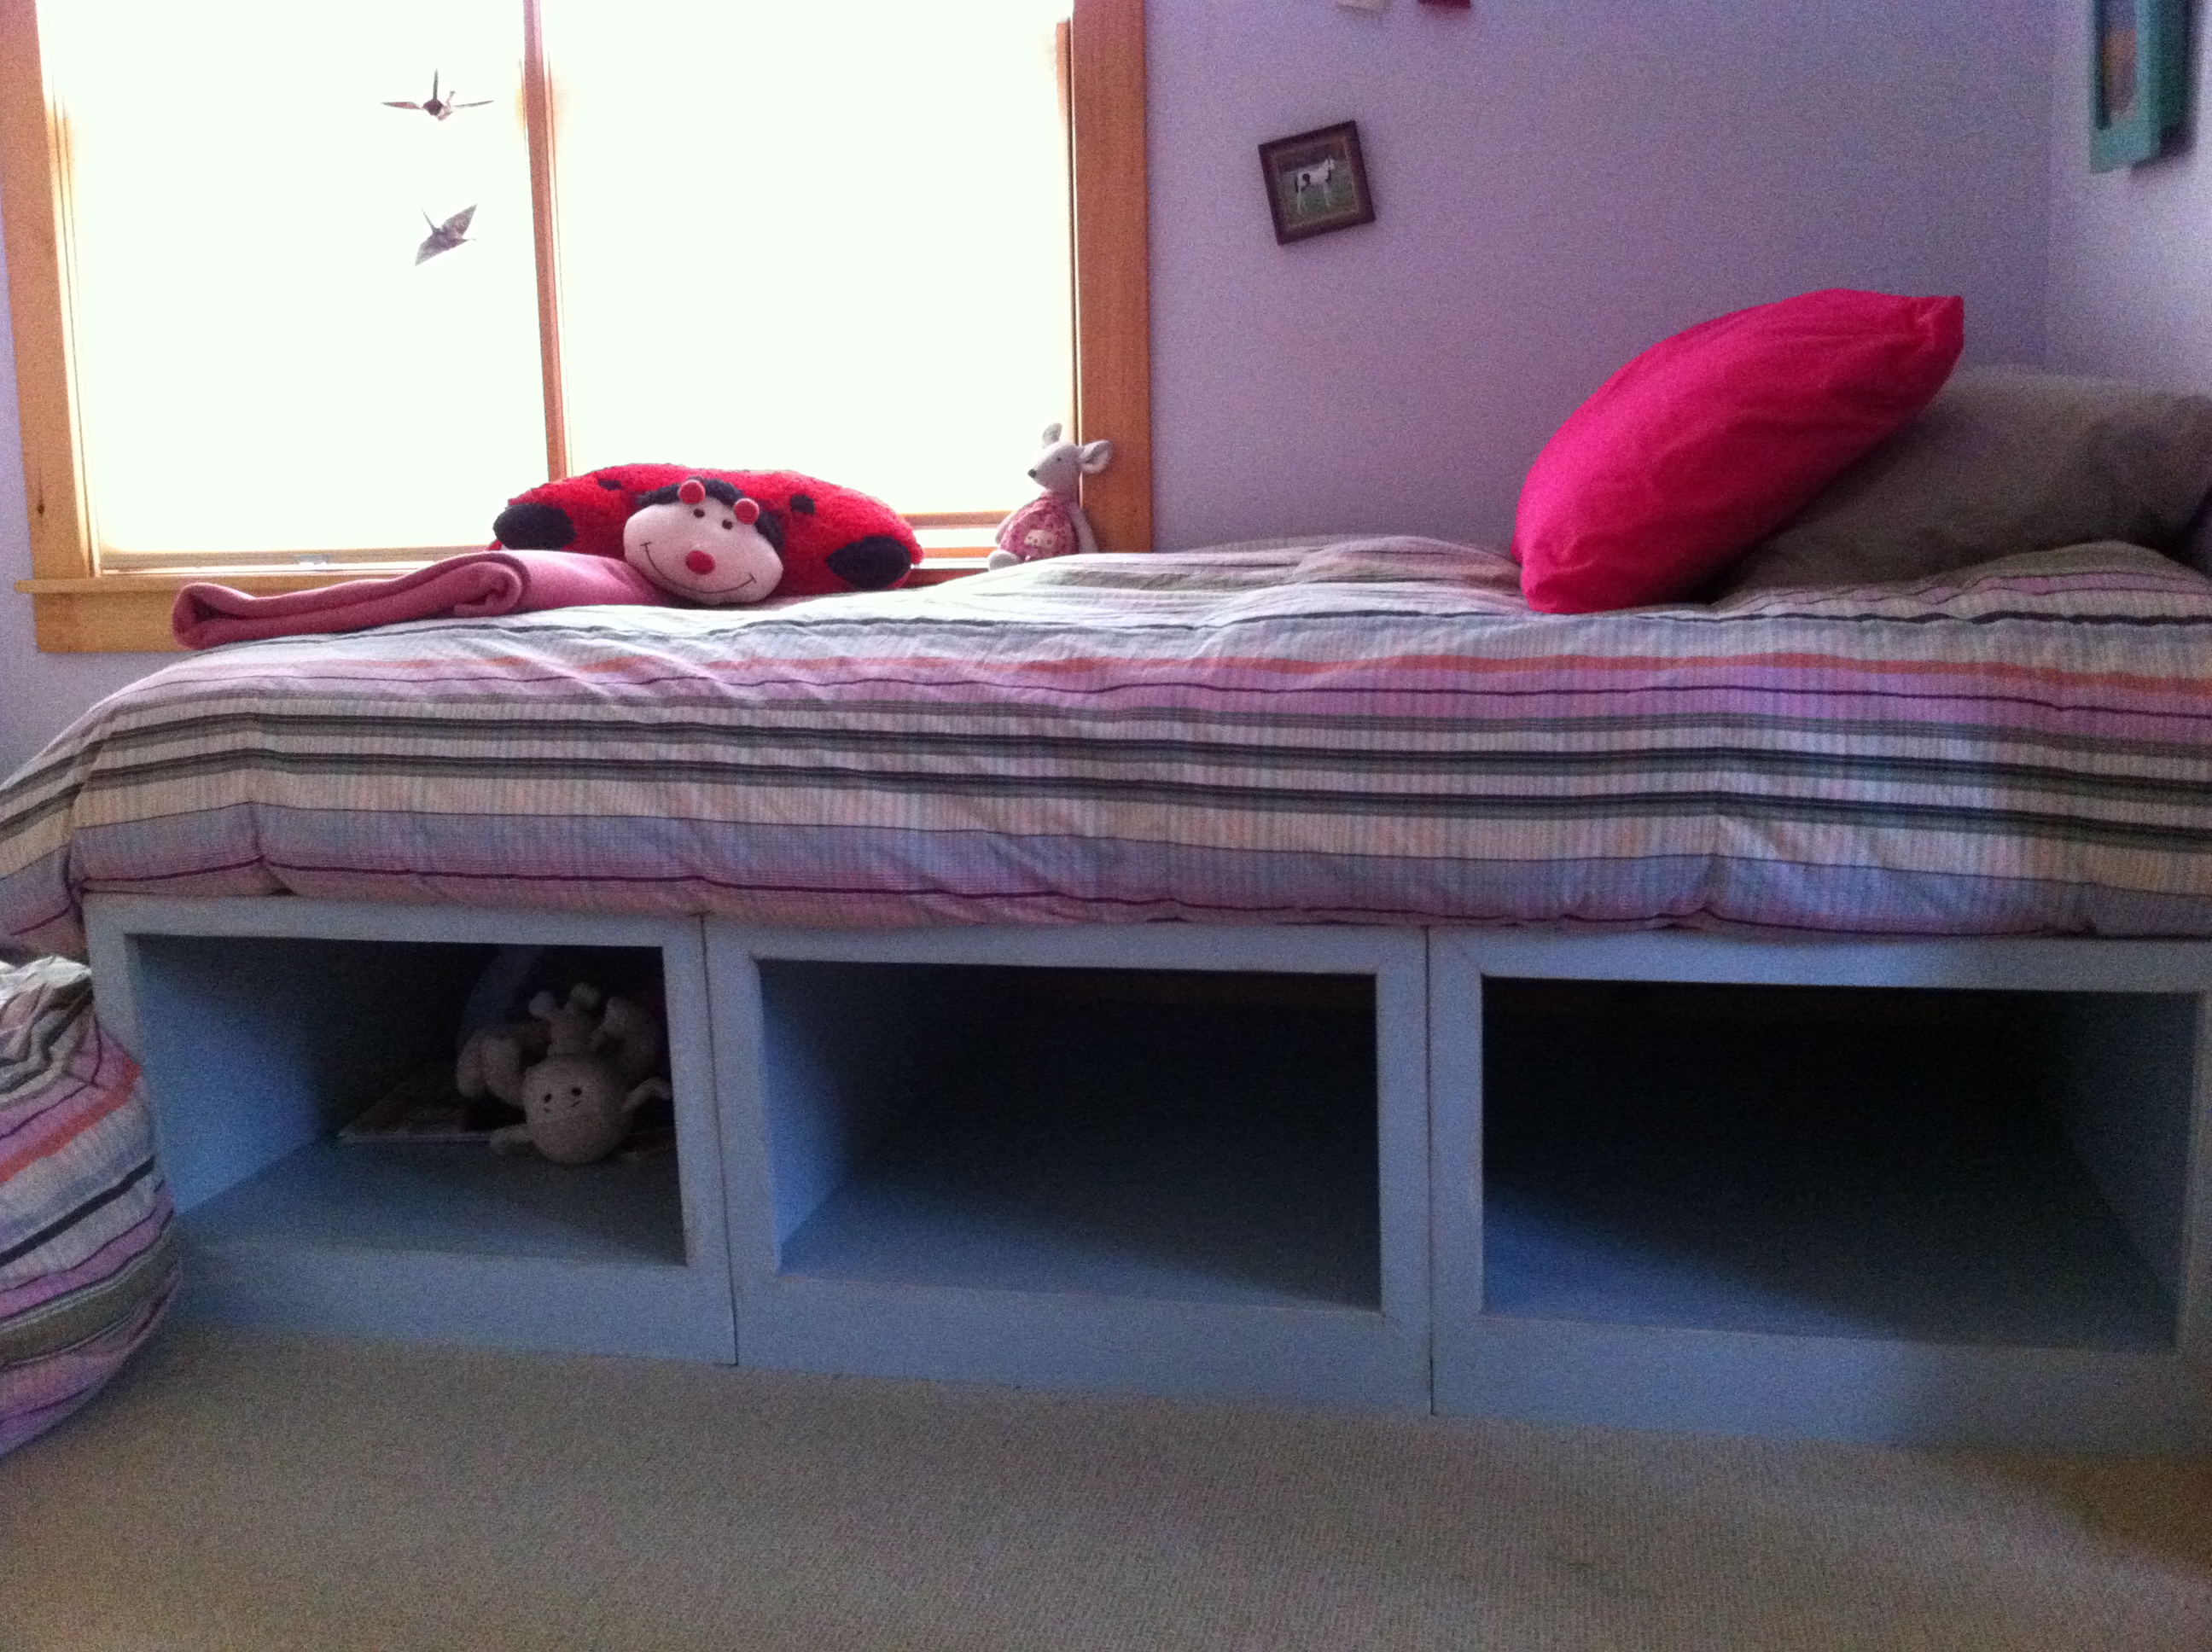
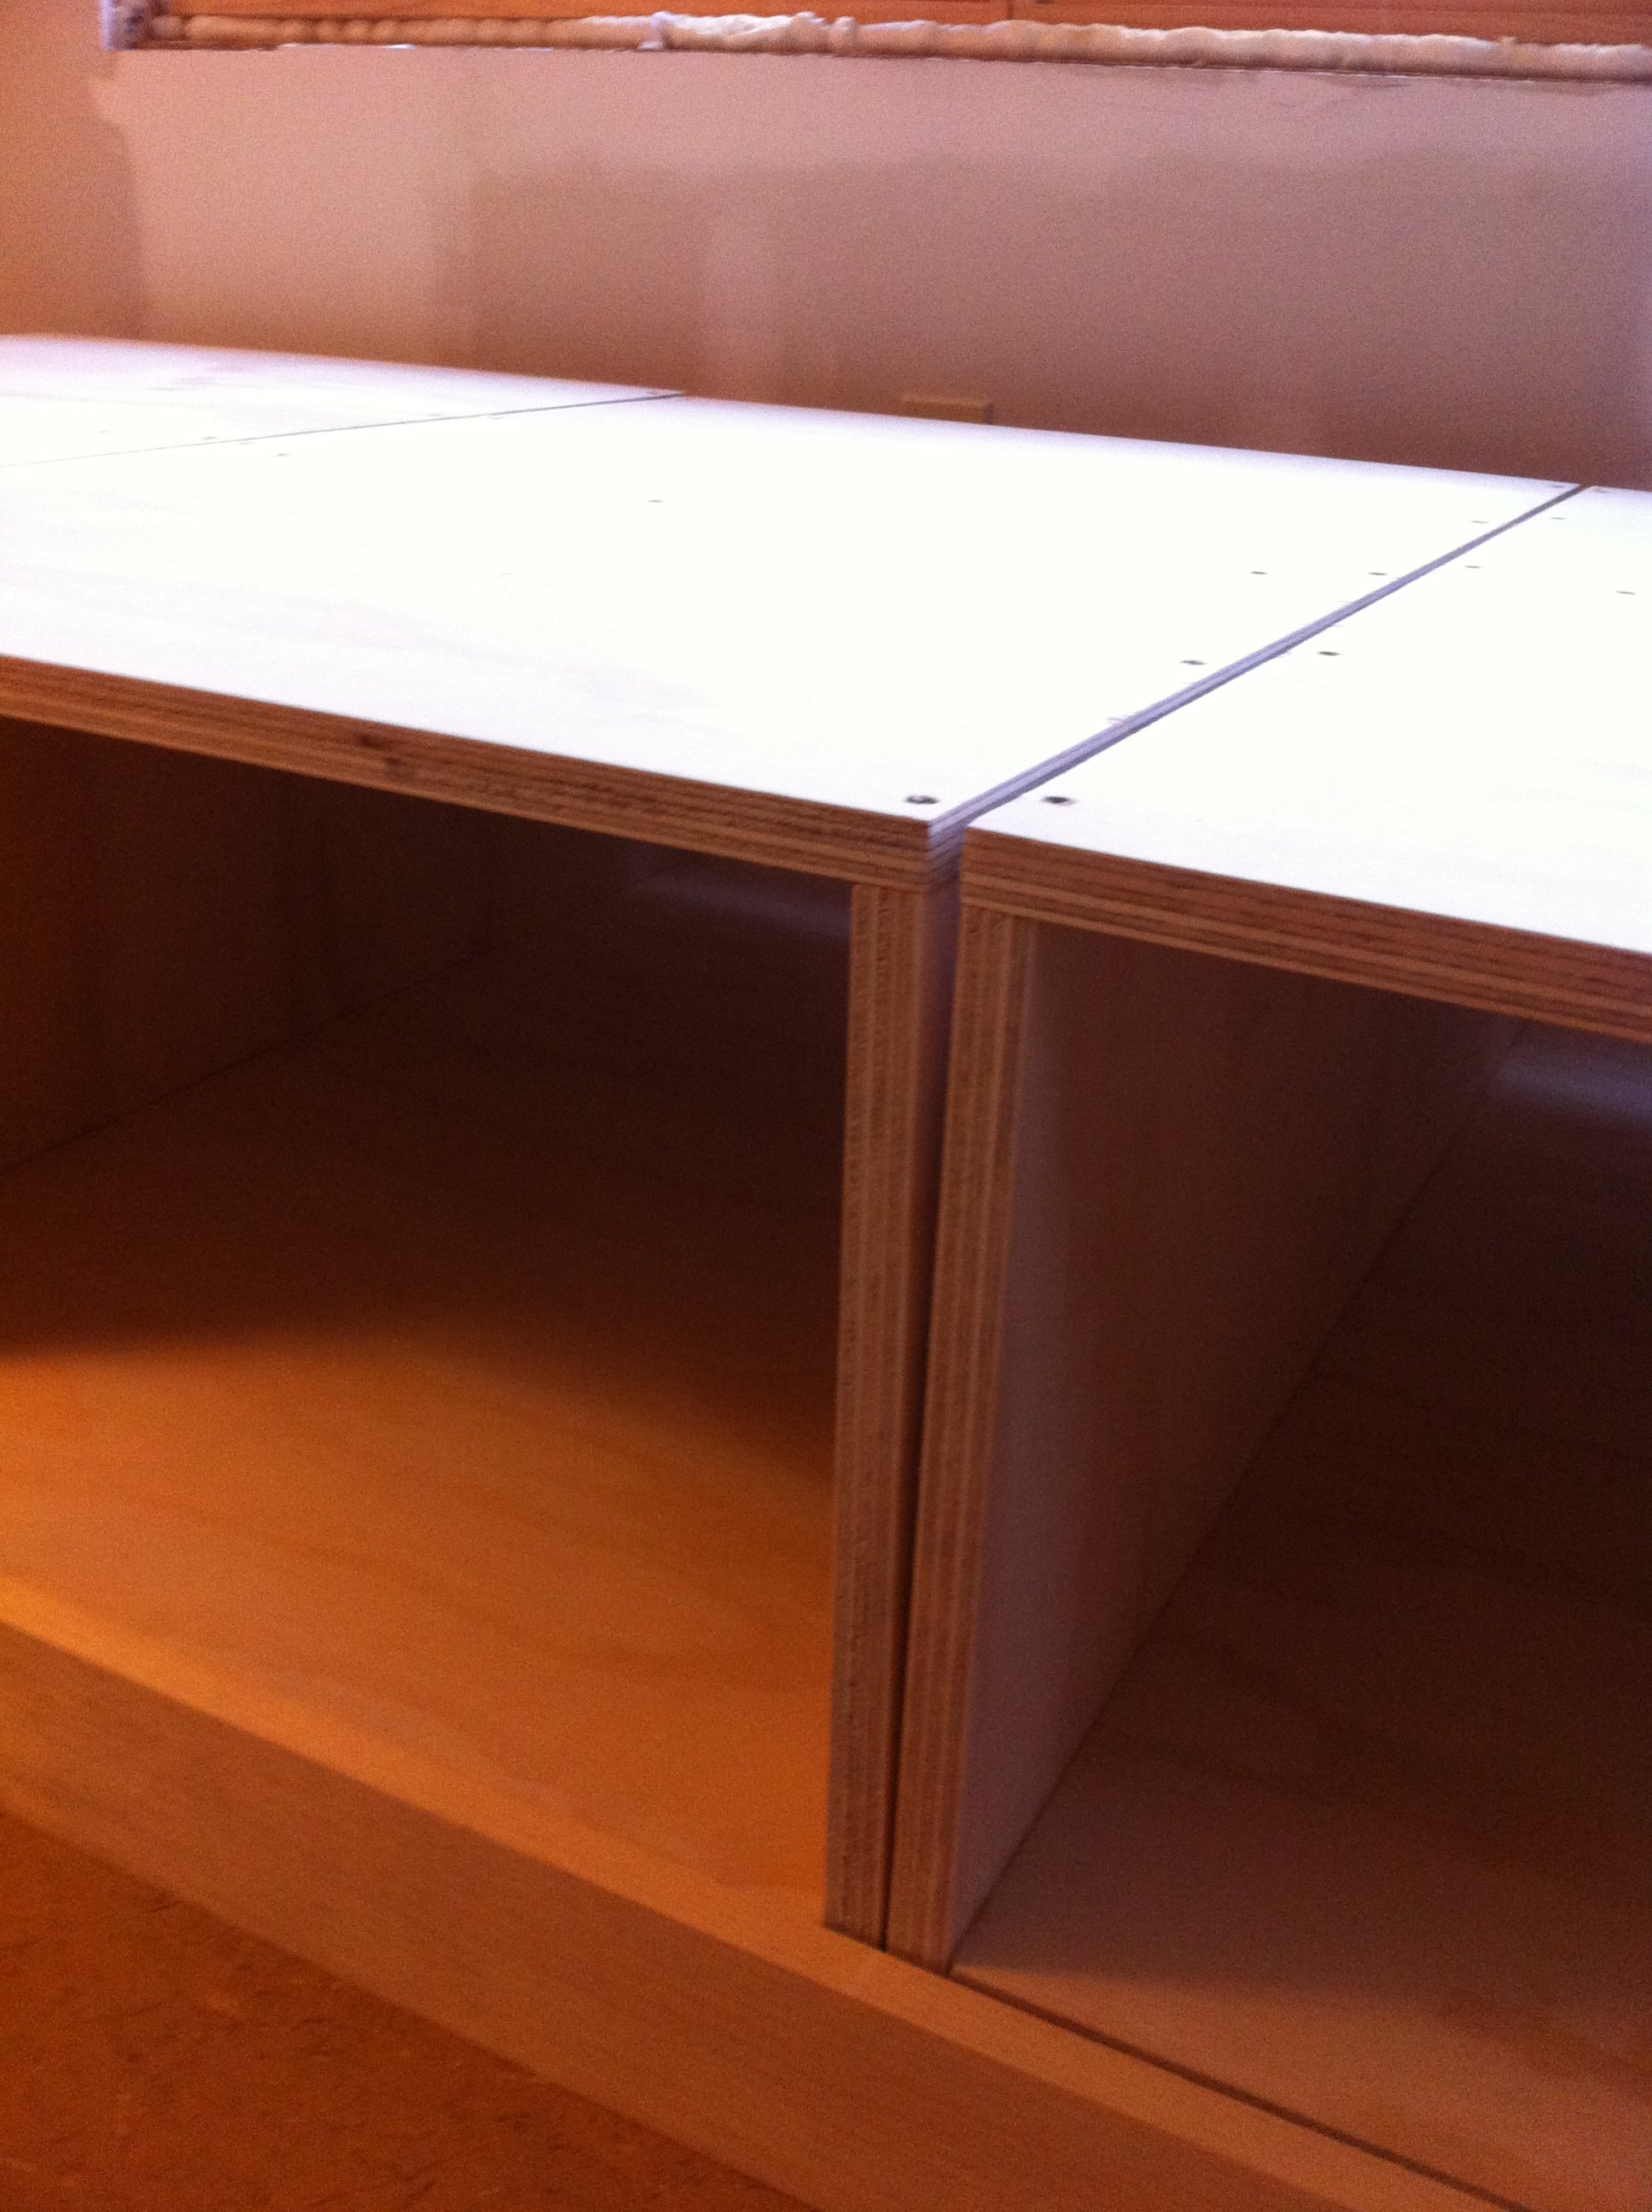
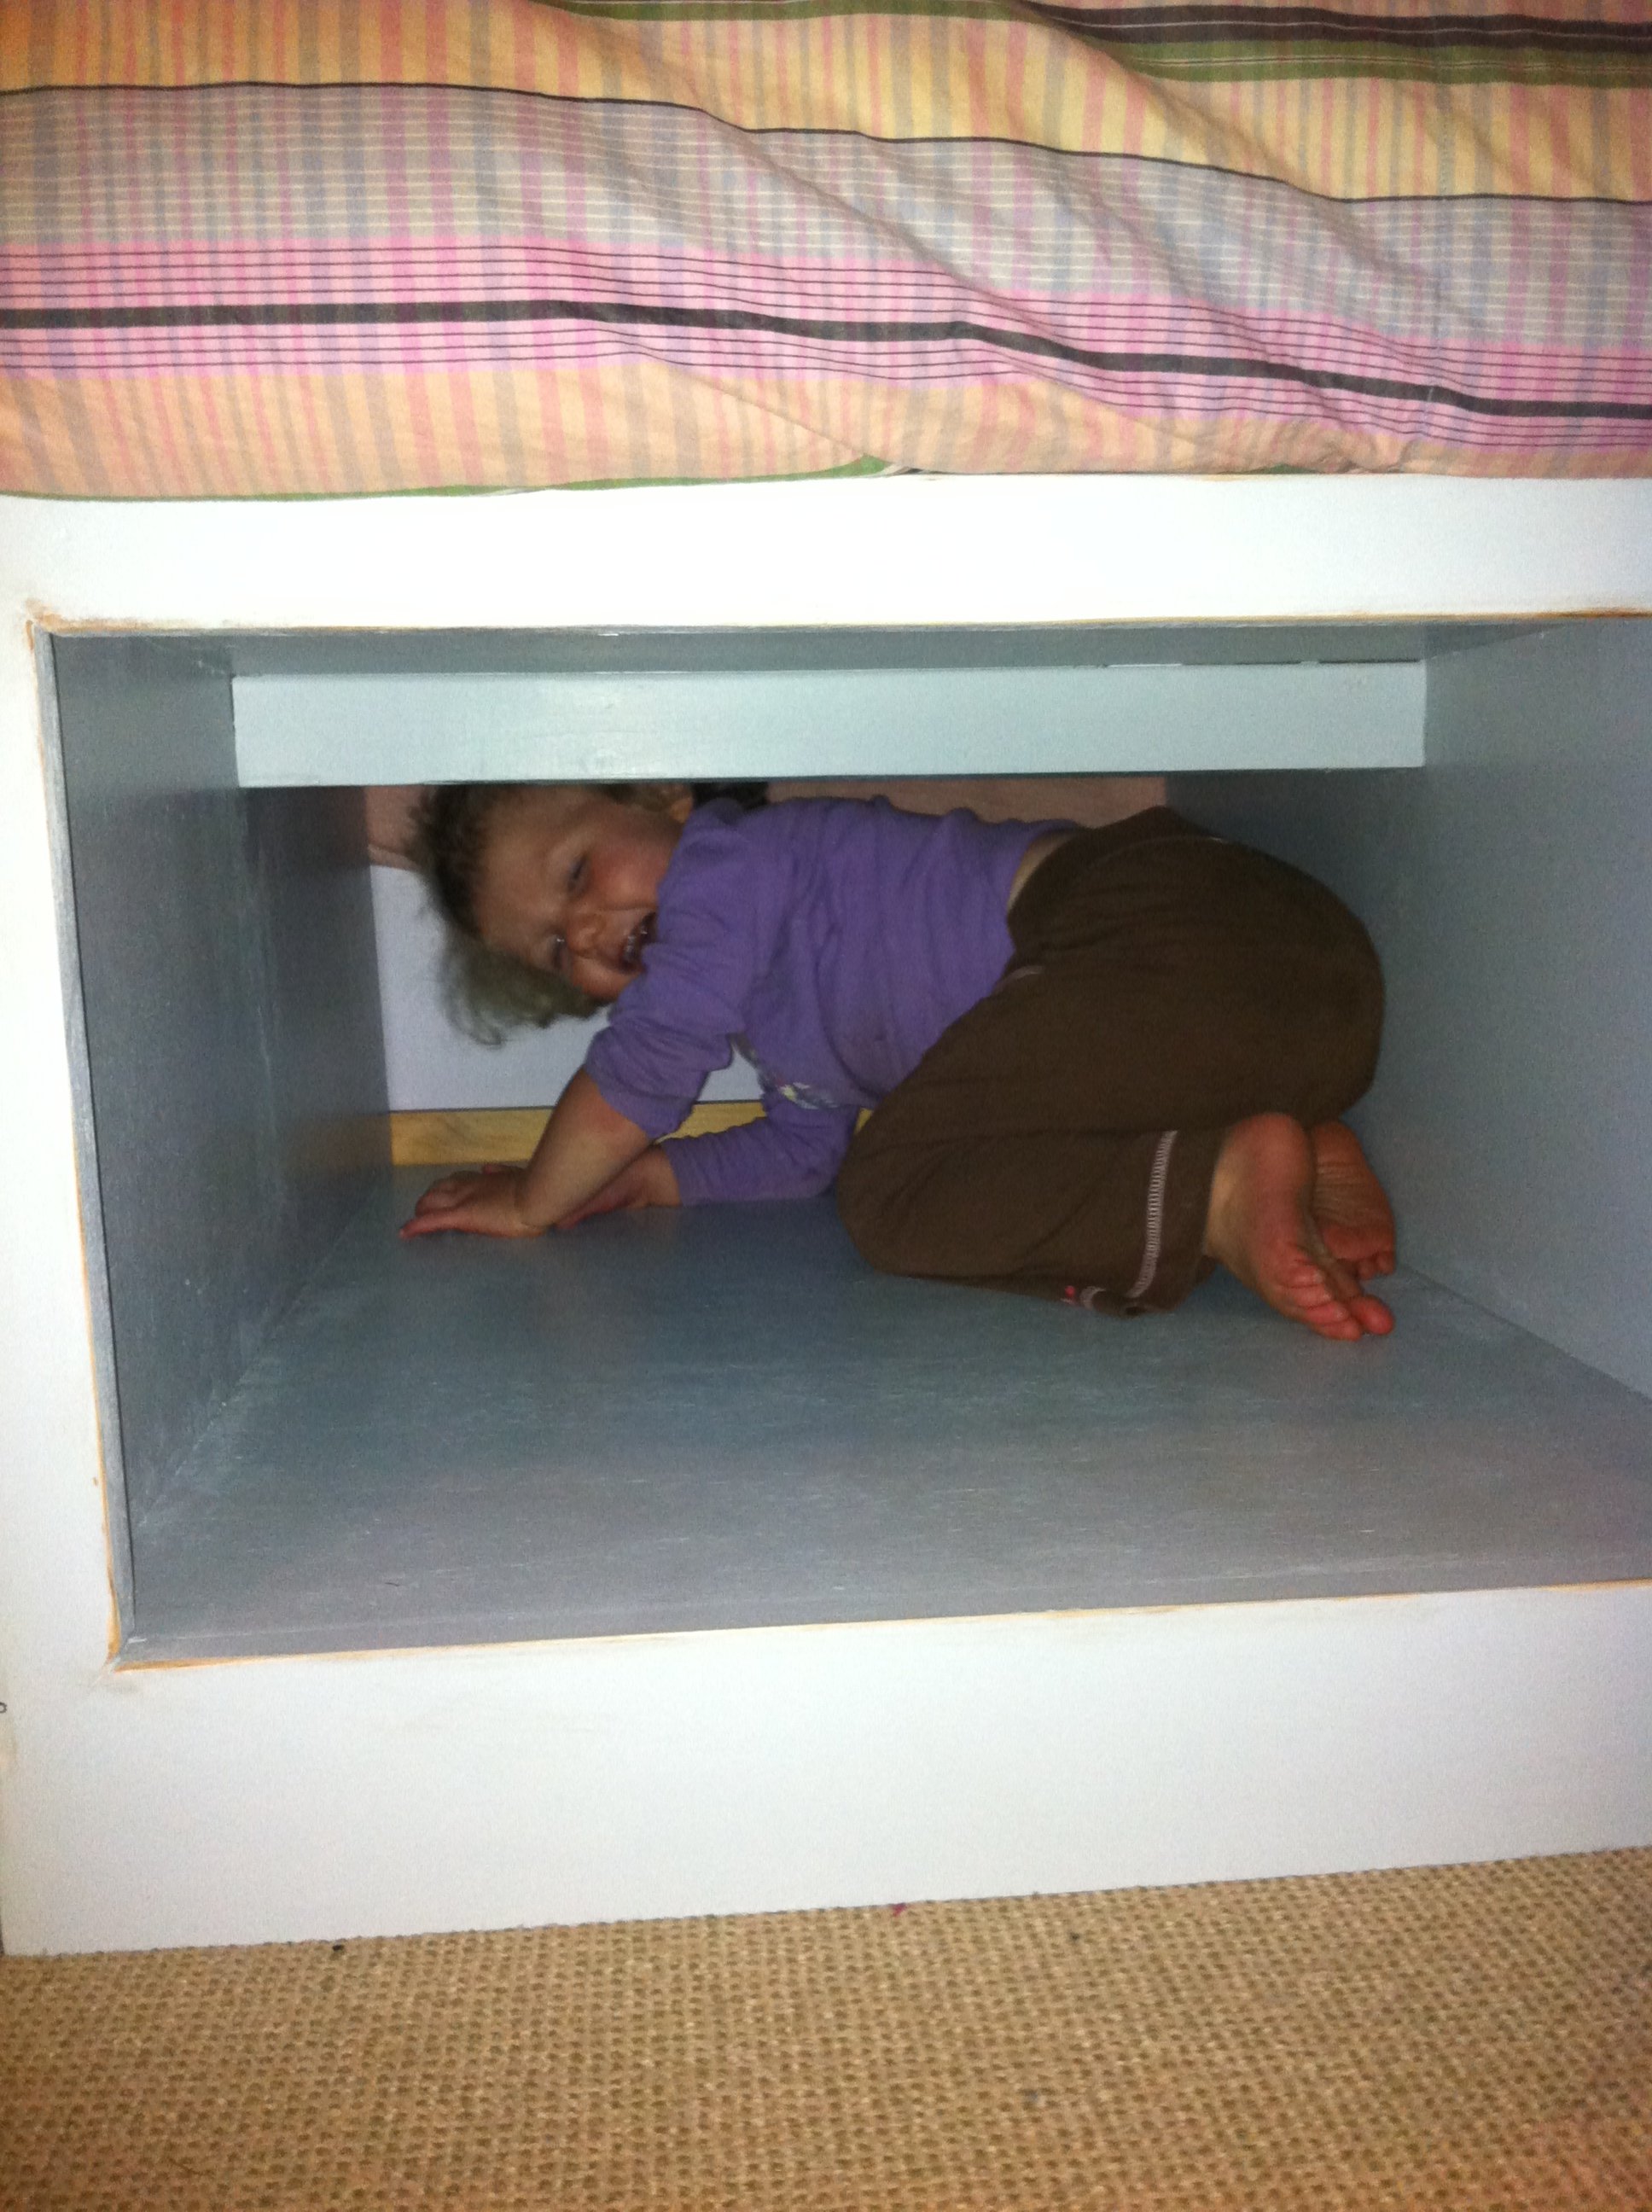
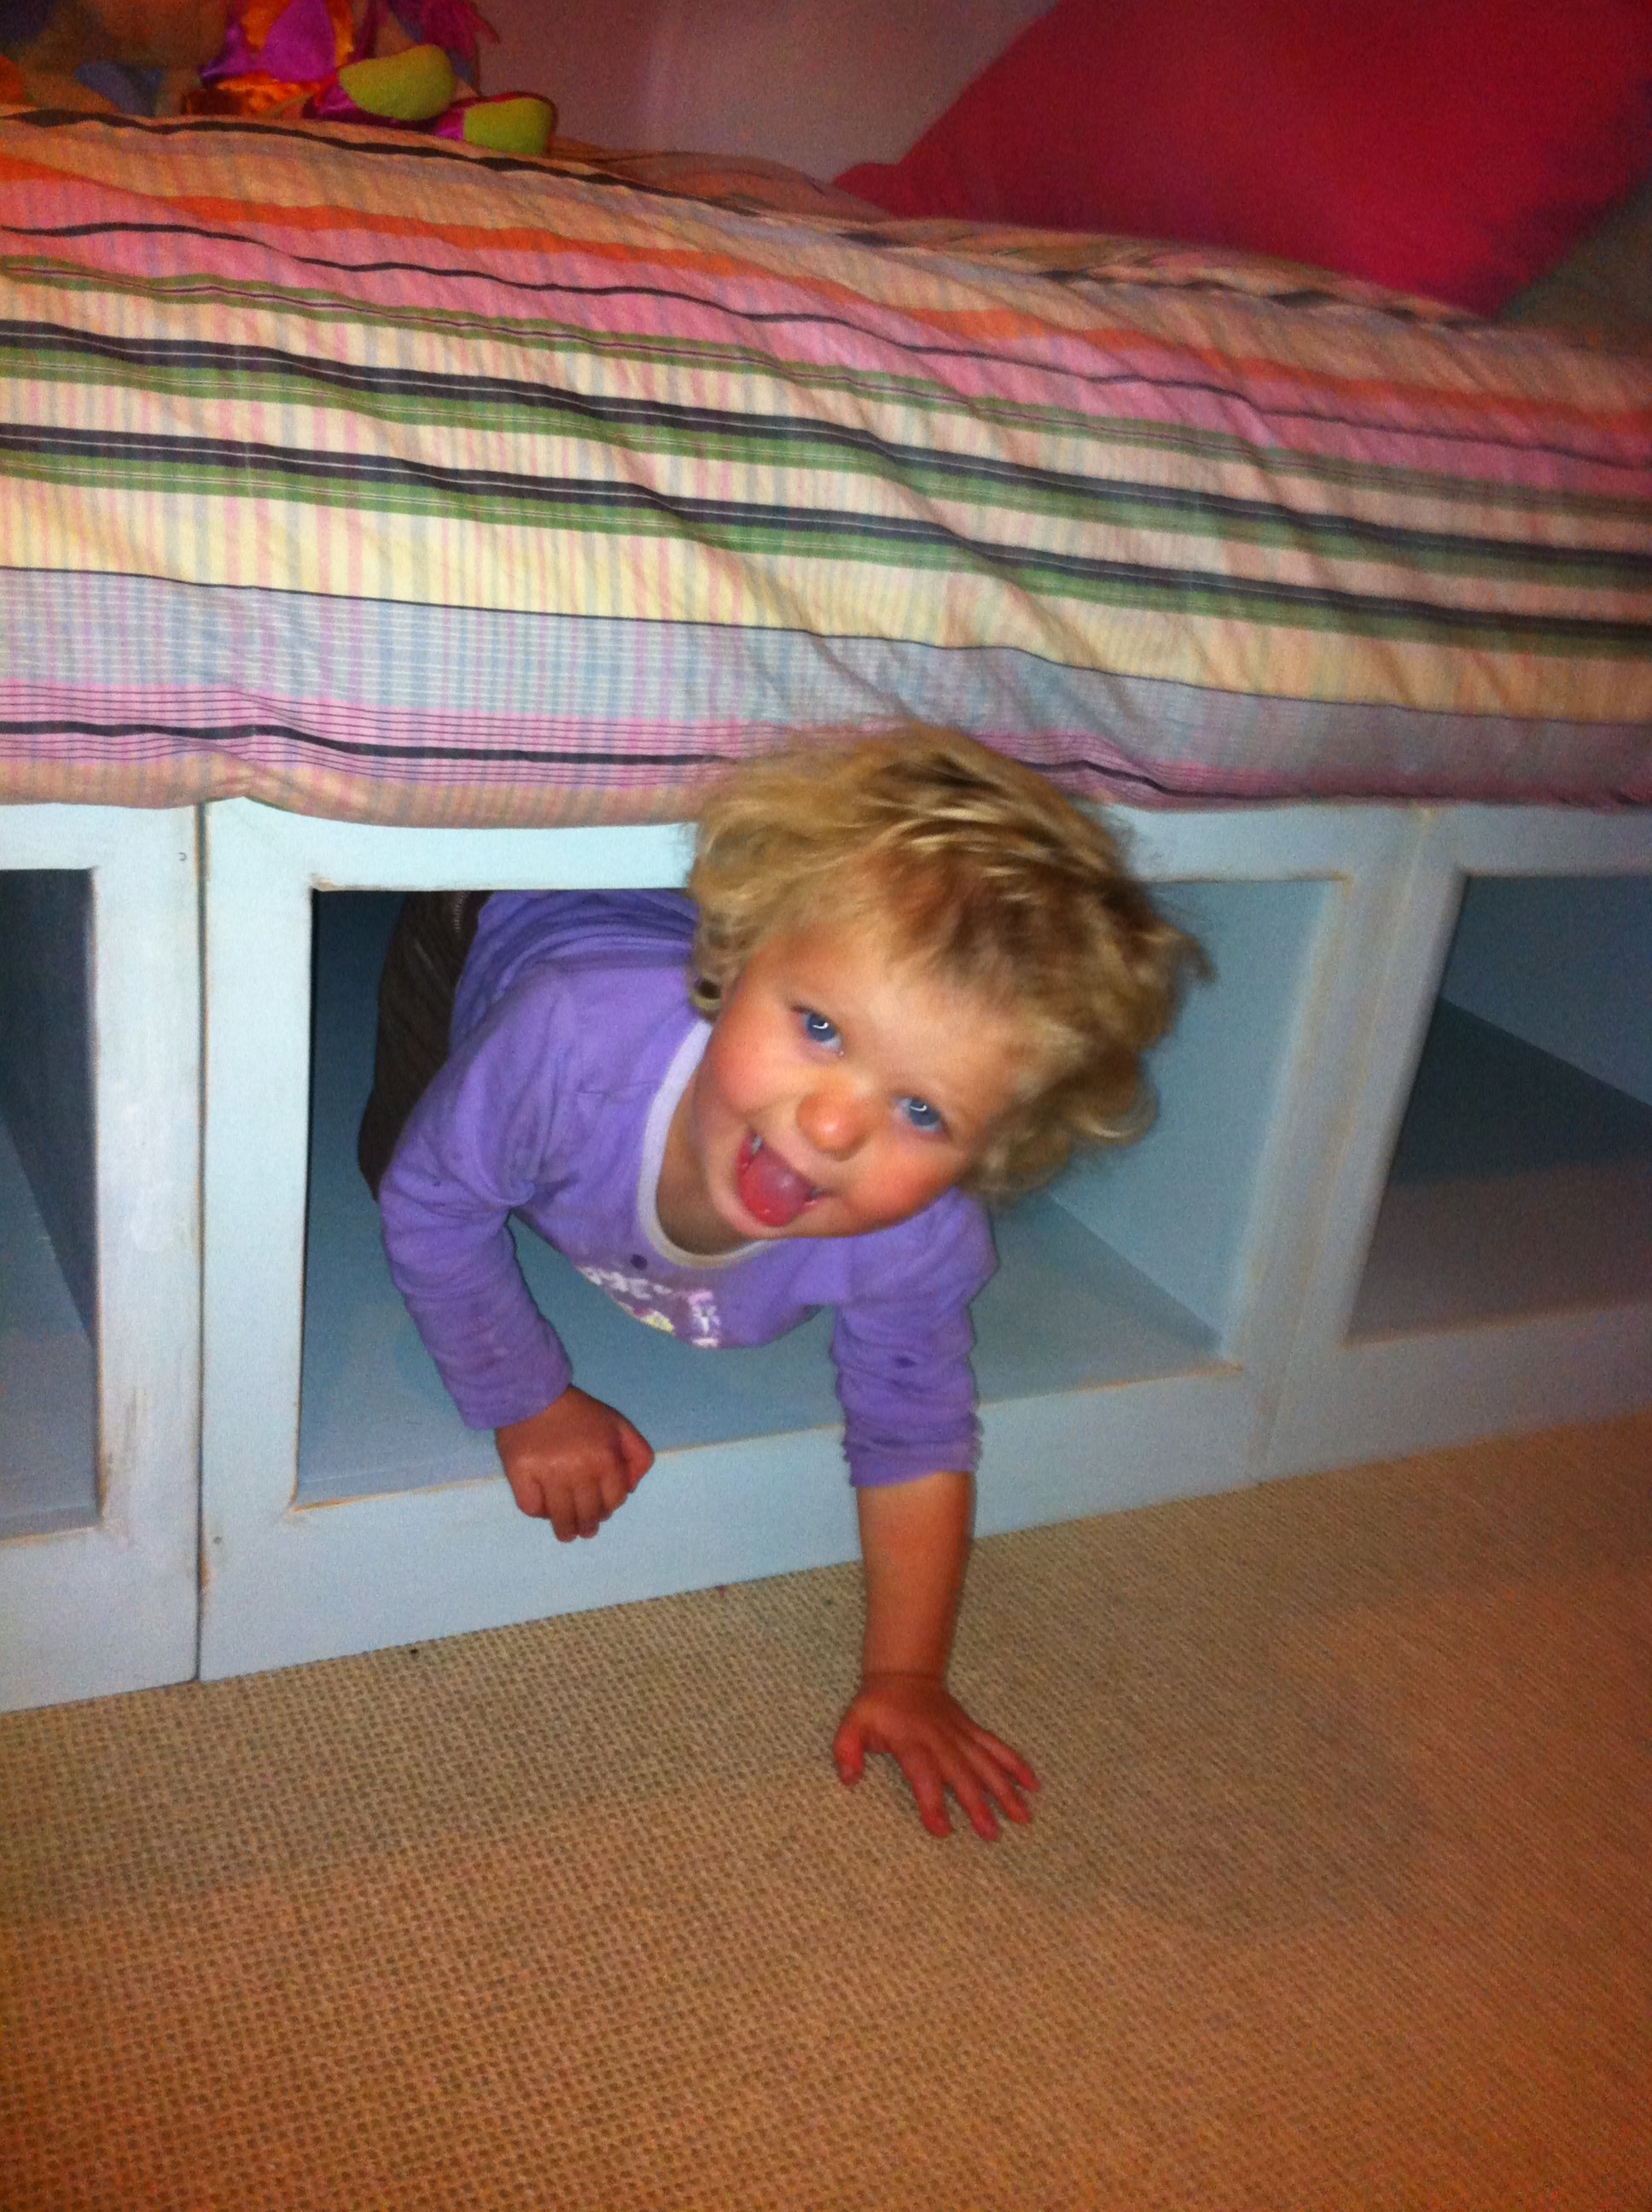
Pine End Table
Original plan modified slightly: Length reduced from 42" to 25"... select pine used and seamless table tops used instead of separate boards.
Side tables made from leftover pine and spruce, using Ana White's Mini farmhouse bedside table plans to match the headboard. Took about a day to do two.
Inspired by Ana's Farmhouse Bed plans, I built this dog bed for my Jack Russell. I measured and planned for it to comfortably fit two standard bed pillows (in waterproof covers of course!). She loves it!
In reply to This is so cute!! You did a by benfoldsfivealive
Thu, 06/23/2011 - 14:20
Thanks! I figured after 14 years she deserved a comfy bed. :-)
well after I made my daughters bunk beds my toddlers were begging and begging me to make them a bunk bed so this weekend I decided to make a toddler bunk bed. So here it is and I'm here to share with you all.
Tue, 01/07/2020 - 12:23
We will be making this for our toddlers. I love this.
Sun, 10/13/2013 - 18:07
http://ana-white.com/2010/09/classic-bunk-beds-cleverly-designed.html
Use these plans but scale ut down to size for a toddler matress or crib mattress
plans arent available for the toddler size because its not standard compliance. Retarded I know ...I used the classic bunk. Bed plans and modified them....they are perfect for a beginner
Hi Ana,
Just wanted to take a minute to show off a few of my finished projects. I started doing this about a year ago when I found your site and downloaded the $55 fancy x desk plans. Well I've since put those plans away and am making my own! I use all new lumber from the big box stores and have discovered a few techniques to achieve the finishes on these. Thanks for looking and I'm about to post some more!
Johnnie
I made this one three inches taller and two feet longer and decided to miter the top. I also used a LOT of glue and blue Craig screws.
My husband Rick and I (Juanita) built the two chairs and table from your plans. We angled the seating on the chairs, similar to Adirondack chairs. So comfortable. We also modified the table to include the lower shelf. Love your plans.
i made this a while back, but just got through painting it. Saw it was a great table for drinks, will serve a double purpose.
Tue, 06/28/2011 - 08:00
...being a side table because I don't like how not sturdy it turned out (my fault in building)! =) Yours looks great!
Tue, 06/28/2011 - 11:24
I was surprised at how sturdy it is, although my husband is still scared to sit on it, but it's sturdy! :)
Well, one thing's for sure. Follow Ana's plans and everything will come out just right.
Oh. And another thing. I can't get my kid out of this bed! It's awesome. And really simple to make.
Thanks, Ana!
First of all, thank you for the inspiration and foundation for my daughters bed! I knew I had to be a bit creative from the start because the plans were for a twin size and I was building a full. I used your plans for a place to start and ended up putting my own twist in where I could. This is an interactive build complete with the bed, a dry erase board, plenty of cork board, TONS of storage, and a "secret" compartment behind the dry erase board. Oh, and the fully functional desk that my second grade daughter uses to the full extent. Thank you for what you do Ana, without your inspirations this couldn't have happened!
I wanted to start building right away....But had nowhere to build! Anna suggested the Kreg Jig, and since my birthday is when I found the site, "suggested" this as a gift to my daughter, who passed it on to the big guy...and viola, Master Kreg Jig. Happy Birthday to me! I got the plans from the Kreg Jig Community....super helpful site, answer all questions, and a great resource to beginner builders.
The worktop is made of 2 pieces of MDF, which is SUPER durable. Loved working with it. This took a day, and not a day goes by that I don't use or get some kind of compliment on it. What's really neat is there is a utube video to follow as you build geared towards the just starting out builder, which shows layout, cuts, jigging, very easy to follow. Plan is on Kreg Jig Community, free if you register, as well as lots of cool free plans....not quite as cool as Anna's :)
Very reasonably priced about $70 inc 100 ct Kreg screws
This is a wall ornament I made for my daughter for their get away home on the golf course at Canadian Lakes, MI. "No animals were hurt in the mounting of this moose head" The only thing to suffer was a few pieces of scrap wood that I had laying around.
Fri, 08/09/2013 - 06:14
Very cool! Did you come up with this idea on your own or are there plans for this?
Fri, 08/09/2013 - 08:24
My daughter say a small one on a shelf in a little restaurant in Stanwood, MI and told me that she would like one, only larger. That was as large Asia could make it wit the scrap wood that I had laying around.
Fri, 08/09/2013 - 08:29
My daughter say a small one on a shelf in a little restaurant in Stanwood, MI and told me that she would like one, only larger. That was as large as I could make it with the scrap wood that I had laying around.
This was something my wife needed for the kitchen. I told her to find one that she liked and I would build it. This took about 6 hrs because I was building from a picture and no measurements. I dropped the shelf a little lower so my wife could store her mixer and stuff on it. Needless to say I think it came out pretty nice. We are still going to paint it and put one more coat of stain on the top.
Joined 1 x 3 boards together with pocket holes and wood glue. The hoop is reused from an old " over the door" hoop. Decided to just drill straight through the boards into studs. Really easy and my son loves it!
Tue, 06/05/2018 - 14:46
This is a work of art as much as it is a fun addition! Love the stain colors! Thanks so much for sharing a brag post.
I used some 2x6 boards leftovers from some deck work. The build is solid.
I have a rustic outdoor room made out of our garage. We started the project last summer but it took until this weekend to get a table built. I was skeptical that I would be able to build a table myself, but I knew this table would fit in my backyard decor and I had to do it!
Using the plans from the site, I was able to build this almost entirely by myself. I got help for flipping it and adding the side aprons.
I started around noon with a trip to Lowe's and was done by about 7:30. The wood and screws cost around $50. I still have to finish it and am thinking of staining it dark brown.
Also, the guy at Lowe's recommended that I used deck screws. So that is what I used. I did not pre-drill all the holes. I also put the 2x6s in the table top, then flipped it over and added the 2x2 supports and screwed them in. I think that saved some time and seemed to work out okay.
Thanks for a great project, Ana! I am so proud of myself that I did this! Now I am off to make a bench to match.
Using Ana's great Reclaimed Soda Crate Caddy plan I built the perfect wood caddy for my bathroom by just adding rope handles and stenciling "BATH" to the front.
My mom had been wanting a corner cabinet in her dining room forever but every one we found was mad expensive. So I built her one as a gift. She loves it! I used left over paint from her dining room walls so the colors match exactly.
So many projects were built using Ana White plans.
Comments
Ana White Admin
Thu, 08/20/2015 - 09:53
Super Sweet Table!
Thanks for sharing this great looking build!