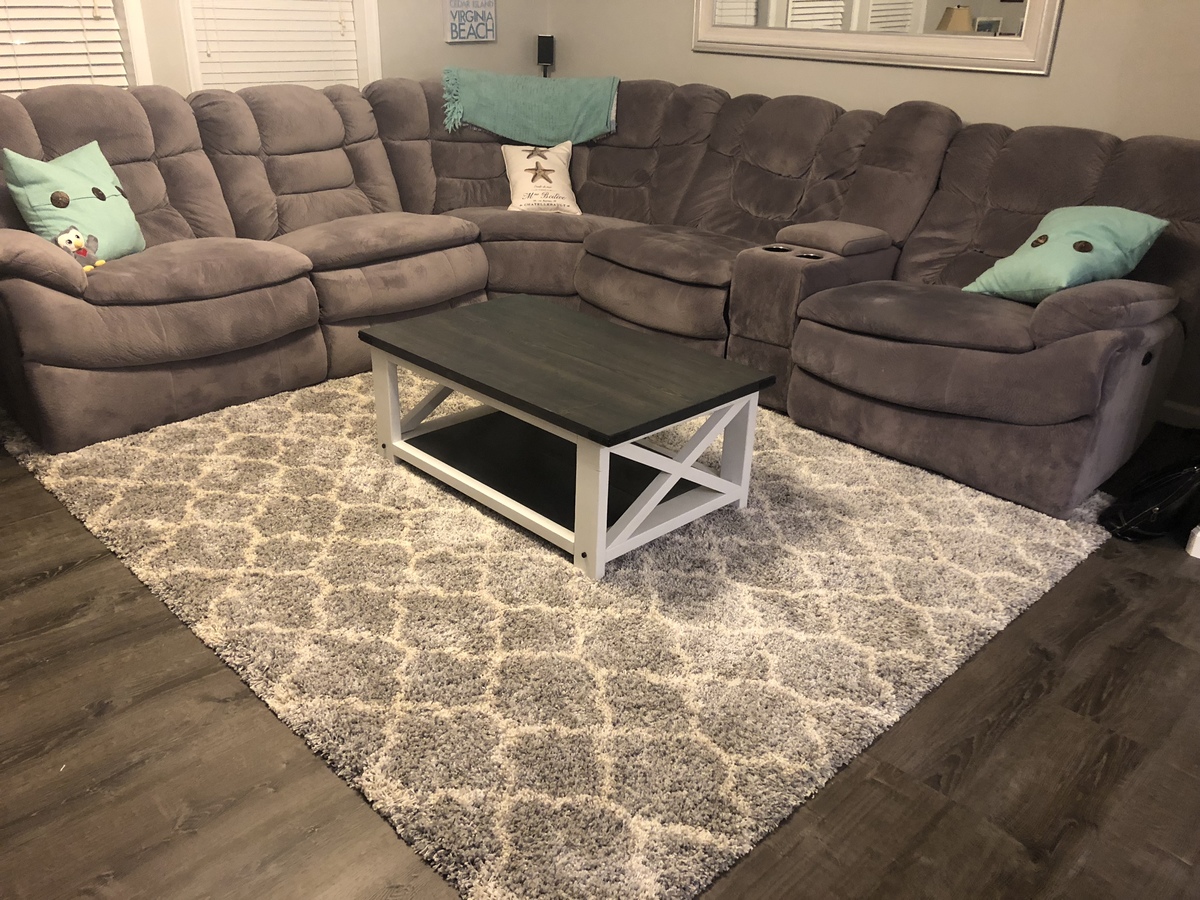
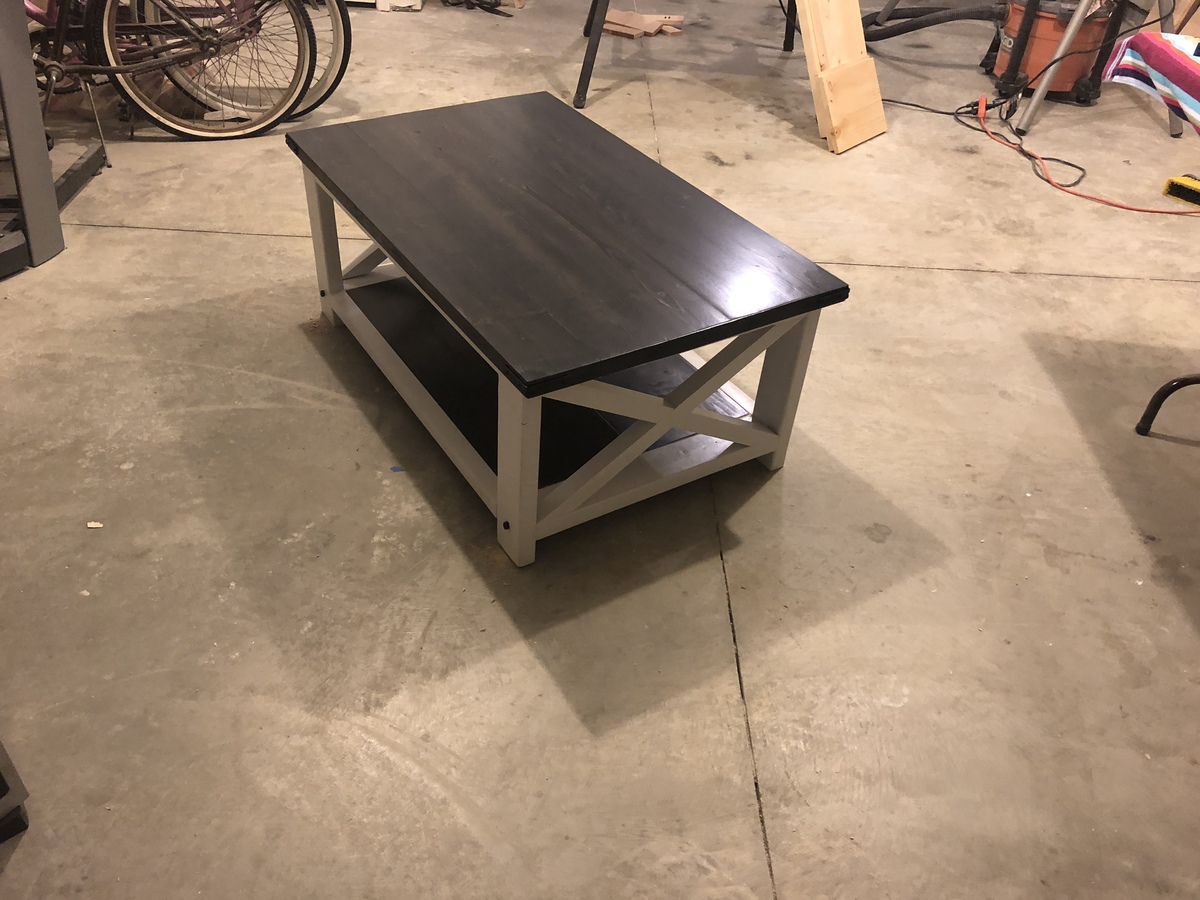
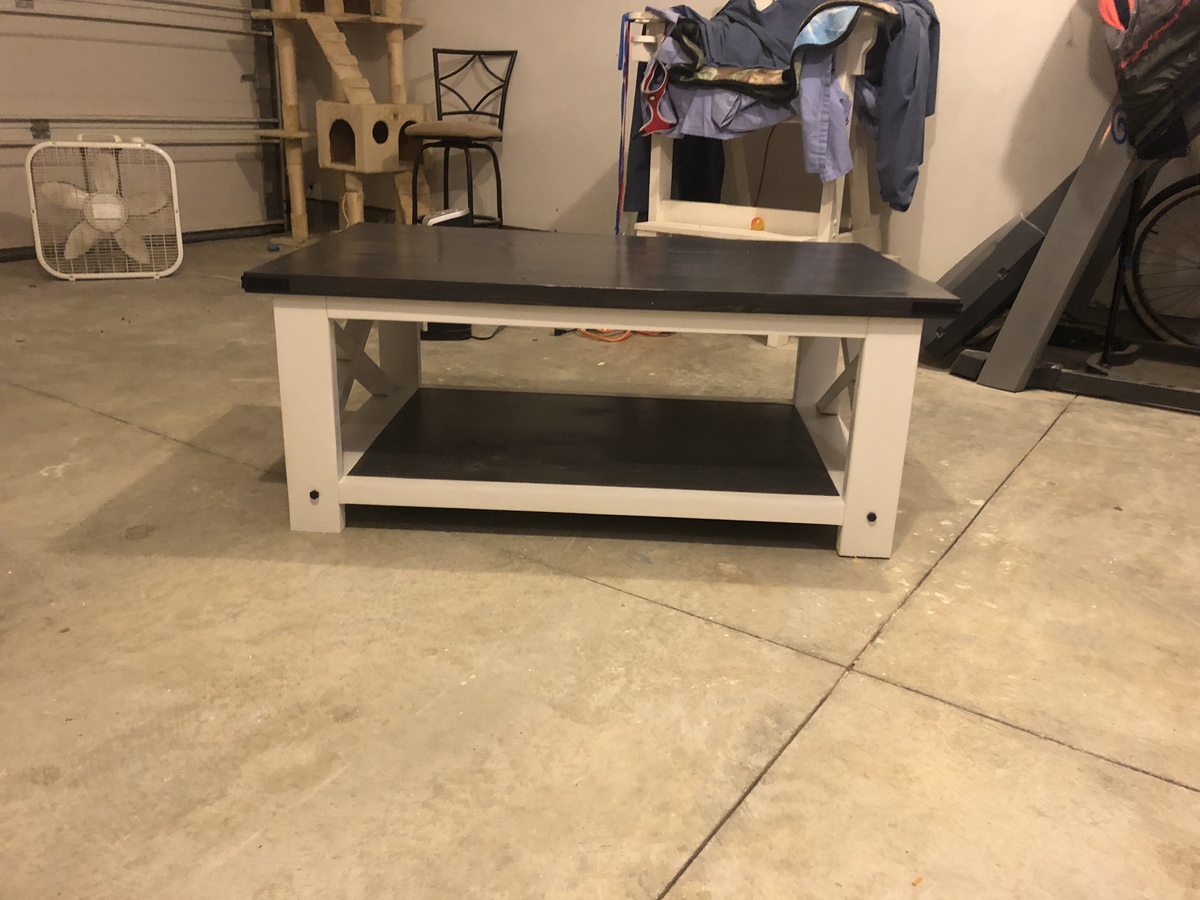
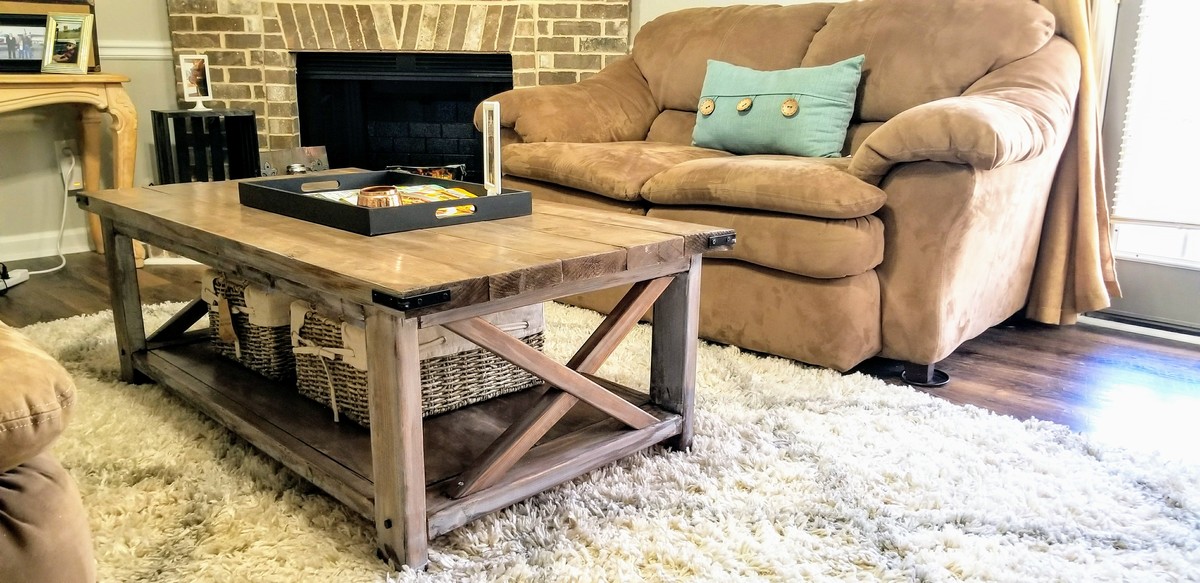
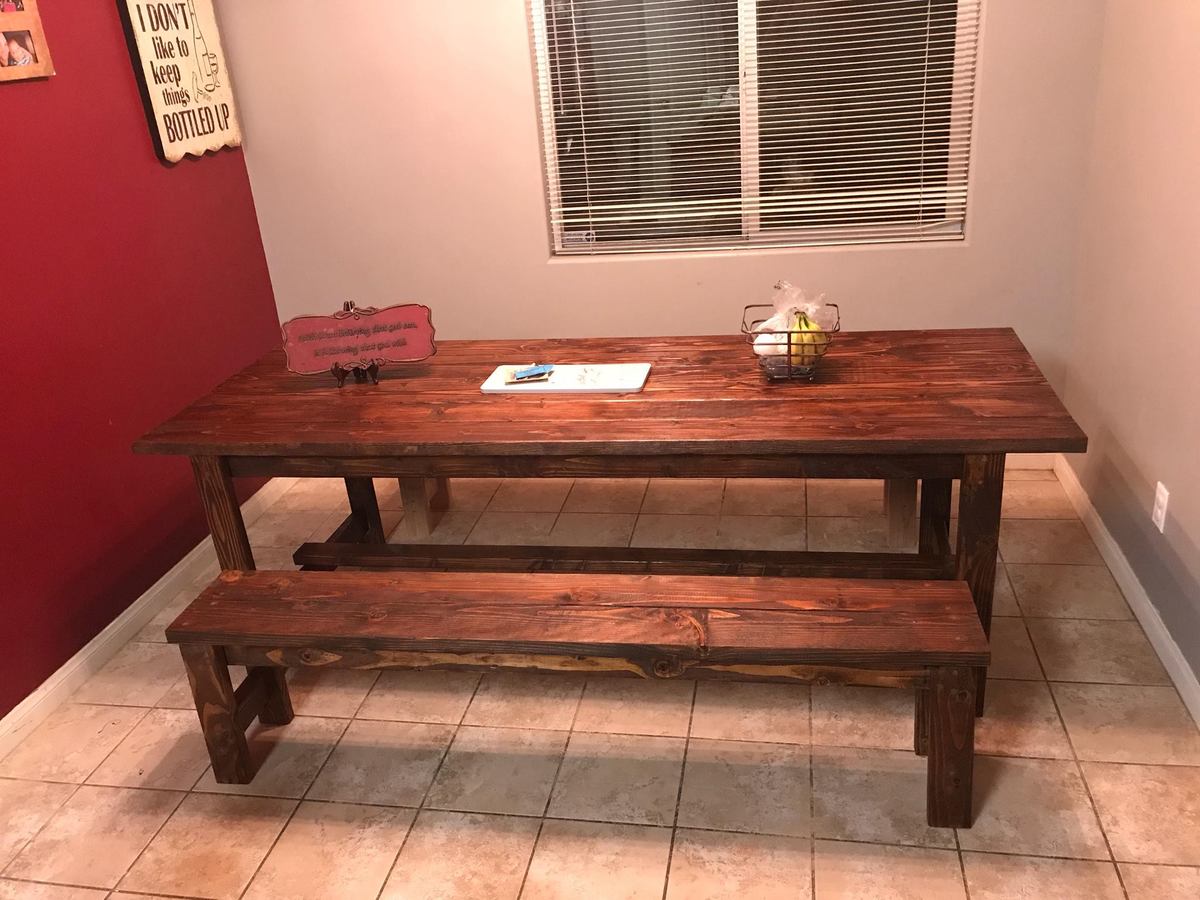
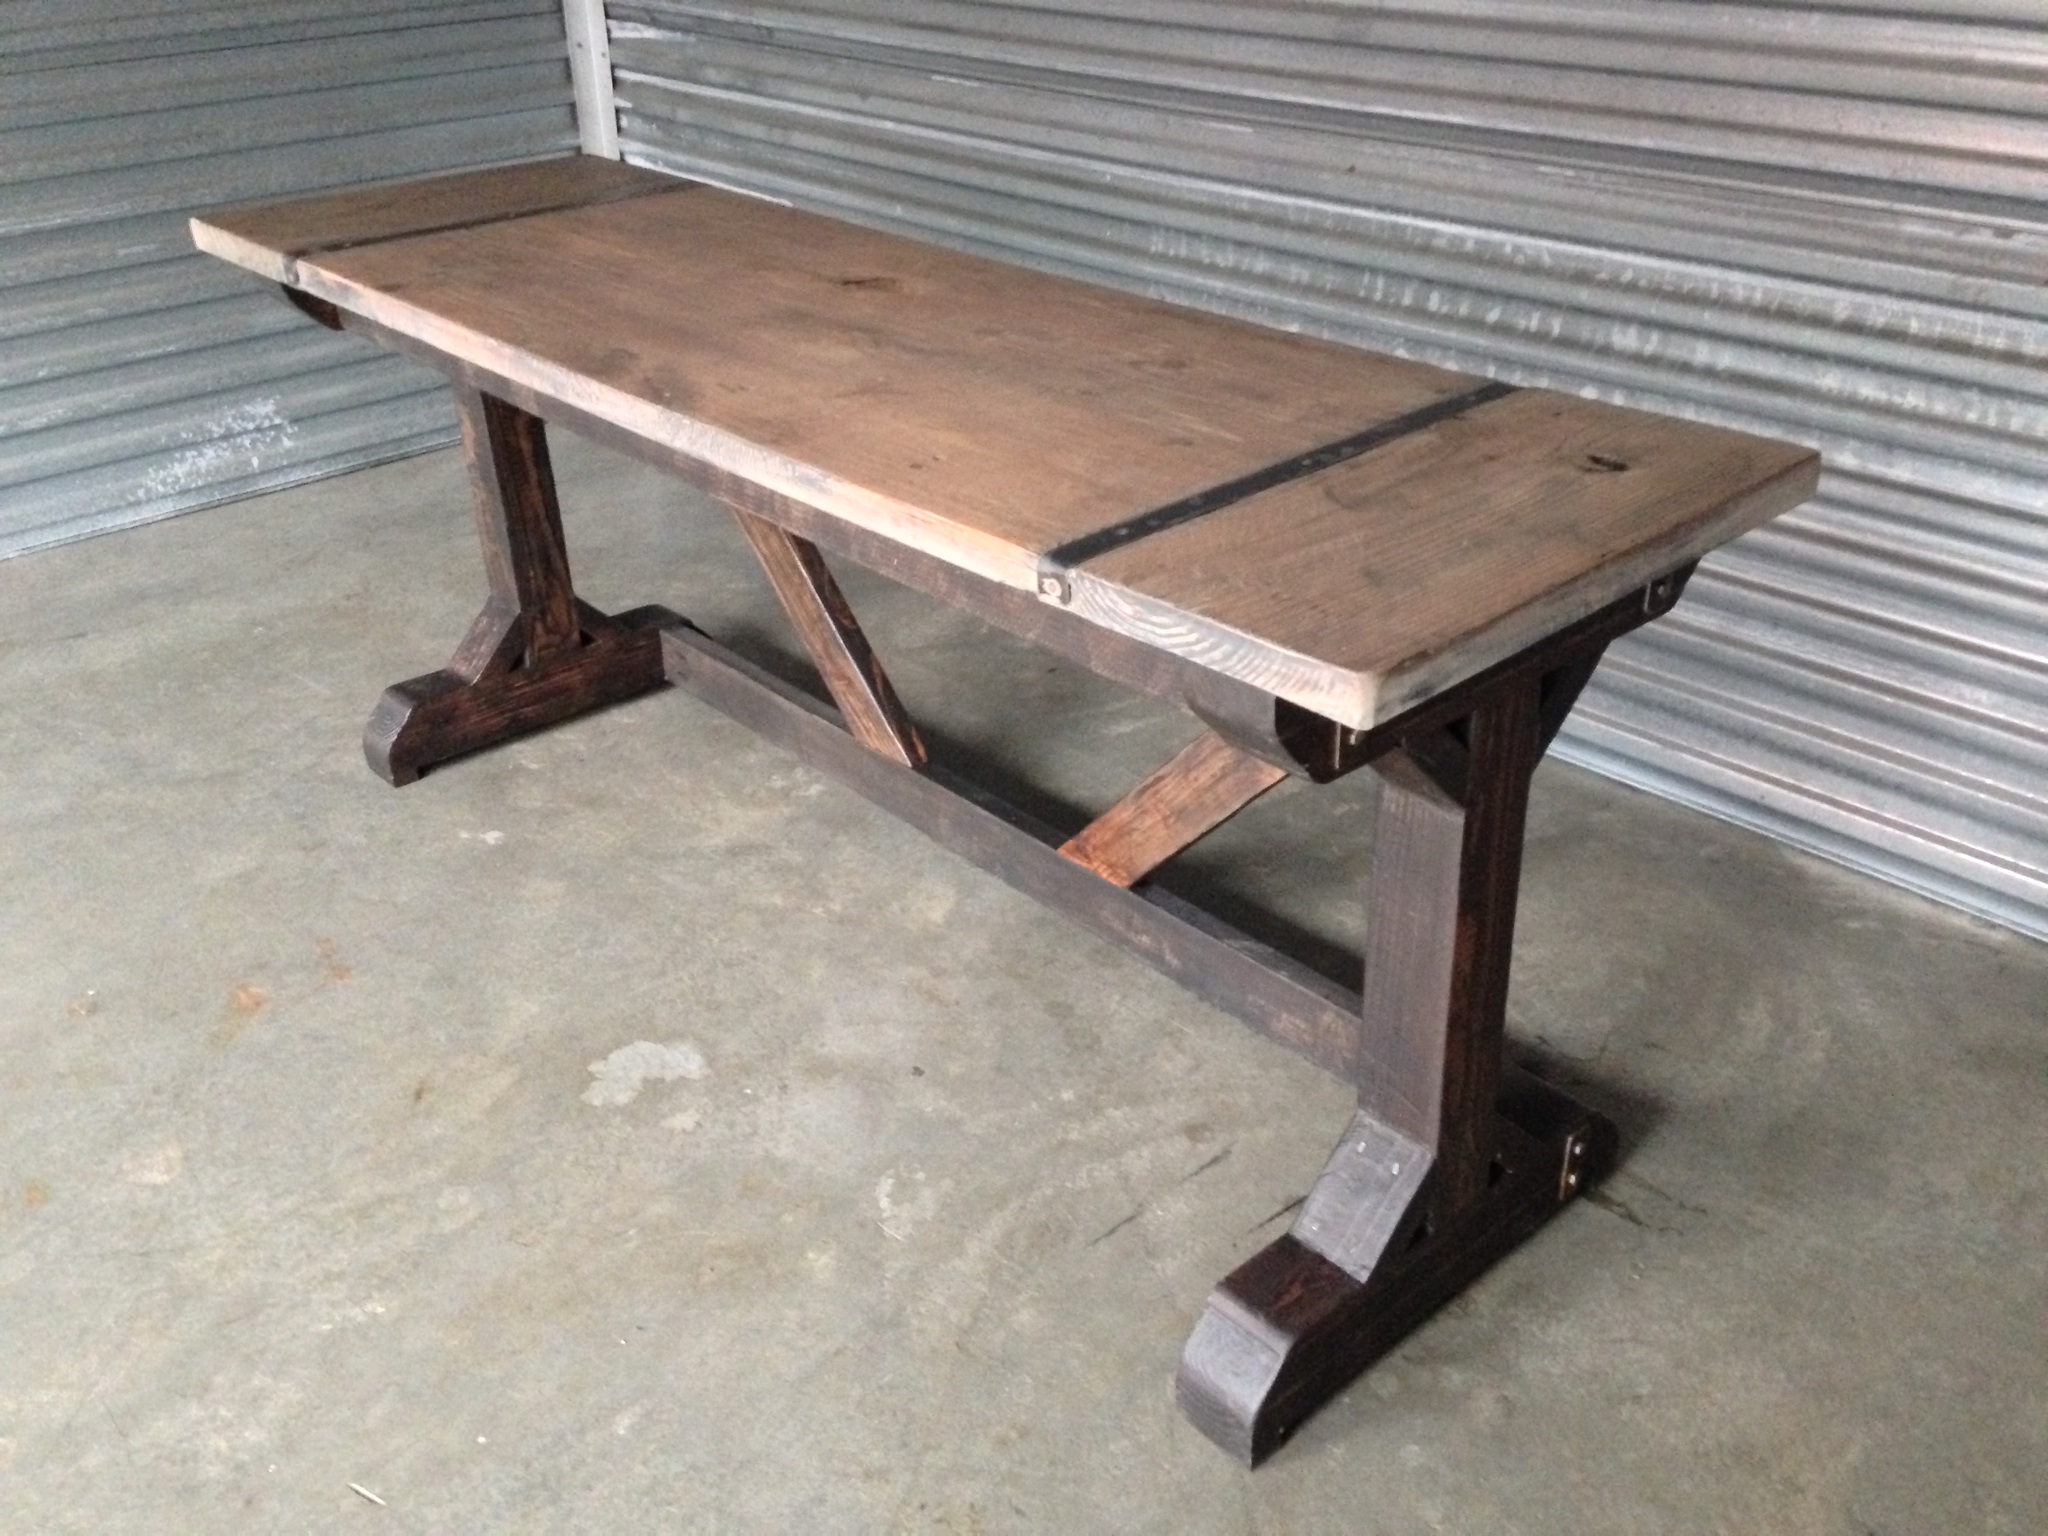
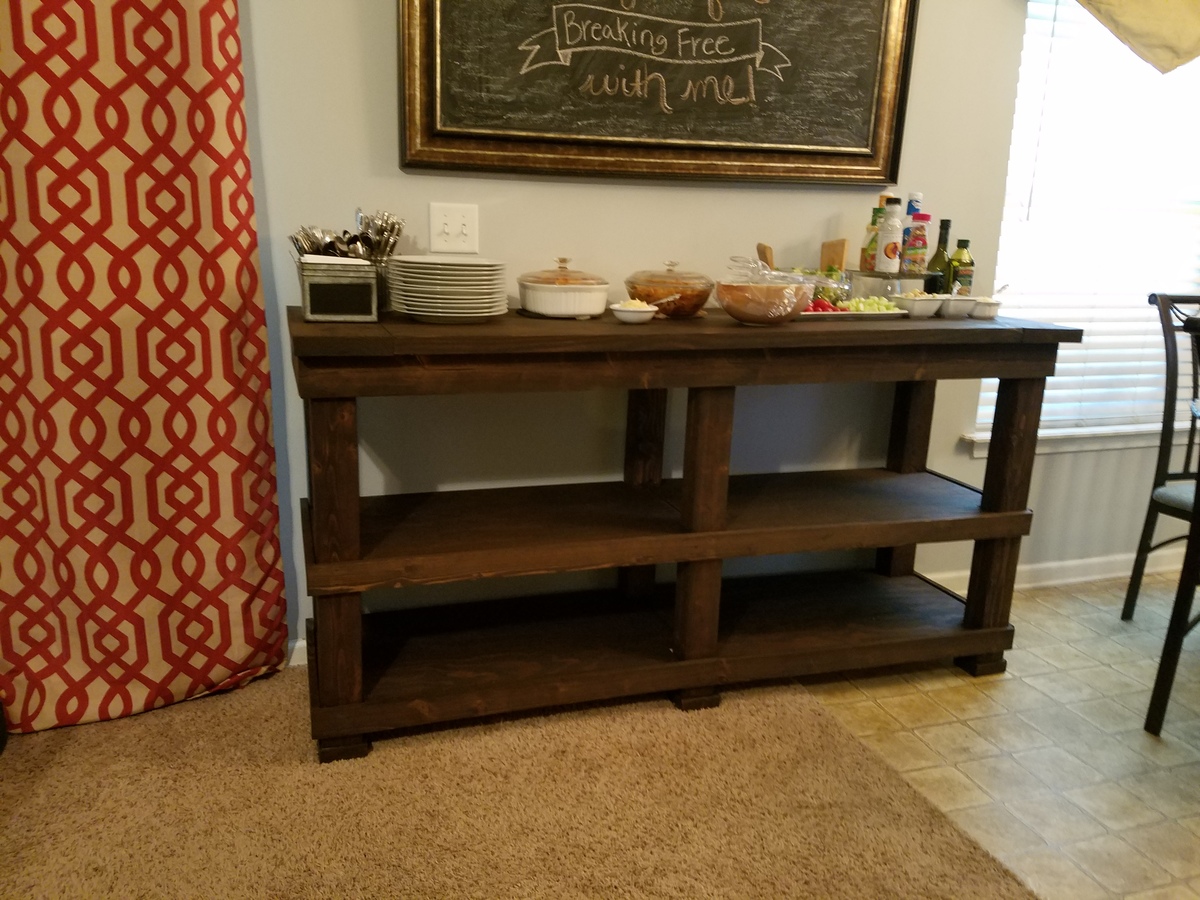
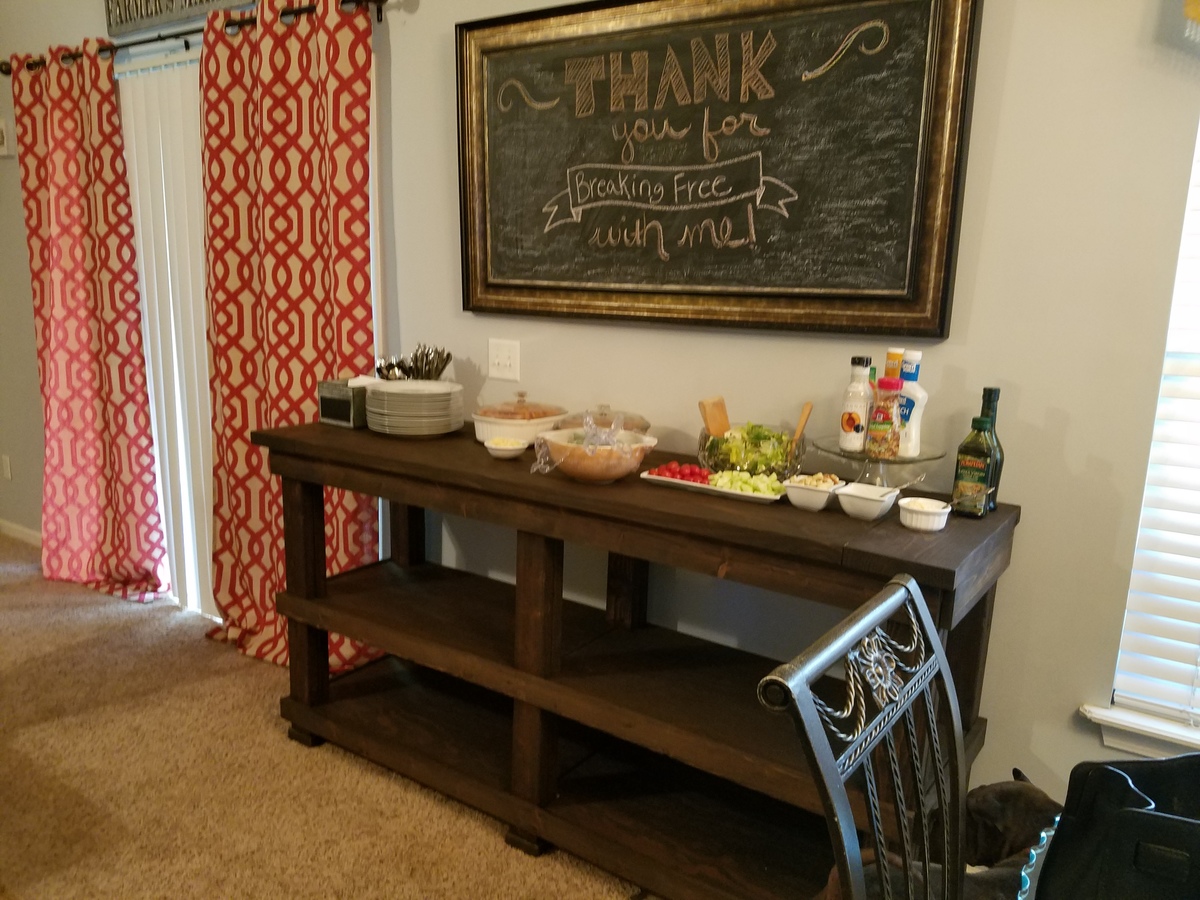
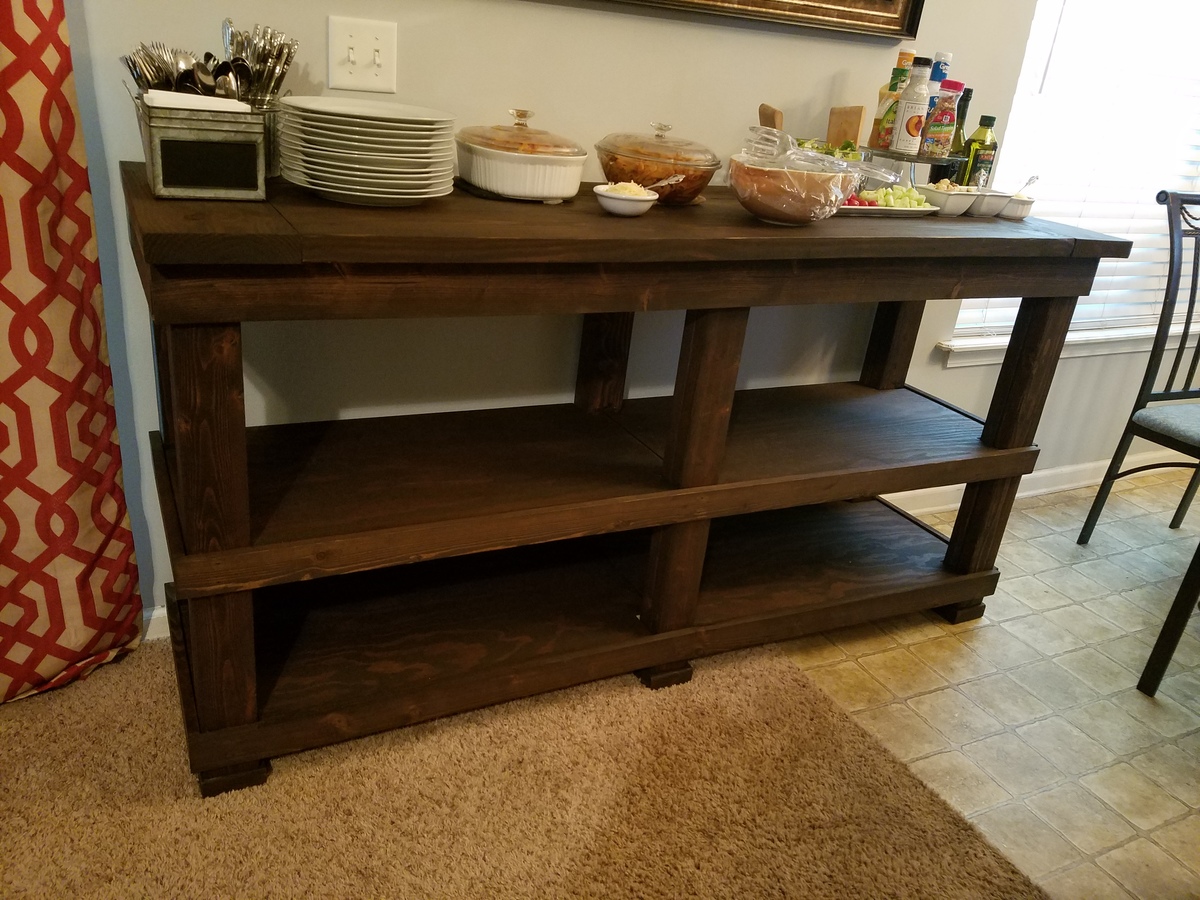
Fancy X Formal Dining Game Table!
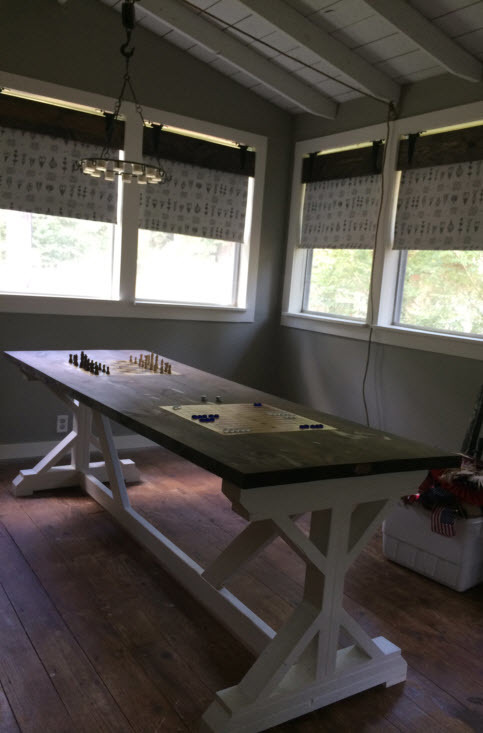
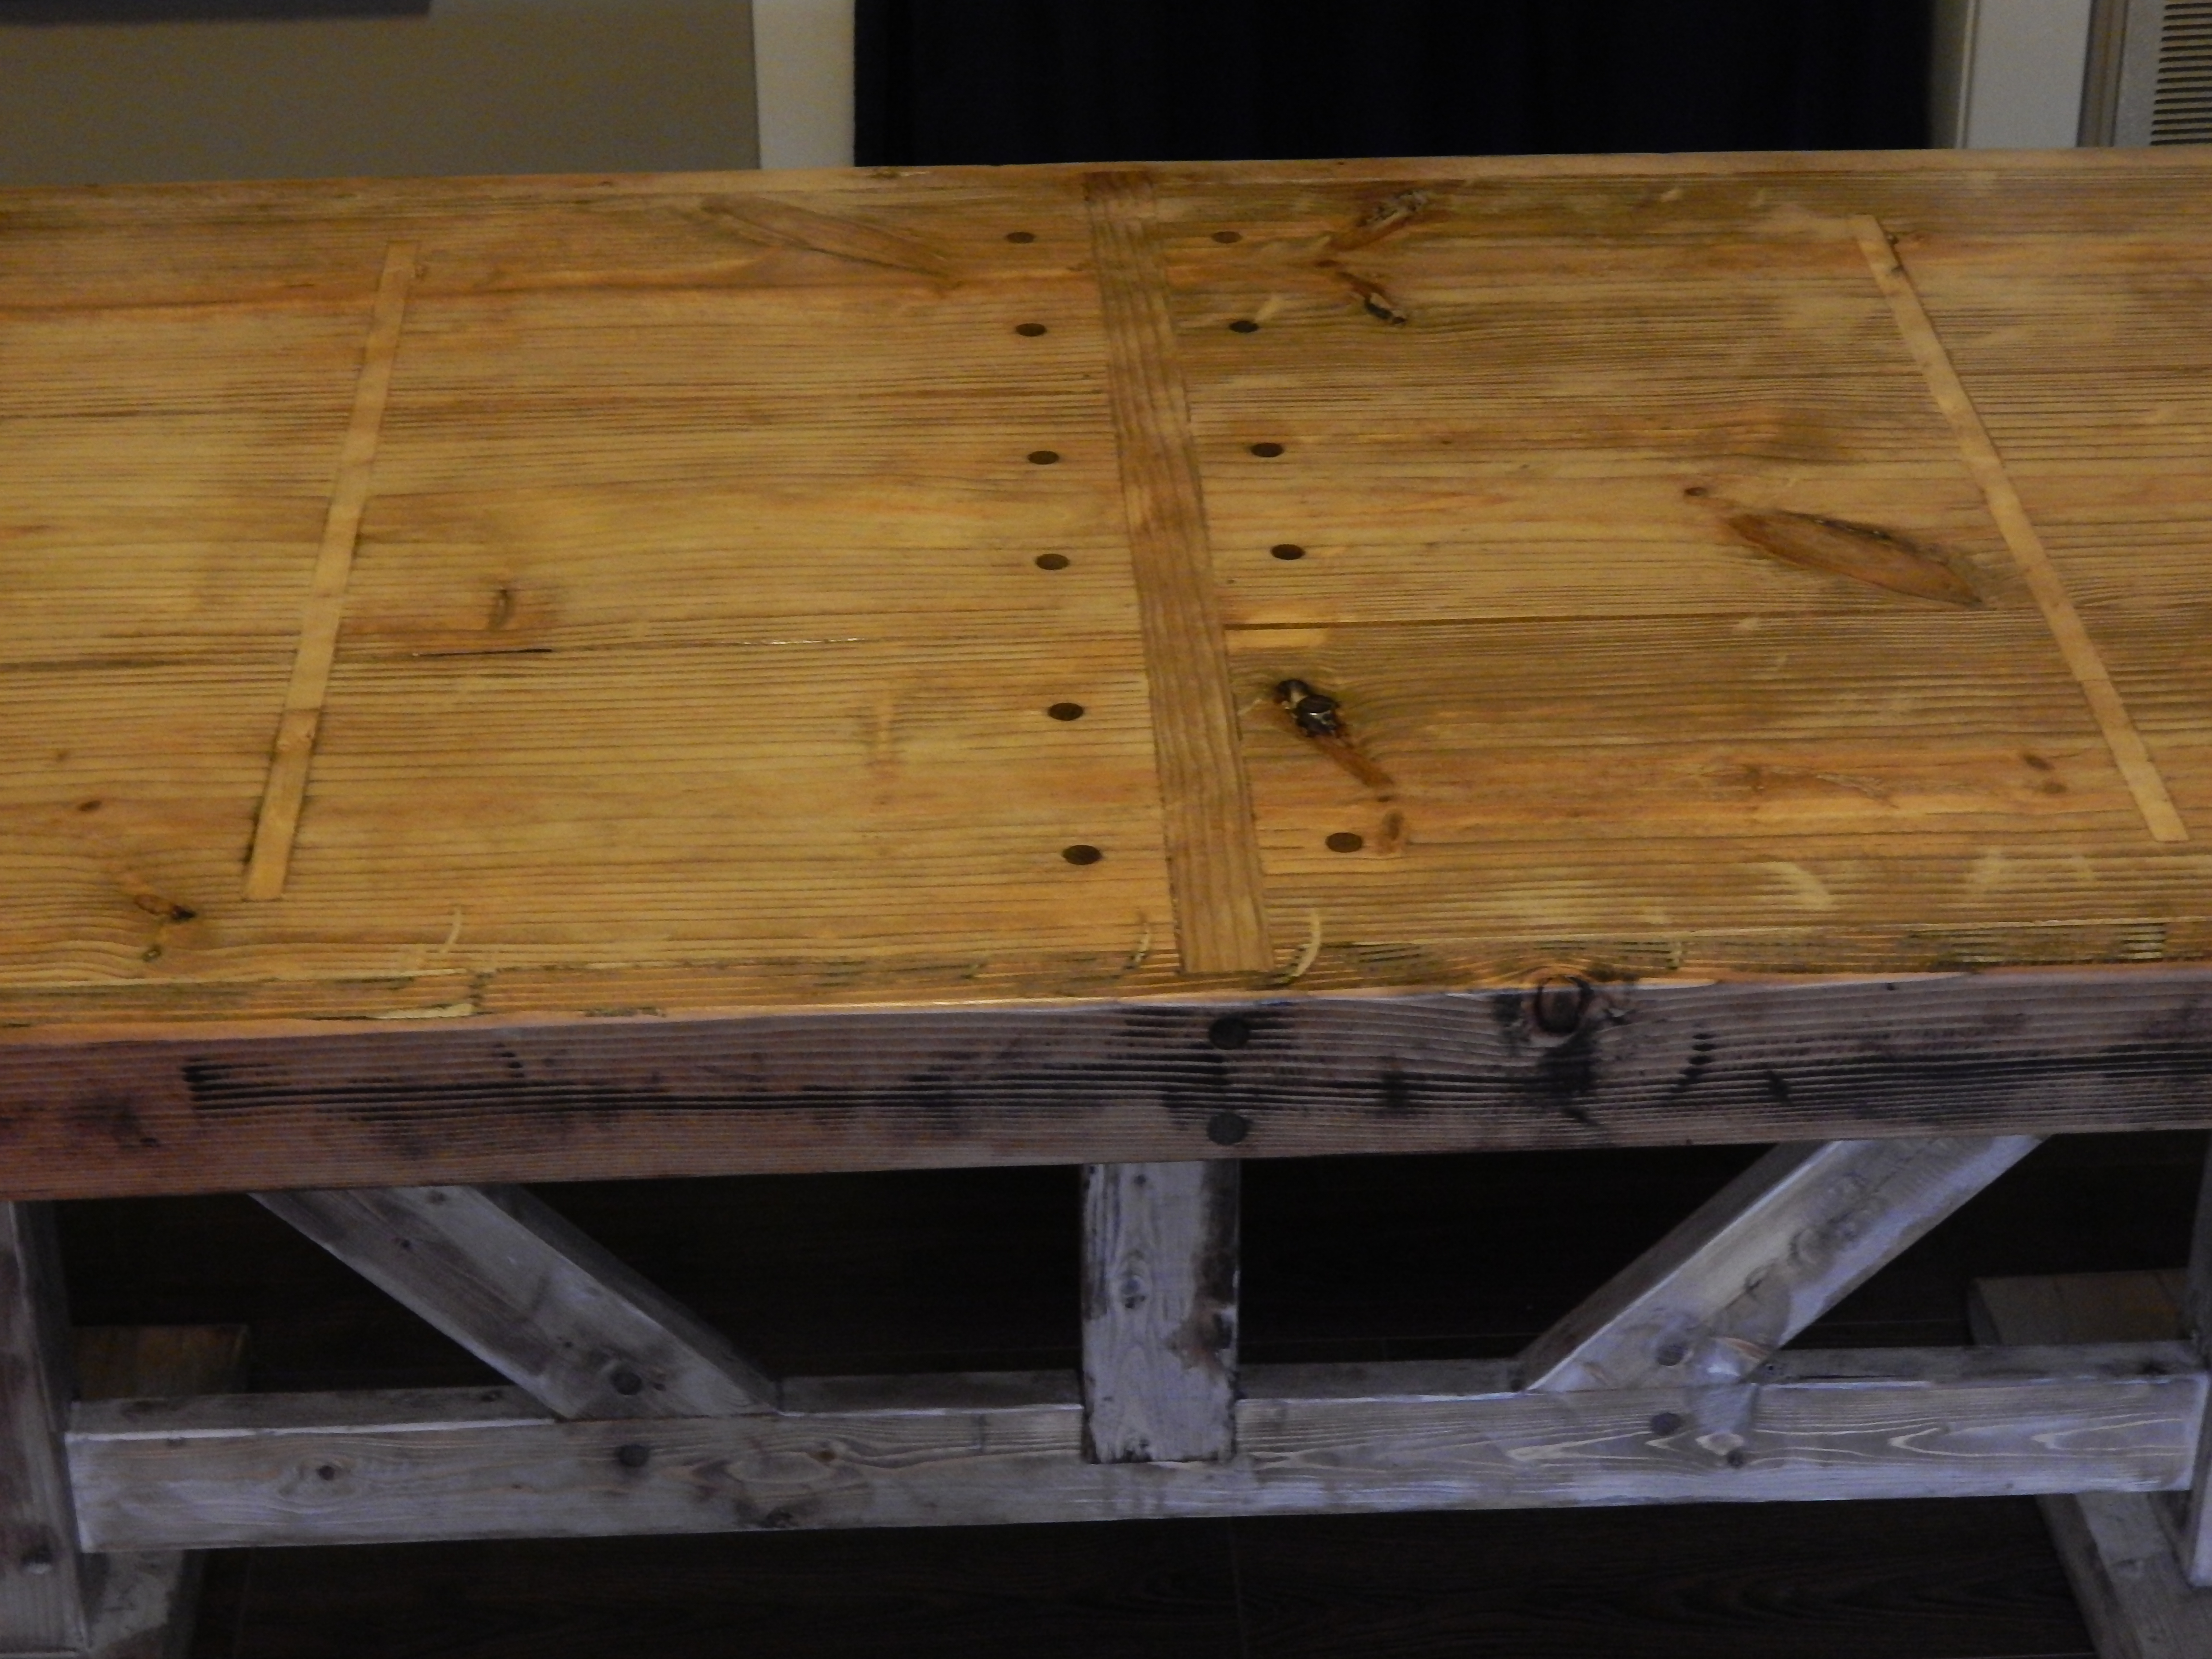
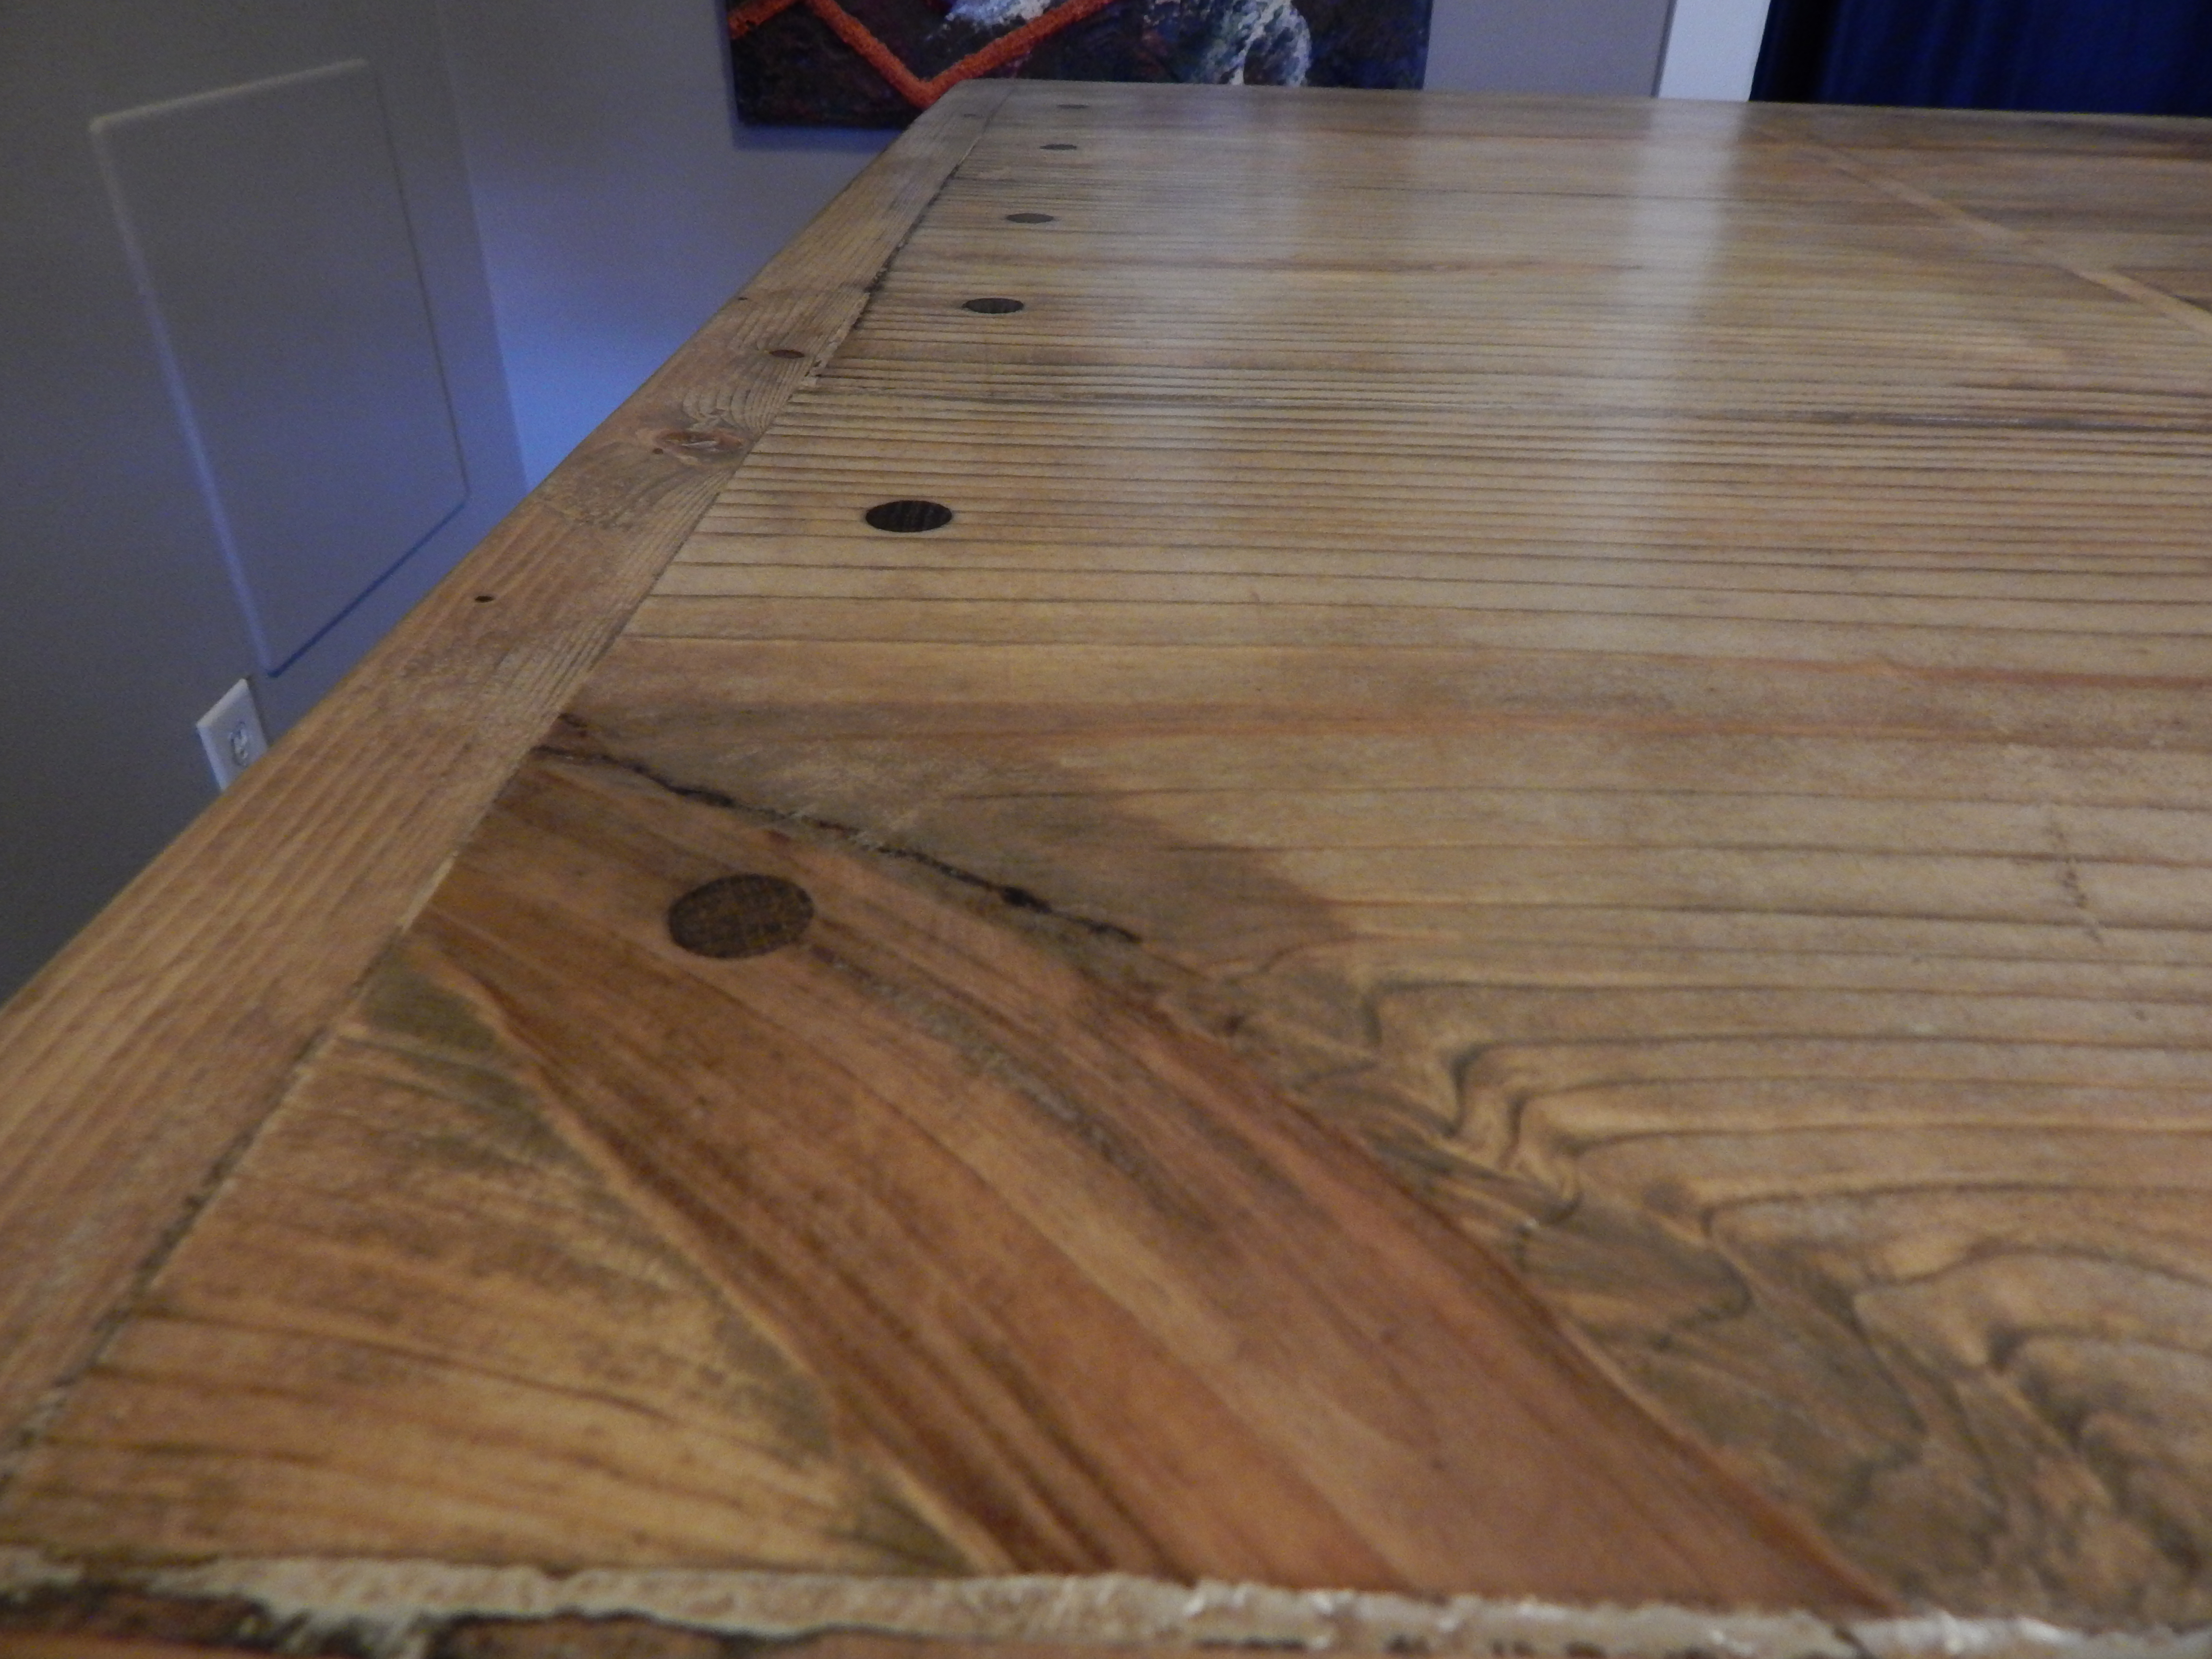
We used the Fancy X Farmhouse Table plans to create the table then stenciled the game boards onto the sanded tabletop with a pencil. After that we scored over the pencil tracing to prevent stain bleed over, then carefully polyurethaned over the sections we did not want stained. After the poly dried we used a small craft brush to paint the stain in one color at a time.

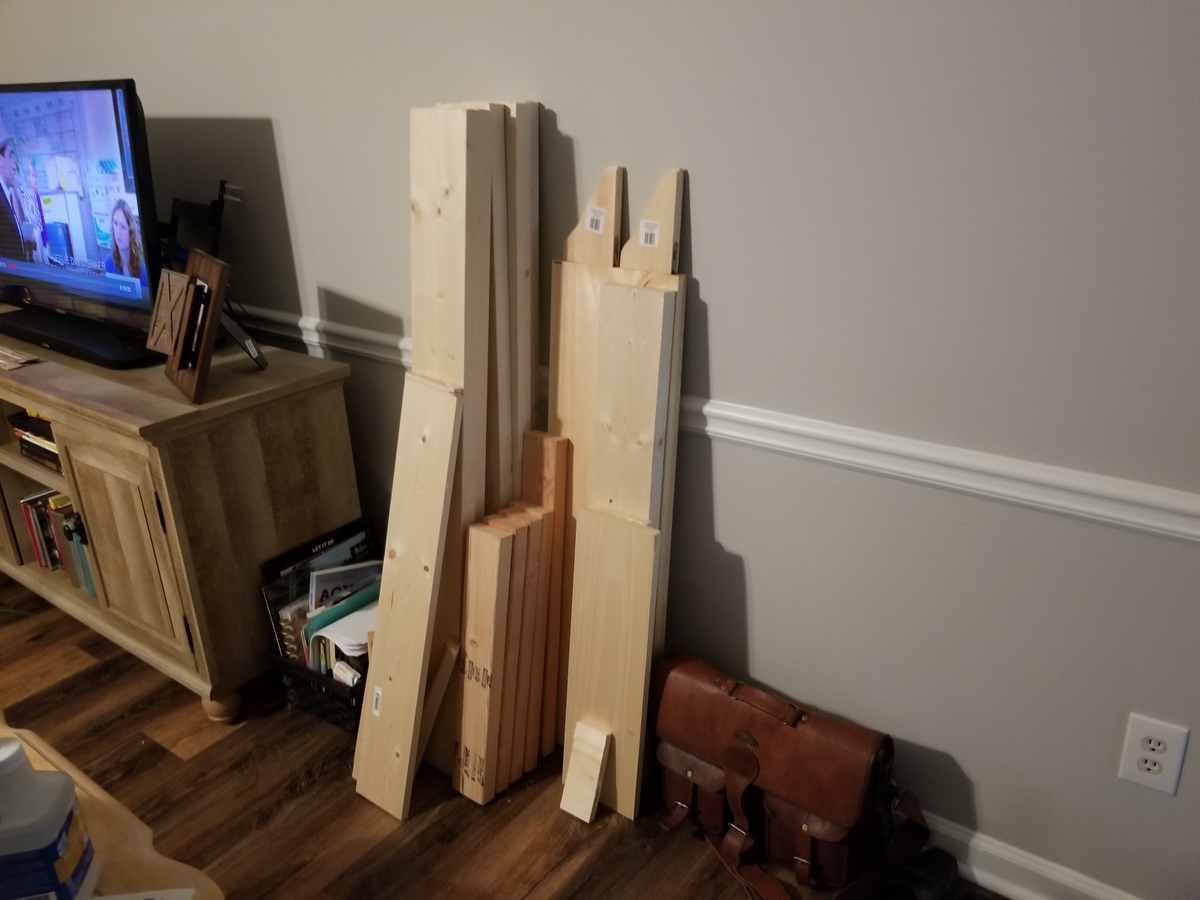
Built from Plan(s)
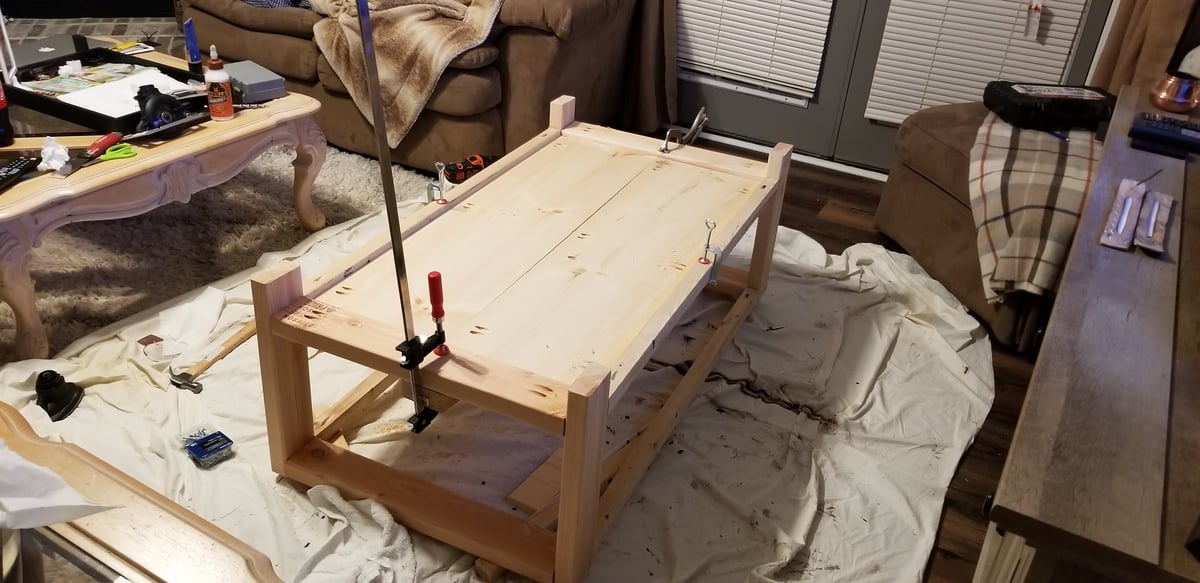
Estimated Cost
$200
Estimated Time Investment
Week Long Project (20 Hours or More)
Finish Used
The main stain color is dark walnut, the reddish stain is gunstock, the legs are a custom color that is basically a satin white. Three coats of clear satin finish were used with hand sanding between each. After drying the last coat was buffed with #0000 steel wool and soapy water.
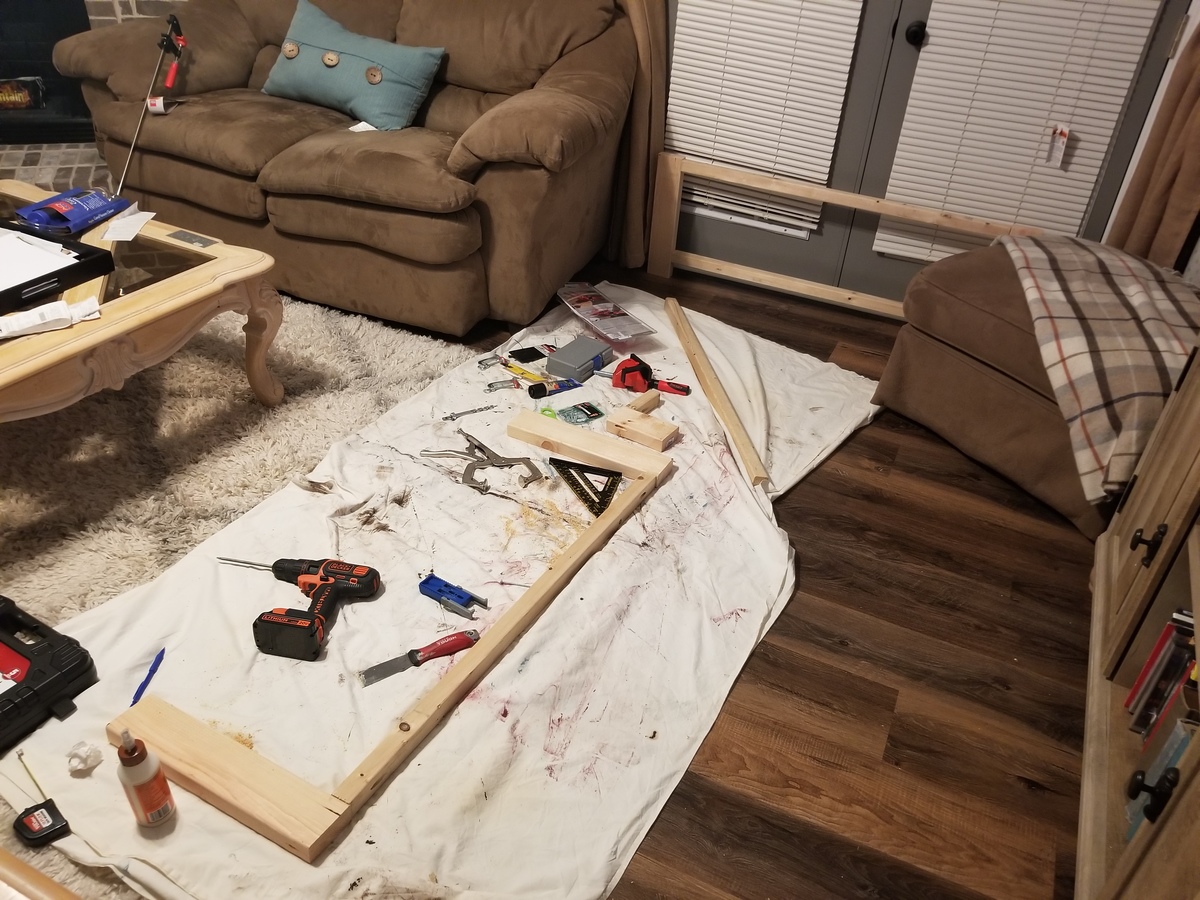
Recommended Skill Level
Intermediate


Comments
ccollins14
Wed, 08/25/2021 - 06:30
Great Job!
This is beautiful! Great job!