Sliding door console
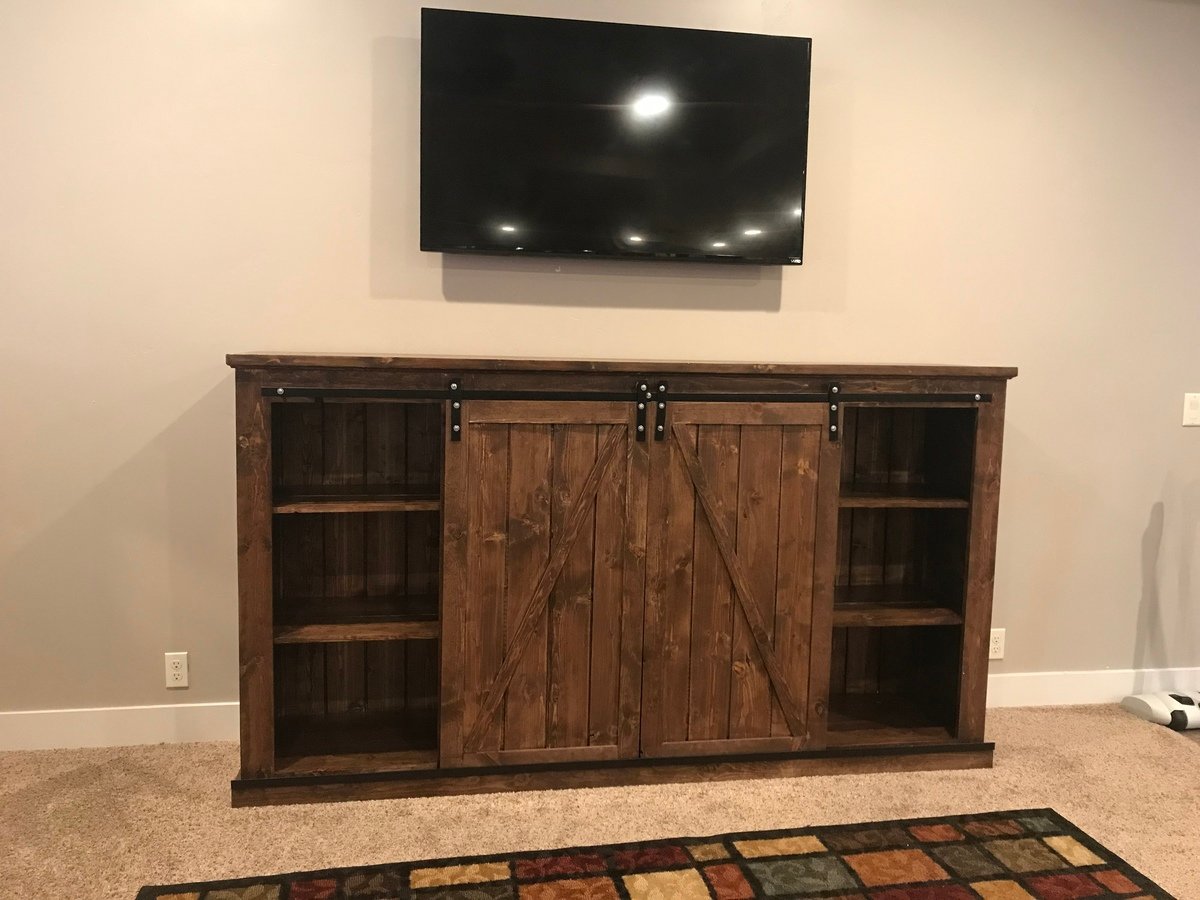
We doubled the height and added another shelf! Amazing build and amazing plans! Thank you!! This was our first build. We are novice

We doubled the height and added another shelf! Amazing build and amazing plans! Thank you!! This was our first build. We are novice
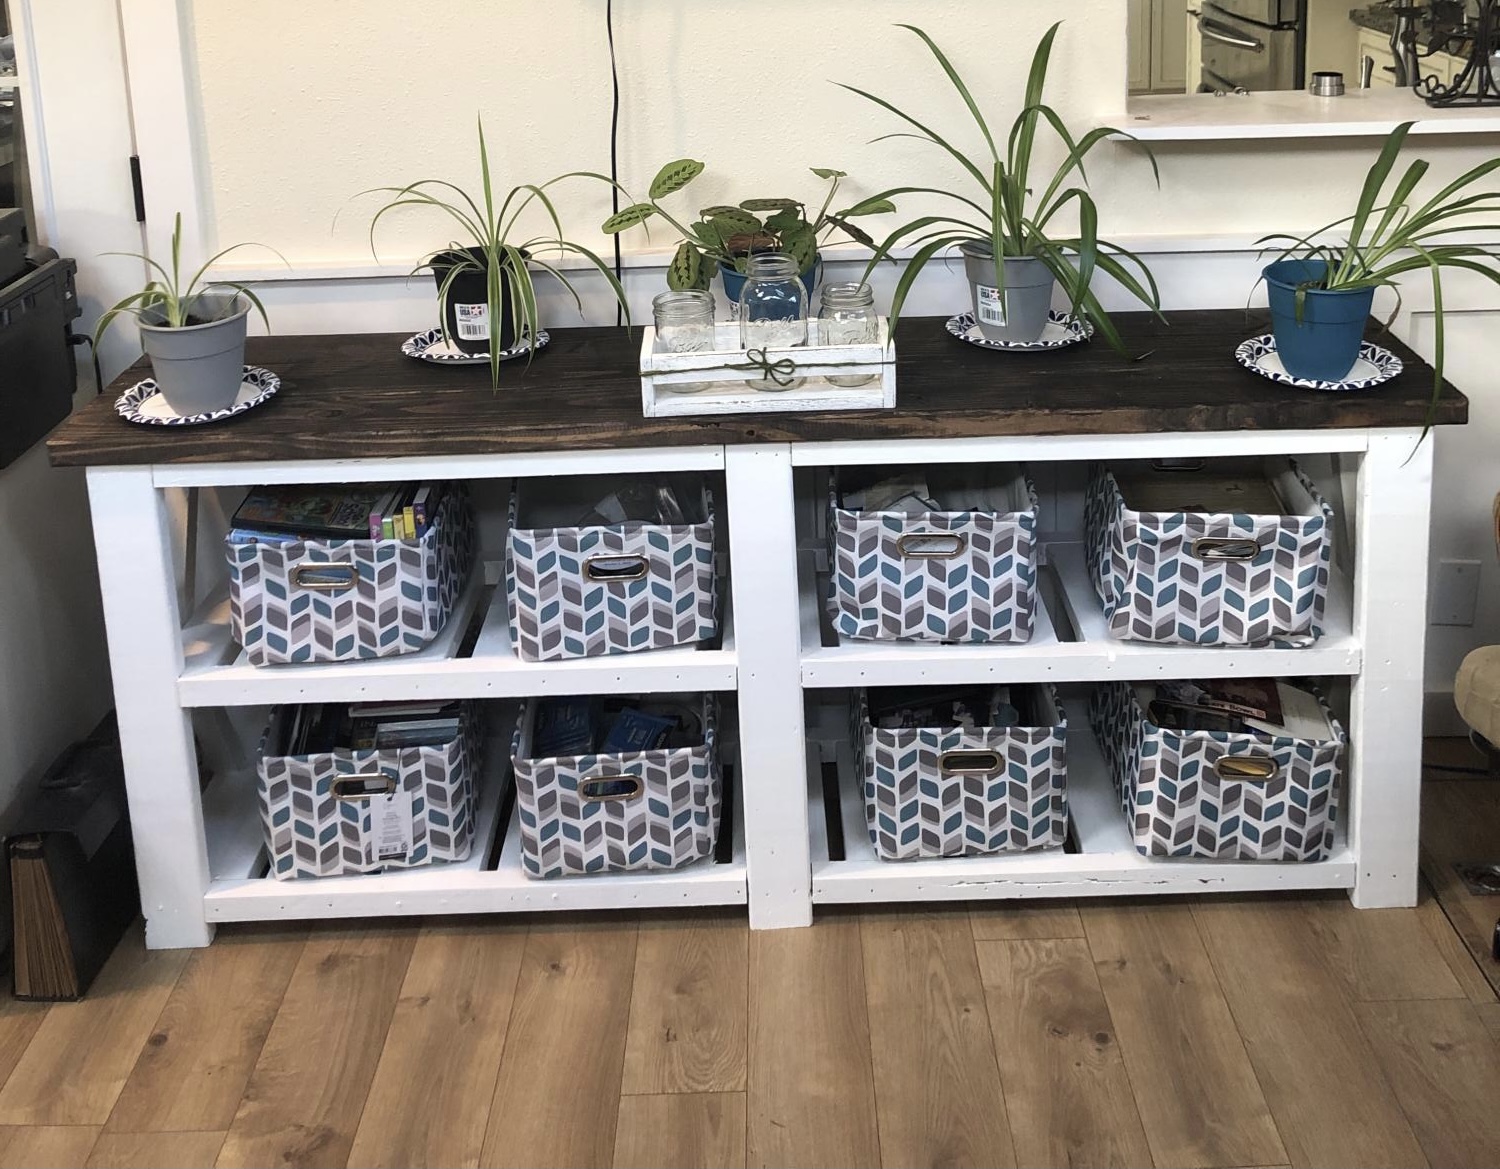
This was my first big project. I am a total beginner and was mot sure how it would turn out. Your plan was so easy to use. I am very happy with how it turned out and am excited for future projects.
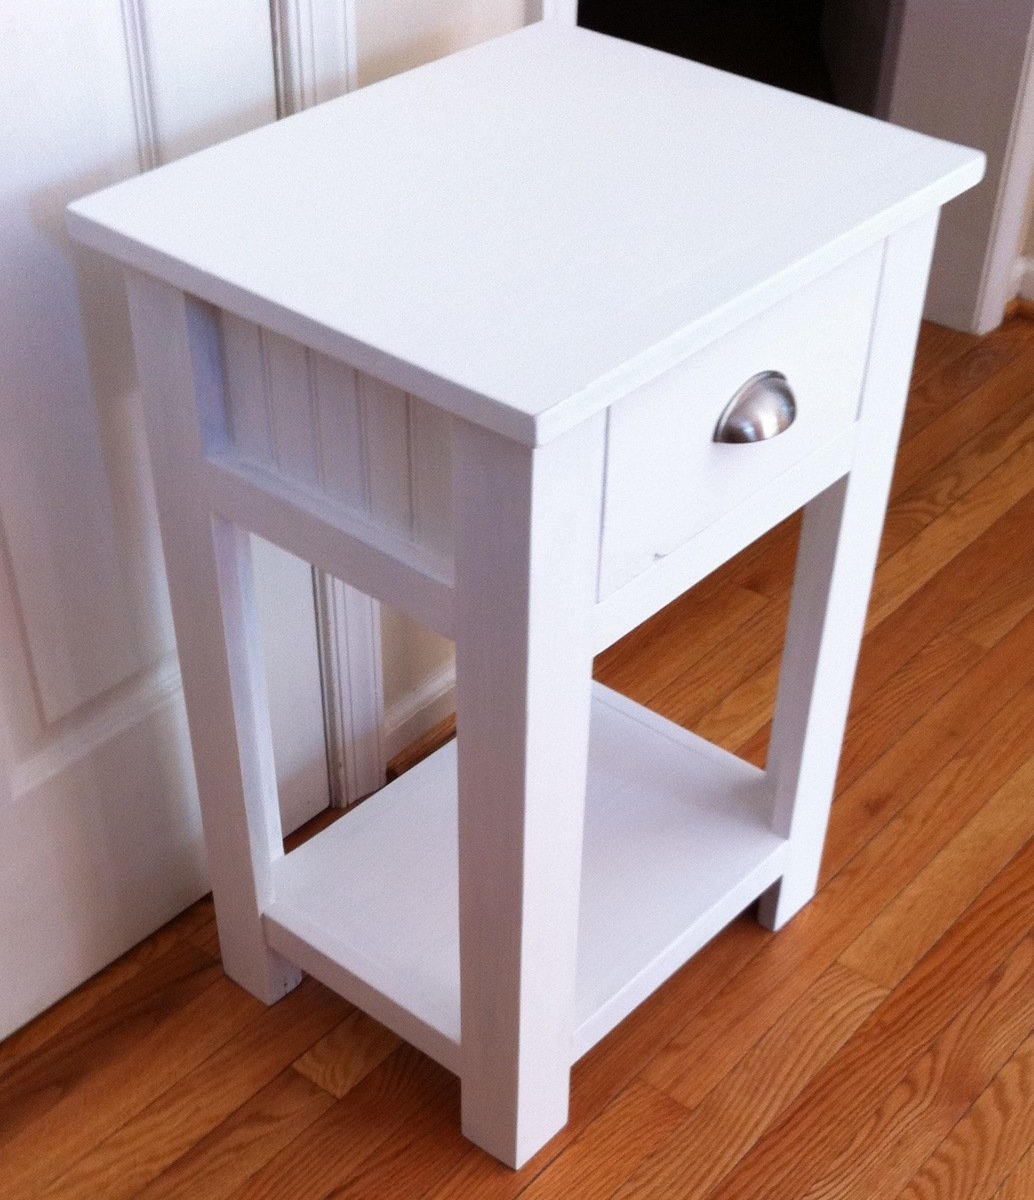
It is a friend's birthday on 5/6 and I noticed she didn't have a nightstand so instead of buying a present, I decided to make her a nightstand. I really liked how the person who built "Lee and Beth's Simple Nightstands" used bead-board on the sides, and I have a lot of bead-board left over from our master bathroom renovation, so I decided to use it, too, and that way I wouldn't have to buy the wood for there, because I didn't have any extra plywood to use there. I also used the bead-board on the back and as the bottom of the drawer.
It looks more modern-cottage than it does modern, like I wanted, but it still looks good.
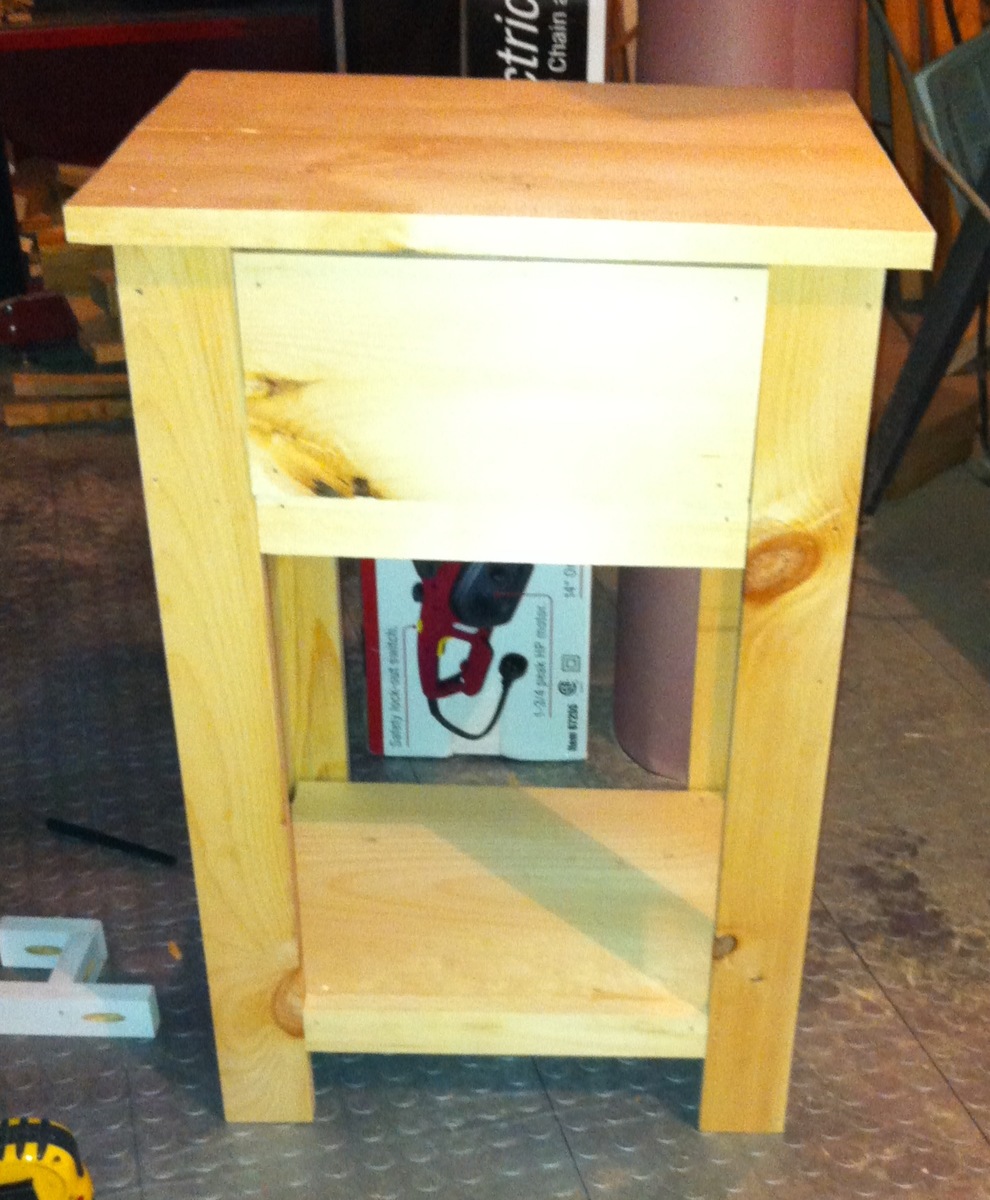
Pictures are of what it looked like pre-sanding and wood-filling, with 1 coat of the stain on it, and then finished with white paint.
With the combination of scrap wood and new wood, I only spent $20 on new wood for the project, and $5 on the drawer pull!
For the top, instead of a 1x12 and 1x3, I used a 1x12 and and then flanked it with 2 1x2s - for a more balanced look. I also cut the 1x12 at like 19 1/2 inches instead of 18 1/2.
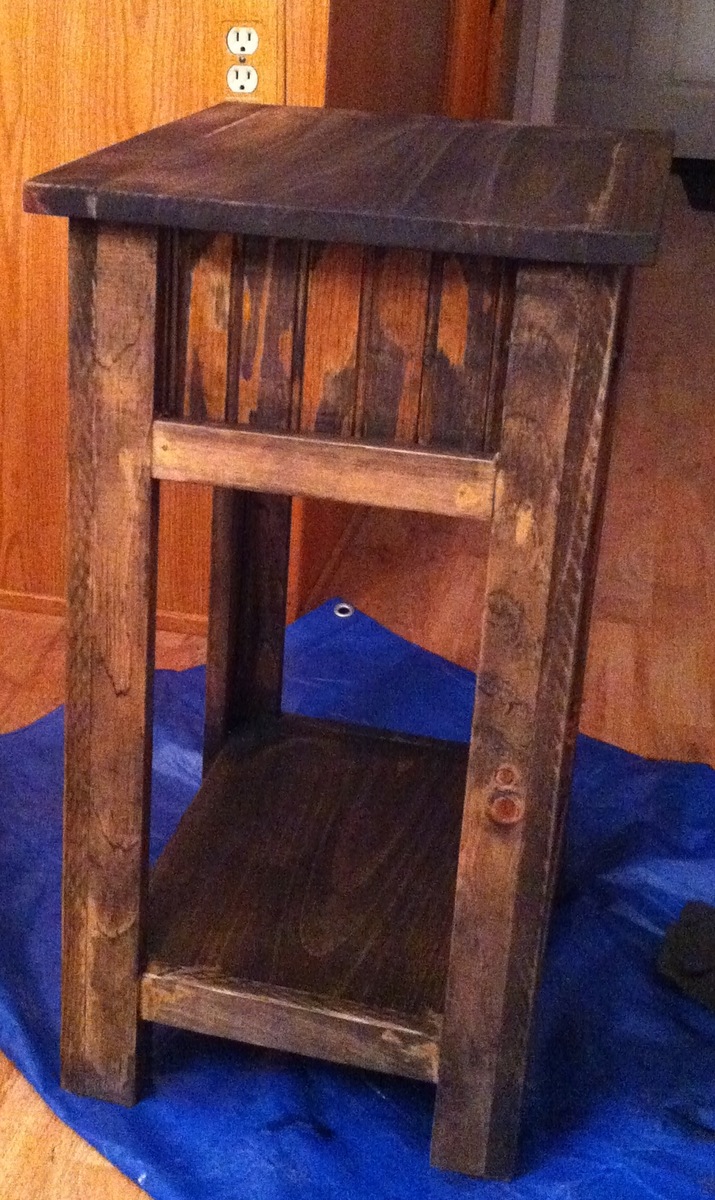
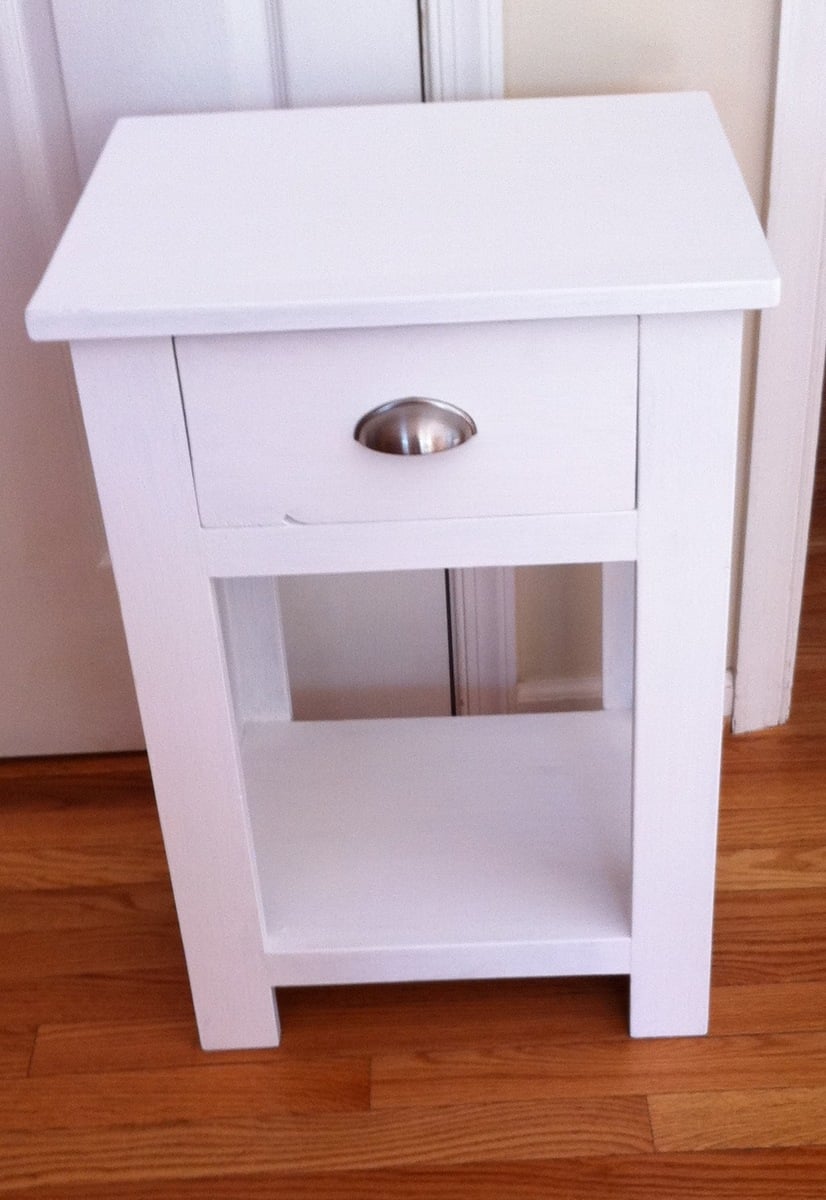
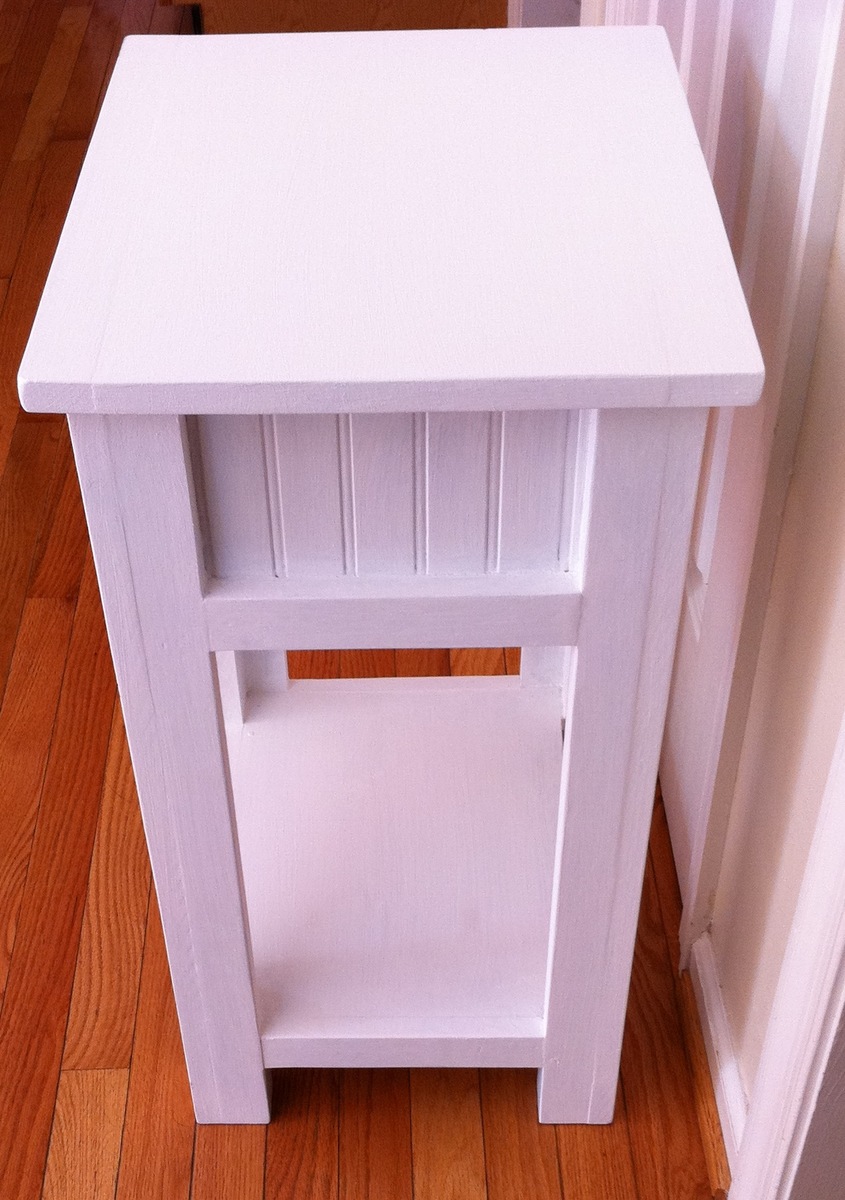
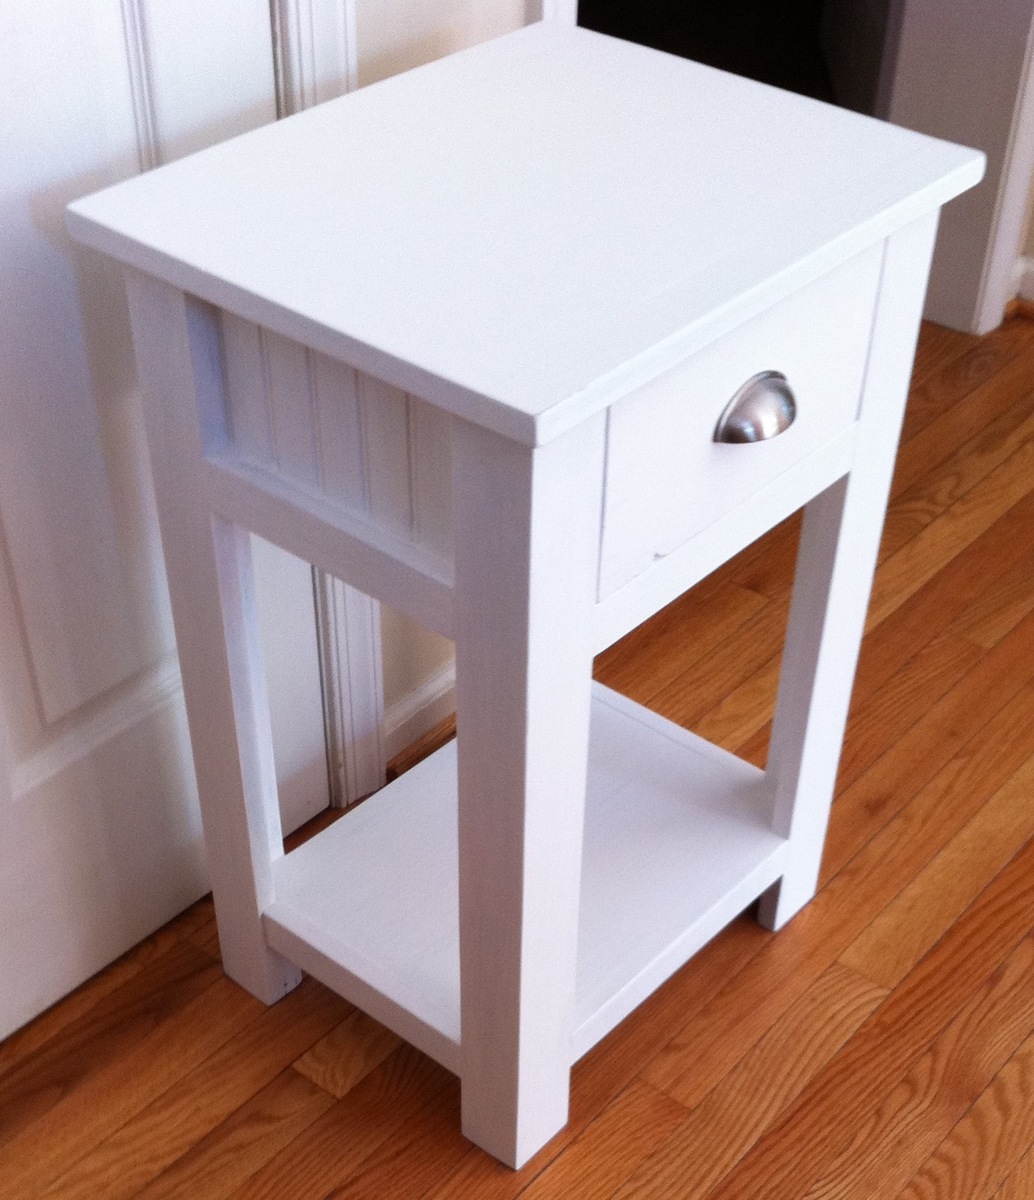
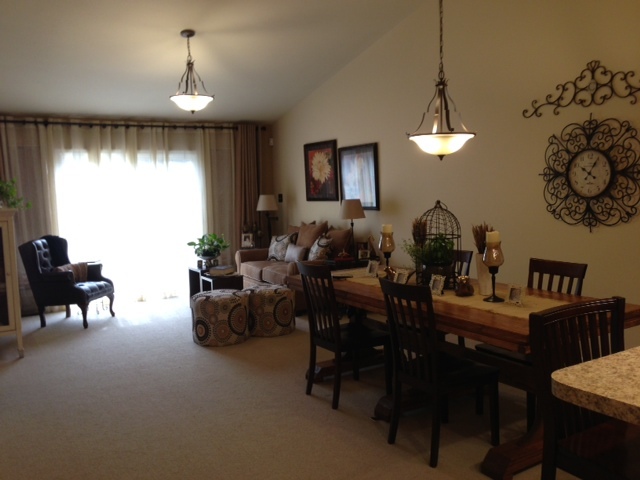
Ana thank you for the wonderful plans. It was my first major project, and it will not be the last. I purchased your book this weekend and love it!!! Thank you for all you post to your site.
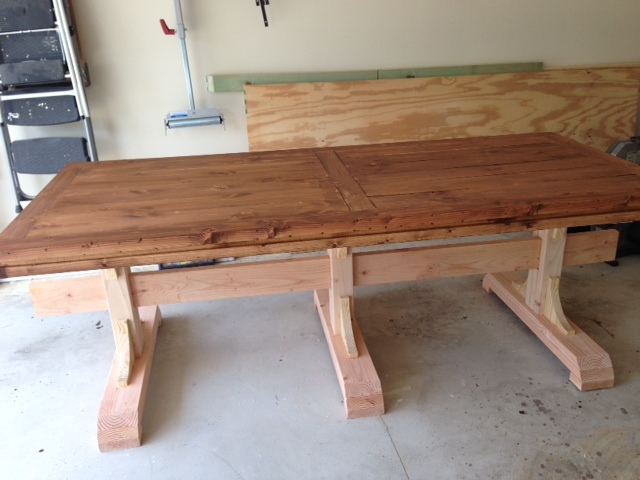
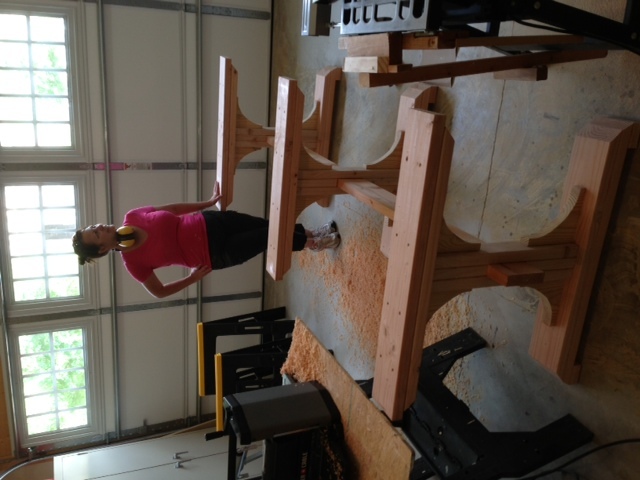
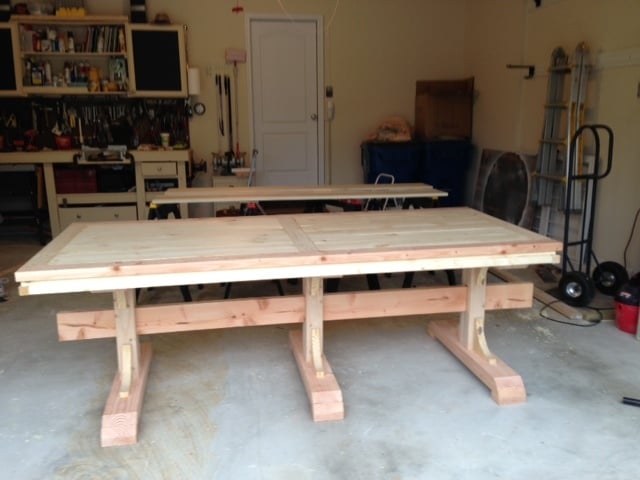
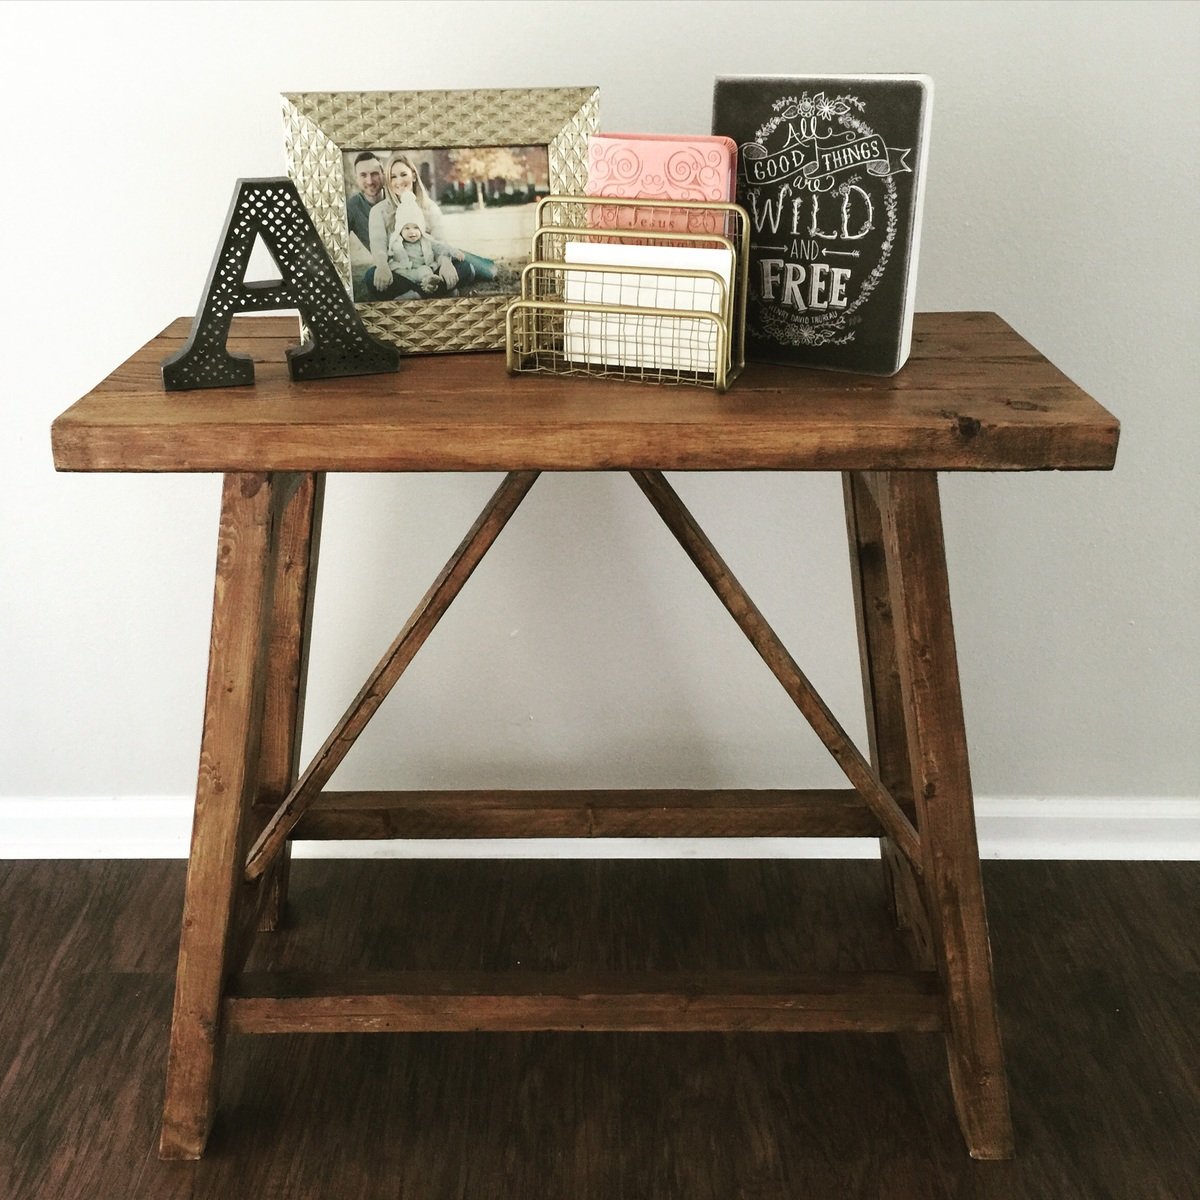
I changed up the plans so this table would fit my space better. This was my first time building with a Kreg jig and a miter saw(I'm a newbie). Love how it turned out!
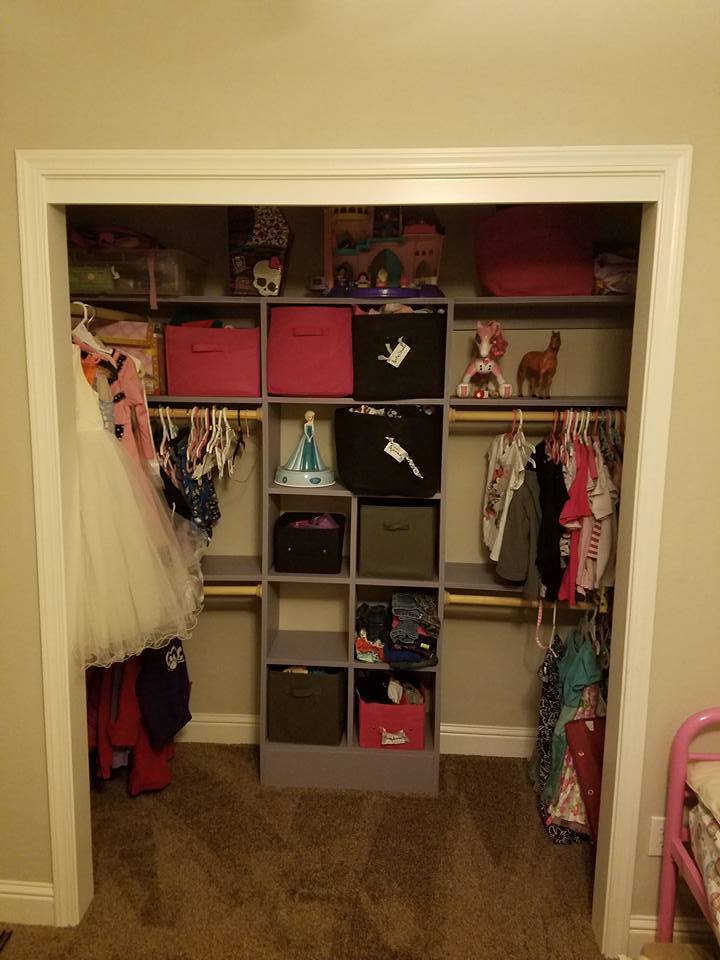
Finally got around to getting my daughter's closet organized. Made some adjustments to the plans to better fit our size needs. Everyone in the family is very happy with how it came out.
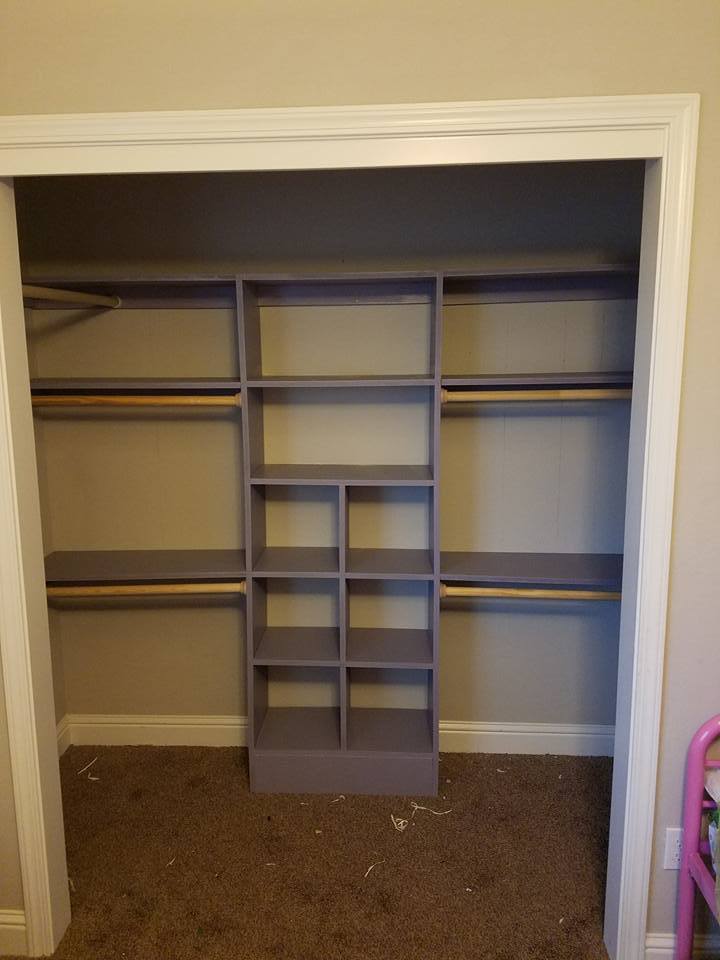
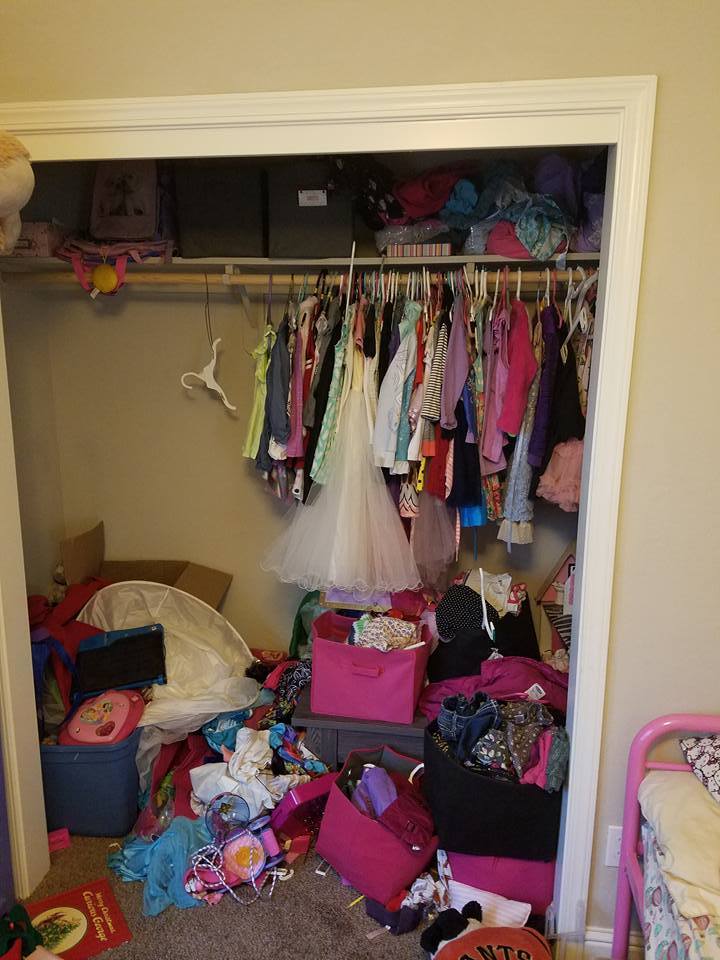
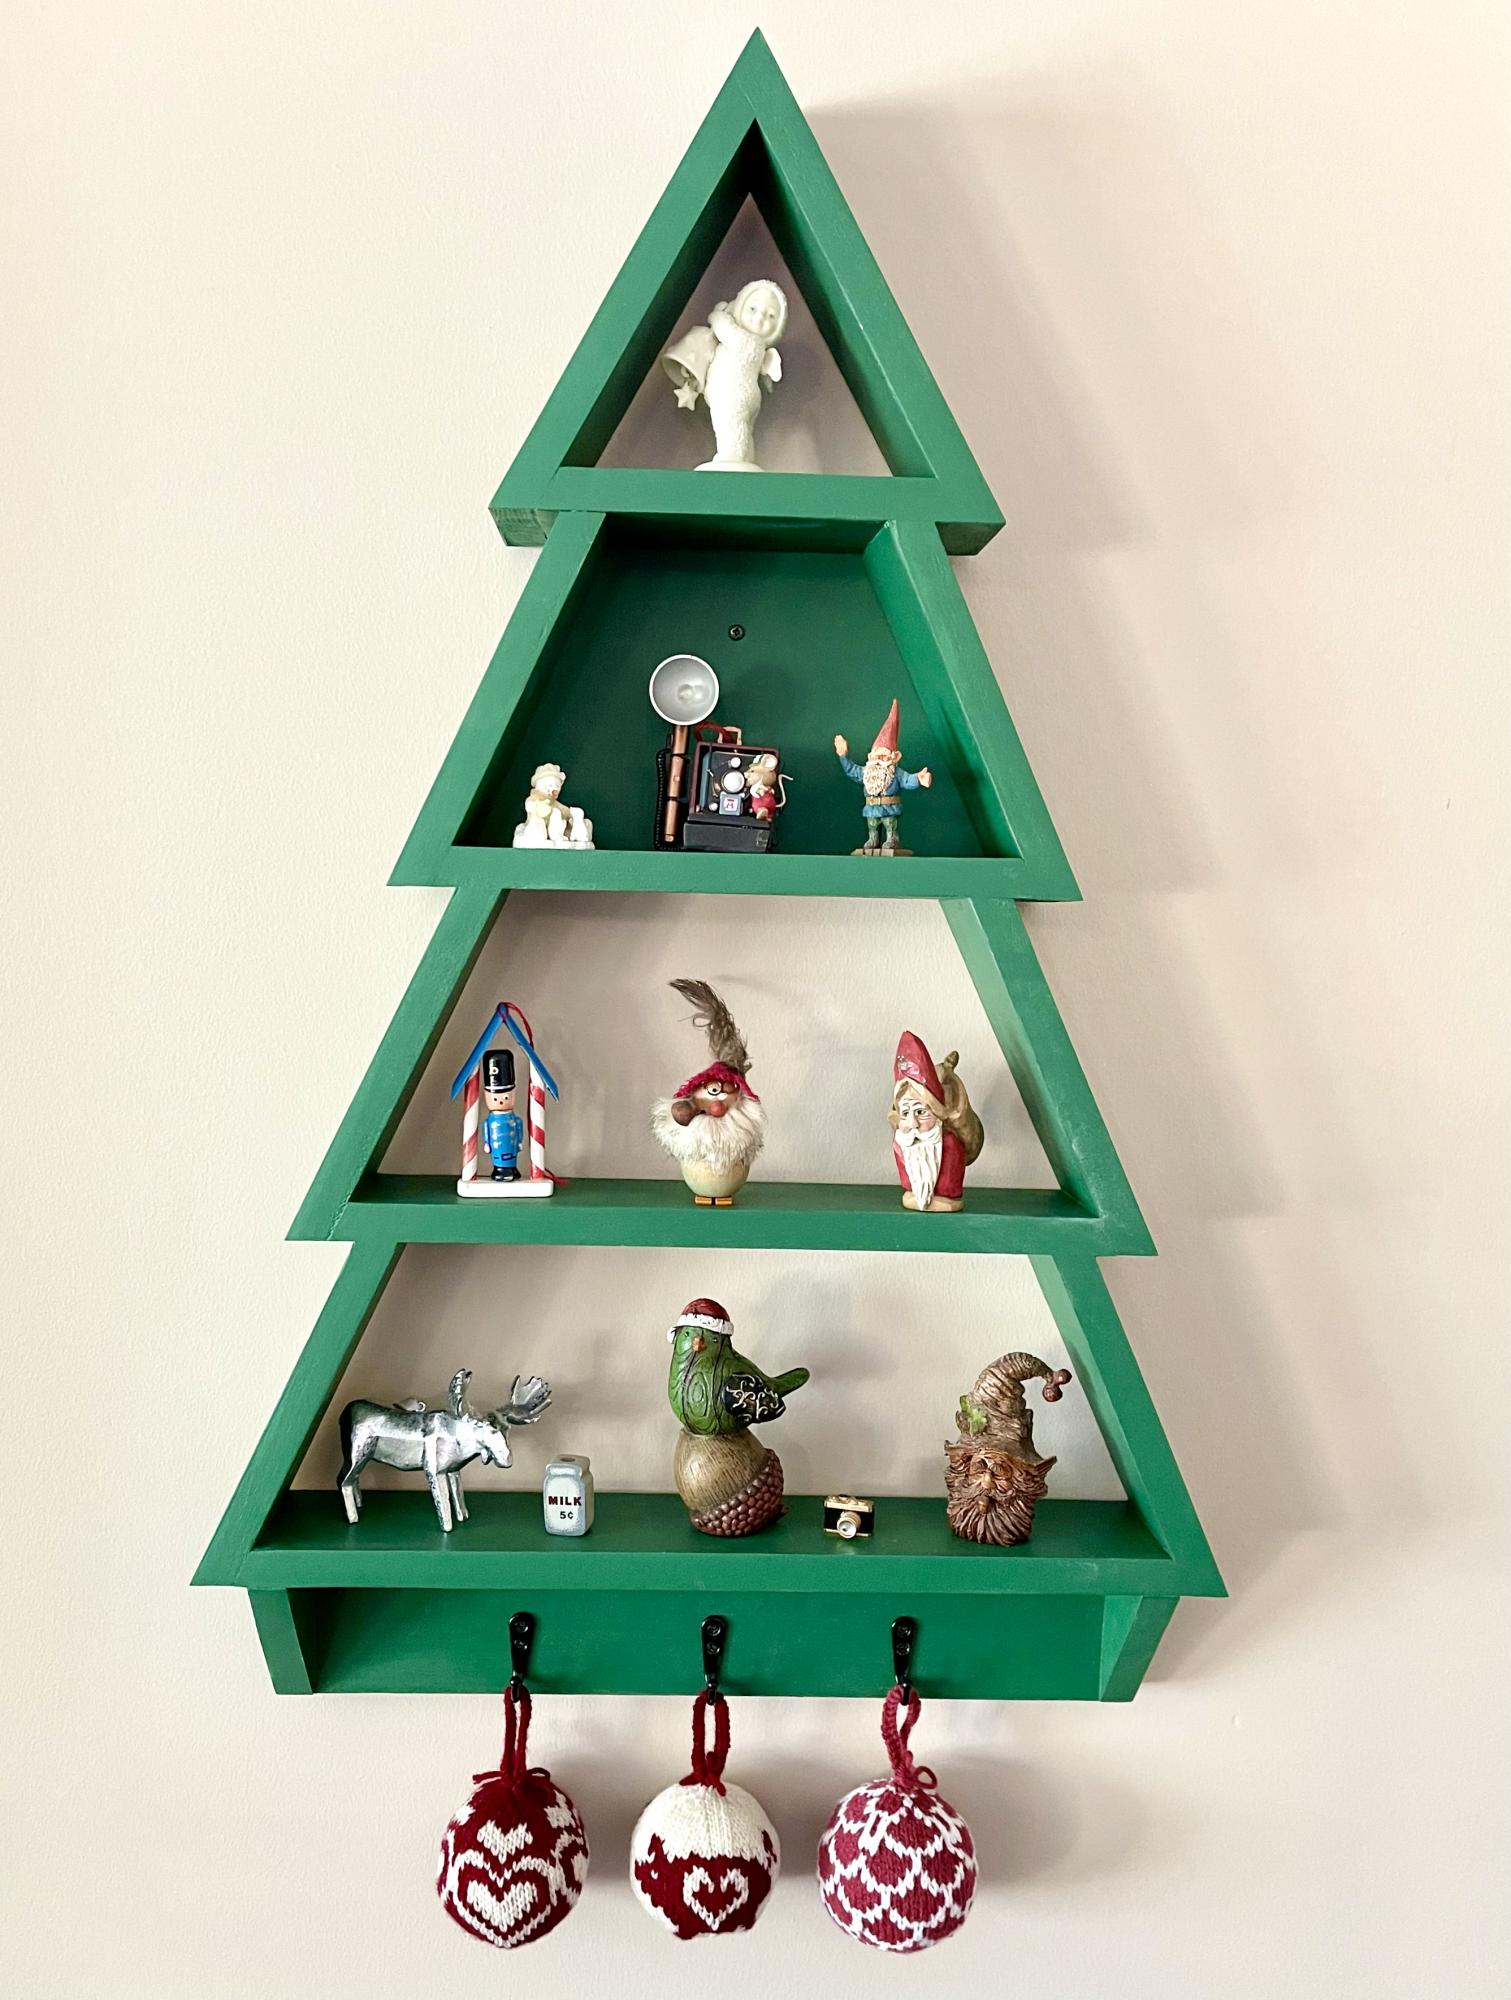
I’ve made a couple of items from the website but this is one of my favorites and I’ve got a bunch of family orders for next year.
Rob Bakker
Calgary, AB
Mon, 12/27/2021 - 15:56
Looks great and you will make many people happy to have their own!
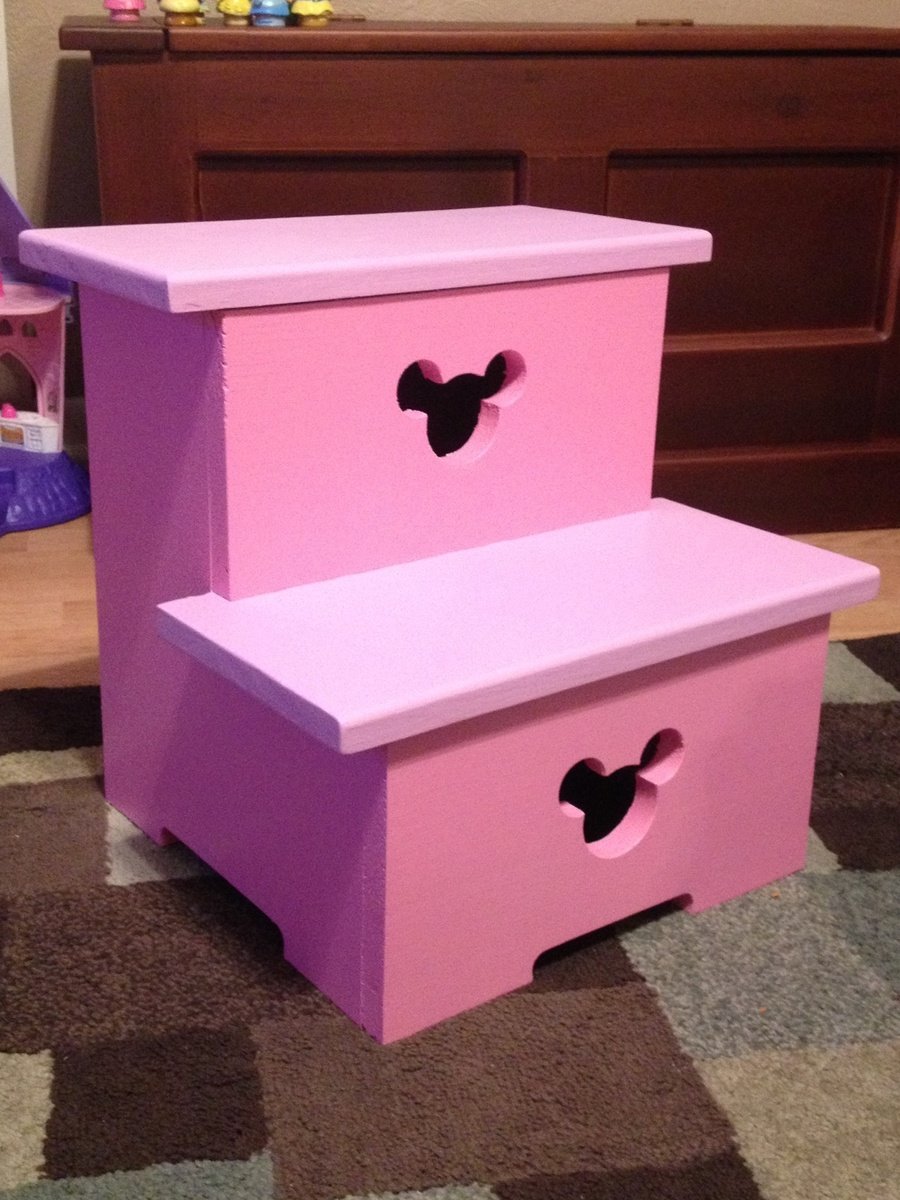
It was time for potty training and when it came time to wash her hands her arms were a little too short. So I threw this step stool together over a few hours and with the little one being a Minnie Mouse fan I had to add the Mickey head. Great project for those wanting something easy and quick.
Thu, 07/09/2015 - 11:31
Is there any instructions or measurements anyone can provide me with for this project?
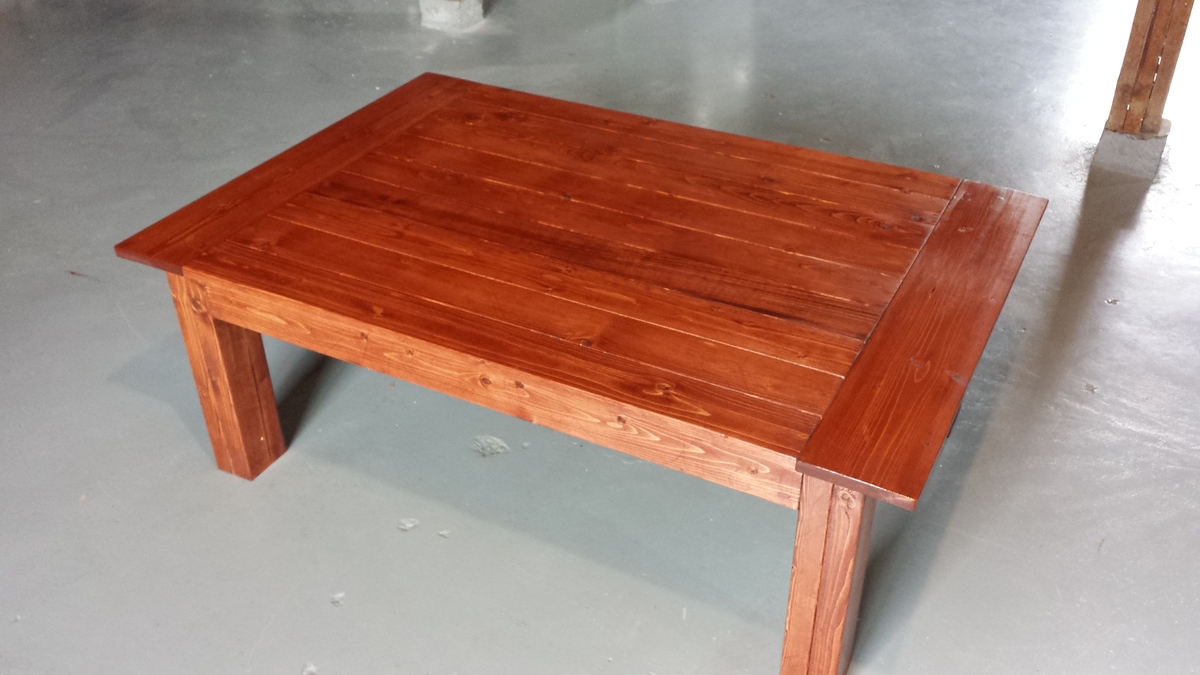
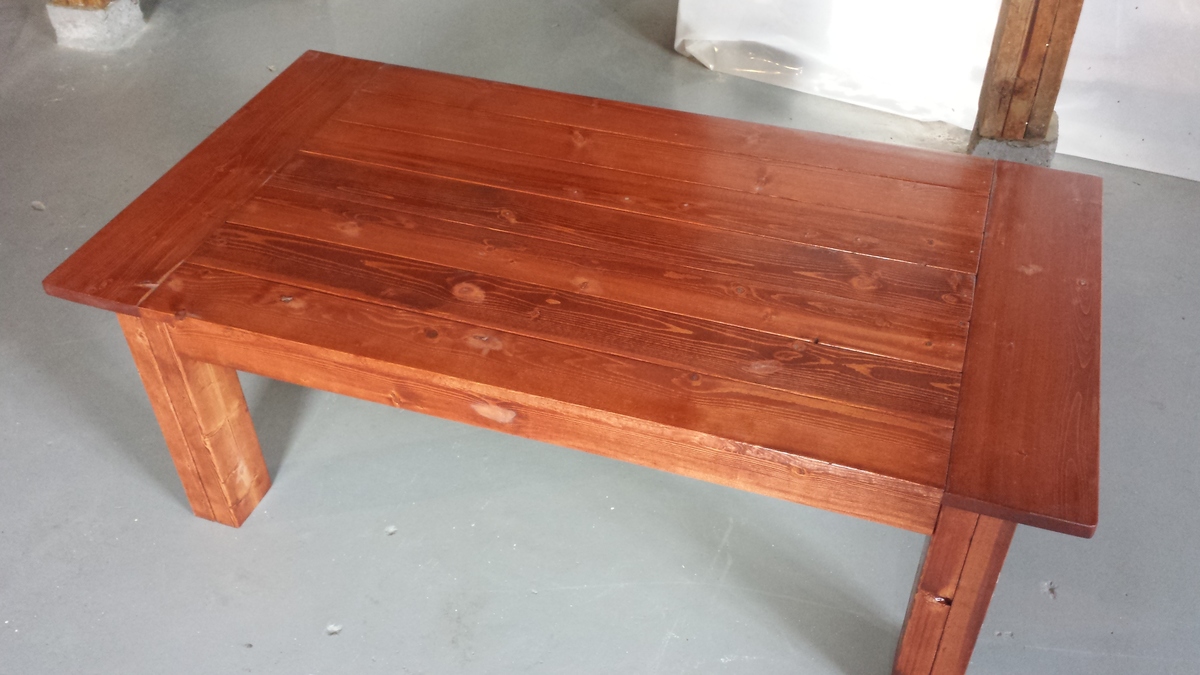
I've made a couple of tables from this plan now, and I love the simplicity of it. I changed the top to 1x4, 1x6 so that it doesn't look so bulky.
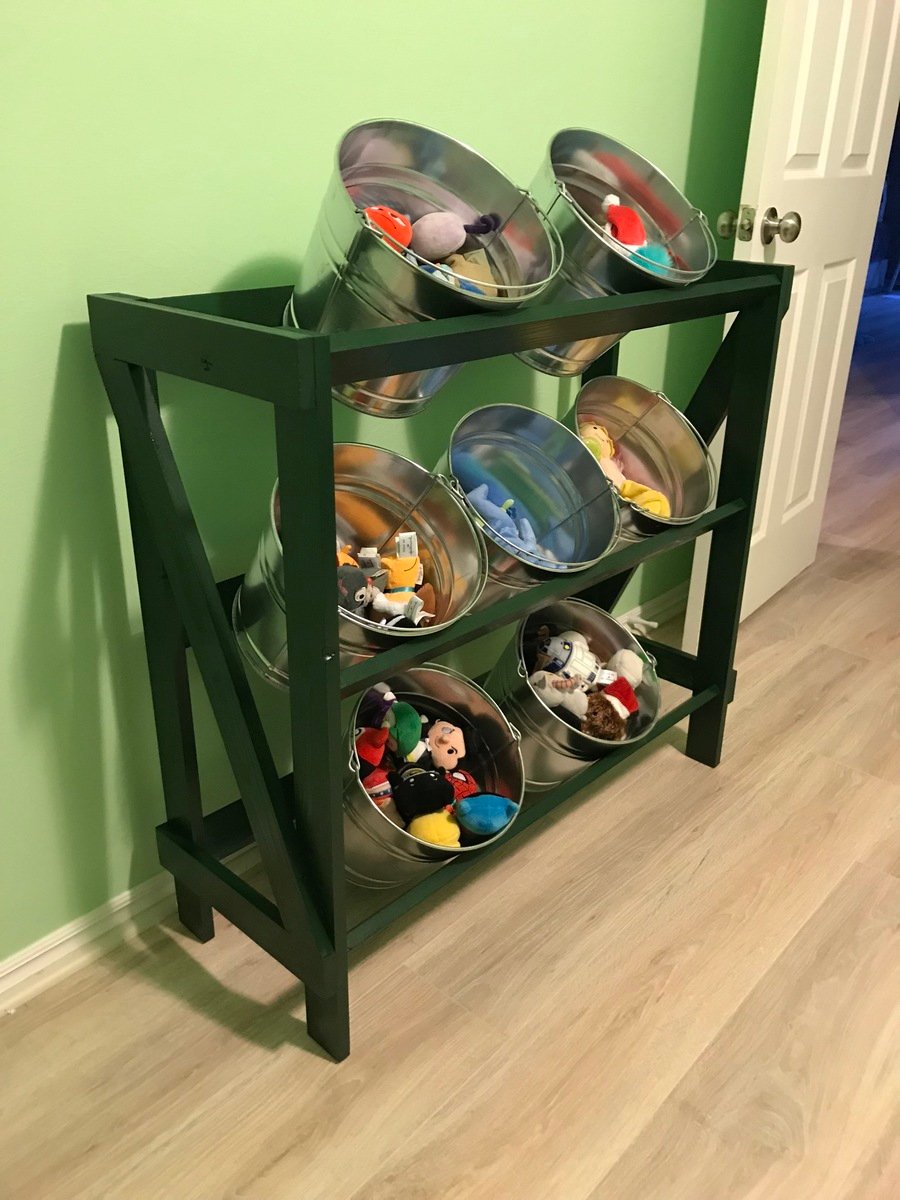
Built and painted to match toy bin.
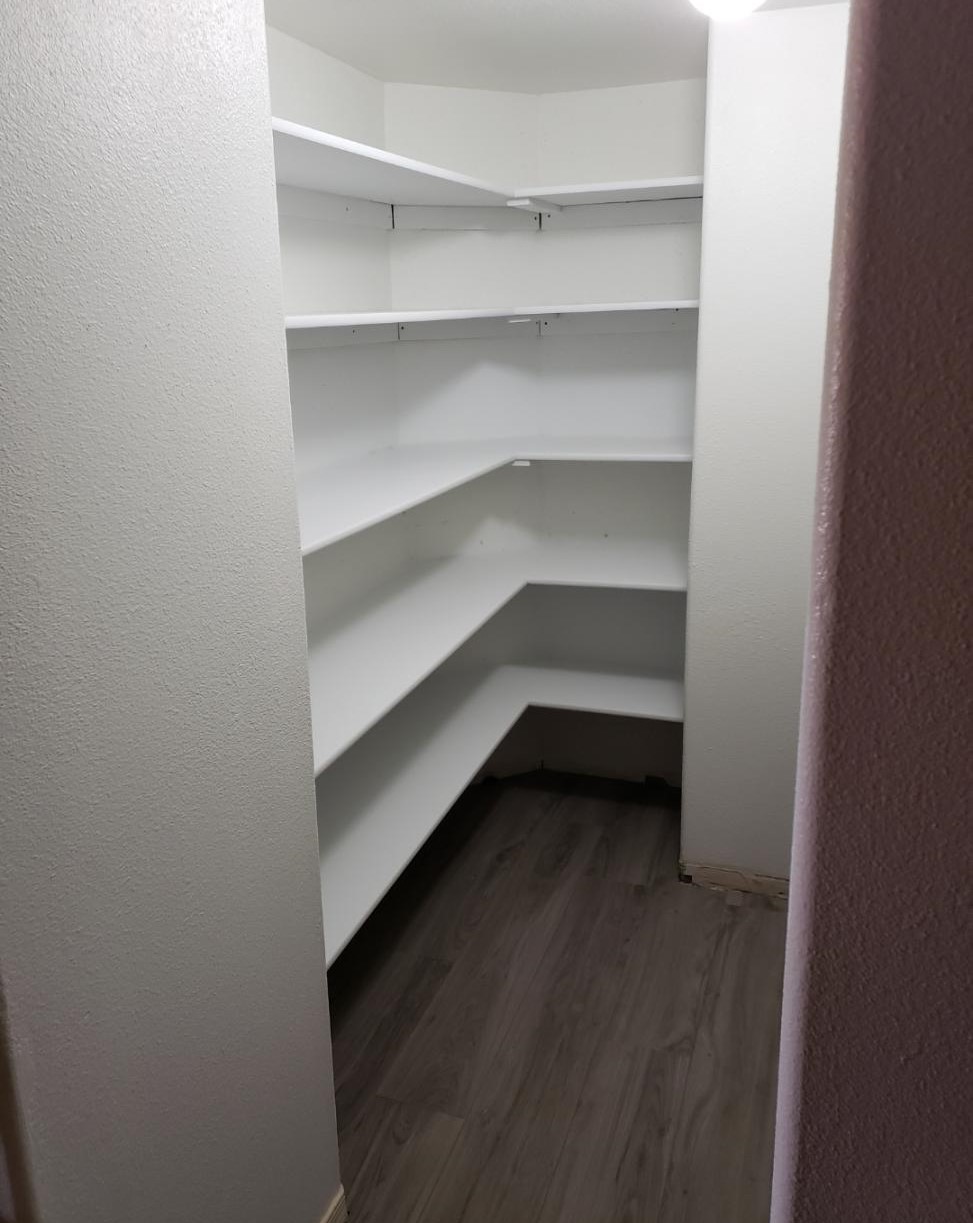
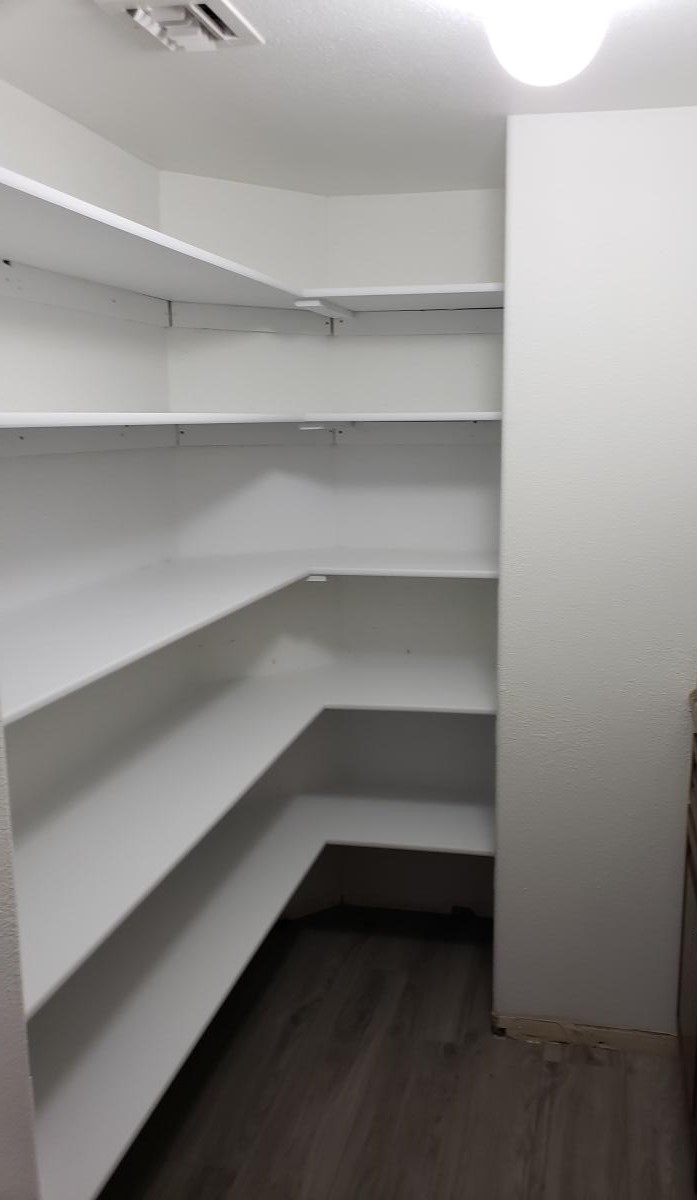
We enclosed an unused wet bar and then I built the shelves to make it into a pantry.
I built my first daybed in May of 2010, and my second one in August of 2010. I've since moved one of the daybeds to my new nursery I'm creating. These beds are so versitle, so sturdy, and can be moved anywhere and 'go' with whatever decor. I love both of them!
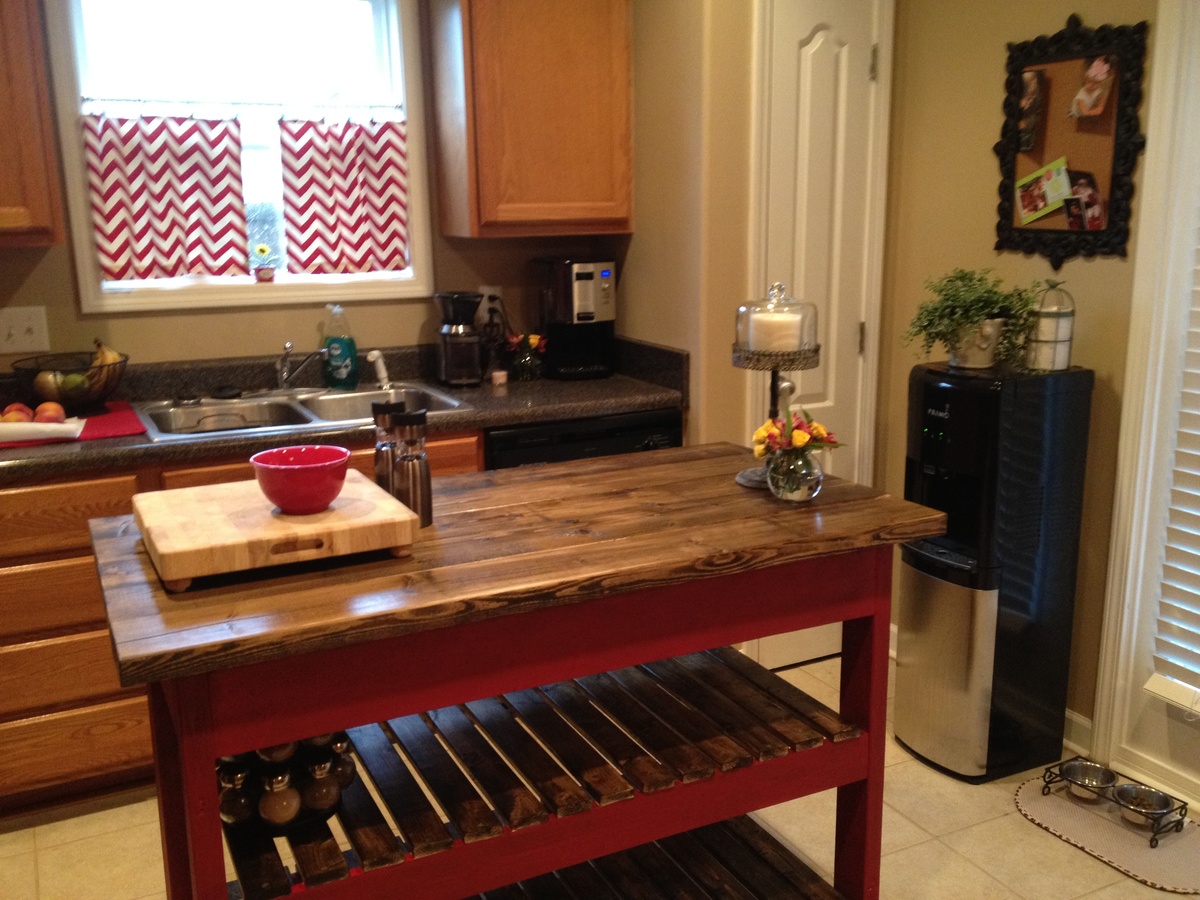
This was my husband and my first DIY project and we were thrilled at the outcome! It took us a day to build and then a couple days to stain and paint.
Built this industrial coffee table without plans
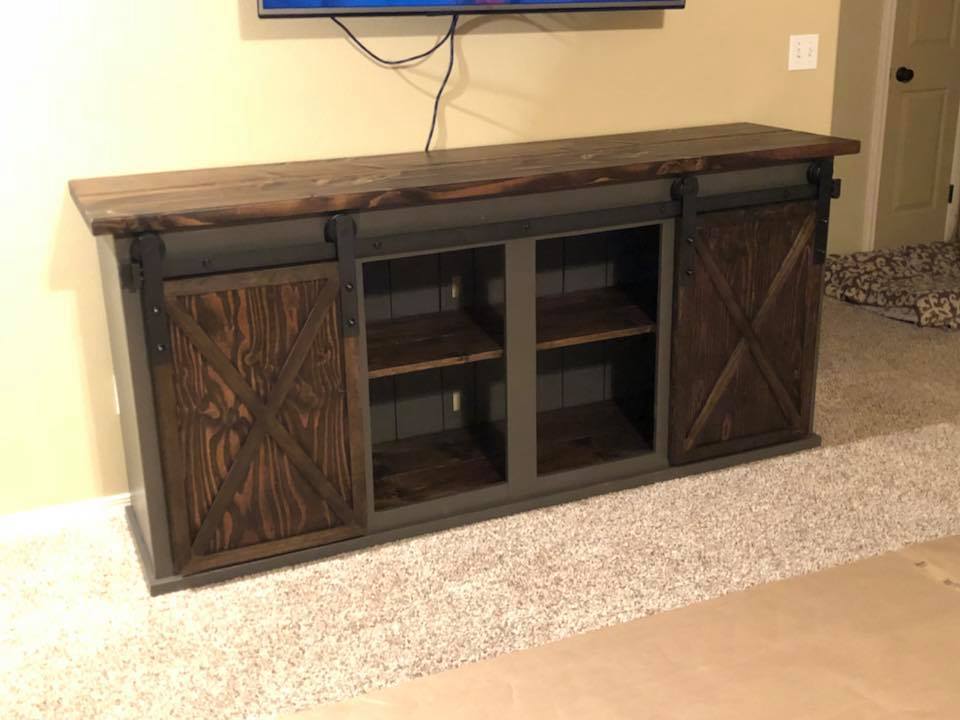
My version of the Grandy Sliding Door Console. My modifications:
- Length 6.5 feet long (instead of 90inch). Same height and depth.
- Bought hardware from amazon, purchased hardware is larger than the plans call for. Changed face frame top from 1x4 to 1x6 to create clearance for the wheels and top overhang.
- Wanted a deeper top so I added a 2x3 between the two top boards. I did this also for looks! It stained so nice!
- Modified the mounting spacers for the rail to allow the door to hang closer to the cabinet.
Advice: Pay attention to the size of the hardware.
If buying door hardware make your door close to the same thinkness as a standard interior door. This will help them hang correctly and close the space between the frame and the door.
Lastly, use pocket holes!
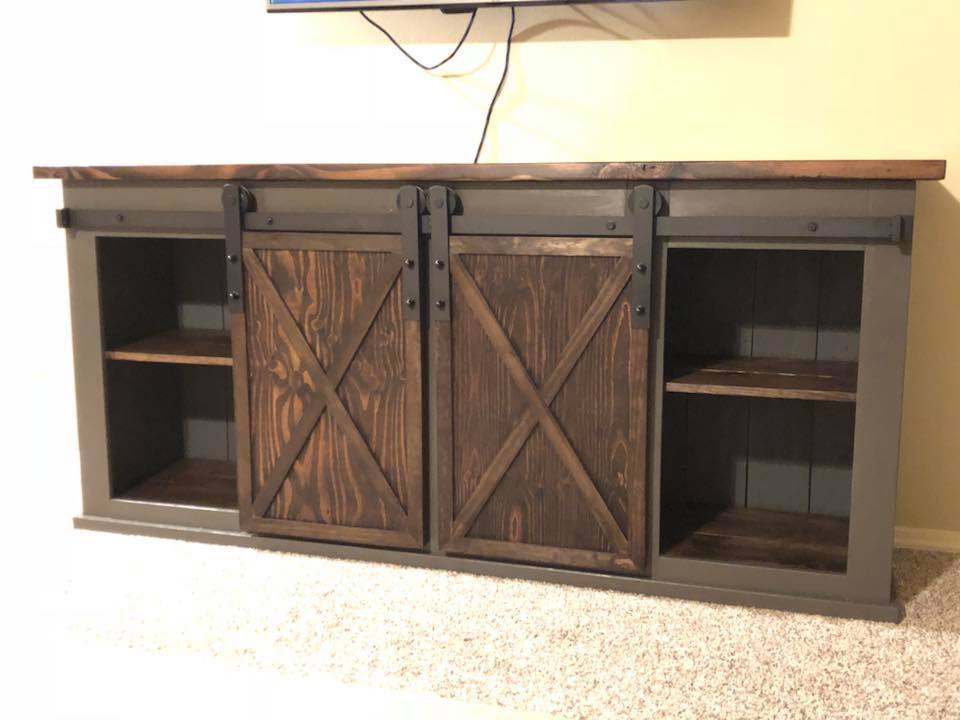
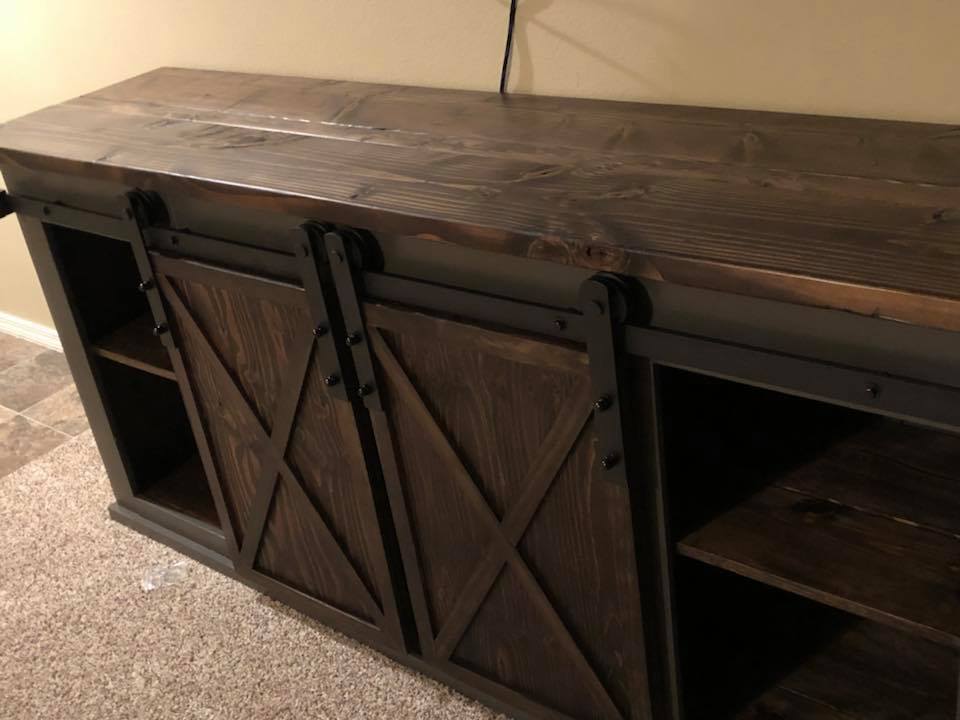
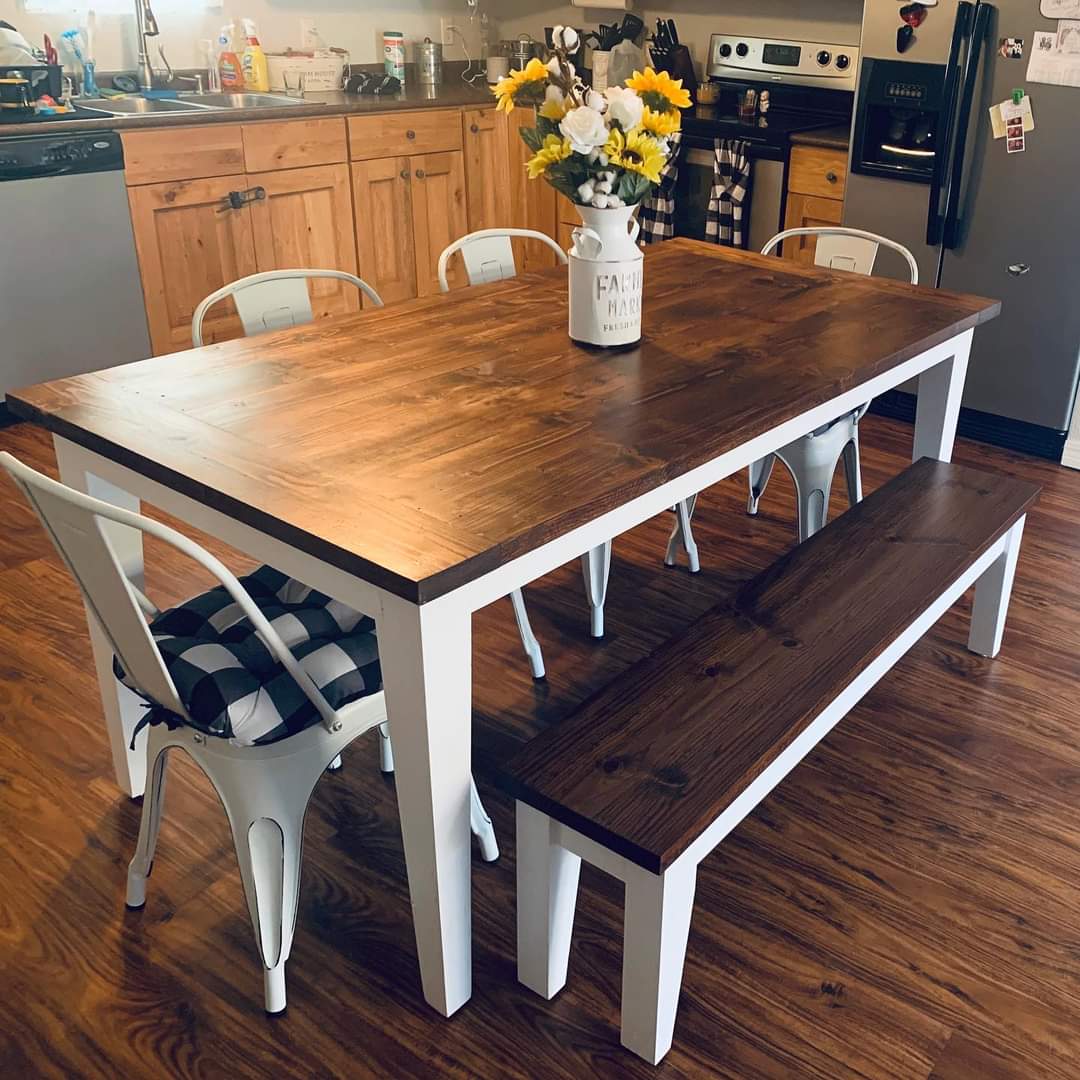
Simple design and fun to build. I did not however use the turned legs. I made a jig and went with tapered legs.
Mon, 01/03/2022 - 12:32
Fabulous job, it is gorgeous! Thank you for sharing:)
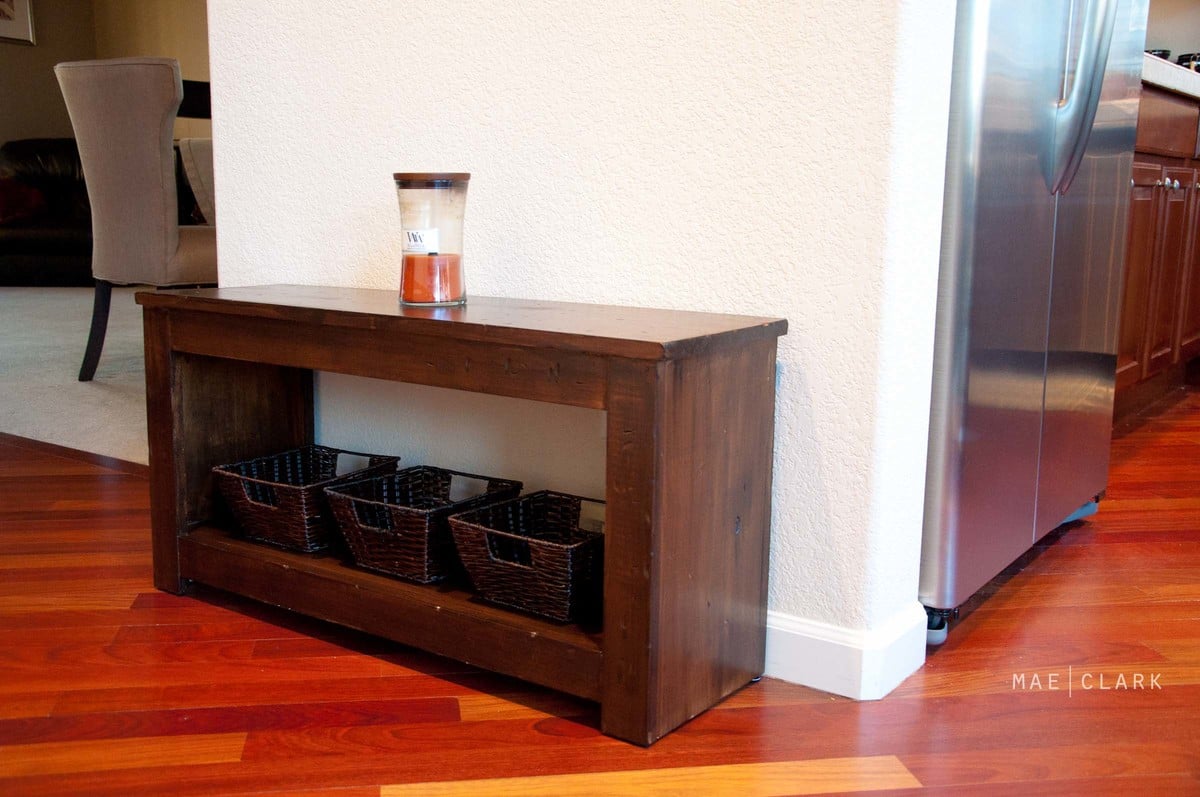
My first project! A friend of my husband's came to visit for a weekend and was nice enough to show me how to use my handy dandy new air nailer. We had the bench put together in 15 minutes! And so began a beautiful friendship with furniture building...
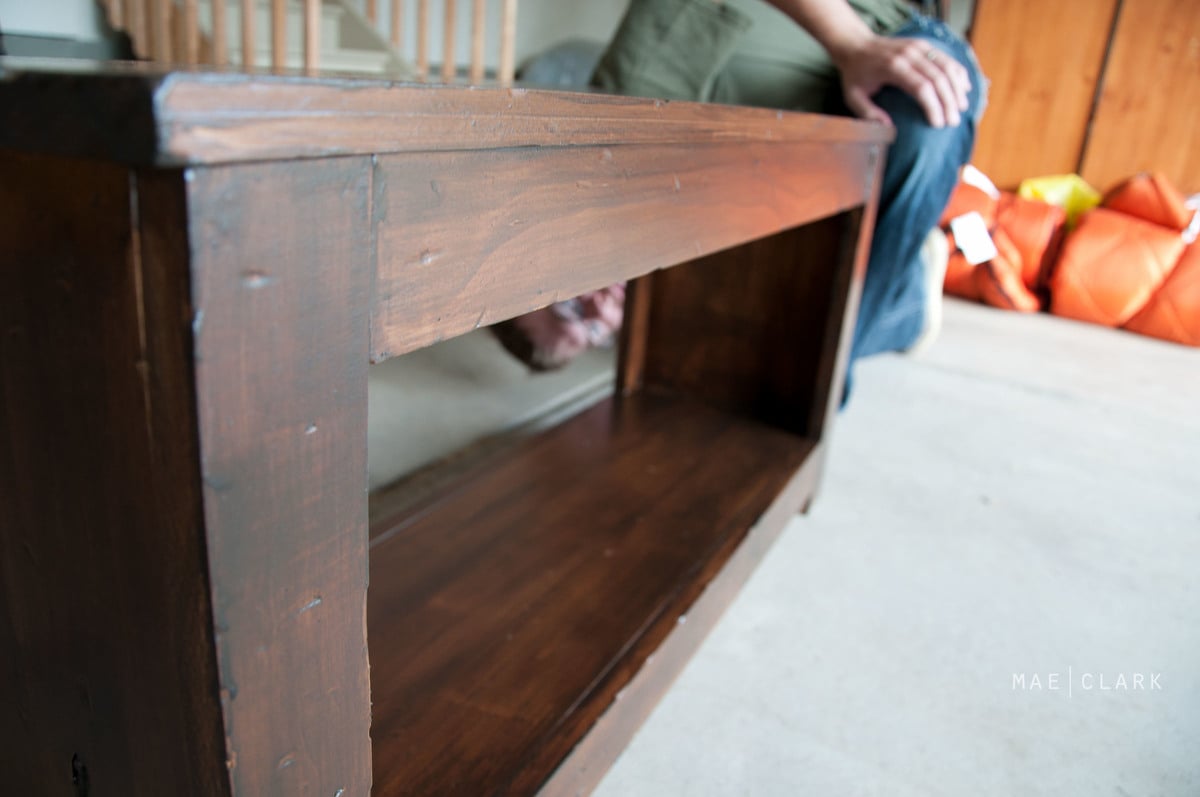
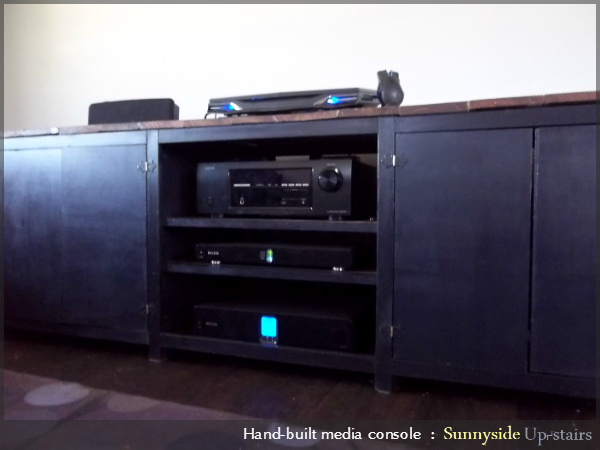
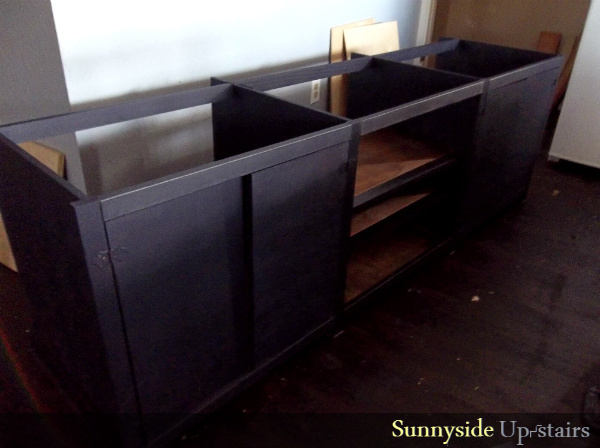
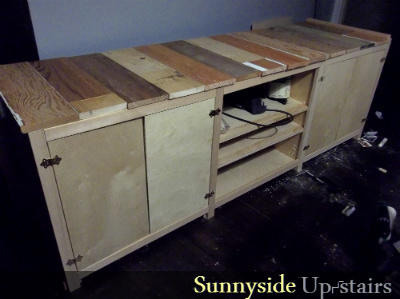
Last winter, our friend's boss built our kitchen cabinets. We've had cuts of plywood leftover, sitting in our garage since then.
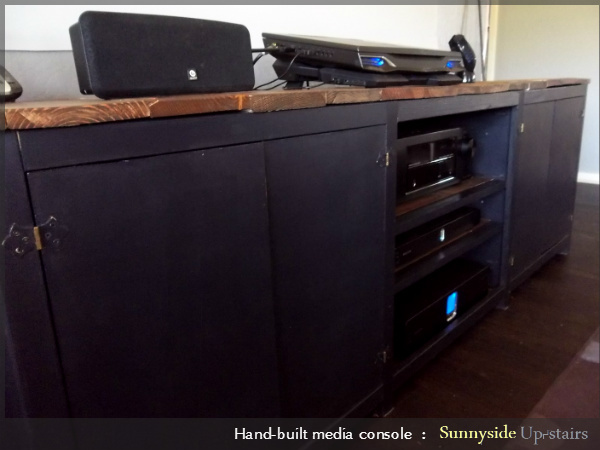
Our home needed a media console, so I thought to give building one a shot now that I own a circular saw and am only slightly afraid of it. I didn't follow a plan, honestly, but I did look at Ana's Classic Storage Wall, Extra Wide Media Unit as inspiration.
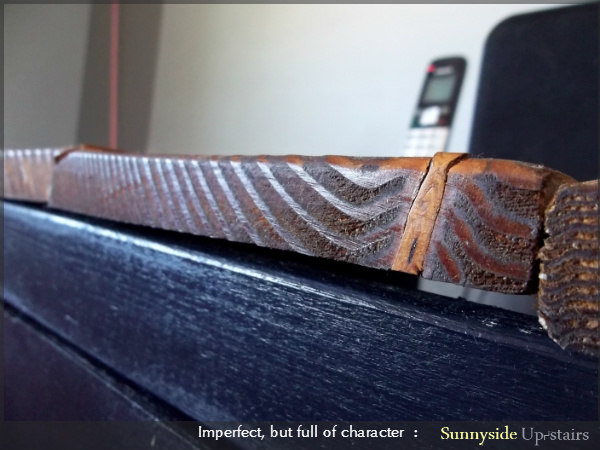
The console is actually a slate-indigo-black, called Napoleon. The top is made of reclaimed 1x6s that I mixed and matched with scrap 1x6s and gave one coat of Dark Walnut. We ordered handles for the doors and it needs another coat of paint (we ran out of the quart we had on hand), but we love it!
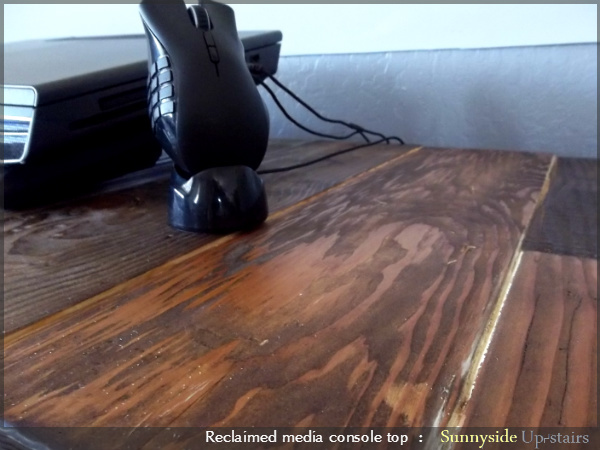
Tue, 07/09/2013 - 16:30
Love this! The reclaimed wood top is fab, and the color looks perfect. I checked out your blog - your apartment is looking awesome!
Wed, 07/10/2013 - 02:18
Thank you for your kind words. :) Our apartment wouldn't be furnished today if not for ana-white.com. The motivation I've gained by learning and sharing back here has been key to keep me building the things we need, the way we want them. =D You've built so many things; I'm so impressed!
This sweet bookshelf was the perfect summer project. Our girls loved painting it and have already spent hours playing with it. We used High Gloss paint.
Here is a link for a video where you can see the kids painting it and how it looks in their room. https://www.youtube.com/watch?v=3tYXcWxQJ_U
I washed the plans for the farmhouse table in hot water!
I modeled this kids table off the farmhouse table and then made the chairs out of 3/4" plywood with bright colours.