Community Brag Posts
Weatherly Sectional (L-shaped)
When I first saw the outdoor sectional plans from Ana I had to build this! The sectionals at potterybarn cost at least $1500 and that is without the cushions. I chose cedar for the lumber because I wanted a high end stained wood look that would stand up to the pacific northwest weather. I purchased most of the lumber from Orange and some of the smaller boards from a local lumber yard. Every board was cut first then sanded and stained before assembly. This made it look a lot more professional and no drips! There are just too many tight areas to do this after it is assembled. I made 2 Weatherly outdoor sofas and used the plans from the Weatherly loveseat to leave the end off of one of the sofas to make an L-shaped sectional. This fit perfectly for my narrow deck which is the beauty of DIY and Ana's easy to modify plans. I followed the suggestion of another brag post to attach the 2 sofas together with carriage bolts and nuts. It is important to be very accurate with all of the cuts because they have to fit together perfectly for the final product to look straight and measure correctly. Because there a about a million repetitive cuts in these plans I took the idea of another brag post and youtube and created a stop out of leftover lumber which really helped me keep my cuts accurate and saved me a lot of time. I really enjoyed using my new Kreg K5 pocket hole jig on this project which saved me time and my new Ryobi brad nailer that I convinced my husband I needed. I plan on using it on several projects which "require" a brad nailer! I bought six 25" cushions in turquoise from Pier 1 in mid-July which were on major sale and several pillows to match the color. I am somewhat of a beginner so I didn't adjust te plans to fit six 25" cushions so I had to have one cut down to 22" by a local upholstery shop (I could have purchased a 22" cushion but of course they were all sold out). I suggest at least a 3-4" depth cushion that is fairly firm, which Pier 1 cushion were.
I love the outdoor coffee table with built in beer cooler idea that another brag post had suggested.It uses a planter box as the cooler. I used the same stain which worked well and adequately waterproofed the table. It also has a cover for the cooler when it is not in use. I thought it was a nice addition.
I loved this project and how it turned out! Thanks for the plans and inspiration!!!
Address Sign
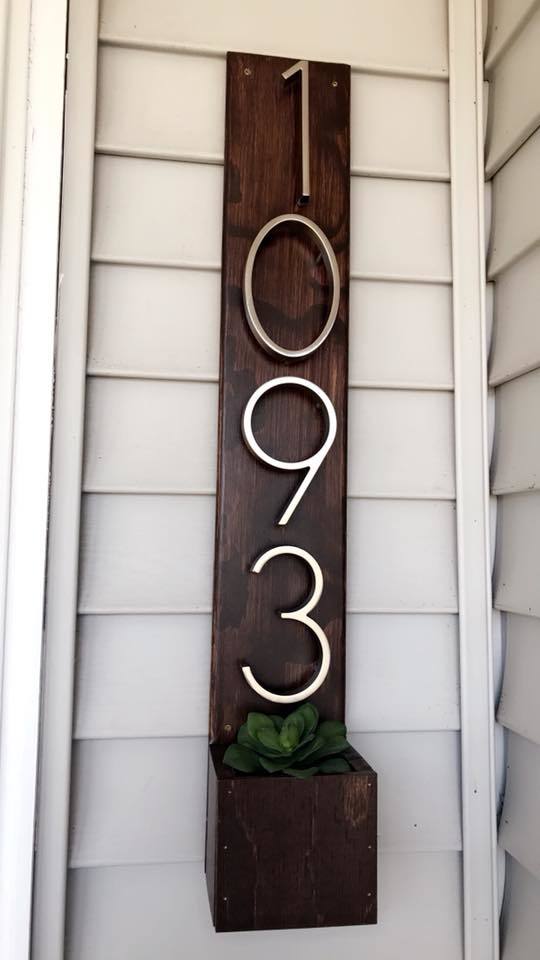
Address Sign
Planter Box
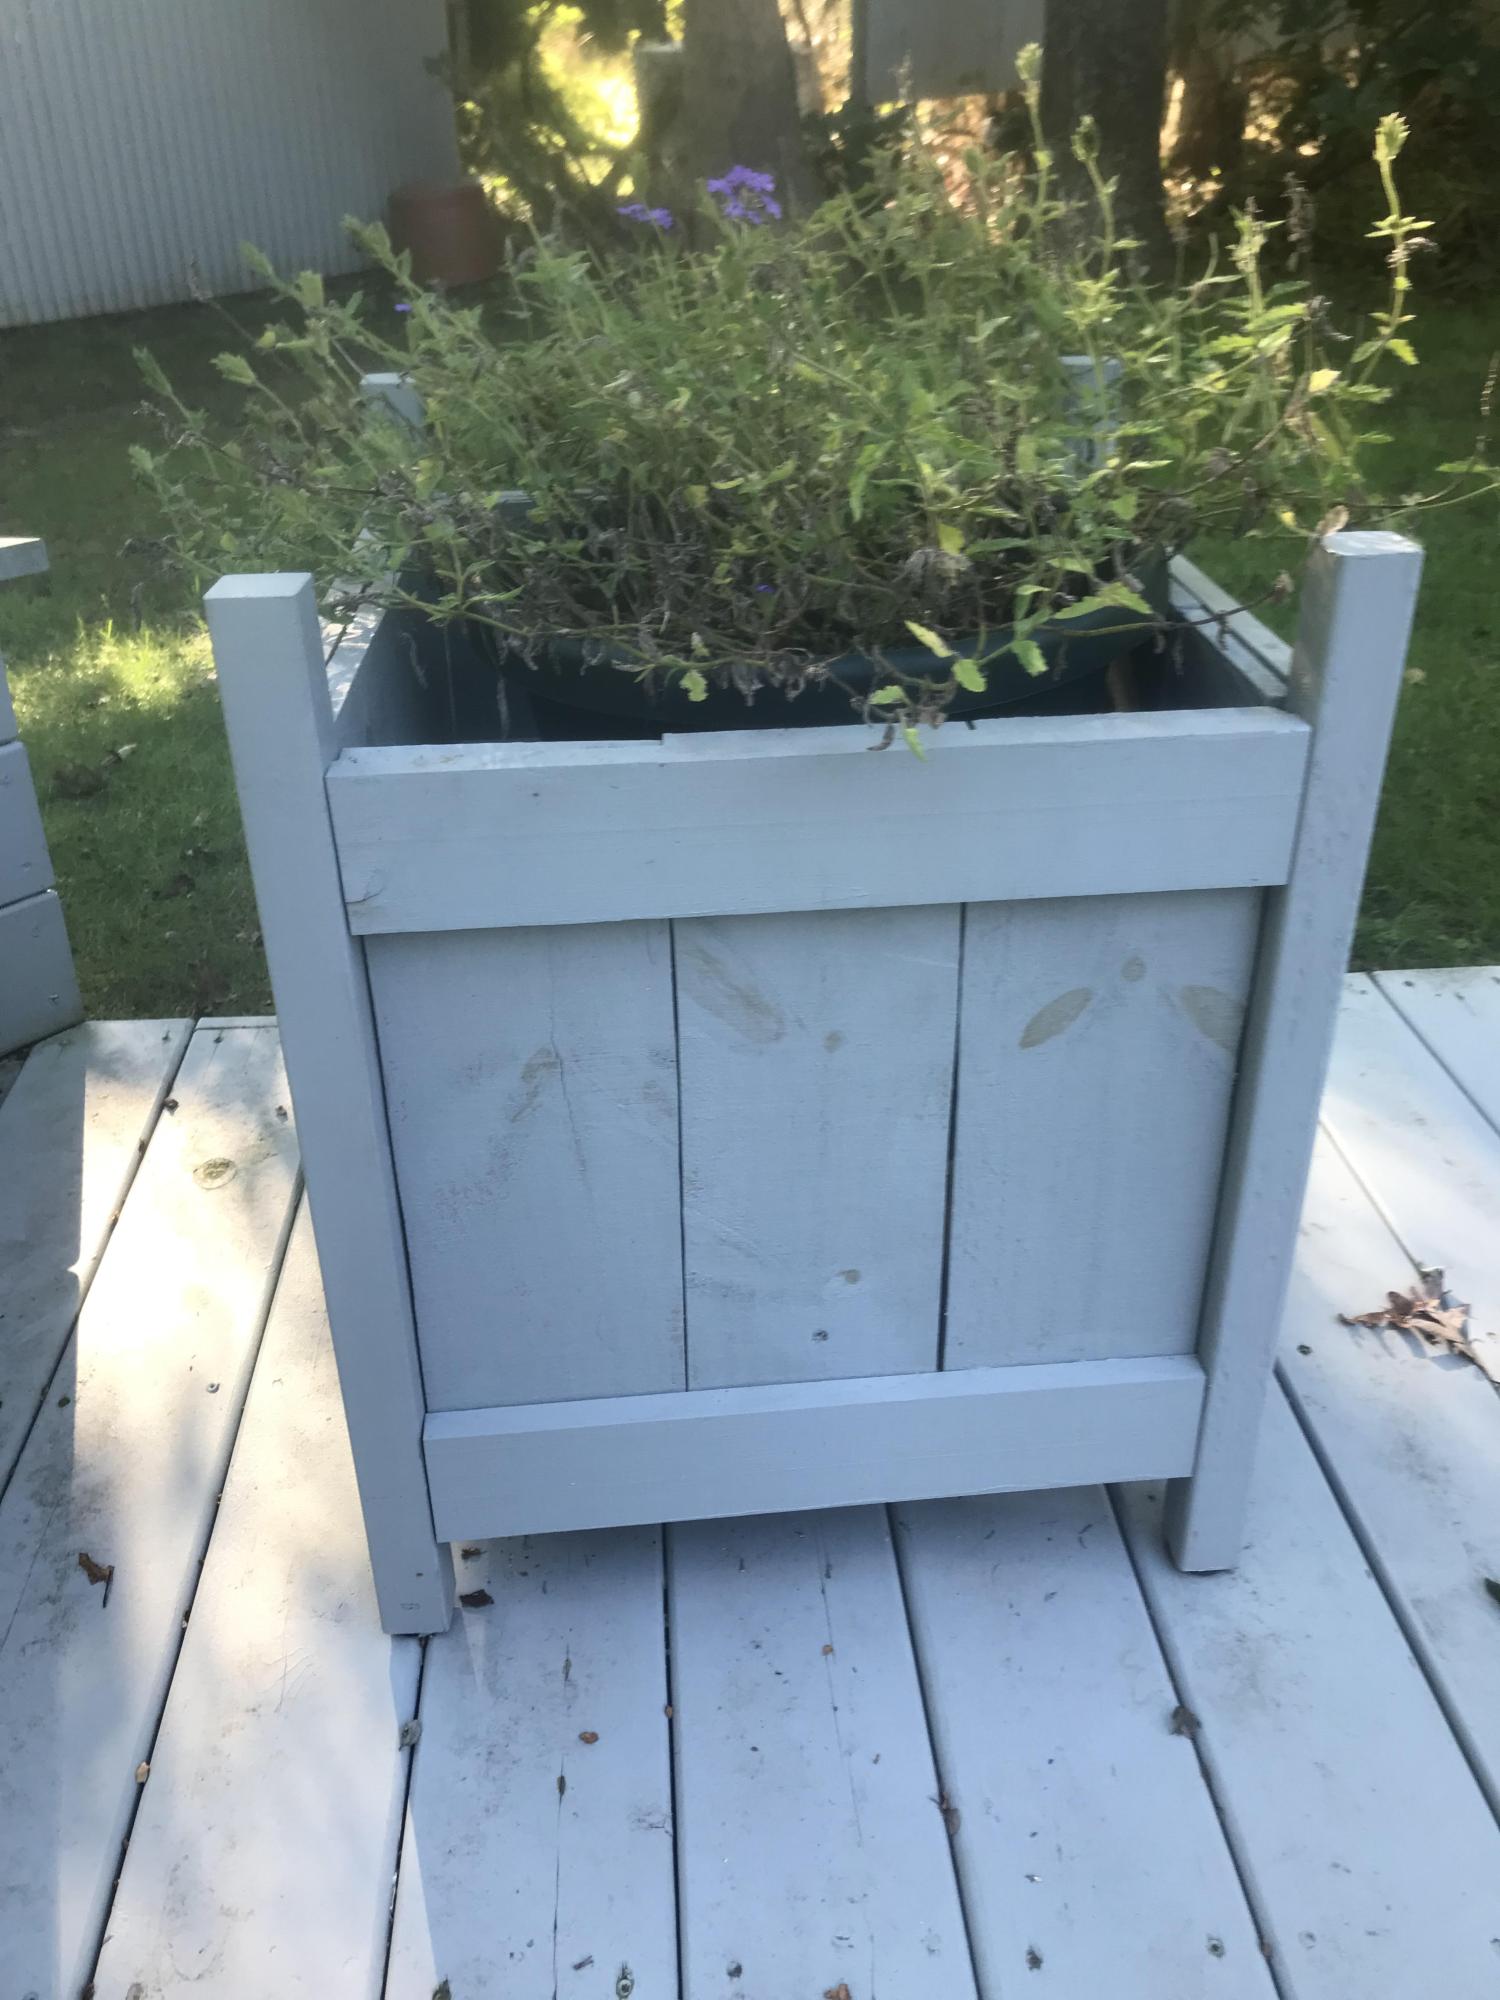
Planter box by Harvey!
Washer/Dryer Pedestal
This was an easy build and after 2 months I am still in LOVE with it:)
Comments
Fri, 12/16/2011 - 10:59
Love these!
We have a HE front-loading washer and because of the power of the spin cycle, it vibrates/moves a lot. Anyone who has these pedestals have problems with that? I don't want a very expensive washer to take a tumble. :)
Love the end table
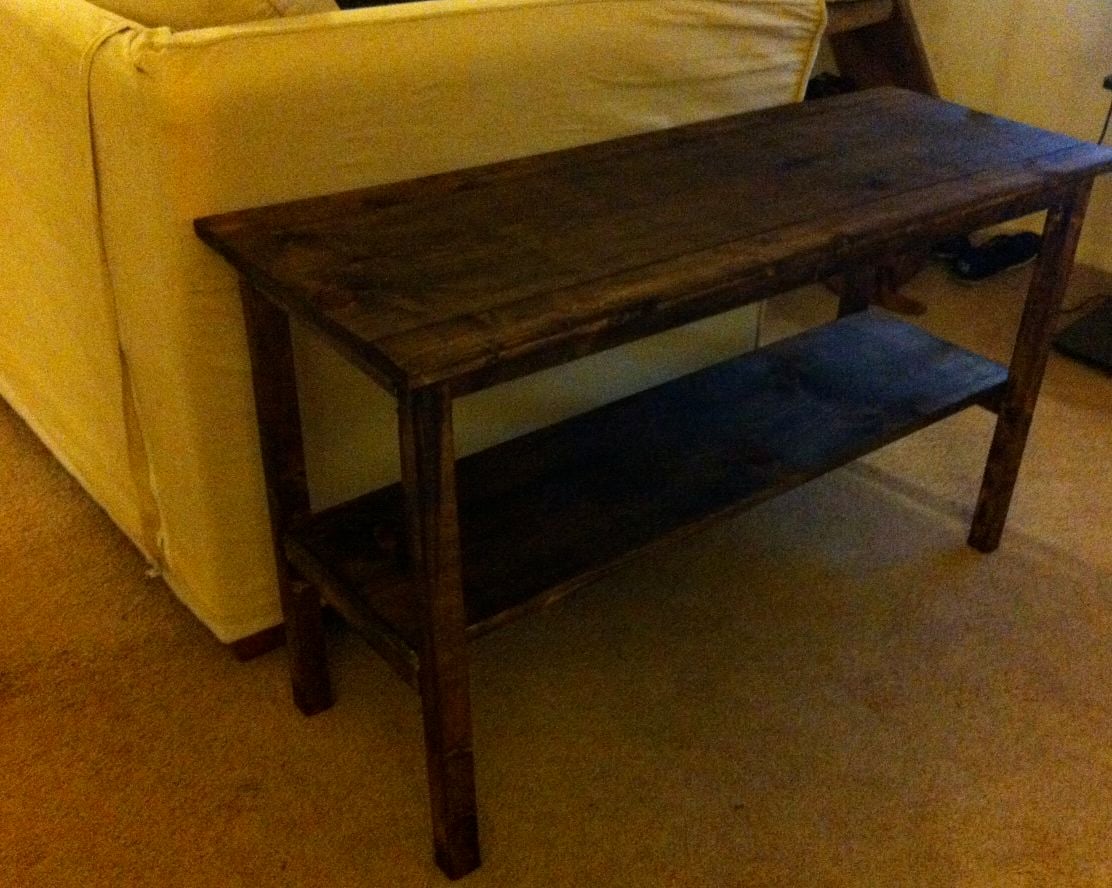
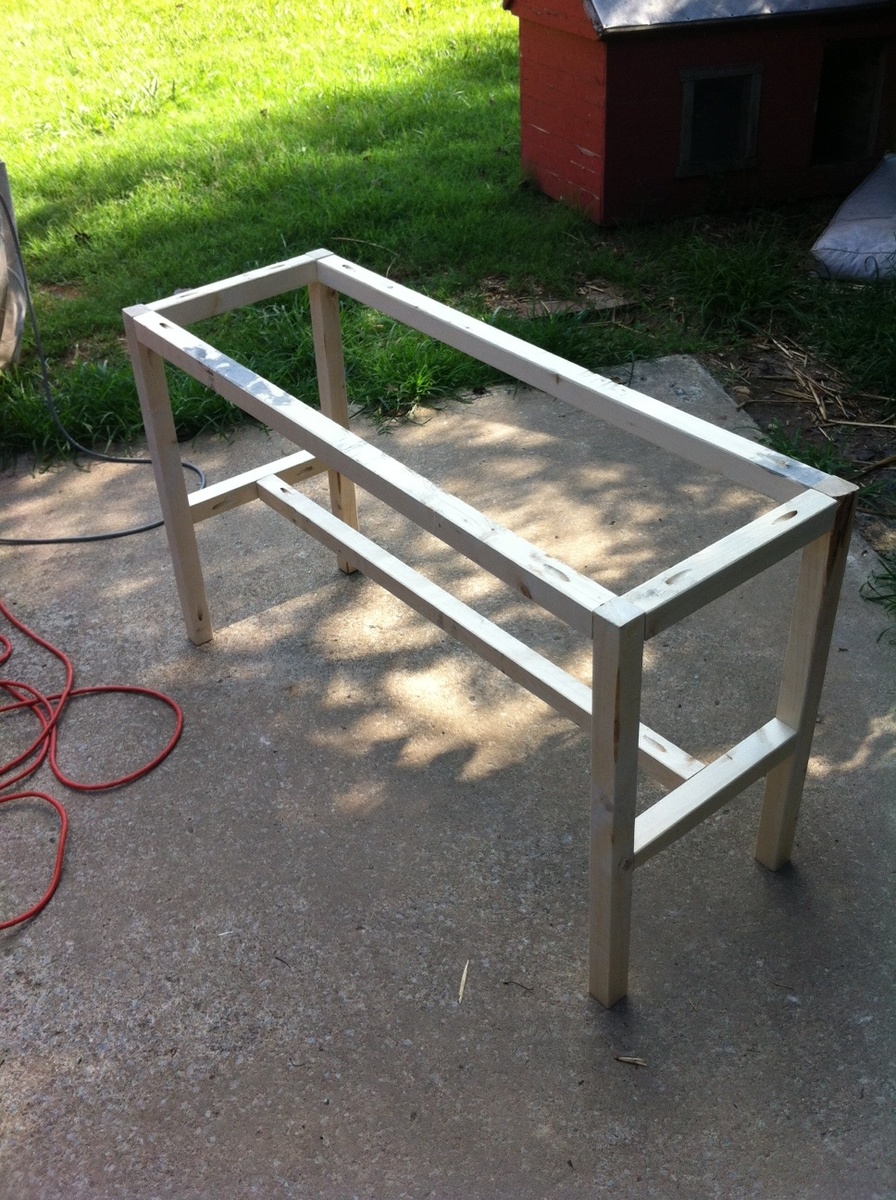
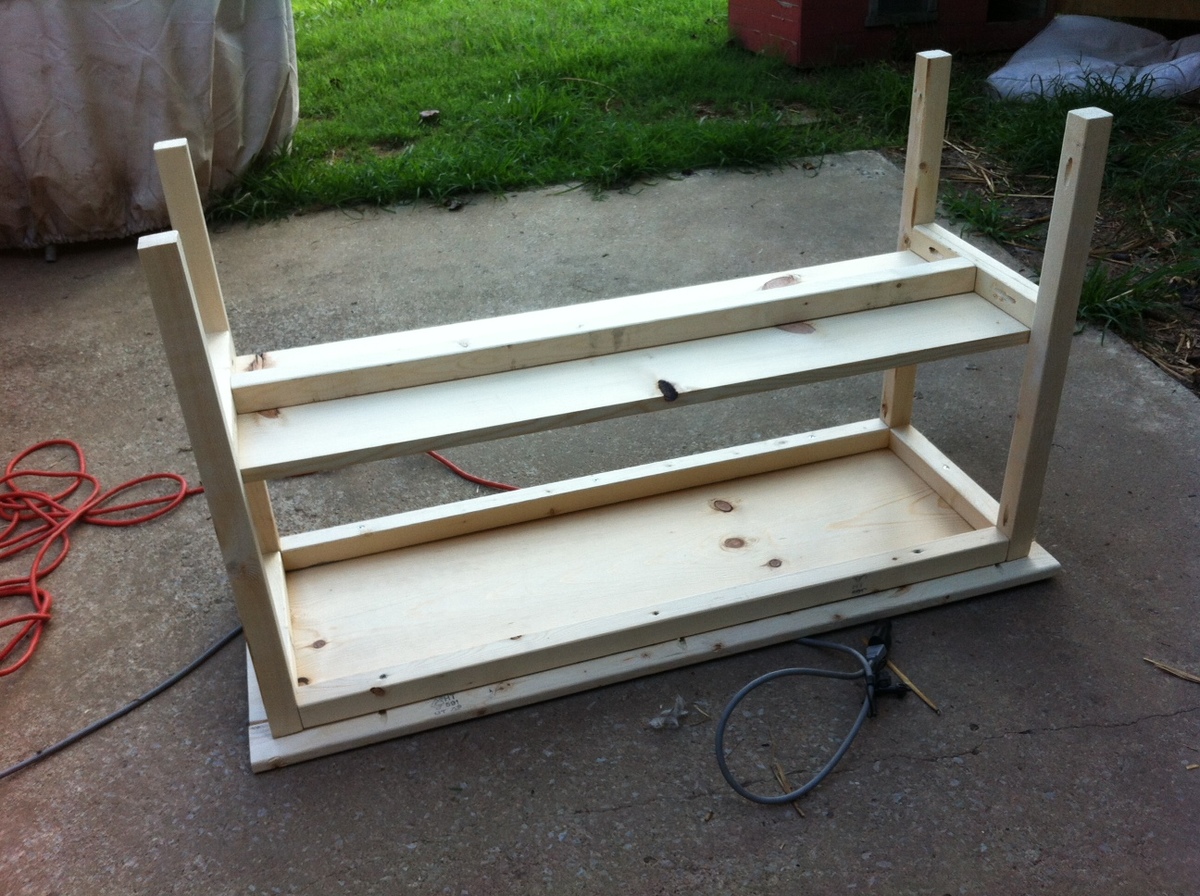
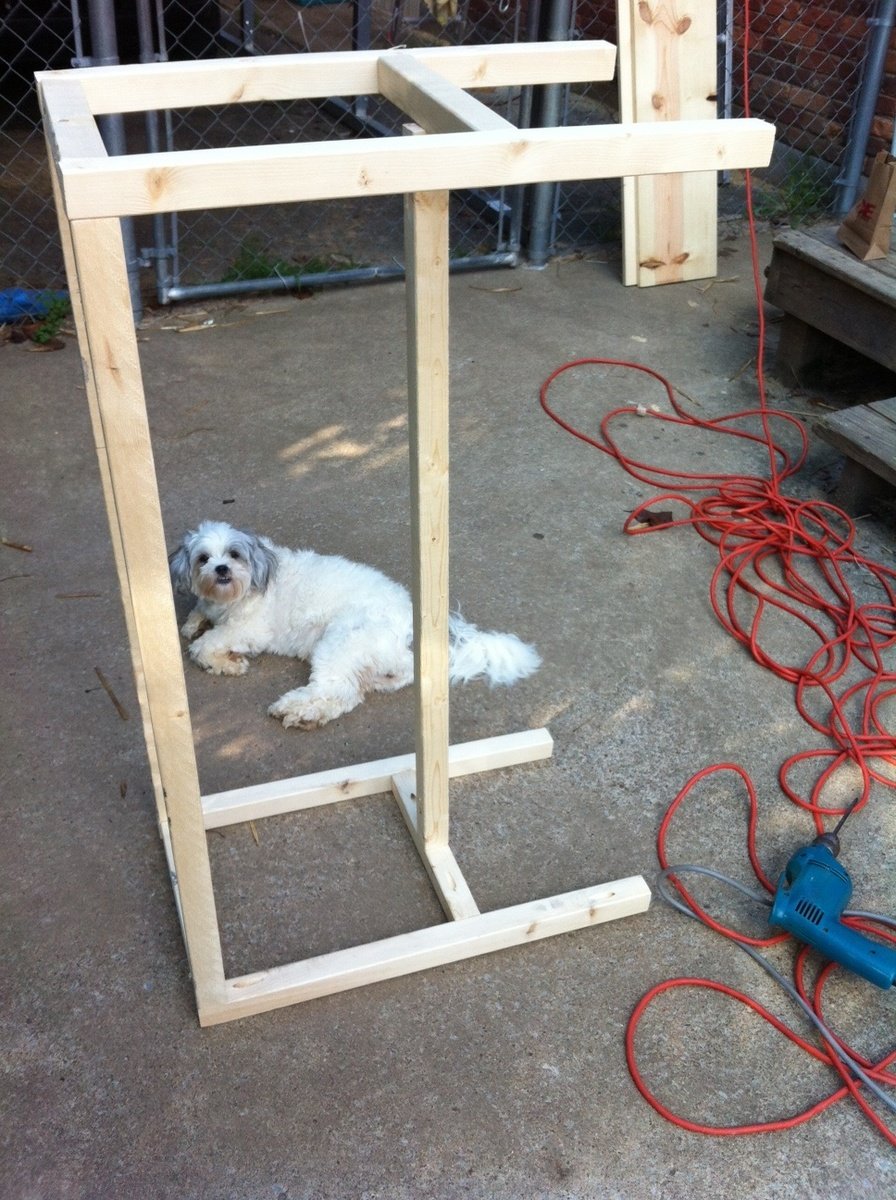
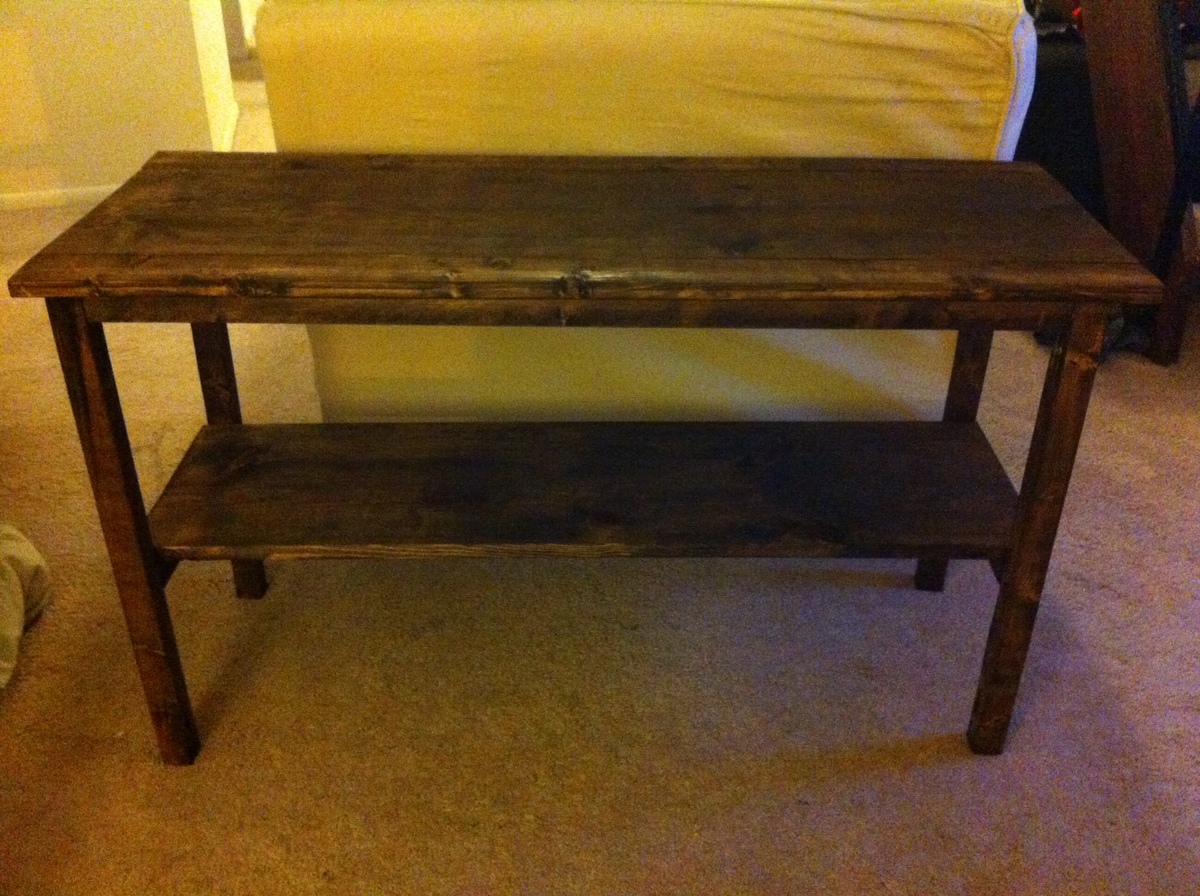
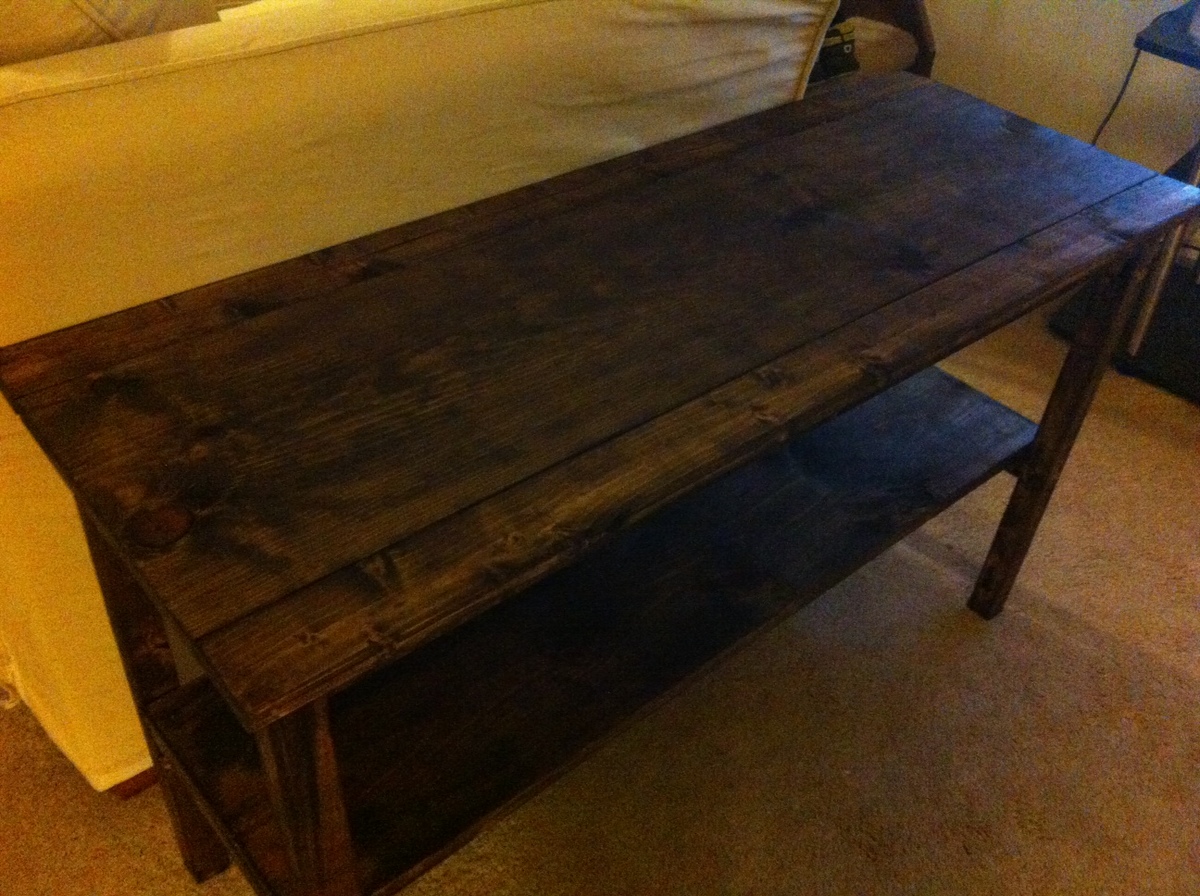
I really love this table, even though it didn't turn out perfectly. I'm not sure what happened, but the shelf on the bottom ended up not fitting well and is sticking out some on one end at a weird angle. But you really can't tell unless you're looking and I plan on just putting that side on the wall. It was REALLY easy to make and took barely any time. I love how the stain turned out (it looks a little darker in the pictures that it really is). I think this table could be used for a lot of different things too and could be modified in height for different uses. Thanks Ana!
Fancy X Formal Dining Game Table!
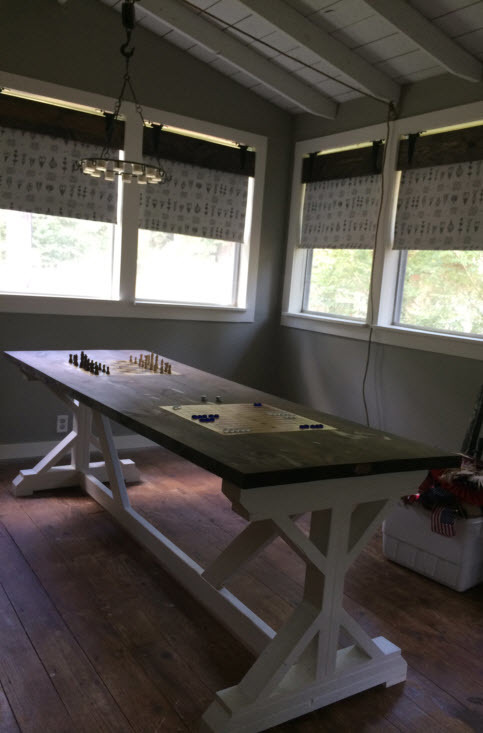
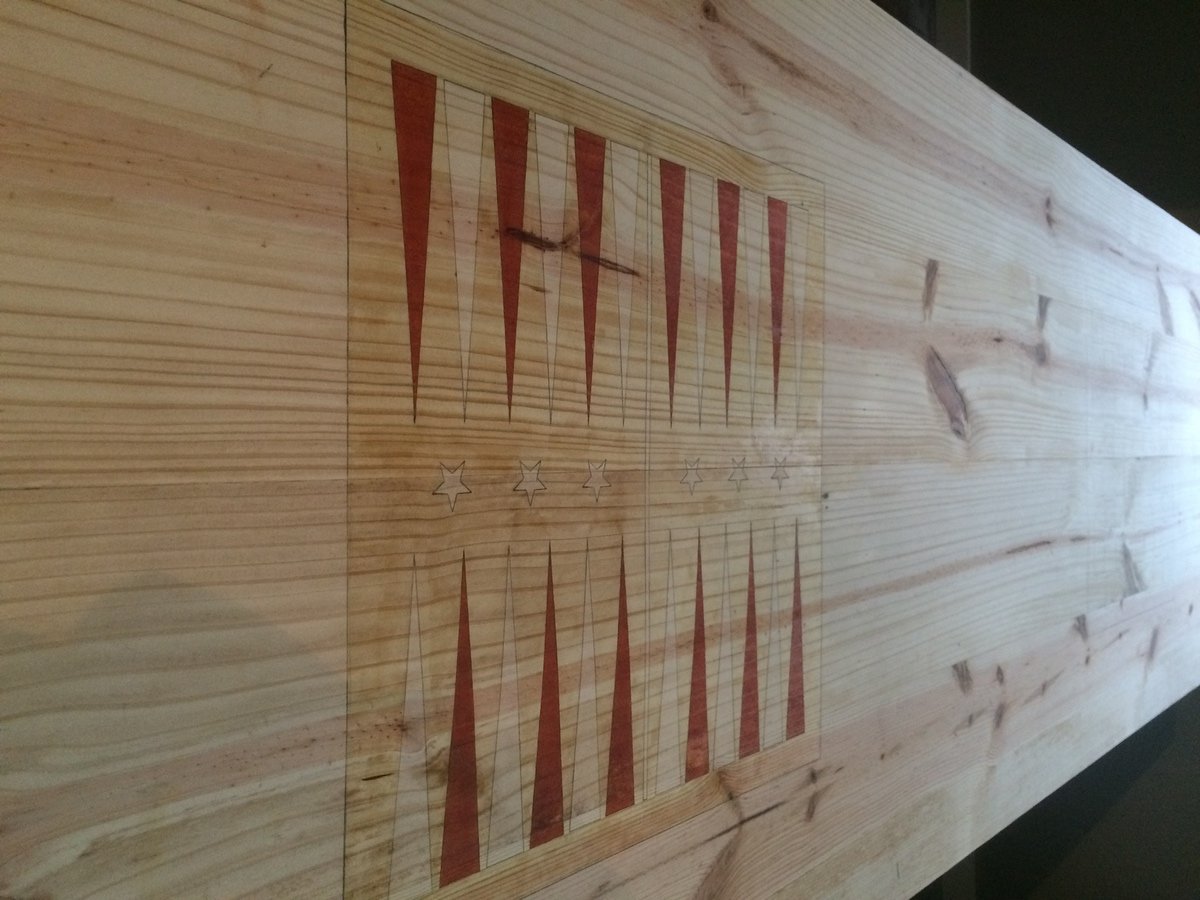
We used the Fancy X Farmhouse Table plans to create the table then stenciled the game boards onto the sanded tabletop with a pencil. After that we scored over the pencil tracing to prevent stain bleed over, then carefully polyurethaned over the sections we did not want stained. After the poly dried we used a small craft brush to paint the stain in one color at a time.
Comments
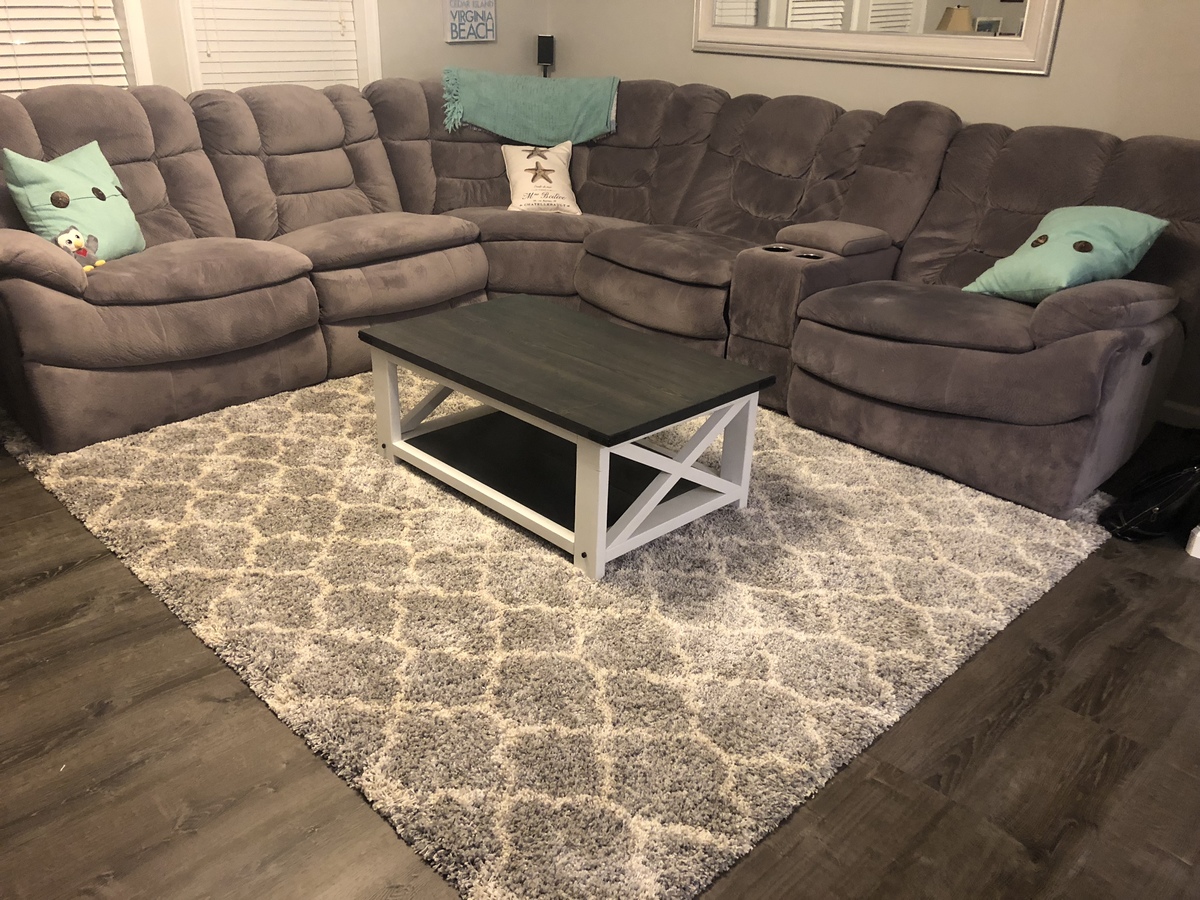
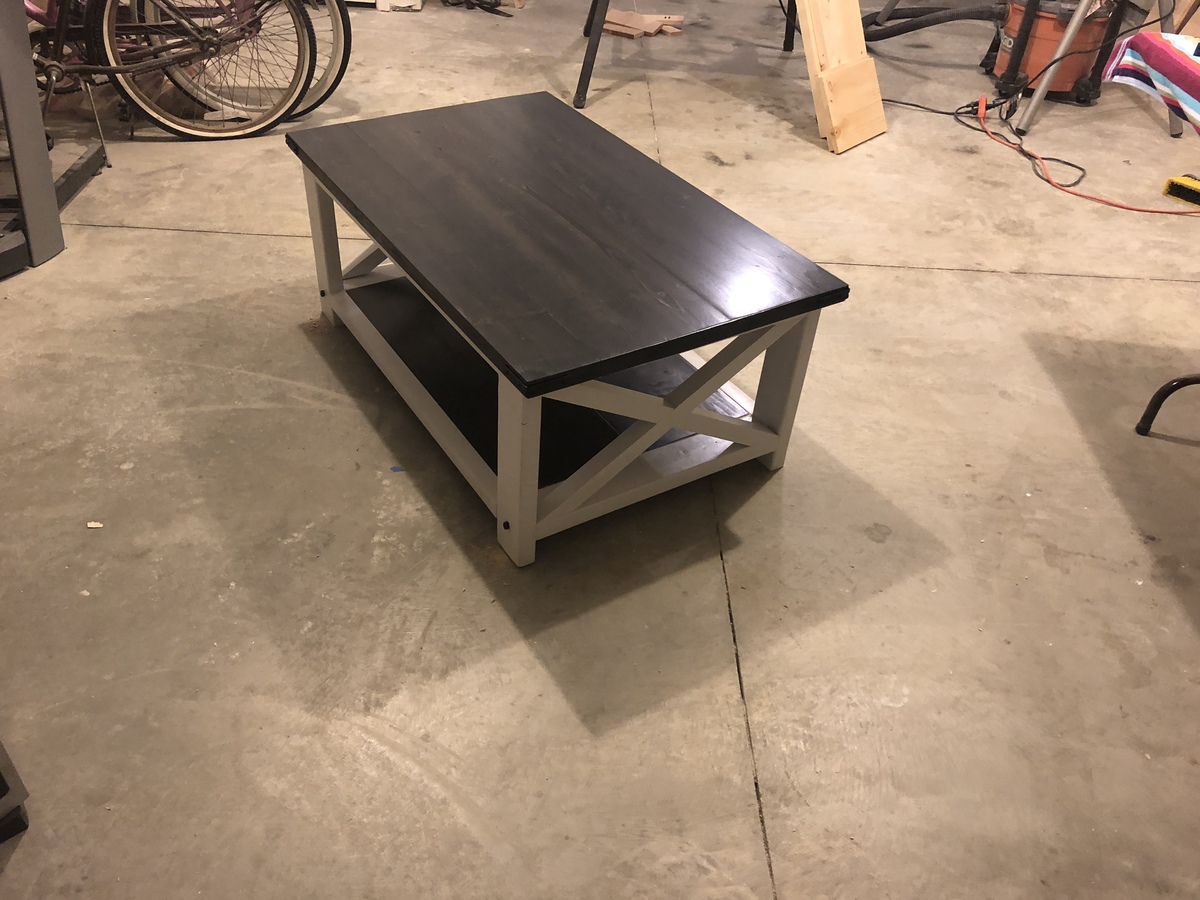
X coffee table
X coffee table
Comments
Sling Chair for Father's Day!
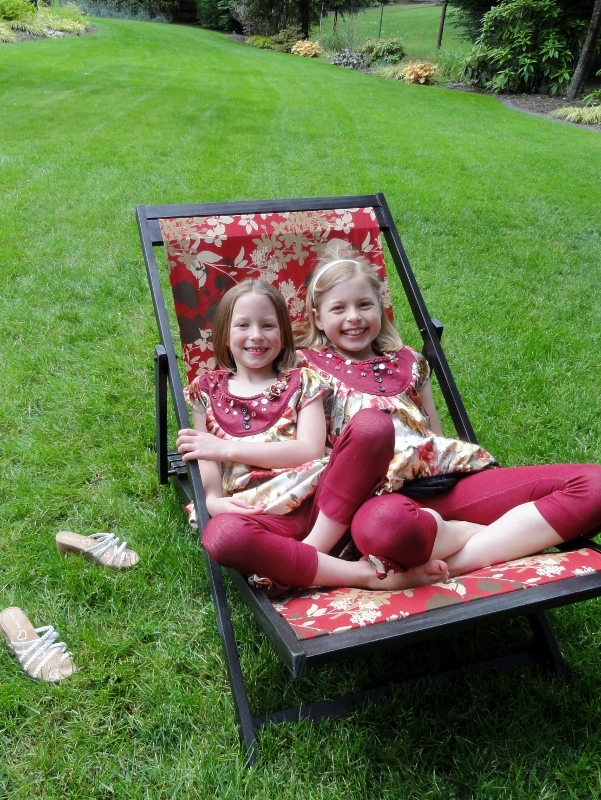
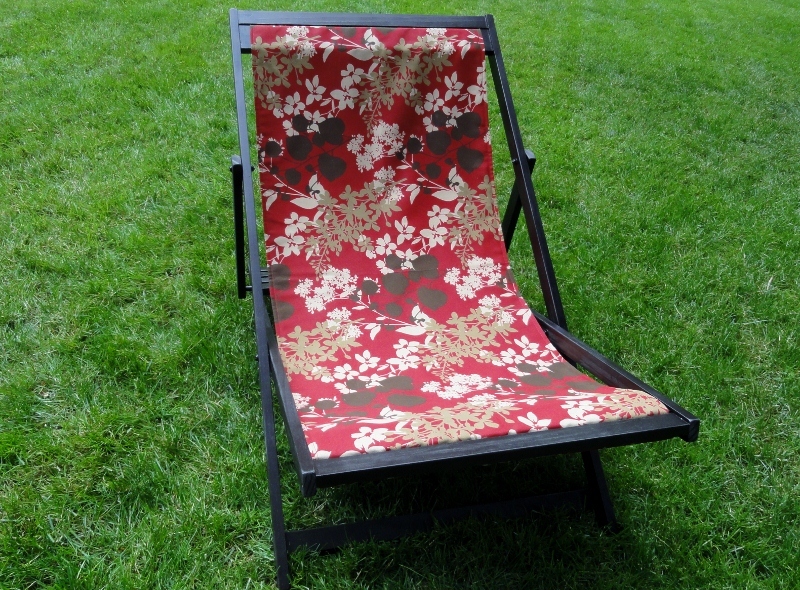
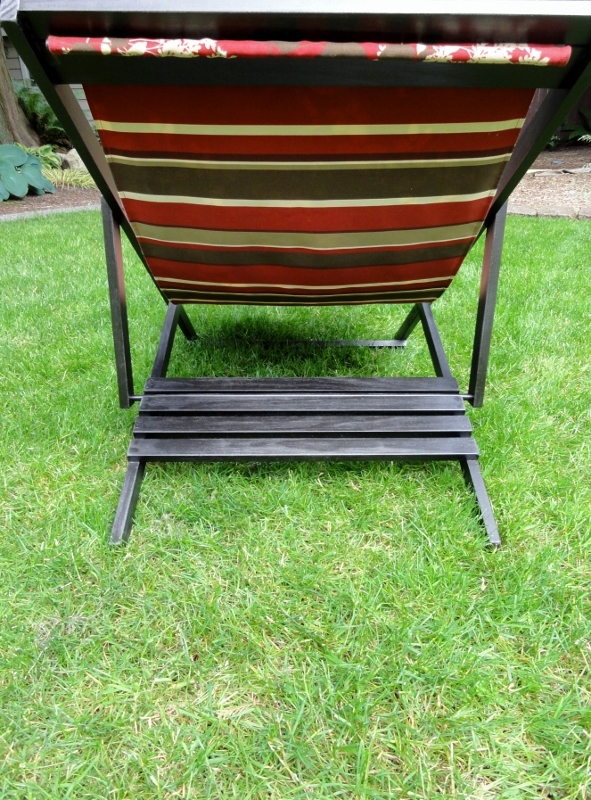
Once I saw these plans on here, I was thrilled to get started on them. I let the girls do most of the miter saw cuts (with lots of supervision) and they were a huge help sanding. Pine has really sharp edges, so they helped me round down every edge by hand. I would have used an electric sander, but *gasp* I couldn't FIND IT!
Aaargh!
Anyhoo, this is a gift for Daddy for Father's Day! I bought enough wood and fabric for a matching chair for myself. :) The girls are begging for matching kid-sized ones too. :)
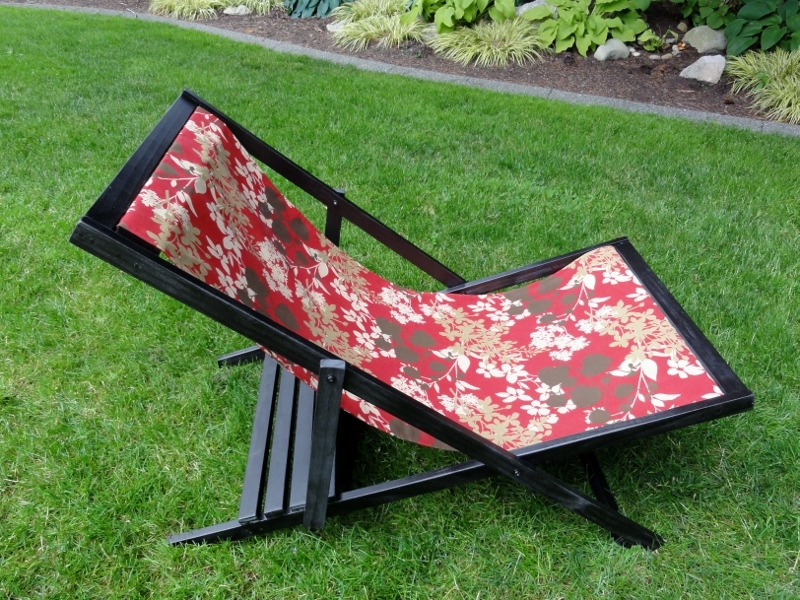
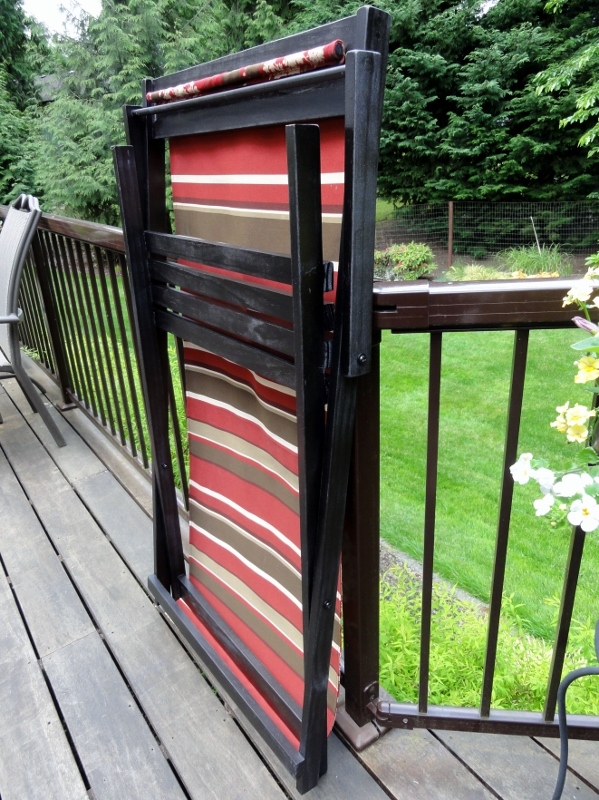
I just LOVE how it folds up so flat (last photo below) to be hung under cover outside. :)
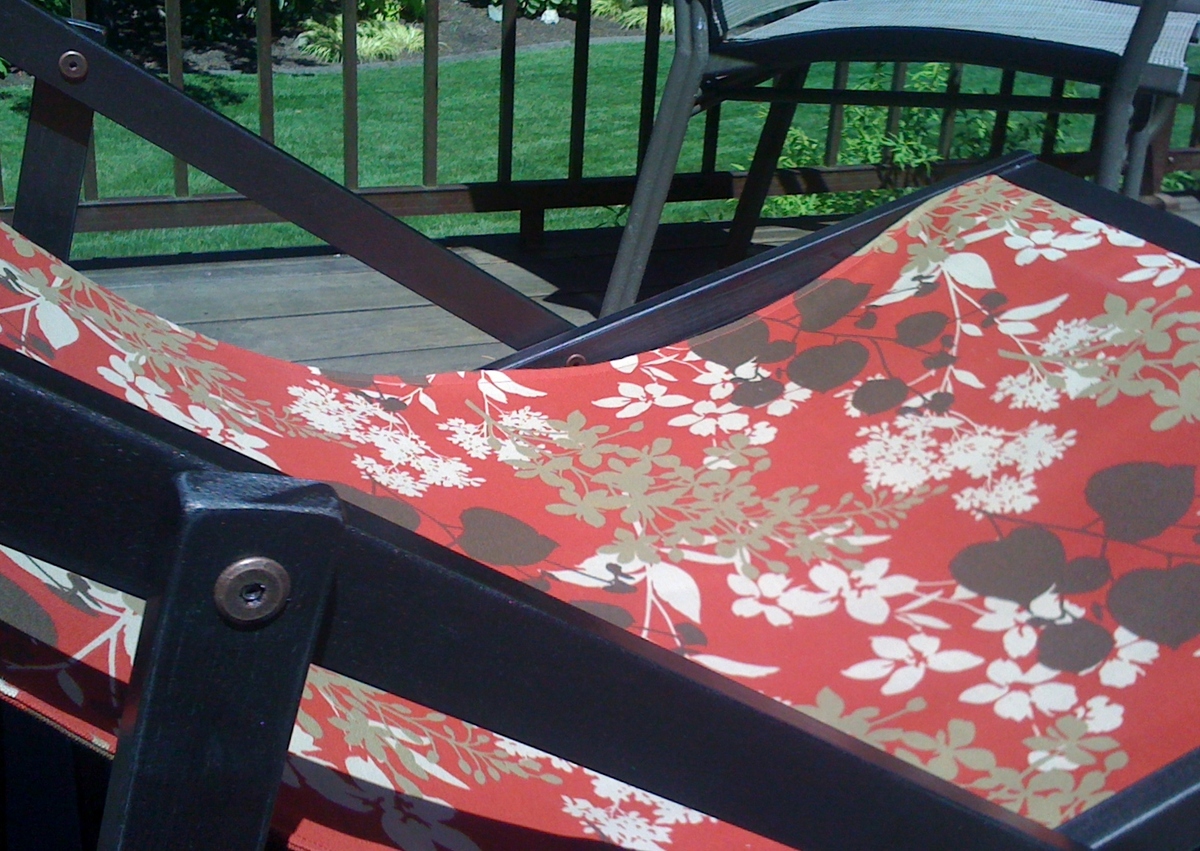
I used Connecting Bolts & Connecting Cap Nuts rather than just bolts and I love them!!! I did keep a washer in between the 1x2's to keep the wood from rubbing. PERFECT fit! Check out my last photo below to see it up close.
The bolts fit through the 1/4" holes Ana's plans instruct you to drill, but the caps need a larger hole. I drilled 3/8" holes into all OUTER 1x2 where the connector caps needed to be and kept the inside 1x2 holes at 1/4" per Ana's instructions. Hope that makes sense!
Then I finished them with Rustoleum Oil Rubbed Bronze Spray Paint.
Comments
Fri, 06/17/2011 - 15:51
Great job! How fun for the
Great job! How fun for the girls to be able to help. Can't wait to begin my own chairs
Fri, 06/17/2011 - 16:31
I think that you should print
I think that you should print and frame the first picture to give to him along with the chair. Great job!
Mon, 09/18/2017 - 09:54
Connecting Bolt Size?
hey there...this looks REALLY good! I especially like the bronze bolts you used.
I'd like to do the same, but I'd love your advice on bolt length. If they're connecting two 1"x2" boards, I assume the width of those two pieces together is 1.5" (.75+.75), right?
Therefore, do you recommend a 1.5", 1.75" or 2" connecting bolt?
Thanks!
Nightstand
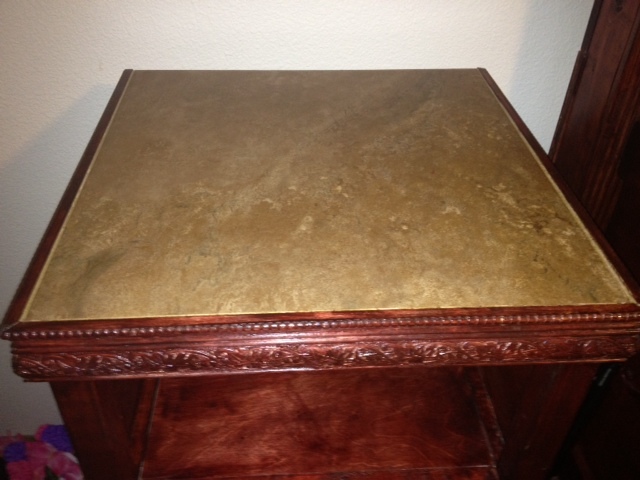
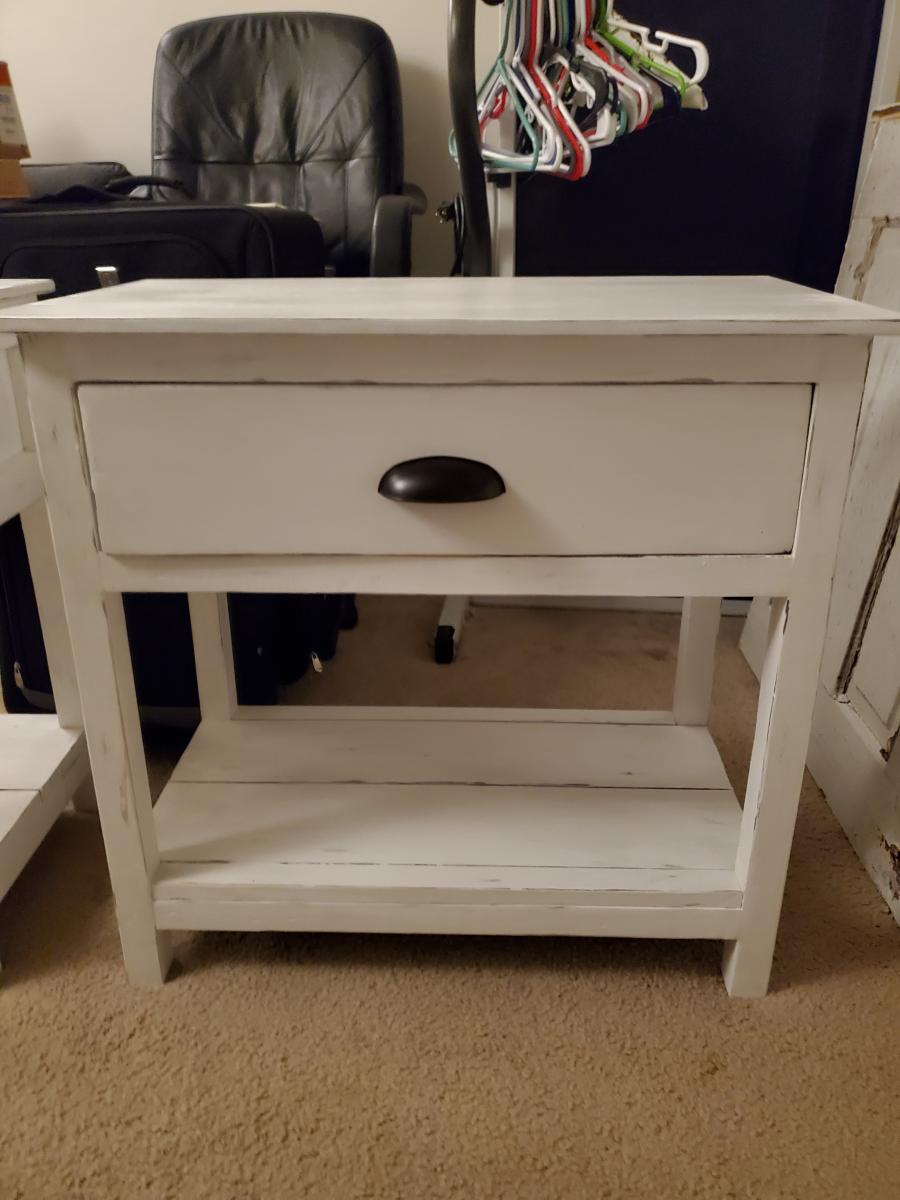
Decided to build a bedroom set and like the Rhyan end table, but fell in love with tiled version. So we used porcelain tile on top.
Beer Keg Tap Handles
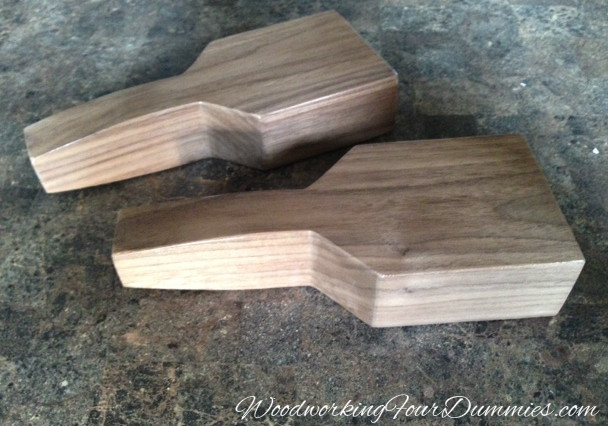
I had some left over Walnut wood, so I decided to make some more Beer Tap handles. This is a fairly simple DIY that doesn't take that long to complete. I have already written a full tutorial on my blog:
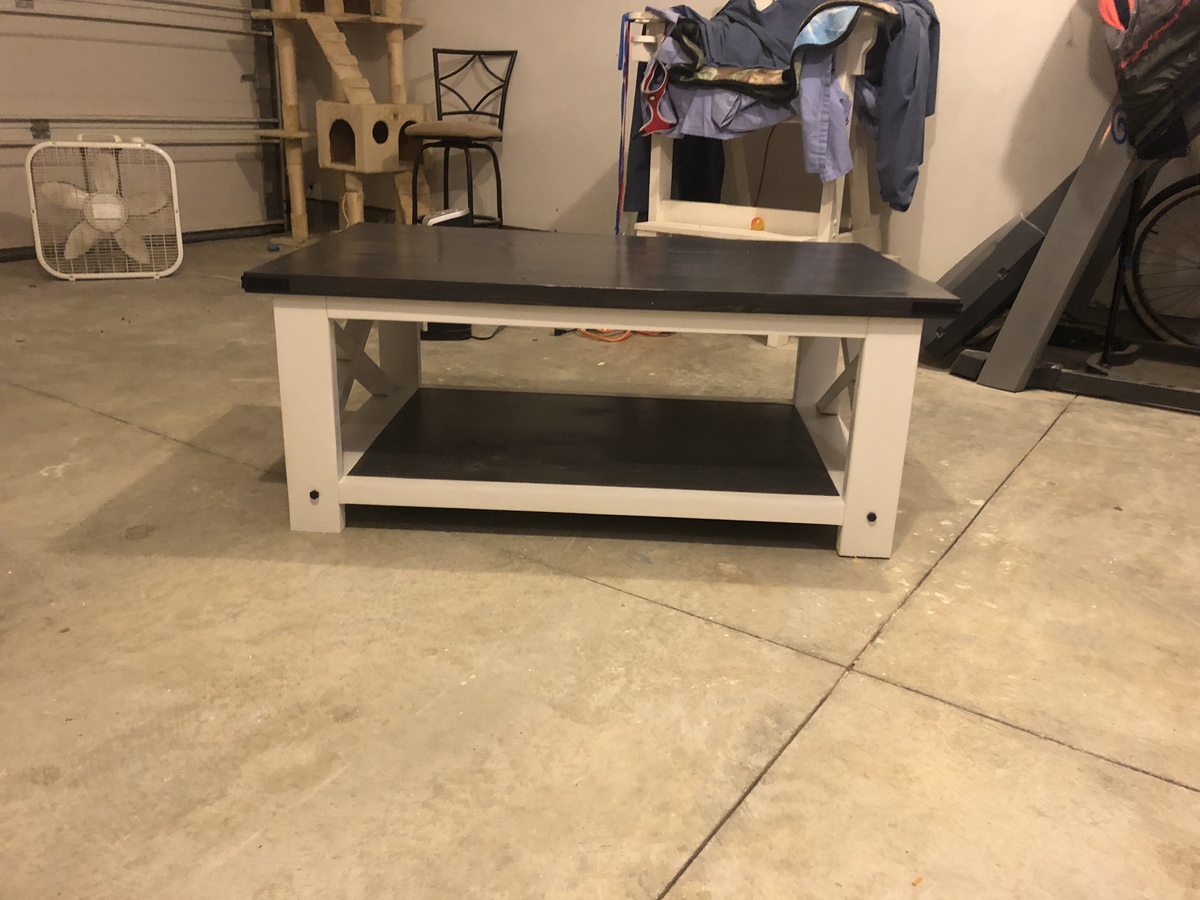
Rustic X Coffee Table
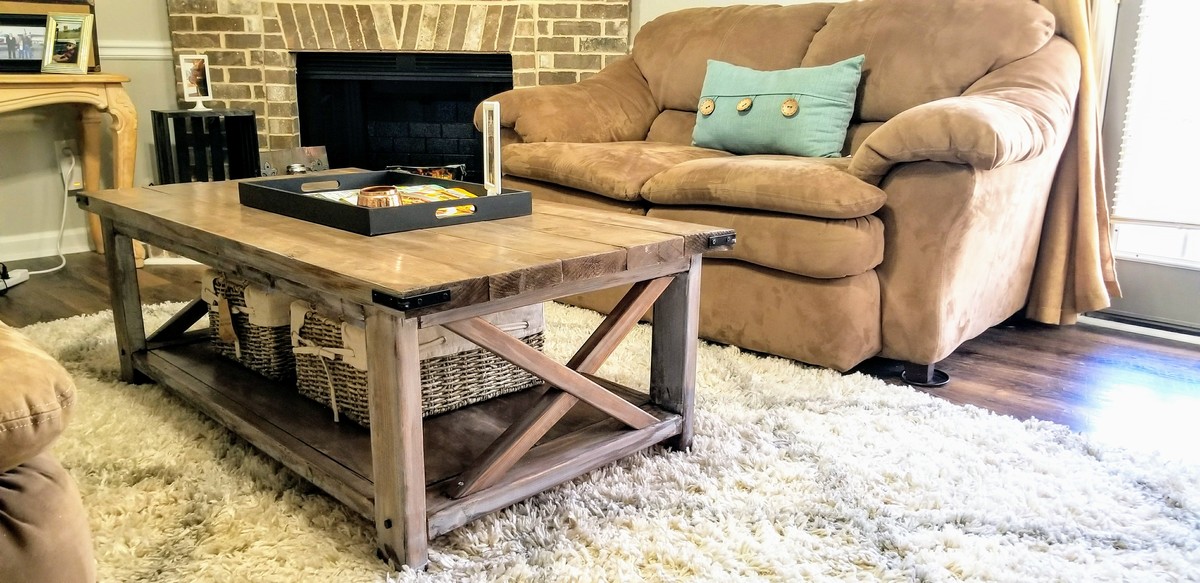
This was my first ever attempt at making something real out of wood. I've only made some really basic floating coat hangars and docorative rustic pieces to set around peoples houses and a spice rack. I really wanted more of a challenge and this was a perfect place to start. I had to purchase the Kreg Jig and a couple of large clamps but once I got the hang of drilling and filling pocket holes it was smooth sailing.
The Mrs then finished it off with some lovely rustic baskets and a serving tray with all the latest Southern Living magazines.
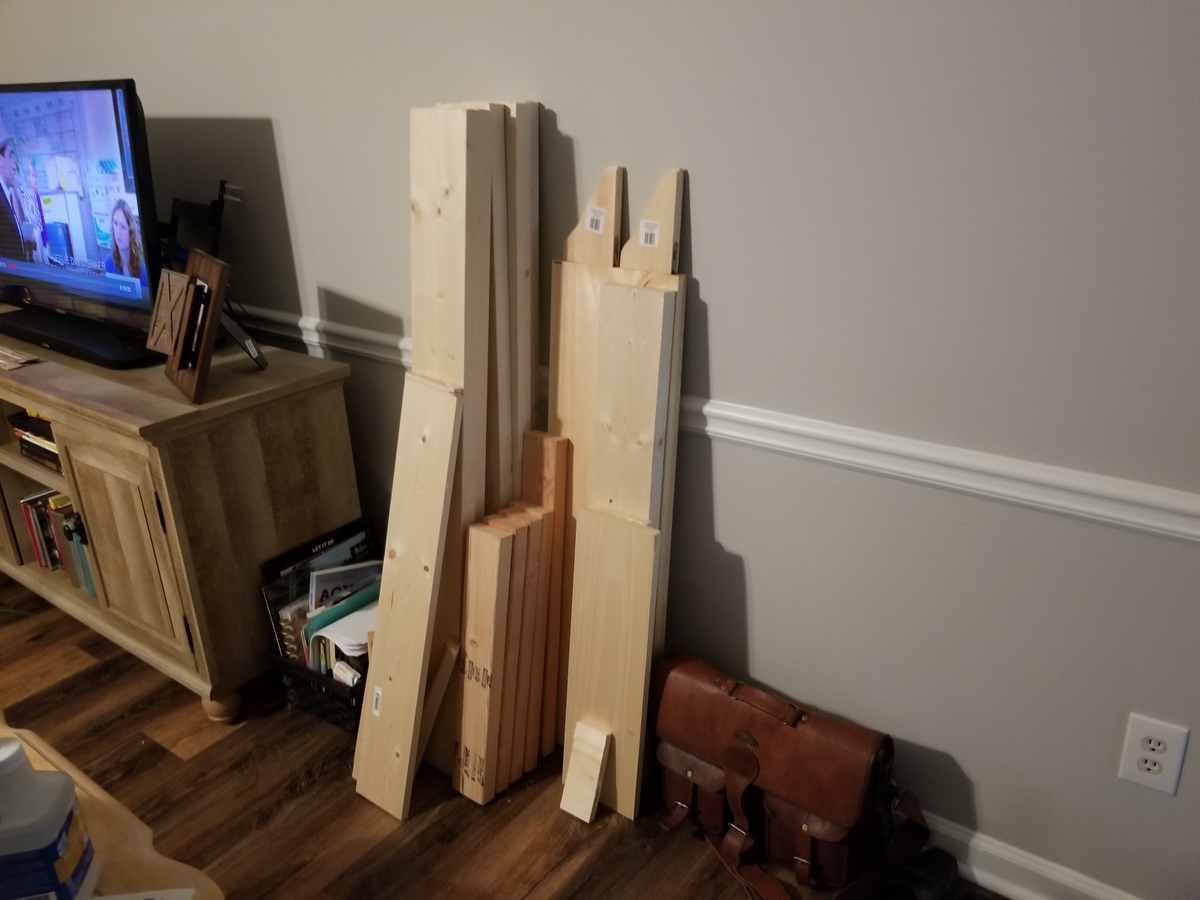
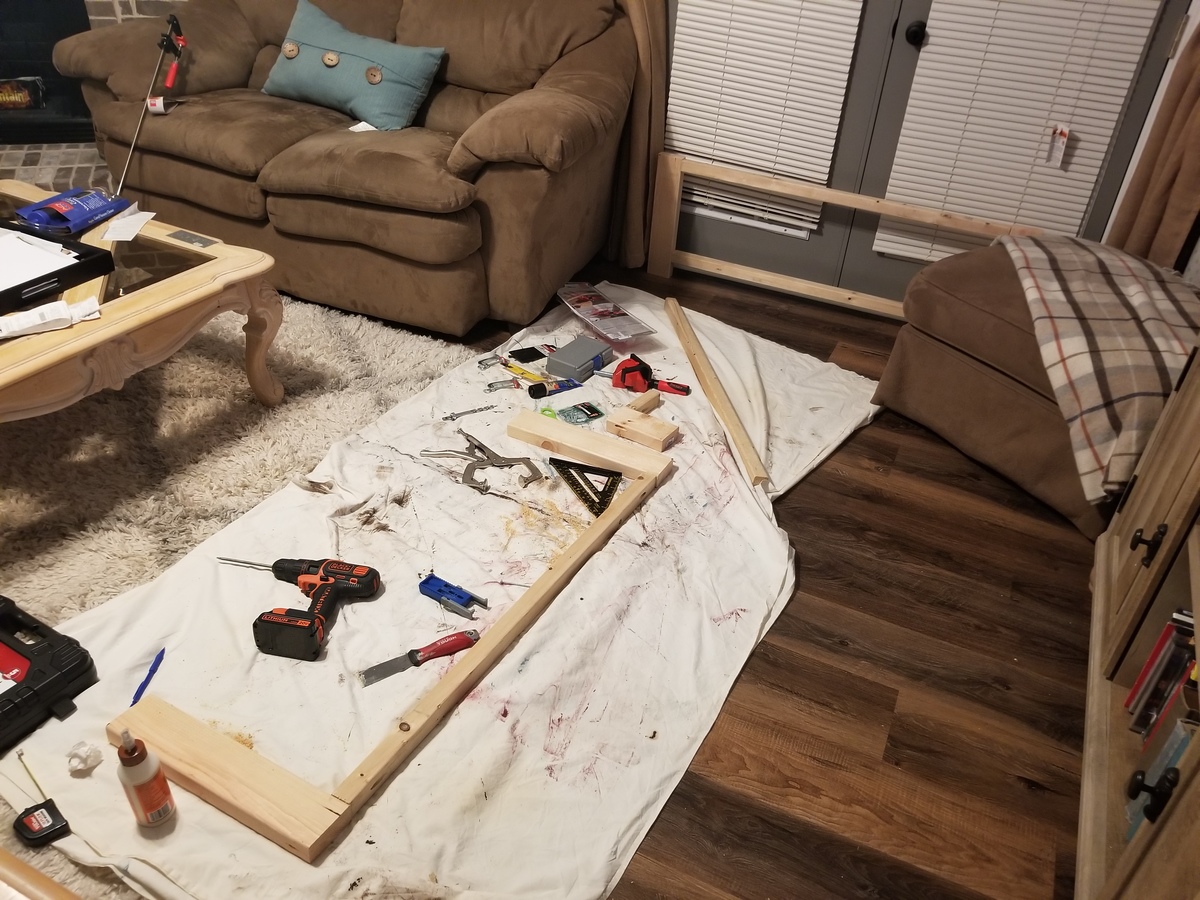
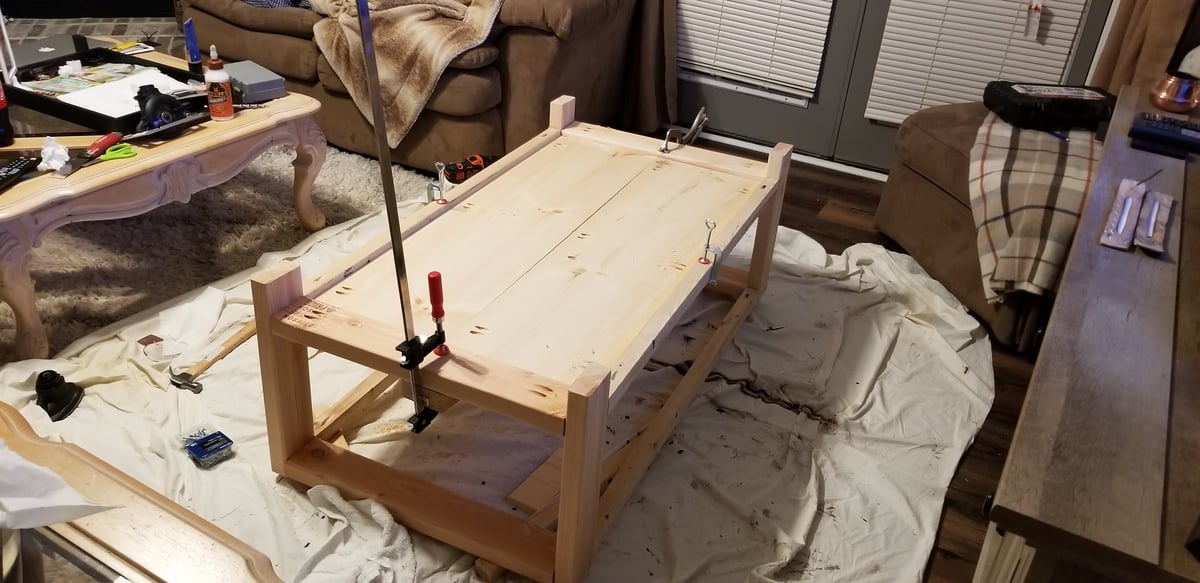
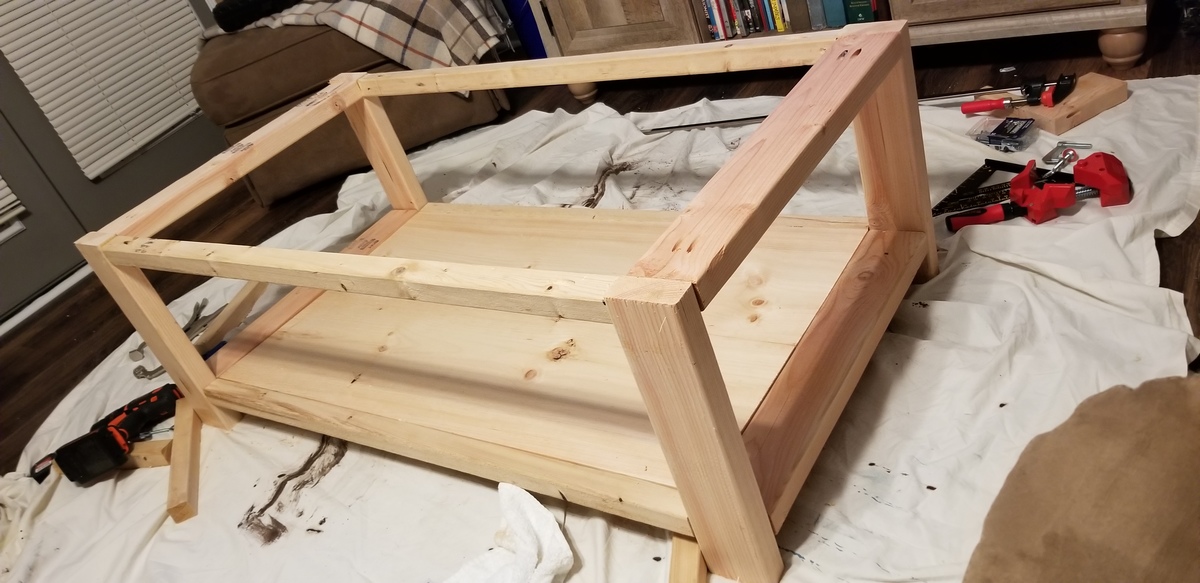
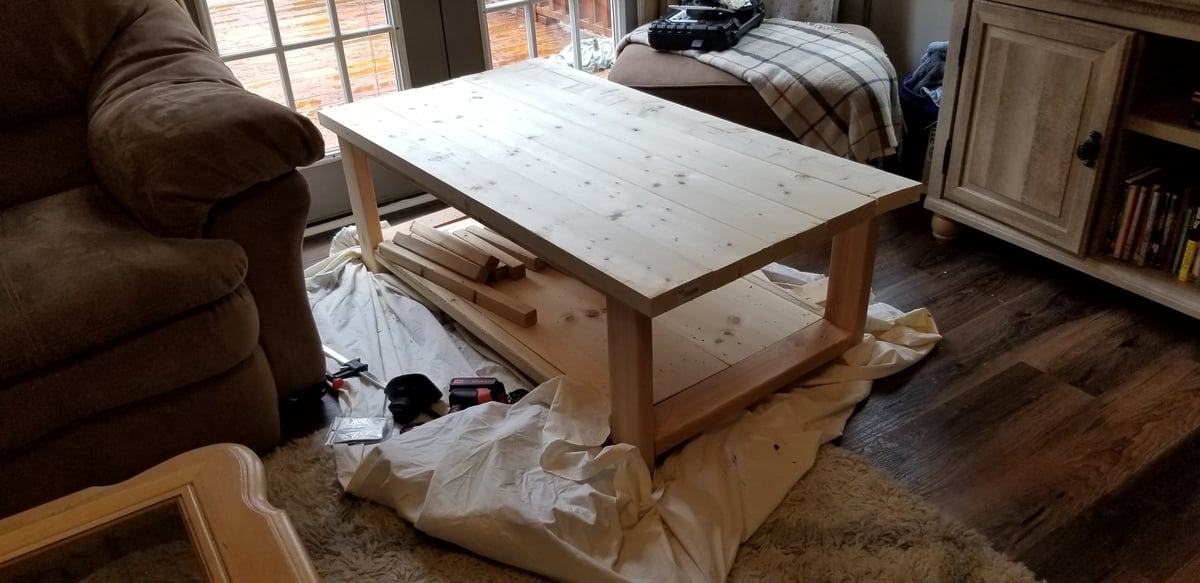
~$60 - various cuts of wood, Home Depot made this easy and cut it all to size for me when purchased. (other than the angled cuts)
$7 - Speed square (for the angled cuts)
$10 -100 count pack of 2 1/2" pocket hole screws & 100 count 1 1/2" pocket hole screws
$7 - Foam brushes
__________________________________
Total: $123 w/some spare wood
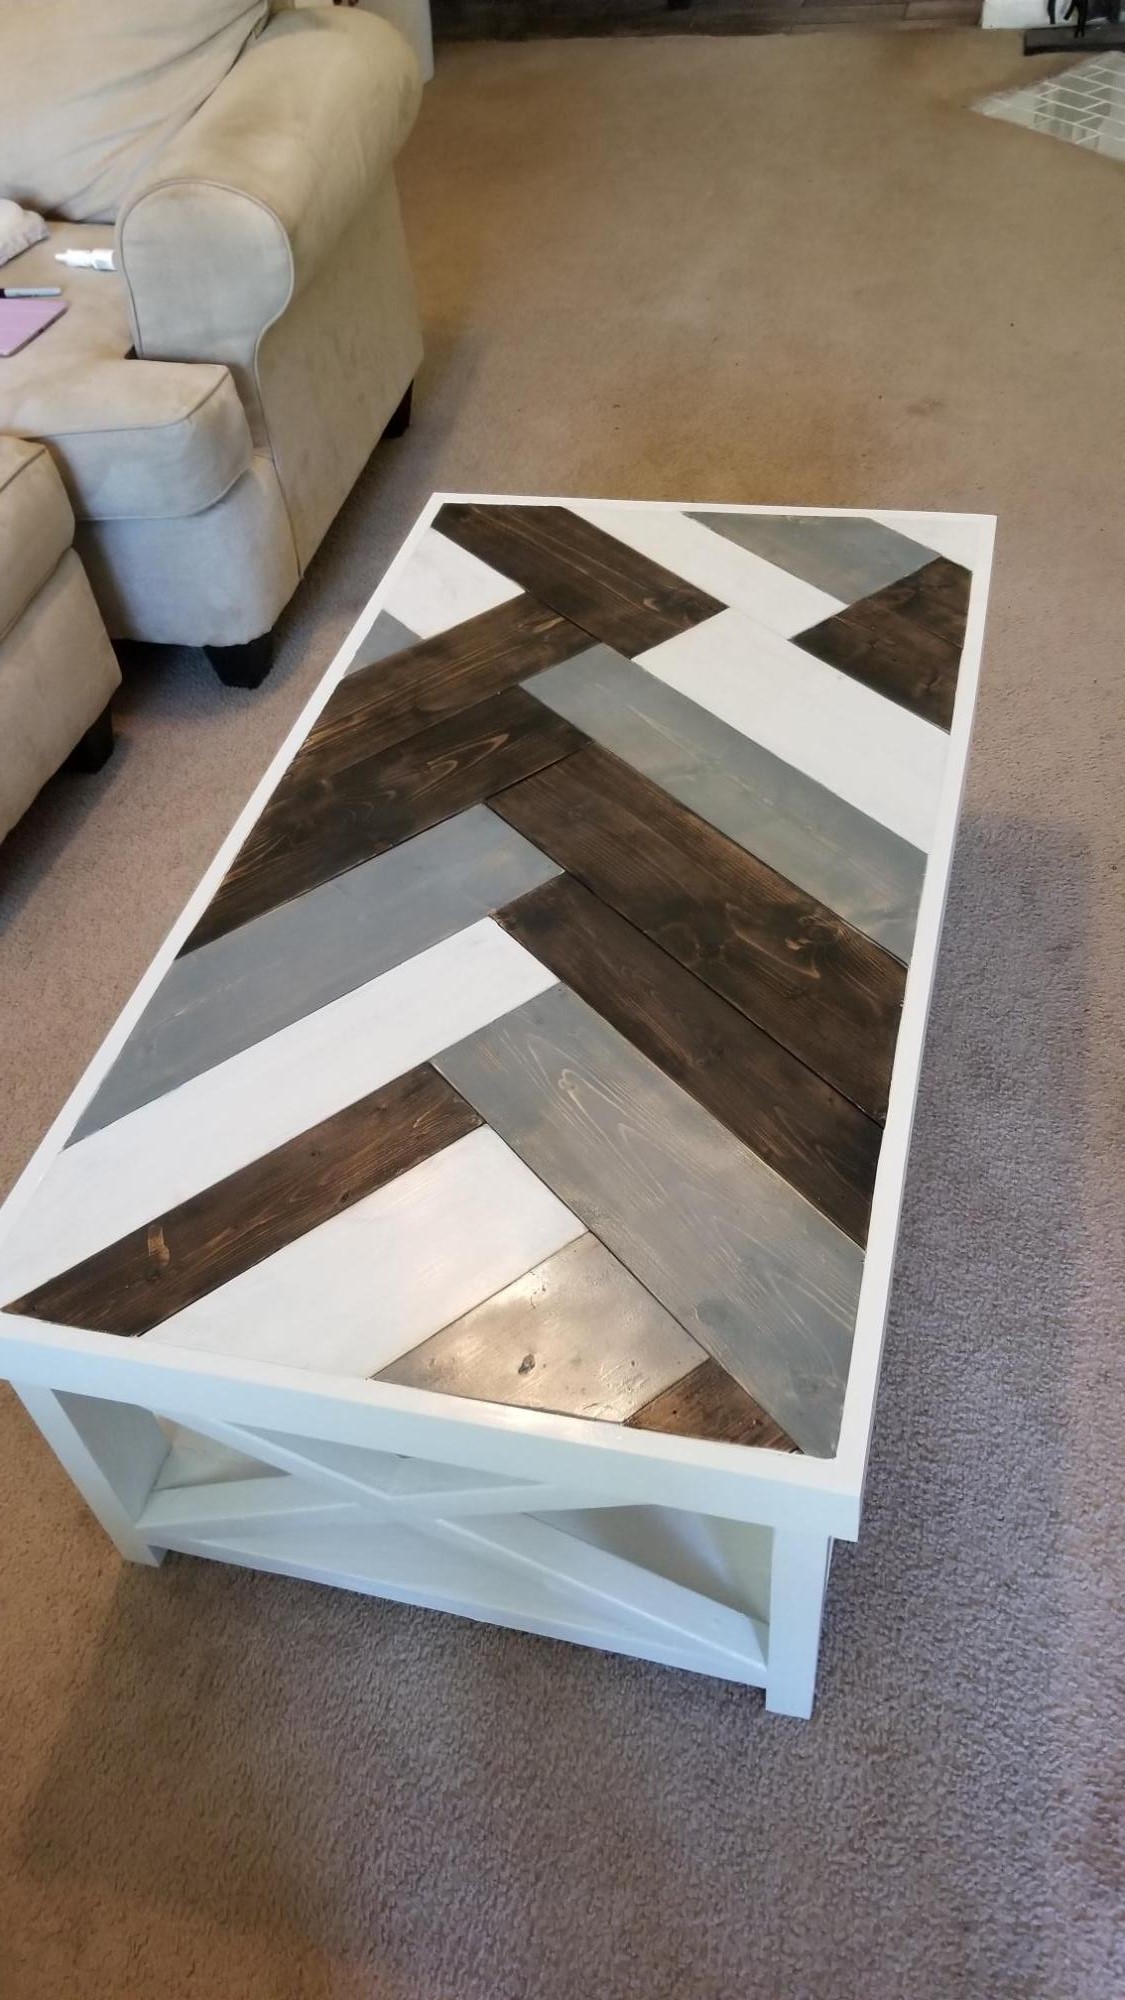
1st - Miniwax Dark Walnut
2nd - Varathane White wash Pickling
3rd - Miniwax Classic Gray
4th - Miniwax Dark Walnut (Wiped off almost as fast as it was put on)
5th - 2 coats of clear gloss.
Farmhouse Projects
Projects by Michael!
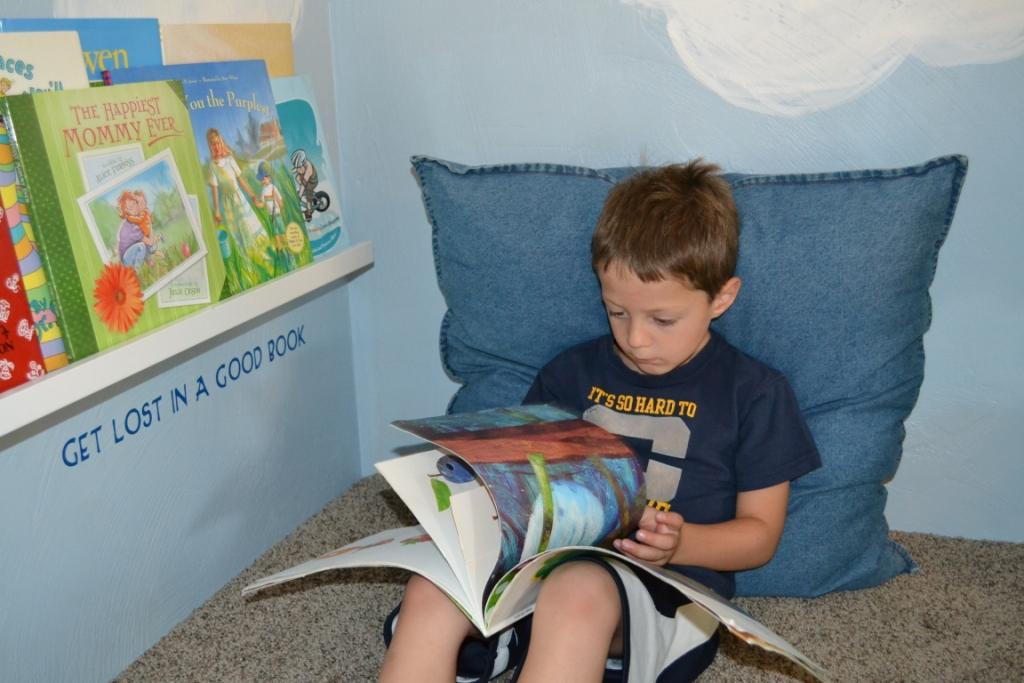
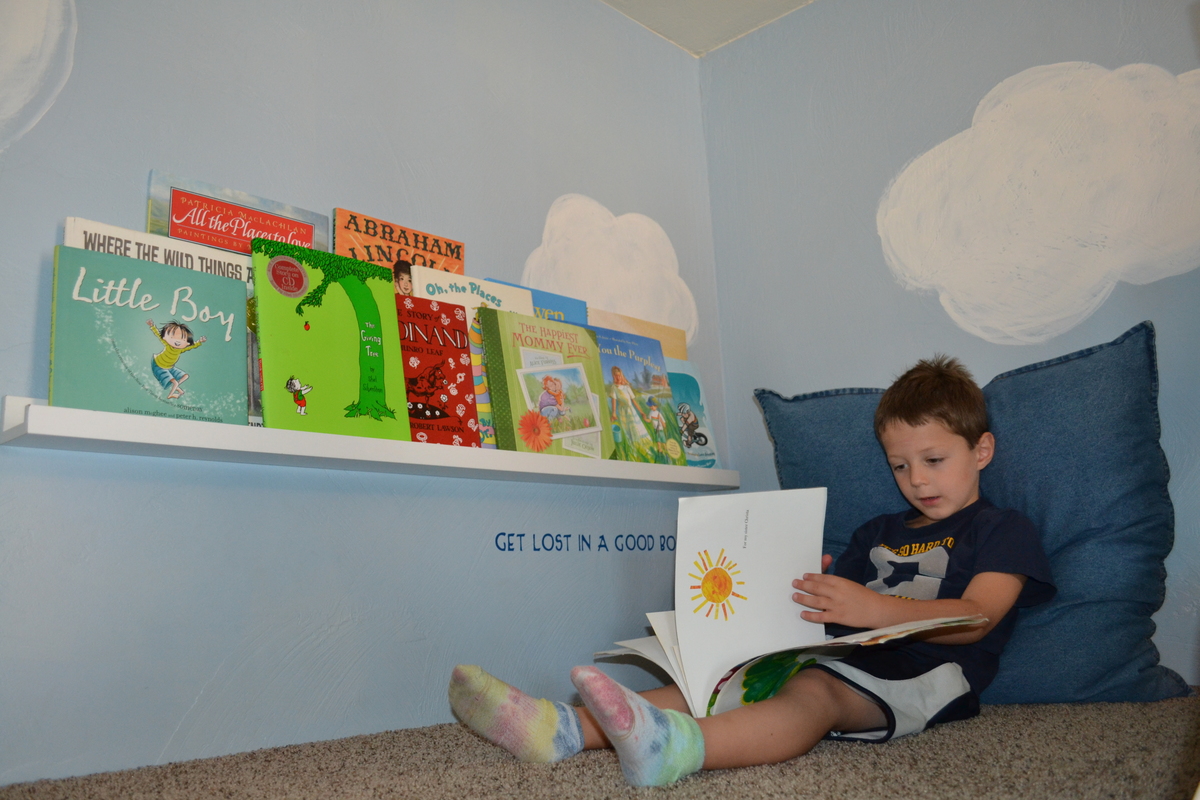
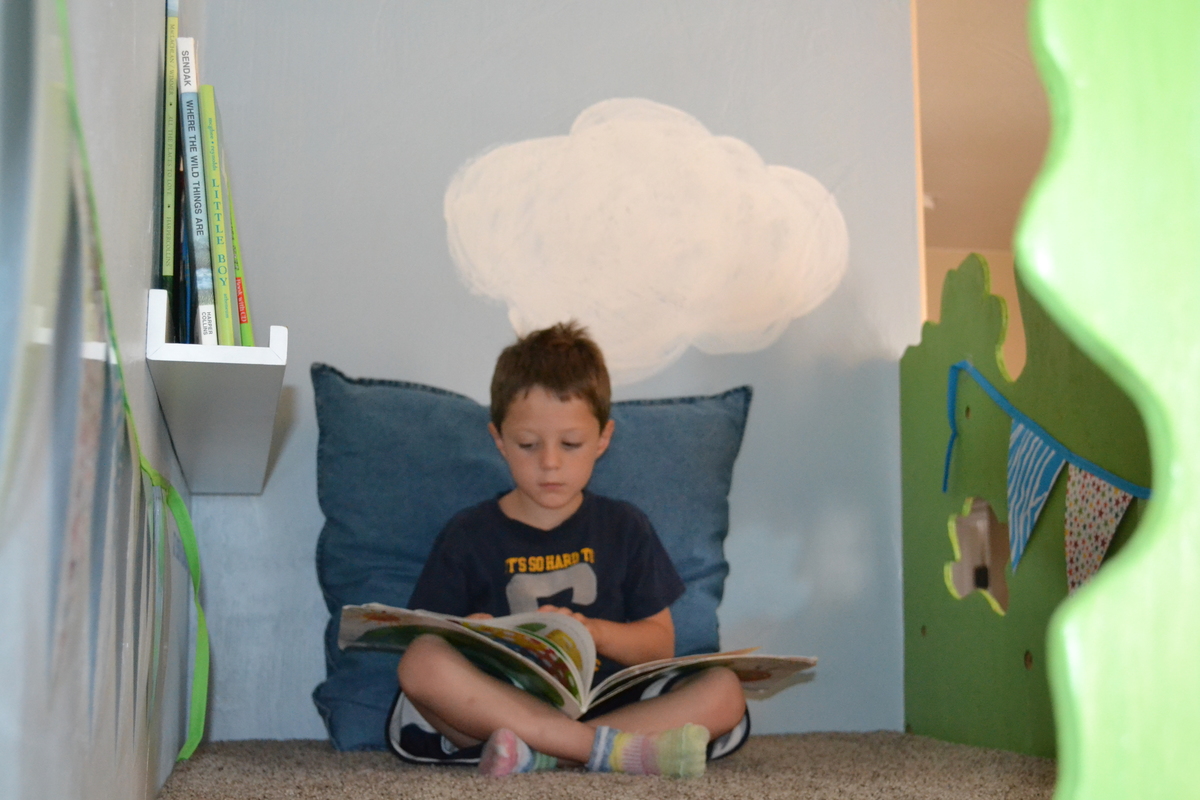
Book Ledges in the Tree House
I love these plans! I build a reading loft tree house for the kiddos that they love... and I might love even more.
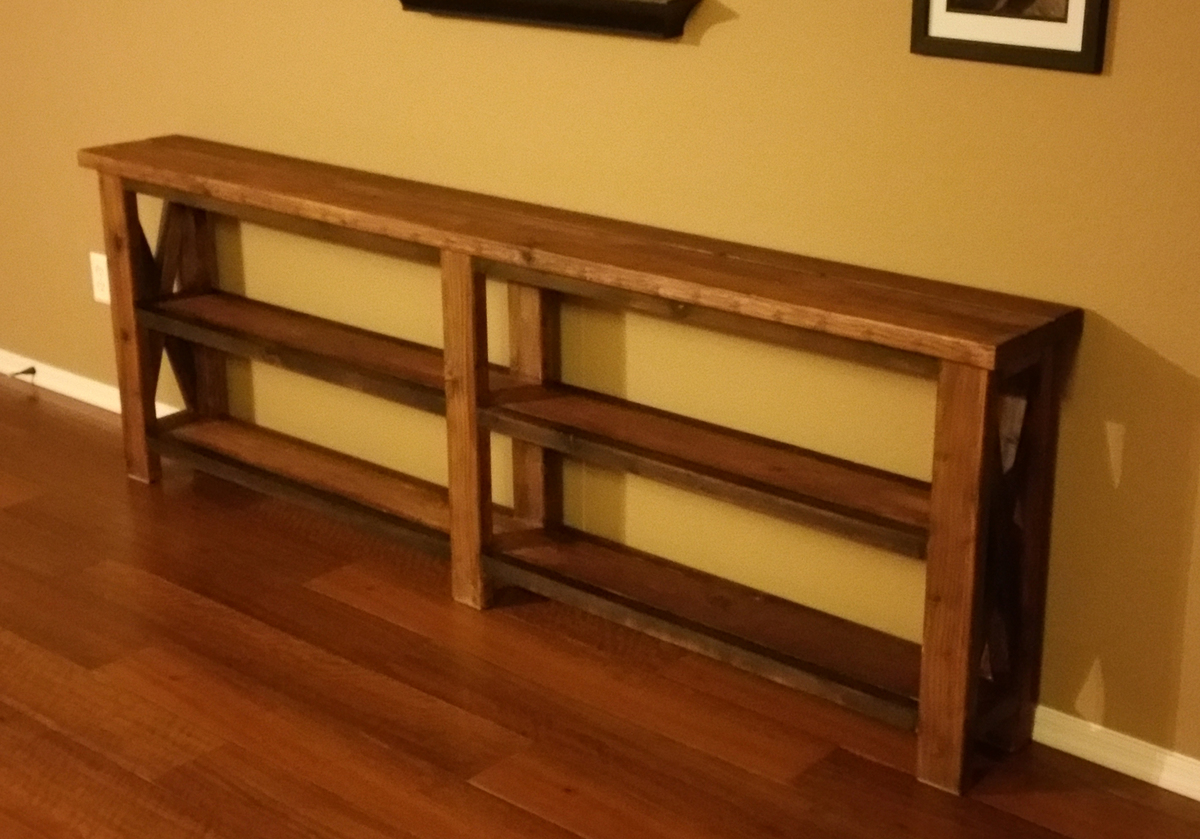
Modified Rustic X Console
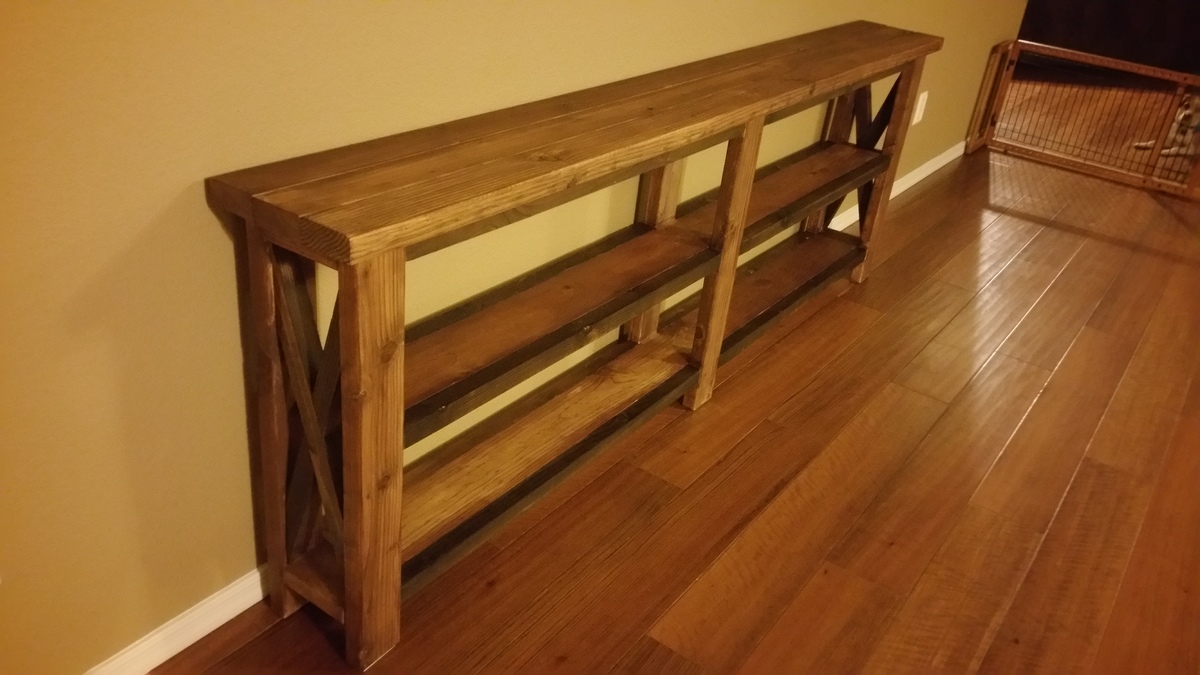
Modified from the original plans to make it longer and thinner to fit the space/need.
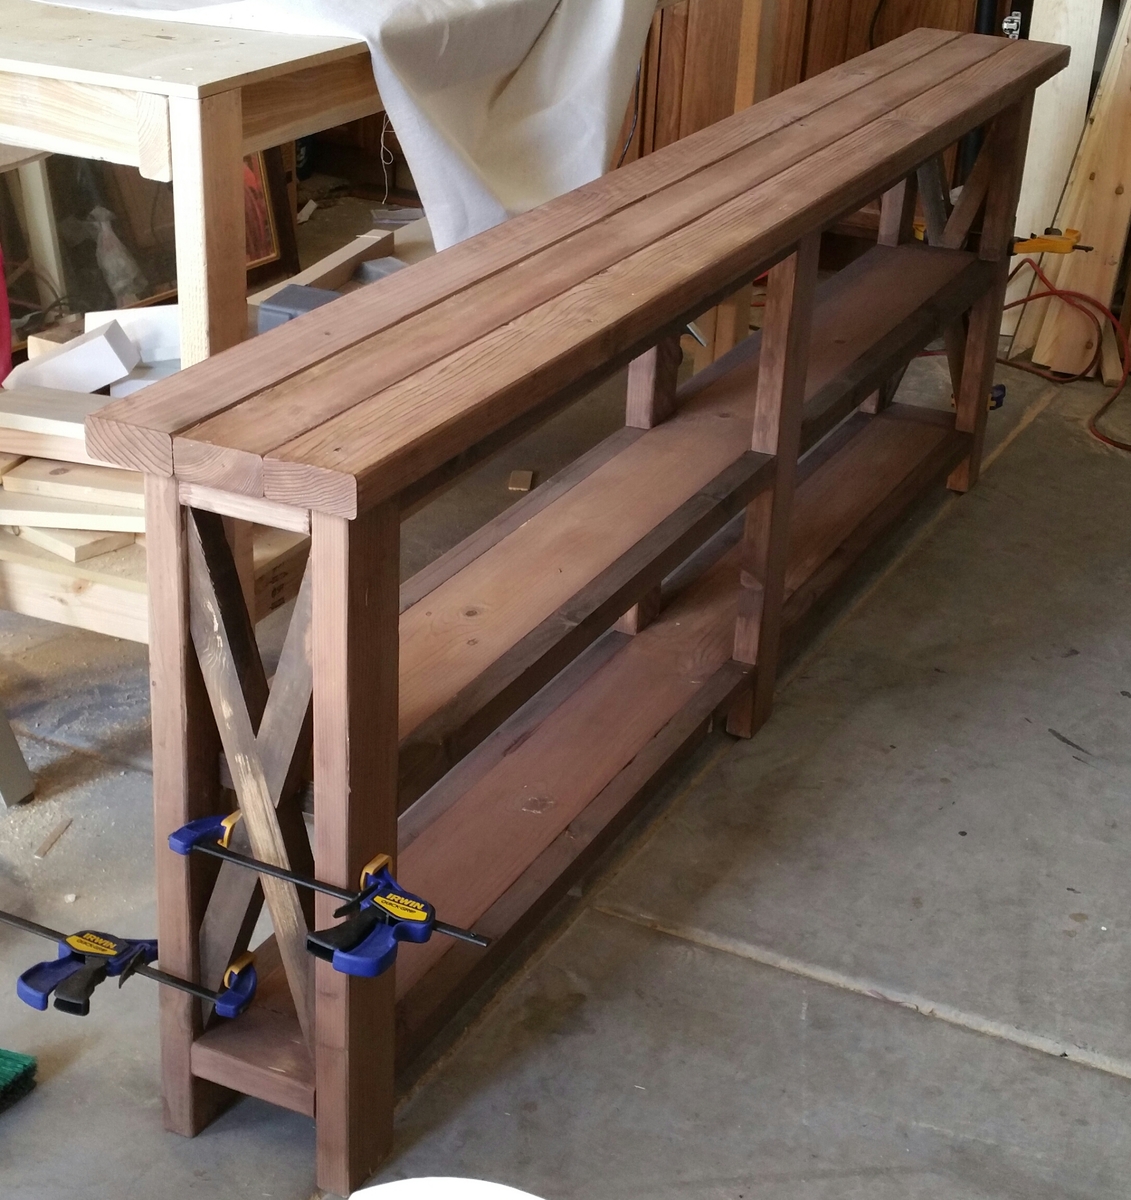
For the "X" cuts I just built the frame, clamped on a rough length of 2x2 and drew lines where the cuts should go. I ended up cutting those by hand since they were well over 45 degrees. Next time I will make a jig for my miter saw to handle those angles.
Finish is just vinegar and steel wool. The picture with the clamps is before the top coat was applied. Once the poly was put on it gave it a nice gloss and nice, rich colors.
Now it just needs some decorative pieces sitting on it :)
Comments
Fri, 08/21/2015 - 20:53
dimensions?
Your console turned out great! I was curious if you still have the dimensions you used?
Thanks
Farmhouse Table
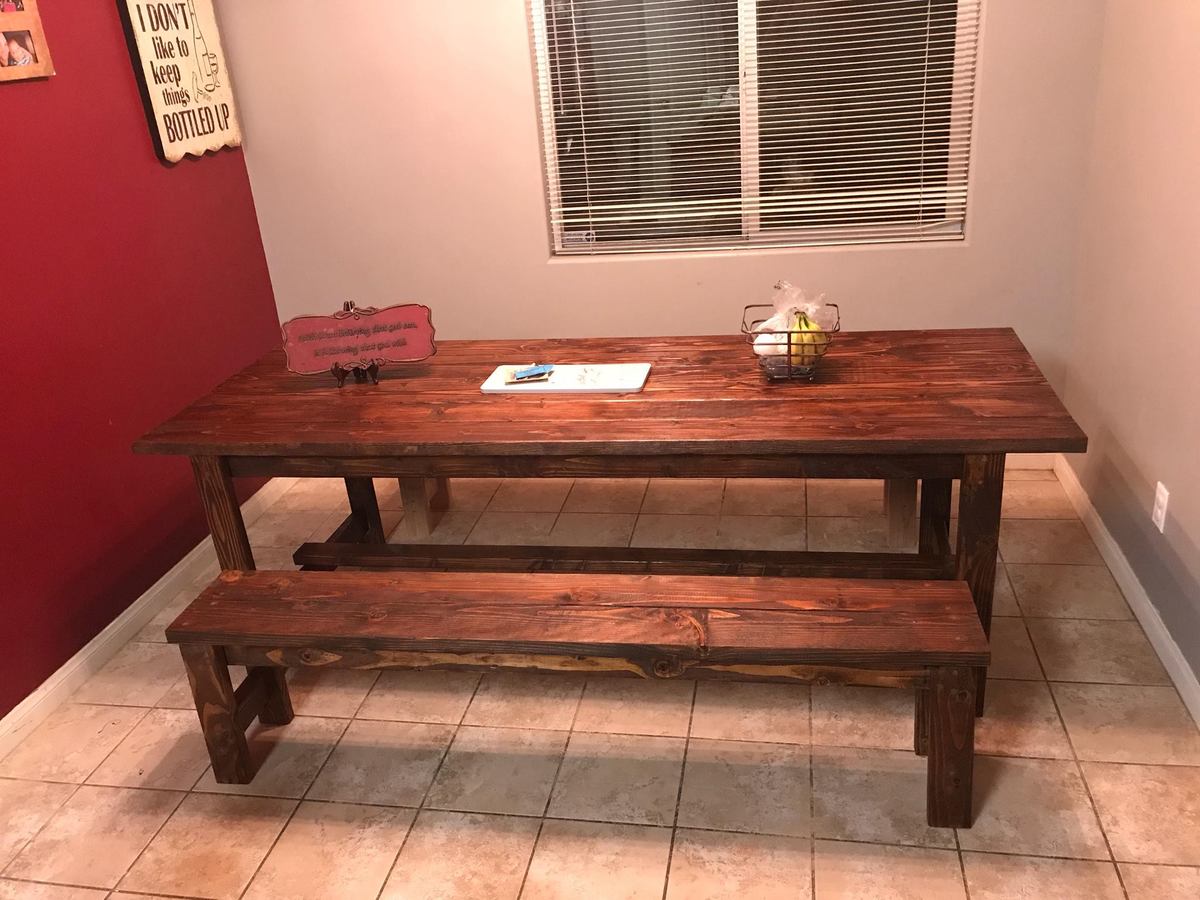
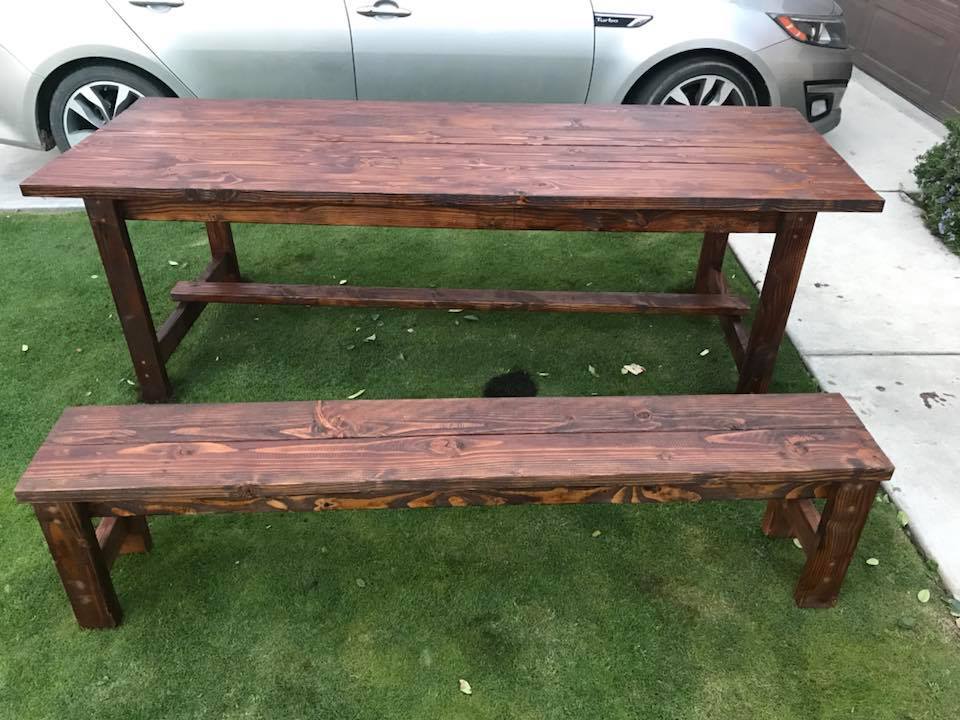
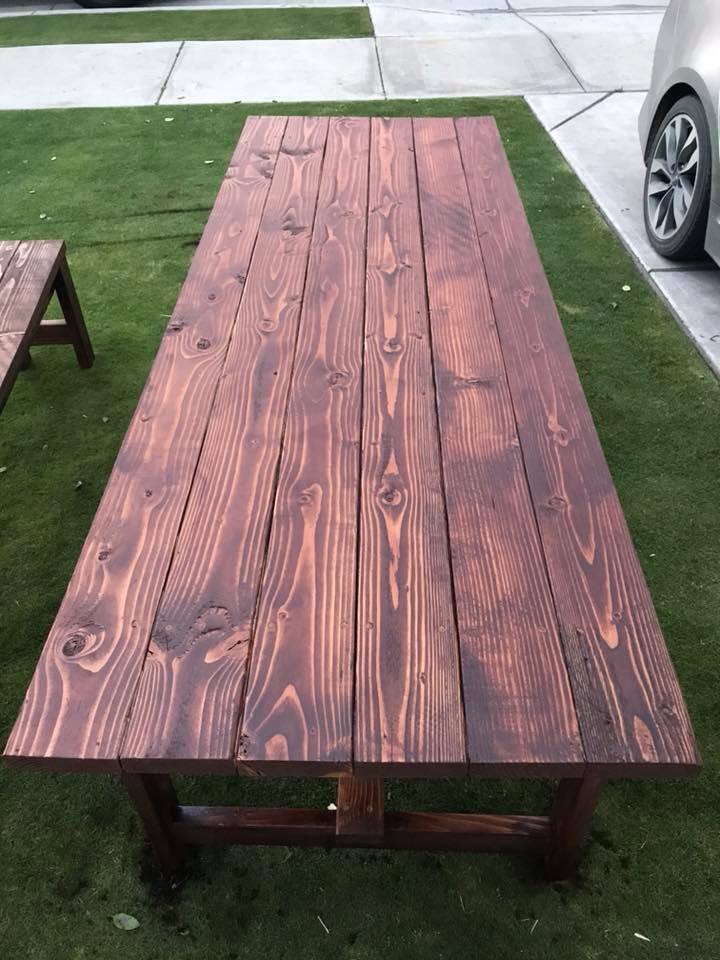
I love this table and bench set! Very easy to build and didn't take too much time. We made it a family build. My kids helped put together the benches and table. My wife and kids did all the staining.
Barn Door Cabinet
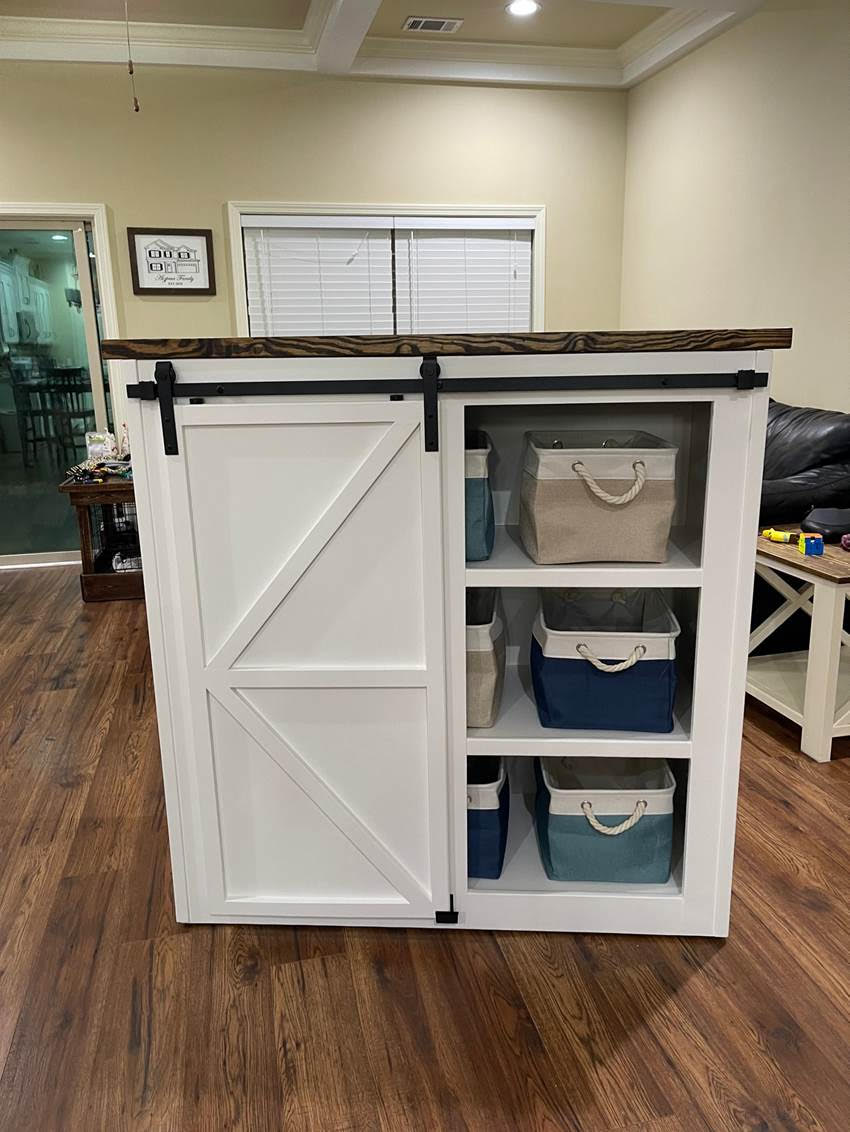
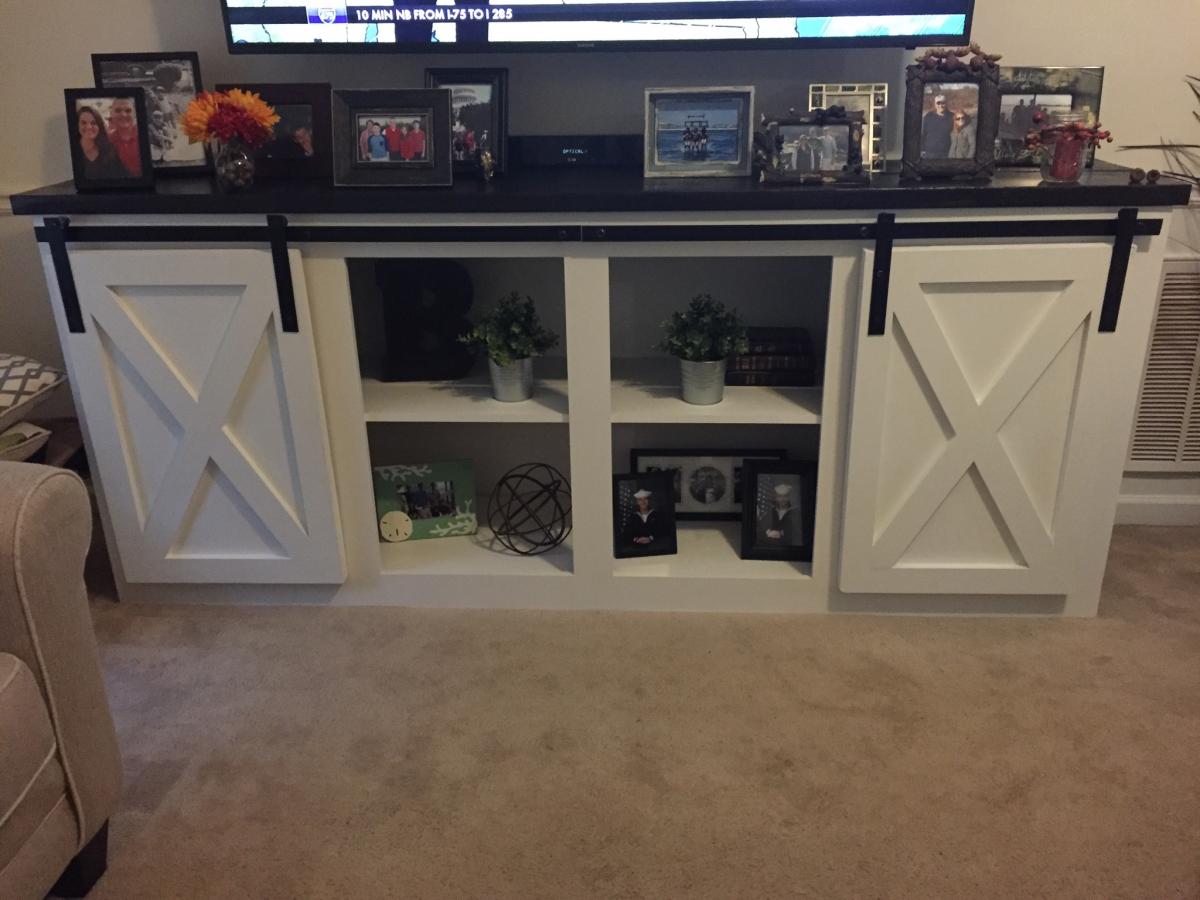
Barn door storage cabinet by Greg!
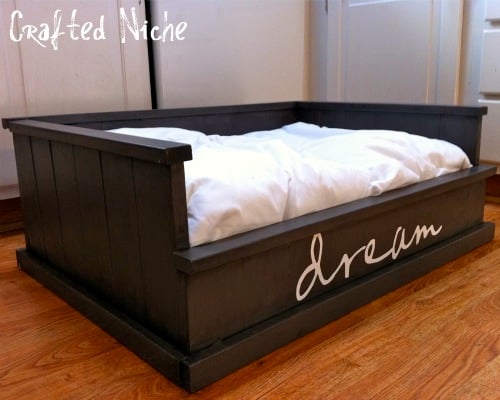
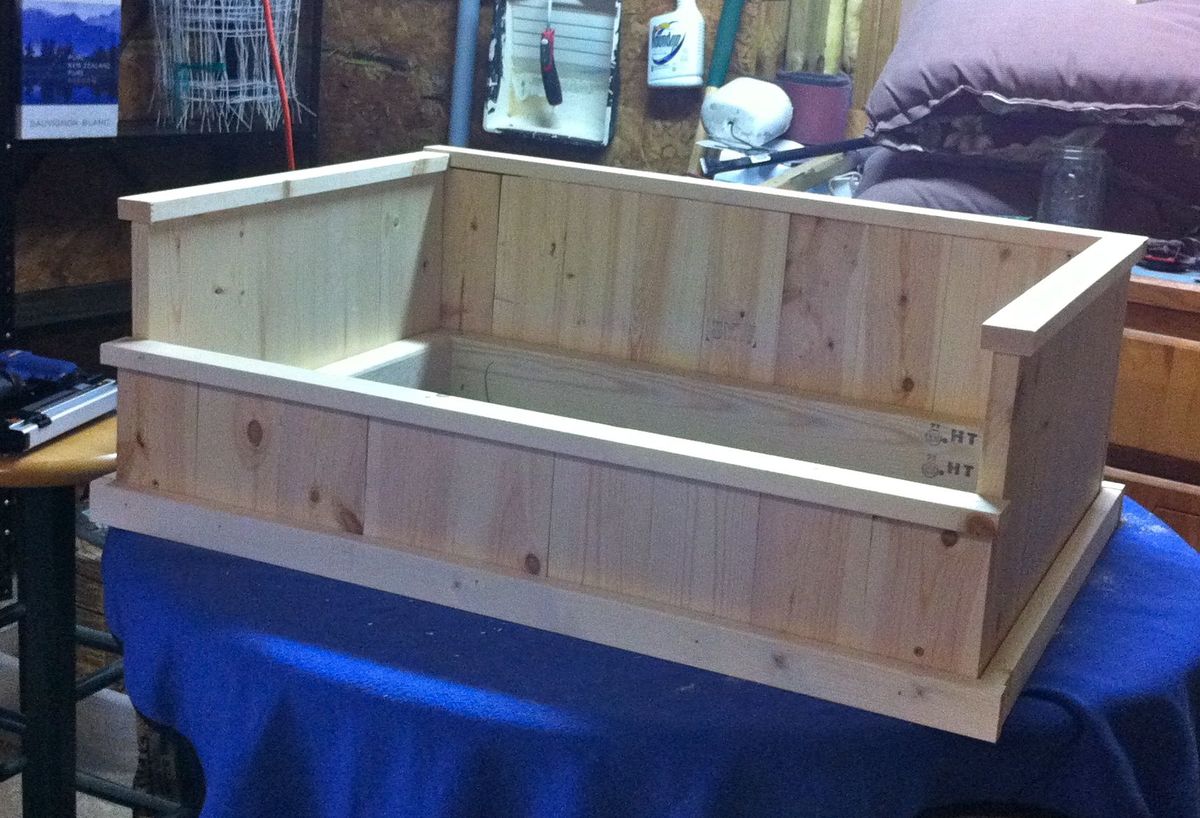
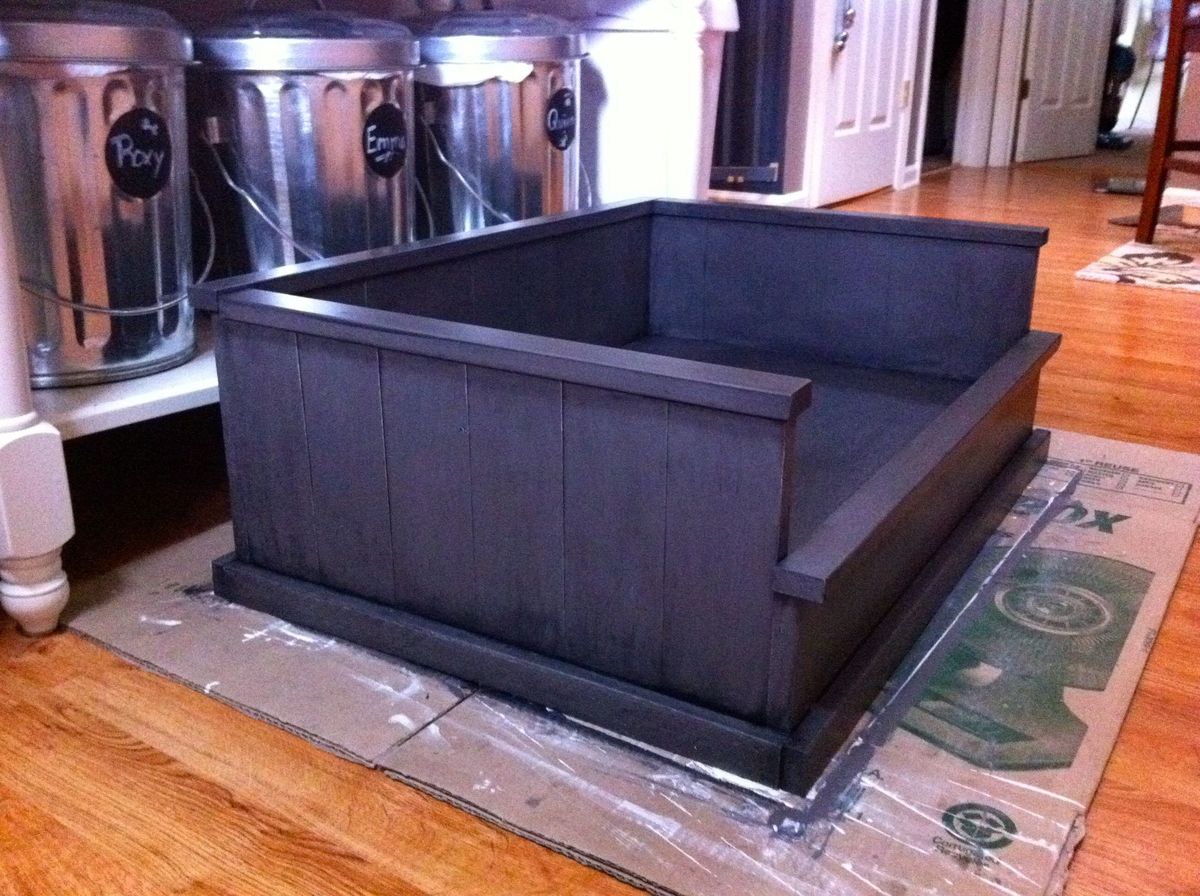
Inspired by the Farmhouse Bed..... for my Dog!
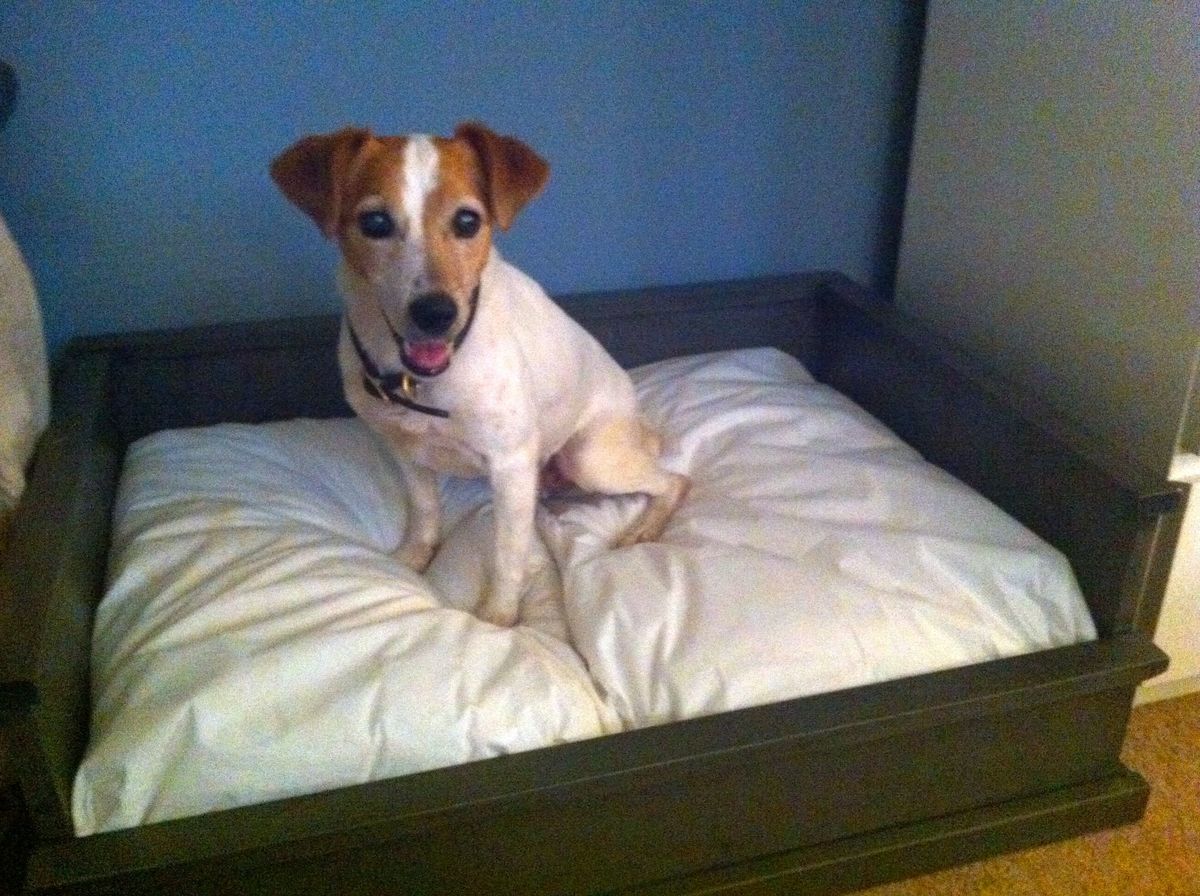
Inspired by Ana's Farmhouse Bed plans, I built this dog bed for my Jack Russell. I measured and planned for it to comfortably fit two standard bed pillows (in waterproof covers of course!). She loves it!


Comments
In reply to This is so cute!! You did a by benfoldsfivealive
Thu, 06/23/2011 - 14:20
Thanks! I figured after 14
Thanks! I figured after 14 years she deserved a comfy bed. :-)
More From Johnnie8!
Hi Ana,
Here are a few more pics of some tables I've built! I would love to know what people think!
Thanks!
Comments
Buffet, serving table
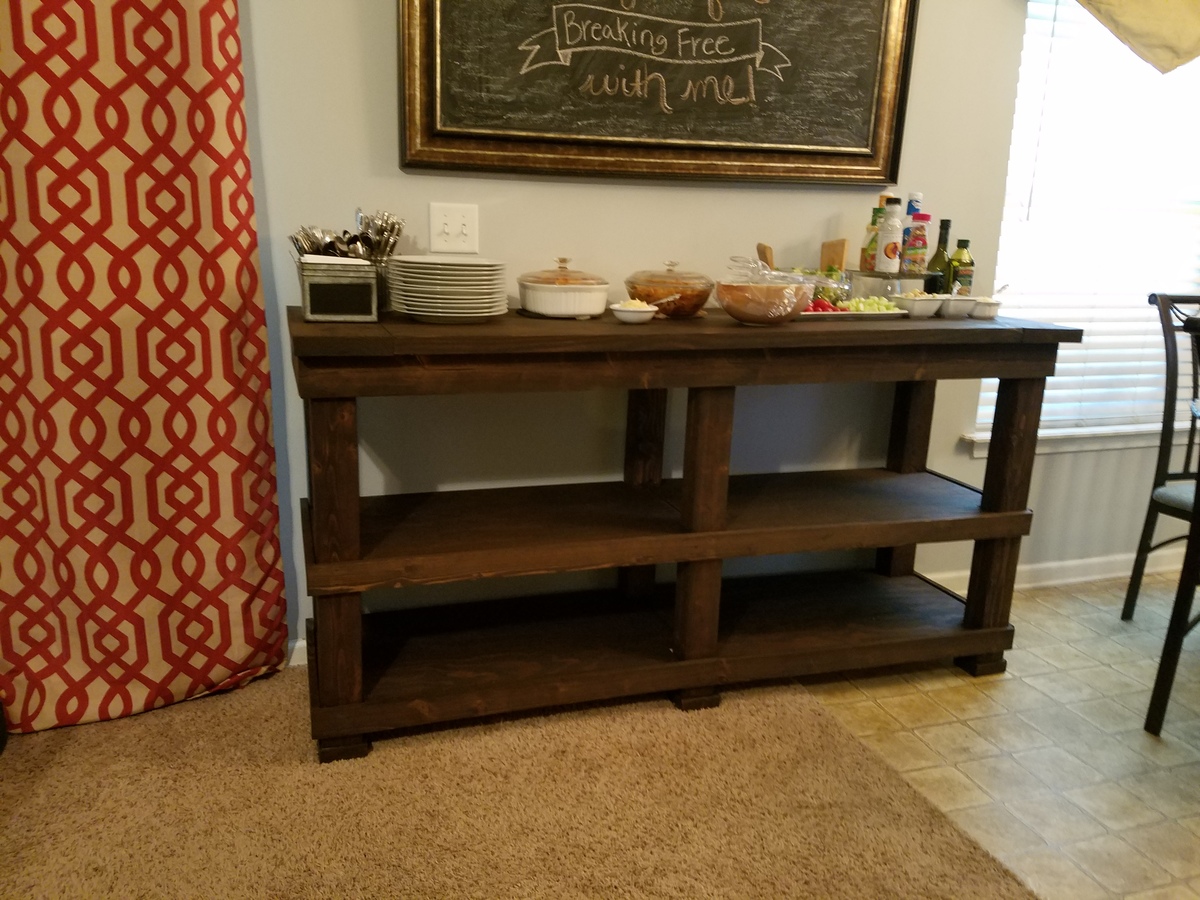
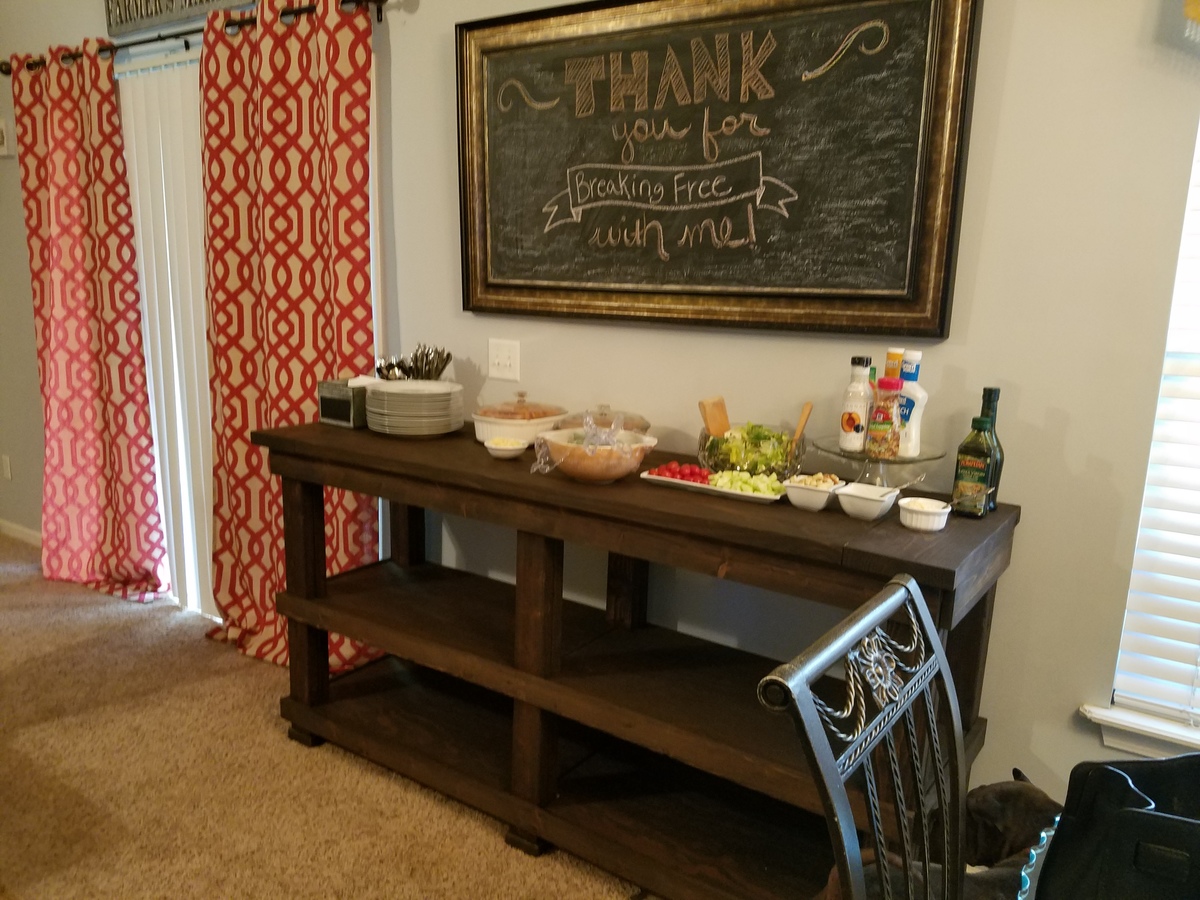
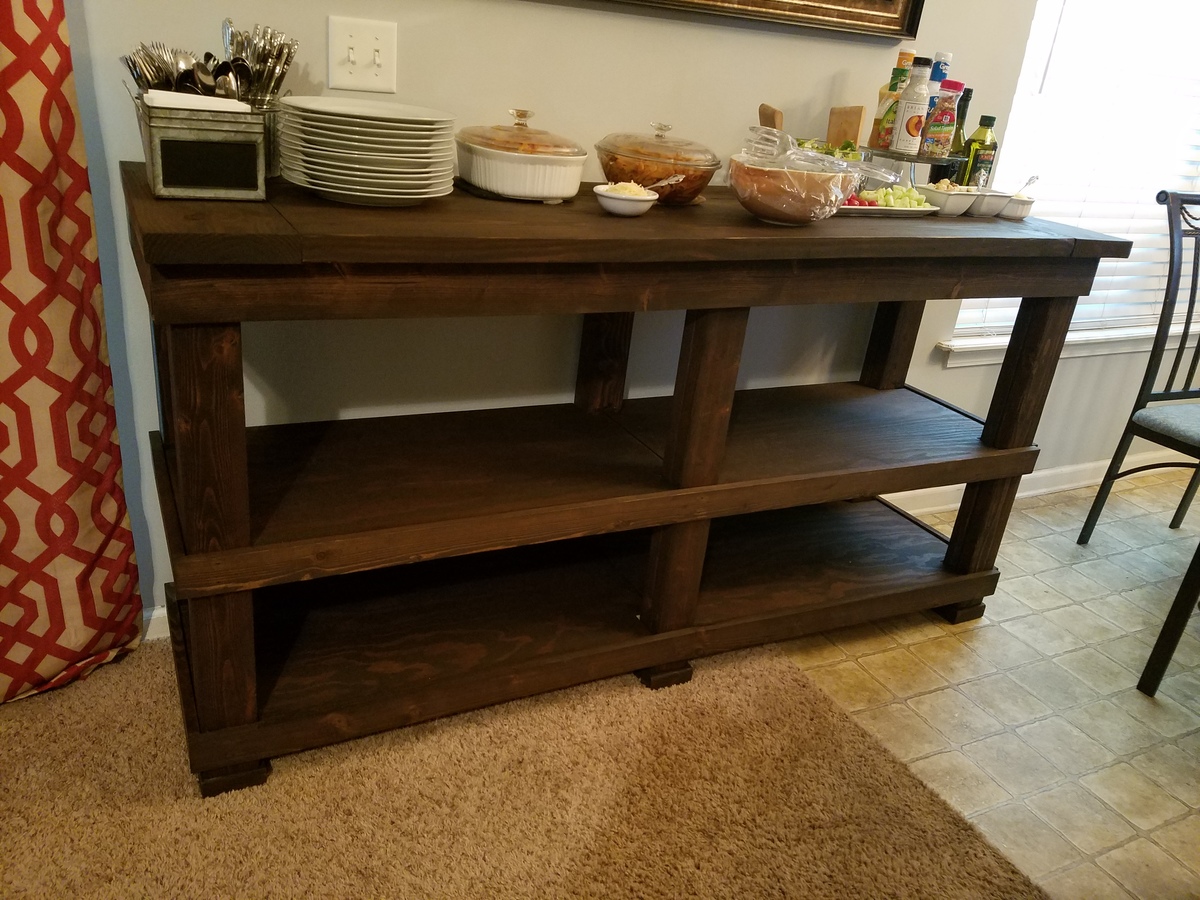
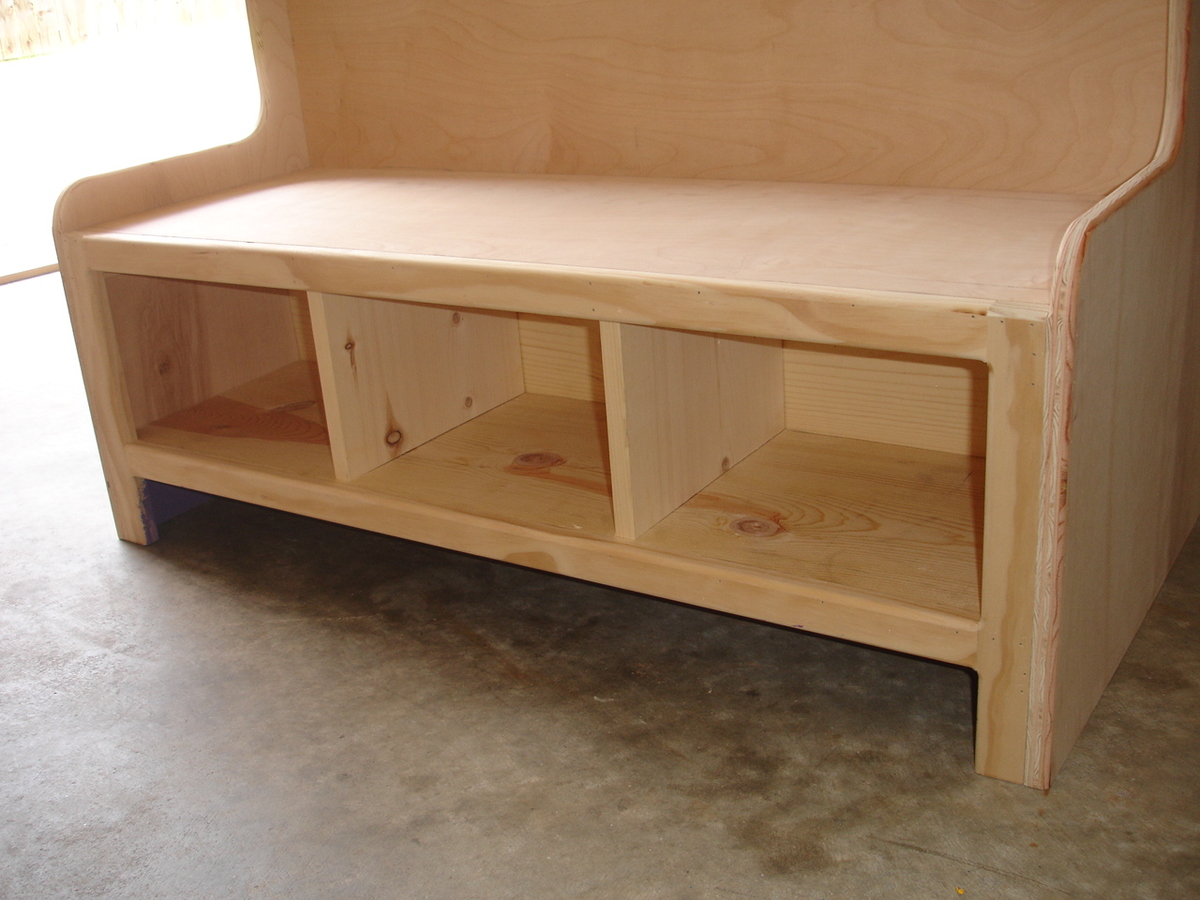
I made this buffet, serving table to go with a large gathering farmhouse table I made. I loosely used the farmhouse table plans but did some designing of my own based on a picture my friends had of what she wanted.


Comments
Tamra
Wed, 07/31/2013 - 13:17
which plan ?
I really like this. I know a new teacher that might like something like this for her 1st grade room. Which plan did you use? Thank you.