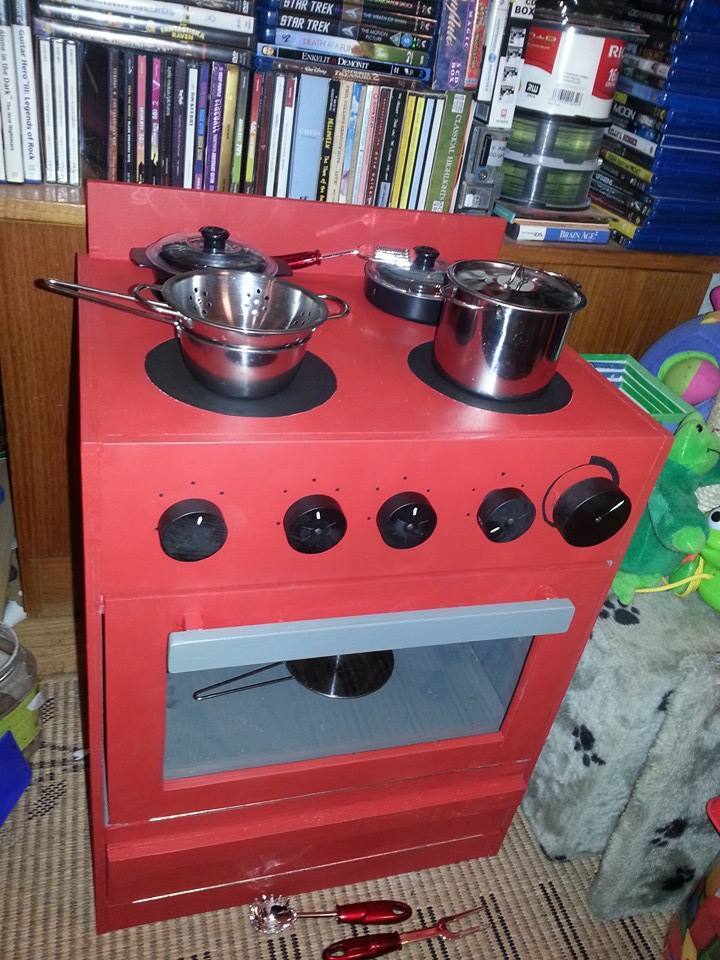
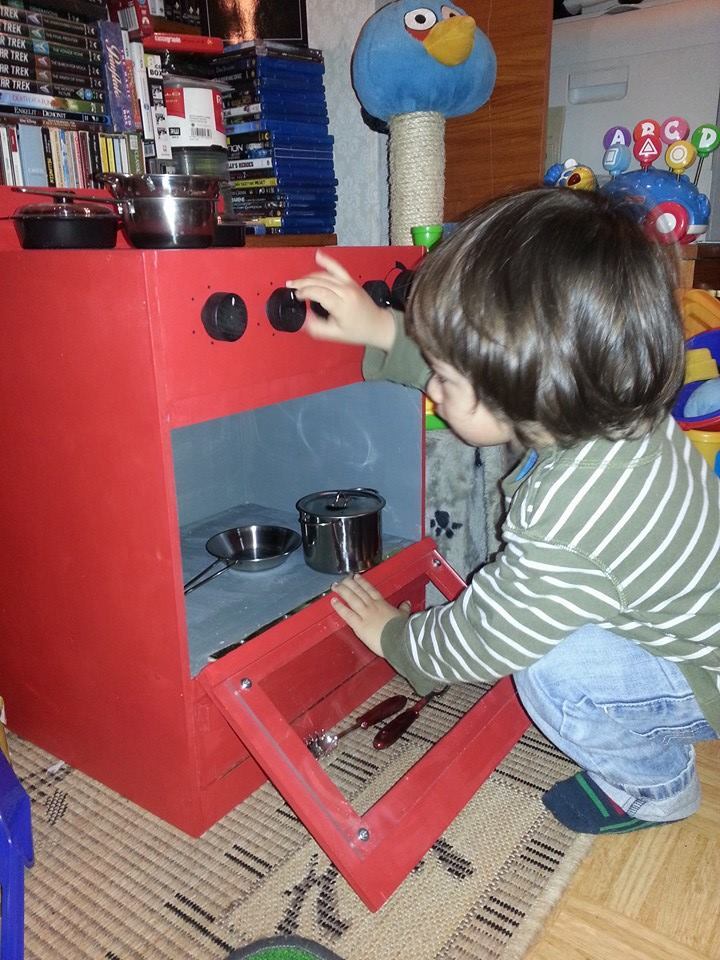
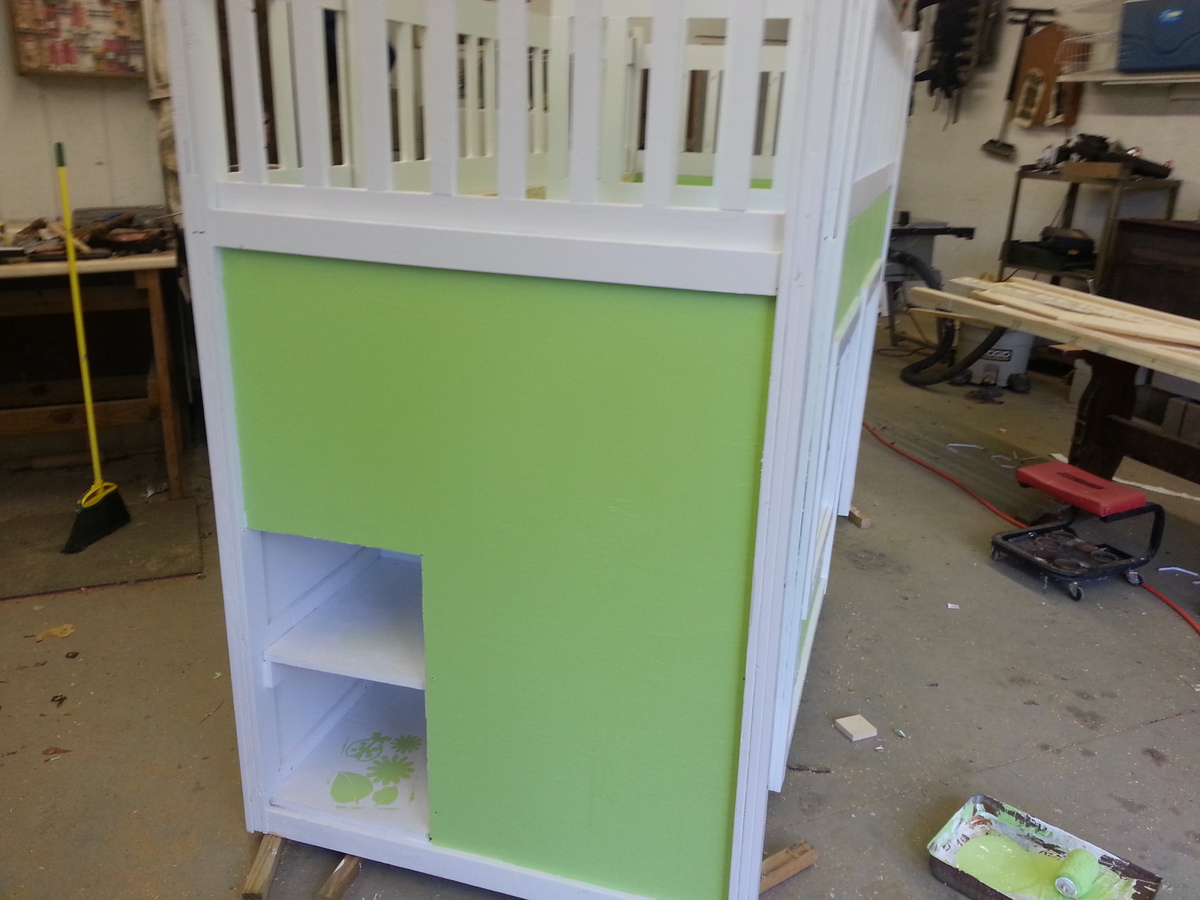
My red stove :3
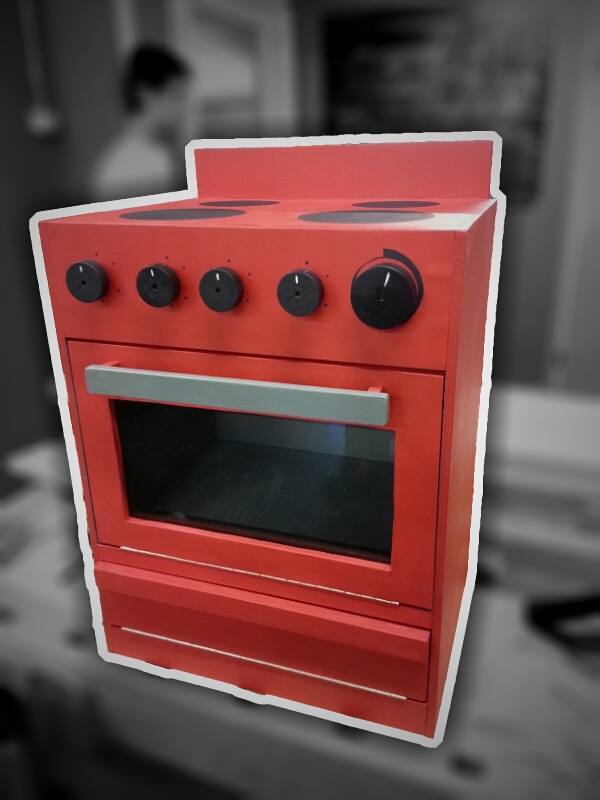
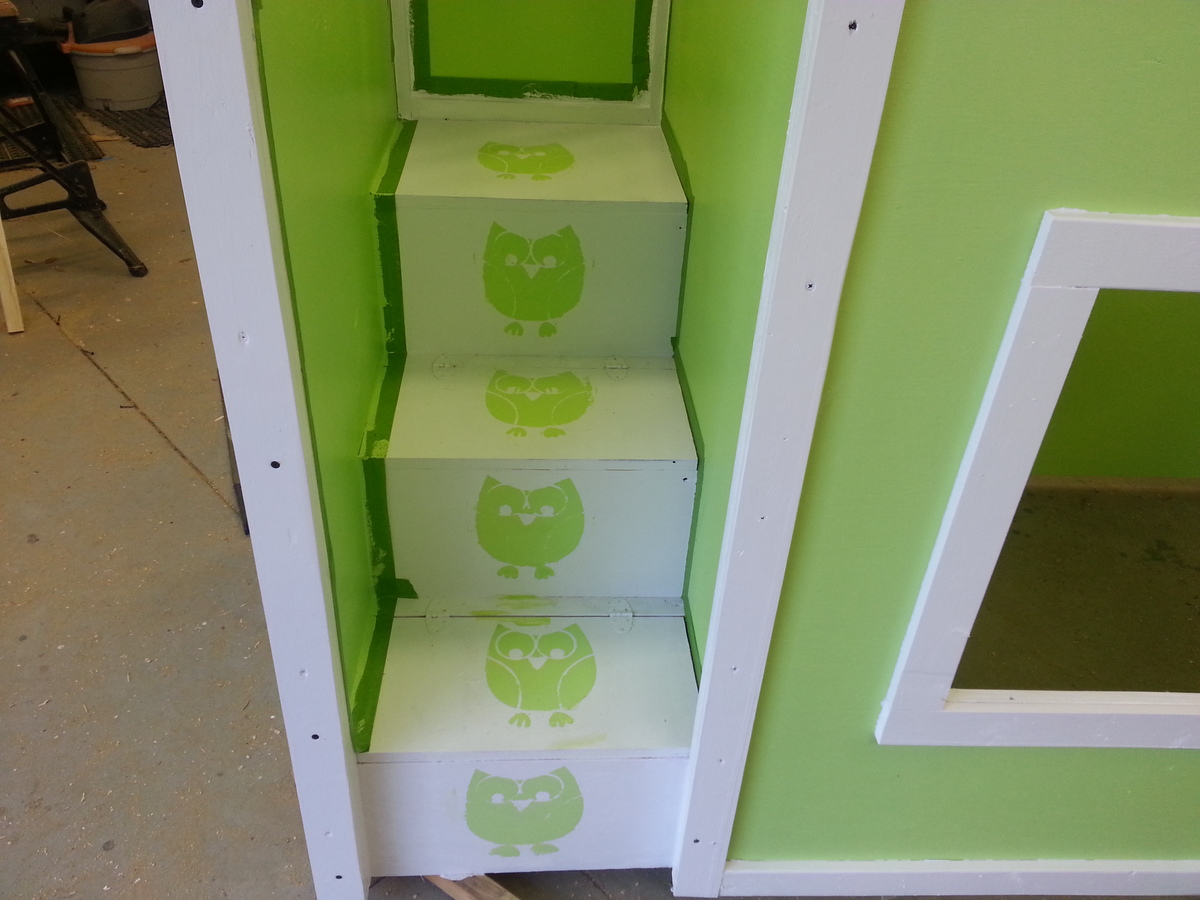
I made it a little different, with a small door on the bottom as a little storage.
I loved making this for my kid, and as my first project ever I feel very proud of it.
I don't remember the exact amount of hours it took because I had little time to work on it (maybe 3 hours/week) so it took quite a bit of weeks to complete but it was really easy and fun! :D
I like how it's tall enough for my 2 year old to play standing, before we had a plastic one that was very very short, also it's sturdy enough for climb on it. xD
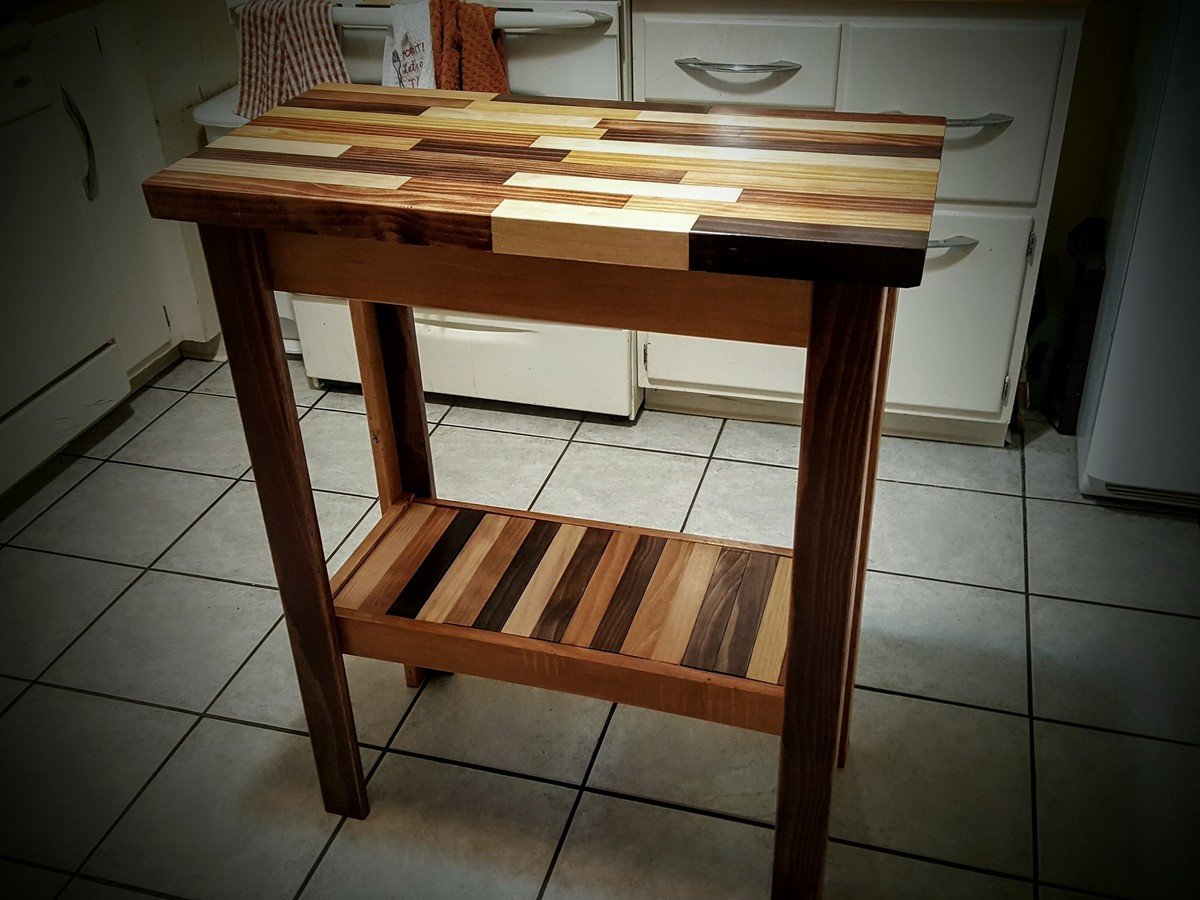
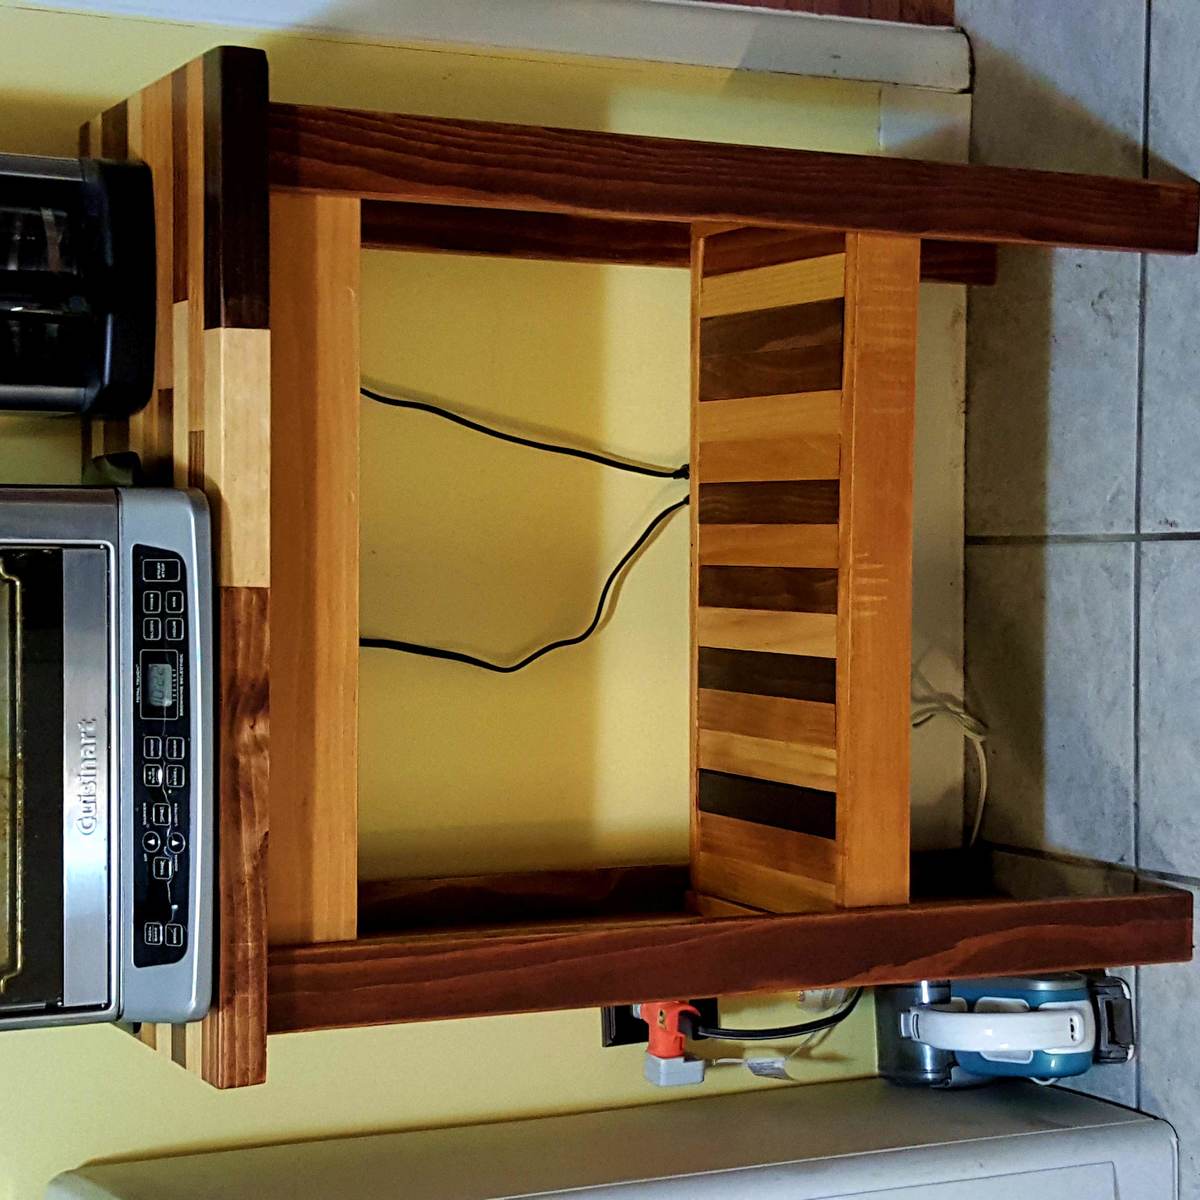
By the side I made a super easy, varnished, cupboard, following the same main steps from the stove, I only didn't put a front door and added on one side a towel holder and on the other side a small shelf/bar table

Estimated Cost
45€
Finish Used
Paint
Recommended Skill Level
Starter Project


Comments
Reese
Wed, 12/04/2013 - 10:05
Cute!
Love it! I like that you added a door for storage. I need to build one of these Very soon as it's on my little girls christmas wish list. It looks so good you did a great job :)