Corner Cabinet
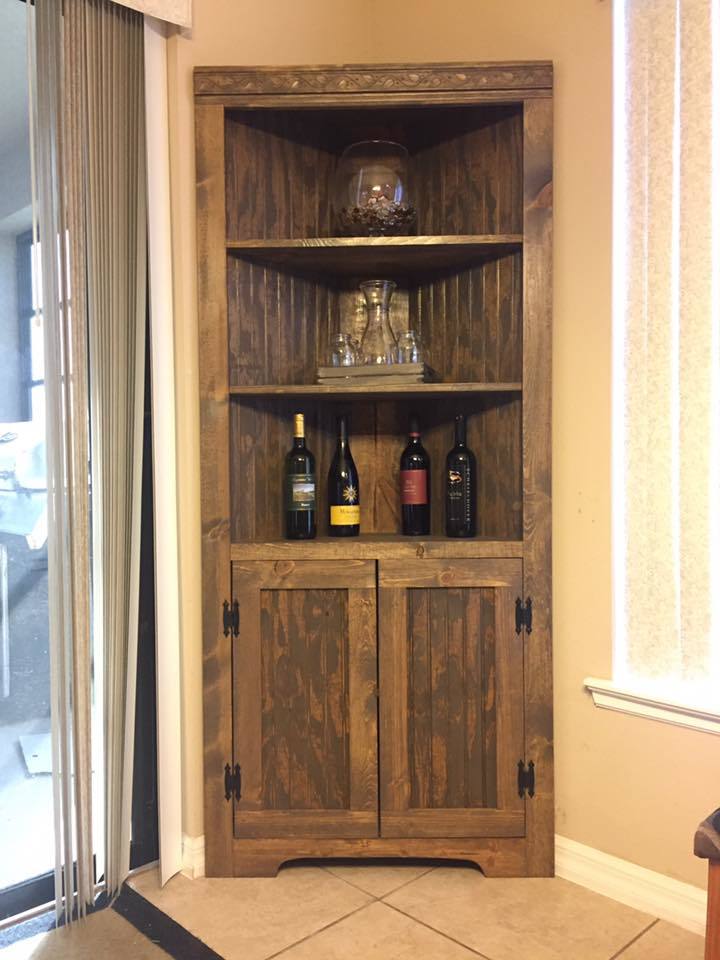
built to fit messy corner. wife loves it there!

built to fit messy corner. wife loves it there!
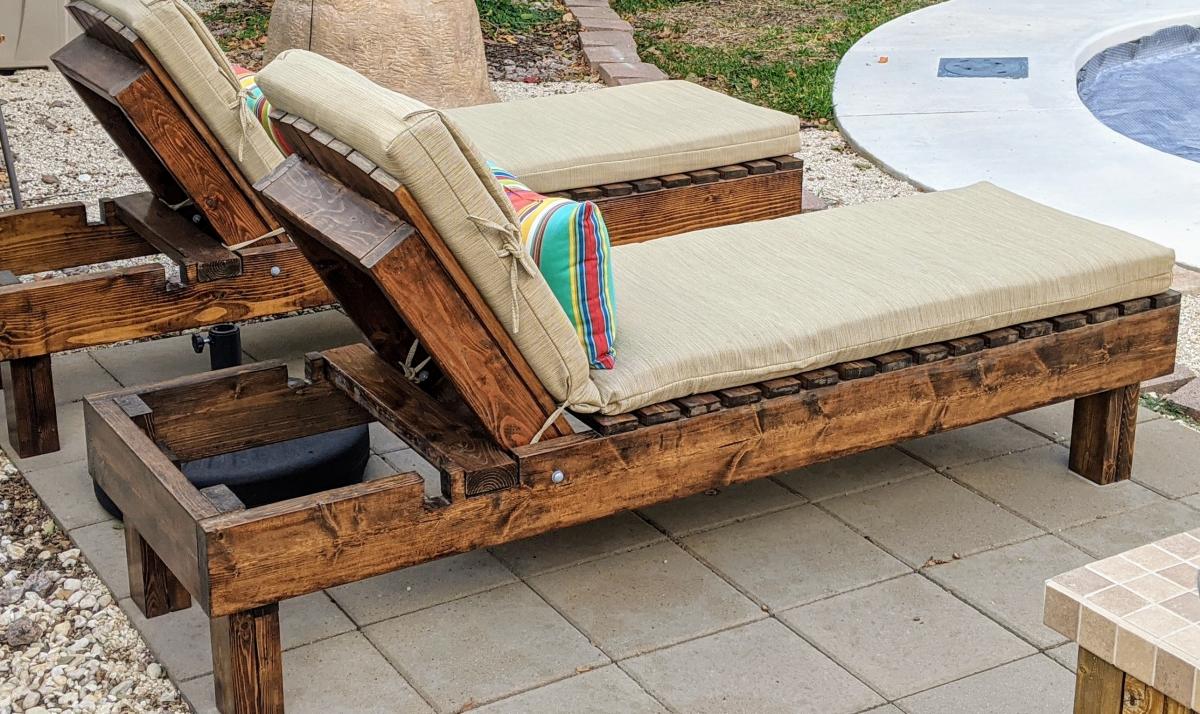
I didn't realize how expensive pool loungers were. Thank goodness for Ana White! I modified the size to 73 inches long and 22 inches wide so they would be a good fit for the cushions I got from lowes. Something to take into account is that the 2x4 won't be able to rest on the back legs when you use the 2x6 on the sides. There is no way to get it in. I didn't realize until I had built them but I just cut two pieces of 2x4 at 3 1/2 inches and placed it on top so I can rest the back all the way down. Love the end result!
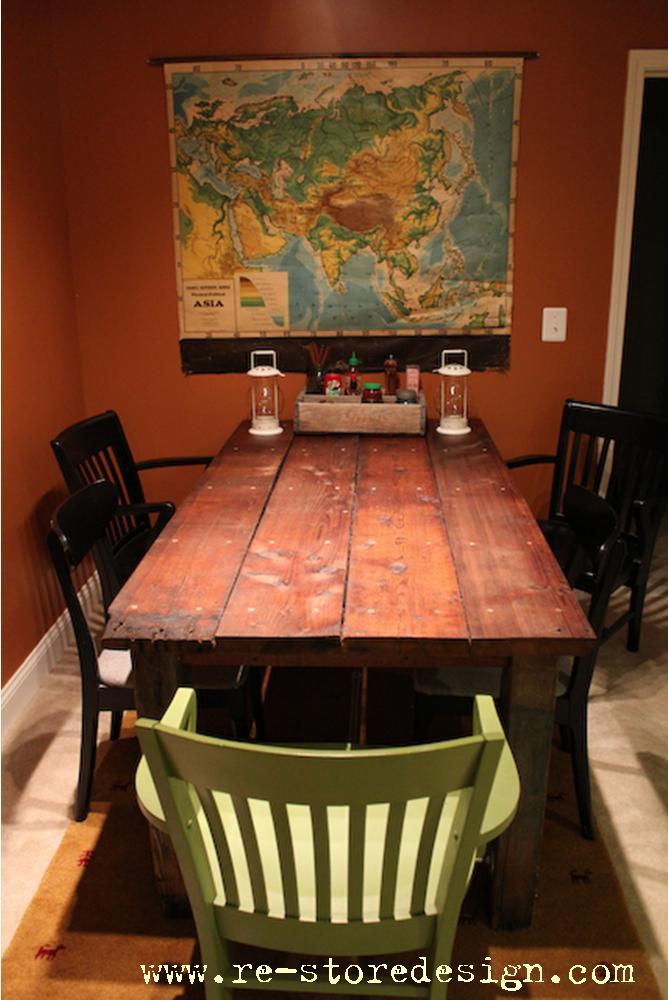
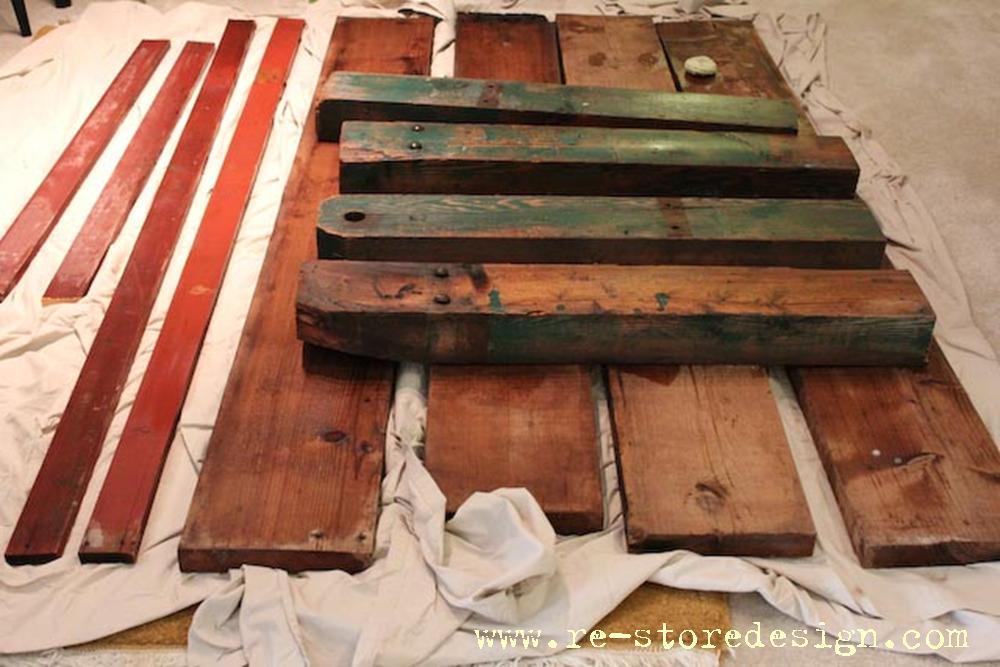
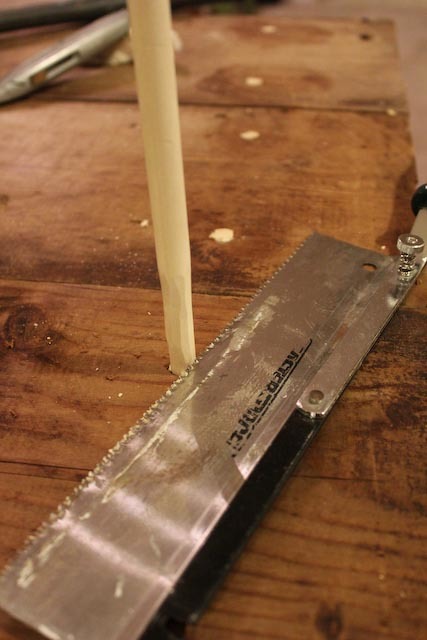
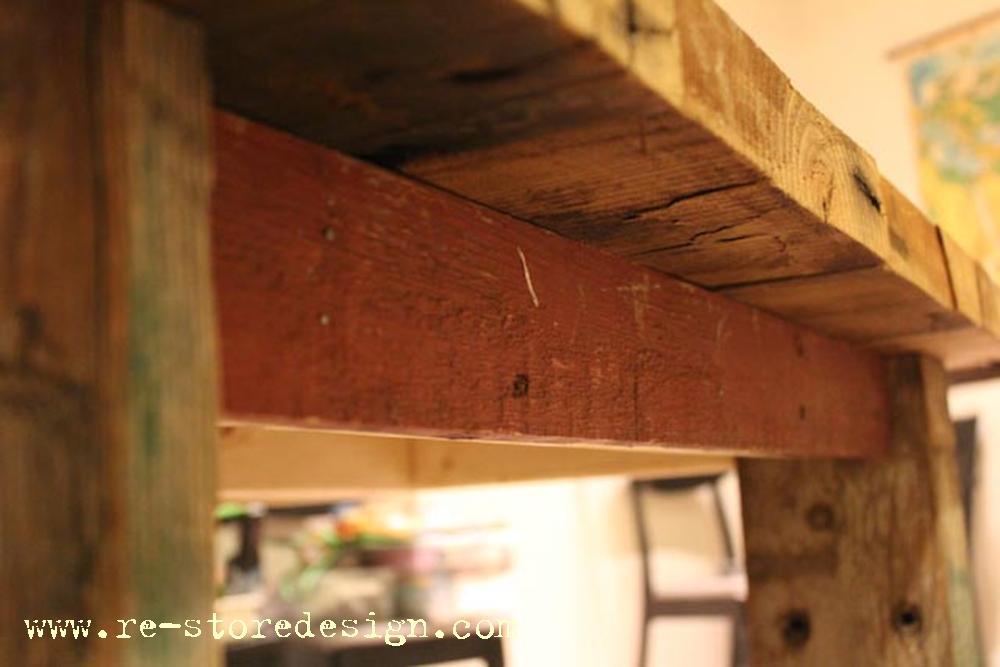
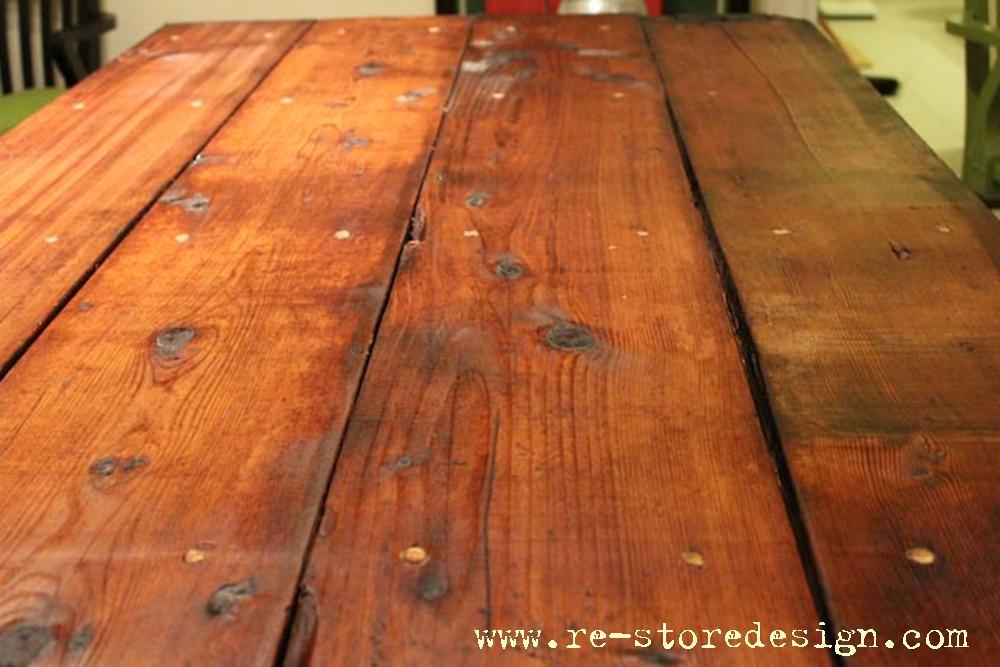
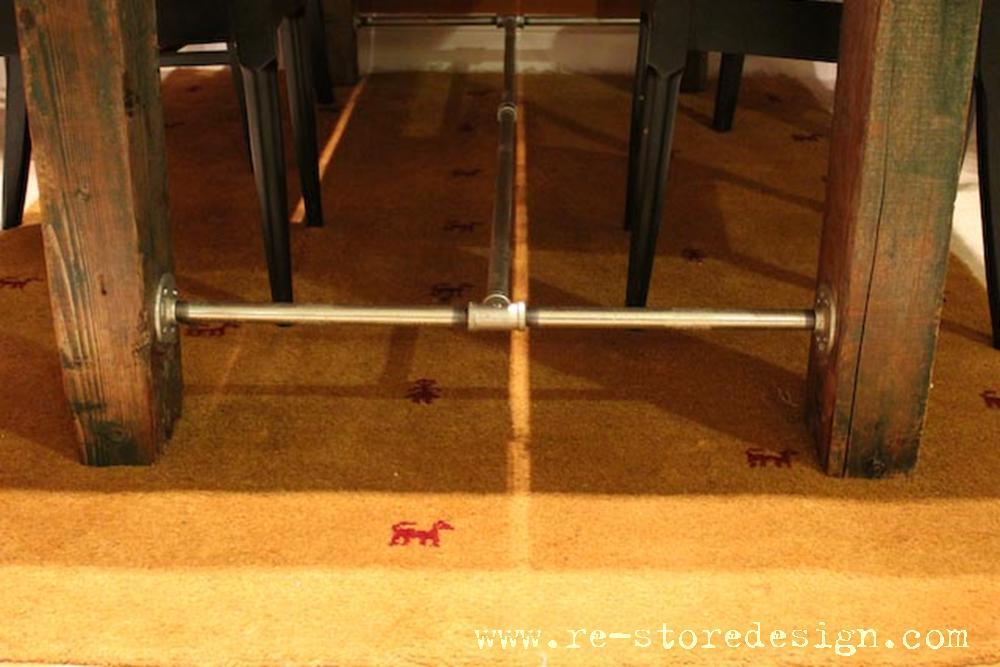
We recently moved from our small Minneapolis Bungalow to an apartment in Maryland. It was the prefect opportunity to build the Farmhouse Table plans I had been admiring. When we went to my parents farm in North Dakota for Thanksgiving we spent a couple hours digging through the barn to find old barn wood for the project. The wood then made the 1,400 mile trek to our new apartment in Rockville. Yes, you read that correctly…the table was built in our carpeted apartment! No excuses people…you can make this table in your apartment! If you do not have access to a saw your local big box home improvement store can make the cuts for you. If you go that route the cut list Ana has will come in very handy!
I do a fair amount of woodworking, so I was able to complete the project in one day. If this is your first project I would allow a weekend to finish it.
Wed, 01/16/2013 - 02:25
wow this is stunning, you must be thrilled with the end result!!
When we wanted a barn for our children to play in and use for their farm we discovered that nothing could be found to fit our fancy online. So with the use of some pictures of old barns and basic ideas we started on our very first wood project. Our tools consisted of a sawzal a table saw and cordless set of tools. Many hours later we have this to show for it. We used lots of scrap wood and bought only the hinges, latches and one sheet of plywood so our costs are skewed from someone trying to do it with new material.
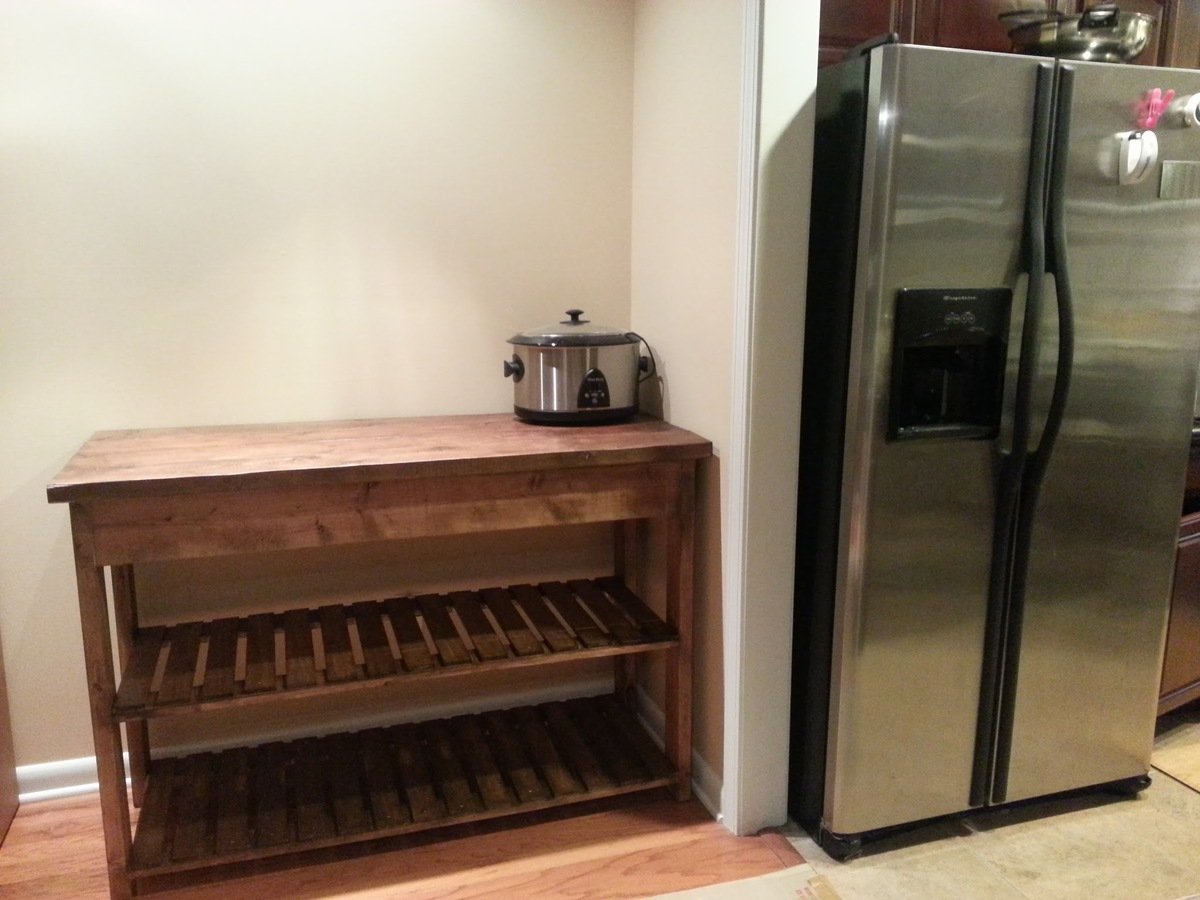
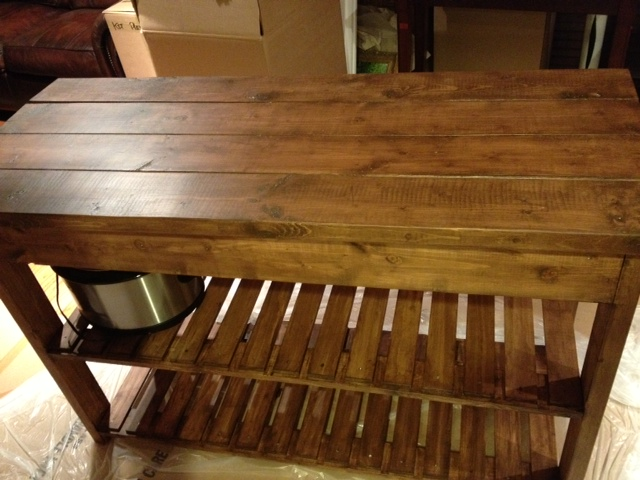
This is my first build ever! Since we recently moved into a place with little kitchen space, I thought this island would be perfect for extra storage we needed. I modified it from 5 2x6 on top, to 4 2x6 so it would fit in the corner we wanted it in. So the overall dimensions were 54" wide x 22" deep x 36" tall. I also changed the 1x2s that make the shelves to 3x5/8 boards, 15 per shelf, with approxinnately 1 inch between each. I predrilled countersink holes and screwed them on using 3/4" wood screws. The stain is a walnut colored water based stain, and I coated the top surfaces with a matte finish poly.
Wed, 01/16/2013 - 06:03
Beautiful! Can't believe it is your first build!
This is only the second project I've done, and I think it turned out great. I modified the measurements so that it fits 3 on each side and 2 on each end, 10 total (but it can seat more; the table is huge).
All I have is a band saw and a drill, and that's all I needed! The legs and support are Doug Fir from HD. The top is all 2x10's that I bought at a lumber yard so that they would have it kiln-dried and have the edges re-sawn. The only 2x10's I could find at the big box stores were green.
I finished it by sanding with 100 grit paper (I read not to over-sand doug fir for staining purposes), stained with one coat of Special Walnut (two coats on the breadboard ends), and 4 coats of satin poly.
This table is a tank. So glad I assembled it indoors, as we would have had trouble getting it in the house after it was all put together!
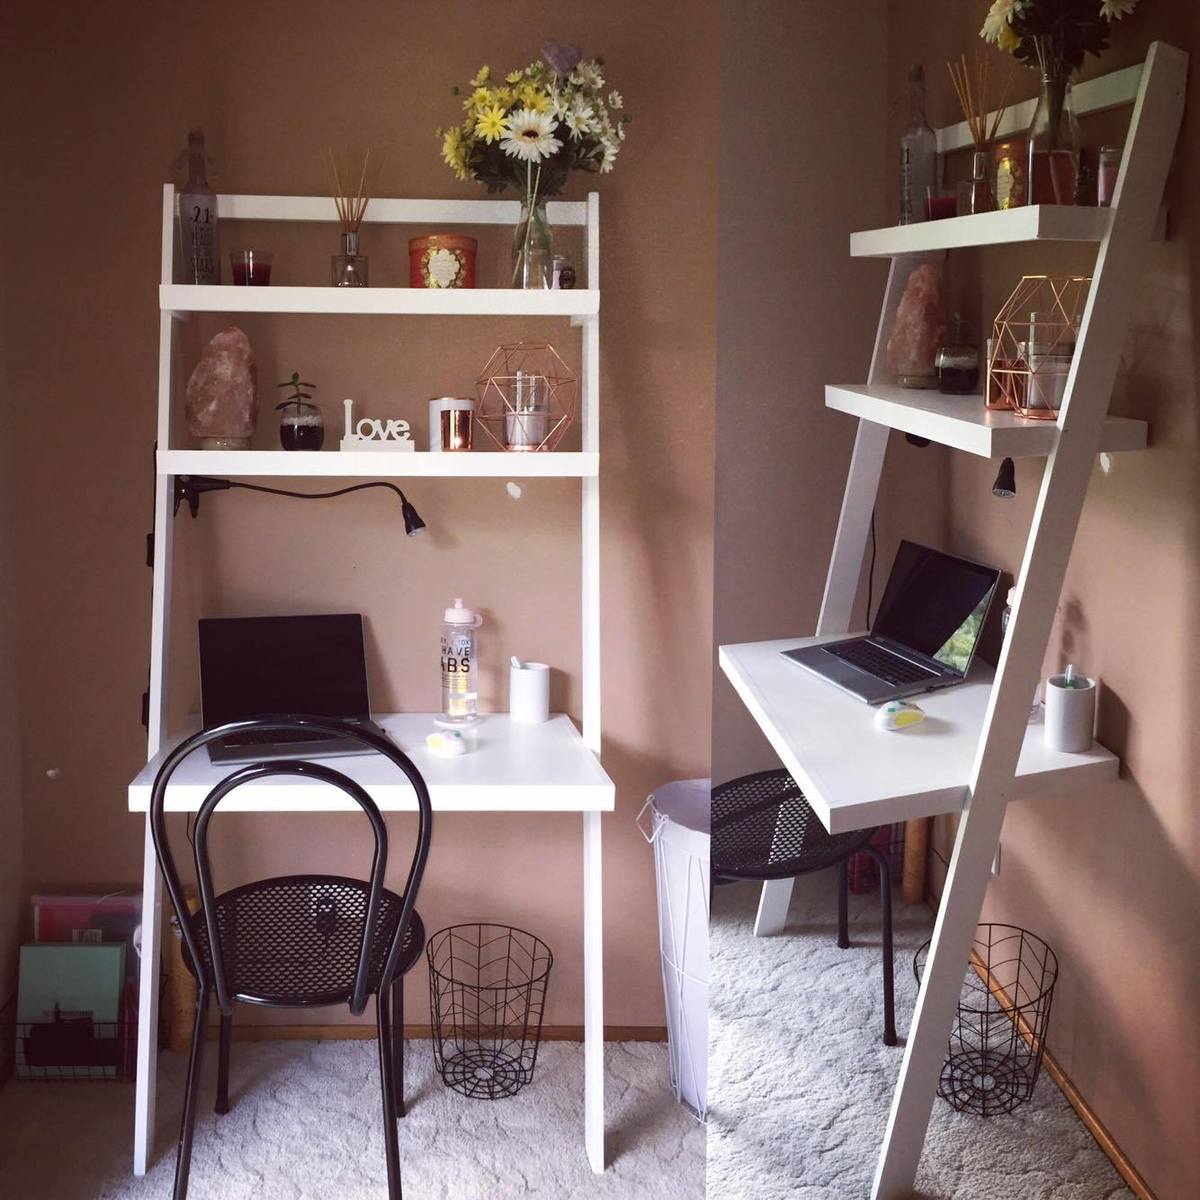
Leaning Ladder Desk - Made By Tara Holmes - Australia - 2017
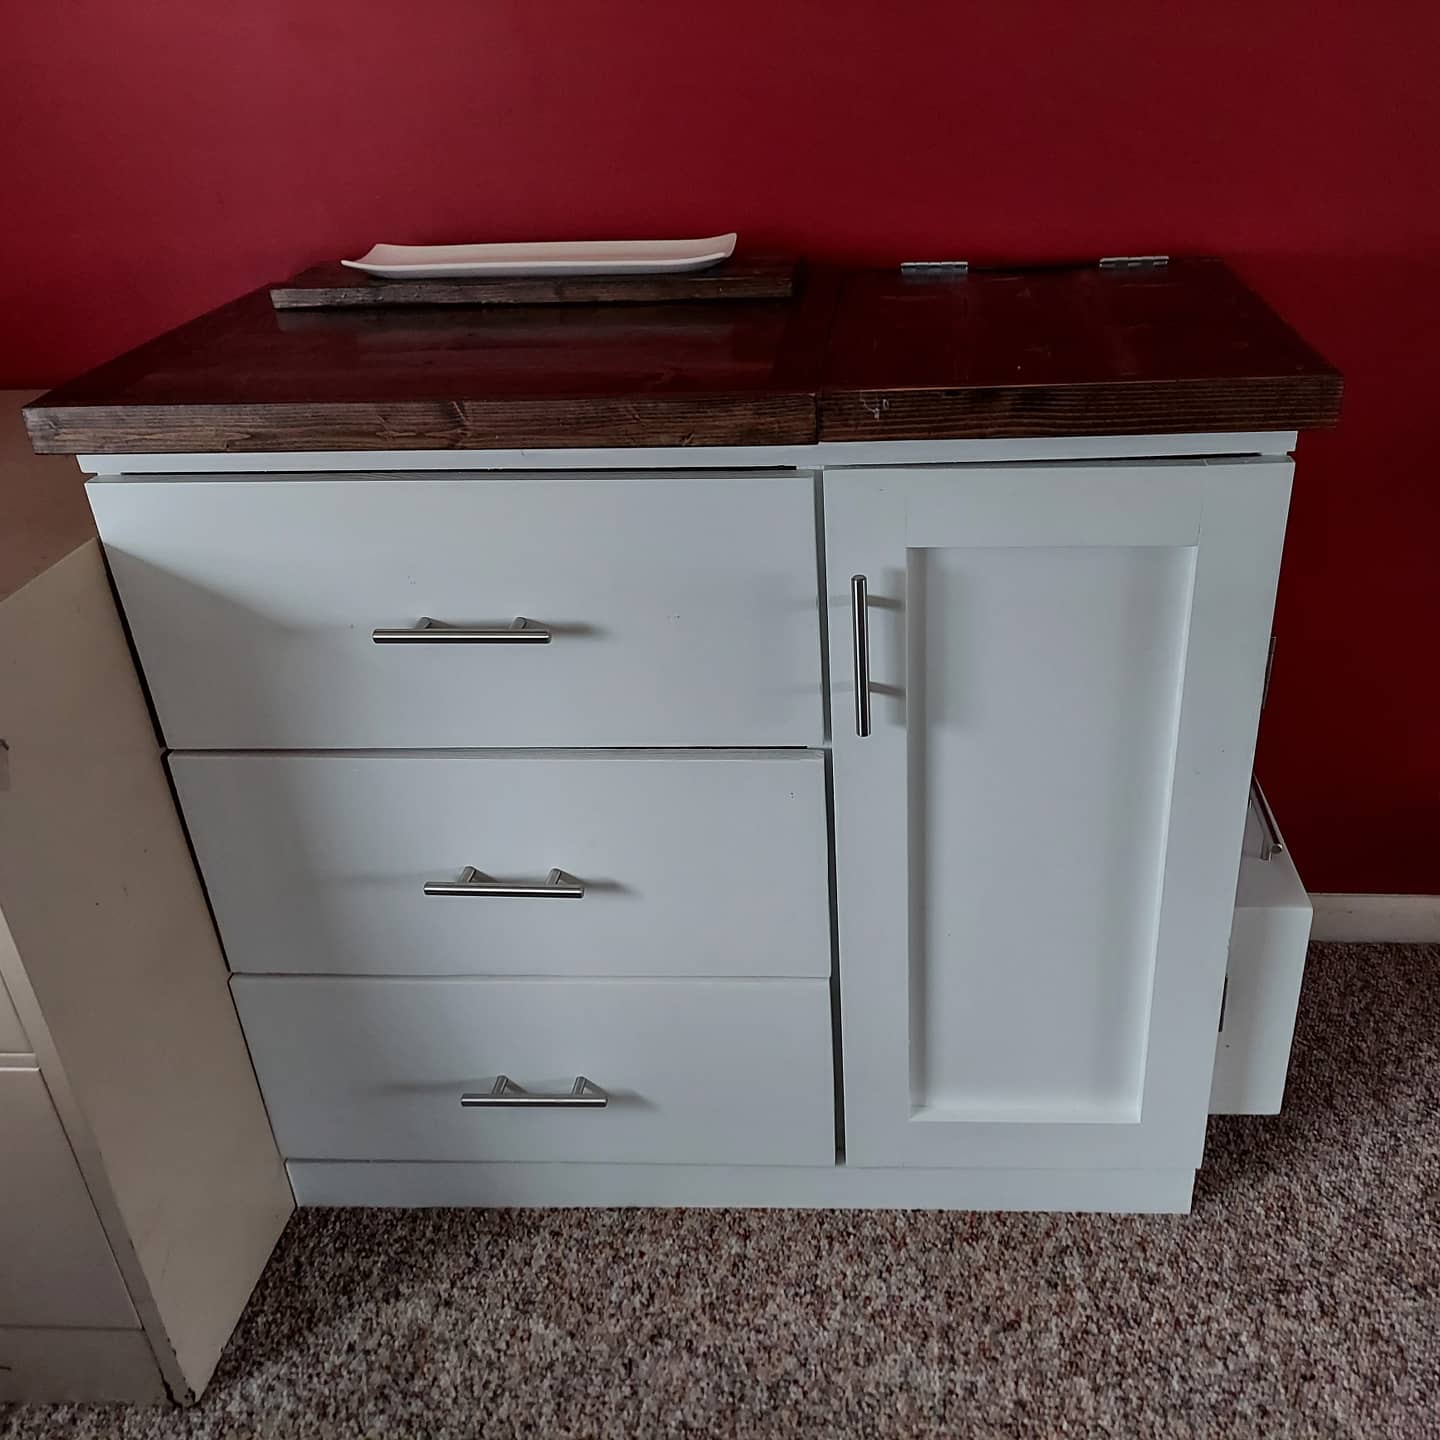
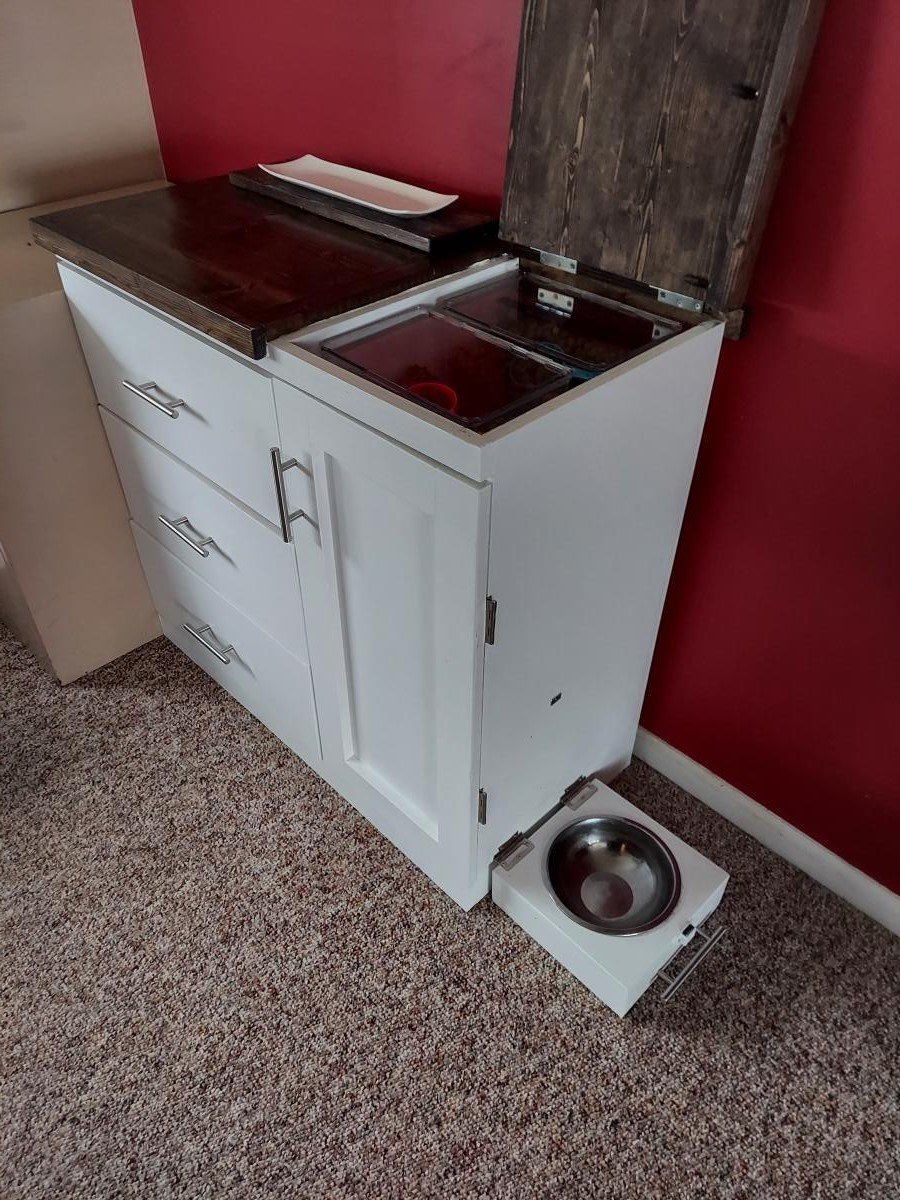
Modified plans for the modern patchwork dresser so part of the top opens for access to pet food storage bins.
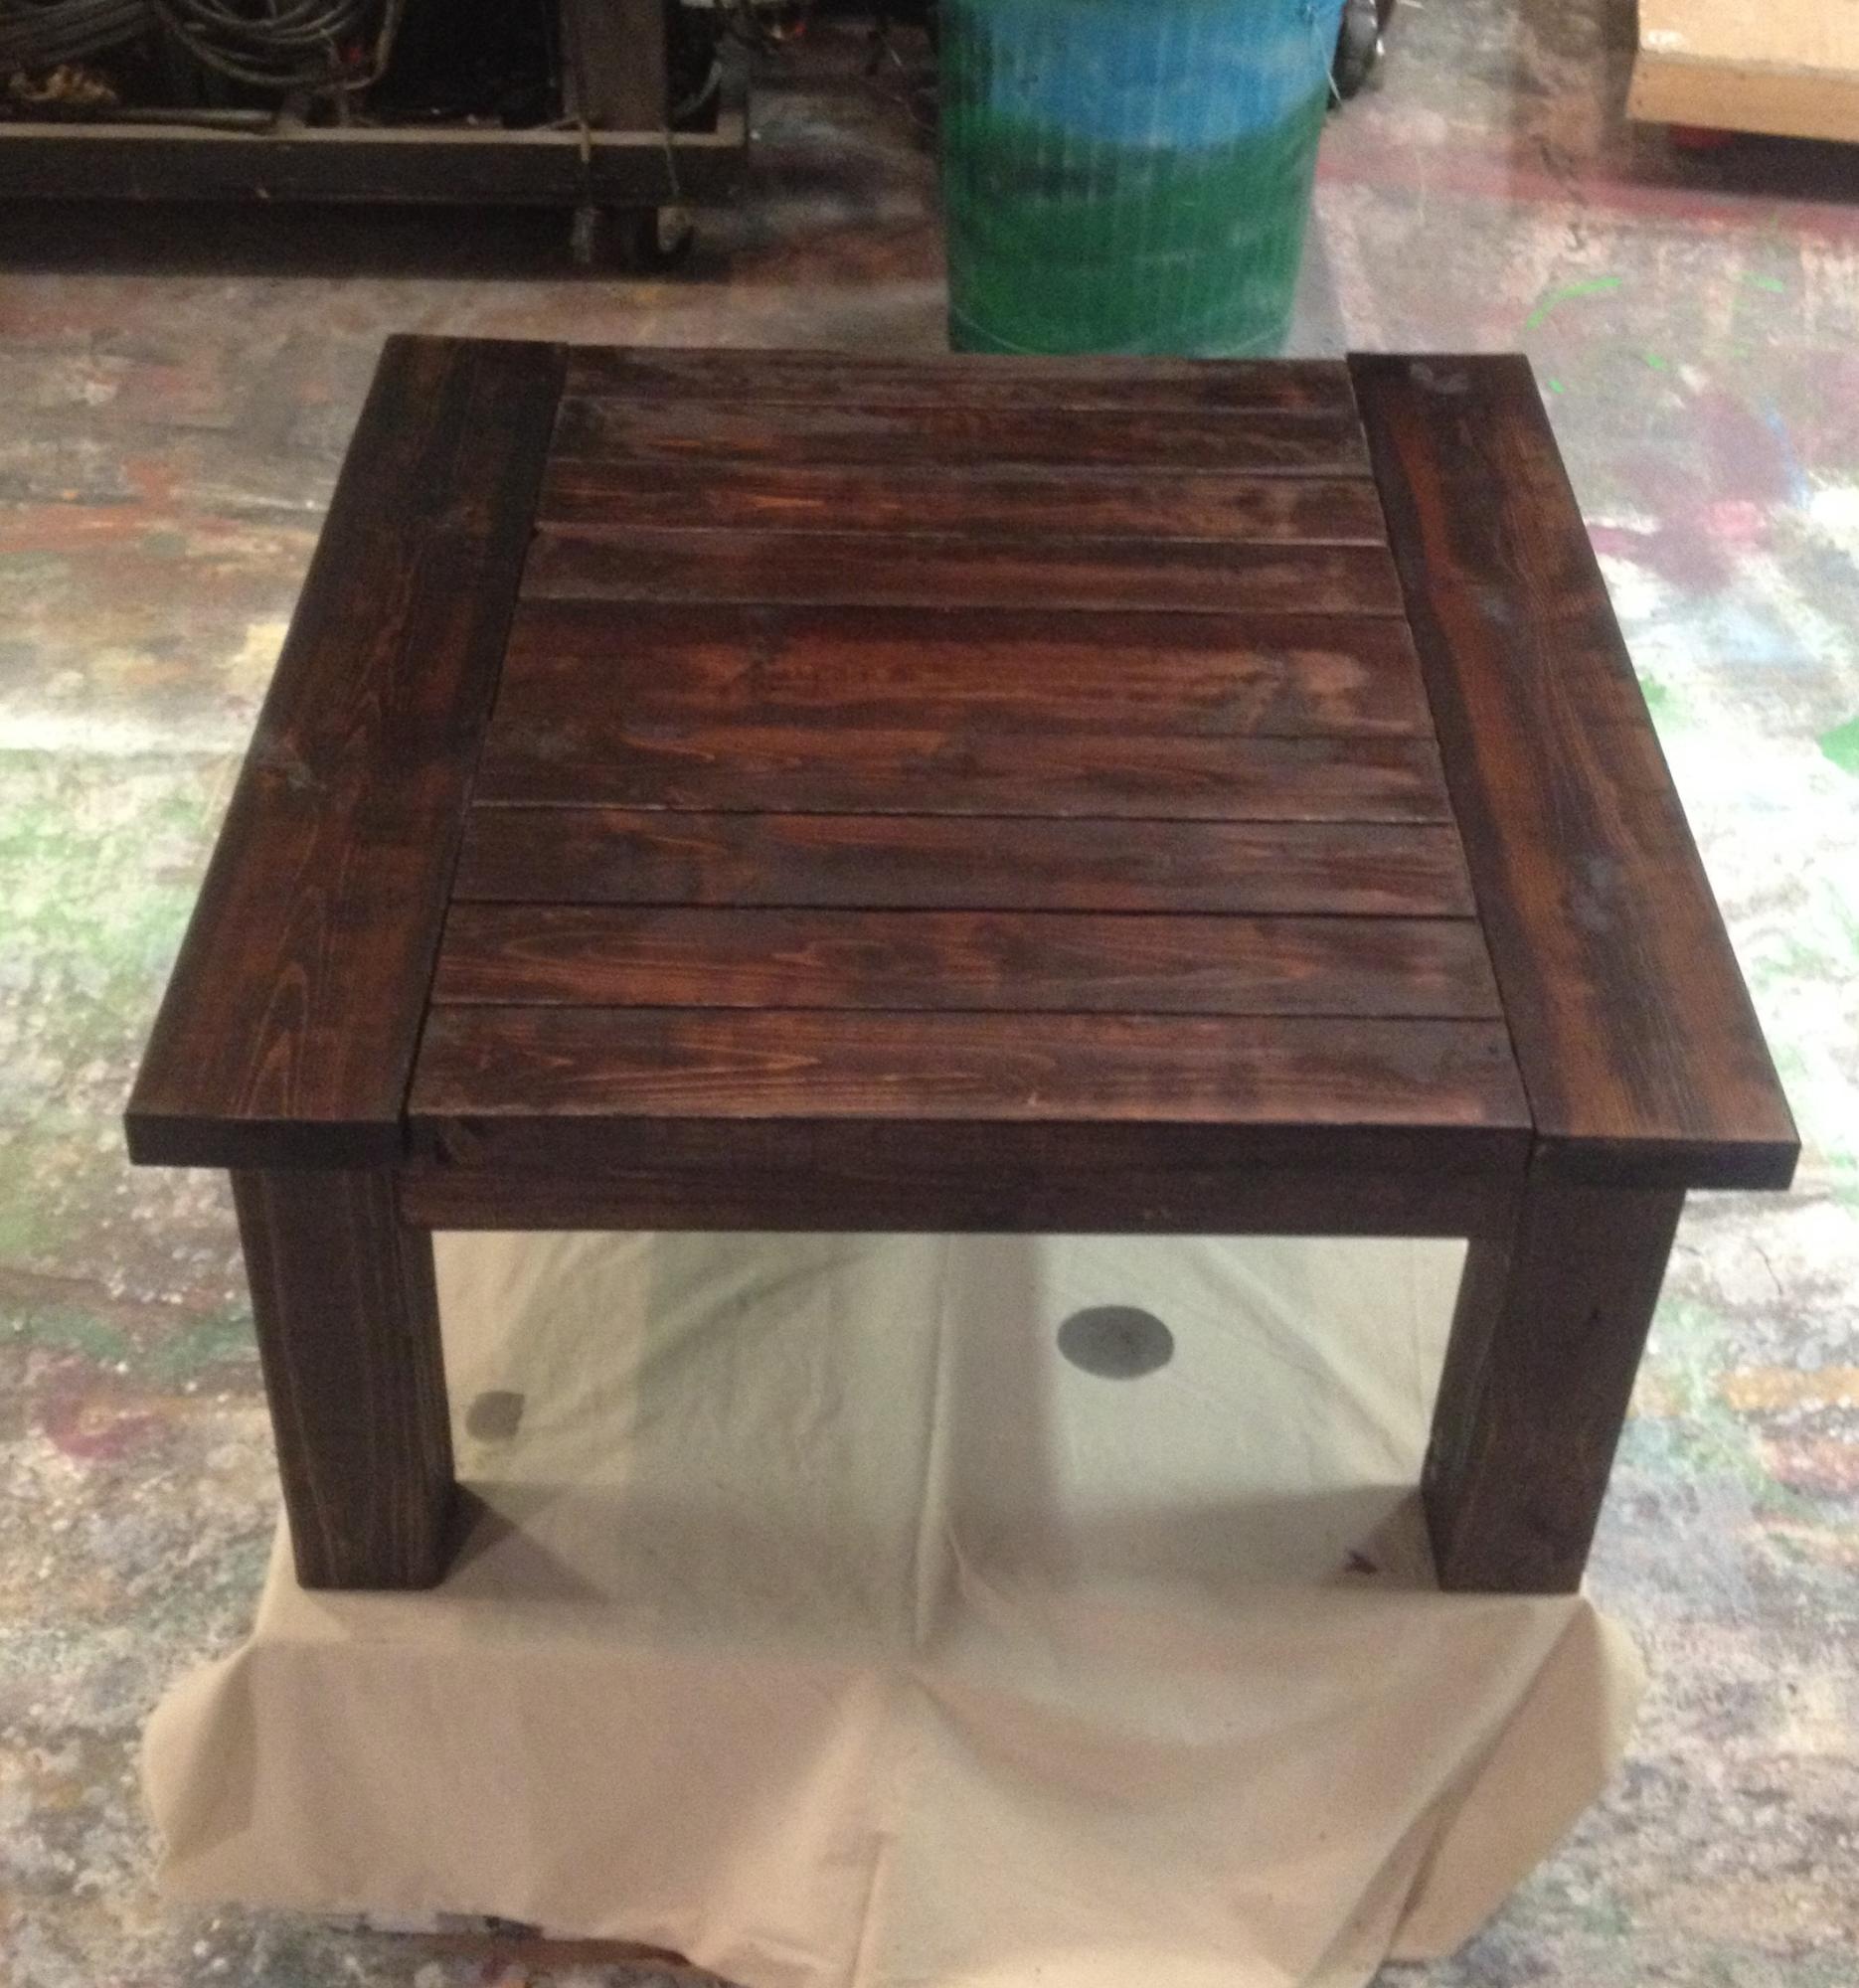
We took the origional plans and used that as the basis for ours. We re-designed it for our size needs on Vectorworks, a design program that we usually use for working in theatre. We bought all of our supplies at Lowes for around $80. Fortunately for us we have a fully stocked scene shop avaliable for our projects. We built it one day then the next we sanded it and stained and sealed it. Its a nice heavy table that we LOVE. we wanted a project to make something nice that will last forver, but still be cheap because we are on a college budget. We used an engraver to put our initials on the table so one day we can show our kids what we can do.
Fri, 11/14/2014 - 13:40
Great Job on this! Love the dark stain that you chose!
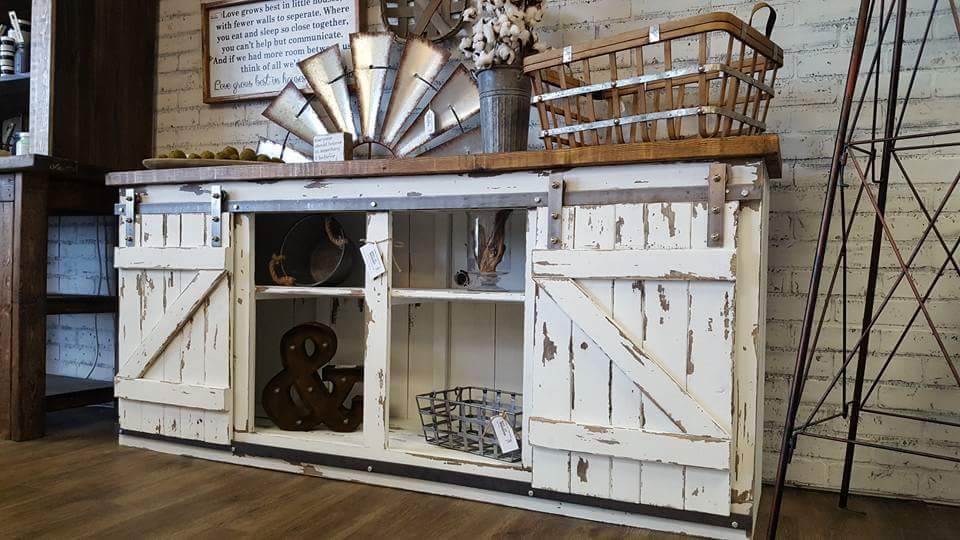
Barn door console built by Kathryn and Scott Winkler of K&S Coastal Furnishings in Pooler, GA. The hardware is a custom design by Scott and Kathryn sets it off with her one of a kind chippy finish. Fb.me/kscoastal
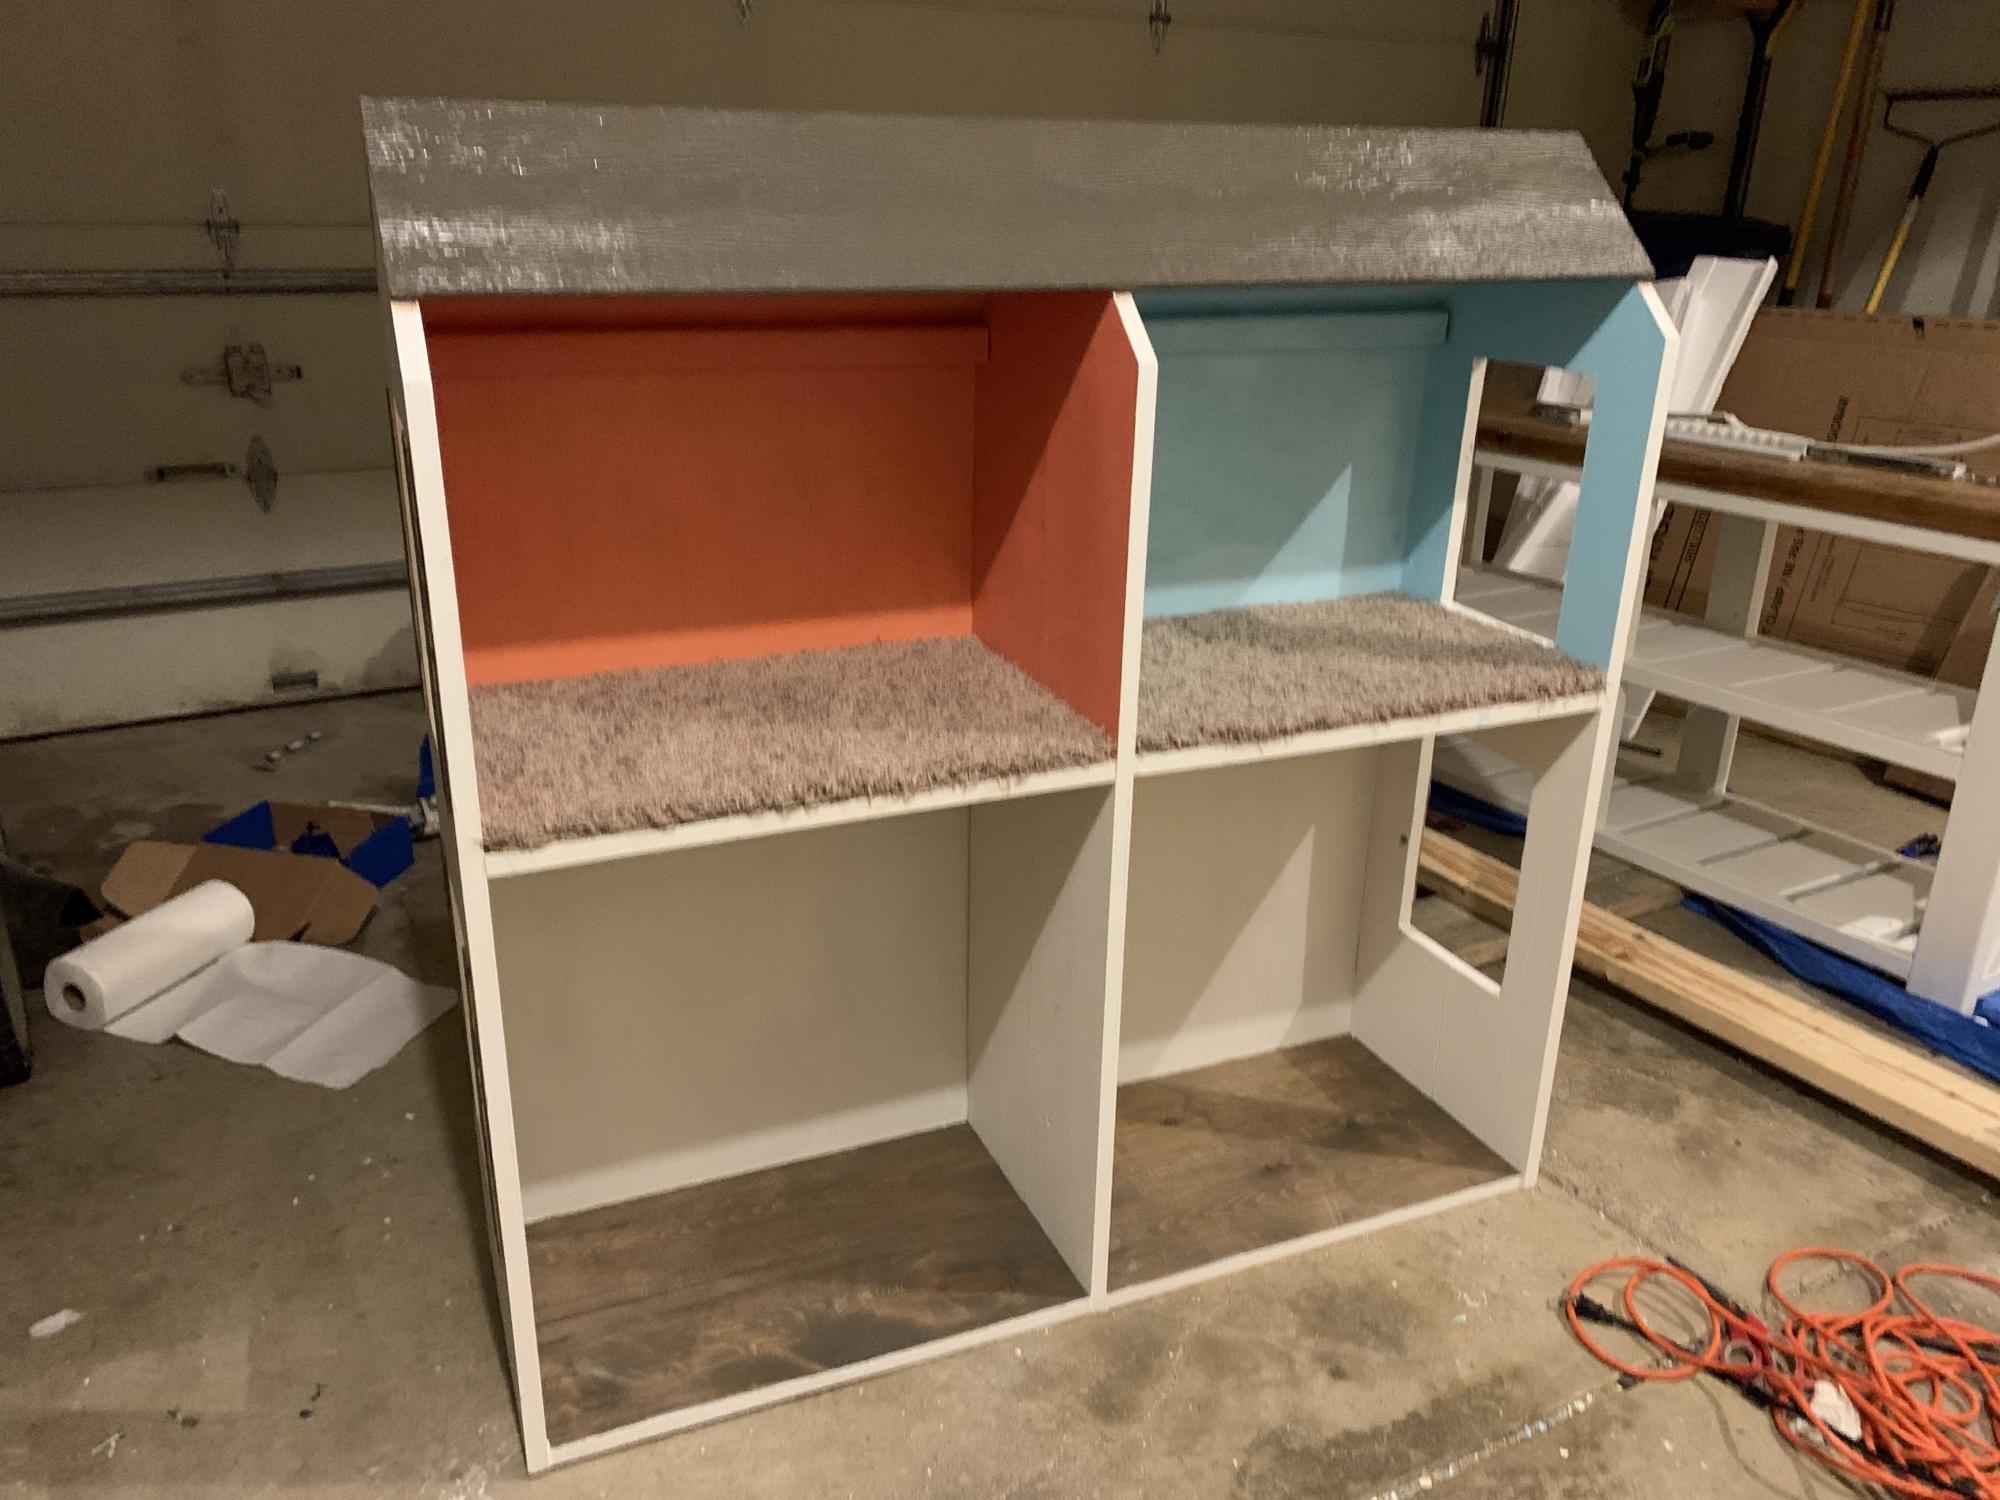
Such a fun surprise for my 8-year-old daughter for Christmas! It took my 10-year-old and I several days to finish it, but we are so proud of the final product!
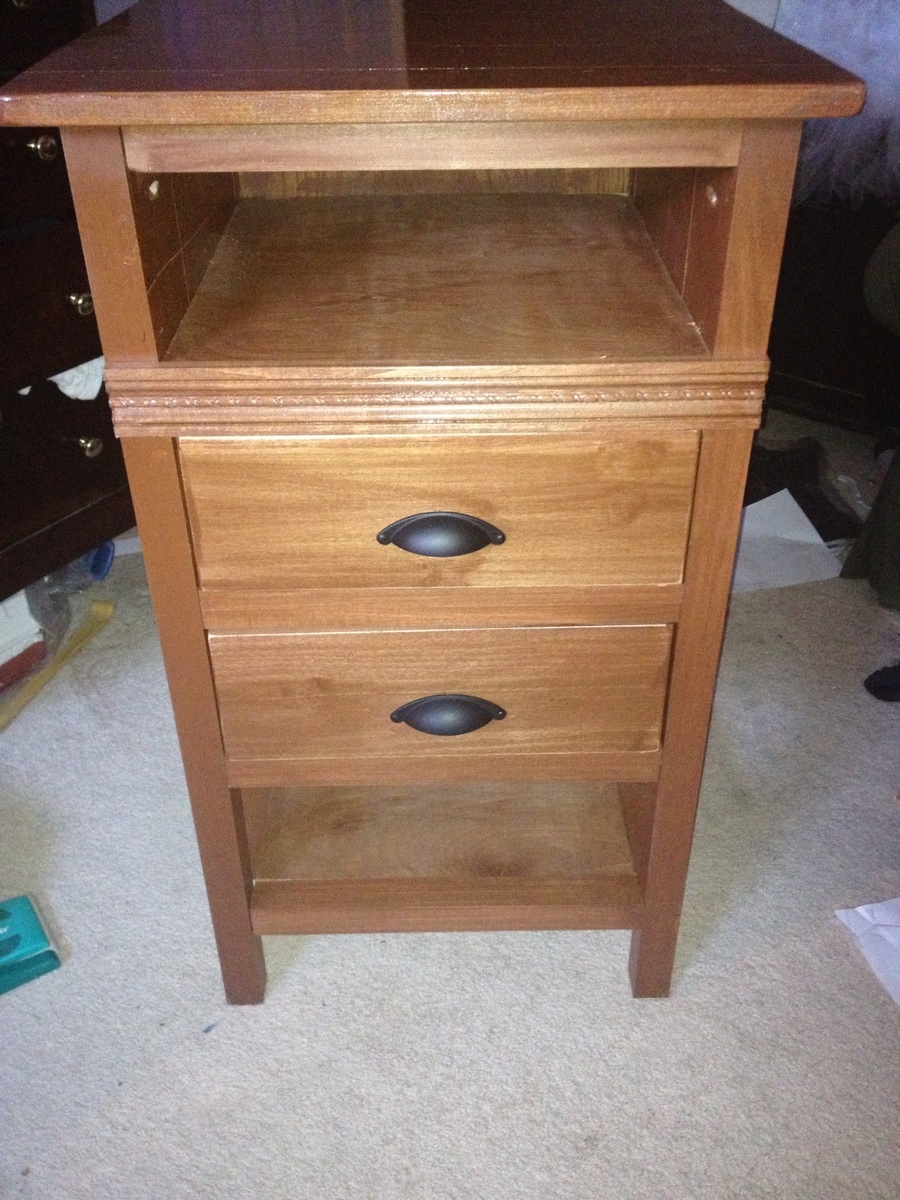
Took a while biting think it came together well. Removed the top drawer so I could use it for the iPad. Then added the bottom shelf to hold the lap top.
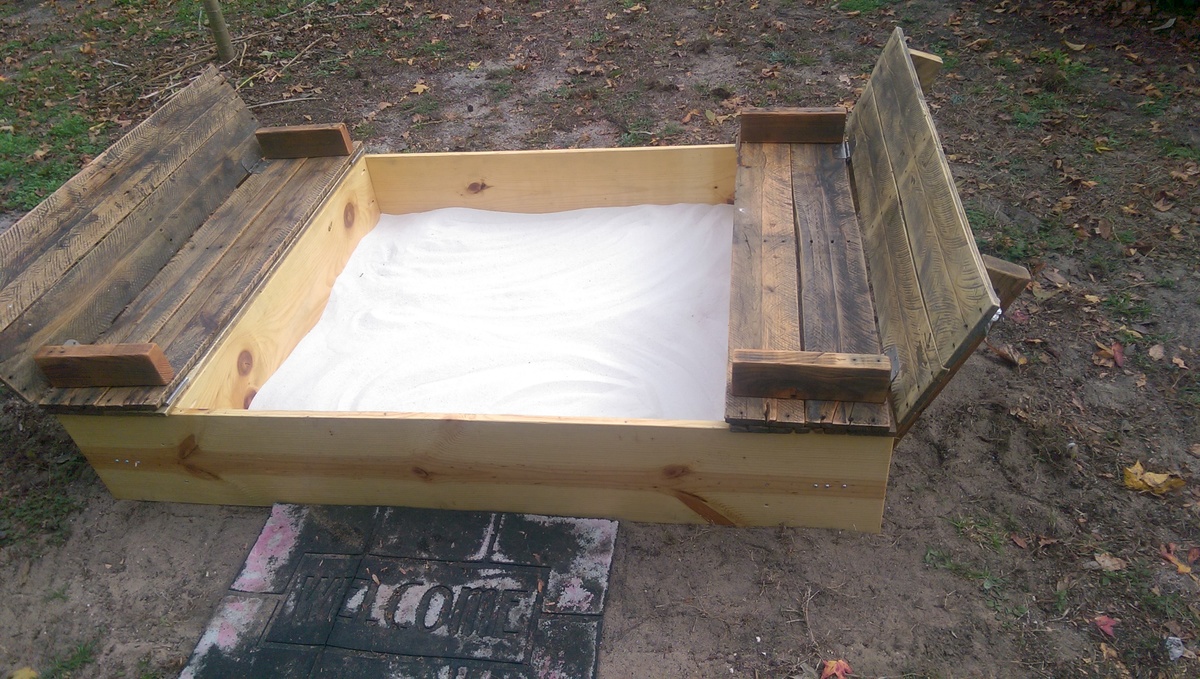
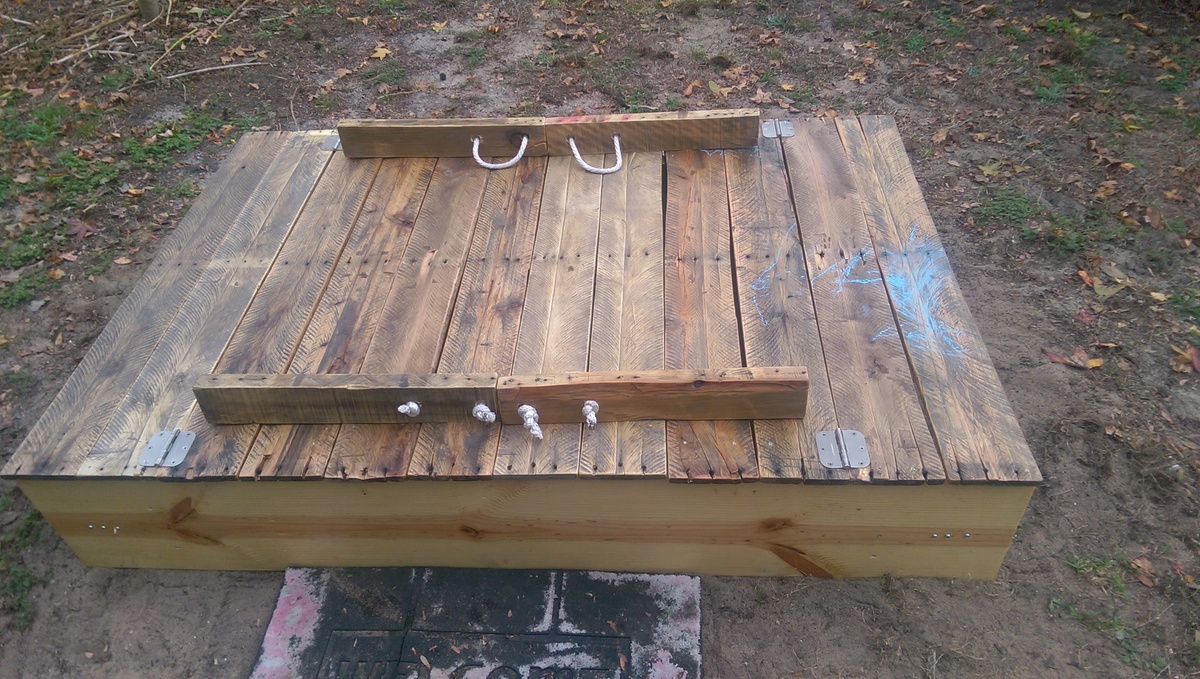
I used the same plans as posted but I tweaked them to work for the pallet wood that I ripped and sanded and stained with outdoor polyurethane. I also moved the short boards in so the box is smaller and added beams to support the bench separate. Because of Florida bugs and ants I also screwed a painting tarp to the bottom and punctured it several times for drainage to try and prevent bugs and weeds. The plans were so simple and I had so much fun making this.
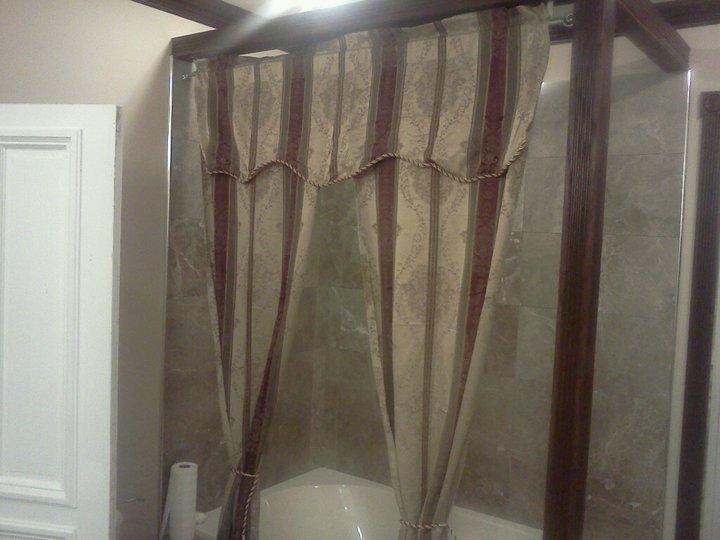
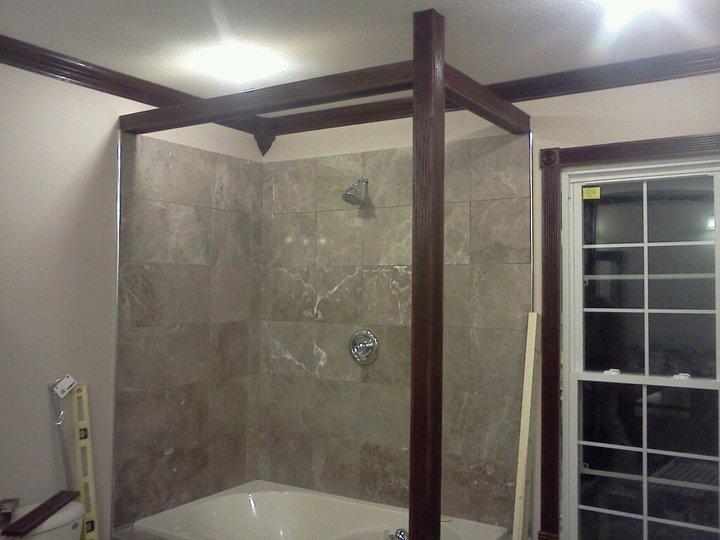
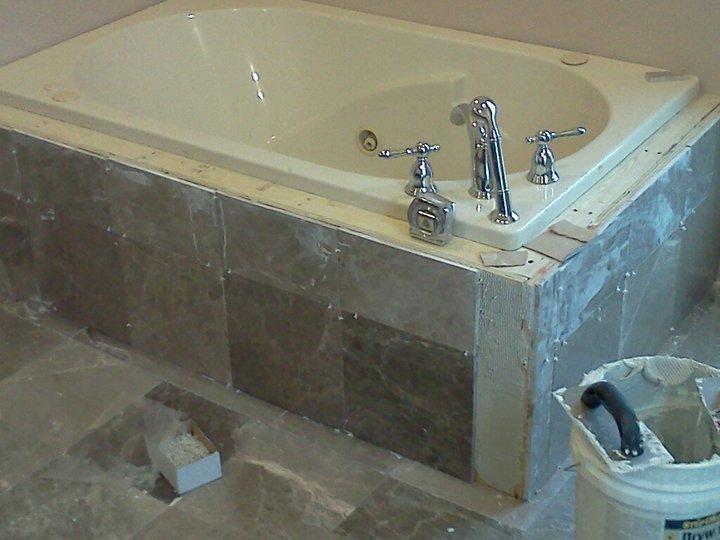
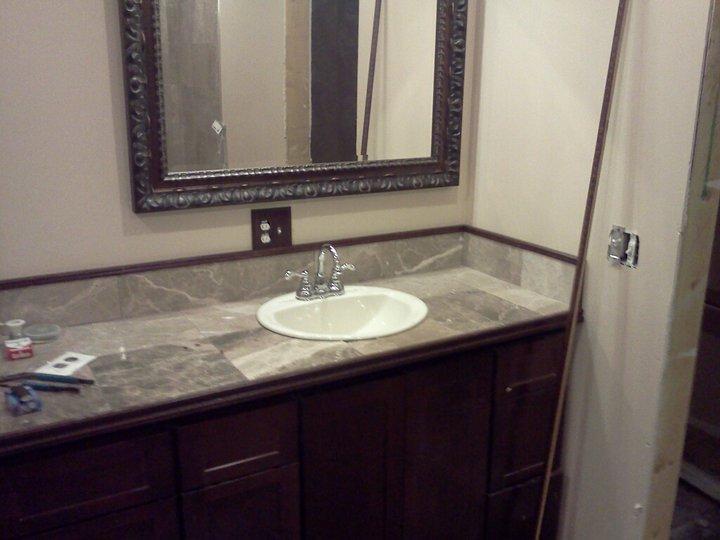
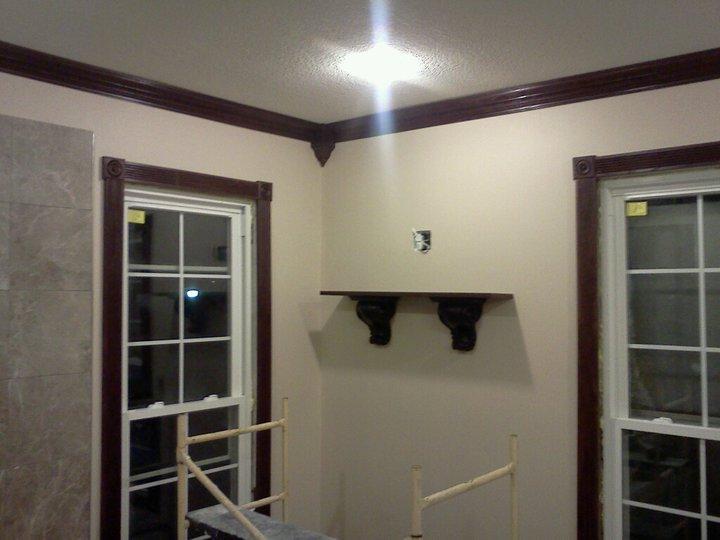
This was a bathroom remodel. We installed new windows new tub new sicks. Made a tub suround and tiled the whole bathroom with marble tile. Lots to watch for on projects like this. Yu need to watch for tile spacing and gettin everything square. Also watch your cuts. Get fast setting mud for yur walls the slower it sets harder it is to go up the wall. Crown molding watch your angles we used cheater blocks in tge corner one thts what the guy wanted and liked. The pillar is fasted into a rough joice and the bottom is also fastend same with to each ends of rhe wall. Then wrap with trim. Its a long process thtll test your patients but yull get it start small and then go big
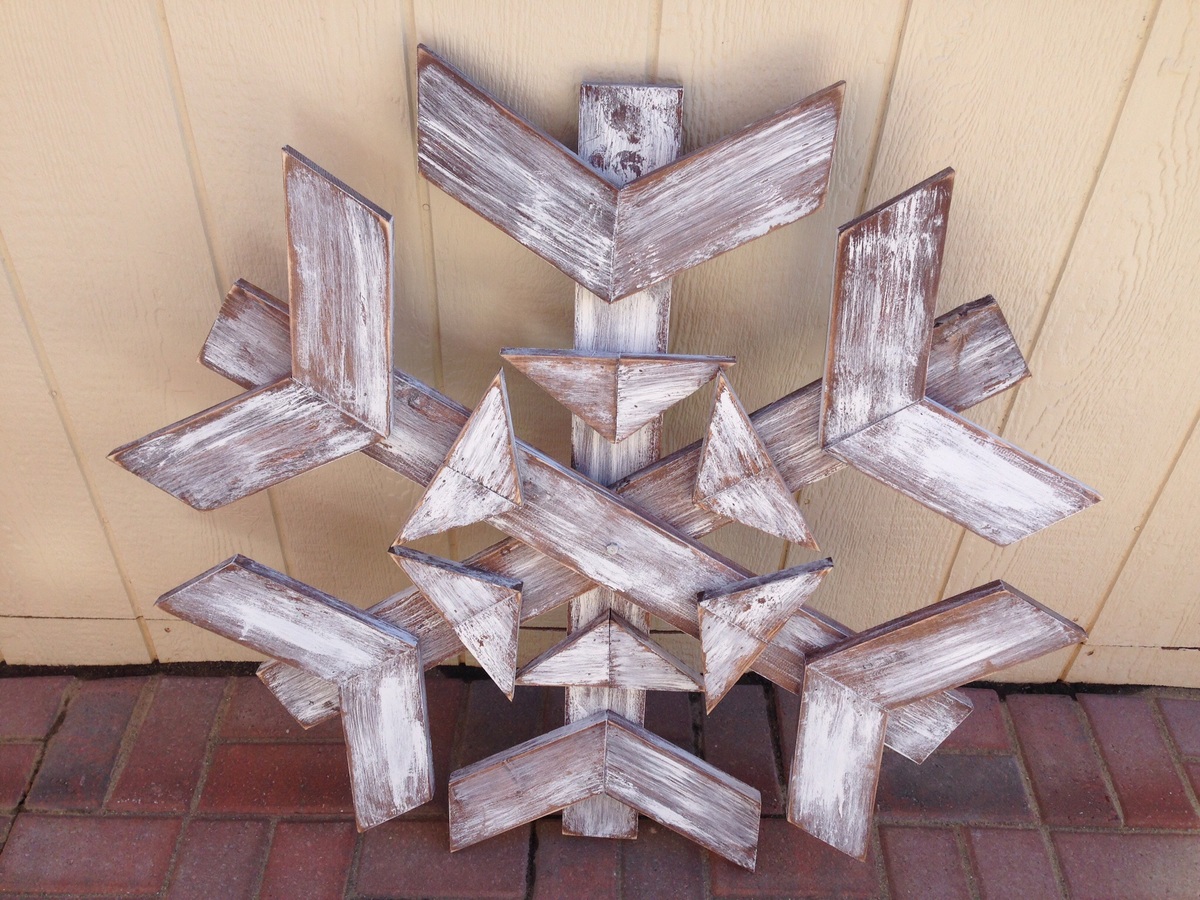
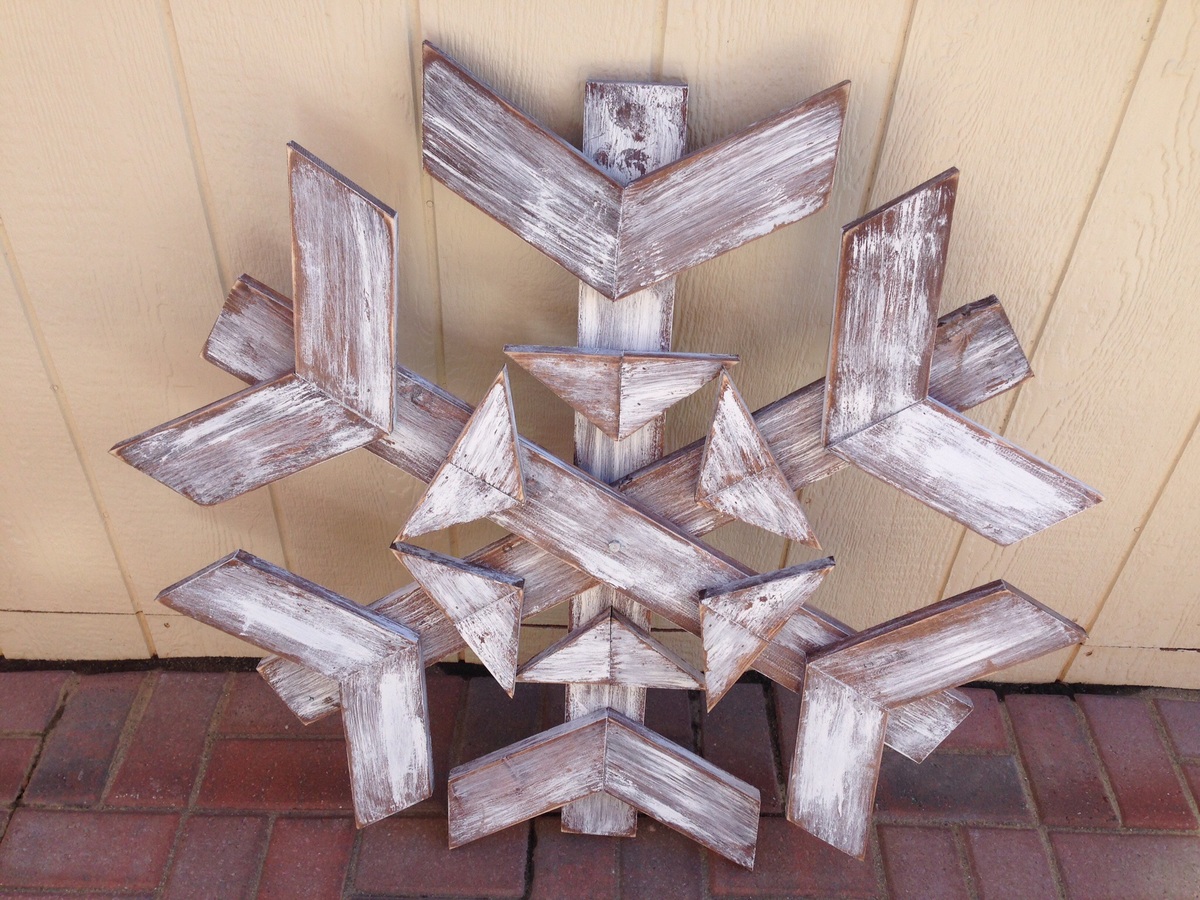
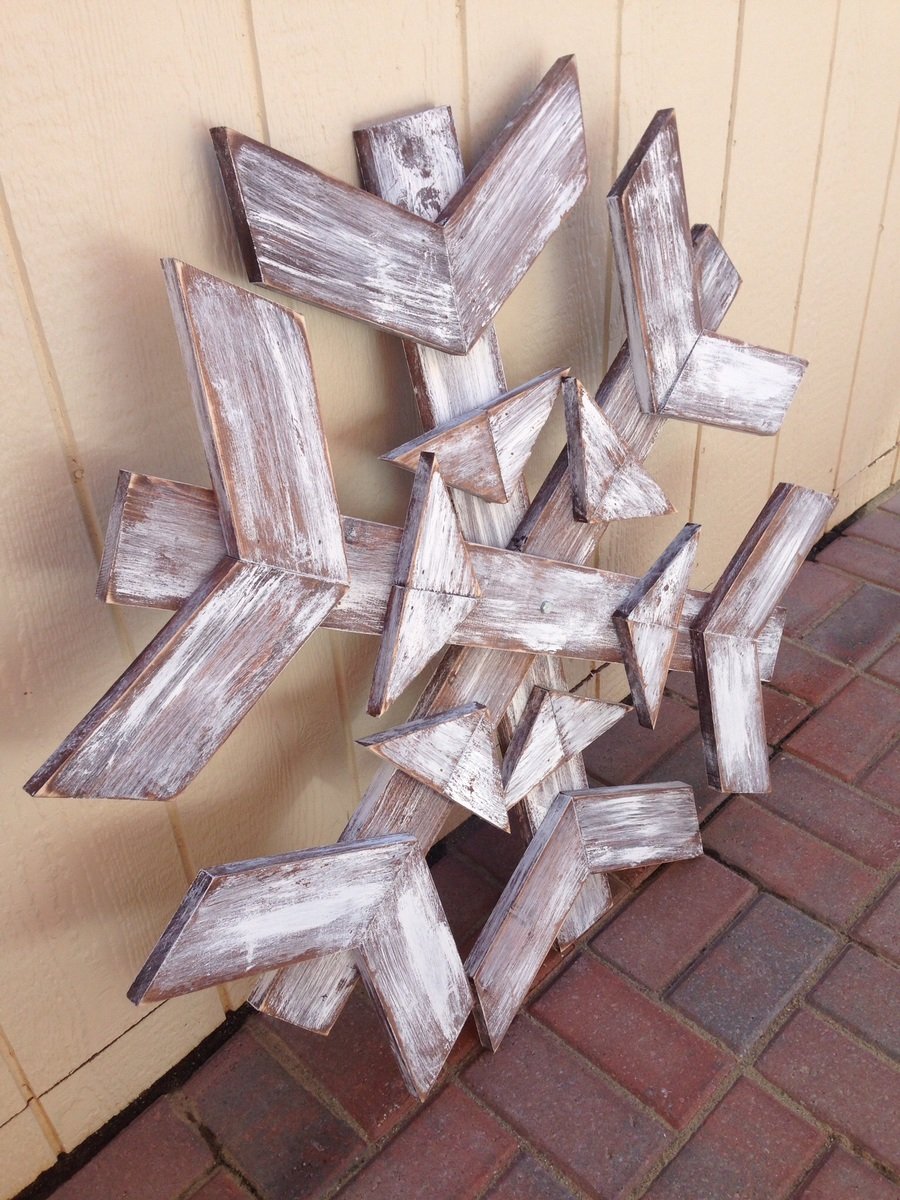
Made this snowflake for my front porch for the holidays. Easy build and inexpensive.
Followed the plans exactly. Seems sturdy and looks great. Our exchange student will love her new bed! Thank you!

Based off of the Ana White design w/ pocket holes. This was really our first big project, so we made plenty of mistakes. Some lessons learned:
1. Pick non-warped wood to start with!
2. Clamps are pretty important to use when screwing into your kreg jig holes. It is REALLY hard to keep things flush without some strong clamps. Biggest lesson learned!
3. Always do your polyurethane coats in 60+ F temperatures. I did one coat when it was pretty cold, around 40 degrees. The liquid ended up beading and it was extremely hard to get out, eventually I just put many more coats on and called it a day.
4. Sand, sand, and sand some more!
This build is very rustic, but next time I think I could build a pretty perfect one. We're going to use this one, I like how rustic it is.

Modified width to fit the closet. Prep work of sanding and painting took longer than we thought it would; assembly inside the closet was simple but definitely a challenge in the small space. At 81", the top shelf was higher than intended so had to remove front slat in order to be able to use it - will make the next one slightly shorter. But love the final product and am now on a mission to get all the cheap wire shelving out of the house!
Comments
Ana White Admin
Mon, 02/13/2017 - 11:12
Perfect!
Thanks for sharing!