Community Brag Posts

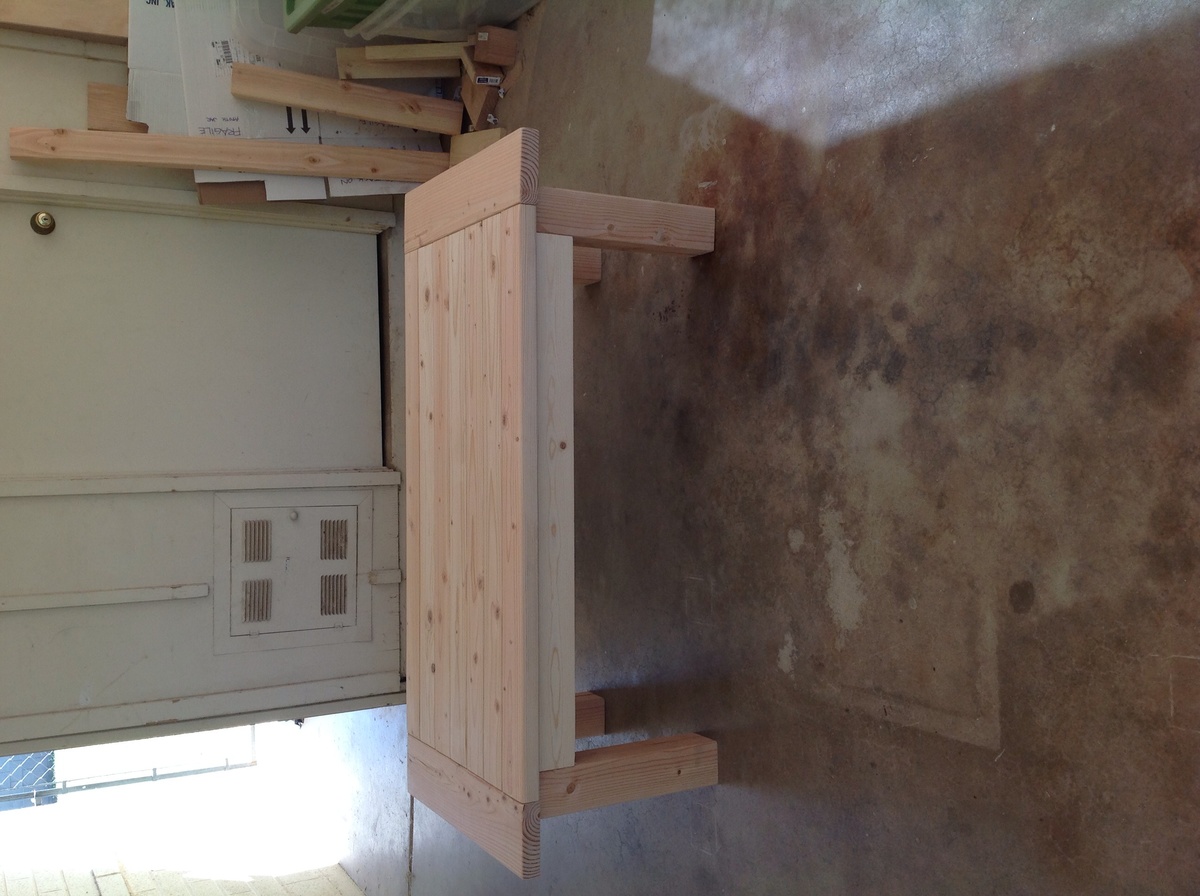
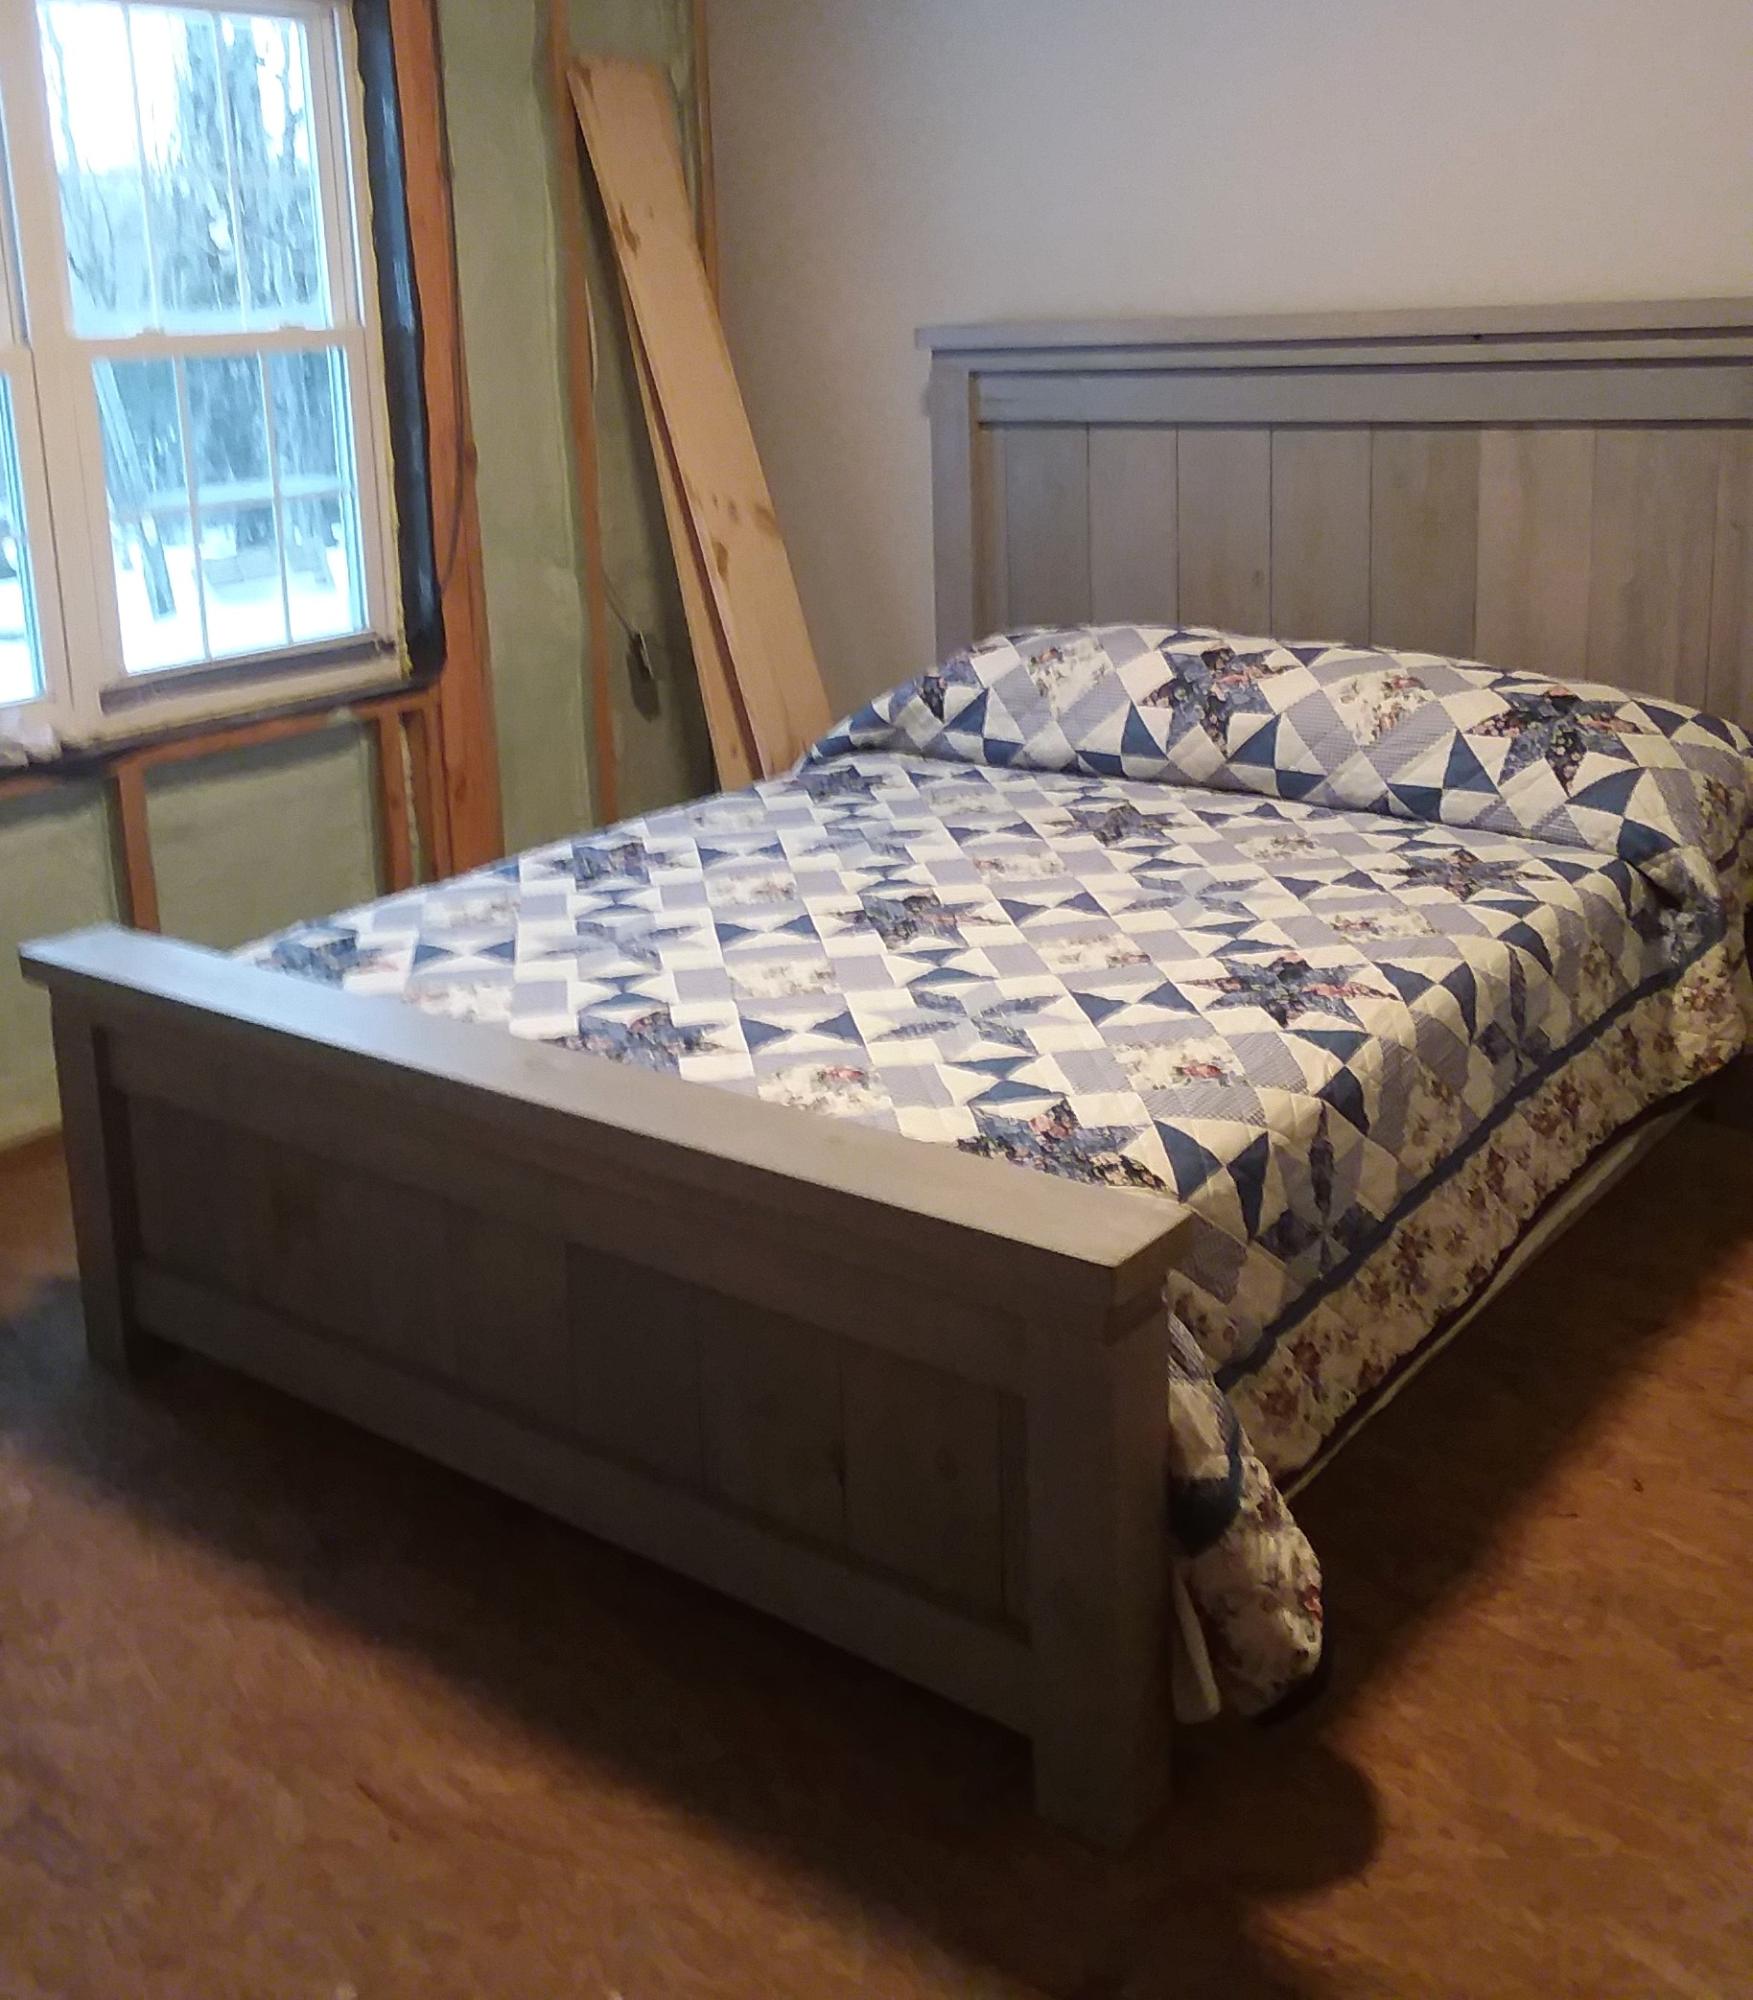
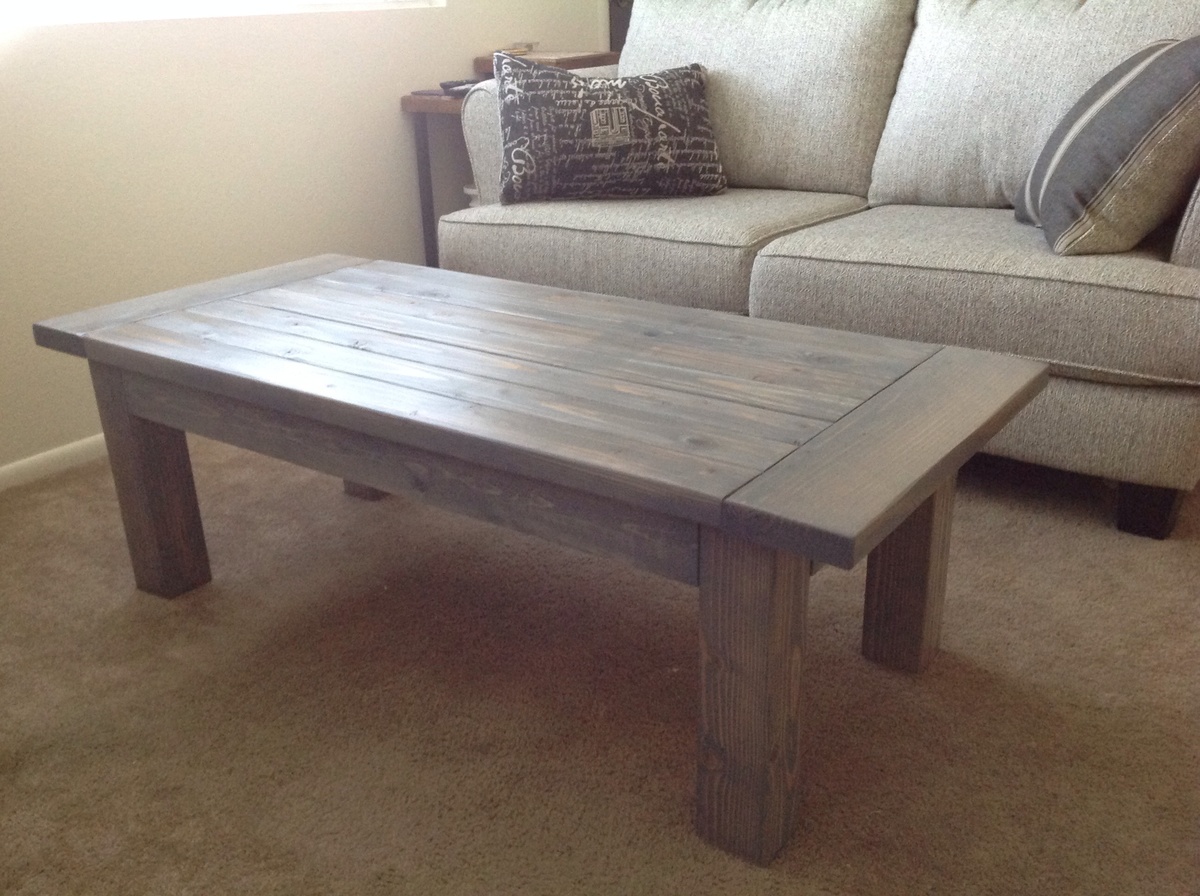
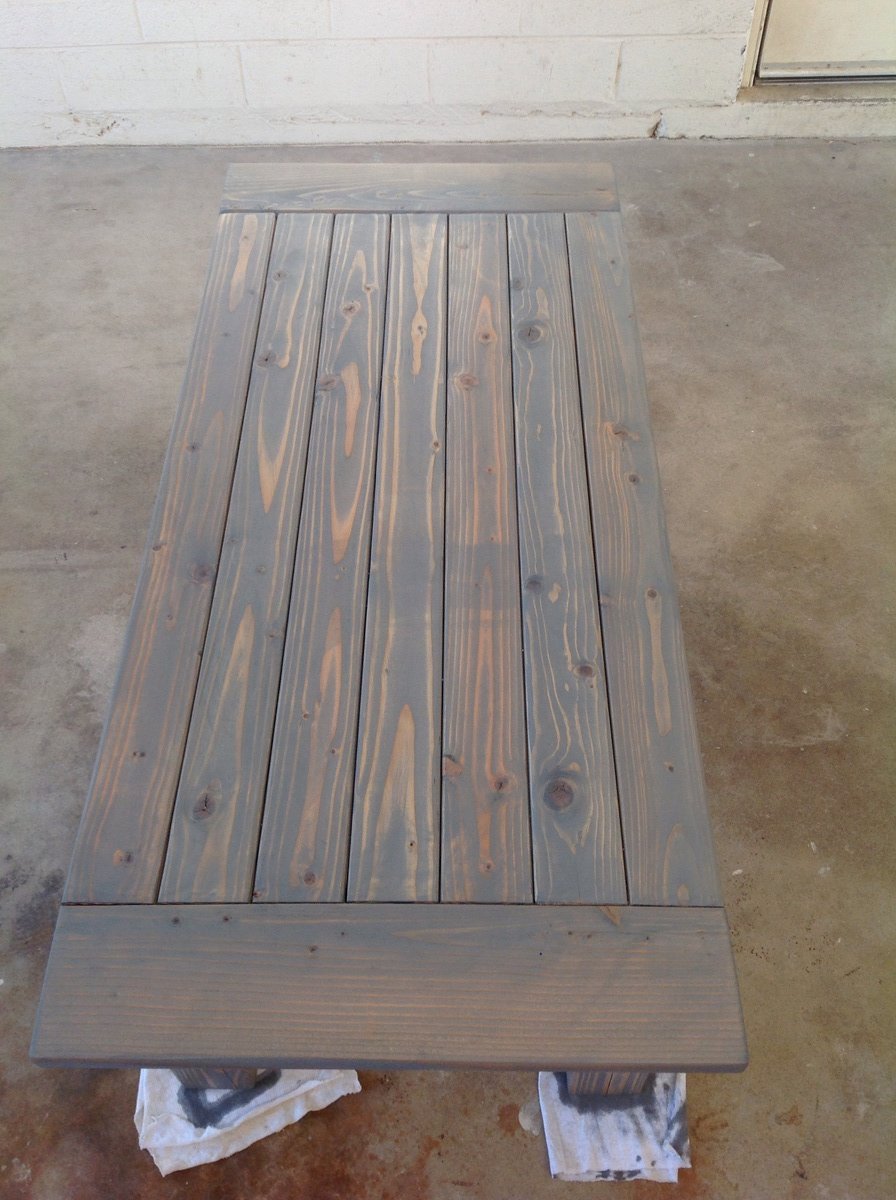
Tryde Coffee Table

Submitted by Krifenbery on Thu, 10/10/2013 - 10:46

This was a fun easy to do project that can be done in a day.

Built from Plan(s)
Estimated Cost
$50
Estimated Time Investment
Day Project (6-9 Hours)
Finish Used
Sanded with 80, 120, 220 grit sandpaper.
Applied pre-stain with foam brush. Allowed to dry 1 hr.
Applied gray wash stain with foam brush, wiped off stain with lint free rags BEFORE stain dried. Allowed to dry 2 hrs.
Applied two coats of polyurethane with synthetic bristle brush. Allowed to dry 2 hrs between coats.
Recommended Skill Level
Beginner

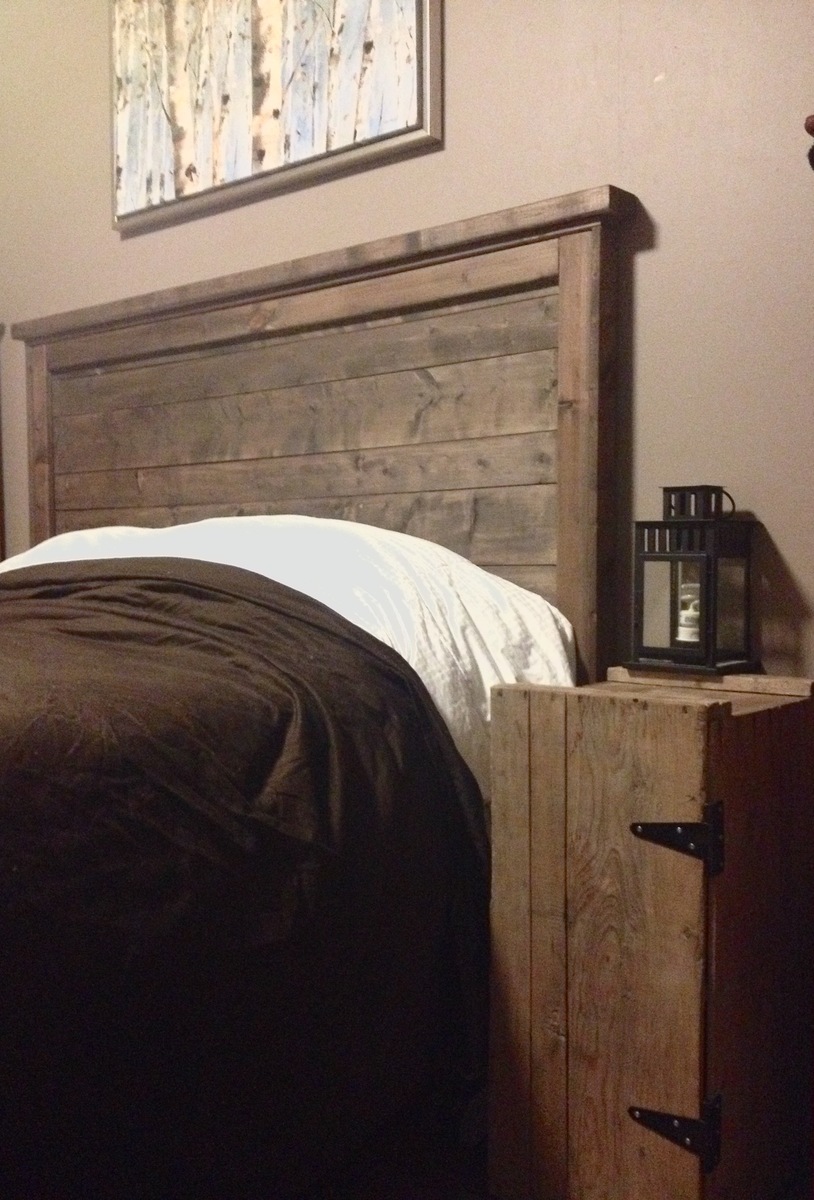
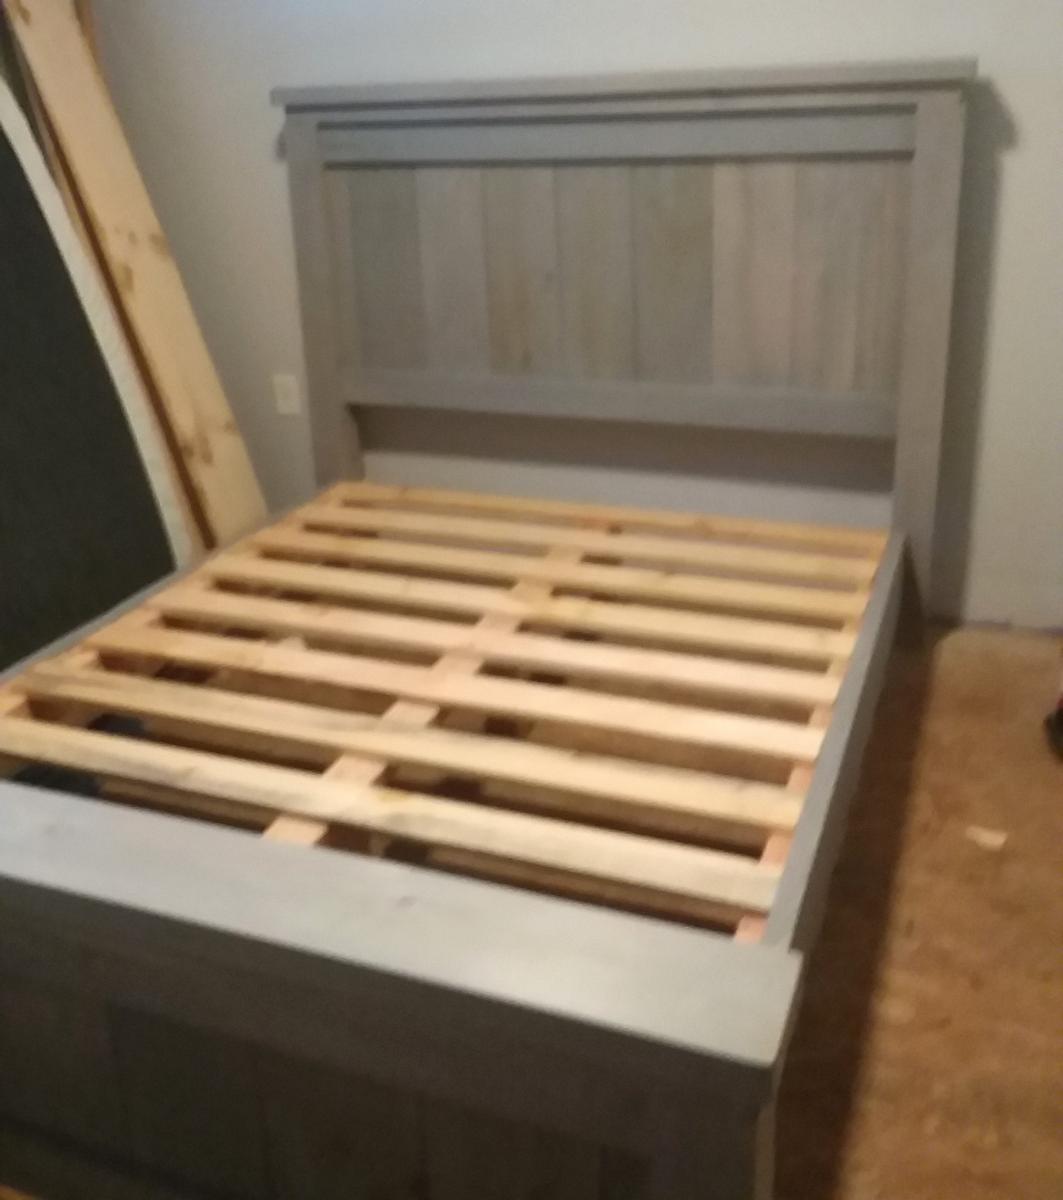
easy build queen headboard

Submitted by Jodie on Thu, 12/31/2015 - 08:01

this was a super fun afternoon project! I used the specs for the Queen size headboard, and they were bang on. no modifications needed. i did reinforce with some screws from the back, as well as I used a 1x3 vertically in the centre of the back of the headboard, which i used to give extra stability to the horizontal pieces. i secured each horizontal board to it using 1" screws from the back, as my boards were not quite flush and I am a bit of a perfectionist! lol

Estimated Cost
$75
Estimated Time Investment
Afternoon Project (3-6 Hours)
Finish Used
oxidizing treatment followed by a coat of wax.
Recommended Skill Level
Beginner

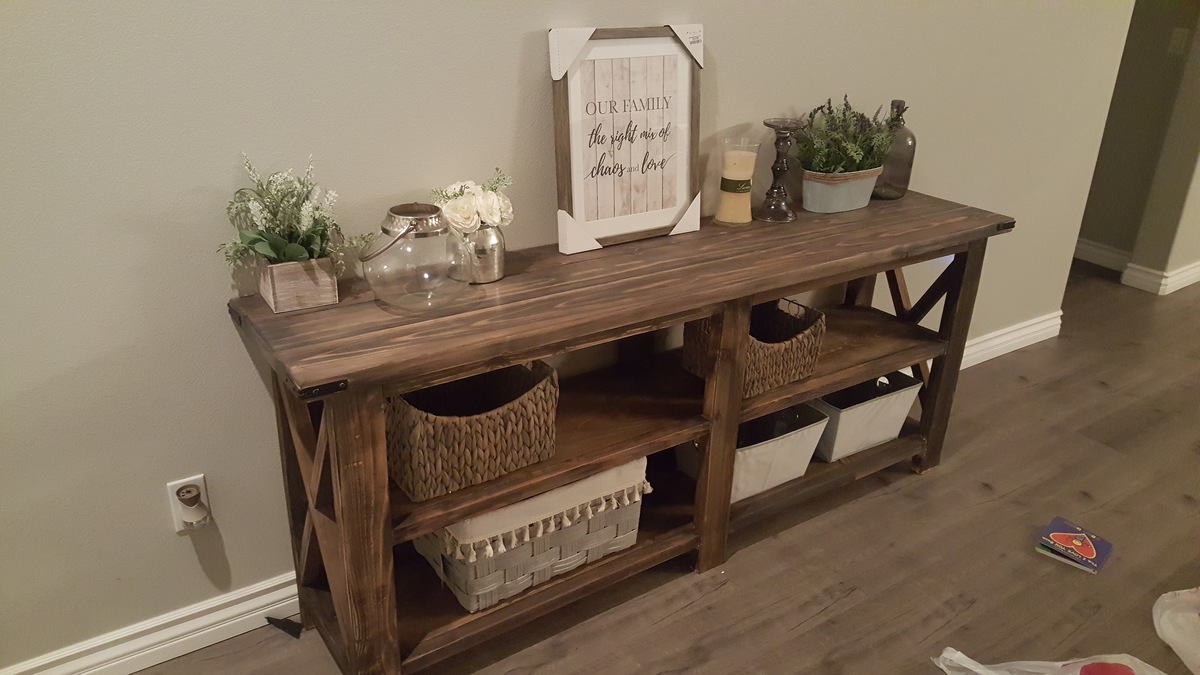
Rustic x console

Submitted by Anonymous (not verified) on Mon, 03/11/2019 - 23:02

This is my first ana white project and my first woodworking project. I think i like this new hobby i just picked up. 

Built from Plan(s)
Estimated Time Investment
Weekend Project (10-20 Hours)
Finish Used
Black tea, vinegar/ steel wool stain, wax finish
Recommended Skill Level
Beginner

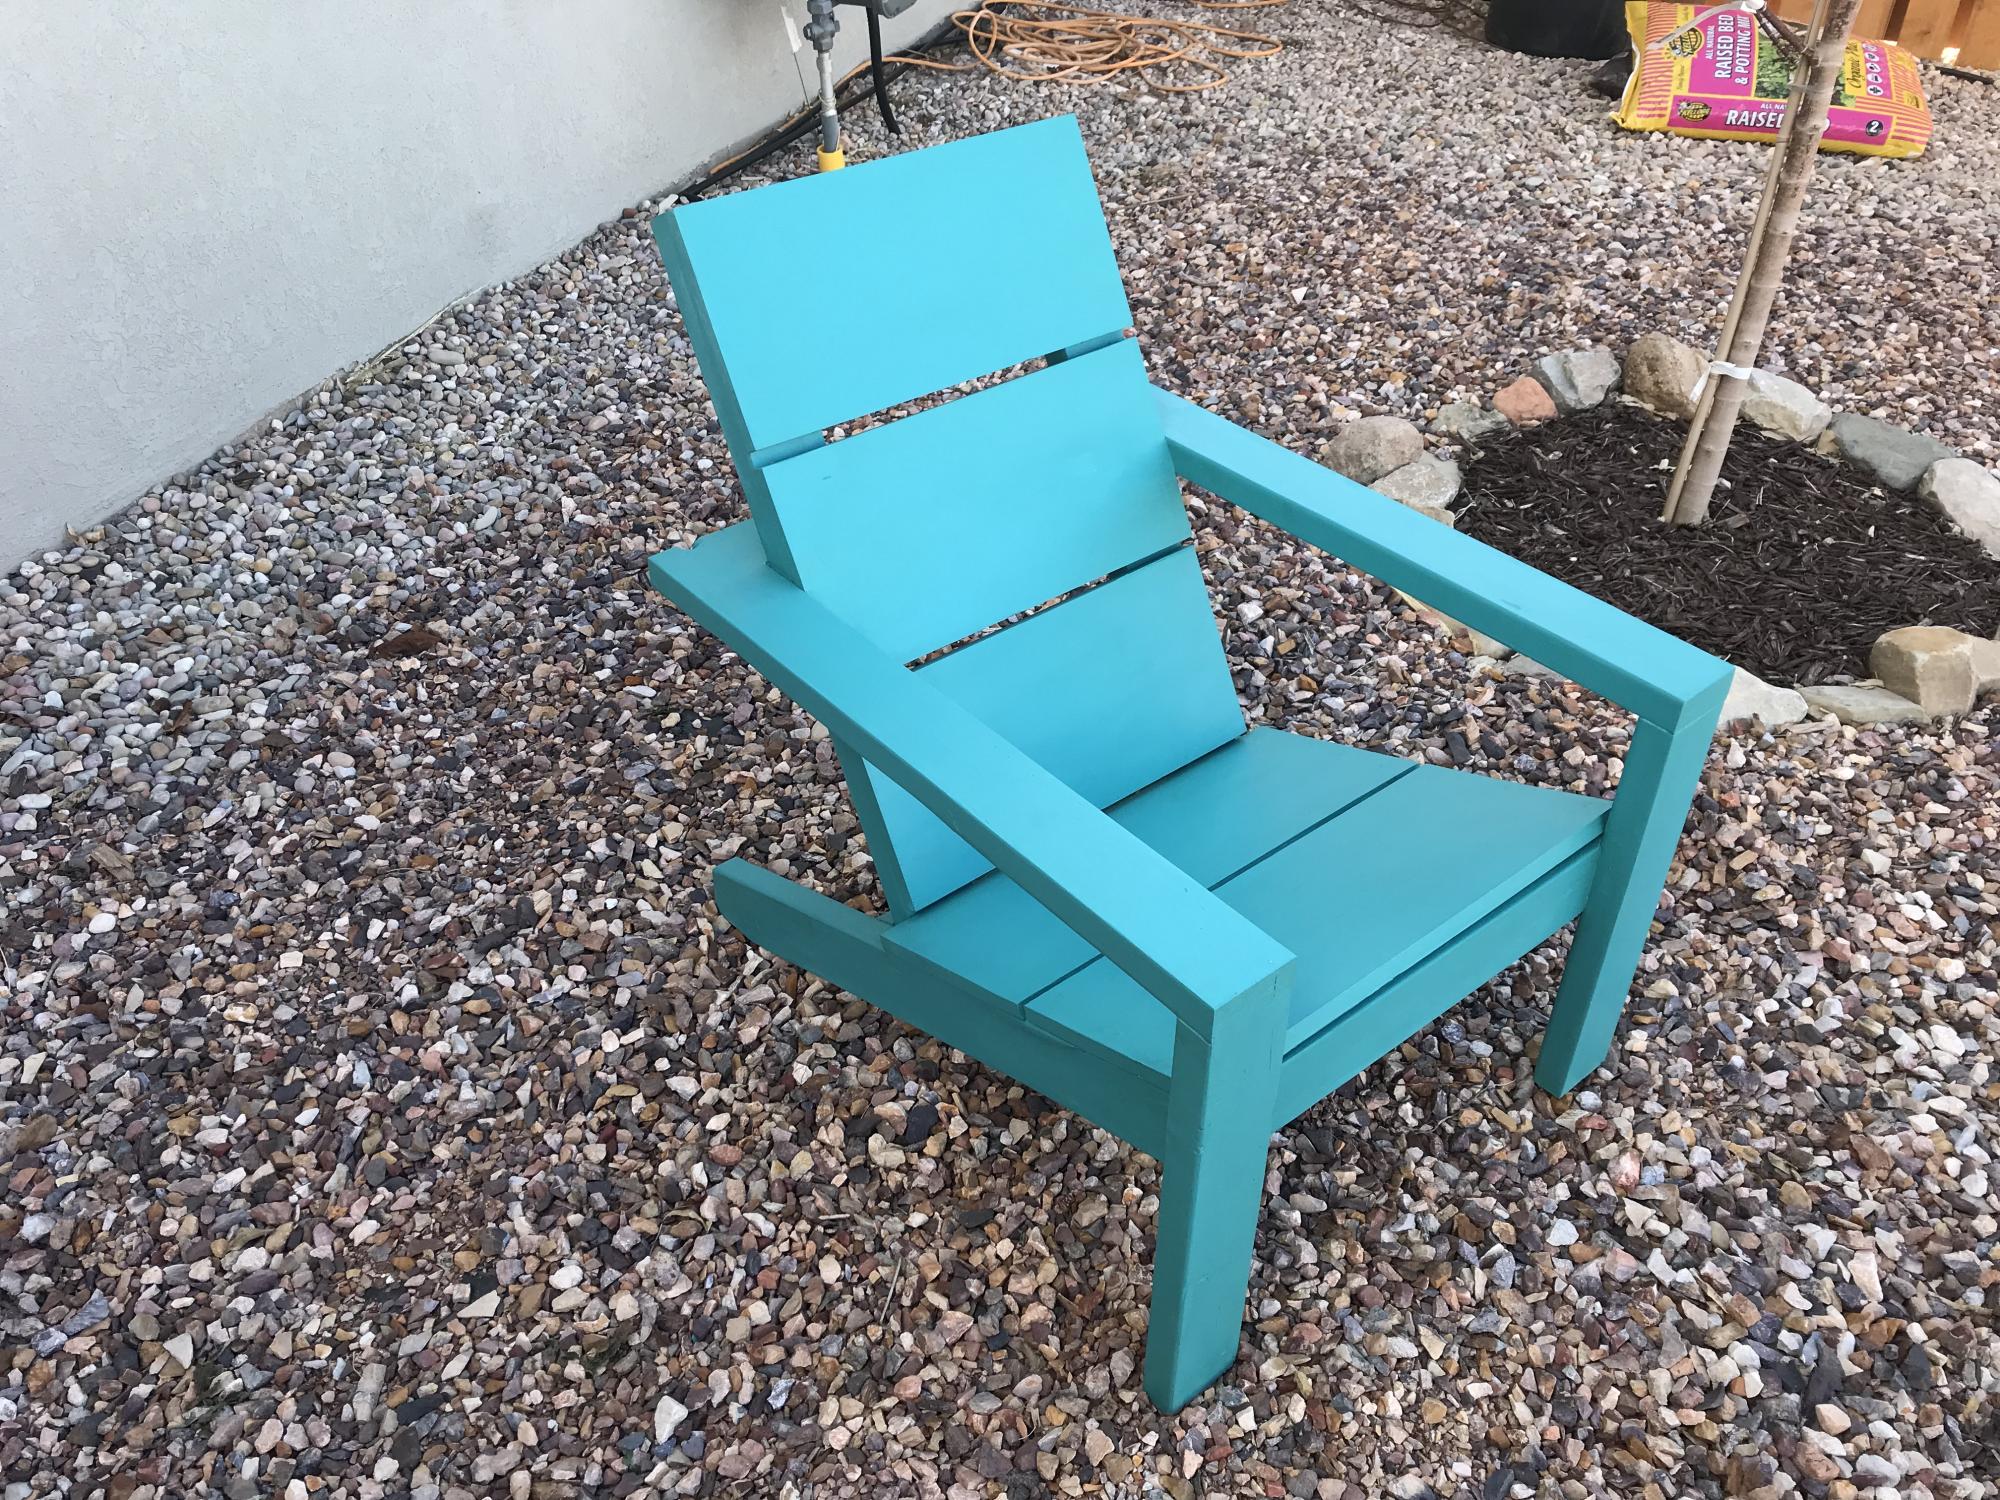
These Adirondack Chairs are super comfortable

Submitted by Anonymous (not verified) on Fri, 02/03/2023 - 05:45

I built a couple of these for the garden area and they are wonderful to sit in. As an experiment I painted these with chalk paint then finished them with several thin coats of spar urethane. After a couple of years in the sun, they seem to be holding up pretty good. I may sand and apply more spar urethane this summer just to keep them looking good.

Comments

Pallet Coffee Table

Submitted by Emscan on Mon, 10/17/2011 - 20:09

We love our new coffee table! Thanks for the idea!!

Built from Plan(s)
Recommended Skill Level
Beginner

Comments

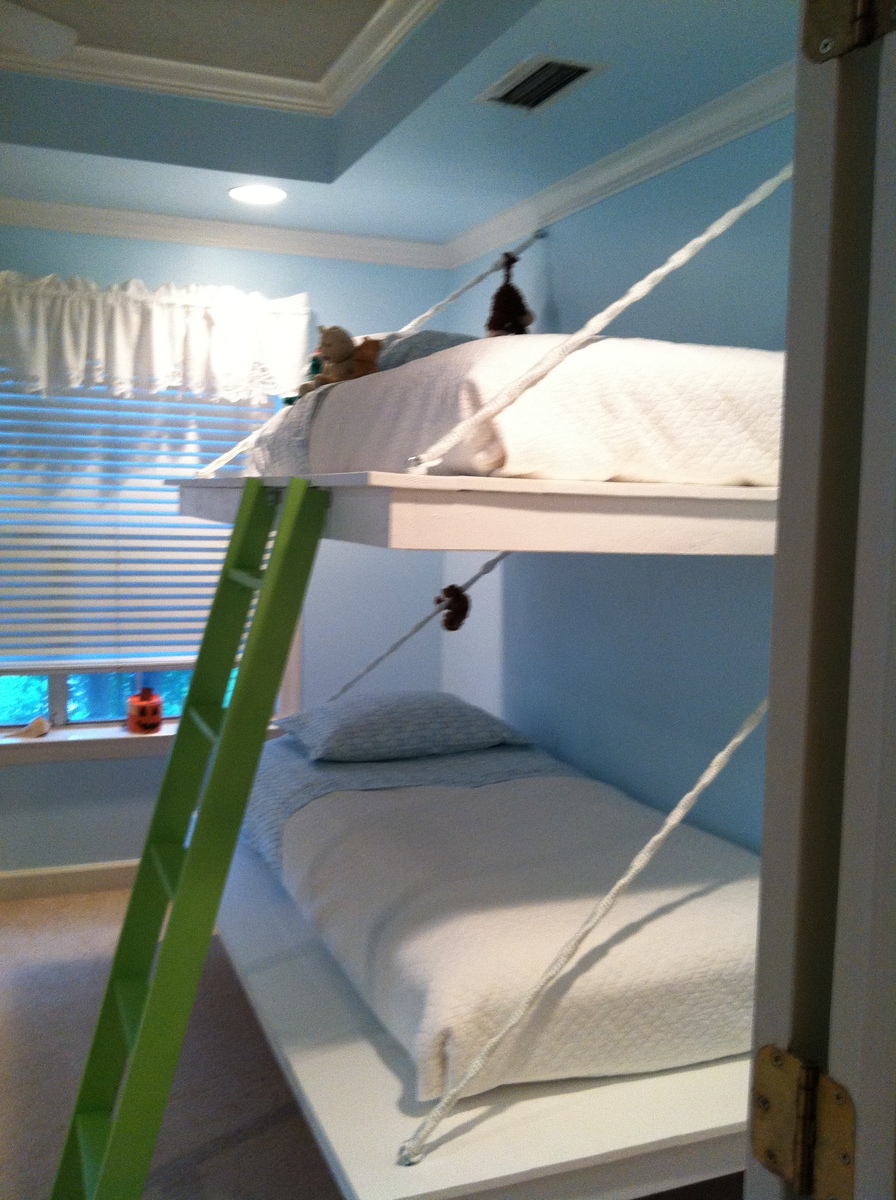
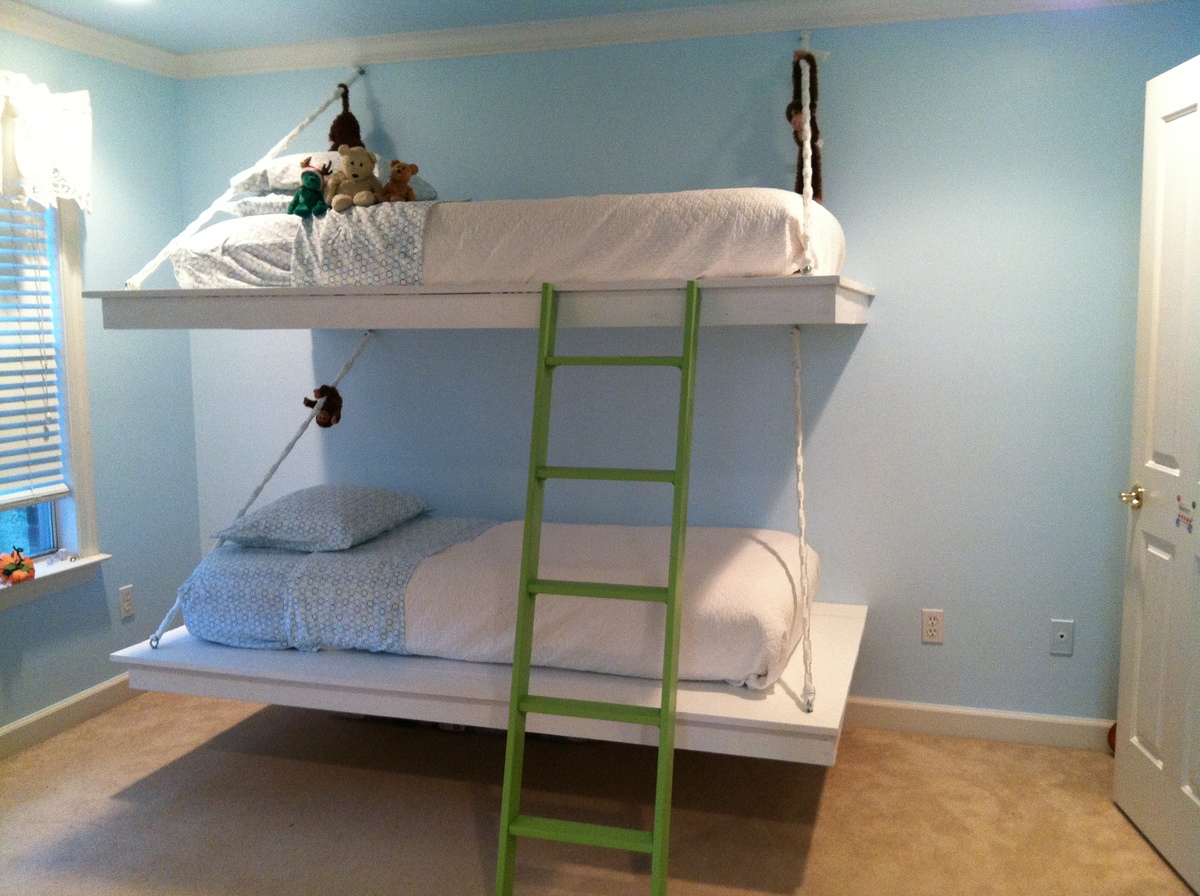
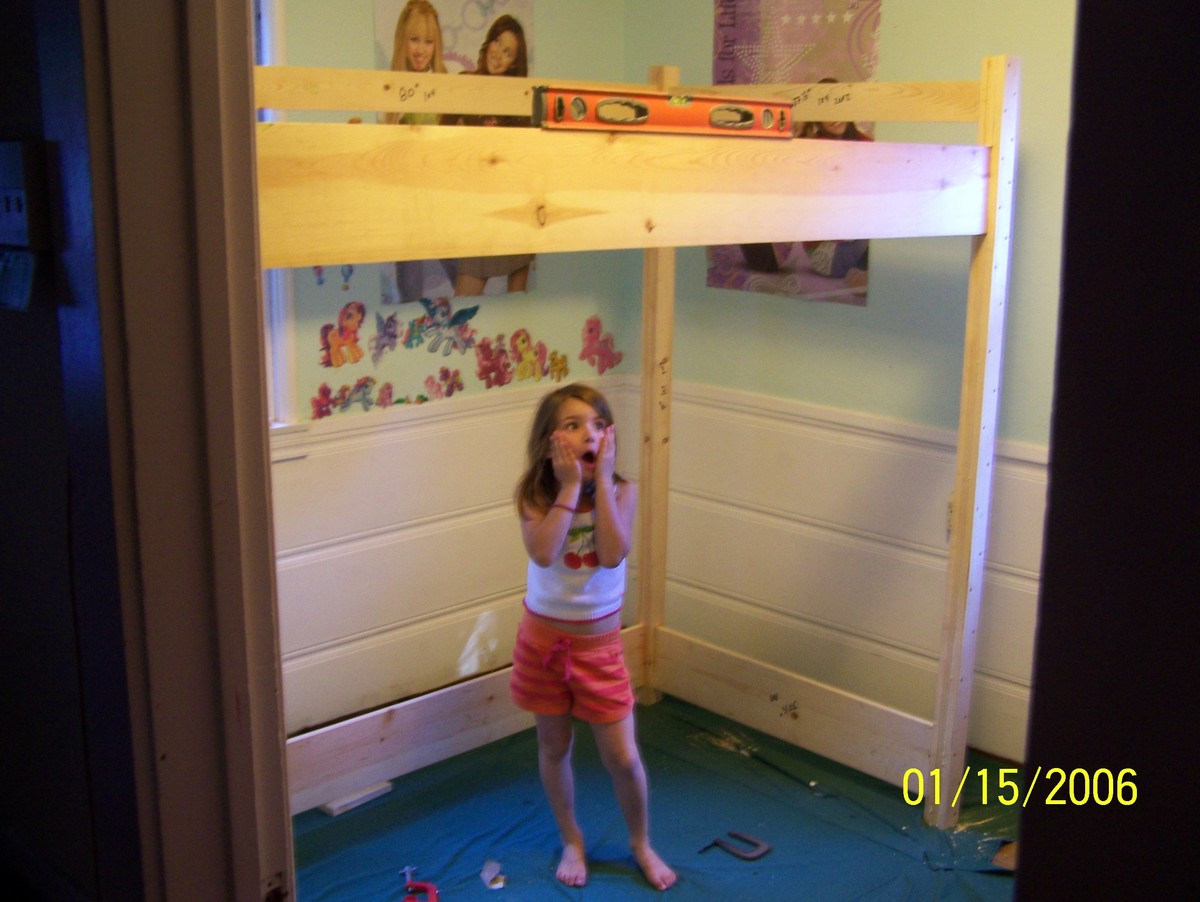
Hanging Bunk Beds

Submitted by janarae13 on Sun, 10/13/2013 - 18:01

I saw these beds featured in a Sherwin Williams paint mini magazine, fell in love w the idea, and customized them to work for my daughter's room. She loves them! Thx Ana White!!

Built from Plan(s)
Estimated Time Investment
Weekend Project (10-20 Hours)
Recommended Skill Level
Beginner

Comments

joseph.ribecca

Wed, 10/16/2013 - 18:08

What kid of wood did you us for the bed base, and you just ancored them in the wall studs, With screw hooks?

Wvchanger

Fri, 10/21/2016 - 20:39

How did you tie your rope? I made the beds but having a difficult time finding a secure way to tie the rope so it's study and won't slide

Bunkbeds for the Grandkids using the Clubhouse Bed plans.

Submitted by Anonymous (not verified) on Mon, 03/18/2019 - 14:02

Used the Clubhouse Plans as the base. Added length to the 2x4's for the second bunk. Made upper and lower railings. Used 2x4's between the legs with 2x2's screwed in for the lower bunk. Hobby Lobby for the nautical swag. So now me and the grandkids have a place to hide!

Estimated Time Investment
Weekend Project (10-20 Hours)
Finish Used
Min wax pickled white wash water base
Recommended Skill Level
Beginner

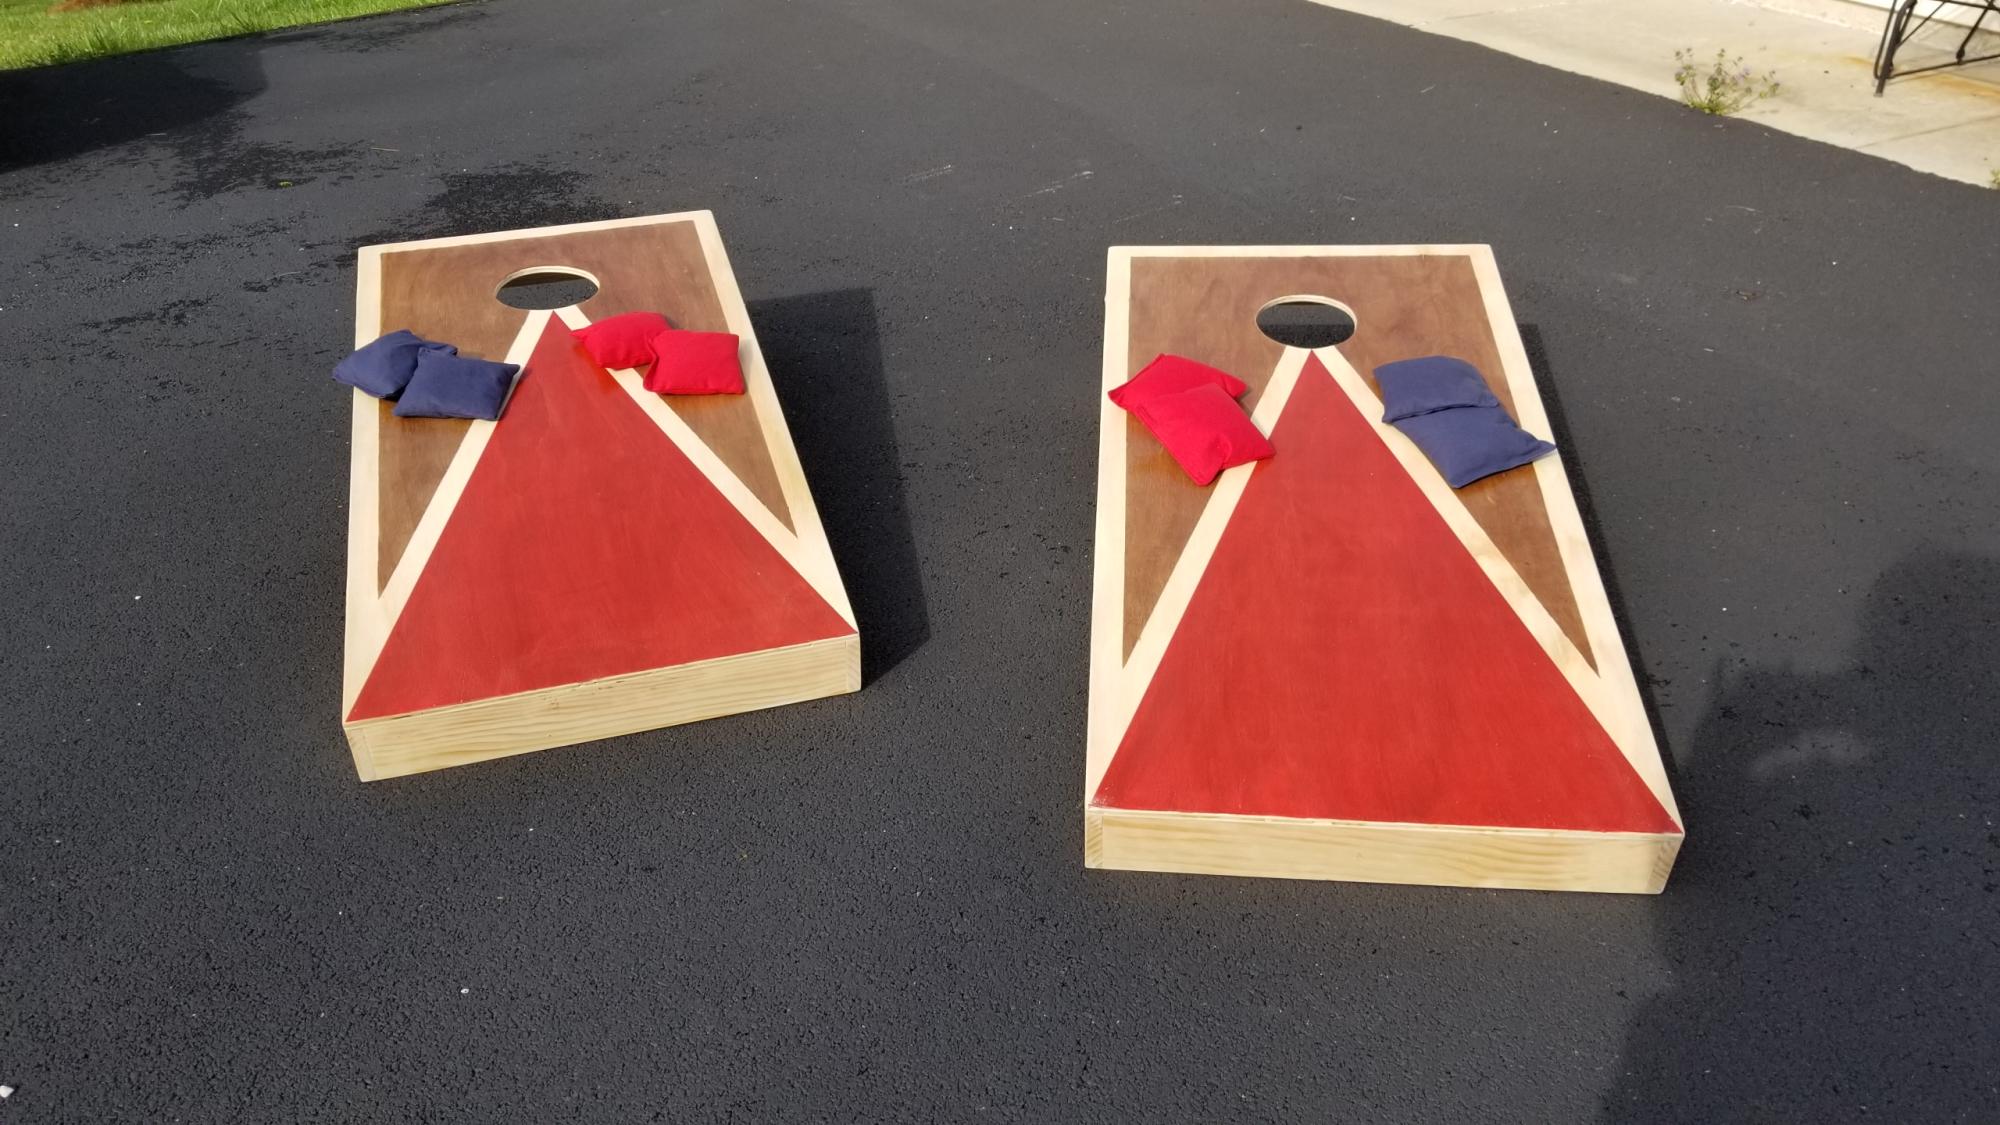
Cornhole Boards

Submitted by Anonymous (not verified) on Wed, 02/08/2023 - 18:09

I made one set for my son, the one with the stained top. His friends liked it so much and kept borrowing his set, that he wanted to surprise them with their own and asked me to build them one with the LSU colors. Thought they turned out great! Thank you for the plans!

Comments

Pinkpinkpink sandbox

Submitted by Anonymous (not verified) on Sat, 03/23/2019 - 11:26

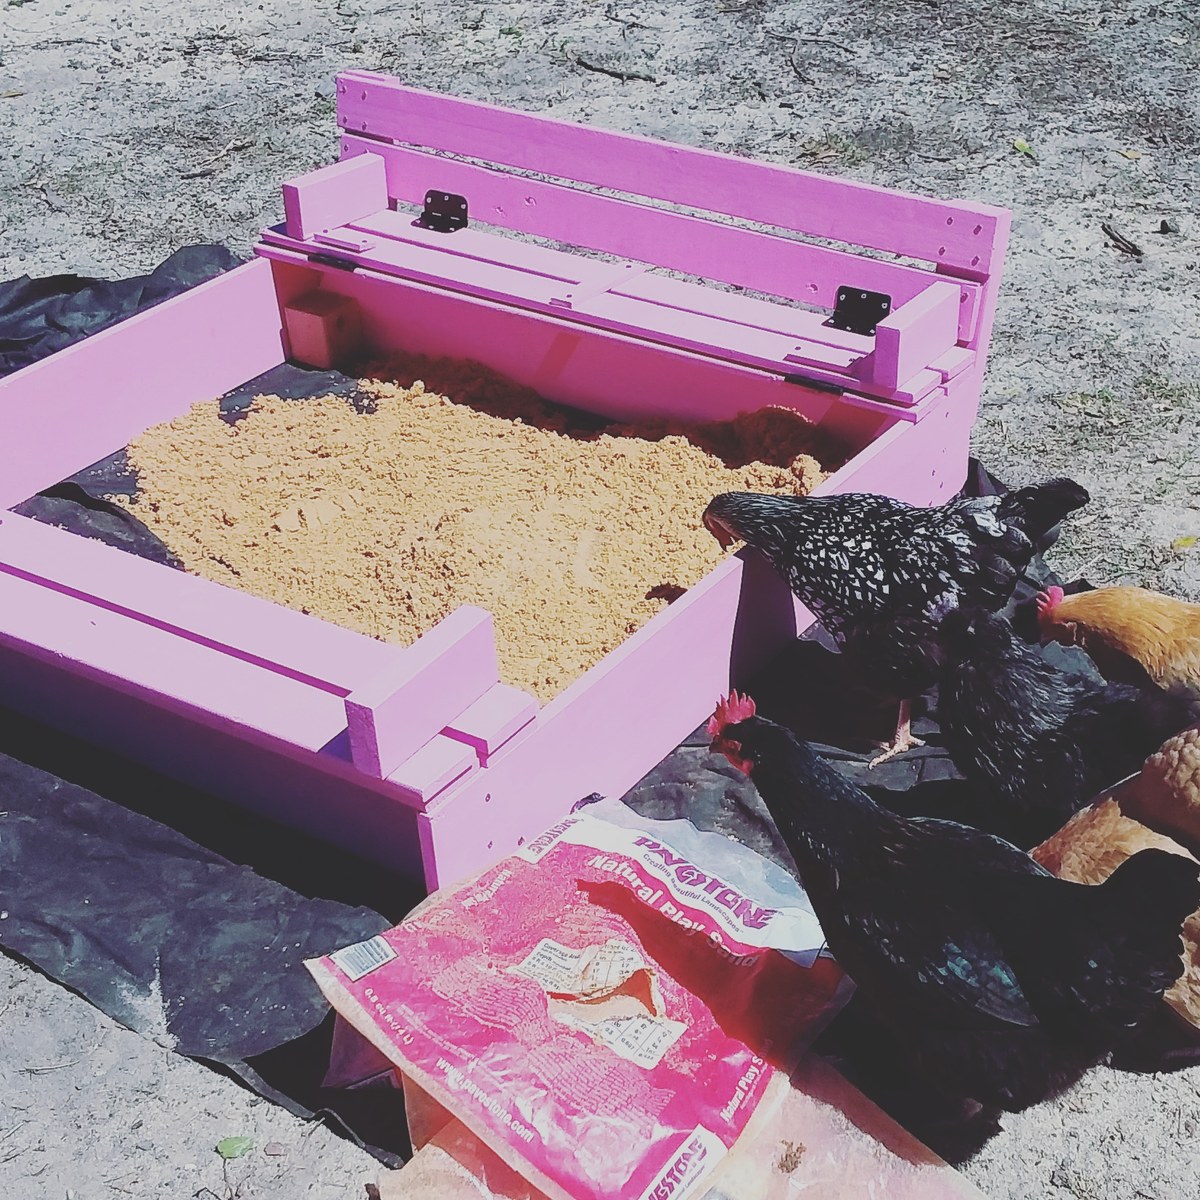
I let my kindergartener  choose the color, so we have a pink sandbox! I live that this has a full lid, as the sand generated a lot of interest from our chickens! Plan egg followed as written, with a few minor detail changes, love it! Note, 320 pounds of sand was a just right amount for this sandbox!

Built from Plan(s)
Estimated Cost
50, but I used heavy gate fixtures and expensive exterior paint and an additional finish, it could be made for less.
Estimated Time Investment
Day Project (6-9 Hours)
Finish Used
Behr satin finish exterior in high maintenance pink
Recommended Skill Level
Beginner

The littlest Helper Tower

Submitted by Anonymous (not verified) on Fri, 02/17/2023 - 04:54

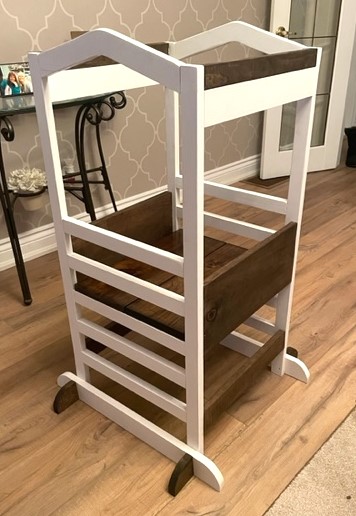
I built this Tower from plans found on Ana's site.
Decided to do with a two tone colour.
I'm very happy how it turned out.
All three Grand Kids fit in there and love it.

Thanks Ana

Built from Plan(s)

My first build - storage daybed!

Submitted by lbadger on Tue, 10/25/2011 - 06:50

I finally did it! I purchased mattresses for our two girls (2 & 4) which have been just sitting on the floor for a while. Wanting to build some simple frames just to get them off the floor I ran across Ana's site. Oh boy! This site is amazing! We have a small house with very little storage so when I saw the storage daybeds I was smitten! The extent of my power tool comfort zone is dimensional lumber and a compound miter saw. Not plywood and definitely not the table saw, so I was a little leery about starting this project. In the end, I tackled it and am so glad I did! Even used the circular saw! Full disclosure, there's probably nothing square about the thing (see additional photos), but like mulch in your garden, trim covers a multitude of sins! I learned a lot and will take my time measuring and squaring for the next one. Also, as some readers commented, I would prime and do at least one coat of paint prior to assembly (that part was definitely time consuming). I also wanted the storage to go all the way back to the wall so I didn't include the center piece of plywood but instead trimmed down a 2x4 to a ~2.5" width and glue/screwed in into the plywood at the top center under the top piece. So far so good! On the finish, I wanted a distressed finish and started using a dark walnut stain but did not like how much it adhered to the paint as well as the sanded down edges. When I picked my daughter up from pre-school that day they had been doing flower rub pictures. I saw that the centers of the black-eyed susan’s and cone flowers came out a beautiful brown color. So when I got home my daughter and I went out and cut some old flower stems and we finished the other two cubby cubes that way. I think it turned out really well! I didn't end up top coating it with anything, I liked the scuffed up paint look. A big THANK YOU to Ana for doing all this work so we can too!

Built from Plan(s)
Estimated Cost
$135
Estimated Time Investment
Weekend Project (10-20 Hours)
Finish Used
Benjamin Moore Smoke and Dark Walnut stain for distressed finish on one cube which was replaced with the centers from our black-eyed susans and cone flowers.
Recommended Skill Level
Beginner

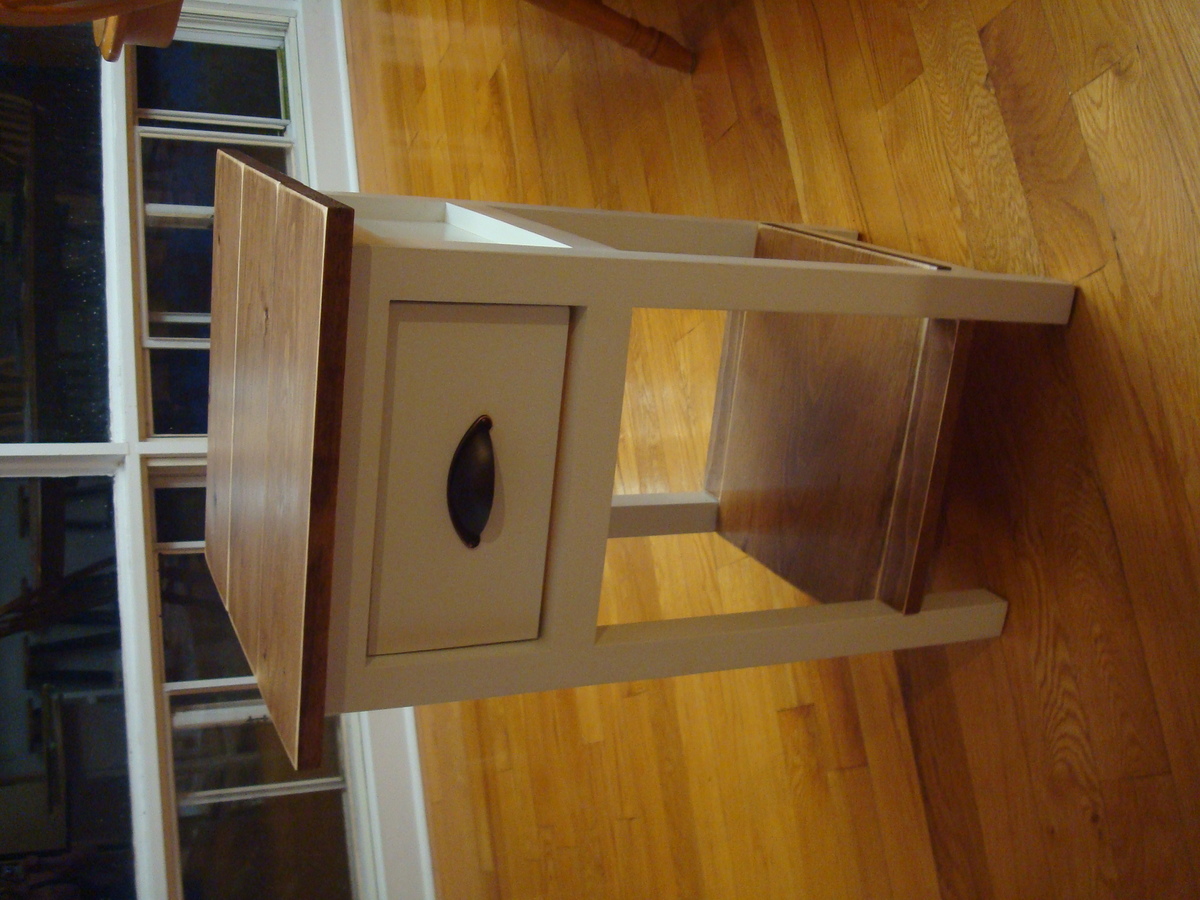
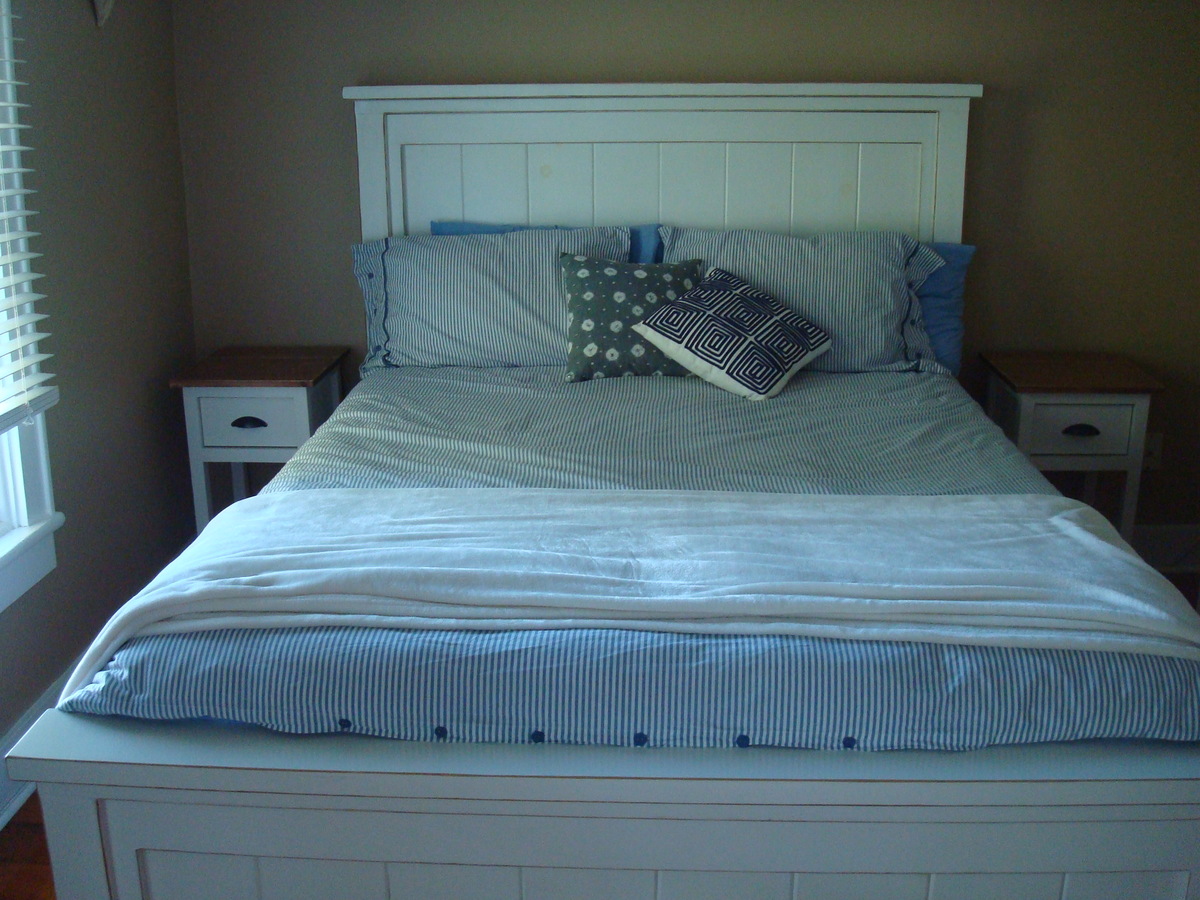
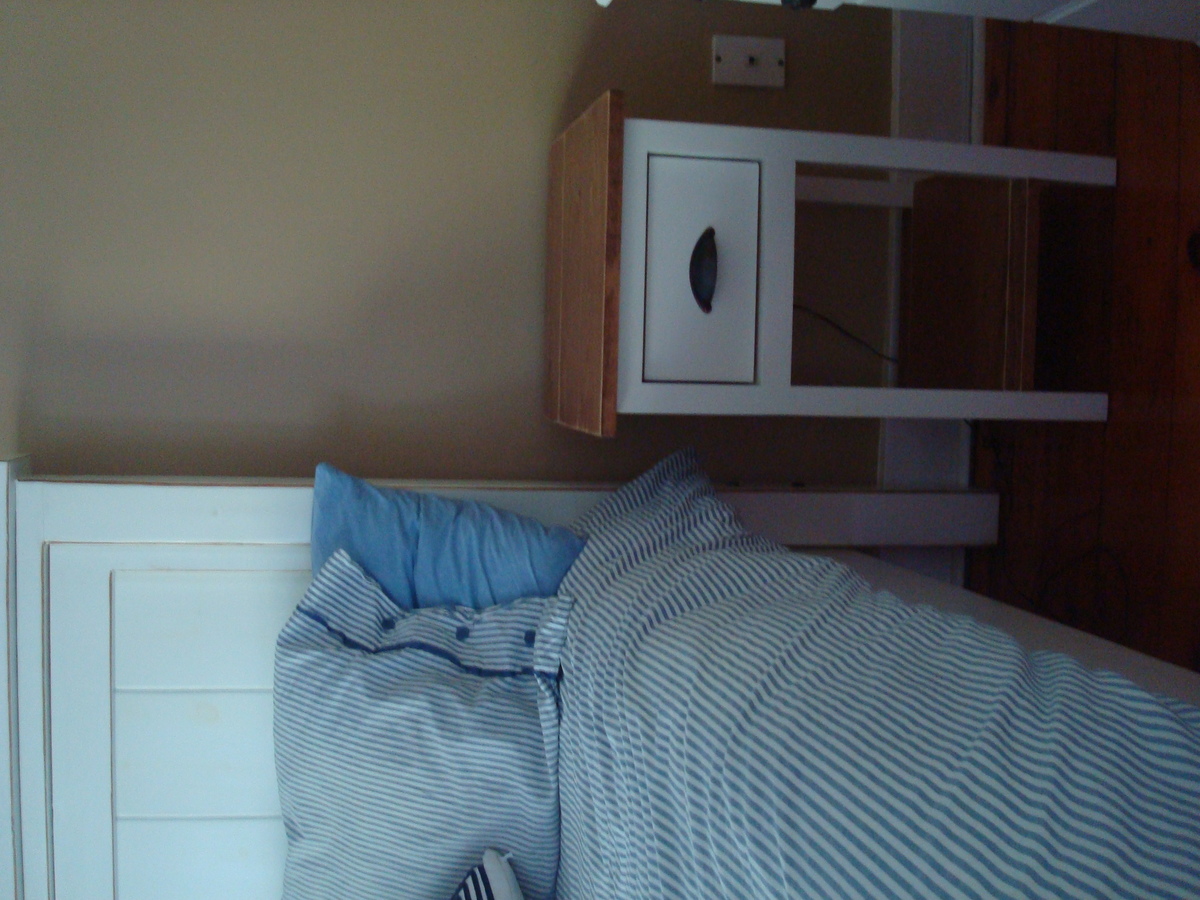
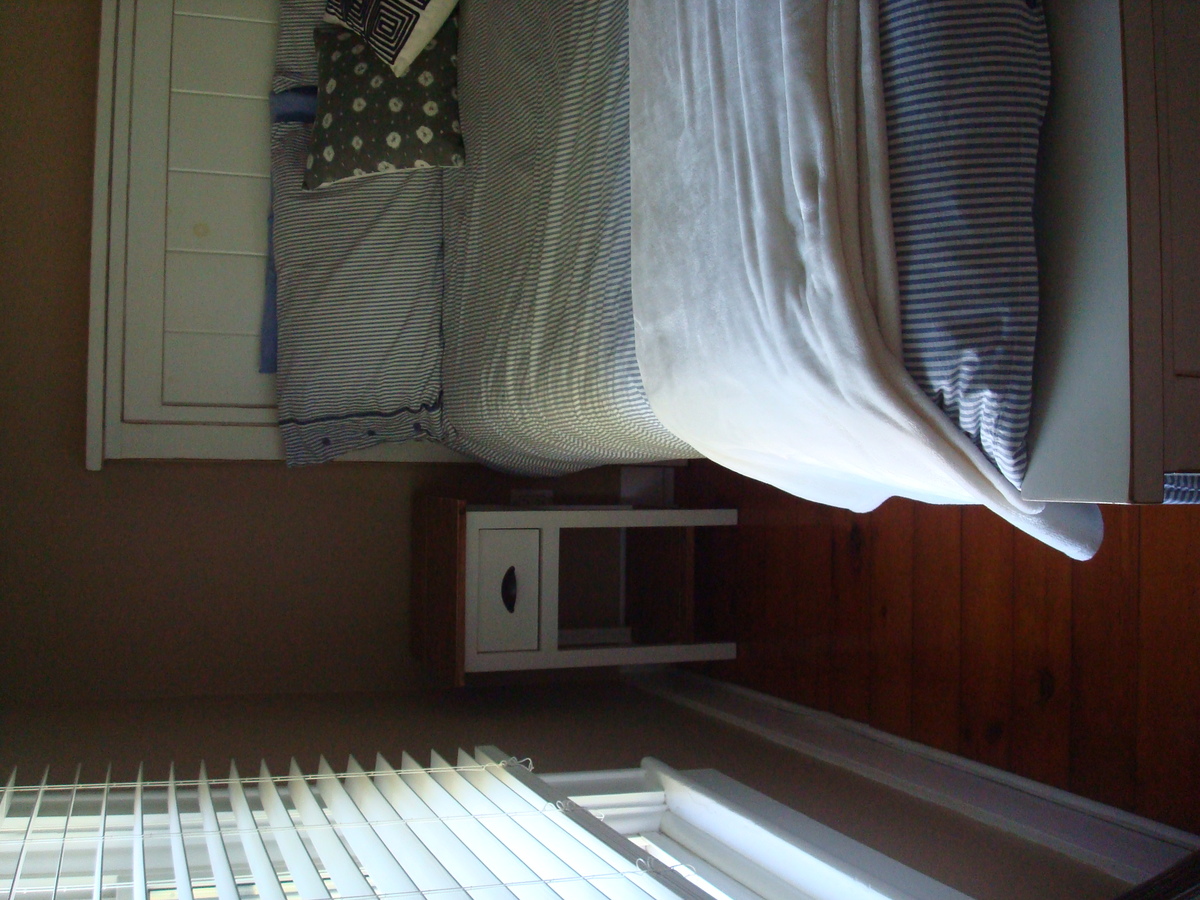
Farmhouse Bedside Table

Submitted by Amanda G on Sat, 10/19/2013 - 07:39

After finishing the farmhouse queen bed, I was eager to start another project. I needed bedside tables and I came across plans for the mini farmhouse bedside tables. After the building the first one, the second one went much quicker. Very happy with the results :)

Estimated Cost
$50.00
Estimated Time Investment
Day Project (6-9 Hours)
Finish Used
White paint, top and bottom shelf are stained with Minwax Special Walnut and sanded edges and corners to look a bit aged. Finished with 3 coats of Minwax polycrylic, sanding between coats.
Recommended Skill Level
Beginner

Comments

mom of 4

Tue, 10/22/2013 - 09:21

Really nice work on the bed and the tables. I love the look with white legs and stained top/shelf.

In reply to by mom of 4

Amanda G

Wed, 10/23/2013 - 19:34

I was very happy with the way they turned out. I just finished a storage bench with the white bottom and stained top, I'll post pictures when I get a chance :)

Sliding Barn Door Media Cabinet

Submitted by Anonymous (not verified) on Tue, 01/05/2016 - 10:27

Thank you so much for the plans! Very excited for how it turned out!

Built from Plan(s)
Estimated Time Investment
Weekend Project (10-20 Hours)
Recommended Skill Level
Beginner

Comments

Tracyjoe

Sat, 01/06/2018 - 18:52

I have built the cabinet part of the sliding barn door cabinet. I am trying to build the doors out of the 1/2” plywood for the back as suggested. The plywood is warping and I am not sure what options I have to salvage the plywood.

Reclaimed Wood Headboard (air quotes)

Submitted by AlexWS on Mon, 10/31/2011 - 11:07

OK, first off this is not in any way, shape or form the Ana White plan for the Reclaimed Wood Headboard. However, I had to include a plan link and it IS a headboard made with reclaimed wood. So yea, air quotes. Second, I apologize for the poor quality photos of my recent brag posts. The digital camera is gone so these are iPhone specials. On with it now. This is my quick and dirty way of making a headboard, and kind of cheating. All you're looking at in these photos is some 2X3s and 2X4s around an old door to the root cellar in my basement. That's right, for once my main source of building material was not a pallet. As I took the door off the old rusty hinges and cleaned off the dust and cobwebs it occurred to me that this was probably original to the house from 1920. With that kind of history in mind the only thing I could do was take a saw to it and hack off 18 inches, oops. The 2X3 posts on the side were actually supports for a shelf that was made from a door(more on that to come). That shelf was actually found in the root cellar the door was for, this house has been pretty beneficial to me so far. The 2X4 top is from a pallet and aside from a 2X6 at the bottom to attach it to the bed, that's it. After that it was simply a matter of some oops paint on the trim(that would be the red) and a bit of sanding once it dried. The white is simply the condition the door was in.
Estimated Cost
Free
Estimated Time Investment
An Hour or Two (0-2 Hours)
Finish Used
Oops paint and a quick sanding for the trim, years of aging for the main portion.
Recommended Skill Level
Starter Project

Comments

debandtom25

Thu, 11/10/2011 - 06:53

Totally attaching this to my Pinterst acct. I love when items are re-purposed and you did a fab job here!

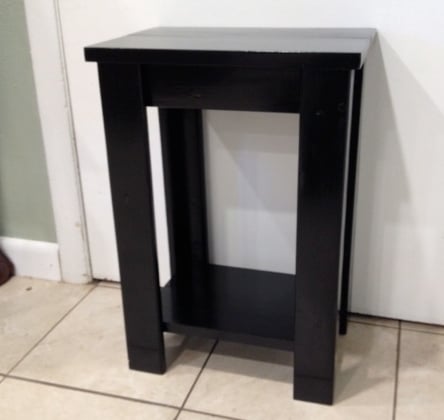
Small Table

I made this little table for my sister-in-law. She needed a specific size to fit in between some bookshelves. She is going to put a lovely fish bowl on top. It cost me about $10 for the wood and paint. I modified Ana's plans for the "simple, cheap and easy console table" to fit the space.

Estimated Cost
$5 for lumber, about $10 total with other materials.
Estimated Time Investment
Afternoon Project (3-6 Hours)
Finish Used
I used Rustoleum Gloss Black paint/primer in one. Then I used minwax polycrylic.
Recommended Skill Level
Beginner

Farmhouse Table soon to be desk

Submitted by Anonymous (not verified) on Thu, 01/07/2016 - 06:32

I built a narrower version of the farmhouse table with a few modifications to be used as a temporary dining table, and eventual home schooling desk. I used 5/4 boards for the top and for the apron in order to get a smooth top and have a beefier support. I used a 4x4 for the cross brace with a half-lap to give more support to the stretcher and to stabilize the legs.

Estimated Cost
Under $100
Estimated Time Investment
Weekend Project (10-20 Hours)
Finish Used
A 50/50 mix of Minwax Provincial and Ipswich Pine, with two coats on the top and apron and only one on the legs. In the post it shows how much darker the legs were after the first coat of stain.
Recommended Skill Level
Intermediate

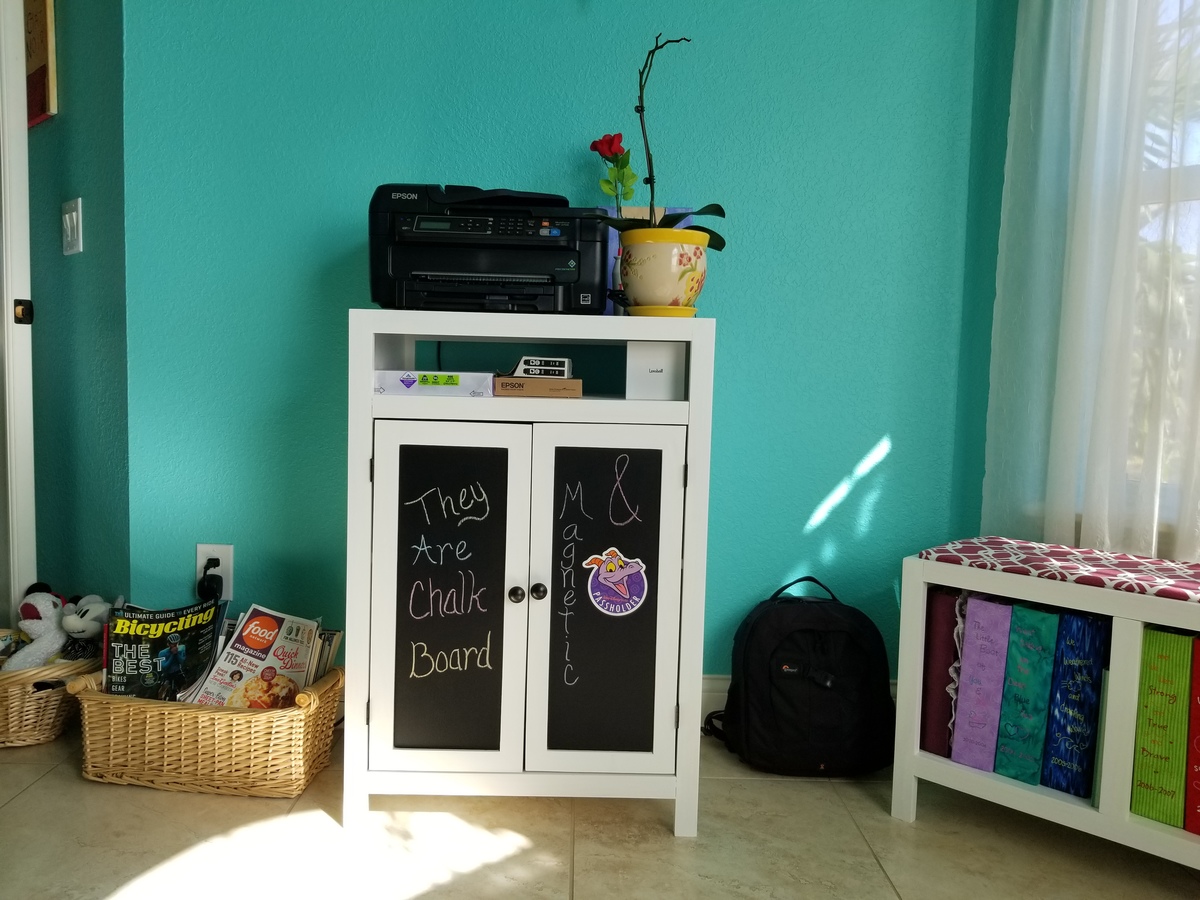
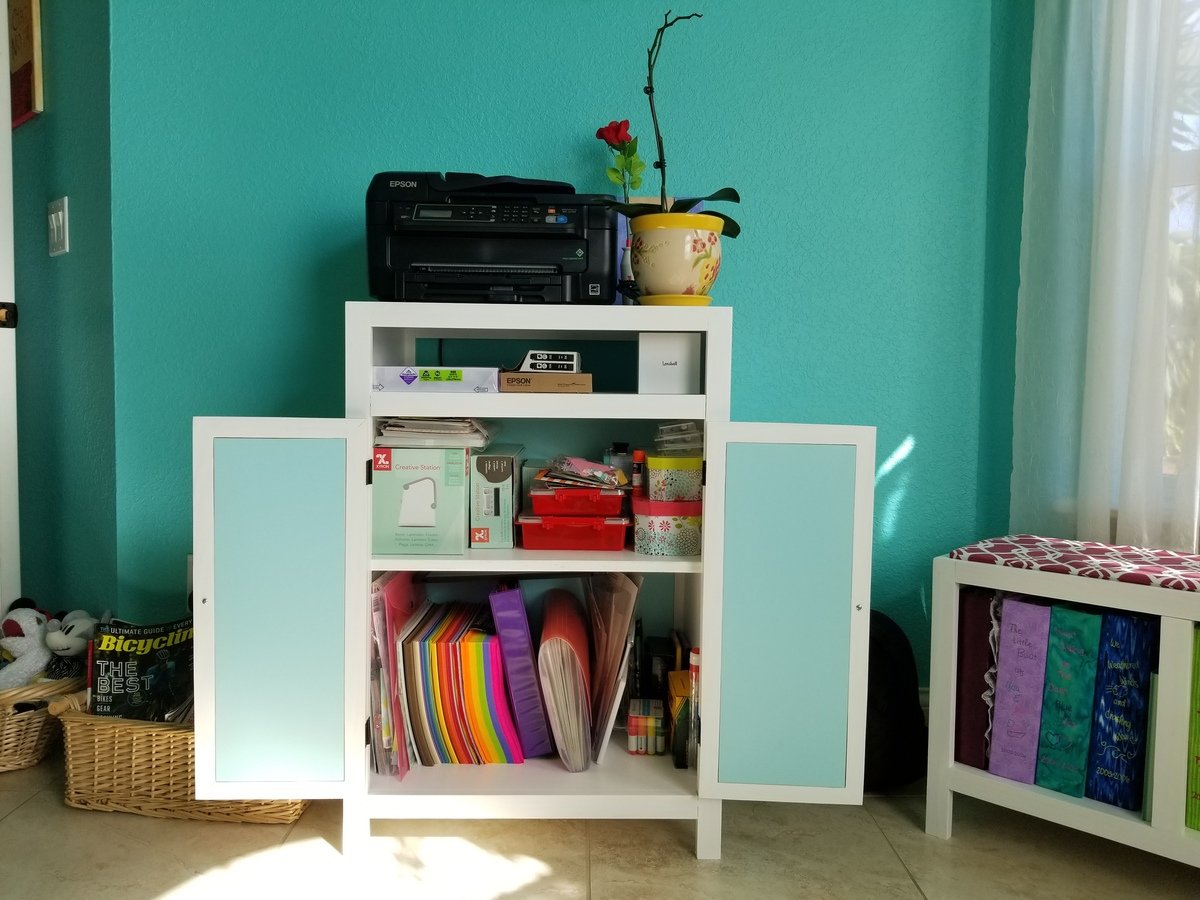
Printer Stand

I designed this Printer Stand in a style to match the Easy Three Cube Benches I had already created for my craft room.  I built the box out of whiteboard plywood and used good pine 1x2s for the legs and trim.  I added doors made from trim, luaun and sheet metal.  I thought it would be cool to have the doors be magnetic and also chalkboard.  I cut out the door inserts from luaun, then bought an inexpensive piece of galvanized sheet metal, cut the sheet metal to the size of the luaun and glue it on.  Then painted it with chalkboard paint and glued them into the frames.  This project only took a day to build the basic box with trim.  The doors took a little longer, and it took about a week to get it sanded and painted.

Estimated Cost
$50-$75
Estimated Time Investment
Day Project (6-9 Hours)
Finish Used
Valspar Furniture Paint in Ultra White
Recommended Skill Level
Intermediate

Benjamin's Deck Chair

Built this for my 2 yr old son. It's adorable!
The only trouble we have is that when he climbs in it wants to tip forward, a weight or stake into the ground on the back cross brace would probably solve it.

Estimated Cost
Scraps!
Estimated Time Investment
An Hour or Two (0-2 Hours)
Recommended Skill Level
Starter Project

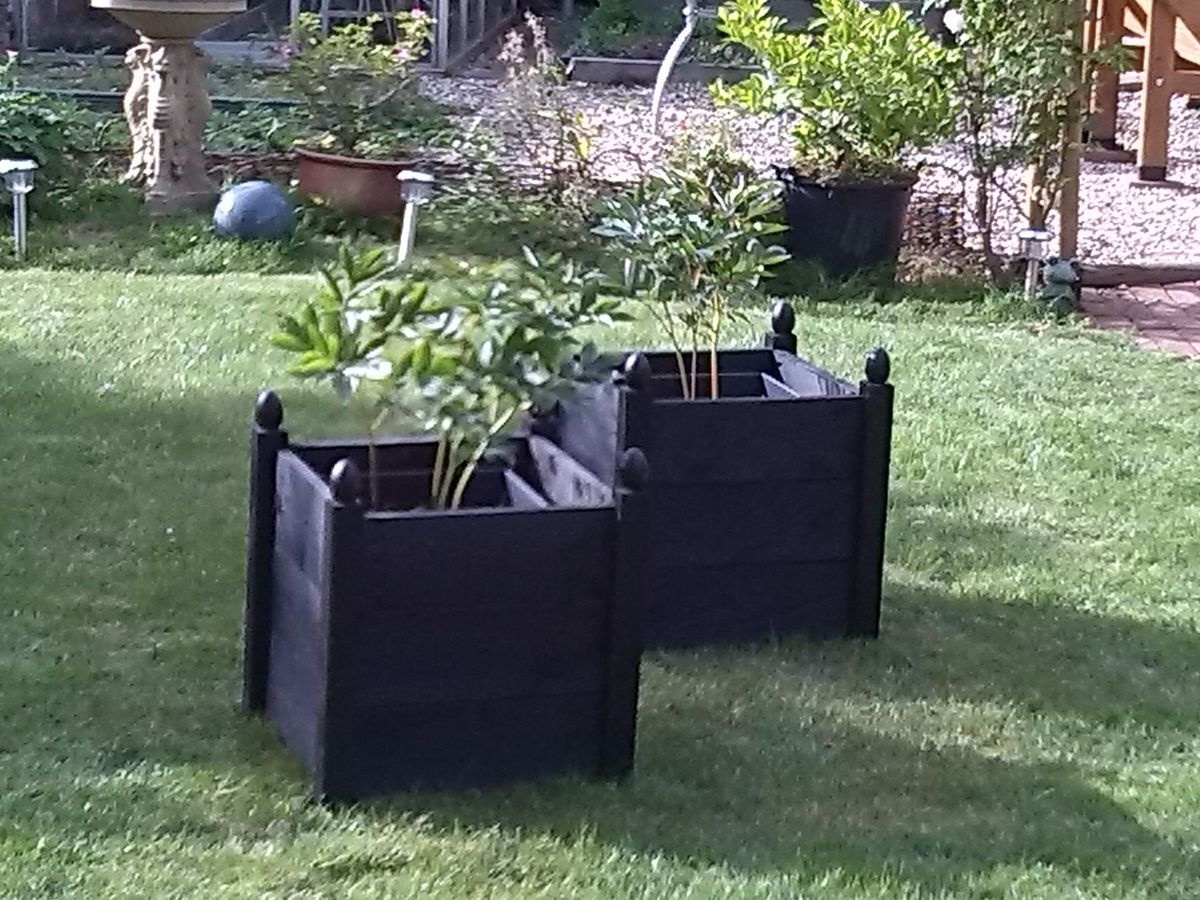
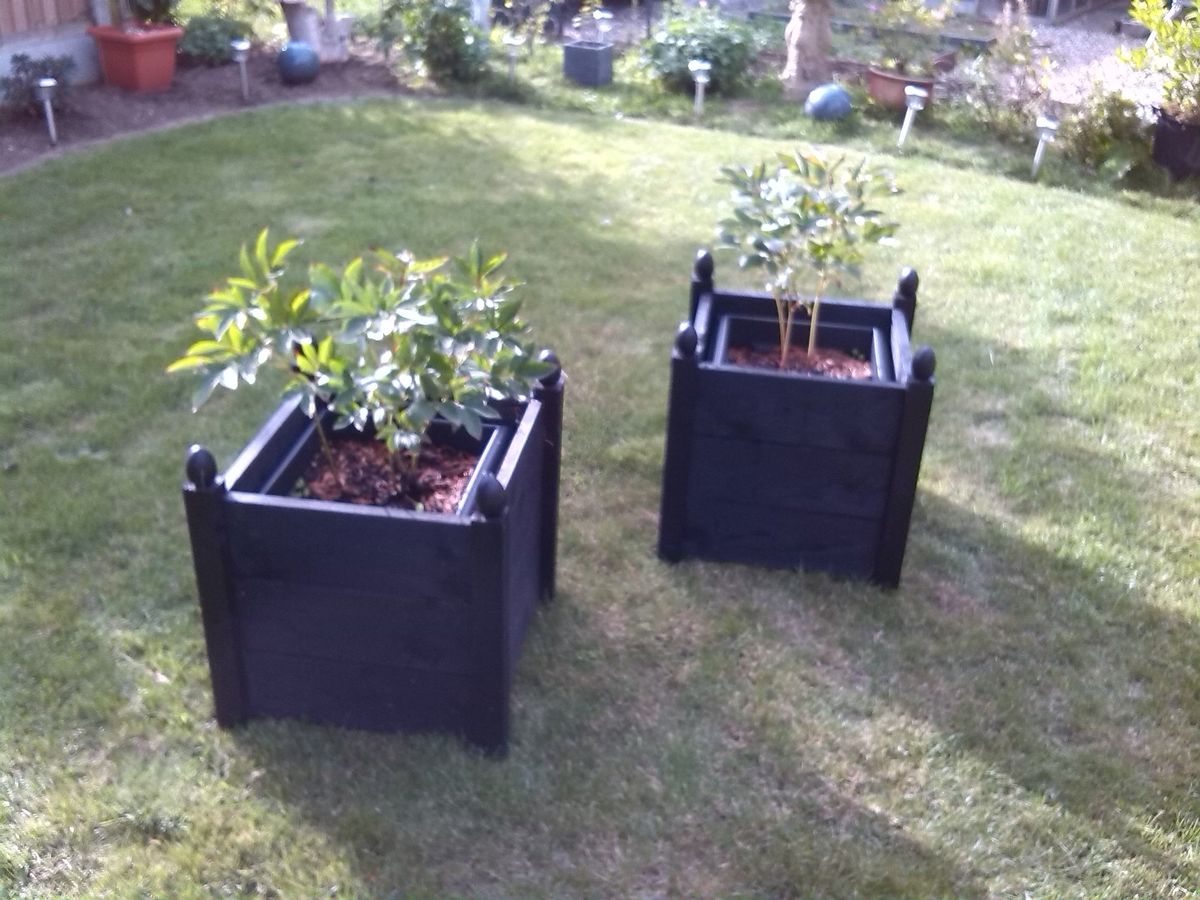
A Lovely Pair of Planters with Finials

Submitted by Shelly2215 on Fri, 10/25/2013 - 05:46

I wanted a fairly simple project to get started with, something I could make use of around my home and to help me get familiar with my new power tools - well, this project did the job nicely!
I'm extremely happy with the way the planters turned out and have already had other people asking me about them as they would like some too.
These planters worked out fairly expensive for me as the materials were extremely good quality and very heavy duty in size, I think I could get away with using slightly less robust materials to bring the costs down next time.
I had difficulty finding finials for the planters so I used some wooden turned eggs that I already had from my collection of pyrography blanks.
I can't wait for my next project now which will be a little more ambitious. I absolutely love Ana's website and can't wait to see what else I can make.

Built from Plan(s)
Estimated Cost
£80 a pair (UK)
Estimated Time Investment
Weekend Project (10-20 Hours)
Finish Used
Black Ash exterior wood paint from Culprinol.
Recommended Skill Level
Beginner