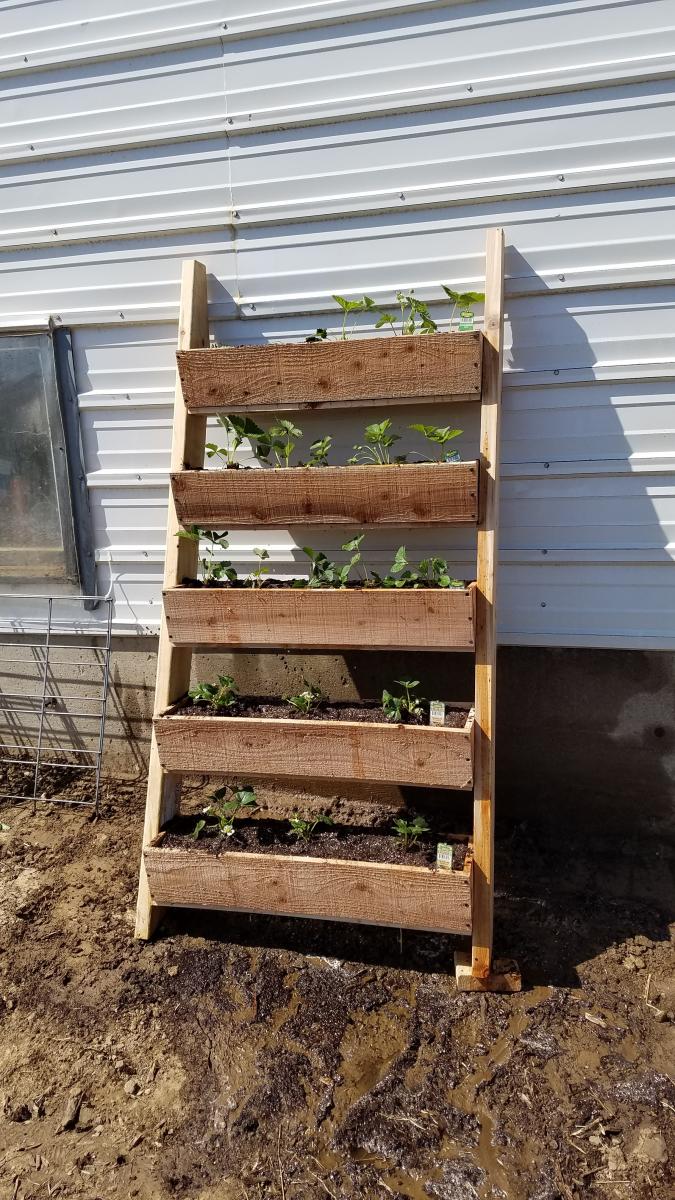
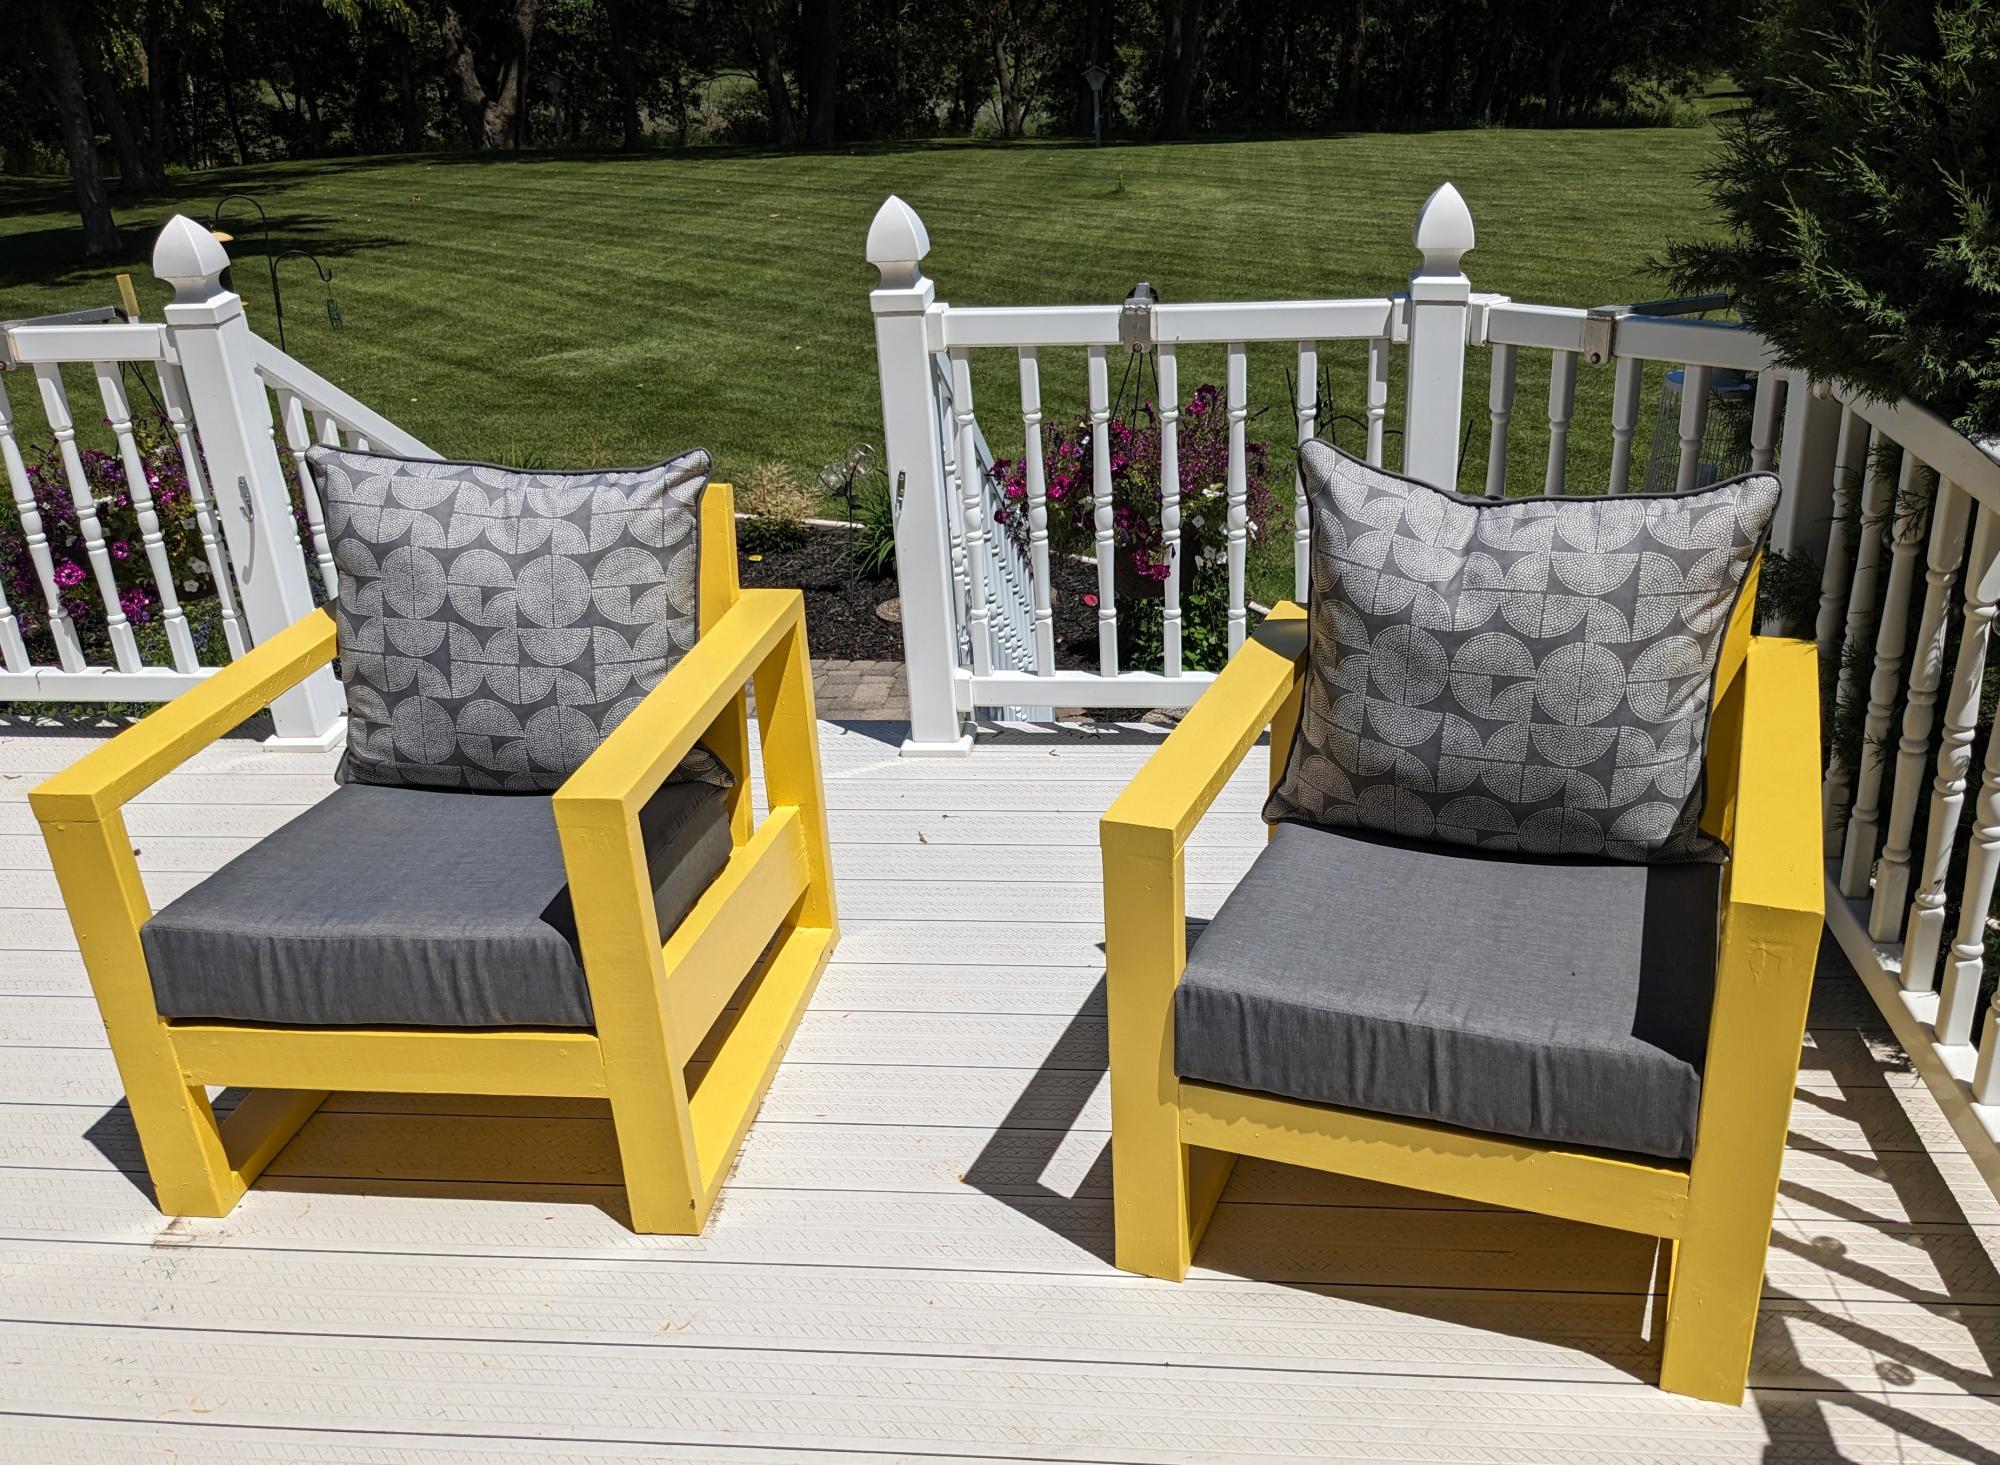
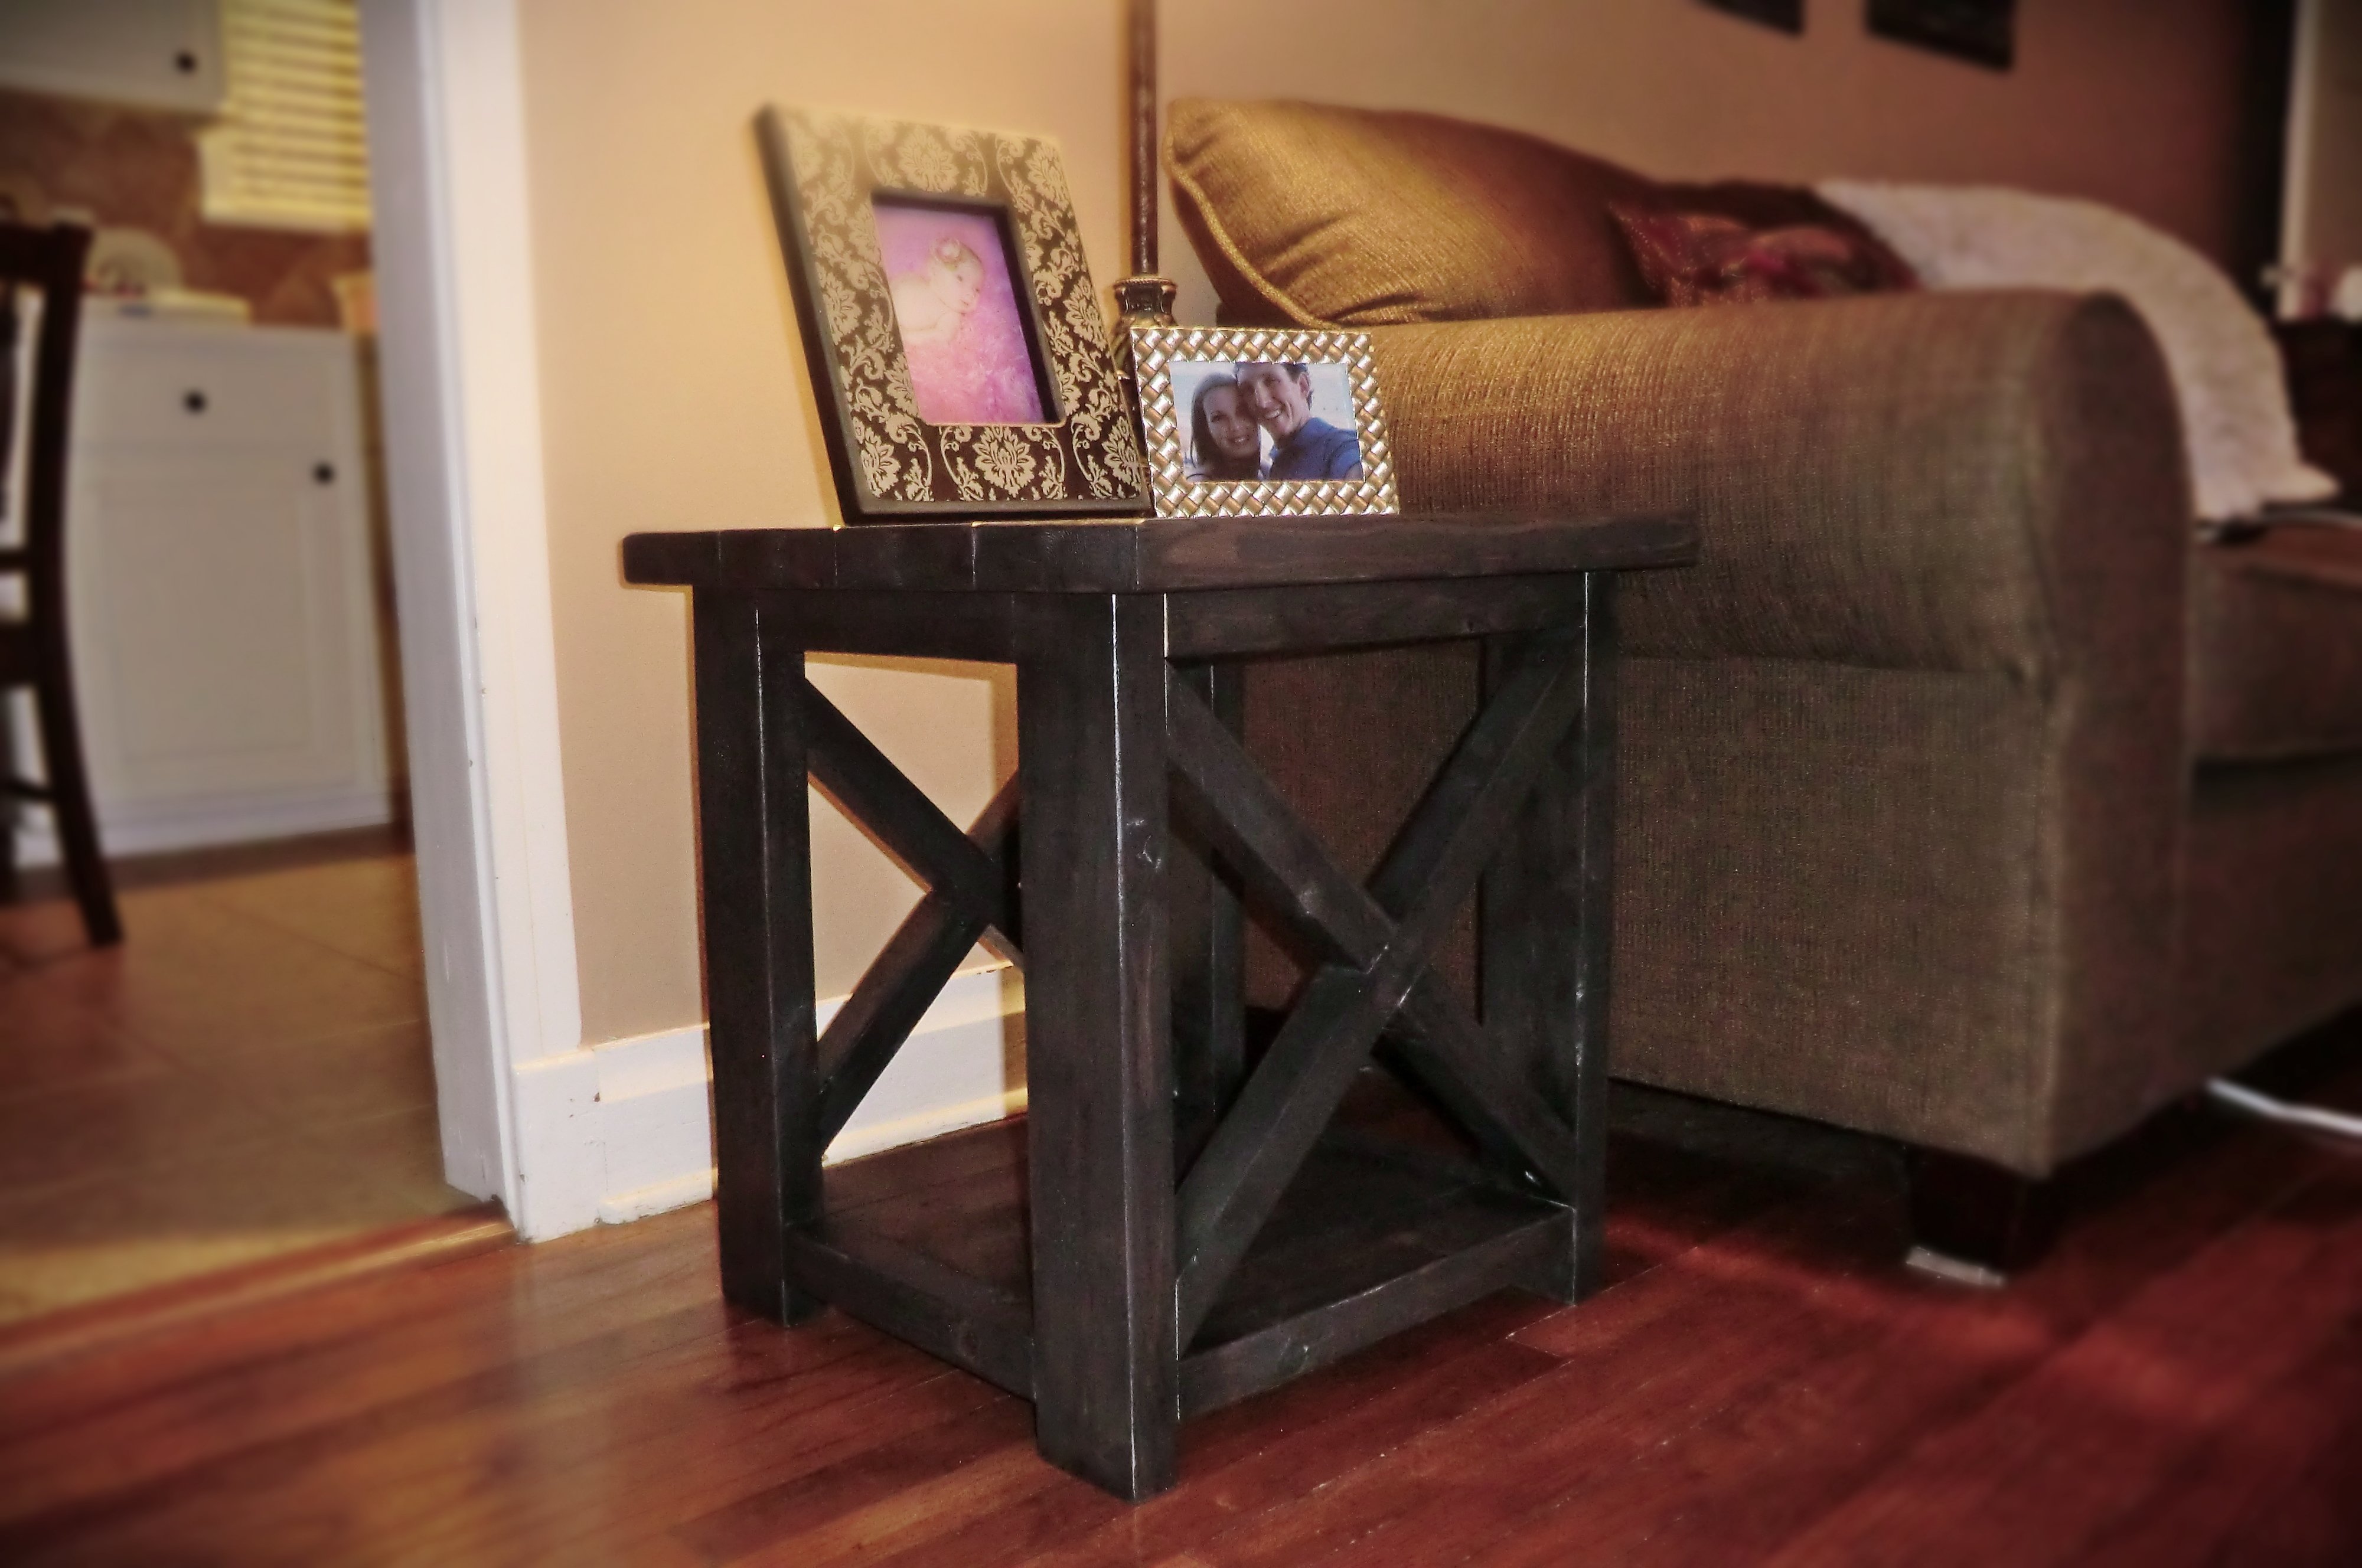
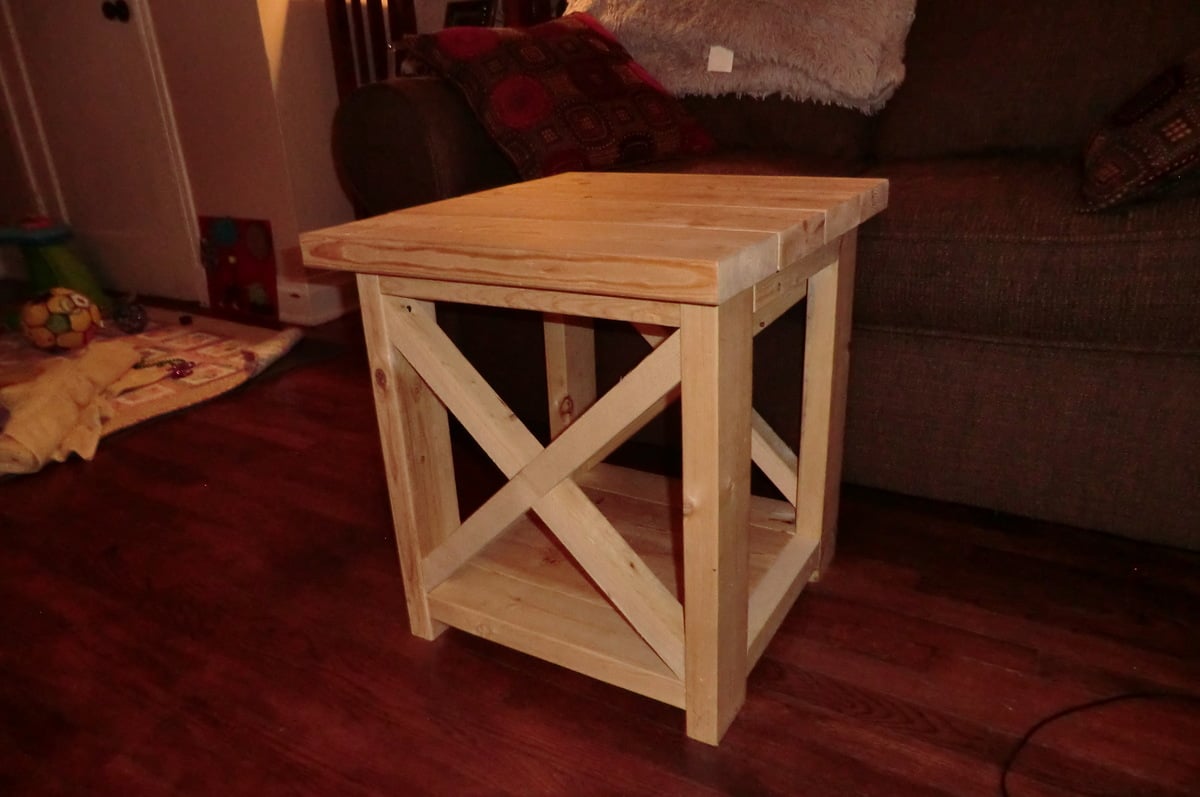
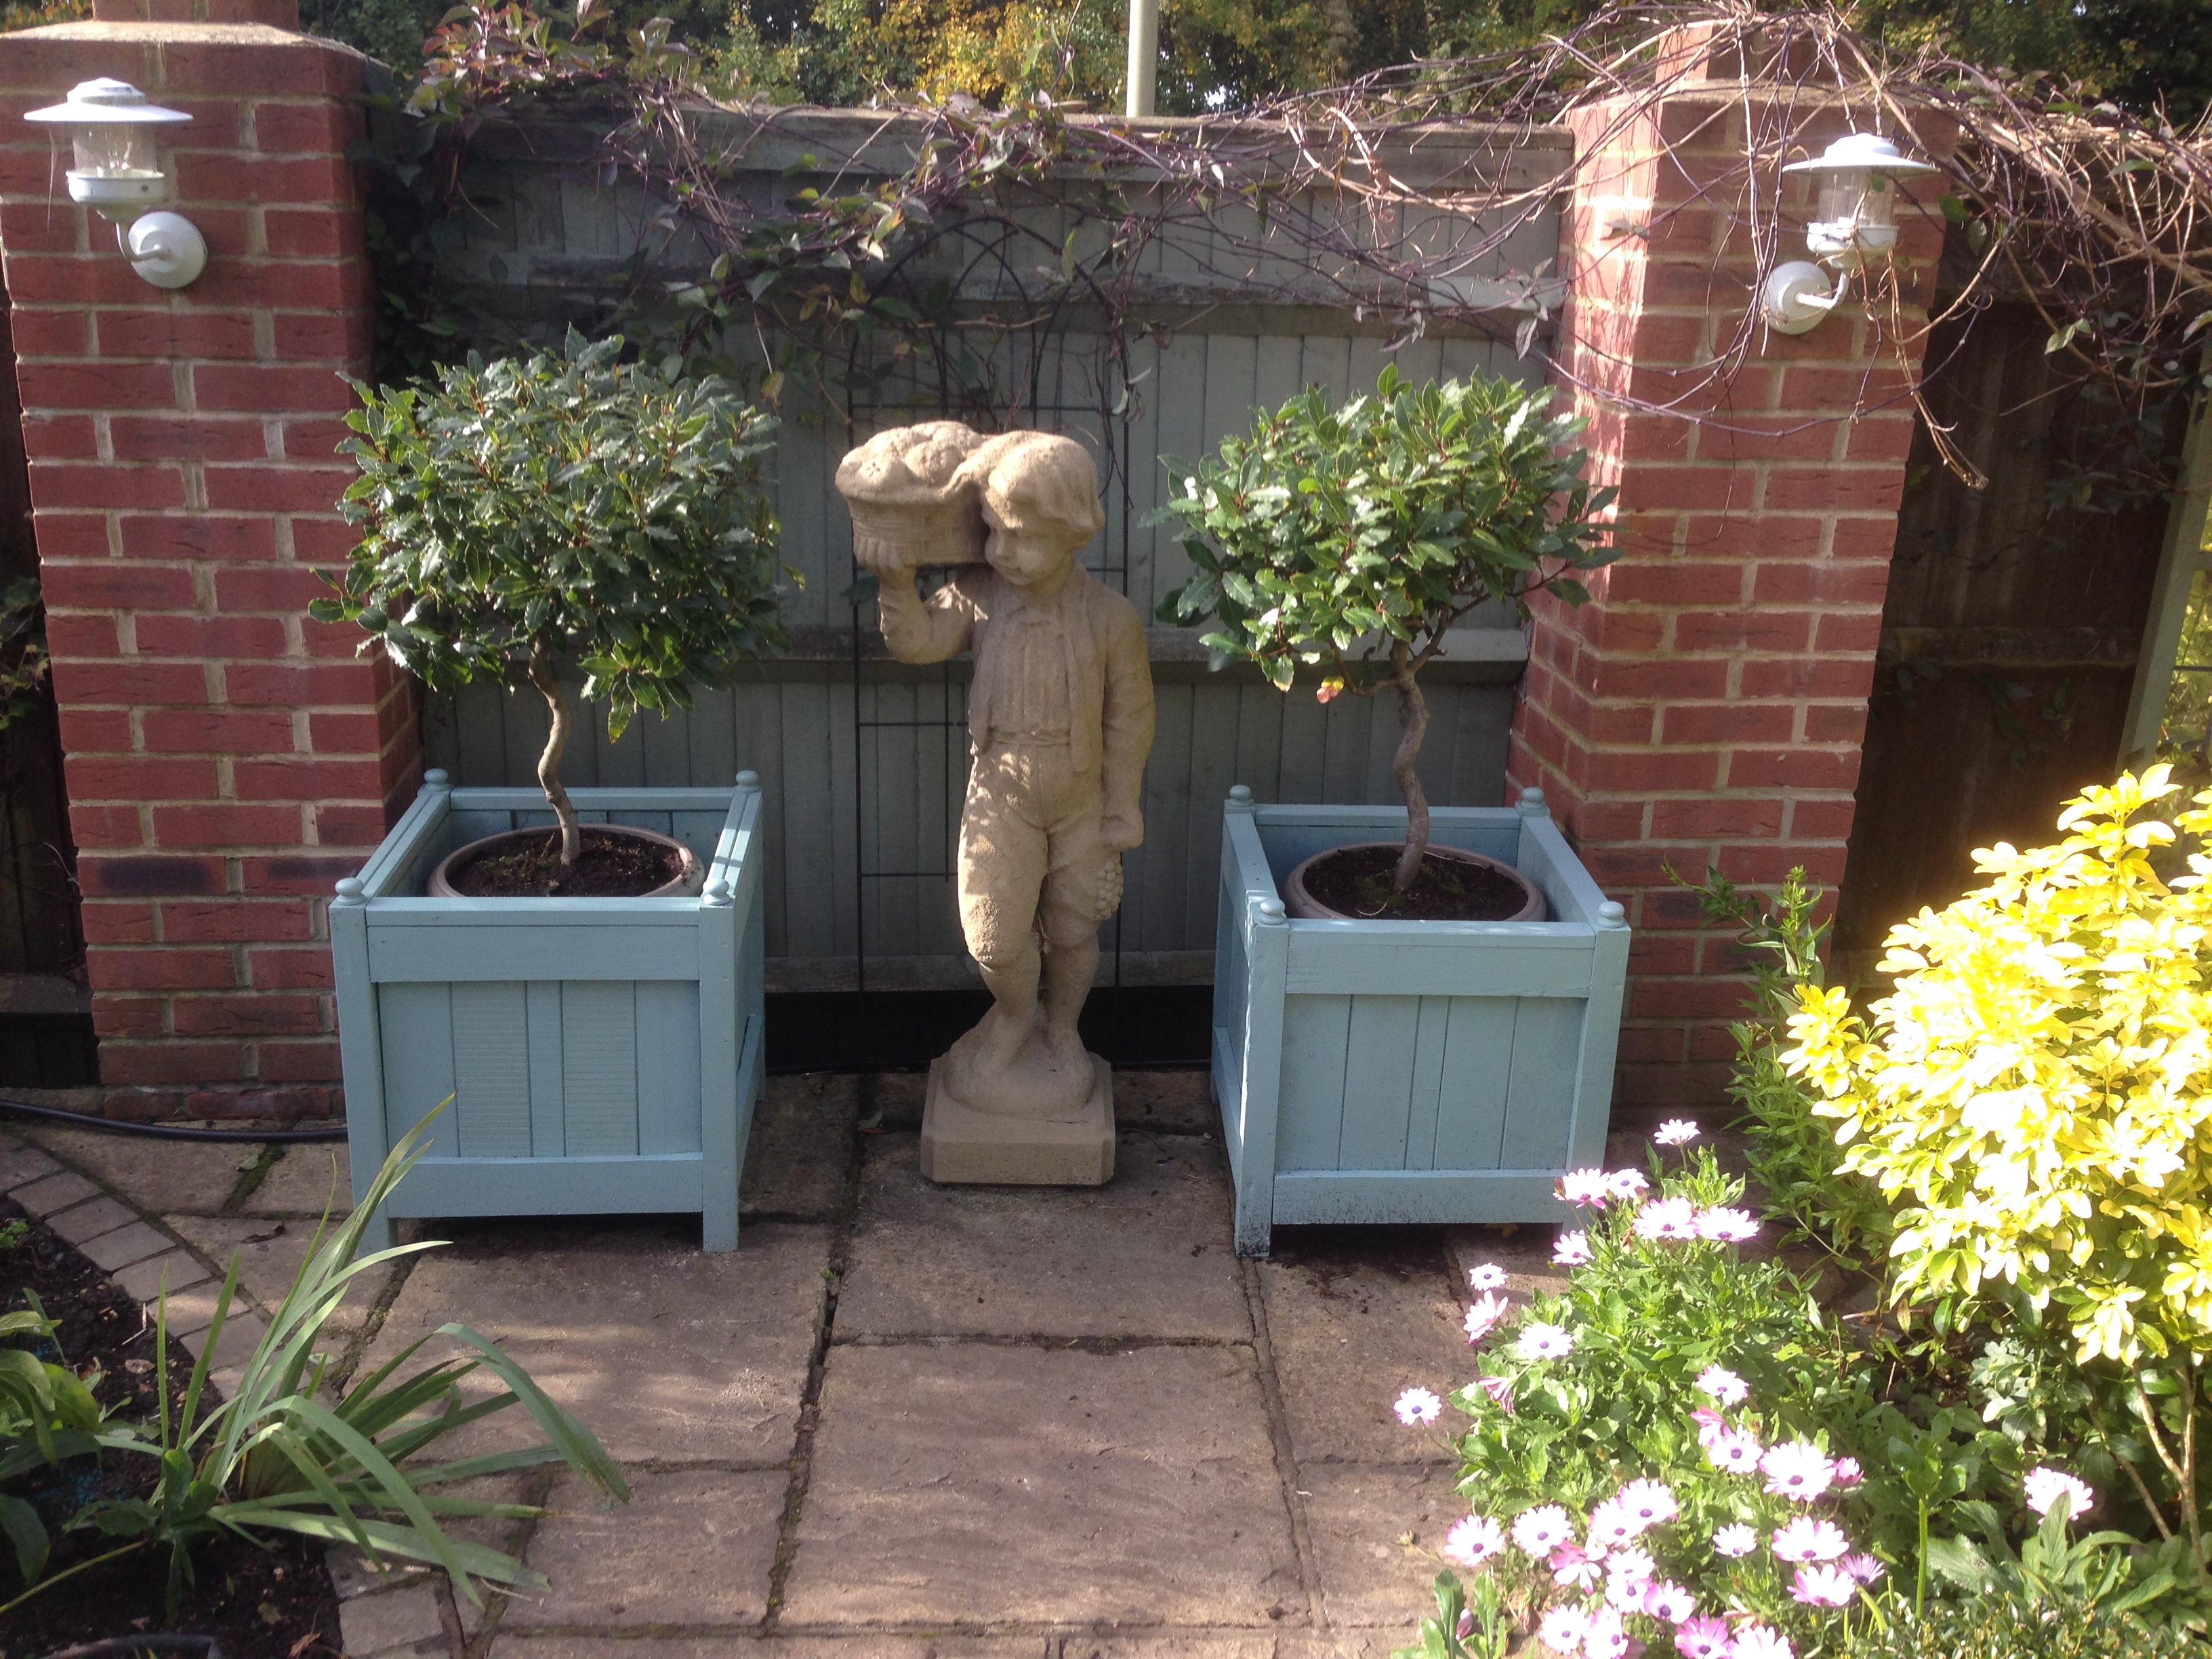
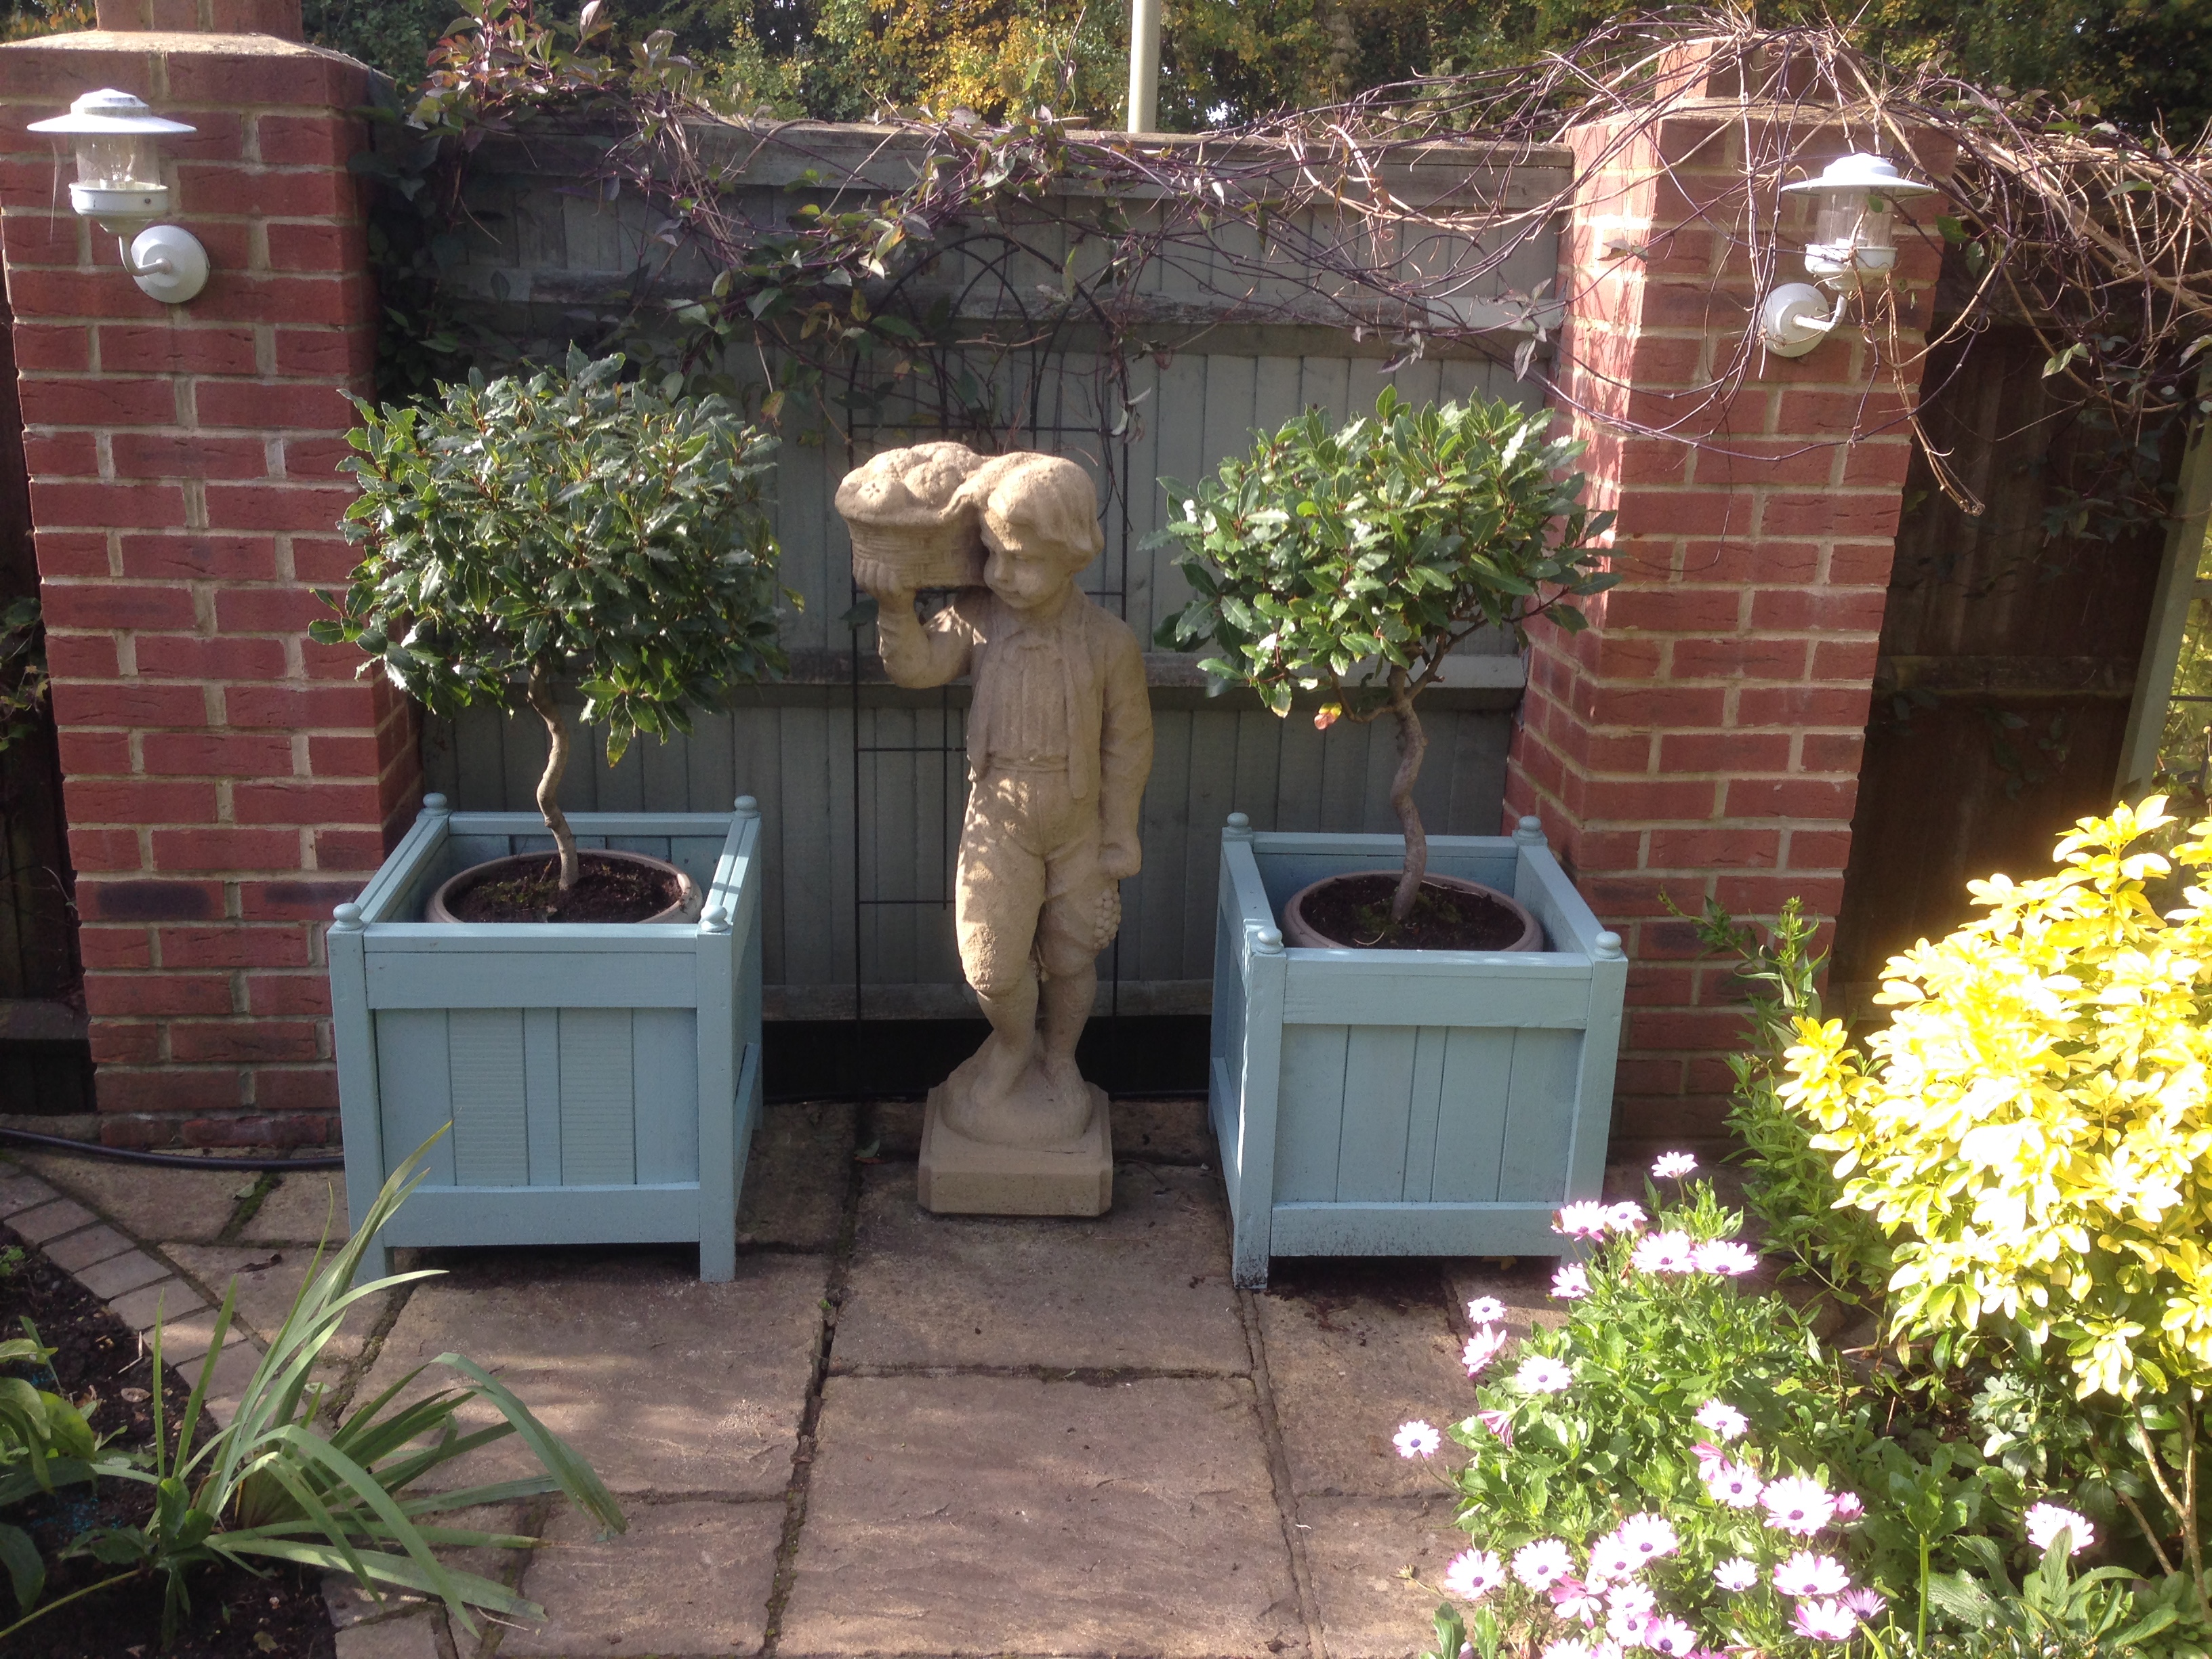
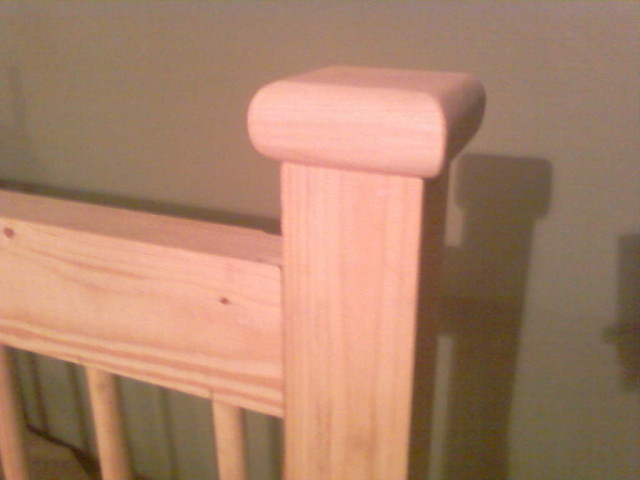
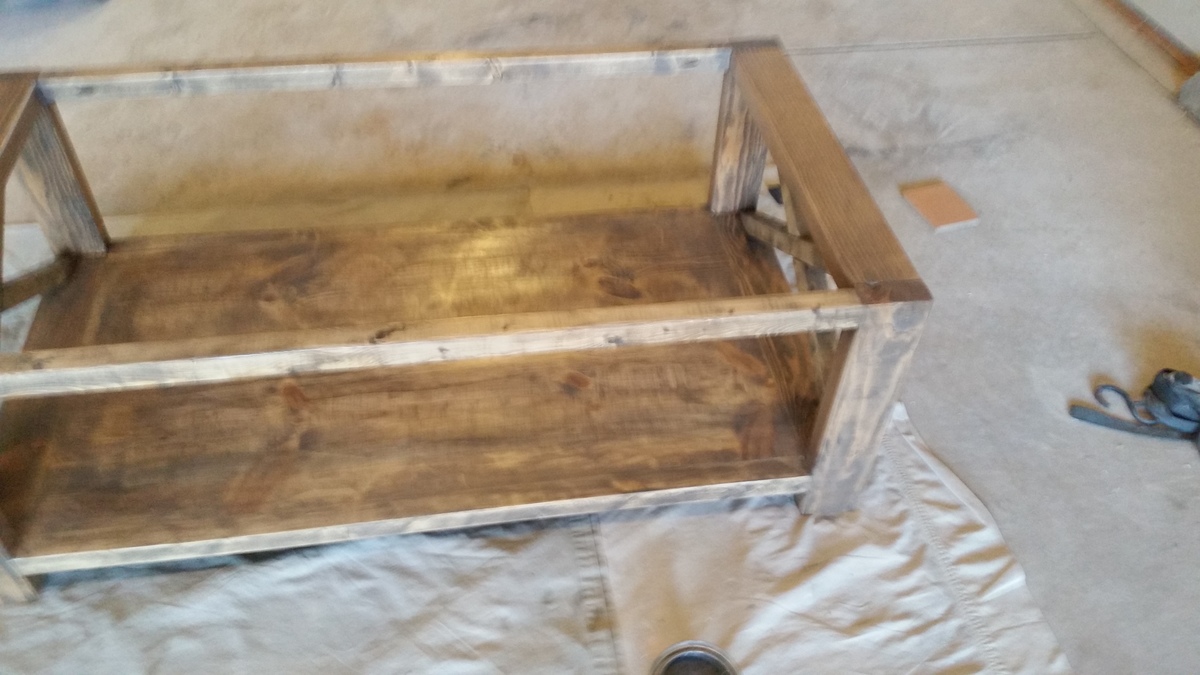
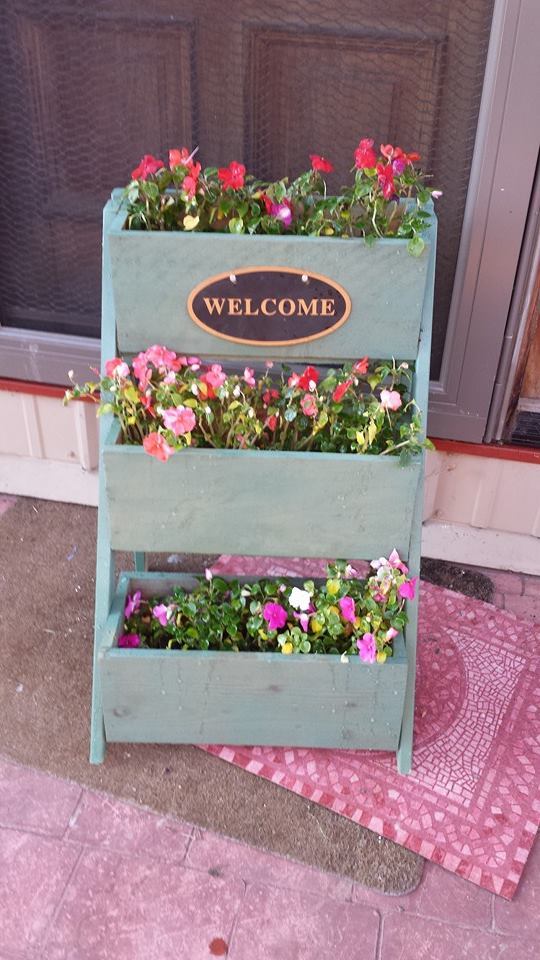
DIY Rustic Console Table
Built by Wndy D Keever-Keefe
"This was my very first build ever. Totally inspired by Ana White, I happened upon her site one day about 4 years ago and have since built lots of her plans."
Built by Wndy D Keever-Keefe
"This was my very first build ever. Totally inspired by Ana White, I happened upon her site one day about 4 years ago and have since built lots of her plans."
Dear Ana White.,
First, I am a fan of your woodworkingand I follow you on YT. I like your approach to projects, making it simple and easy but still making very fine pieces that both are nice looking at and good for use.
My former neighbor needed a bench in the hallway of her new apartment; with the desired measures (roughly) 5’x19-20”x18” (150x50x45 cm). And then I saw your mudroom bench on YouTube which inspired me building my own bench according to the general ideas from yours’. So, I made like a frame with 2x3”, then I let the plywood sides proceed down to the floor, leaving a space between the carcass and the floor of 15 cm (6”), for shoes. Three drawers and using a scrap bit as space block for the drawer slides it was not that hard to get them in place. The top sheet is a slab of massive oak that are sold as “shelf material” at our local store (Bauhaus, possibly the Swedish equivalent for home Depot?).
I think it turned out pretty well, and I am grateful for your work, inspiring me and making my own woodworking easier.
Best//Göran Redmo Tyresö, Stockholm Sweden
Fri, 11/05/2021 - 11:36
This is a timeless beauty, I love the mods you made, thank you for sharing!
I emailed my husband the plans for this desk on a Friday night and said we HAVE to make this desk this weekend. I can't believe he actually went for it! Well it turned into about 3 weekends and some nights of painting. We also had some issues getting straight and square plywood and boards with knots in them. He also added some extra holes in the sides for me to adjust the shelves. We used an oil based white paint to finish the desk and looks nice and clean and shiny. I can't wait to get started on our next project! Please check out my blog for more details and photos and information on materials used, etc. (kitcats-studio.blogspot.com/2011/craft-table-made-from-plans.html
PS - {I had one more coat of paint on the drawers to finish so ignore the bare fronts of the drawers.}
This is the first furniture building project that my husband and I have completed. It took us about 5 weekends to complete it- including finishing.
We started with the benches as recommended in some of the comments and ended up buying a pocket hole jig and redoing the tops of the benches before completing the table.
The stain is Minwax Red Chestnut and there are three coats of Minwax Fast Drying Polyurethane on it. We're so happy with it and can't wait to start the next project!
Built for my sister. Because she liked mine so much :) I also built her an apothecary console to use as a side board in the dining room
very easy. I ordered my pins and ball off amazon
What a great project! Simple and relatively easy. Very stylish chair!
I built this hutch from Ana's book. I made a few modifications to the plans. The stained top and stained back planks are from reclaimed wood. If you build this hutch be sure to choose white knobs. I my opinion, its what makes those hutch pop. If anyone has any questions I would be happy to answer them. - Brad
In reply to WOW by Ana White Admin
Wed, 06/12/2013 - 18:15
Thank you Ana. I love your book and your website :)
Tue, 10/28/2014 - 07:25
Hello! I am currently building this console table and hutch. At the moment, I am stuck on attaching the console legs to the side aprons. The legs are not sitting flush with the side aprons. Did you have this issue with your 2x2's when attaching them to the side aprons? If so, how did you fix this issue? The directions say to attach flush to the aprons but mine won't be flush on both sides, only one.
This kitchen island should be your next project. My wife wanted me to build an island for so long, but I never thought I had the skill to get it done. I can truly say this was only my second woodworking project and it was pretty simple. I learned a lot along the way and made a modification to the drawer rails. The key to my success was the Kreg jig. In the end it was a blast to build and I couldn't have done it without Ana's plans.
The rolling kitchen island is the central point of the kitchen now, even though we have 75'sf counter space to use. It seems to be used by everyone in the family whether it's getting something out of the fridge or using it for serving. Well worth the effort..
MODIFICATIONS: I made two small modifications to the project.
One was the casters. Instead of the plate casters I installed threaded stem casters with a T-nut in the bottom of the legs. The casters are adjustable so it's easy to keep level. The second mod was the drawers. I initially built the drawer with wood rails, but was not happy with the drawer falling to floor, if you pulled it out to far. Living in a humid climate, I could see the original rails swelling and then the drawer would be hard to operate. My solution was to add metal rolling sliders. I had to remove the 2 x 2's on inner cabinet and the 1 x 2s on the drawer itself. I added 1 x 2s on the inner cabinet, mounted 12" metal sliders ($5)) on the 1 x 2s and screwed the other half of slider on bottom of drawer. It may require a small shim behind sliders to make it fit perfect though. I provided photos of this mod. My drawer works perfect now. There is no dragging, no falling out and no wear.
Hi Ana! This project was pretty much inspired by ALL the great things you build on this site, as well as from watching a 'Fixer Upper' marathon (hence, the white color and shiplap). Last Christmas, I promised my sister that I'd build her a hall tree since she's now up to 10 grandkids and needed more hooks for all those coats and hats. Unfortunately, I also came down with a WICKED case of vertigo, so no power tools for yours truly. : (
Well... The vertigo finally cleared up, so it was time to get out my trusty ol' Kreg Jig and fire up the tools.
This project started with 2 4x4s. I cut 17 1/2" off each, then used the long pieces as the back and the sort pieces as the front legs. Then I built a rectangle (shored up by some cross supports) out of 2x3s and used those to attach the back legs together with pocket holes. I did the same thing with the 2 front legs, then attached the 2 sets of legs together with shorter pieces of 2x3s that framed up the side.
Next, I added a front to back support to the underside, and then attached the bottom of the seat on top of that. I built the front, back, and side pieces of the bench section by cutting a couple of 8' x 8" x .5" planks to size, and attached 2 pieces to each side by gluing and nailing them to the frame. Then, I rans some shiplap up the back (glued and nailed to the back frame) and topped it all off with a mantle.
For the seat, I used a 12" project board ($11 at Lowes for a 6 foot section) because I love all the knotty details and nail marks. I framed it out with 1x1 and attached with pocket screws on the underside. I finished that piece by staining it in Rustoleum Dark Walnut.
As for the rest, I just framed the shiplap section with leftover 1x1s, then sanded and stained the whole piece with the same Dark Walnut stain (so that something would show through after distressing). Finally, I applied 2 coats of Rustoleum Linen White Chalk Paint (LOVE that stuff!), distressed it, and topped with one coat of Minwax 1 Coat Poly (ALSO love that stuff), and added some hardware and country do dads from Hobby Lobby (Rustic Hooks, 'Bless This Home' Sign, Decorative Doorknob, and "Mitten Clip" for wet mittens and gloves coming off little hands) . What do you think? ヅ
This took me about 20 minutes! I love the look of it and that it can just be left out when the kids aren't doing art. A great little item to add to keep the kids busy and inspired. I made a couple of mods from the plan. I used glue and nails instead of pocket holes and I did that bottom board flat instead of on it's side. I also used a little bigger dowel, and bought two rolls of paper on Amazon for $14.I'm giving this to my daughter for her birthday with some fun art supplies, so I think it's a great gift idea for any occasion for those crafty people out there!