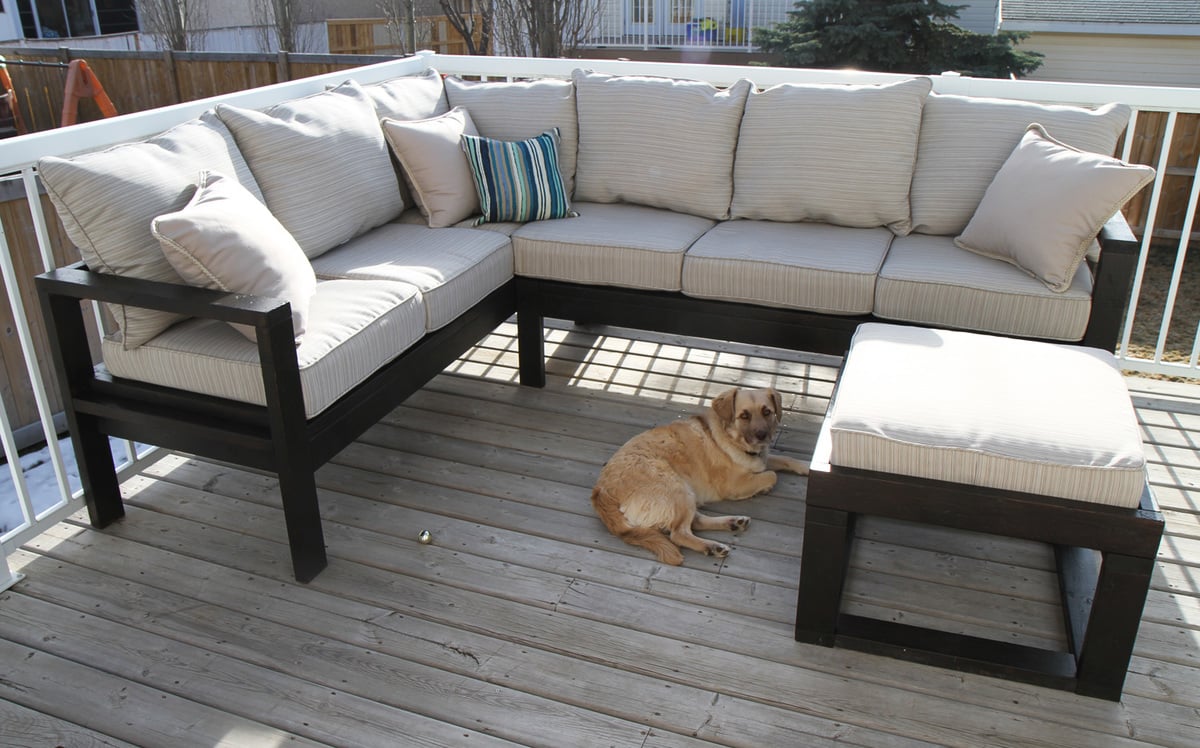
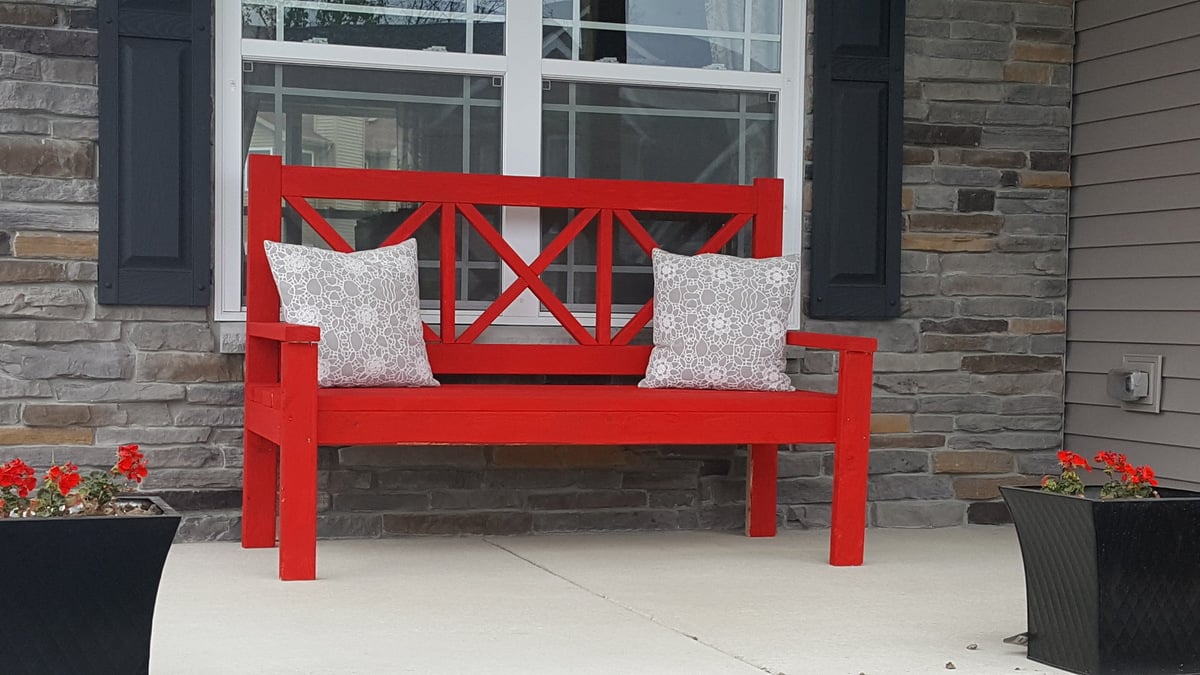
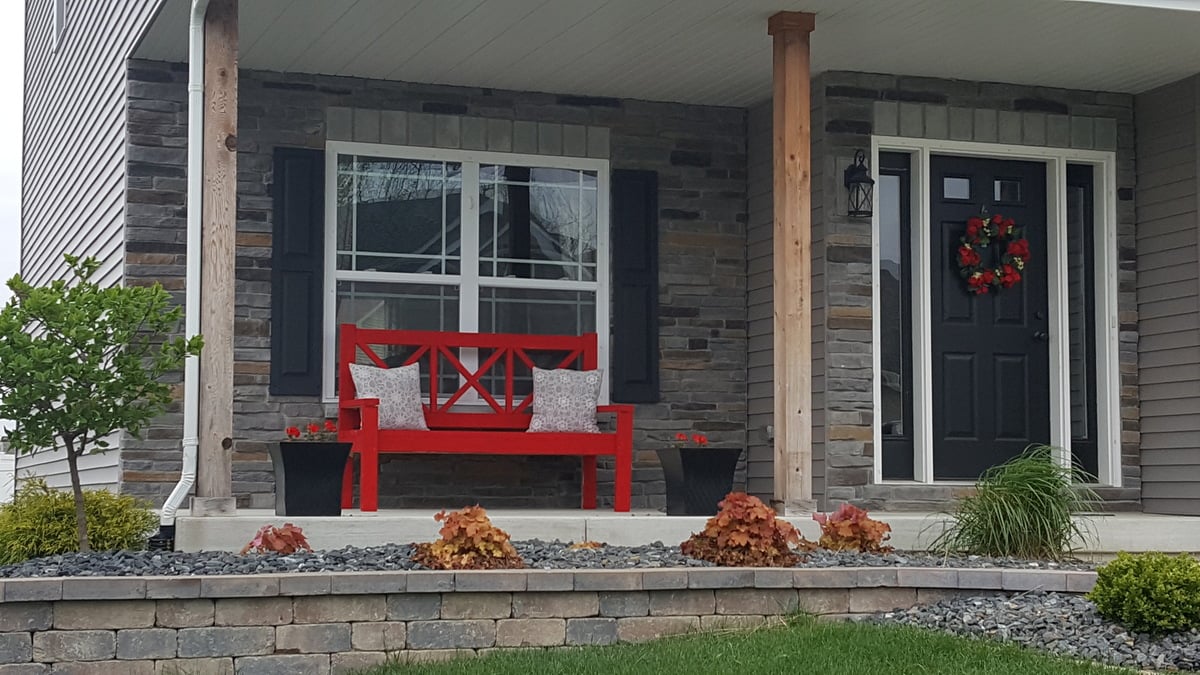
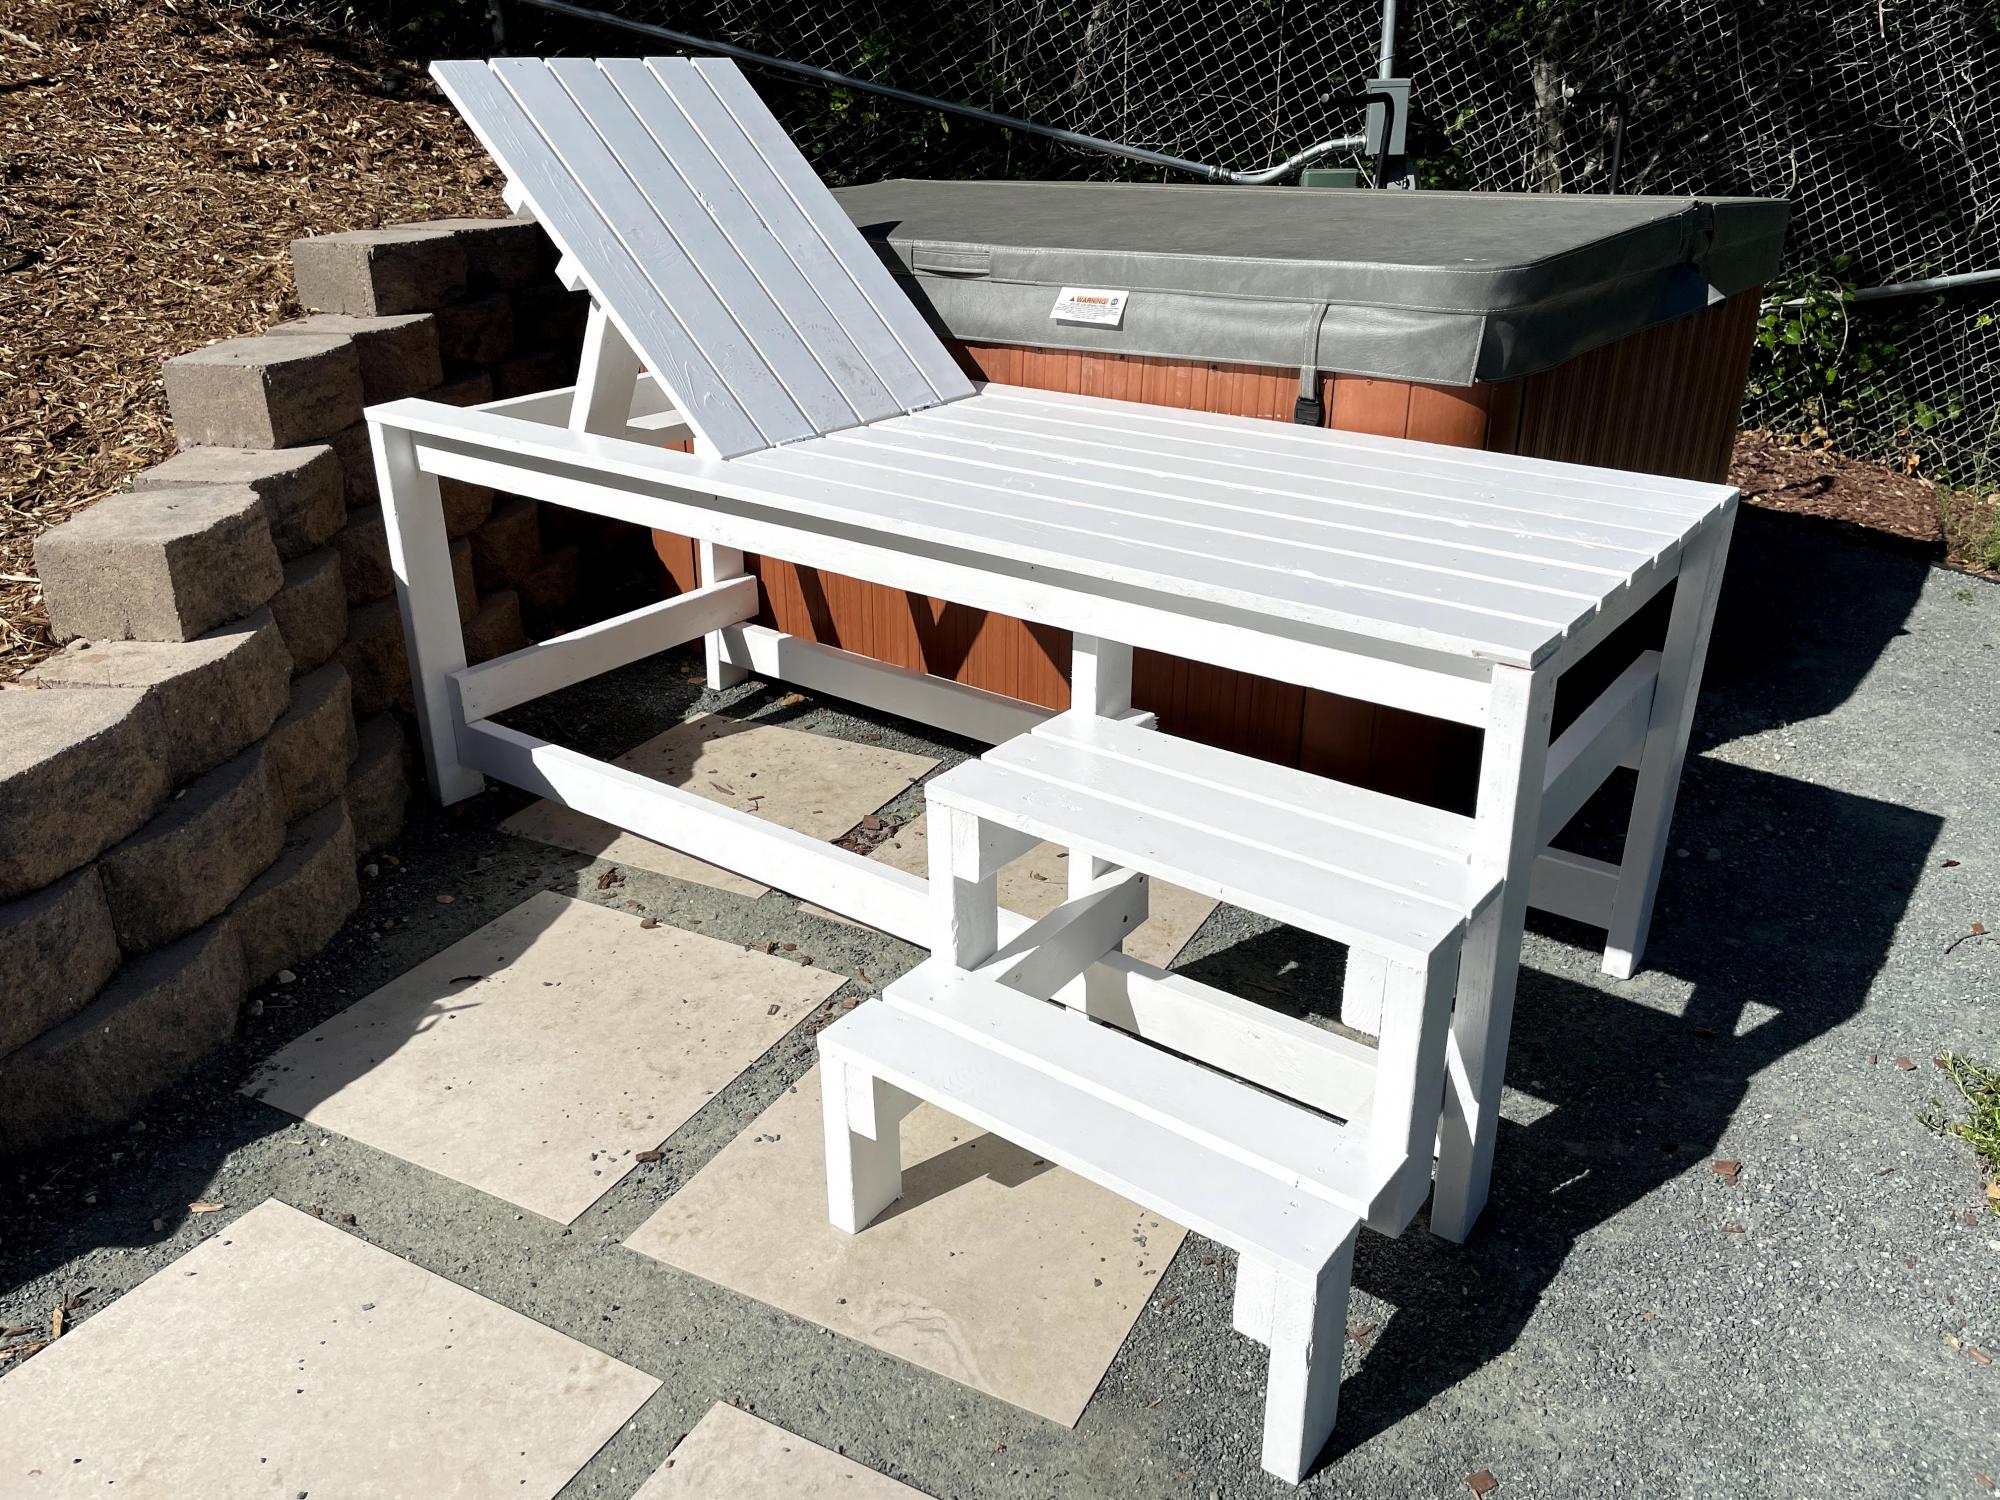
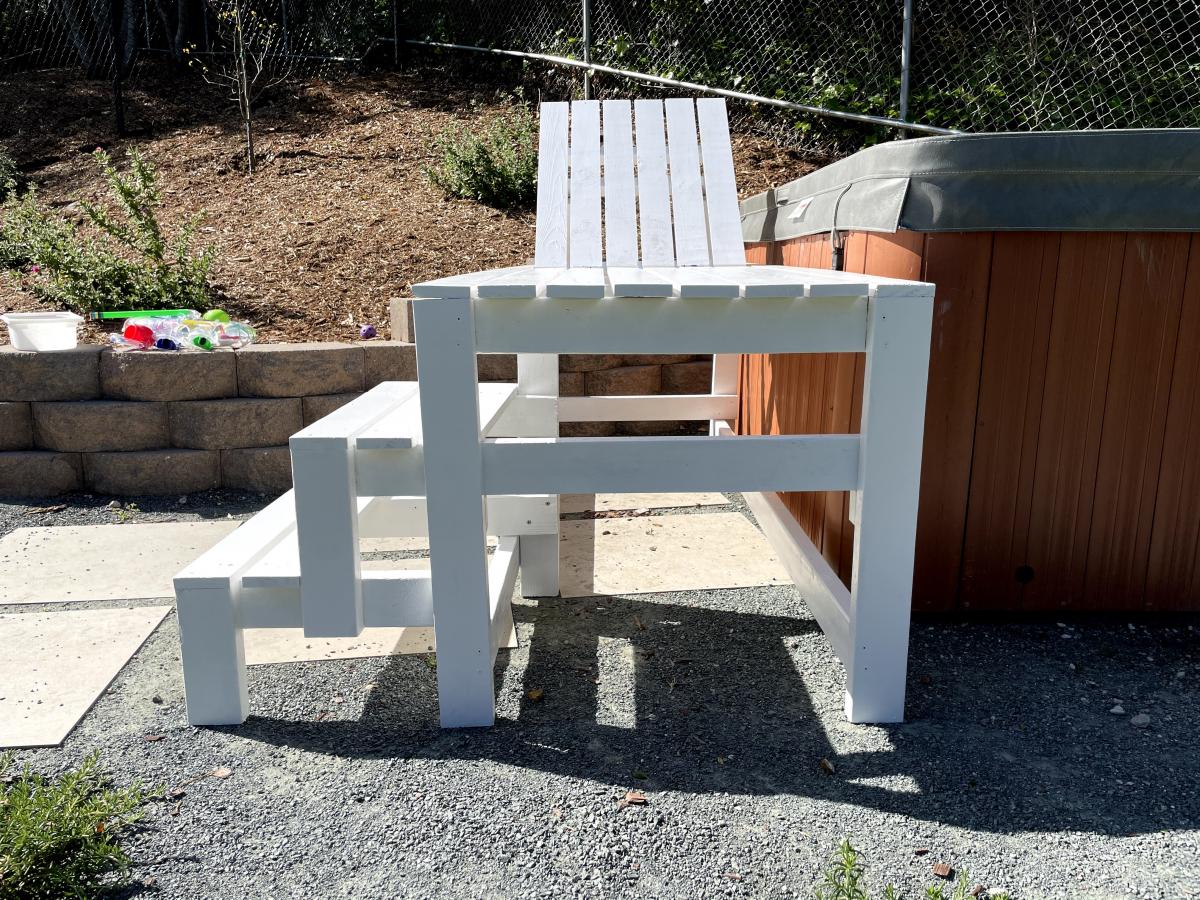
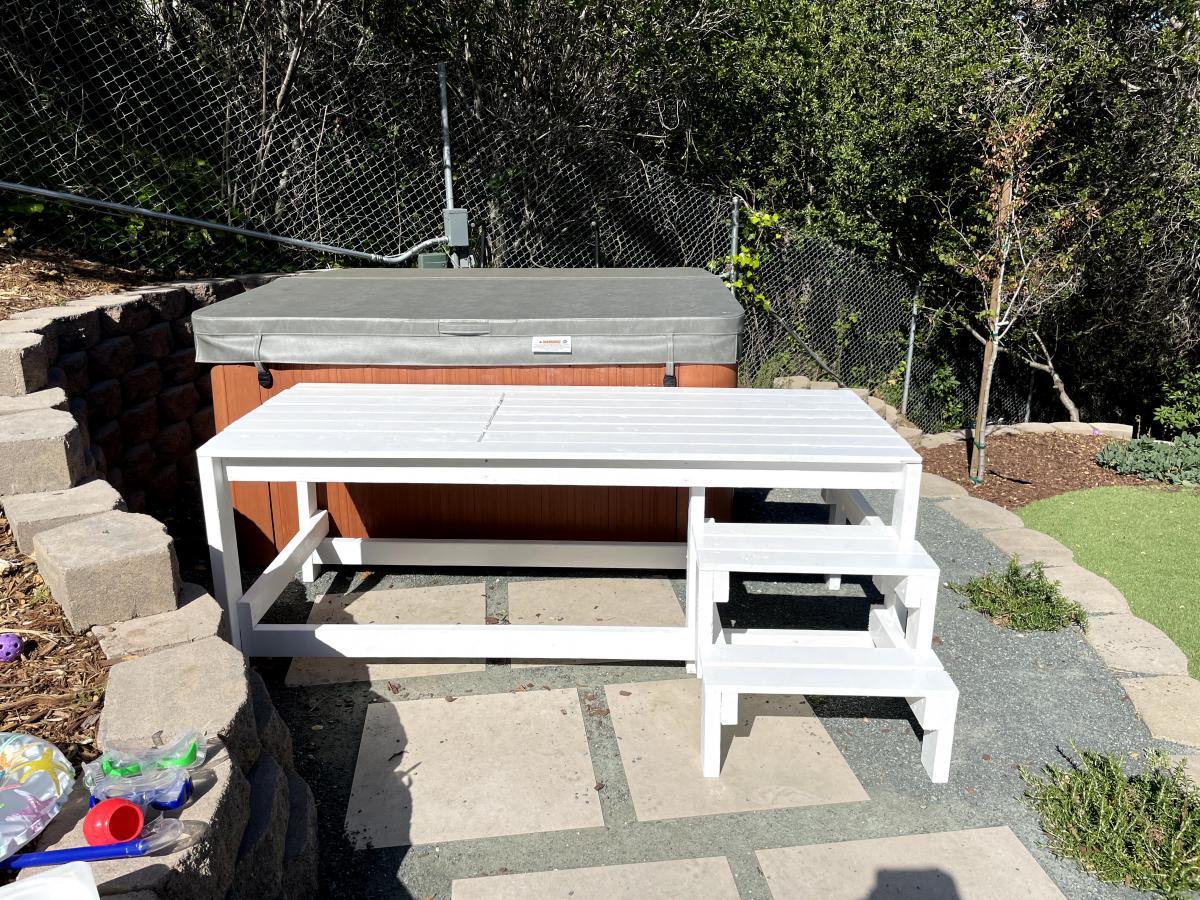
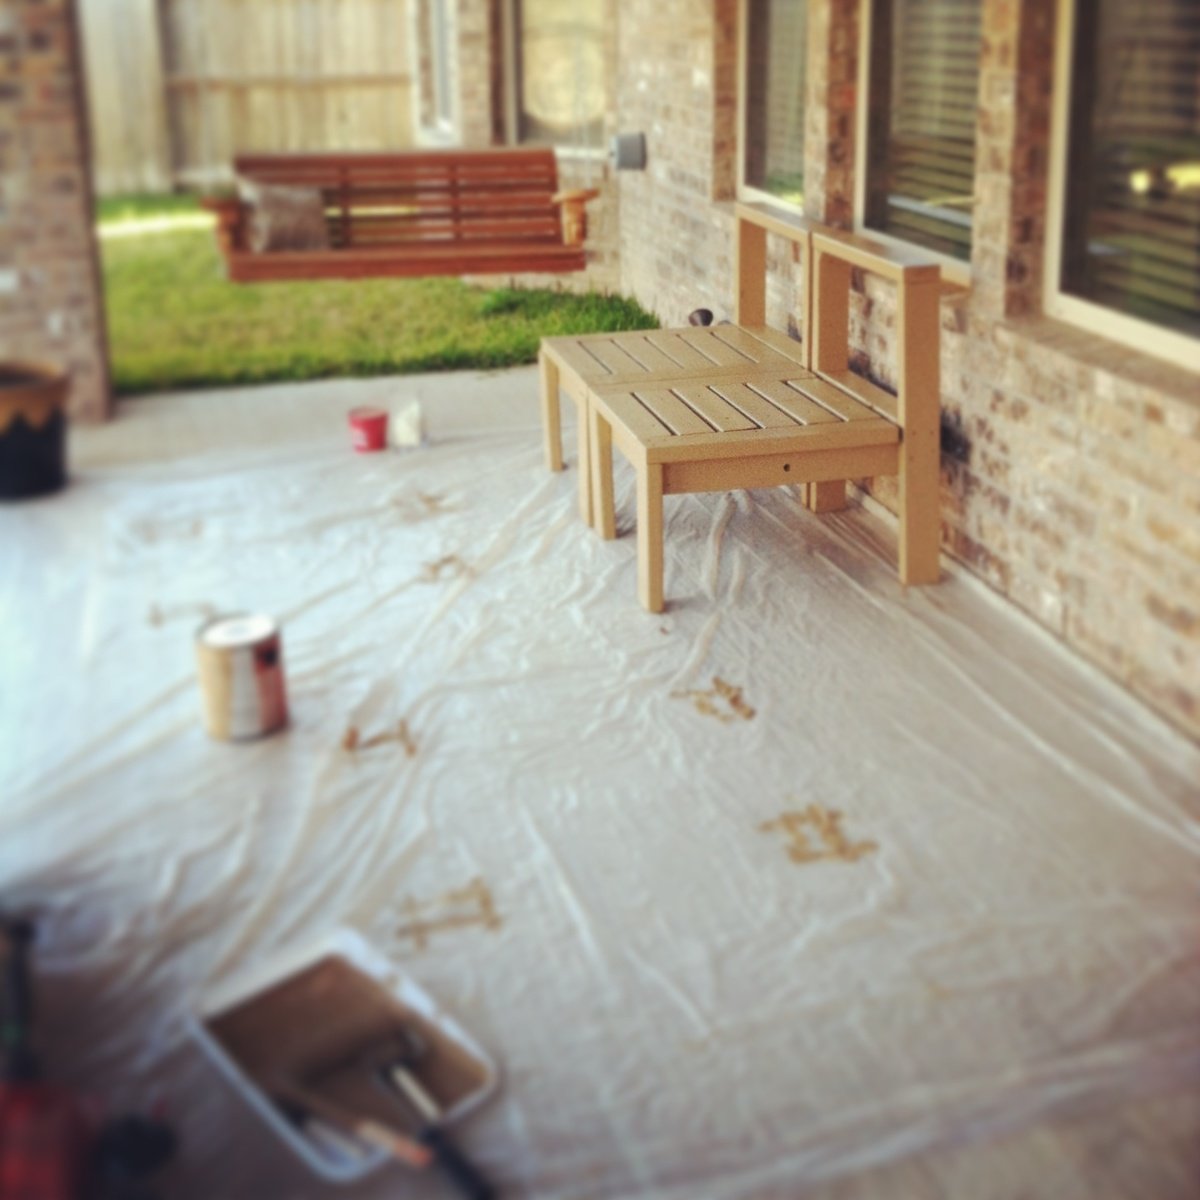
Outdoor patio sectional
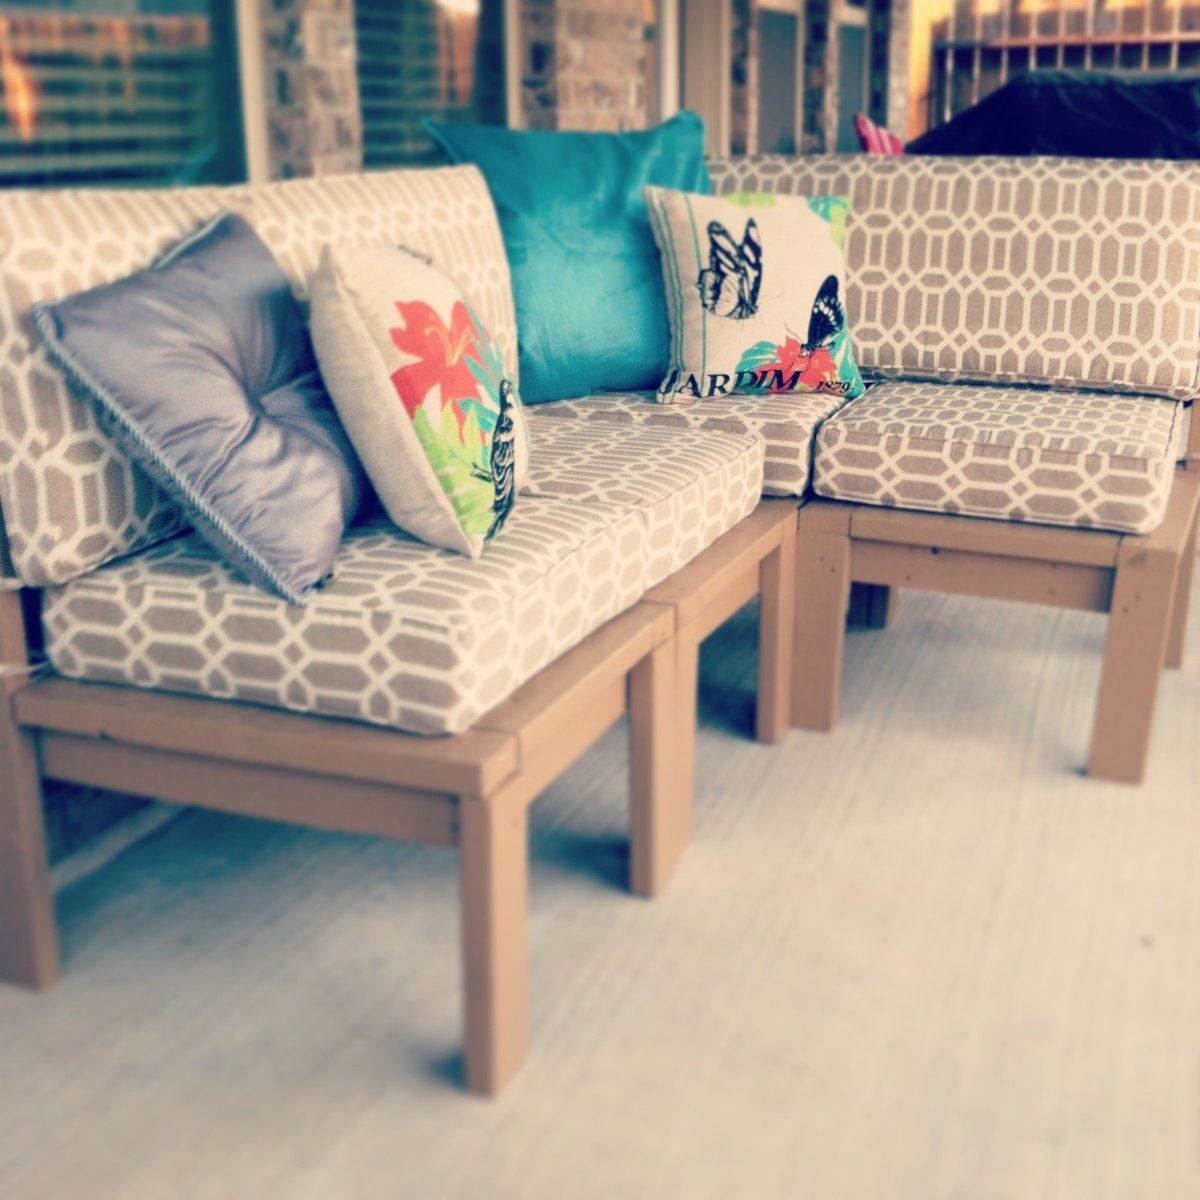
My husband built this sectional from Ana's outdoor seating plans. Overall, it was a simple and easy project for our spring break. The paint is Glidden's Water Chestnut all cushions are from Garden Ridge. We love it!
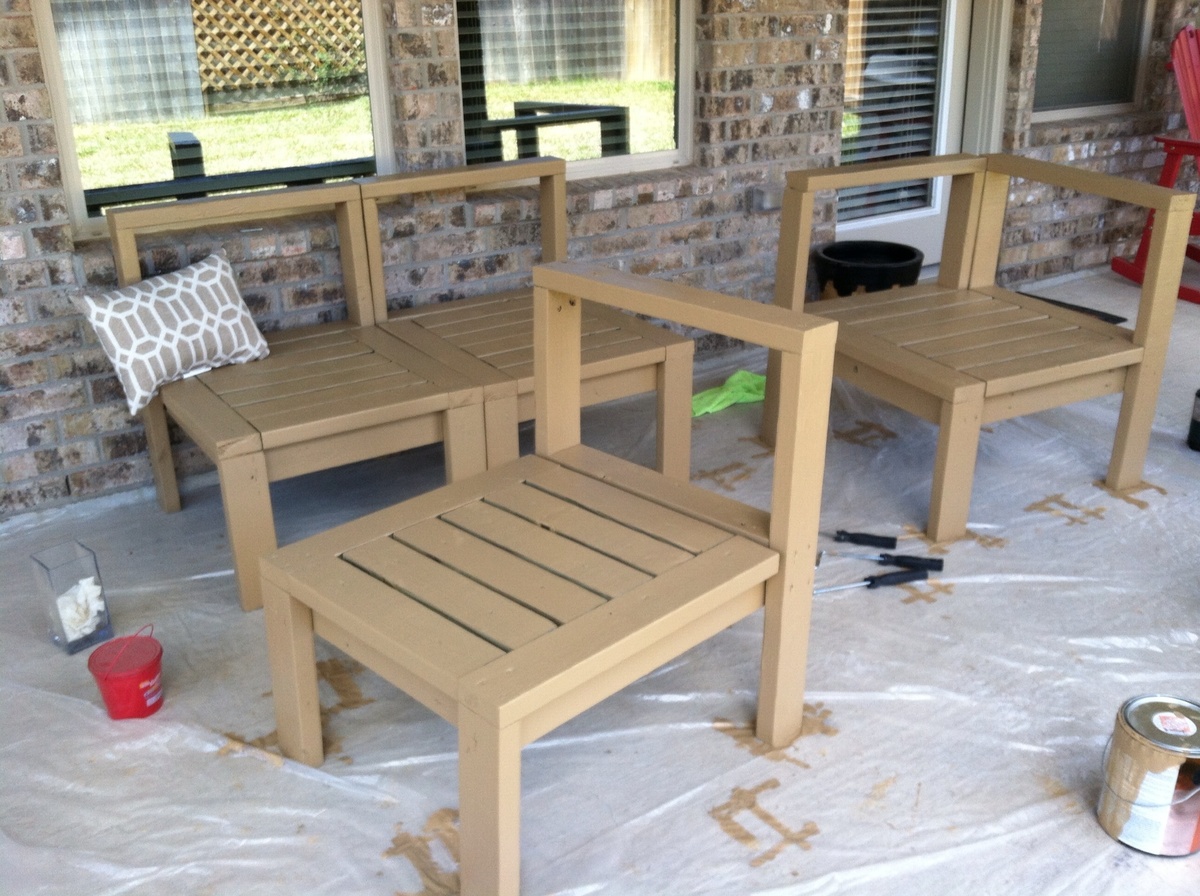
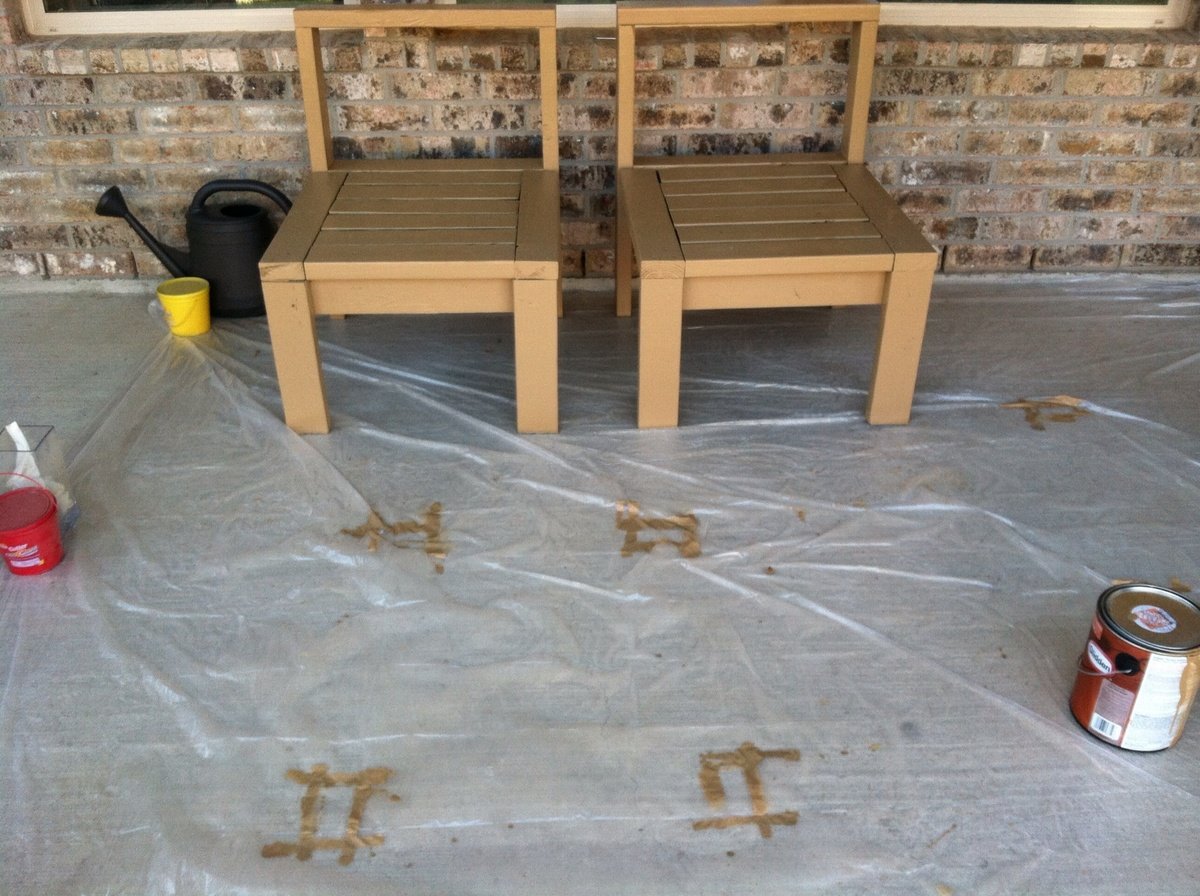
Built from Plan(s)
Estimated Cost
$300
Estimated Time Investment
Weekend Project (10-20 Hours)
Finish Used
Glidden's Water Chestnut
Recommended Skill Level
Beginner