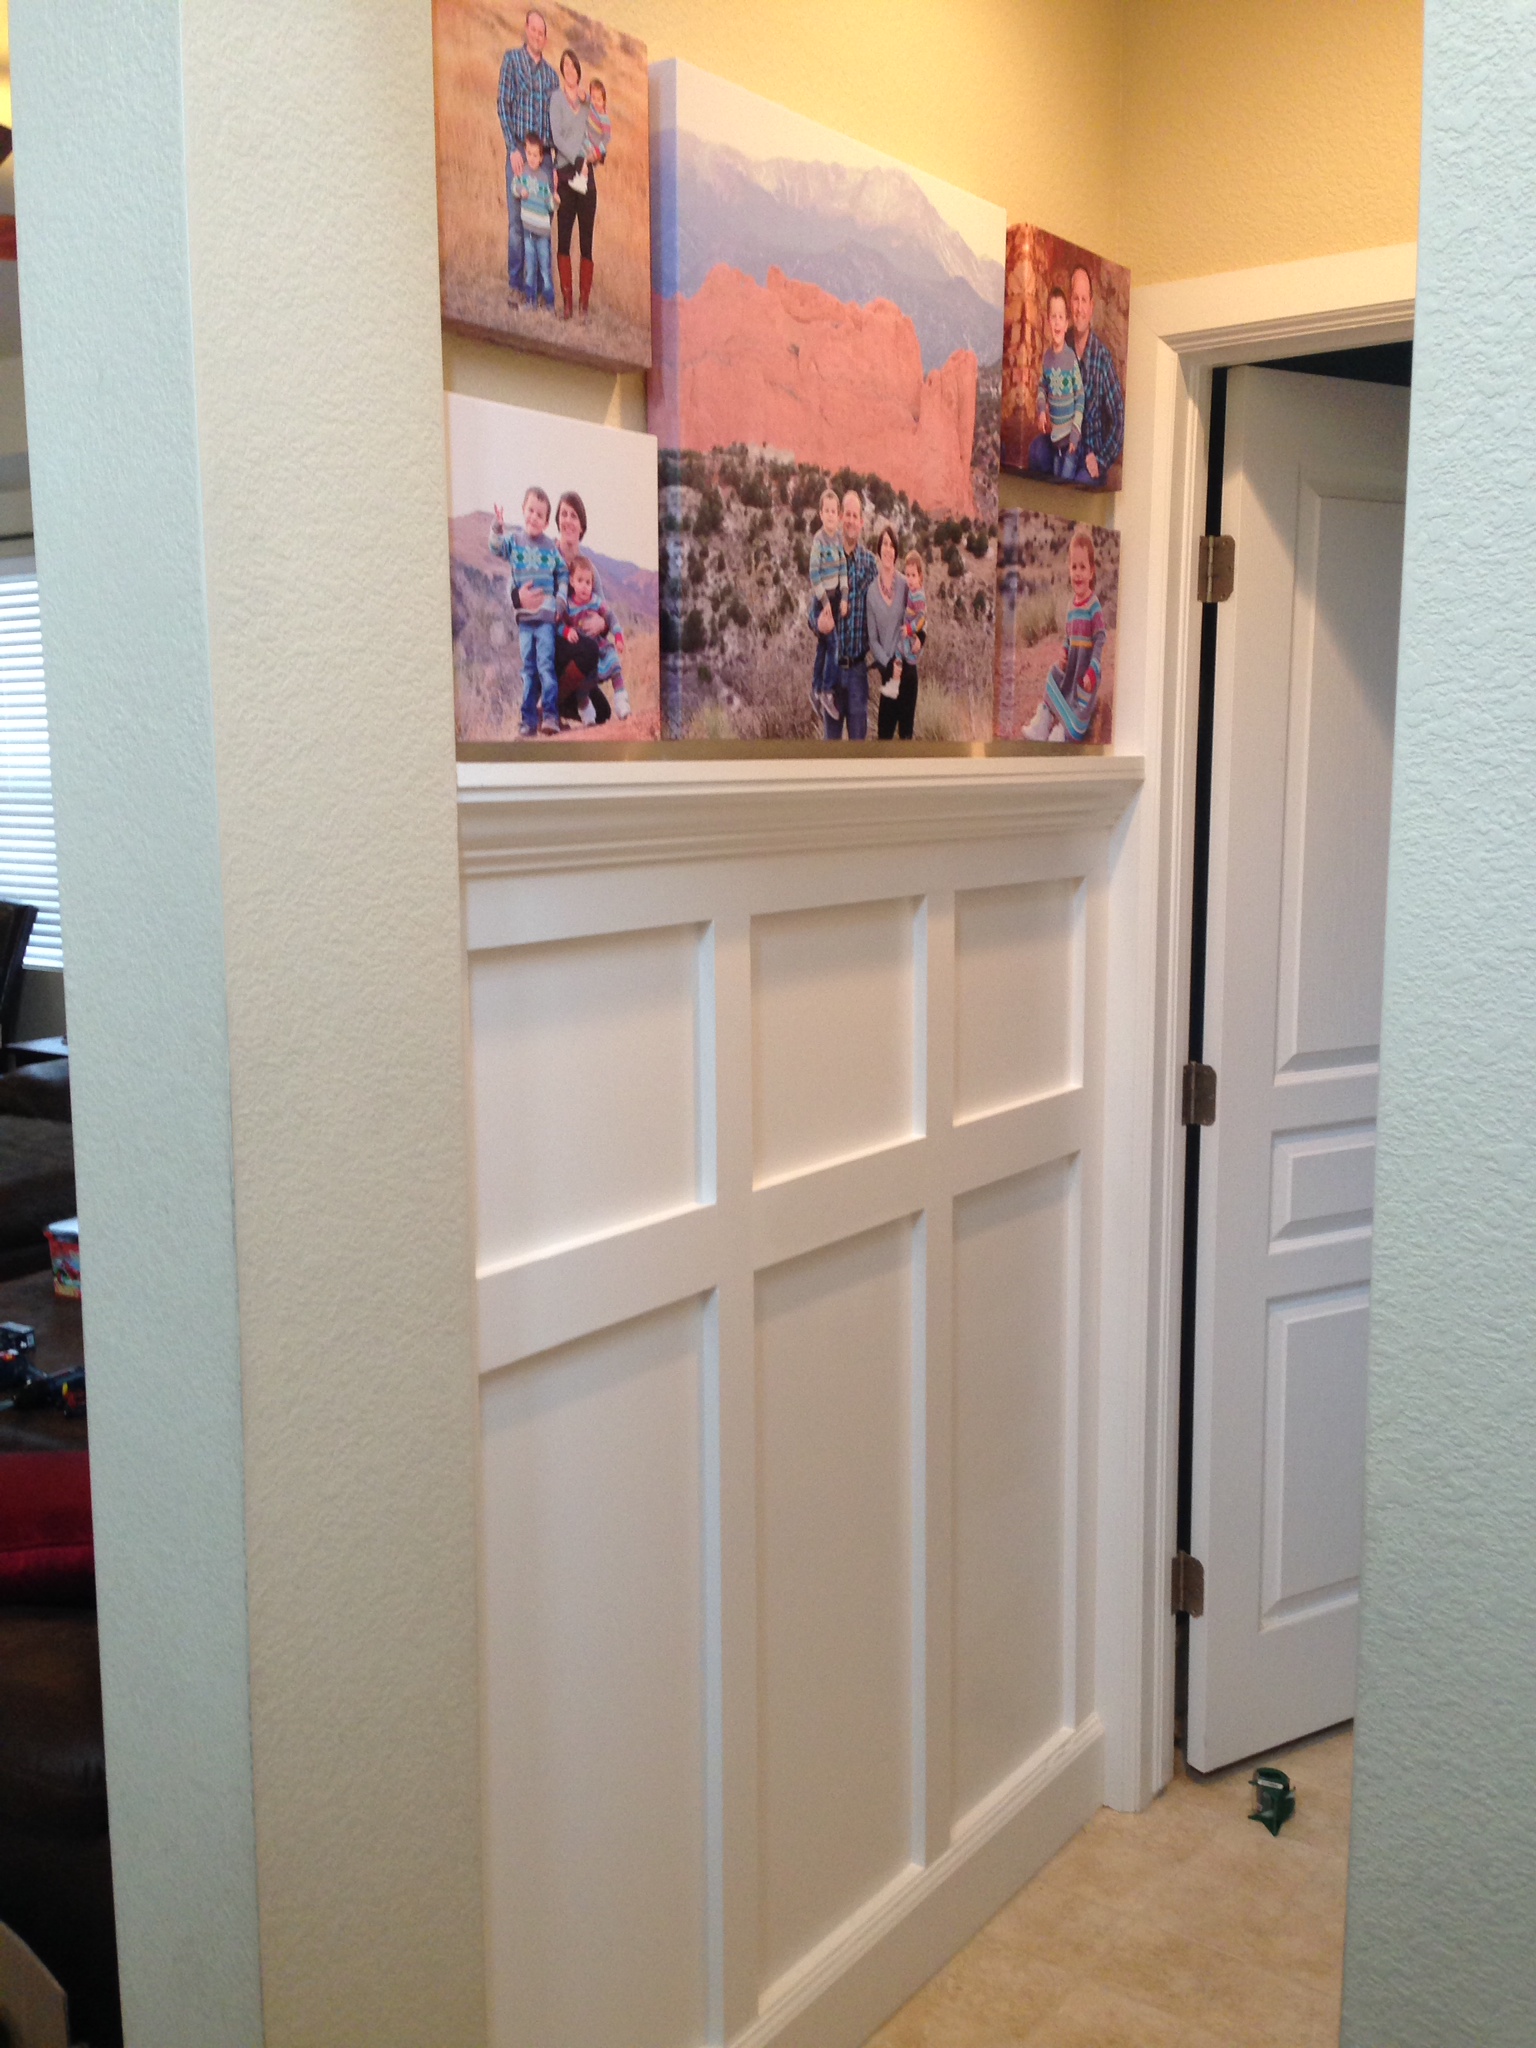
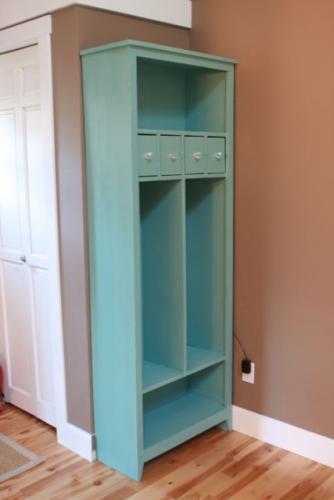
Simple coat rack
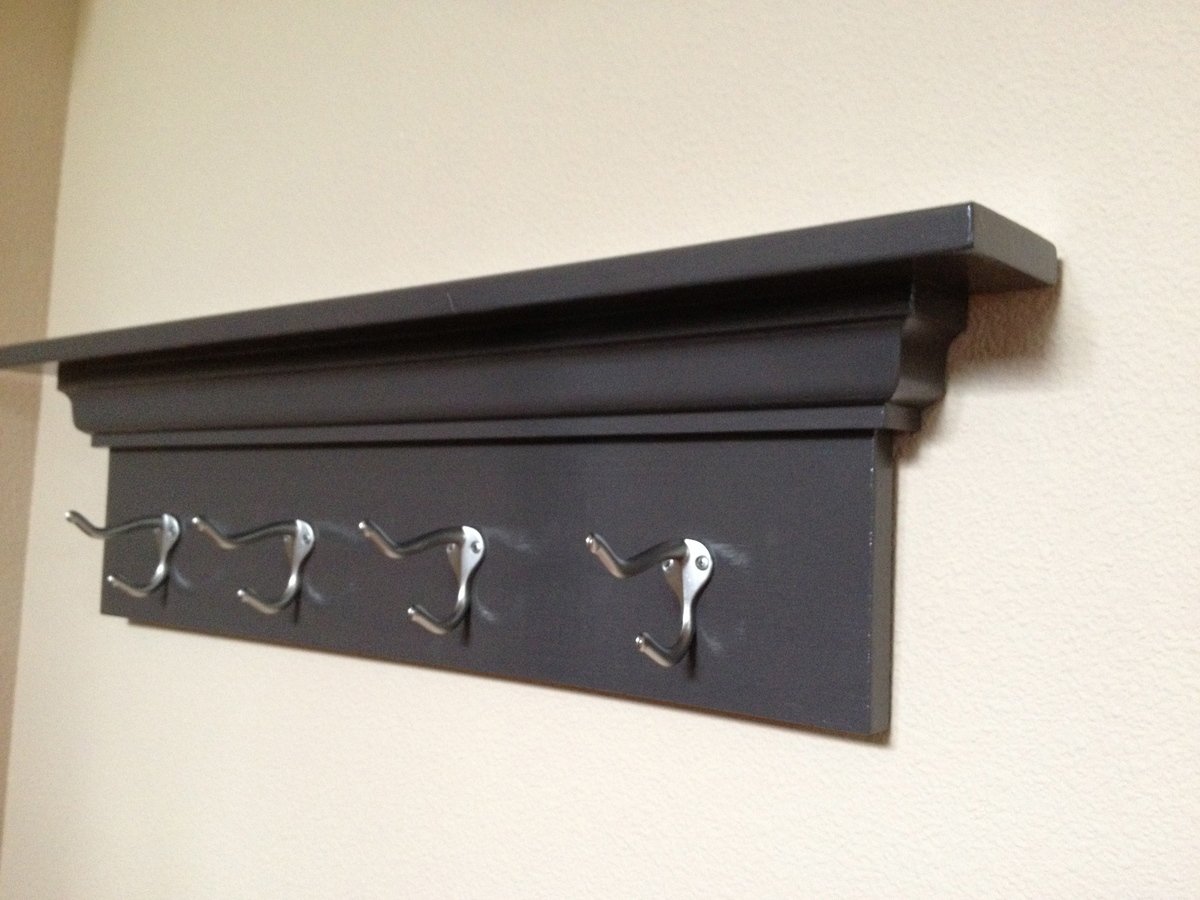
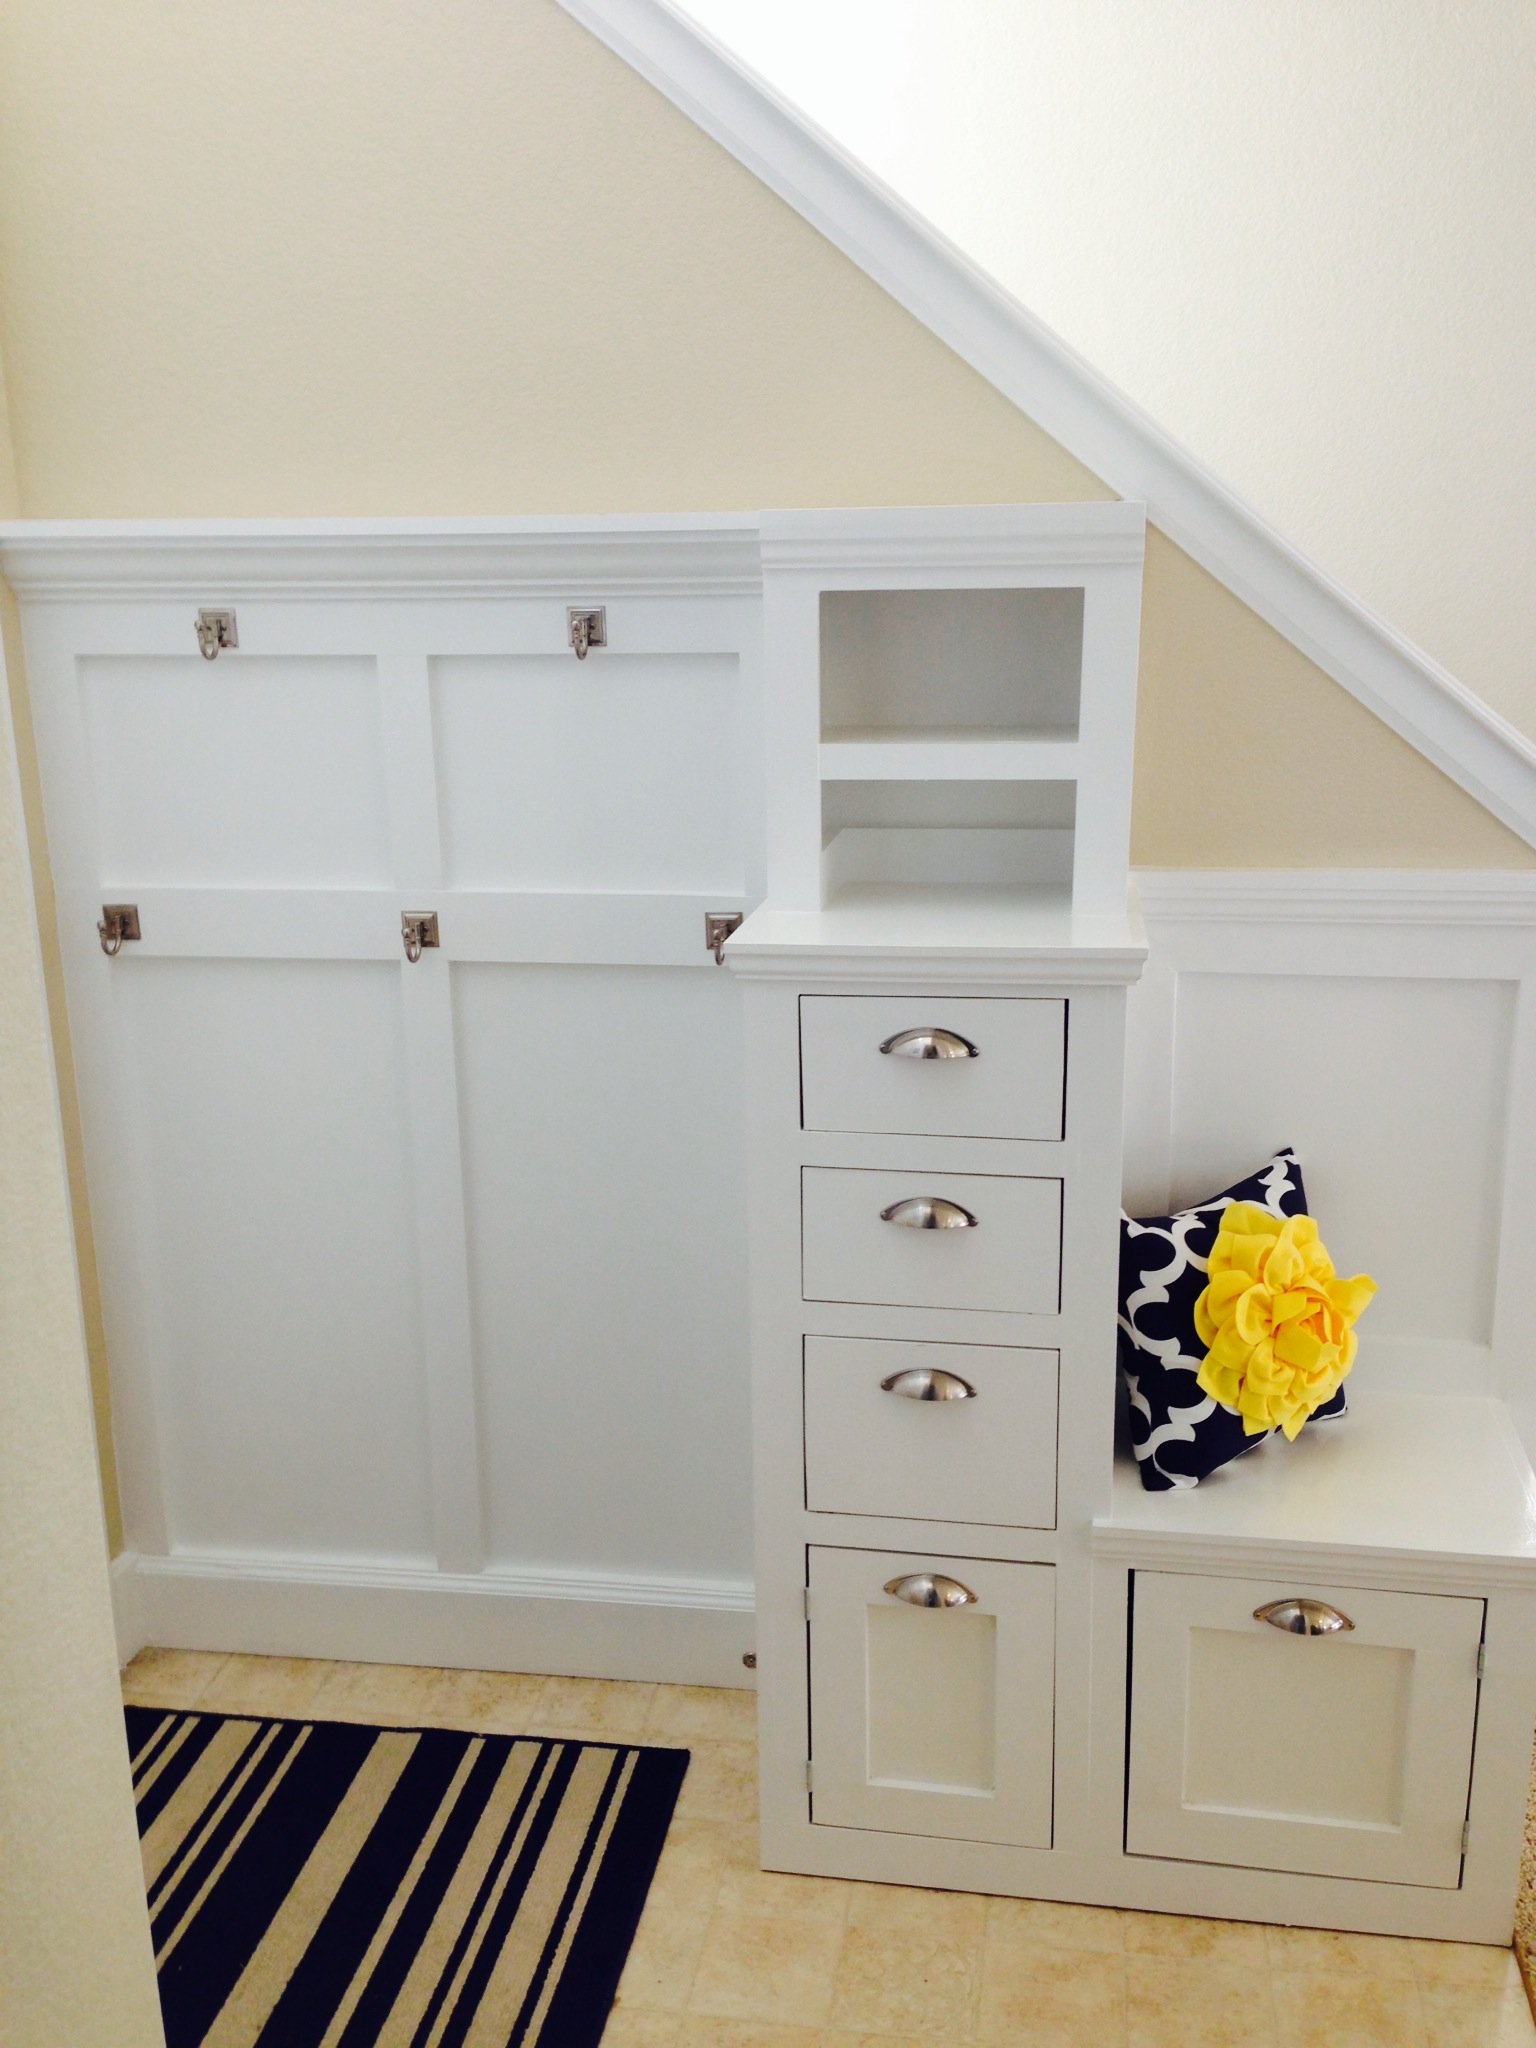
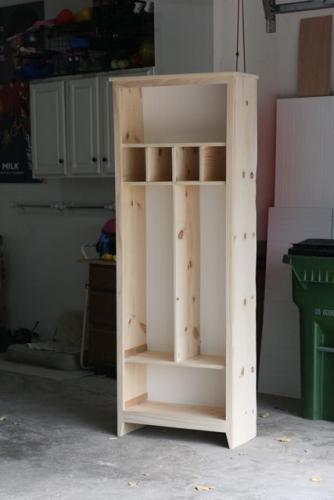
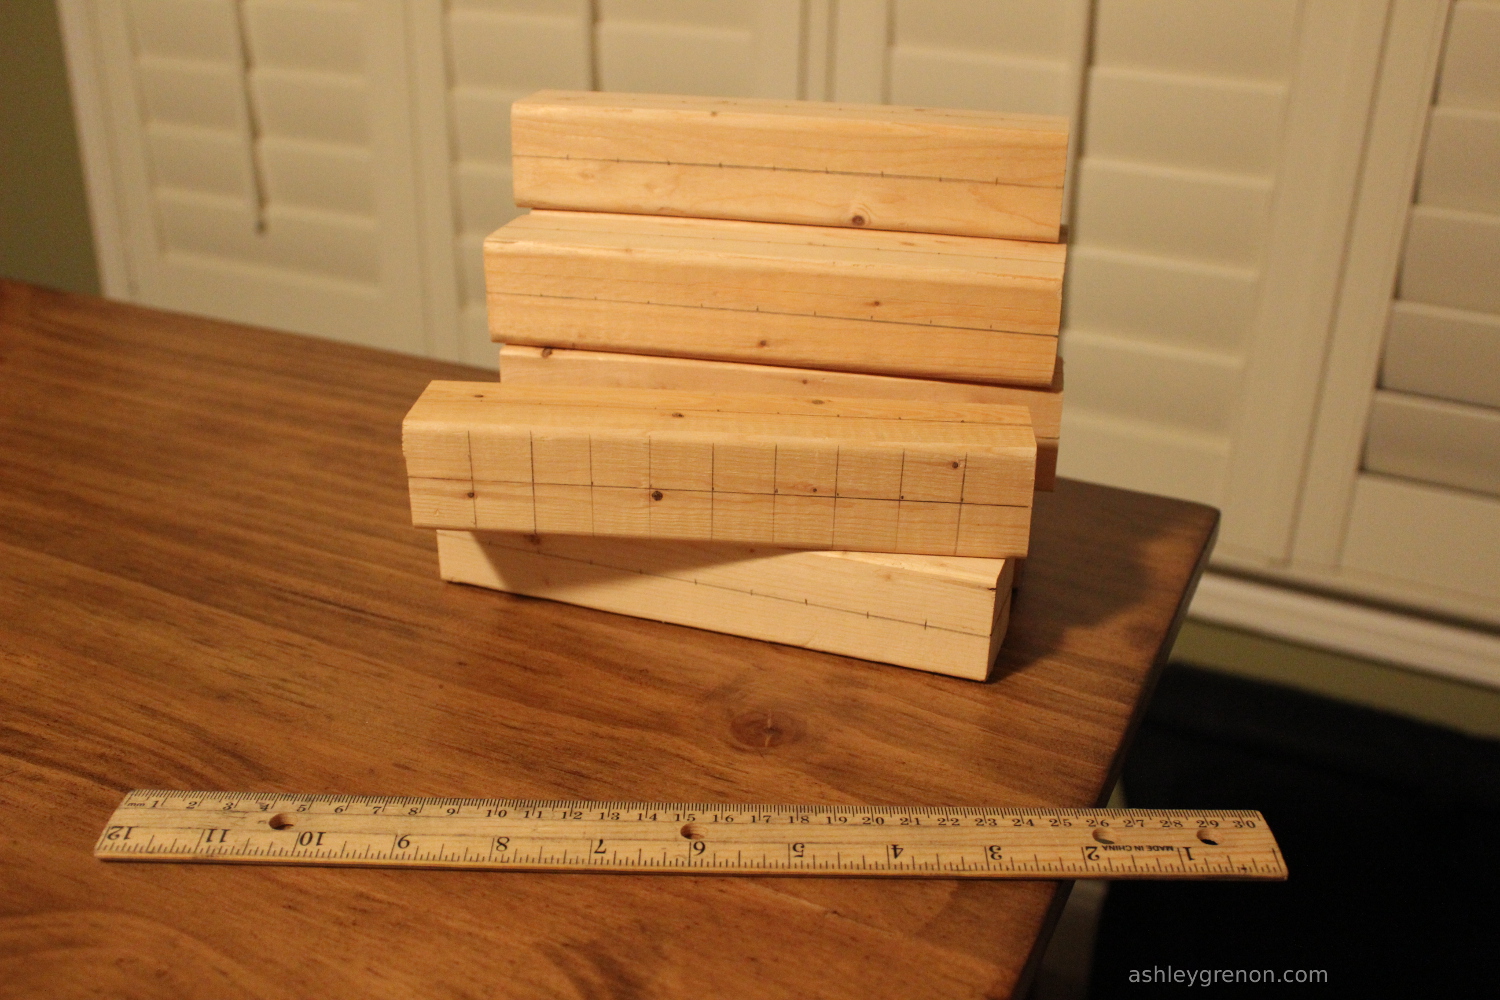
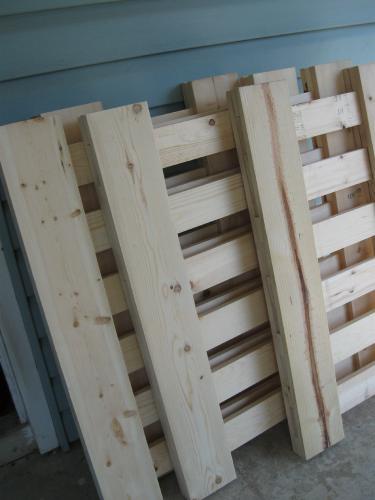
This was a simple coat rack I decided to make with some random scraps of wood I had from previous projects. The only out of pocket costs for me was the hooks!
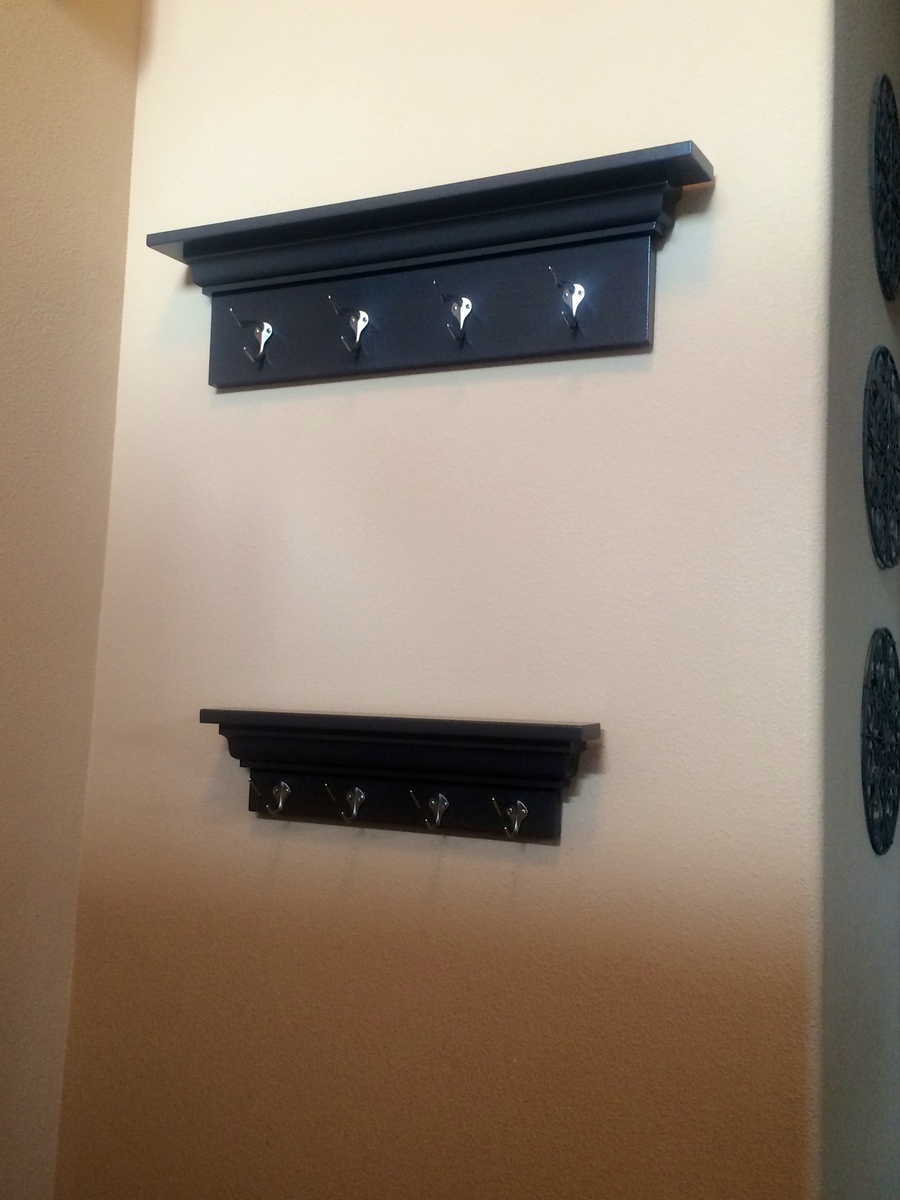
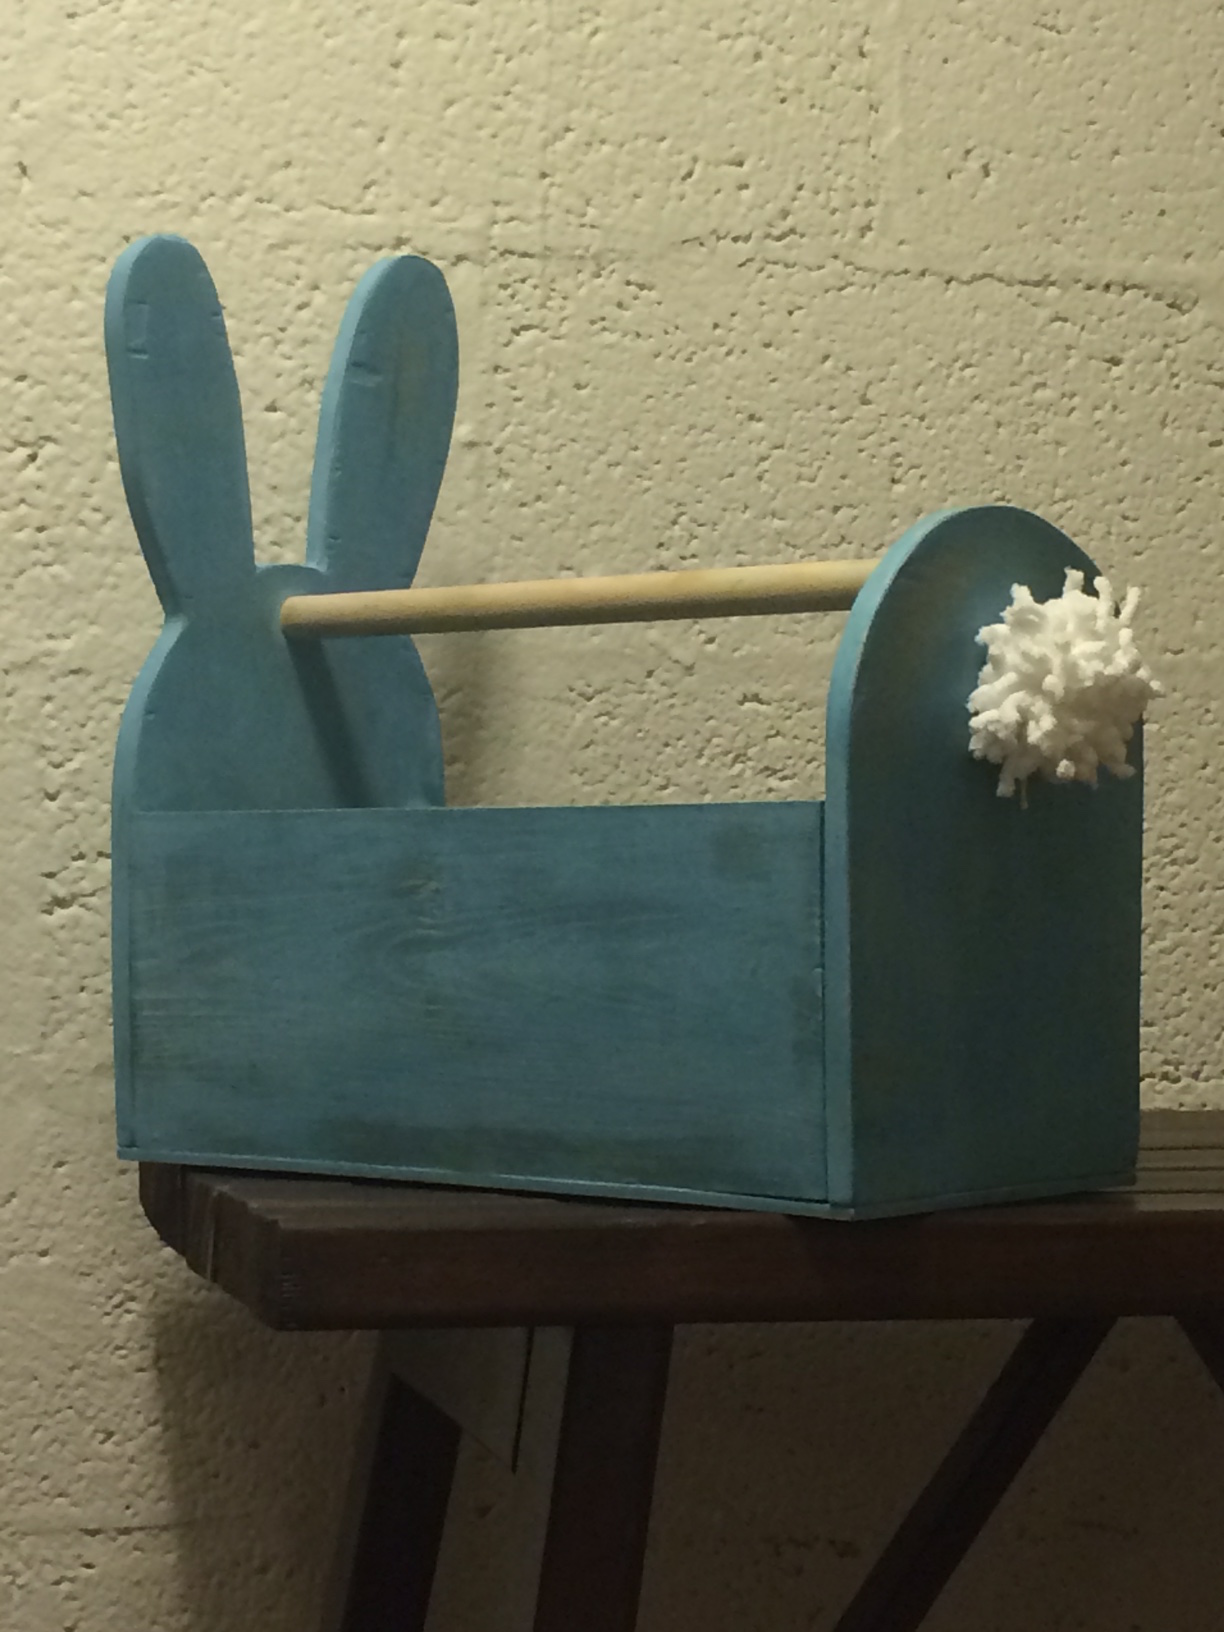
***update****
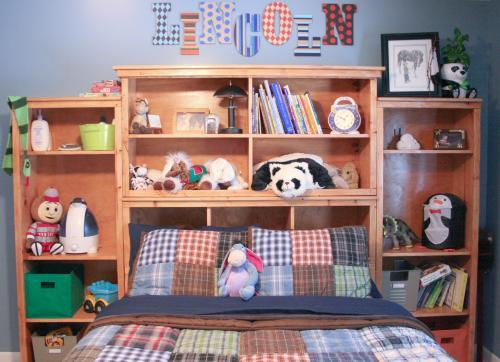
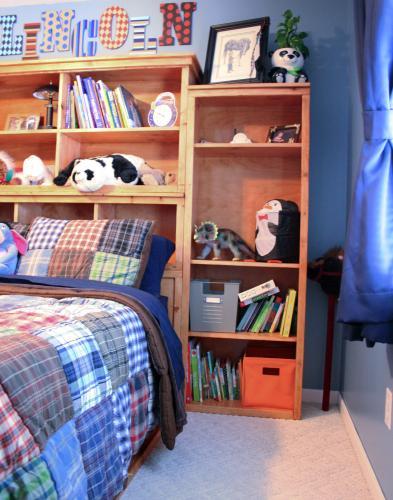
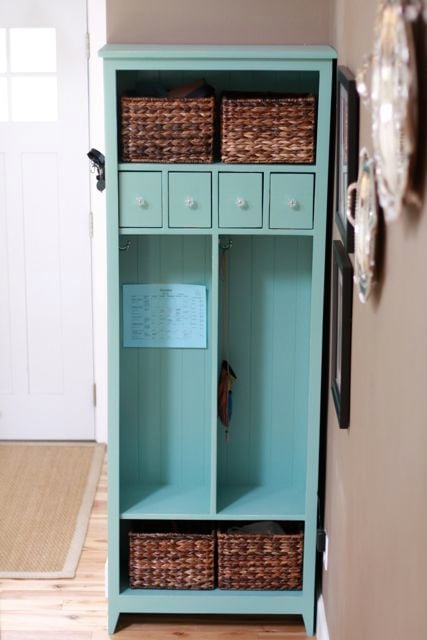
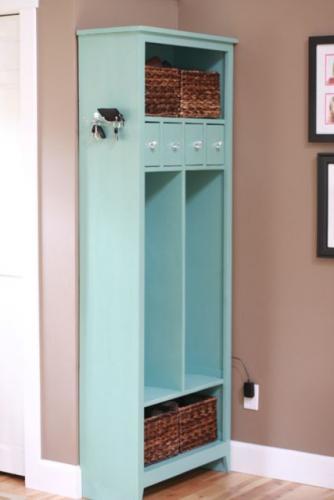
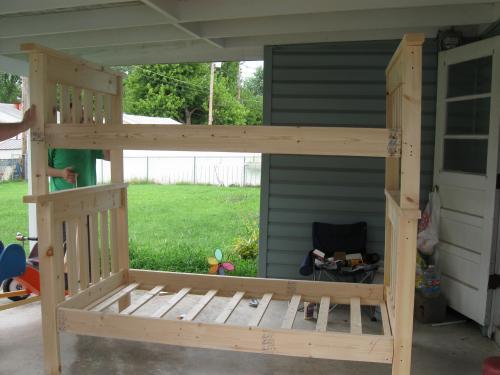
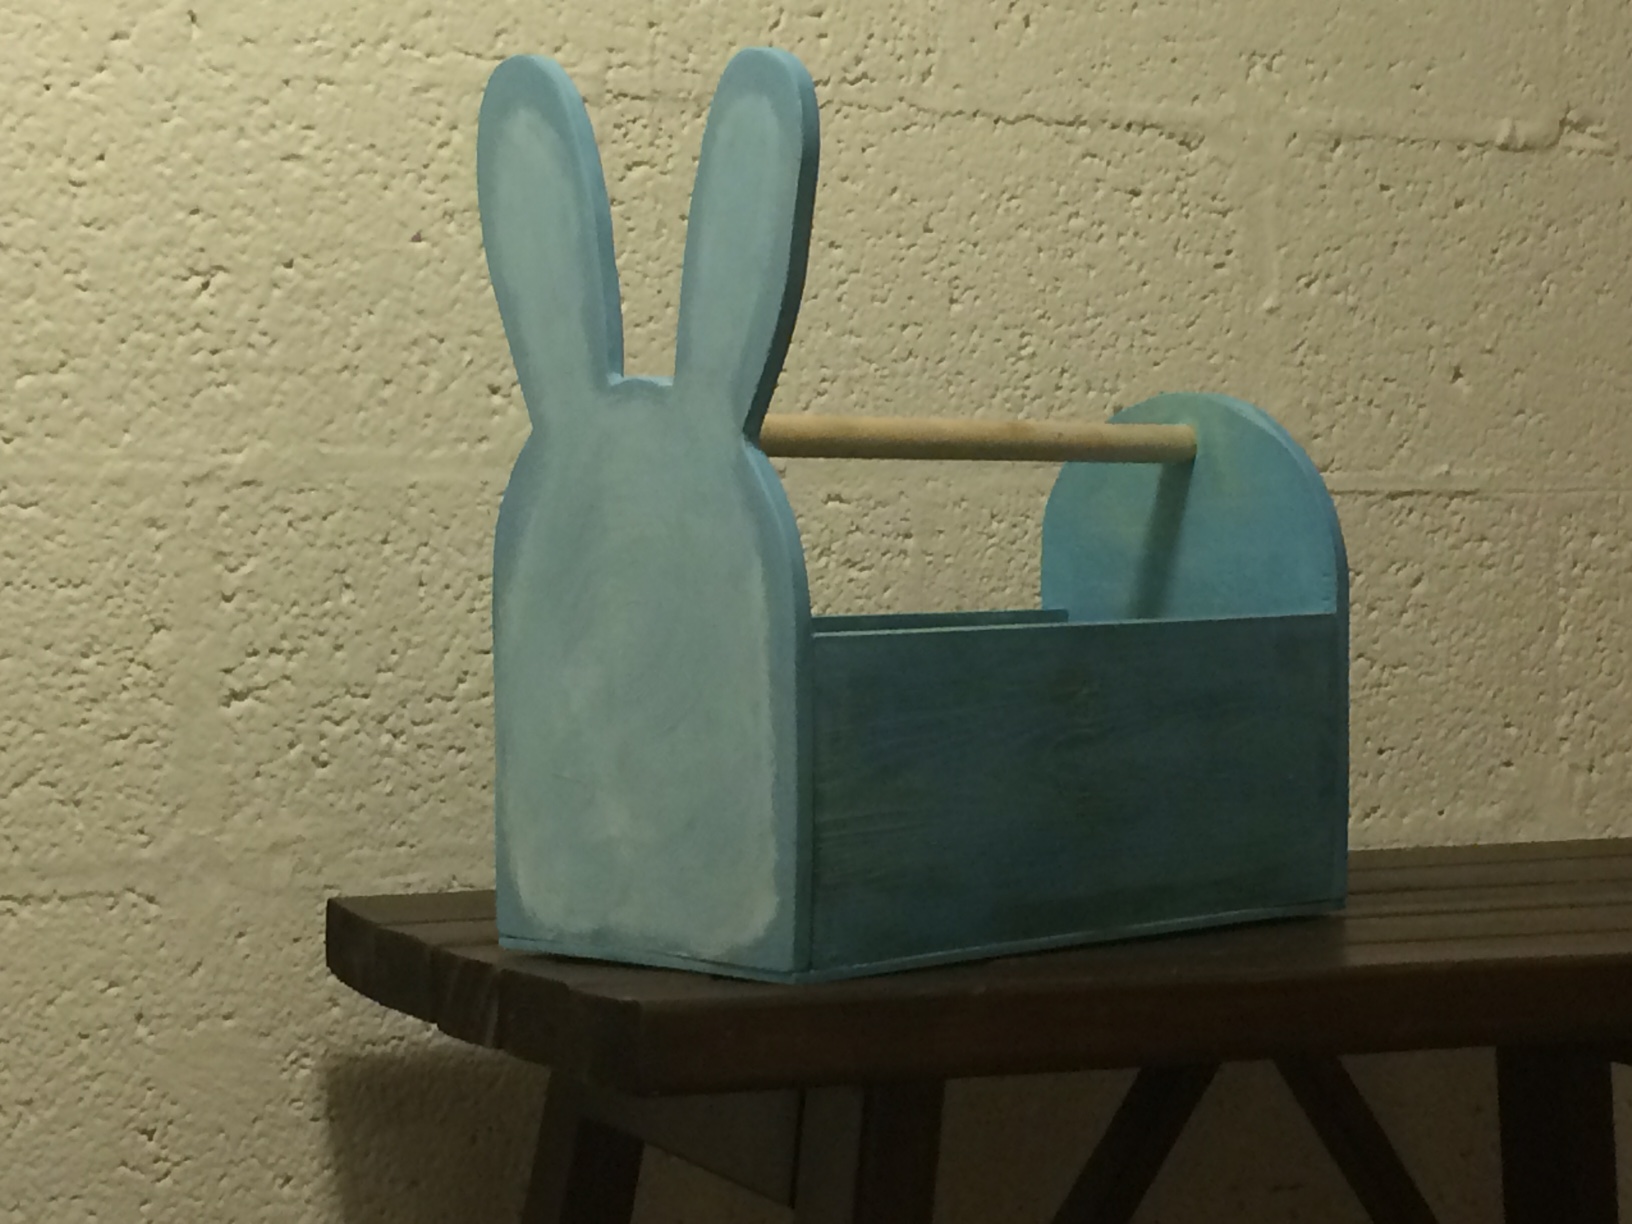
I decided to make a kid friendly version as my kids were creating quit the pile of courts and backpacks when they got home from school, mostly because they couldn't reach the adult one! With some left overs, problem solved!!

Estimated Cost
10-30 (depends on hooks you choose and scraps of wood you have!)
Estimated Time Investment
Afternoon Project (3-6 Hours)
Finish Used
I used a primer and latex paint!
Recommended Skill Level
Starter Project


Comments
carrmatt02
Tue, 05/07/2013 - 08:16
Looks Great
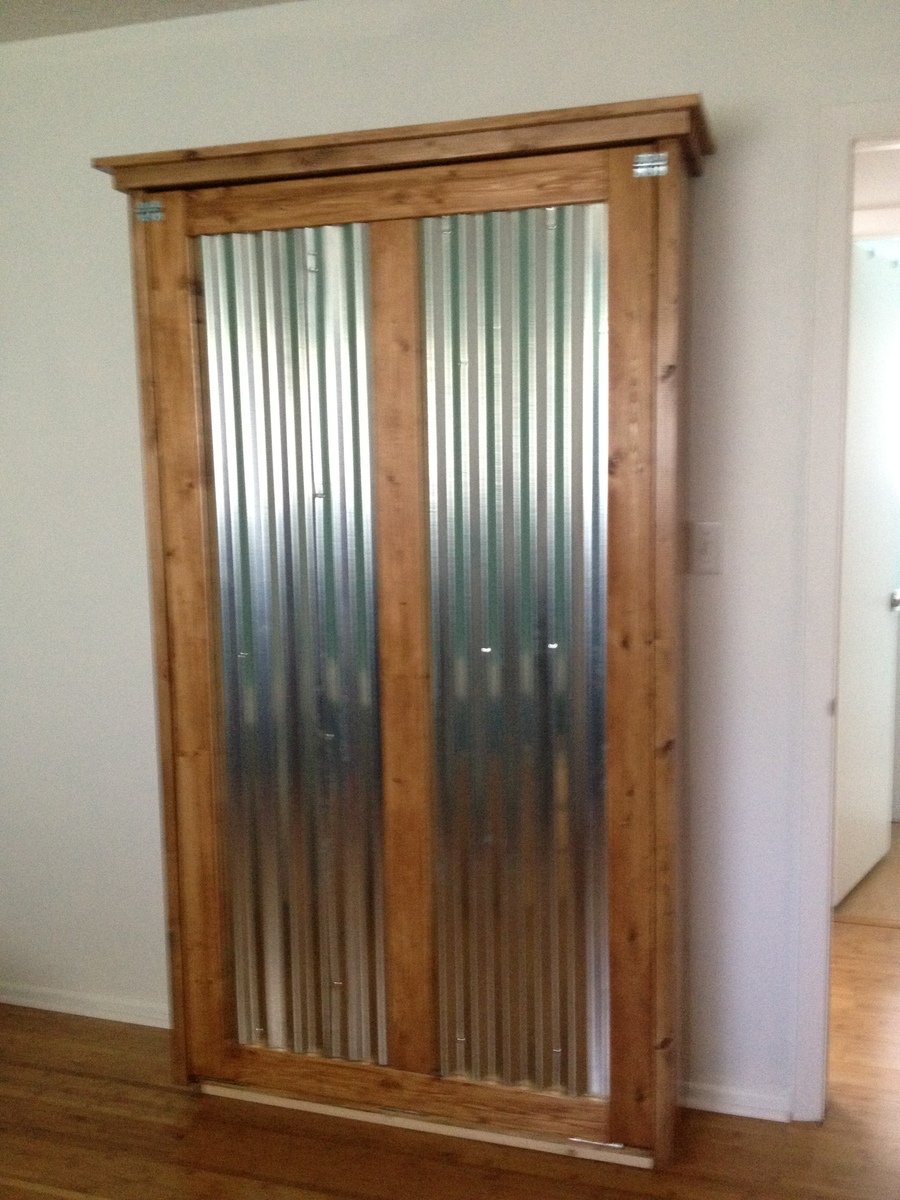
Exactly what I was looking to make without getting a router involved! What kind of moulding is that?
Medickep
Sun, 05/12/2013 - 12:17
Thanks!
It's exterior header for a window you see on some homes. Common at a lot of lumber stores. The best part is that it's solid, so no need for complex crown-molding cuts