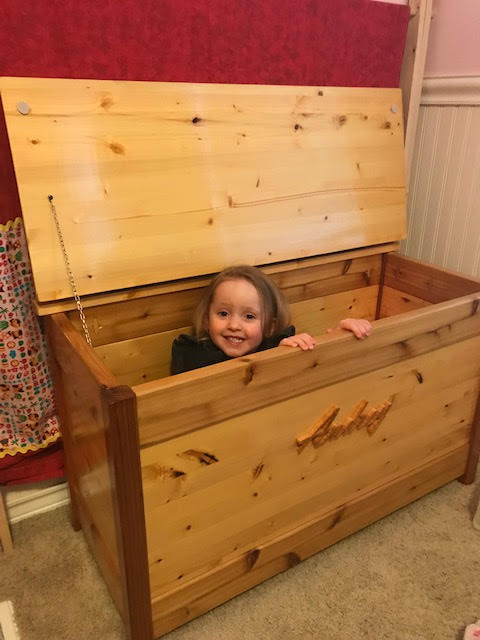
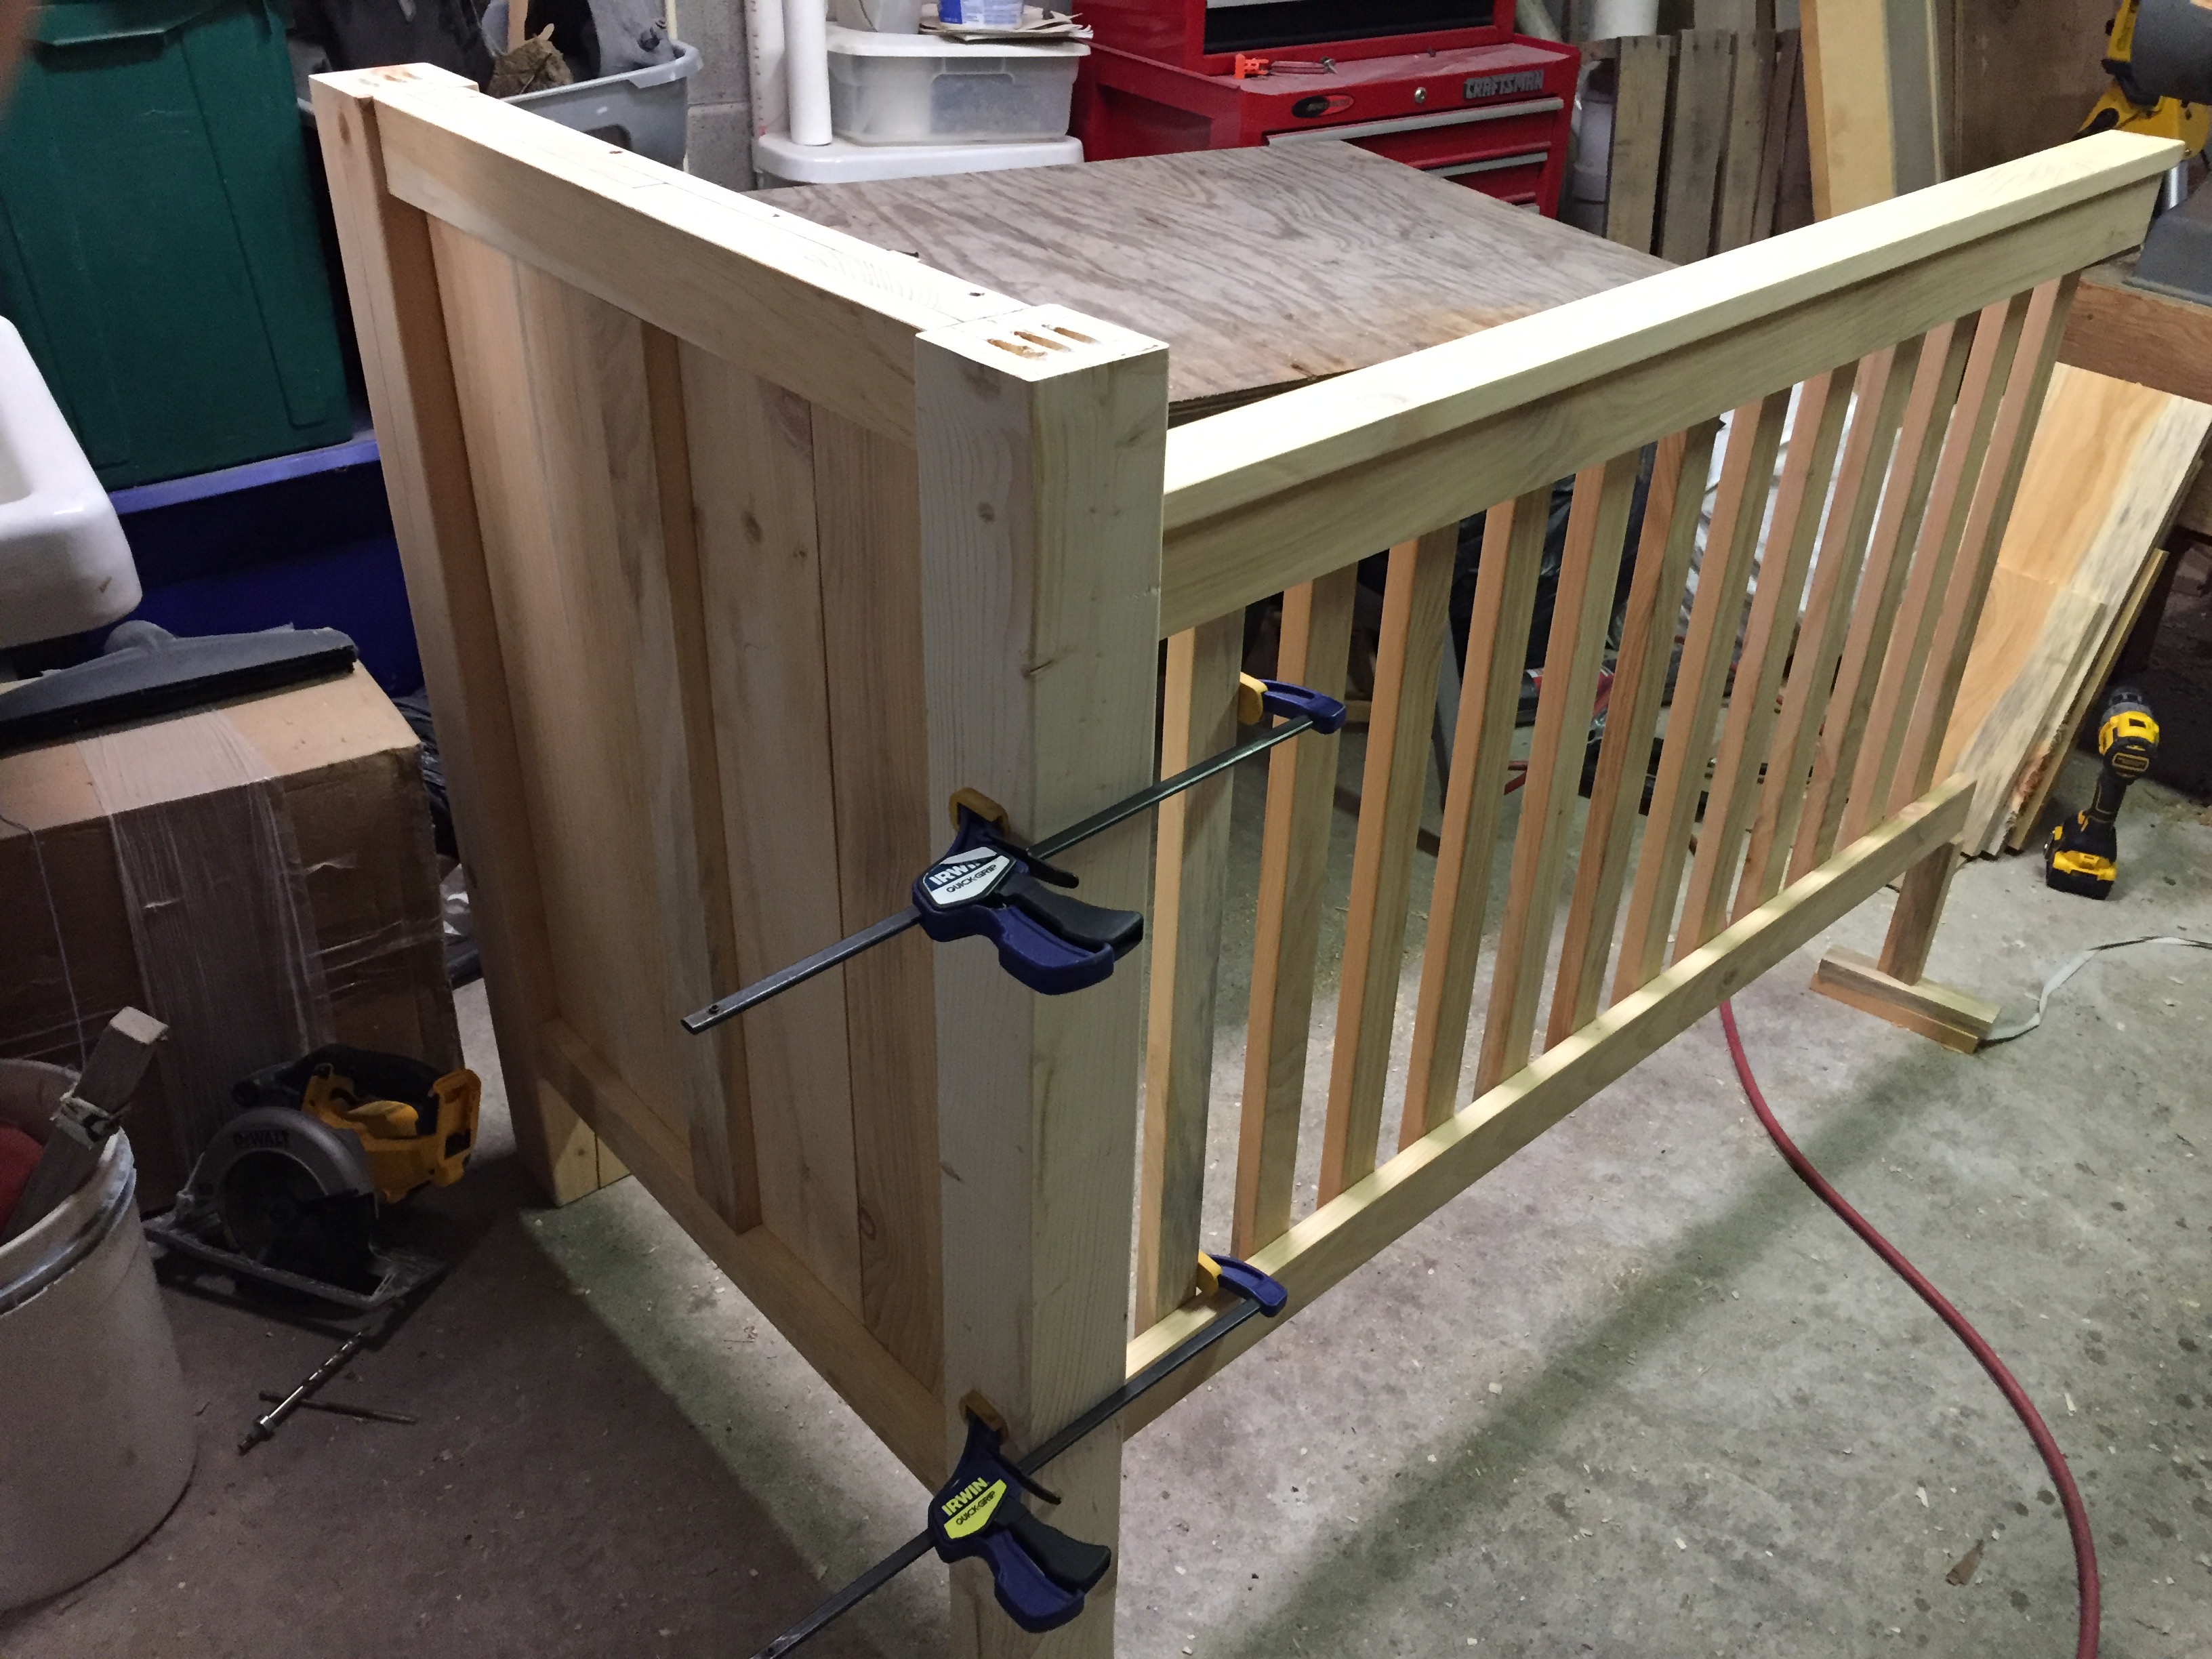
Crib for new baby!
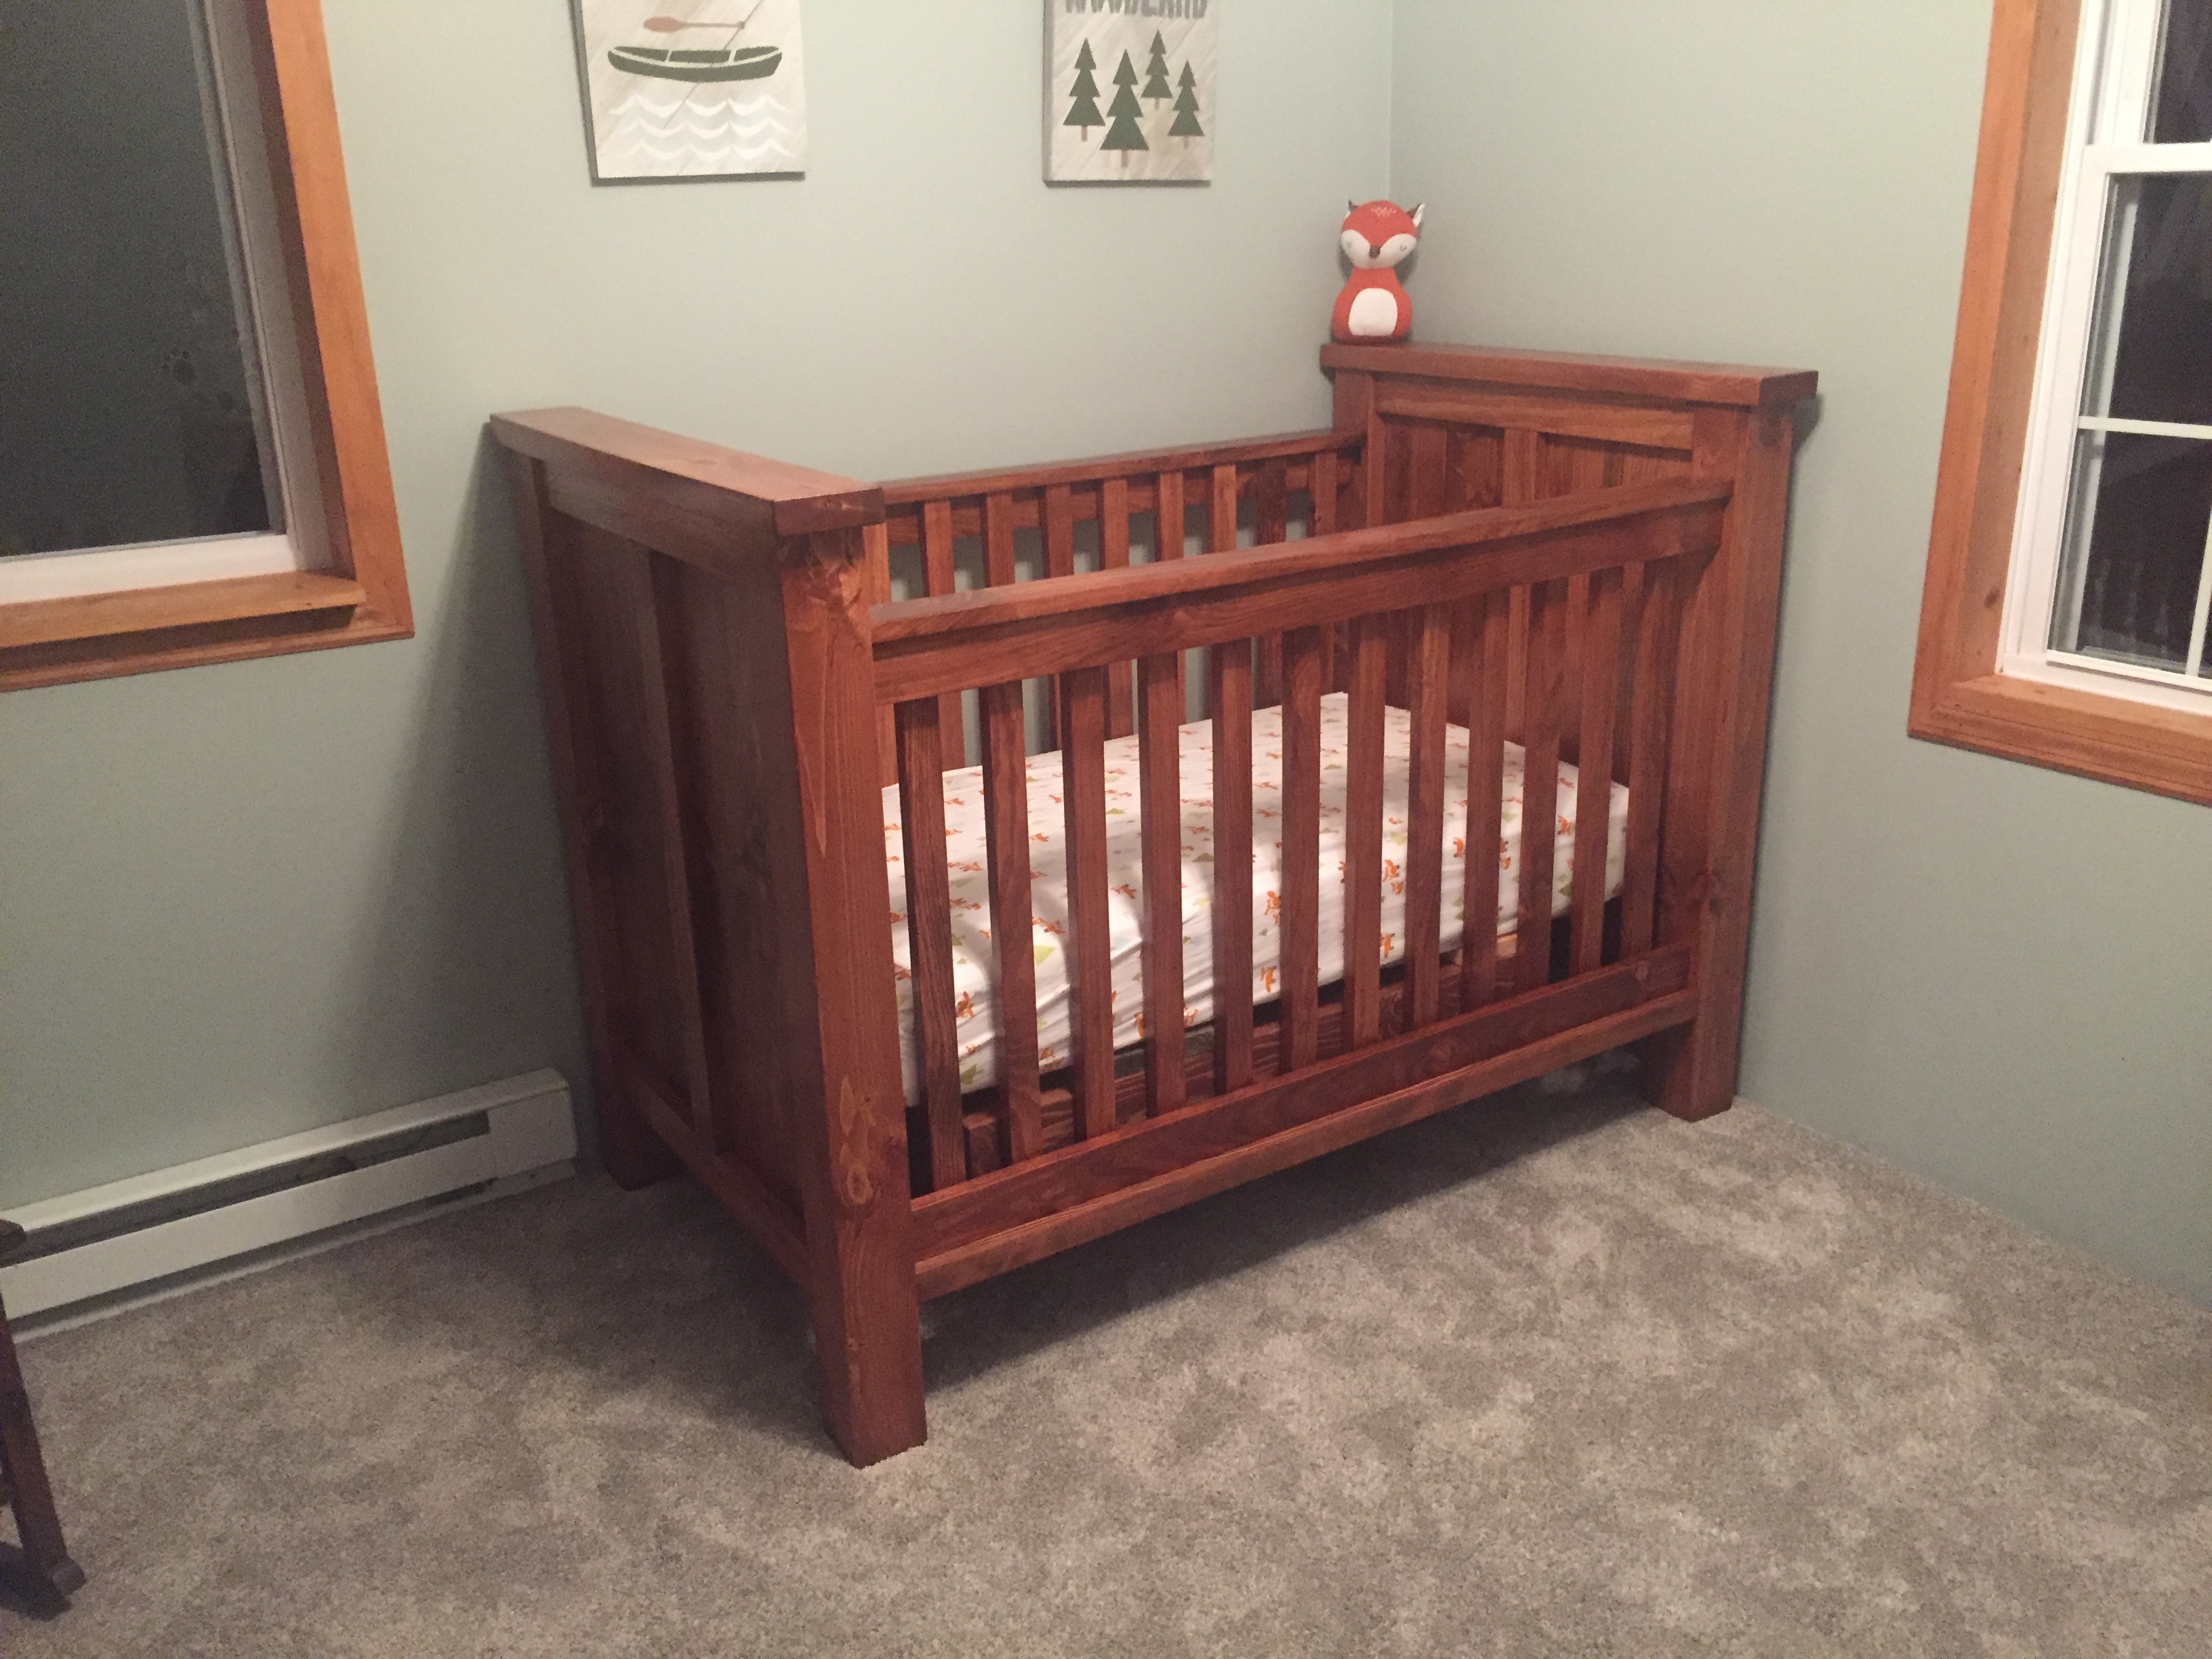
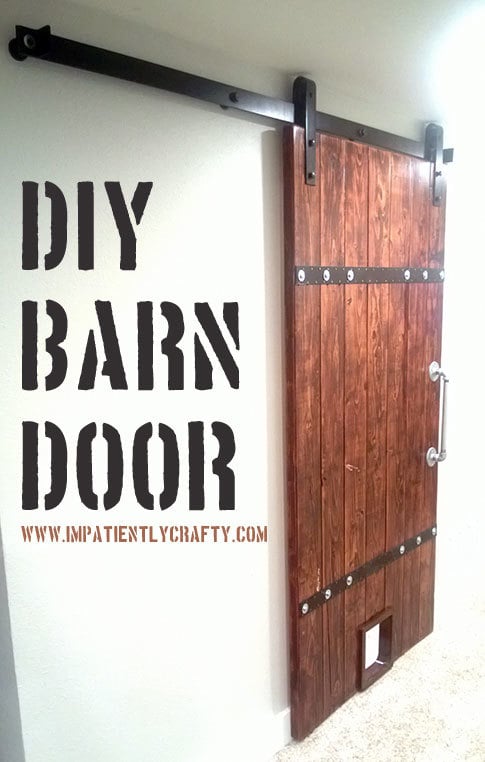
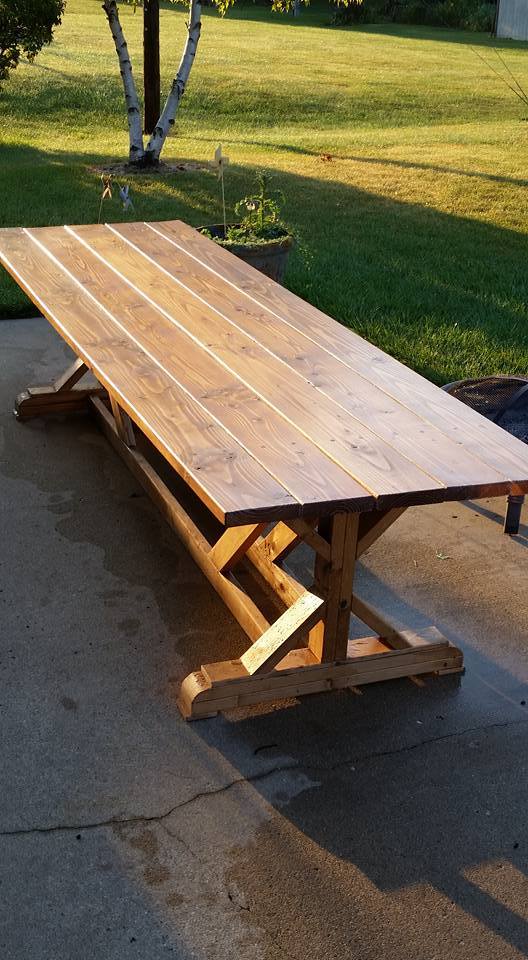
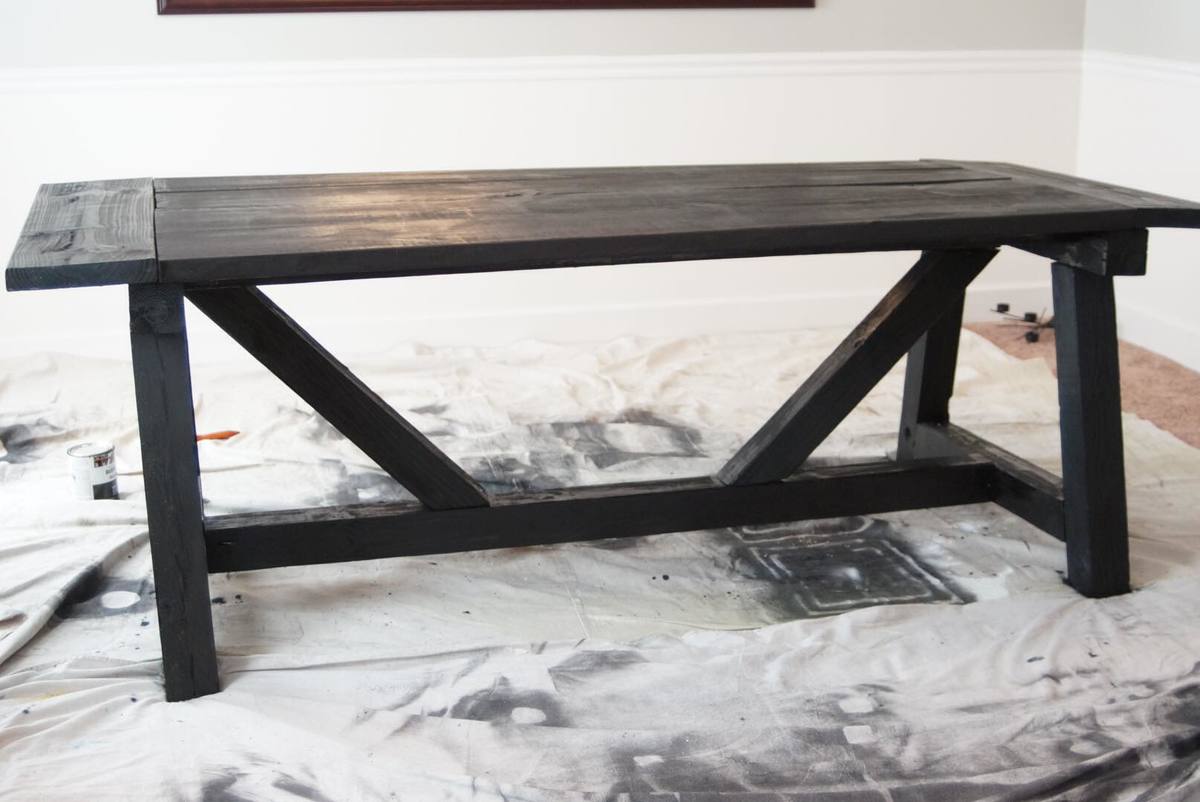
From a pine tree in the back yard to a great looking crib that will hopefully stay in the family for generations.
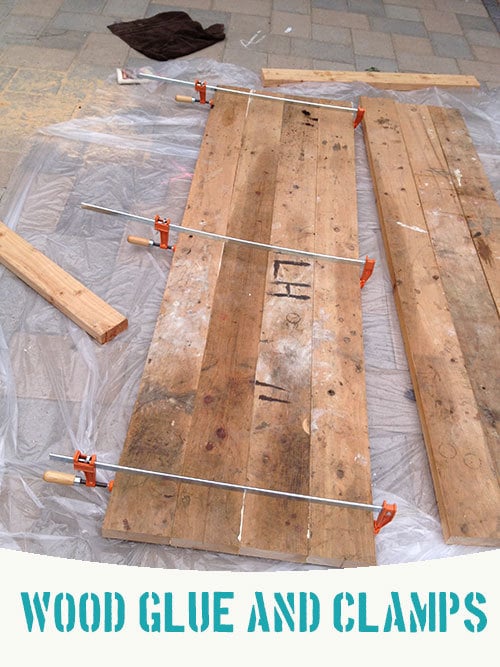
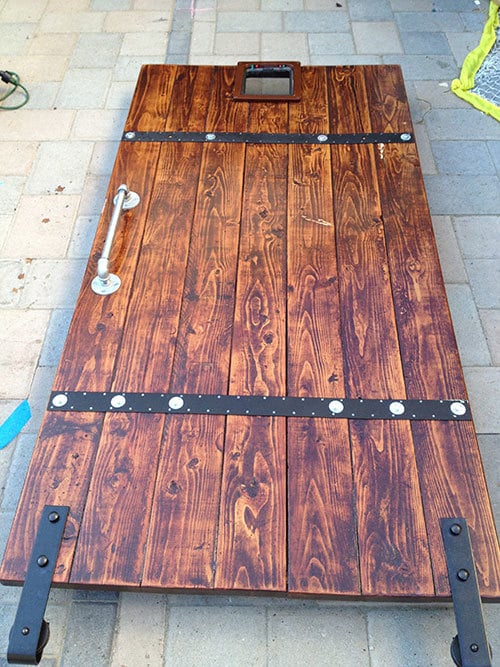
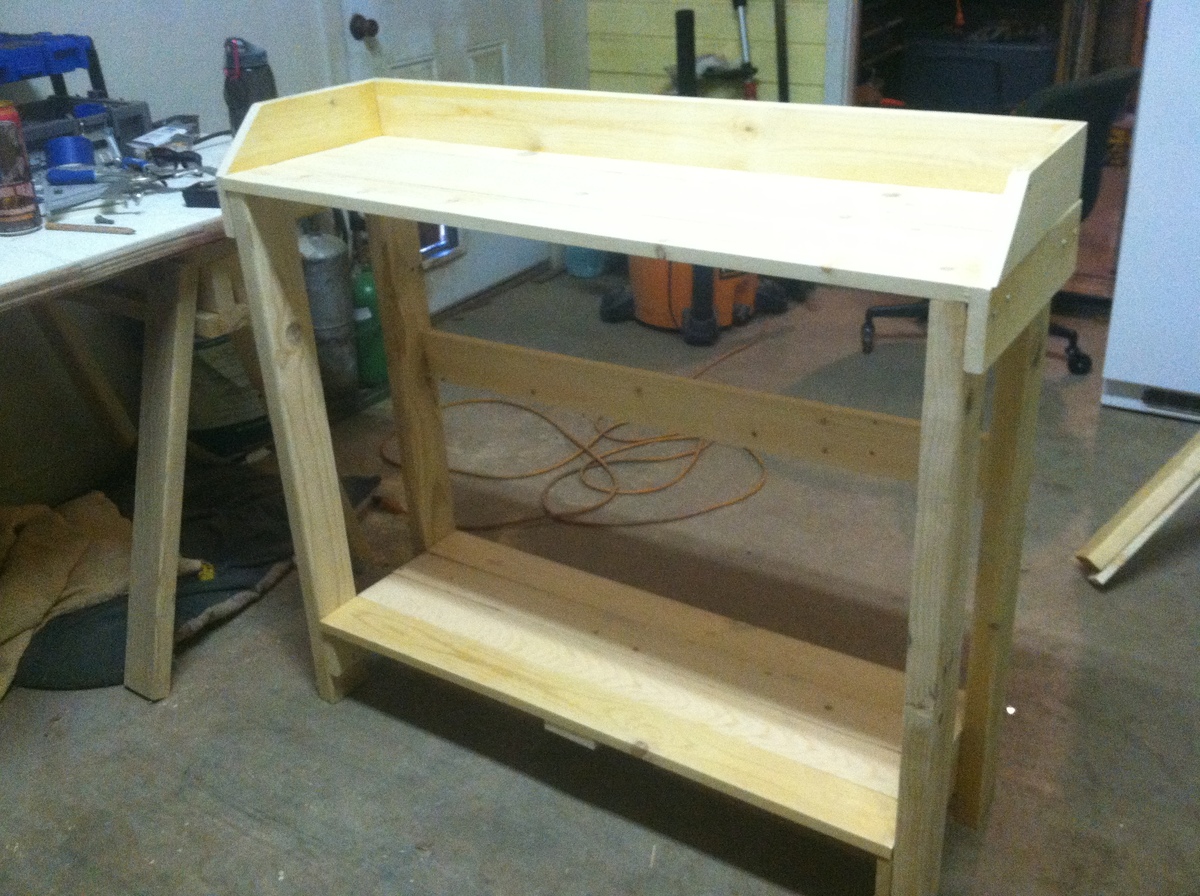
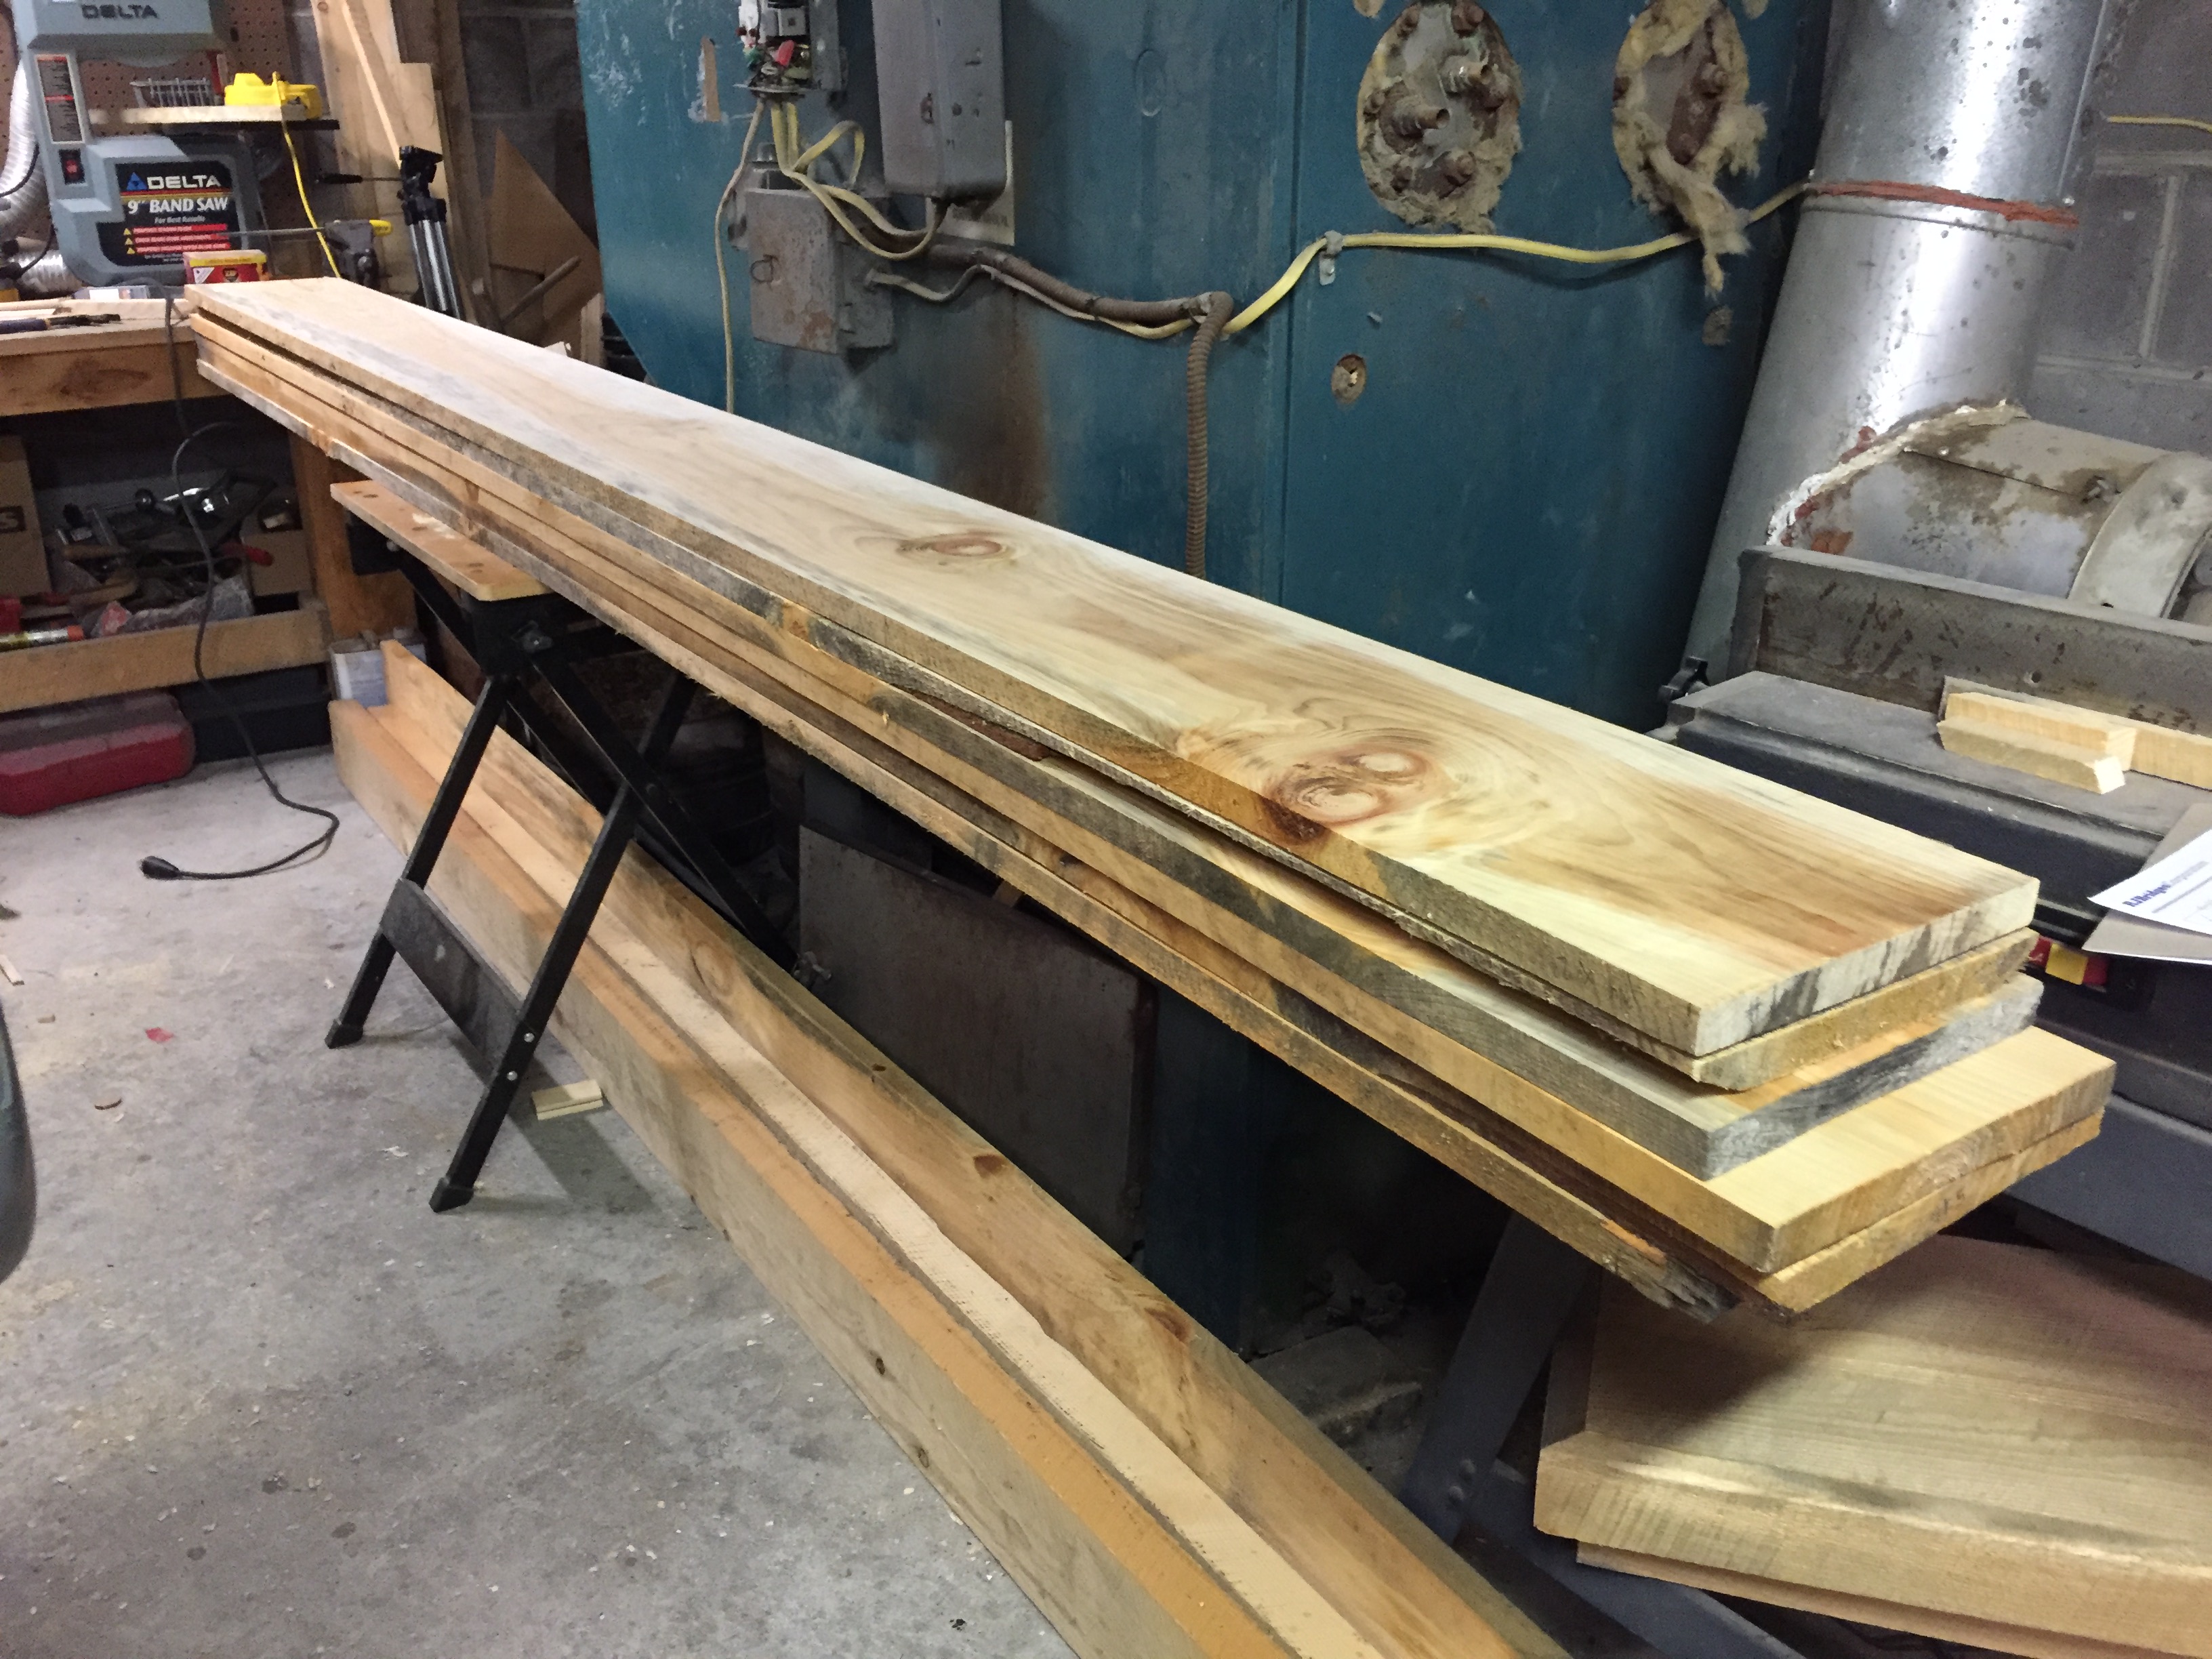
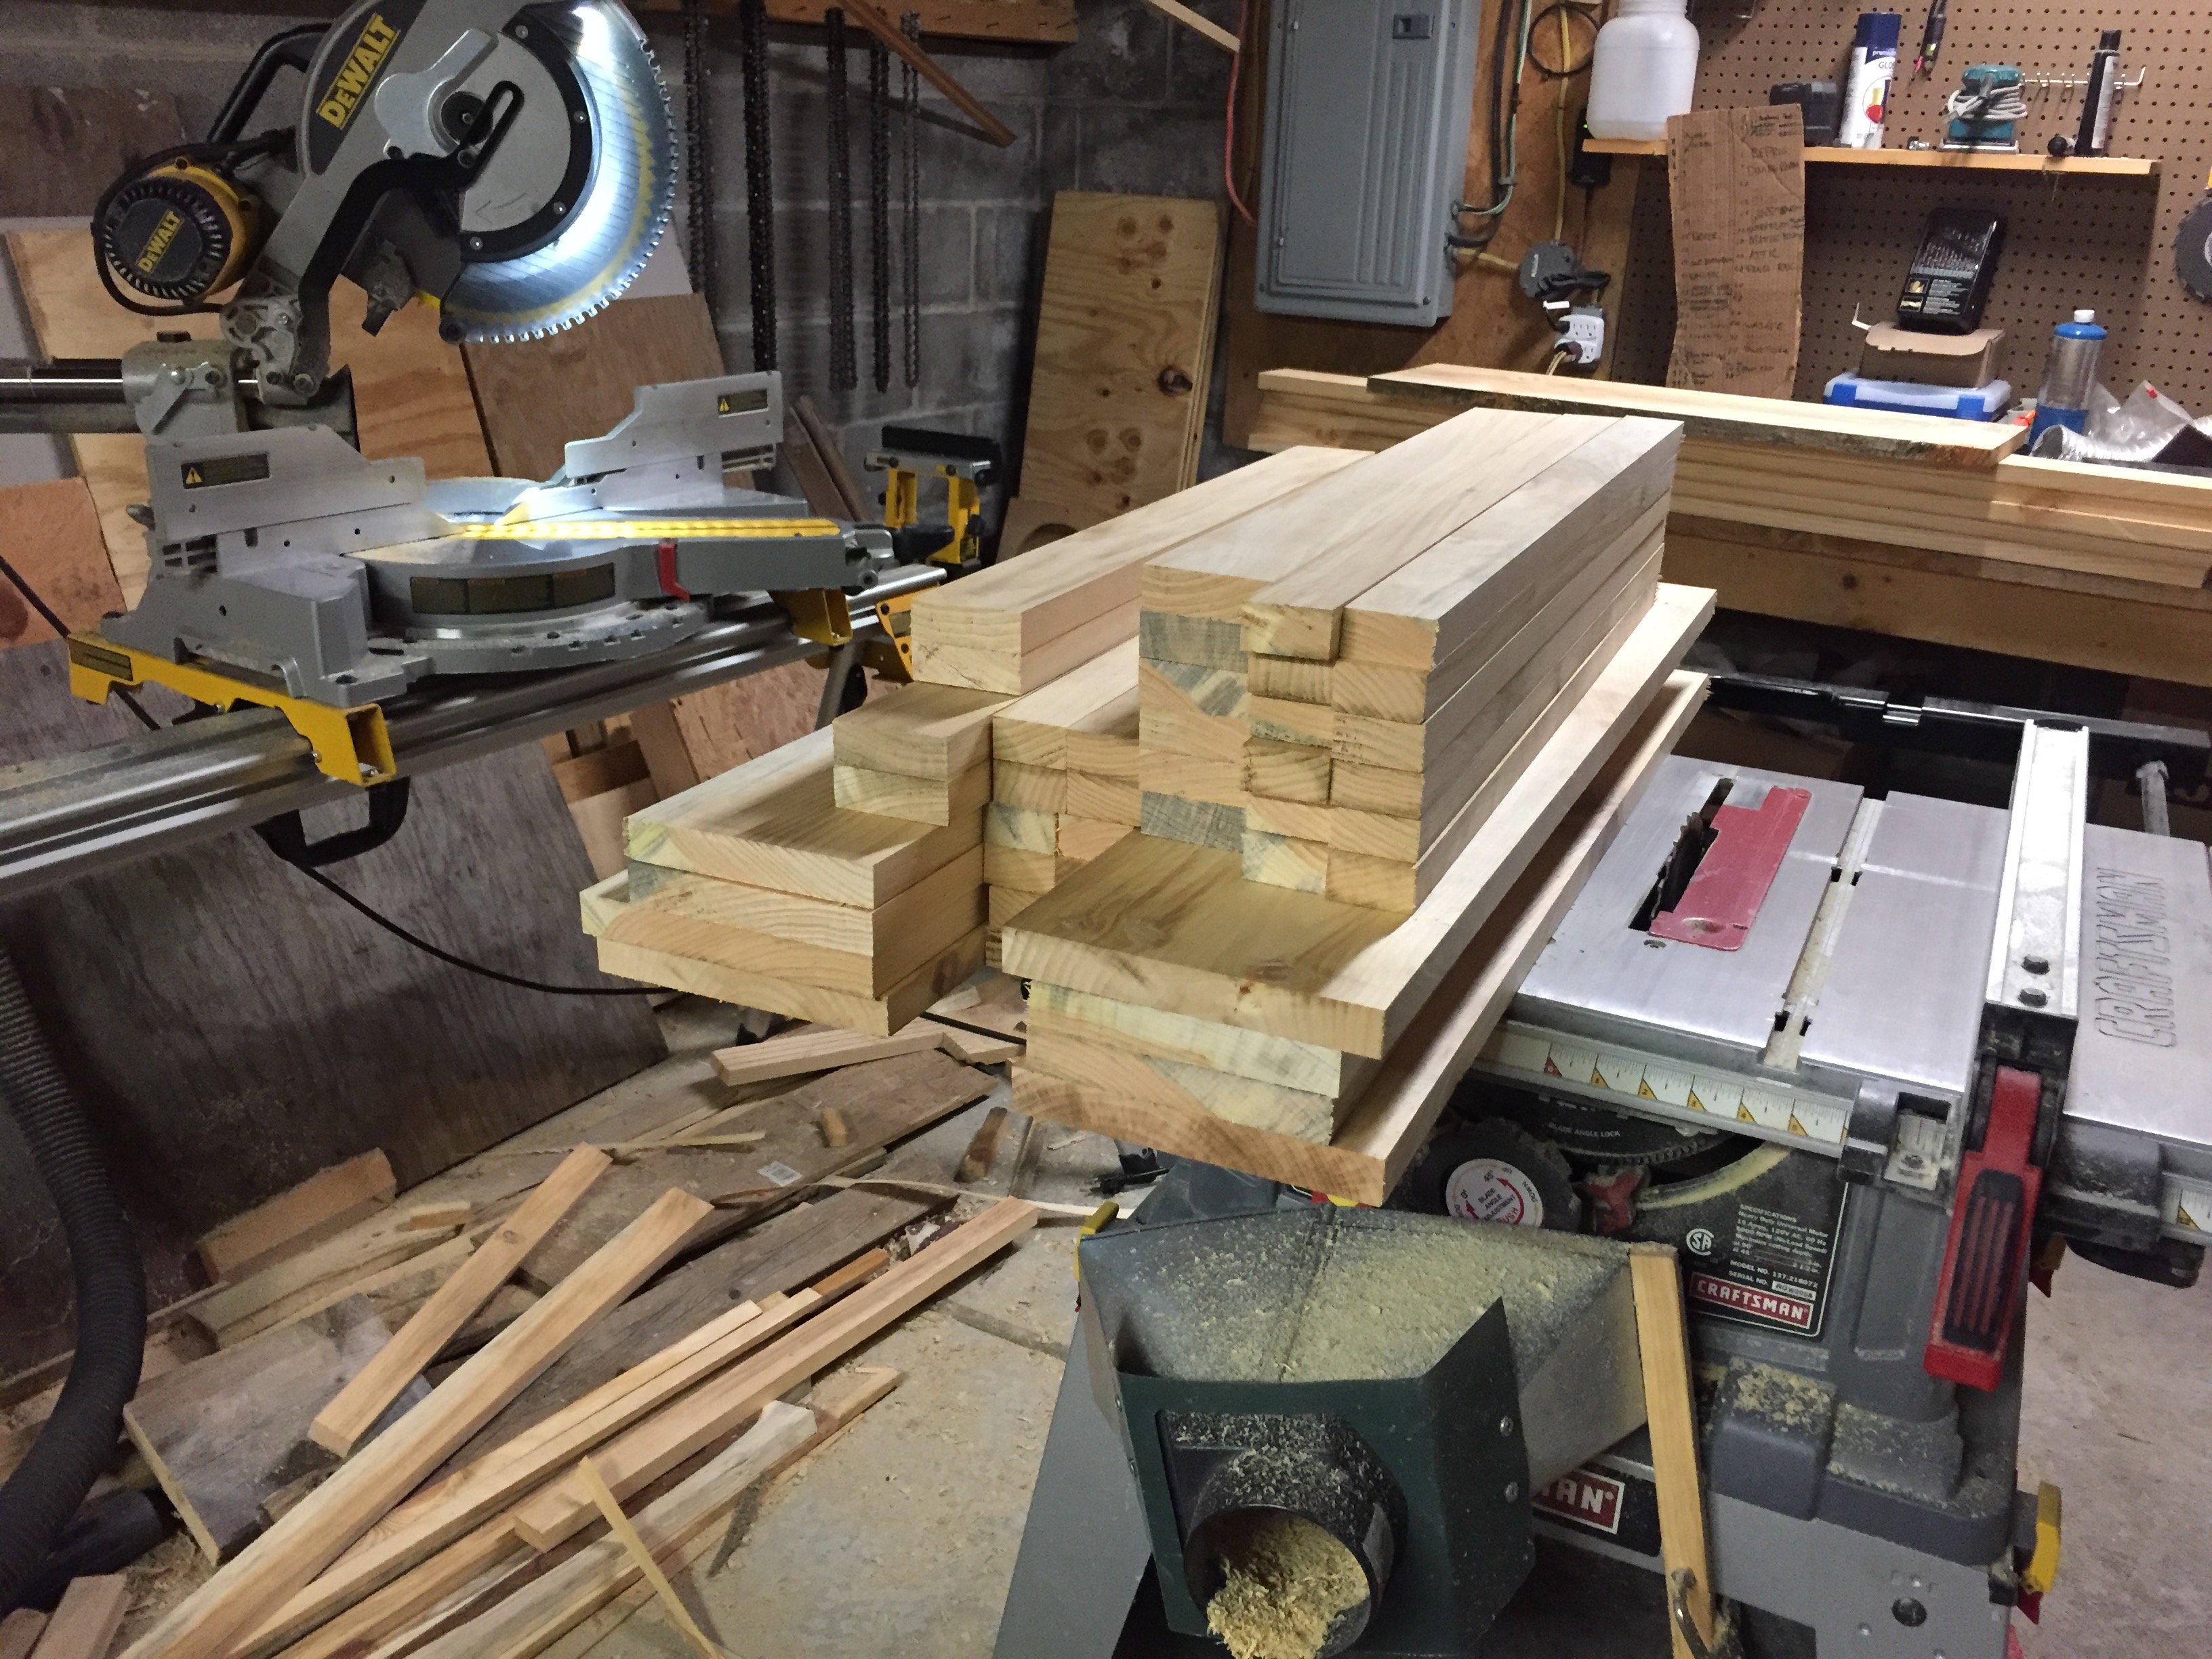
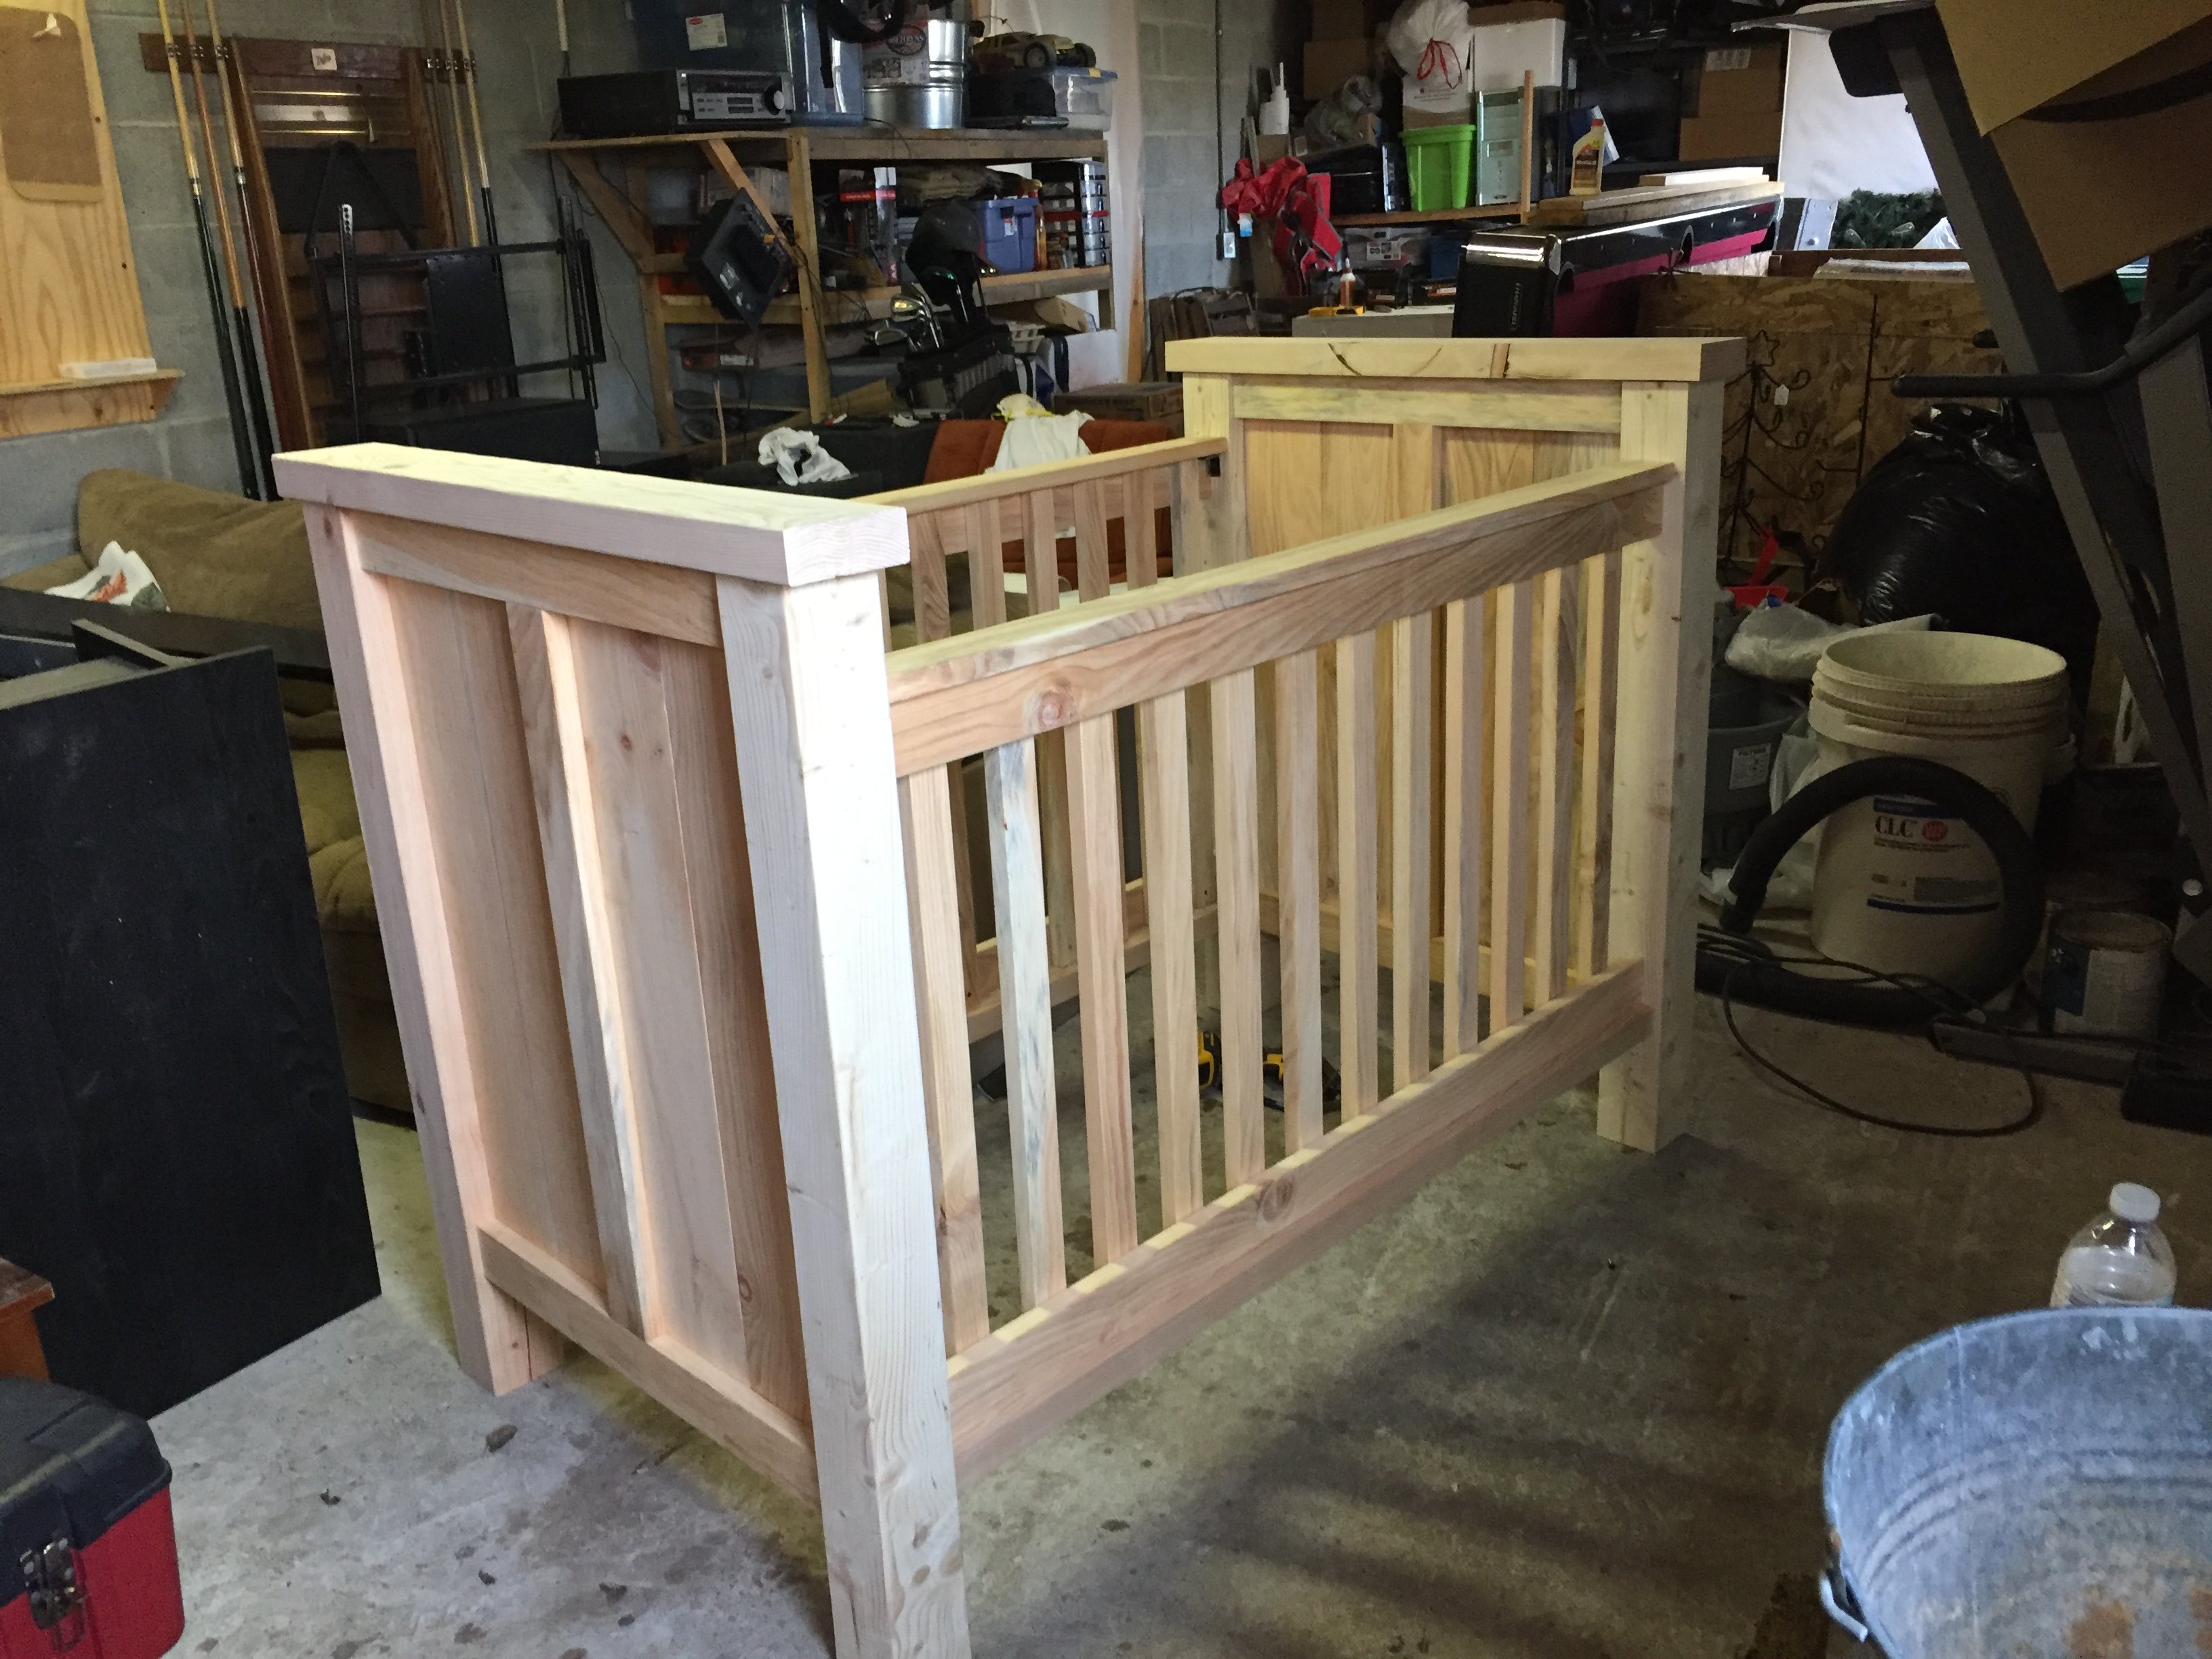
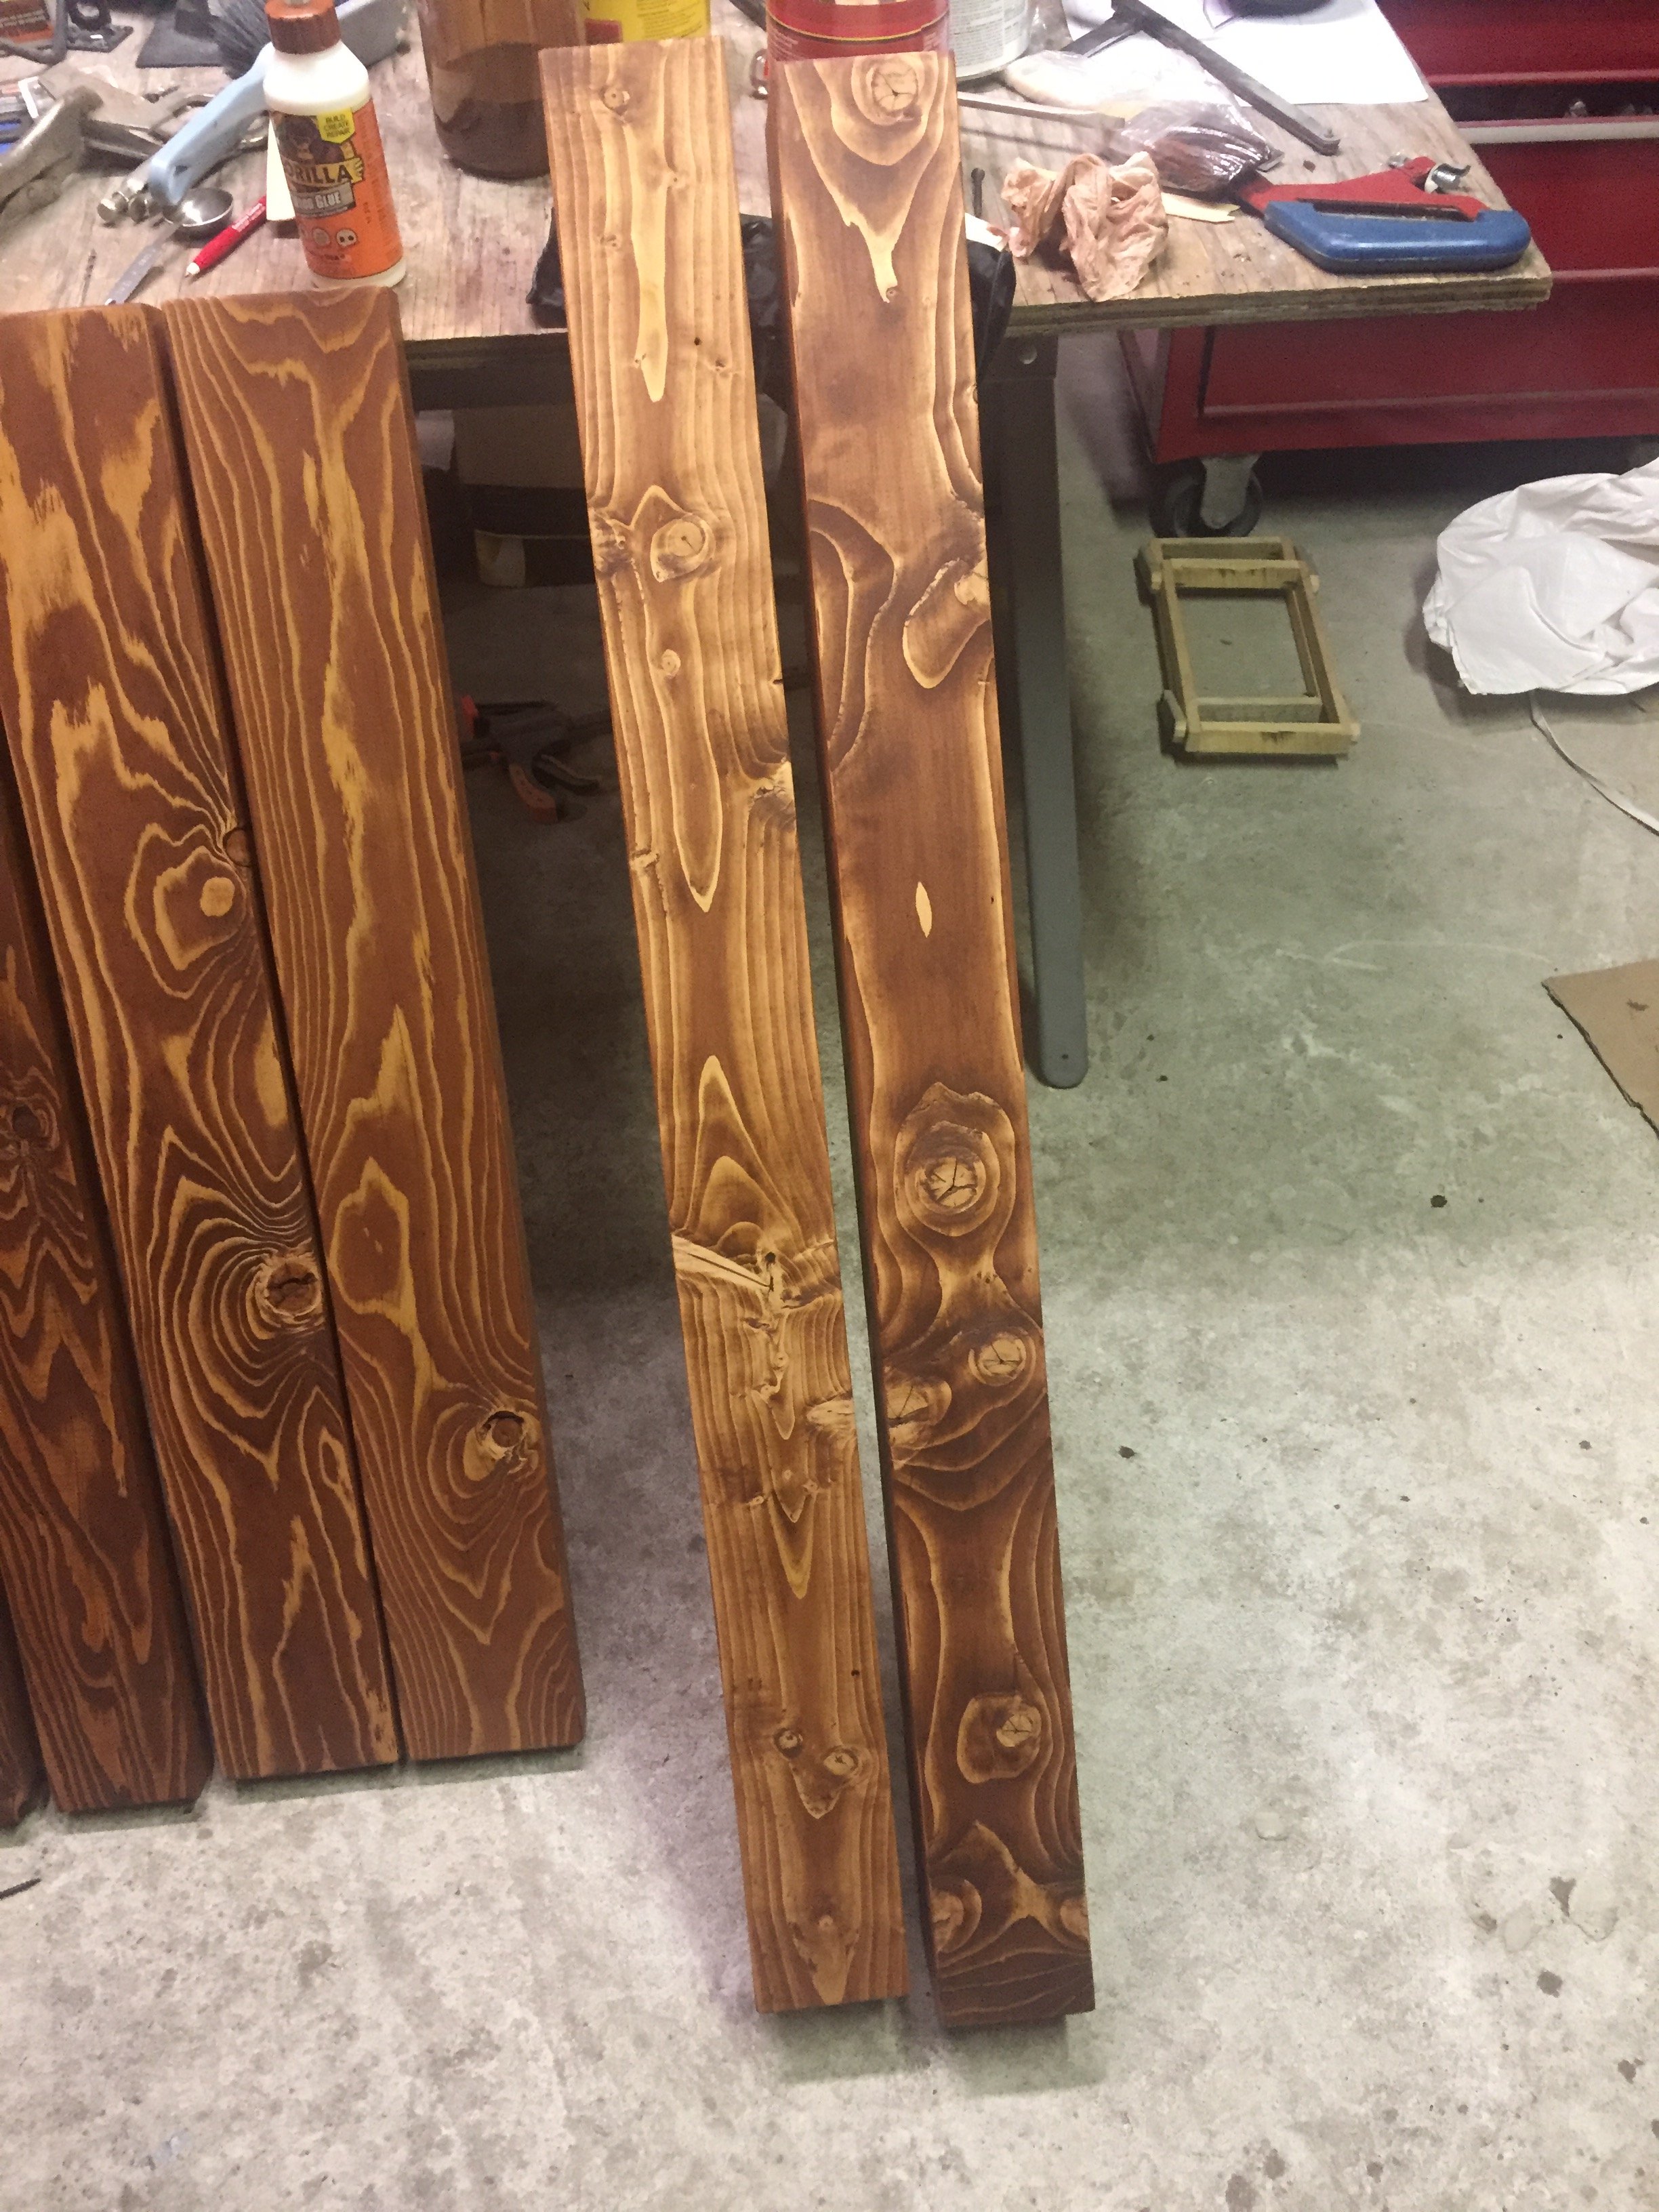
We had to take down a pine in the back yard to make room for a barn so I had it milled into lumber for future projects. I was able to get the majority of the lumber I needed from that tree, everything except for the 4x4's and 2x6's. I got what I thought was pine but after staining it I quickly realized that it was not (maybe hemlock?). The grain didnt match at all so I had to track down some new wood and remake the pieces. Boy was that frustrating! I also bothered myself to hide as many fasteners from (finished) view as possible. It made the project a bit more involved but the finished product made it all worth it.
Built from Plan(s)
Estimated Cost
$80
Estimated Time Investment
Week Long Project (20 Hours or More)
Finish Used
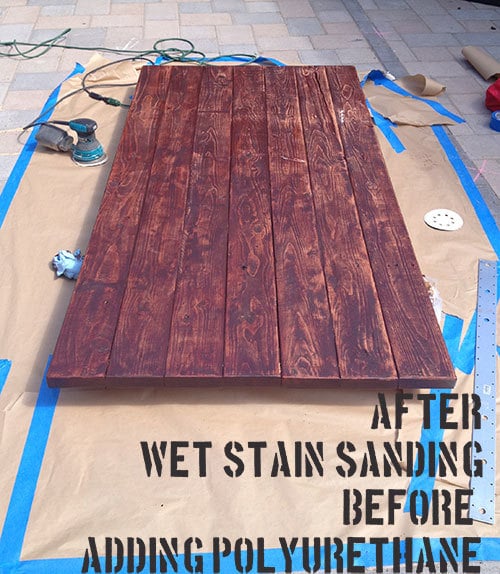
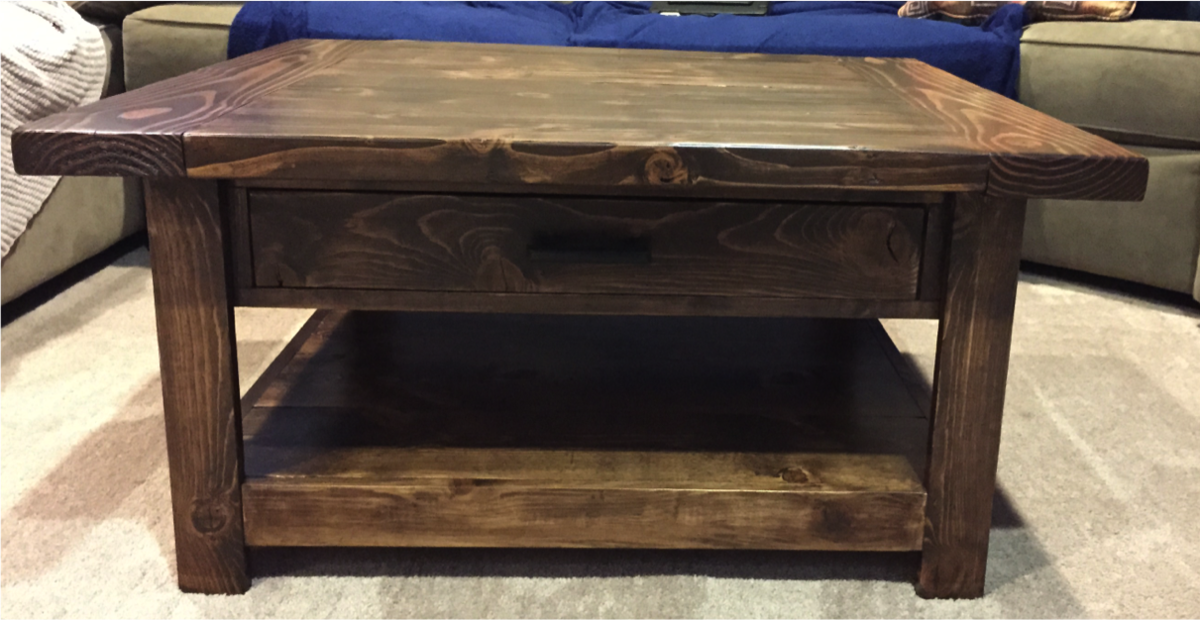
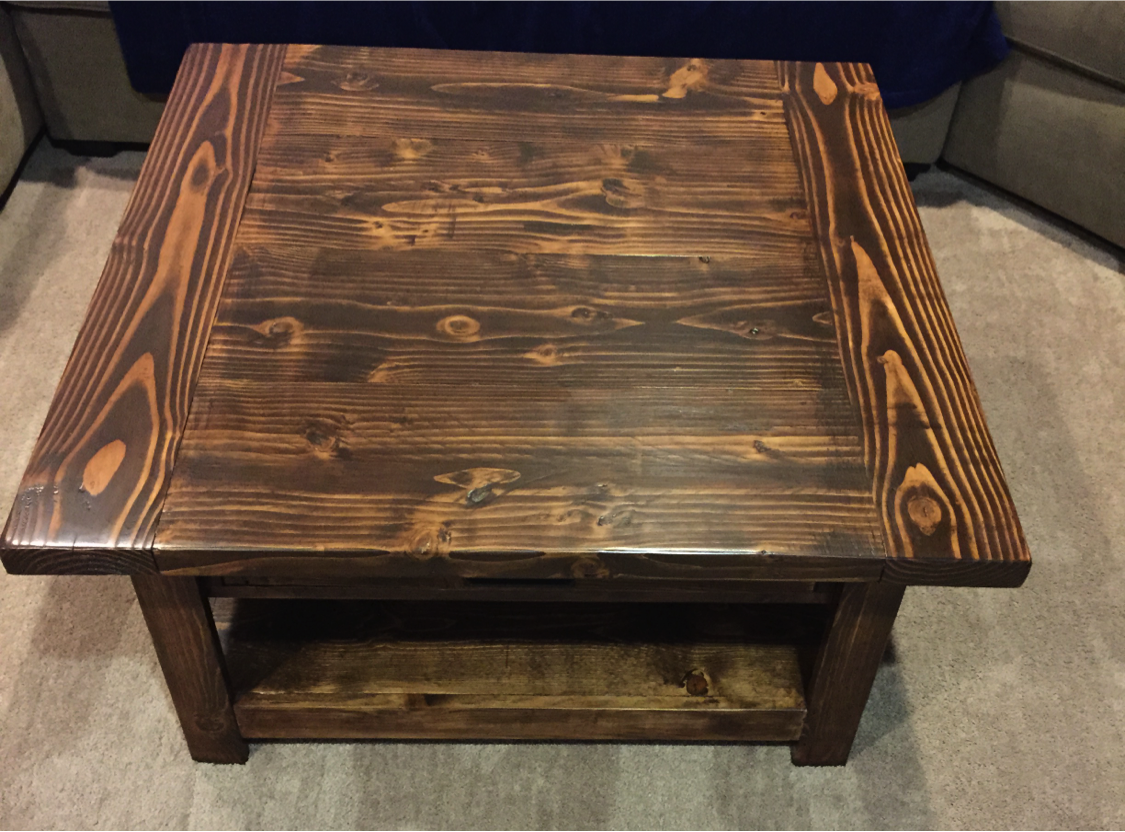
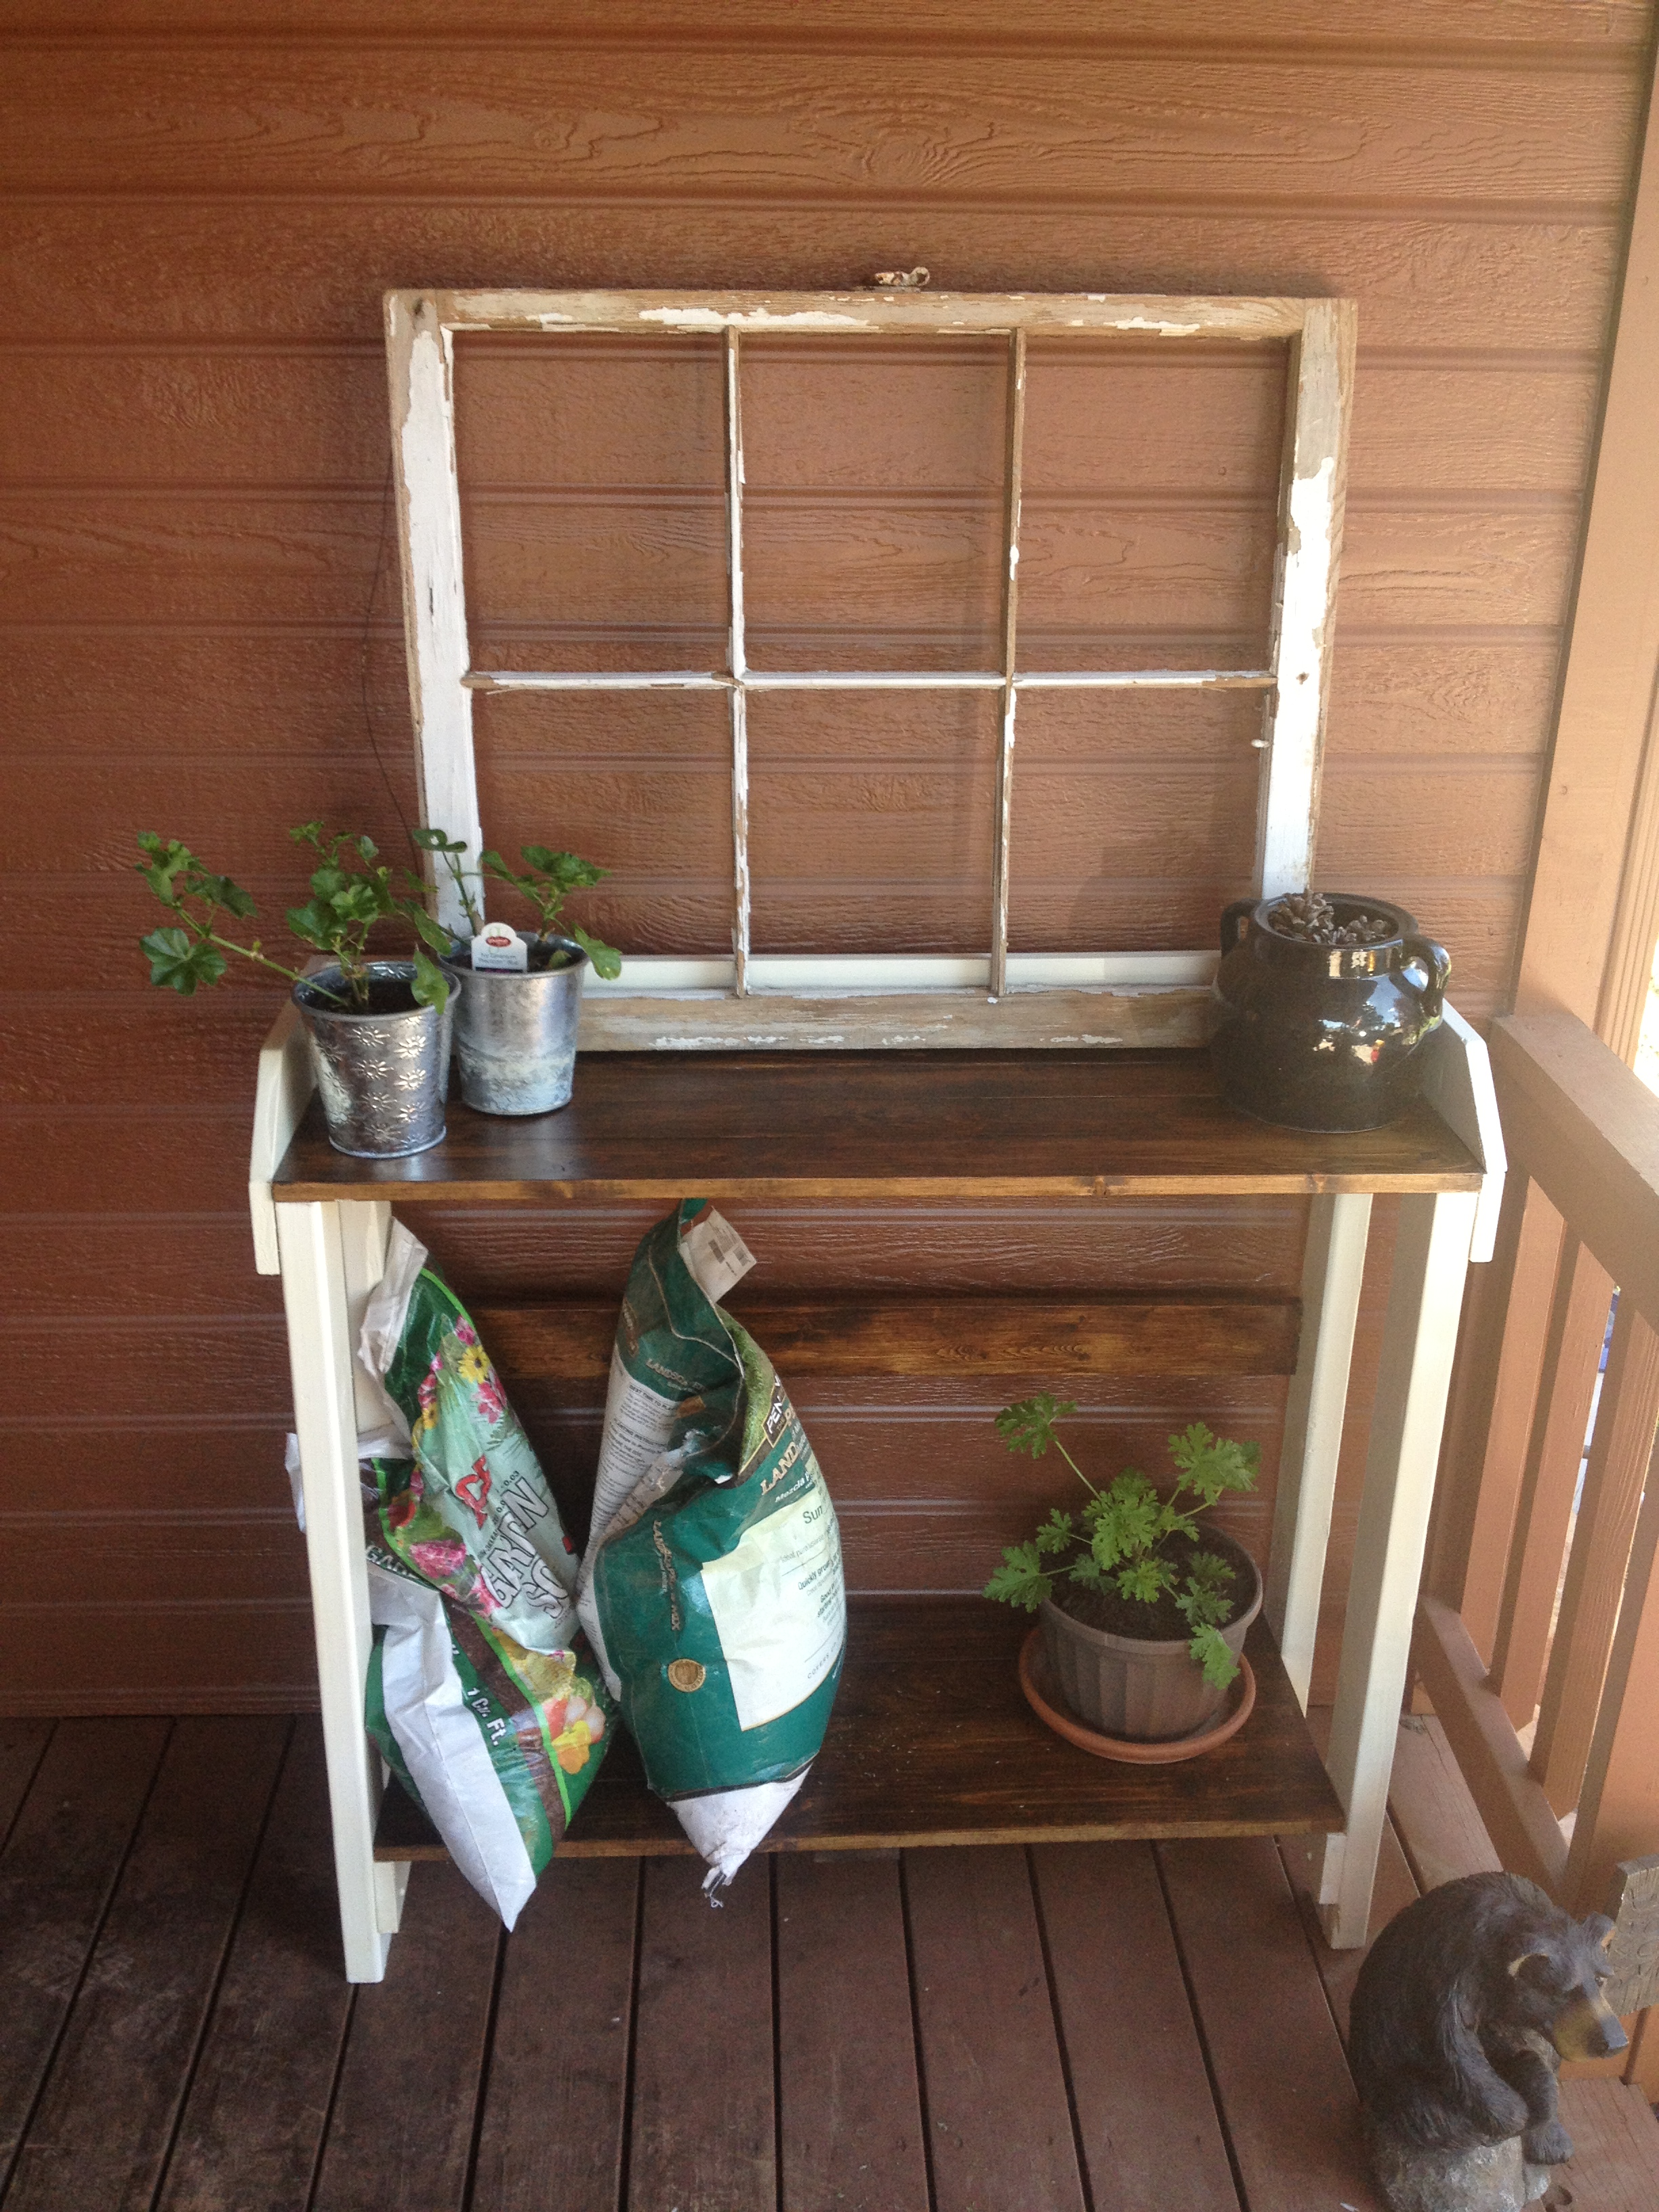
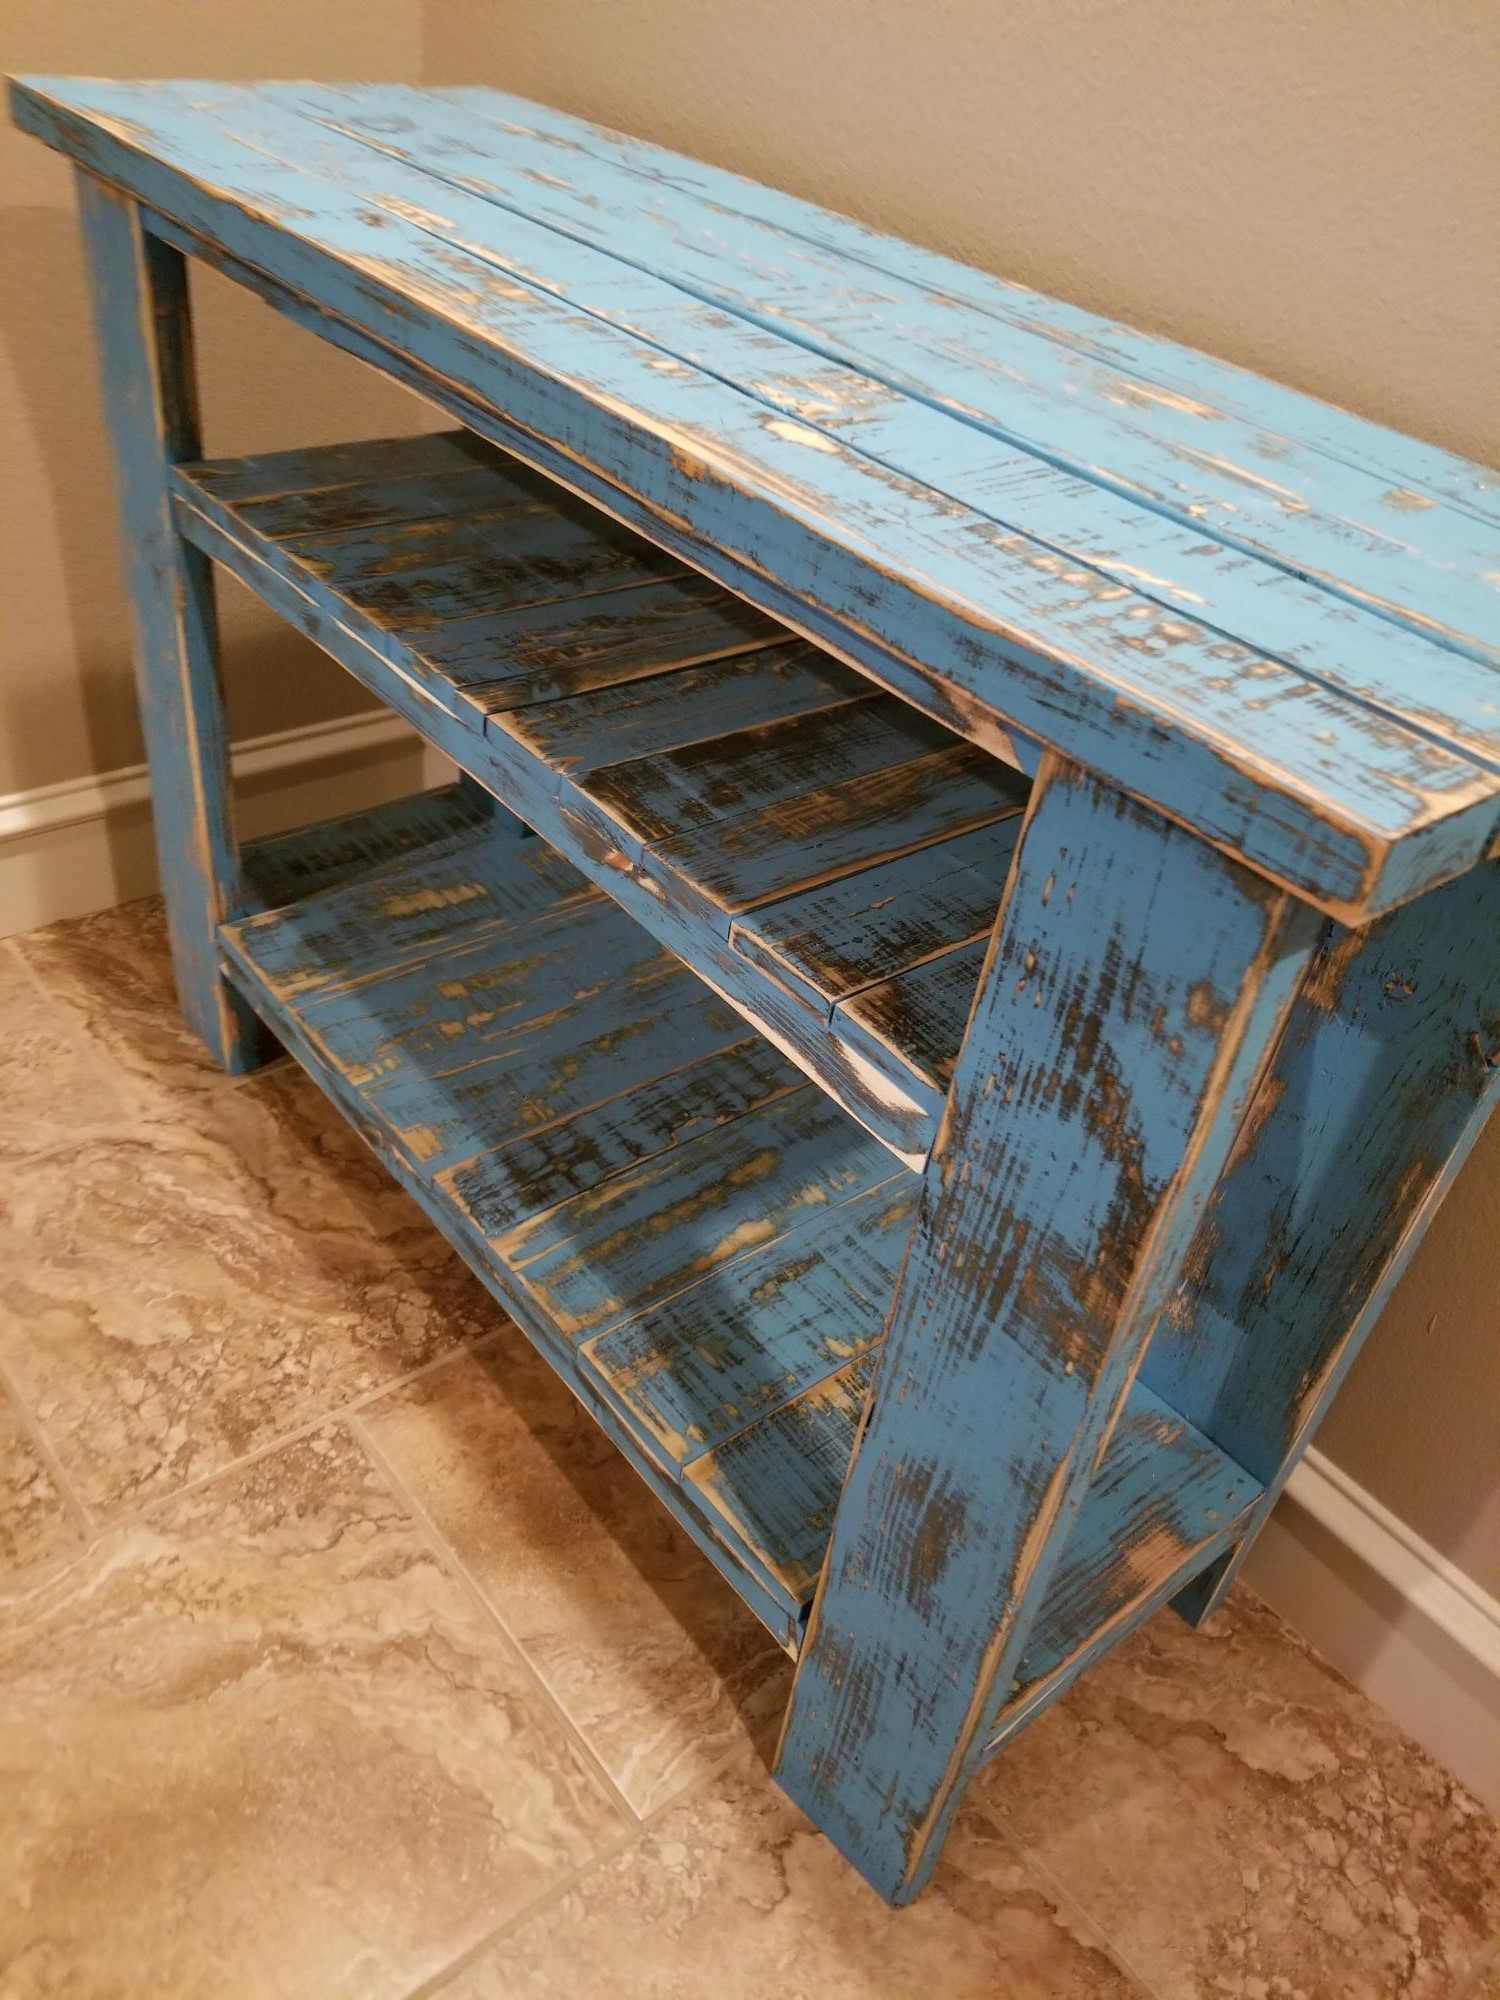
Minwax Stain- 1/2 Red Chestnut 1/2 English Chestnut mixed (to match dry sink converted into changing table).
Minwax Polyurethane- Clear Satin (2 coats with a light sanding with a scotch pad between coats).
Minwax Polyurethane- Clear Satin (2 coats with a light sanding with a scotch pad between coats).
Recommended Skill Level
Intermediate