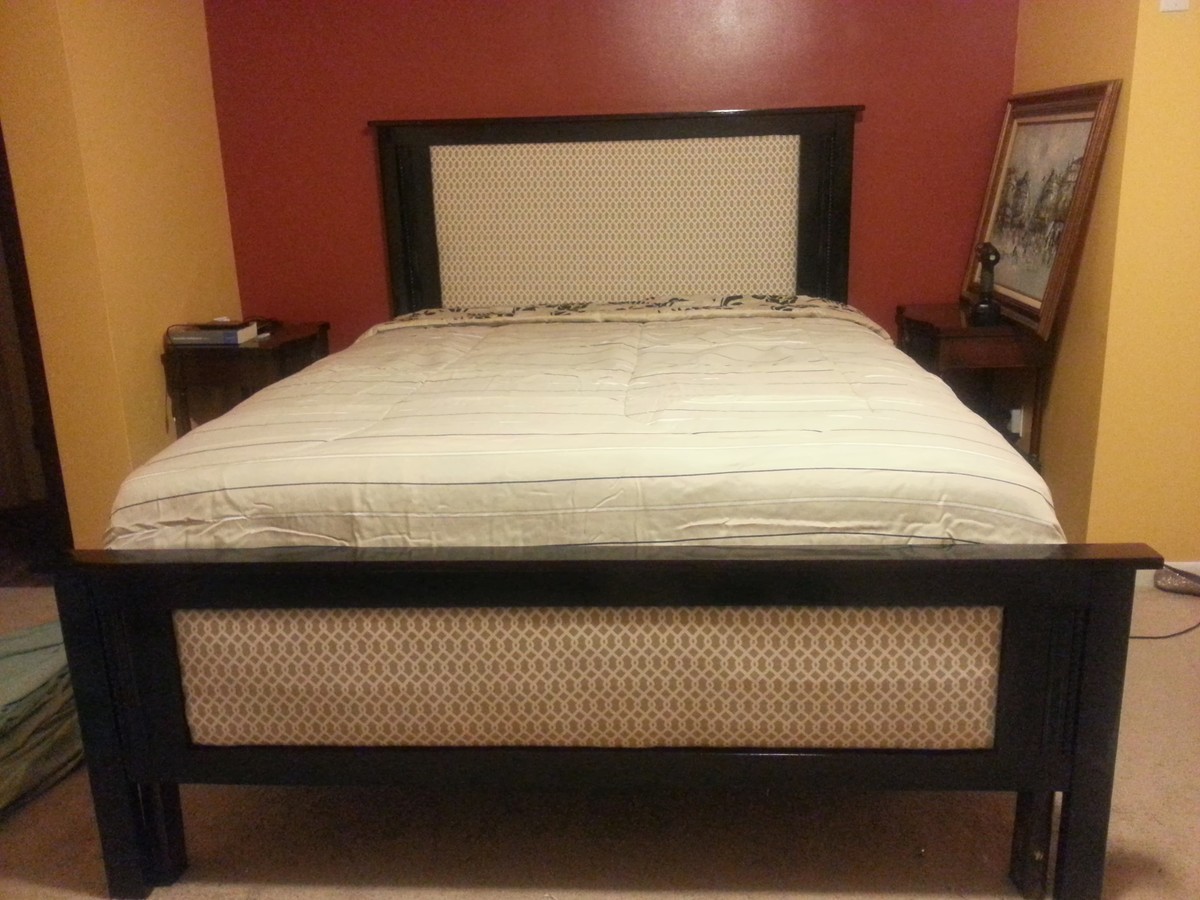
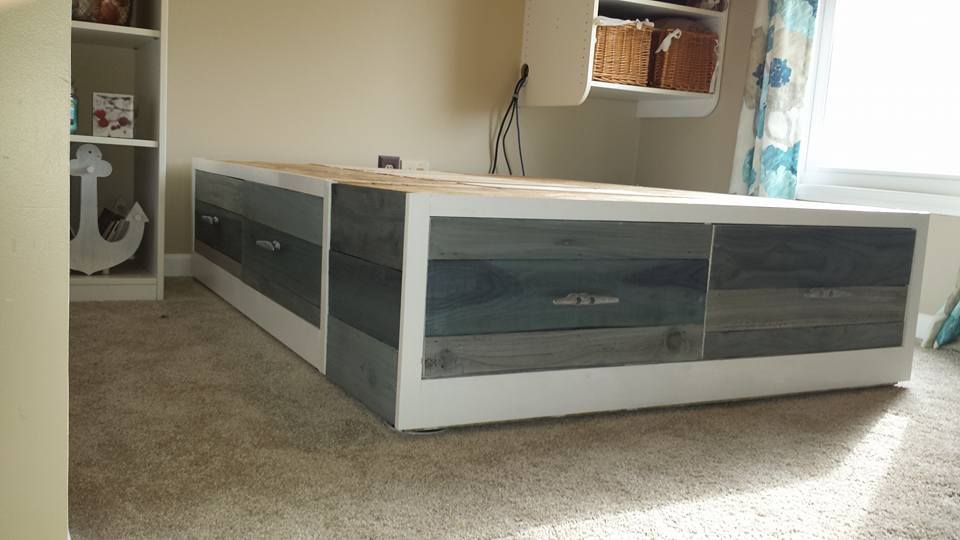
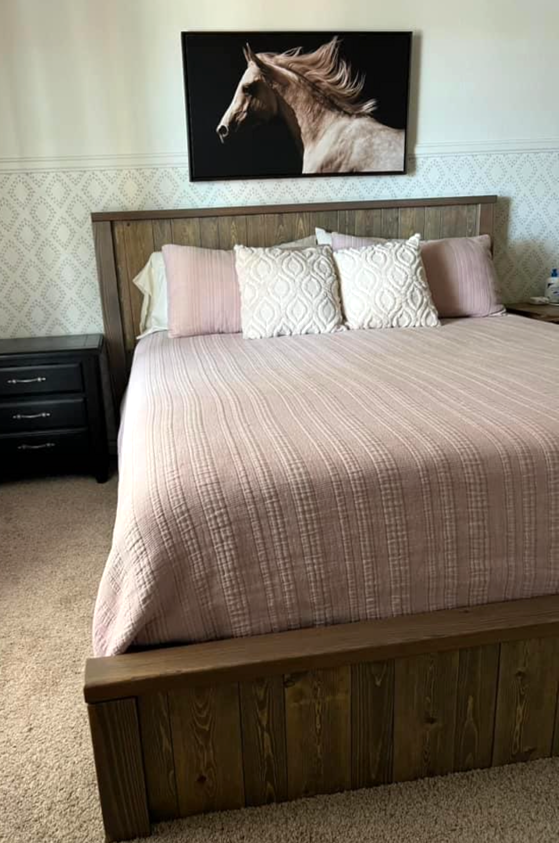
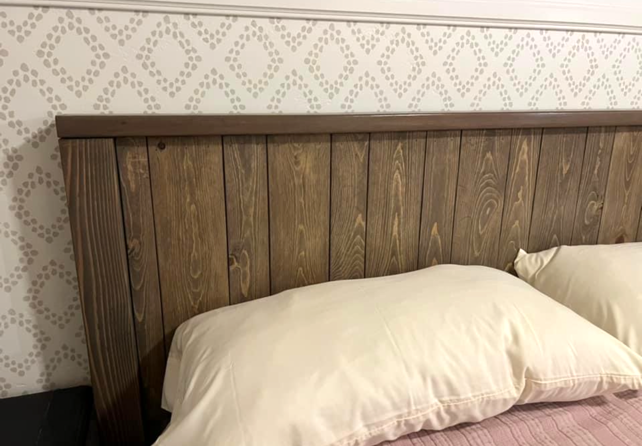
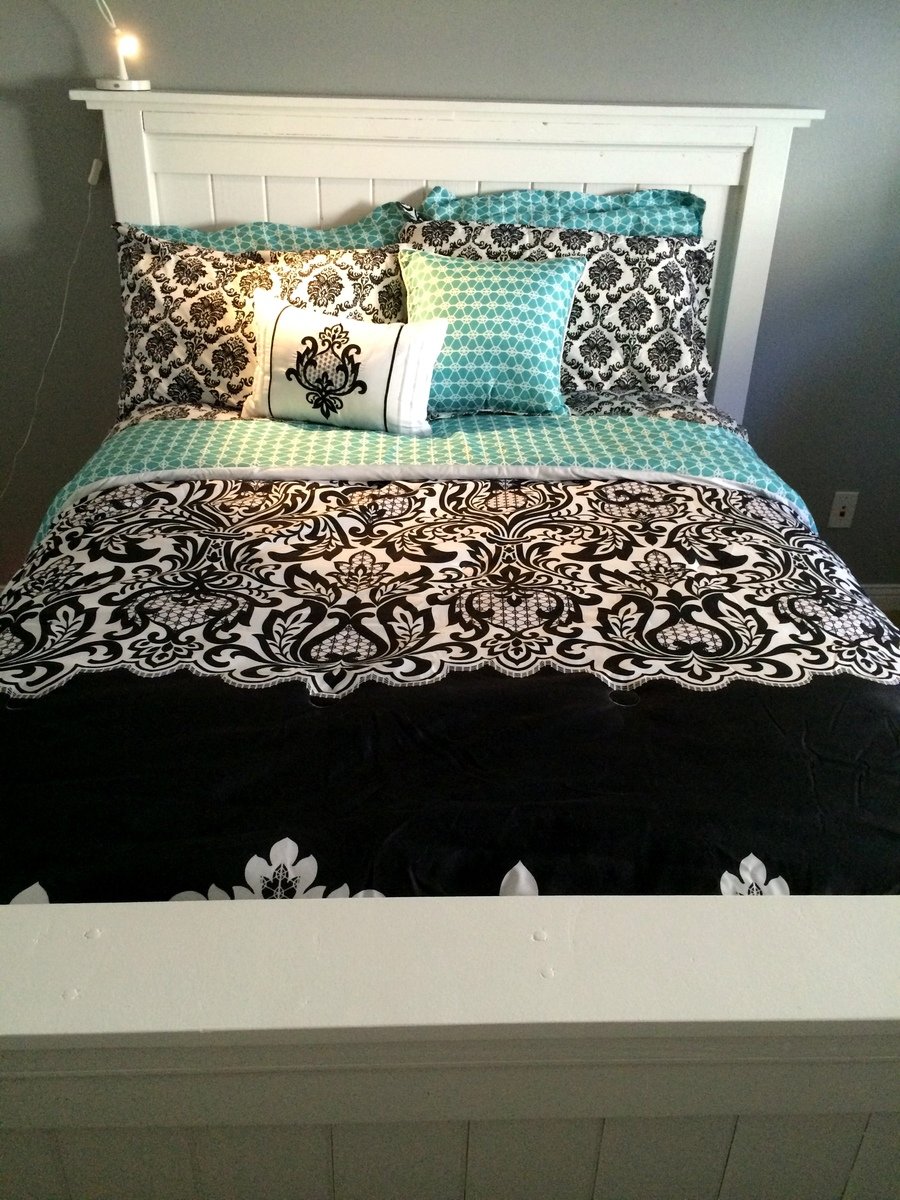
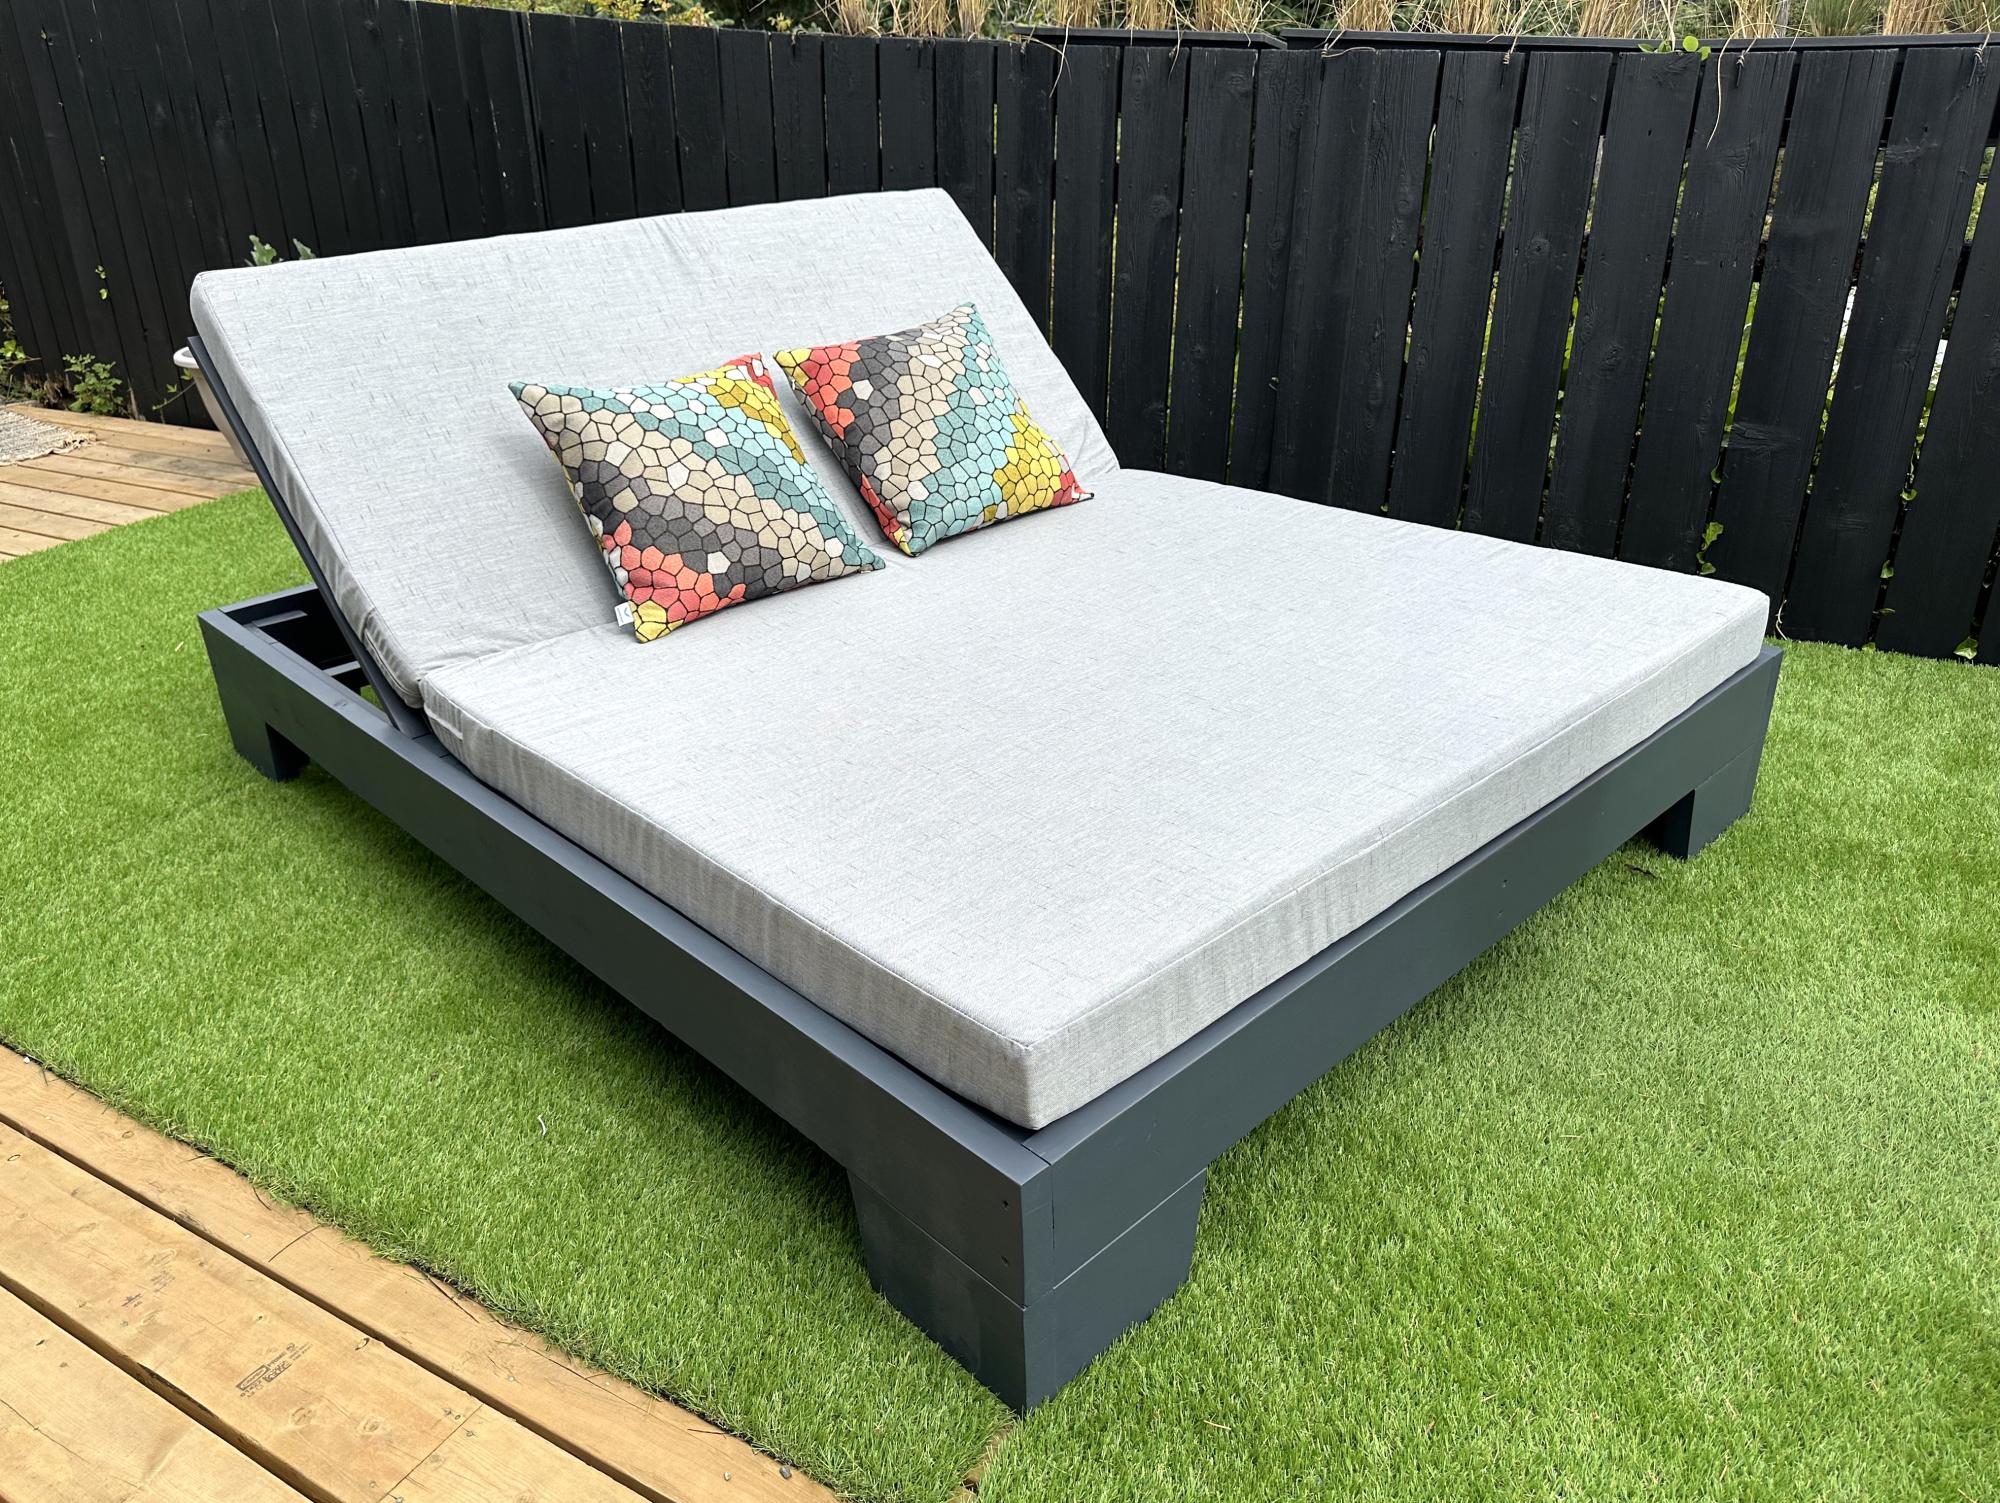
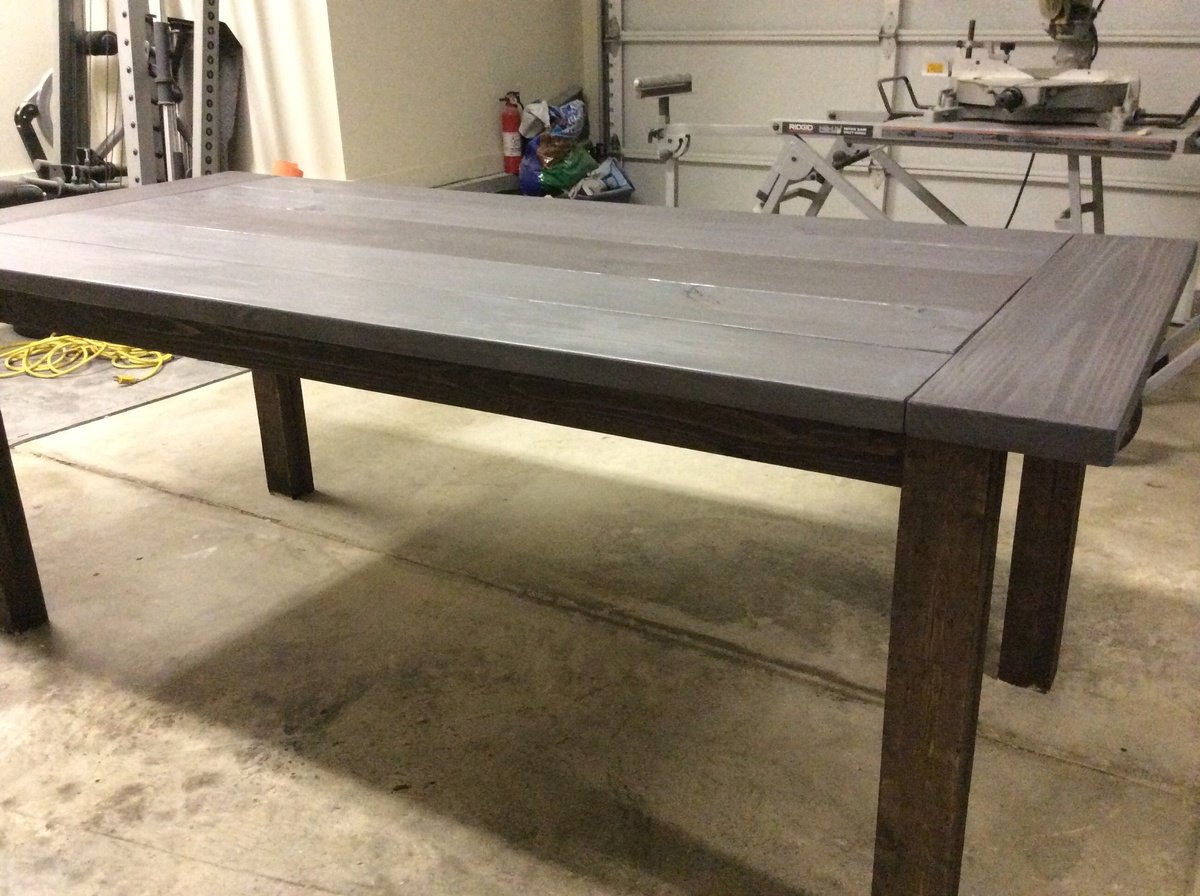
Farm house queen bed modified for box spring

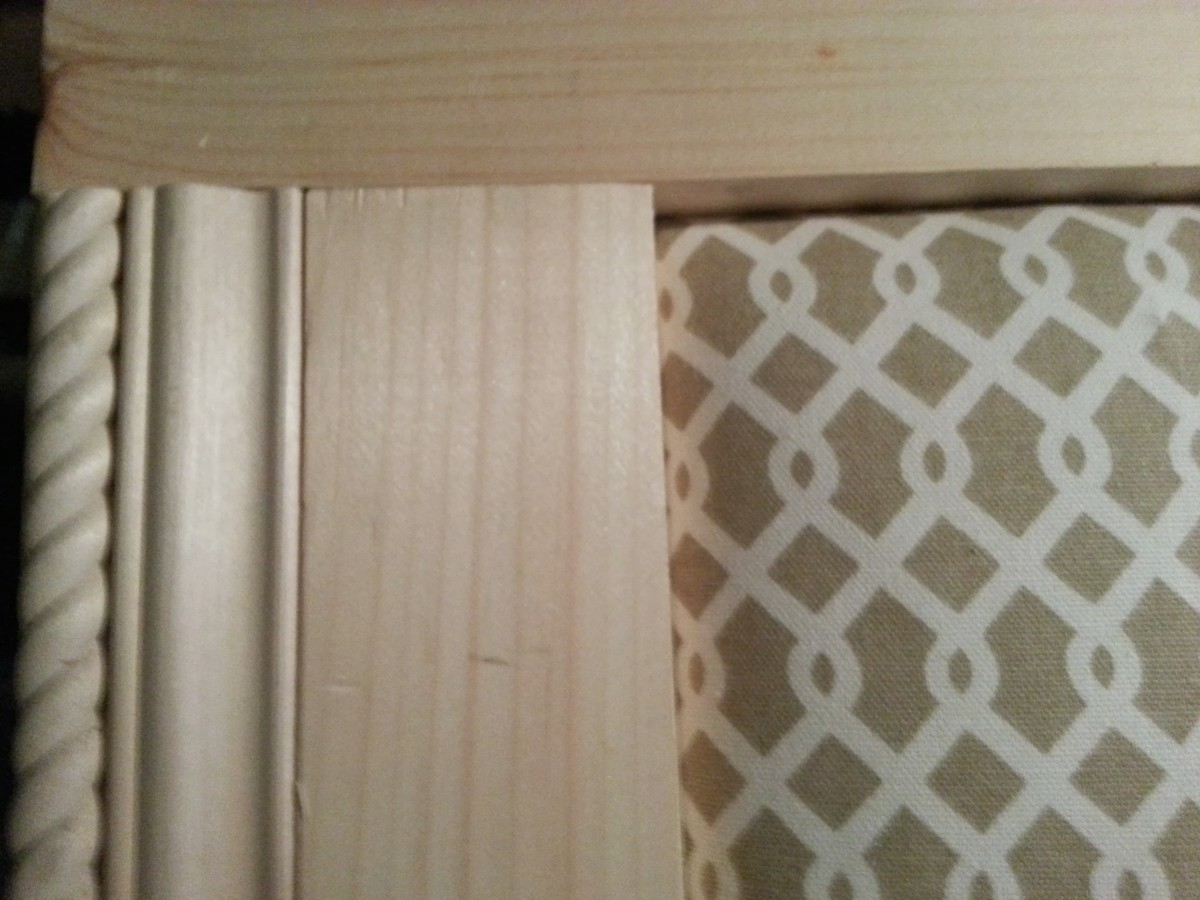
This bed was built completely out of necessity. Our old 30 year old bed (including mattress) had given me my last backache. A new bed and mattress set was too expensive so I decided to build the bed and spend the saved money on a mid class mattress. So glad I did! What I built seems waaaay better than what we could have afforded. And it only took me a long weekend plus a few days waiting for stain and polyurethane to dry. Plus the return trips to HD to purchase new lumber after making wrong cuts and the cheap furring strip I bought at first continuously split on me.o t
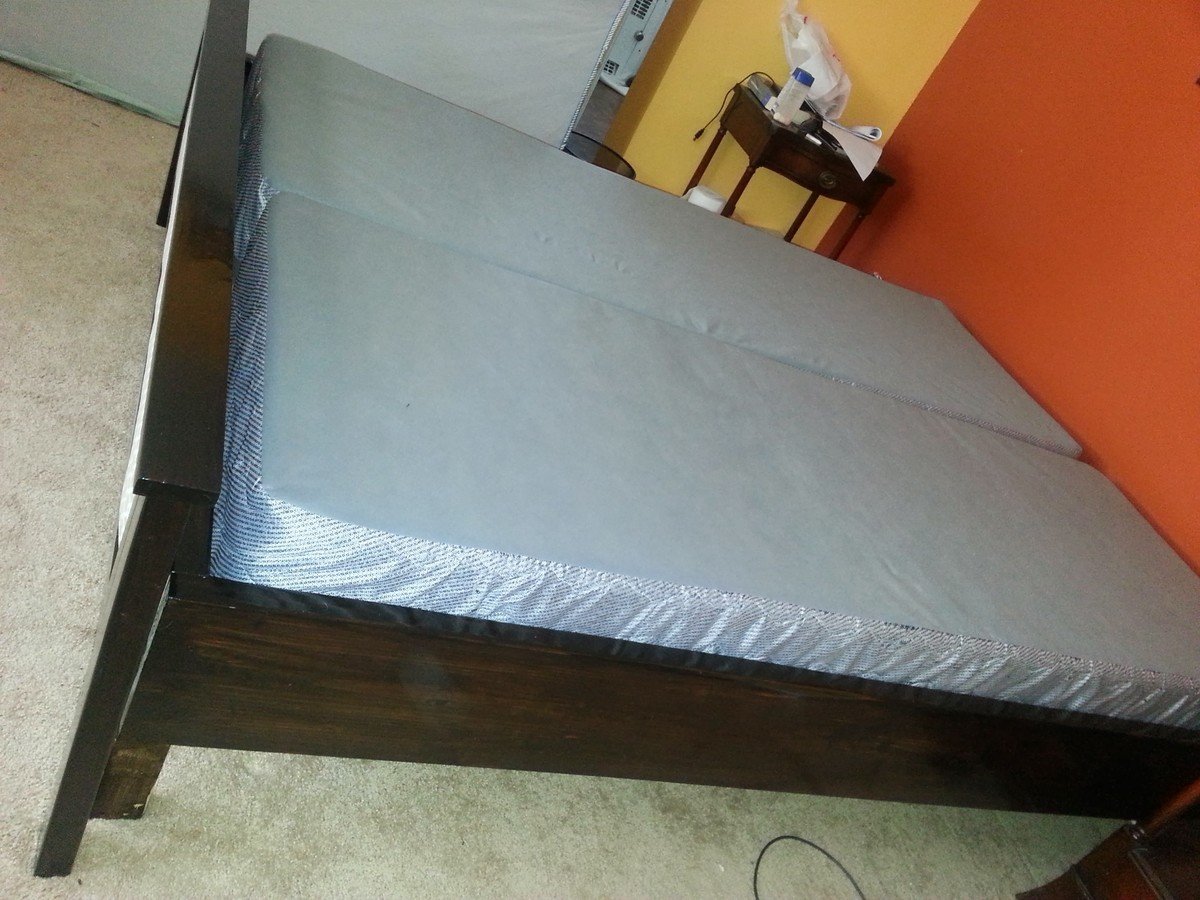
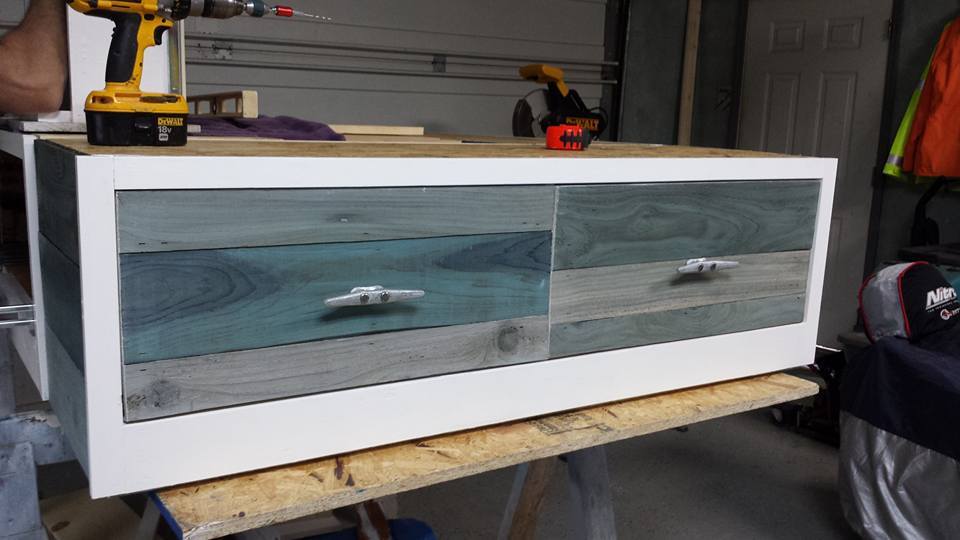
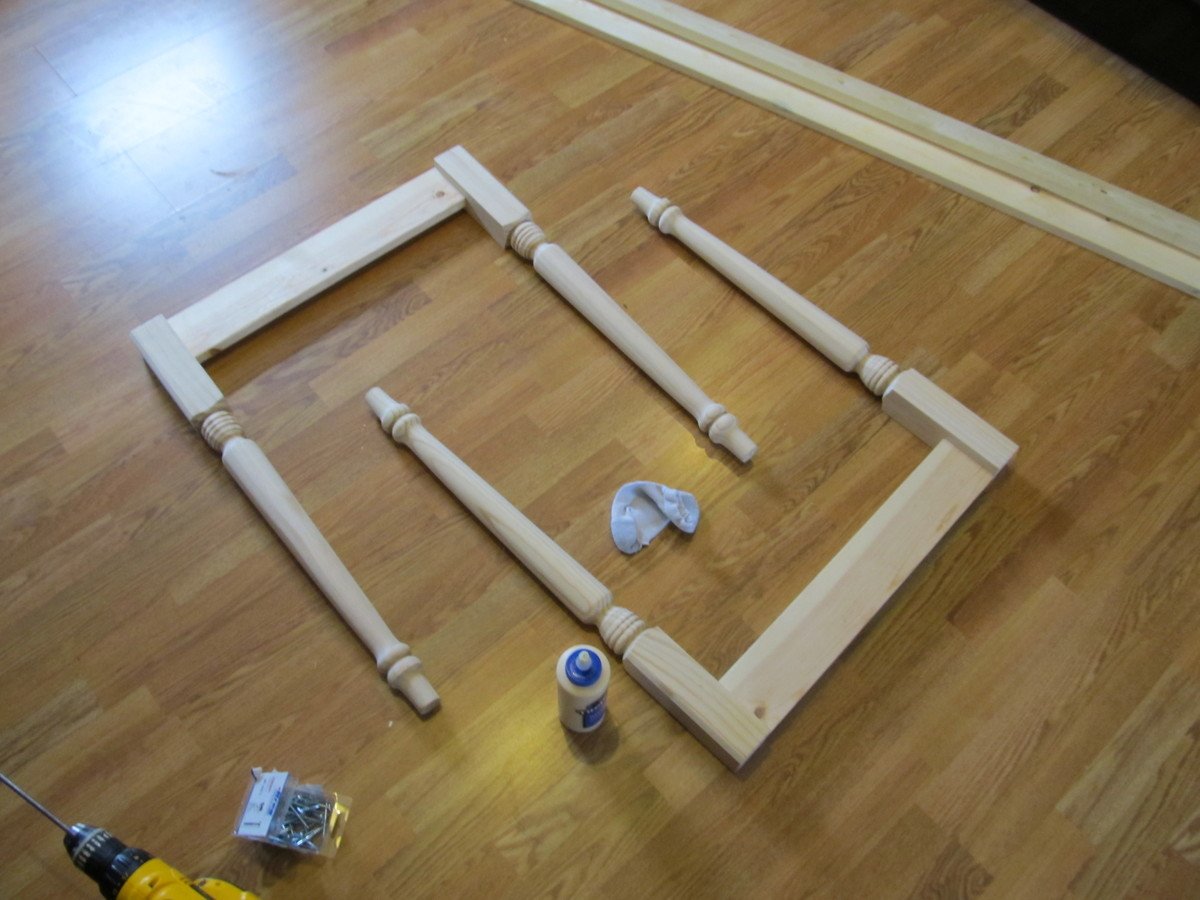
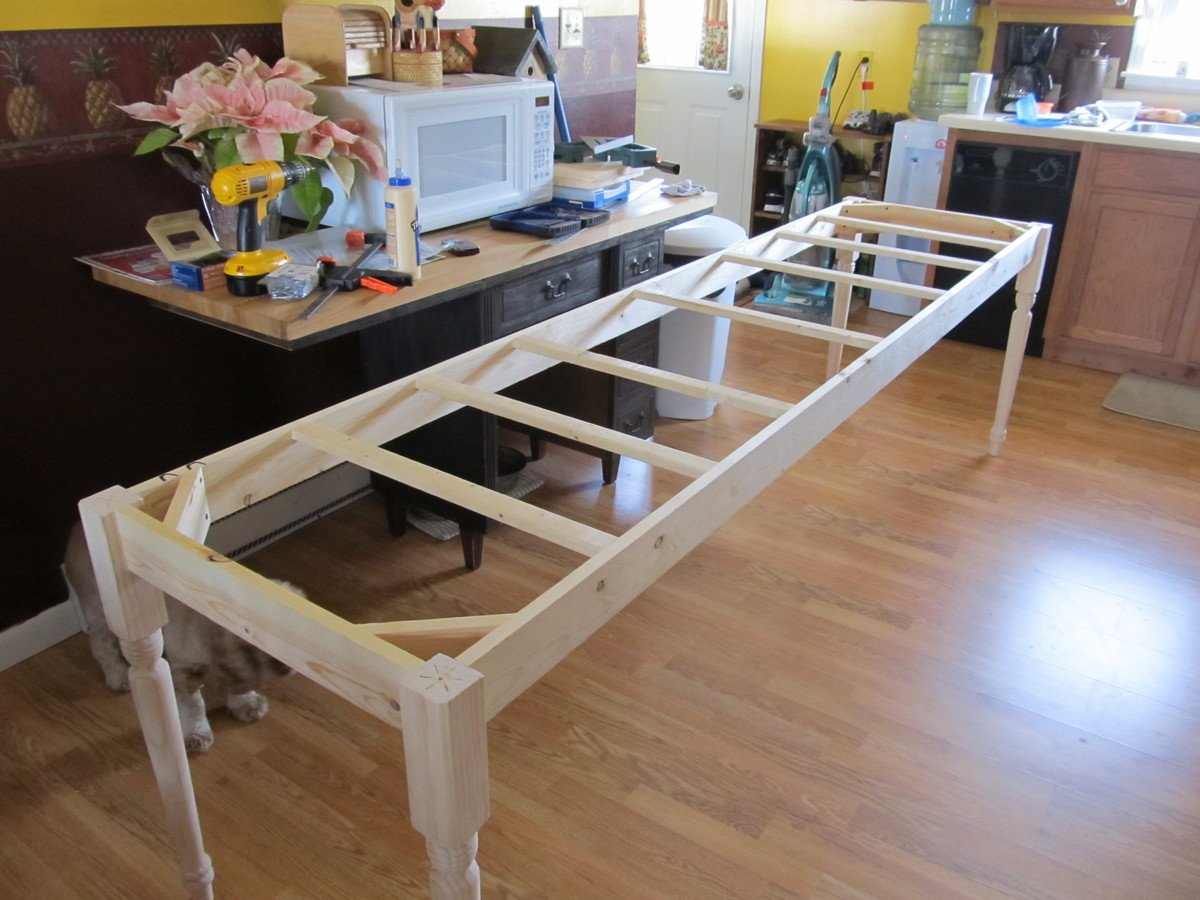
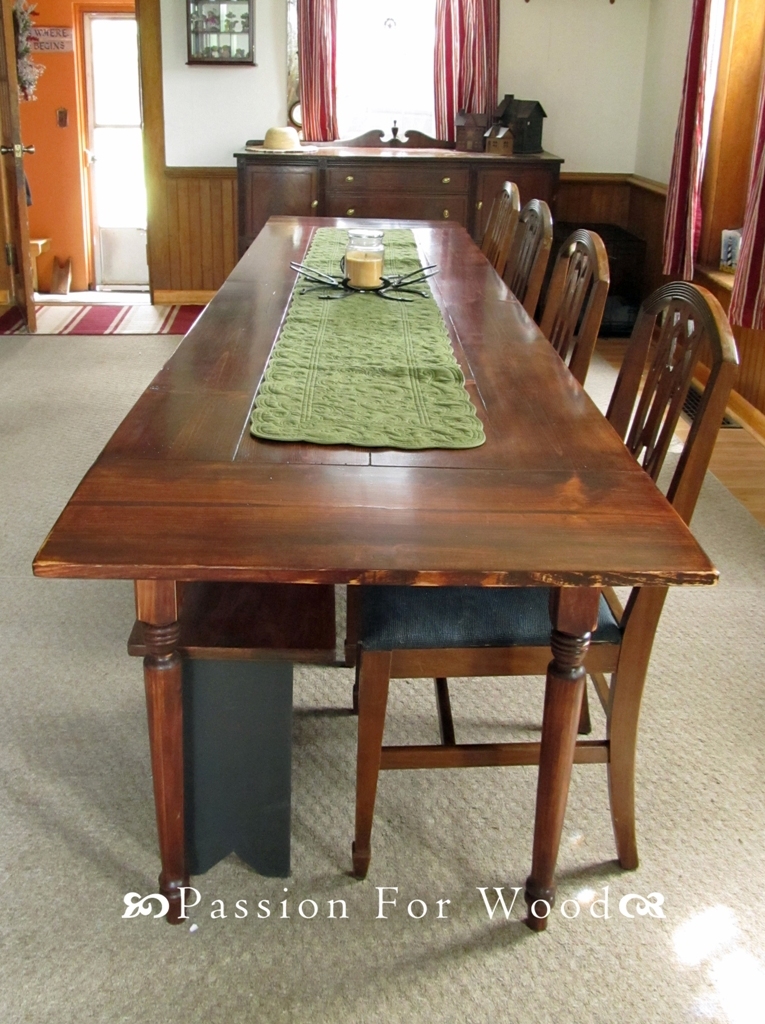
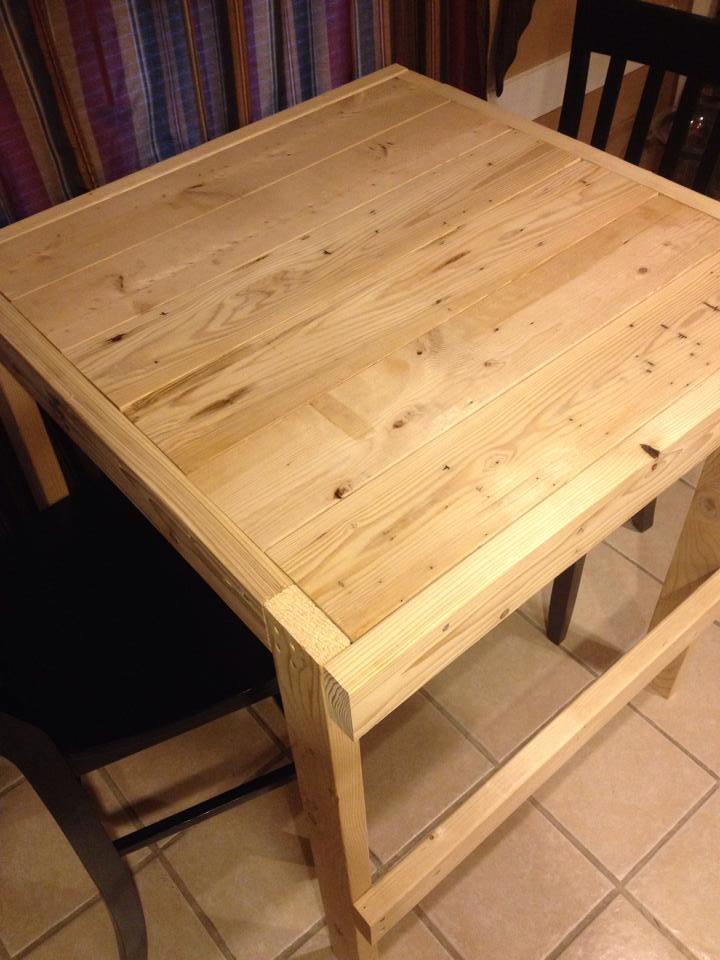
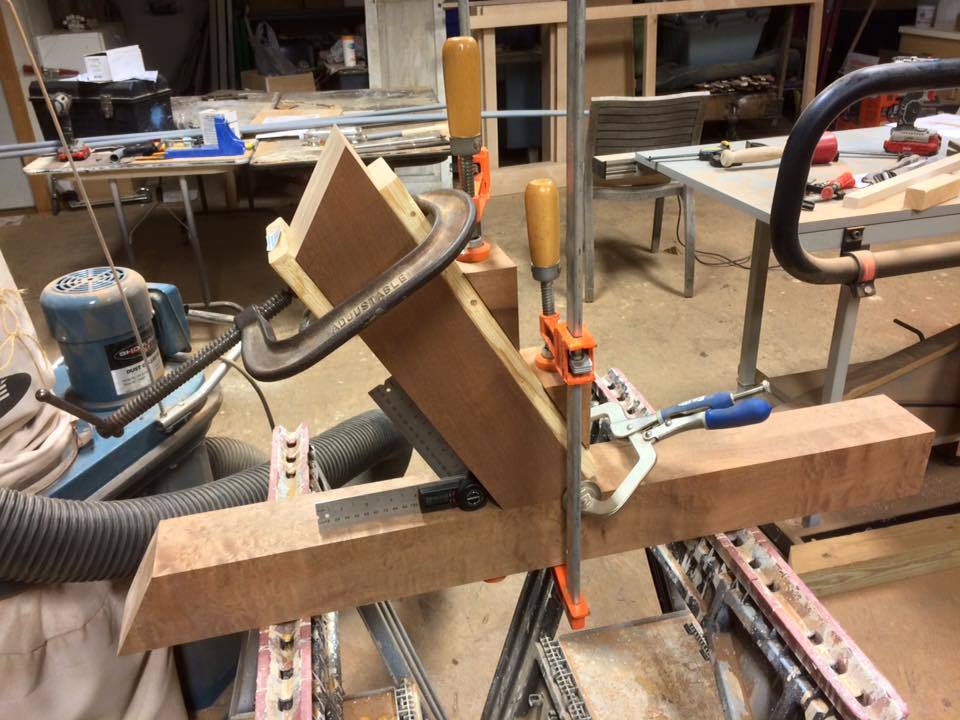
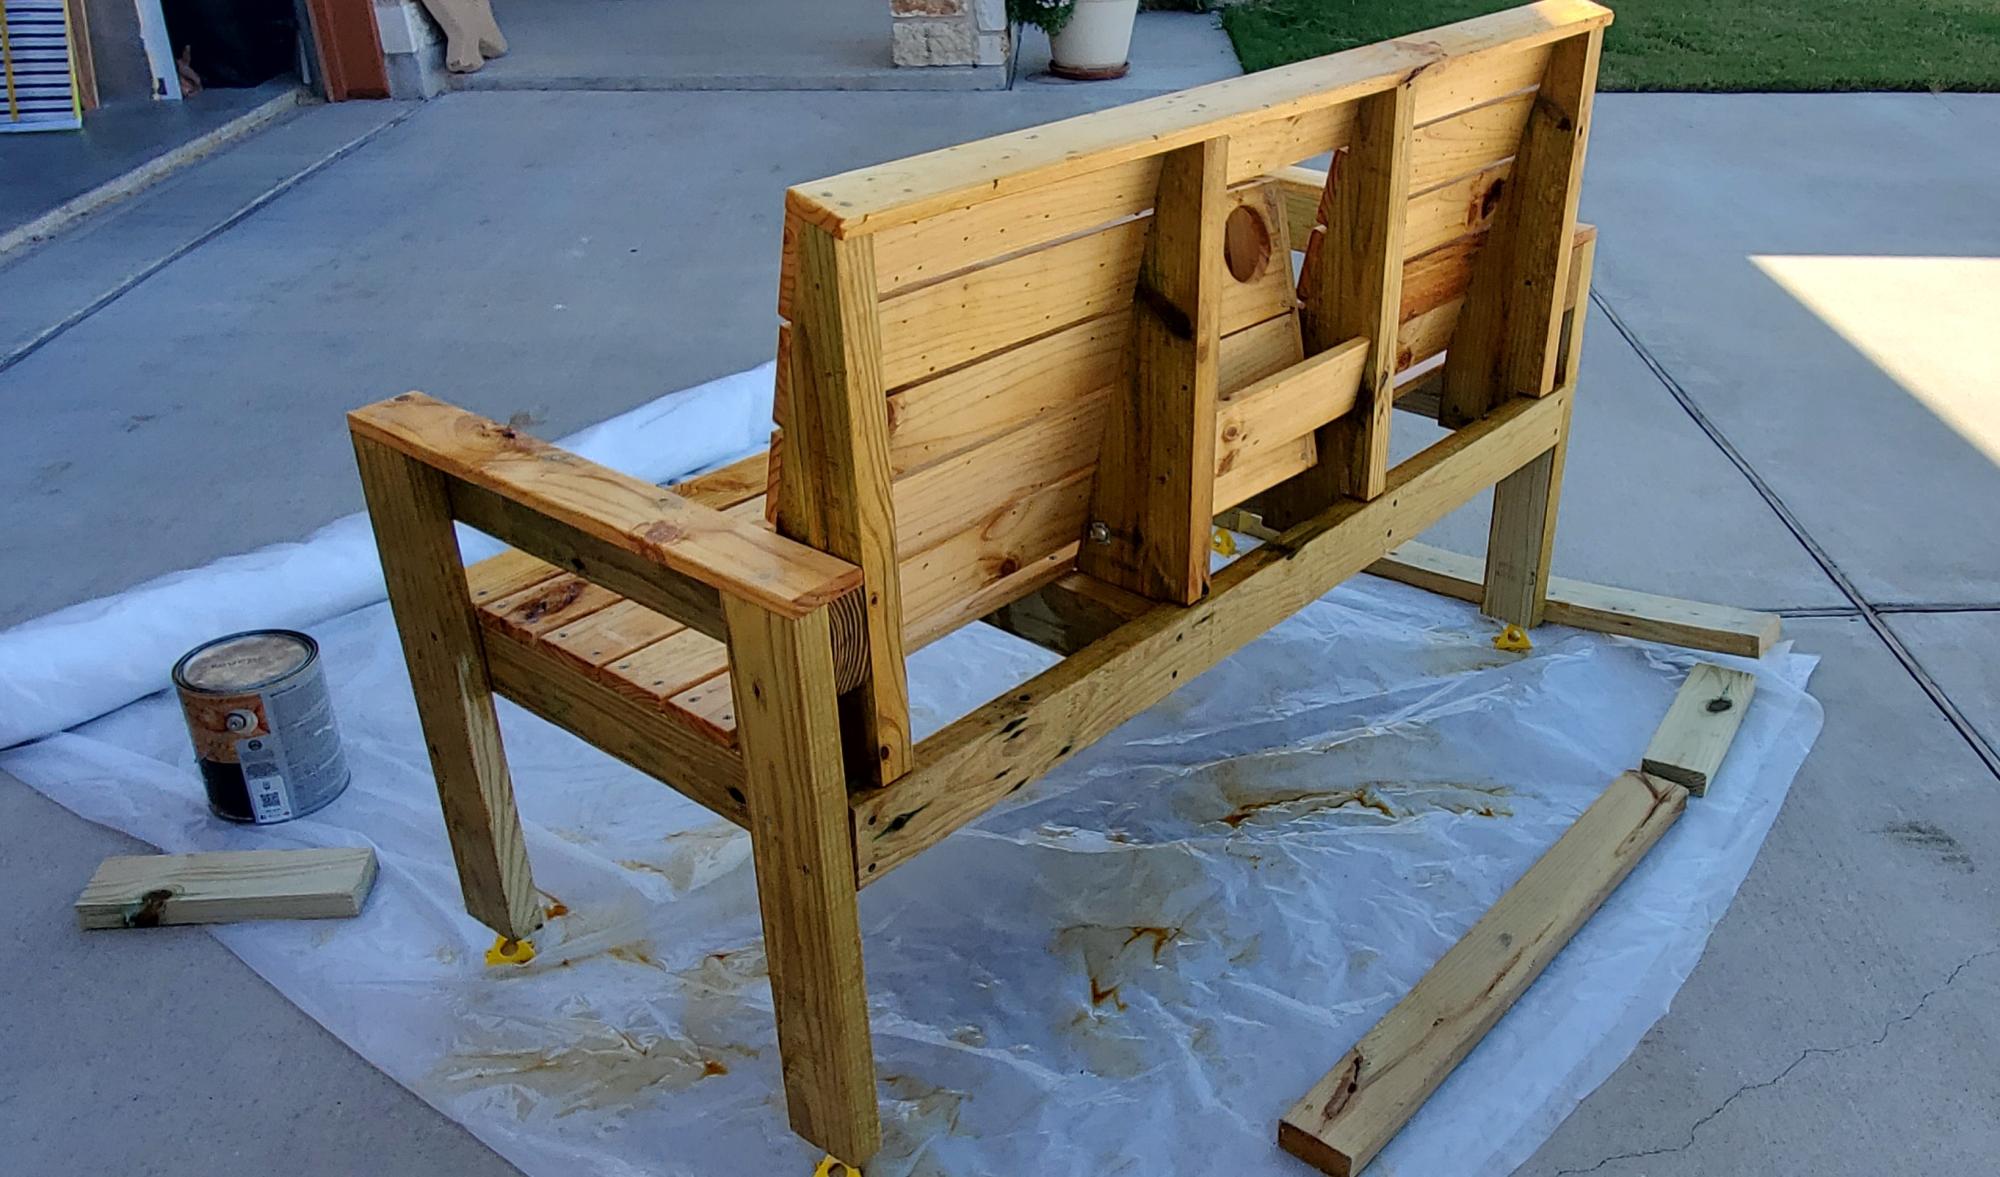
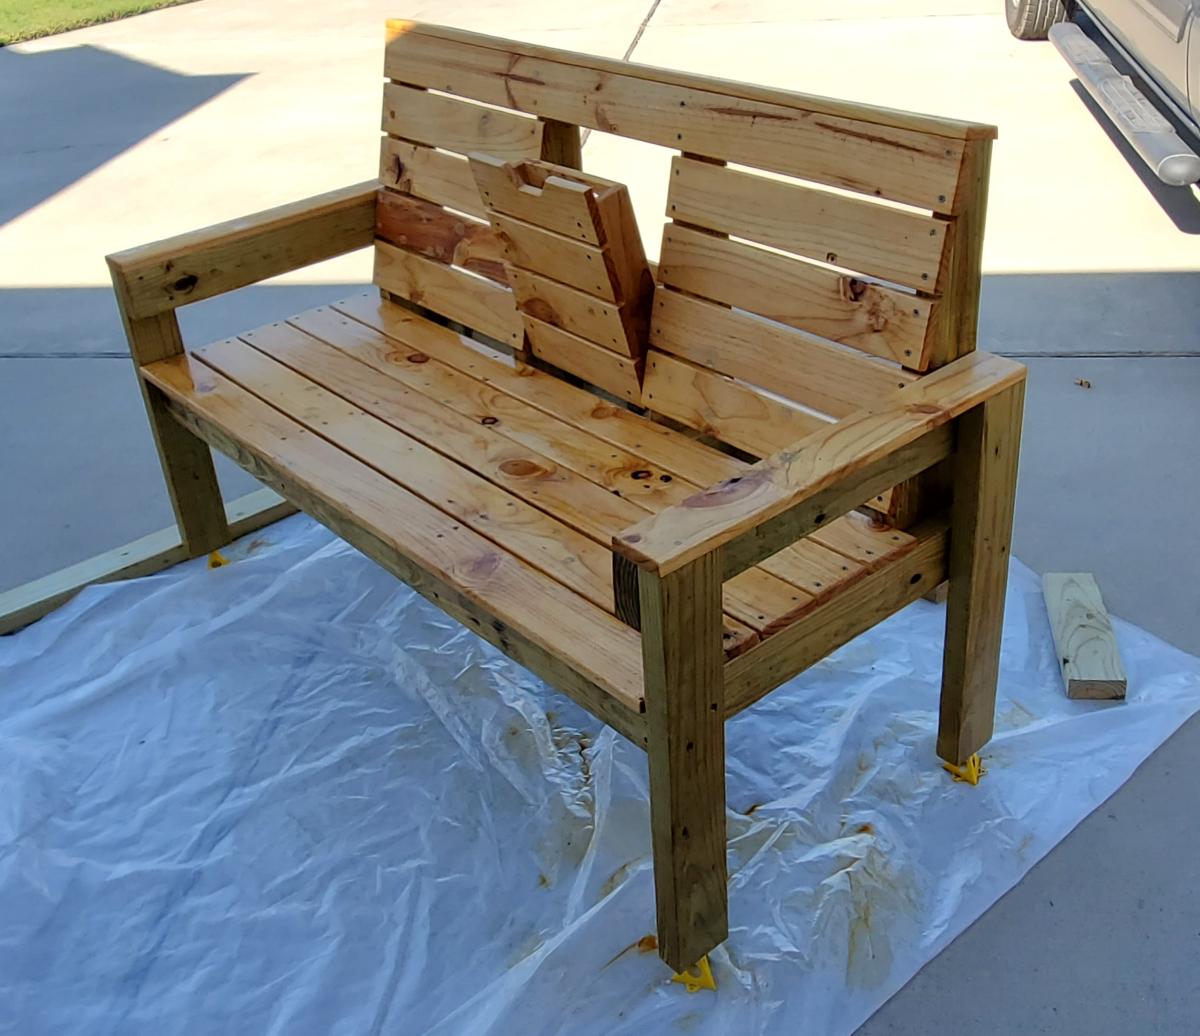
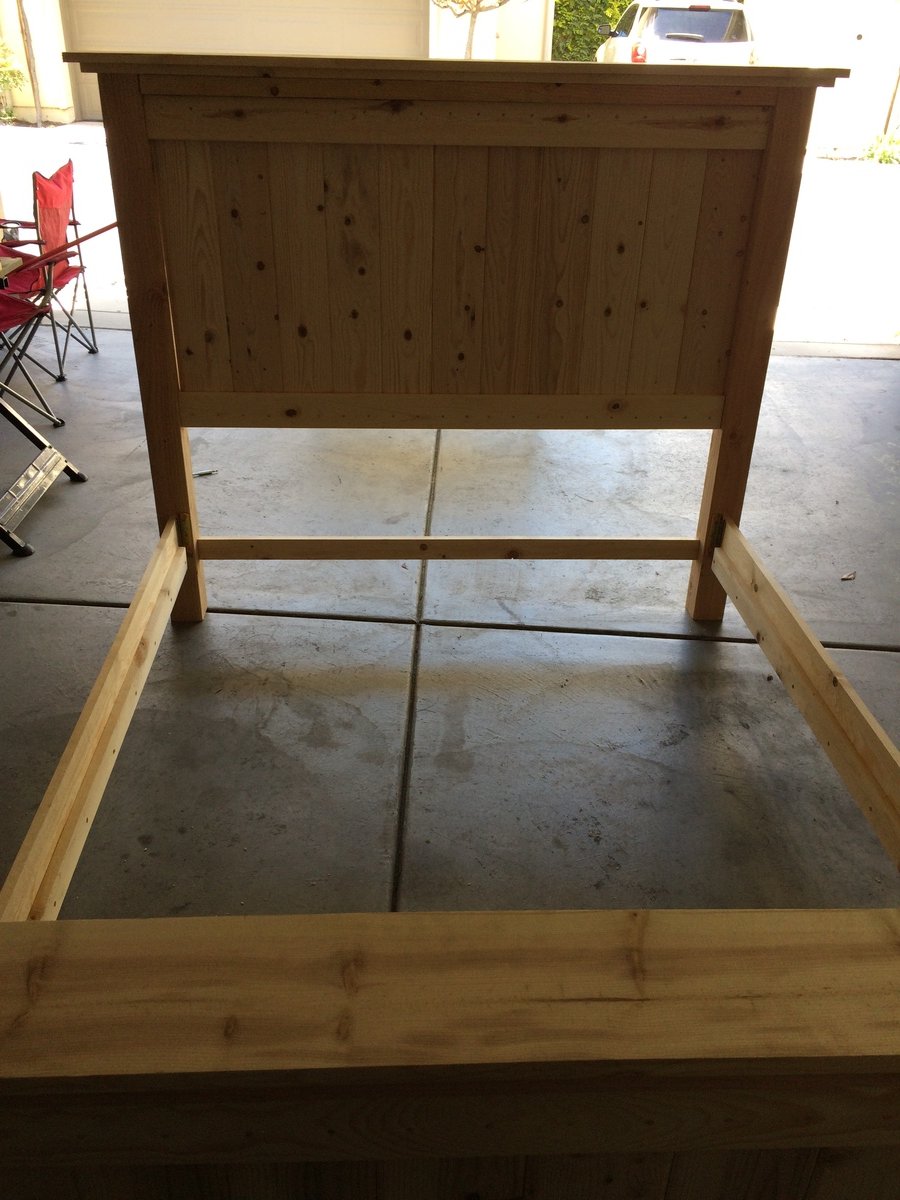
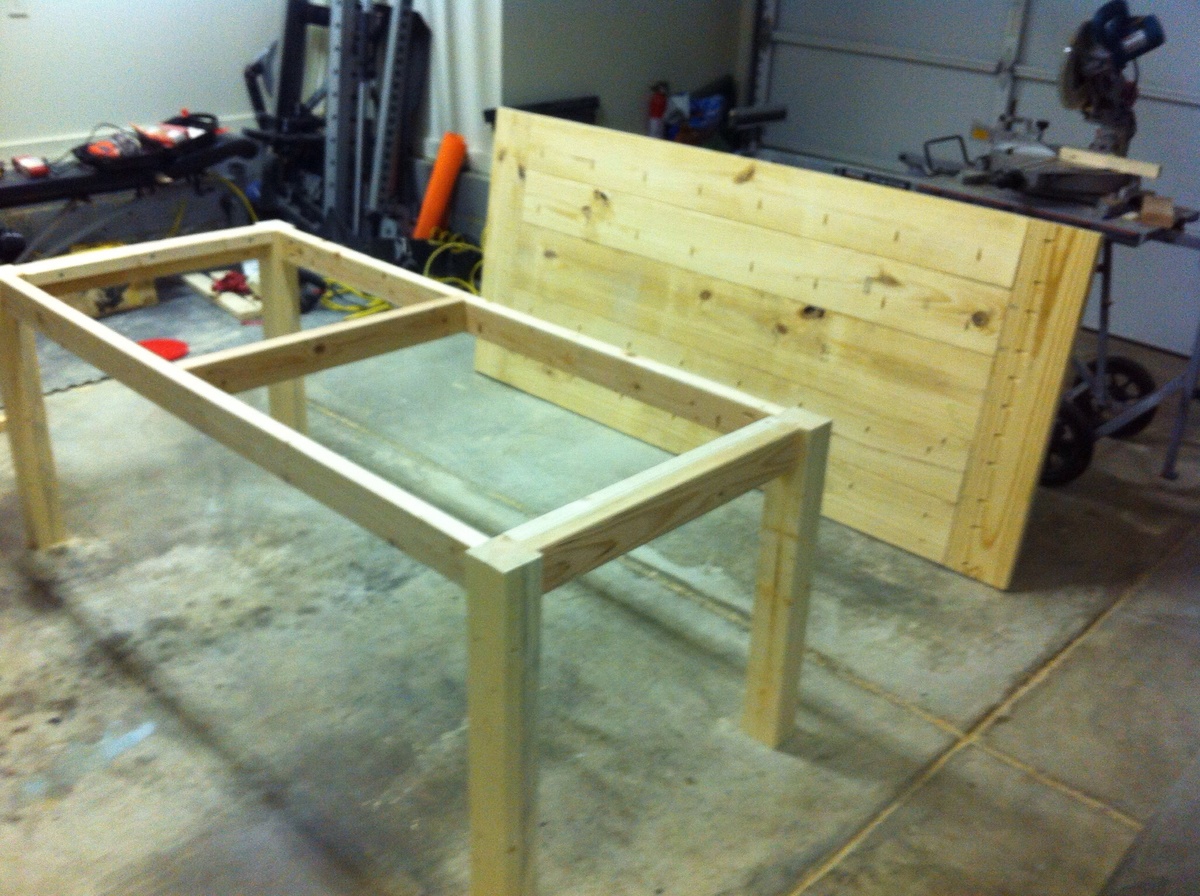
I wanted the box spring to fit inside of the frame as much as possible. I realized the farm house queen bed plan plus the platform bed plan that I was using did not do that a bit late. By then I had already glued and screwed on the side rails. So I just flipped the frame around and decided to go with that side. Later I realized that the inside width of the bed was 57!! (60 - 3 for the frame) so I needed to return to the store to get new wood for the frame since what I cut already was 3 inches too short. My already built headboard and foot board also would not fit like the plan suggested so I needed to improvise. What you see is mainly my improvisations as a result of many, many mistakes.
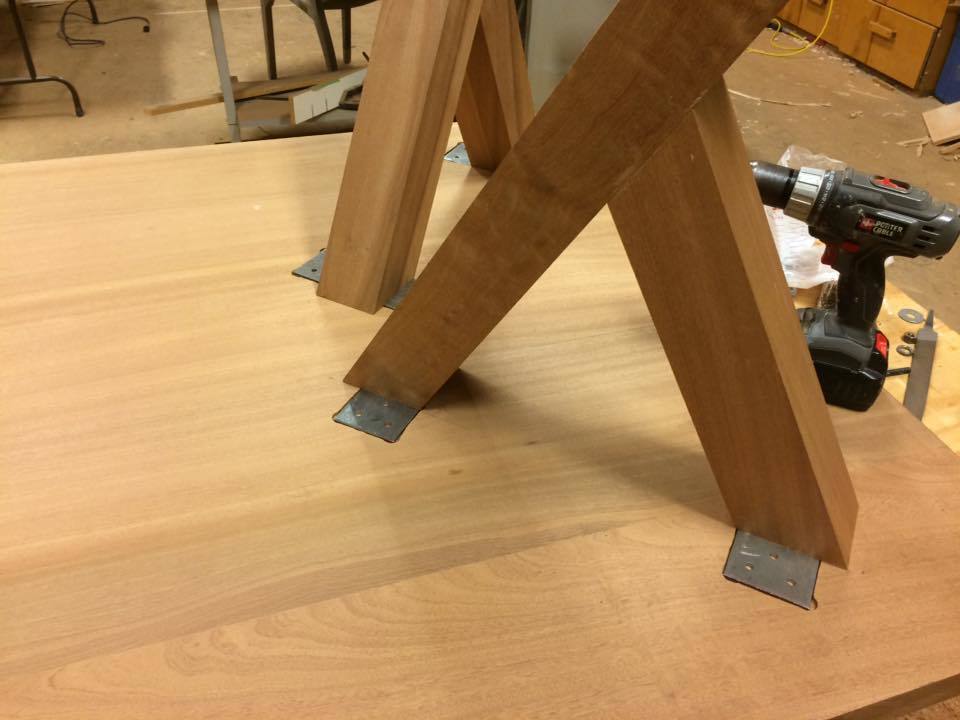
My bed has two sets of legs. I did not trust the headboard and footboard legs as I could not attach them as described so I added a set to the frame itself. I also made the upholstery so that I could easily change it by unscrewing it from the head and footboards.

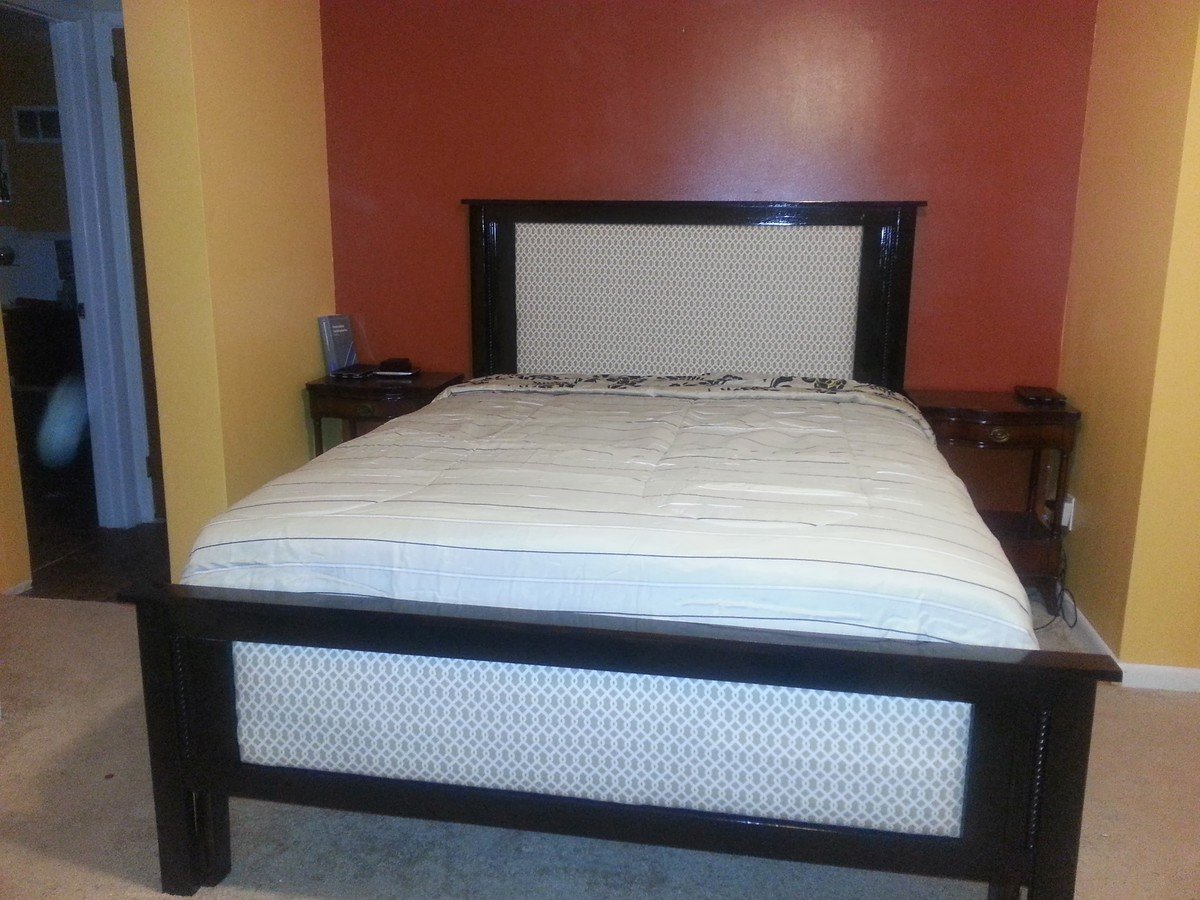
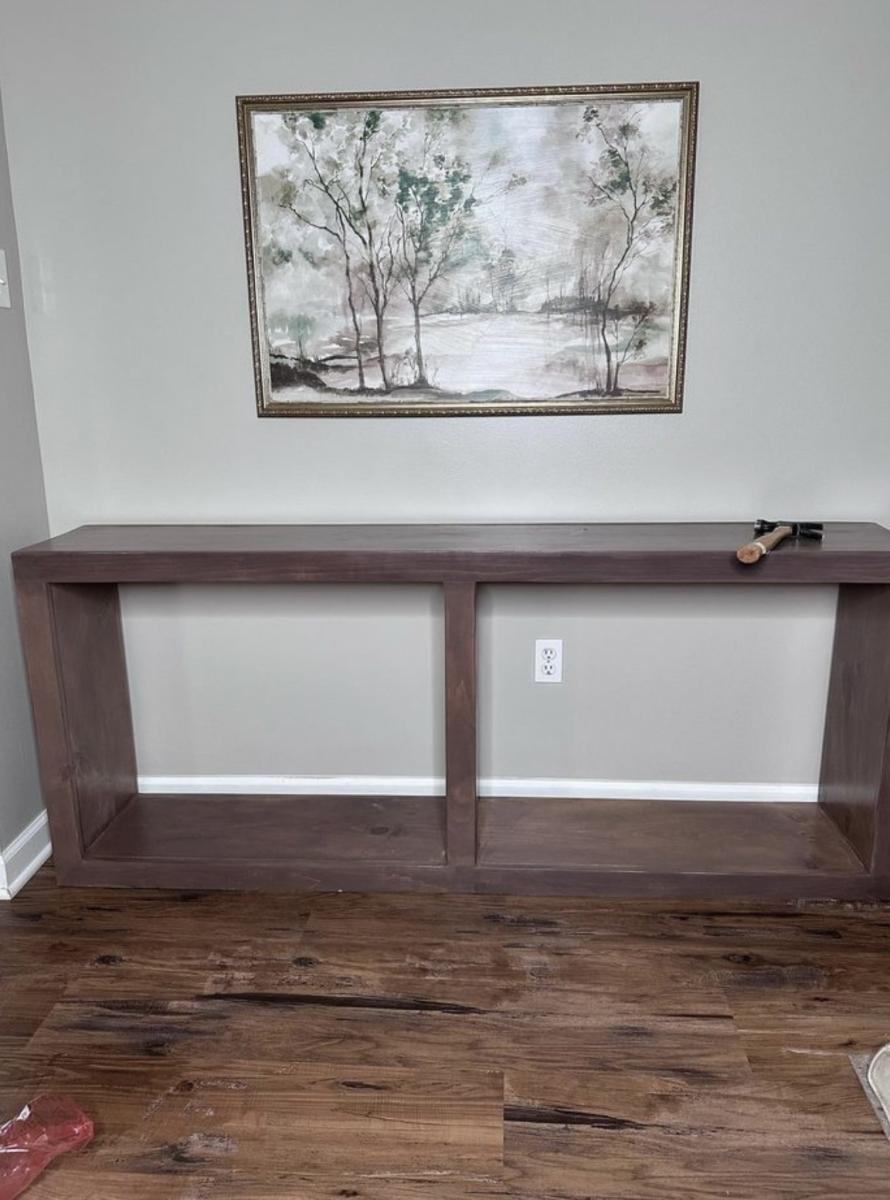
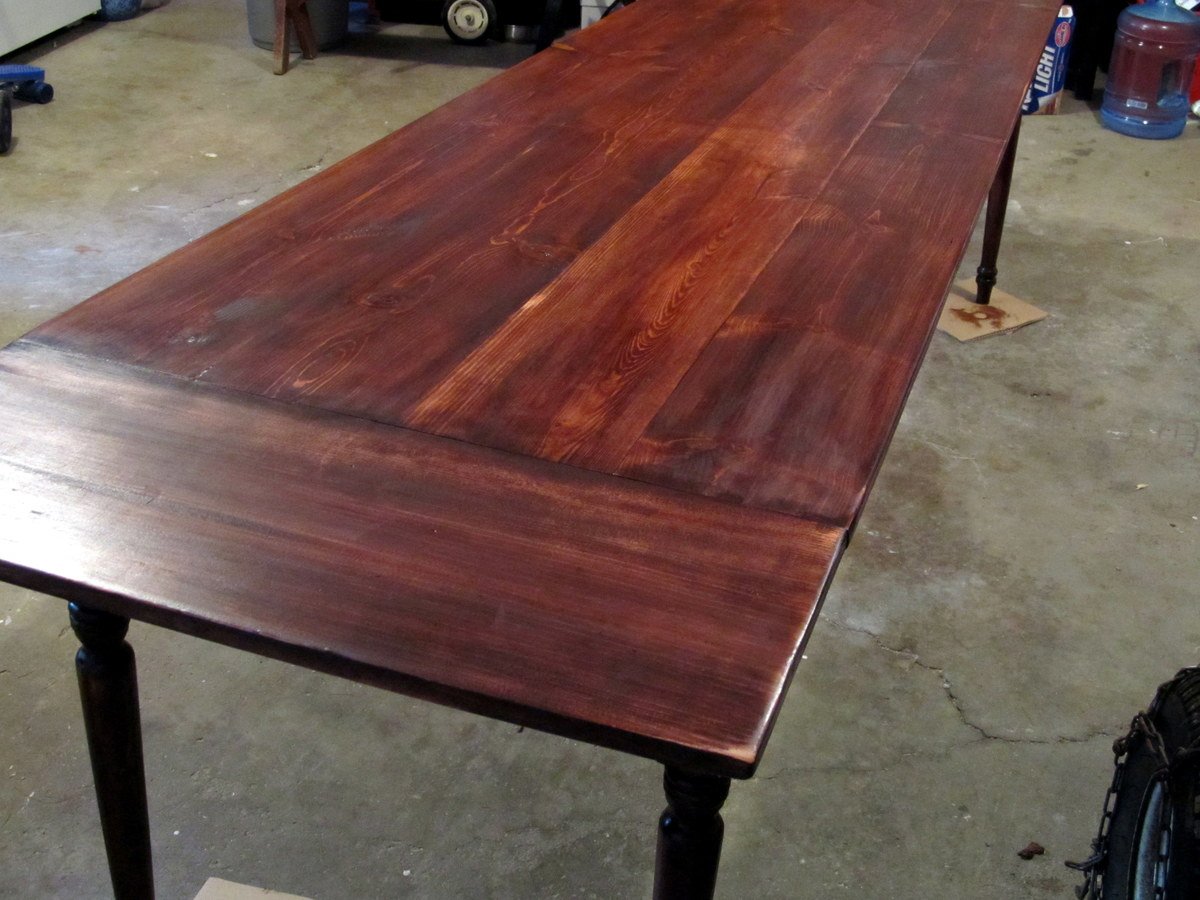
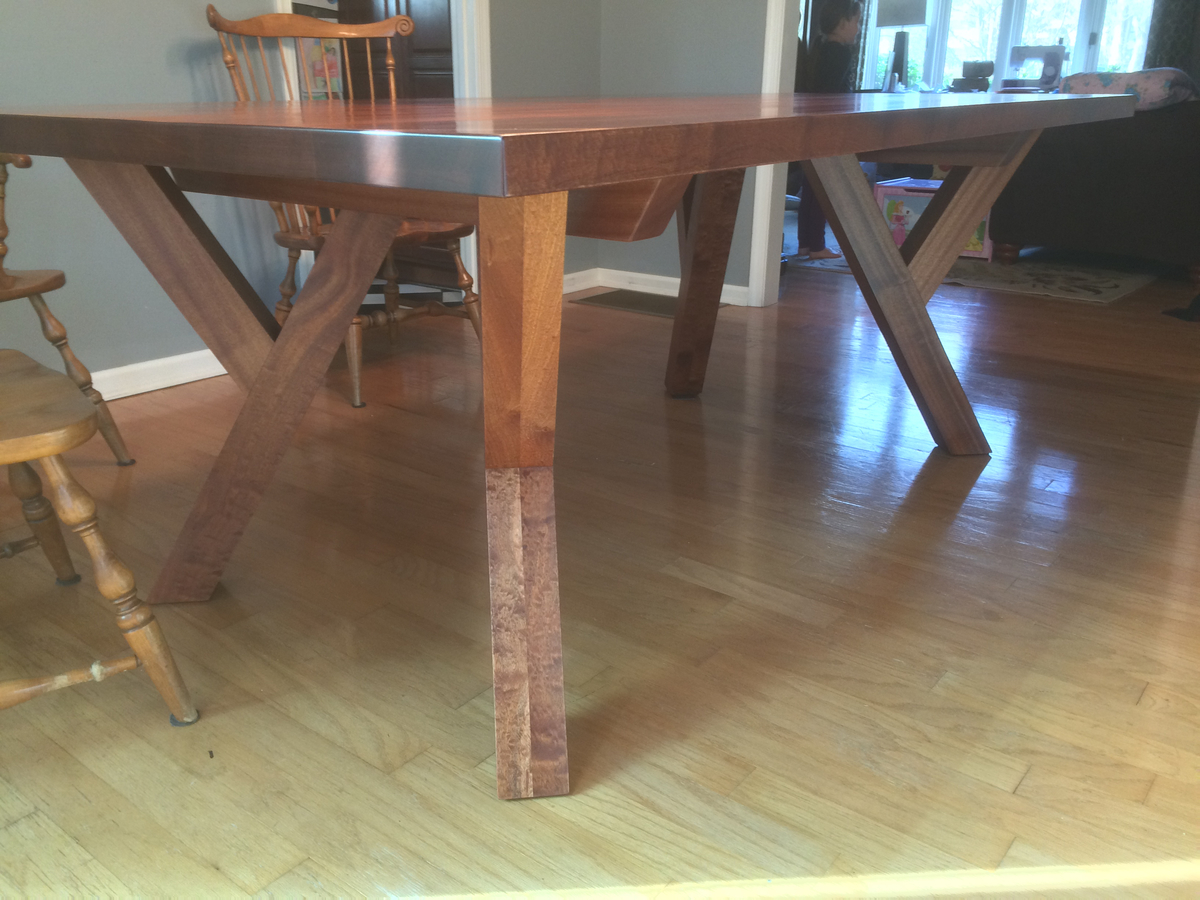
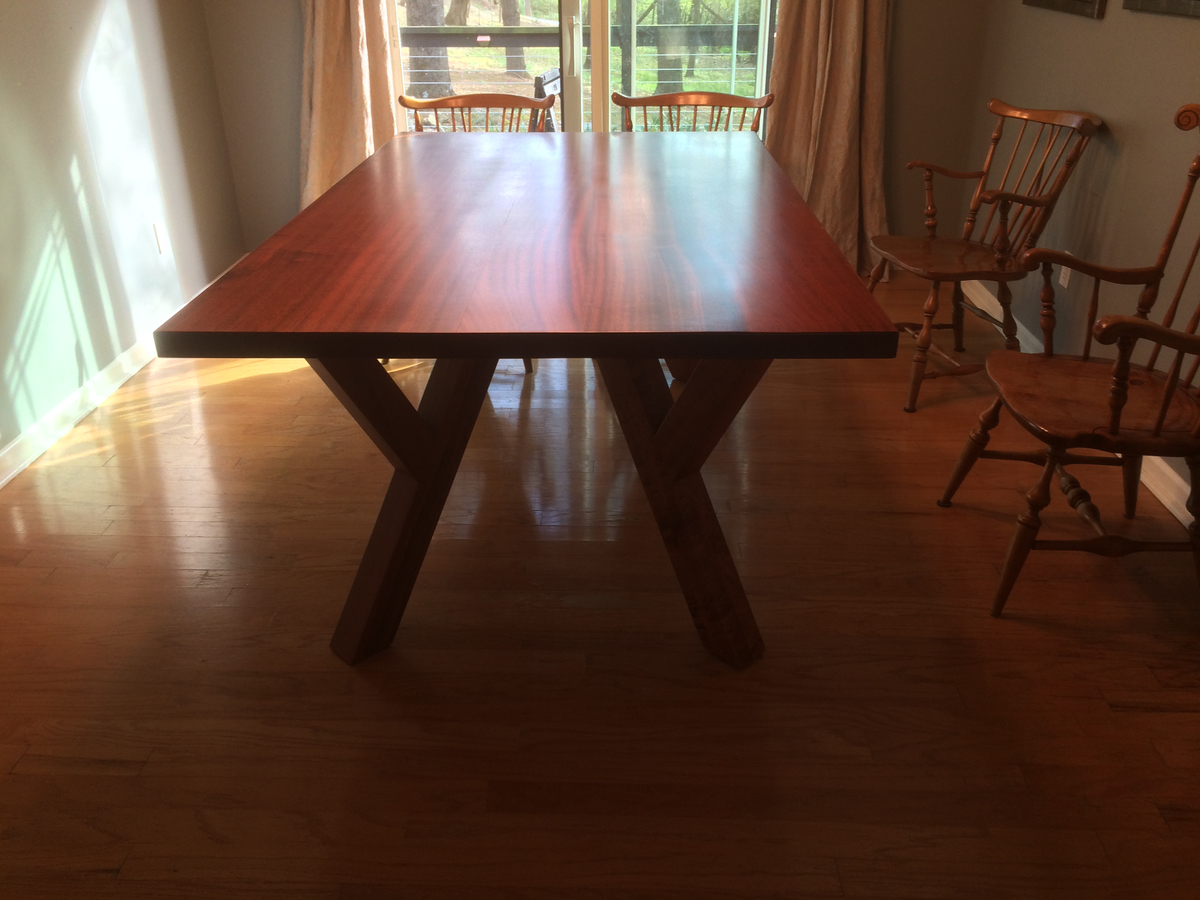
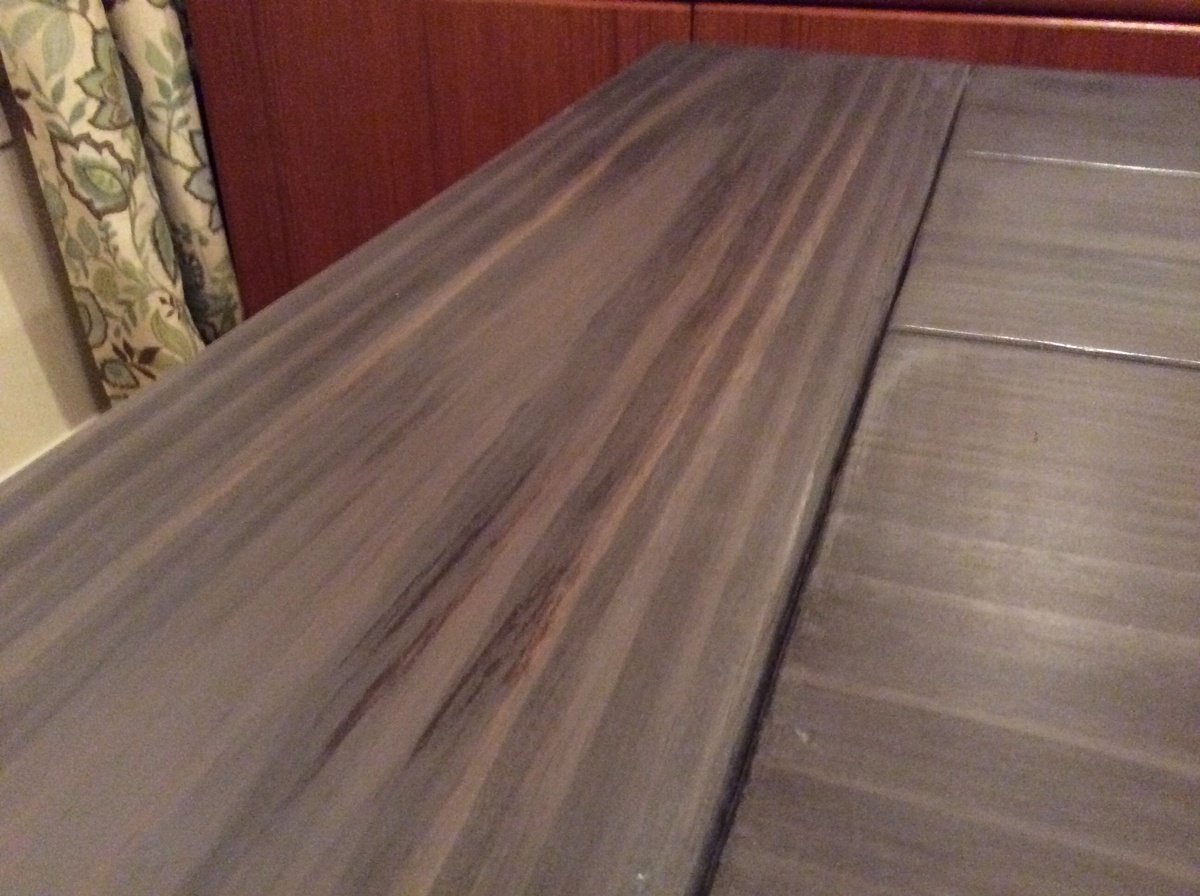
I would have liked it to be lighter. Just as I thought the color was good - after 2 coats - I spilled half the can of stain onto the foot board. Was forced to brush that in and add another coat to the headboard.


Comments
moosmani
Fri, 01/10/2014 - 20:10
Oh my! I had to giggle about
Oh my! I had to giggle about your experience, especially the last part when you were forced to put on another coat after spilling half the can! Been there, done that. You did a great job at improvising and I'm impressed you could keep the cost so low. I really like the dark color. Great job!
angelabuilder
Mon, 01/13/2014 - 21:13
Thanks!
It was quite the experience. Guess it's all in the learning experience! :)
moosmani
Fri, 01/10/2014 - 20:09
Oh my! I had to giggle about
Oh my! I had to giggle about your experience, especially the last part when you were forced to put on another coat after spilling half the can! Been there, done that. You did a great job at improvising and I'm impressed you could keep the cost so low. I really like the dark color. Great job!