Outdoor Sectional
My first big project. Great for beginners.
My first big project. Great for beginners.
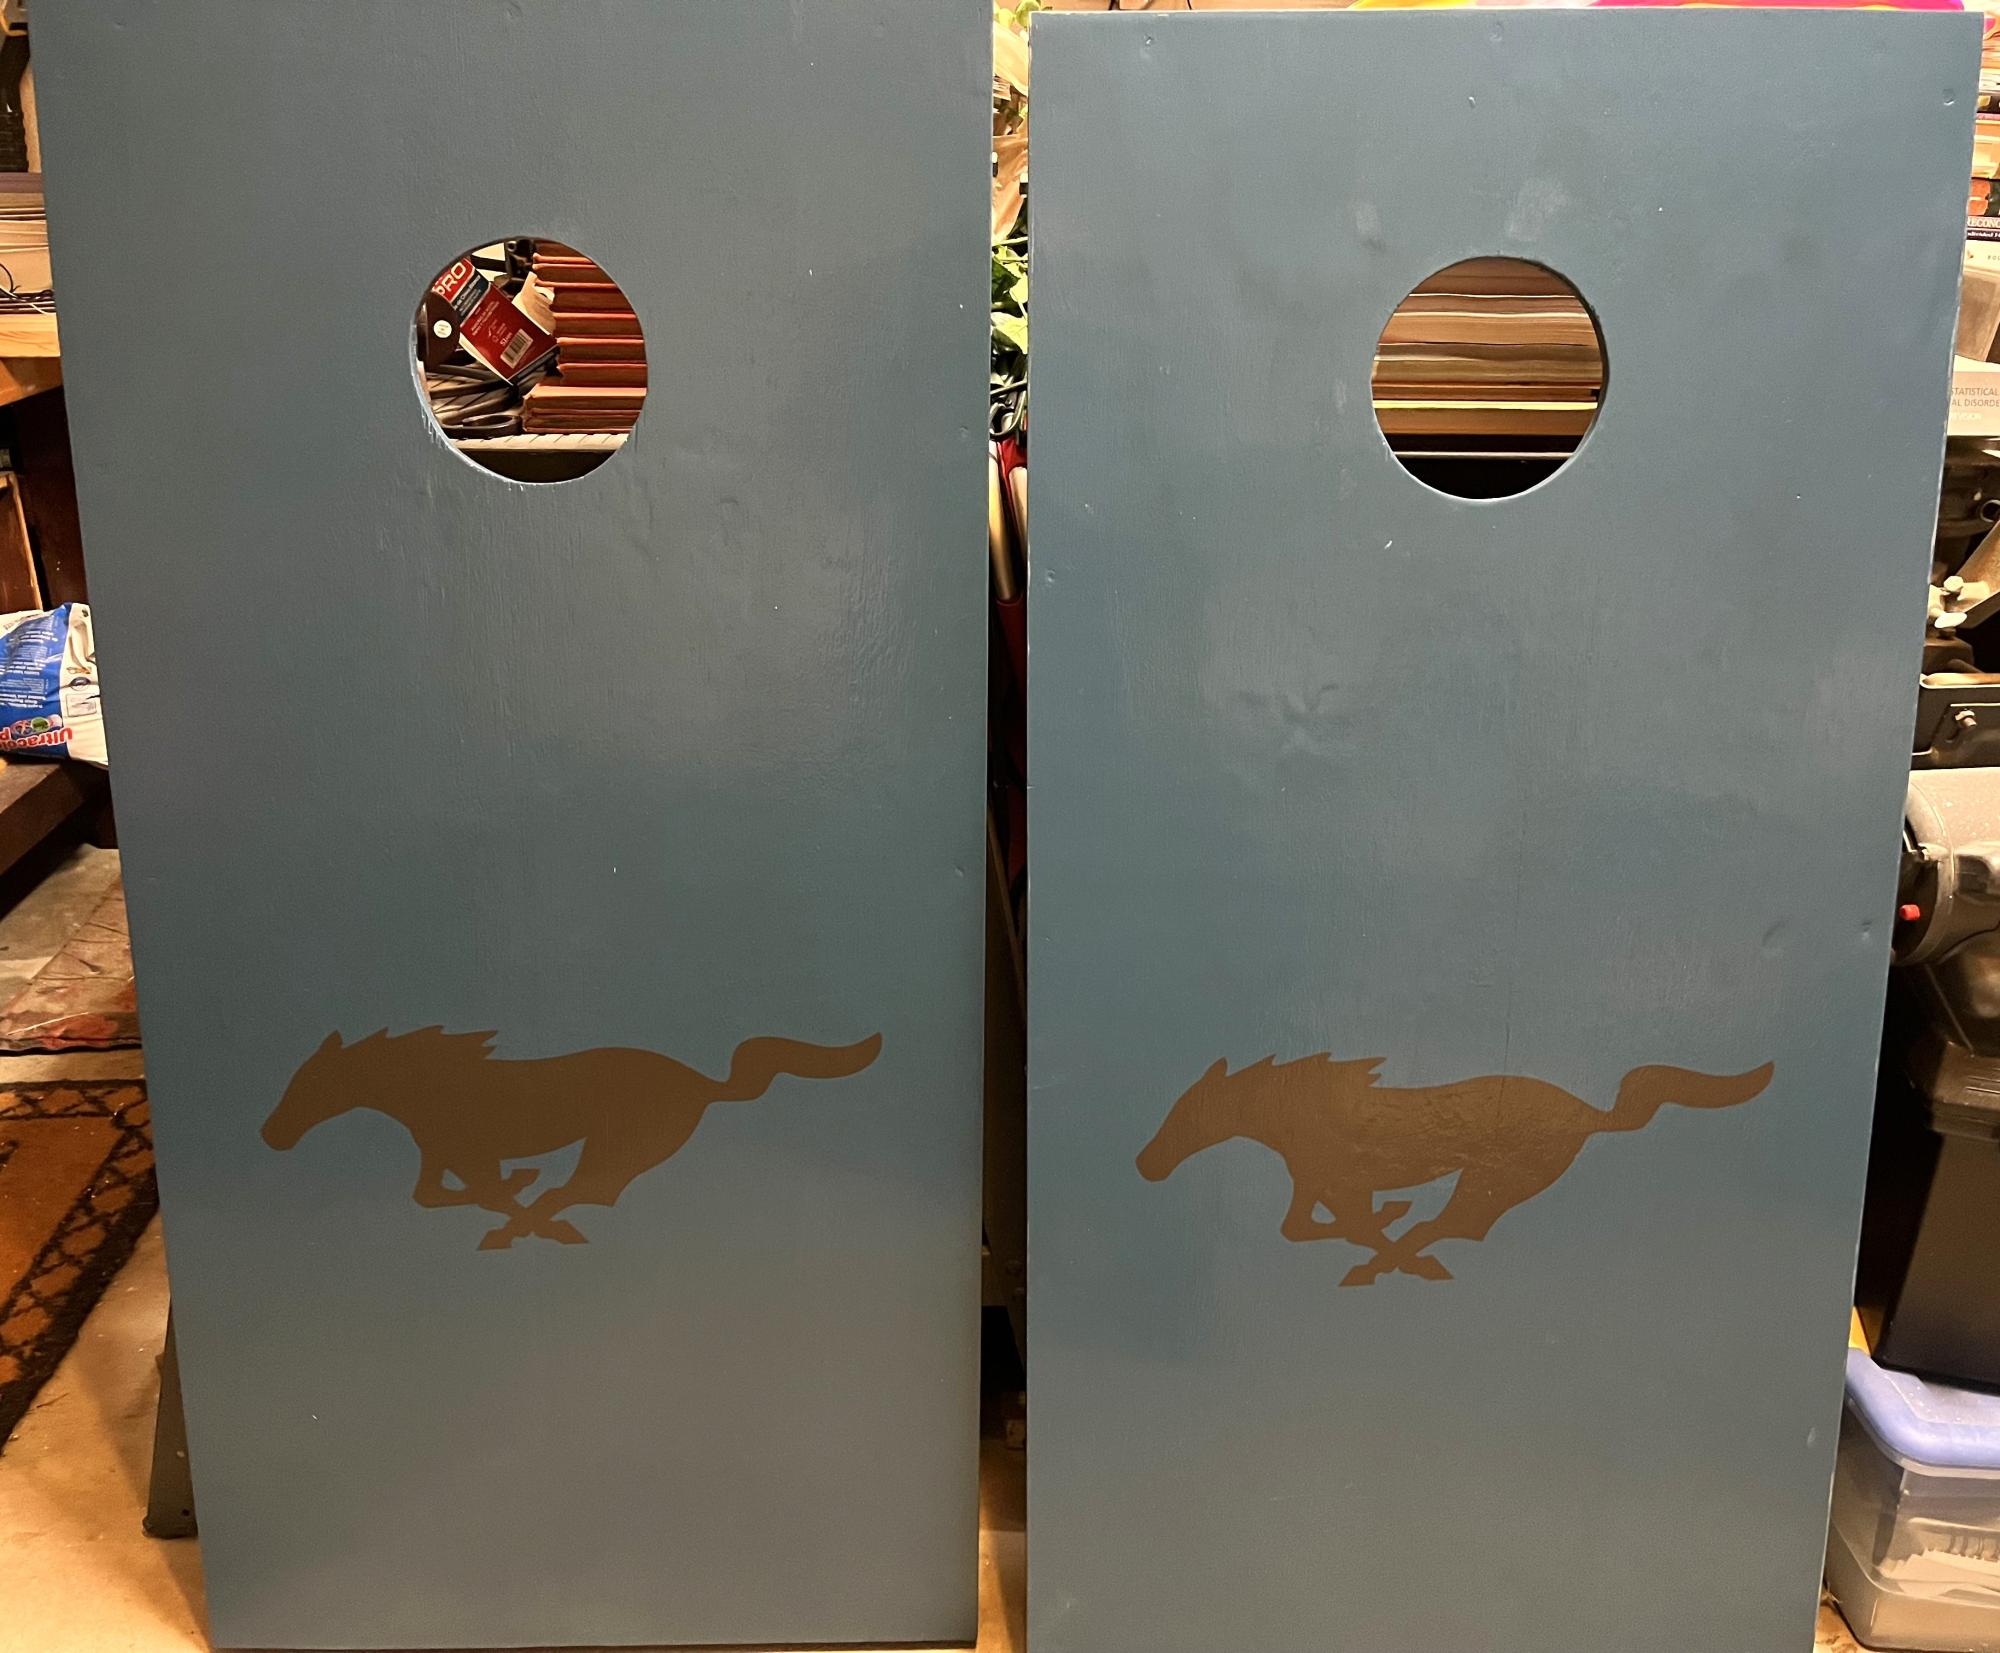
Corn Hole Boards by Tim
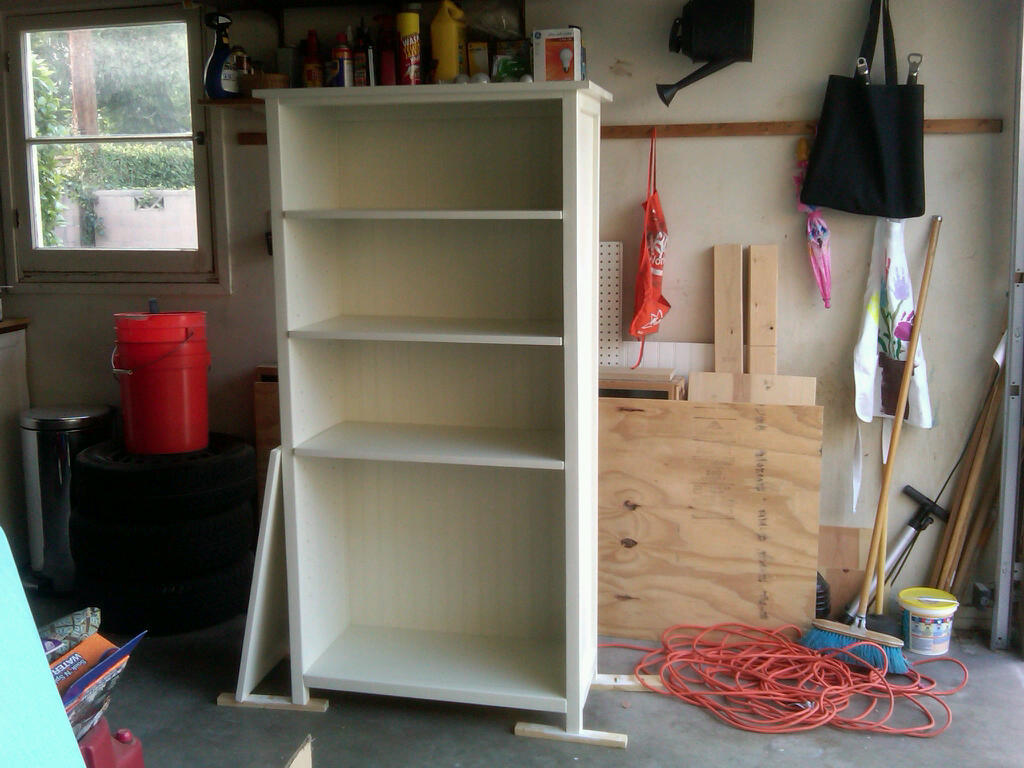
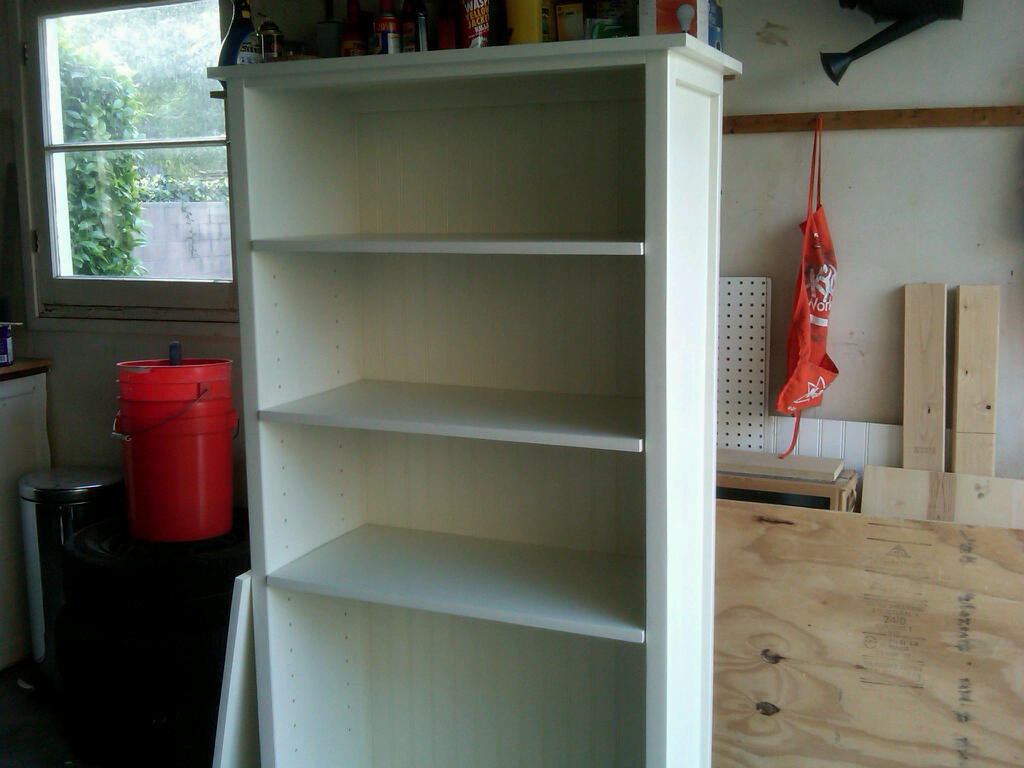
This is my first project. It was very fun and quite a learning process. Thanks Ana for the great site and inspiring me to start a new phase in my life. I was missing a couple of shelf pins
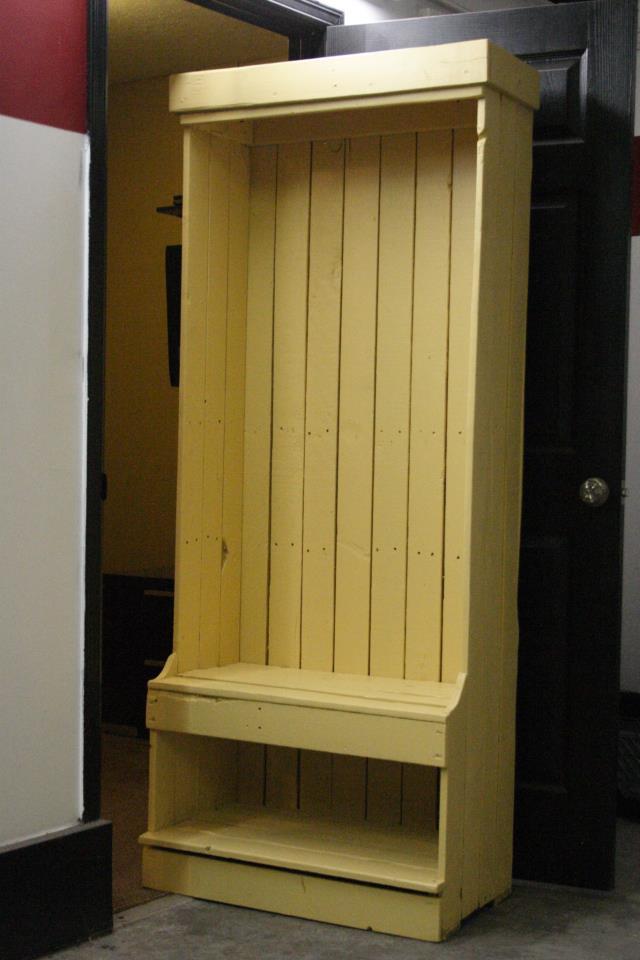
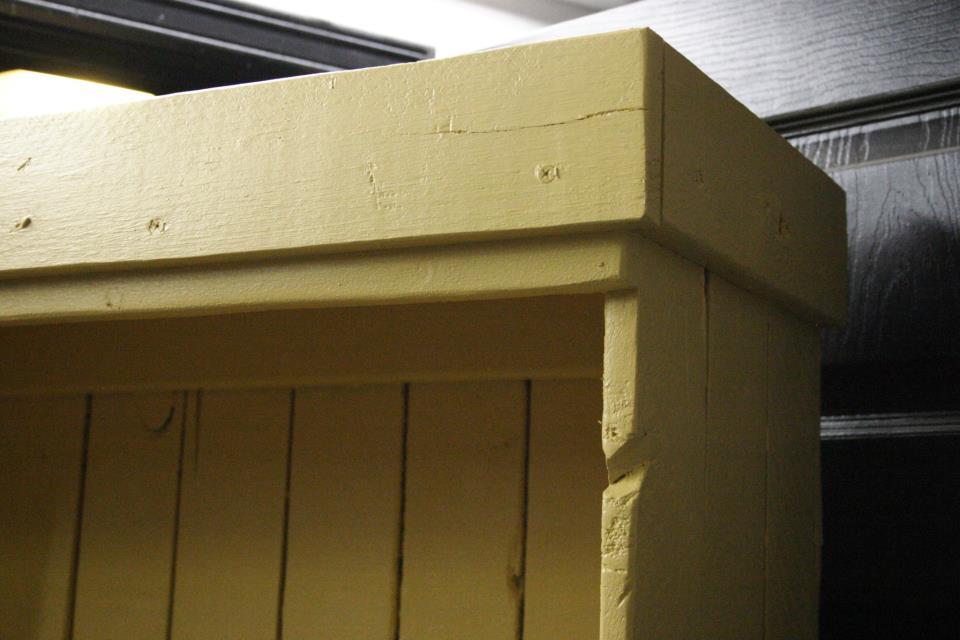
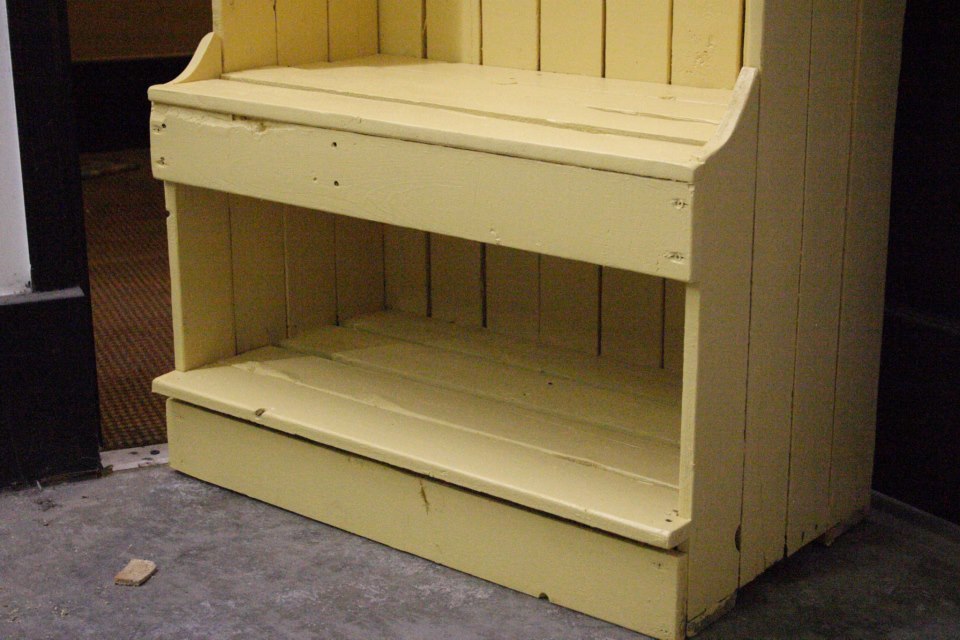
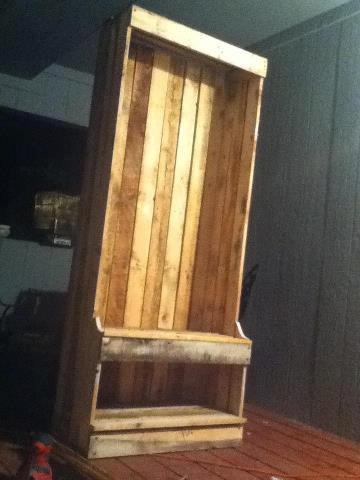
This hall tree started life out as a pair of ceder pallets.
This isn't based on a plan but could easily have been modified from the single locker cabinet plan here on Ana White.
The whole thing was screwed and glued together using 7/8" drywall screws and Elmers all purpose white glue.
I have no money into this unit that wasn't already spent. I got the wood for free. The screws glue and misc. tools I already had laying around.
The lady that bought it from me intended to put coat hooks in it and use the space below for shoes.
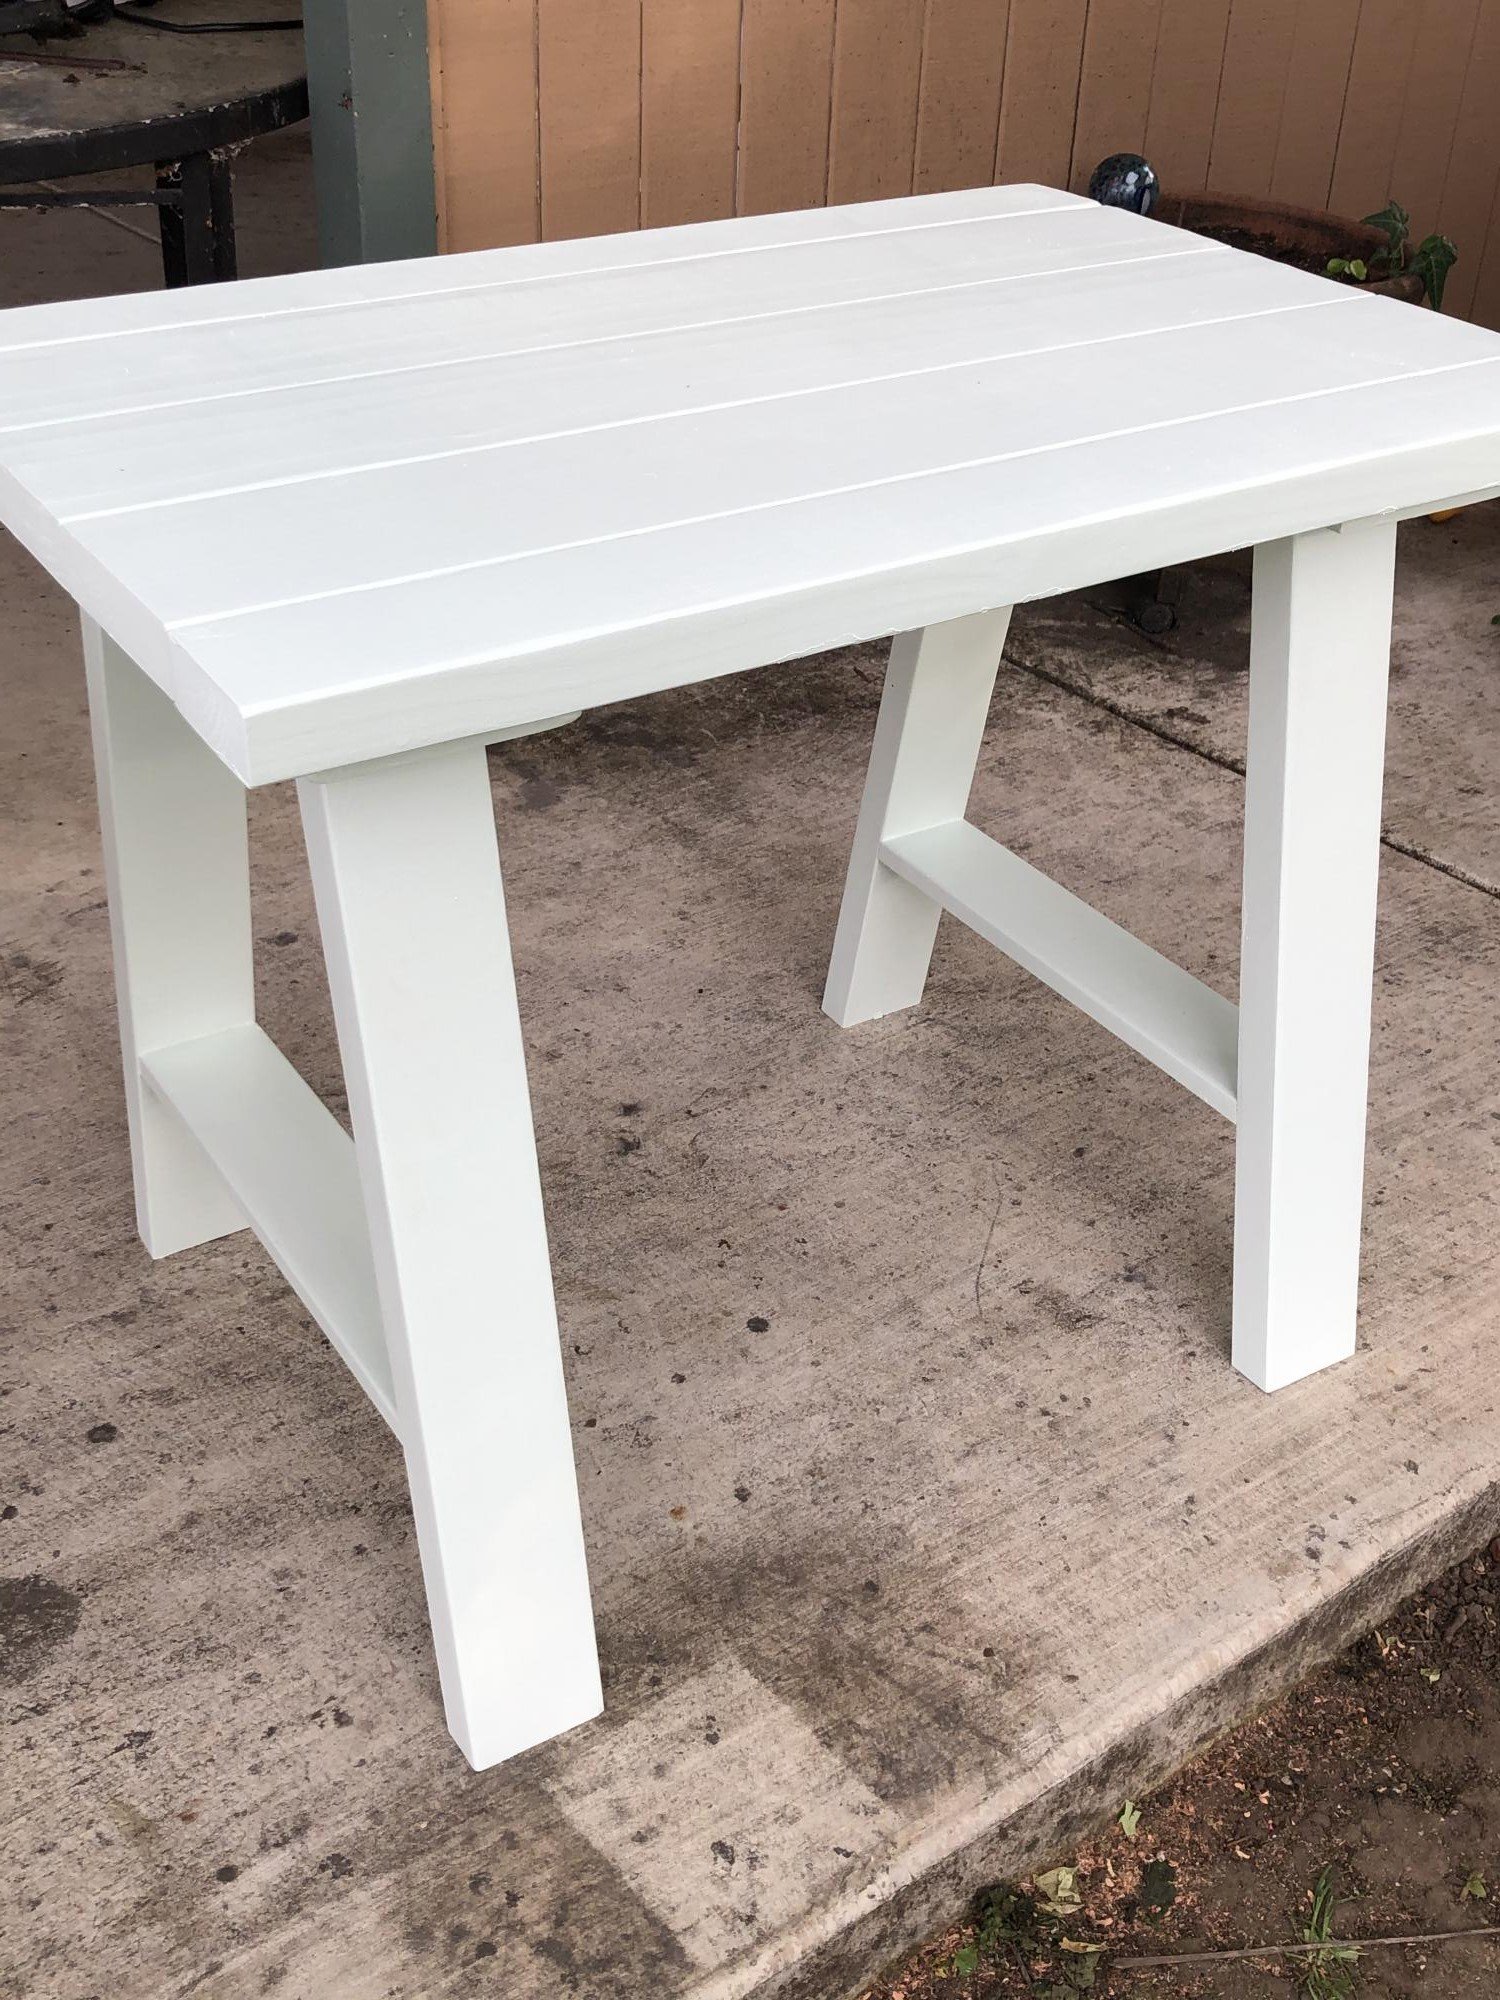
This project was my first woodworking attempt ever! I had some assistance when it came to technique and how to use tools from my awesome uncle. I did shorten the length by 3 inches due to the space I had in my home, nothing else was changed. Overall I was able to complete the whole thing mostly on my own, I am so excited and love the way it turned out!
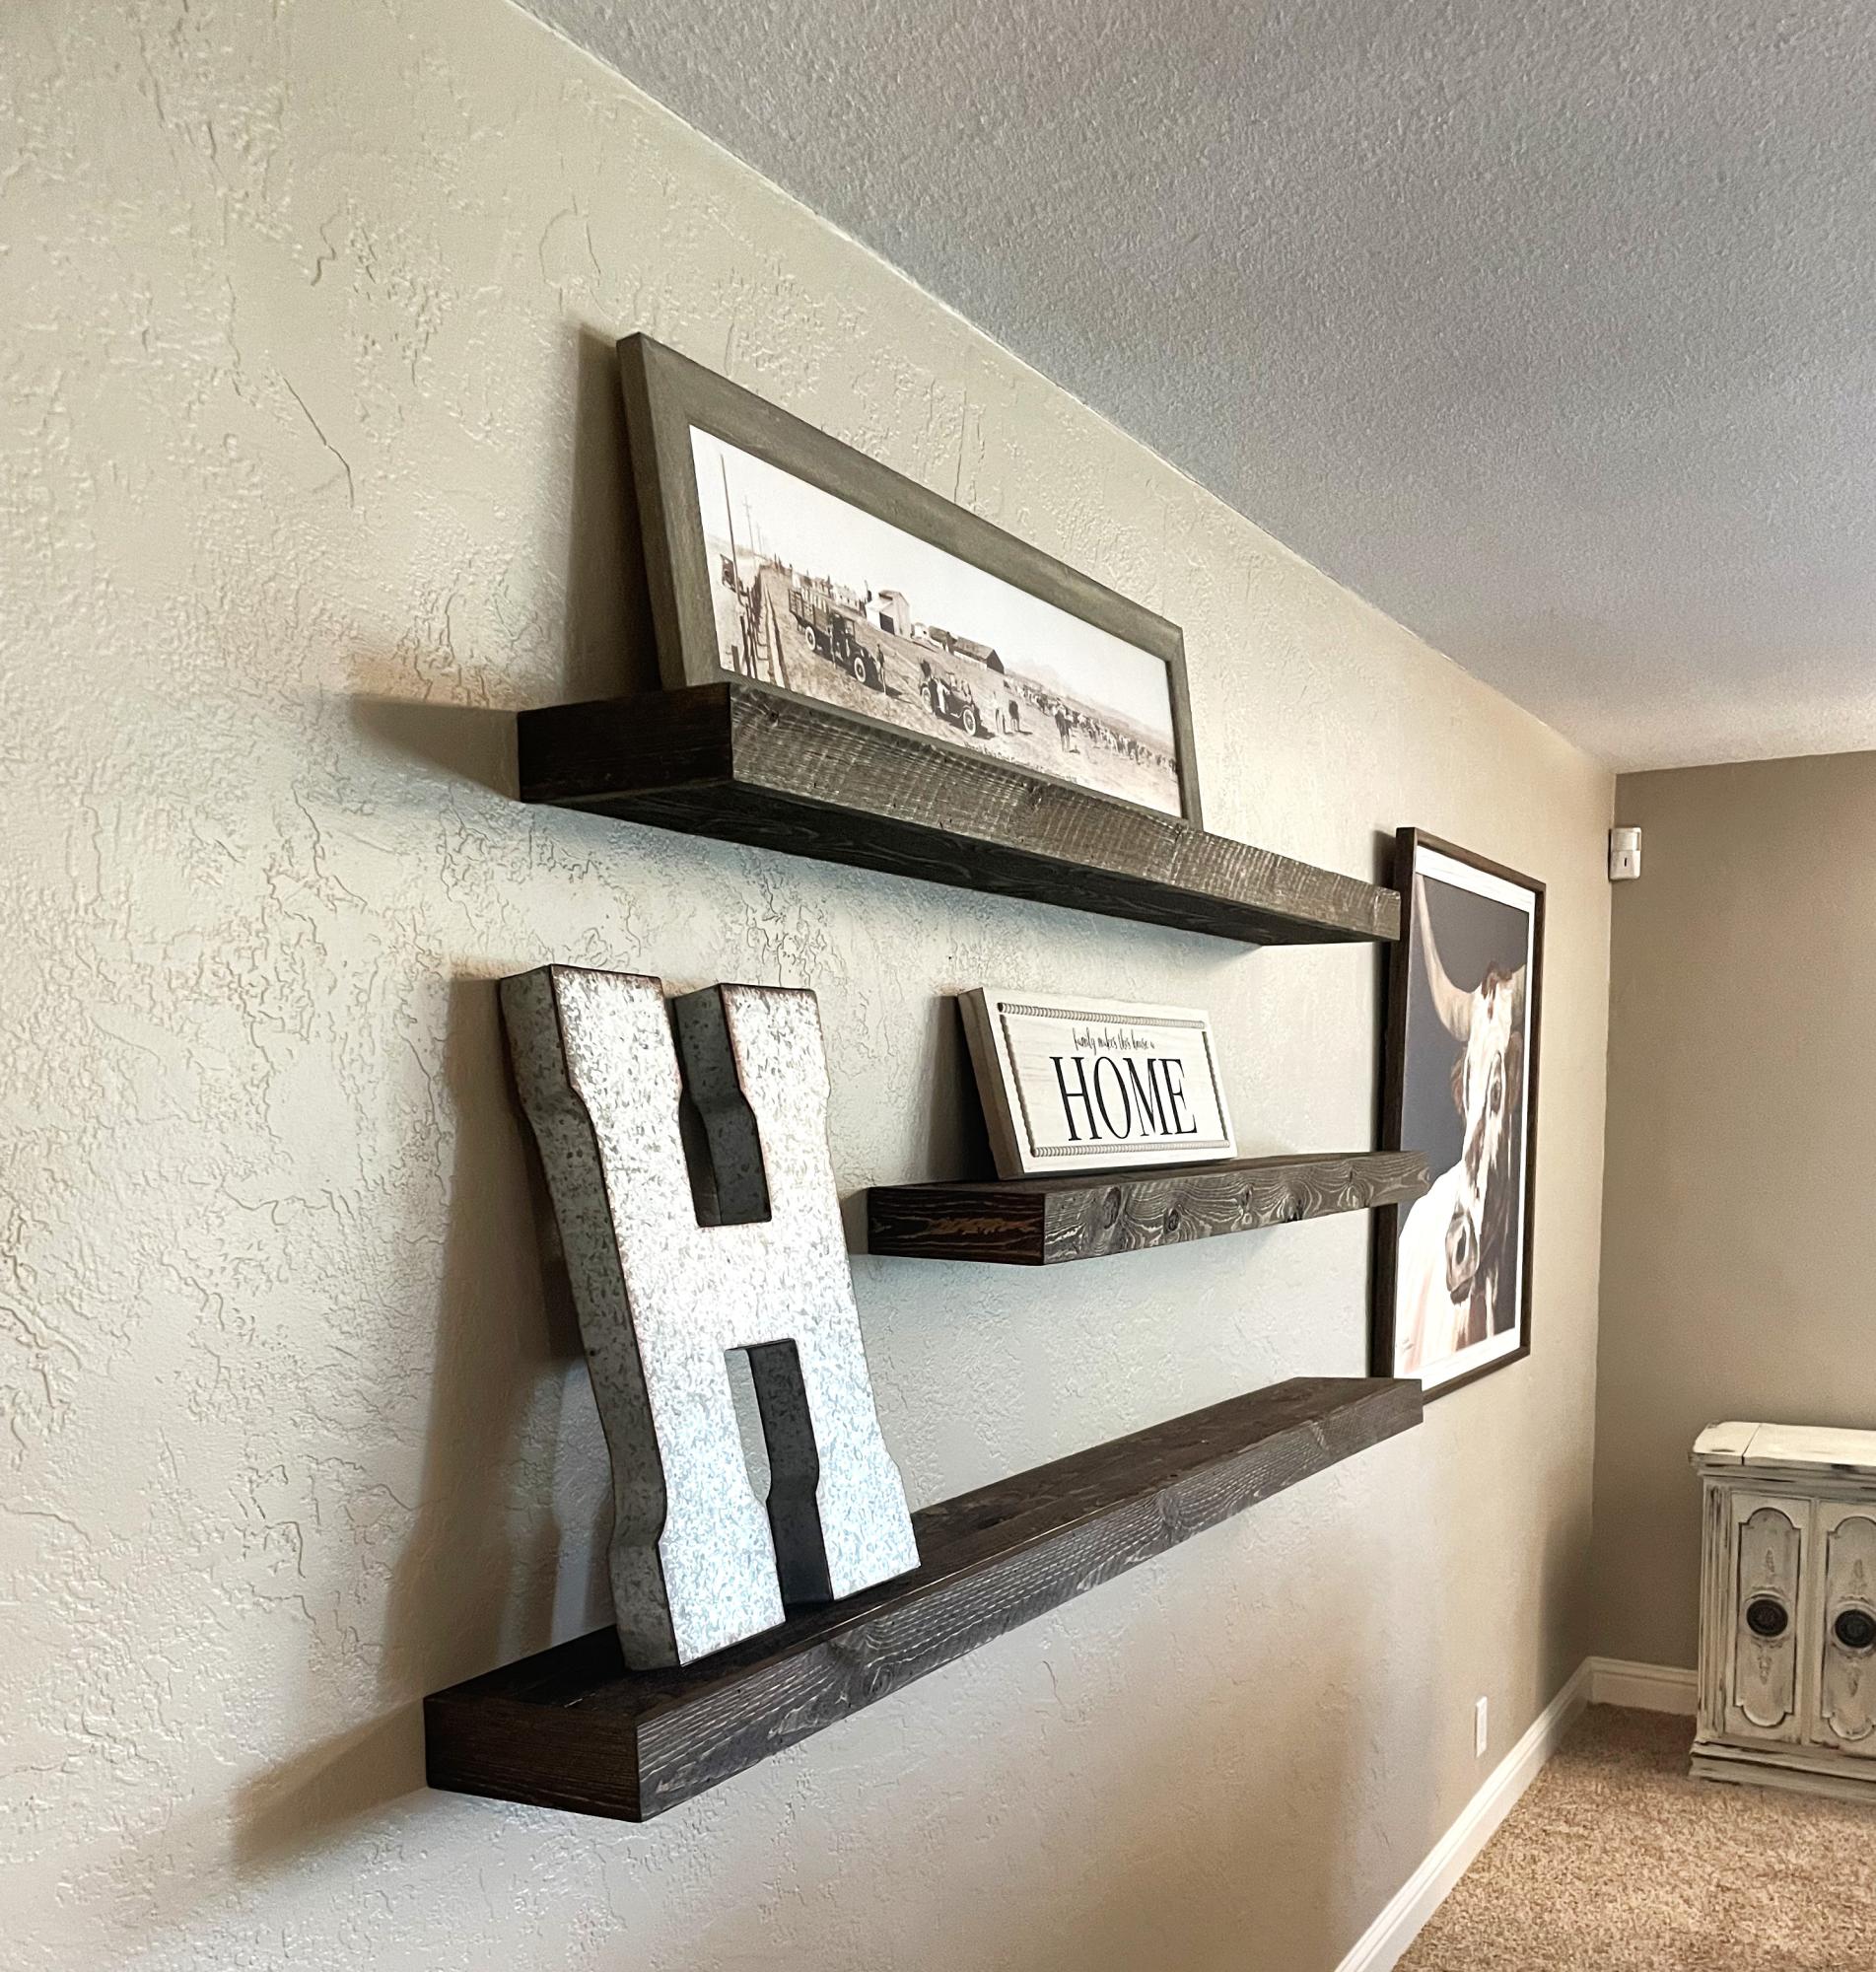
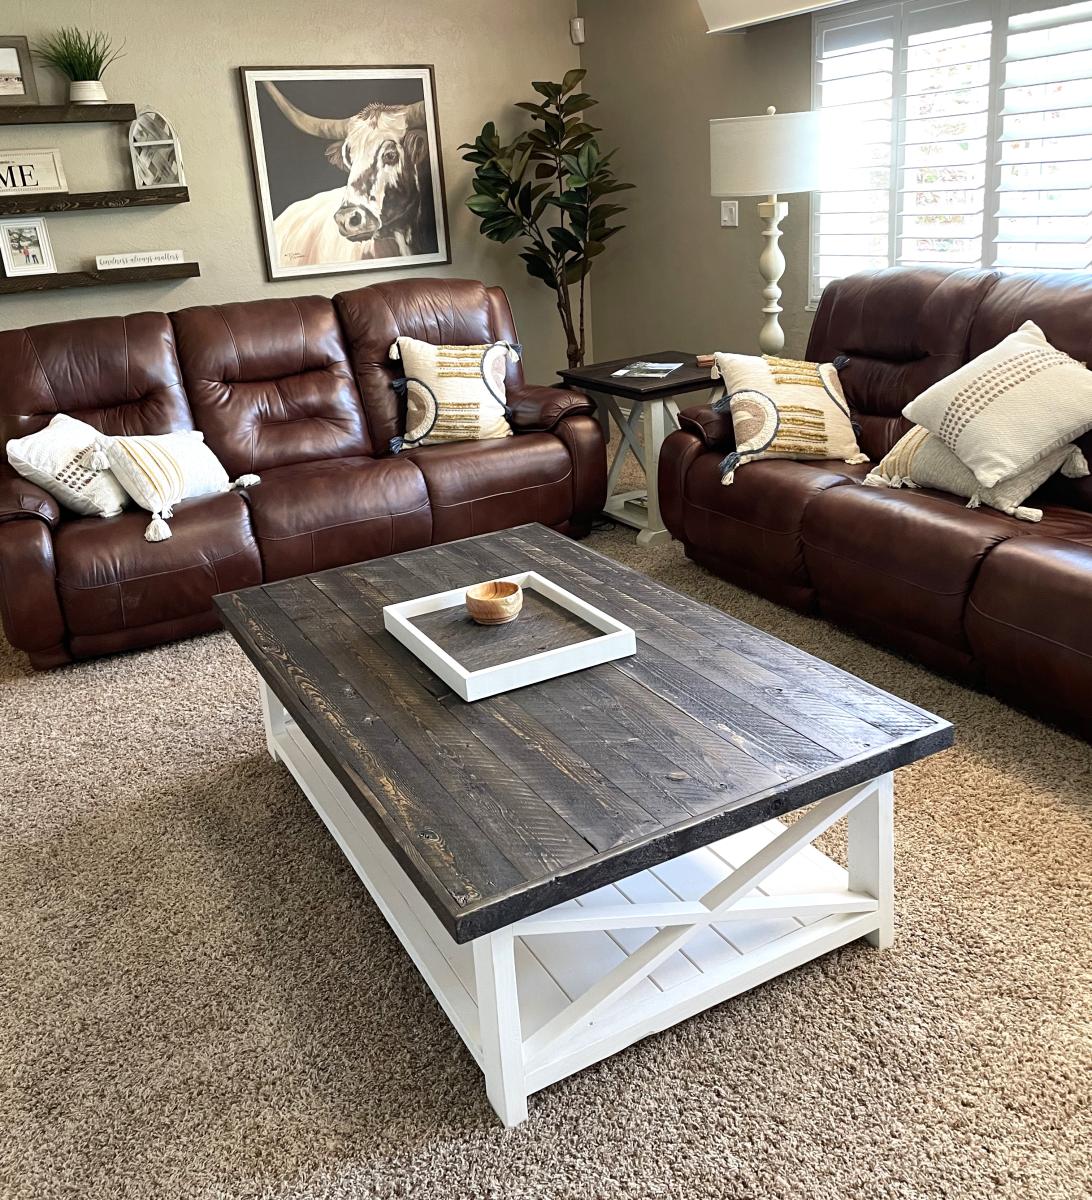
Farmhouse table with matching floating shelves.
Judd H
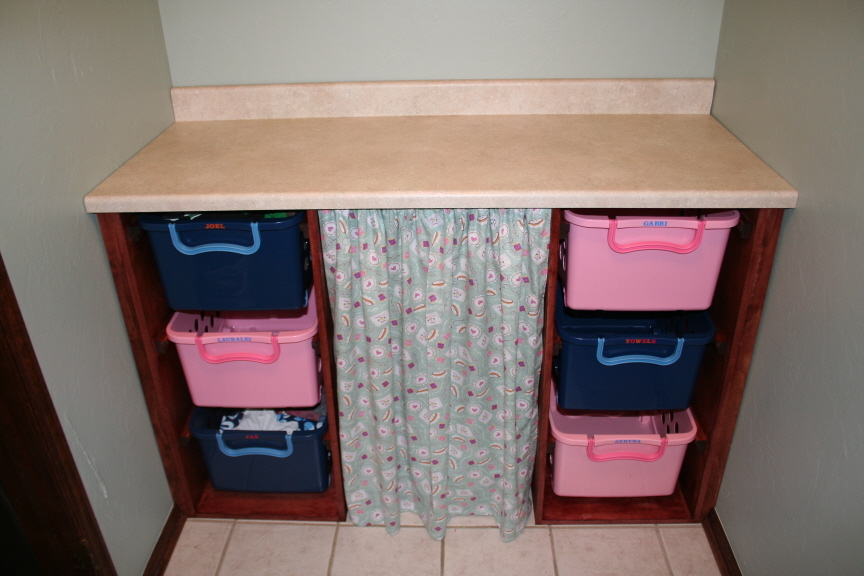
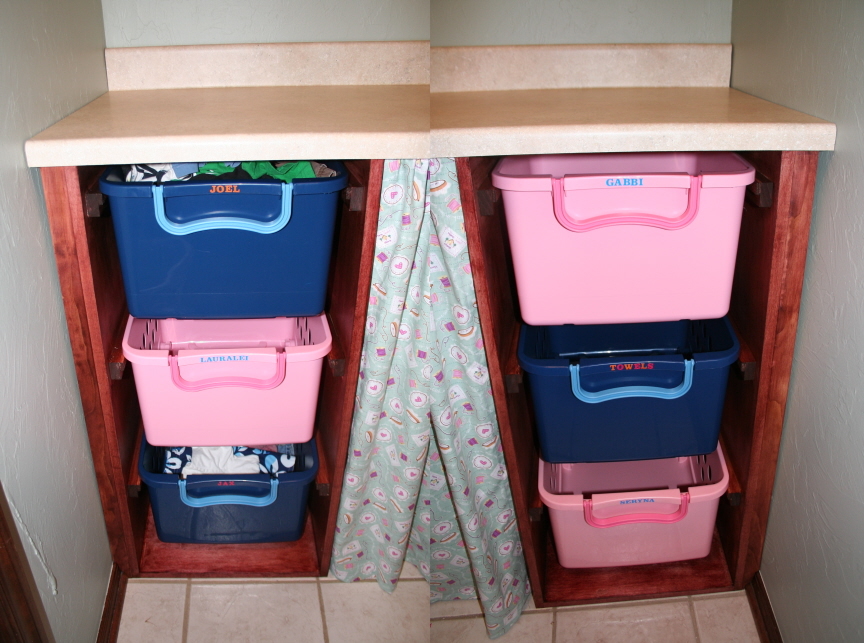
I had already bought these rolling & stackable baskets from Target for my 5 kids (http://tinyurl.com/72be9cn - 2.37 Cu. In., 10.75 " H x 16.38 " W x 20.0 " L) and I knew I wanted a countertop for sorting clothes. I thought I had an idea of shelves to put these on under the counter (which would have been attached to the wall) and somehow have a space for the litter box too, but then I found the "Laundry basket dresser" here. I was so excited because this was exactly what I was looking for.
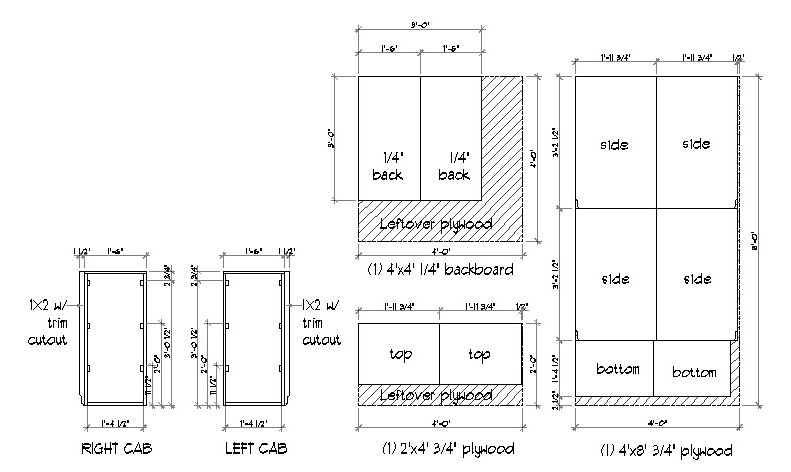
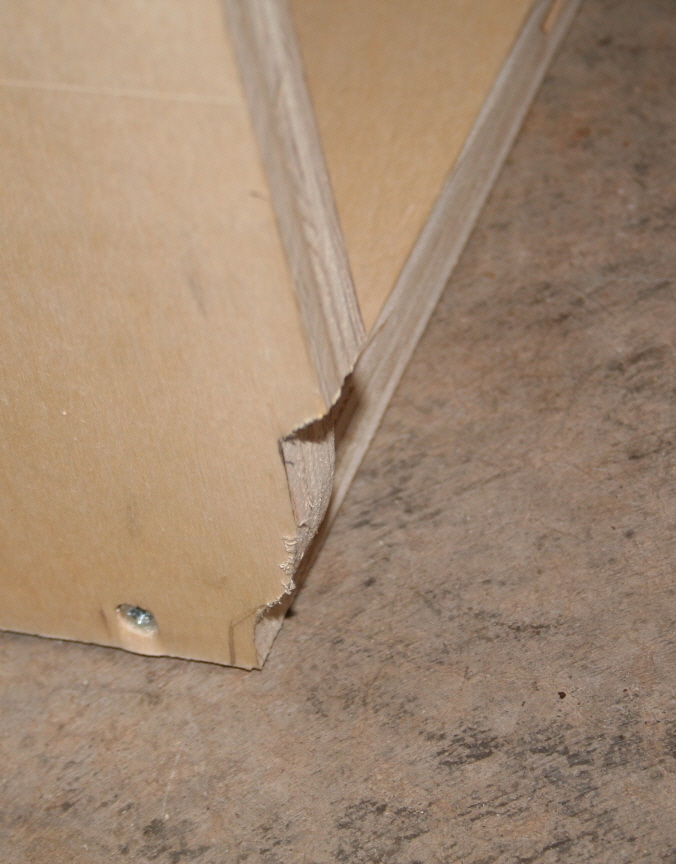
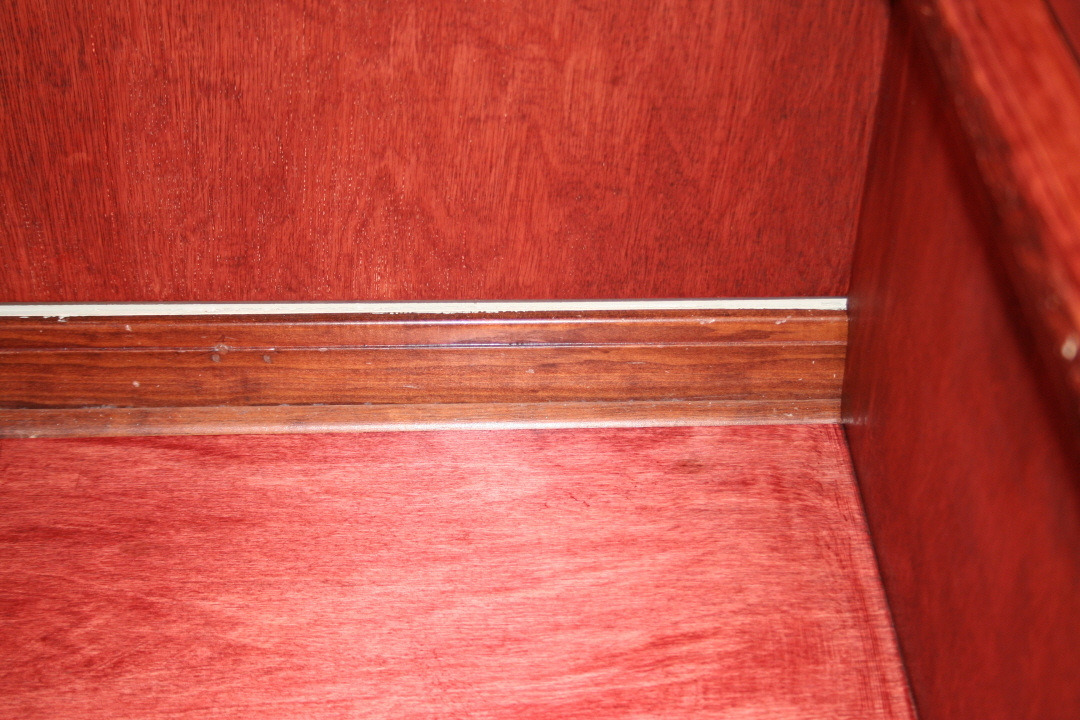
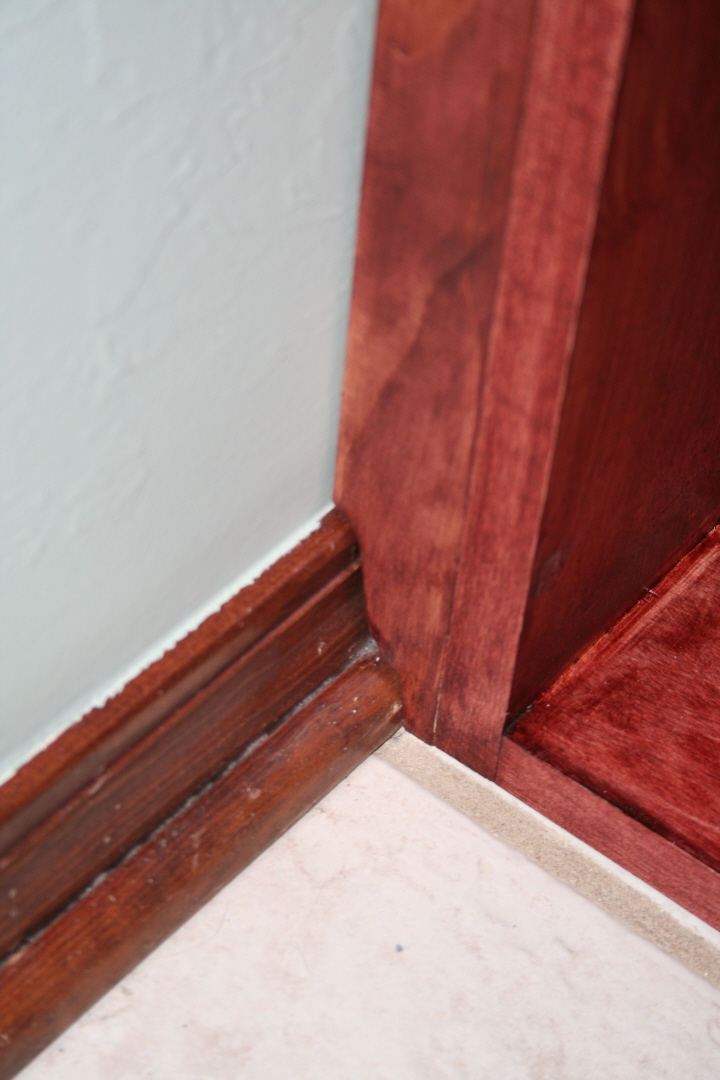
I modified the plan first by making these countertop depth, then making the base of the cabinet (at the floor) not as deep and cutting a trim shape out of the side panels so the cabinet would slide all the way back against the wall without having to remove the trim. Then, I added a 1x2 on the left side of the left cabinet and the right side of the right cabinet with the same trim cut out so I could get it against the wall on either side. I didn't want to have these sitting with gaps at the back & sides like a freestanding cabinet, but I wanted it to look built-in. Finally, the counter could sit right on top against all 3 walls only screwed to the cabinets underneath without having to be attached to the walls. So, it's a freestanding cabinet with counter.
I attached the plans I used for building this. I was able to take this to Home Depot and have all the major cuts done before even bringing it home. Then it was easy to put together. I added the curtain to cover the area where my litter box goes between the two cabinets. It would also be an excellent place for a laundry hamper.
*NOTE: One thing I've noticed is many of these laundry basket dressers have their 1x2 (that holds the baskets) align with the front (on each side). I think it looks better to push back the 1x2 1" so it's not so noticeable from the front view. That's how I did mine.
Fri, 06/08/2012 - 08:48
I love this. Really great job on cutting it to match the profile of the baseboards. I don't think I'd have the patience or skill for that! :-)
Sat, 06/09/2012 - 12:58
THANK YOU!!! We have a contour gauge like this: http://preview.tinyurl.com/btauo6x It makes it really easy with a jig saw to get the correct shape & cut it right out.
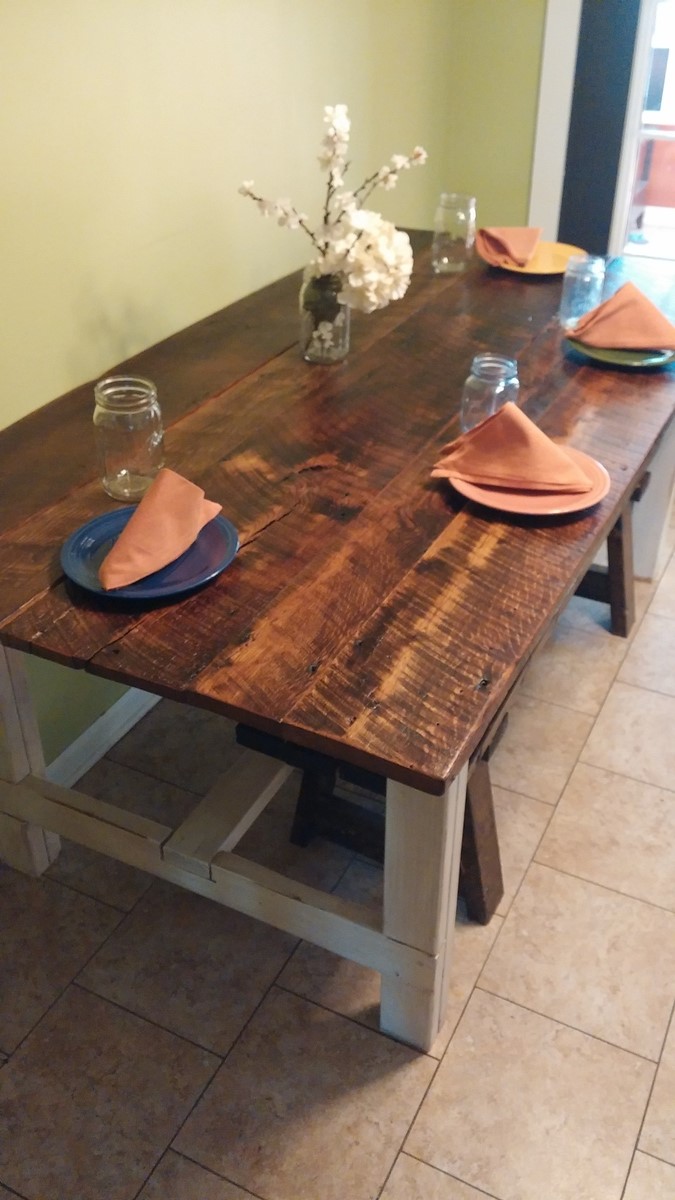
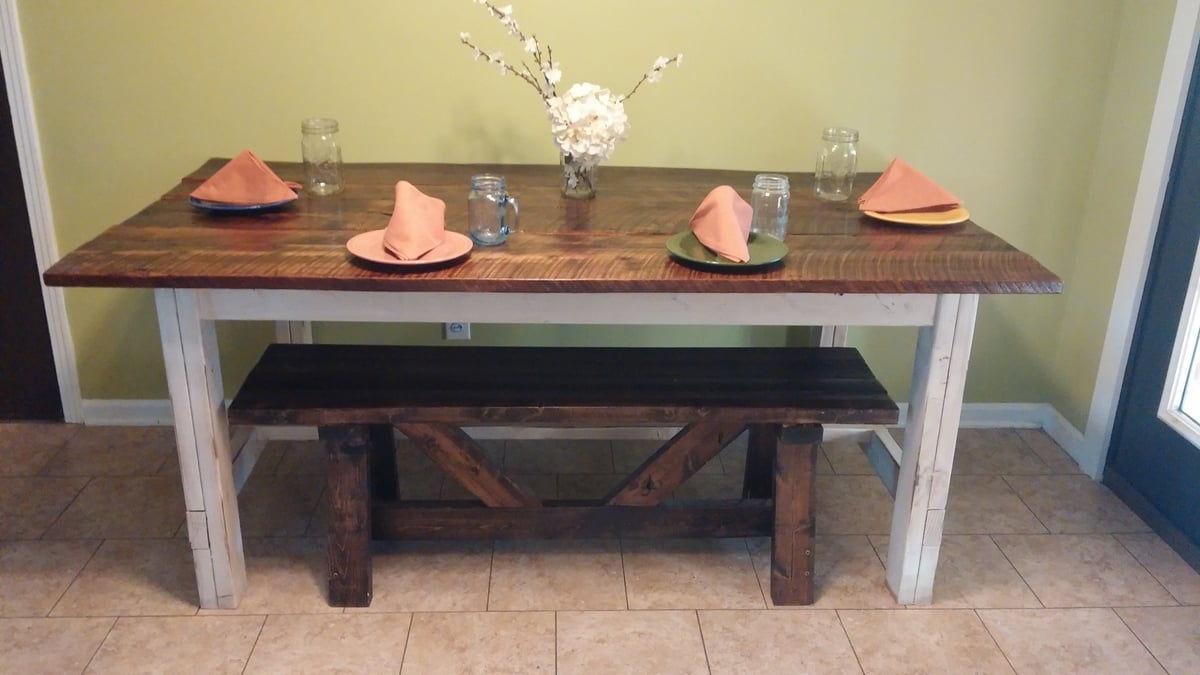
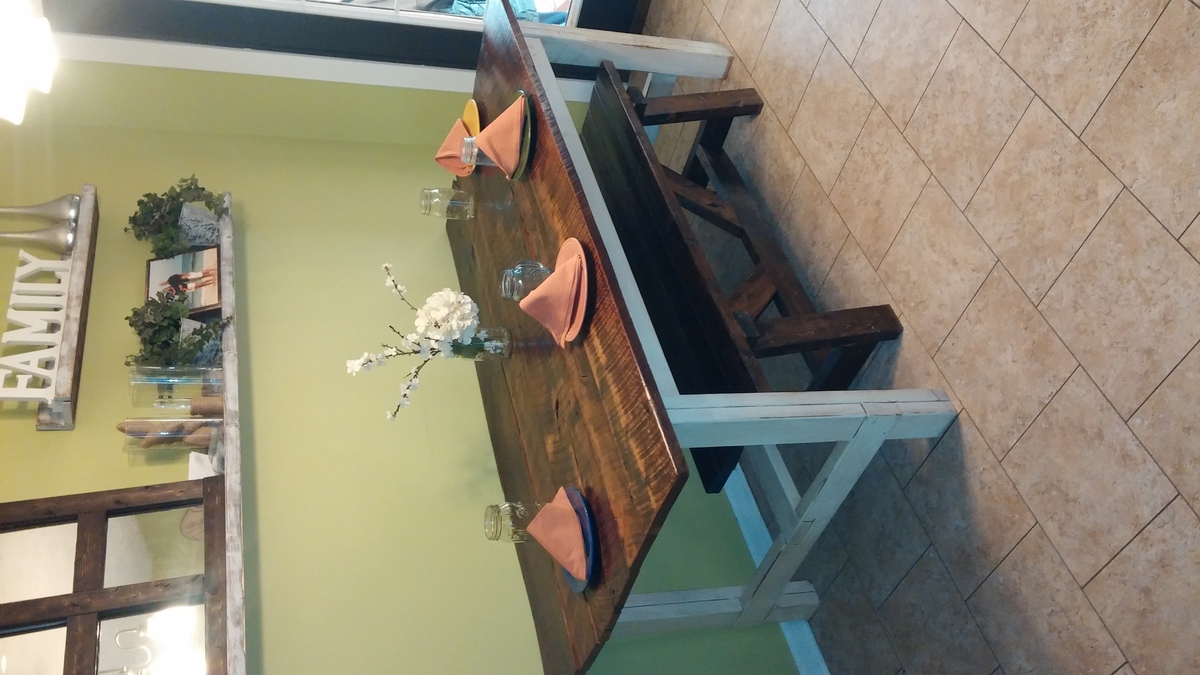
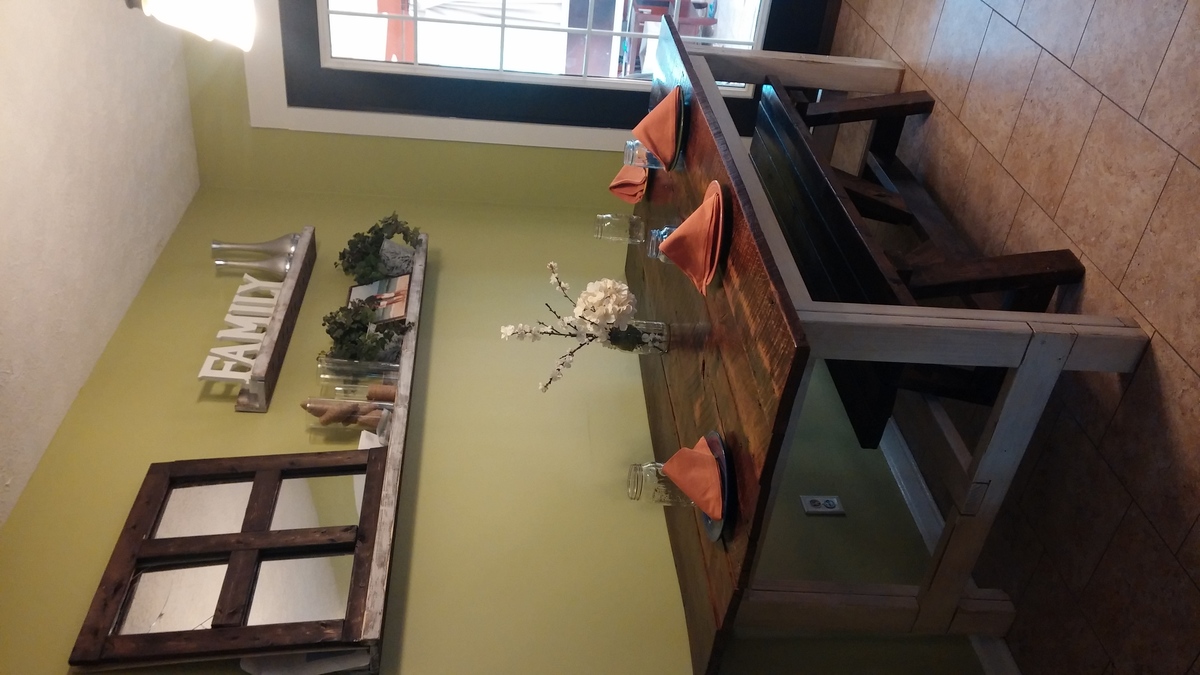
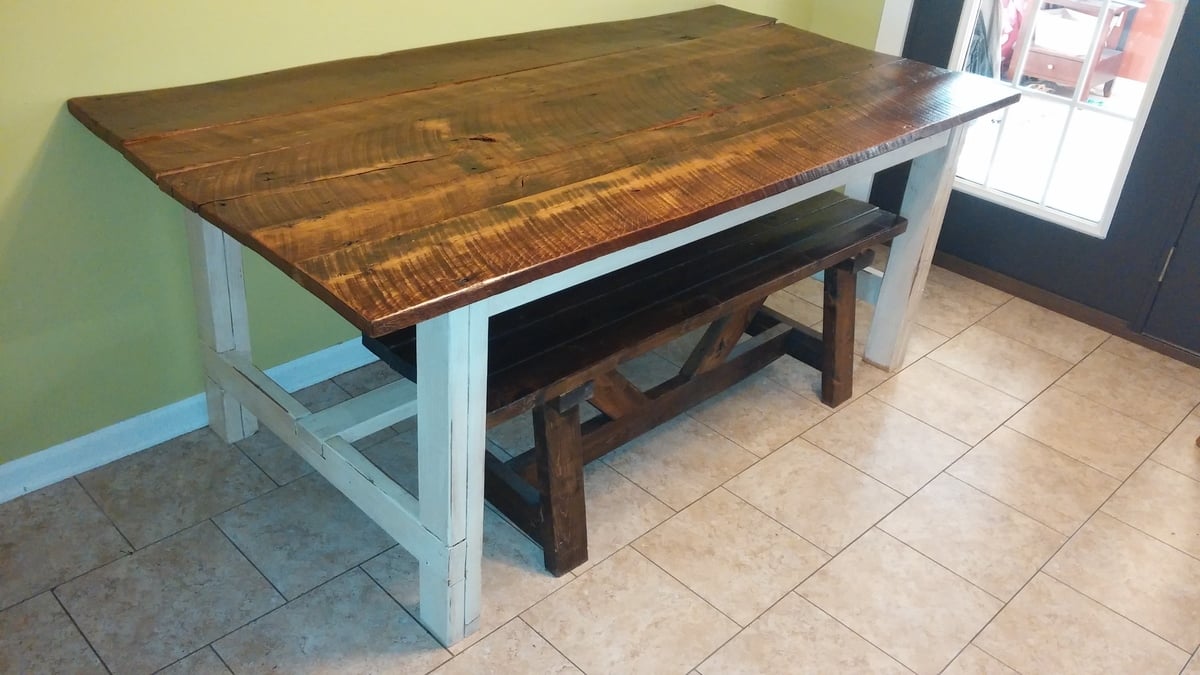
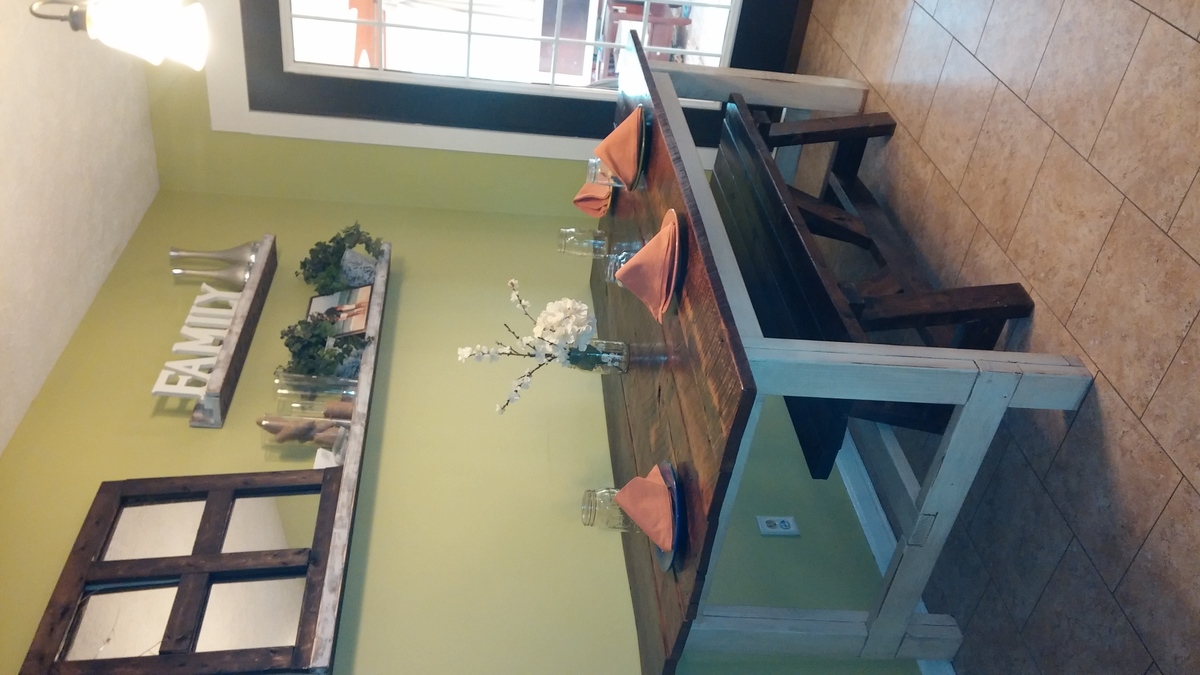
I was super duper lucky and i had someone give me....yes give me 100 year old barn wood. I had been wanting a farmhouse table but couldn't afford the ones I had seen in PB or other stores. After i was given the barn wood, I came immediatly to Ana's site and found the plans. I could have made the table entirely out of the barnwood, but i wanted an old looking white base, so i bought pine 2x4's. It's all i ever wanted an then some!
I built two chairs for my wife and I and a little table (for beer or wine). I made the table out of scrap that I had left over. My favorite part is the paint color I chose. Thank you Anna!

I saw this project on YouTube under Arbor Pergola Swing. It did not mention any specific detailed plans or cut list but it was enough to get me started. I began with (2) 10' 6" x 6" post. buried each 24" and cemented. I cut the post tops at 83" from ground line. The rafter consist of (2) 10' 2"x 6". I used the leftovers of the 6" x 6" post tops in the middle of my rafters to hang the swing from with 1/2 " eye bolt. Then I used (9) 2" x 2 " x 8' and cut each at 36" to finish off the top and (2) 2x6x8 for the 4 rafter supports. I drew out the designs of the rafters and top ends free hand and at made a template for the cuts with s jigsaw.
The entire cost including hardware minus the swing was $170. My wife had purchased the swing last Fall at a clearance for $40 brand new.


Love this plan, it was easy to do. I did modify it a little as did another member with longer support arms. I just purchased an extra 2x2 and cut it to fit! Thanks for the great plans!!! Hope to see more shop furniture on here soon!
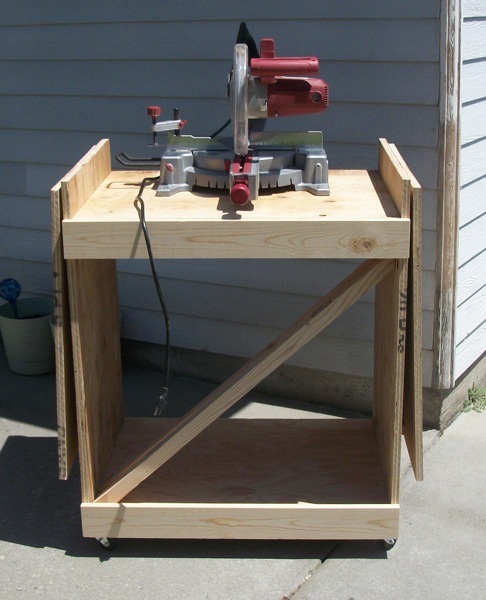
In reply to This is just great!!!! by Ana White
Thu, 06/14/2012 - 01:00
Always love to get feedback and when the Queen Bee of Building comments with a compliment, I'm just thrilled!! Thanks a bunch for posting the plans!!!!
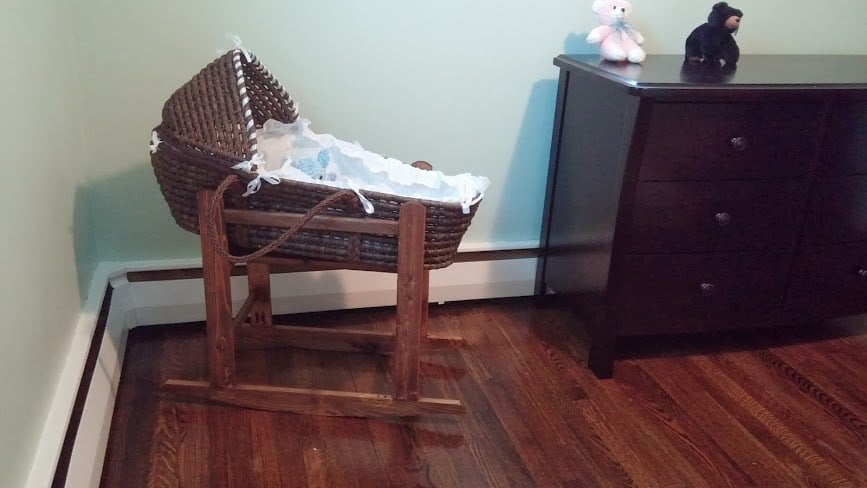
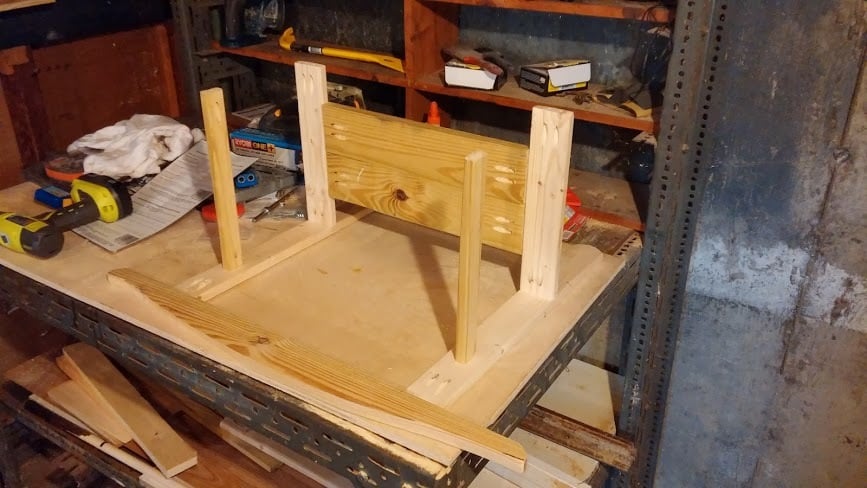
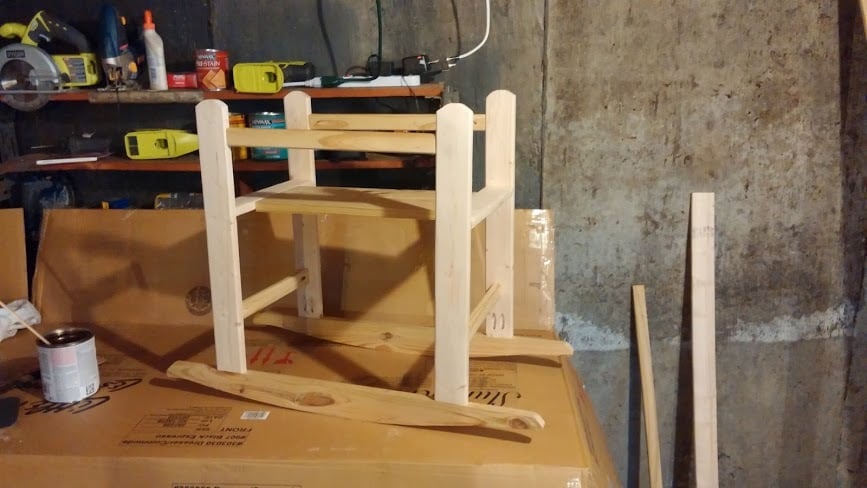
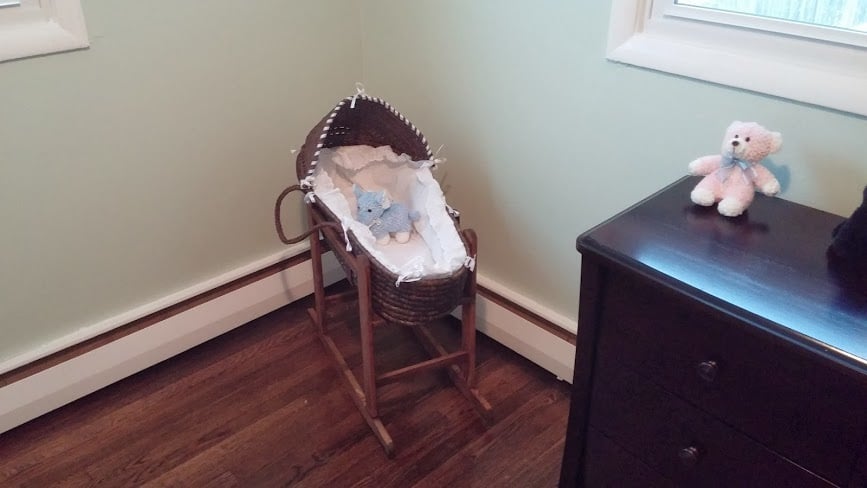
I made this over a weekend when this plan first was posted and have meant to upload these; however, this can be done in a day if you know what you are doing with the rockers. The main difference between the plan and mine was I kept the top of the rocker square, which made it a bit easier to attach the legs to it. I also made the mistake of making the curvature of the rocker too steep, which does not allow for smooth rocking and instead makes the rocker sort of hit only only 3 points.
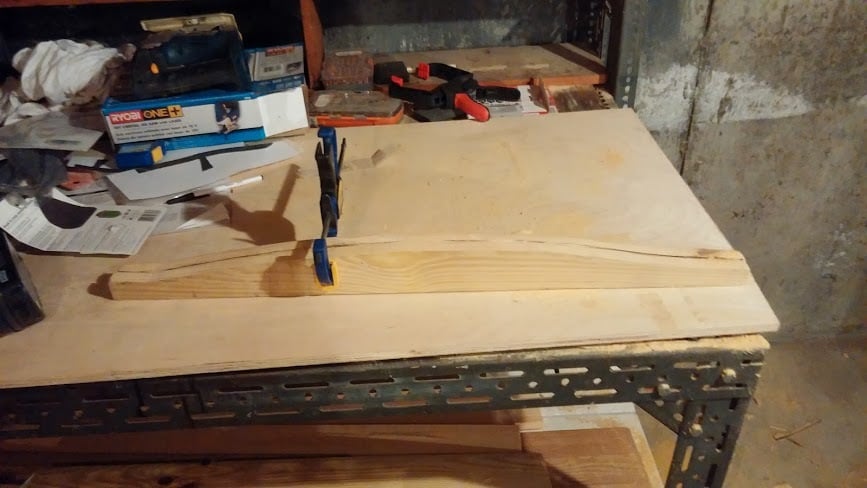
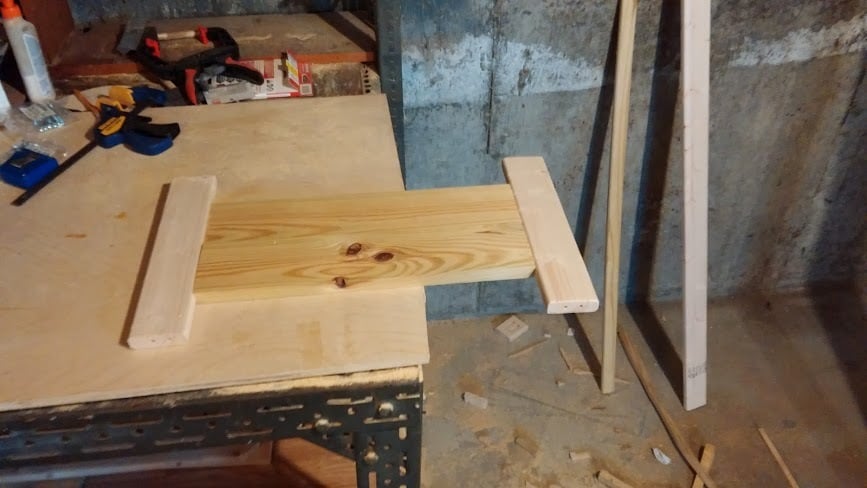
The advice I can offer on this, is to print out the rocker from the plan. I forced the picture to be as long as I wanted to rockers, then printed it out on multiple pages, taped it together and traced. If I had done this from the start my rockers would have gone much faster; instead, I did my own trace, then figured out it was too steep and then had to take what I had done apart and fix them with the stencil.
All in all, this was pretty easy and I spent under $8 on lumber, which is really awesome.
Thu, 10/08/2015 - 11:31
Where is the link to the printable rocker plans? I can't find them.
Slight modification to the original plans. Used all 2x6's across the top and added capped ends. Used 2x3s instead of 1x3s. Cuts and assembly were not time consuming, sanding was!!
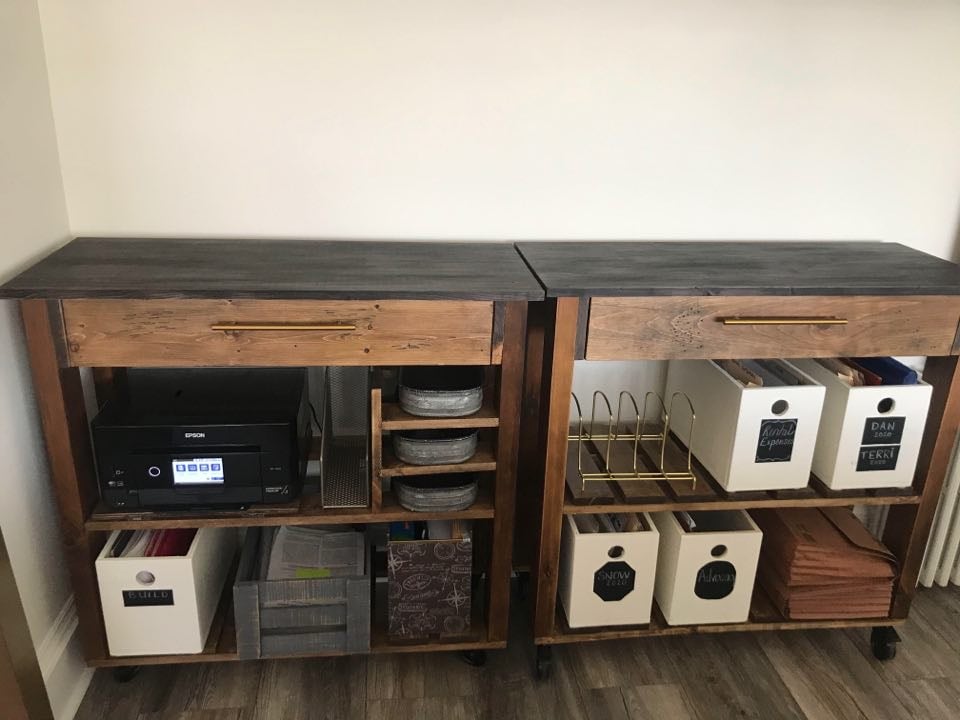
Anna's recent design for a stand up desk system with paper shredder inspired me. I have 2 side by side Stand Up desks on castors. I have customized to suite our needs.
Thank you Anna for teaching me to build, my "She Shed" has become my sacred space - Cheers from Canada
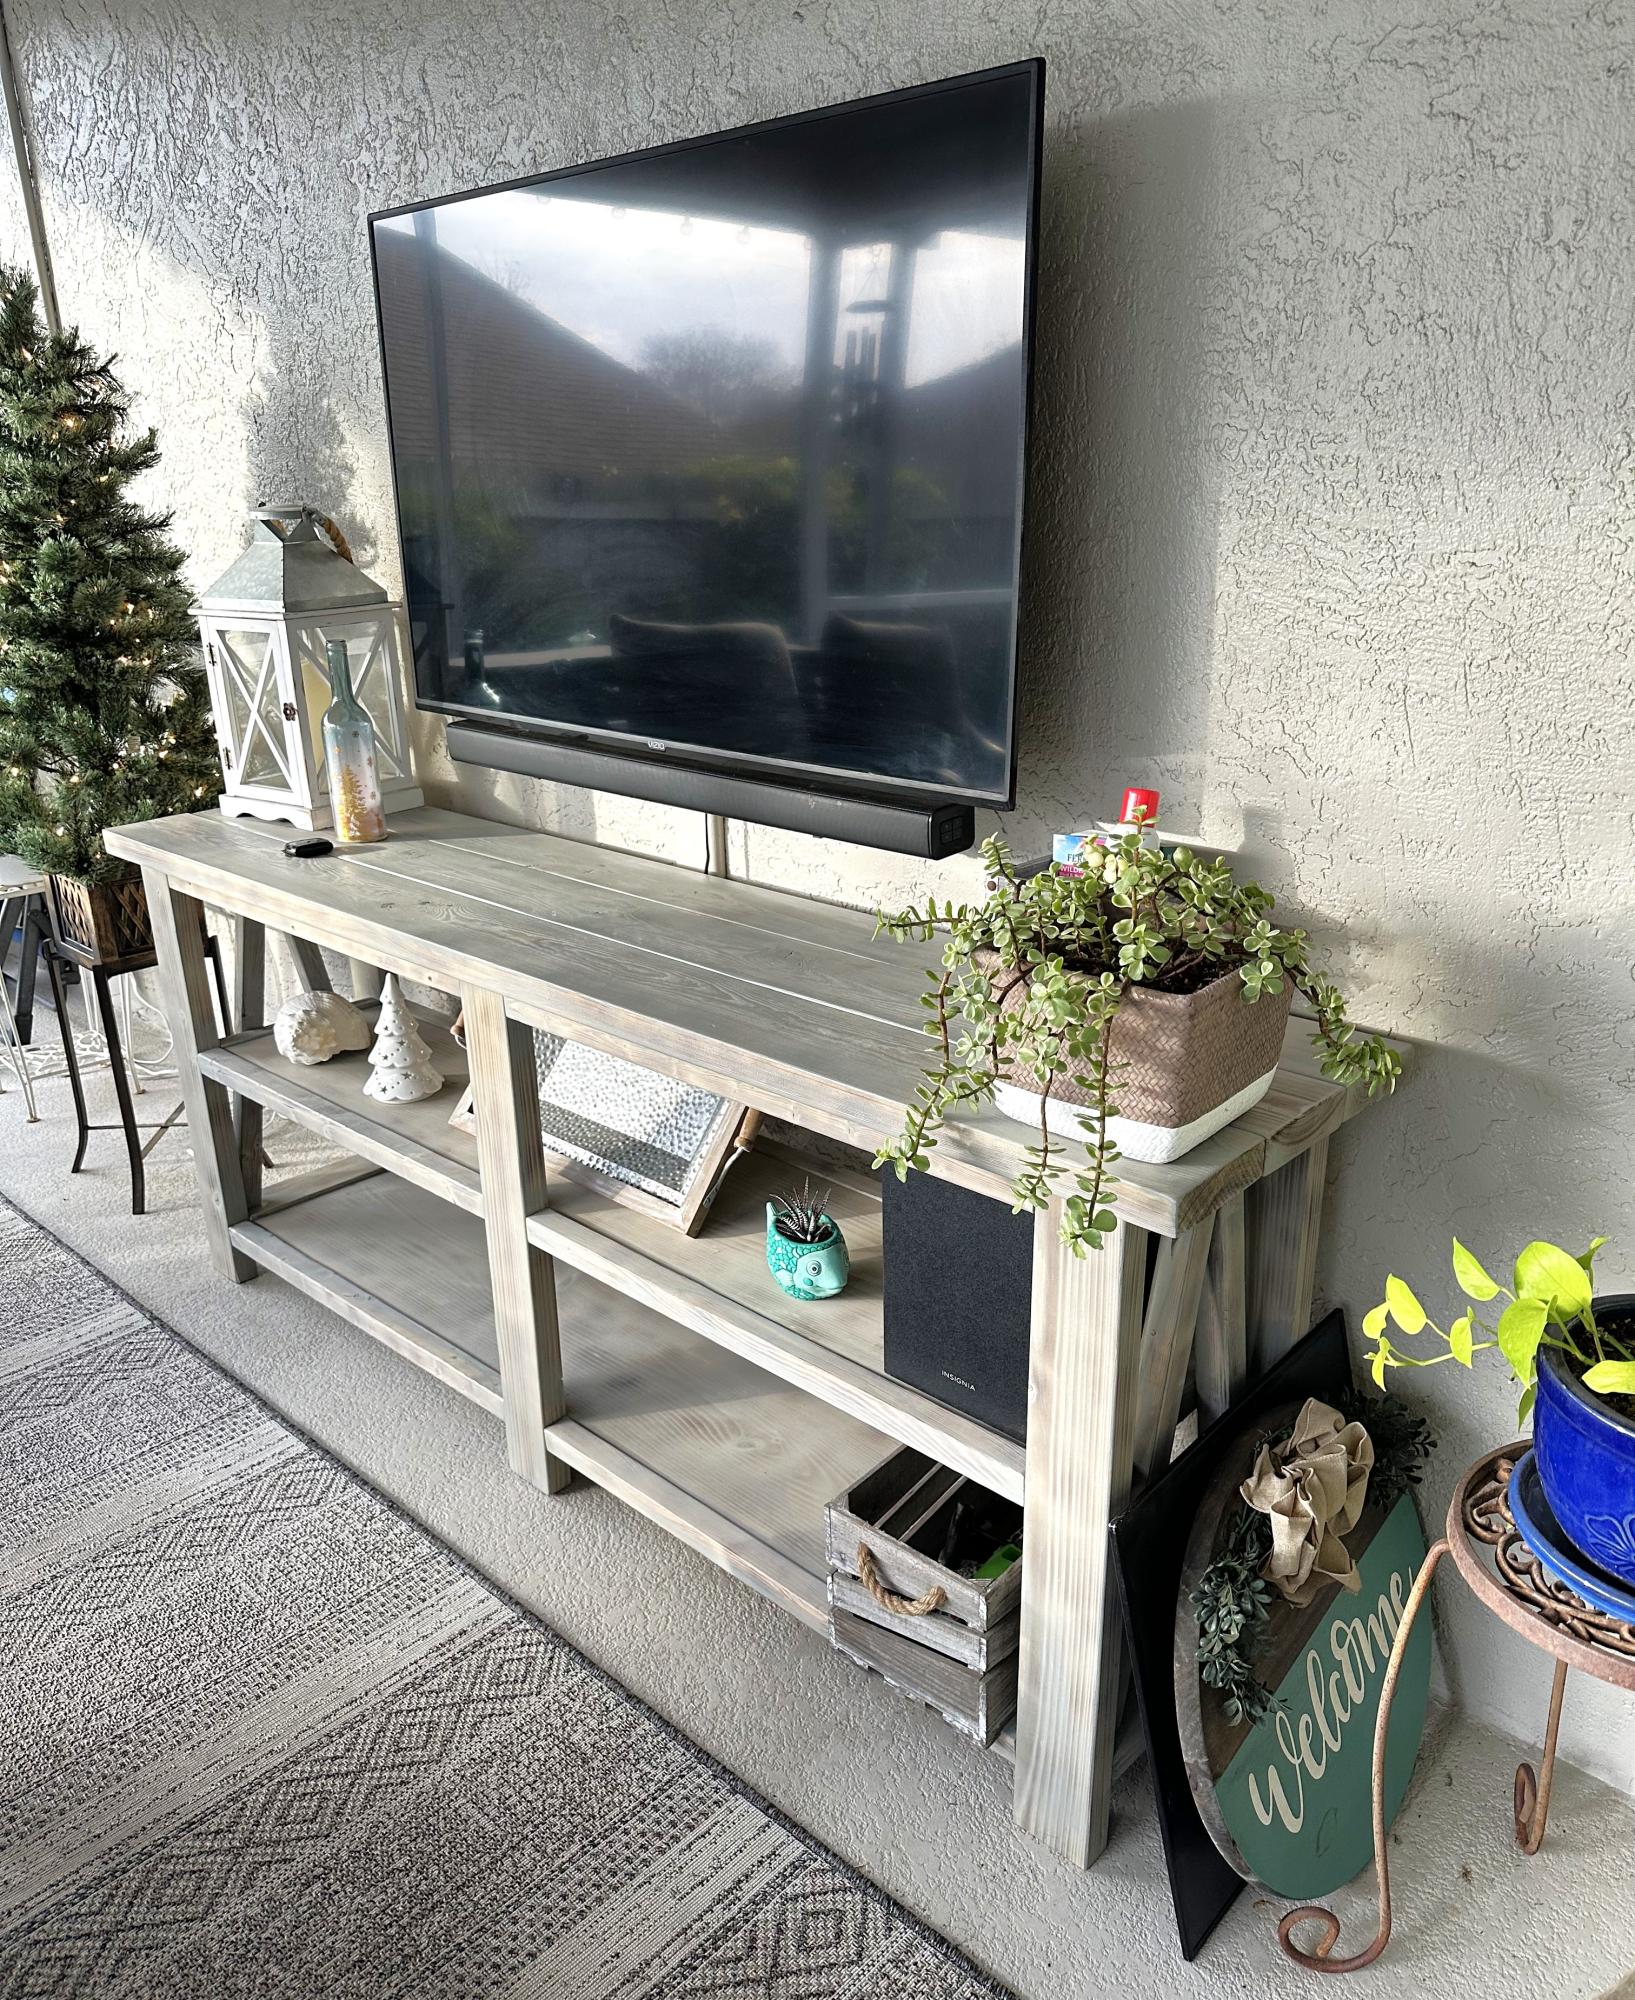
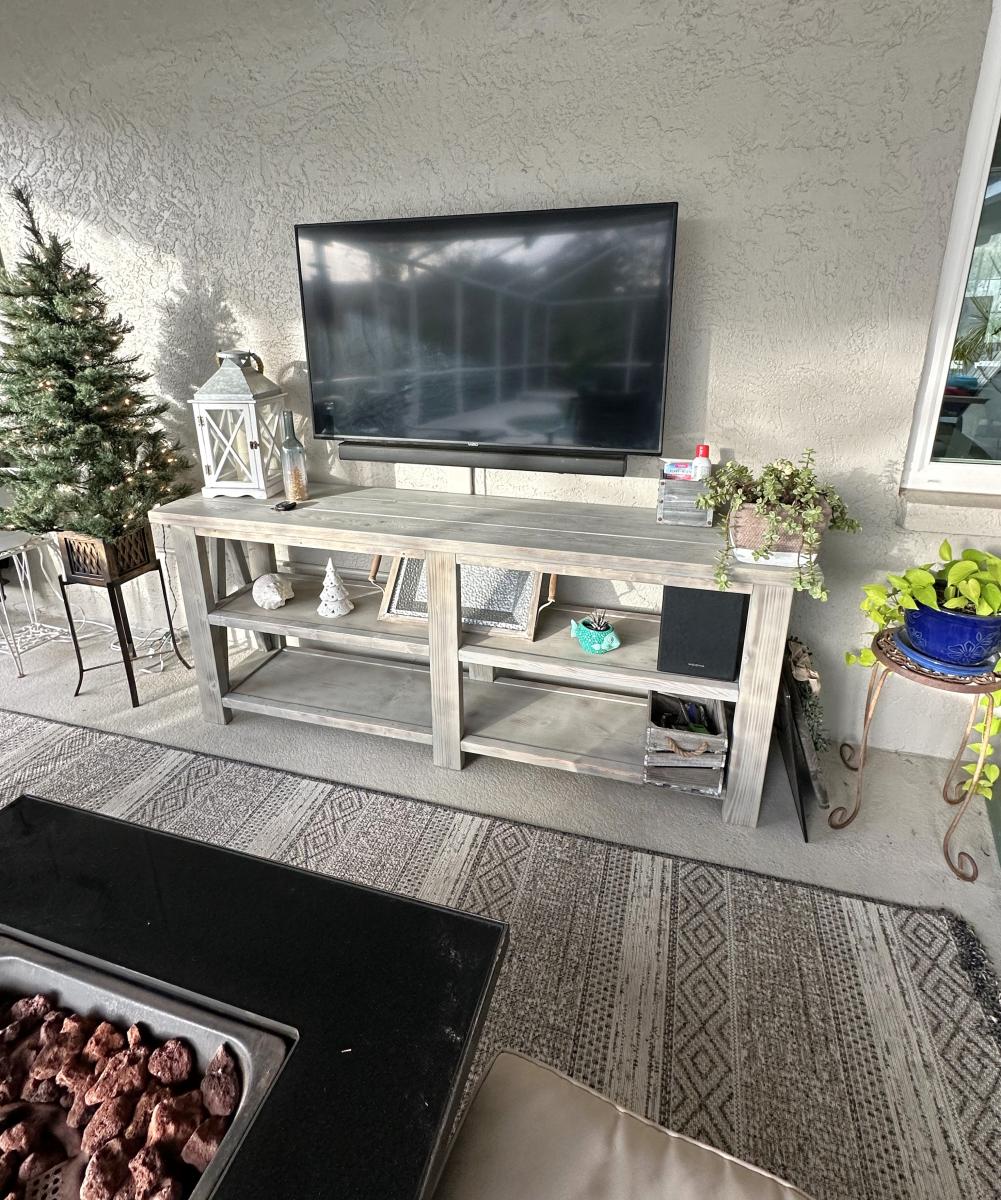
DIY Outdoor Console Table
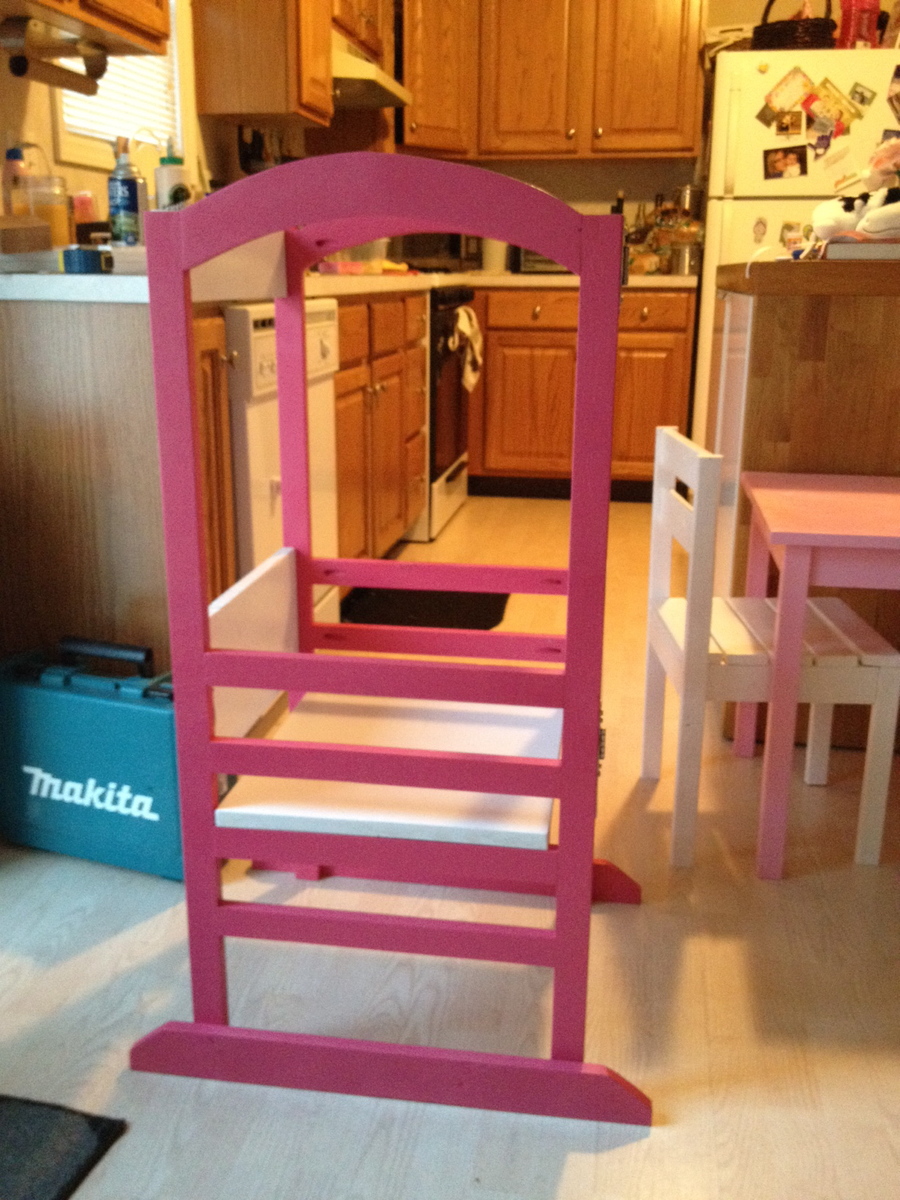
I have seen these like most other people for outrageous prices. This was pretty simple to make but I thought it would be a good idea to add the hinges. I think with the hinges, it is not as stable as my 2 year old seems to "wobble" it side to side pretty good. If I had the space, I would make one without the hinges or learn more about hinges and maybe how to make it more stable. I am thinking adding some more stability to the base of it as in Ana's plan and hopefully that will take care of the wiggling.
I made this coffee table from Ana's Rustic Bench plans in The Handbuilt Home. I needed something fairly small for my living room and this worked perfectly. I used pine and stained it with Minwax Early American. I finished it with 3 coats of Minwax Polyurethane.
Mon, 04/07/2014 - 18:34
This is lovely!!! Thanks for getting the book and doing a project from it, love how this bench turned out!
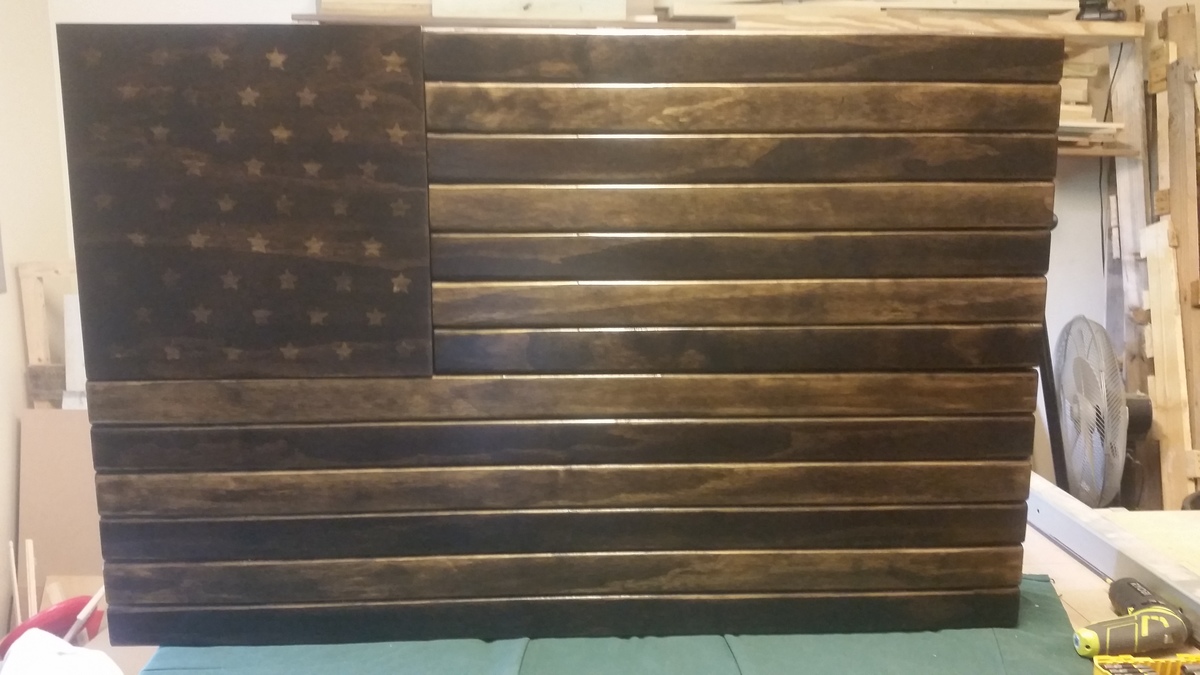
I threw some plans together for this. Going to make another one and tweak it a little but overall I'm happy with the way it turned out. I used dark walnut stain and 4 coats of poly.
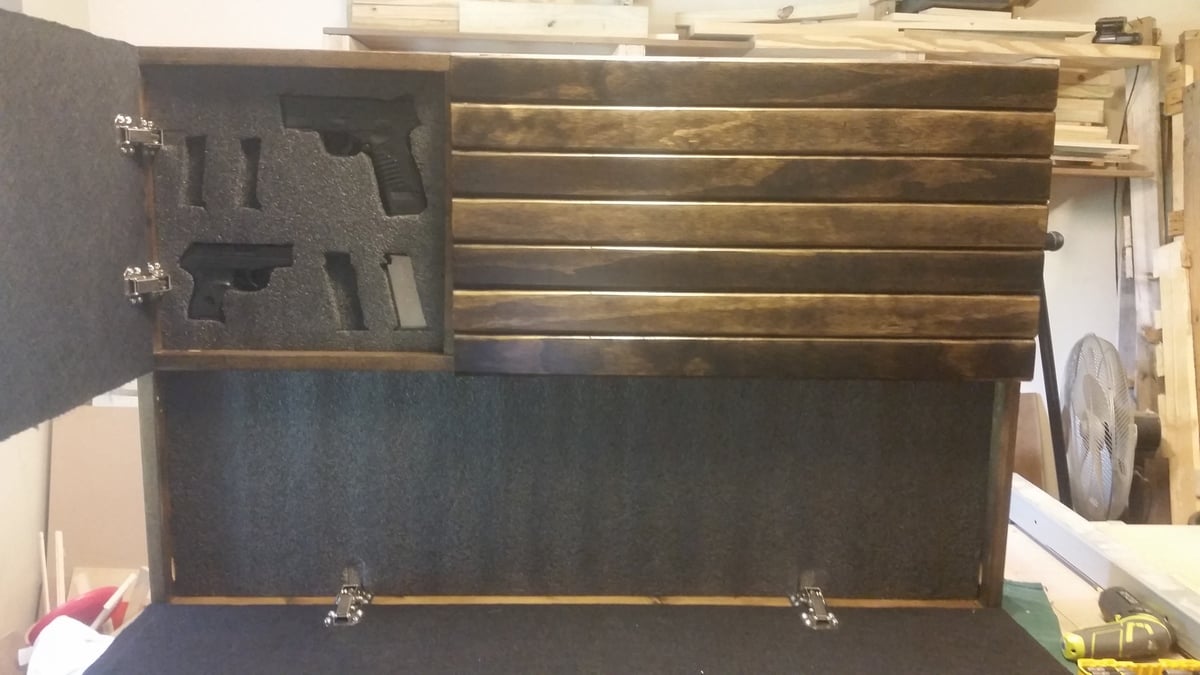
Fri, 12/25/2020 - 07:20
looks amazing i would love to see some plans for that
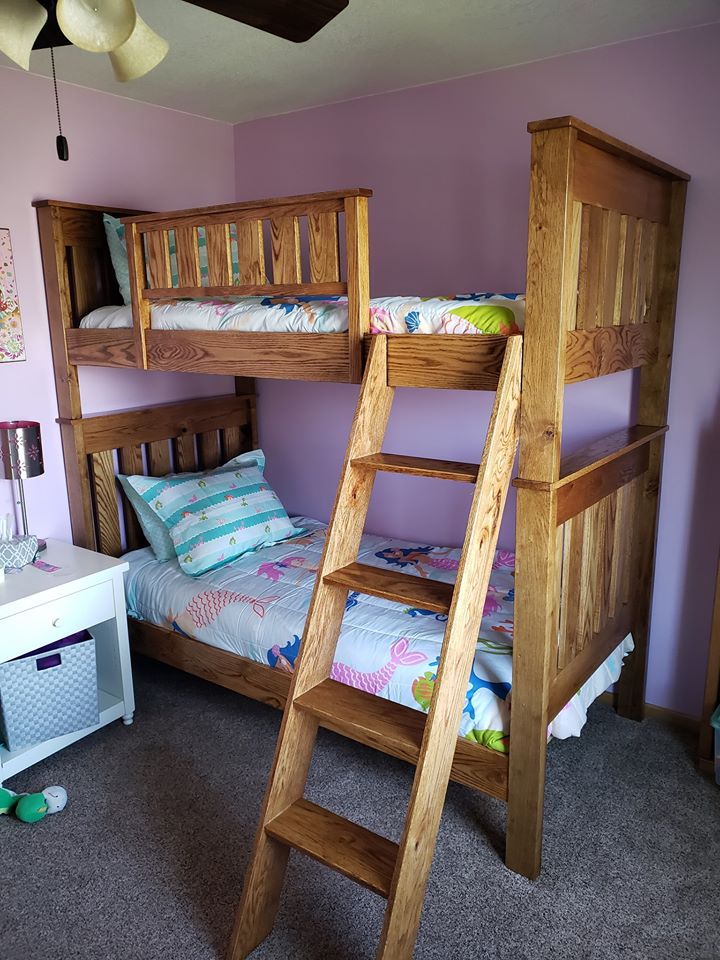
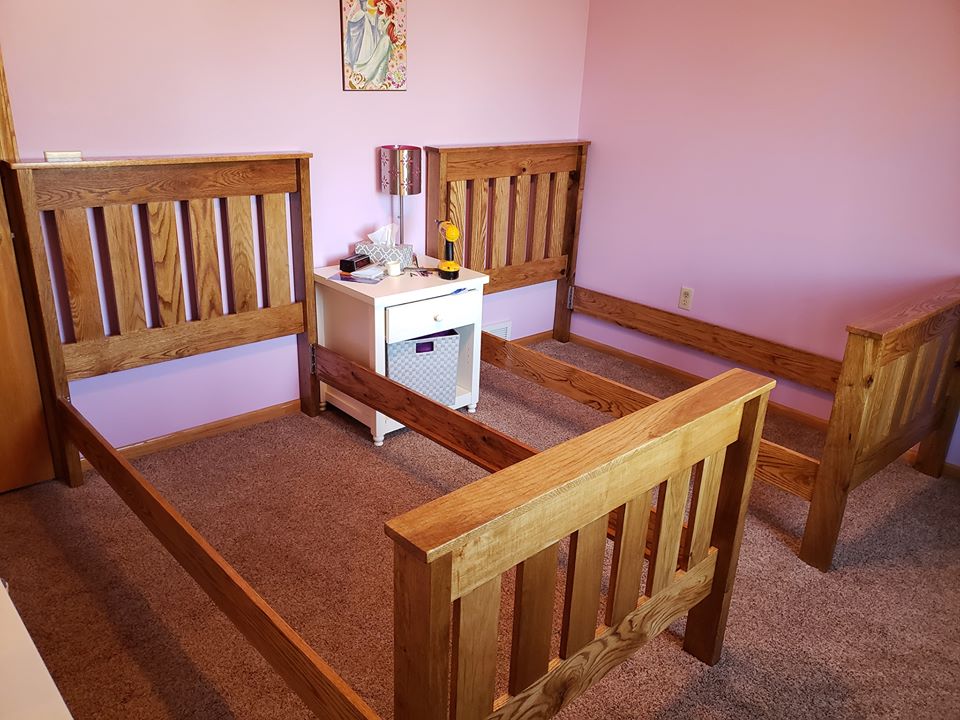
I used the Simple Bunk Bed plans as a rough guide for the sizing of this twin over twin bunk bed plans. Bed is made out of solid oak that I sourced locally for free and planed down the oak slabs. There are a number of variations, but the sizing helped tremendously in putting my plans together.
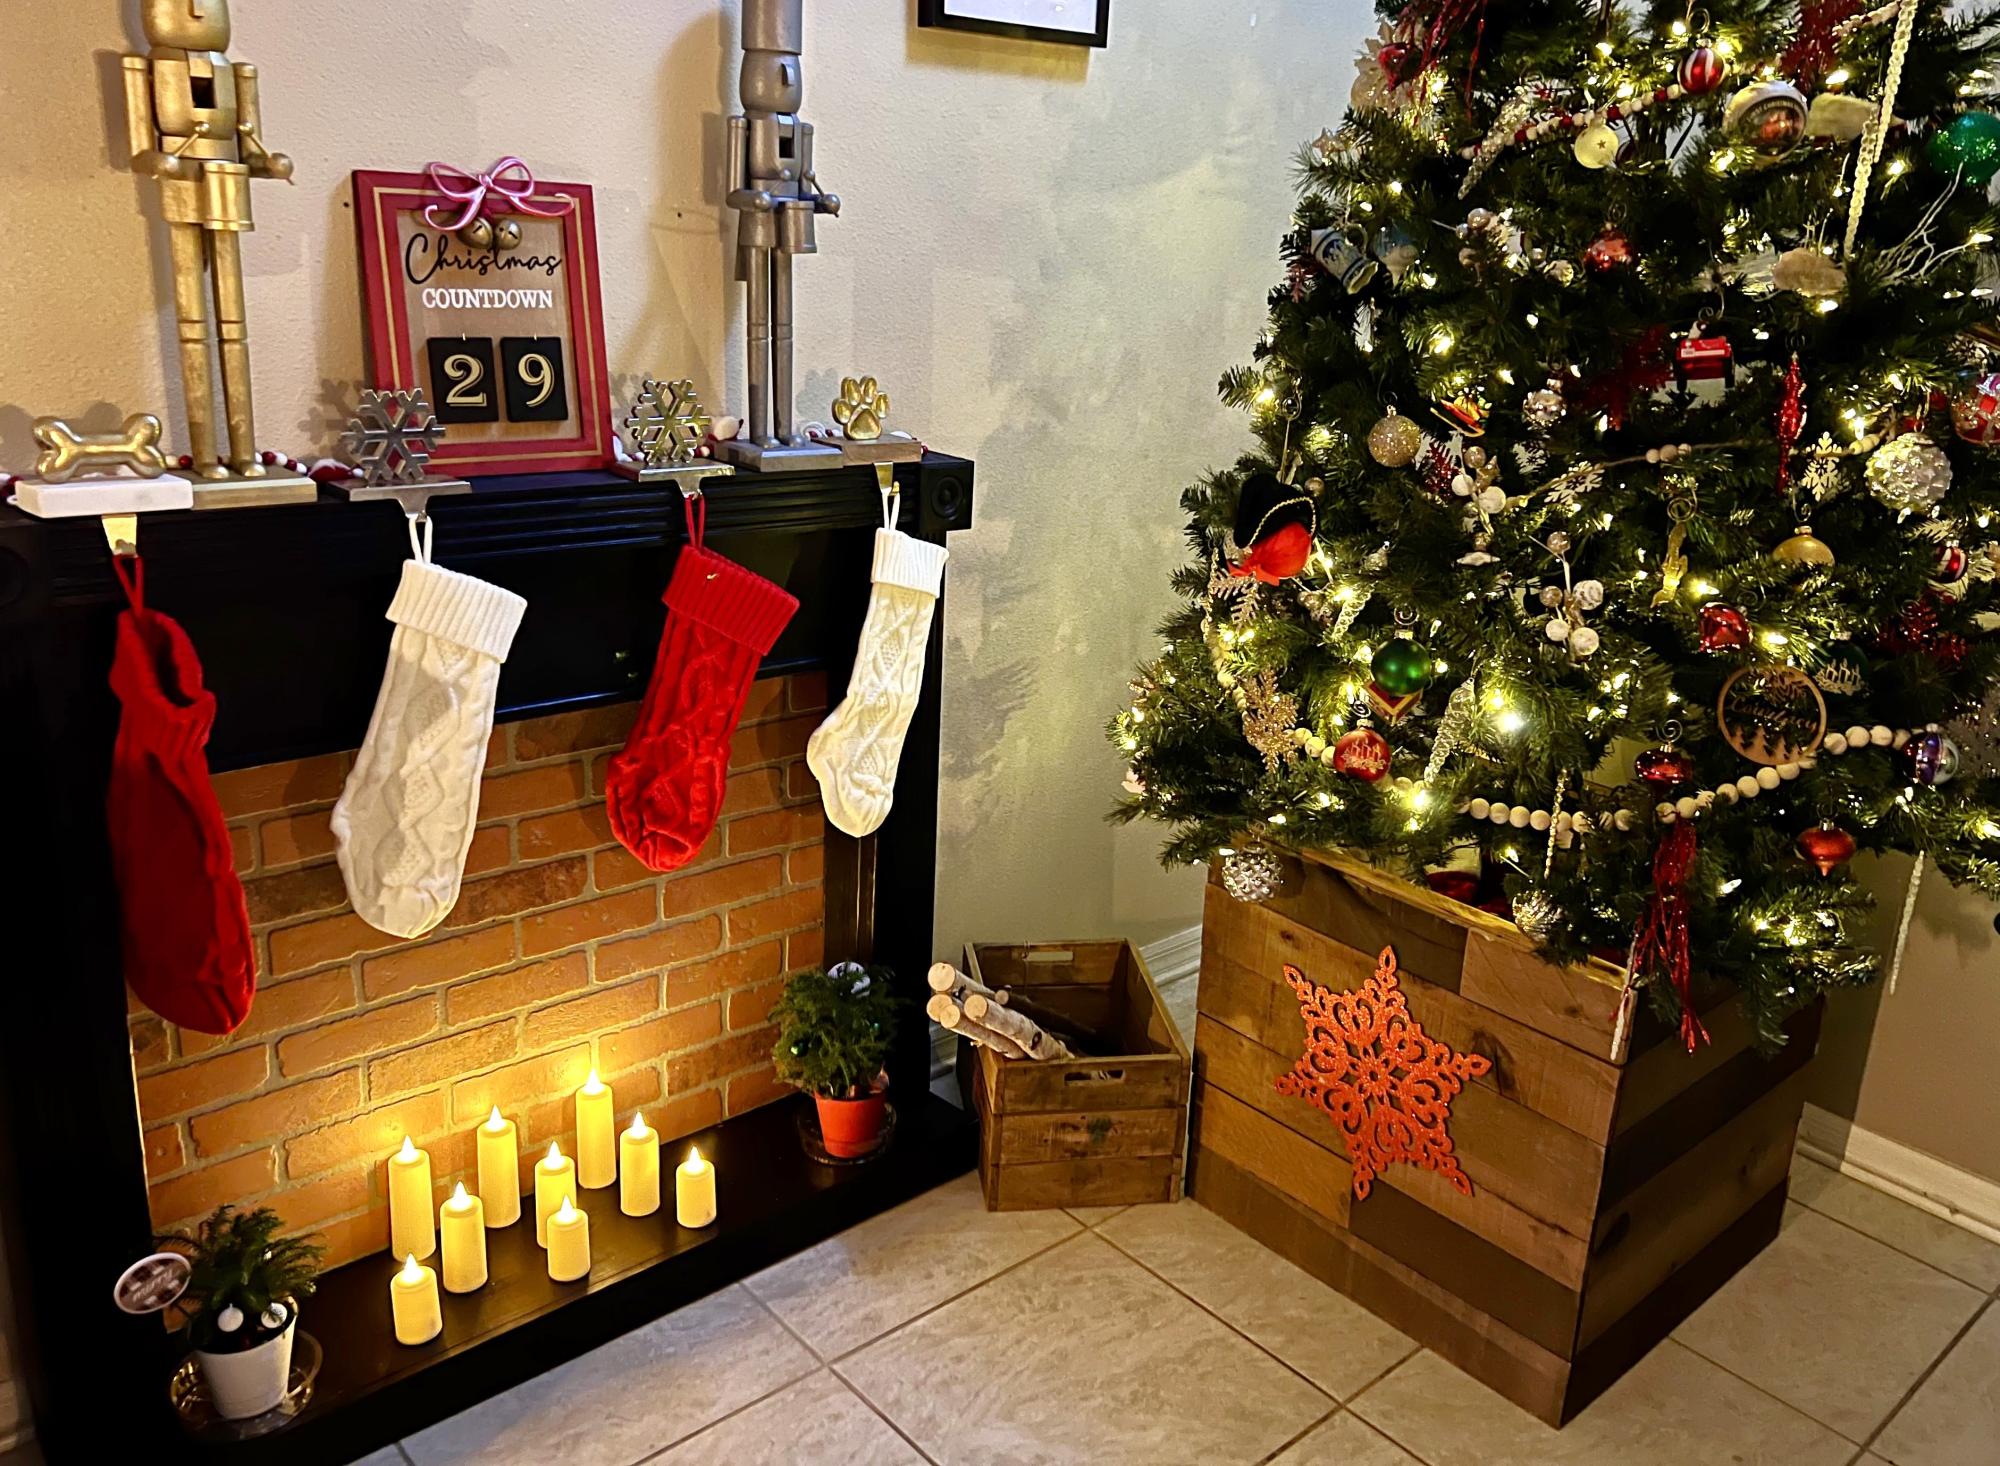
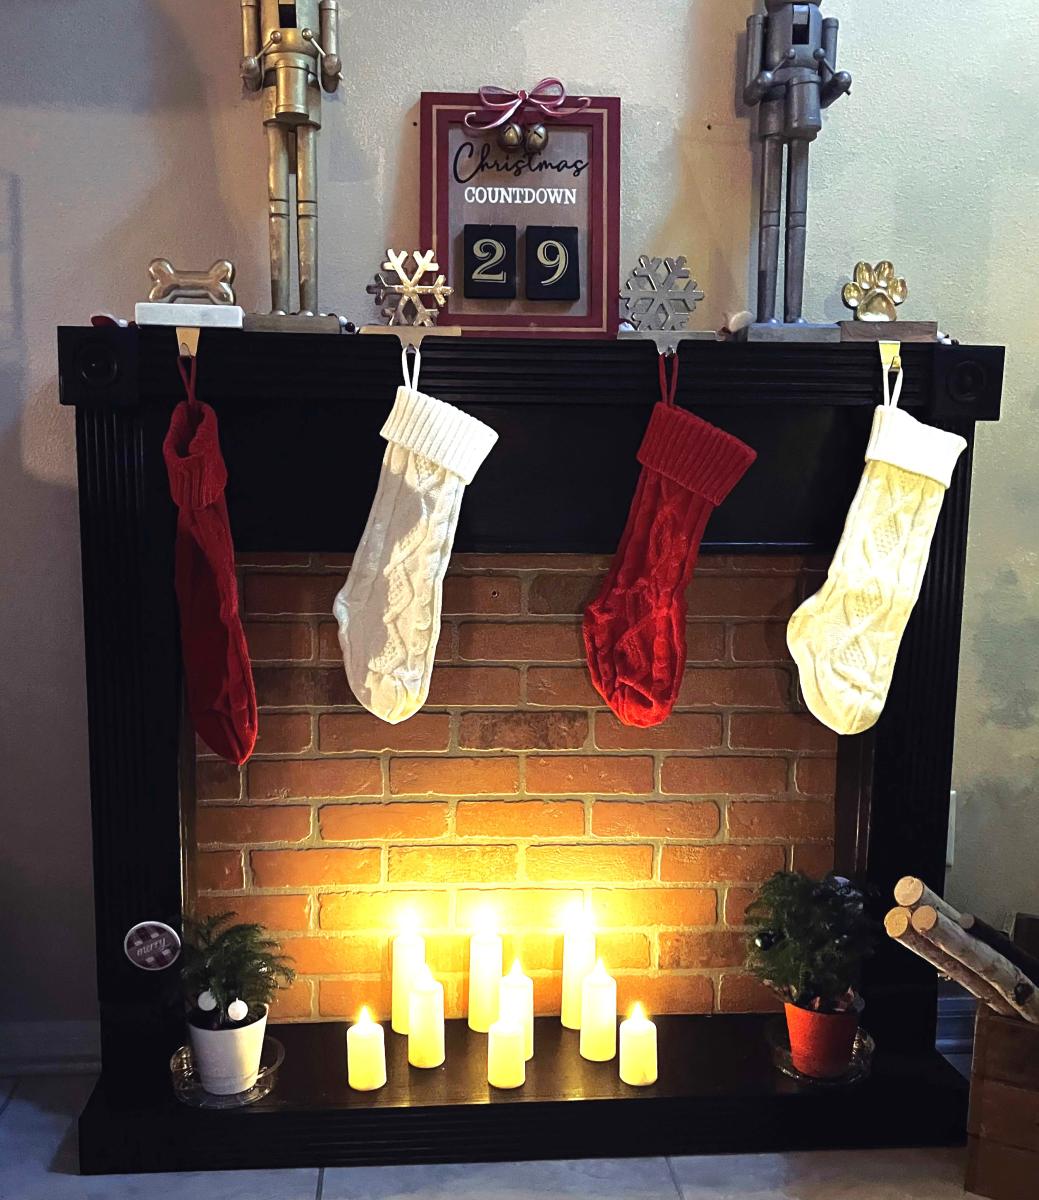
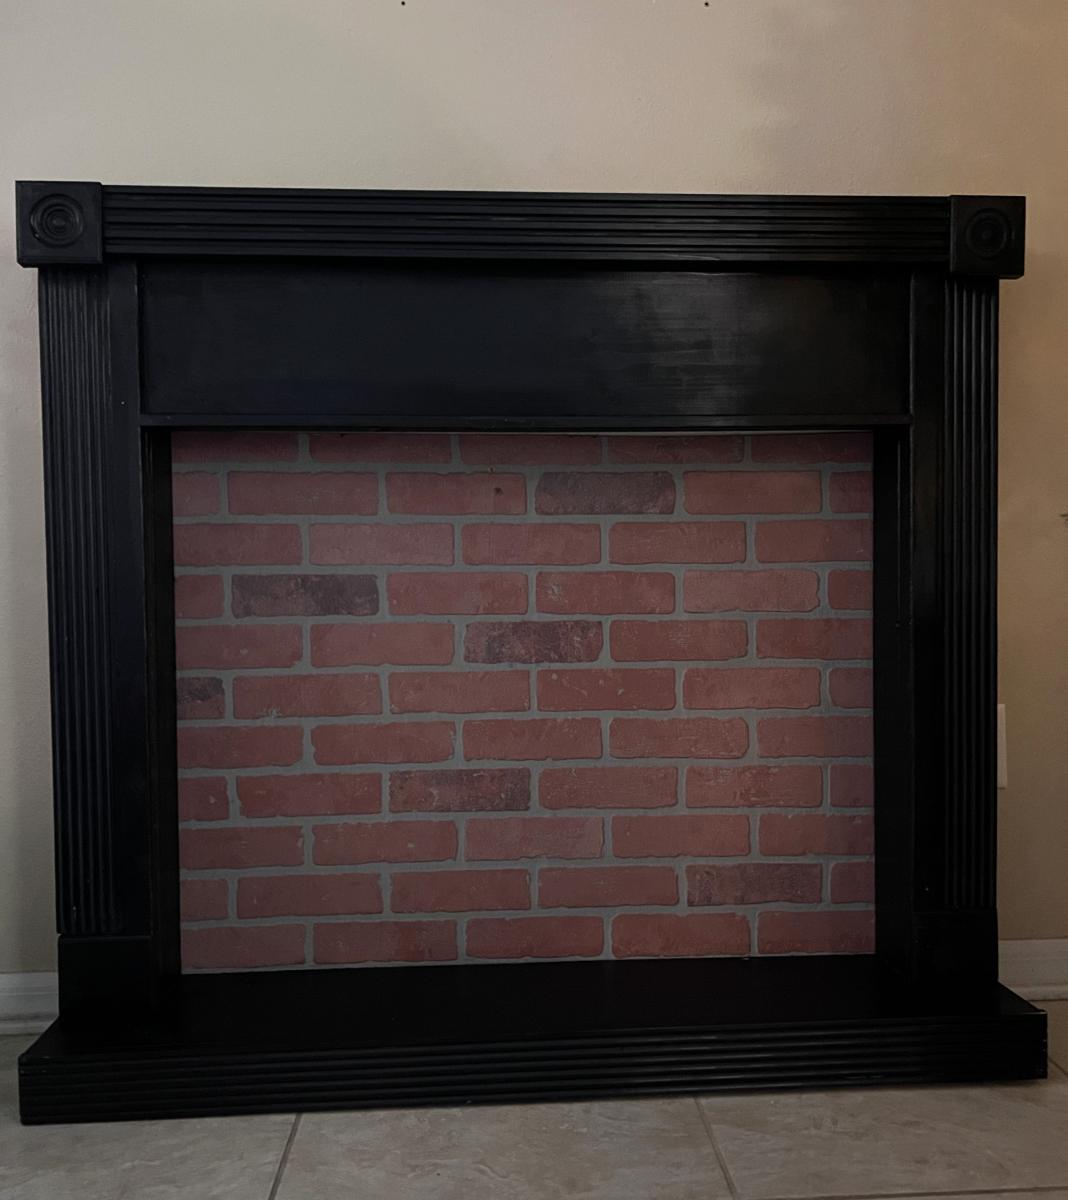
Fireplace! Live in Florida and wife wanted a fireplace next to Christmas tree. Ana plans are the best.
