Community Brag Posts
Loft bed
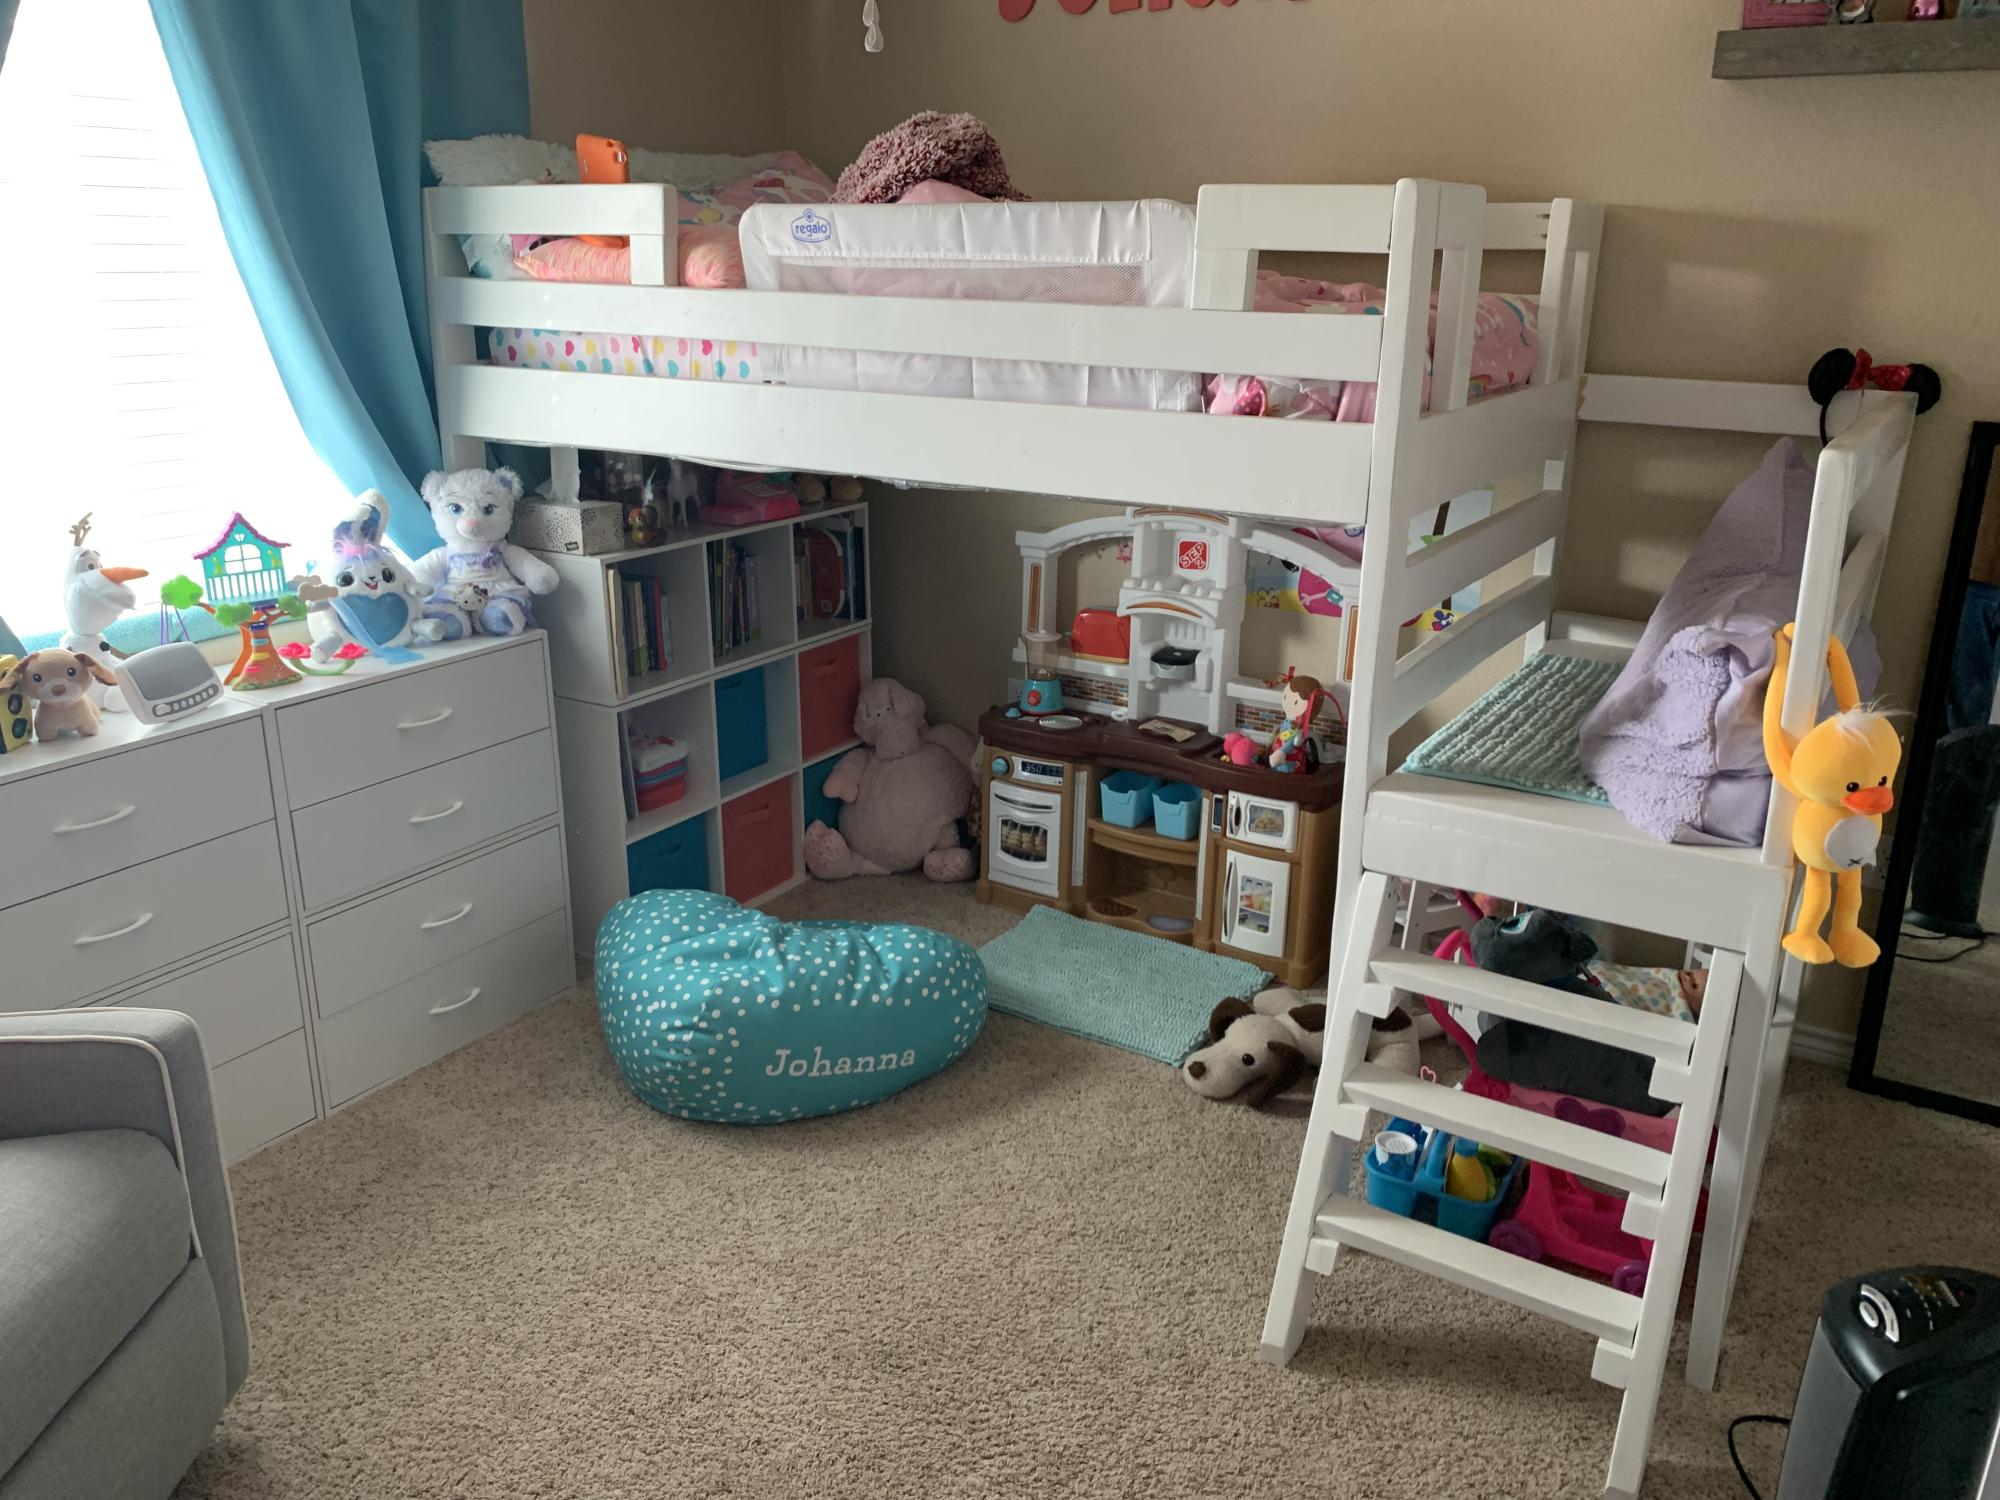
I used your loft bed plan and made some adjustments to better suit our needs. My daughter absolutely loves her bed and we love having all the extra room under her bed. Thank you and I will be using many more of your plans.
Justin
Comments
Simple kids chairs
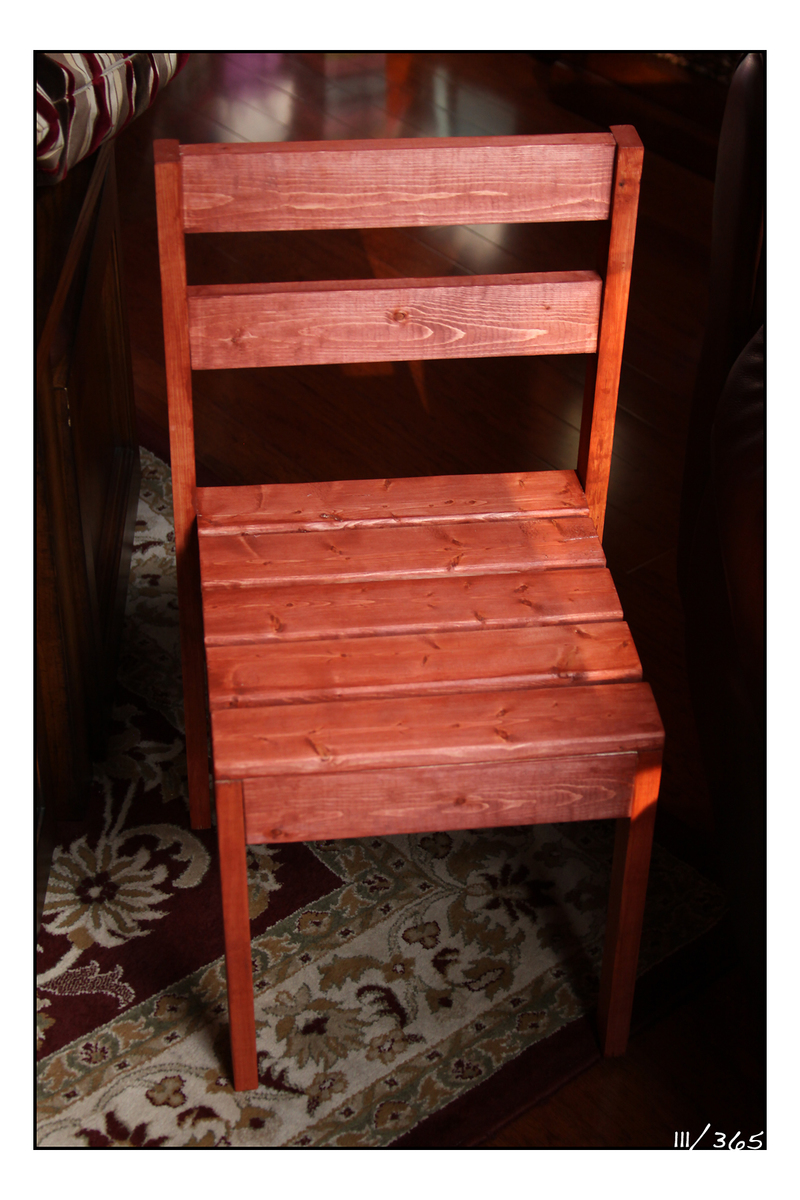
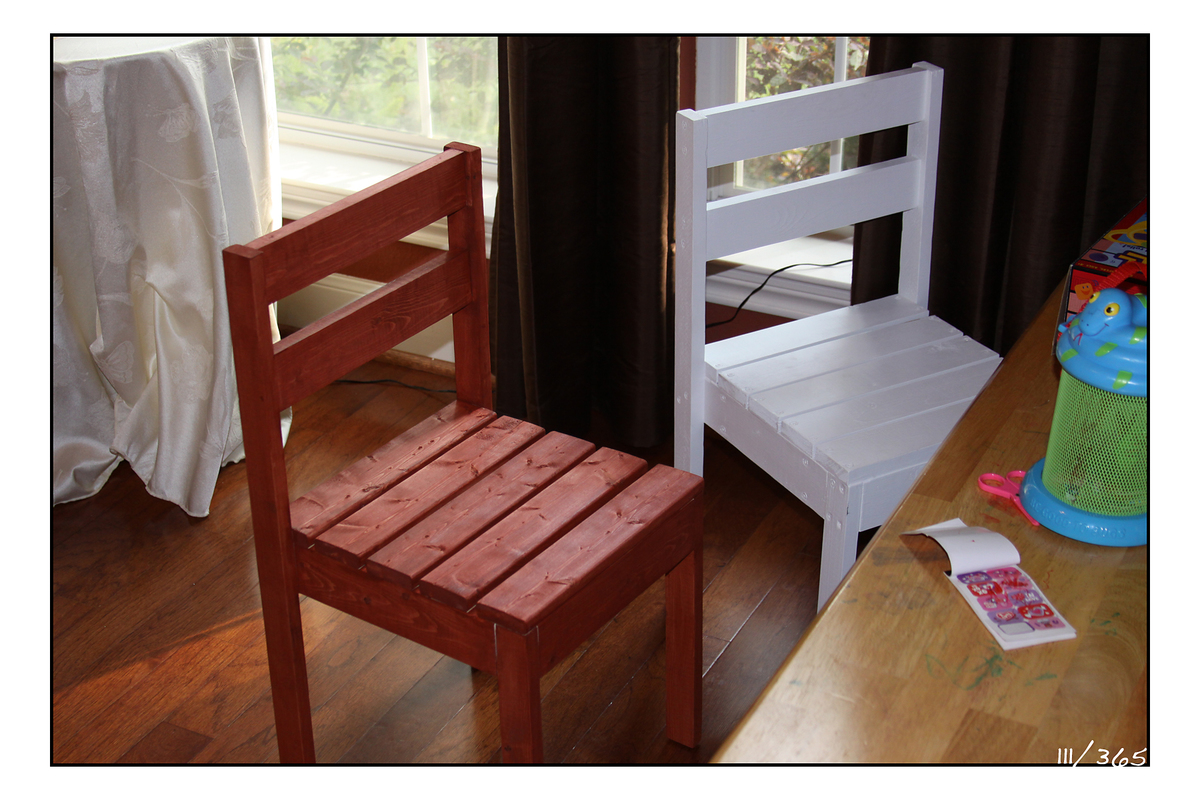
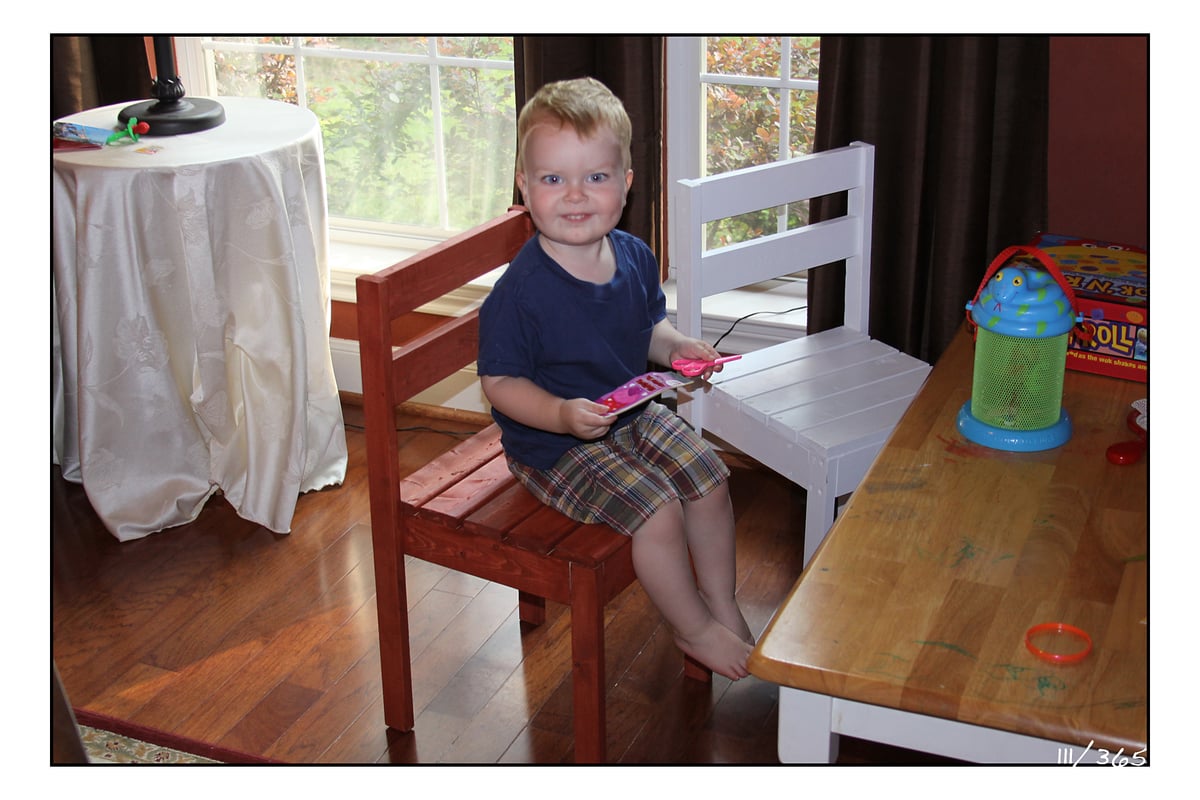
I built two of the $4 kids chairs for my two kiddos. After building the first one (the white one) I changed the plan a little to use pocket hole screws as much as possible to avoid the visible screw heads on the seat slats. I really love how the red one turned out.
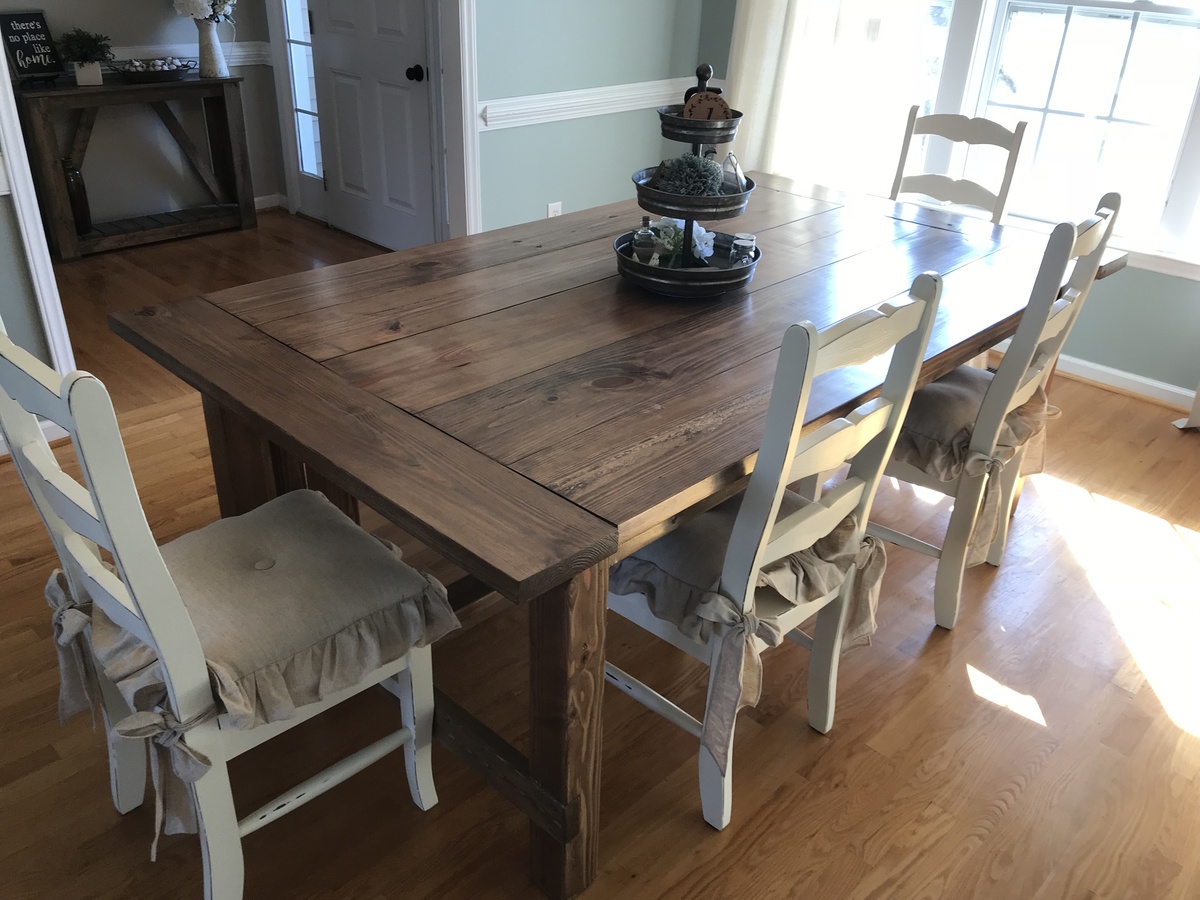
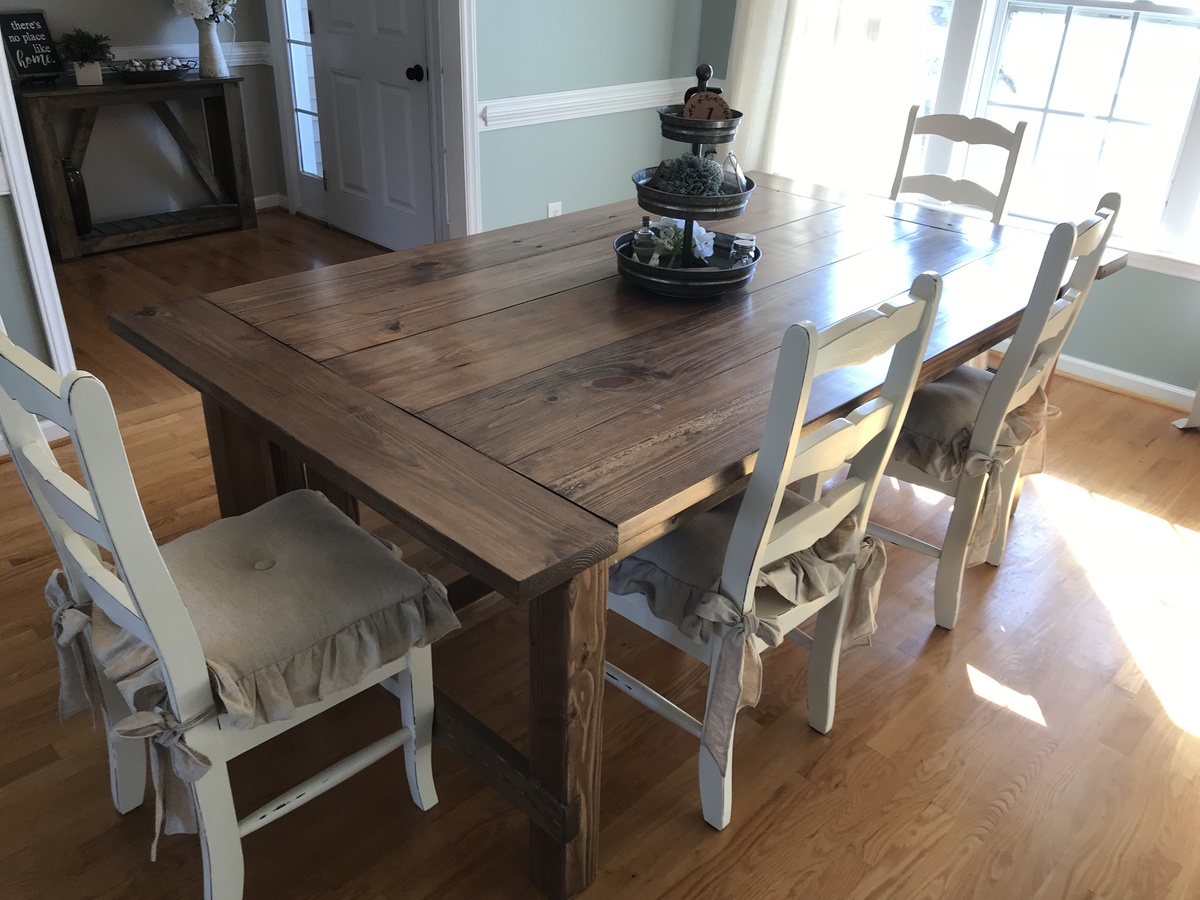
Outdoor Farmhouse Table made of Cedar
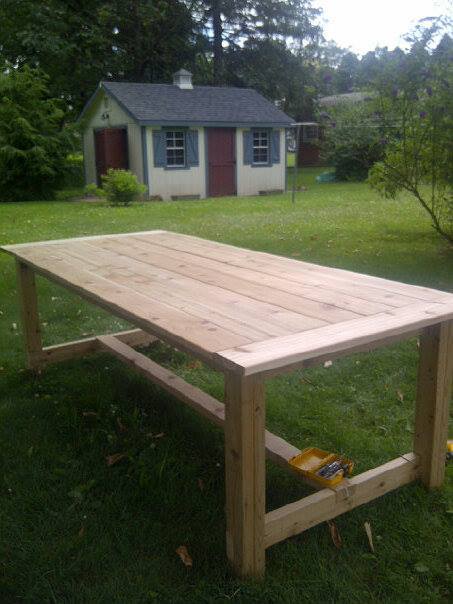
We used the plans for the Farmhouse Table Knockoff similar to the one from RH, to build this table. We made some changes, and some hints:
1. The table is made of Cedar, as it will be used outside. Pine is just not an outdoor-friendly material, but Cedar is rather insect-proof. This will be used at a beach house.
2. We used 1x, not 2x on the top. The top just seemed to clunky with the 2x size. Plus, it's near impossible to find 2x in cedar.
3. We couldn't find 8x1 or 8x2 for the breadboard, so we used 6x1 (same as the table top).
4. We measured the length of the breadboard before we cut. I"m glad my husband made that suggestion because I found the seven (7) 1x6's totaled 38 3/4, not 38 1/2 as the plans call for. So it really does depend on the wood and humidity and such. So I think it's a wise decision to measure the width of all of the boards before you cut that piece.
5. We did not screw into the table top as recommended by the plans.
Table for barbecue
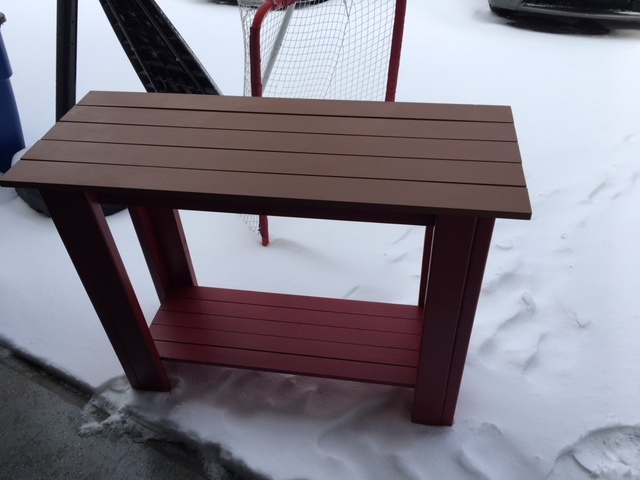
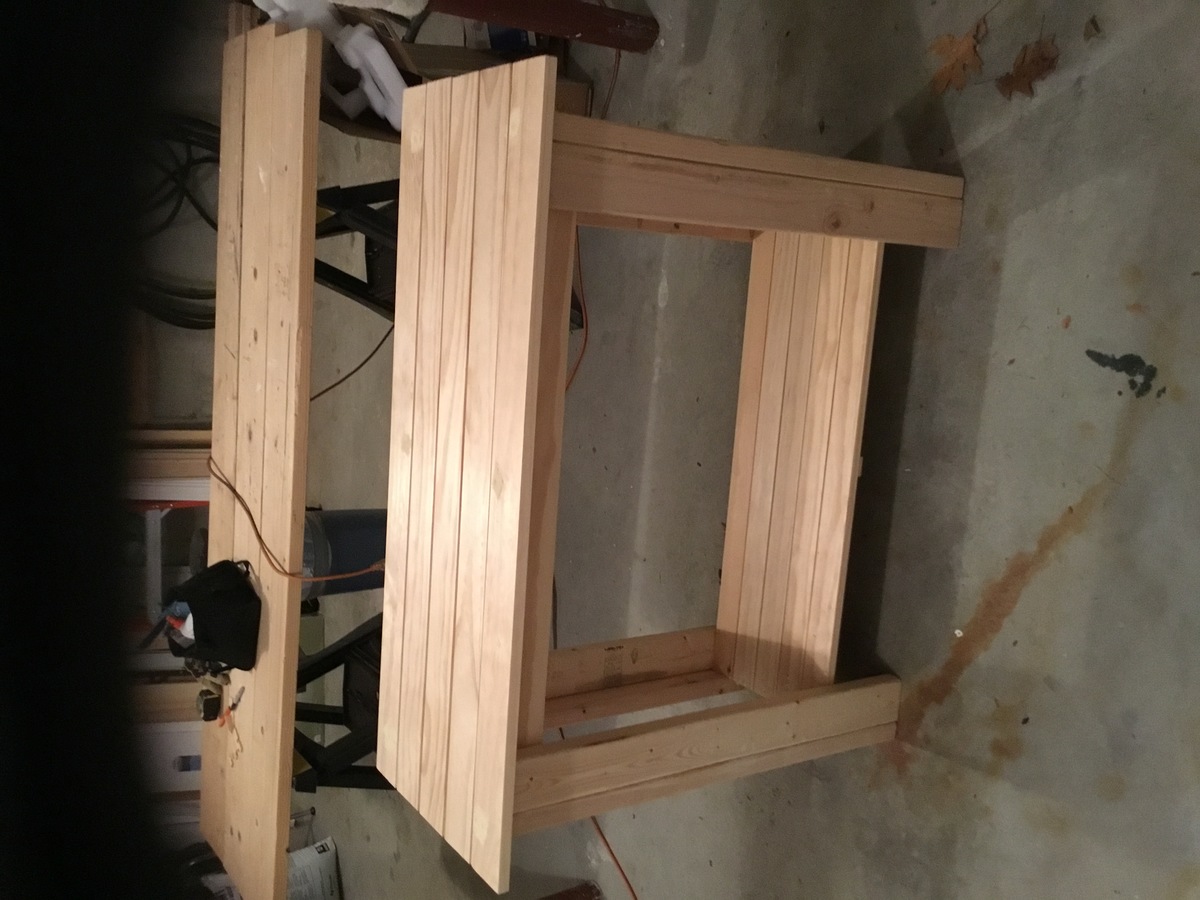
Modified plans to make it a little larger. Top is brown and bottom is ‘wild currant’ (red)
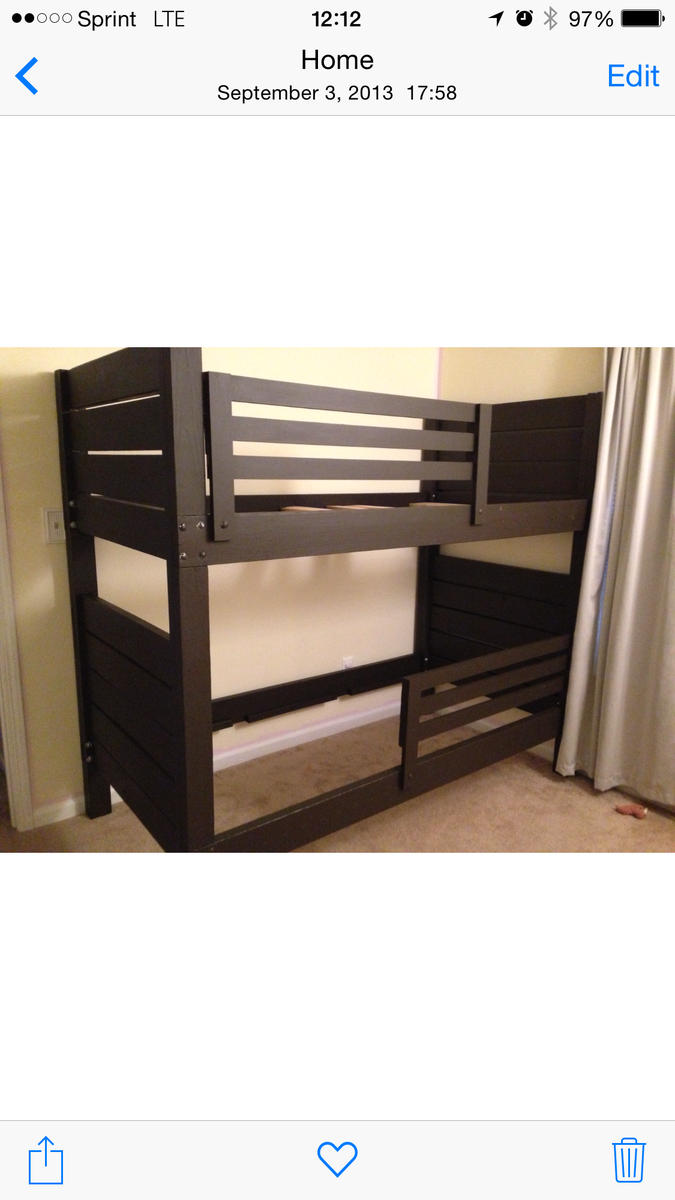
Bunk bed
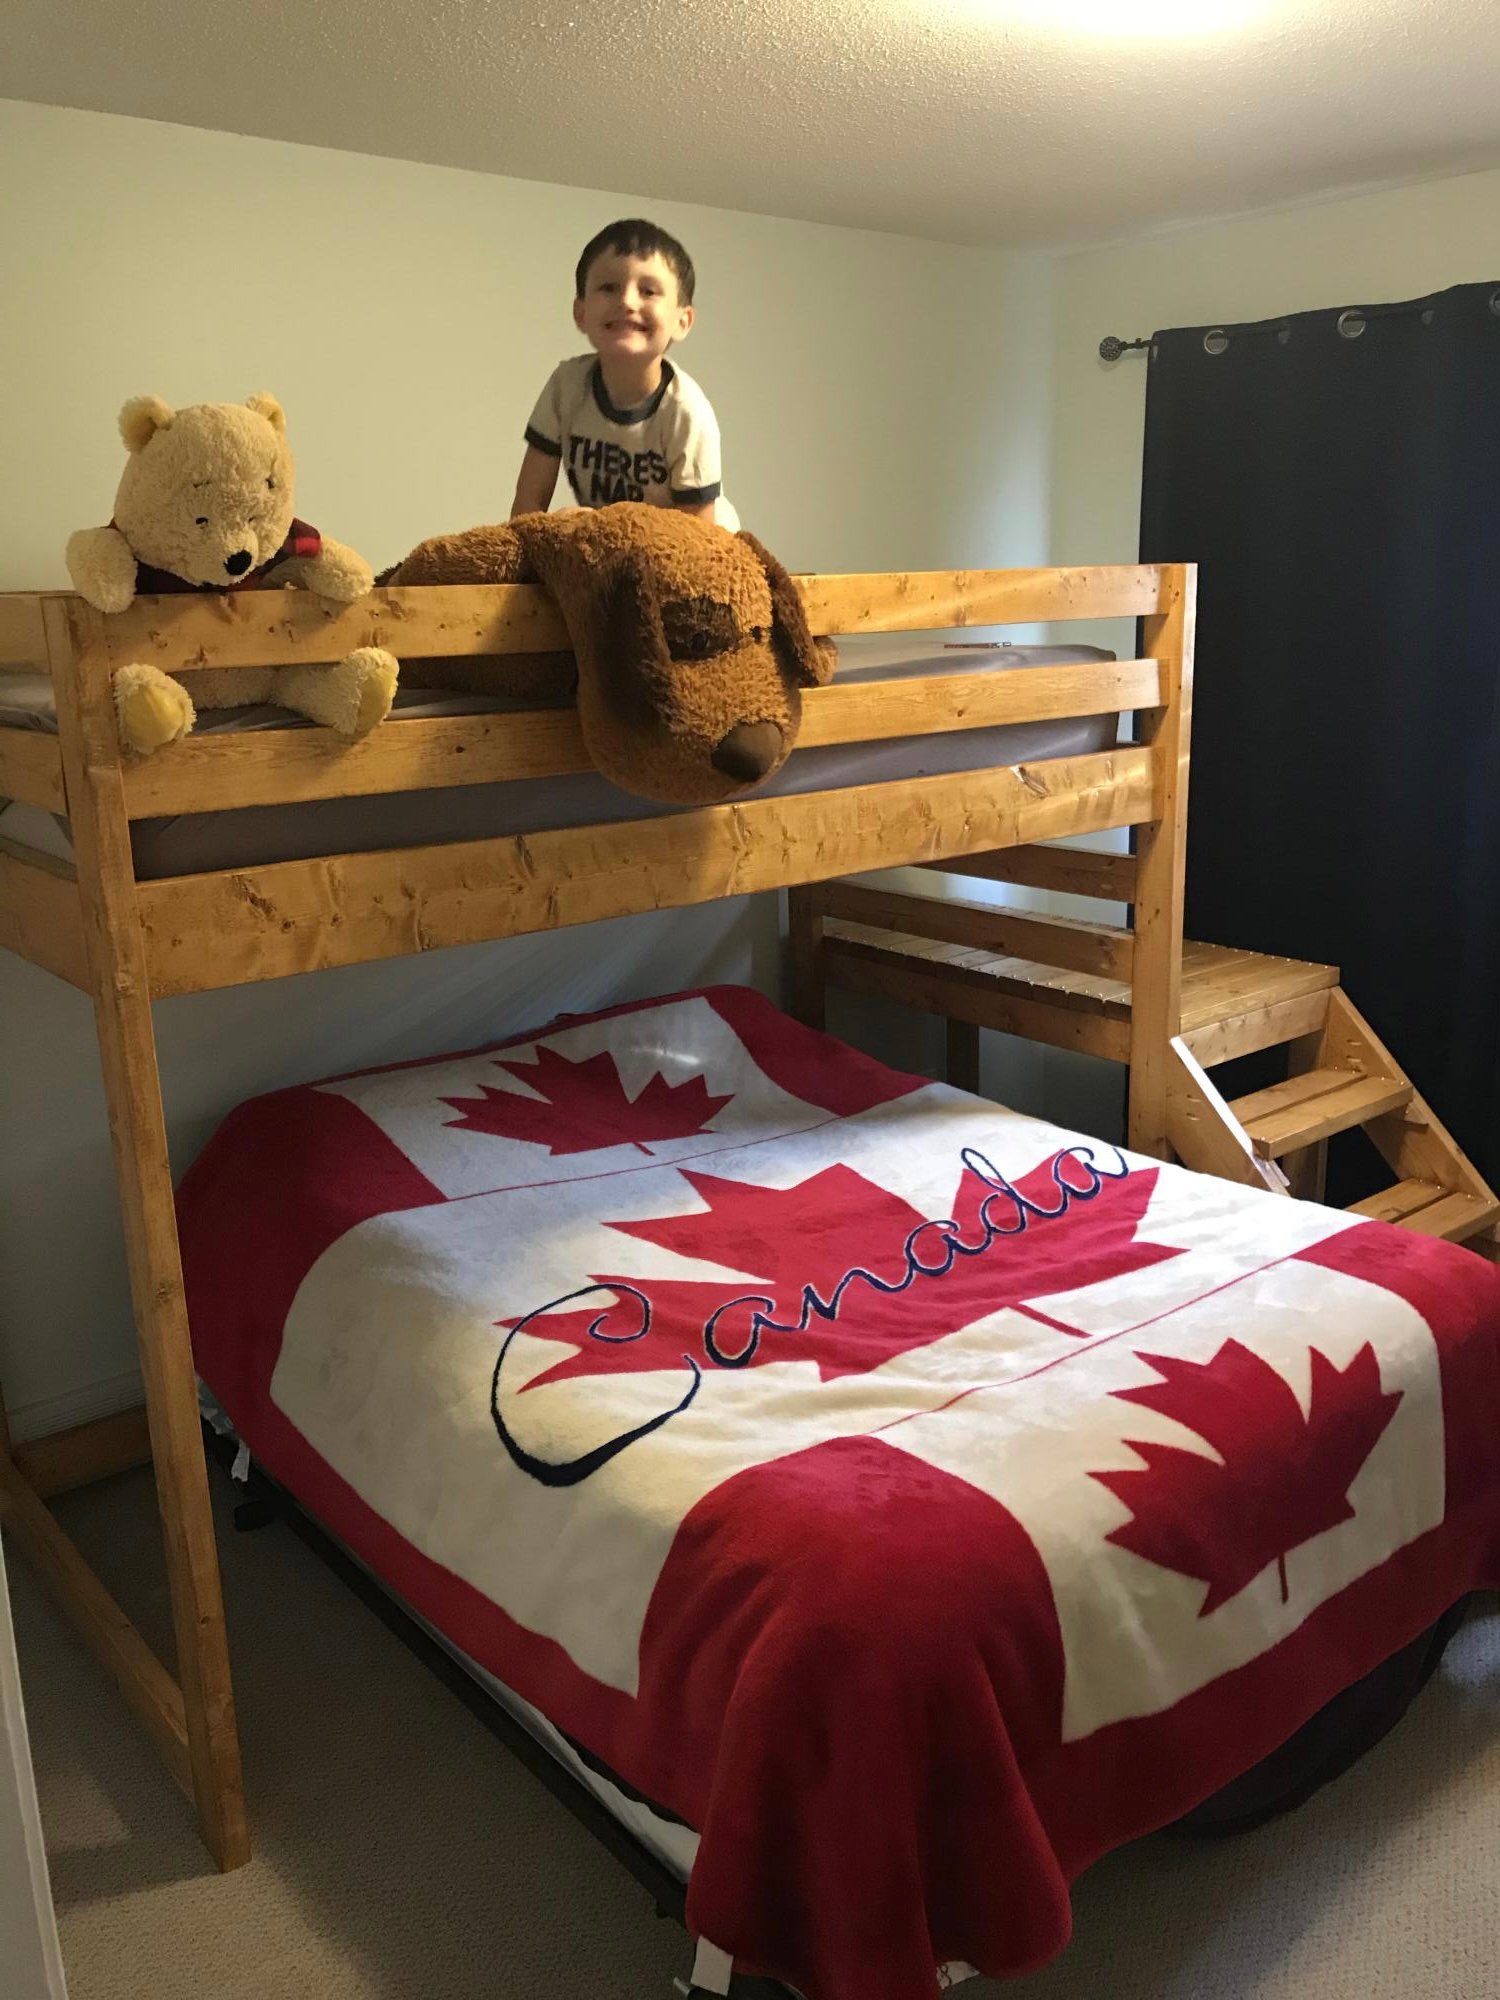
Great build, easy to follow, very affordable. Thanks so much.
Comments
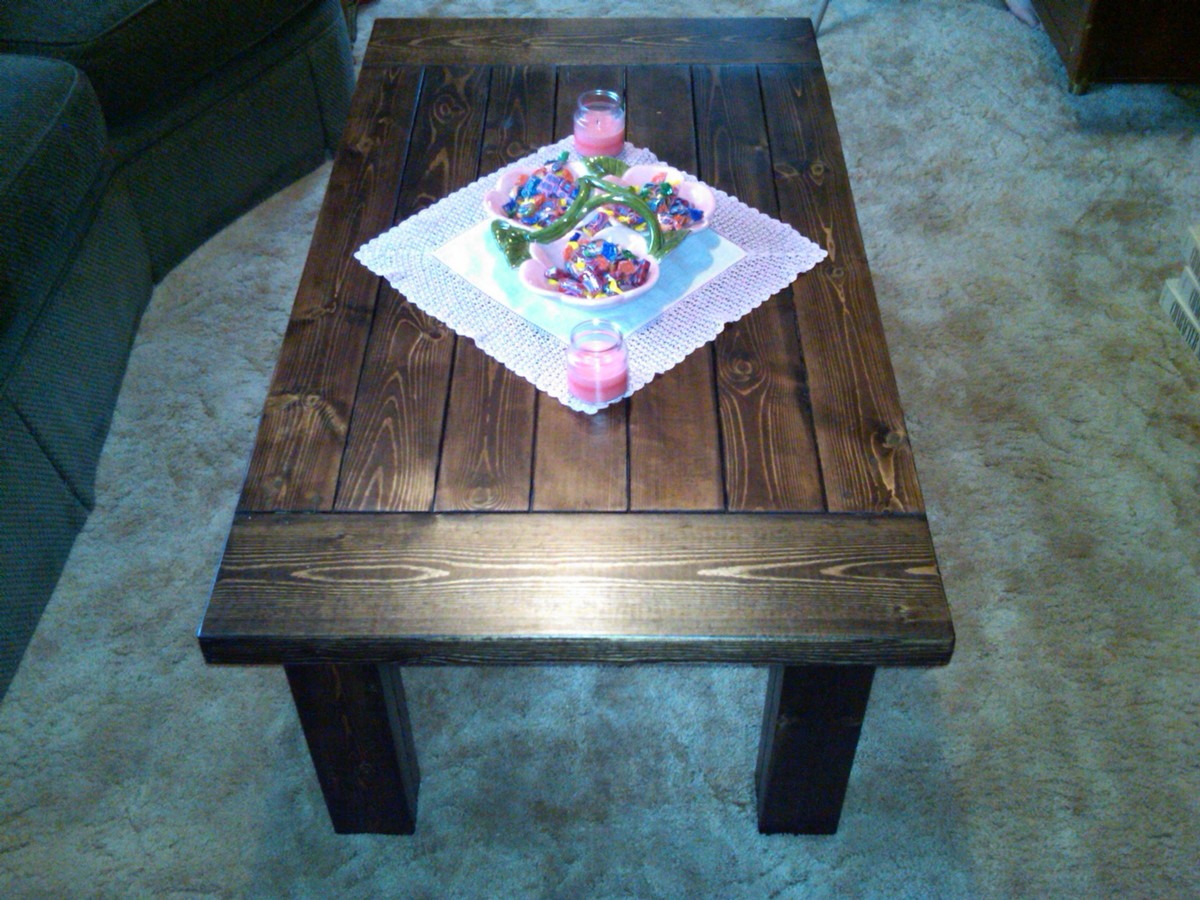
Tryde Coffee Table
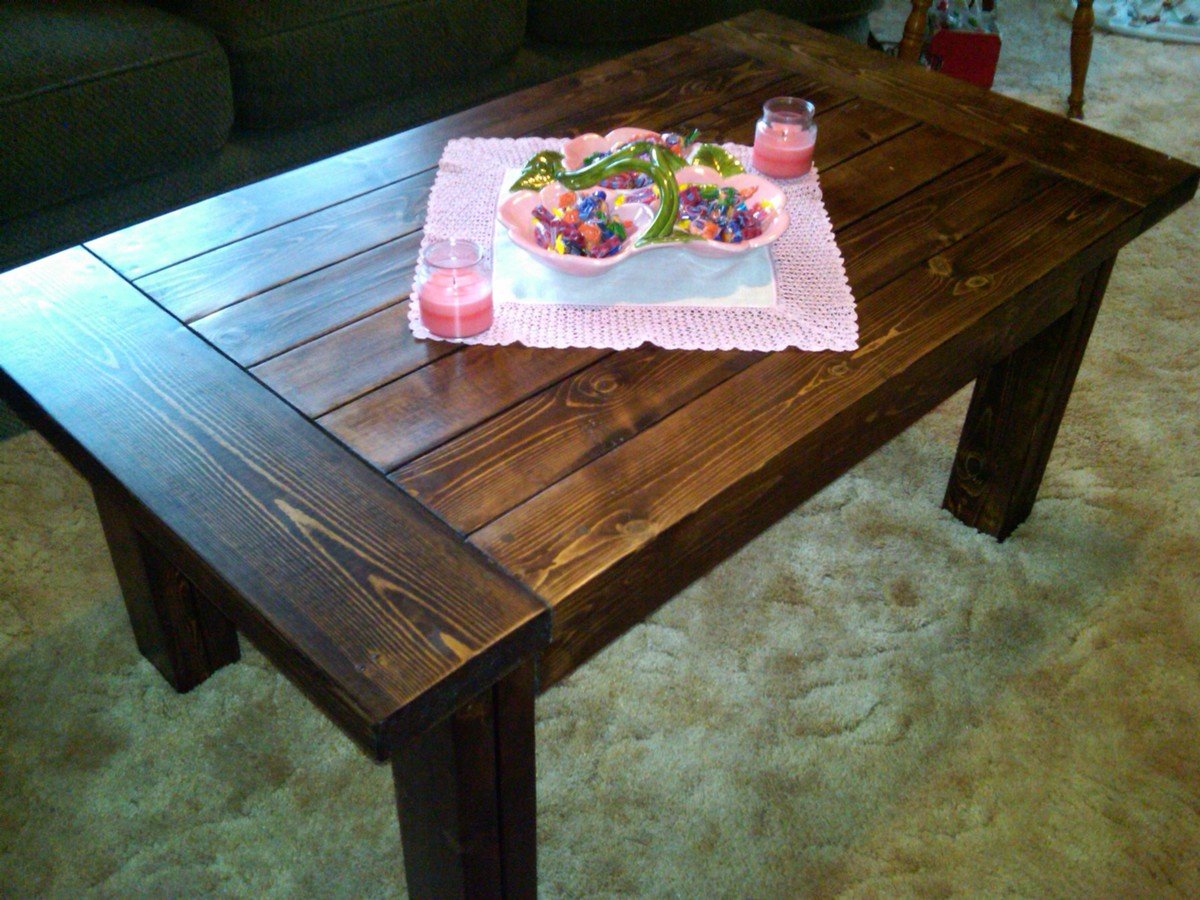
This was a build for My Mother-In-Law, she loves it!
I did not use 4x4s, I used two 2x4s because I was concerned the treated lumber would not stain properly.
Thanks Ana!
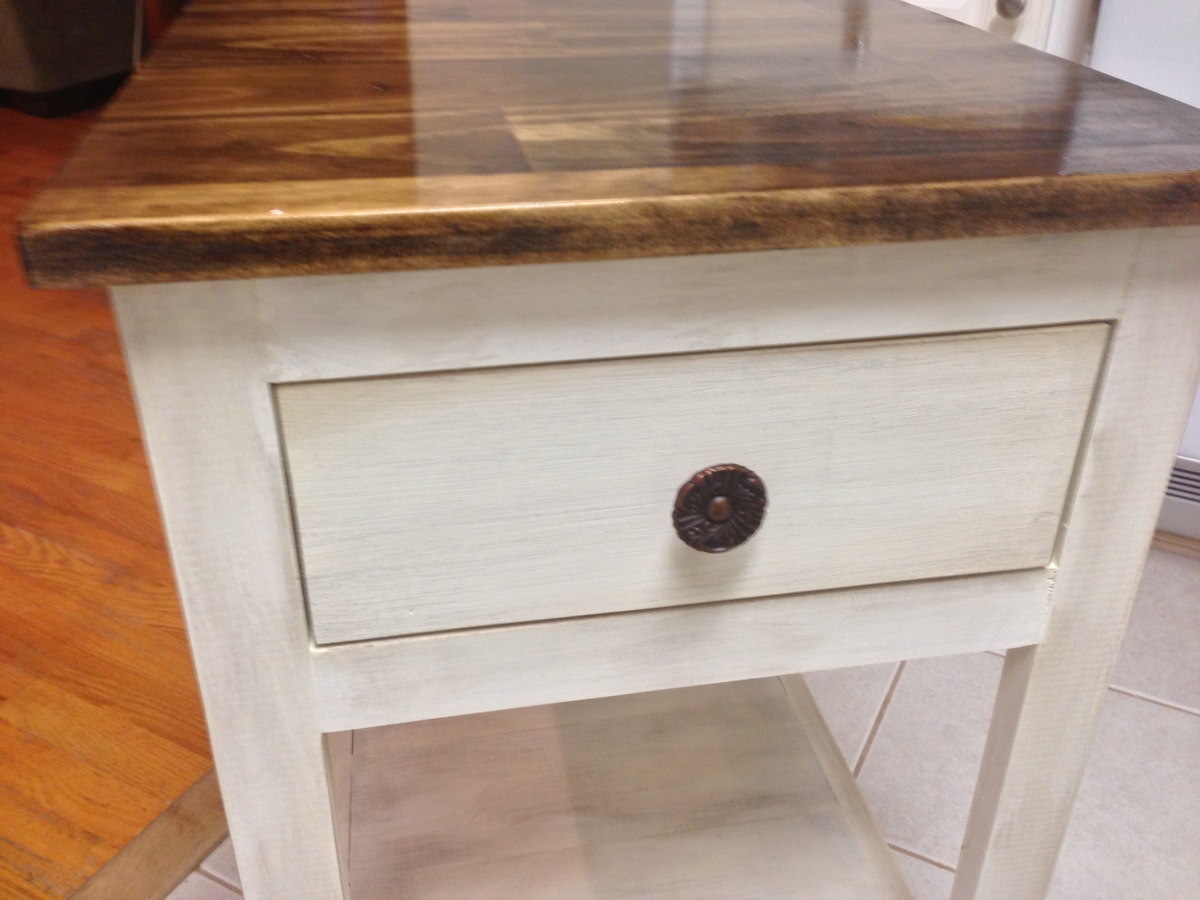
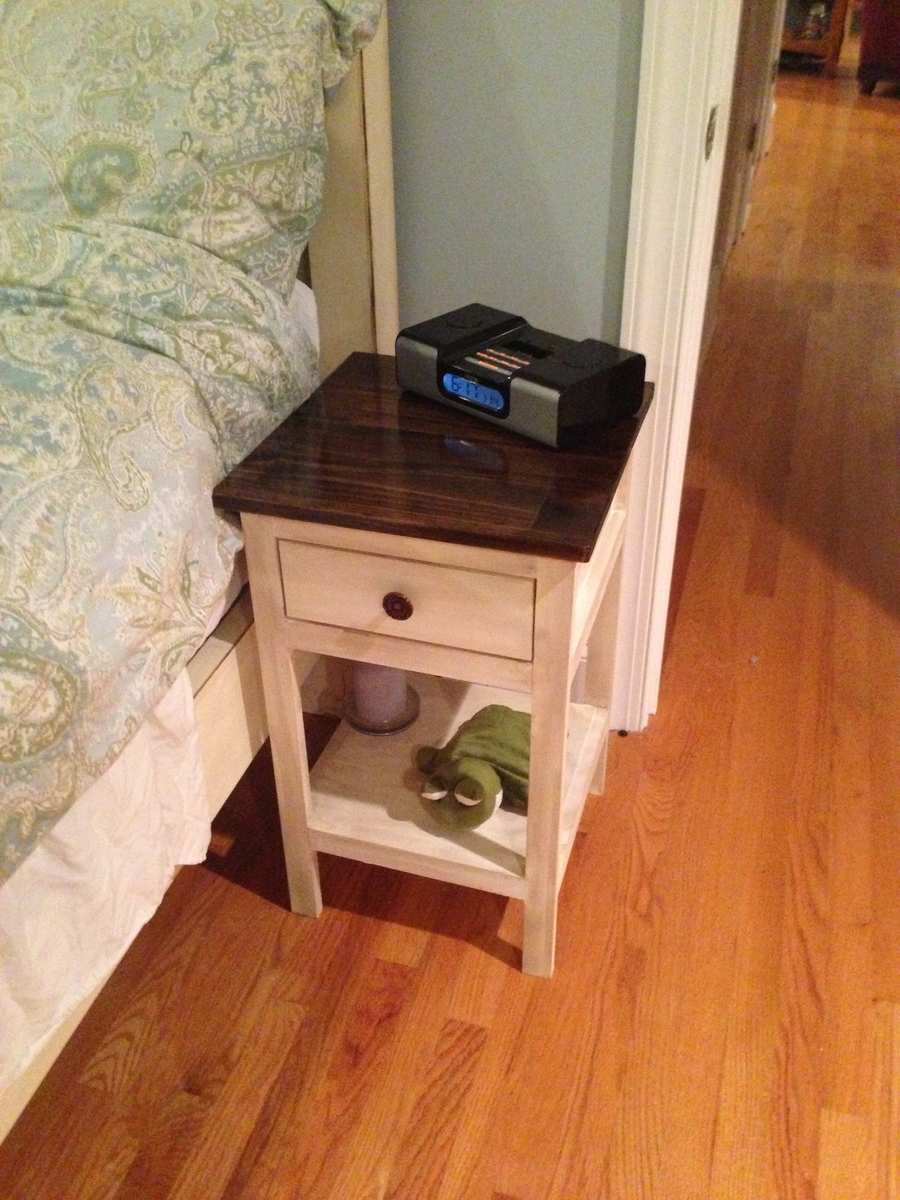
Farmhouse Bedside Table
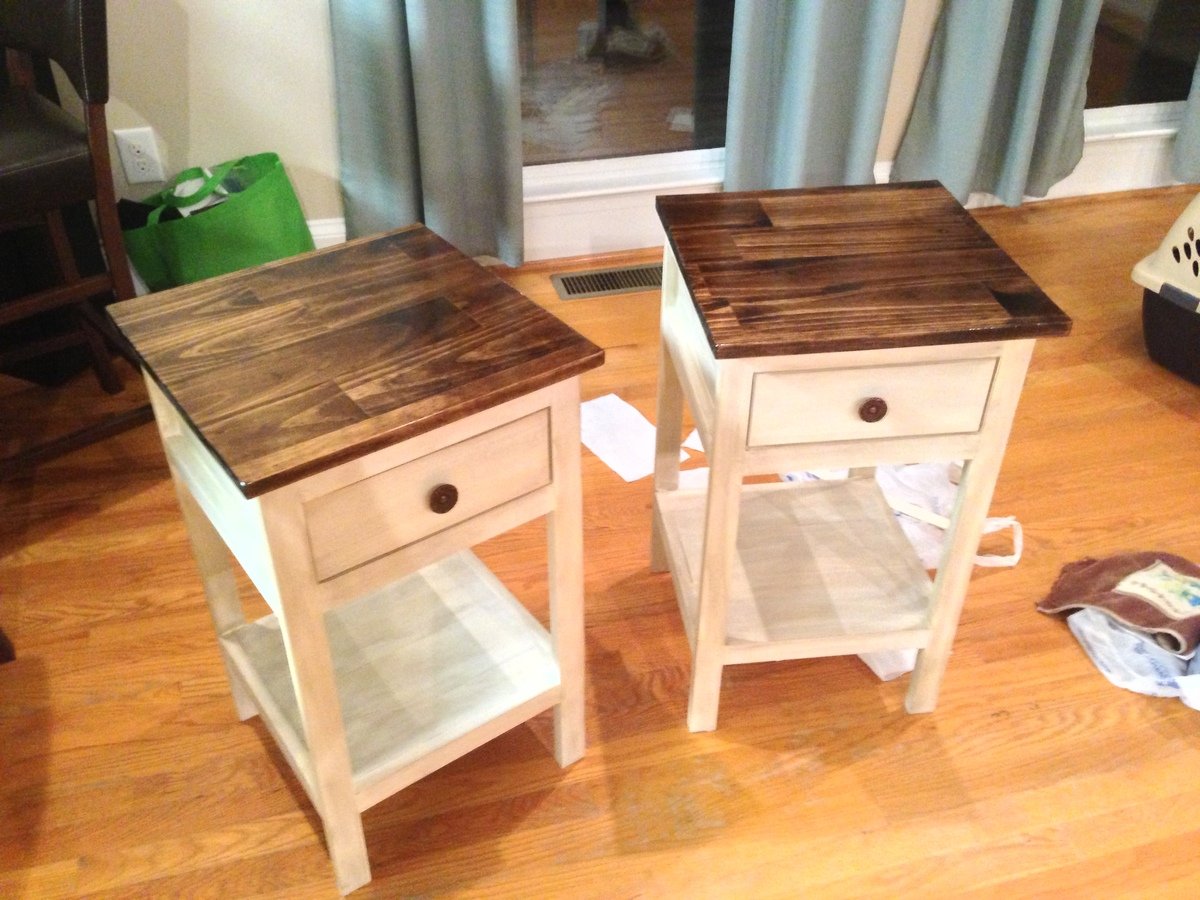
Use poplar because it takes paint so well. Ended up using a preambled worktop for the top. Pocket screws and glue.
Comments
Duck-Egg blue kitchen Island w/ Butcher Block Top
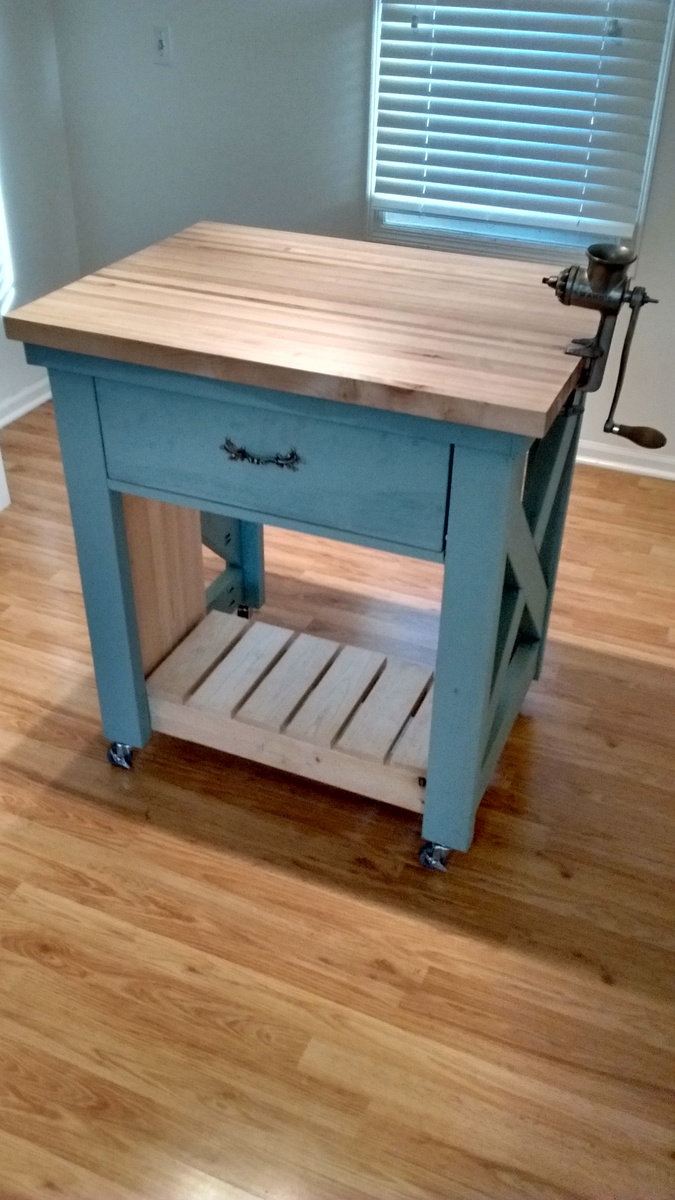
Used Annie Sloan duck egg blue paint and glued 1x2s end up to make a butcher block top
Rustic table
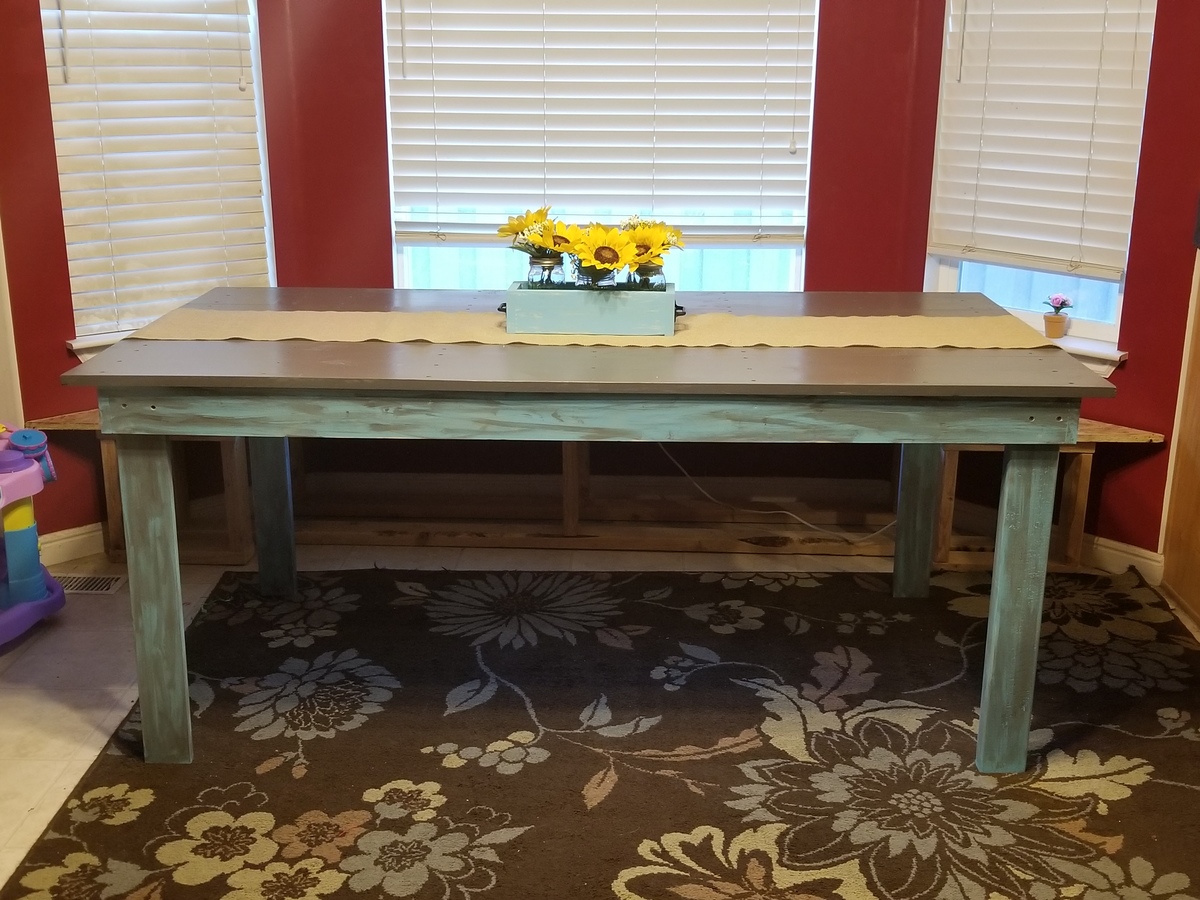
We built our table from the rustic table plans and I am in love. I am a beginner and I was so scared but it turned out amazing!! Thank you for giving me the courage and confidence to start building my own furniture!
Minwax polycrylic
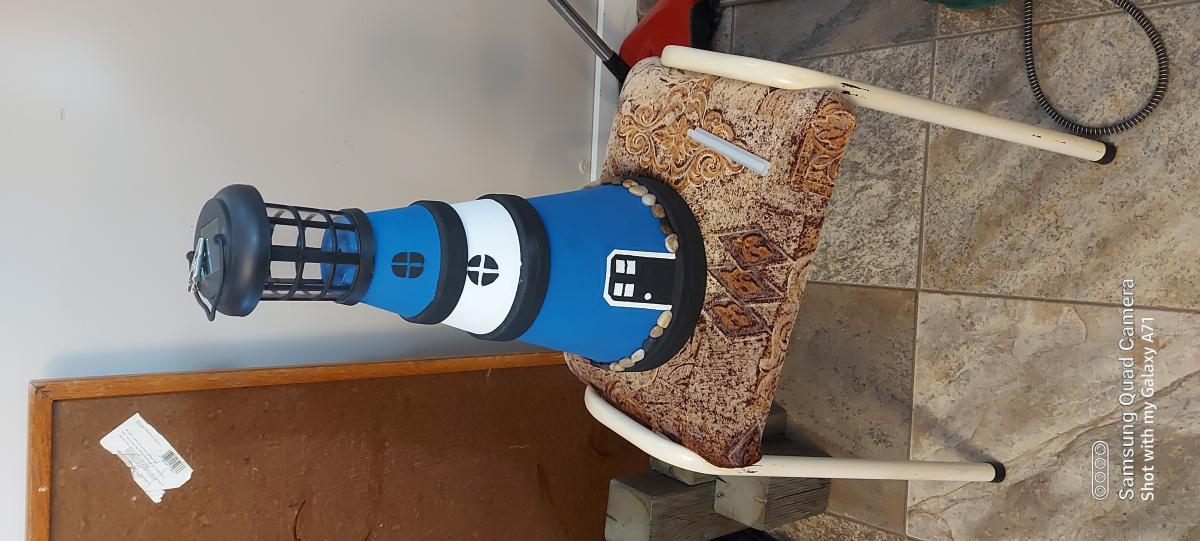
coffee mug tree
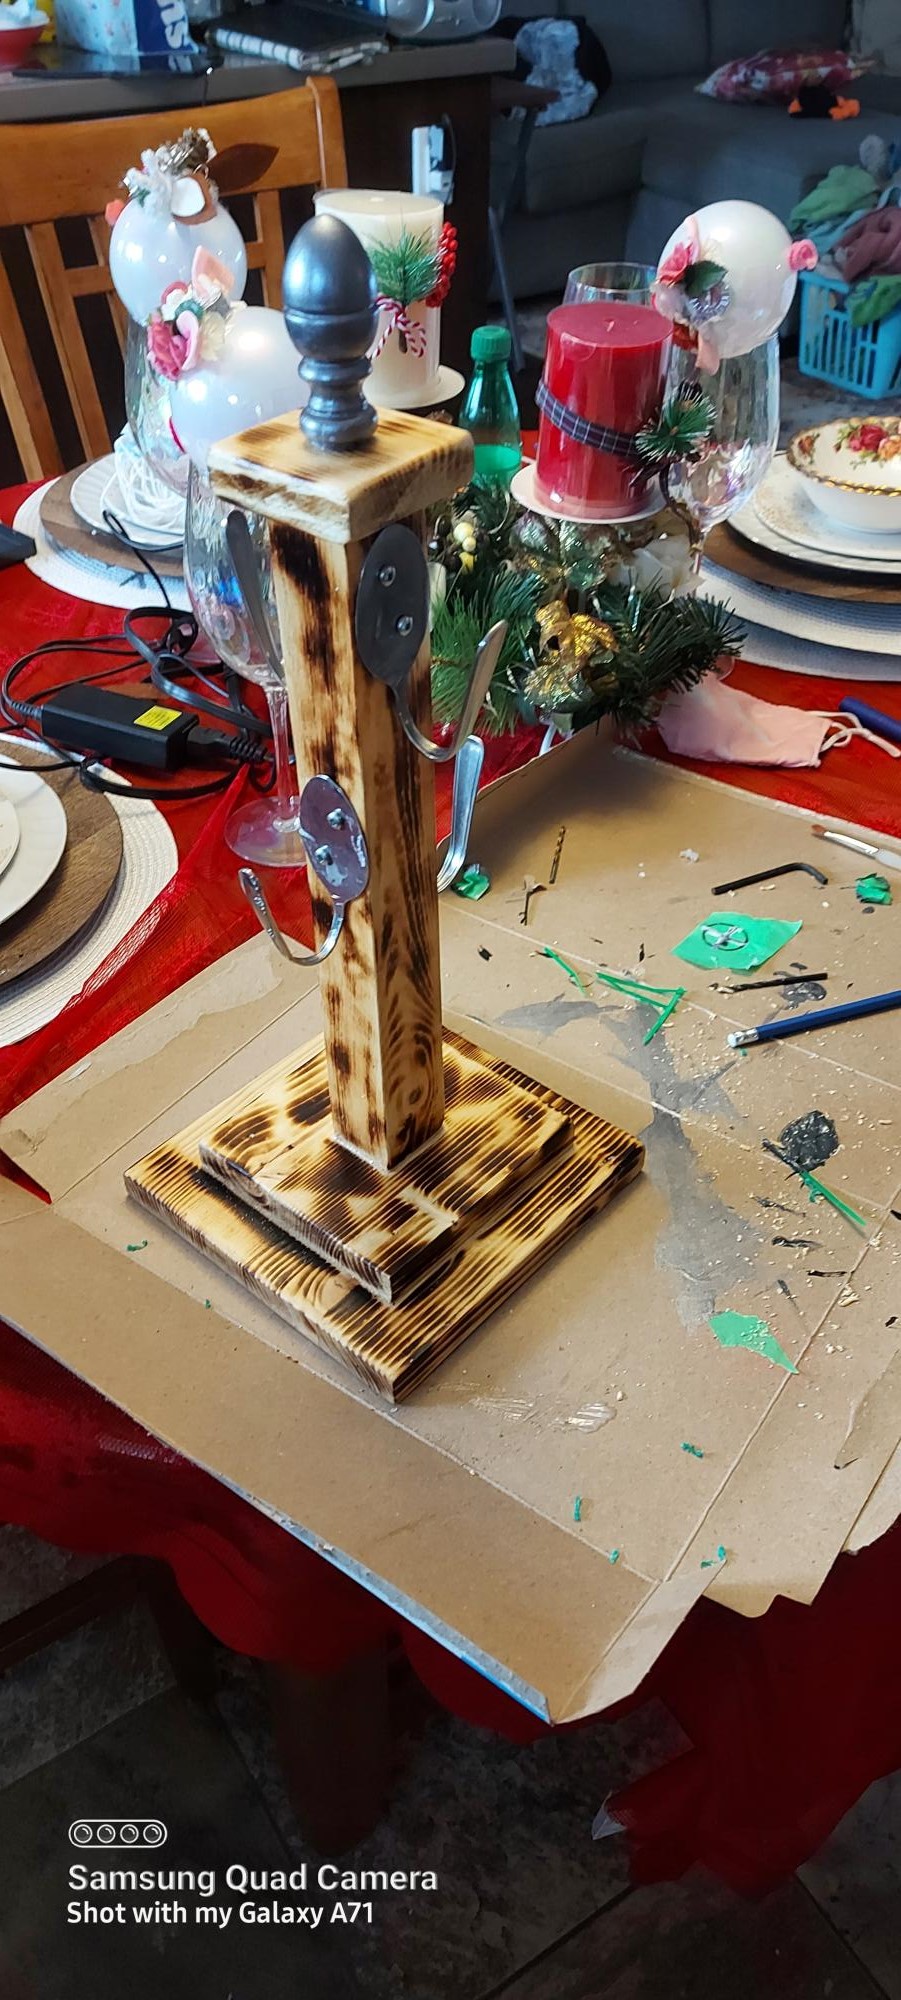
I followed most of the plan but put my own twist on it
Comments
Cottage Loft Bed WITH Stairs
I've been working on this little dandy since before Ana posted her Cottage Loft bed. It took longer because of the 1x6's but I thought it would be cuter that way and more cottage looking. All of the 1x6 boards were fastened together with the Kreg Jig, and the house is sturdy and HEAVY! My intentions were never to use it as a loft bed but rather a playhouse for my two girls and a place to put all their stuff. My oldest has however fallen in love with it, so when I feel comfortable with her sleeping that far off the ground I would guess that it will become a bed. For those of you that are contemplating it a Kreg Jig and some kind of paint sprayer are absolute musts for this project, no way around it! And don't plan on completing it in a short amount of time, with babysitters and being a stay at home mom it took almost a month from first board cut to bringing it back in from the garage. I'll post more on my blog if you'd like to check it out!
Black Walnut Farmhouse Table
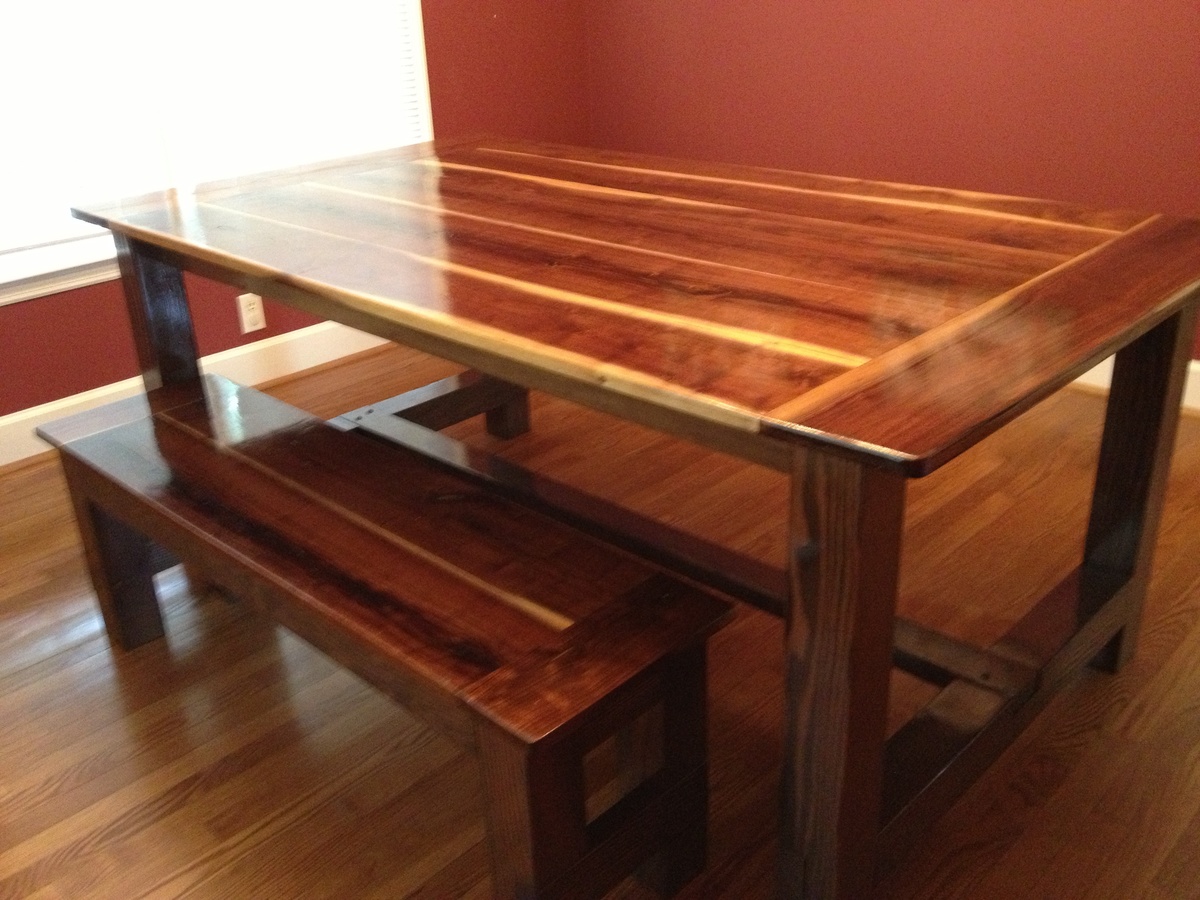
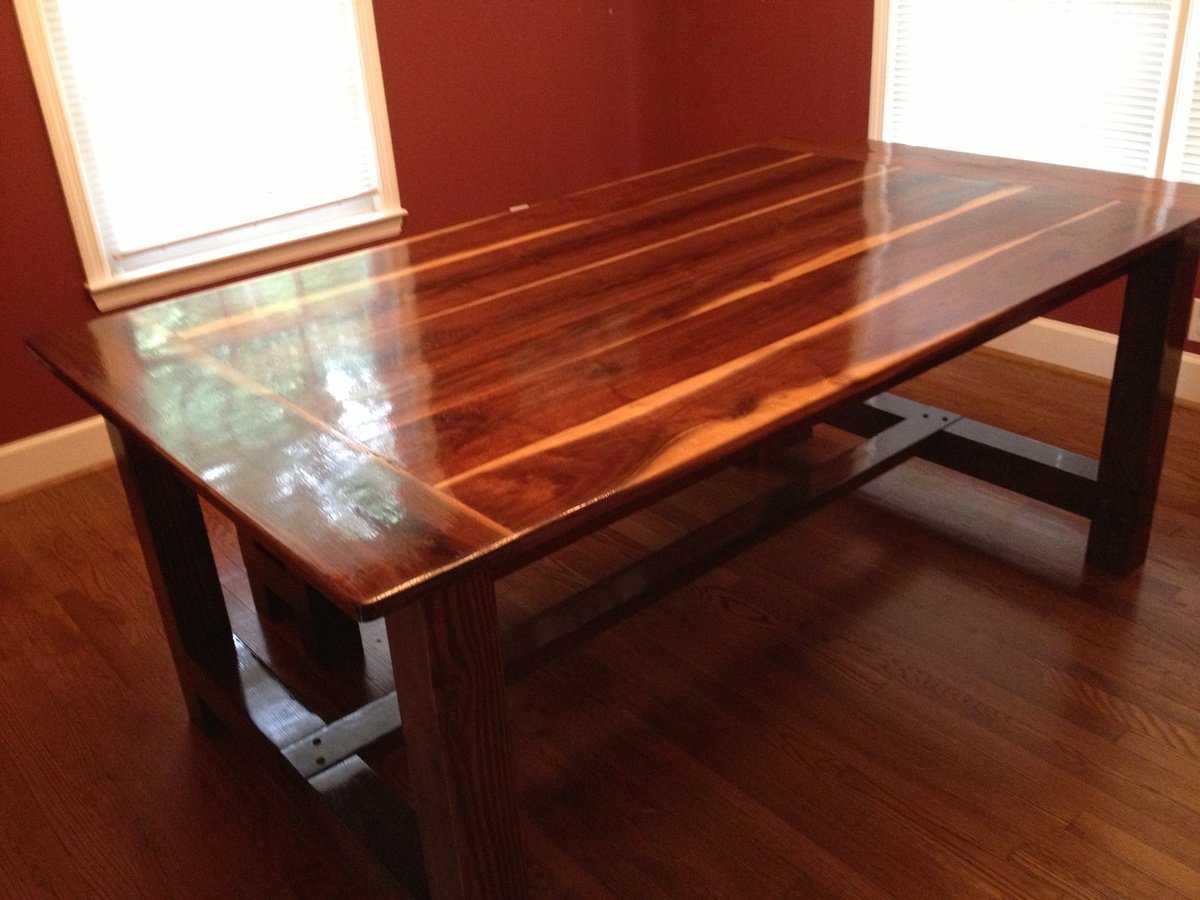
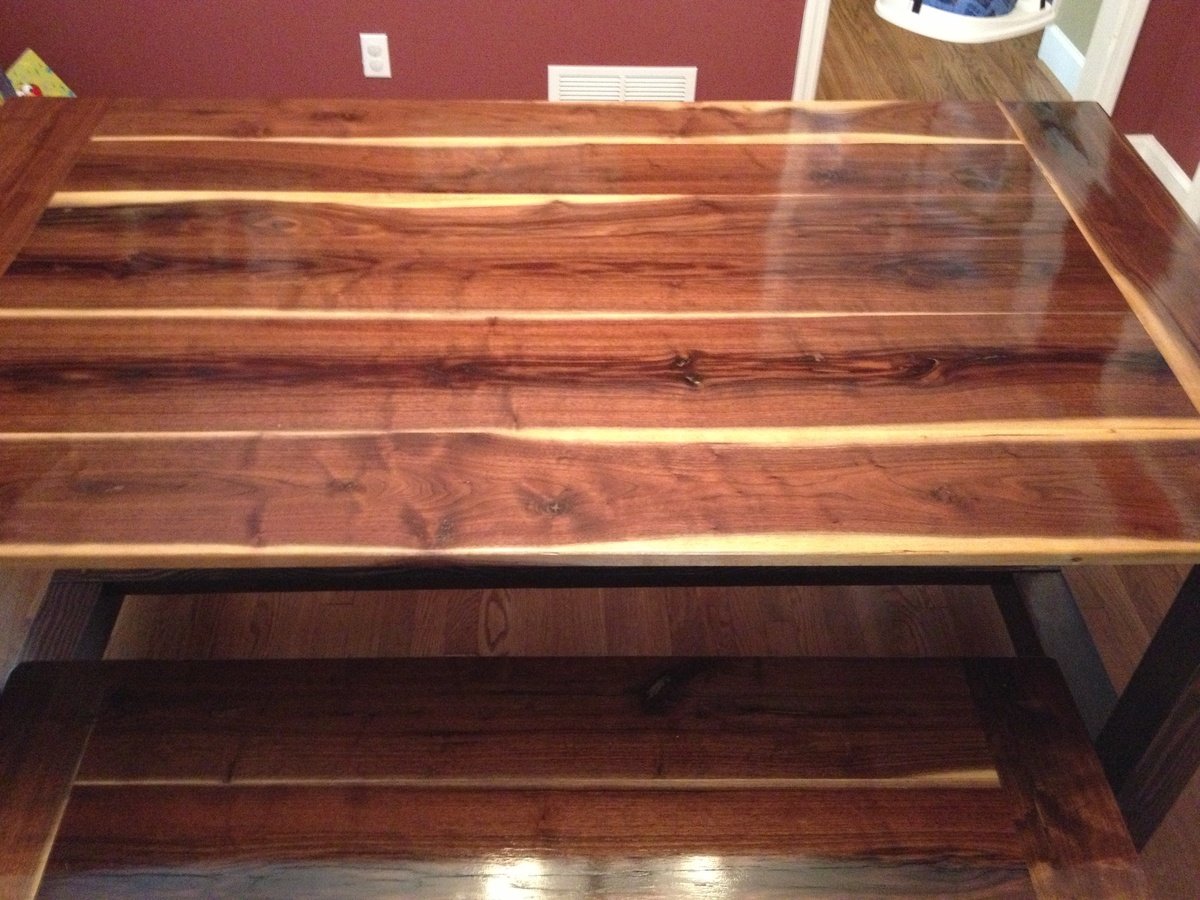
I saw the farmhouse table plans on the site and forwarded them to my father, who was quite interested in what I wanted to build. We decided the specs for the 72" tabletop in order to fit my dining room. What I didn't know was that my father, Charlie, had already located some pristine black walnut to construct the table and had already begun planing the wood for the table. My loving aunt and uncle "donated" the wood to me and my Aunt Mitch & dad planed all the wood themselves. As you will see, the planks that run along the top of the table are not the same size however the overall size if the tabletop is the same. Charlie fit everything together and made it work. He cut all the pieces and did all the work! Therefore, we have a beautiful, unique and absolutely STUNNING new table for our family!
Thanks to Ana White for this site, to my aunt & uncle for their resources and
time, to my husband who meticulously and gingerly applied the poly and finishing touches - and thanks especially to my loving father, Charlie, for all of his hard work, talent & generosity. We will now have a beautiful table to share years of memories & meals with one another!!
Comments
Thu, 06/27/2013 - 13:35
Absolutely Gorgeous!
This is absolutely gorgeous! Truly one-of-a-kind...the wood is spectacular.
Thu, 06/27/2013 - 20:10
Stunning is right!
What a beautiful table, it is truly stunning. Great job to everyone envolved in your project.
Tryde Coffee Table Variation
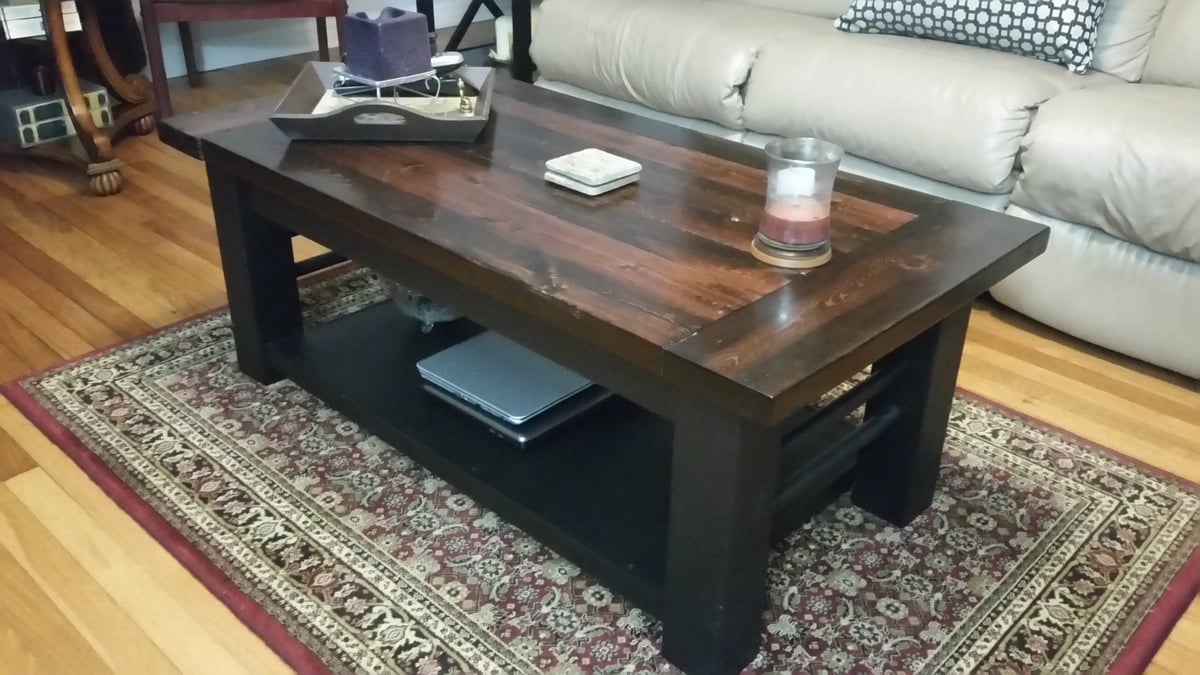
Upgraded the original to fit the style of our living room. Just a few dollars more in wood. Changed the frame setup as well.
Very busy so I only have time to do a little bit at a time so I have no real idea how long it really took to build. All I know is the finishing took the longest: 2 coats black painted lower with 2 coats stain on the (custom color) and 2 coats polyurethane on the top piece.
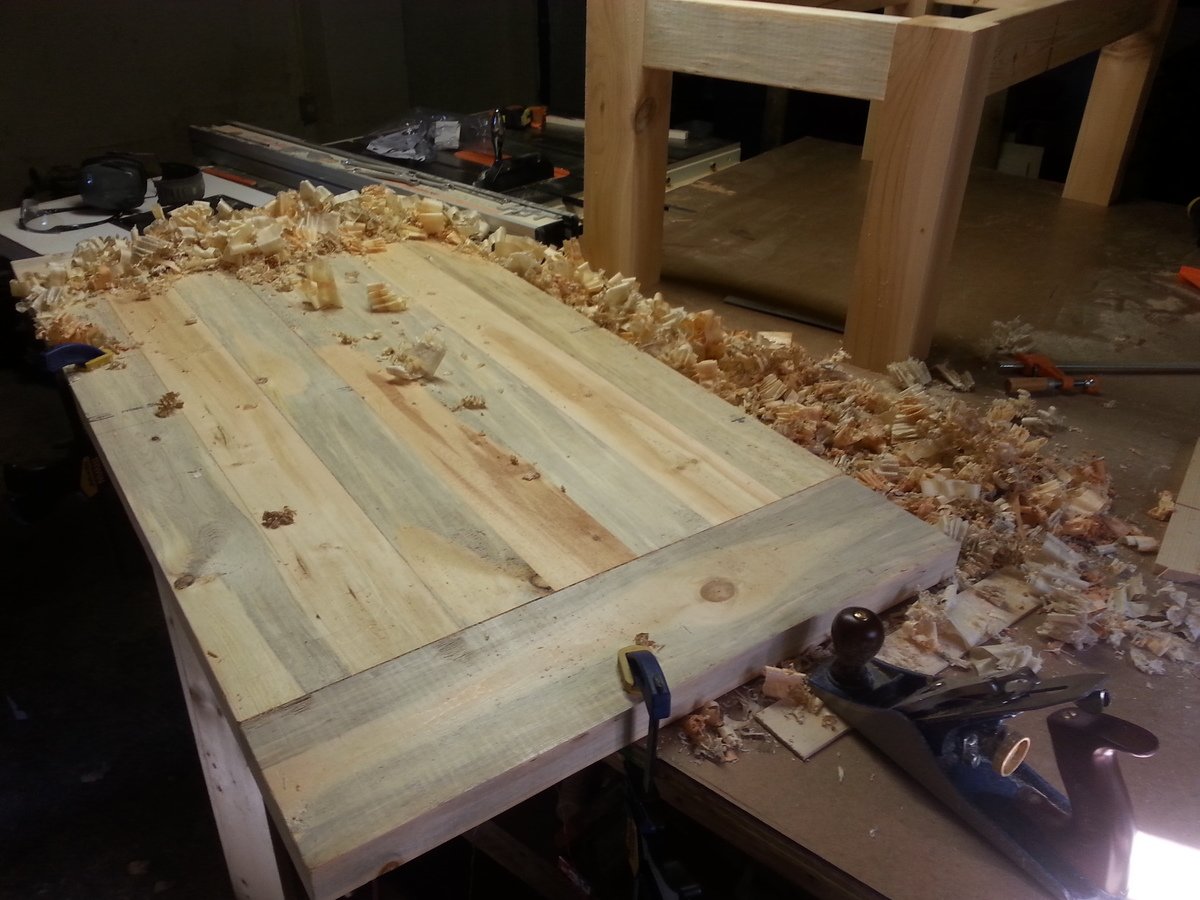
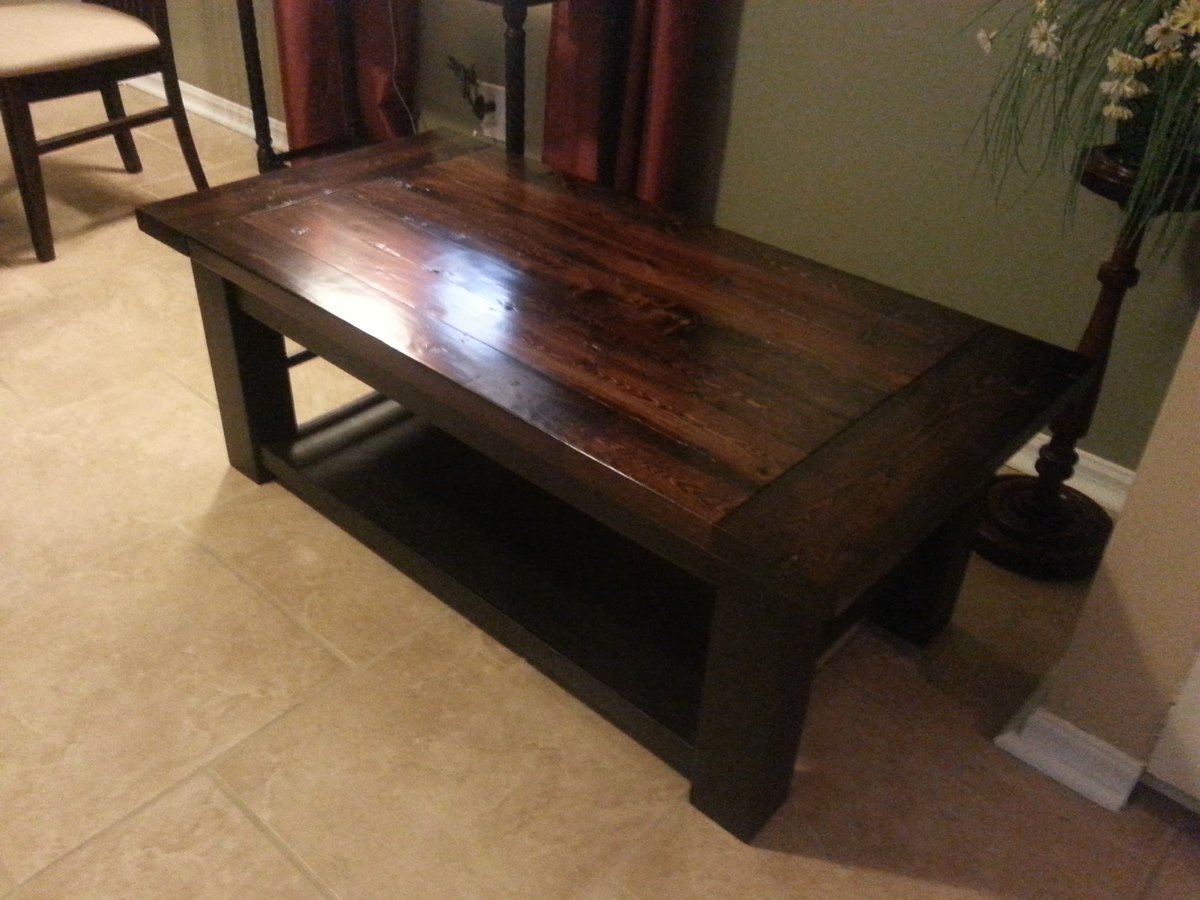
Black paint on lower.
Letter A shelf
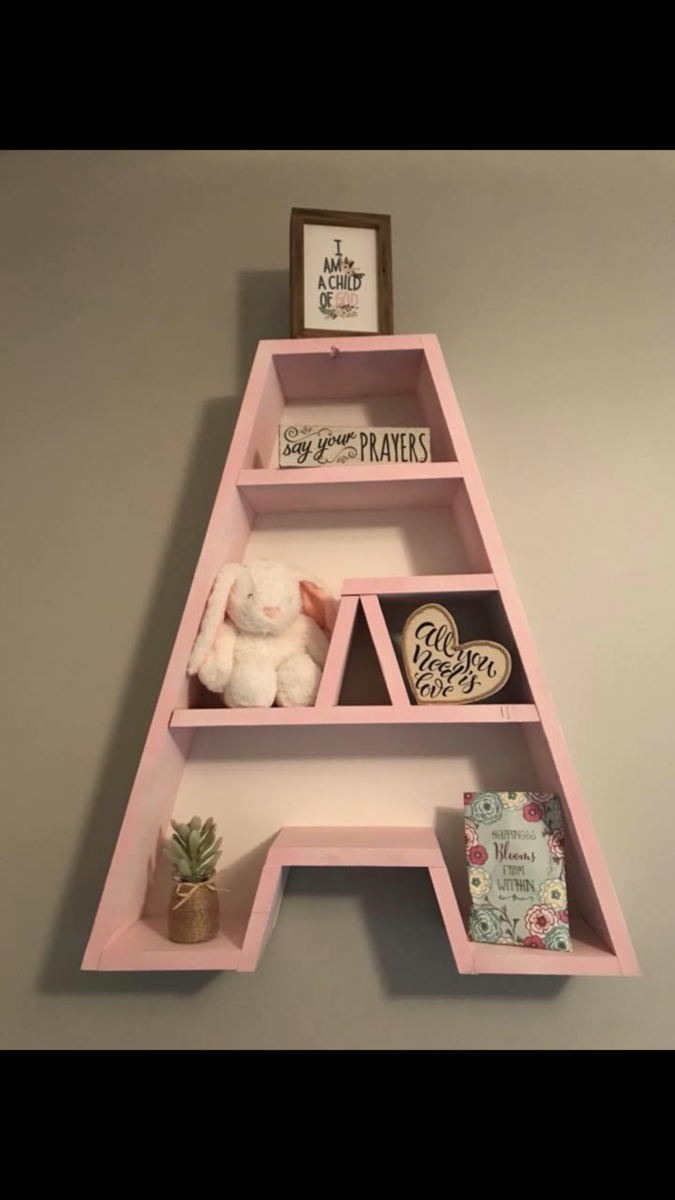
I made this Letter A shelf for my daughters nursery with scrap wood I had.
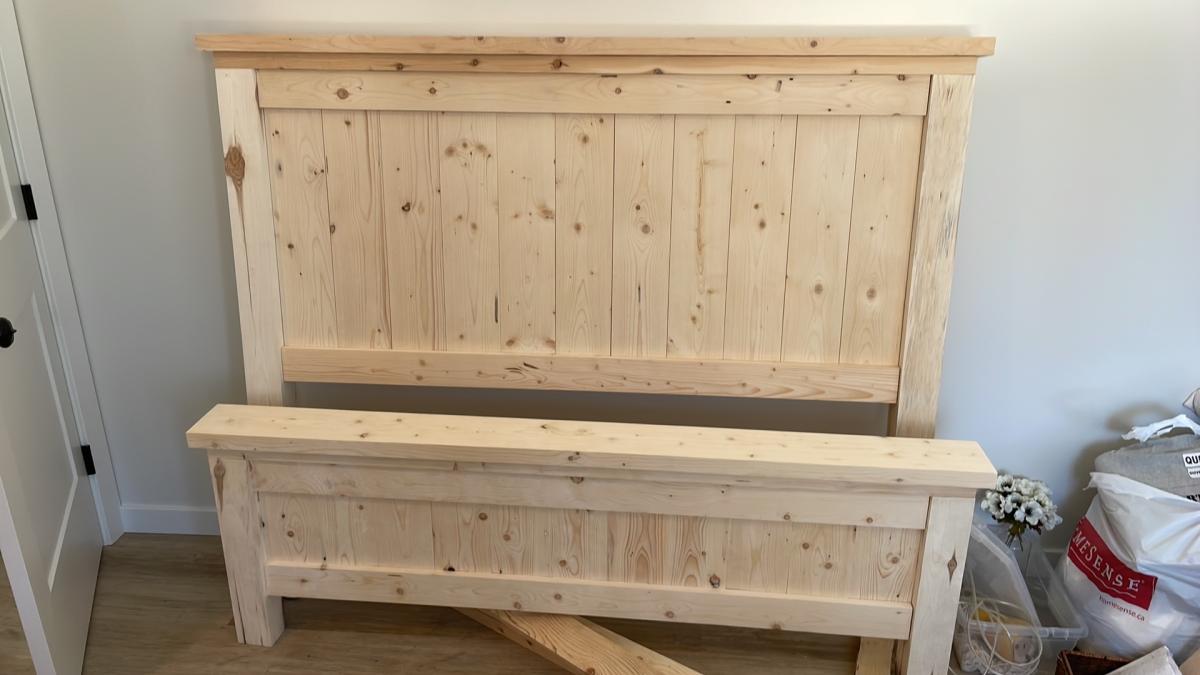
Farmhouse Bed- Queen Sized - Self milled wood.
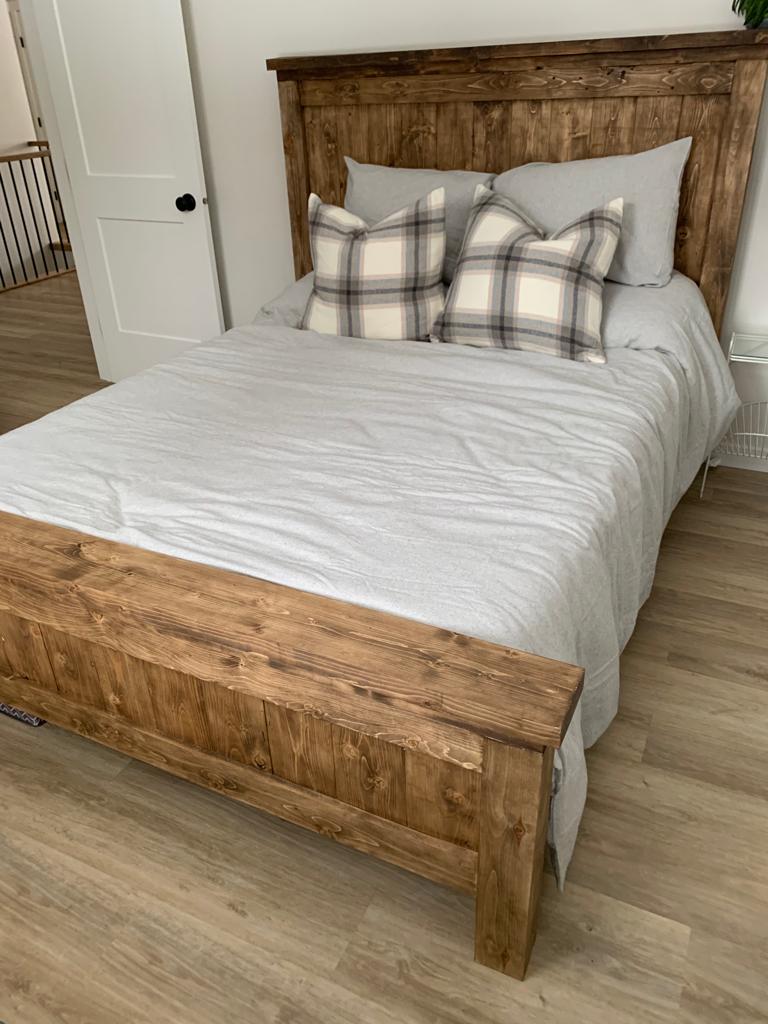
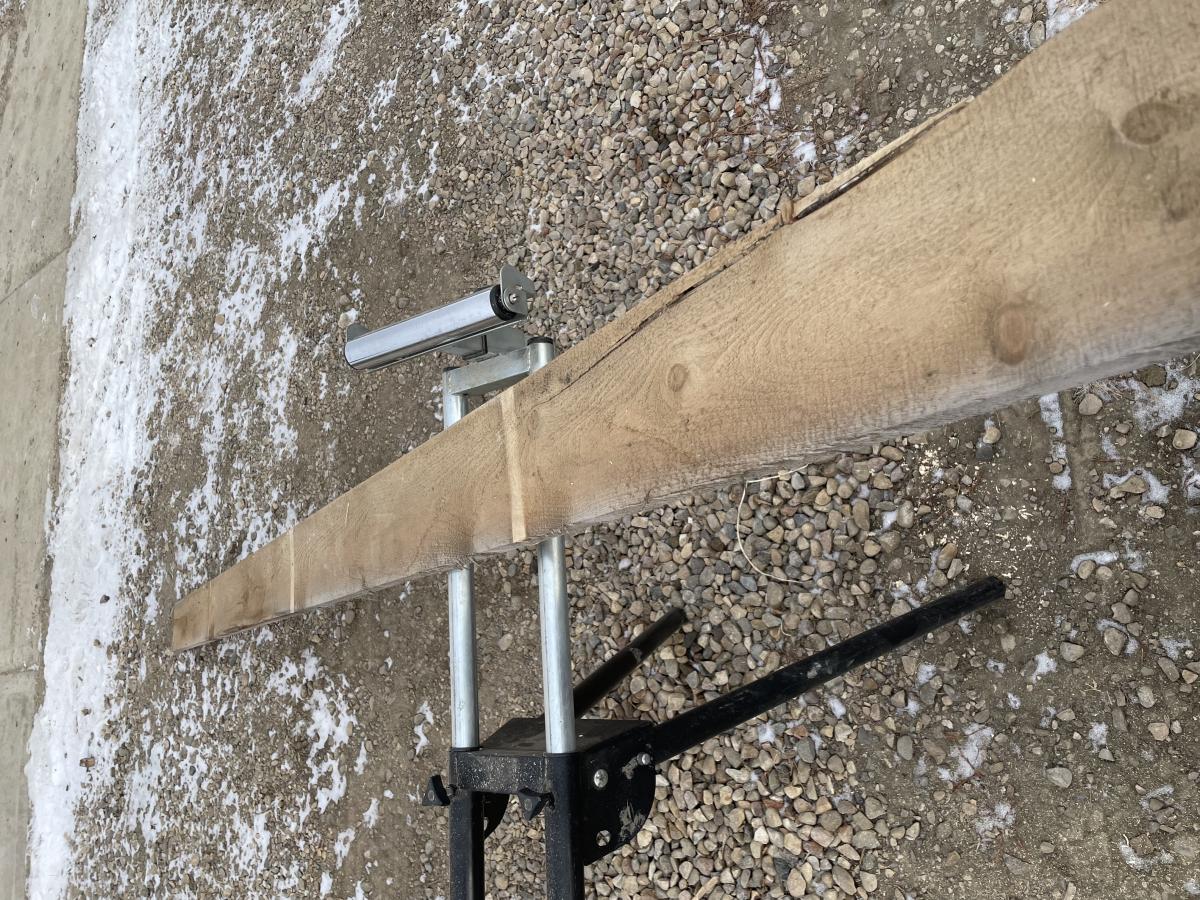
All of the wood used in the project was milled in our yard, from trees on our land. The 4x4 uprights are poplar, and the rest is spruce, all originating within 500m of our house. The wood was sticker stacked for 2 years prior to planing down to the required size( last picture shows a not yet planed 1X6.)
Was a great project we have had many compliments on as it is the bed in our guest bedroom and has been used plenty during the Christmas season.
My only change up was using 1x6 for the side rails instead of 1x10 due to availability. Turned out amazing!

Comments
Farmhouse Table~squared.
I really really wanted a farmhouse table...but...we had a space that needed a square table AND I needed to fit 8-12 people (or more!) so we modified Ana's farmhouse table plans to not only be square, but really big as well. This table is 6 ft on each side. Since the table itself was so big, we reversed the breadboard ends and used a 2x4 on 2 ends just to even out the size a bit since is not rectangular...and the area is quite small but needed a big table. I didnt want it to be completely out of proportion. We did not use a stretcher because of the square factor, but each leg is a 4x4 post and reinforced underneath. It's HEAVY. It won't be moved anytime soon! I'm loving it:)

Comments
Wed, 01/13/2021 - 07:59
Can I ask how you reinforced…
Can I ask how you reinforced the legs? Thanks for your response.
Tilt Trash Can
We used Ana's tilt trash can plans and antique/distressed finishing tips. It came out great! We love it!! Thanks Ana!!!

Comments
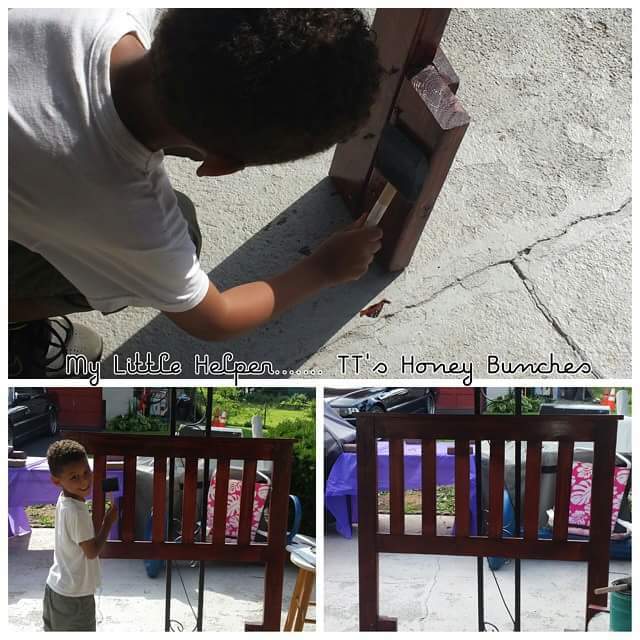
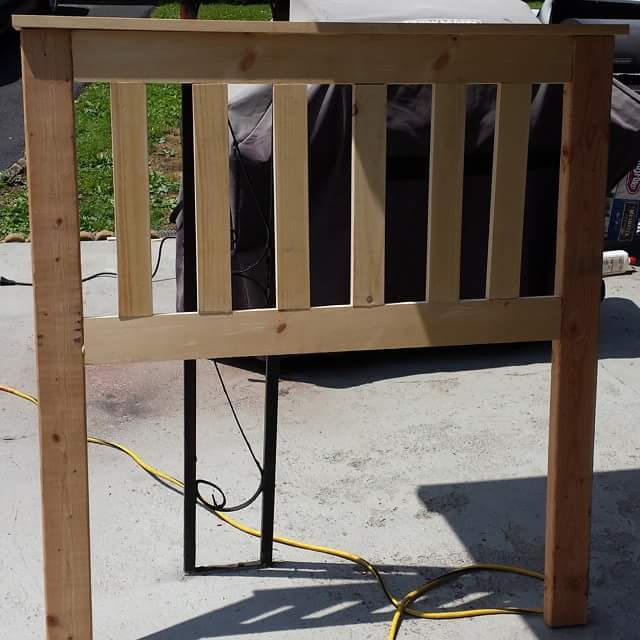
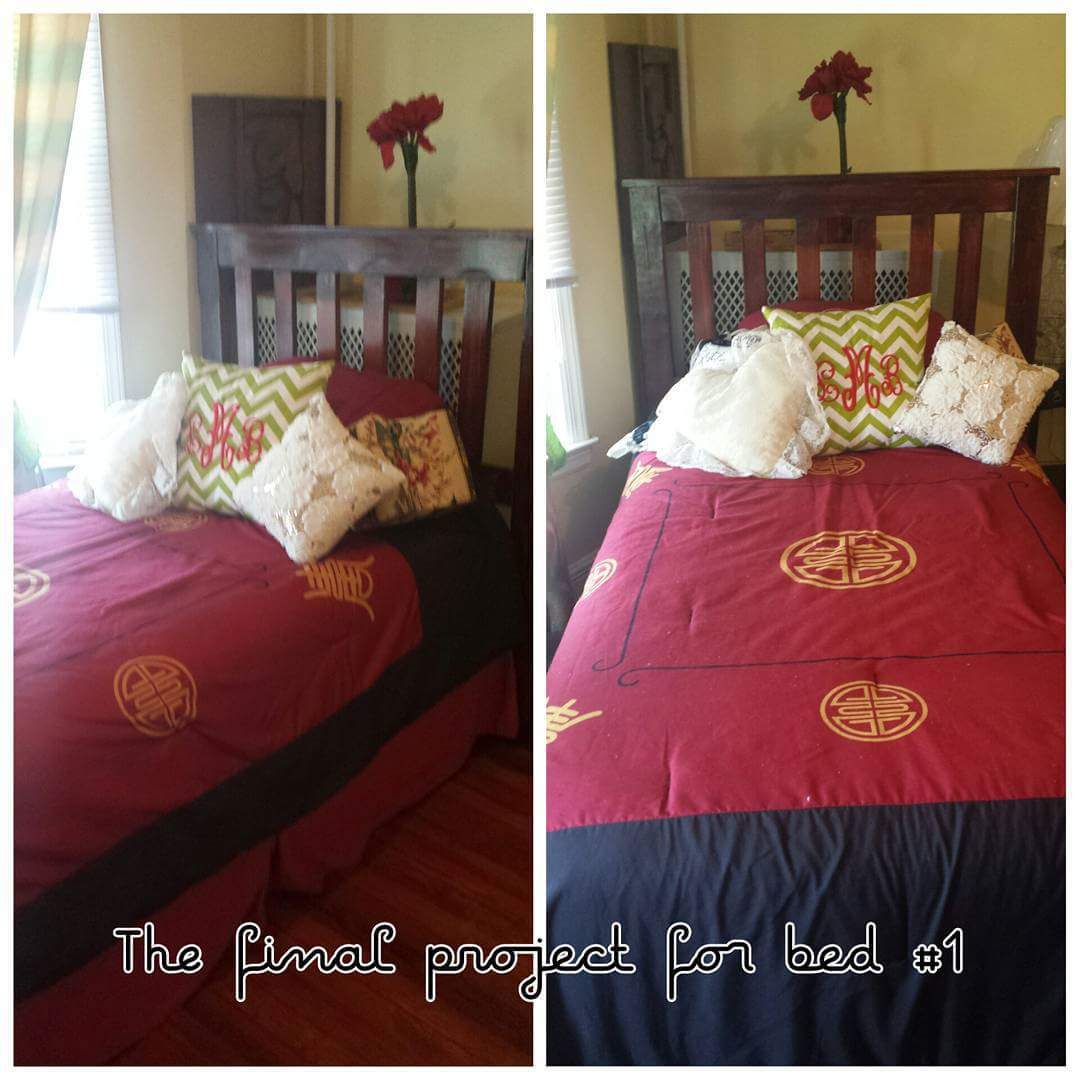
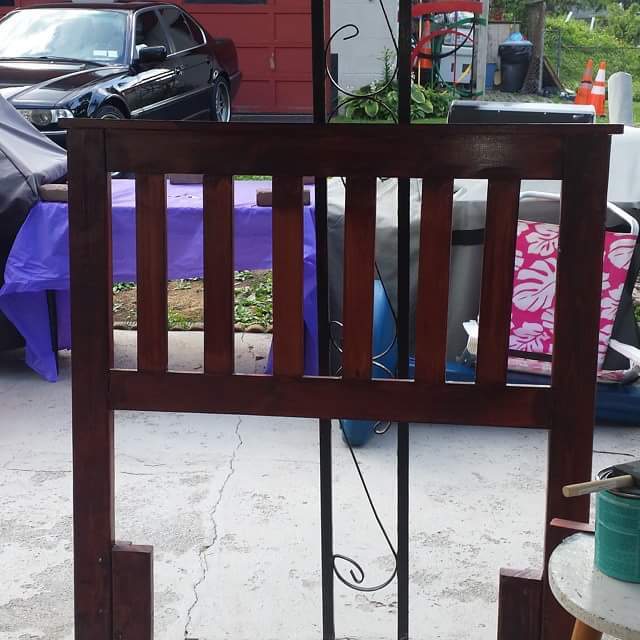
Modified Twin - Kentwood Headboard ONLY
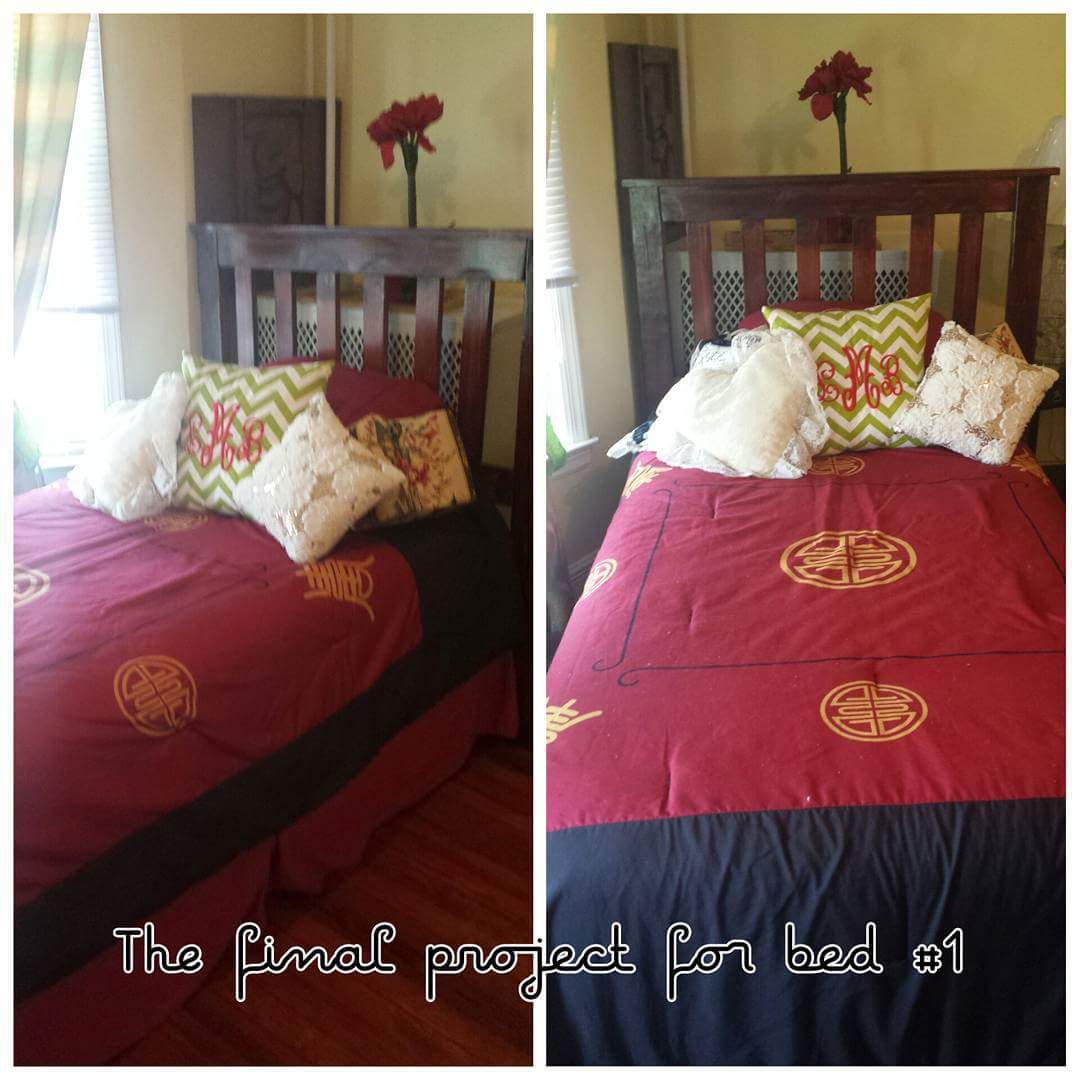
I omitted some of what was called for in the original plans at ana-white.com. I wanted only a headboard. I then opted to go without the plywood backing when I found out that my local Home Depot's cutting area was not cutting due to the machines needing to be repaired. I added an extra piece of wood to the legs to accommodate attaching the bed frame. The finish is Varthane Red Oak and sealed with Minwax Polycrylic in Satin.
My mom is very happy to be getting these two headboards for her spare room. (The other one is still on my work table in the garage awaiting assembly and final finish!) Thanks for great plans to work from Ana!
Minwax: Polycrylic in Satin
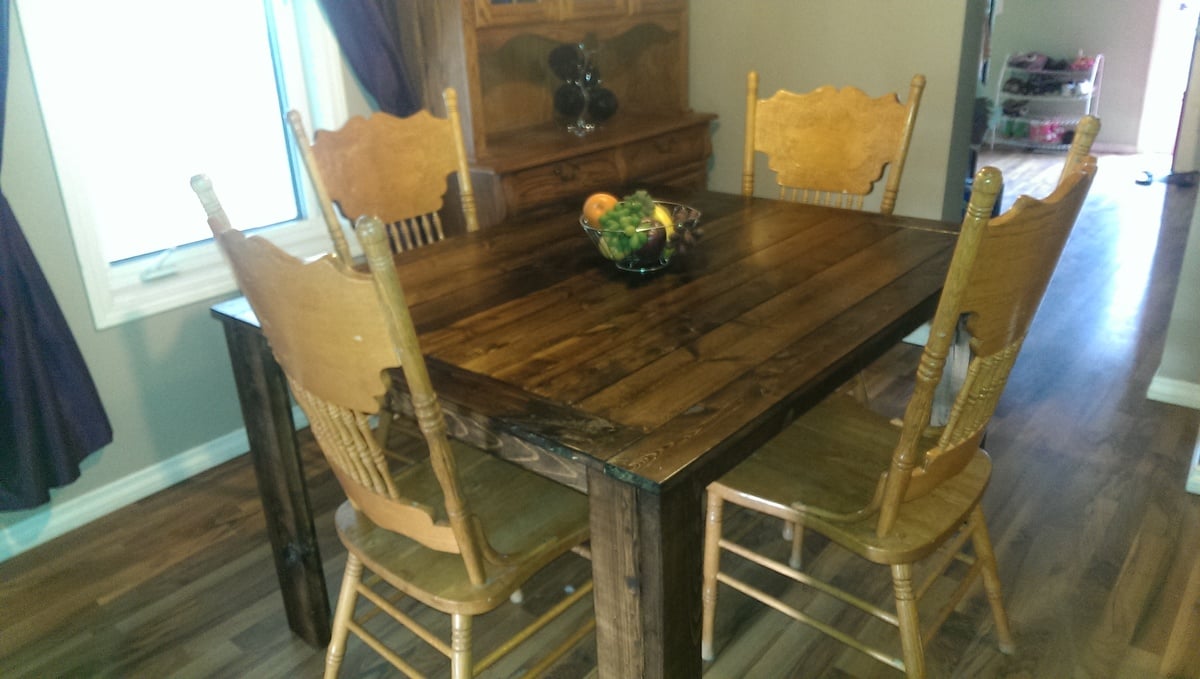
Farmhouse Table
