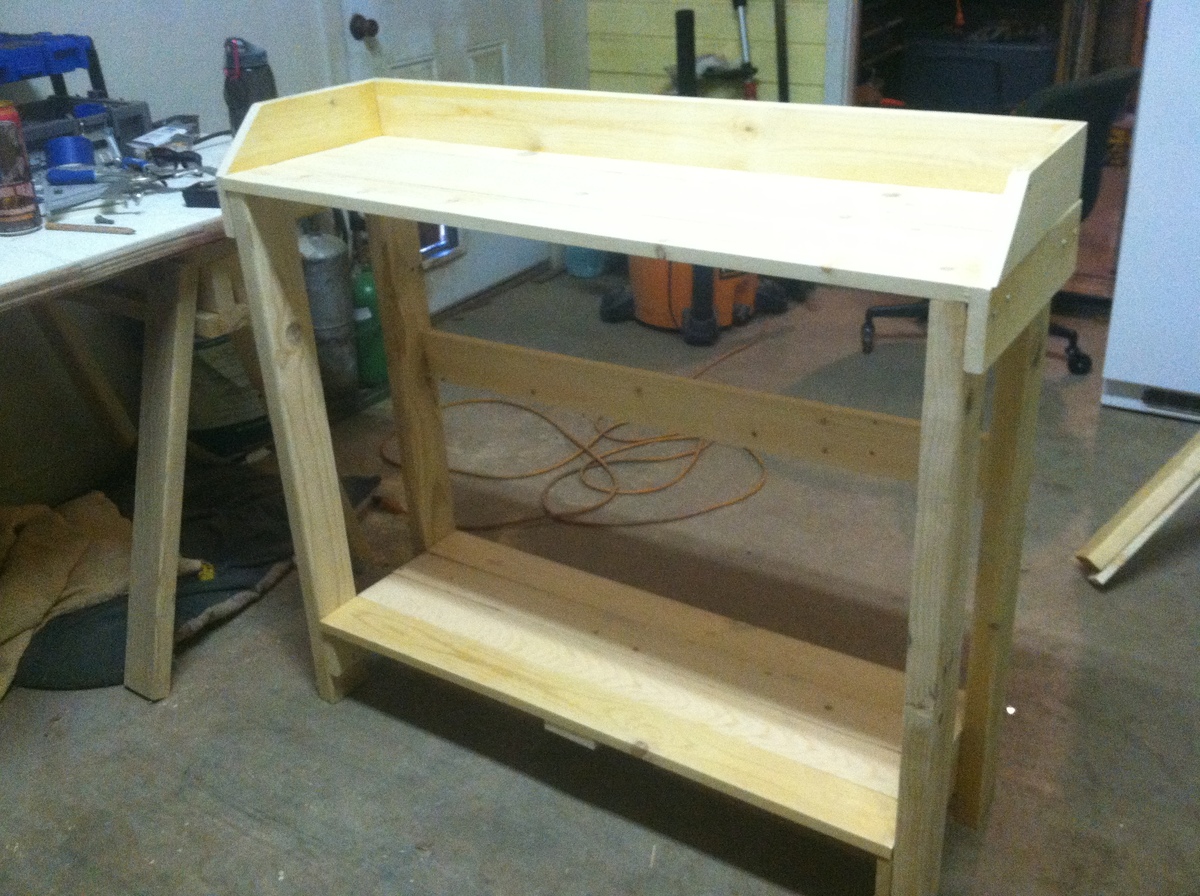
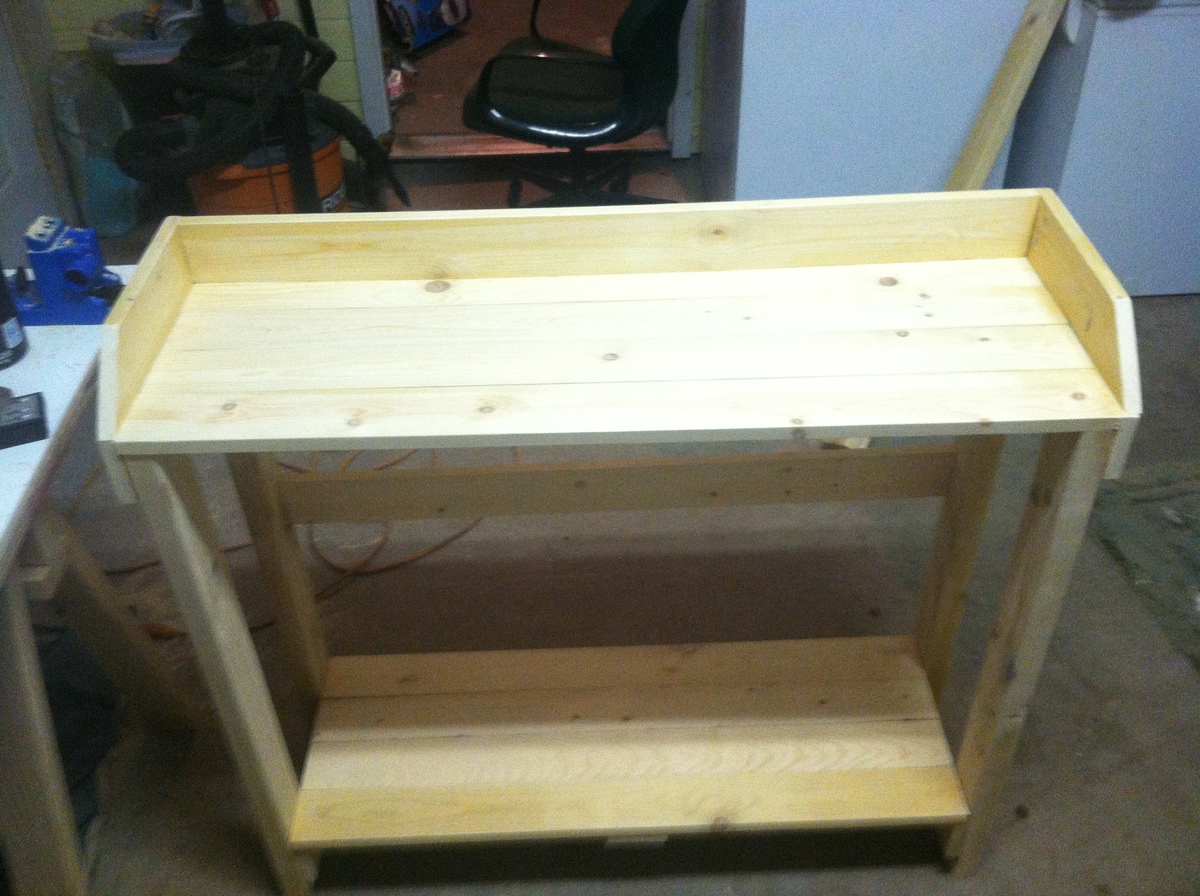
Love these Shelves!
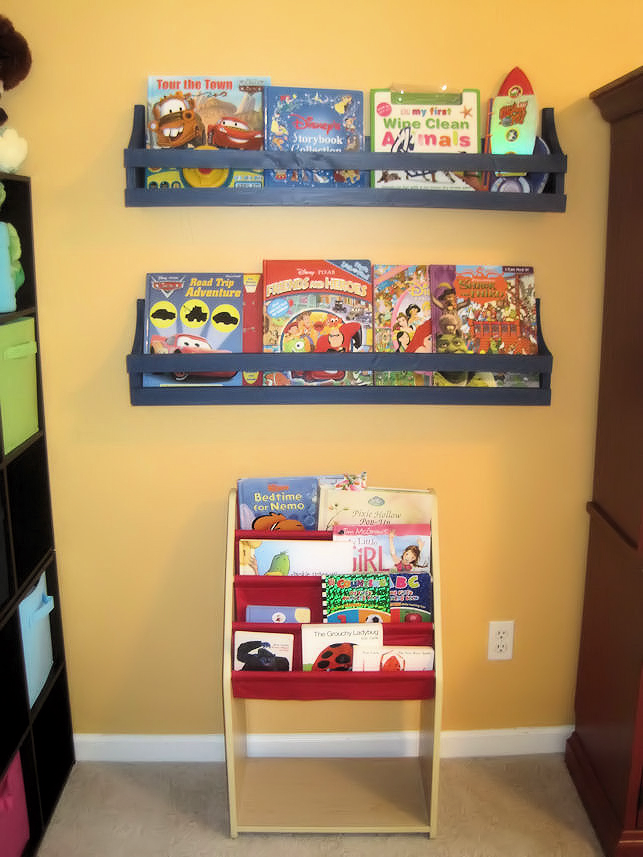
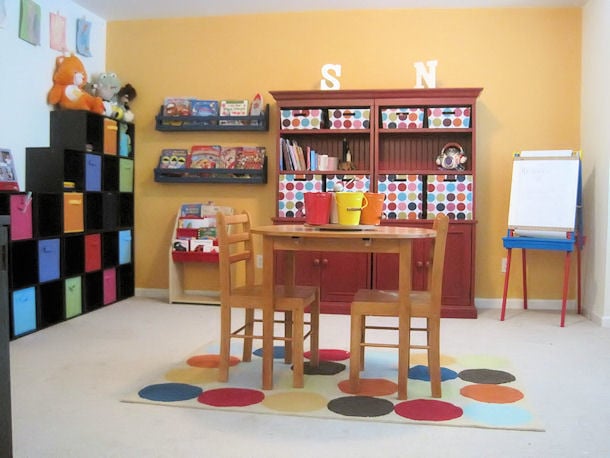
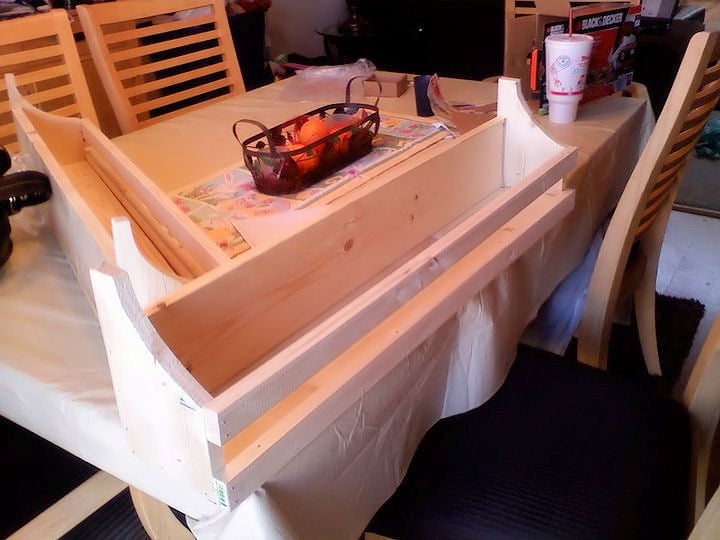
While my husband was deployed for a year I decided I wanted to redo the kids playroom. I wanted them to have a space that was organized. Somewhere easy so that what they were taught about putting their toys and books in a specific spot at school could be followed at home too! Well this is the plan that I had found Ana's site with. I loved these shelves on PBKids.com but hated the price. It was an amazing day in the Clark house hold finding Ana's blog! I had to build them right away! and well I did! they are Amazing and the kids love them! (keep in mind this was my first time building anything lol)(sorry for not posting this sooner)

Estimated Cost
$5 ea.
Estimated Time Investment
An Hour or Two (0-2 Hours)
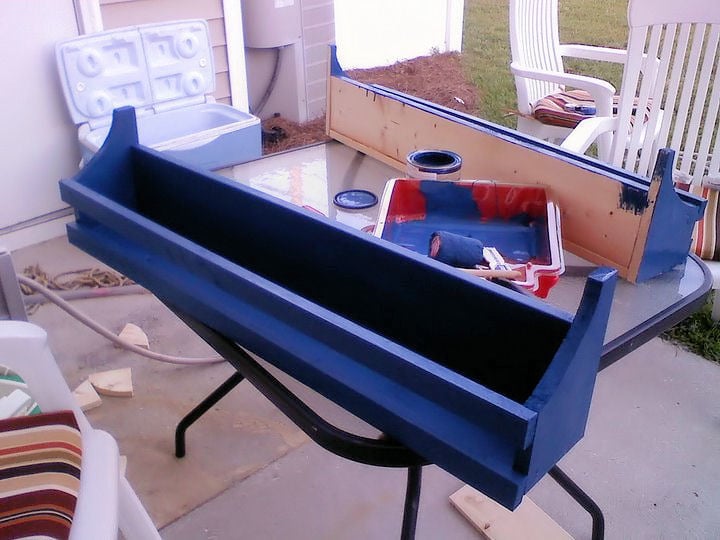
Finish Used
Semi Gloss Valspar blue. I would defiantly sand them down more if I make them again. Love the way they turned out even though I messed up on the first one but anyone who has ever seen them hasn't noticed lol.
Recommended Skill Level
Beginner


Comments
brookifer86
Wed, 06/15/2011 - 19:09
What a cute room!
I love the color of the shelves. They look so good in that adorably decorated room!
In reply to What a cute room! by brookifer86
mandylynn523
Fri, 06/17/2011 - 12:07
Aww
Thanks hun! I love them... and thanks about their playroom.. I had just known what I wanted and worked hard to get it just right lol.. they love it too!
Guest (not verified)
Mon, 06/27/2011 - 13:00
How to install
Hi - We've got ours all finished but not sure how we are going to install them. We know they'll go into a stud but I'm curious how you did it.
In reply to How to install by Guest (not verified)
mandylynn523
Mon, 06/27/2011 - 15:39
The way i did it.
well the way i did it was get two screws found where the studs were and right above the top bar i rested my drill on it and I put each of them into the back of the shelf because I knew a book would cover the screws... now you can always add the same color paint over the screws to help them blend better when there isn't a book in there. Hope this helps. It made them really secure for when the little ones would get the books down. I know some suggested picture hooks.. but to me it just didn't seem sturdy enough.
In reply to The way i did it. by mandylynn523
cdswhite
Mon, 06/27/2011 - 19:14
That's what we're thinking too
We thought the same thing and I'm definitely not worried about a screw showing if a book is missing. :) I actually thought of picture hooks too but knew right away it wouldn't be sturdy enough for my kids.
Thank you!
bug12142001
Tue, 04/01/2014 - 10:11
So cute
Love everything about this!