Community Brag Posts

Mini Version of Haley Simple Shelf

Submitted by Matty3481 on Sat, 10/04/2014 - 12:38

I made a mini version of the Haley Simple Shelves as my first project from this site.  I had only practiced with the Kreg Jig before making this, and learned that you should not make any project too small, or your Kreg holes won't fit.. Hence I had to face screw the shelf onto the frame.  Nevertheless this was fun to make, I love the color (Peacock by Behr) and best of all, it gets stuff off the bathroom counter!  
Built from Plan(s)
Estimated Cost
$10 for paint sample and one 1x4 pine board.
Estimated Time Investment
An Hour or Two (0-2 Hours)
Finish Used
Behr paint in Peacock
Recommended Skill Level
Beginner

Comments

Matty3481

Sun, 10/05/2014 - 17:53

Hi!

No.. I did use pocket holes and screws to attach the rear support (1x2) to the arched sides, but couldn't use pocket holes to attach the top to the back, hence face screwing the top on.  Kreg screws are very strong without the pockets too.

Farmhouse Sidetable

Submitted by Anonymous (not verified) on Tue, 01/17/2017 - 21:14

This is the second thing i have ever built and I am SO excited with the result! This has inspired me to take on new ambitious woodworking projects. Love it, thanks for the free plans!

Estimated Cost
about $30
Estimated Time Investment
Day Project (6-9 Hours)
Finish Used
I used satin finish white paint, and Danish Oil for the exposed wood.
Recommended Skill Level
Beginner

Comments

Rustic X Desk

Submitted by Anonymous (not verified) on Sun, 10/04/2020 - 14:42

Decided to lightly char this one with a propane torch and then apply a wipe on poly.

Built from Plan(s)
Finish Used
Fire and poly

Comments

Loft Bed

Submitted by liamzoe on Wed, 12/26/2012 - 21:07

My husband used Ana's plans for the Loft bed and then added his own touch. My daughter loves it. It turned out great. Thank you Ana.. So much cheaper to build it yourself.

Estimated Cost
250.
Estimated Time Investment
Week Long Project (20 Hours or More)
Finish Used
white Gloss
Recommended Skill Level
Advanced

Tuscan Turquoise Farm Table and Rustic Benches

Submitted by LisaM1216 on Wed, 10/08/2014 - 21:32

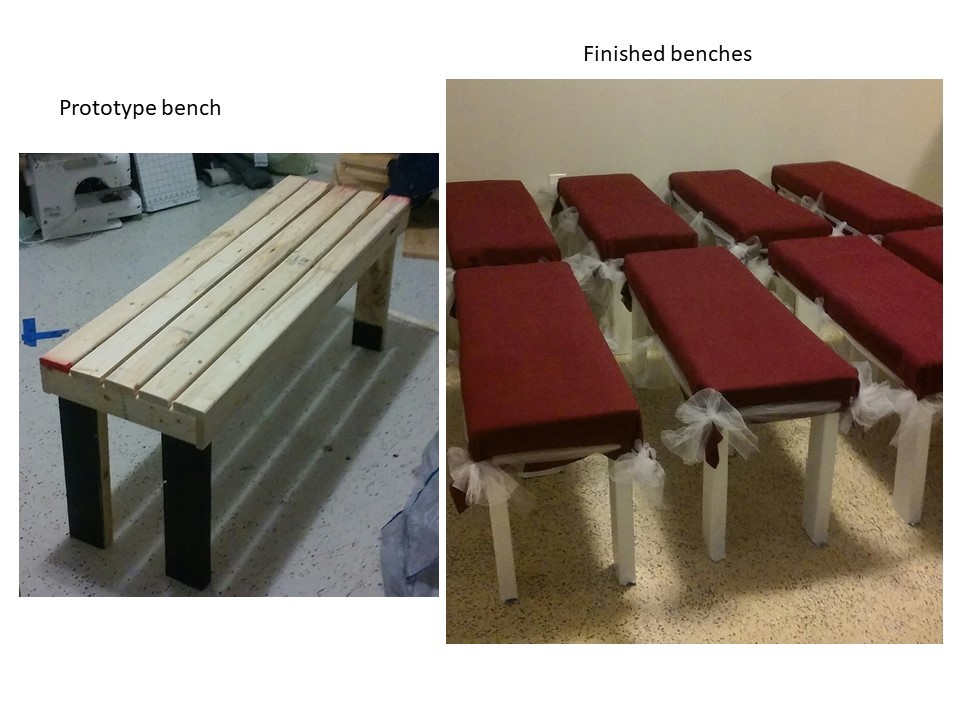
I had a lot of fun building this table and these benches for our Tuscan-themed kitchen. The weathered turquoise gives the surroundings a pop! Thanks, Ana, for the inspiration and for sharing the plans! The benches were built according to the plan, but I did modify the table without the runner underneath so that side chairs could be pushed in.

Estimated Time Investment
Weekend Project (10-20 Hours)
Finish Used
Tan chalk paint as base, then two more coats of turquoise mix colors. Sanded gently on the edges to get weathered look. Then three coats of polyurethane.
Recommended Skill Level
Intermediate

storage bed toychest conversion

Submitted by hkingman on Fri, 01/20/2017 - 19:24

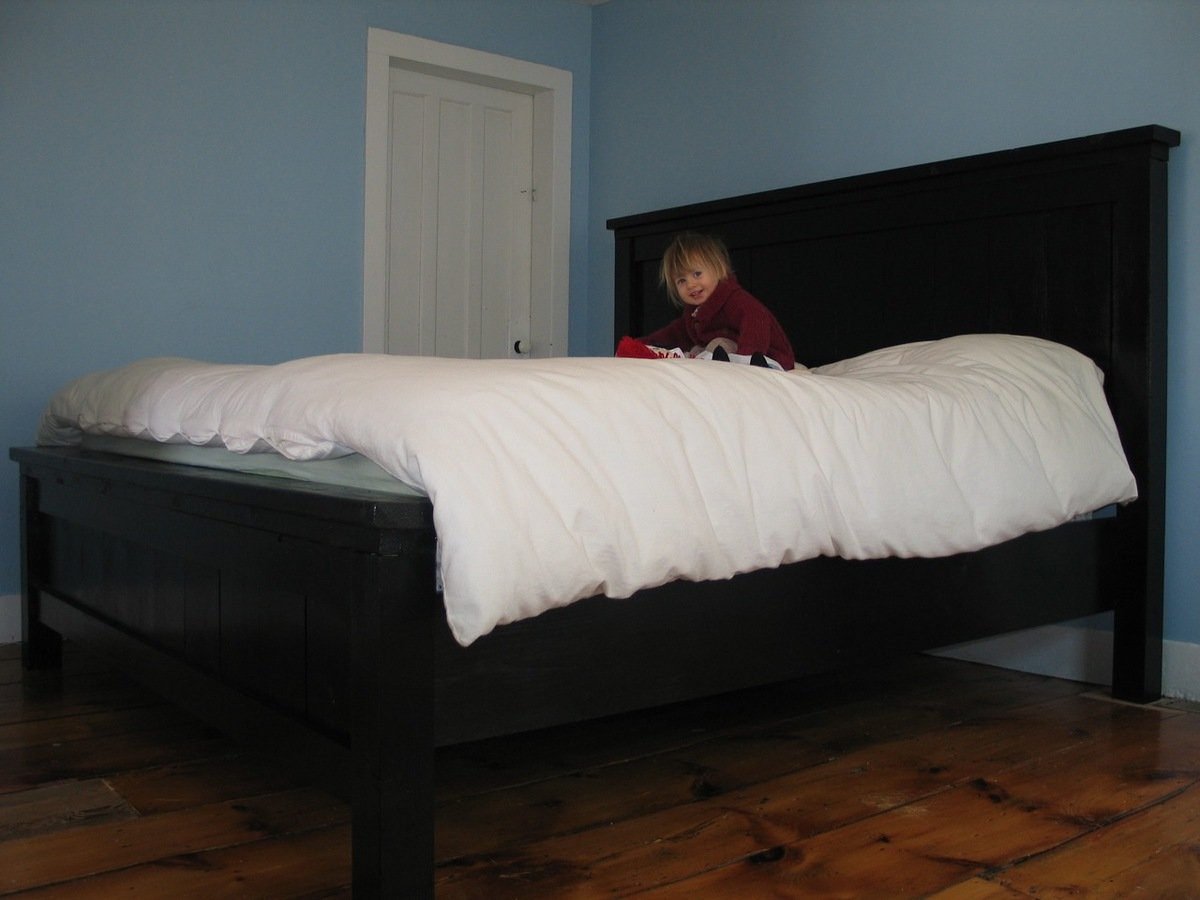
A few years back, I built a twin version of Ana's Farmhouse Storage Bed for my step-daughter. After she moved out, I converted it to a huge toychest for my three-year-old.

I would have left it as a bed, but with a quality mattress it was so high I was afraid he could get hurt if he fell out.

The conversion is simple. Remove 24 screws, reconfigure, add back the screws in different places. The support blocks become feet for the chest, and the slats become spacers under the top part. 

He loves being able to get his toys out himself, and I love that he can put them away by himself. A big upgrade over plastic storage boxes on high clost shelves!

Once he's a bit older, I'll probably turn it into a bad again. 

Estimated Cost
Zero!
Estimated Time Investment
An Hour or Two (0-2 Hours)
Finish Used
Linen white
Recommended Skill Level
Starter Project

Rustic x end tables

Submitted by Keldani5 on Wed, 10/07/2020 - 14:53

This was a weekend project using pocket hole screws pine wood and a regular stain and wax coating

Built from Plan(s)
Estimated Cost
80.00
Estimated Time Investment
Weekend Project (10-20 Hours)
Finish Used
Stain and then wax to coat
Recommended Skill Level
Intermediate

Picnic Table Benches

Submitted by Anonymous (not verified) on Mon, 11/11/2024 - 16:33

Love Ana’s plans. Wanted something simple as I’m new after building this deck.

The addition of the small scrap allows a single pin to work for the picnic table and very comfortable bench position. This has been a big hit. Thank you, Ana. - Jim

Seasonal And Holiday

Two tone rustic table

Submitted by ChicGeek on Sun, 10/12/2014 - 16:35

I used three 2x12s for the top and 4x4s for the legs. Everything else pretty much the same.  Final table size 36"x60". Longest/hardest part was sanding and staining

Built from Plan(s)
Estimated Cost
Under $100
Estimated Time Investment
Weekend Project (10-20 Hours)
Finish Used
Legs: Rust-Oleum Heirloom White
Top: Rust-Oleum Stain Kona
Recommended Skill Level
Beginner

Barn Door Console

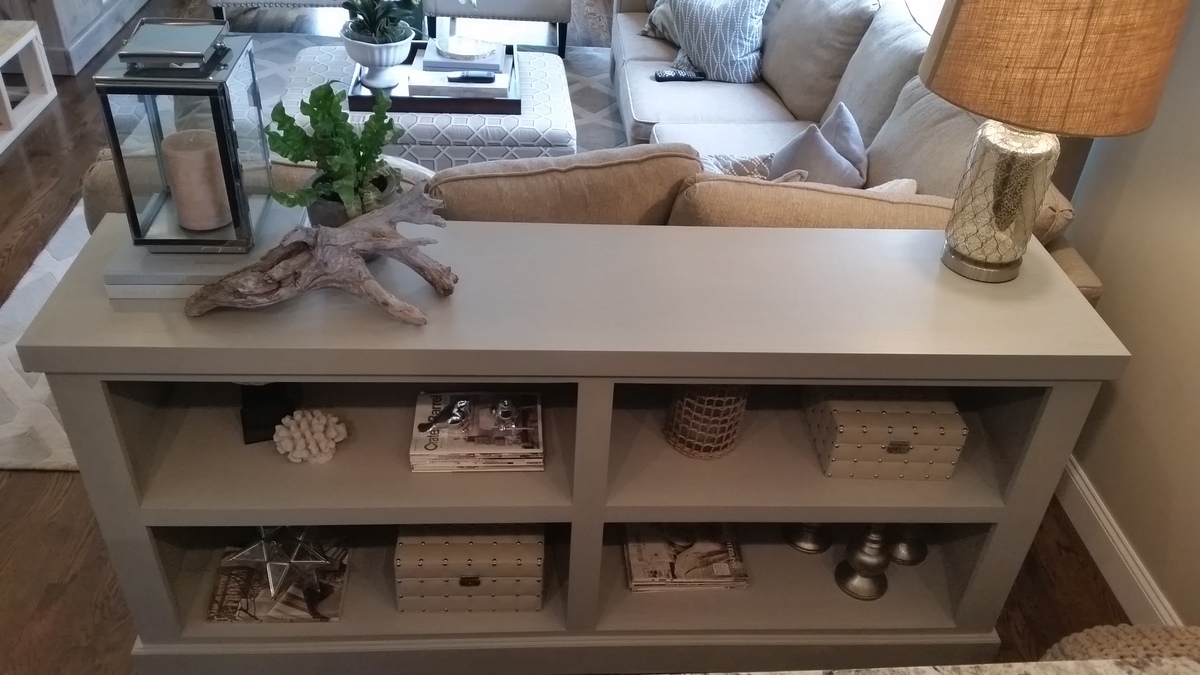
Submitted by Anonymous (not verified) on Mon, 01/23/2017 - 19:01

made from poplar and pine.  Painted with a coat of black paint then painted with 3 coats of valspar furniture paint in white.  I then sanded all the edges to bring the black thru.  The hardware is made from a metal bar and wheels made with pulleys from home depot.  I even weaved the baskets myself! 


Just kidding about that last part.

Built from Plan(s)
Estimated Cost
275-300
Estimated Time Investment
Day Project (6-9 Hours)
Finish Used
valspar furniture paint
Recommended Skill Level
Beginner

Comments

Outdoor Deck Tables

Submitted by Scott-F on Sun, 10/11/2020 - 18:34

My wife and I were looking for a dining table for our deck. We looked at a few to purchase but could not decide. I wanted something that would not take up a lot of deck space. When the Facebook post for the "Outdoor Bar Table" came up, it inspired me to try to build a similar table. I already had purchased a Kreg HD pockethole jig for a project I never got to (At least yet), so I figured construction would be pretty simple.

I should say my tables are loosely based off of Ana's plans, they served as a good reference. I lowered the table to 30" to match our existing deck chairs. I decided to actually build 2 half tables, so that when we were not using the table they could be set to the side of the deck. The back of each table is constructed with 2x4s so when the tables are put together it maintains the 4x4 look.

For the tabletop I had extra composite deck boards that I never used for the deck, so the depth of each half table was based on using 3 deck boards, with a 1/4" gap between each deck board. I used the same hidden fastener method I used on the original deck, so the deck boards are secured from under the table.

This being my first pocket hole project, there are a couple of small mistakes. 1) On the 45 degree trusses cut all 4 at the same time, then did the pocket holes. I missed the fact that I needed to drill 2 of the pocket holes on the opposite side. 2) I built the 2nd table back on top of the 1st table back so they matched. but I got mixed up when assembling the 2nd table so the pocket holes that should have been on the side facing the other table back, are facing the opposite side.

I did use Treated lumber for the table frame, and some of the pieces were still pretty wet, so we will wait until next year to paint the base.

We really like how they turned out, and that we still have almost all of our deck space when the tables are in the "Stored" locations.

Built from Plan(s)
Estimated Cost
$85
Estimated Time Investment
Afternoon Project (3-6 Hours)
Finish Used
None as of yet, Plan on painting after treated wood dries out
Recommended Skill Level
Starter Project

Comments

High Loft with Desk

Submitted by Anonymous (not verified) on Mon, 11/18/2024 - 10:06

My sons tiny box room needed updating. He wanted something more grown up. The brief was "a high bed with a den underneath". As with all Ana White plans it was easy to follow and gave me the inspiration to build something bespoke to a very limited space. I have added a desk for him to do homework. He's over the moon with it. Thank you for the inspiration. - Harry

$20 Planter Boxes

I built these as one of my first project with the Kreg Jig...It worked great! I stained them with the left over sample cans of my behr deck stains from when we were deciding what to put on the deck. They turned out to be great and the perfect size for our deck!

Built from Plan(s)
Estimated Cost
$20 each
Estimated Time Investment
An Hour or Two (0-2 Hours)
Finish Used
Behr solid deck stain
Recommended Skill Level
Starter Project

Comments

Boys Chrismukkah Tool Trugs

Submitted by brickton on Fri, 10/17/2014 - 05:32

I did a near direct copy of the tool trugs from Jamie and Ana using some 1/2" birch plywood and 1/2" craft wood from Home Depot. I was really happy with the ipswich pine stain that darkened the wood and gave it less of an unfinished look. 

Built from Plan(s)
Estimated Cost
Maybe $20 total for both trugs. I bought some little stain and sample paints when I could have just used what I had laying around, and some of the wood was scrap from other projects so it's hard to say.
Estimated Time Investment
Afternoon Project (3-6 Hours)
Finish Used
Minwax Ipswich Pine stain on the main body, Minwax Provincial on the bottoms. The paint colors are mostly Martha Stewart Living from Home Depot samples, the only two names I remember are Cornbread and Barn Red.
Recommended Skill Level
Beginner

Barn Sliding Door Console with Hardware plans

Submitted by Doomwerk on Wed, 01/25/2017 - 07:47

Followed the plans to build this.


I used the following pully from McMaster (if you don't have an account, you might know a friend or someone who does):

https://www.mcmaster.com/#3434t116/=162dxqq


I've attached prints for the barn door stuff I made and thought it would be nice to share. 


Thanks!

Built from Plan(s)
Recommended Skill Level
Intermediate

Recipe Tablet Stand

Submitted by Anonymous (not verified) on Mon, 11/25/2024 - 13:41

Recipe/Tablet Stand- This turned into a 5 minute build after cutting and sanding.

Cut list is 2 pieces 1x4 -10” long

2 pieces 1x2 - 7”long

1piece 1x2 for strapping on the back,

1piece 1x4-6” long then cut in half diagonally (30 degrees) for the back kickstand.

Glue and brad nailed together. - Brittany M

Swiveled Bookshelf with Mirror and Cork Board

Submitted by miki0225 on Tue, 01/01/2013 - 19:49

I saw a cabinet like this on Pottery Barn's website (for $600) and I knew I wanted to build it for my 12 year old niece and could do it cheaper. I have only built one other thing so I am a beginner. I do not recommend this as a first project because if it wasn't for my husband figuring out the "lazy susan" part and fixing a couple other "oops" then it would not have turned out as great as it did.

I started with the plans for the 5 Cube Tower Bookshelf and then went from there. I ended up with only 4 shelves because of a miscalculation on my part. I cut off the legs and added crown molding to the top. Used plywood for the 3 layered base and quarter round for the decorative look. The base is heavy, which I wanted because of the 2 pegs on opposite sides for hanging things (she's 12 and purses, scarfs, clothes...there is no telling what will be hung there). I added molding to both side of each opening so that as it spun things would not slide off. I have no explanation for the lazy susan because my husband figured all of that out.

The Cork board and mirrors were easy. I bought the cork in a pack of 4 squares at Walmart and the mirrors in a pack of 6 squares from Lowes. We placed and glued them on before adding the molding around the edge. Fyi: I tried to use the $5 full mirror from Walmart but it was to wide. I bought some cute buttons and cut off the loop part to glue flat metal tacks to the back. She now has decorative thumb tacks. I painted it white and then top coated it with polyurethane.

We absolutely love this and so does she. It is in her room and I think looks amazing. Can't wait to share my next projects that are almost complete.

Estimated Cost
$125
Estimated Time Investment
Week Long Project (20 Hours or More)
Finish Used
White paint and polyurethane
Recommended Skill Level
Intermediate

Comments

Mandy3689 (not verified)

Wed, 01/02/2013 - 01:19

So great! I just found this at PB Teens last night and thought NO WAY! For $600!!! I had exactly the same idea as you did.... Build a 5 cube tower and make it spin. Ana rocks! Thanks for sharing!

DIY Farmhouse Table

Based on Ana White's Instructions and Cut List, here was our purchase list:
(figures are rounded)
 
Heat Treated Wood:
$12 (4) 2x4@ 8 feet
$9 (2) 2x8 @ 12 feet
$6 (1) 2x8 @ 8 feet
$8 (1) 2x10 @ 8 feet
$55 | (1) 4x4 @ 10 feet **
**This was difficult to find.  We couldn't get it at Lowe's or Home Depot,
but found a small local wood yard.
 
Other Materials:
$9 | Rust-oleum Kona Wood Stain
$18 | Minwax Polycrylic
$10 | (2) Pocket Hole Plugs
$4 | 3" Foam Trim Roller
$8 | (2) 2.5" Pocket Hole Screws
$6 | 3" Wood Screws
 
Total Cost - $145
Estimated Cost
$145
Estimated Time Investment
Weekend Project (10-20 Hours)
Finish Used
MinWax Polycrylic 3 coats - Semi Gloss, but will be finishing it again in Satin (Maybe).
Rust-oleum Kona stain.
Recommended Skill Level
Beginner

Comments

Farmhouse faux reclaimed lumber headboard

Submitted by wacman on Sun, 01/29/2017 - 12:31

A simple headboard with new pine, distressed to resemble worn barn wood or other reclaimed lumber.  I used a wire brush drill bit to eat away at the soft wood of the outside frame, raising the grain and adding a tremendous amount of texture.  The inside planks are full-width boards that I scored with a circular saw to create false joints.  Each section was stained with a different hue to emulate individual reclaimed planks.  I coated with a layer of semi-gloss polycrylic and then a coat of clear cream wax.

Estimated Cost
$100
Estimated Time Investment
Day Project (6-9 Hours)
Finish Used
Minwax stains (espresso, classic grey, mahogany & ebony), Minwax semi-gloss polycrylic, American Decor Clear Cream Wax
Recommended Skill Level
Beginner