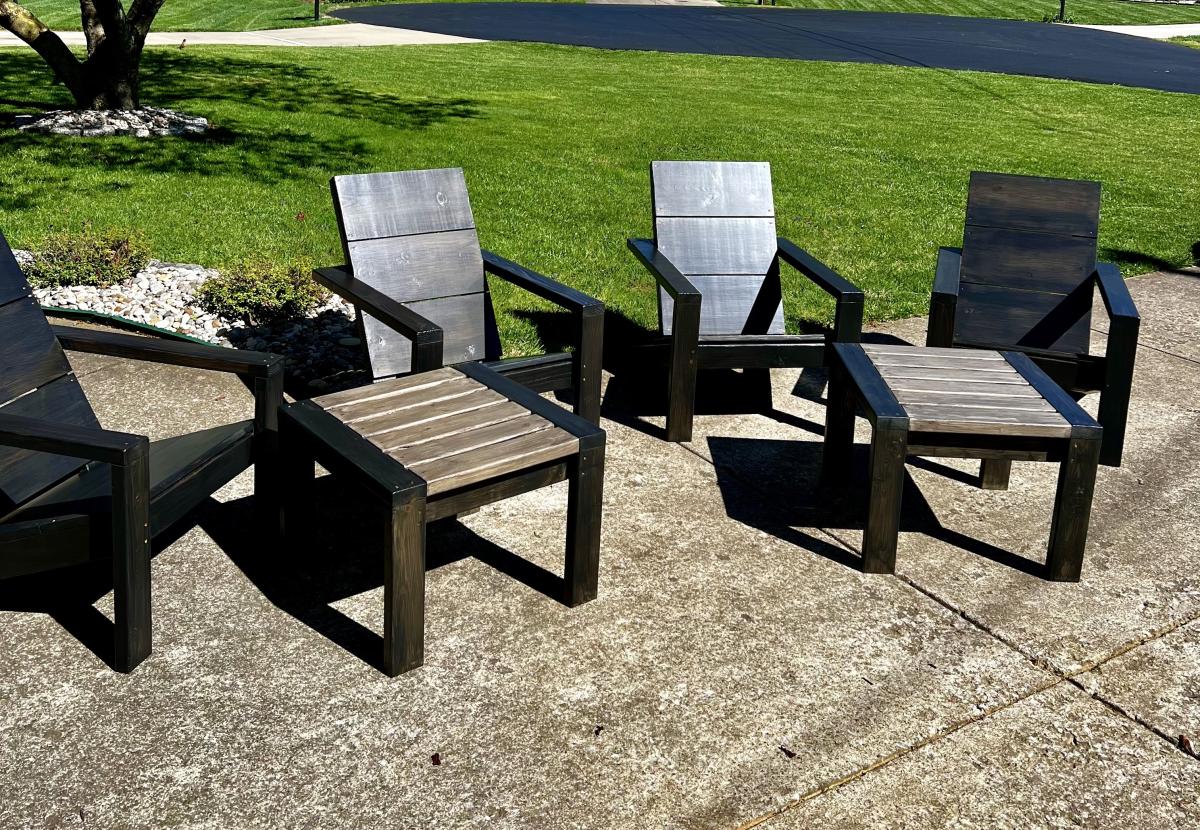
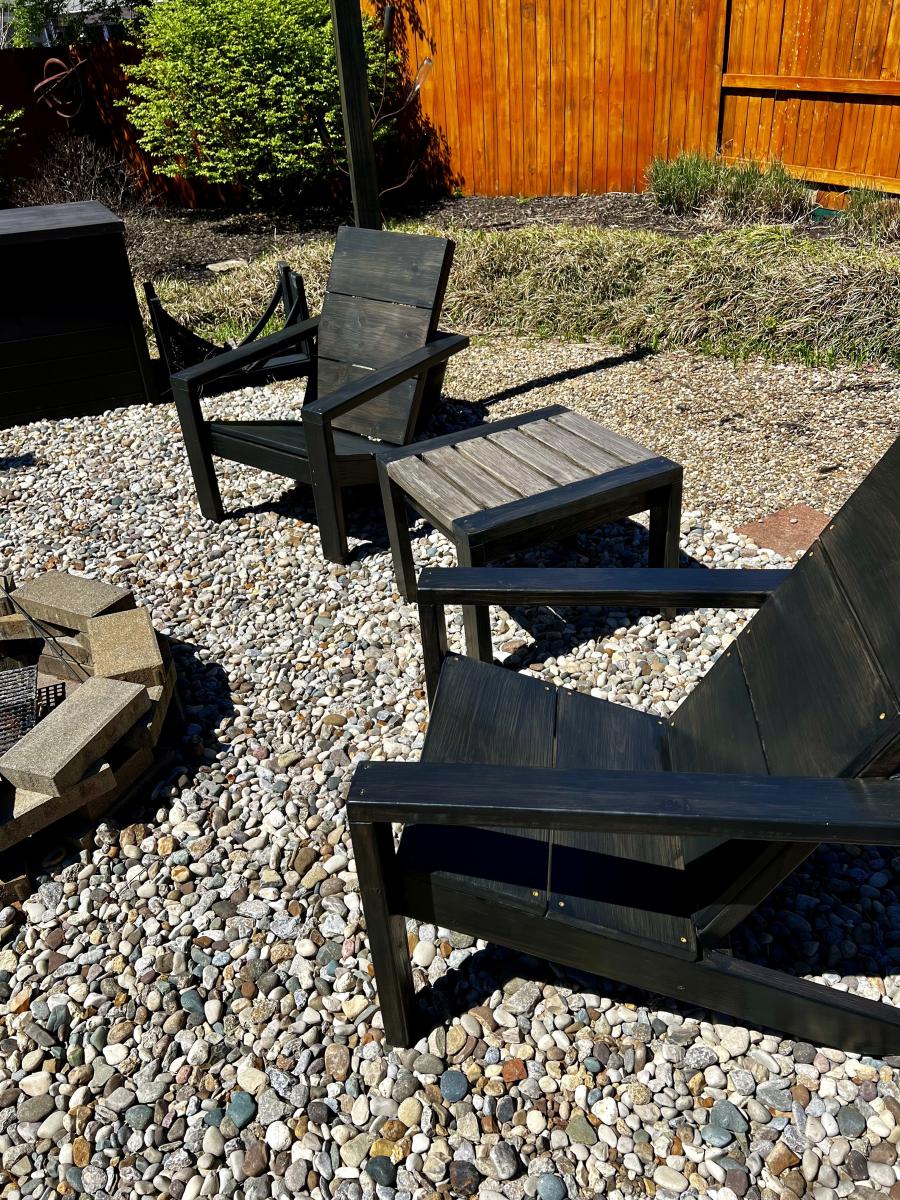
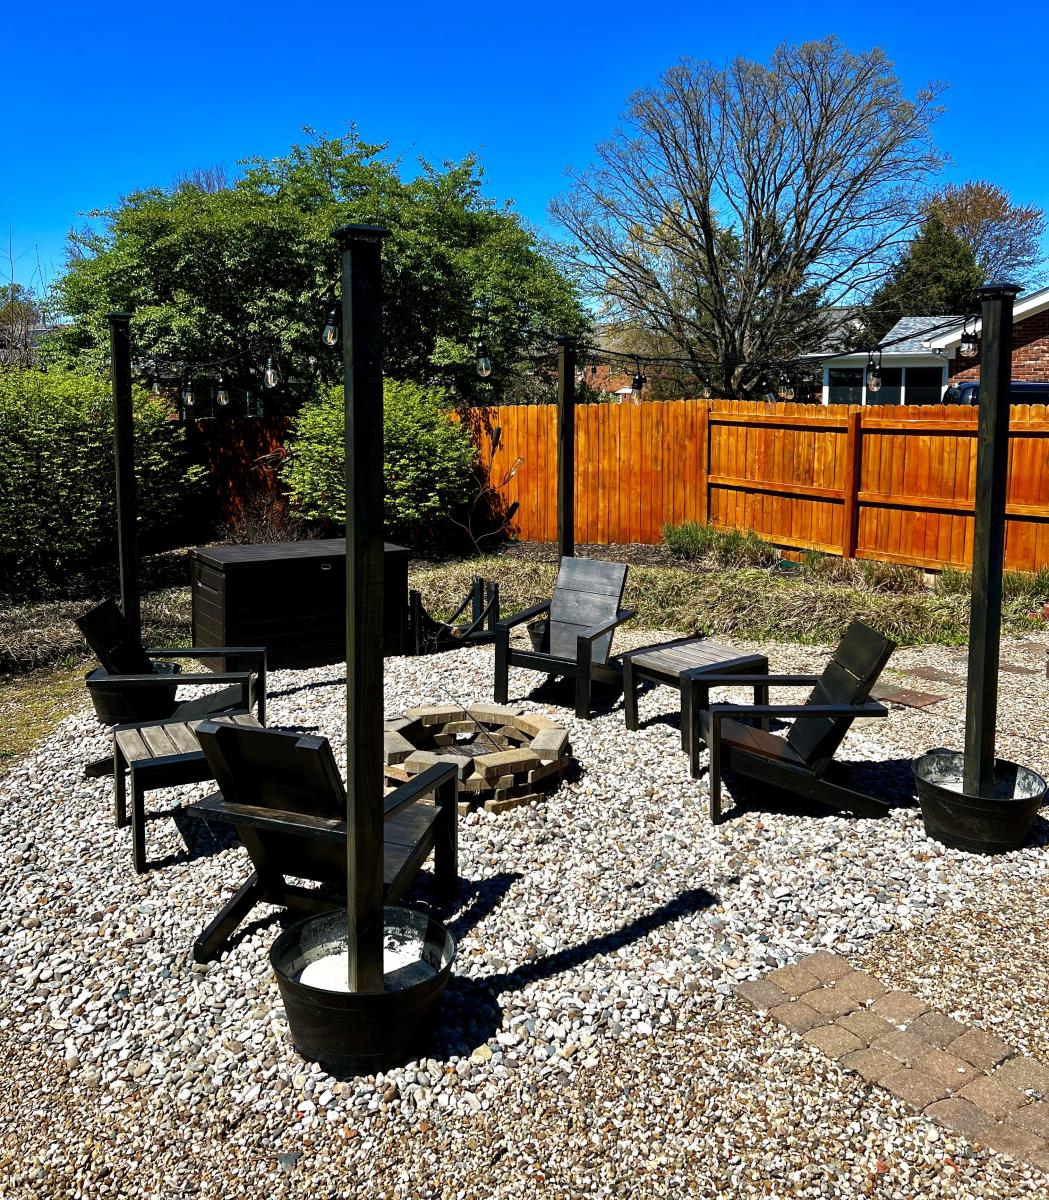
Patio Table
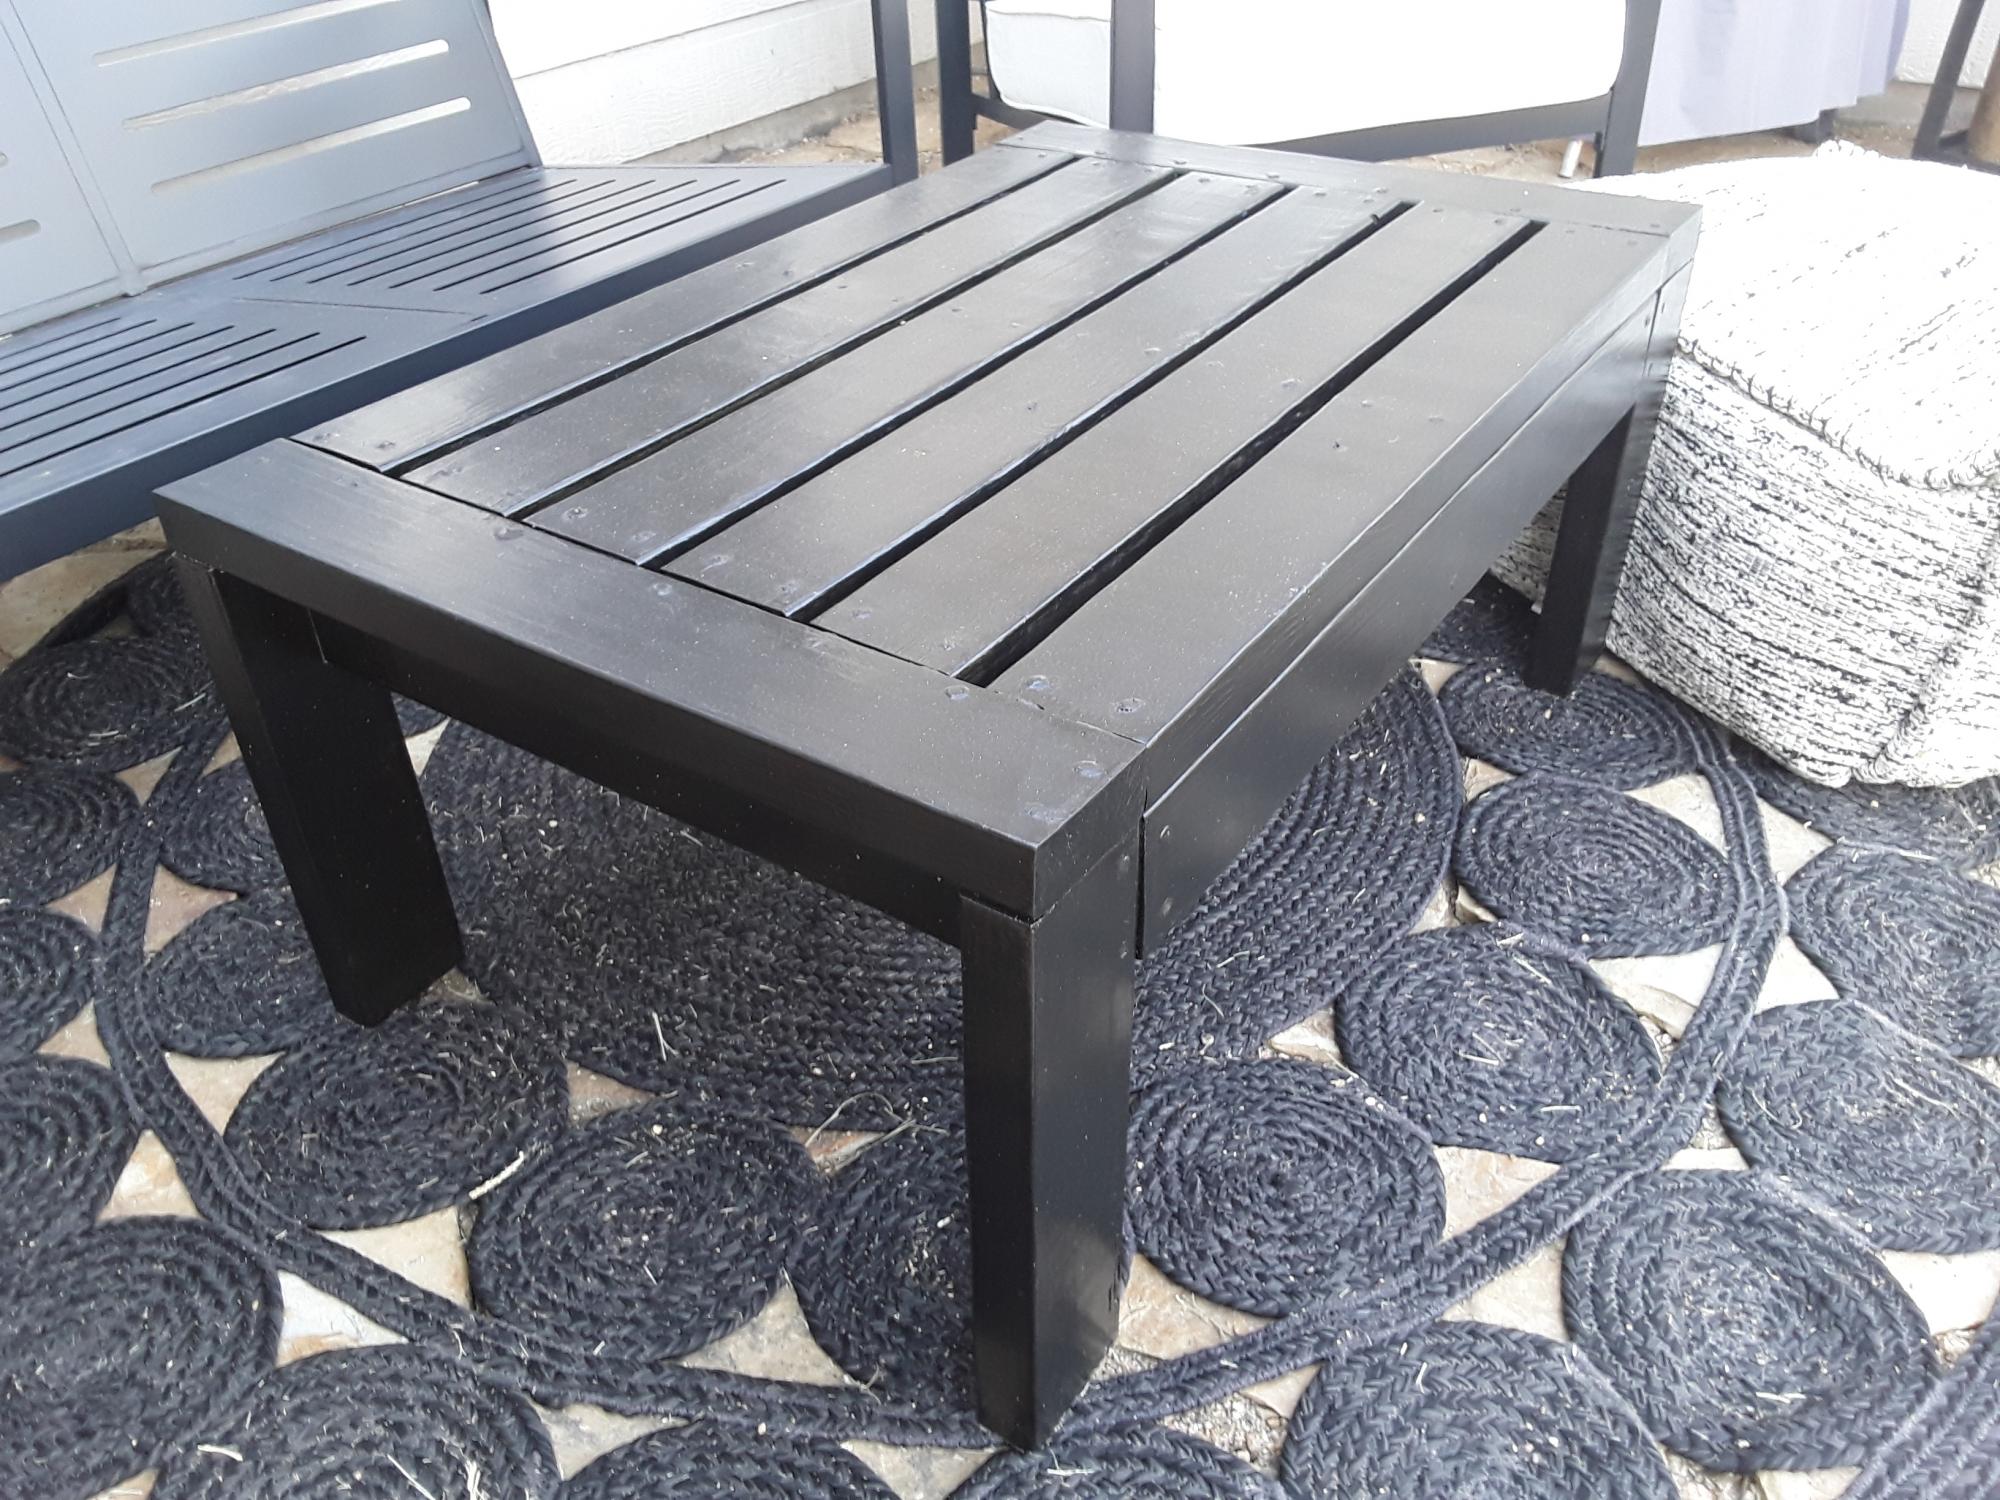
Outdoor Coffee Table

Outdoor Coffee Table
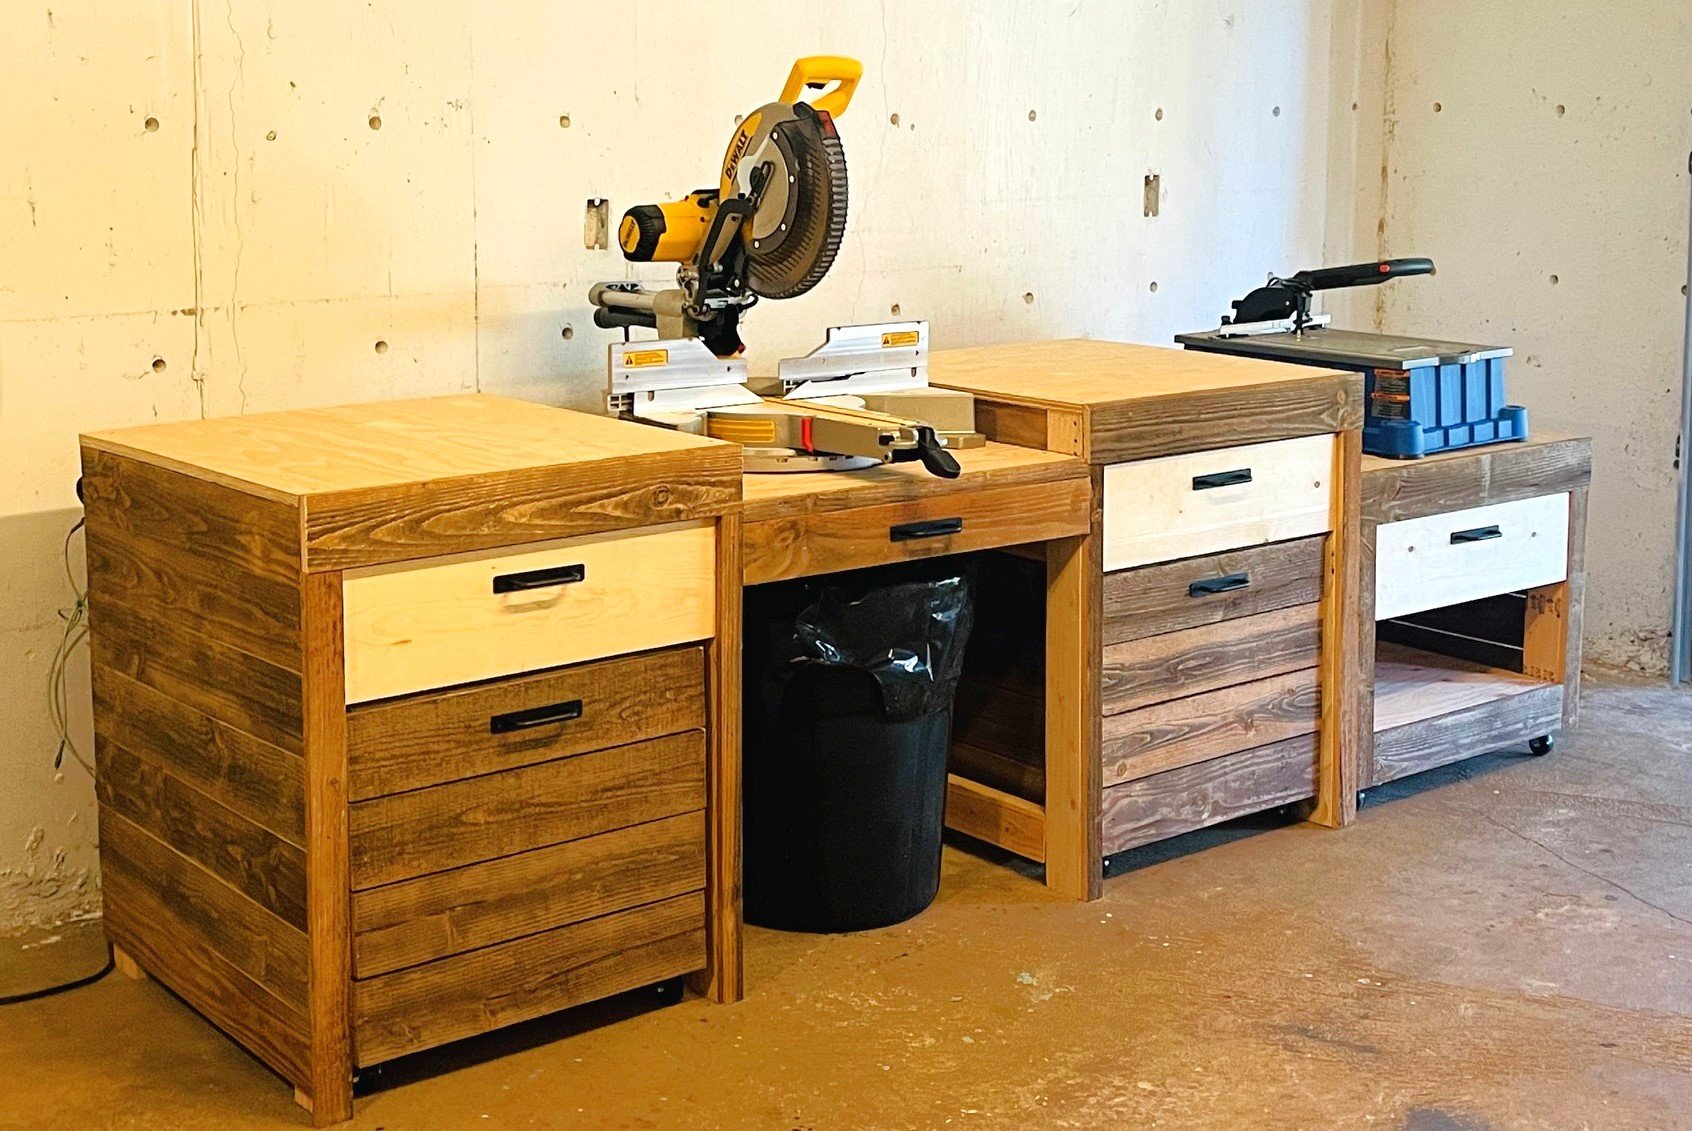
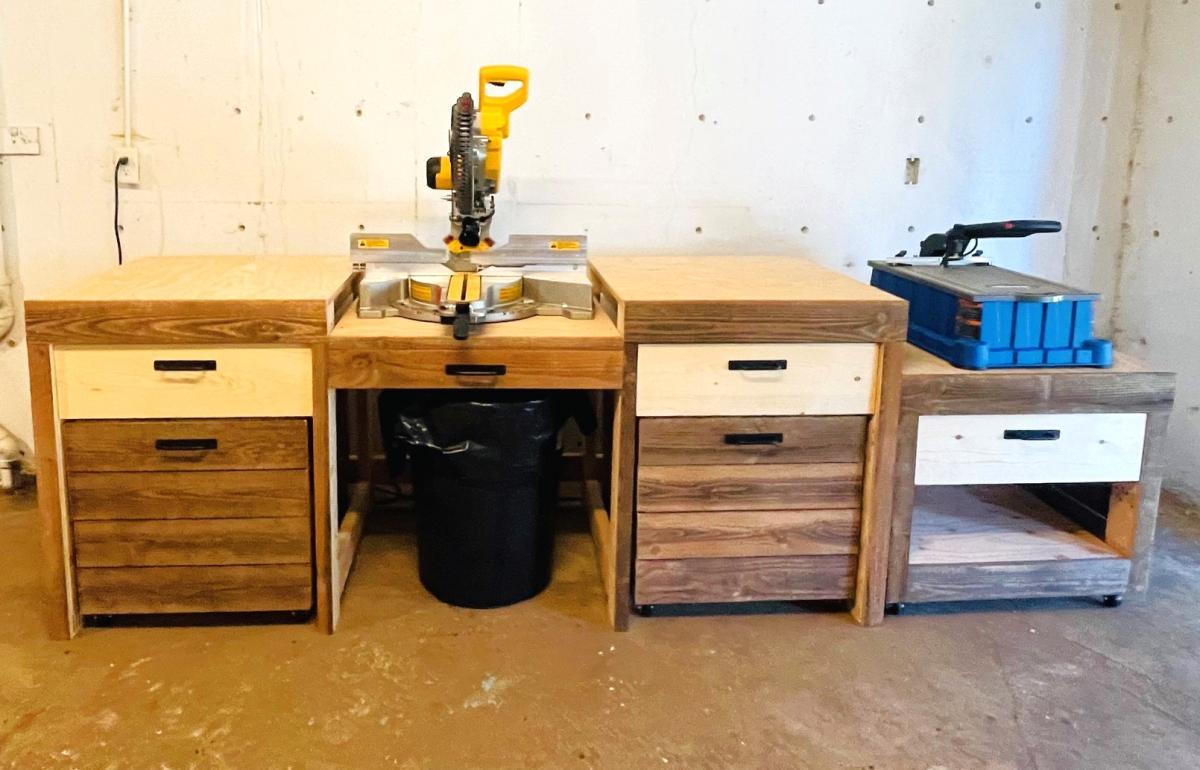
Using Ana's Ultimate Workbench Plan and her easy drawer method I built this. I decided to do storage carts that roll in and out for small scrap lumber storage. The Kreg Foreman got it's own cart, I made it so the deck of the machine was at the same height as the work surface. I added a drawer so all of my kreg bits and screws can be in one place. I had batteries and chargers laying all over my small shop, so I incorporated a battery charging drawer. I'm excited for the projects to come using my new set up!

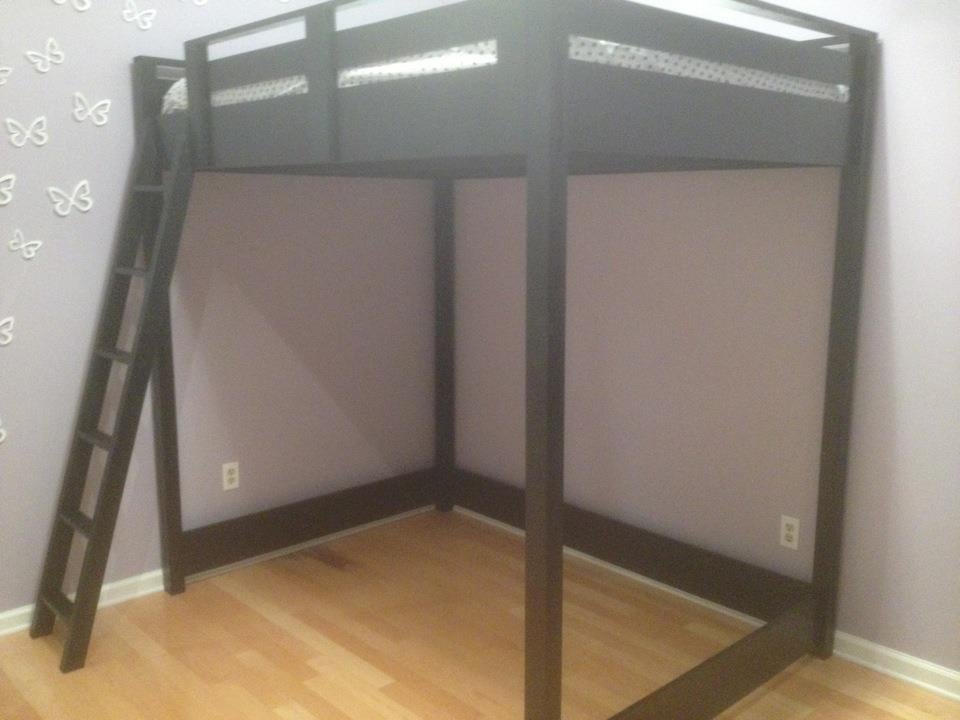
I used the Loft Bed design as a starting point but modified it to meet our specs. We used the Full Size version (added the 15 inches to the width and also made all the legs 8 inches higher. We felt like the plan was great but we wanted a little more headroom underneath. This did make figuring out the ladder dimensions a bit complicated, but with some common sense (and a little trial and error) we were very pleased with the results! We originally were going to just purchase an IKEA Stora loft bed. It was on sale for approximately $300.00 plus shipping, which would have been an additional $300.00! Instead we built this and kept the price around $250.00. This bed is extremely sturdy, doesn't squeak at all, and can easily hold a full size adult. Thank you Ana for the great plans!!
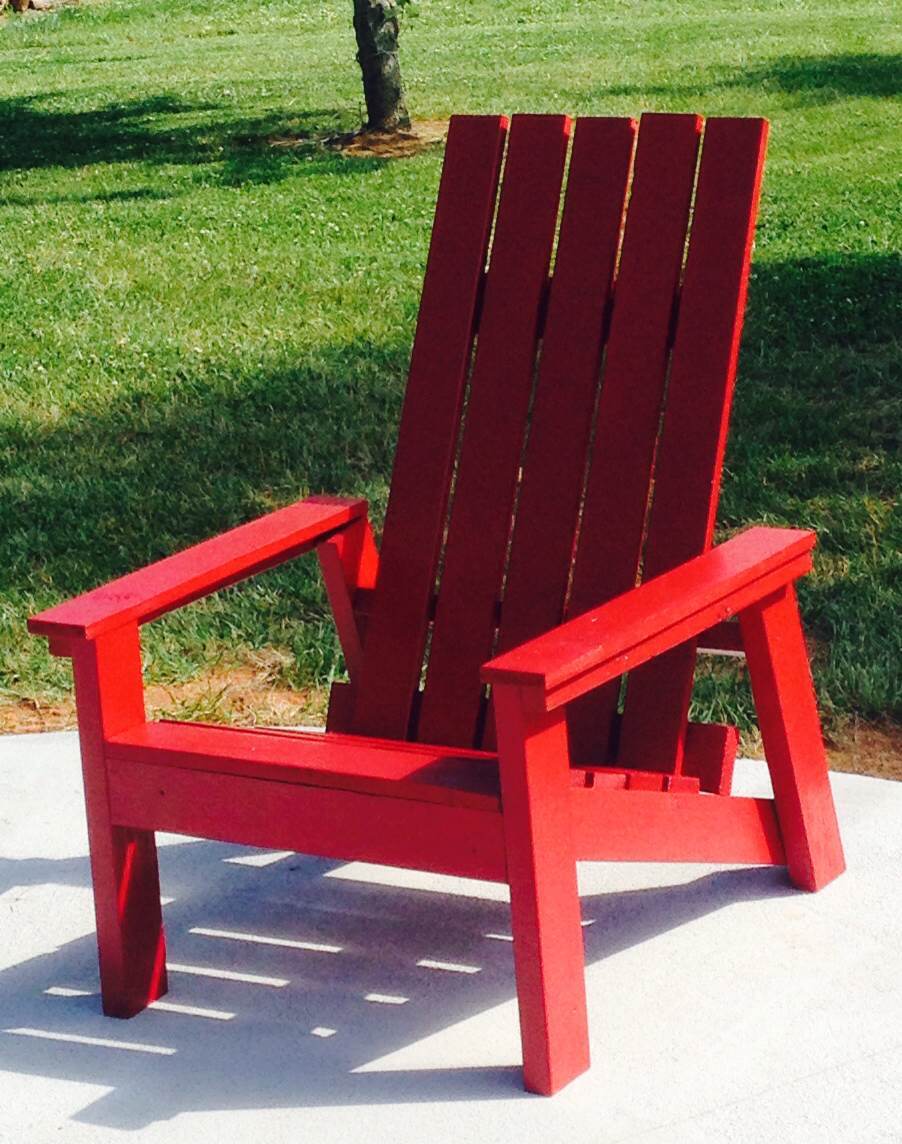
This was my first wood working project! Now I just need to make 3 more.
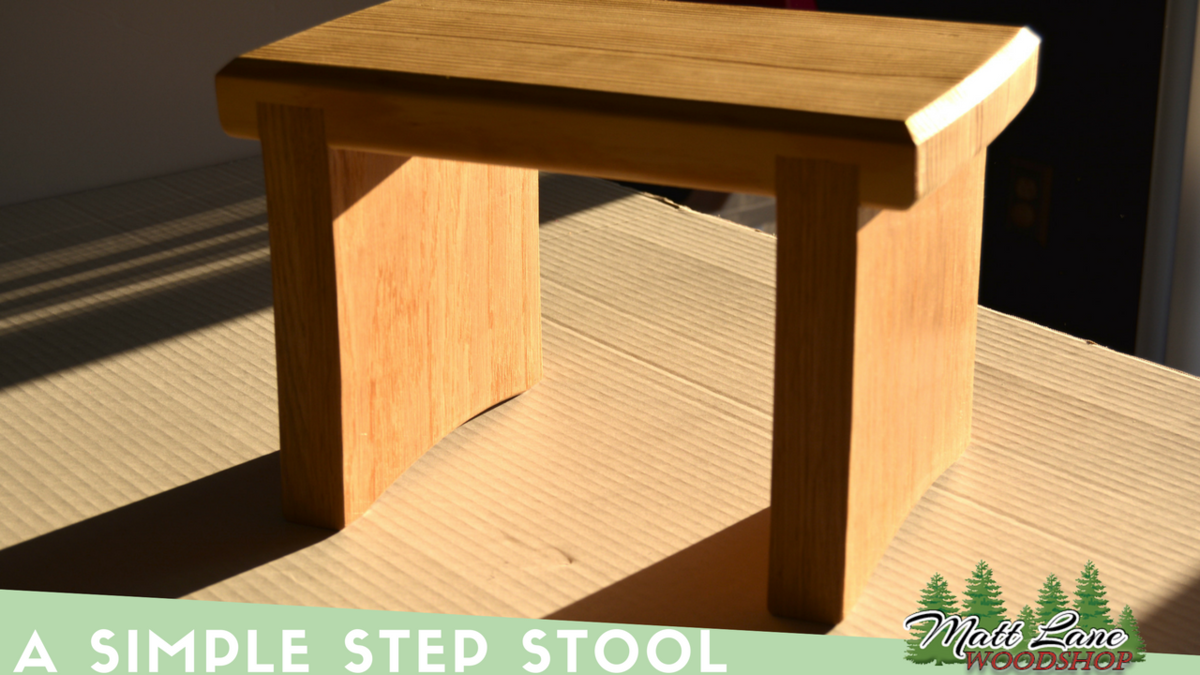
This is a simple wooden step stool I built for my daughter using some wood I had around the house. I wanted to build a small stool that was easy for her to carry around and access items that she needed.
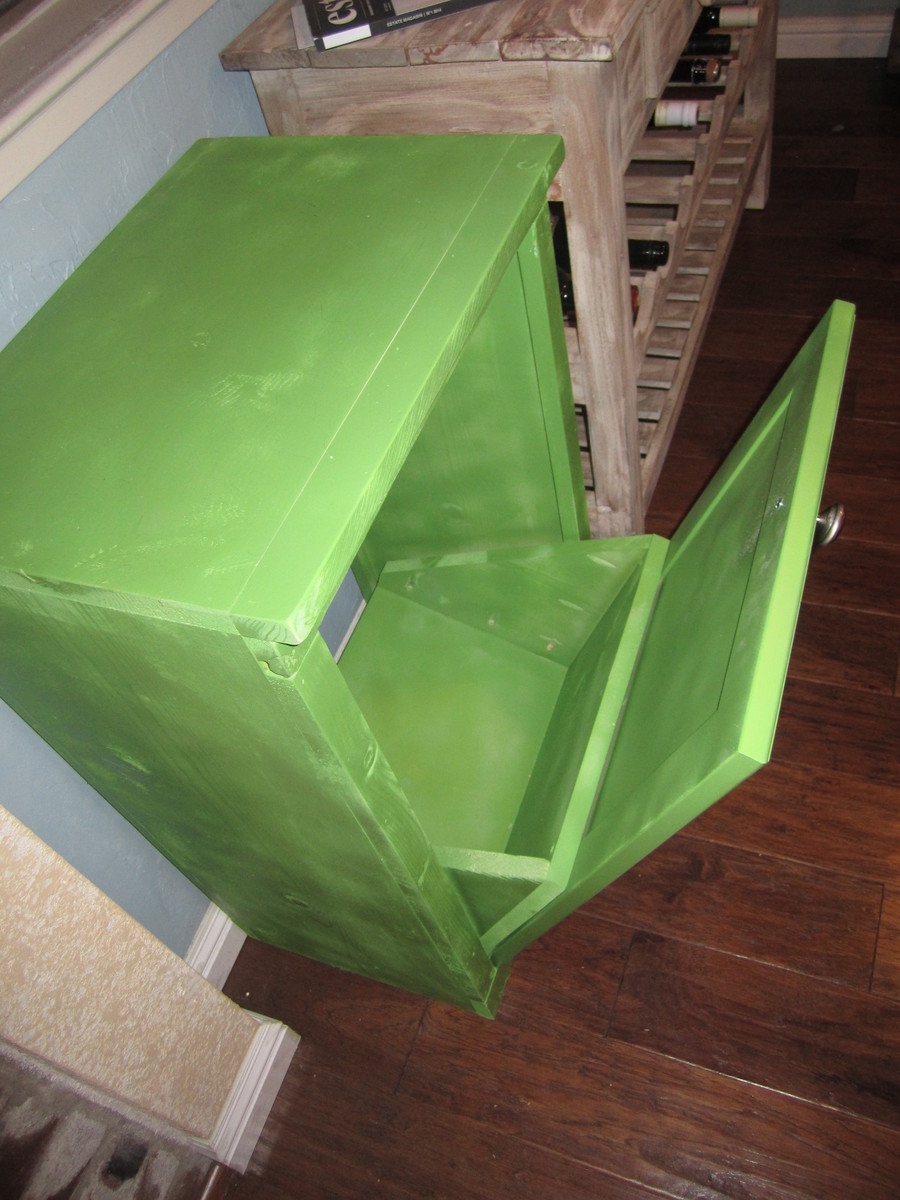
We really needed something to put our recycling in. A paper bag on the floor just wasn't cutting it anymore! I saw this plan and knew it would be perfect, especially because it fits your normal grocery store paper bags. It was also my first project using a Kreg-Jig and I love it. A lot. Just fyi for anyone on the fence like I was for a while.
Our own mix for the sliding door console. Stained the entire unit with Jacobean stain, then light grey chalk paint. Distressed with 150/220 grit and waxed. Top and shelves are Jacobean with 4 coats of satin polyurethane. Absolutely love how this came out. Roughly $300 spend at home depot on all supplies. Wife and I finished in about 17 hours this weekend.
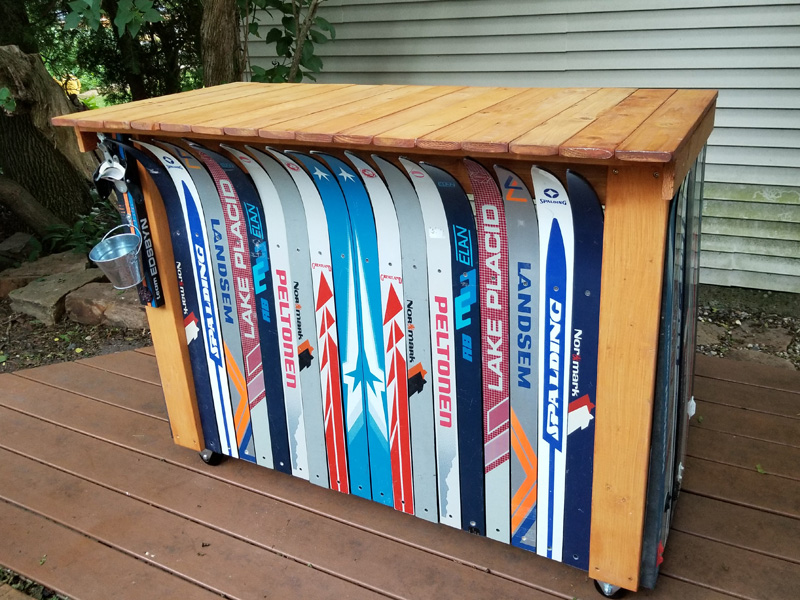
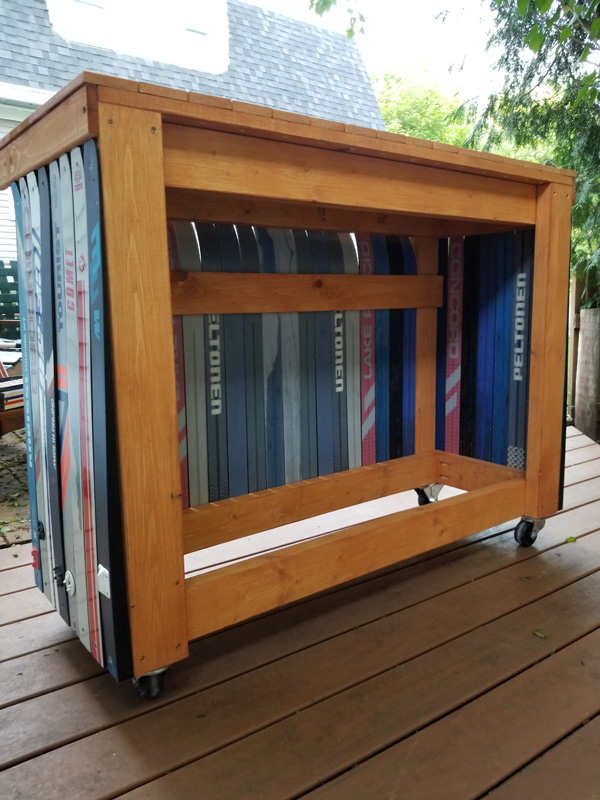
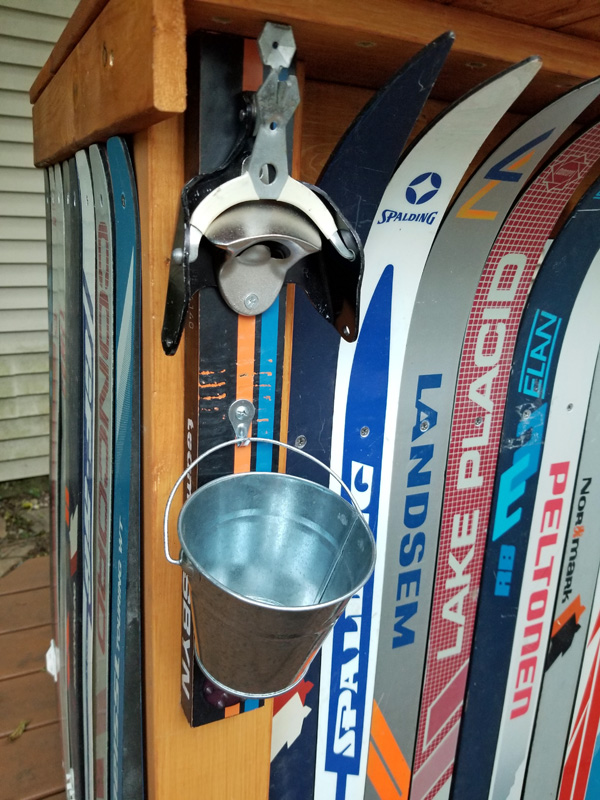
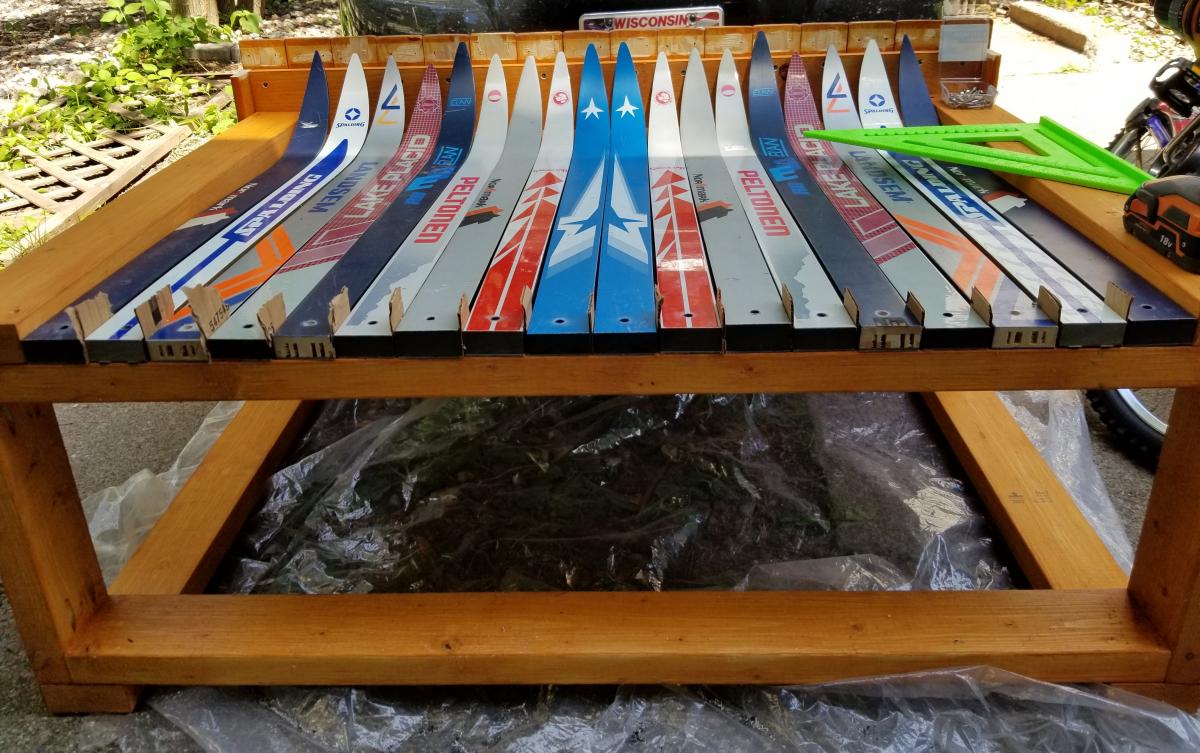
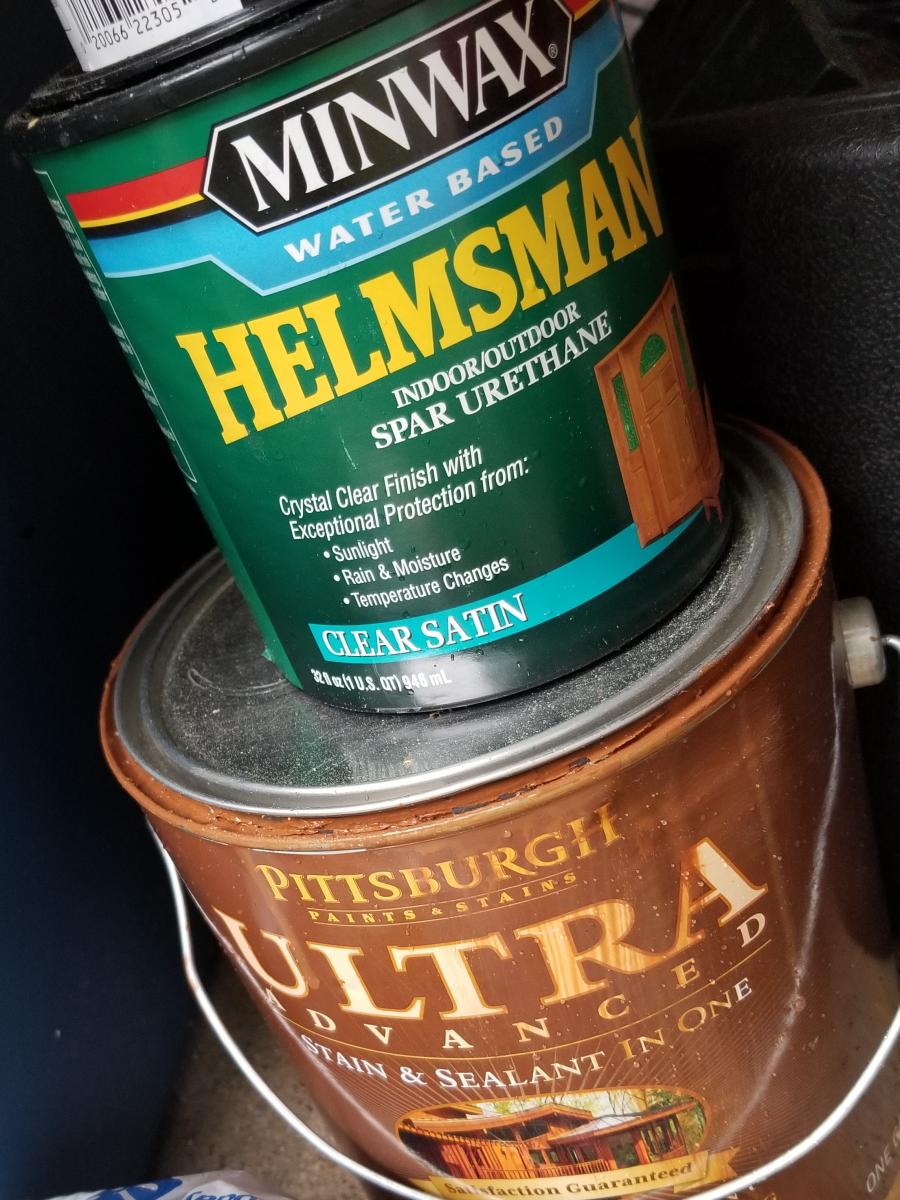
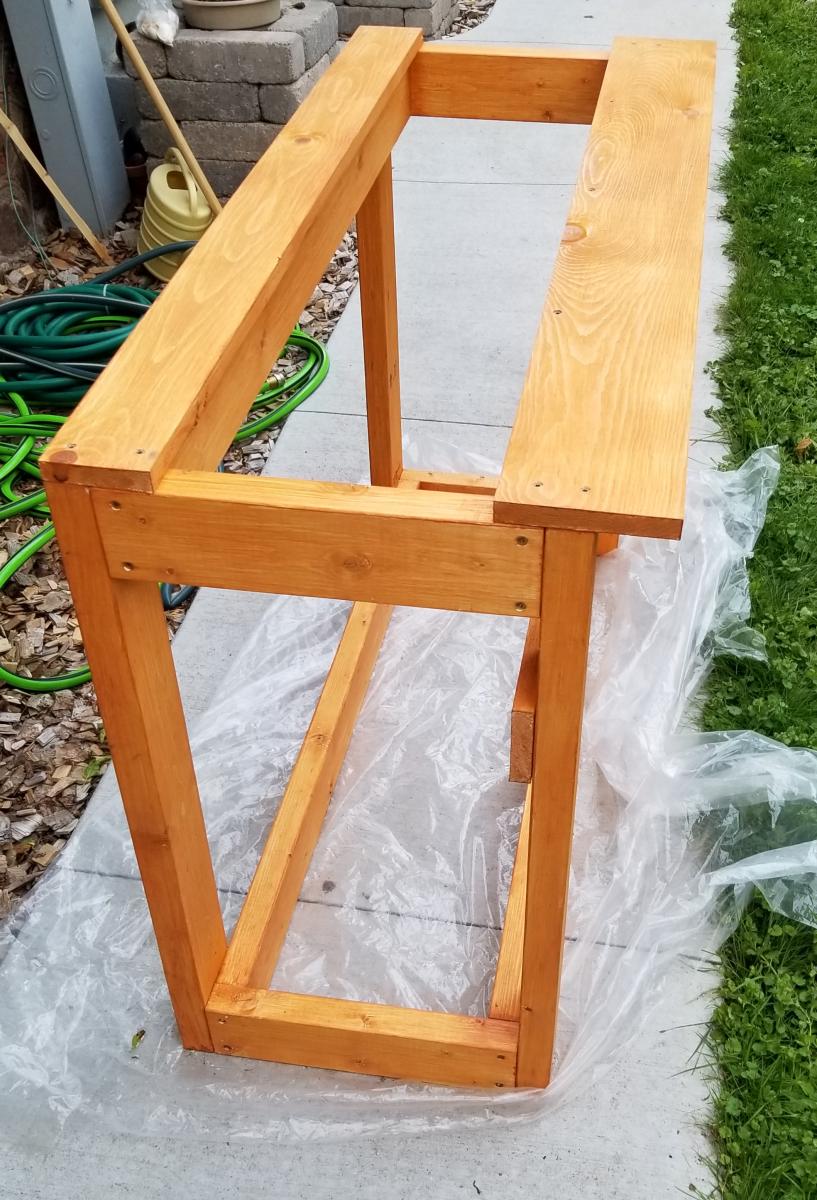
I'm calling this a Skiki Bar which is a word play on Tiki bar. It is based on the Simple Rolling Cart design. I used my own dimensions according to the width of cross-country skis. I have a large number of these old skis for projects. They are sold for very cheap at garage sales, etc. The top of the bar is made from boards that I had removed from an Adirondack chair set, which I had made Ski chairs with. So those were already stained and they matched the stain I used on the pine 2x4 frame of this Skiki Bar. I already had a pair of wheels laying around so I only had to buy 2 more of the same size. The pictures were taken before I installed a shelf on the bottom with some scrap plywood I had in my garage.
I estimated the time to factor in how long it takes to stain all the boards and let them dry.
On the left edge I installed a Ski bottle opener I made.
I estimated my cost on what I bought that I didn't already have. I bought the pine 2x4's (also a 1x4, 1x6), Construction Screws, Stainless Steel Screws (For attaching skis), and 2 wheels.
I already had: Skis, Bar top boards, 2 wheels, deck screws (attaching the bar top boards from underneath), stain, clear coat, wood glue and tools.
My next project is to make Ski bar stools. Thanks for having a look at my design!
These chairs are fairly easy to make. The side boards were the hardest part.


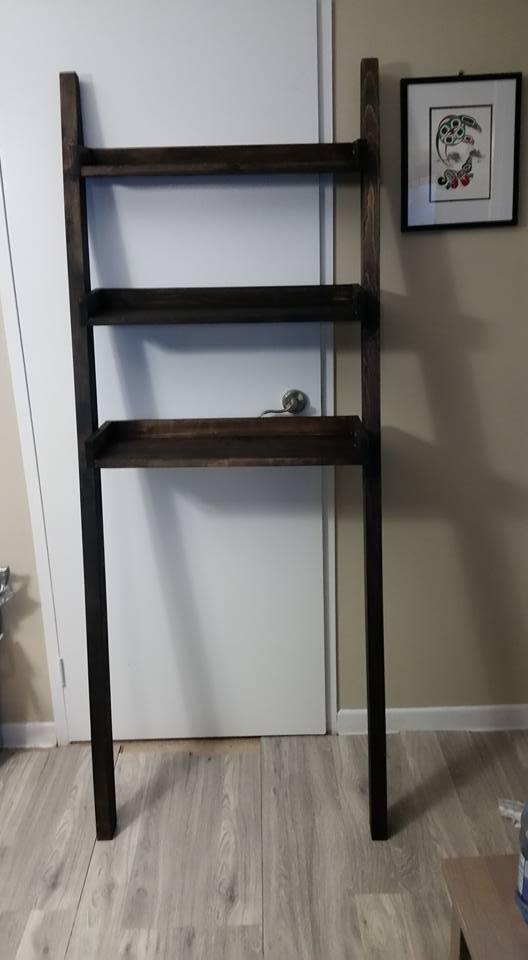
I followed the directions and made two of the same shelf -- using a expresso gel stain. I love it in my bathroom!
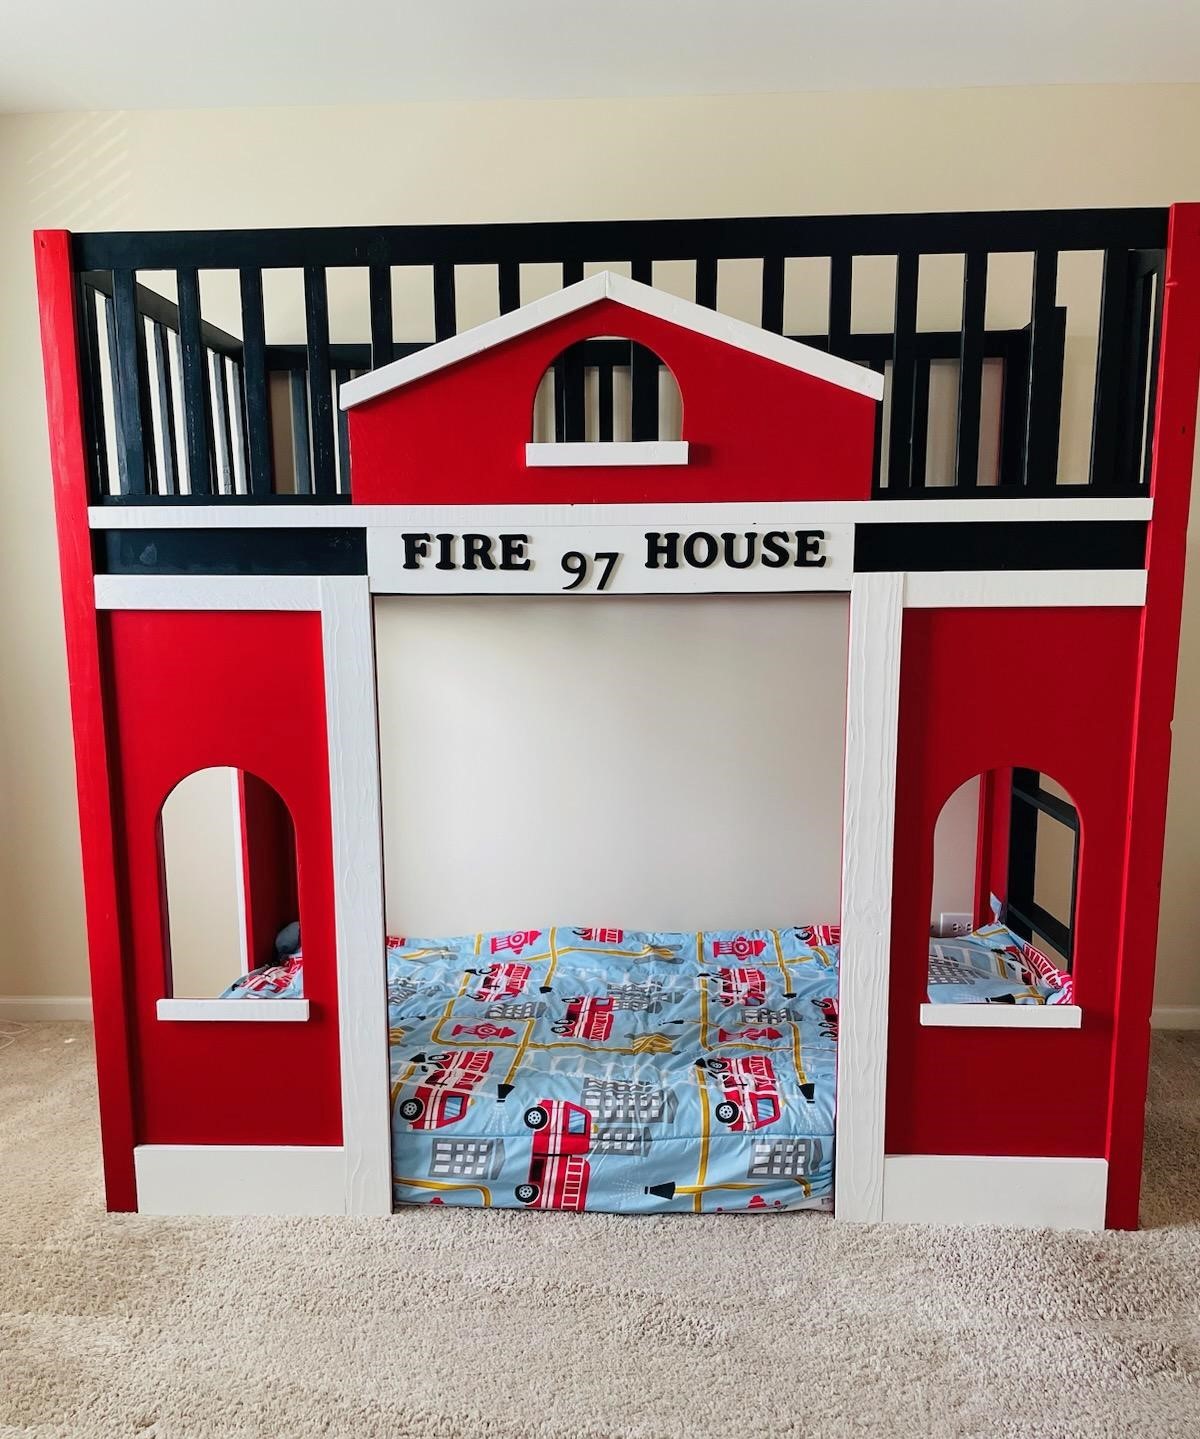
Our son moved up to a big boy room and we made him the Fire Station bed. He LOVES it. Not quite ready for him to use it as a loft bed so he is sleeping on the bottom for now.
Kaity
This is a Christmas gift for my granddaughters, and it was a huge hit! It is white pine 1x4's with 4 coats of polyurethane for a smooth finish.


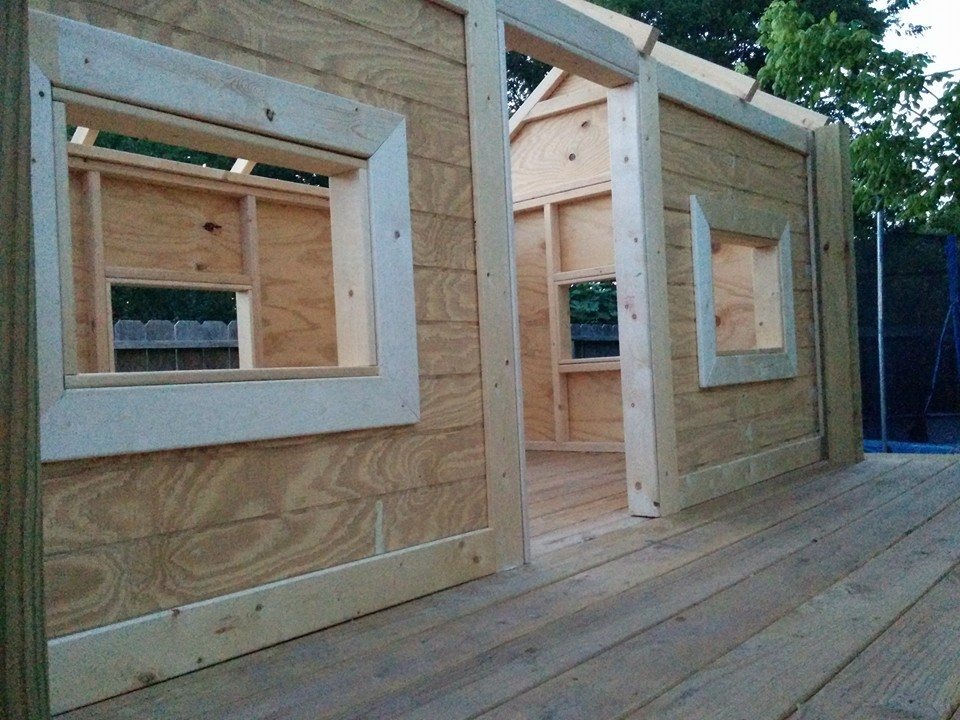
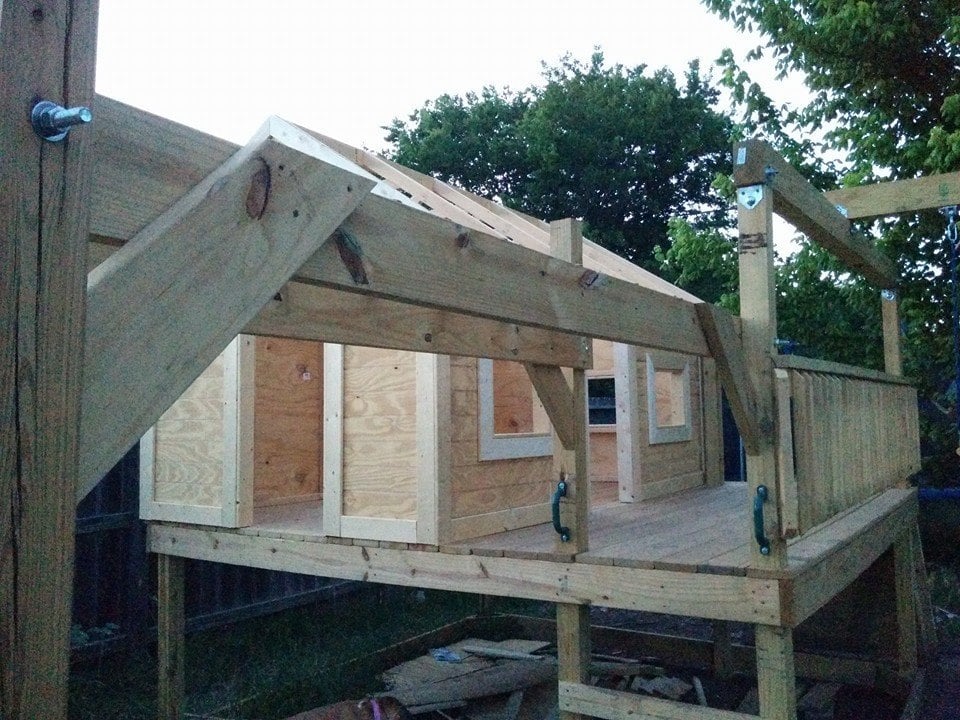
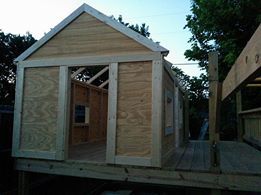
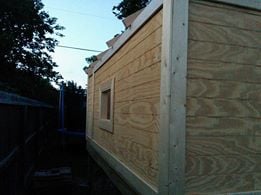
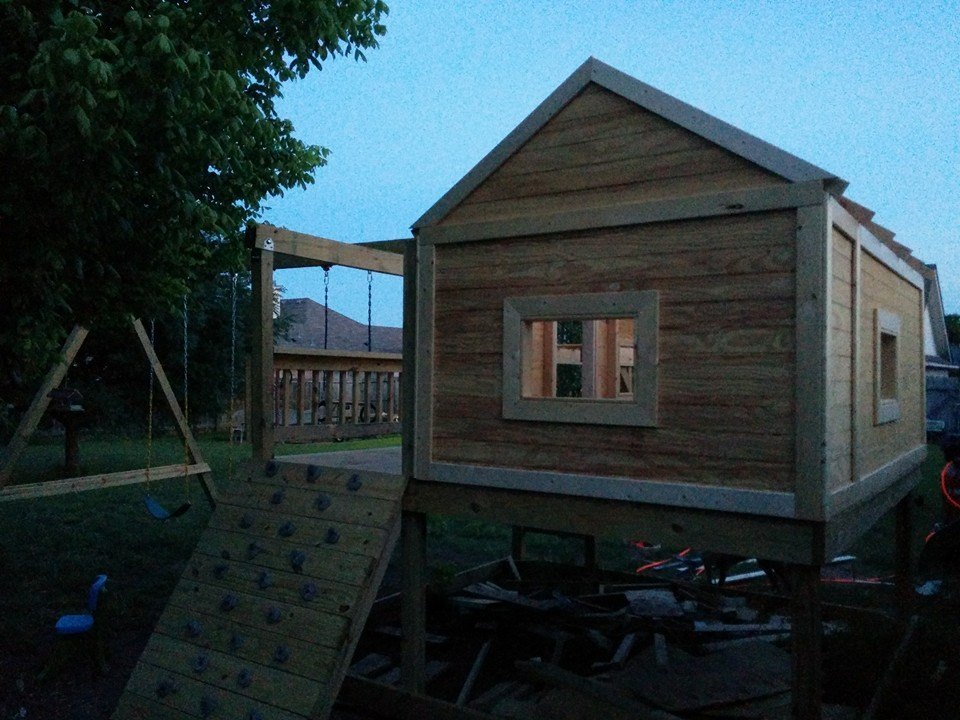
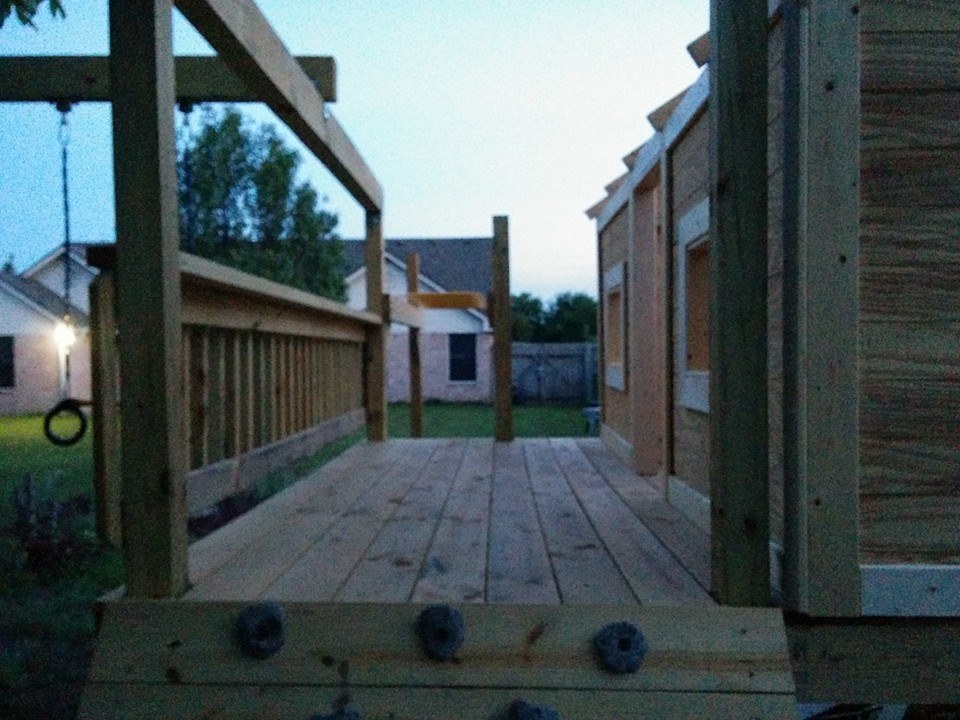
Built using the plans as a starting point and built it bigger than the plans called for.. The deck is 10x10 and the playhouse is 6x10. I used pressure treated lumber for everything but the playhouse. I still need to paint the house and stain the deck, then put the roof on.. if it would stop raining.. Once i'm done staining the deck I can put the slide back on also. ''
Swings, monkey bars, and rings / trapeze was ordered from Amazon.
Our son is learning cello and we were told he needed a 14" chair for practice, so this plan looked perfect.
Other than tweaking some of the dimensions as the plan didn't seem to quite work, the only other change I made was to use wooden dowels instead of screws to give it a cleaner finish.
Seems stable enough for me to sit on.
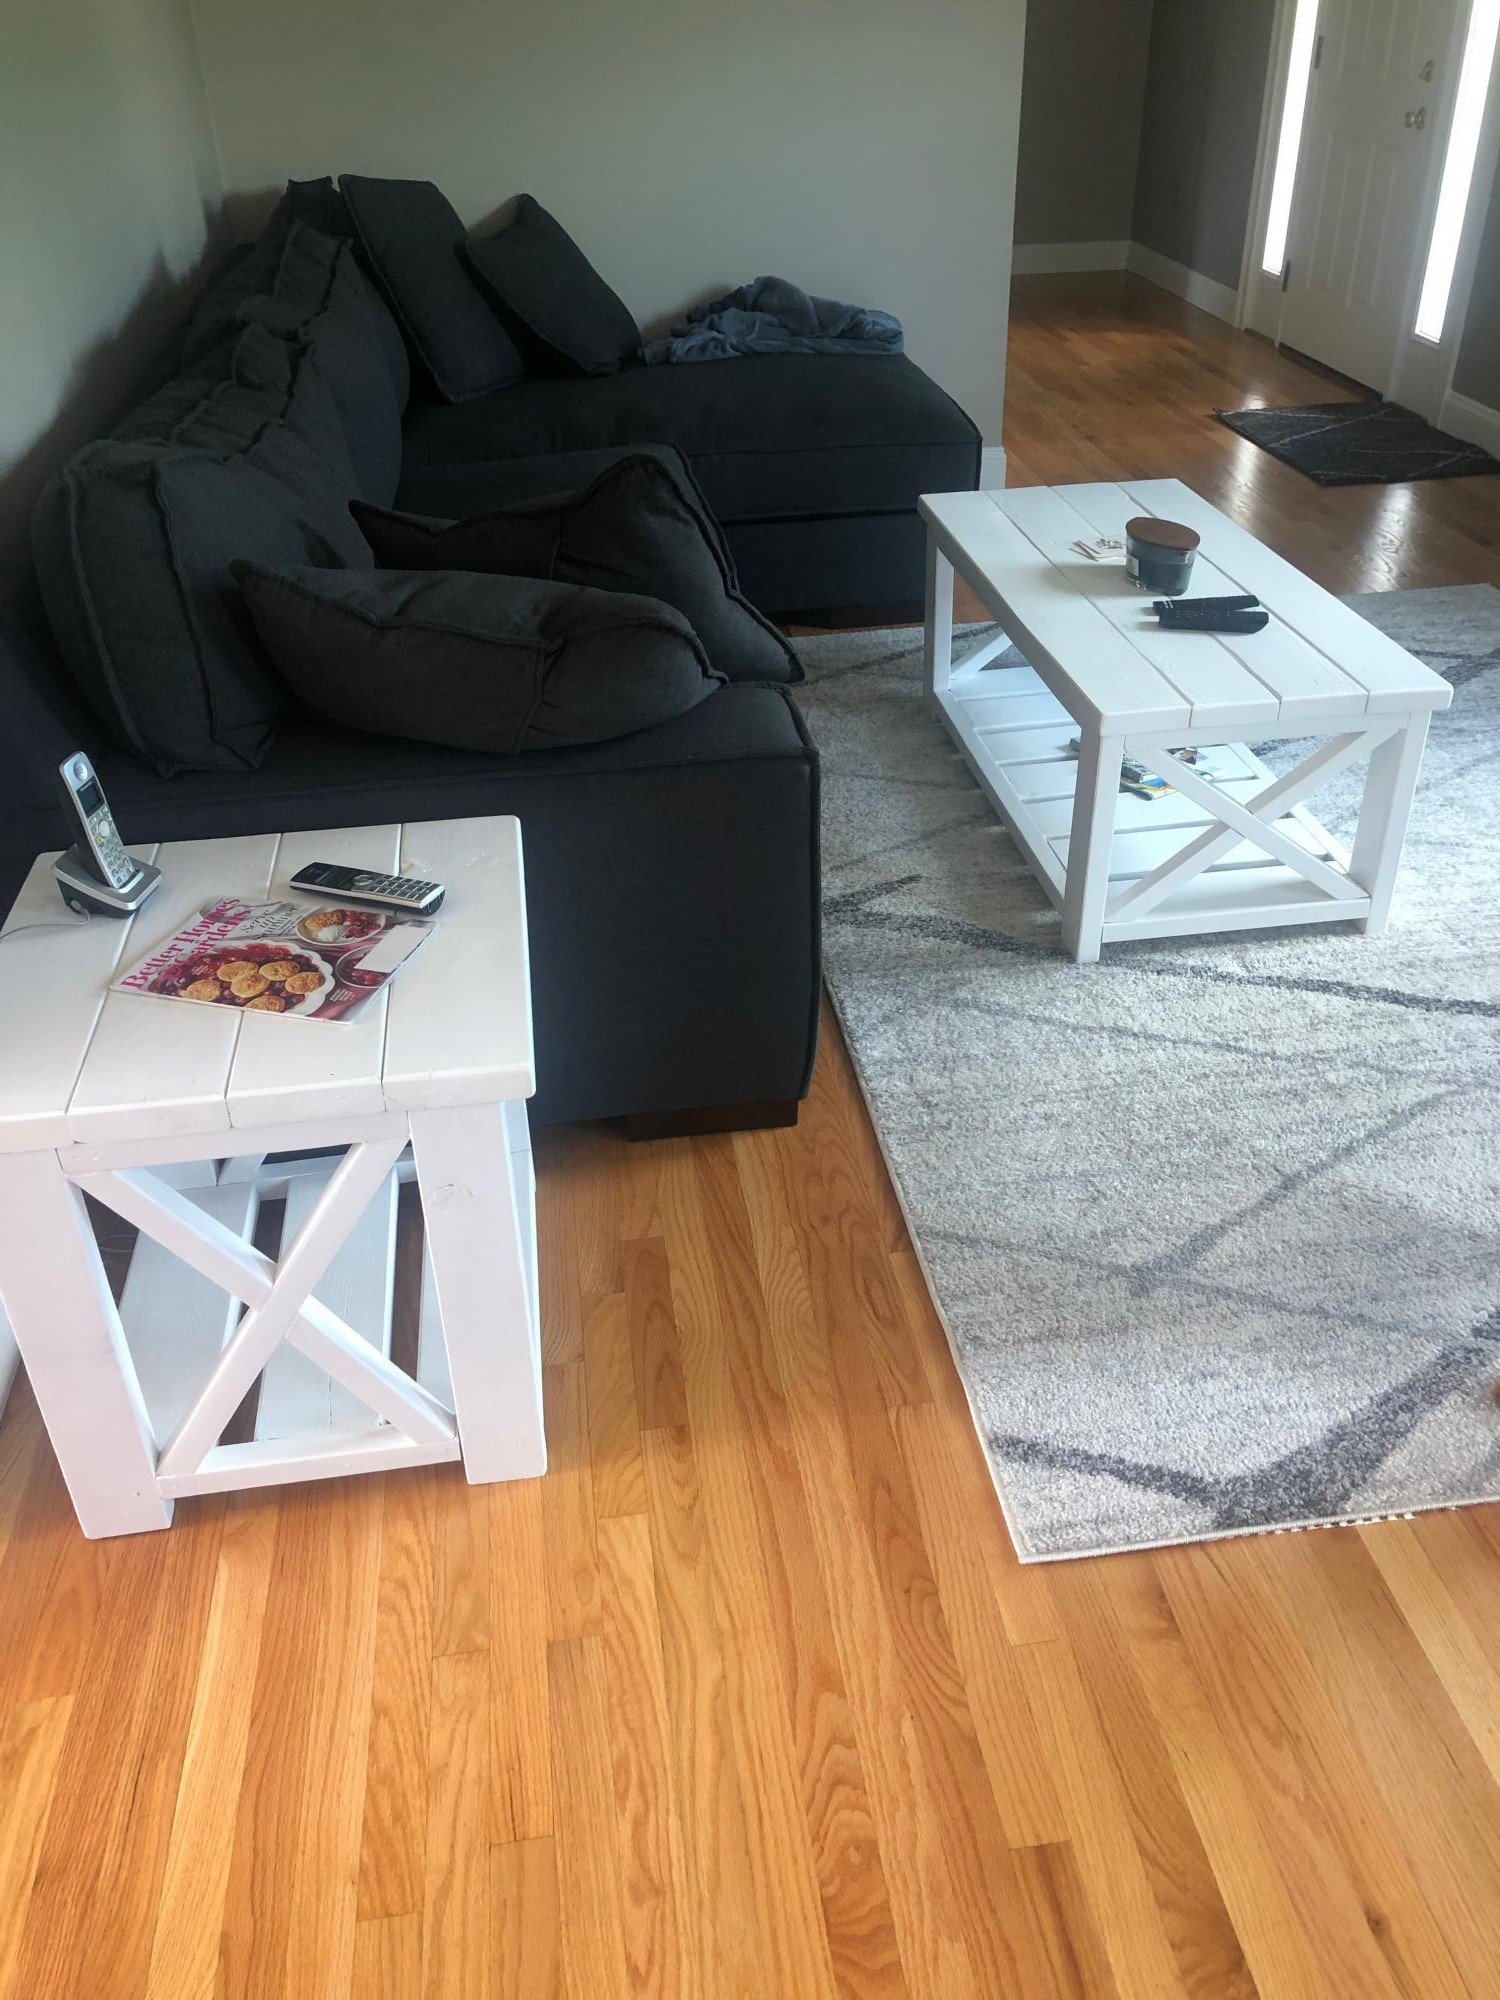
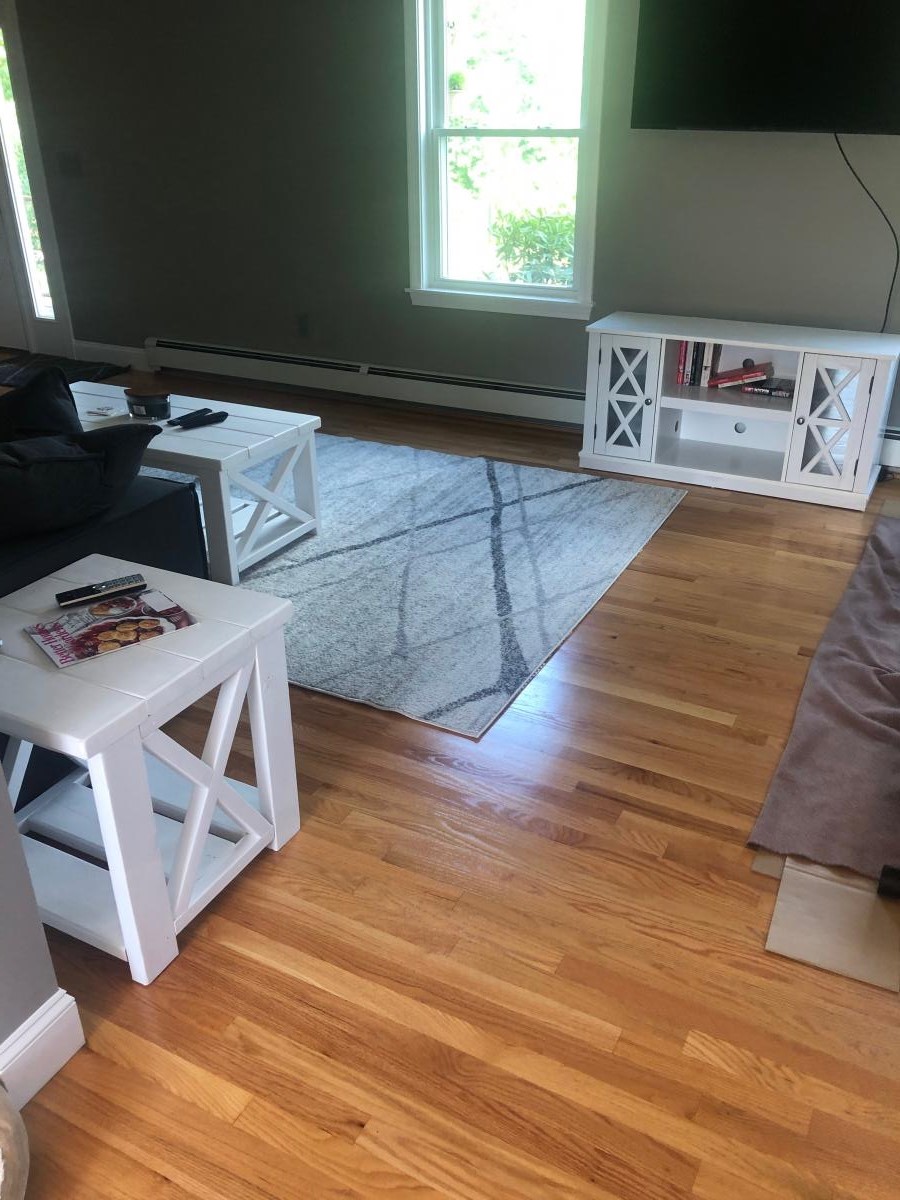
My mother wanted something to match the table she got for under her TV, and I found the plans here for the x-style coffee table and small end table to be very fitting. The crosses were pretty difficult with just a hand saw, but with the help of my brother in law we got these done in a few days.
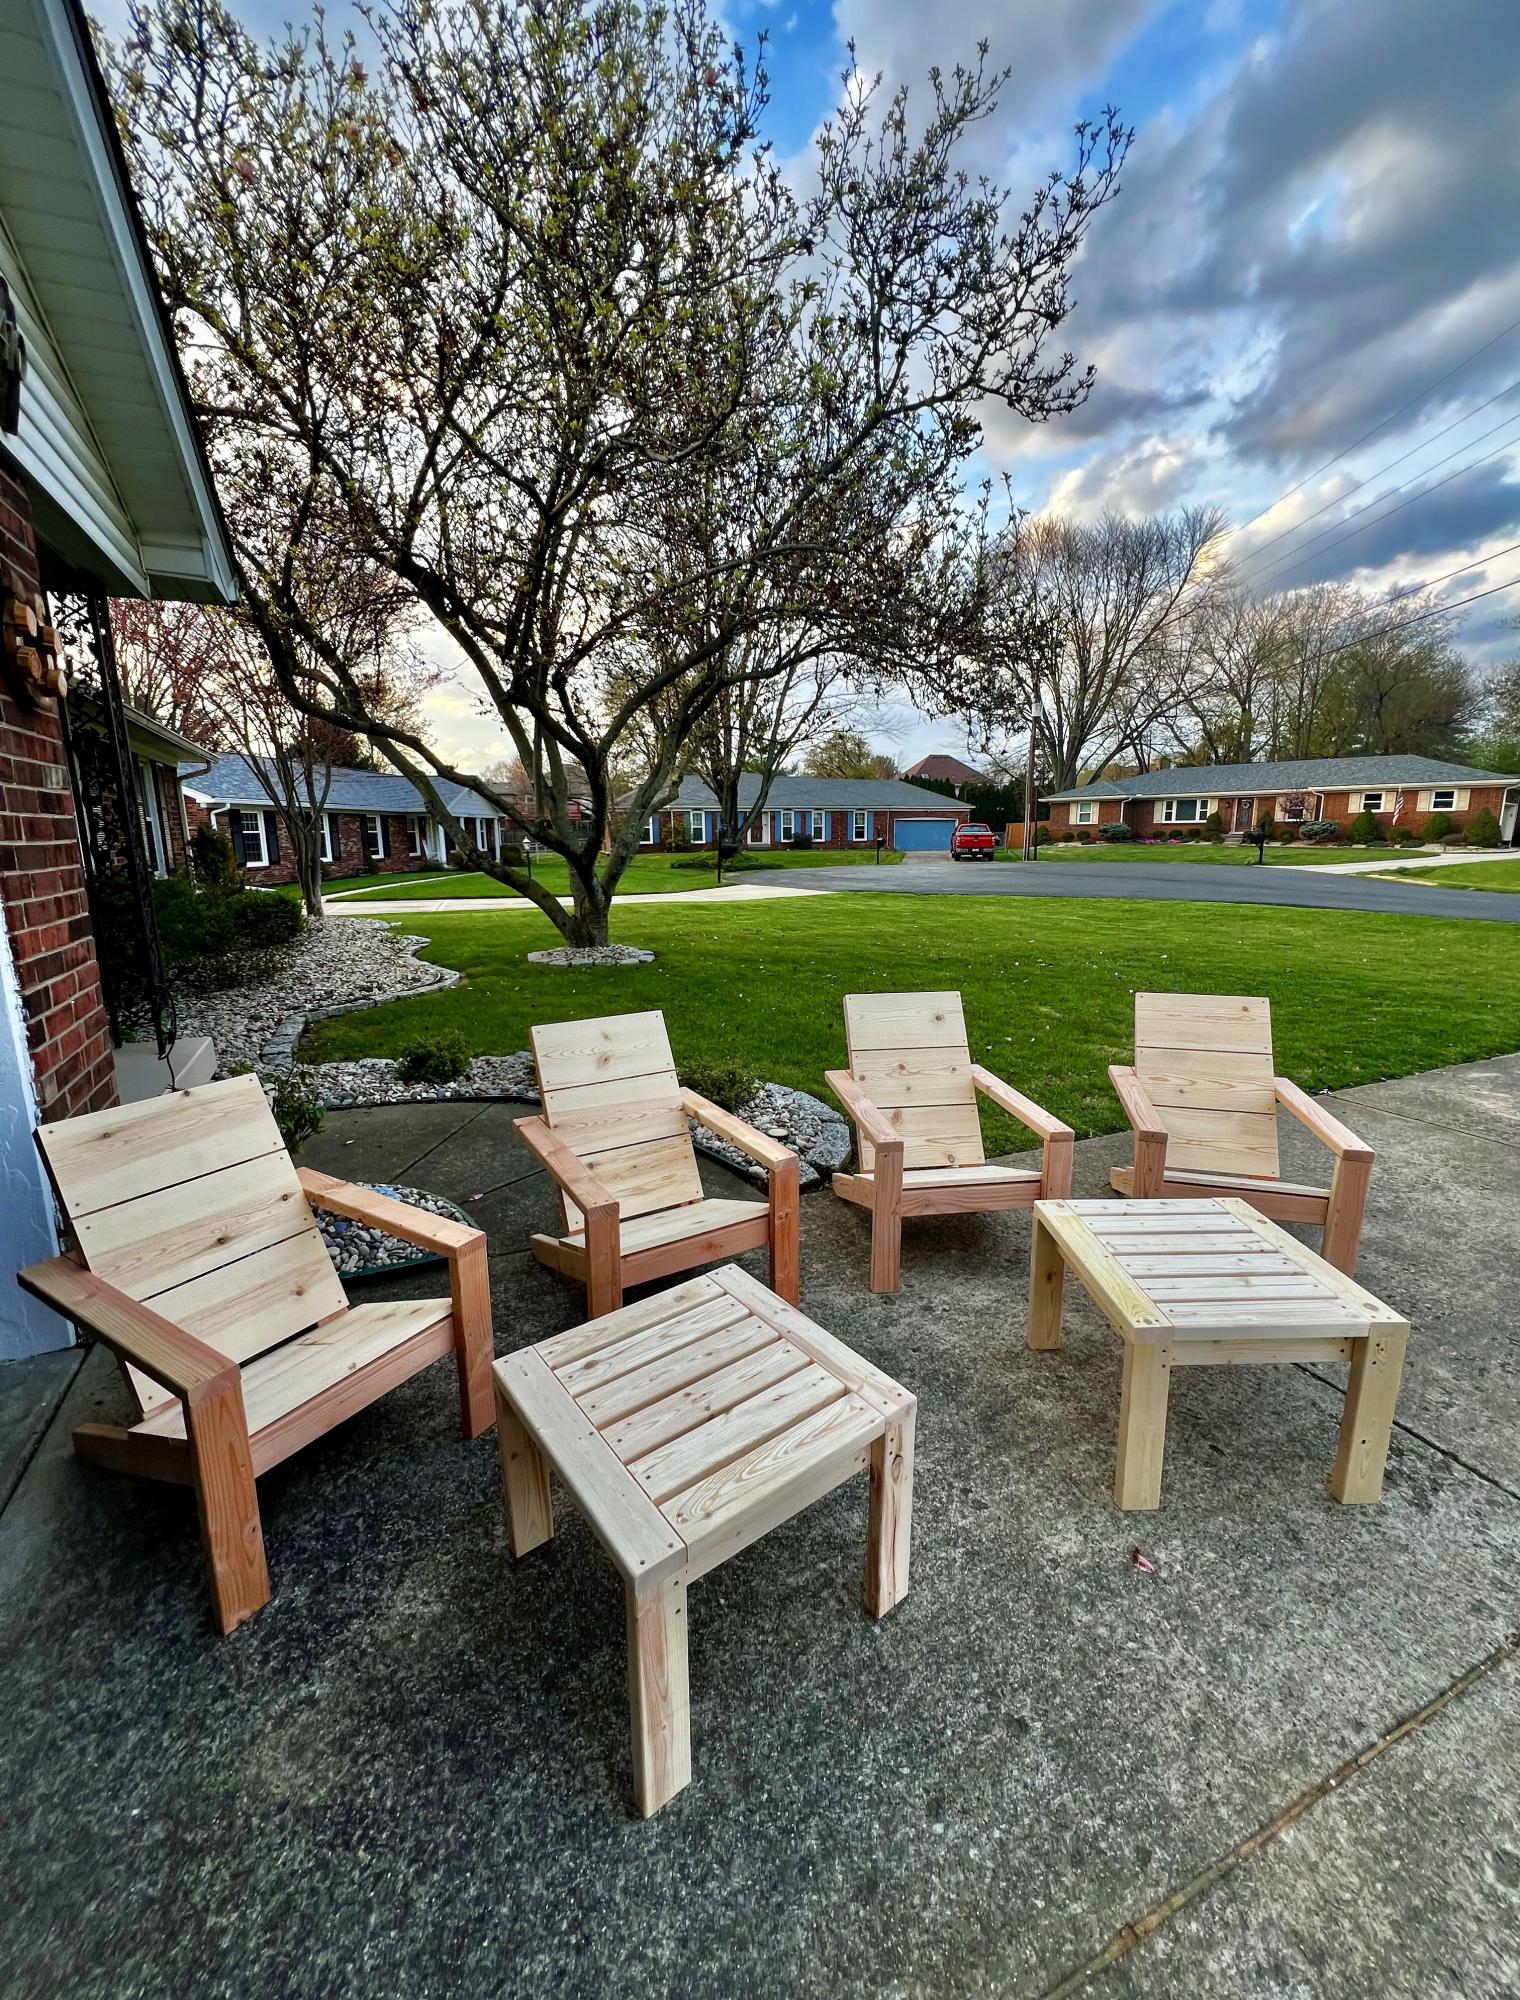
We needed a new fire pit area for the back yard. Your Adirondack chair and side table designs were a perfect fit.
