Community Brag Posts

Bookcase

Submitted by Aggiegirl on Thu, 03/12/2020 - 04:41

This was a "scrap" project, I used leftover wood to make this little bookcase for my niece. 

Estimated Cost
$31
Estimated Time Investment
Afternoon Project (3-6 Hours)
Finish Used
Glidon paint in Oatmeal
Recommended Skill Level
Beginner

Potting Bench from Pallets

Submitted by Anonymous (not verified) on Sun, 10/29/2023 - 19:02

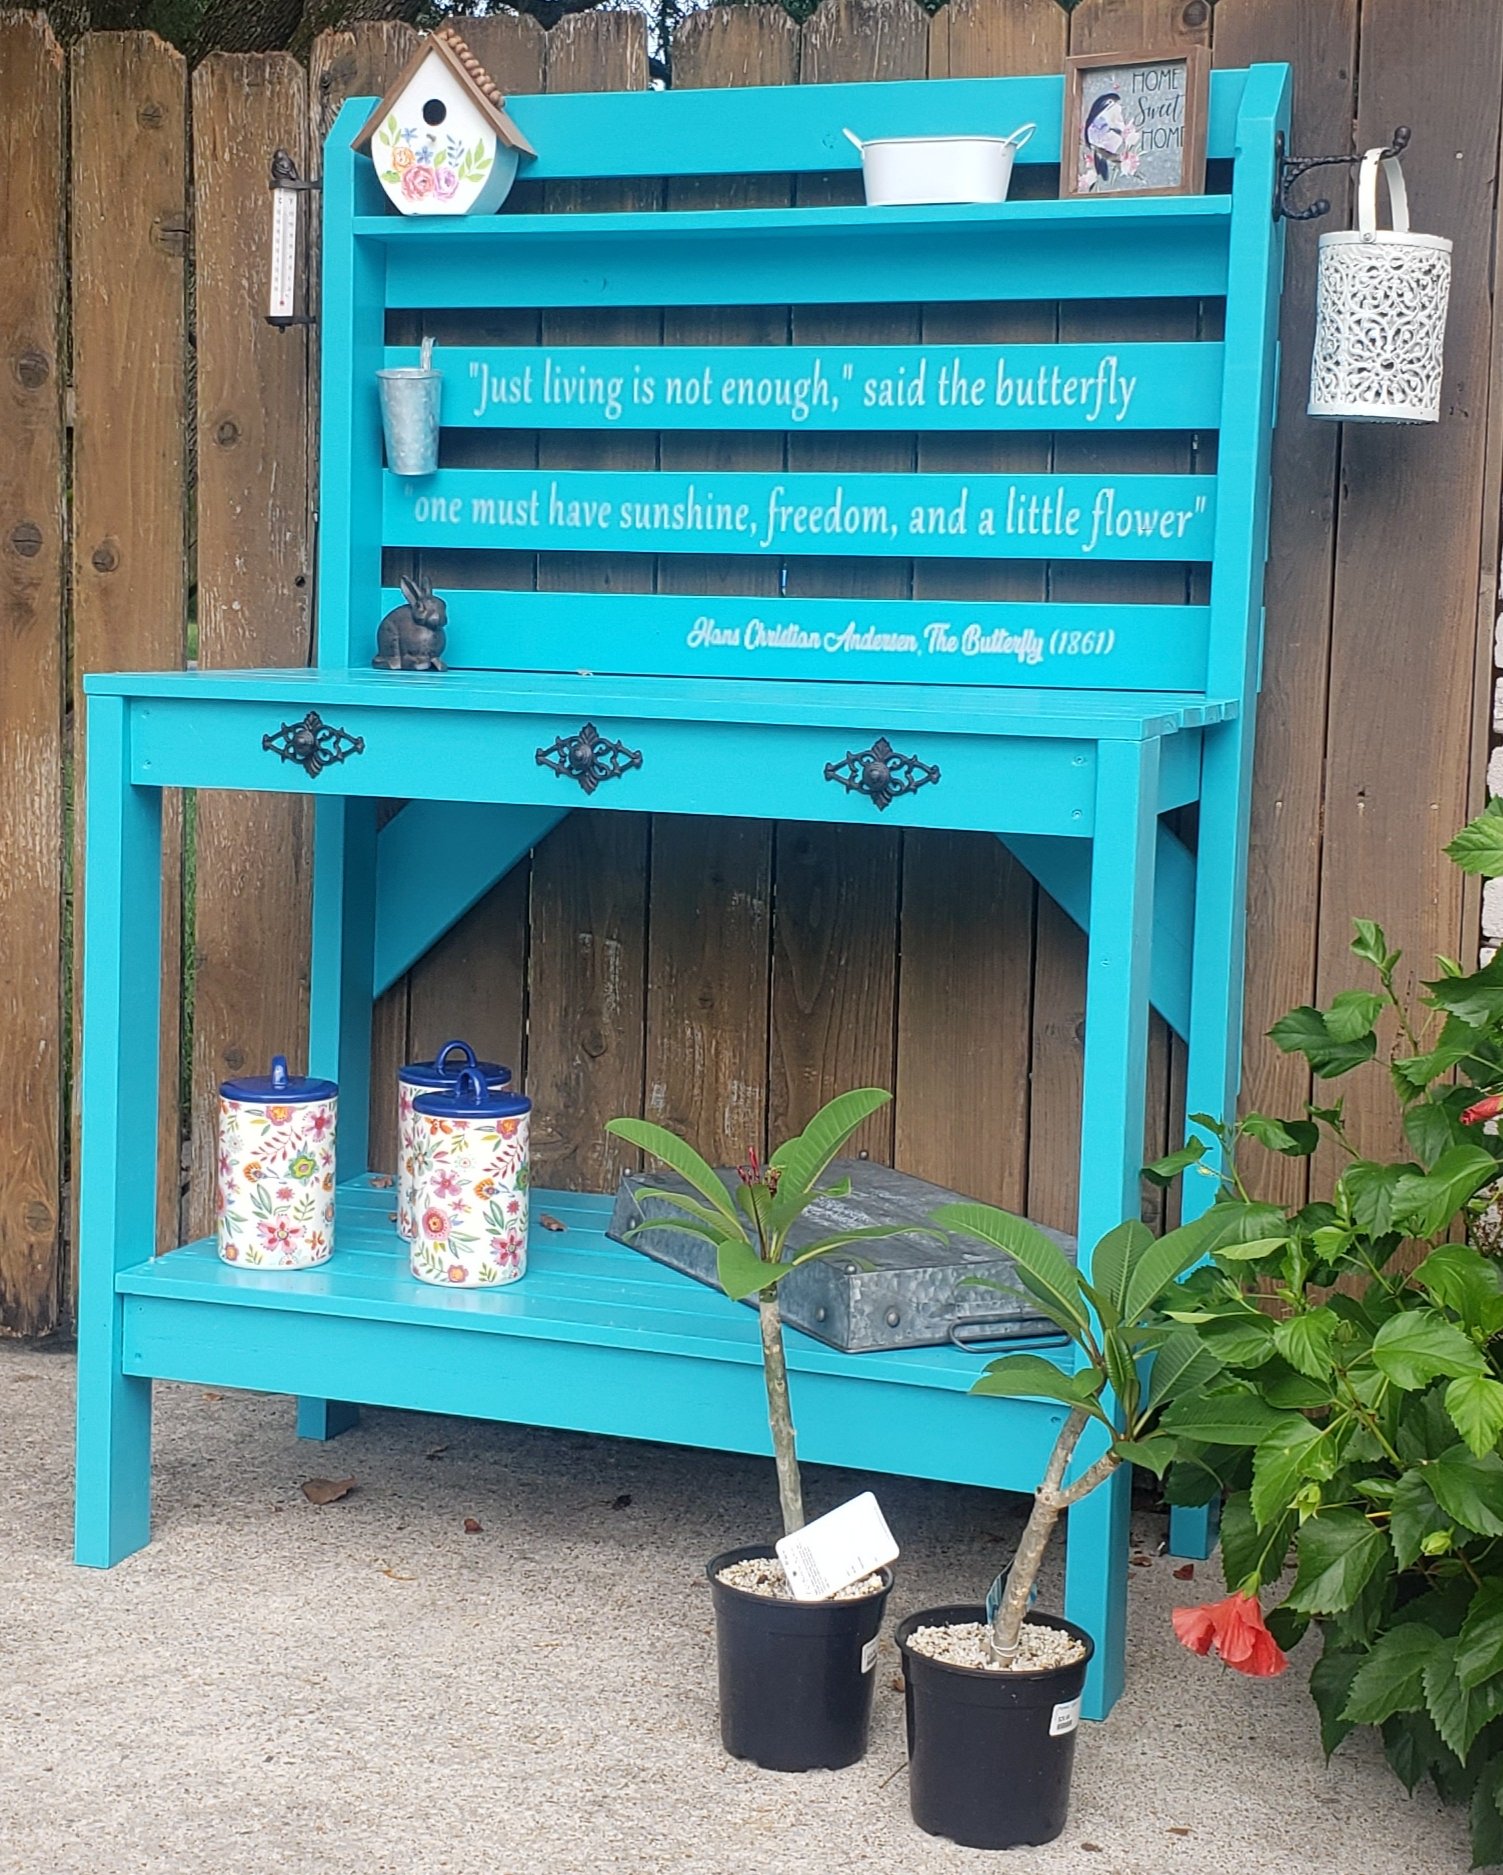
I built this potting bench using leftover pieces of pallets and play wood from other projects...
It is a three-level bench to maintain order with my pots where we start our seedbed crops and reproductions by cuttings.
Any comments to improve my design will be sincerely appreciated.
Regards
Claudio from Chile

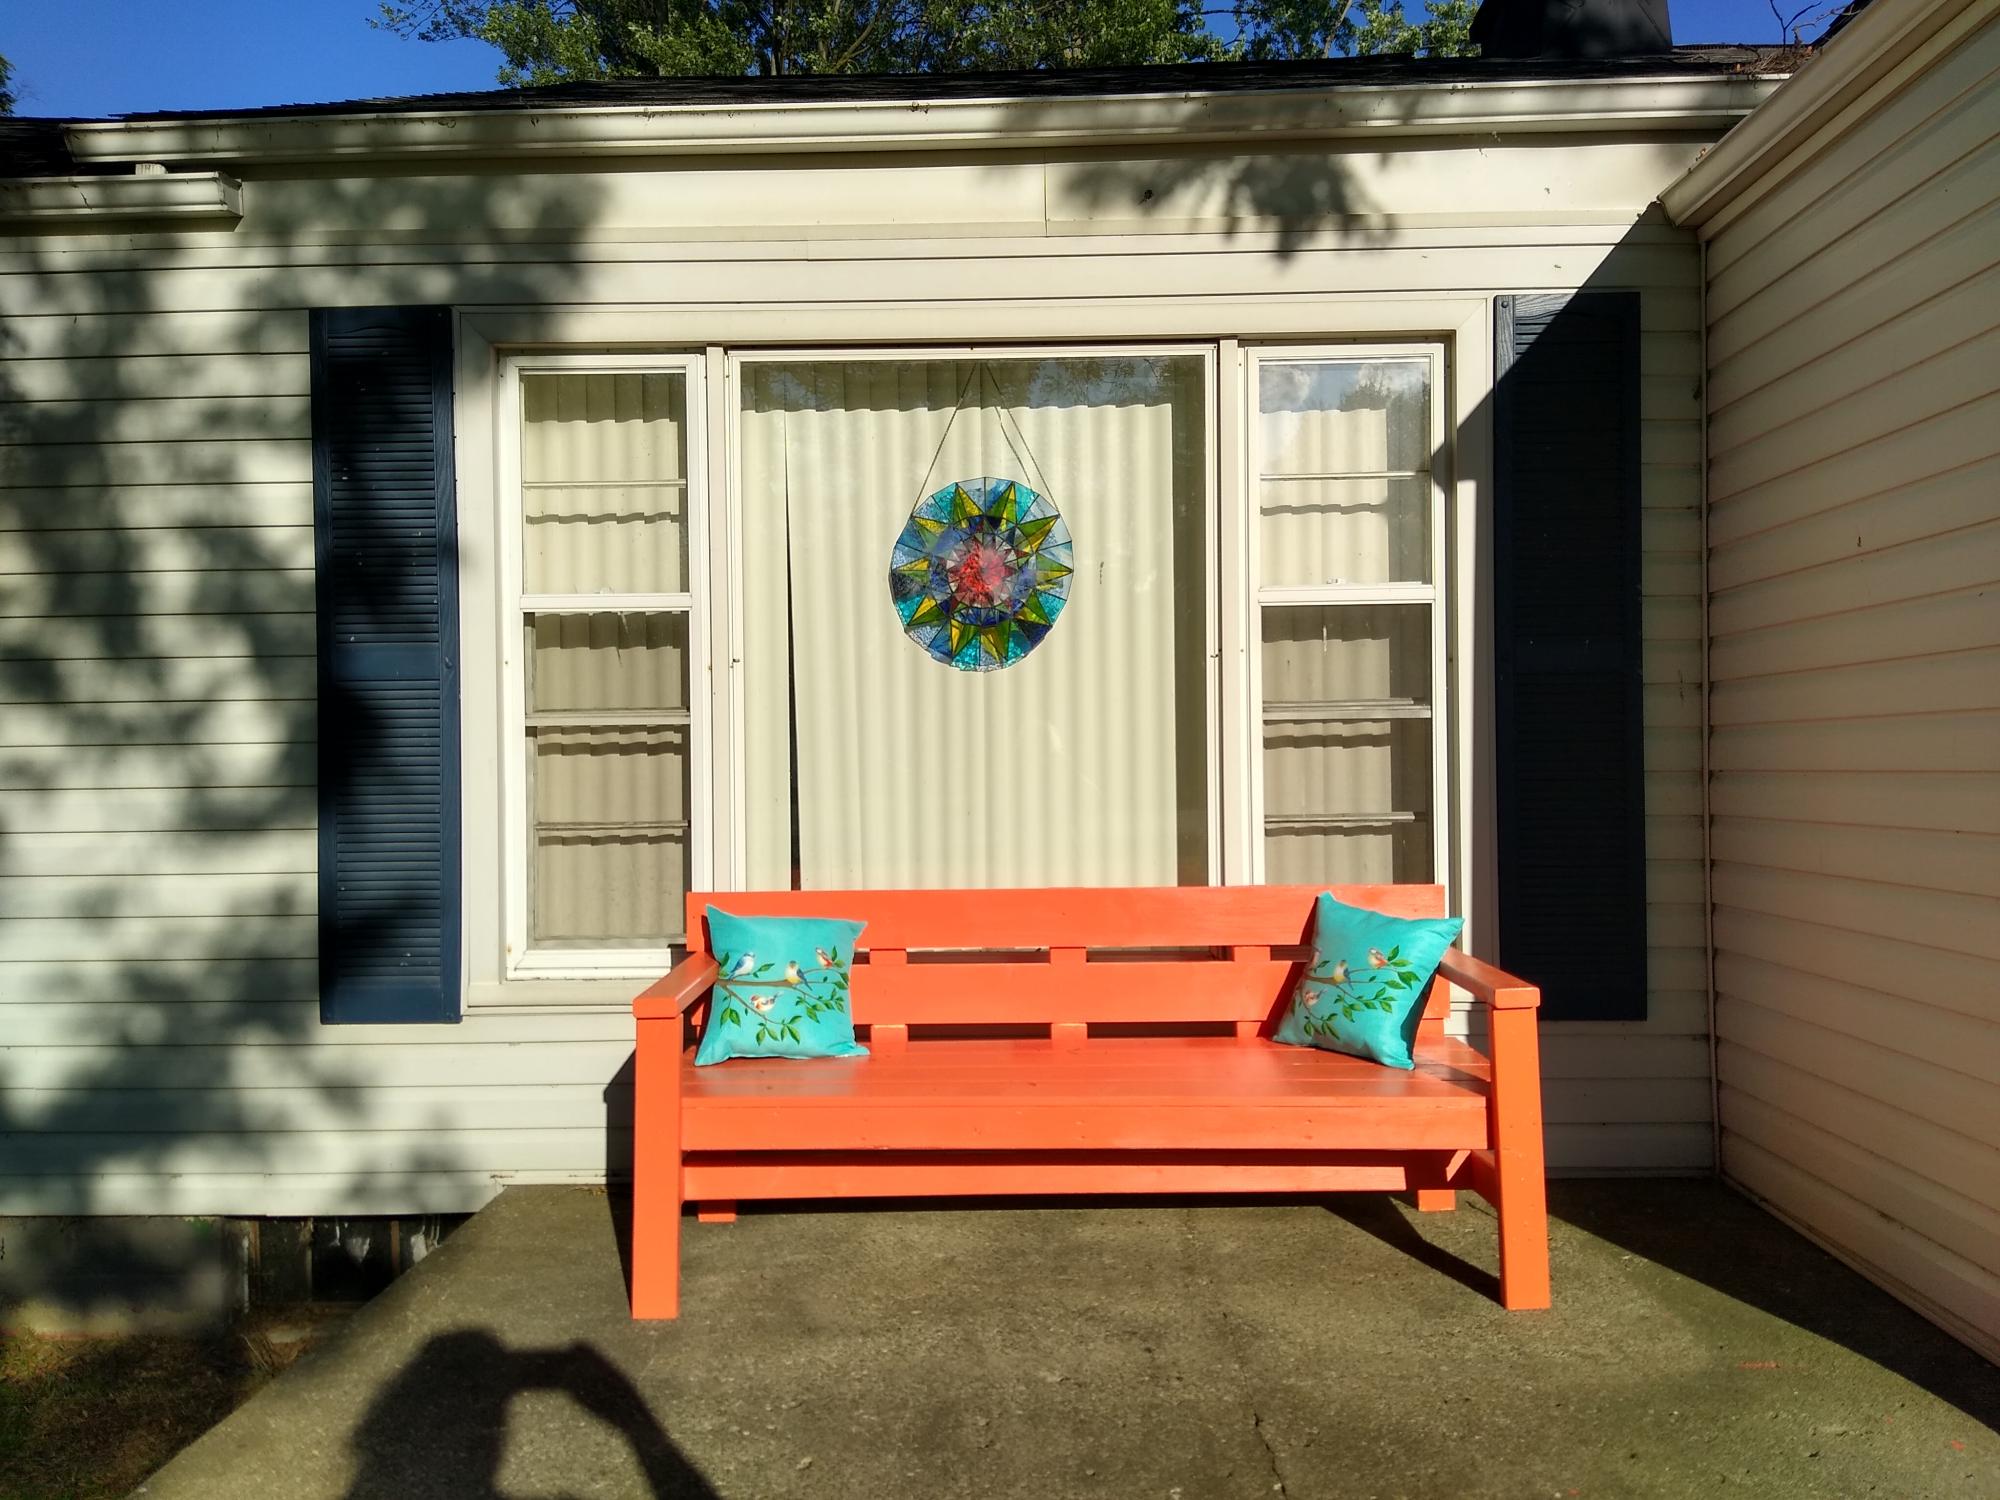
Rustic X-Bench

Submitted by wibblee on Wed, 05/16/2012 - 17:46

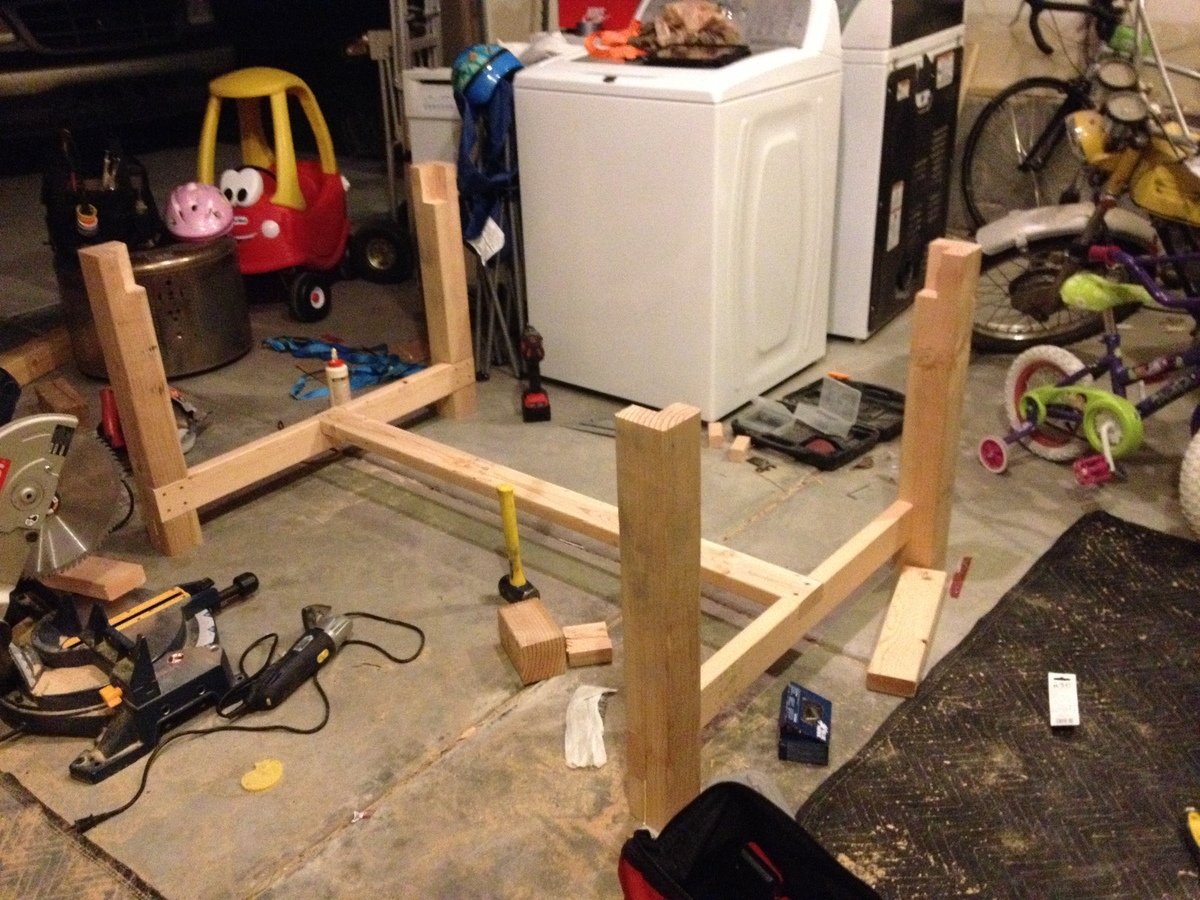
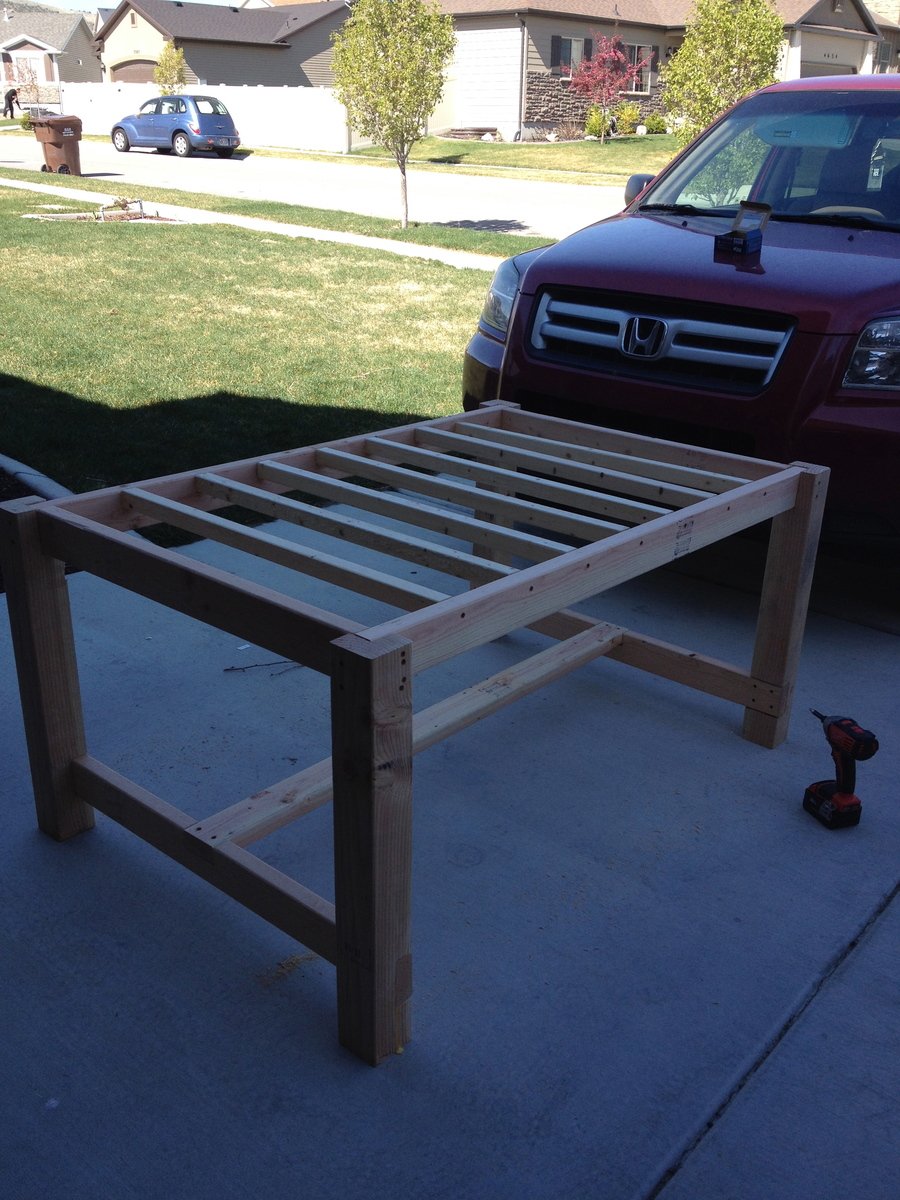
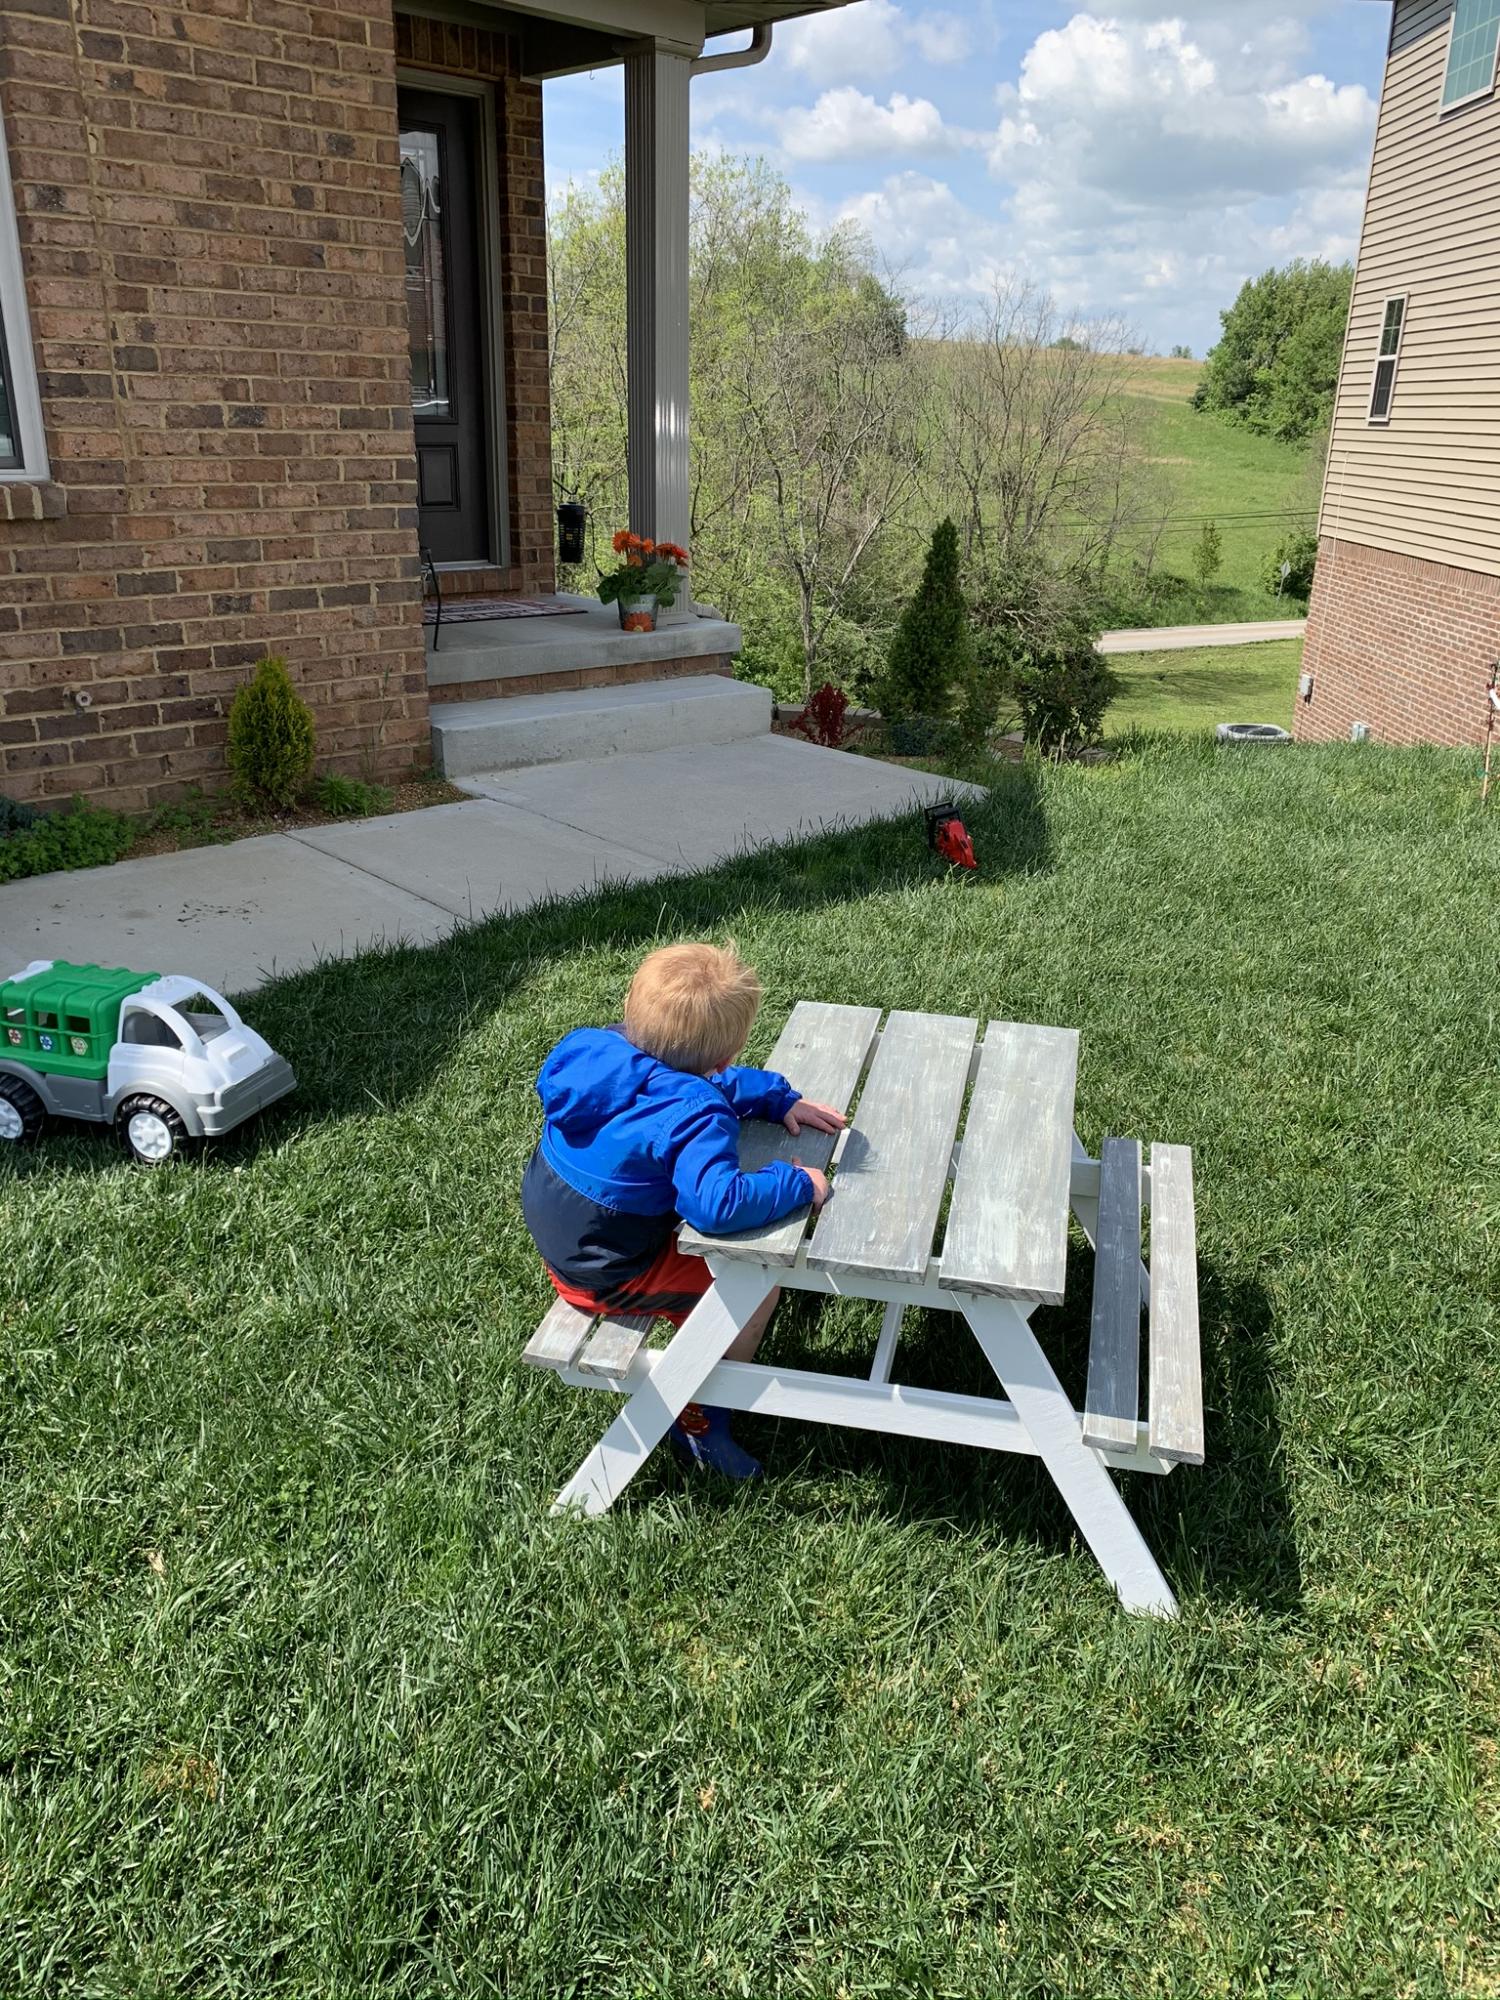
I watched the tutorial video first and then got right to it. My two, little boys played in the driveway while mommy rocked her off-square bevel cuts. I modified the 1x2 and instead used what I had on hand - extra 2x2s. Worked out great. Also, I used three reclaimed pallet boards for the top of the bench. I added an extra cross-support to handle the load.

Built from Plan(s)
Estimated Cost
$15
Estimated Time Investment
An Hour or Two (0-2 Hours)
Finish Used
None yet. Thinking about leaving the boards on top as-is and painting the bottom in a creamy white.
Recommended Skill Level
Beginner

Hutch used for dresser top

Submitted by Lacihansen on Sun, 03/02/2014 - 22:34

I've always wanted a hutch on the dresser and this was the perfect match for what I wanted! I lengthened it to 48 in tall but followed the original plans other than that.

Estimated Time Investment
Weekend Project (10-20 Hours)
Recommended Skill Level
Intermediate

Adirondack Chairs with Shared Table

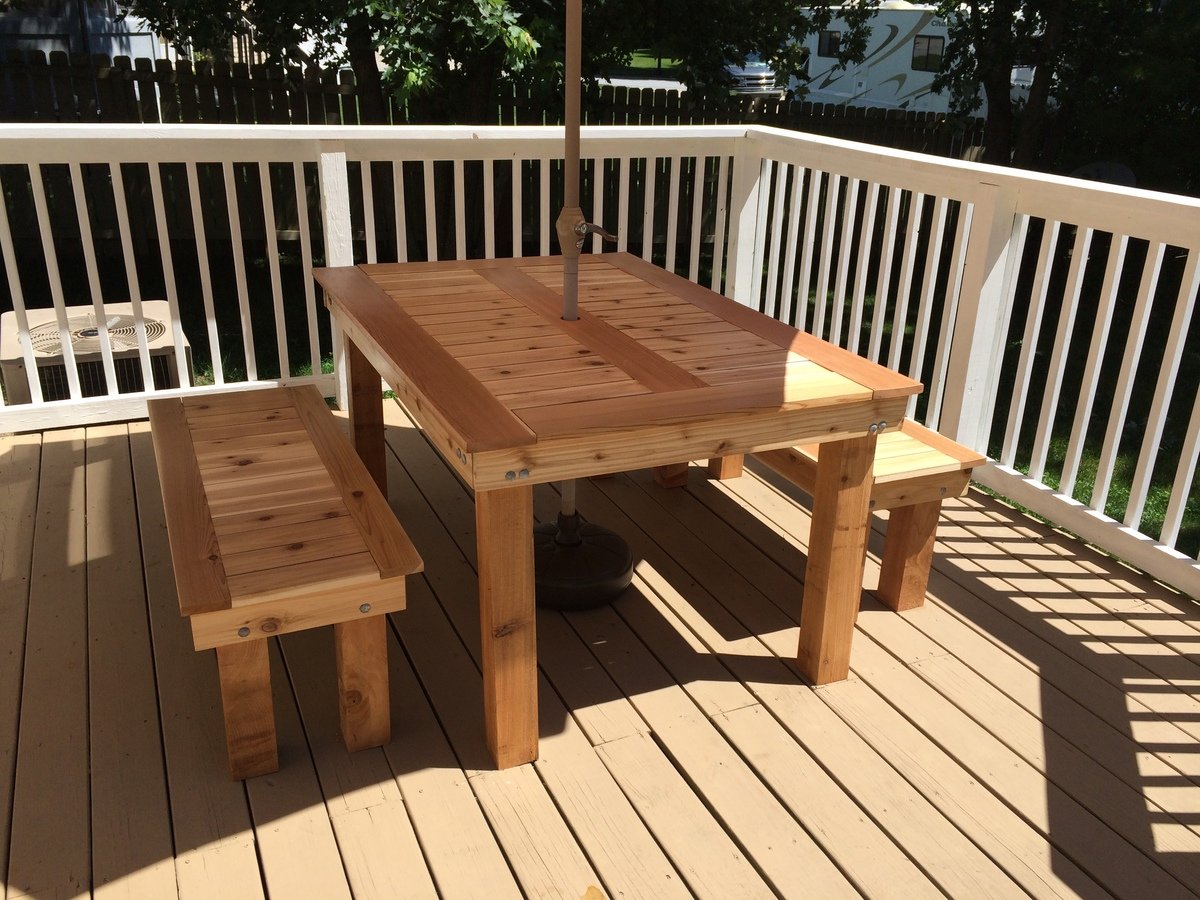
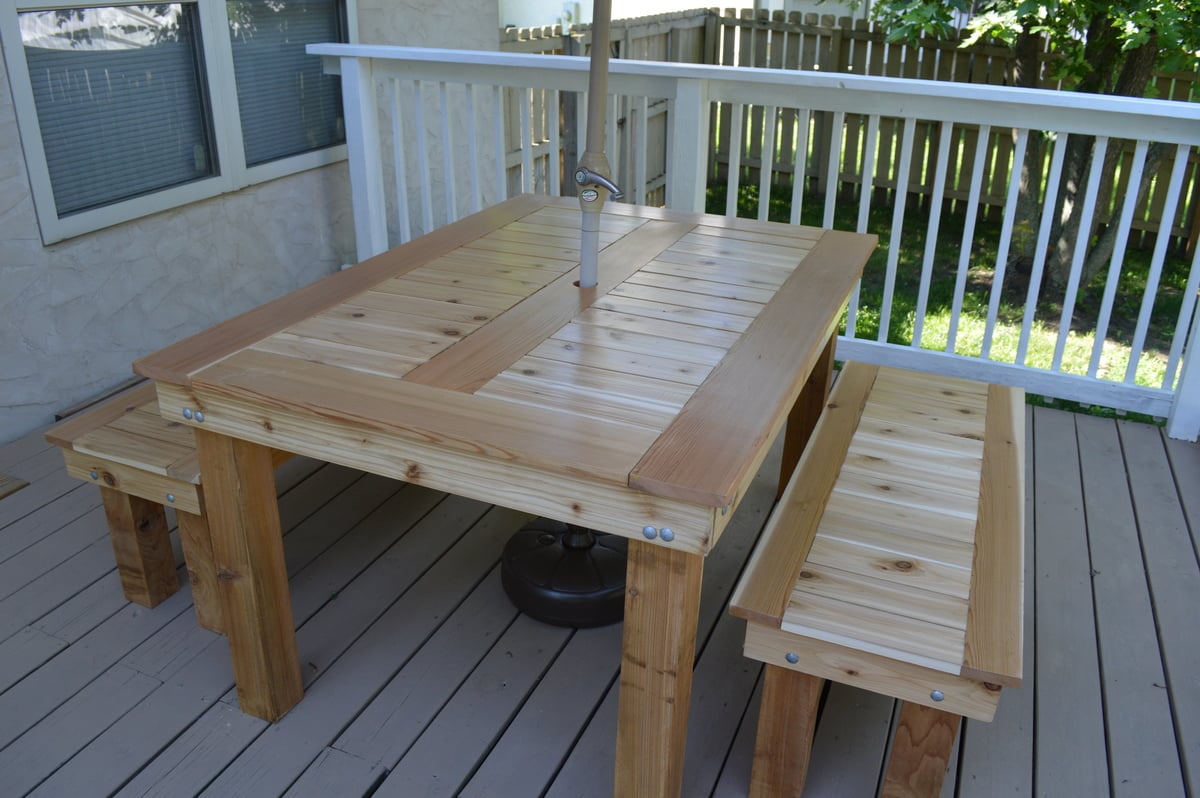
Love, love, love this plan! Easy to understand and build...it was sanding all the parts that took forever! ;-) It's been on my build list for a couple of years, and now looks great by my pool. I did use a more traditional arm style for the chair's 2 arms. I added the "table" between the 2 chairs by using scrap 1x4s, aligning them for spacing then used a chalk line, from corner of back arm 2x2/2x4 connection to the front 2x2/2x4 connect, and snapped a cut line. I then used a 1-1/2" hole saw and drilled a hole opening for the umbrella.

Thanks Ana! This is the second Ana White project I've tackled for the pool deck.

Estimated Cost
Under $35 as I had some scrap 2x4s and 1X4s I recycled and used paints I already had
Estimated Time Investment
Weekend Project (10-20 Hours)
Finish Used
Behr 2-in-1 satin latex paint in various colors. I used 2 coats.
Recommended Skill Level
Beginner

Apothecary Media Cabinet

Submitted by Kimiemich on Mon, 05/21/2012 - 07:36

This was our first wood-working project, and it was a BIG one. I think it took us about 50 hours, though we did add a couple complicating steps into the process. We installed full-extension drawer glides and stained instead of painting. Both of those added significantly to our time. We also added a lip around top solid wood planks to give it a more solid look, so of course that added to our time.

The plans were great, though we had a tough time keeping everything square. Our cabinet doors were 1 inch thick (1/2 inch door, plus 1/2 inch facade drawer fronts), and that made it almost IMPOSSIBLE to find hinges that would work with the cabinet doors. Cabinet hinges come ready to fit 3/4 inch doors OR whatever-thickness door with a 3/8 inch routed edge. So I ended up having to purchase some really heavy-duty specialized hinges from our specialty woodworking store, and those cost about $18/pair.

We're really happy with how it turned out, and it suits our needs great. See our process on my blog below.

Estimated Cost
$650
Estimated Time Investment
Week Long Project (20 Hours or More)
Finish Used
We sanded down to 200 grit, then applied General Finishes "American Walnut" oil-based stain. We applied it with a sponge brush, left it on for about 15 minutes, and then wiped off with a clean rag. We applied 6 layers of General Finishes "Arm-R-Seal", sanding with 600-grit between the 4th and 5th layers and once again after the 6th layer.
Recommended Skill Level
Intermediate

Comments

spiceylg

Mon, 05/21/2012 - 09:34

Wow, you are ambitious for a first project and it came out great! Adorable, model, too, even from the back side, lol!
Now I need chairs!

Submitted by Akona4 on Tue, 03/04/2014 - 18:27

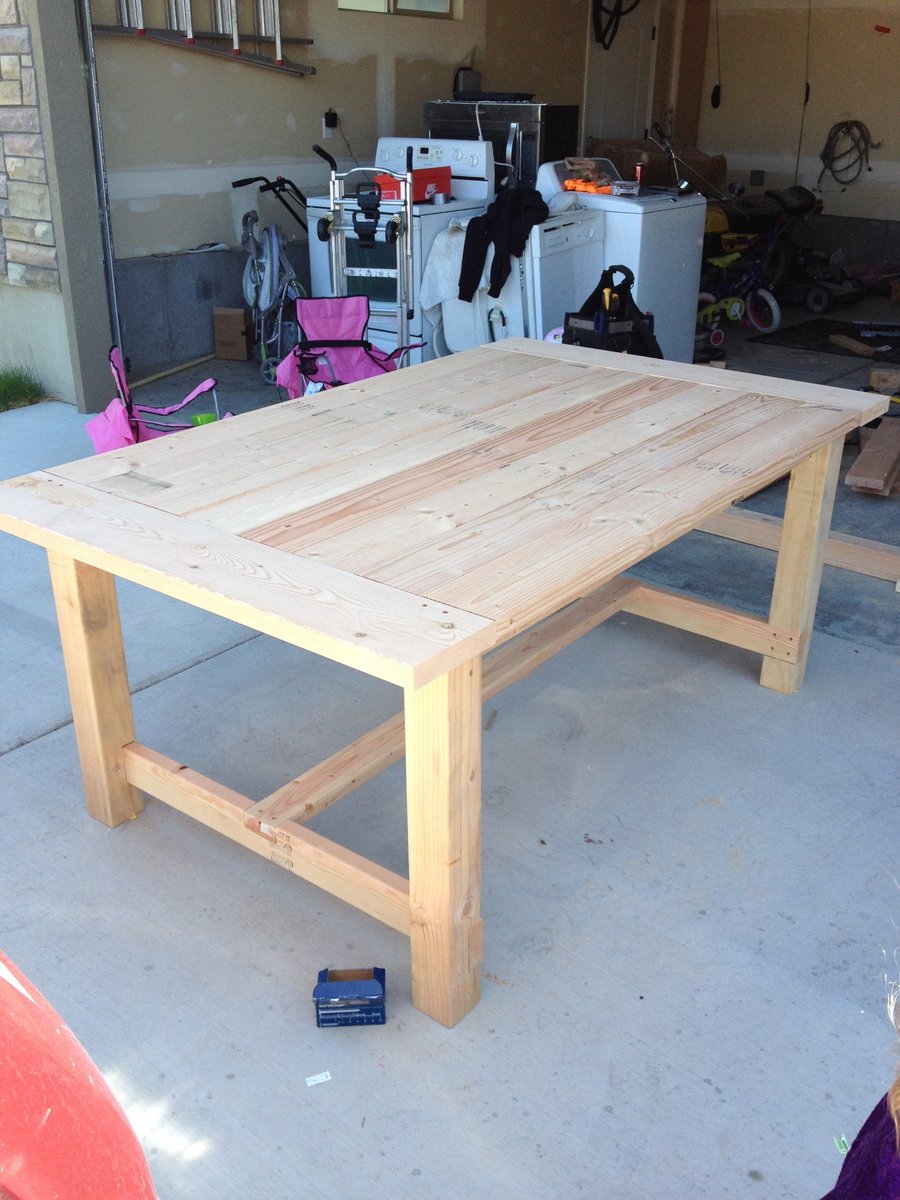
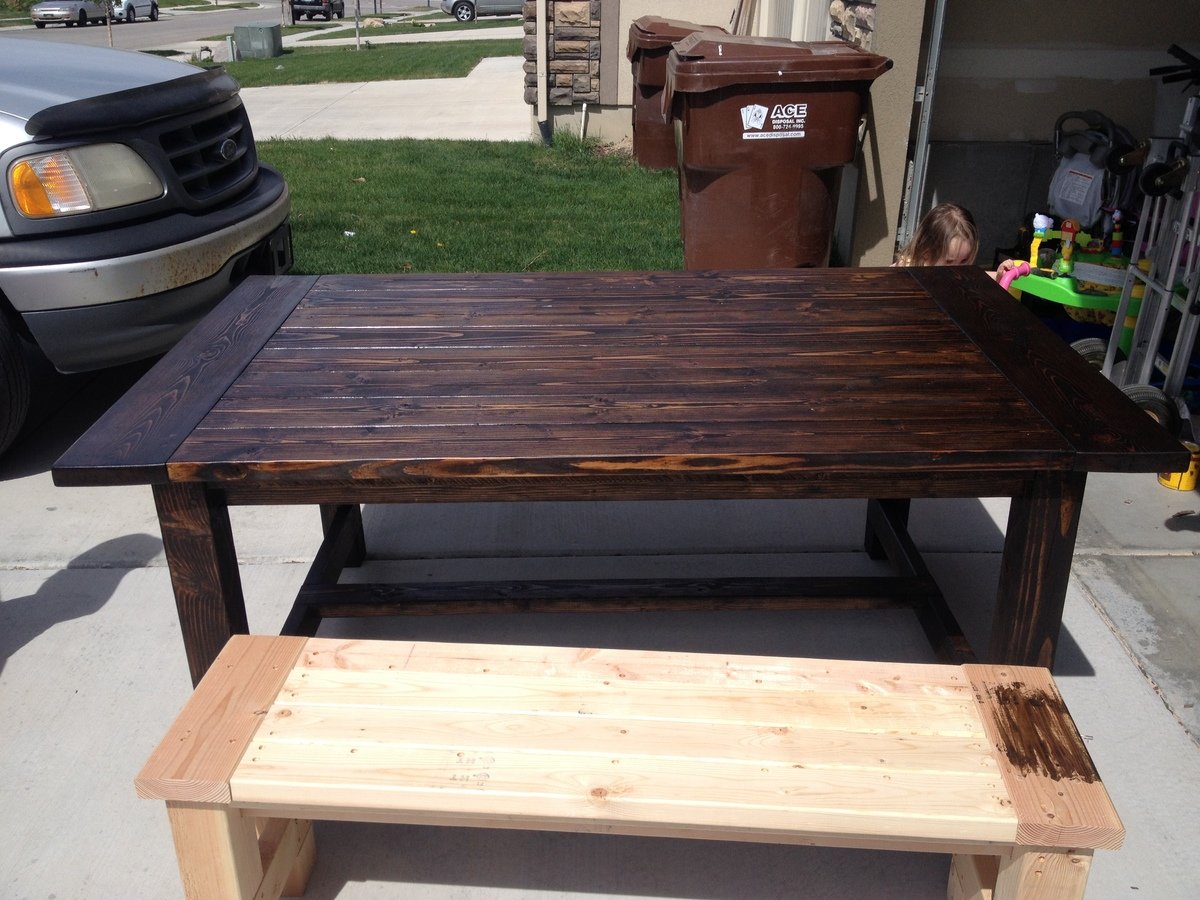
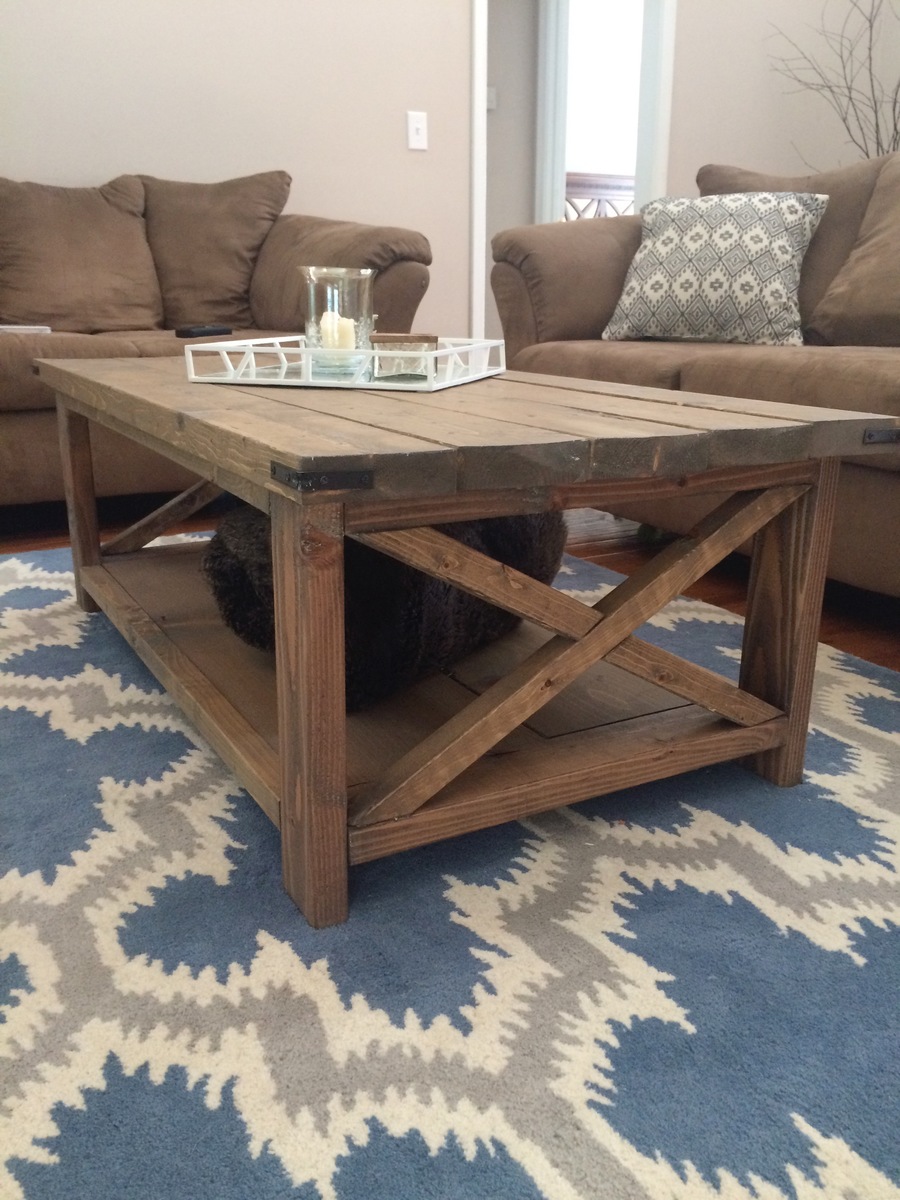
The top was made from big box 2x12s and after an exhausting search for untreated 4x4 lumber, I decided to use reclaimed beams.

Estimated Cost
$450
Estimated Time Investment
Week Long Project (20 Hours or More)
Finish Used
Black tea, steel wool and vinegar mixture, clear paste wax mixed with Tudor brown briwax - 1 part brown to 10 parts clear, finished with liming wax.
Recommended Skill Level
Beginner

Comments

Children's Craft Table with Attached Paper Roll

Submitted by bdel on Fri, 06/03/2016 - 12:17

This table was a birthday gift for my 3-year old cousin. It was fun to brainstorm ideas to get it exactly the way we wanted it instead of buying one pre-made. Once we had our plans it was an easy build, done over a weekend. A full list of materials as well as step-by-step instructions can be found in the blog post linked. The top is a 20x36 pine shelf board with a 1x2 pine apron attached underneath. There are vertical support boards to hold a raised tray for supplies, and to hold the paper roll under the table. Note that the table legs are inset at one end to accommodate the paper roll. We added two magnets to the face of the table and tied two knobs (with metal washers glued on) to the underside. The paper can then be sandwiched between the magnet and the metal and won't move around while the artist is at work. It's our favorite feature! There are also magnets glued to the inside bottom of the tray to hold the buckets in place and keep them from being knocked over easily. This project was so much fun! I love having the chance to share it with you all!

Estimated Cost
$70
Estimated Time Investment
Weekend Project (10-20 Hours)
Finish Used
Minwax polyurethane in clear semi-gloss. Lightly sanded between coats. Sanded with ultrafine steel wool before final coat. Note that the polyurethane may discolor the wood putty and make it stand out.
Recommended Skill Level
Beginner

Nativity Stable for display

Wife wanted a stable for our Nativity decoration. Sorry I couldn't find a picture taken during the day.

Estimated Cost
$30
Estimated Time Investment
Afternoon Project (3-6 Hours)
Finish Used
None
Recommended Skill Level
Beginner

Media Console

Submitted by Csaum on Sat, 03/08/2014 - 13:04

Worked on this very casually and intermittently for about 3-4 weeks, though I would consider it a weekend project if you have all materials and tools necessary to complete, and a couple full days to devote to the project. With 2 young kids at home, I was only able to get an hour here and there at a time in my shop to work. I decided to leave off the top flip-down style doors, as our cable box requires line-of-sight to work, and my wife wasn't crazy about having to open those any time we were going to watch television.

I was a bit uneasy about the weight of the top, especially once the tv was placed, without any support bracing directly under the top-center piece of plywood. To add a bit of support, I added a 1x3 brace, attaching it between the tops of the 2 center legs, flush to the underside of the top. Completely hidden, and added just enough peace of mind for me to put my new tv on it, worry free.

Materials: I used maple hardwood plywood, and select grade pine for the finish/edge pieces. I found that polycarbonate sheeting was pretty expensive at my local hardware store, plus I had to special order an opaque finish, so I finished my doors with 1/4 plywood that I had left over from the back panel. I used 4 different grit levels of sandpaper (120, 220, hand sanded with 320, and then used 400 between coats of poly). Minwax Dark Walnut stain and 2 coats of clear satin polyurethane. Kreg jig is a must for a project like this, would have been lost without mine! I love that all the hinges and screws are hidden!

I'm planning to build the matching media towers from this collection next.

Built from Plan(s)
Estimated Cost
$200-$250
Estimated Time Investment
Weekend Project (10-20 Hours)
Finish Used
2 coats Dark Walnut stain - Minwax
2 coats clear satin polyurethane (400 grit hand sand between coats) - Minwax
Recommended Skill Level
Intermediate

Comments

Modified Outdoor Sectional

Submitted by lisa2442 on Tue, 06/07/2016 - 11:40

Modified one of the couch pieces so that the back rest only went as far as the depth of the adjacent couch; thereby making the rest of the couch a chaise. Cushions were custom made (walked into local fabric store and asked for a referral). Cushions were sliding out the back; but my build partner came up with a genius solution - used inexpensive metal threshold material and screwed it to the back seat slat. Works like a champ and looks nice too! 

Estimated Time Investment
Weekend Project (10-20 Hours)
Finish Used
Minwax pre-conditioner, 1 light coat Minwax Jacobean, 1 coat Minwax Classic Gray, 2 Coats Minwax Polycrylic.
Recommended Skill Level
Beginner

Comments

Craft Table

Submitted by Anonymous (not verified) on Mon, 11/13/2023 - 09:02

Maple top plywood wrapped with walnut trim. Stain is minwax aged barrel. Warm satin polyurethane finish.

Built from Plan(s)

Hailey Platform bed

Submitted by Delilah on Sun, 05/27/2012 - 07:01

We needed a guest bed in a hurry and this fit the bill.

Estimated Cost
100 total
Estimated Time Investment
Weekend Project (10-20 Hours)
Finish Used
Minwax provincial 211 and satin poly
Recommended Skill Level
Beginner

Comments

norge79 (not verified)

Thu, 12/20/2012 - 06:32

Thank you so much for posting this platform bed. I am building my first home. I am doing the finish work myself. Needing a box springs for a mattress I decided to build my own out of the scrap 2x4's and 1x4's. This bed style will fit perfectly in my new home!

esirois

Thu, 05/22/2014 - 09:37

how did you attach the headboard to the frame?
I cant seem to find those instructions anywhere.

esirois

Thu, 05/22/2014 - 09:37

how did you attach the headboard to the frame?
I cant seem to find those instructions anywhere.

Poplar table

Submitted by jasondk on Wed, 03/12/2014 - 11:06

Modified the Round X Base Table plans a bit. Made the table 25 inches high, 38 inches diameter. I glued 4 poplar 1x12's together using a biscuit joiner. I then rough cut my circle with a jigsaw. I then made up a quick circle cutting jig to cut the perfect circle with my router using a straight bit. Then i rounded over the edges with a roundover bit.
Another adjustment i made was making the legs straight as opposed to being on an angle as it was intended as a children's table.
The table was stained using Minwax Chestnut Gel Stain, which is so easy to use.
I finished it with 3 coats of Minwax water based Polyacrylic.

The chairs were something i saw for sale on a website, so i tried to copy it. They were selling the chairs for $150 each, i made mine for about $15 for the pair. They are made out of pine stained the same as the table.

Built from Plan(s)
Estimated Cost
$150
Estimated Time Investment
Week Long Project (20 Hours or More)
Finish Used
Minwax Chestnut Gel Stain
Minwax water based Polyacrylic.
Recommended Skill Level
Advanced

Comments

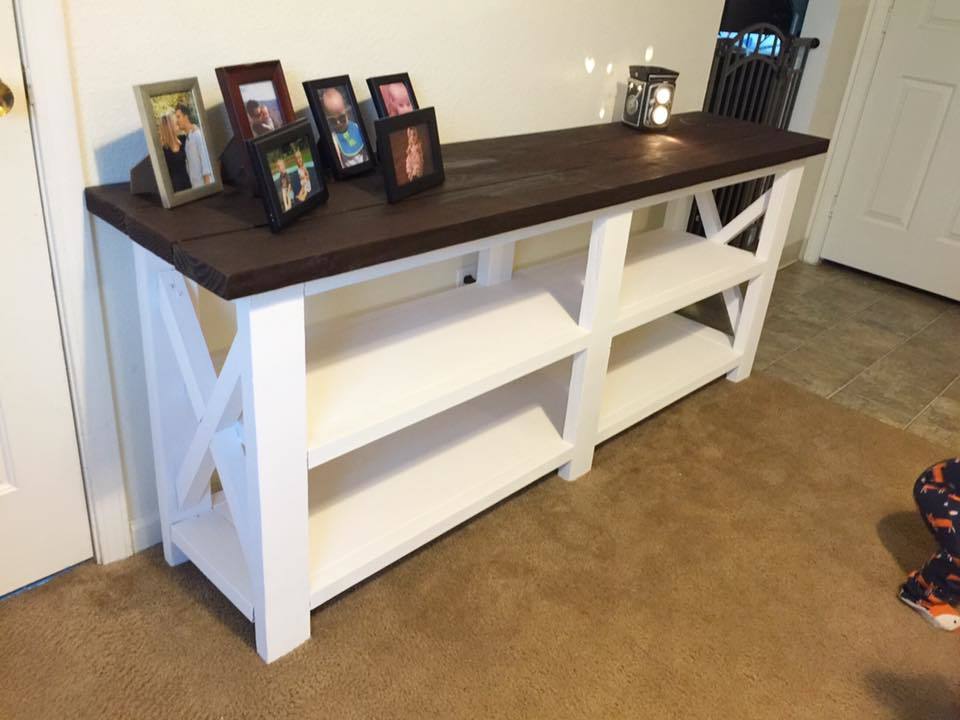
Rustic X console

Submitted by Anonymous (not verified) on Sun, 06/12/2016 - 06:09

Did this project over the span of two weekends.

only tough part really was the X sides. Had to source from a friend.

Built from Plan(s)
Estimated Cost
120
Estimated Time Investment
Weekend Project (10-20 Hours)
Finish Used
Jacobean
Recommended Skill Level
Intermediate

Rustic Modern Platform Bed

Submitted by RosalyG on Thu, 04/16/2020 - 07:39

Hard to make a picture of a big bed in a small room...

LOVE IT LOVE IT LOVE IT
I needed a real grown up bed after sleeping for years in a twin... yeas a twin!!!

I wanted something pretty and simple and something I can't see dust collecting underneath - no drawers either as I try not to tap in the "storage addiction"

This bed is so perfect I just wished I did not have to go in the kitchen no more to cook... I even got a new TV for the bedroom as it is so much more comfy there than my couch :)

I extra bought a Kreg Jig for this project as I only had a one pocket hole little gadget which just did not do the trick,

The Kreg makes life so much easier - but my god who would have known such a little hole makes such a mess ;)

PS I never can find the right plan matching the project... wierd... it is the Rustic Modern 2x6 platform bed

Estimated Cost
200 CAD
Estimated Time Investment
An Hour or Two (0-2 Hours)
Finish Used
nothing yet...
Recommended Skill Level
Starter Project

Large Desk Build

Submitted by Anonymous (not verified) on Sat, 11/18/2023 - 11:55

Farmhouse Desk

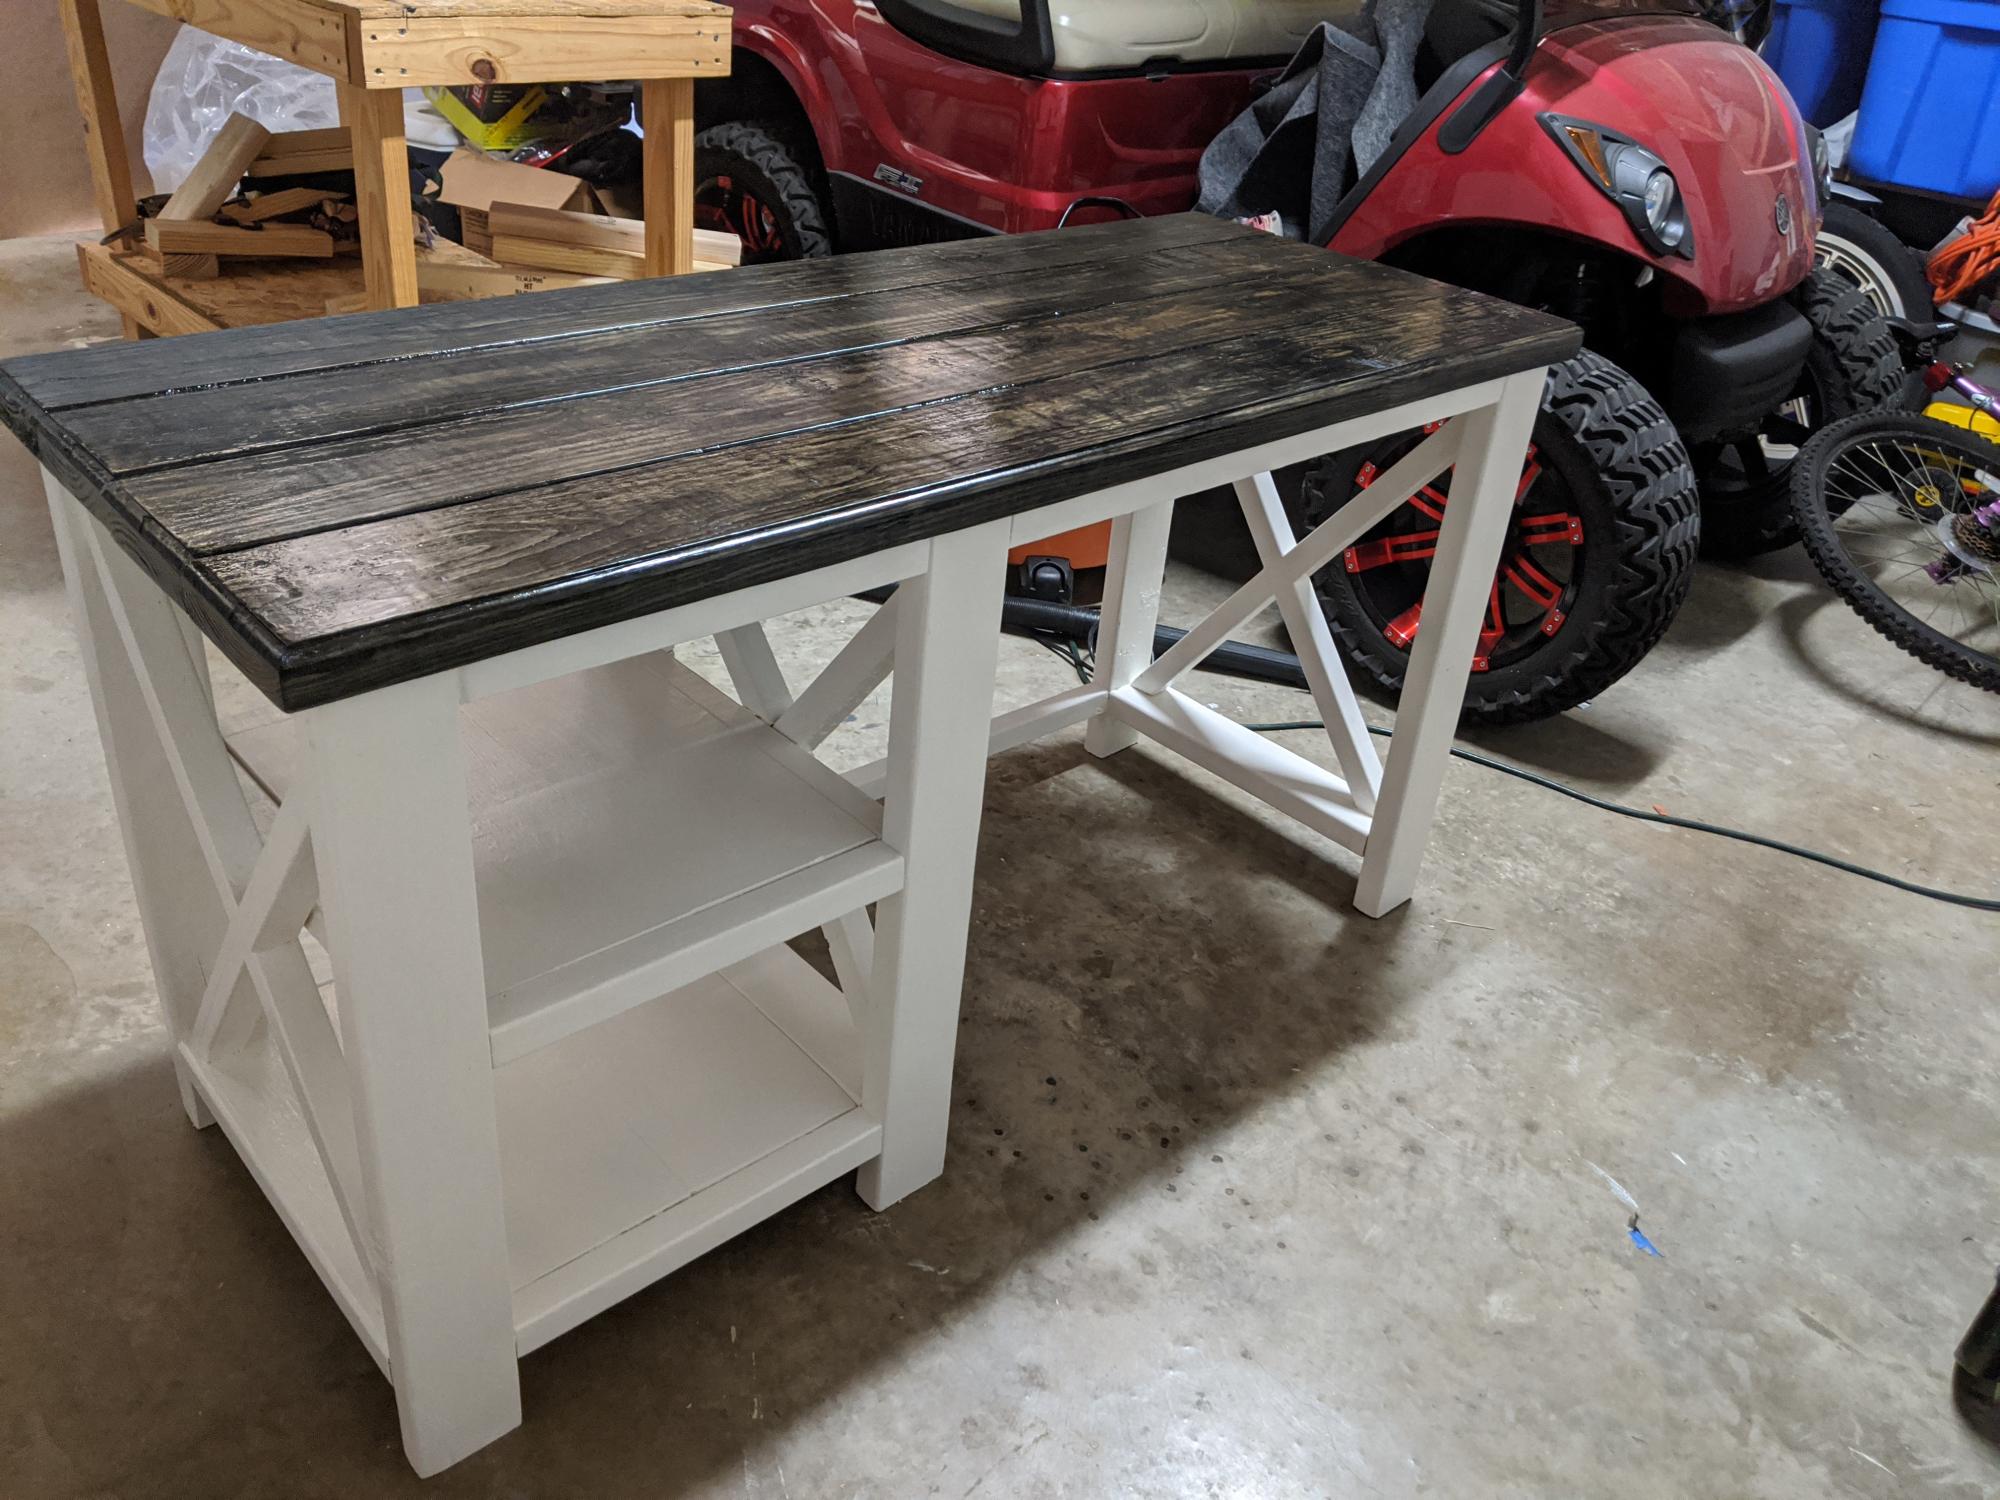
Built desk for larger room but in hindsight should have shortened the length by about a foot. Great solid sturdy desk and easy to build.

Built from Plan(s)

The Fred-enstein Bed

Submitted by bookette on Wed, 05/30/2012 - 14:30

For my son's 7th birthday, I promised him a new lofted bed. I poured over different designs, drooled over all of the different things I could make, worried about whether or not I could actually do it. Nothing in the market fit my requirements or my budget... I was determined to make this for my son.

Over the long weekend, this bed was constructed... a little "Loft Bed", a little "Claire", a little "Cabin" and a little inspired innovation and ta-da: The Fred-enstien Bed :)

Claire guardrails and bookshelf supports
Modified Claire Desk (work in progress)
Cabin Headboard
Custom built storage shelf stairs (he didn't want a ladder)

Next weekend will be touching up the paint and installing the remaining bookshelves

Estimated Cost
$500 (includes shelf/stairs)
Estimated Time Investment
Week Long Project (20 Hours or More)
Finish Used
Valspar Semi-Gloss Swiss Chocolate
Recommended Skill Level
Beginner

A wall sign above our bed "LOVE"

Submitted by jarsofclay on Sun, 03/16/2014 - 14:02

I was in mood for a while and made a few wall decor pieces this was one I put in my room

Estimated Time Investment
Afternoon Project (3-6 Hours)
Finish Used
I stained the wood with a light oak
Recommended Skill Level
Beginner

Extendable Triple Pedestal

Submitted by Anonymous (not verified) on Thu, 06/16/2016 - 12:07

I made this extendable triple pedestal table based on Ana's orginal plans.  I had to "engineer" the extension system - which was fun - and it worked out nicely.  I also added a threaded rod through the pedestals (towards the top) to give added support in addition to the pegs through the centerboard.

Thanks for the inspiration and the plans, Ana!

Built from Plan(s)
Estimated Cost
I used select pine for the table top, but construction grade lumber for the base. For the extension slides I also used 2x2 select pine. Therefore the cost for me was higher (than Ana's) - and all totaled about $400. More, if you include stain, poly, hardware, misc. tools, brushes... But you get the idea.
Estimated Time Investment
Week Long Project (20 Hours or More)
Finish Used
Dark Walnut Stain (minwax) 1 coat
Helmsman Spar Finish (minwax) 3 coats on table top; 2 coats on base

I used beeswax on the extensions to get them to slide nicely. But don't get beeswax on any wood that you're going to finish...it repels stain and finish.
Recommended Skill Level
Beginner

Comments

mullencl

Mon, 04/13/2020 - 06:53

So I realize it's been a few years but I'm curious if you can send me plans/talk me through how you made this expandable? I would love to build this table but I can't seem to wrap my head around the expandable part.

Back