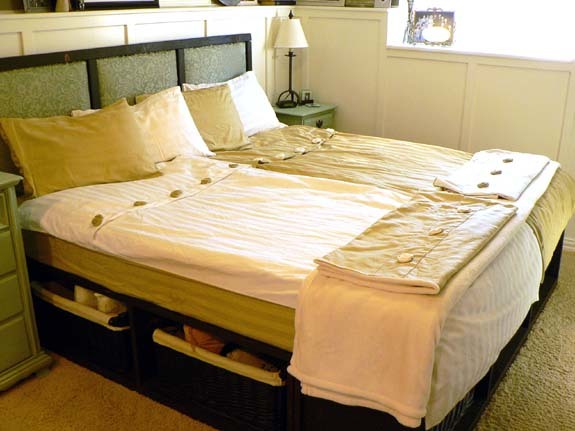
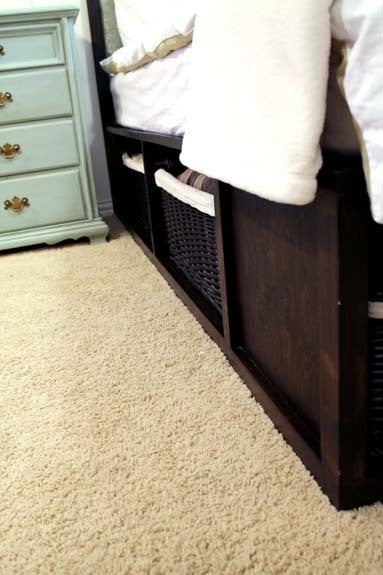
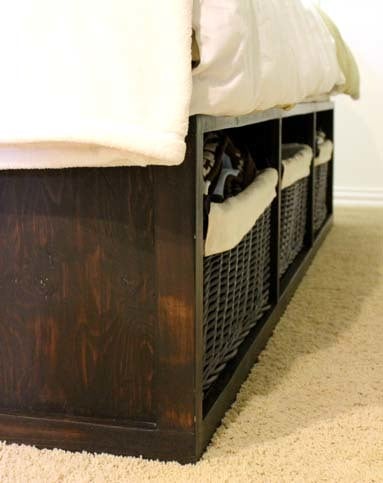
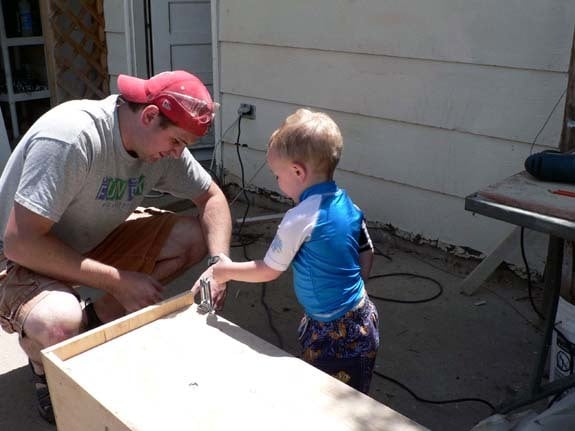
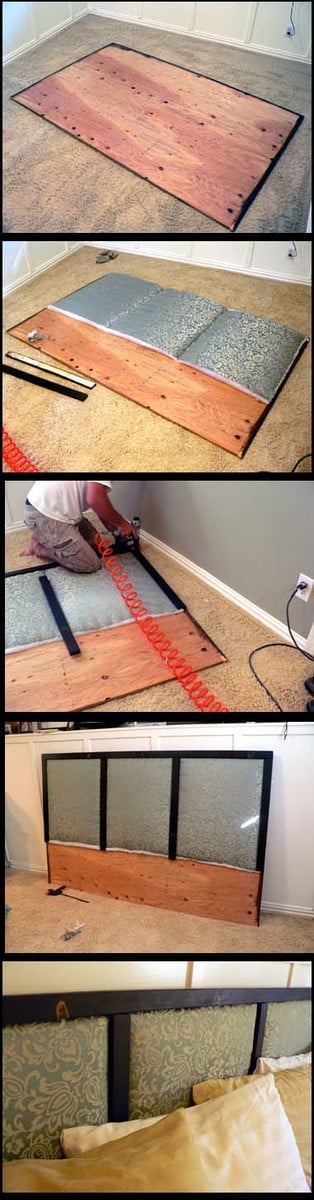
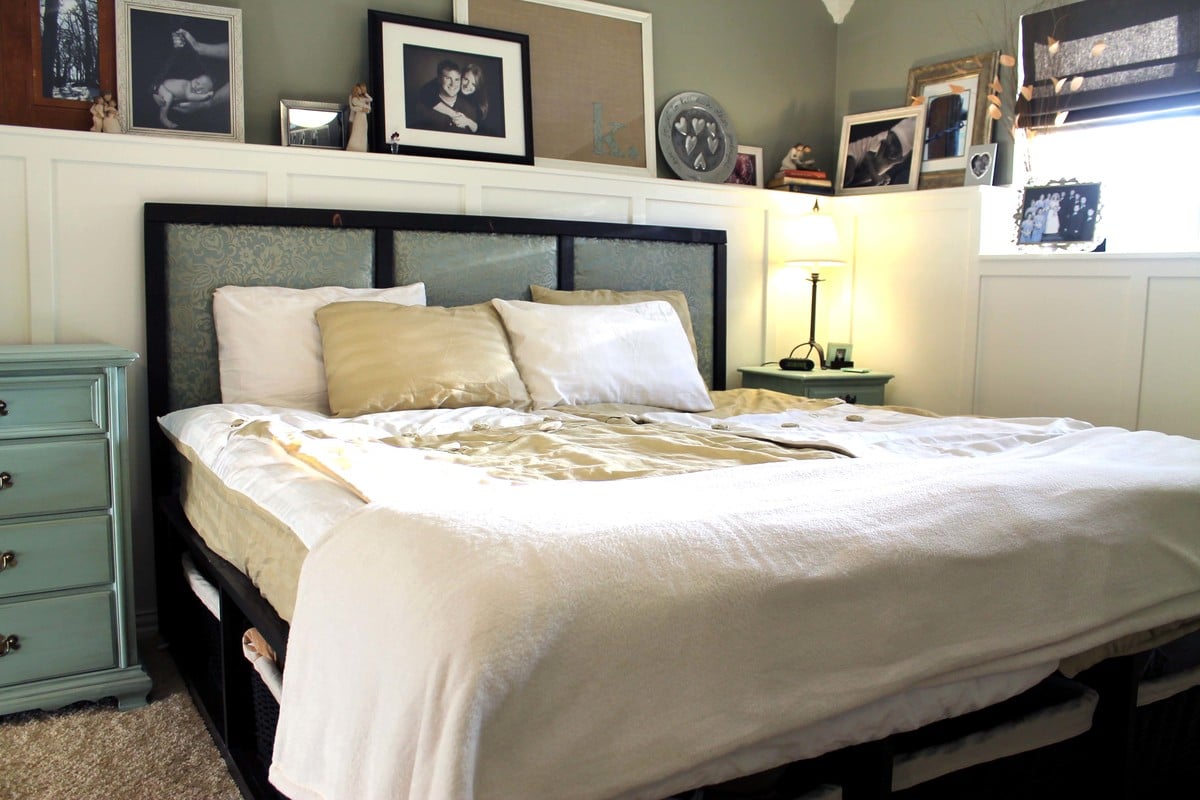
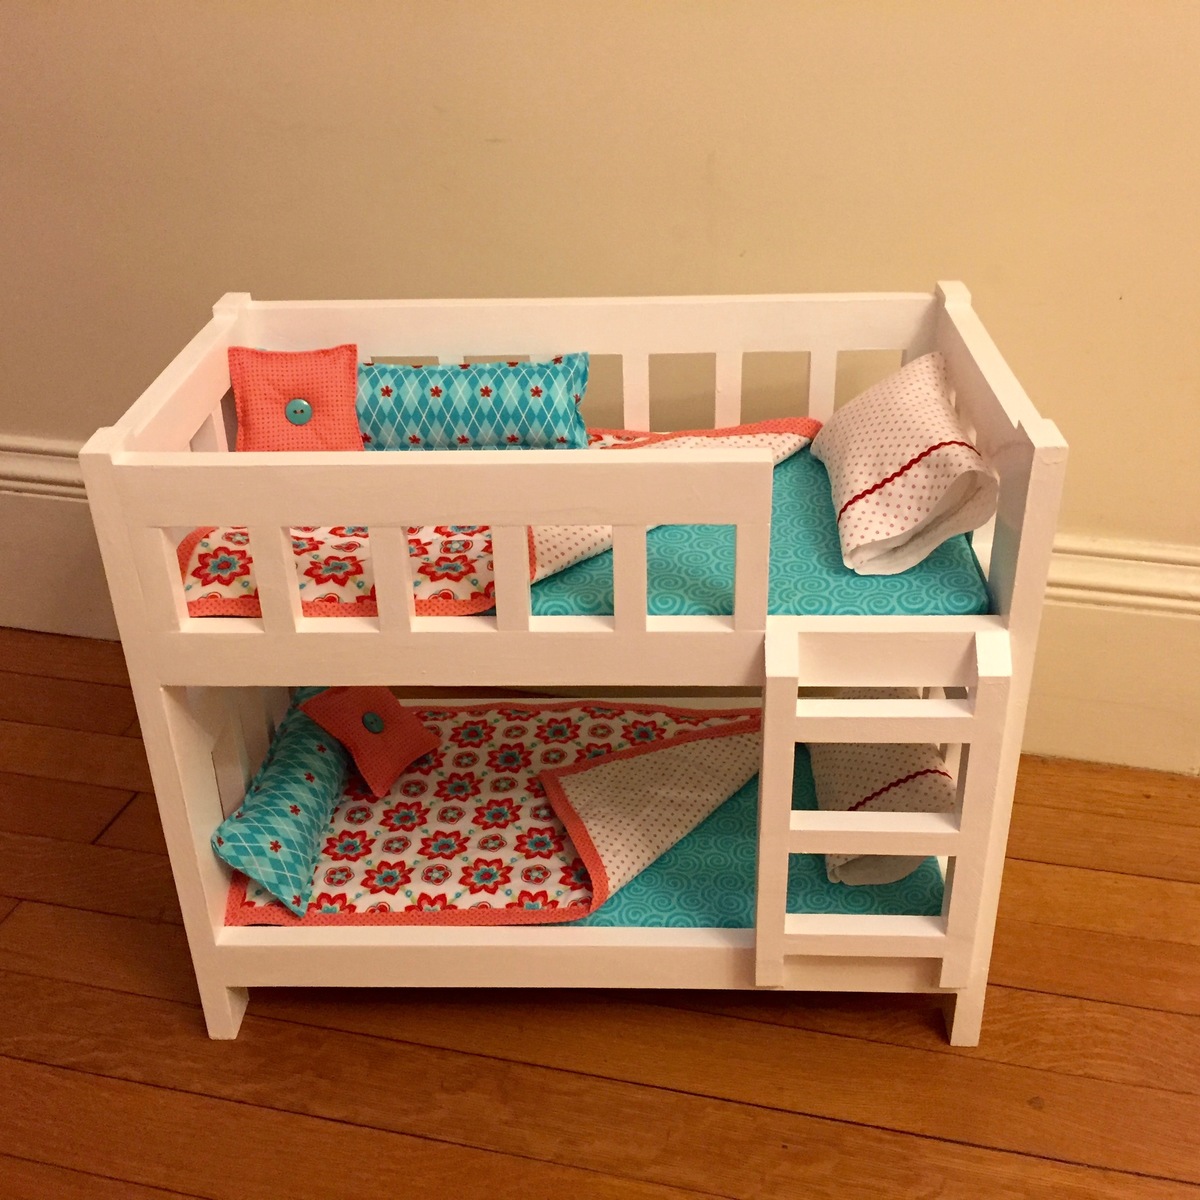
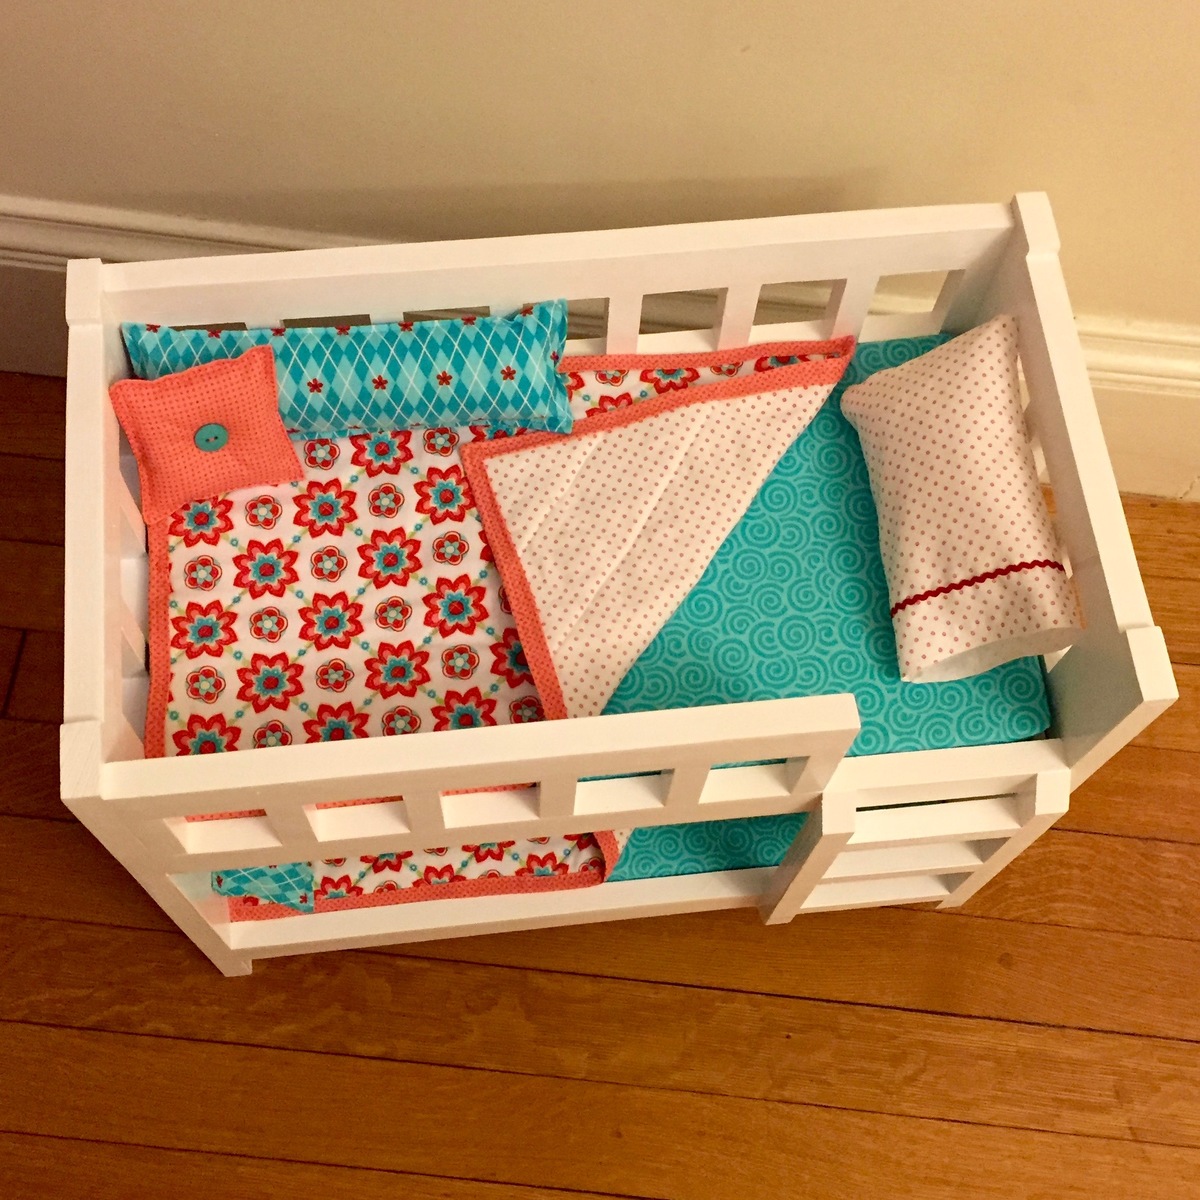
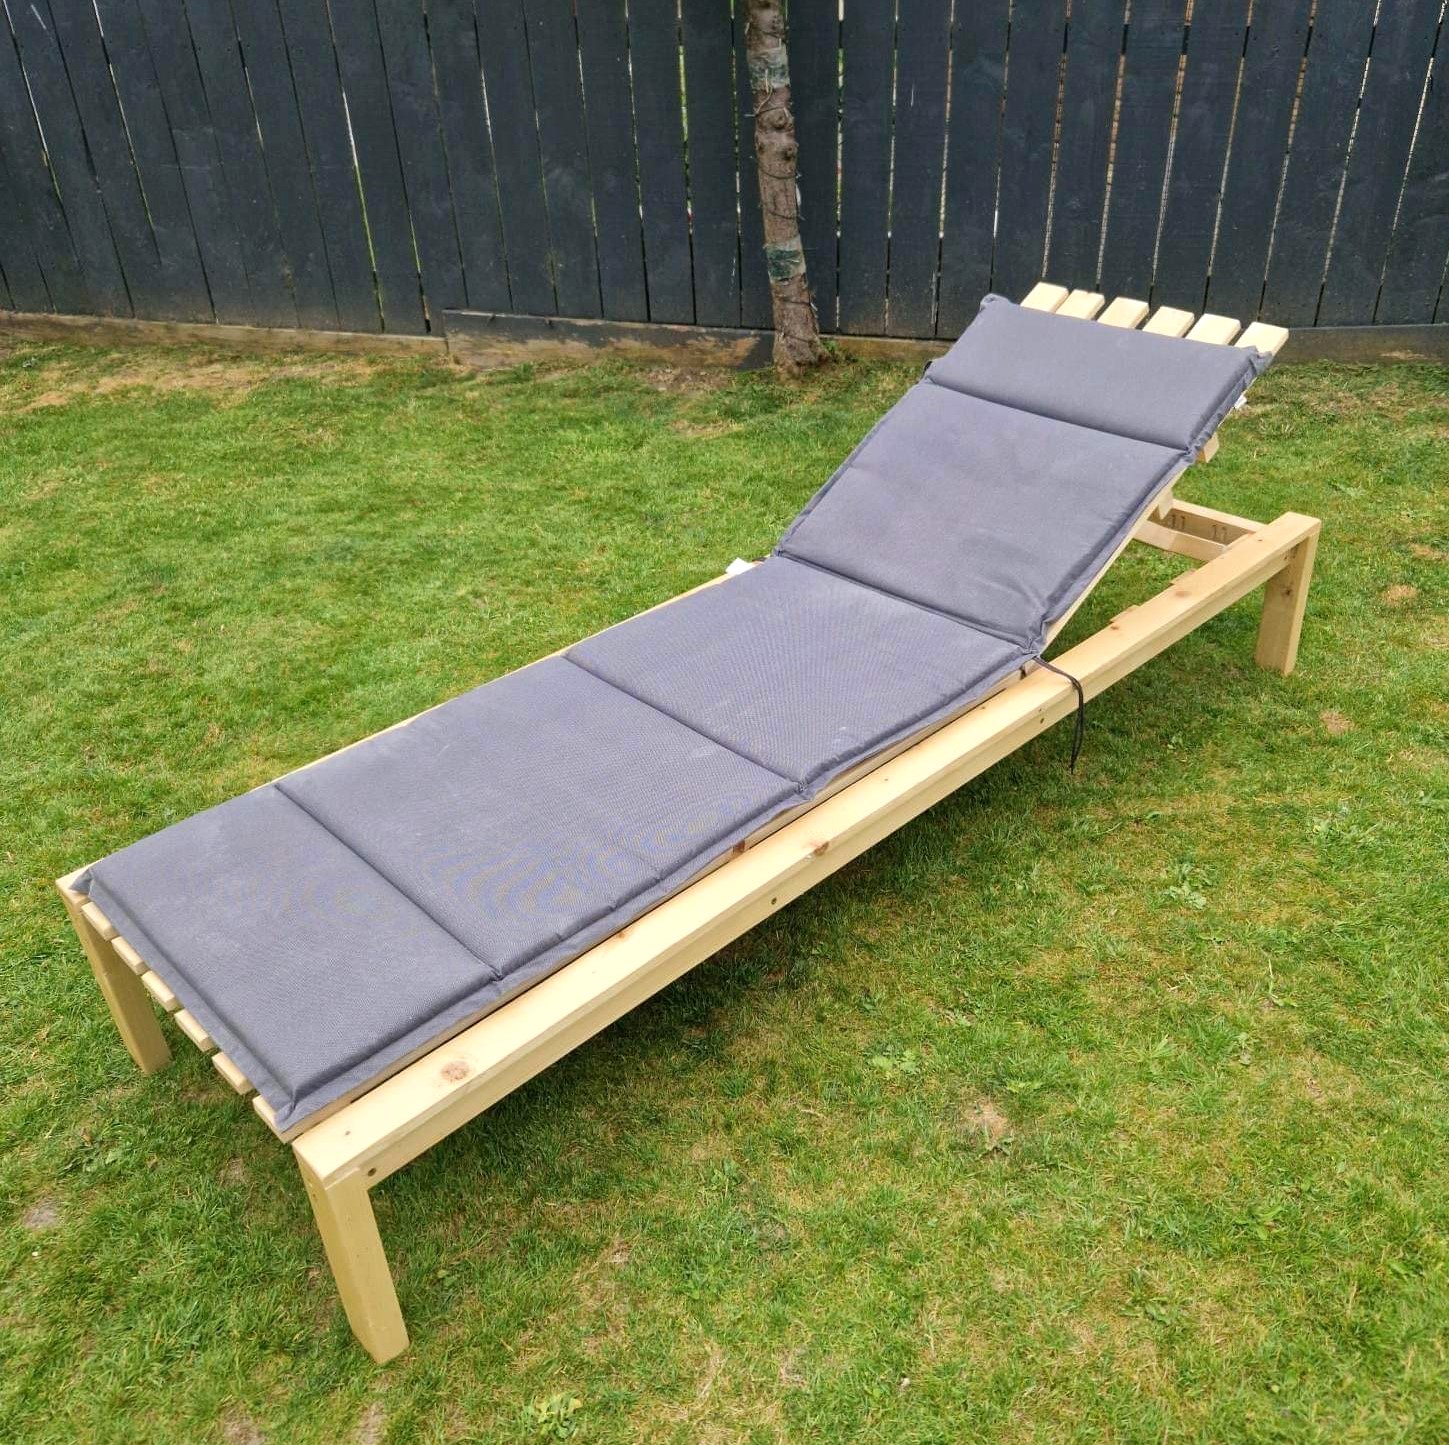
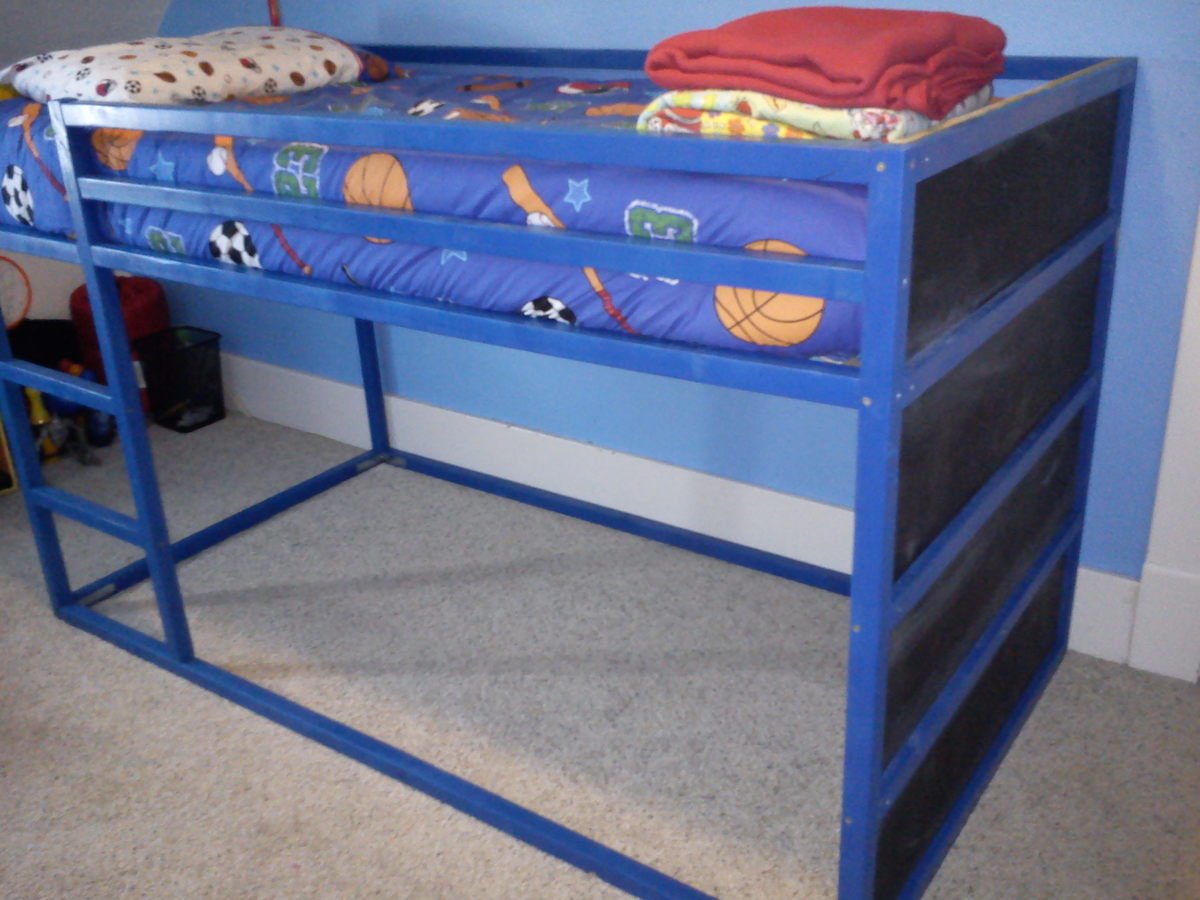
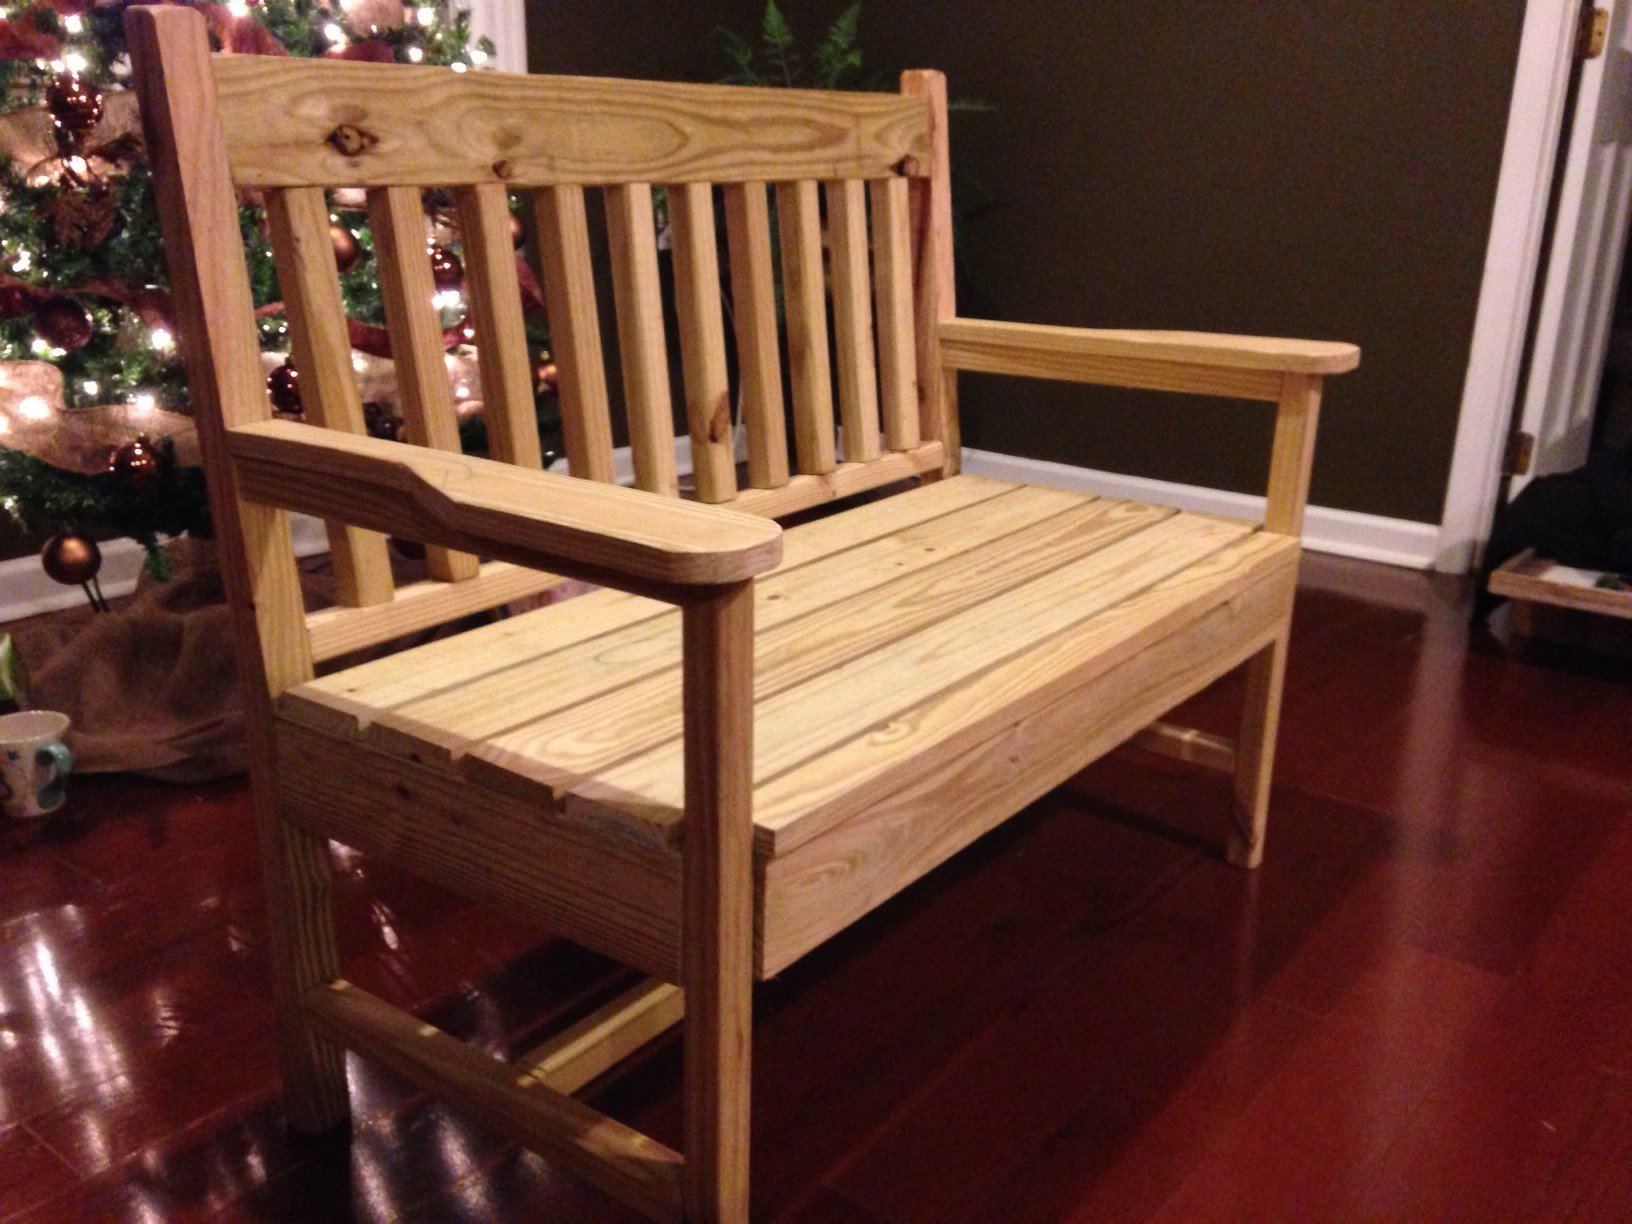
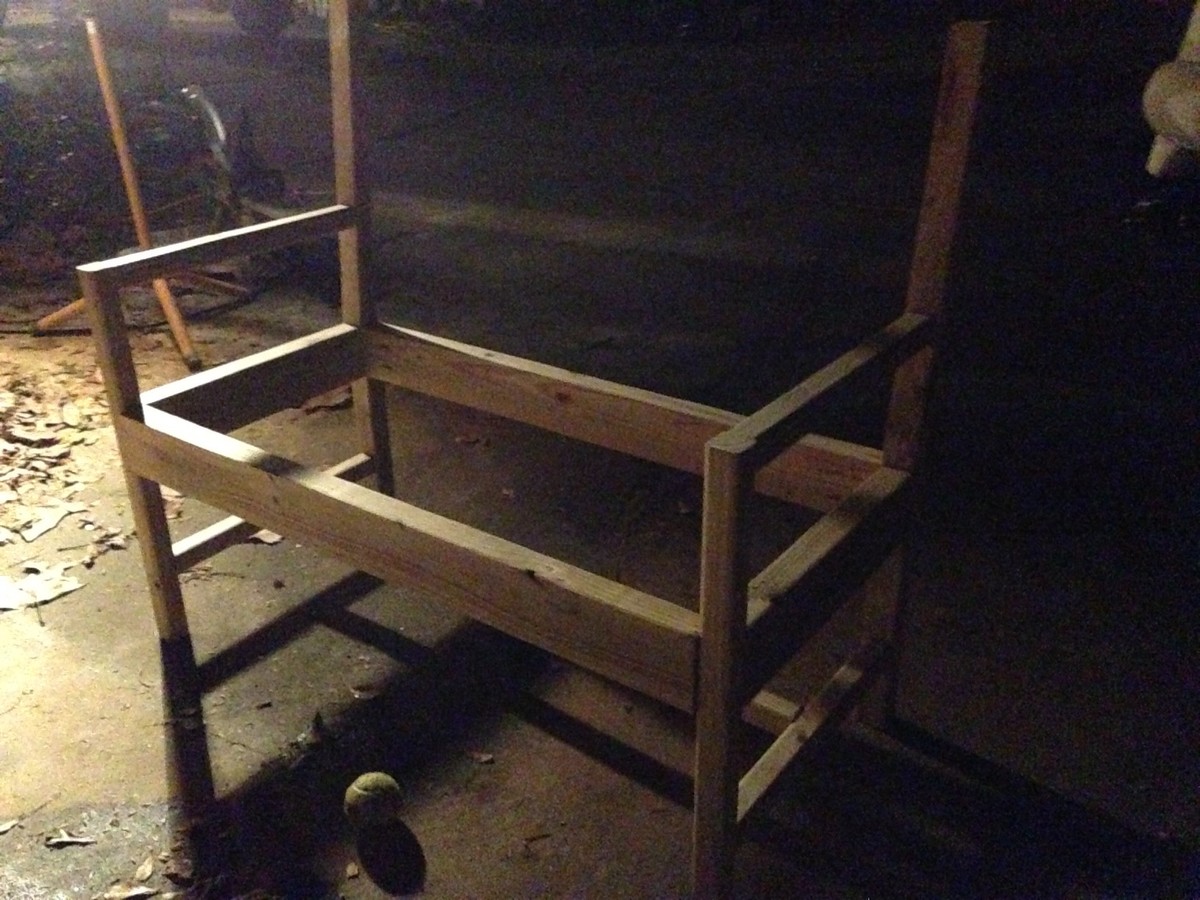
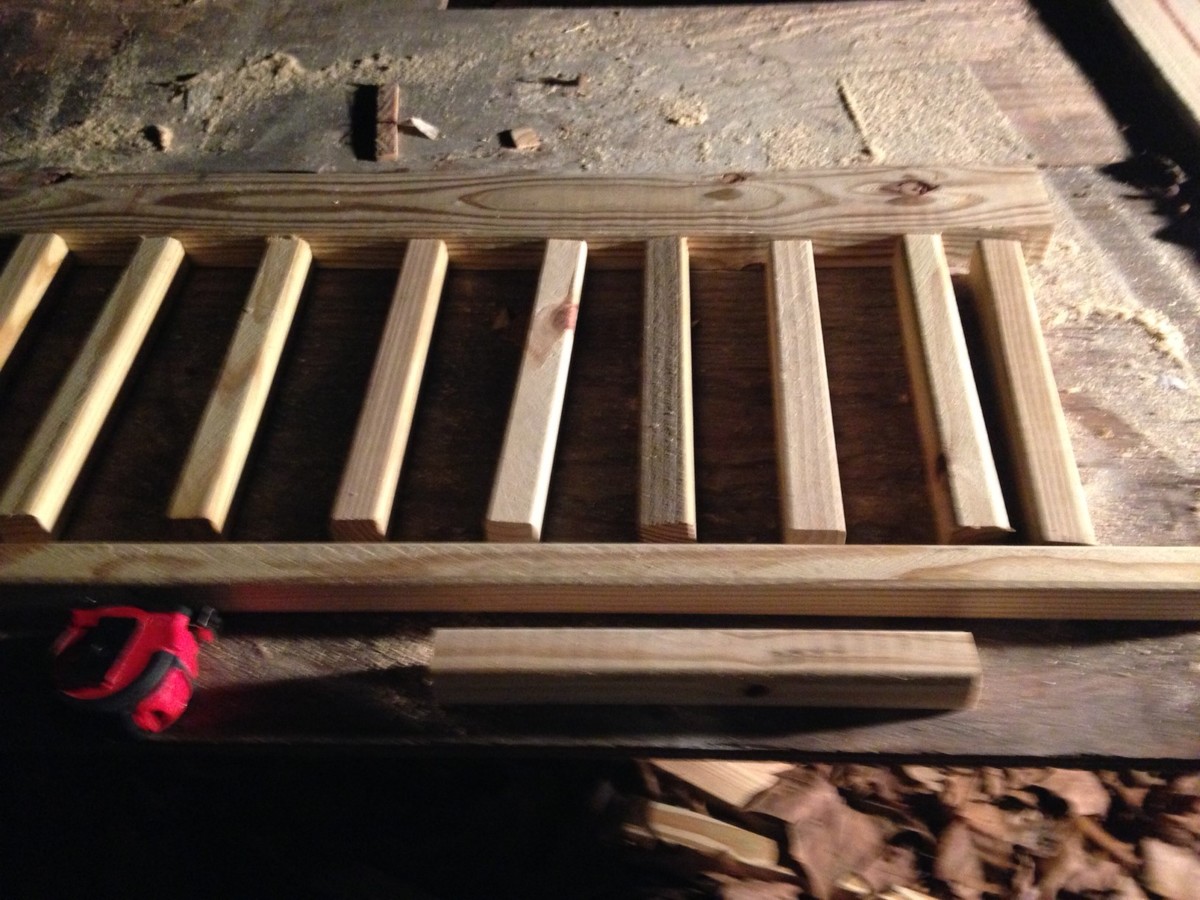
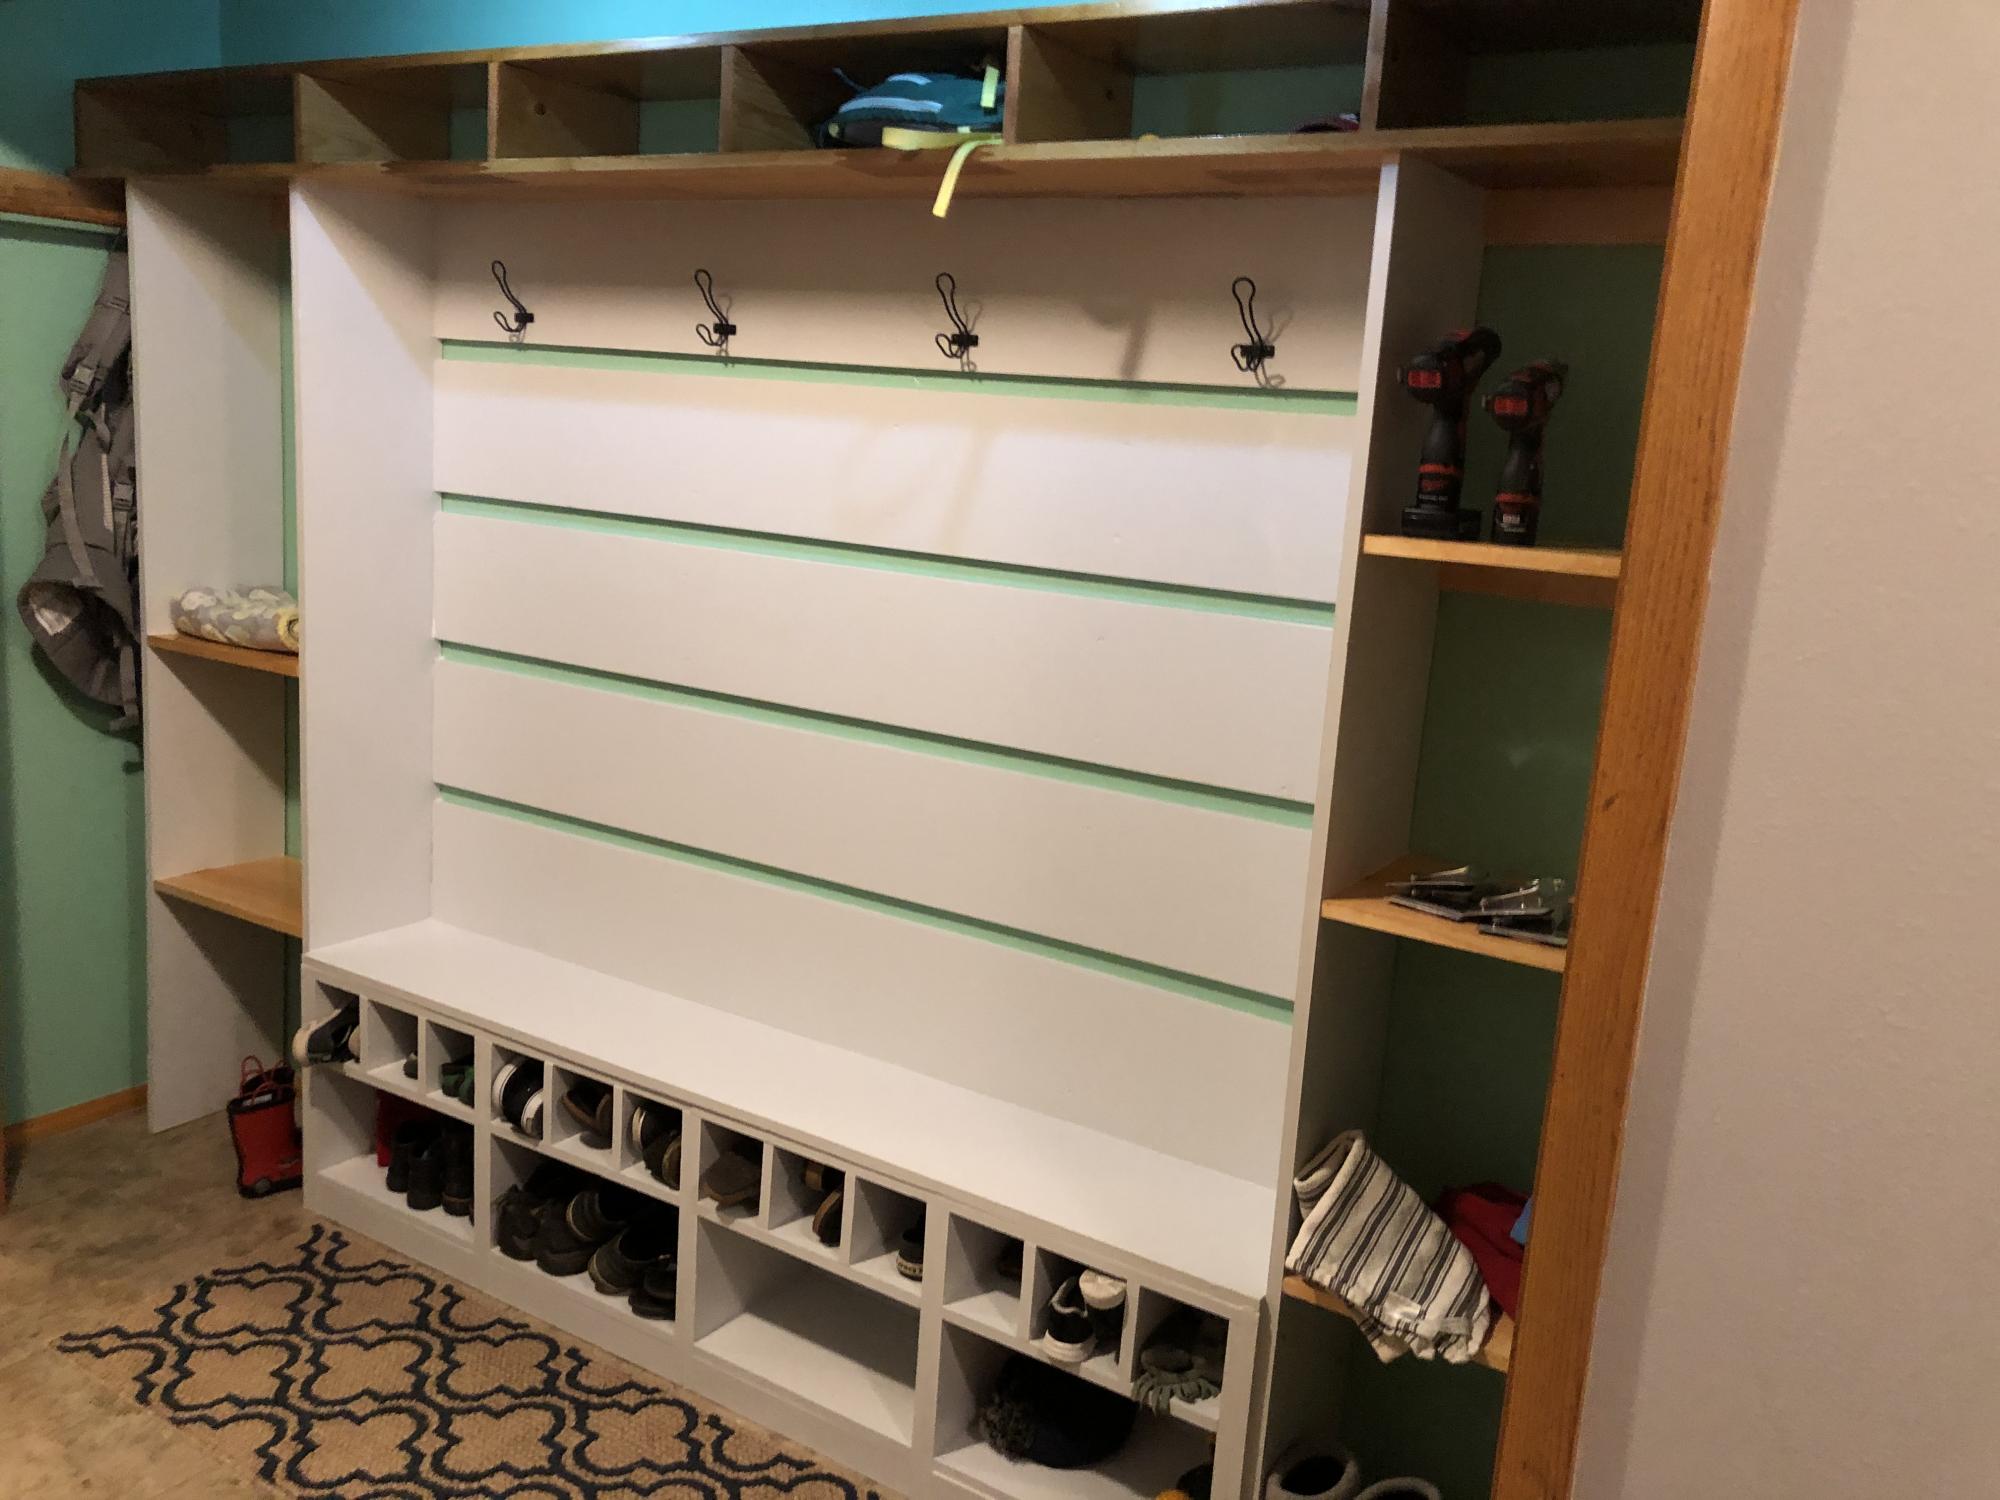
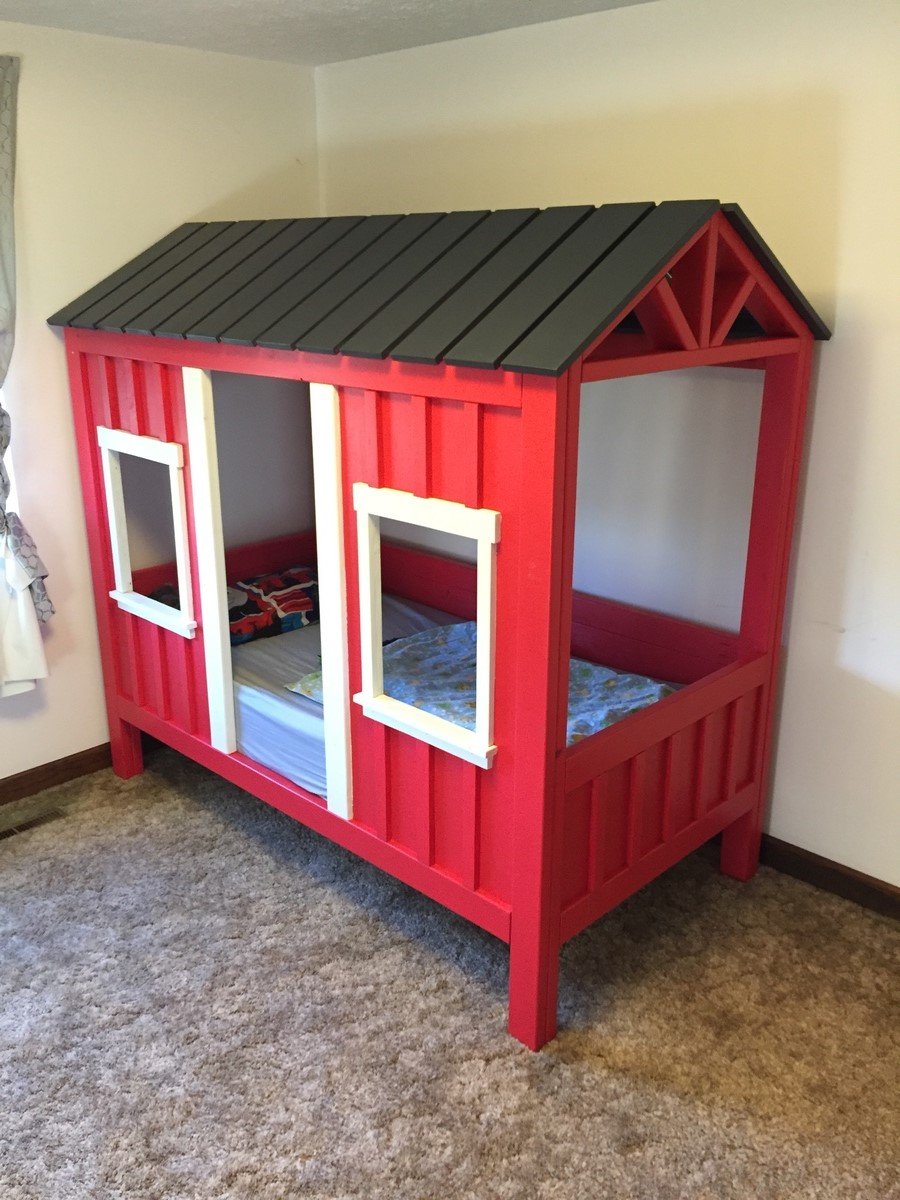
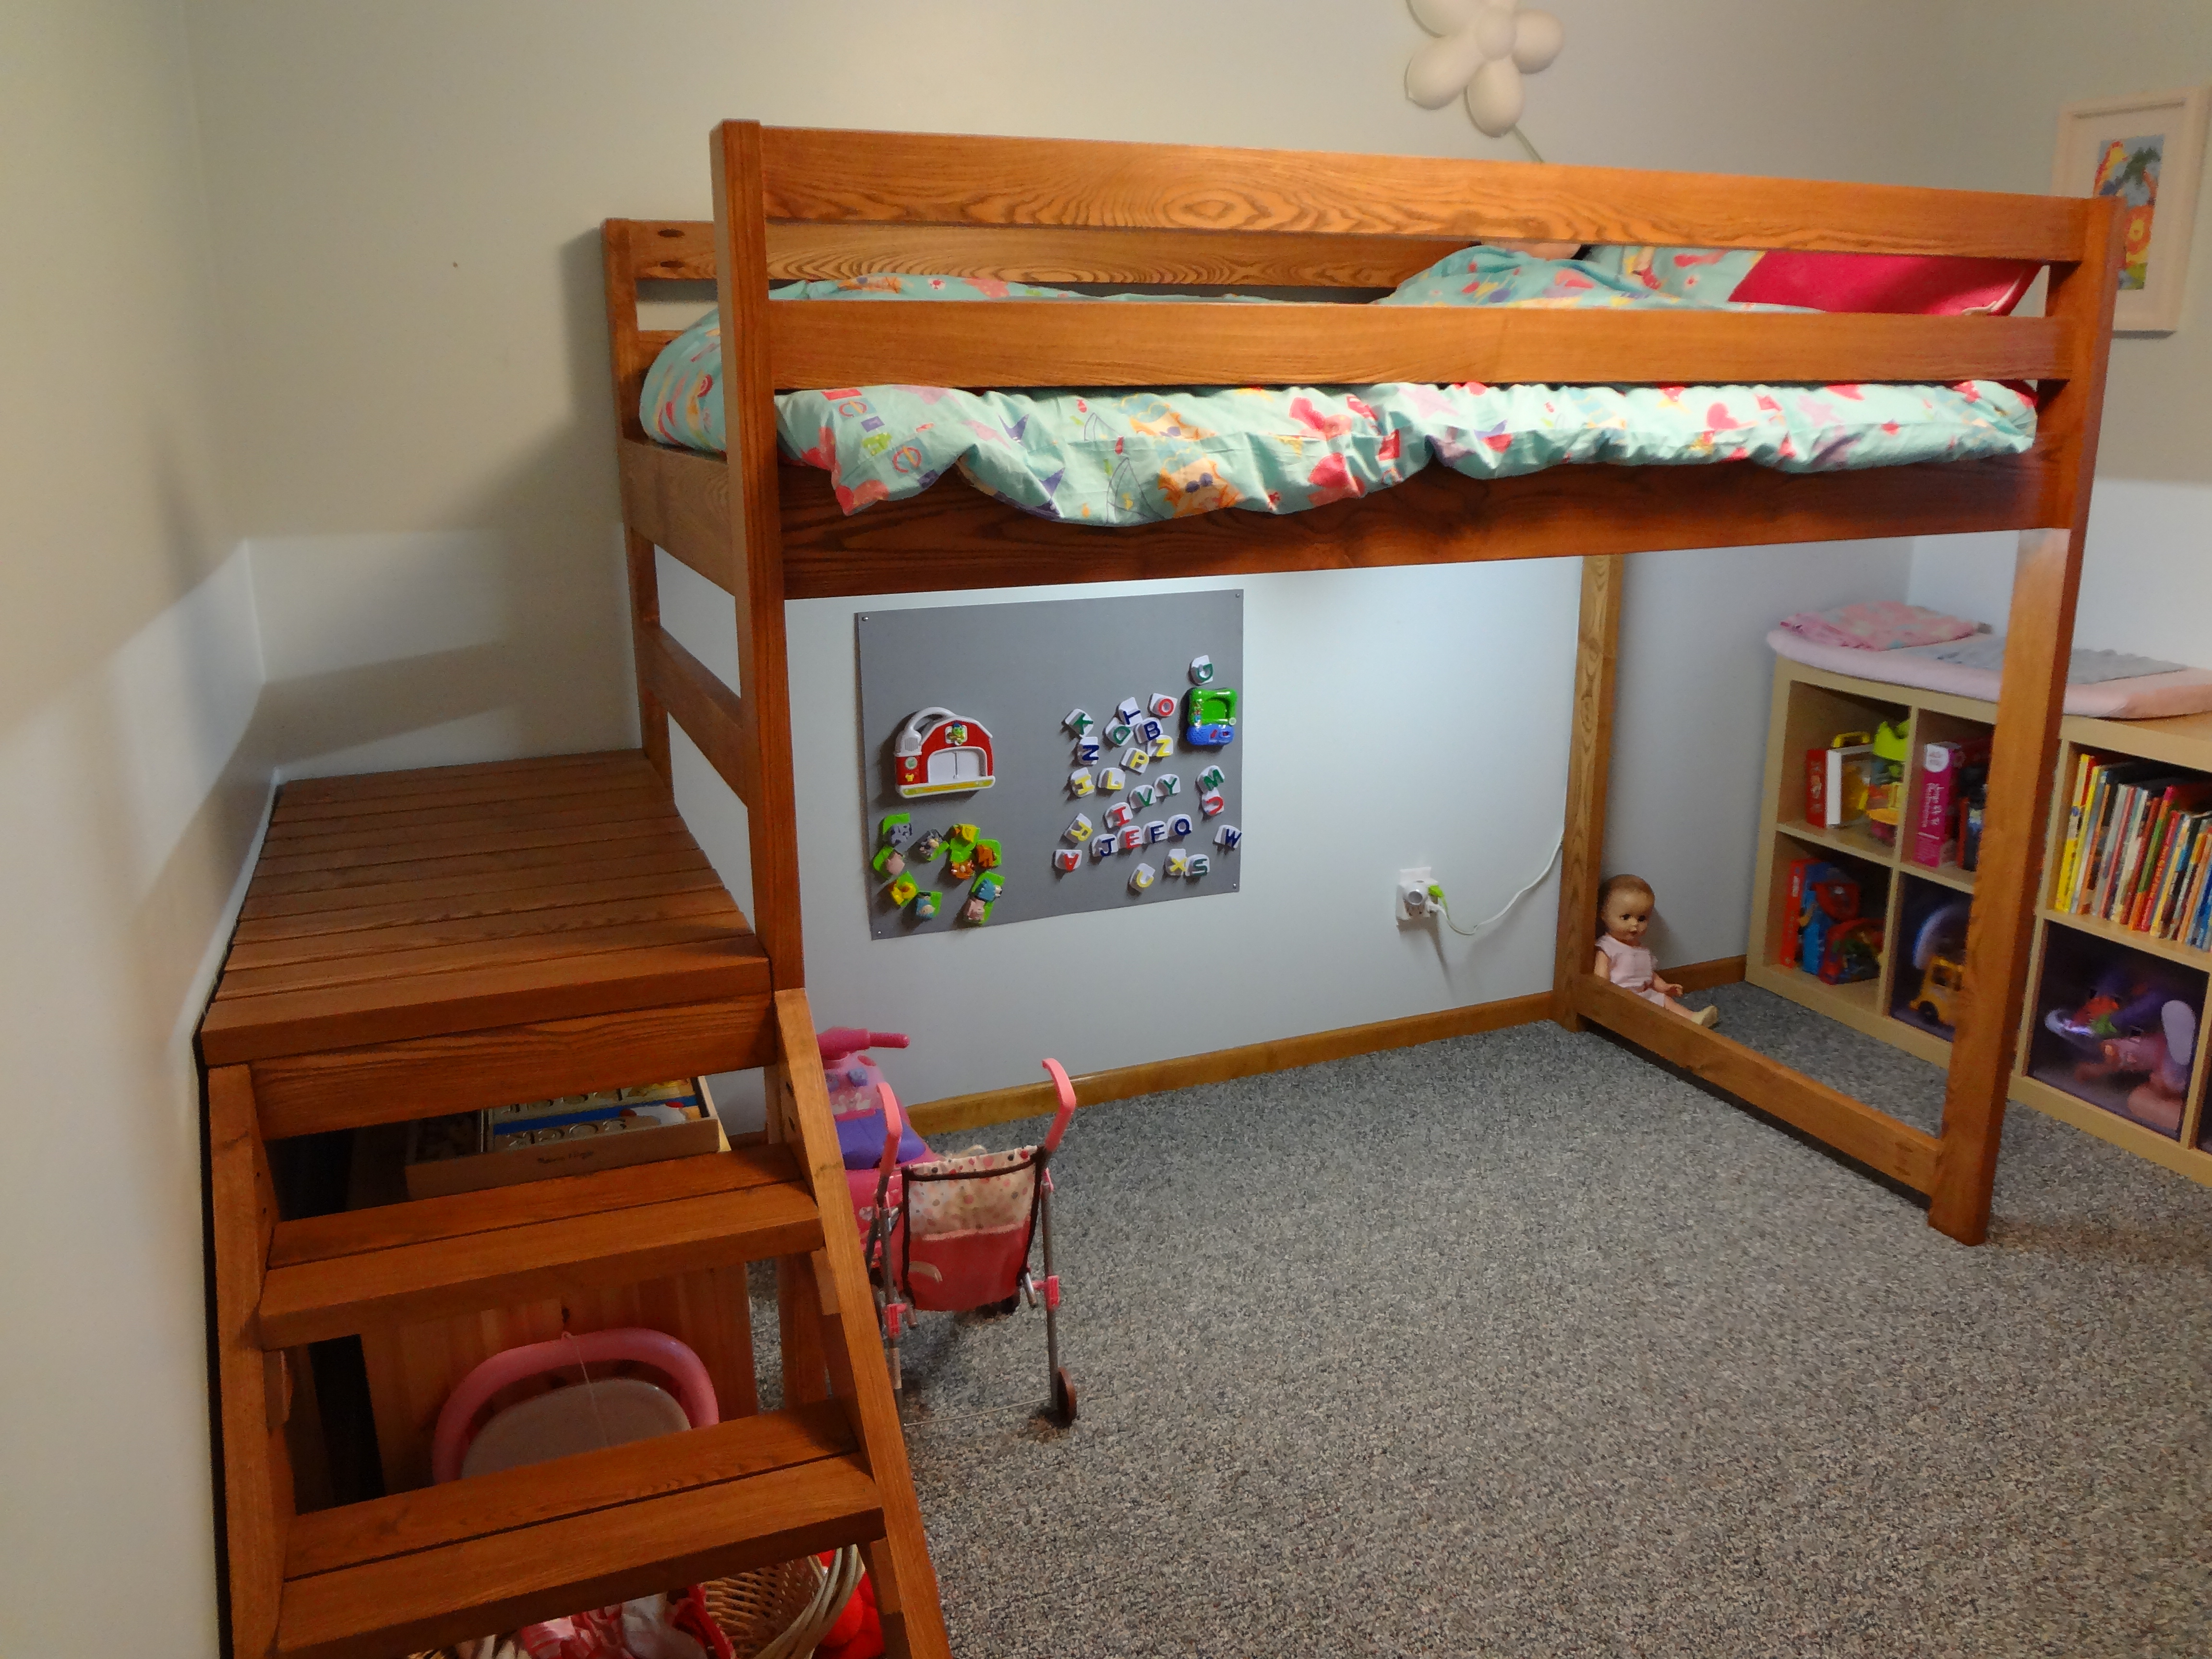
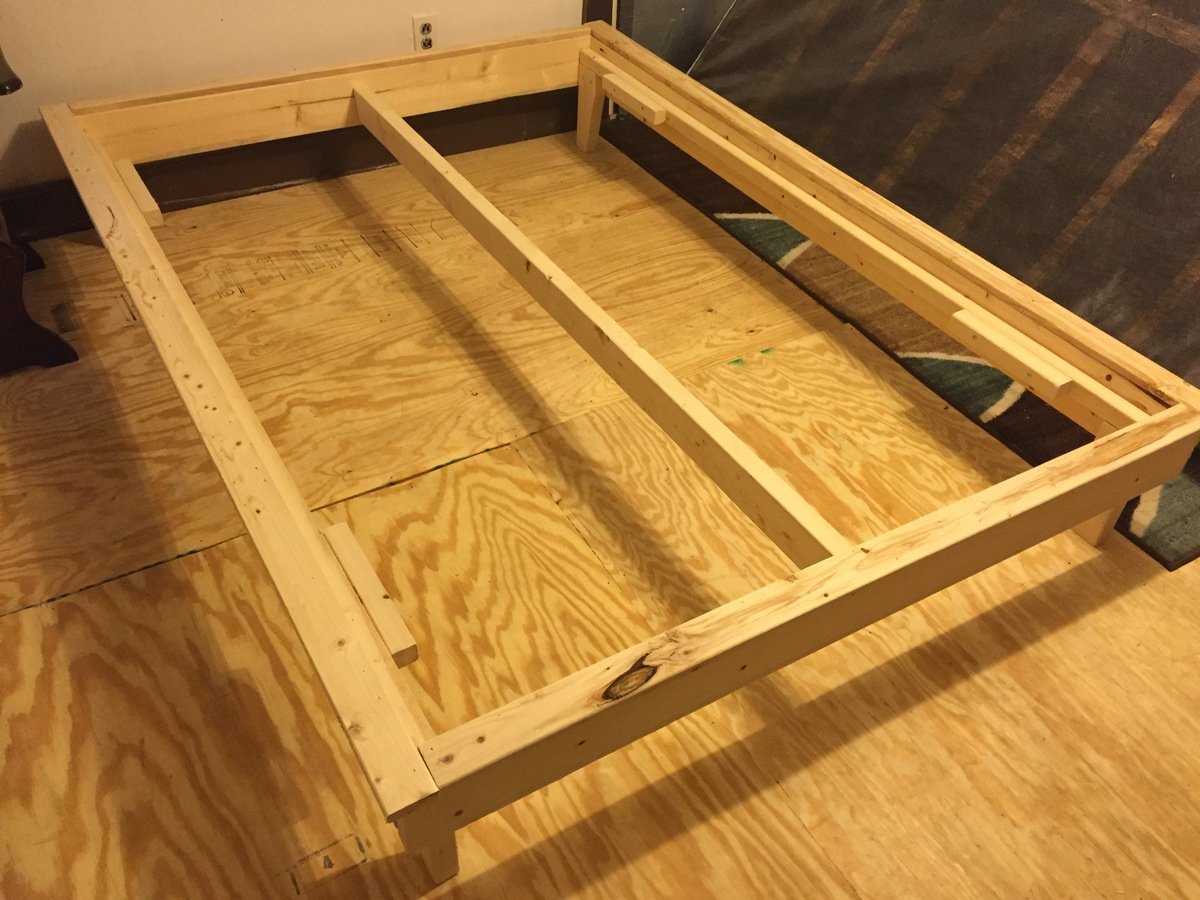
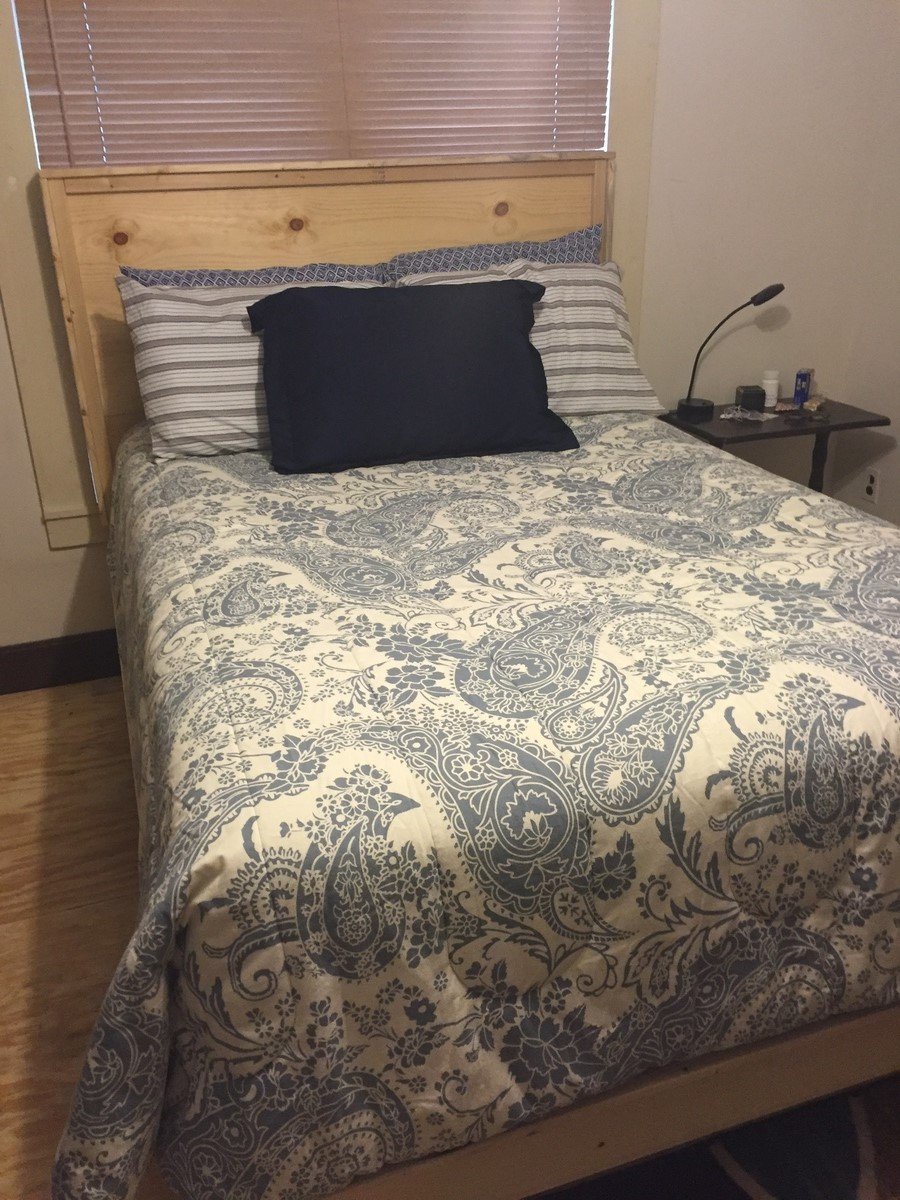
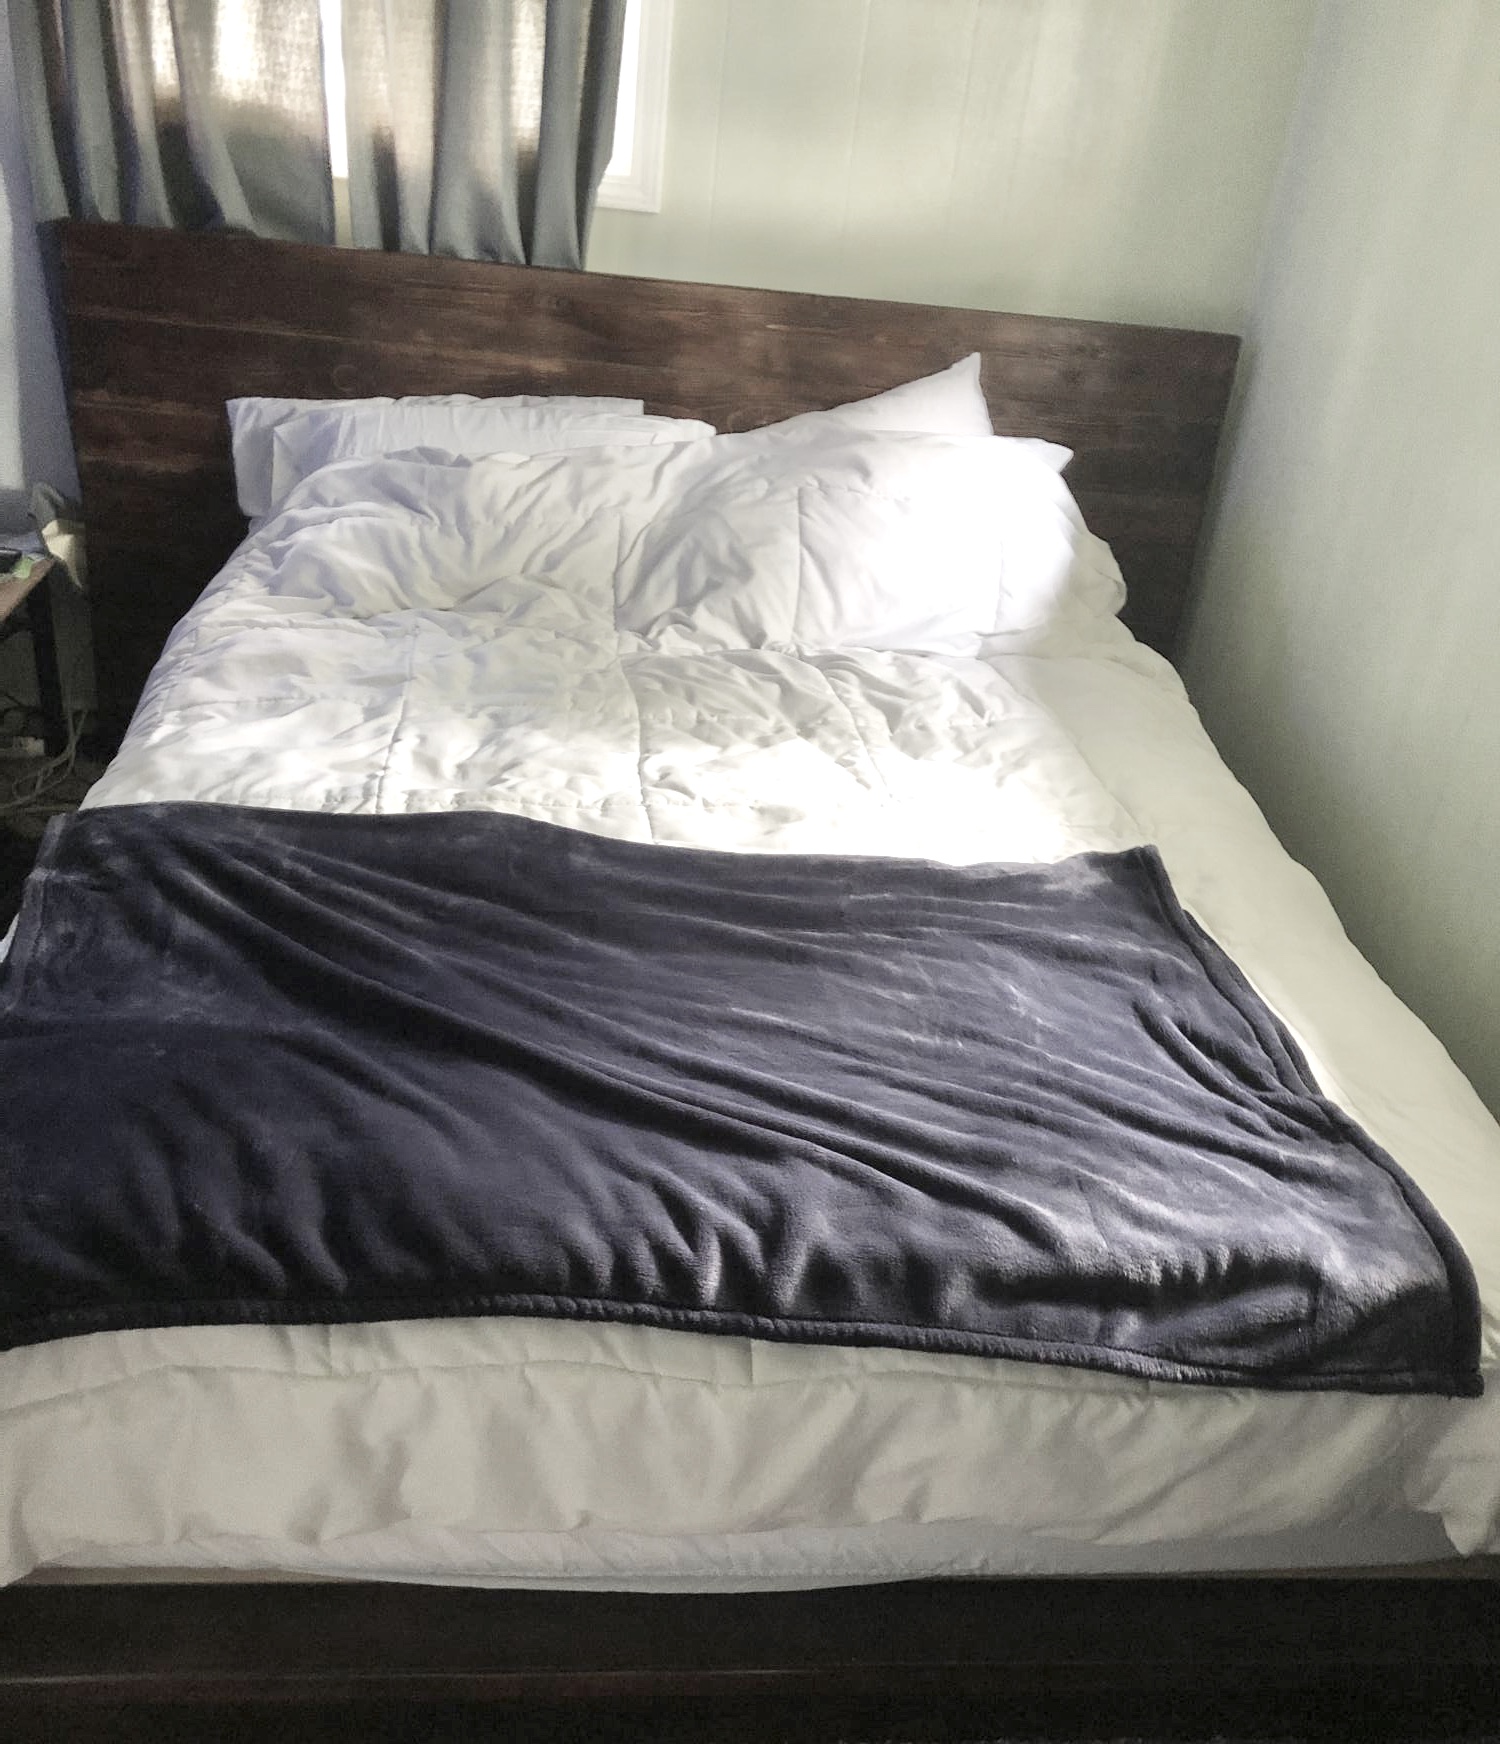
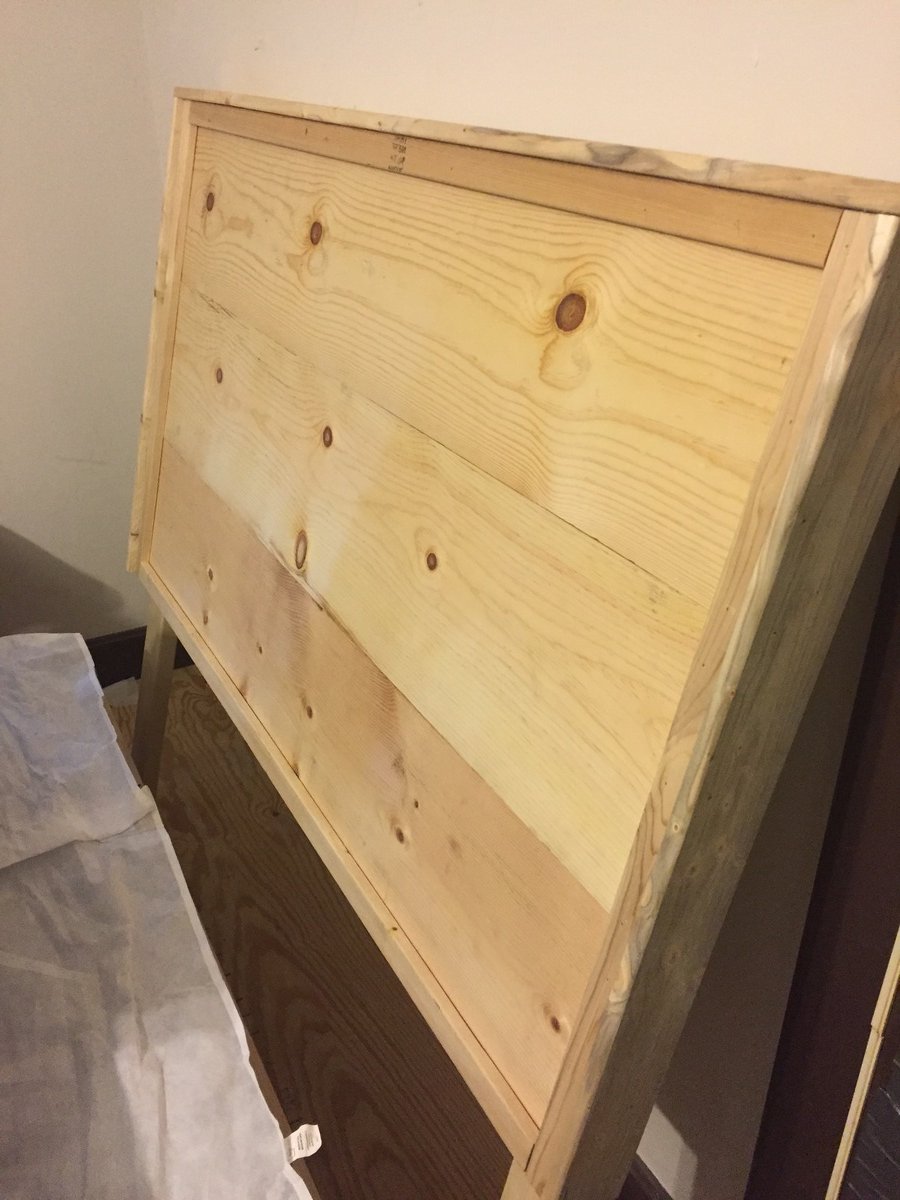
Rustic Entry Bench
![](/sites/default/files/49E01DB5-0403-4E61-9ABB-296007200066.jpeg)
Sturdy rustic entry bench. 46”x17”x17” high with
shoe shelf. Built with 4x4 legs and 2x6 seating for max strength.
![](/sites/default/files/DAA1AEC1-3DA9-472D-8164-D6034417197D.jpeg)
Sturdy rustic entry bench. 46”x17”x17” high with
shoe shelf. Built with 4x4 legs and 2x6 seating for max strength.
A gift for my husband! Now I’m hoping he will get me the fireplace! Ha ha!
This project was super quick, cheap, and easy to make. I created it using an old recycled pallet, vintage sterling silverware, and leftover stain from another project. I simply sanded and stained it.
Great first project I made for my 2 year old son. He loves his "big boy bed" and I thoroughly enjoyed making it. I made the headboard first, then waited a day to do the footboard. I was able to think the process through better during that period and the footboard came out much better than the headboard, although maybe I'm just aware of these differences because I'm the one that made it. All in all it was a great learning experience and a wonderful way to dive into wood working. Thanks for all your plans, Ana!
Mon, 01/23/2017 - 20:53
Look really good. Can you send me the plans and cut measures. Material list. Please.
This is the 2nd thing I've ever built in my life. I had a ton of trouble with the angle cuts because of an old miter saw and my lack of skills with a protractor but it turned out okay.
I have been wanting garage cabinets for a long time but couldn't afford them. When I saw these shelves I knew it would be easy to add side panels and create doors for the sections. The size is 8'x8' with the 4'x3' under the ceiling rack. I put a 2"x4" in the middle to divide each section, measured and cut doors from 5mm lauran plywood. I also cut the stiles and rails from the same material to give it interest but mainly to make it thicker to avoid warping as much as possible. I added 2"x4" to create a facing for the doors to rest on. Also used overlay hinges to simplify the hanging as much as possible. I was able to follow the design plan and the only thing I did was add a shelf at the bottom. The cleats were definitely not necessary, it's very sturdy.
Making the doors
The first thing is to learn how to measure for cabinet doors. There are plenty of sites and YouTube videos showing how to correctly measure. If you are doing the same type of doors like I have, with no middle divider, then be sure to pay attention how to correctly measure for those instead of a single door.
The easiest way to make the doors will be getting 1/2 in sanded plywood and use a table saw to cut each door to size. Skip the shaker style trim and put the hardware on and be done. Make sure the hinges will be able to hold the weight of the door.
Unfortunately, I didn't have a table saw but I did have a router and a jig saw, and found a great video on YouTube on how to use a router to cut straight edges without a table saw. I measured out one door and used that outline to cut two identical doors. It turned out that each section was slightly a different width so I had to do two at a time. However, if you have a circular saw you can rig it to make a table saw and make a guide to rip the doors. It all depends on what tools you have available to you.
I have a compact plunge saw and was able to cut the 3 inch strips for the shaker style with it. Honestly, that was the most tedious part and most time consuming by far. That also had to do with the fact that because the plywood is only 5mm thick I cut strips for both the front and the back to make it over 1/2 inch thick to help minimize warping and give the hinges something to grab.
I used the miter saw to cut the stiles and rails to size and a 23 gauge nailer with 1/2 nails and glue to get them on the door. I glued and nailed the front and the back of each side at the same time because the nails are a bit longer than two pieces of plywood. I then turned it over and nailed the other side. The great thing about using a 23 gauge is that I didn't have to fill any holes because they are so small you can hardly see them at all.
The last thing is to use your sander to ensure all of the pieces are even. I used a 60 grit and then followed it with a 220 where needed.
If you want to avoid cutting the strips but still want to have the shaker style, Home Depot sells 1/4 thick Polystyrene flat moulding that will add vertially no weight to the door but the cost can easily add up if you have a lot of doors.
Lastly, if you are wondering why I got such thin plywood that ended up creating more work. The reason is because I wanted to save money on hardware and I didn't trust the inexpensive hinges I got off eBay would hold a heavy door for many years.
Wed, 06/19/2019 - 13:20
What kind of paint did you use? Looks really nice, the whole thing!
Thu, 07/18/2019 - 10:28
This is amazing! Thank you for sharing so much detail on your project too.
Wed, 06/10/2020 - 13:14
Can we get detailed plan of how you made this from the start to end like a material list and cut list.
Recent projects:
Treehouse for my 6-year old granddaughter
Desk for my 6-year old granddaughter
I've wanted a pergola for a long time. I liked some parts of the Weatherly Pergola, but needed some different aspects because of my deck, property and locale. I did some research, laid out a modified design and plan - and voila! Easy as pie - you just need 2 people (or more) because of the weight of the cross beams support. I did it myself using clamps, but I don't recommend it.
My current project is designing cabinets and a bar for an outdoor kitchen to go under the pergola! :D
I knew I wanted some of these shelves in my daughter's room but it seems bedroom sizes in Australia are quite a bit smaller than the US! I couldn't spare a long wall to fill with books so chose this narrow space to the side of the window.
The length of time I took for this project was for several reasons:
* I was a total beginner!
* I had to cut all of the lengths of wood with a hand saw & sand with sandpaper wrapped around a block of wood.
* It took about 5 coats of paint to cover the wood properly.
I adjusted the measurements from Ana's plans to fit the smaller space & while daunted at first at the prospect of attaching things to walls, I was so thrilled with how they turn out. I'm looking forward to challenging myself with something a little more complex next (perhaps with some power tools this time to assist!).
Sun, 07/07/2013 - 07:15
Nice work! Your shelves look good, just right for that little space!
This was a pretty good and at times challenging project but it was fun and totally worth it when I saw the look on my daughter's face
Enjoyed making this queen sized bed frame. Thanks Ana, for the great plans! I am adding some lights to it in the next few weeks, that I'll wire through the 4x4's, to add individual reading lamps. I plan on complimenting the bed frame with your farmhouse style nightstands, that I am going to modify with a hidden power supply and some rollers for the drawers. Once done, I'll submit the brag post! Again, thanks Ana, for your great and inspired plans!
We just moved into our newly built home, I love to cook, and realized really didn't have a good spot in the pantry for all the spices. This was my first project and in doing internet search for ideas came across Ana White's website, not only did I find the spice cabinet plan I was looking for, but a treasure trove of other projects and ideas. New to this so I have found Ana's site to be such a blessing. Yes, this made me a hero to my wife!
This has been on my to-do list for a long time. We have not had a dresser for years, and have used our closets for our clothes. In our old house, I had built a storage unit for our closet, and we used clear plastic storage bins for our smaller, non-hanging items. Then we moved to our current house. Which had nice closets, but the bins didn't work so well. But we made do, fully intending to change it when we had time. Six years later...I found the time. LOL.
When Ana posted the laundry basket dresser, I knew it would work for our current bins! But I wanted them out of the closet, and I didn't really want to look at them. So I thought about doors. Finally worked it out, and here are the changes that I made.
I made it to fit my bins. Added some legs. Added 1x2 trim all around to help hide the plywood and beef it up to help the doors. Added the doors(gotta love that kreg-jig!). I used Ana's plan for the basic glass doors for those, same as the ones I did for my kitchen.
When it came to the inserts, I knew what I wanted, but it just took a bit of time to get everything together.
The inserts are plastic-plexiglass. I LOATHE cutting that stuff, and we won't go into the detail and language that was involved with that part. Finally got two workable pieces. Used my xyron to make circular stickers, and laid them out in my desired pattern. Then sprayed with frosted glass spray paint(awesome stuff!). It gave it that modern edge that I wanted, and disguised the stuff inside.
Thanks for the work bench plans! Mine measures 3 feet by 6 feet. We have a single car garage so I put locking casters on mine to enable me to move it. Easier to clean, easier to access all sides then put it back in the corner. The frame is 2x4, the top is leftover ash flooring. The lower shelf is leftover 2 by (4s, 6s). I may add another layer of ash to the top but it's functional as is. Stands 36 inches tall.
I built this as a birthday present for my sister and niece, she loves owls so I figured out a way to enlarge and image and stenciled an owl onto the top of the cover. Super happy with the way that it turned out. I used some retired climbing rope for the handles and screwed them in on the underside. I am going to put some rock around the outside so there is a buffer for the weed whacker.
Easy to build, easy to customize, perfect for totes
I spent a couple of weekends making the knockoff West Elm Doll Houses using these free plans, as Christmas gifts for my 3 year old honorary nieces. The plans made building the doll houses quite easy! I opted to add trim pieces on the door and window openings, which saved me some headache, since they didn't need to be cut perfectly straight, and I also decided to cut the door and window openings out before attaching the front side to the rest of the house, just in case I messed up. The furniture was a bit harder without any plans (it's noted that the plans will be available soon, but they weren't when I did this build), but I just looked at the photos and made things up as I went along, using scrap wood and wood glue, which was pretty fun. Total cost was about $75 for both of these doll houses, the furniture and spray paint. For the finishing, I used Minwax Wood Finish Oil-Based in Ebony for the roofs and exterior window and door trim, which I stained before attaching. The rest of the house is Benjamin Moore Advance in Chantilly Lace, since that's what I had on hand, followed by two coats of Rust-Oleum spray paint in Satin Clear Enamel. For the furniture I opted to spray paint it all in satin white or black, also followed by two coats of the enamel spray. I used acrylic craft paint on the faucets, to give them a pop of silver. And I added some scrapbook paper for wallpaper and some cut up rug samples, for a little color! Both of my friends' 3 year olds are a little on the young side for these, but they've been enjoying learning how to play with them!
Tue, 01/04/2022 - 14:07
These are darling and all the detail and work is stunning, bravo!
Farmhouse Toddler Bed, made by my father & I for my son Corgan. Adapted to 28" wide crib mattress from following adaptations in comments. My first project! LOVE this plan! Thanks so much Ana! This bed will last for a very long time.
My son used your plans to build this bench for his Eagle Scout project. It now resides at the University City, MO Head Start, along with over 90 books that people donated for the children. He couldn't have done it without this site! Thank you so much!
Roof to be added later. Modified Dream Dollhouse to 1/2 size -- perfect for 2 yo!
Comments
[email protected]
Wed, 10/23/2019 - 17:19
Bench Plans
The bench is great! Which plan did you start with?
Thanks