We Love our Sectional and Tables

We love our sectional built from the modern sectional plan. We also made the tables from an Ana White plan but we adjusted the size. My husband and I love projects.

We love our sectional built from the modern sectional plan. We also made the tables from an Ana White plan but we adjusted the size. My husband and I love projects.

It's an awful eye sore builder's always seem to put in the most obvious places even when there's an attached garage, or a basement, or even a large closet somewhere.
Solution: Build a frame out of 2x2's around the panel. Build a smaller frame out of trim (or whatever you like as a picture frame). Attach the smaller frame to the frame on the wall with self closing hinges (ok, maybe paint everything first, lol) and insert a photo or painting of your choice.
Unfortunately you can't do anything about placement, hello 1 inch from my countertop and cabinets (also preventing me from building more upper cabinets on that wall)
But, it's better than staring at that ugly gray box :)


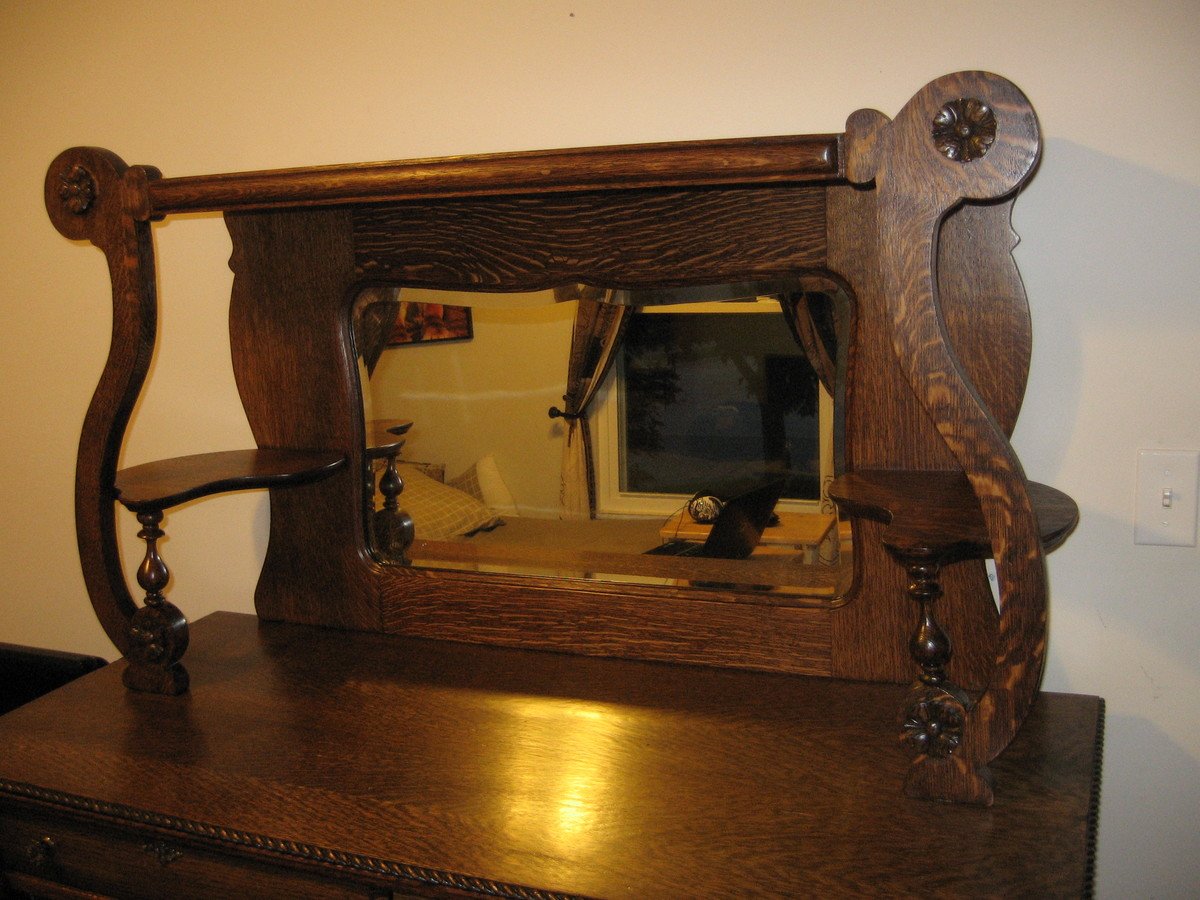
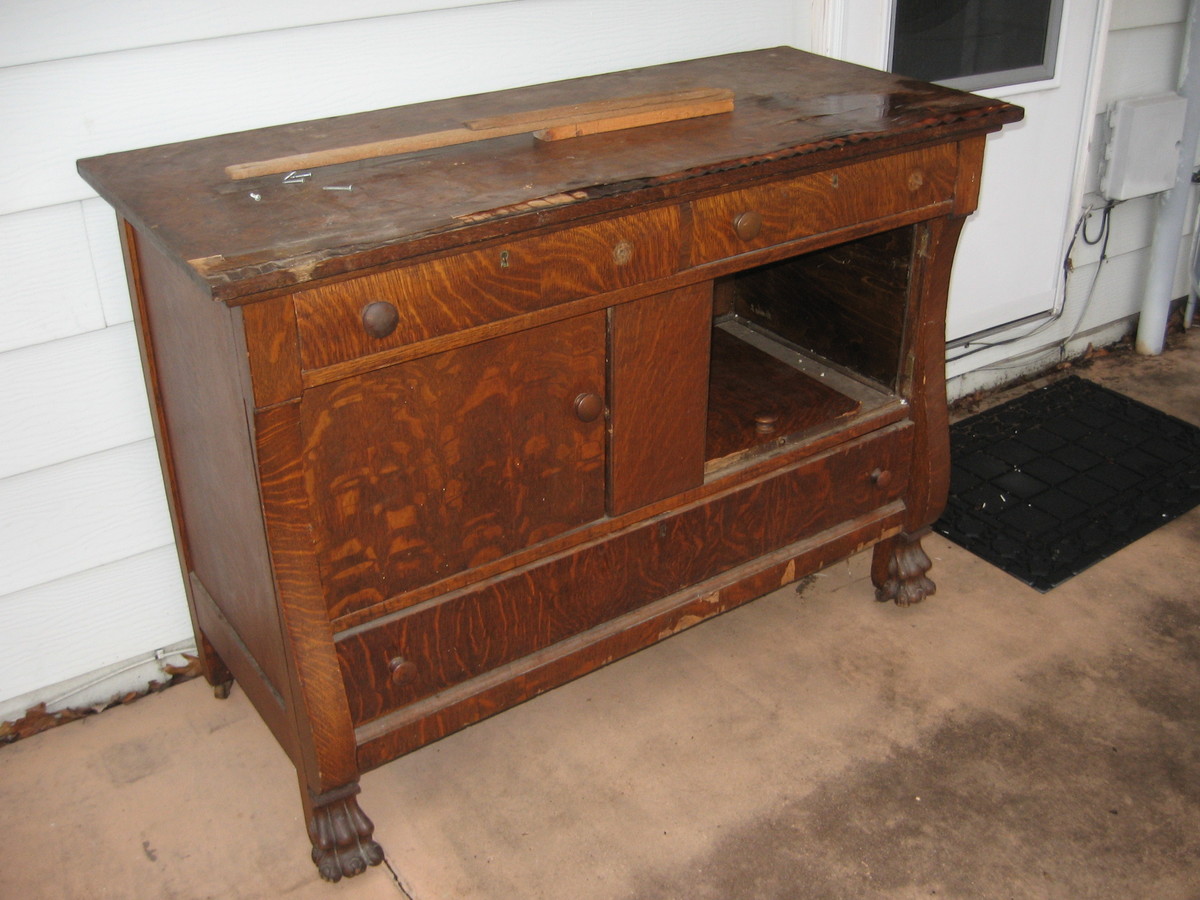
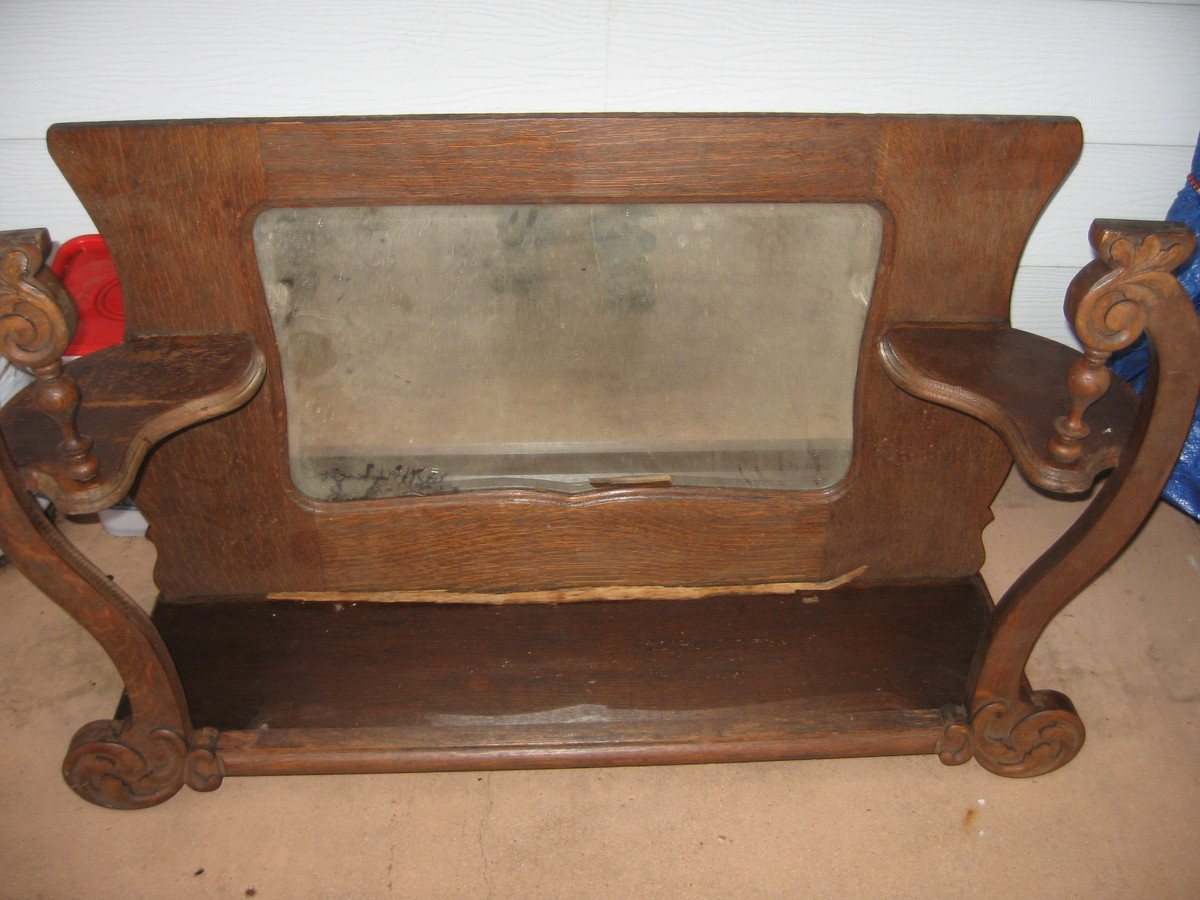
I found this buffet on Craigslist. I bought it from a young lady that told me her grandmother owned it prior to passing. It had obvious water damage, especially to much of the veneer.
Starting with the top portion, the mirror was removed. The silvering was shot and I shipped it to Madison Glass in Nashville, TN. I stripped it and repaired the cracks and splits it had. The appliques were all broken and brittle. These were replaced with four new oak rosettes. It was stained and polyurethane was applied. I made a new back to cover the mirror when I got it back.
The bottom section was in really bad shape. The water damage had ruined all of the veneer on the top of the bottom section. It also had an obvious sag. I took the top of the lower section off. I used a plate joiner and wood glue to put these back together. I then flipped it over to fix the sag. A 3/4" section was missing. So I used some oak rope trim to make up the difference.
I rebuilt all of the drawers which included new bottoms. I replaced the drawer stops. The cabinet door were all broken so I made new ones using 3/4" oak plywood. I put the nicest side facing in and put new veneer on the door front. In fact the fronts to all of the drawers received new veneer. I also rebuilt the entire inside with 1/4" oak plywood and oak trim. I also put new casters on the piece. I then stained and applied poly to the base.

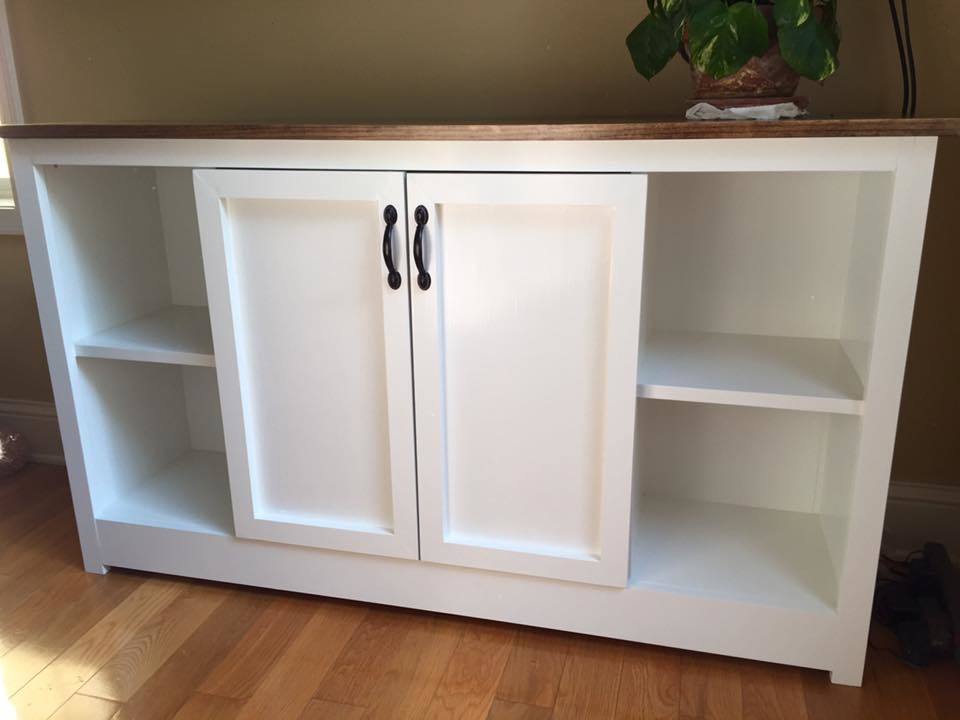
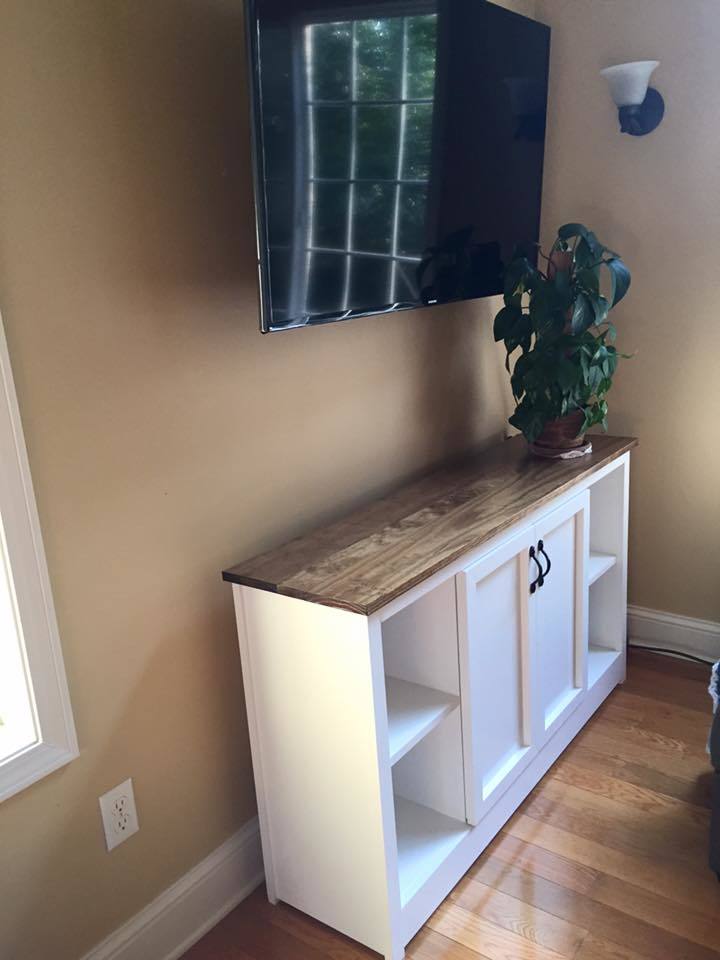
I based this off of the farmhouse media console plans, but made a lot of changes with dimensions, doors, etc. Originally we wanted the doors to slide sideways instead of opening outwards... but we couldn't figure out how to do that and still make it look nice! Very easy to build. I am happy with the end product!
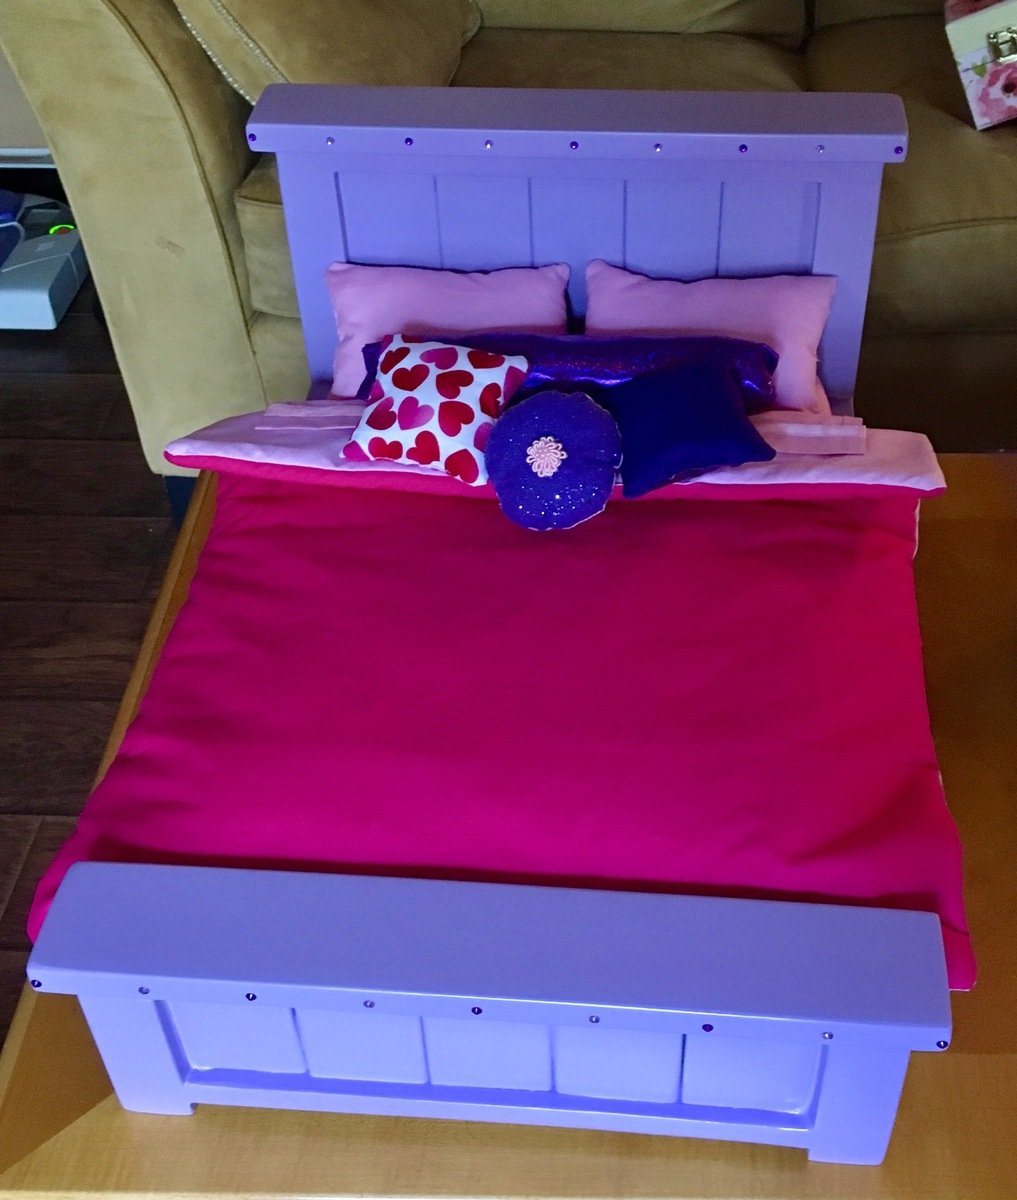
Wow! I’m so pleased with how this turned out!! Super easy and mostly done with scraps left over from other projects. Was able to get the bed and bedding completed for under $30. Smaller (and cheaply made) beds on the AG website cost well over $100. Thanks to this plan, I’m able to give my niece a birthday gift that will last her for years...maybe even generations.
Sun, 08/12/2018 - 10:57
The only reason I listed this as an “intermediate” skill level is because of the sewing portion of the project. Covering the mattress and sewing the bedding (since there’s no plan for that part of the project) isn’t really a no-brainer sewing project.
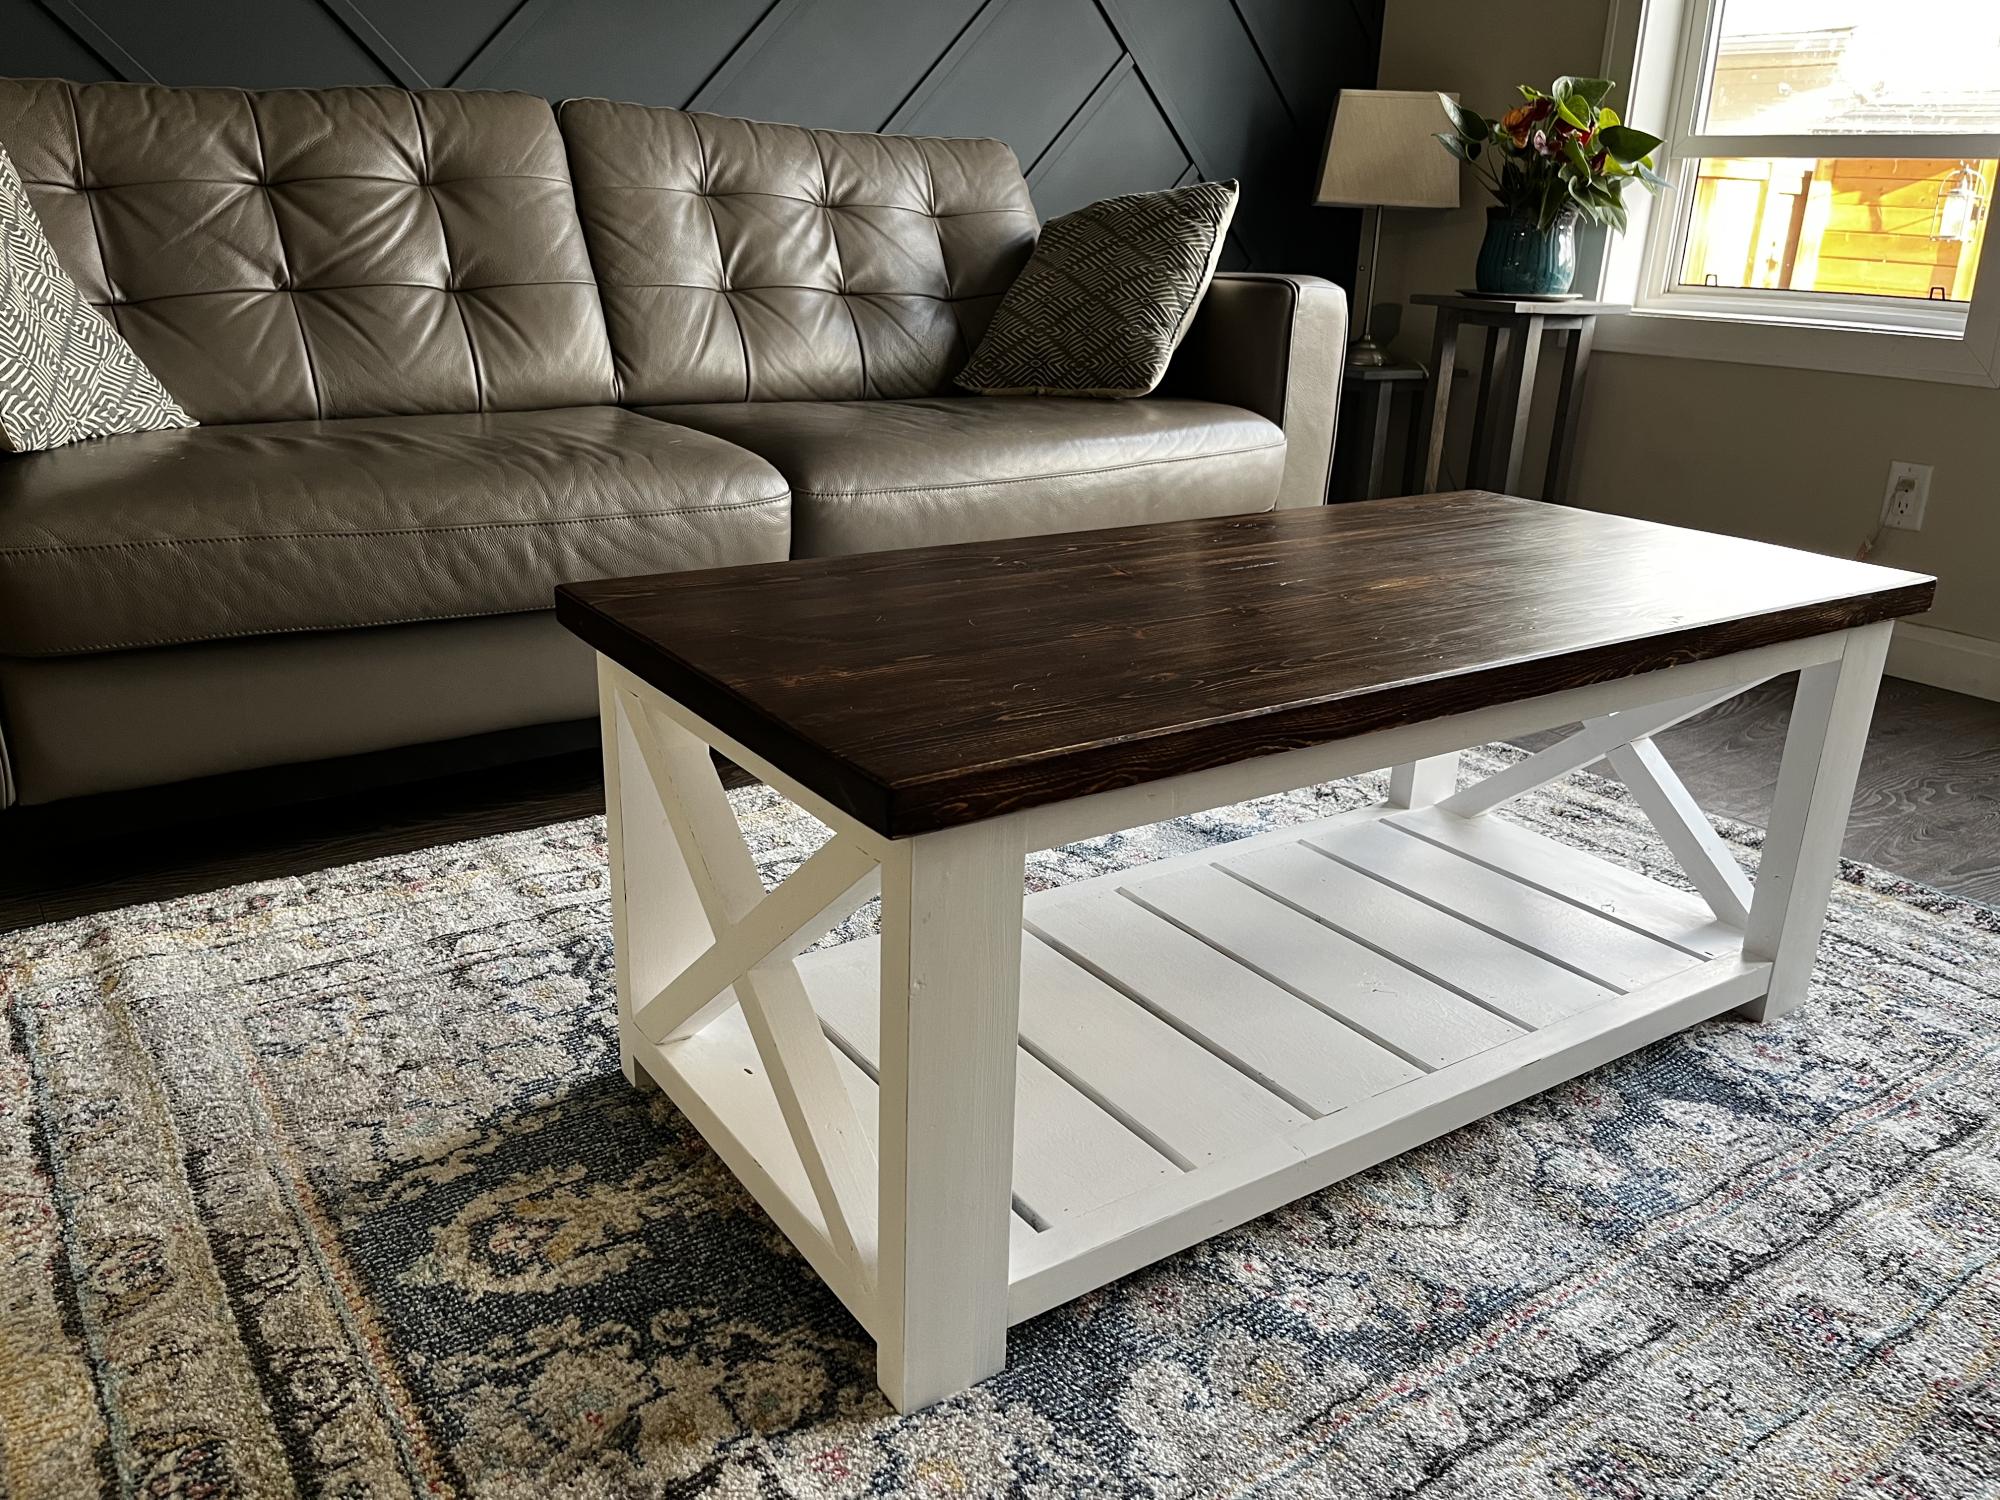
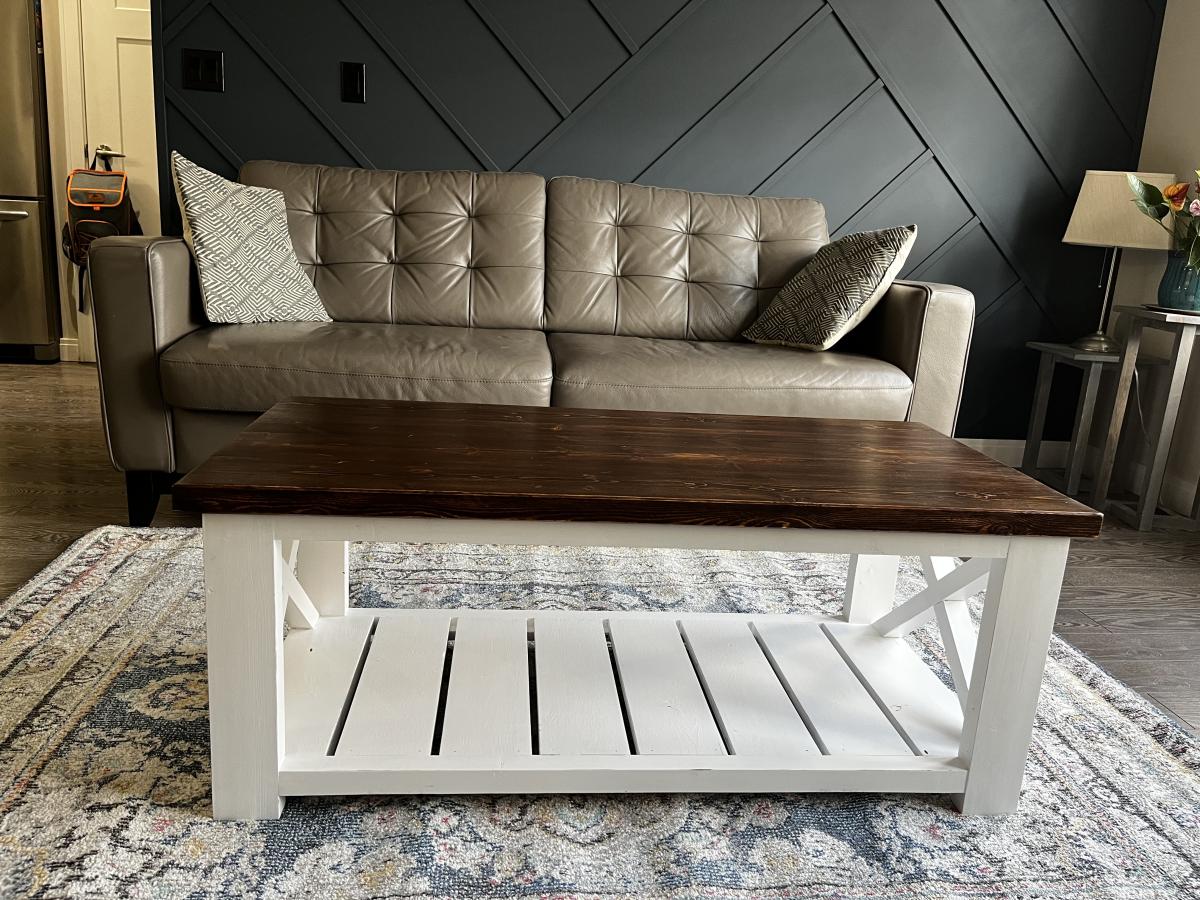
All pocket hole joinery
Base is painted shade of white
Top is dark walnut
This is the bench that got me started! My very first Ana White project and I love it! Oh, and I'm also addicted! I've come a long way since this build and most importantly, so have my tools!


This was my first project built from this site and I absolutely LOVE this table! Thanks Ana White!

Mon, 08/19/2013 - 17:10
Nice work. I've been meaning to take pics of the one I did, which I paired with the exact same Tobias chairs. Love the look of modern and rustic together.
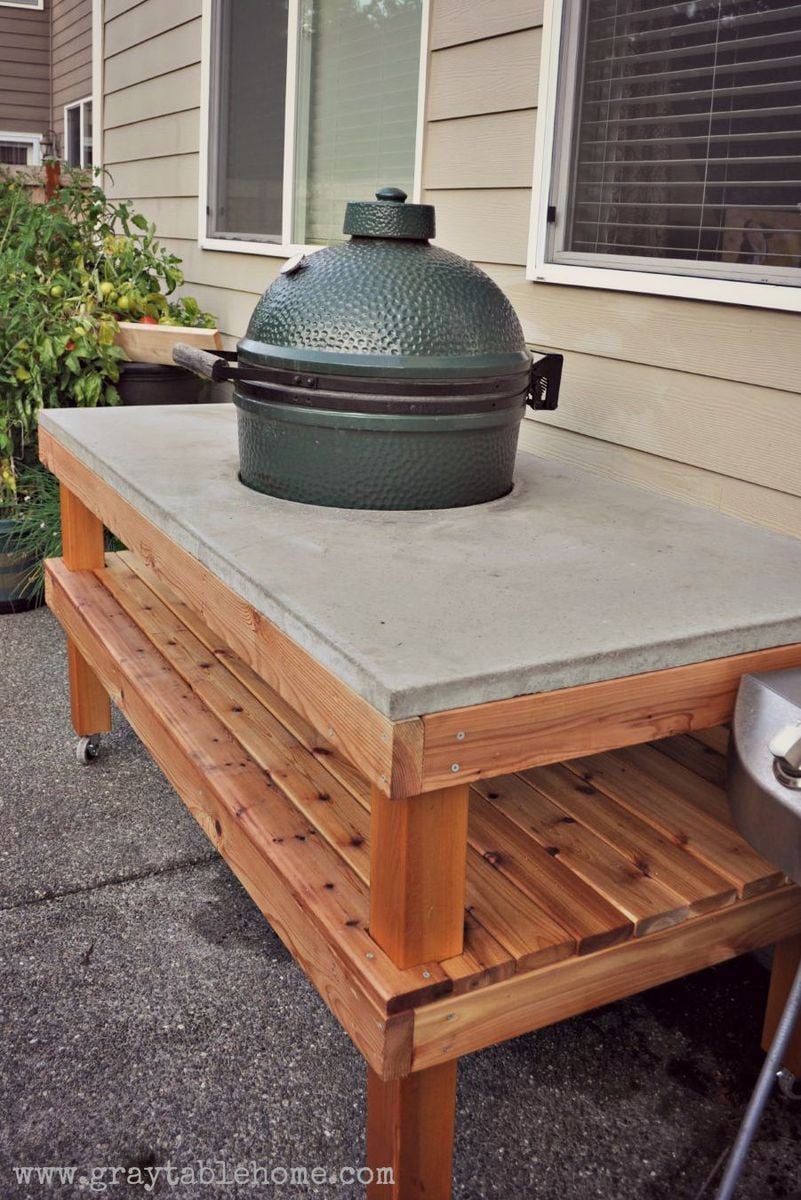
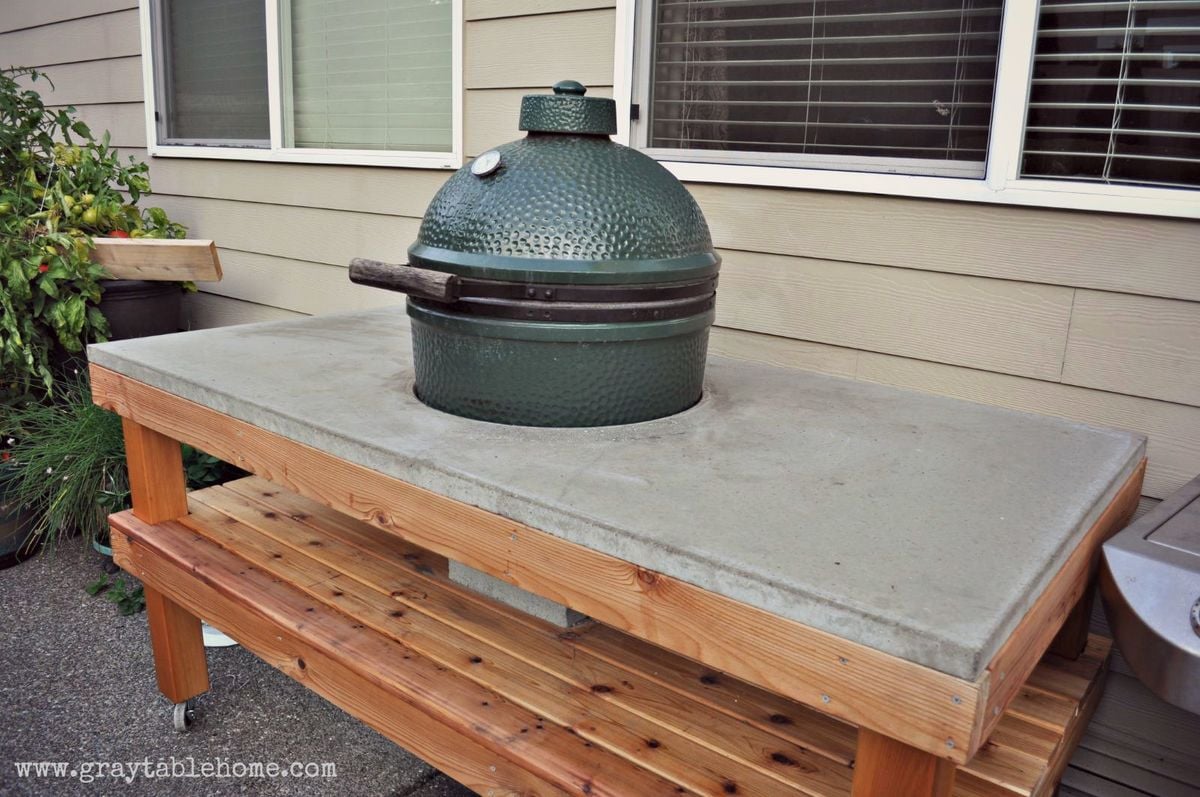
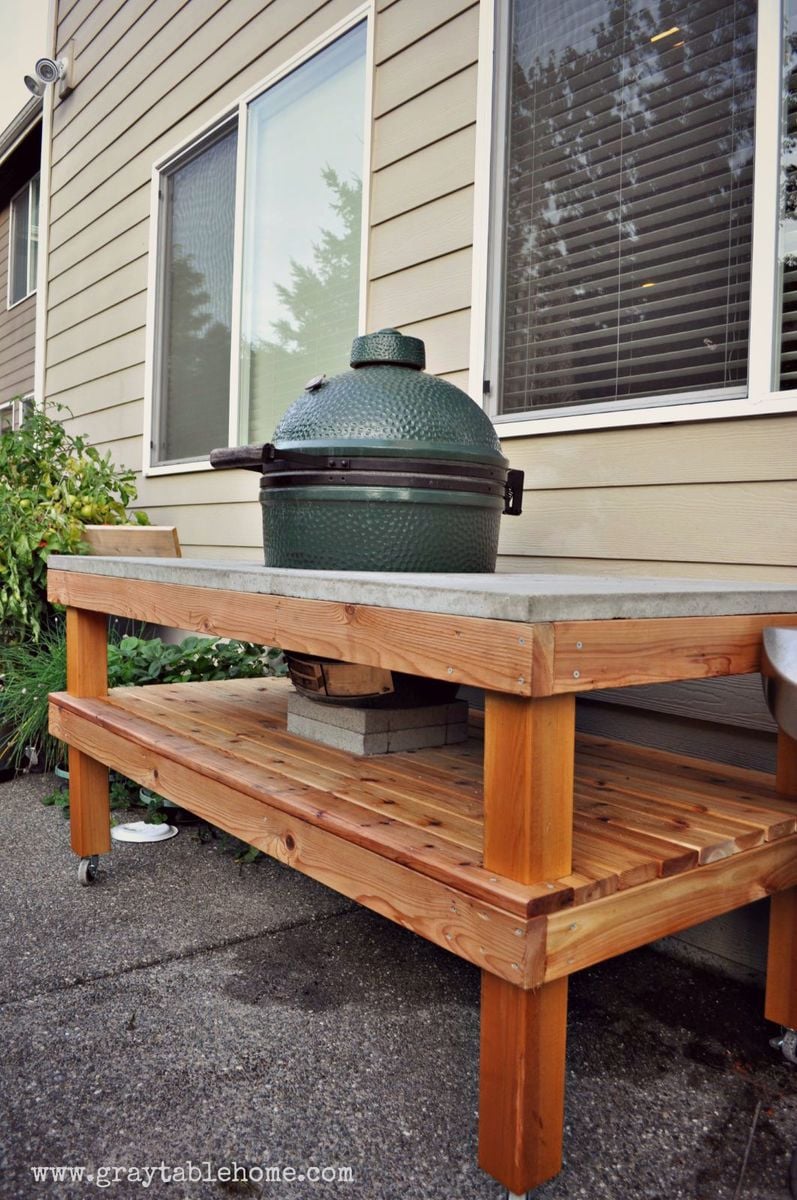
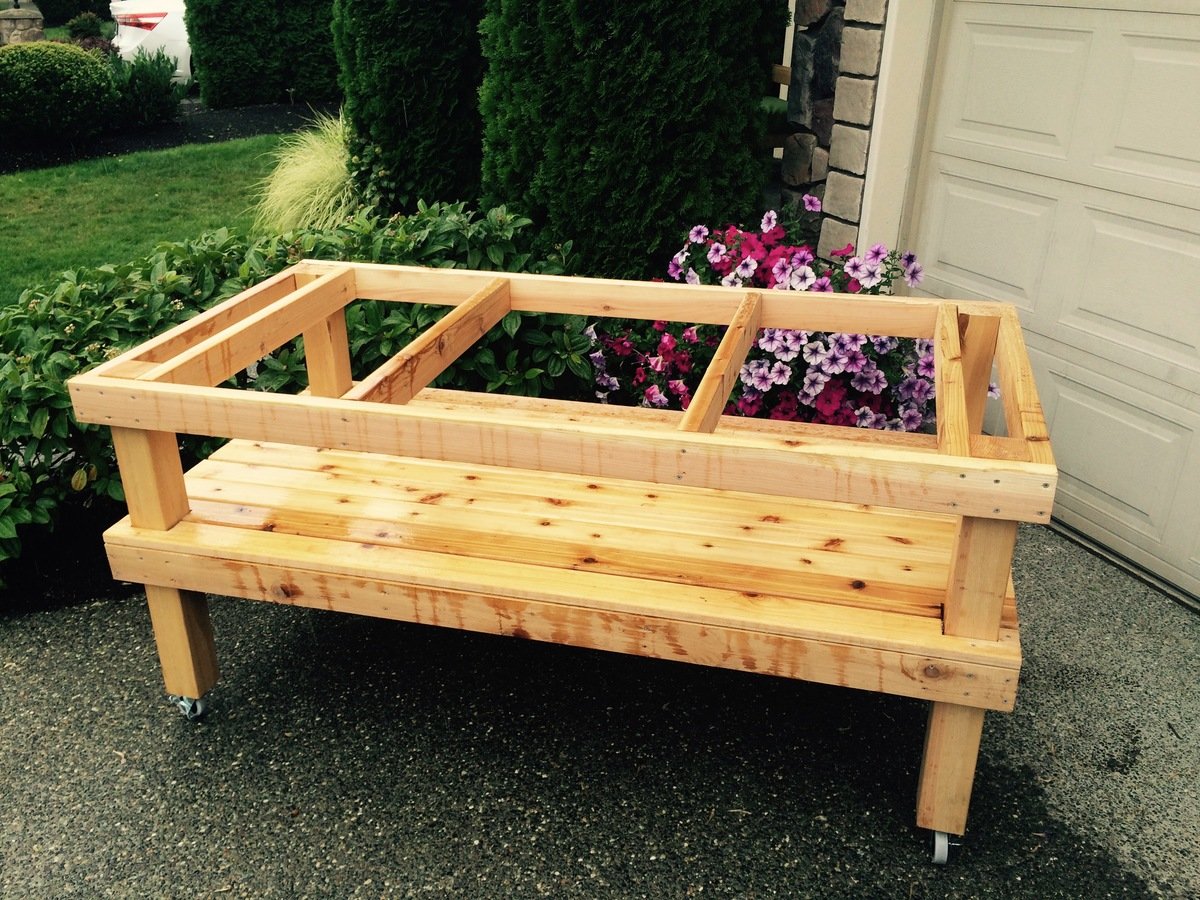
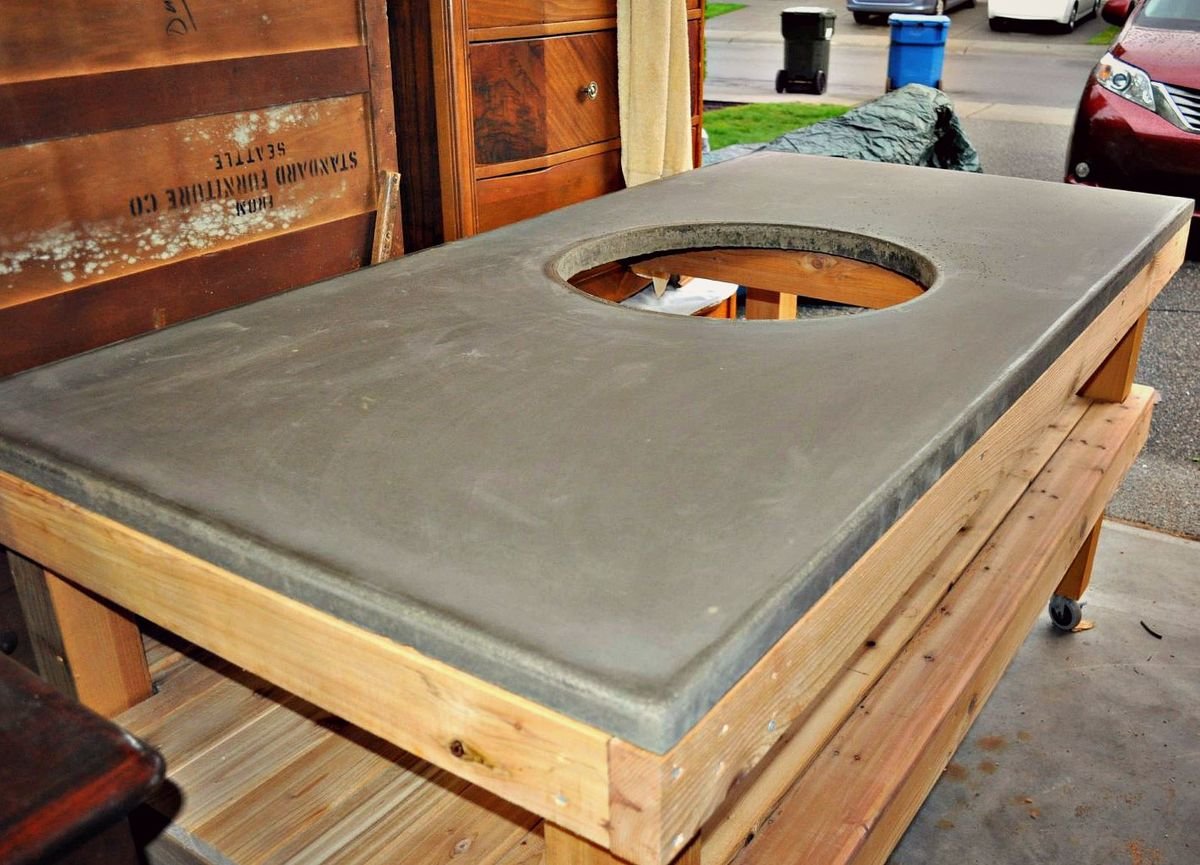
This grill table took a weekend to build. The base is made of cedar and top is concrete. More information on how to build this table is available on my blog.
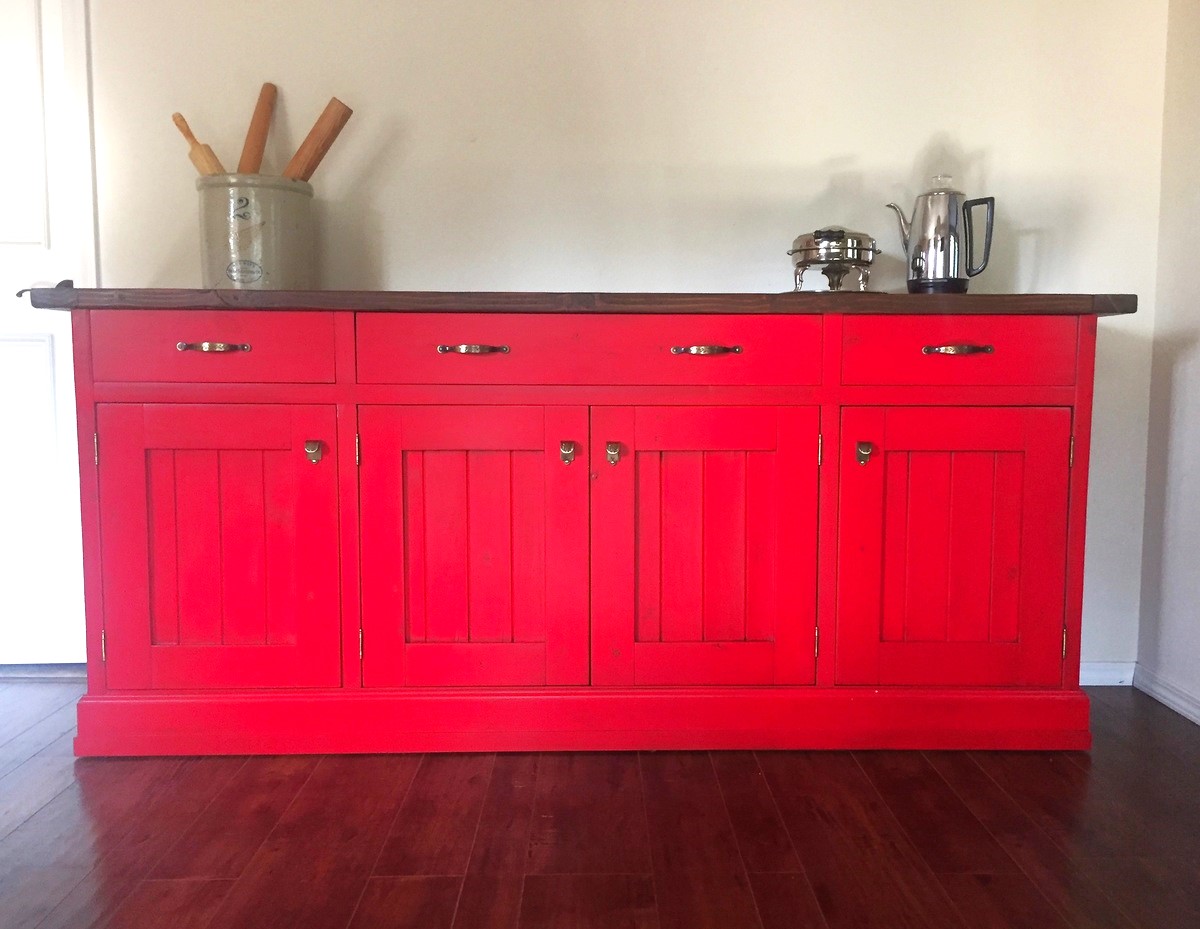
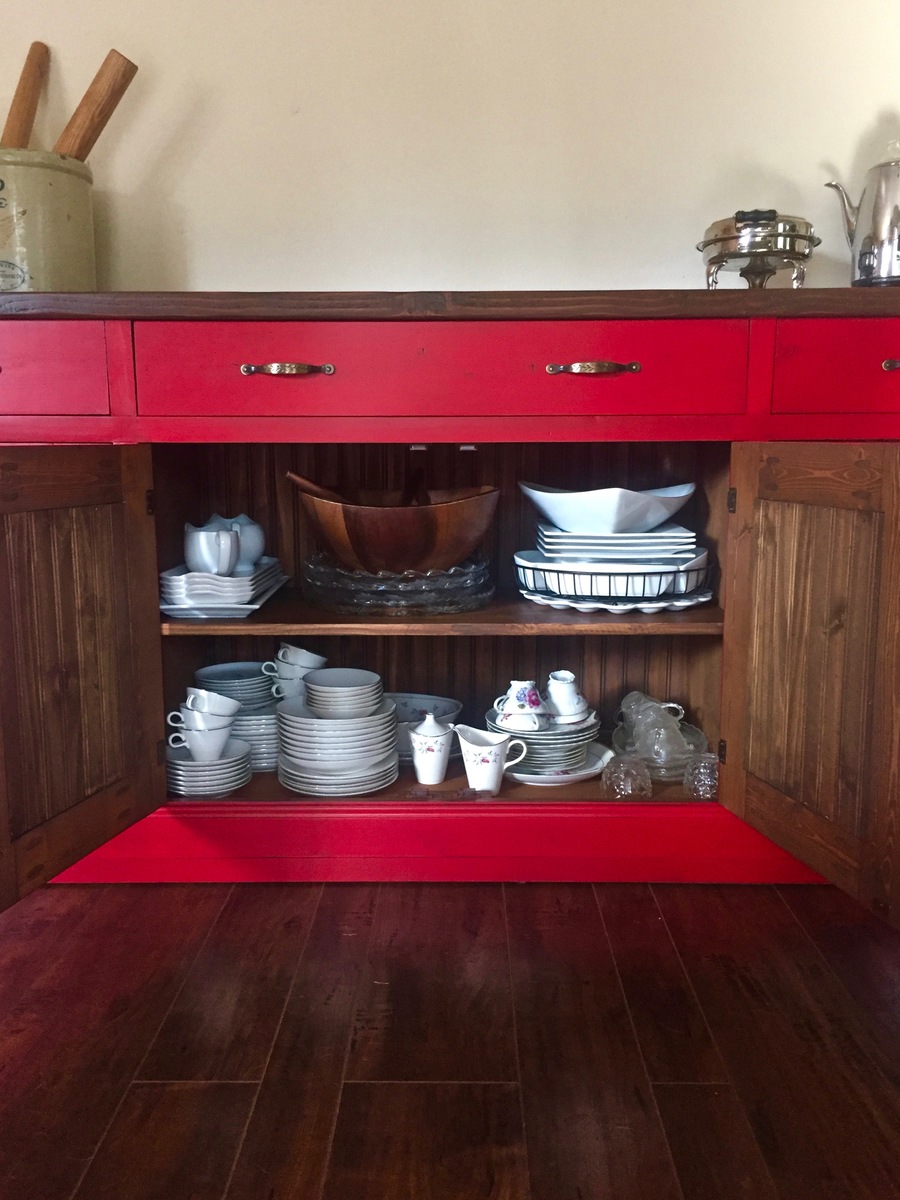
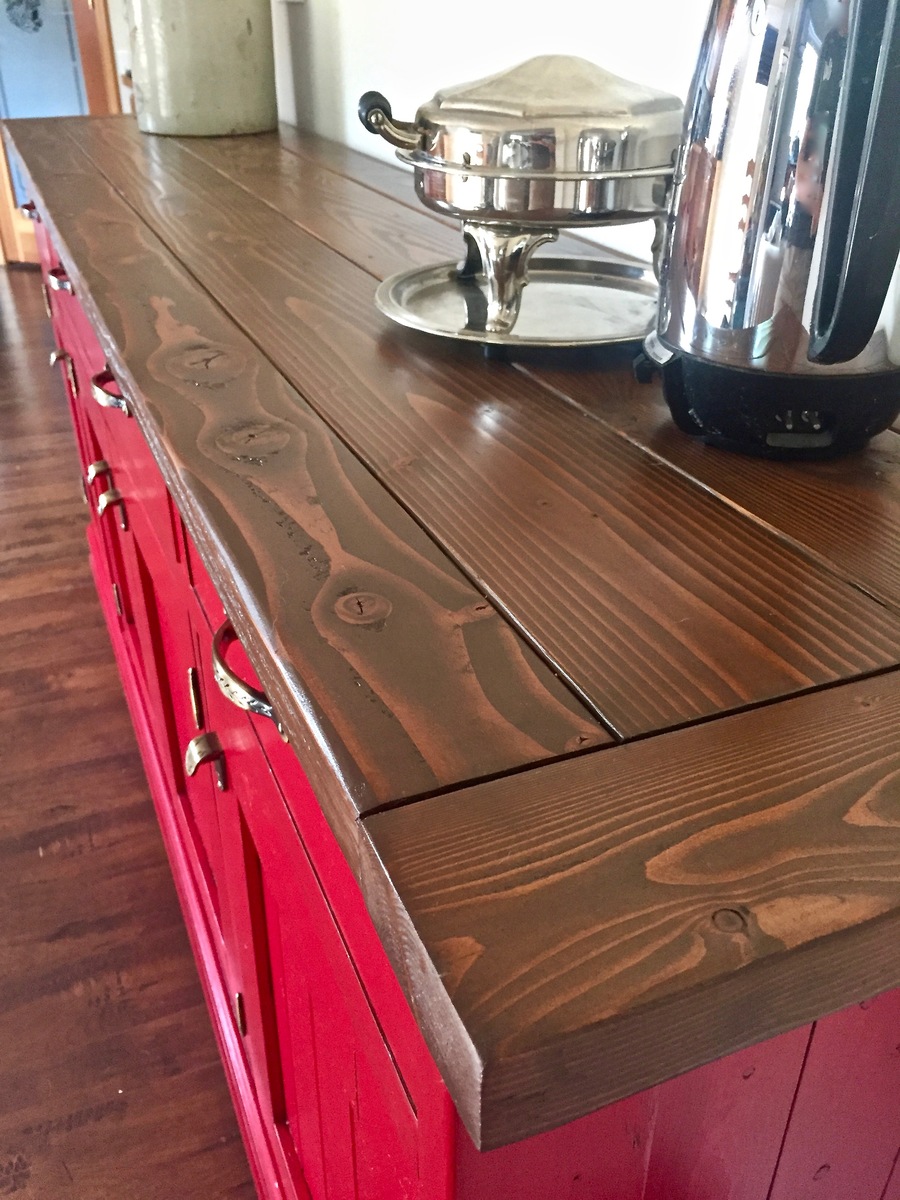
I was on a mission to find just the right buffet to house Grandma's china and infrequently used serving dishes. Countless searches in second hand stores, hours scouring Offer-up and Craigslist, and even some regretable purchases all led to the building of this magnificent buffet. I found a build plan for the planked wood sidboard, printed it and started in. I had always planned on painting it and wanted a rustic look so decided on budget friendly lumber. The frame and top of the unit is made from fir and the drawers and doors from pine. The door insets and the back of the unit is pine beadboard. The top and interior of the buffet is finished in GF Antique Walnut Gel Stain. I used a wipe-on polyurathane on the interior of the buffet and the inside of the drawers. I choose an amazing shade of red for the exterior of the buffet: GF Milk Paint in Holiday Red. It was my first experience with milk paint and it was a pleasure. It went on so smooth and brush-stroke free. After two coats of Holiday Red milk paint I applied a single coat of GF High Performance Top Coat in satin finish. This really enhanced the color of the Holiday Red and served as a base for a glaze application. I mixed the GF Antique Walnut Gel Stain with ten percent mineral spirits and glazed the entire buffet. I got into all the nooks, crannies and knots and left a thin coating on the face of the unit. I loved the buffet before the glaze, but now I was head over heals. The buffet was finally finished off with two coats of High Performance Top coat. Mission accomplished!

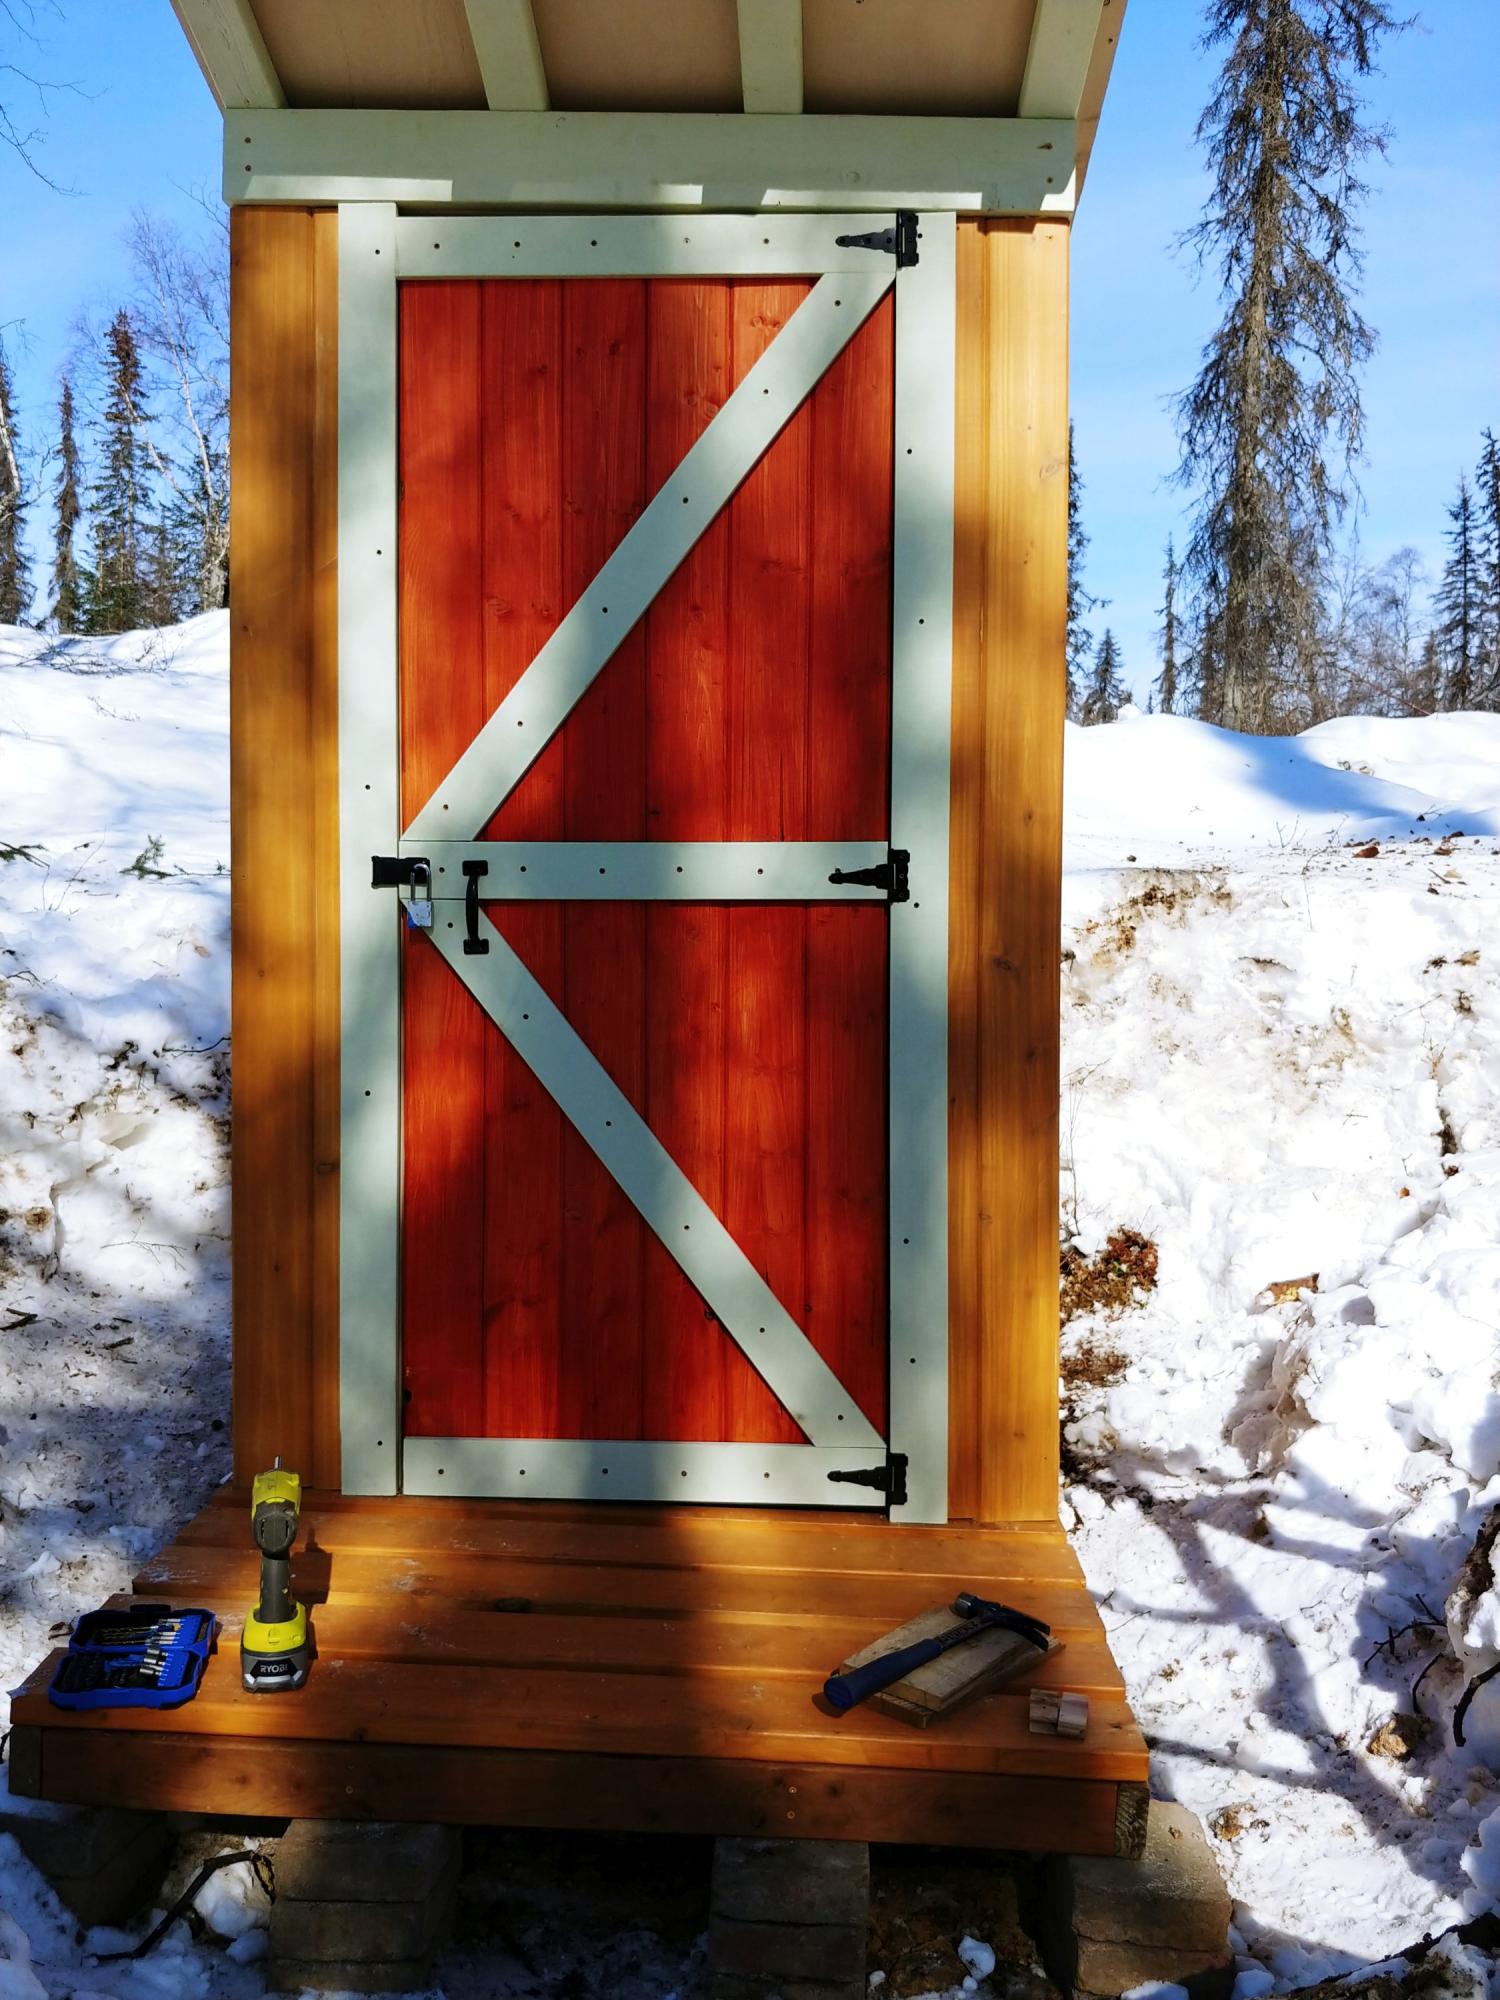
Hi Ana and Family,
I mostly followed your plans for my remote Alaska property outhouse build, with slight modifications. Our property is 7 miles from any road (and 2.5 hr drive from Anchorage) and I typically go there in the winter via snowmobile (December-April). I built this on my back deck in Anchorage and then took it apart and transported it in sections (back wall, 2x sidewalls, floor parts, door, roof parts, seat parts). It took me 5 trips to get it all up to my property from the truck at the trailhead via snowmobile!
The hardest part was digging the hole under 5 ft of snow! I cut several dead spruce trees in the area I planned to situate the outhouse and started a big fire (really big). We kept that going until we had melted out about a 15ft wide area down to bare soil. The next morning, while the ground was still warm from the previous evening's fire, we dug the hole (only about 3.5x3.5ft). Then I cribbed in the hole with old cedar fence slats to help prevent the inevitable ground cave-in that we often see with soil melt and rains in Alaska. Then, I pieced the outhouse together, with the frame sitting on small pavers.
I used a combo of T&G pine and cedar for the walls. I used metal for the roof. As I built this in January and February over several weekends (in Alaska), it was very cold and I would take the pieces inside and paint/stain them. As such, this basically took me all winter from start to finish. It doesn't take that long if you build it on site in warm weather. Once transported to the cabin site, it took parts of 3 weekends to get it in place and useable, including site prep. I've still got a little touch-up work to do (e.g., window for light in winter and bird block to keep the spring and summer nesters out). I put some anti-slip tape on the frame so that I don't slip on the frame base.
There is some waste wood if you follow the plans directly (especially 2x6), but I am using that to build a small firewood cover at home. This was not an inexpensive outhouse even without pandemic prices (I could have chosen a less expensive siding), but I wanted a nice outhouse and I'm very pleased with the outcome, so it was money well spent. Great plans! Thanks.
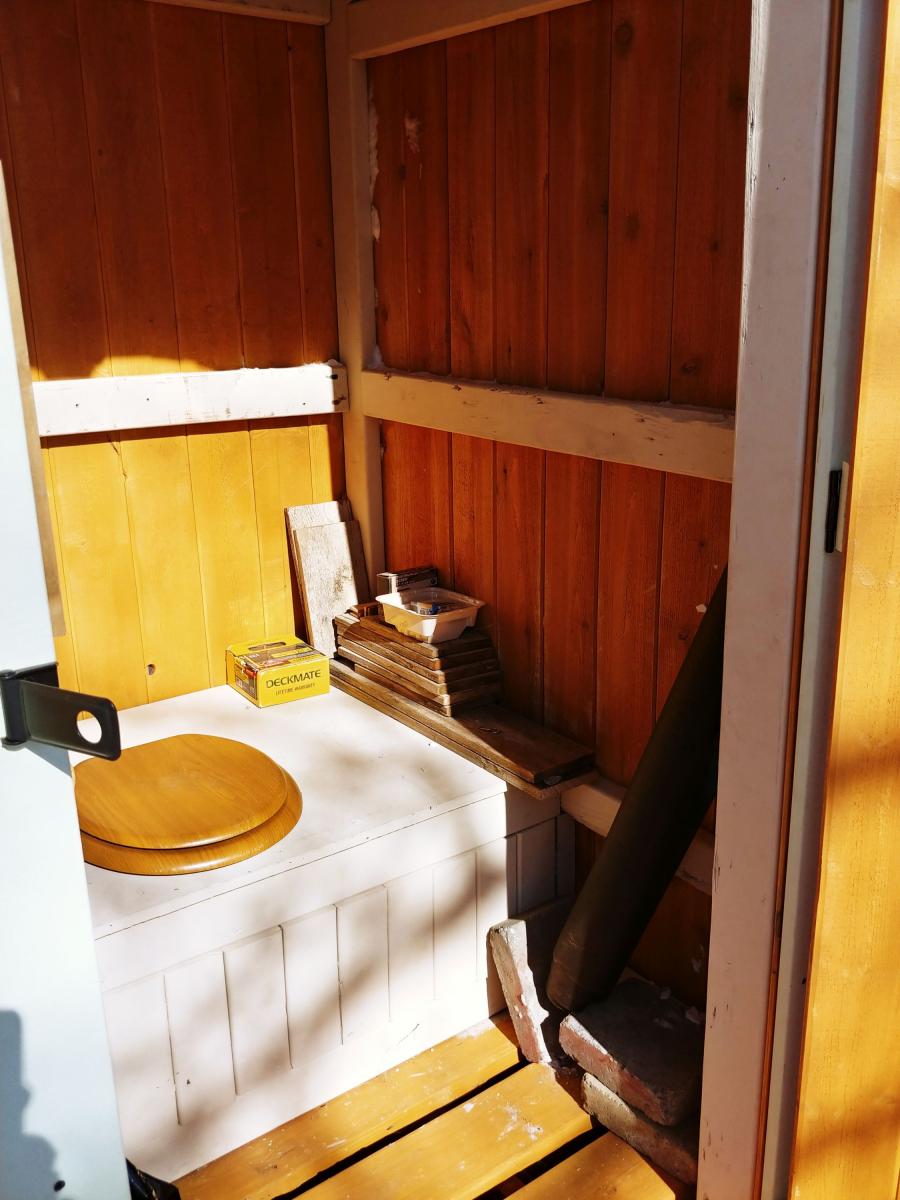
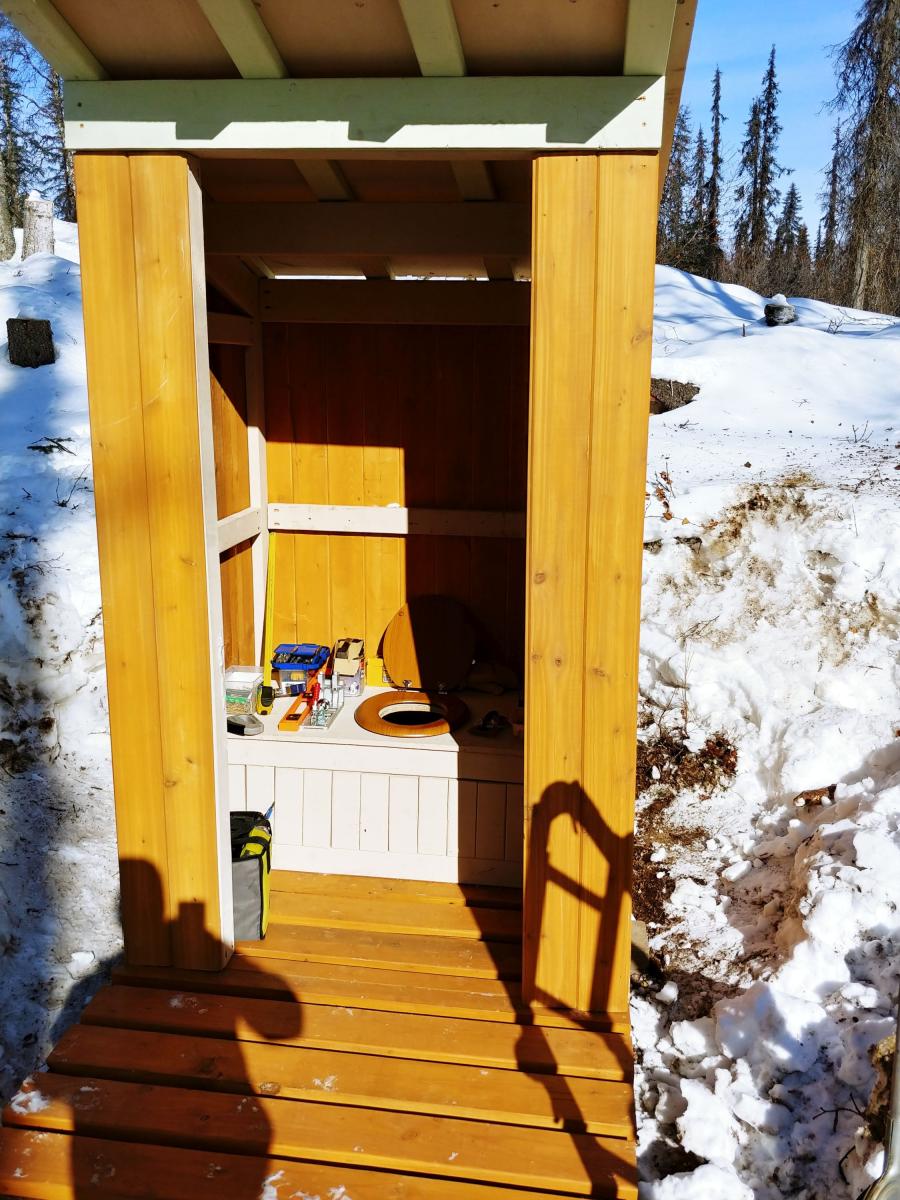
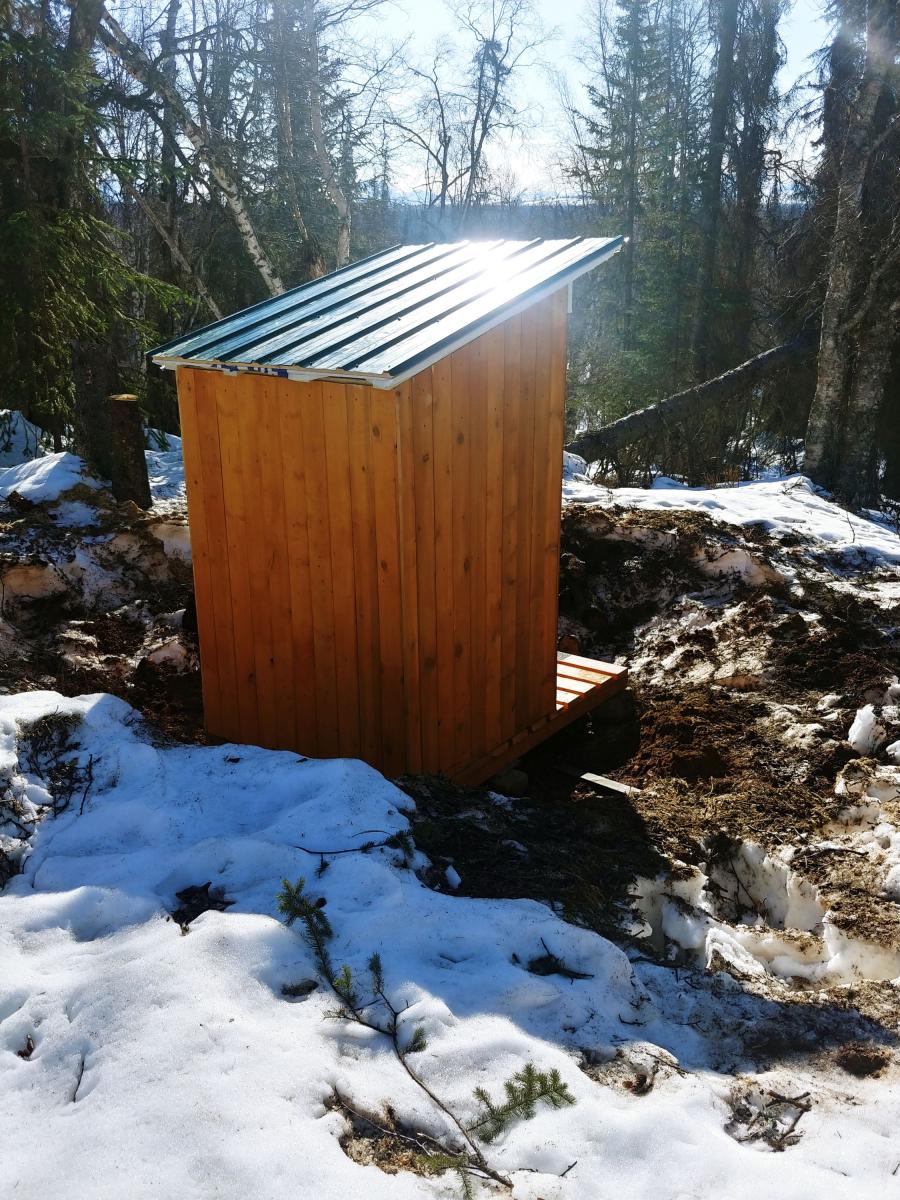
Tue, 06/07/2022 - 15:29
Snow always makes everything more challenging! Thank you for sharing, this looks great:)
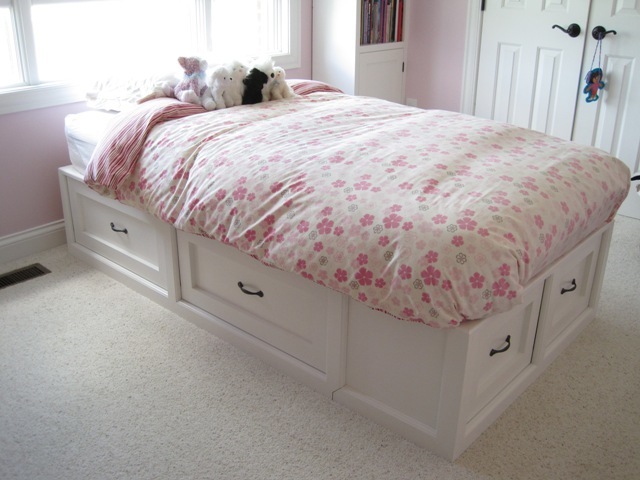
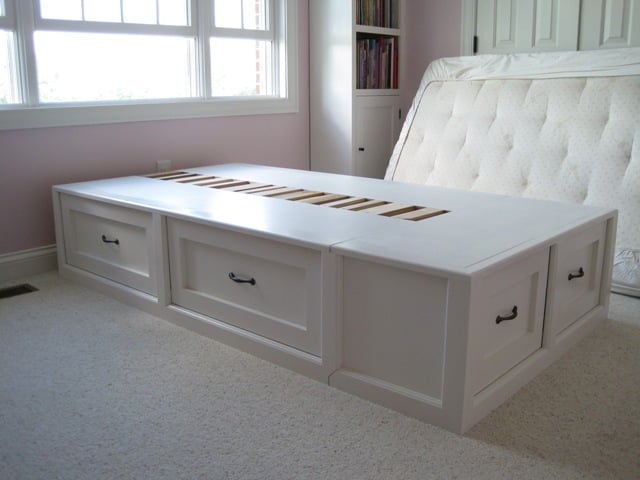
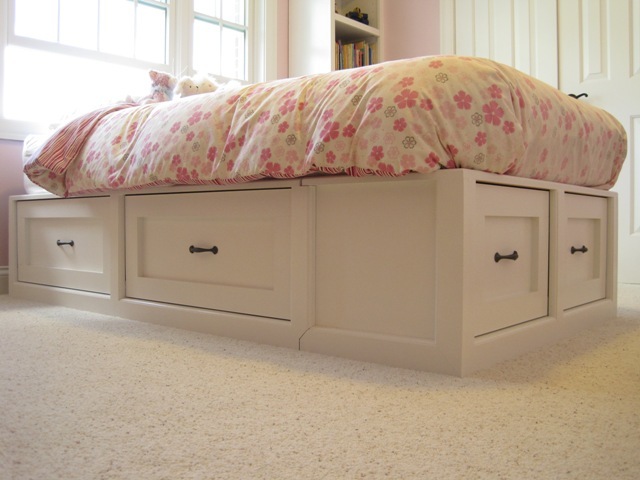
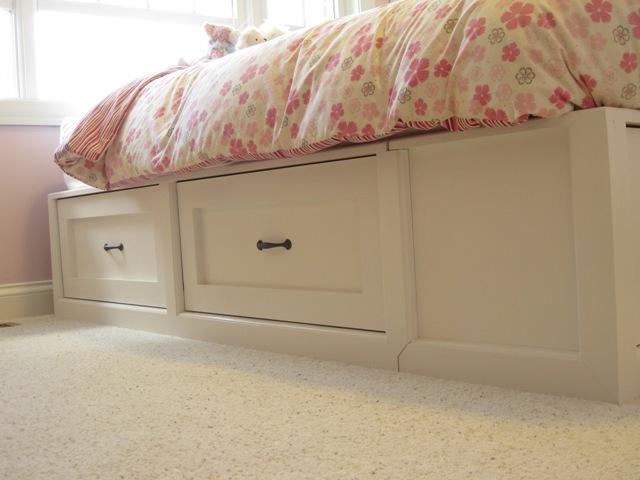
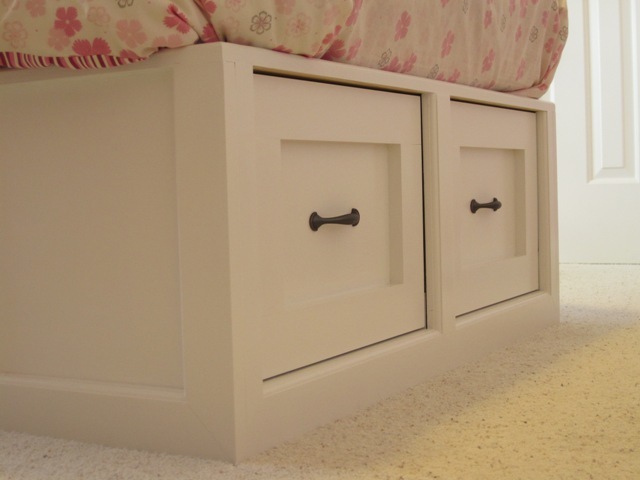
I love how this bed turned out! I wanted some of the extra detail that the Pottery Barn version had--like routered edges, which proved to complicate matters from Ana's plan. I also needed this in a twin, so I looked at Ana's Brookstone twin storage bed for some advice as I planned this build as well.
This was pretty easy for my first build! Don't look too closely though.... I raised thedesk to counter height to adjust for working while standing and add a bar stool. The hardest part was adjusting the angle of the diagonal braces. For the desktop I found a 2' X 6' piece of aspen at the blue big box store. Sanded well, grey "whitewashed" it and sealed with paste wax.
In reply to This is Gorgeous! by Ana White Admin
Wed, 10/14/2015 - 13:00
Thanks Ana! I'm working on a dining table and ironing out the kinks....
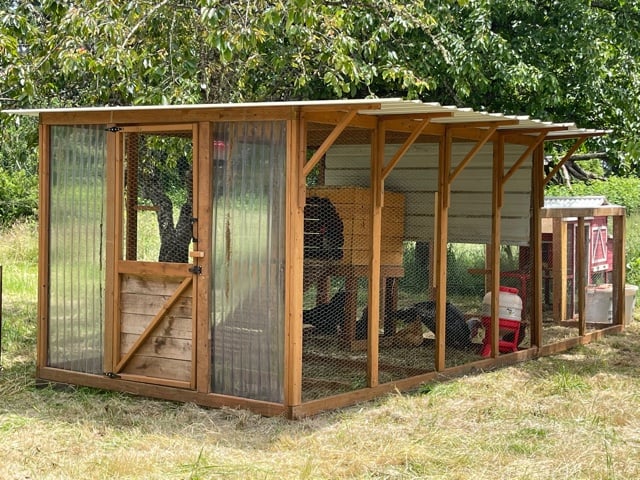
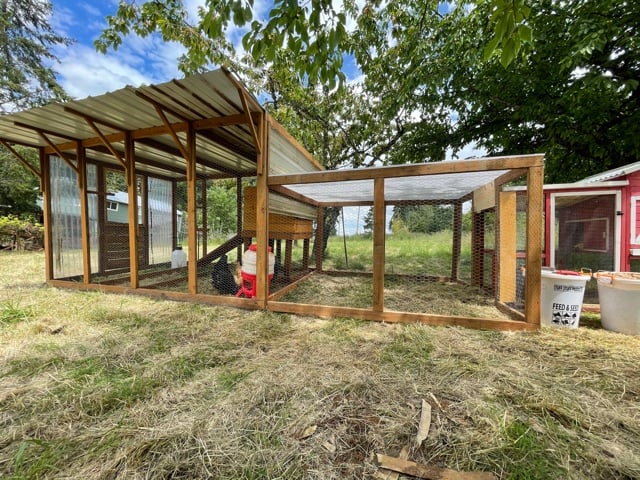
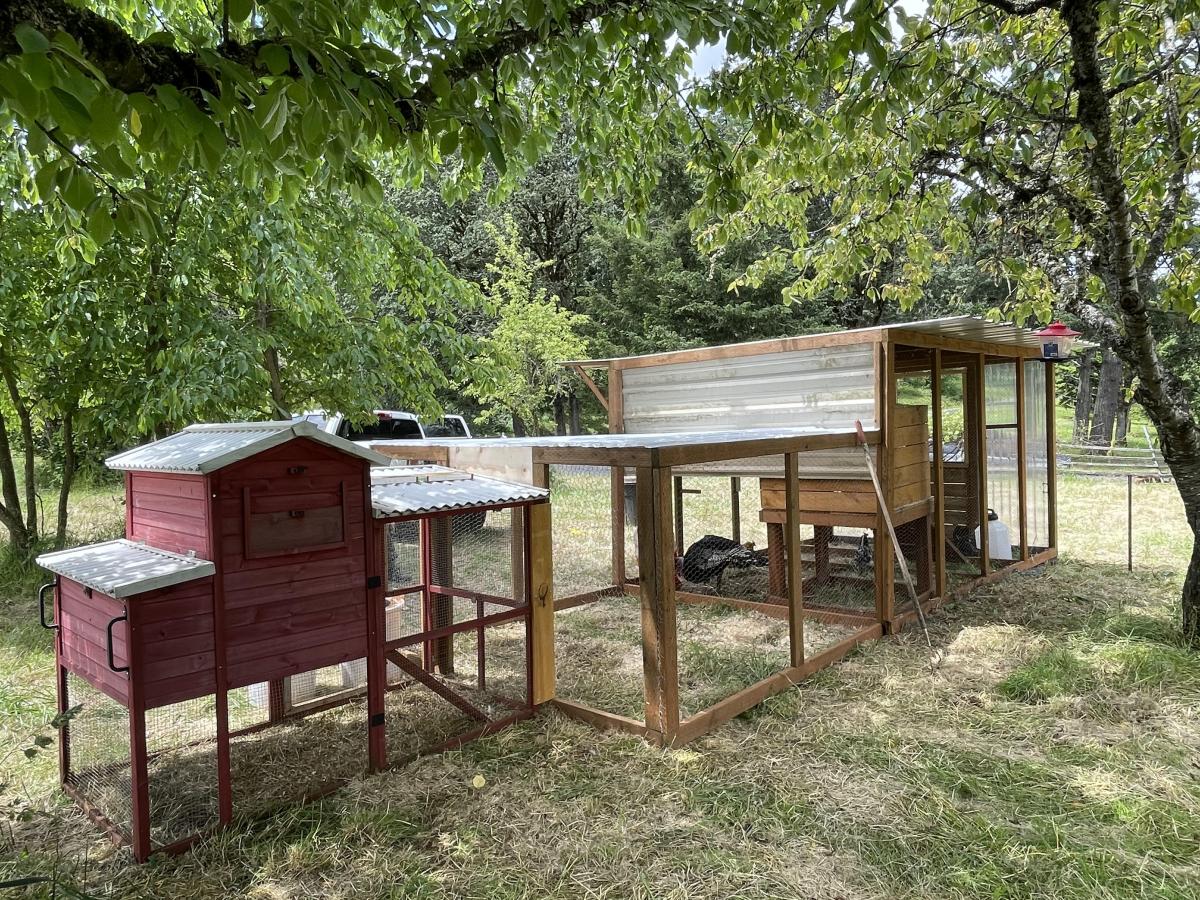
I had to move our original coop to another property, so decided to do a little upgrade. We used Ana's Chicken Run plan for both of the large sections and just added a roof. We attached the run to a small red coop that we purchased. Ana's plans are great for modifying for any size, as you can see the main tall portion is from her run plan just built taller and we added a door to the front.
After months of staring at extra water bottles and soda on our kitchen floor, I decided to create my first original plan and build a cabinet to house all of those bottles.
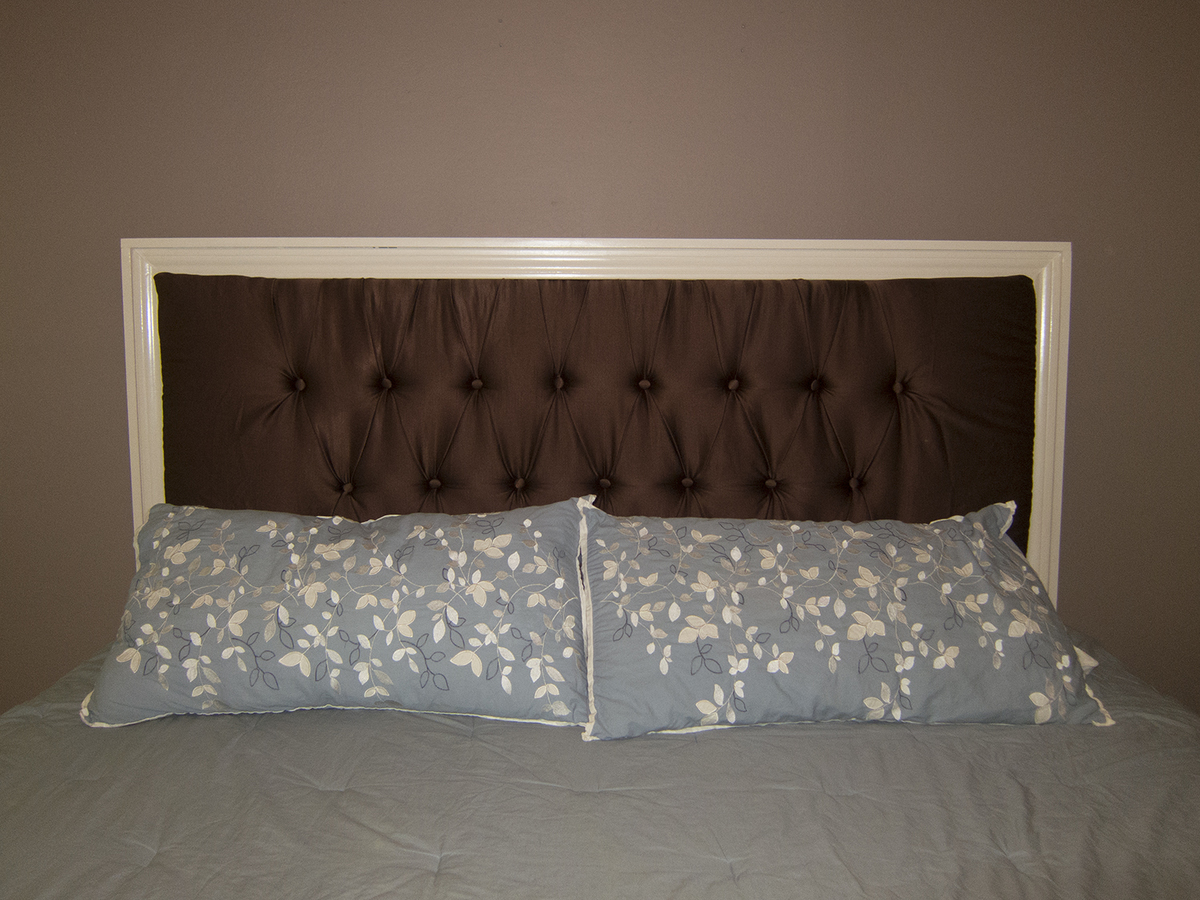
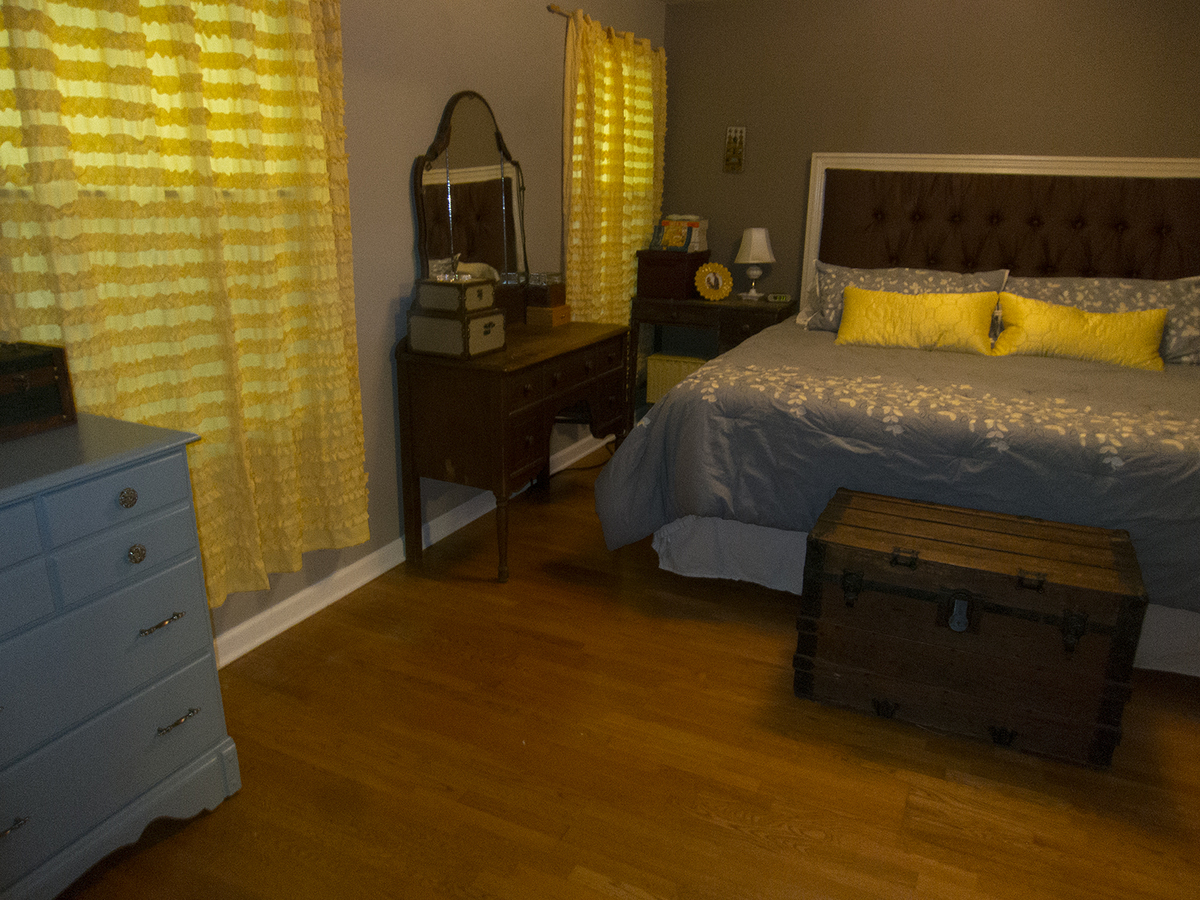
I love the look of diamond tufting, so that's how I did the upholstered insert, which added hours to the project. The frame itself was built in about 3 hours, so this could easily be an afternoon project if you skipped the tufting.
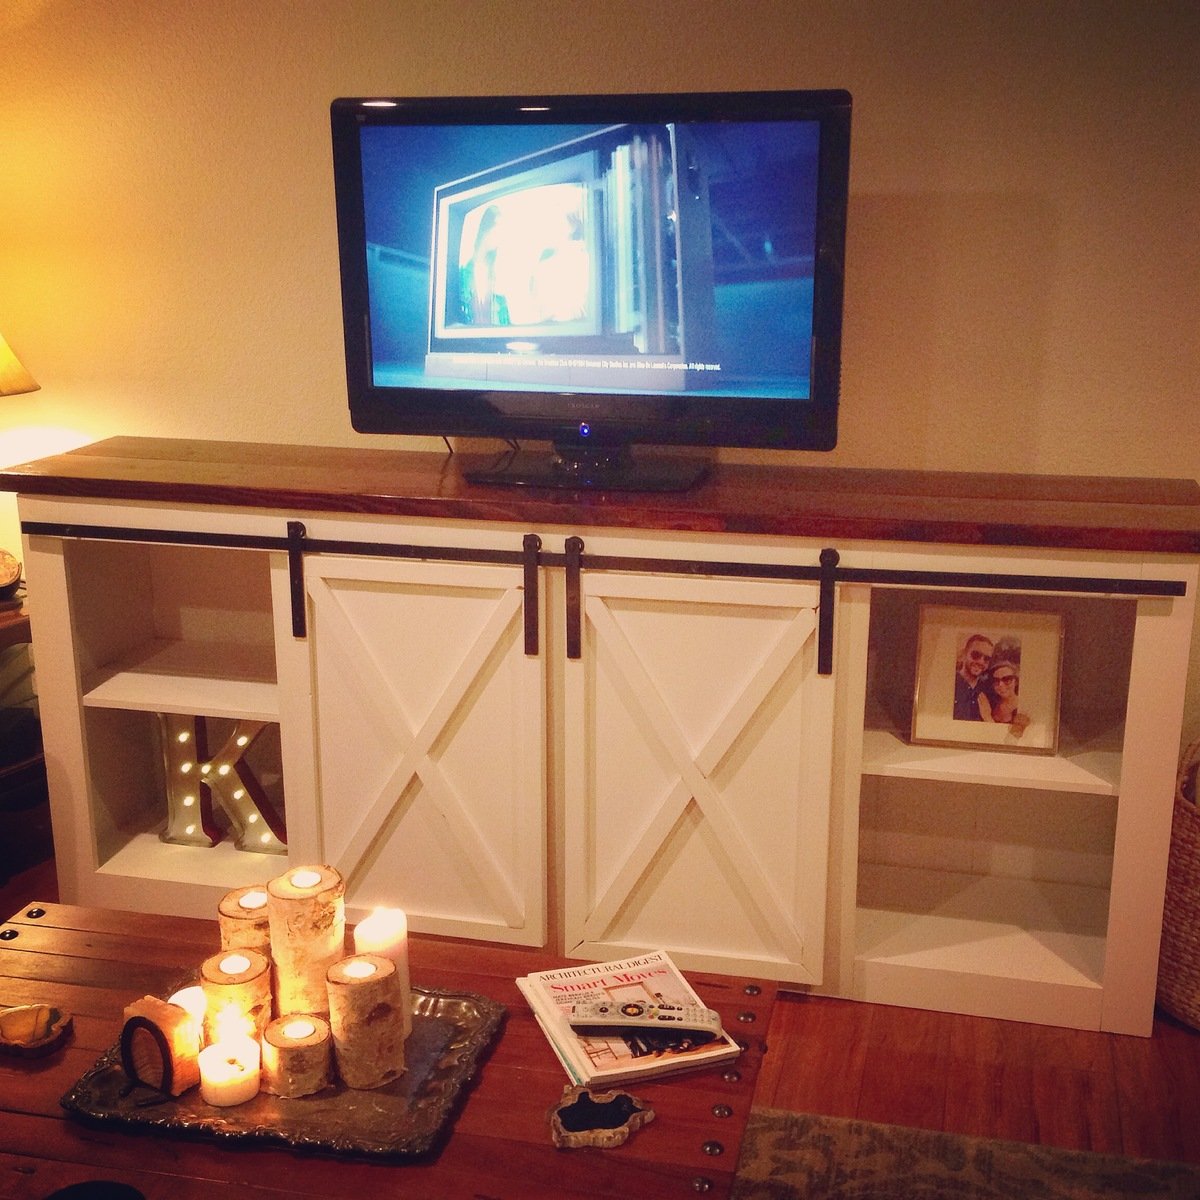
Built in about 2 days. Hardest part was definitely the hardware. Looks great!
Sun, 10/04/2015 - 07:34
this looks really great! I really want to bulid this but I don't have anywhere to put it :(
Fri, 12/11/2015 - 19:49
Looks awesome...we've got ours built...now to make the doors and the hardware? Any tips would be appreciated!!!! Thanks!
Thu, 02/11/2016 - 08:32
The hardware was a pain in the butt. The metal bar was easy to cut actually. I just put one of my old blades back on my mitre saw and it worked great. Extracting the wheels from their casing was the most challenging. I ended up putting the entire thing in a vise and drilling through it. It is totally worth it though. Everyone who comes over is obsessed with it. Also, I did not attach the boards on top. It's much easier to move if you take those boards and the doors off and carry it. Good luck guys!
Thu, 02/11/2016 - 08:29
I used the same dimensions as the plan. That TV is a 42". We have since upgraded to a 60" and it now looks more proportionally correct. The hardware was a pain in the butt. The metal bar was easy to cut actually. I just put one of my old blades back on my mitre saw and it worked great. Extracting the wheels from their casing was the most challenging. I ended up putting the entire thing in a vise and drilling through it. It is totally worth it though. Everyone who comes over is obsessed with it. Also, I did not attach the boards on top. It's much easier to move if you take those boards and the doors off and carry it. Good luck everyone!
Sat, 03/26/2016 - 08:41
Hey, love how this turned out! Was wondering where you purchased the barn door hardware? Been stuck with trying to find some that won't break the bank!
Tue, 01/03/2017 - 00:47
By the pic of that hardware, they are interior decorative sliding door hardware. Home Depot, Lowe's and other big box stores carry them are can be bought online
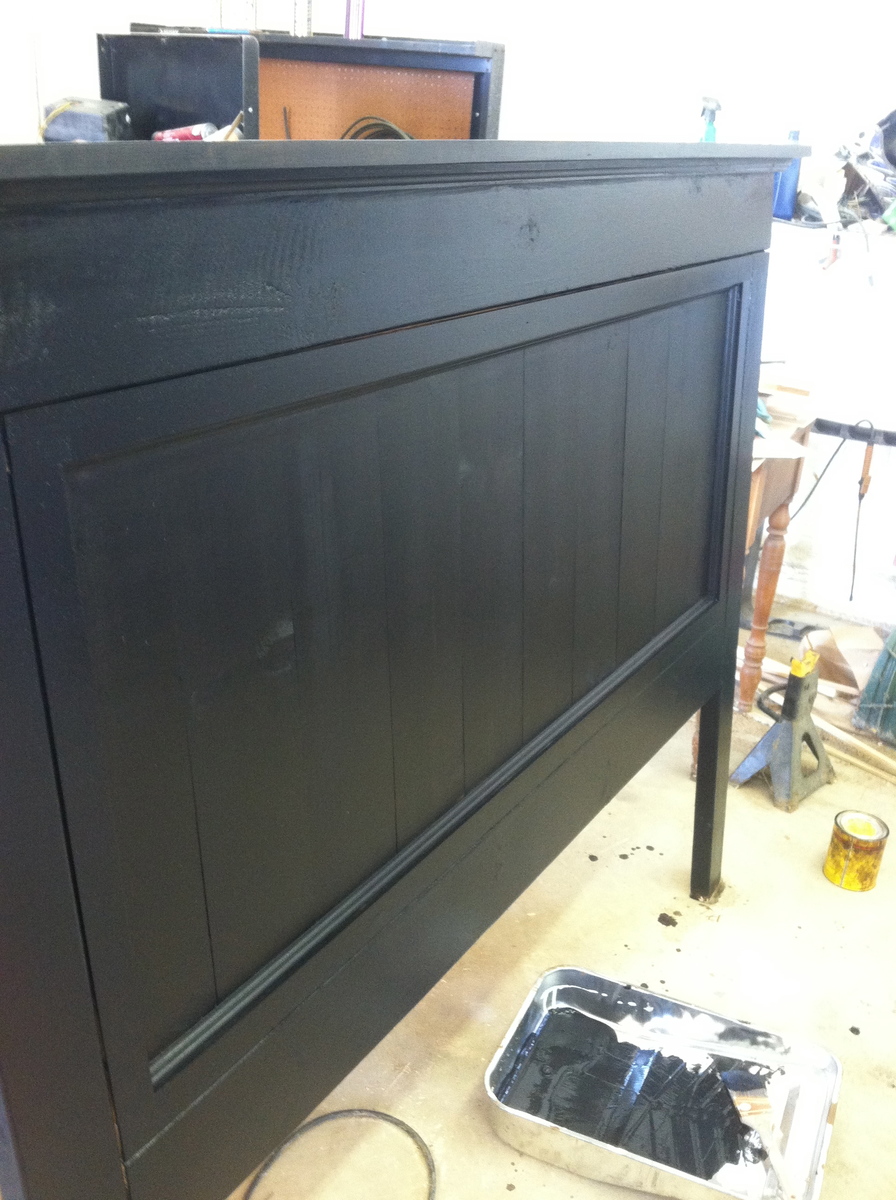
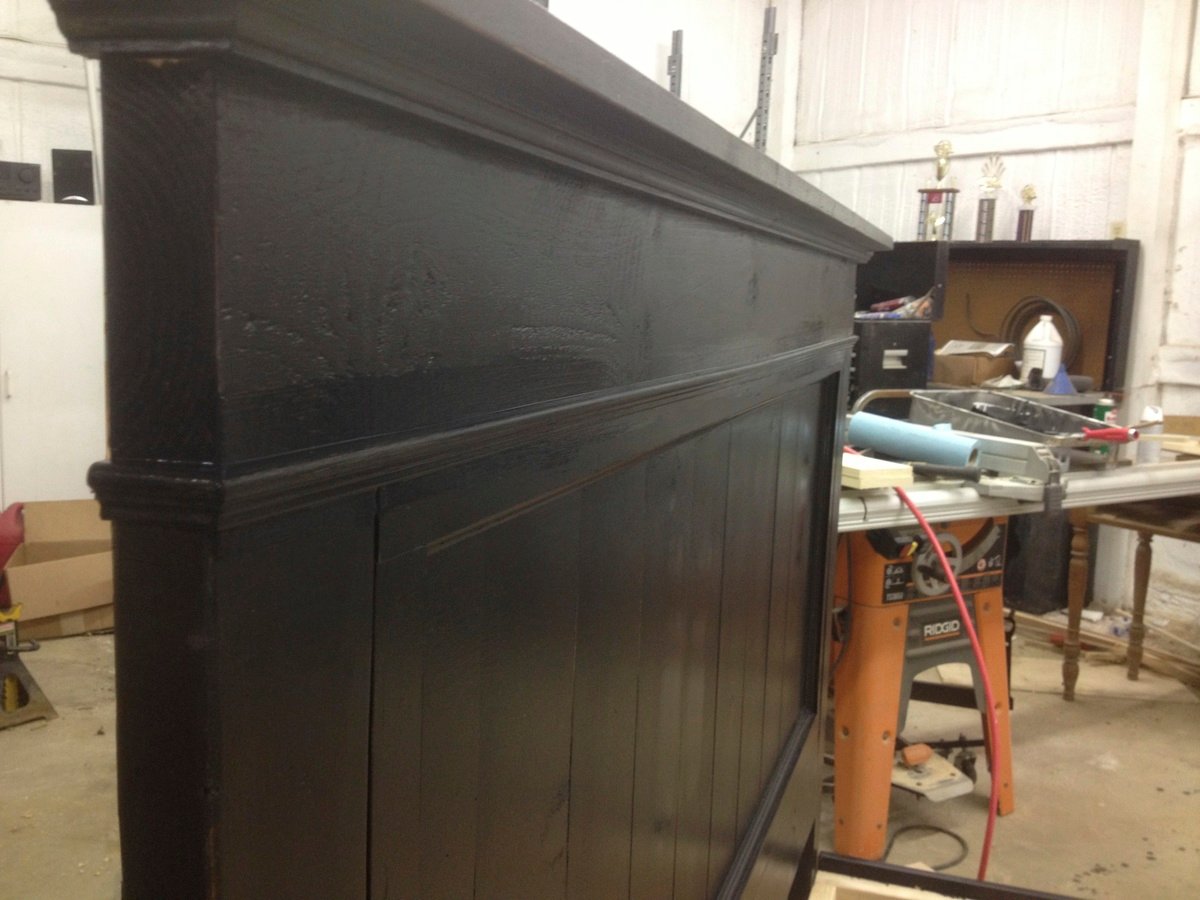
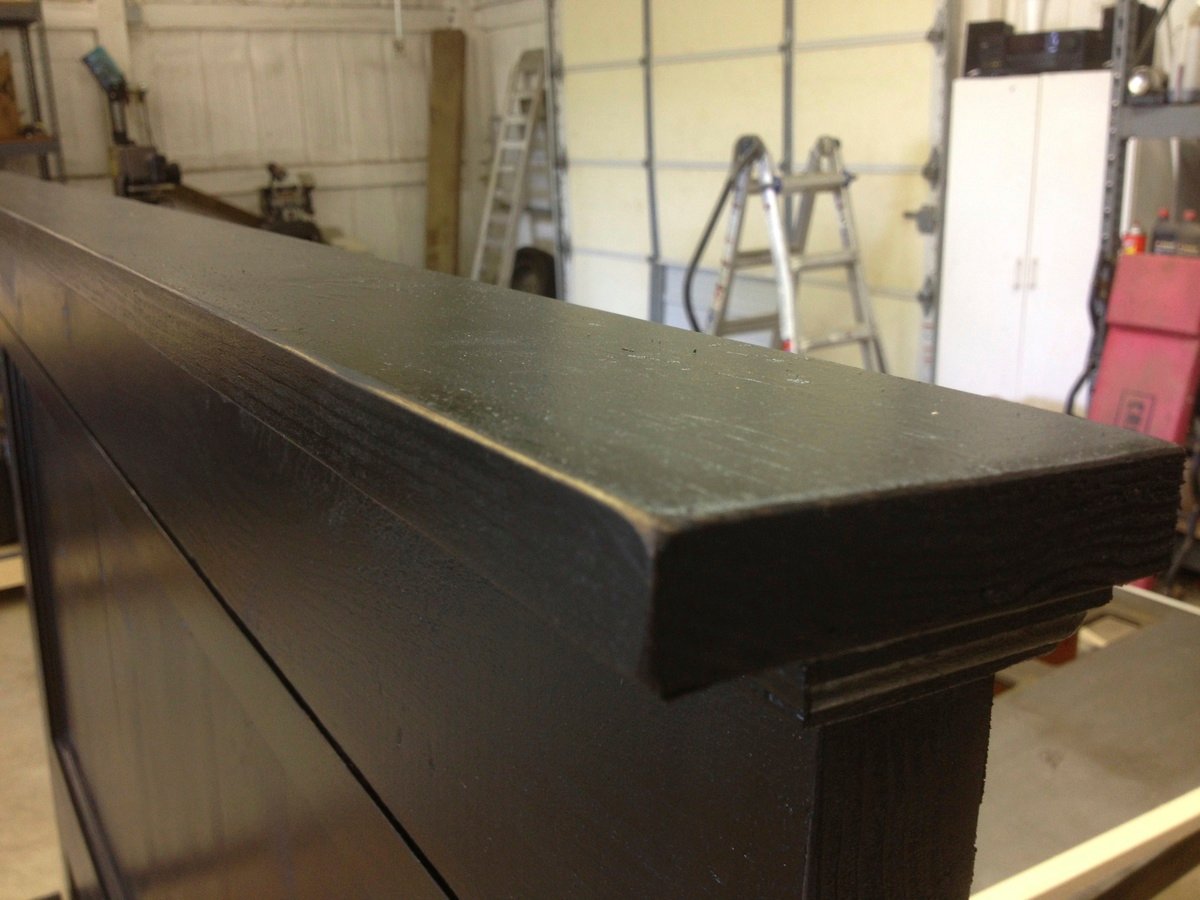
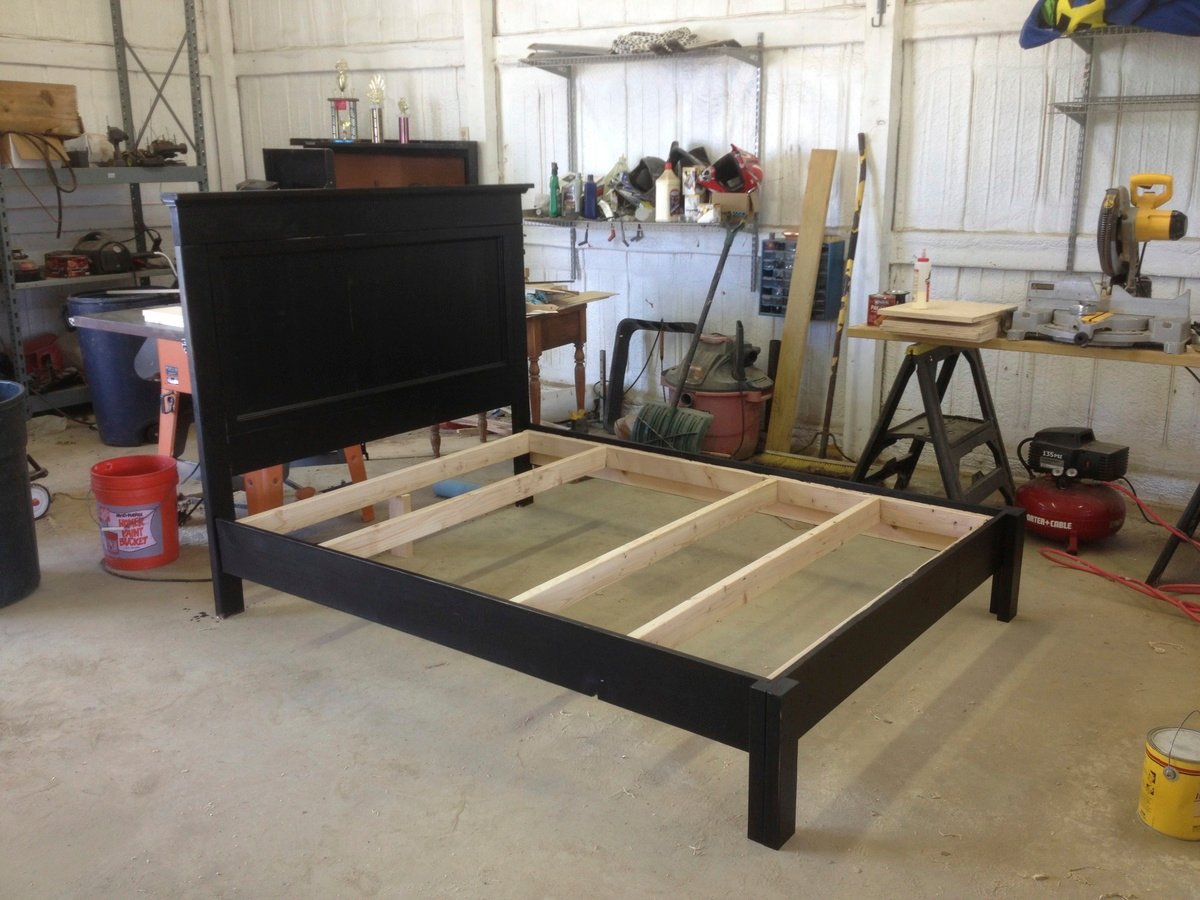
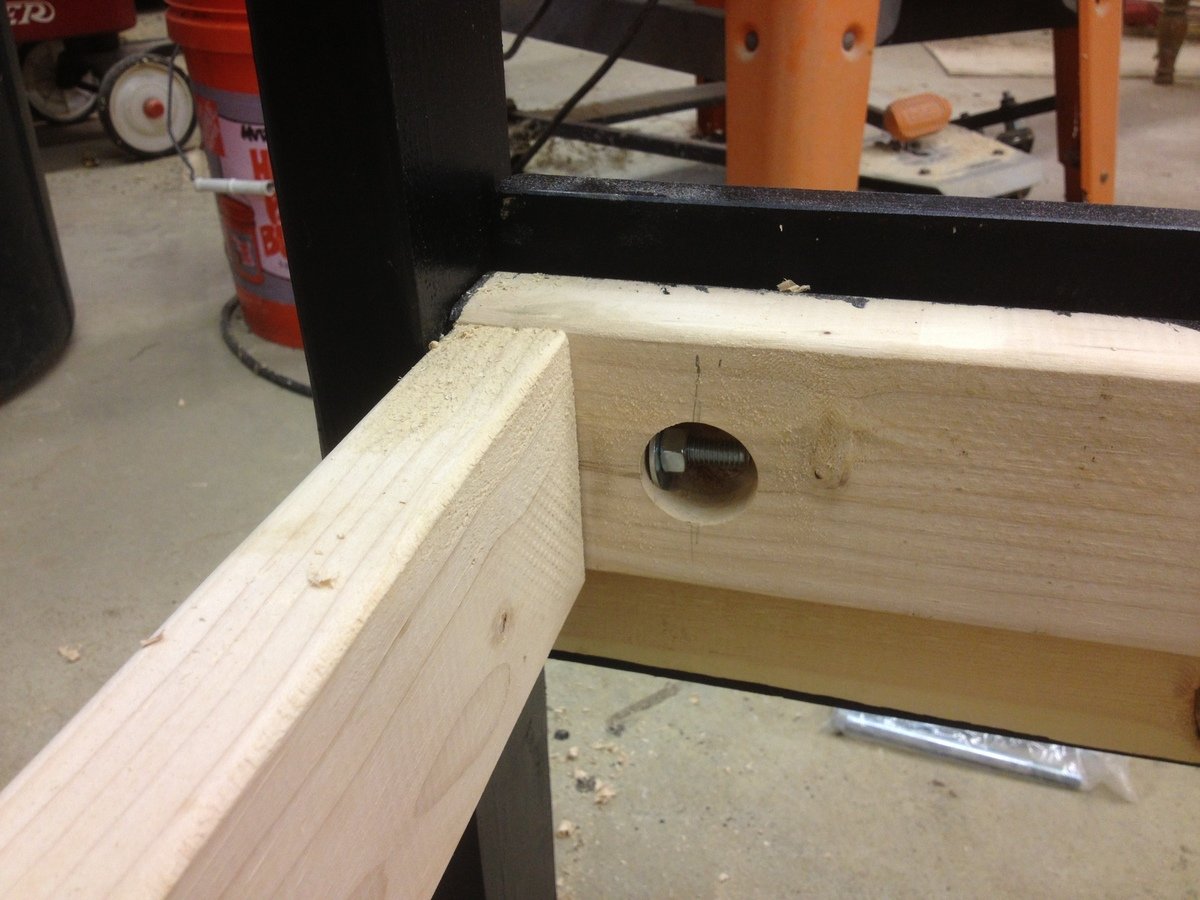
My son has been wanting a bed for a while now, We threw out his falsa-wood bed and I decided I liked this plan. I think I got the entire bed built in a few hours. There were a few details that would snag a rookie wood worker but just be creative in finding solutions. This bed is designed to be rustic.
I uploaded a very cheap assembly system that I used. I think total cost was less than 5.00 for two bolts and a couple washers.
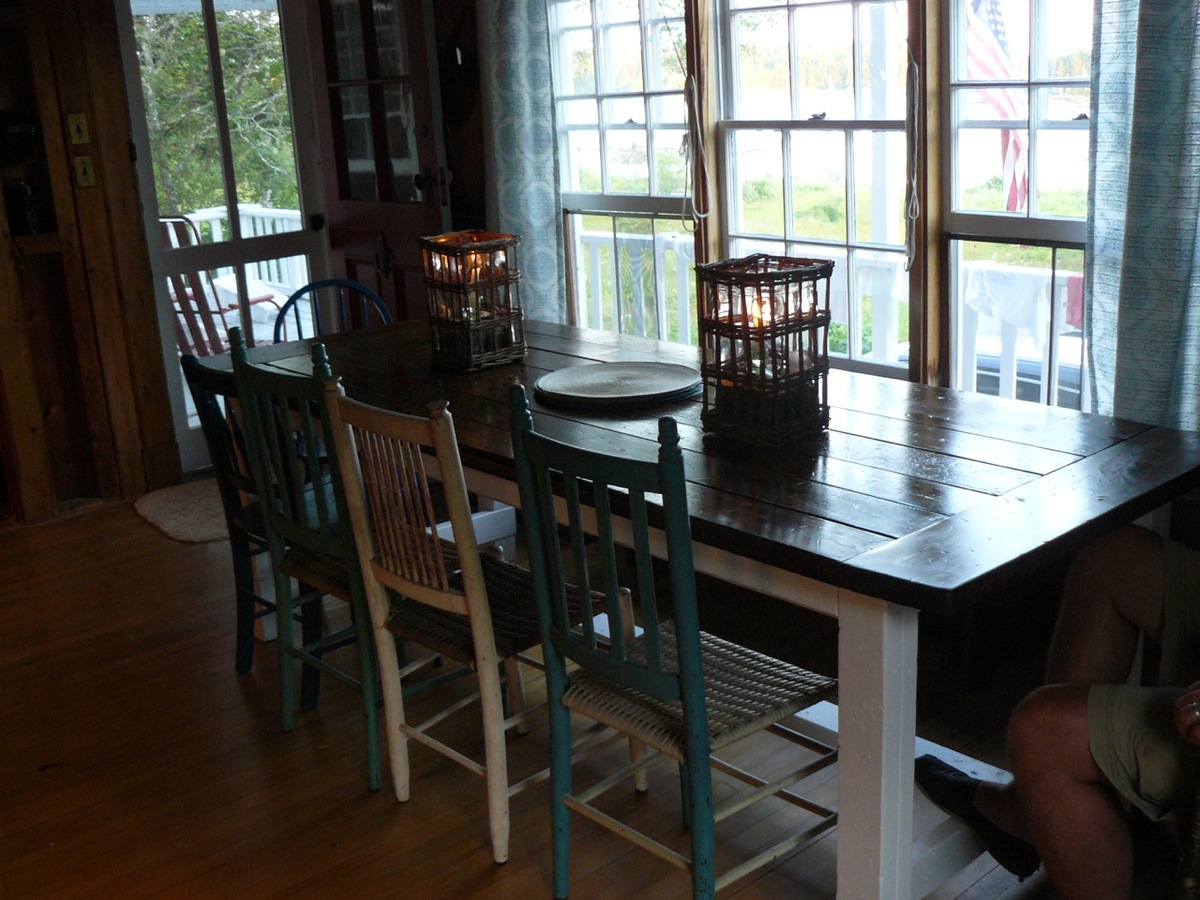
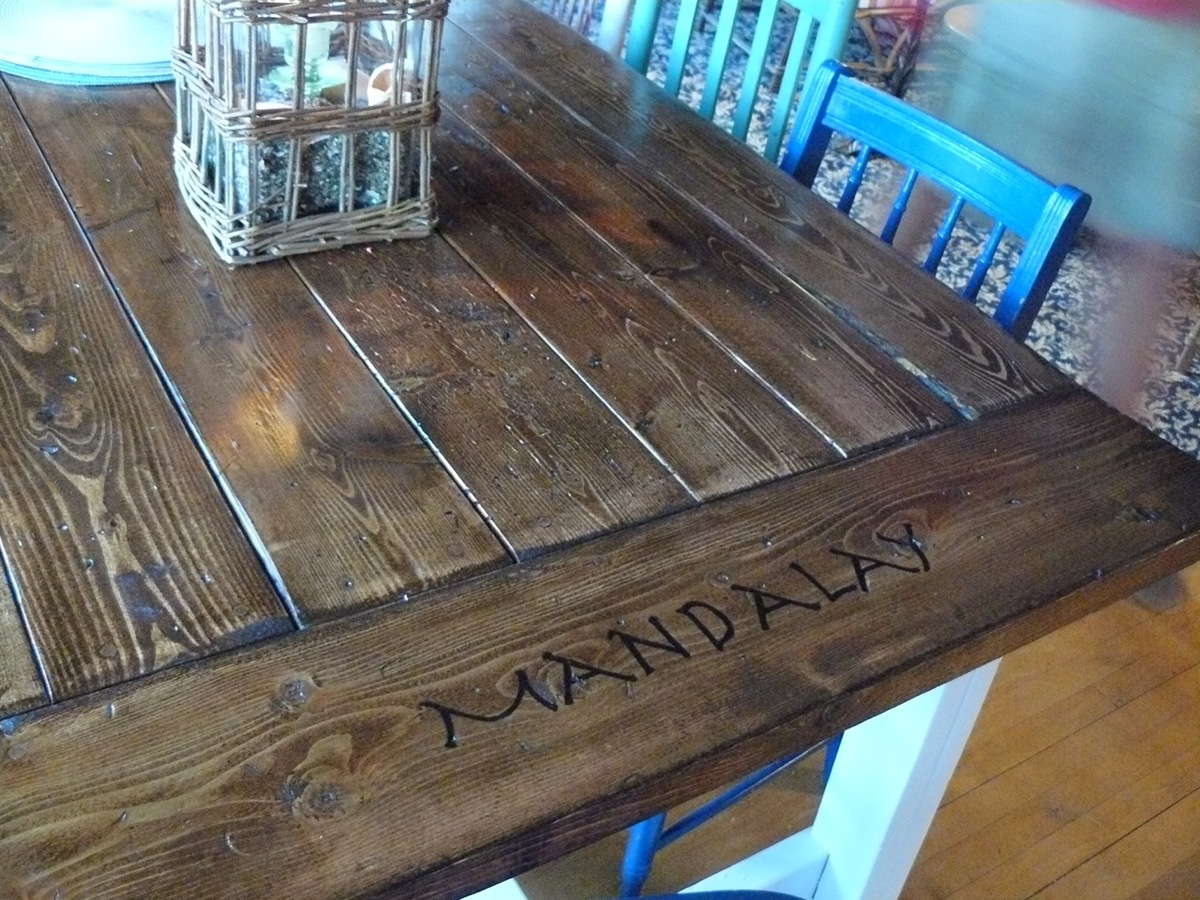
We used Ana's plans to build this Farmhouse Table for our summer cottage in Maine. We distressed it with all sorts of tools, blackening it with a blowtorch, having my daughter tap dance on it, creating wormholes with my Dremel tool and hand painted the name of our cottage on the ends. It turned out great, and we are enjoying many great meals of Lobster looking out on to the harbor!
Sun, 07/31/2011 - 20:29
Great job! Whenever we get to build this table, I would like to paint our last name at each end. Thank you for the idea!
Comments
Ana White Admin
Mon, 05/16/2022 - 08:25
Gorgeous Space!
This looks amazing, thank you for sharing!