Community Brag Posts
Balin Console Table

Well, I finally decided to tackle this project! I still need to finish the bottom of the legs and sand some of the fillings, but I had to bring it in rthe light so that I could see it better. Building the actual console was pretty easy, it was the drawers that gave me fits. This is my third project with drawers so I'm determined get the hang of building them. It took a while to finish because I stained it, then didn't like the way the stain turned out, and decided to go ahead and paint it black.
Thanks Ana for your plans and inspiration.


Built from Plan(s)
Estimated Time Investment
Day Project (6-9 Hours)
Finish Used
Valspar Black with satin polyurethane
Recommended Skill Level
Intermediate
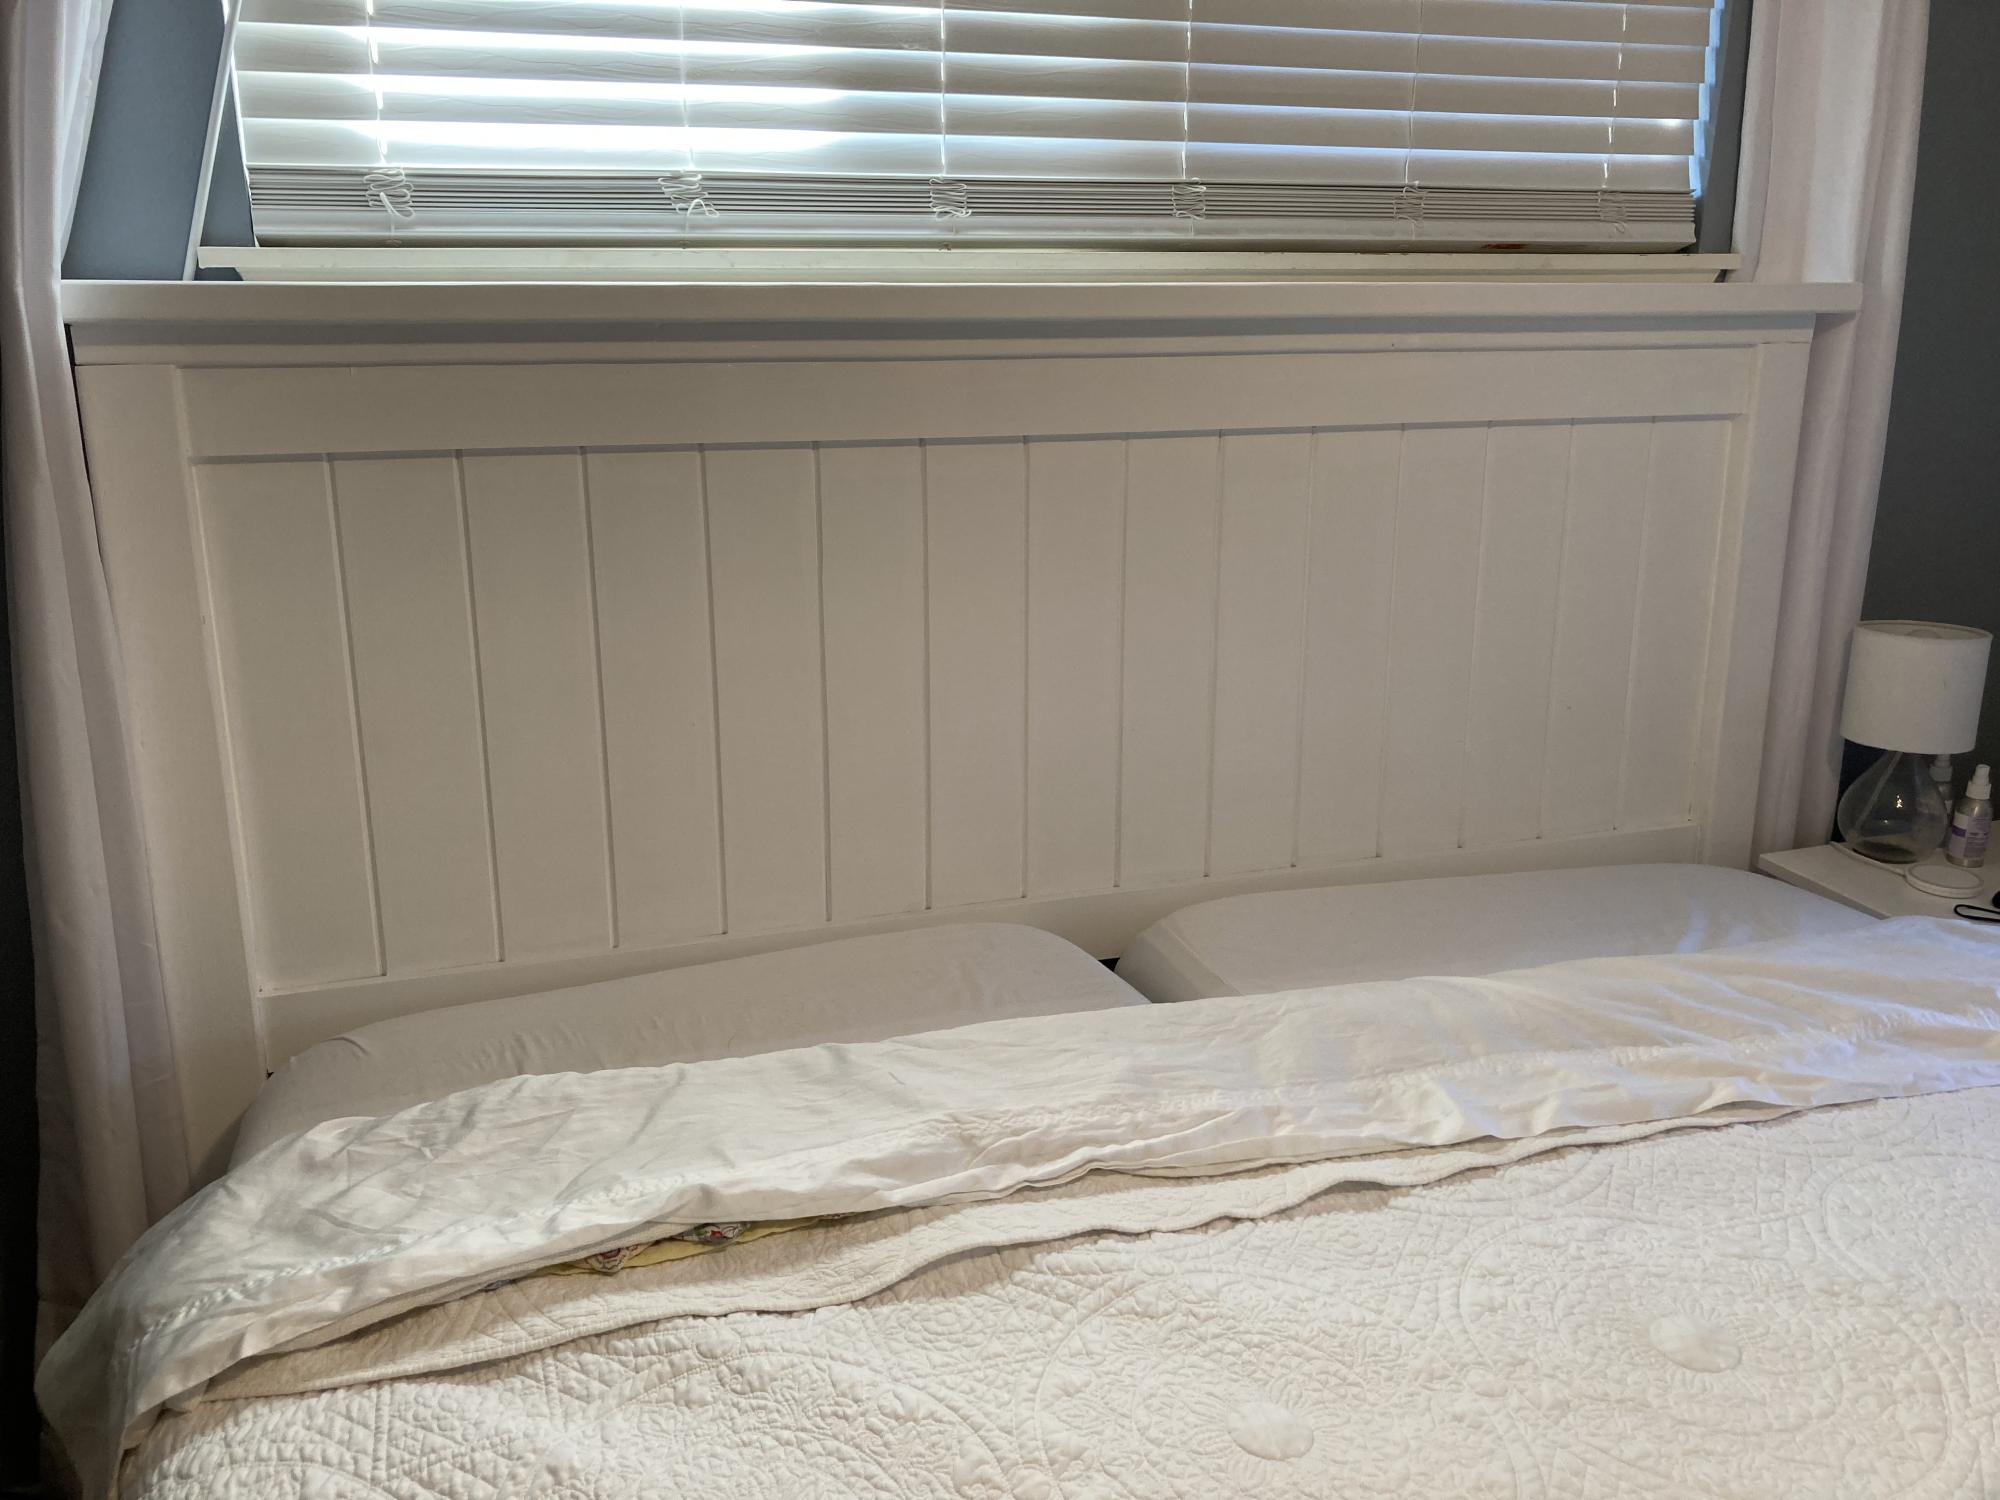
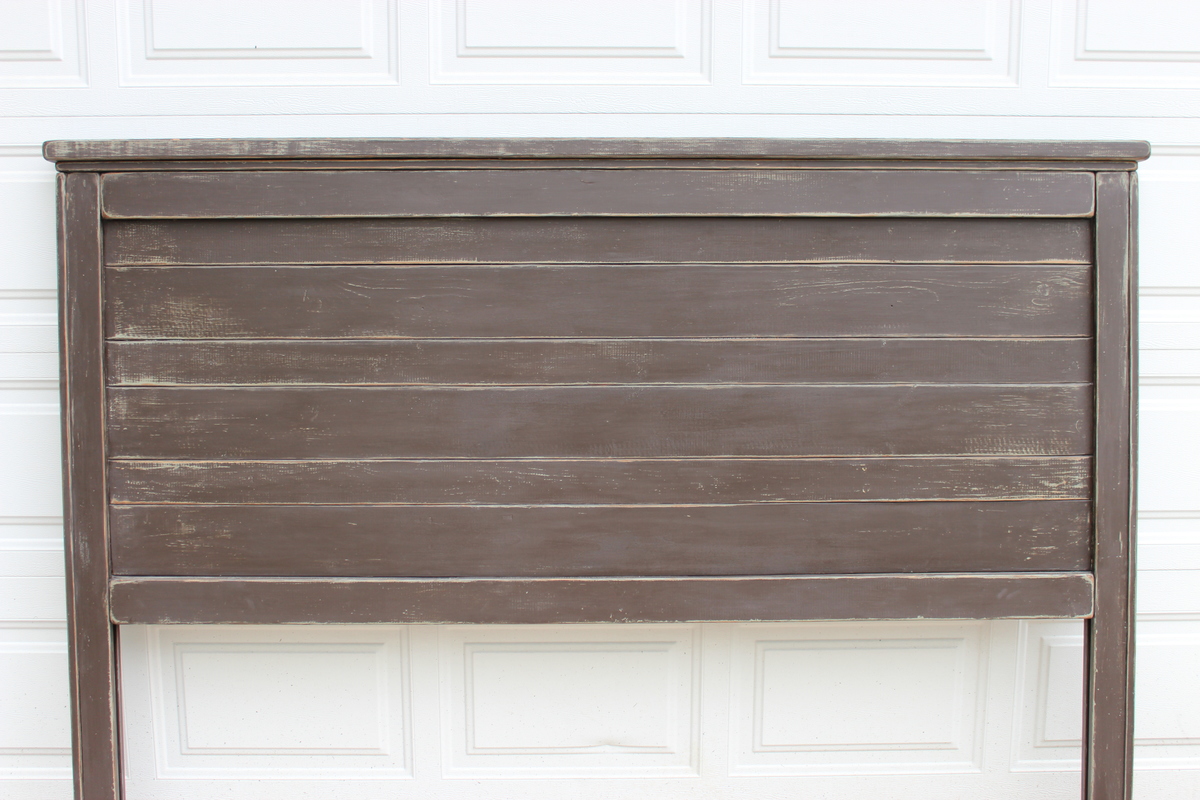
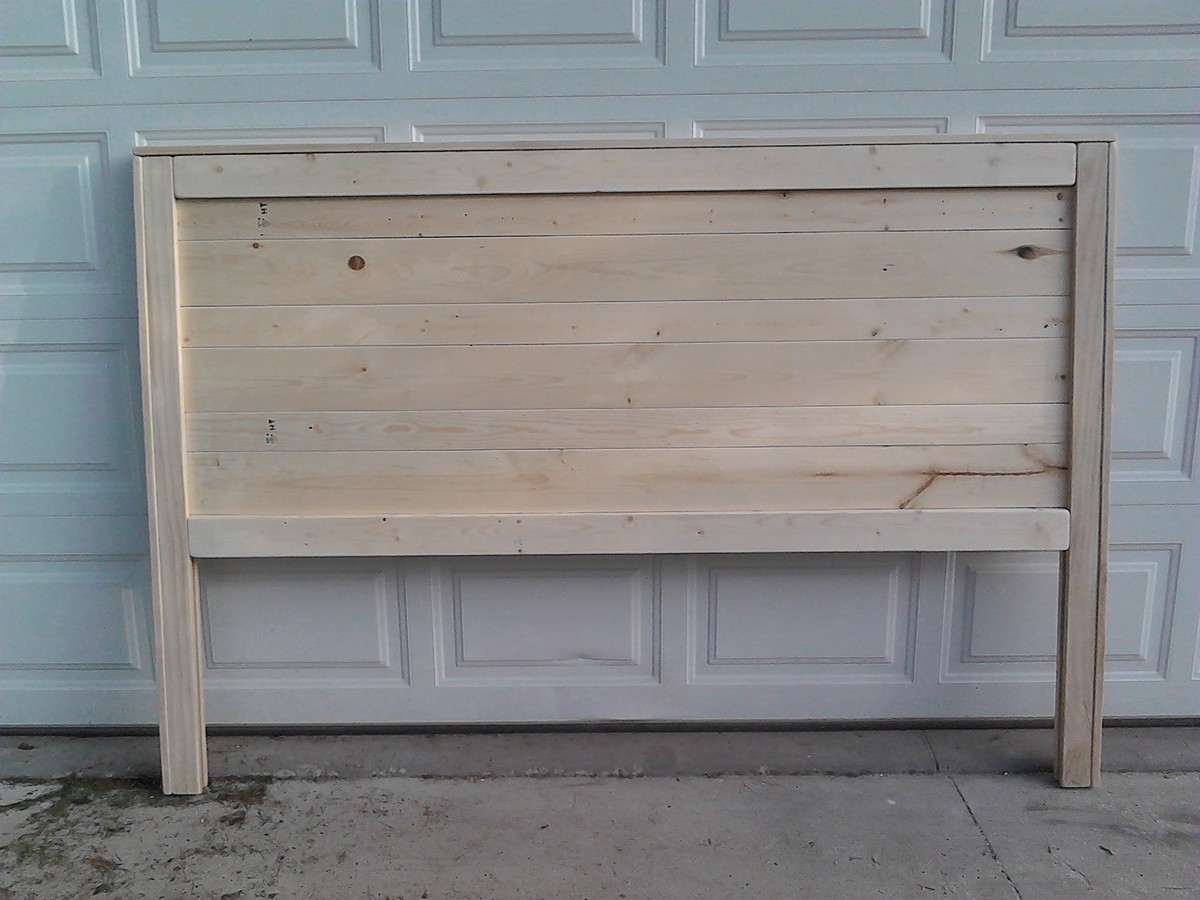
King Headboard
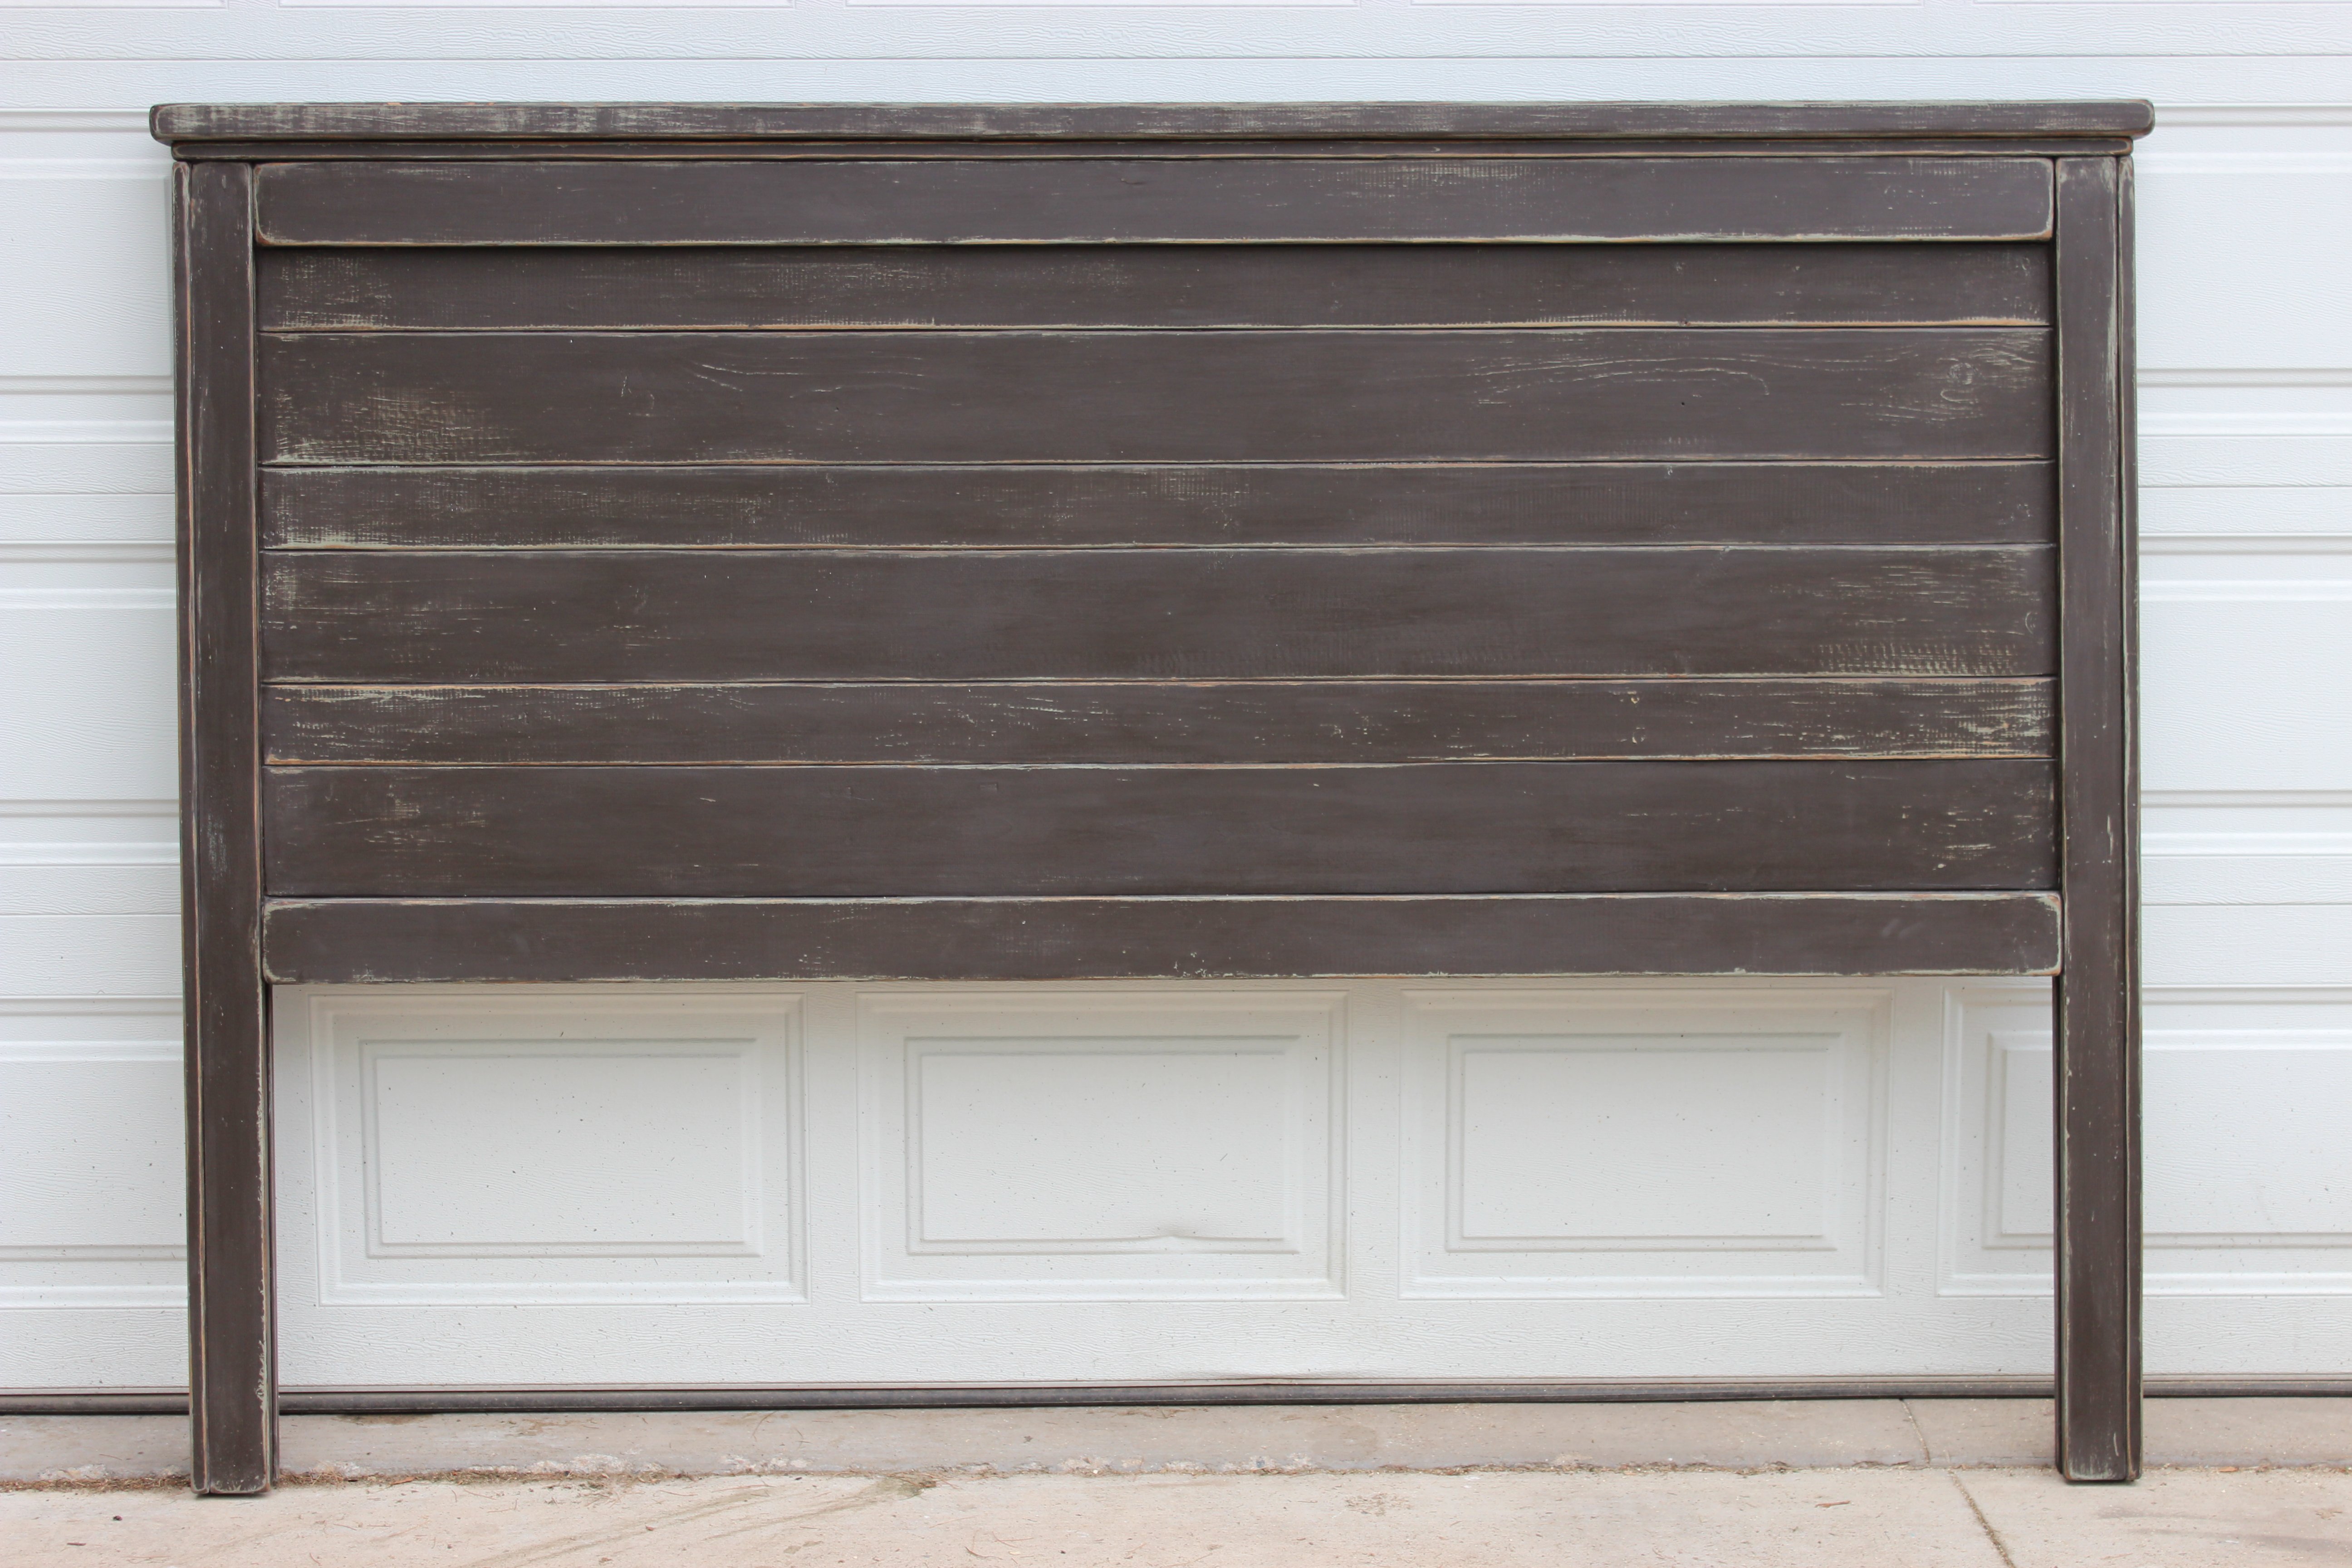
First project build!!! Plans were easy to follow. Built Memorial Day weekend. This is a very solid and heavy headboard with a lot of character. Bought all the wood at Home Depot. All grade 2 pine except for the 1x4's. They are only sold in select pine. I cut all the wood myself as I followed the plans in each step. Didn't want to make any mistakes being to short with cuts. I used wood glue and all nails for this project and it is sturdy!. I didn't really see in the plans where to use the kreg jig. Although I'm sure it was used in the back of the headboard where the boards "butt" together. Instead I put an extra board for support in the back which worked out really well.
Built from Plan(s)
Estimated Cost
$75.00
Estimated Time Investment
Weekend Project (10-20 Hours)
Finish Used
I used BEHR paint. I used a flat finish. Painting base color first in a very light earthy green and then on top of that a dark brown. I wanted a worn look to the headboard, so after paint all dry I sanded it. This brought out the first color from underneath as well as areas being taken right down to bare wood. I then stained it with a dark walnut finish followed by a soft matte finish poly. I did have to buy extension plates to attach to my bed frame because the legs of the headboard did not completely line with the holes of the frame. Easy fix. Then just drilled holes with 1/4 inch bit into legs and attached to frame with bolts.
Recommended Skill Level
Beginner
Comments
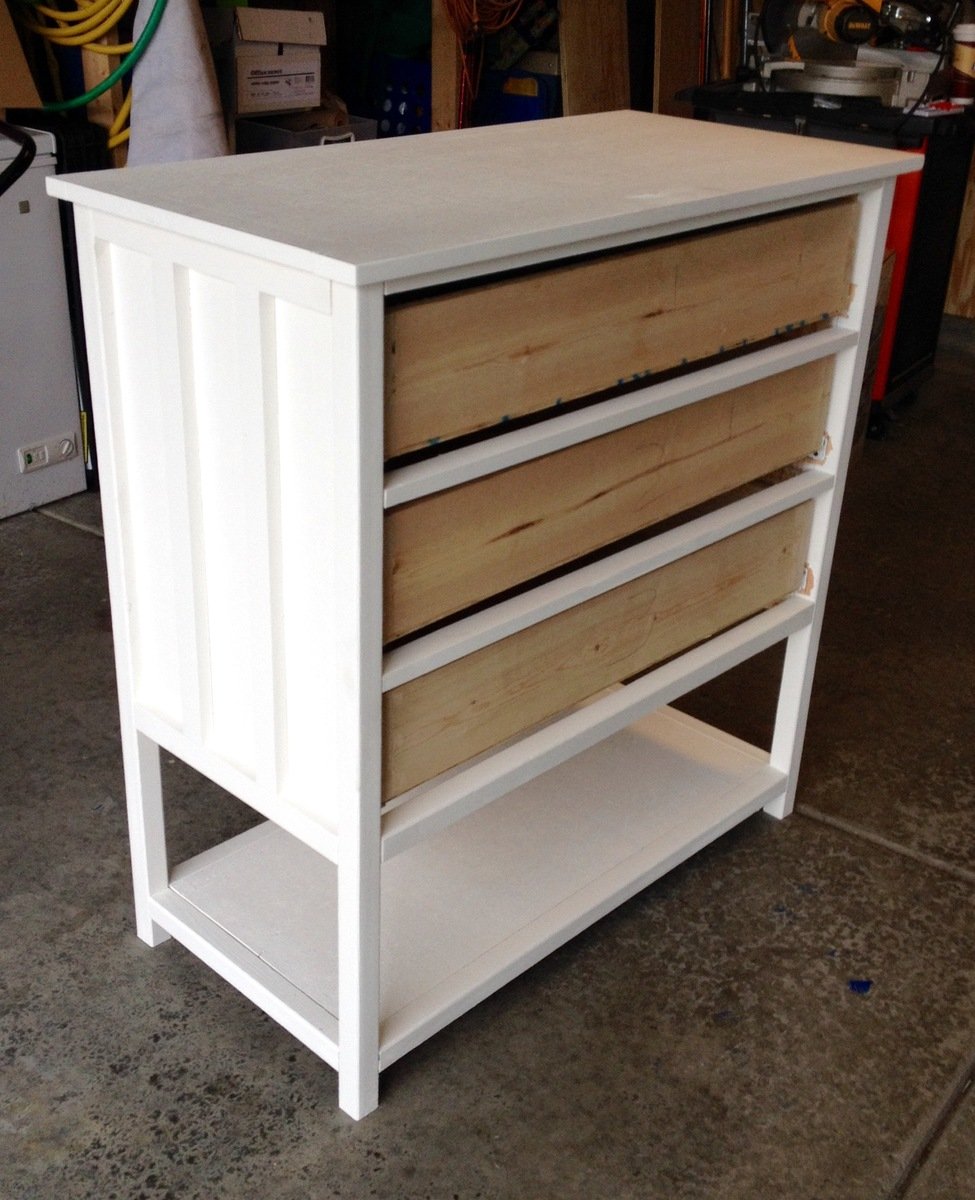
Small Dresser - Barn Wood Drawer Face
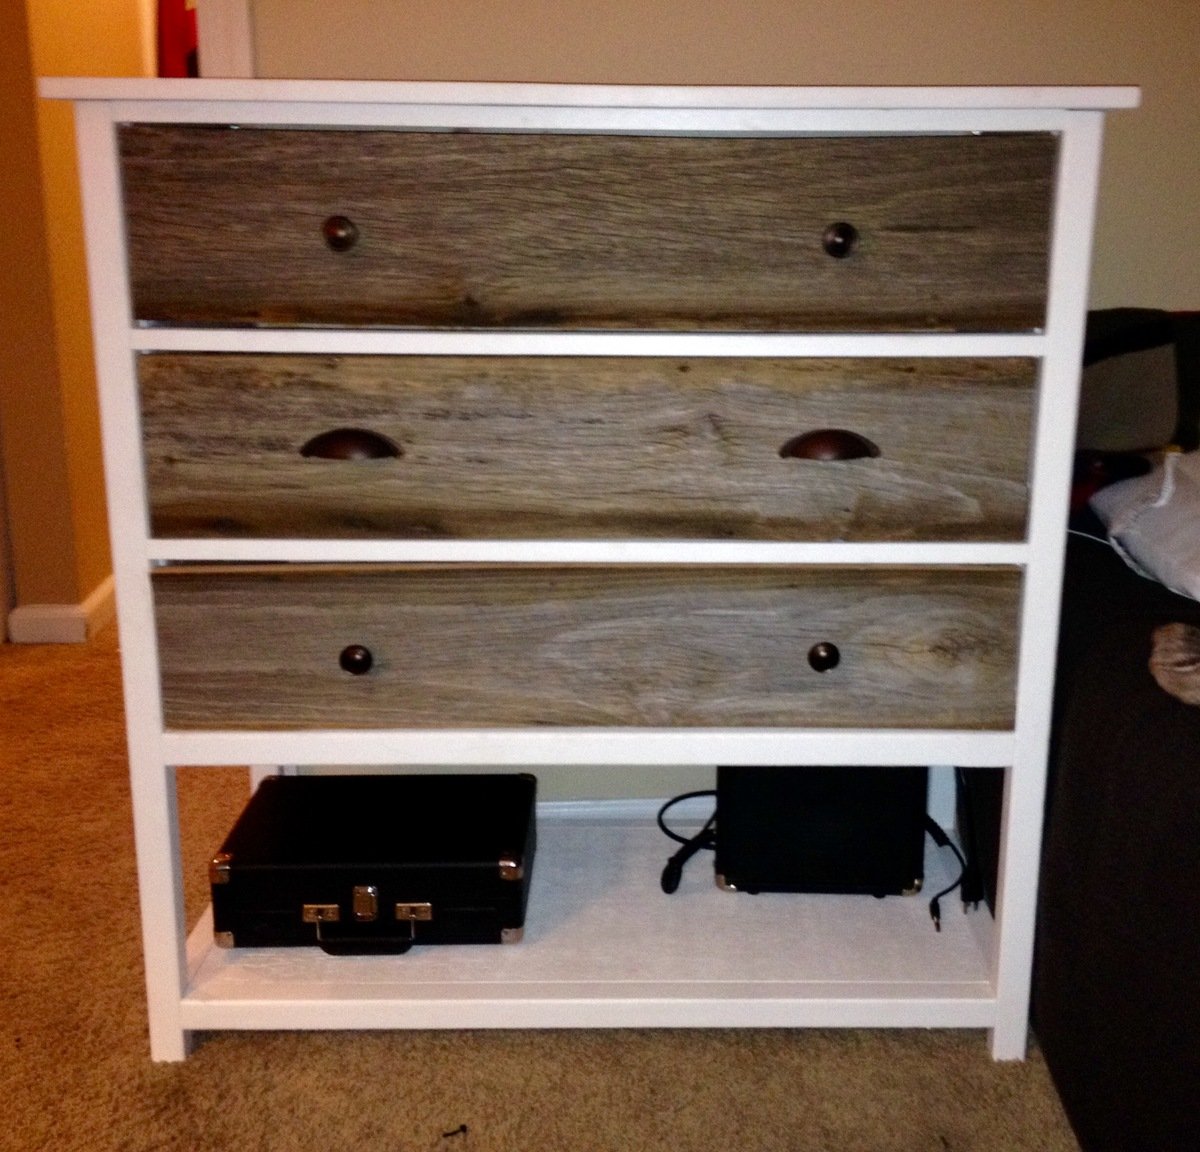
My son needed a dresser that would fit a small space (no more than 40 inches wide). I modified the Cabin Collection plans to fit the small space. Looking at the plan, I wanted to brighten up the wood and opted not to stain. Instead I purchased an airless sprayer and was very pleased with the finish. For the drawer faces, I found old barn wood. The barn wood was a little tricky because some of the boards were warped. I brushed the wood with a stiff nylon brush to bring out the deep grain texture of the wood. Finally, purchased bronze finished drawer handles. Very pleased with the outcome. Thanks for the plans. Can't wait to start my next project.
Built from Plan(s)
Estimated Cost
Lumber $90.00. Barn wood drawer fronts were free (driving around in the country looking for barns that have collapsed. Farmer agreed to give me enough lumber for 3 dressers). Promised I would mention his name in the post. Thanks, Jerry Parker!!!
Estimated Time Investment
Weekend Project (10-20 Hours)
Finish Used
Valspar interior - Dove White
Minwax Clear Polyurethane - Drawers
Drawer Fronts were not finished
Minwax Clear Polyurethane - Drawers
Drawer Fronts were not finished
Recommended Skill Level
Intermediate
Lovely DIY Planter
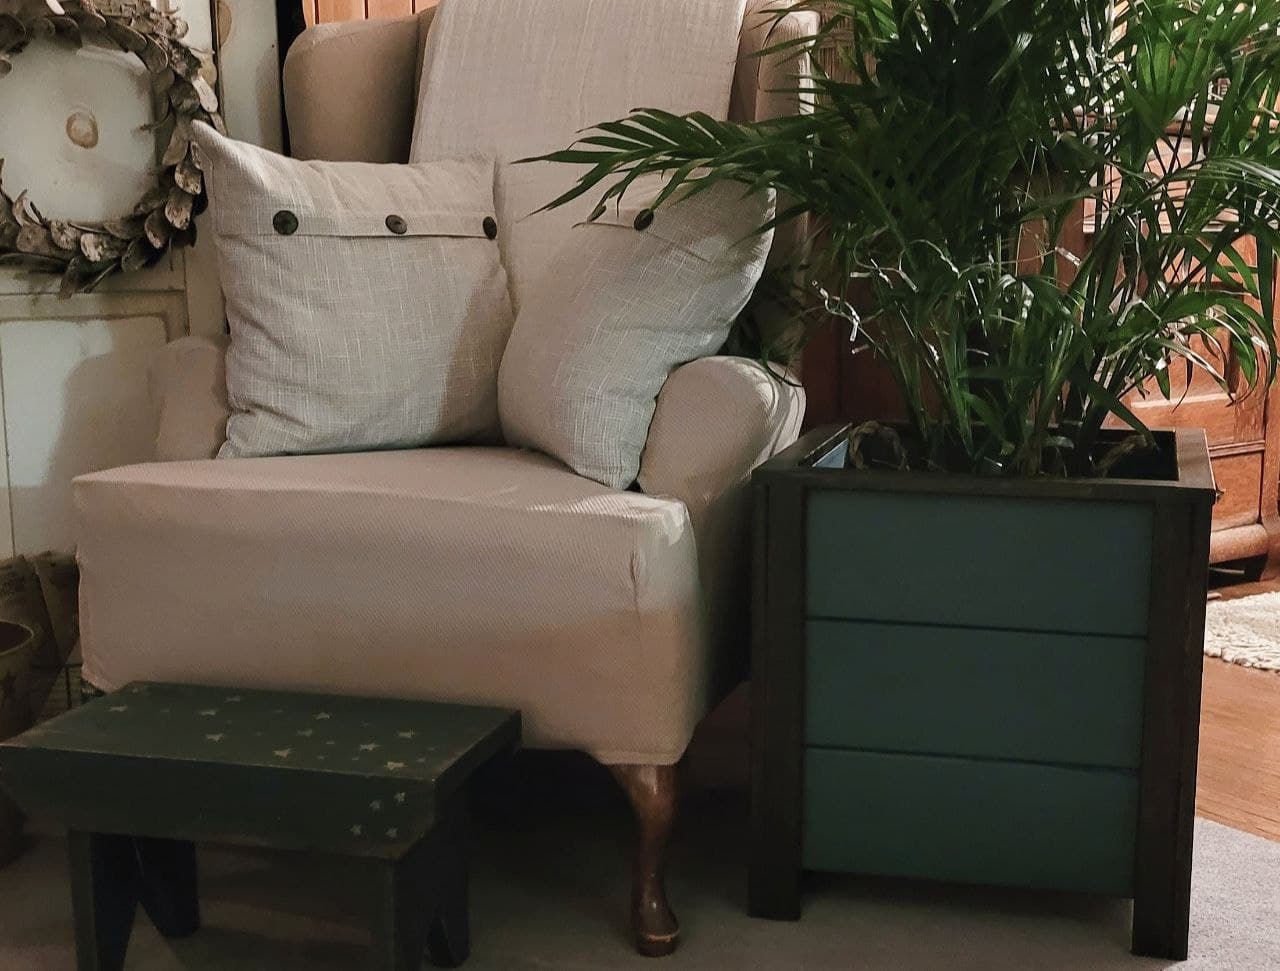
Loved making this. Was my first project ever. Thank you so much for the easy to use plans. Finished with Fusion Seaside and Dark Walnut stain.
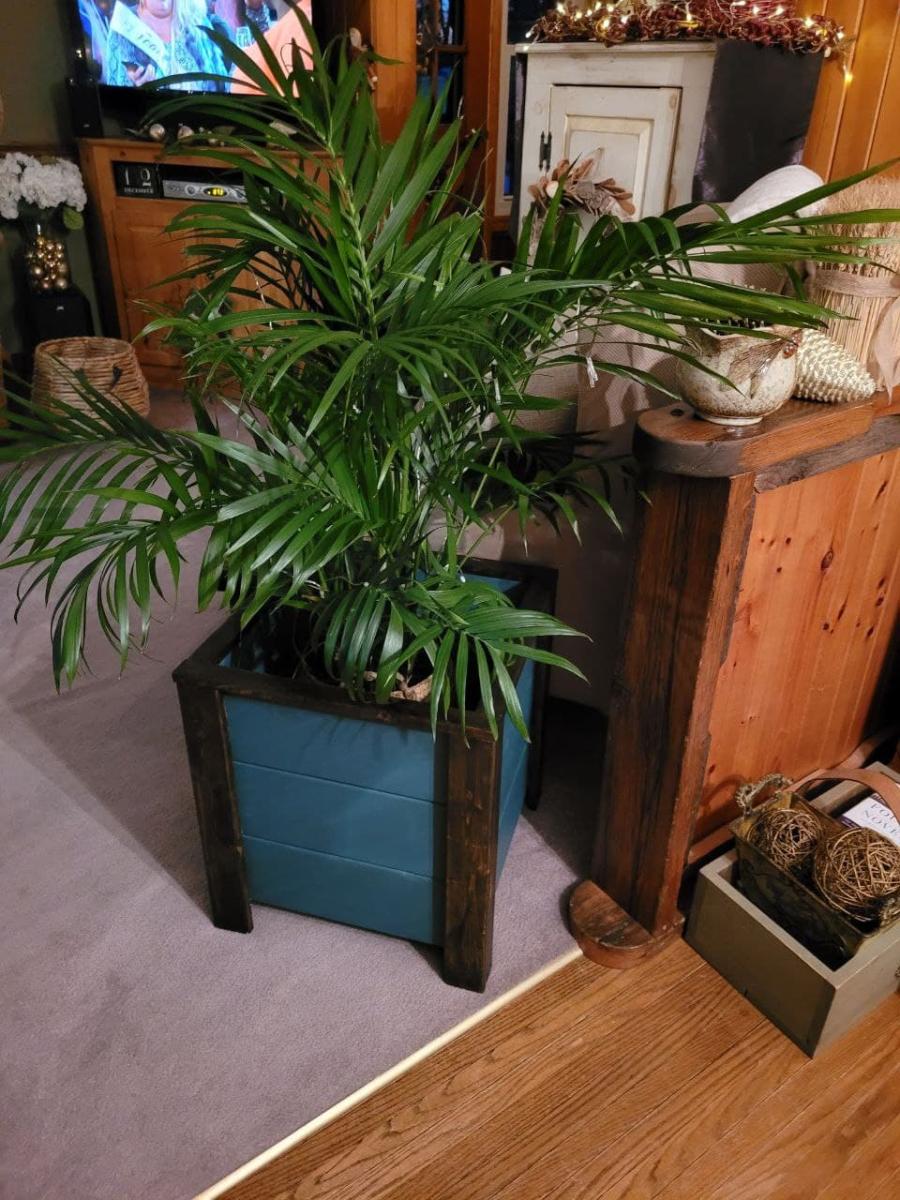
Built from Plan(s)
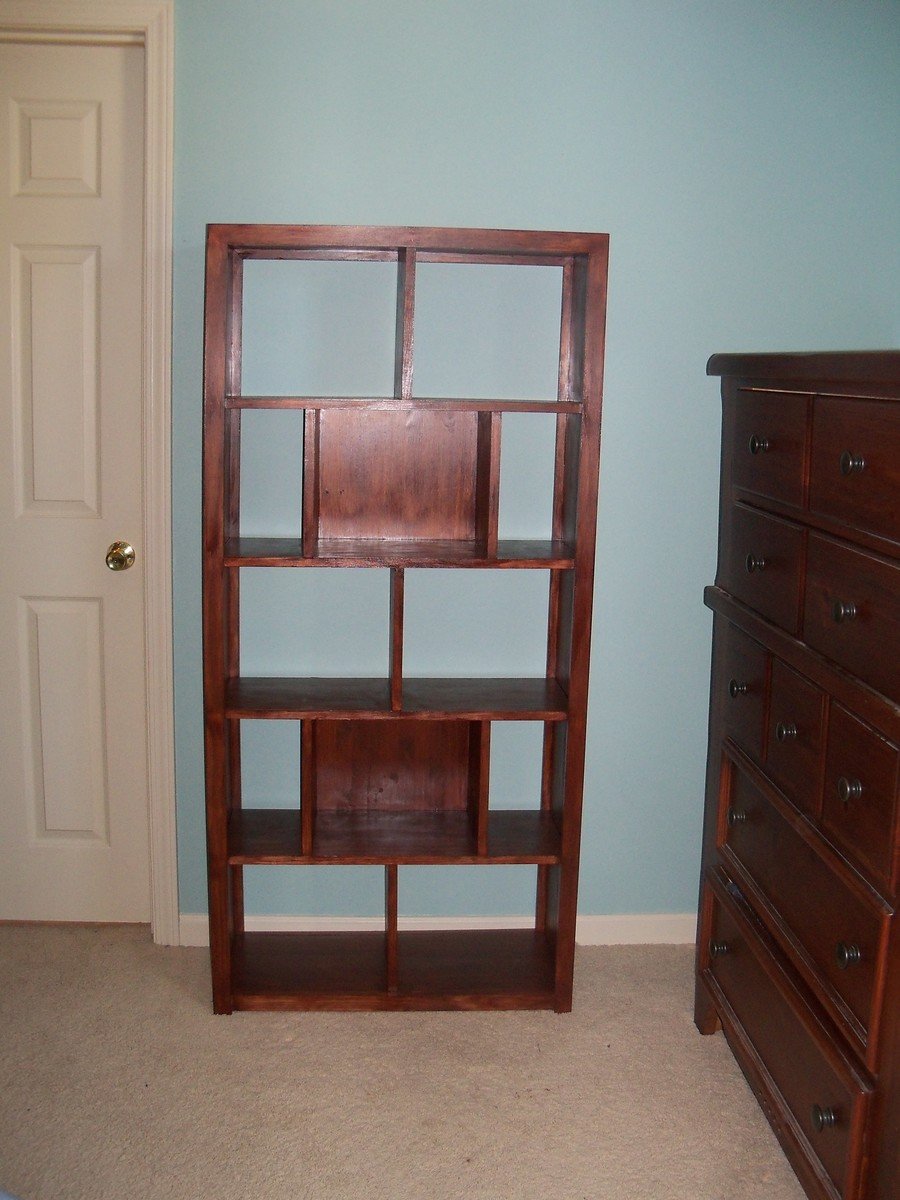
Subway Tile Bookcase

Our latest project... I love it!
Built from Plan(s)
Estimated Time Investment
Afternoon Project (3-6 Hours)
Finish Used
Minwax Polyshades
Recommended Skill Level
Intermediate
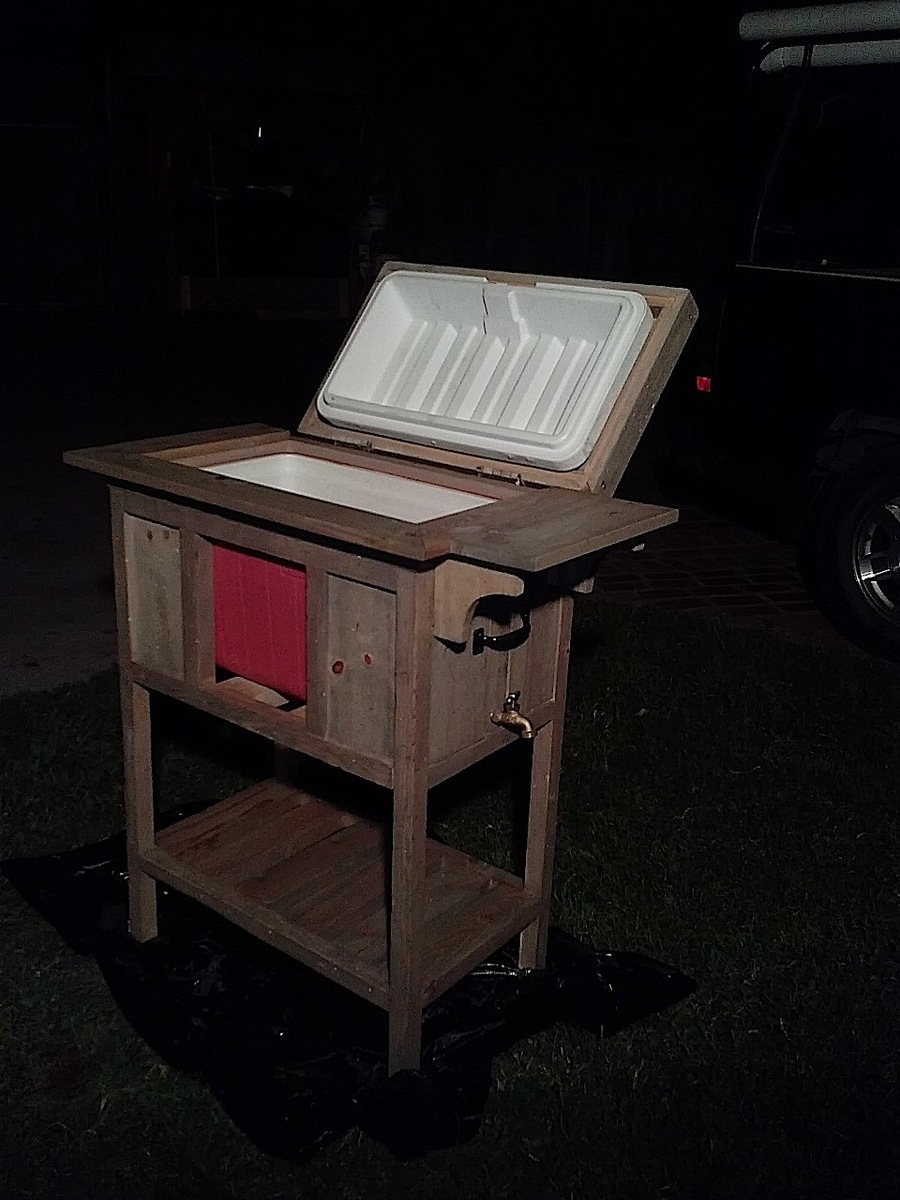
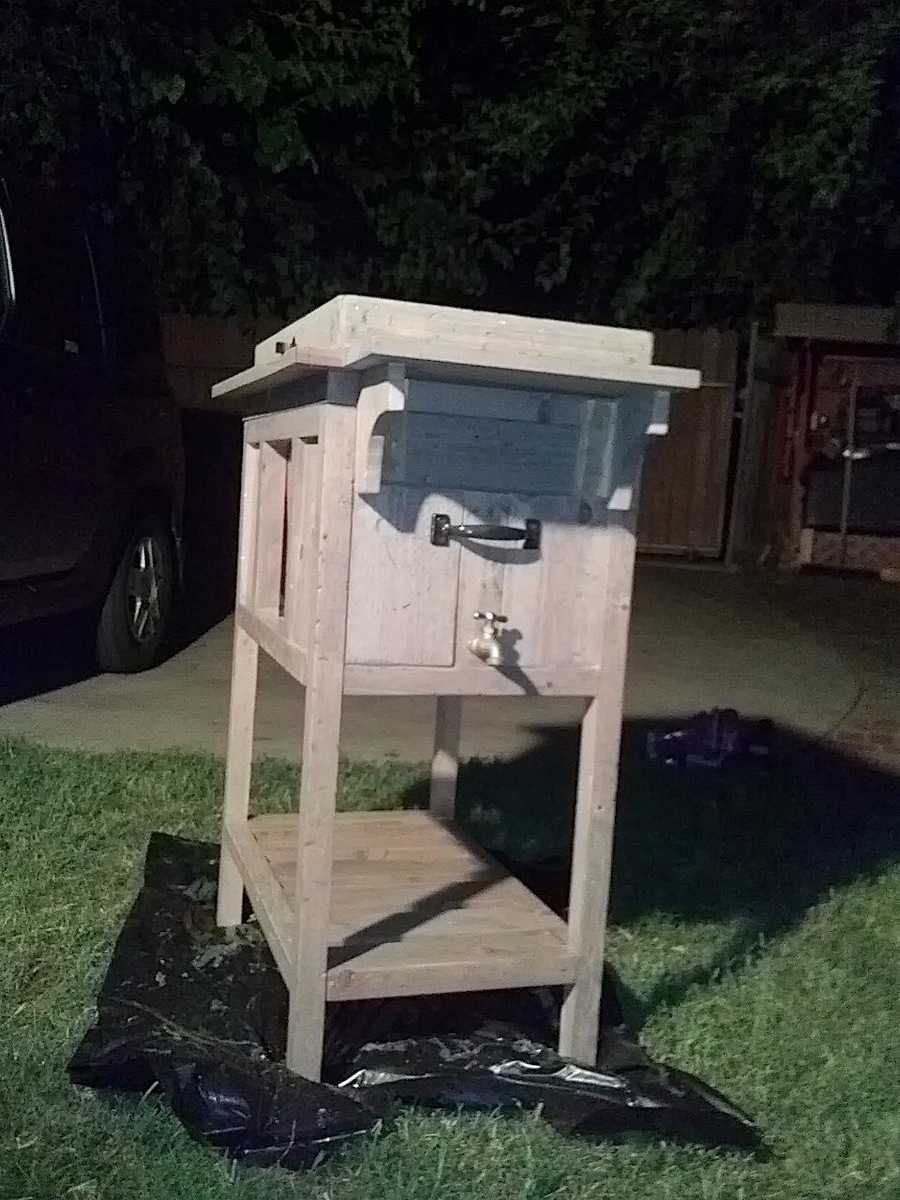
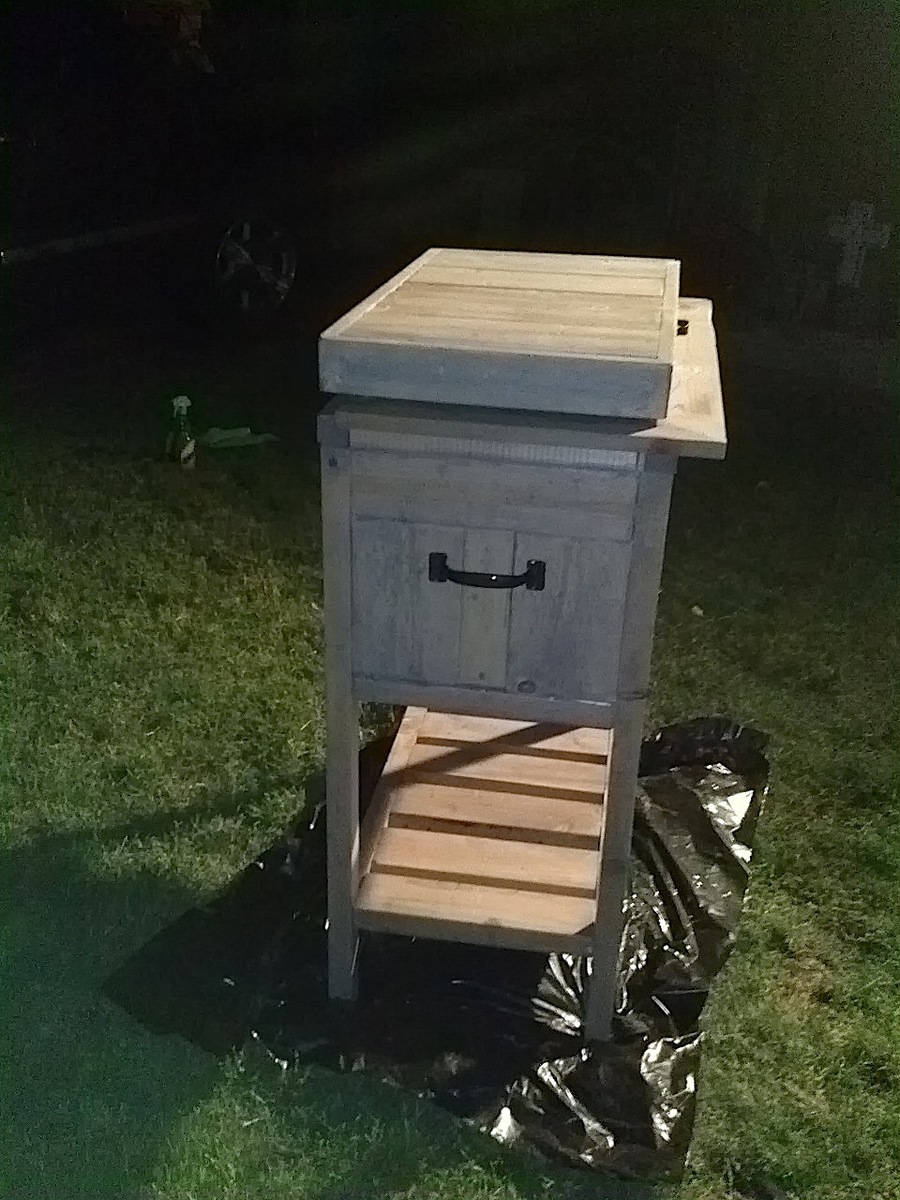
Cooler, Natural Rustic look 4 my Pops
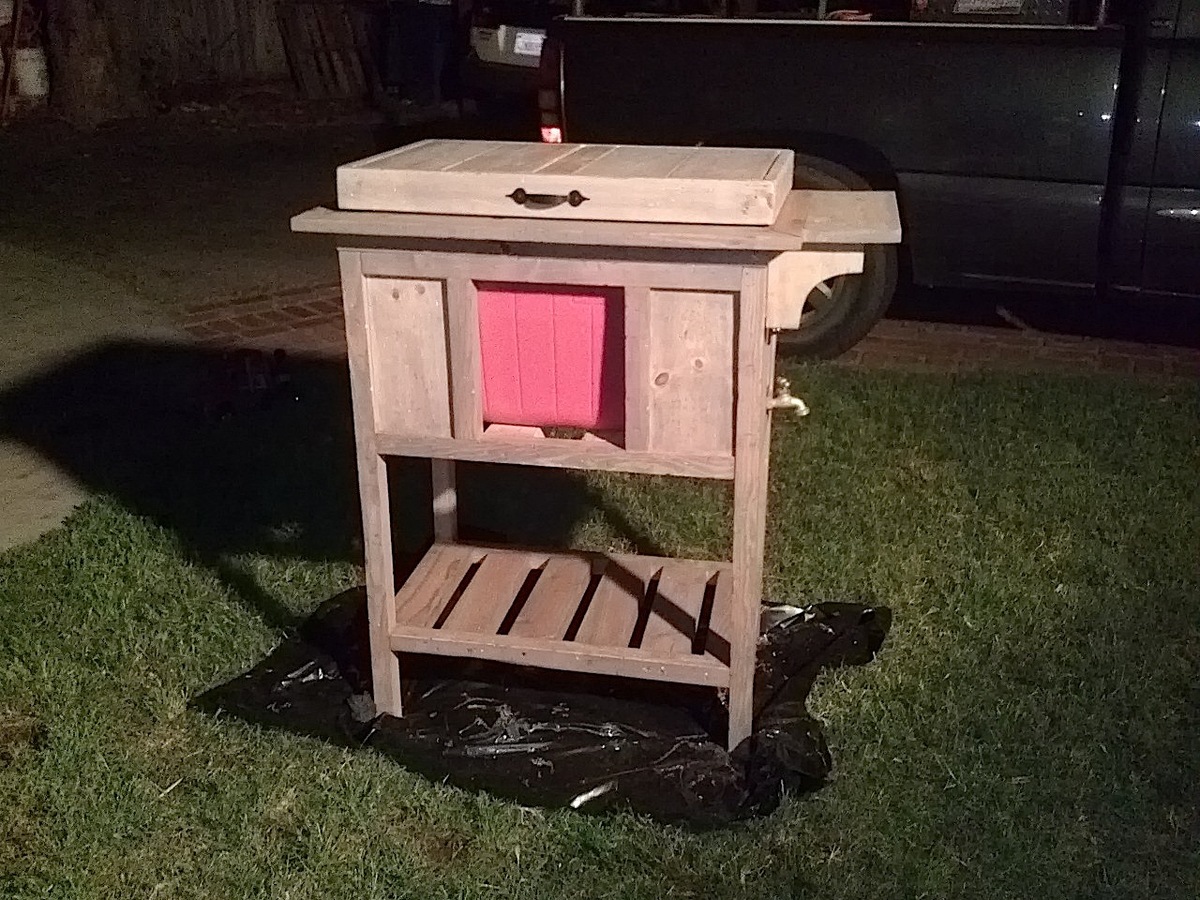
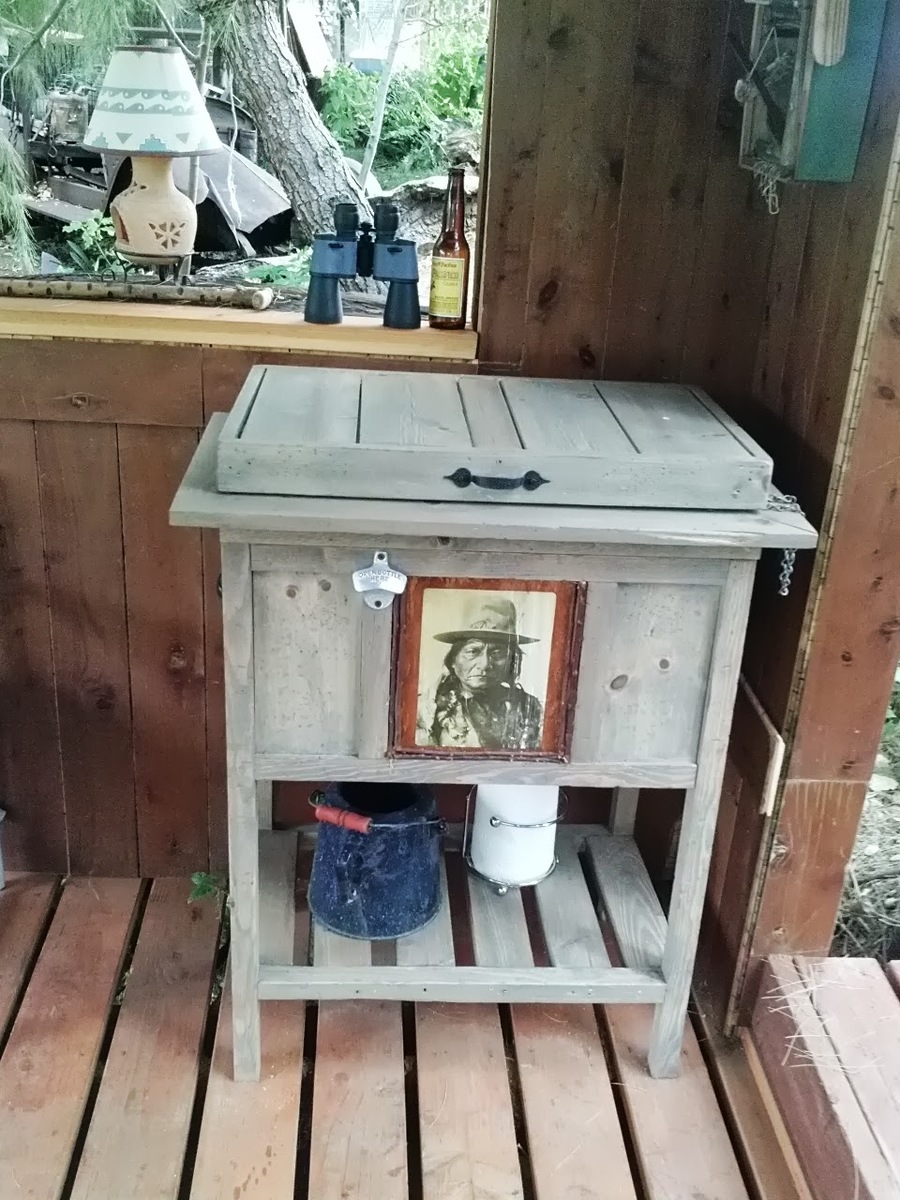
1st I want to say, the part thats uncovered on the middle will be covered but Im letting pops customize that spot with a picture or whatever he chooses.
My dad made most everything I have ever had in life including the house I live in. So I wanted to make him something this dad's day that he could really use and enjoy. He just built a hang out place in his back yard that I call "his fort" Since he's in his 60's now and a little more mellow, he has a lot of little parties with friends, family, basically anyone who wants to come hang out in his back yard. lol. (He claims to have made the fort a covered stage for my 12 year old and his band. But I know the truth. hehe. it's his fort :) ) So I thought this cooler stand would come in handy. He saw me working on it a few days before fathers day and told me he was afraid I was gonna make his something girly. hehe. He's such a man's man. I love my pops and am soooo happy he likes my gift. Its already in use in the fort. hehe

Built from Plan(s)
Estimated Cost
$50 bucks or so but I had the cooler and hinges
Estimated Time Investment
Day Project (6-9 Hours)
Finish Used
I used Minwax Weathered Oak. You can't really tell in the pictures because at that time it had only 1 coat and the pine needed 2 coats to really even tell its there. But it turned out really nice, my dad's a mountain man so he loves rustic-y things. After stain I sprayed it with Minwax Poly (I can't remember the full name sorry) its the one in a spray can. Satin finish so you cant see any gloss
Recommended Skill Level
Intermediate
Comments


Sat, 07/06/2013 - 09:40
This turned out great! Every
This turned out great! Every adult needs a fort, your Dad is a lucky man!
In reply to This turned out great! Every by birdsandsoap
Sun, 07/07/2013 - 00:27
:)
Thank you, I'm just returning some of his hand made hard work. Thank you for the best father day idea ever. I'm sure I would have made him some girly thing if I hadn't come across your cooler plans. hehe. He is so happy with it and its held up, even with regular use and his heavy hand. :P it's the only thing keeping things cool in his fort and he brags to all of his friends about how his daughter made it for him.
Thanks again!
~Melody
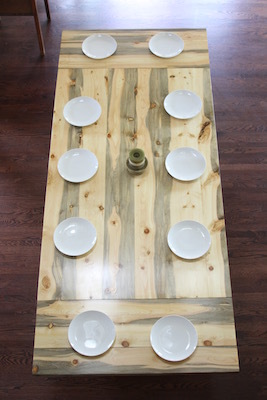
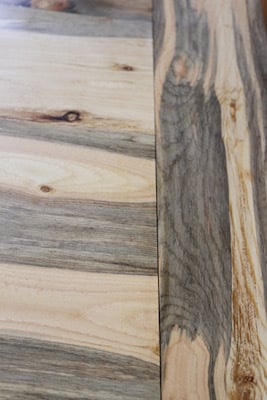
Farm House Table
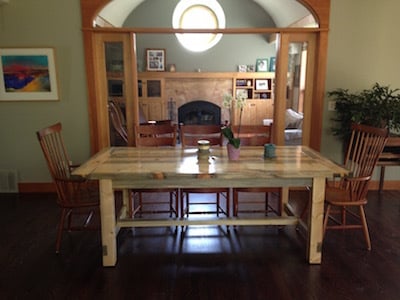
I used local Colorado beetle killed pine. I based the table on Anna's Farm House Table plans. I used the bread ends to create pull outs for 11 inch extensions on each end.
Estimated Cost
$350, not counting the planer that burned out during the milling of the wood.
Estimated Time Investment
Week Long Project (20 Hours or More)
Finish Used
seven layers satin wipe on poly, two layers finish wax using steel wool
Recommended Skill Level
Intermediate
Carrots Included
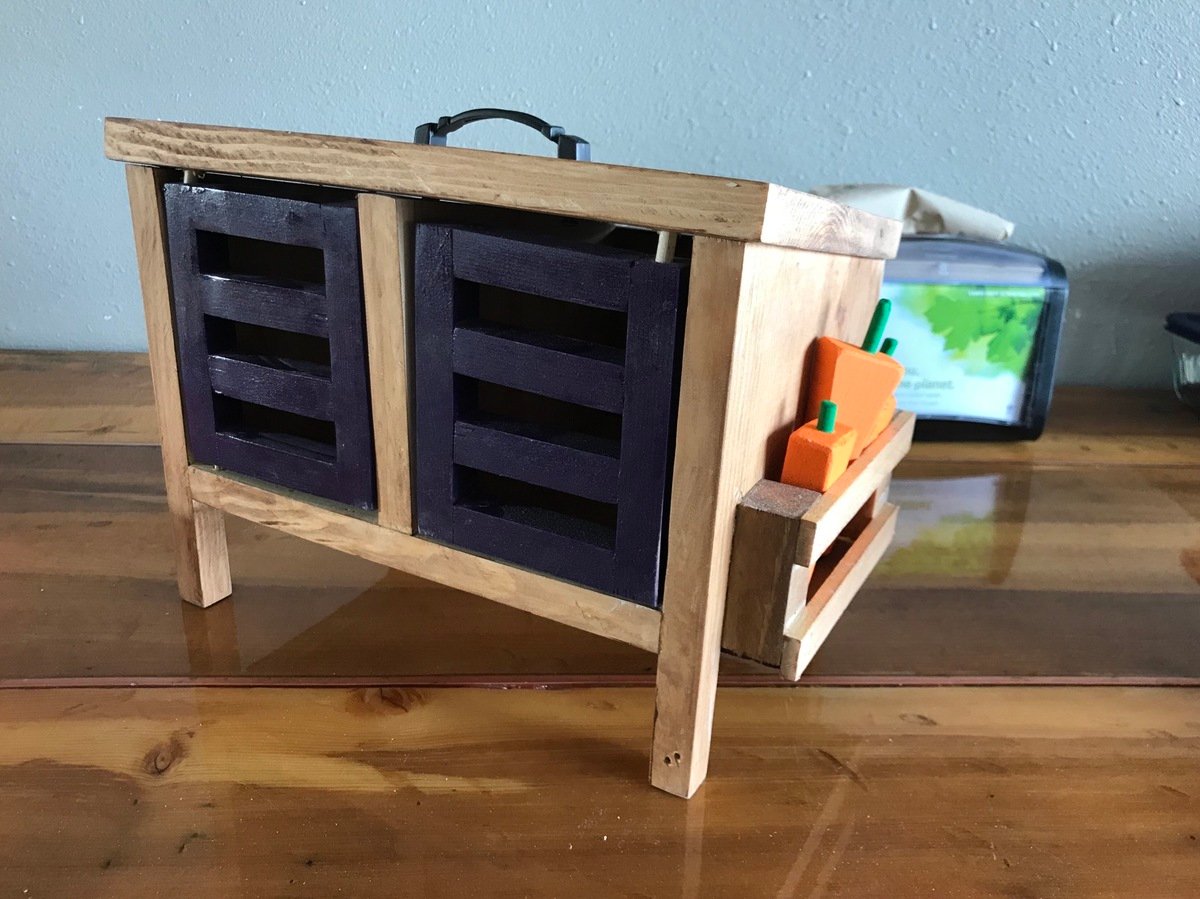
Adorable gift ready for Christmas!
Built from Plan(s)
Estimated Cost
This project was less than $10 because I used hardware and scraps in my shop.
Estimated Time Investment
Afternoon Project (3-6 Hours)
Finish Used
Minwax Express Colors
Spray Paint
Spray Paint
Recommended Skill Level
Beginner
Work Bench
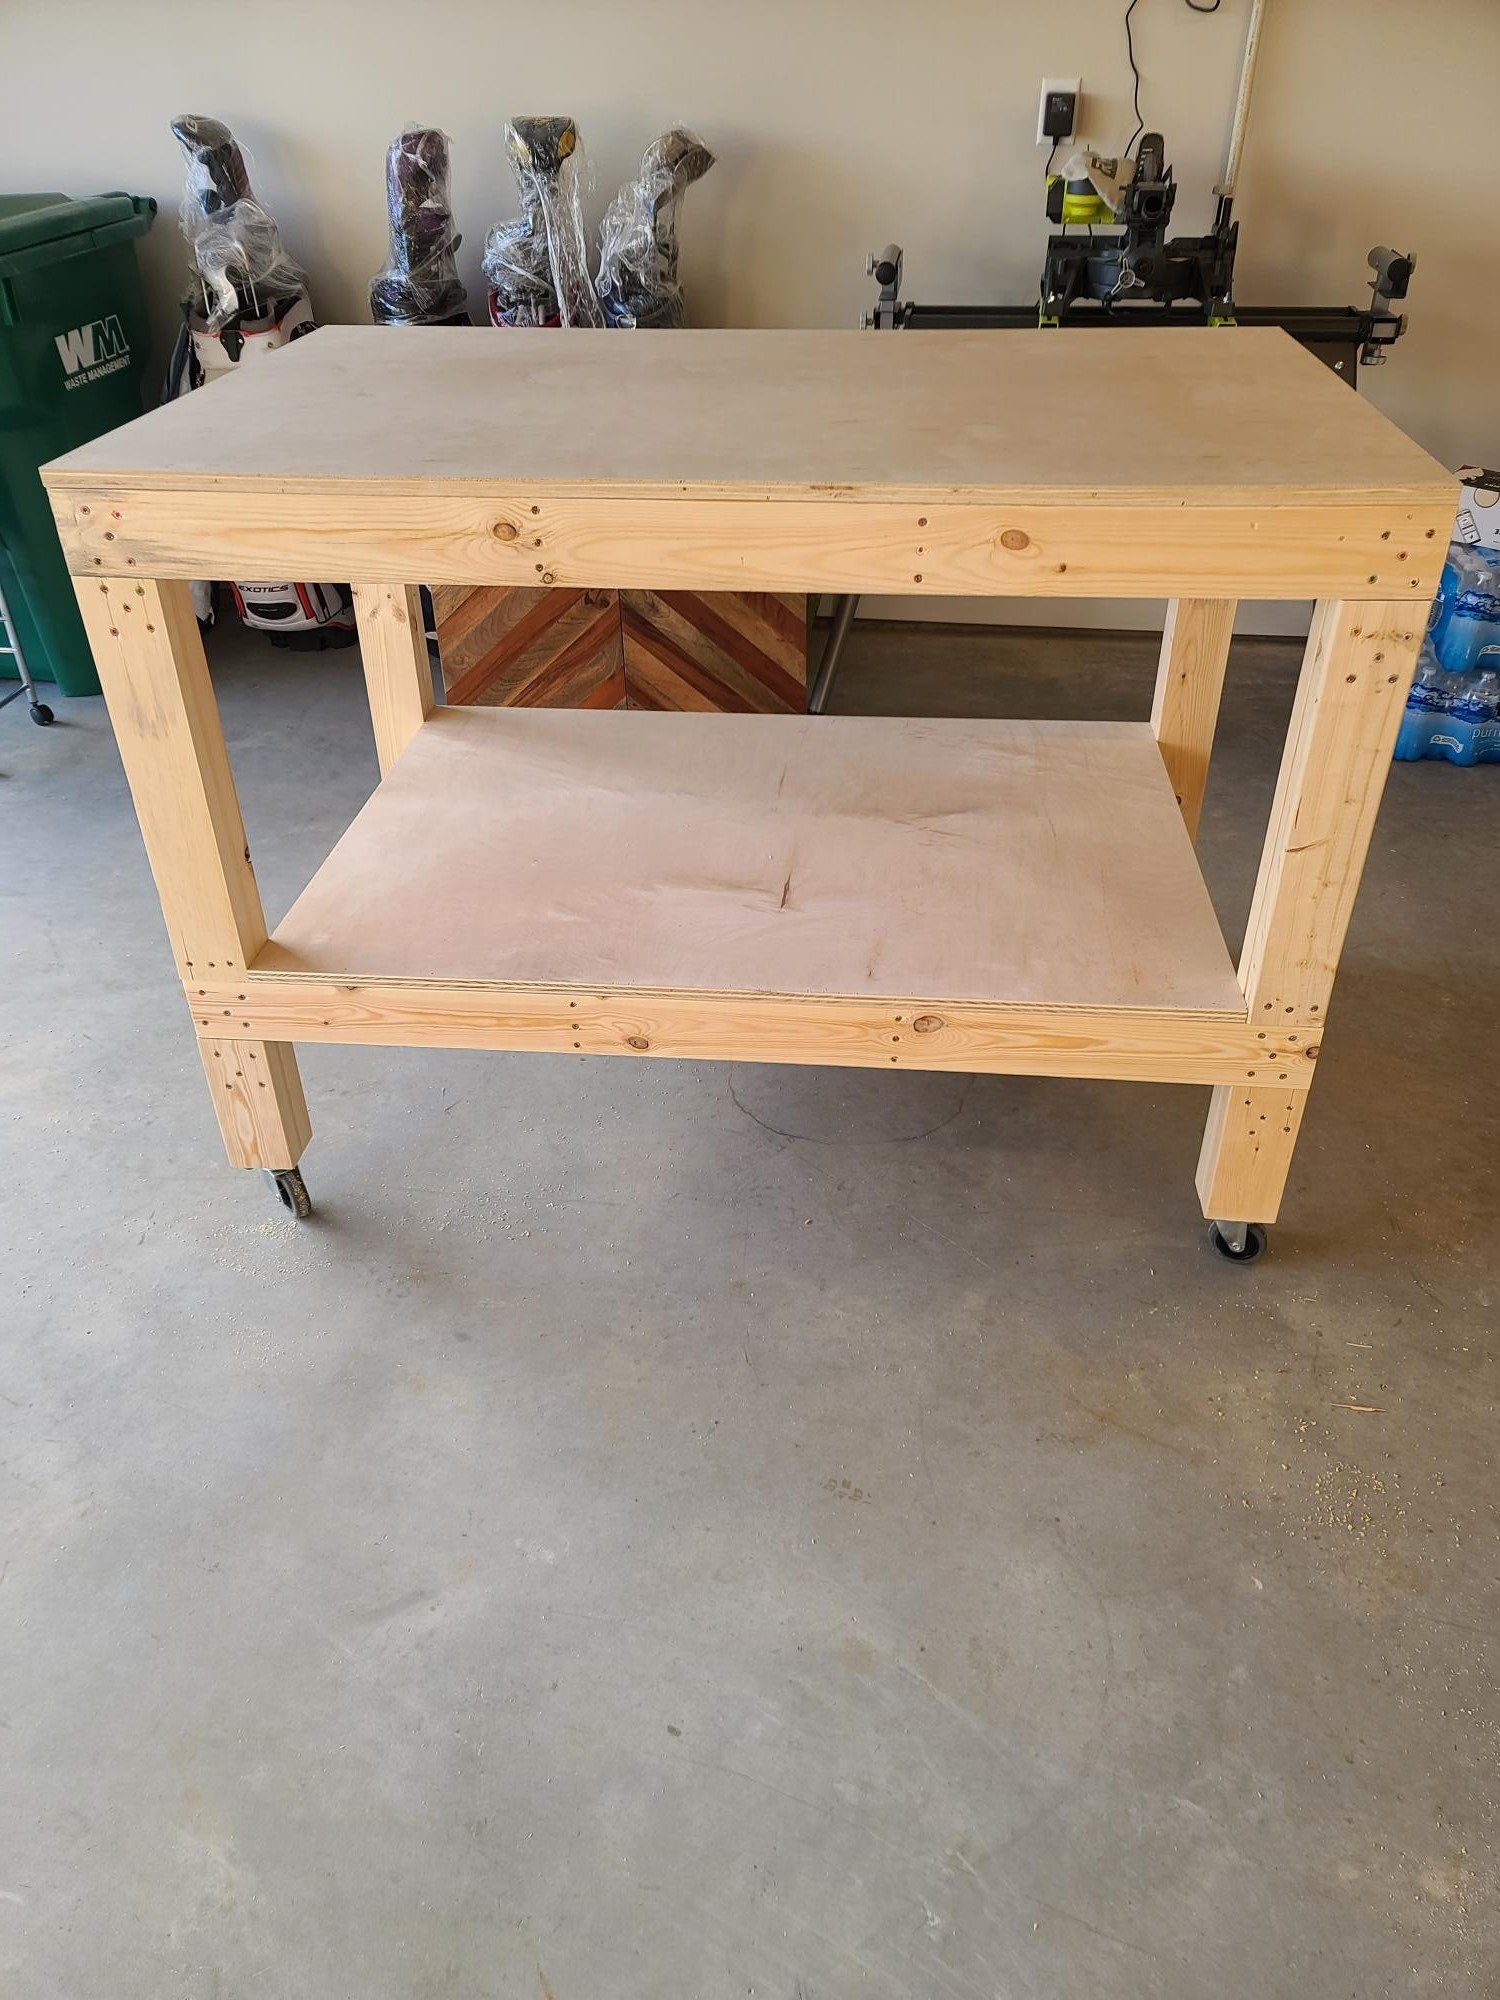
Built the DIY garage work bench, added wheels came out perfect...plans from Ana White were awesome@
Built from Plan(s)
Comments
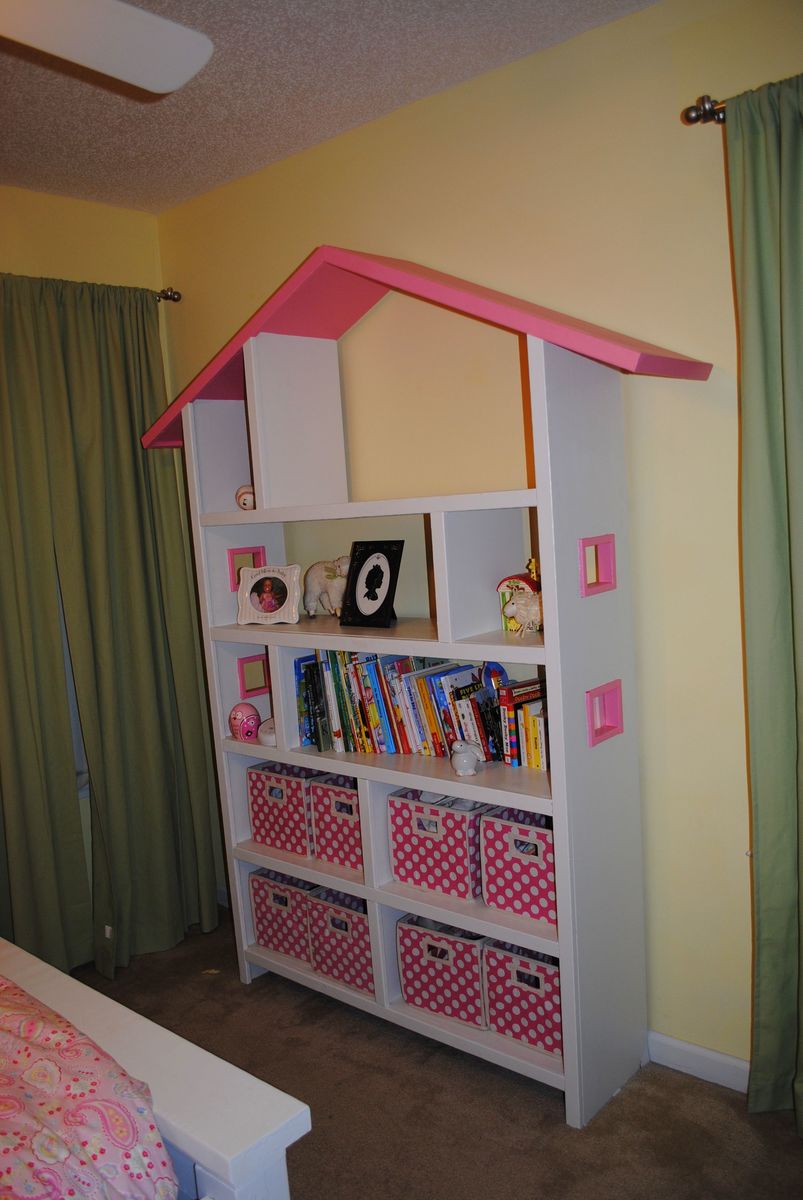
Doll House Book Case
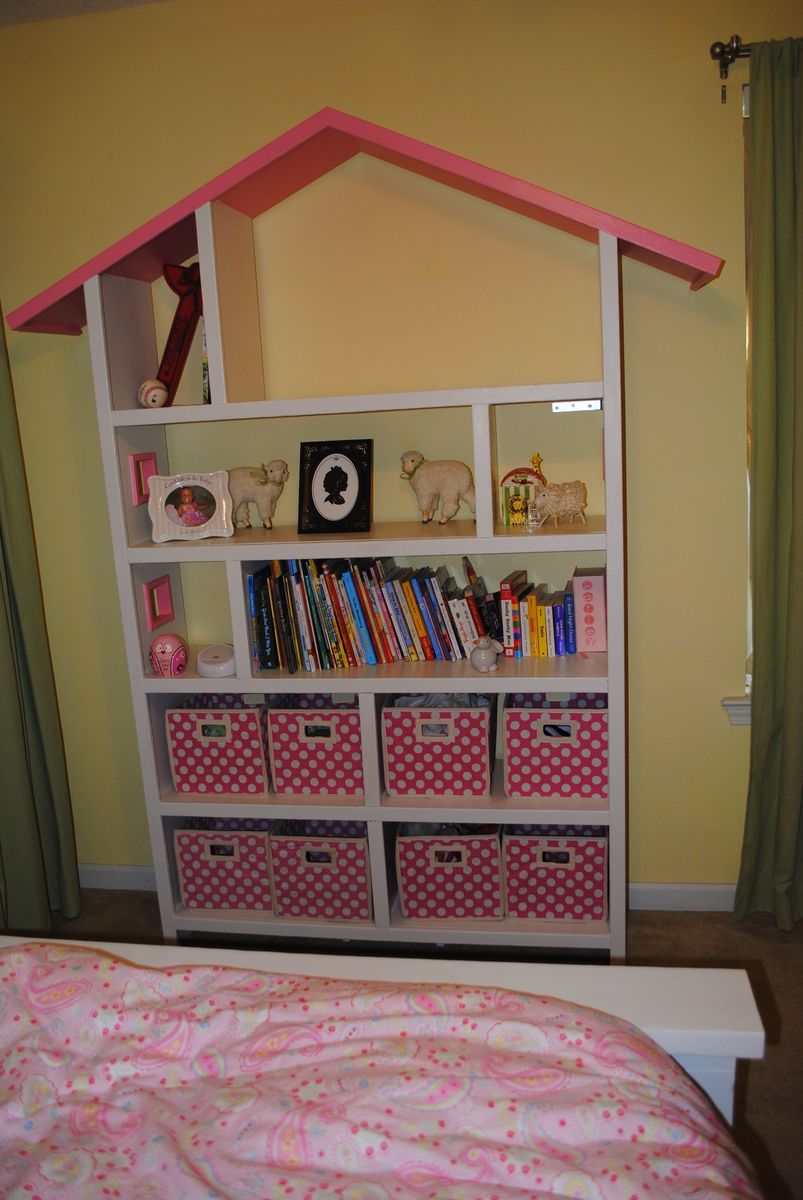
We combined Grace's bookshelf plans and the doll house book shelf to make one big shelf system. It is built mainly from mdf except for the trim. It took about a week.
Built from Plan(s)
Estimated Cost
150.00
Estimated Time Investment
Week Long Project (20 Hours or More)
Finish Used
We primed the shelf and then painted it with semi gloss white paint.
Recommended Skill Level
Intermediate
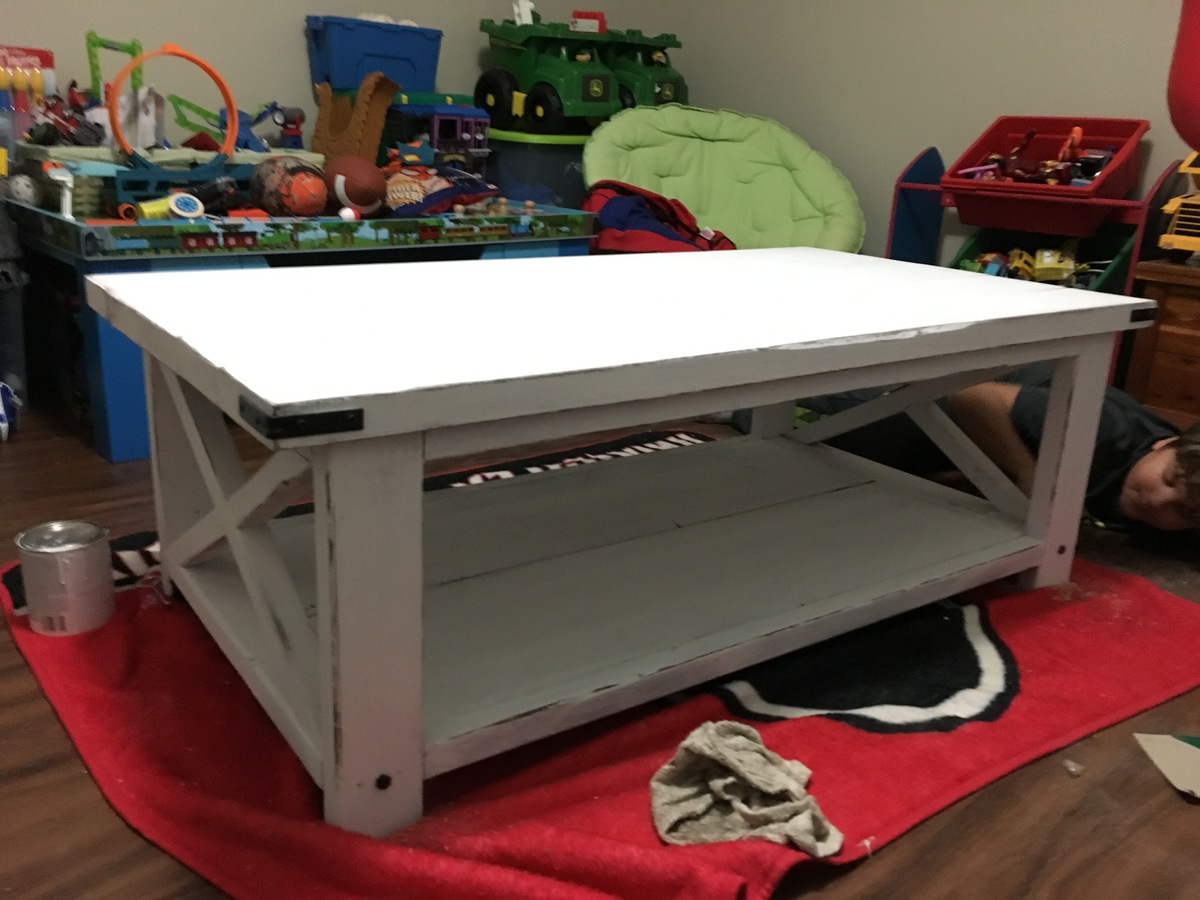
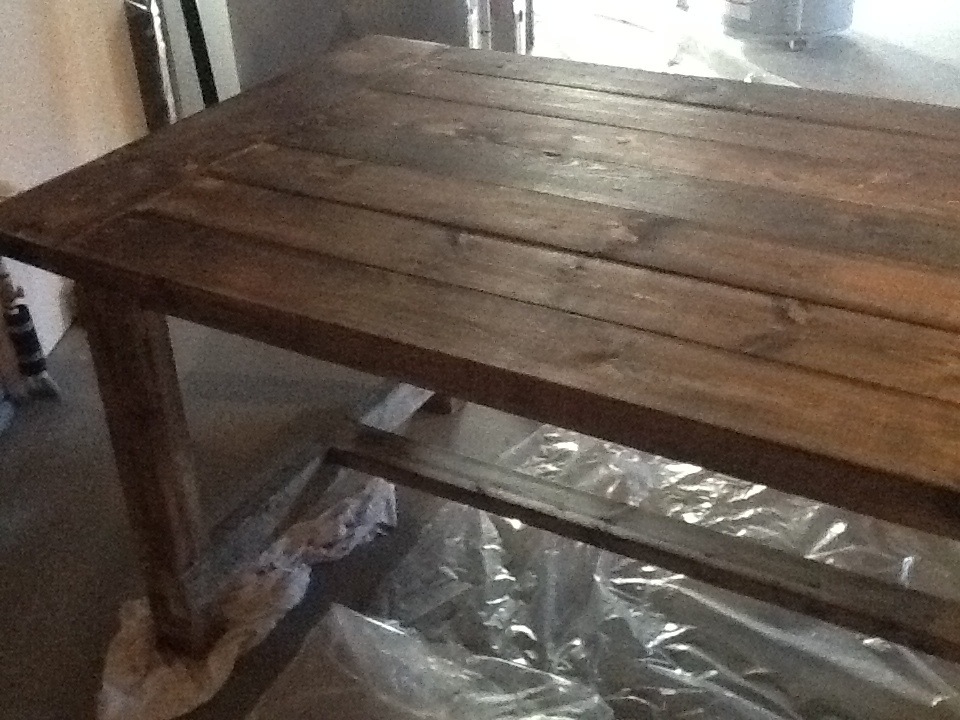
Farmhouse Table
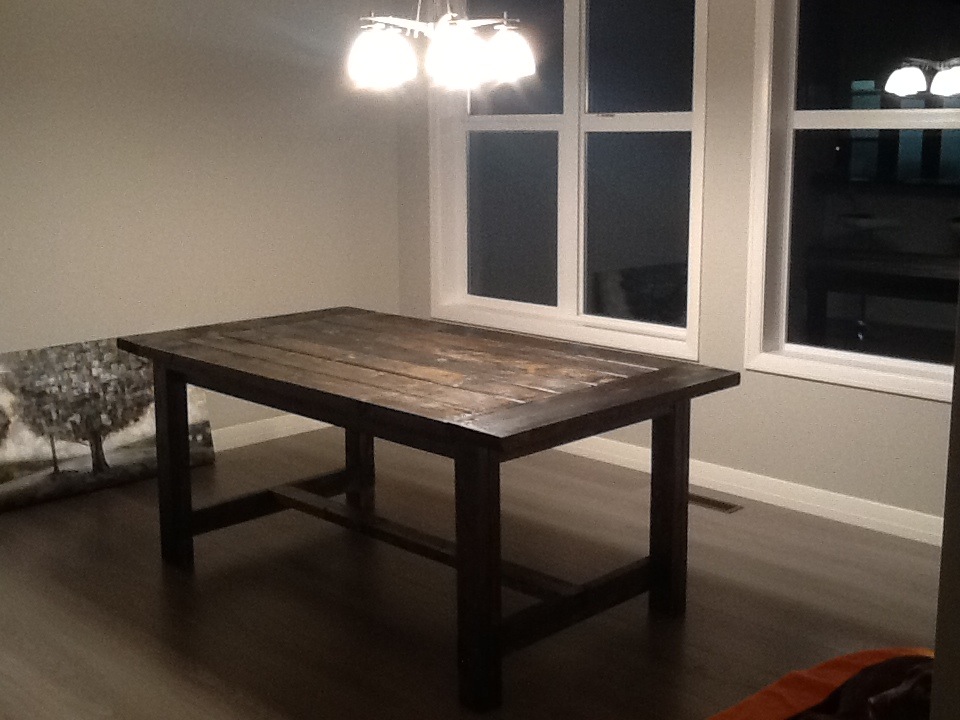
This was our first project. A bunch of "nfl widows" decided to make these tables together. While building with friends is fun, doing all the cuts and prep work for three tables at once will take forever!
If I did it again:
1) Let your wood fully dry out before laying the top boards - it will warp and lift a bit
2) Stain the top and all sides of the 2x6s - if they do warp you don't want to see unstained wood
3) Be extremely careful with your glue - stain will not stick to glue
4) Wood filler does not stain the same as the wood and you will be able to see it
5) Attach your end boards to the 2x6s first. Otherwise they will tend to sag and tilt down.
Estimated Cost
90
Estimated Time Investment
Weekend Project (10-20 Hours)
Finish Used
Ebony Stain - Minwax with two coats of semi gloss sealant
Recommended Skill Level
Beginner
Loft bed
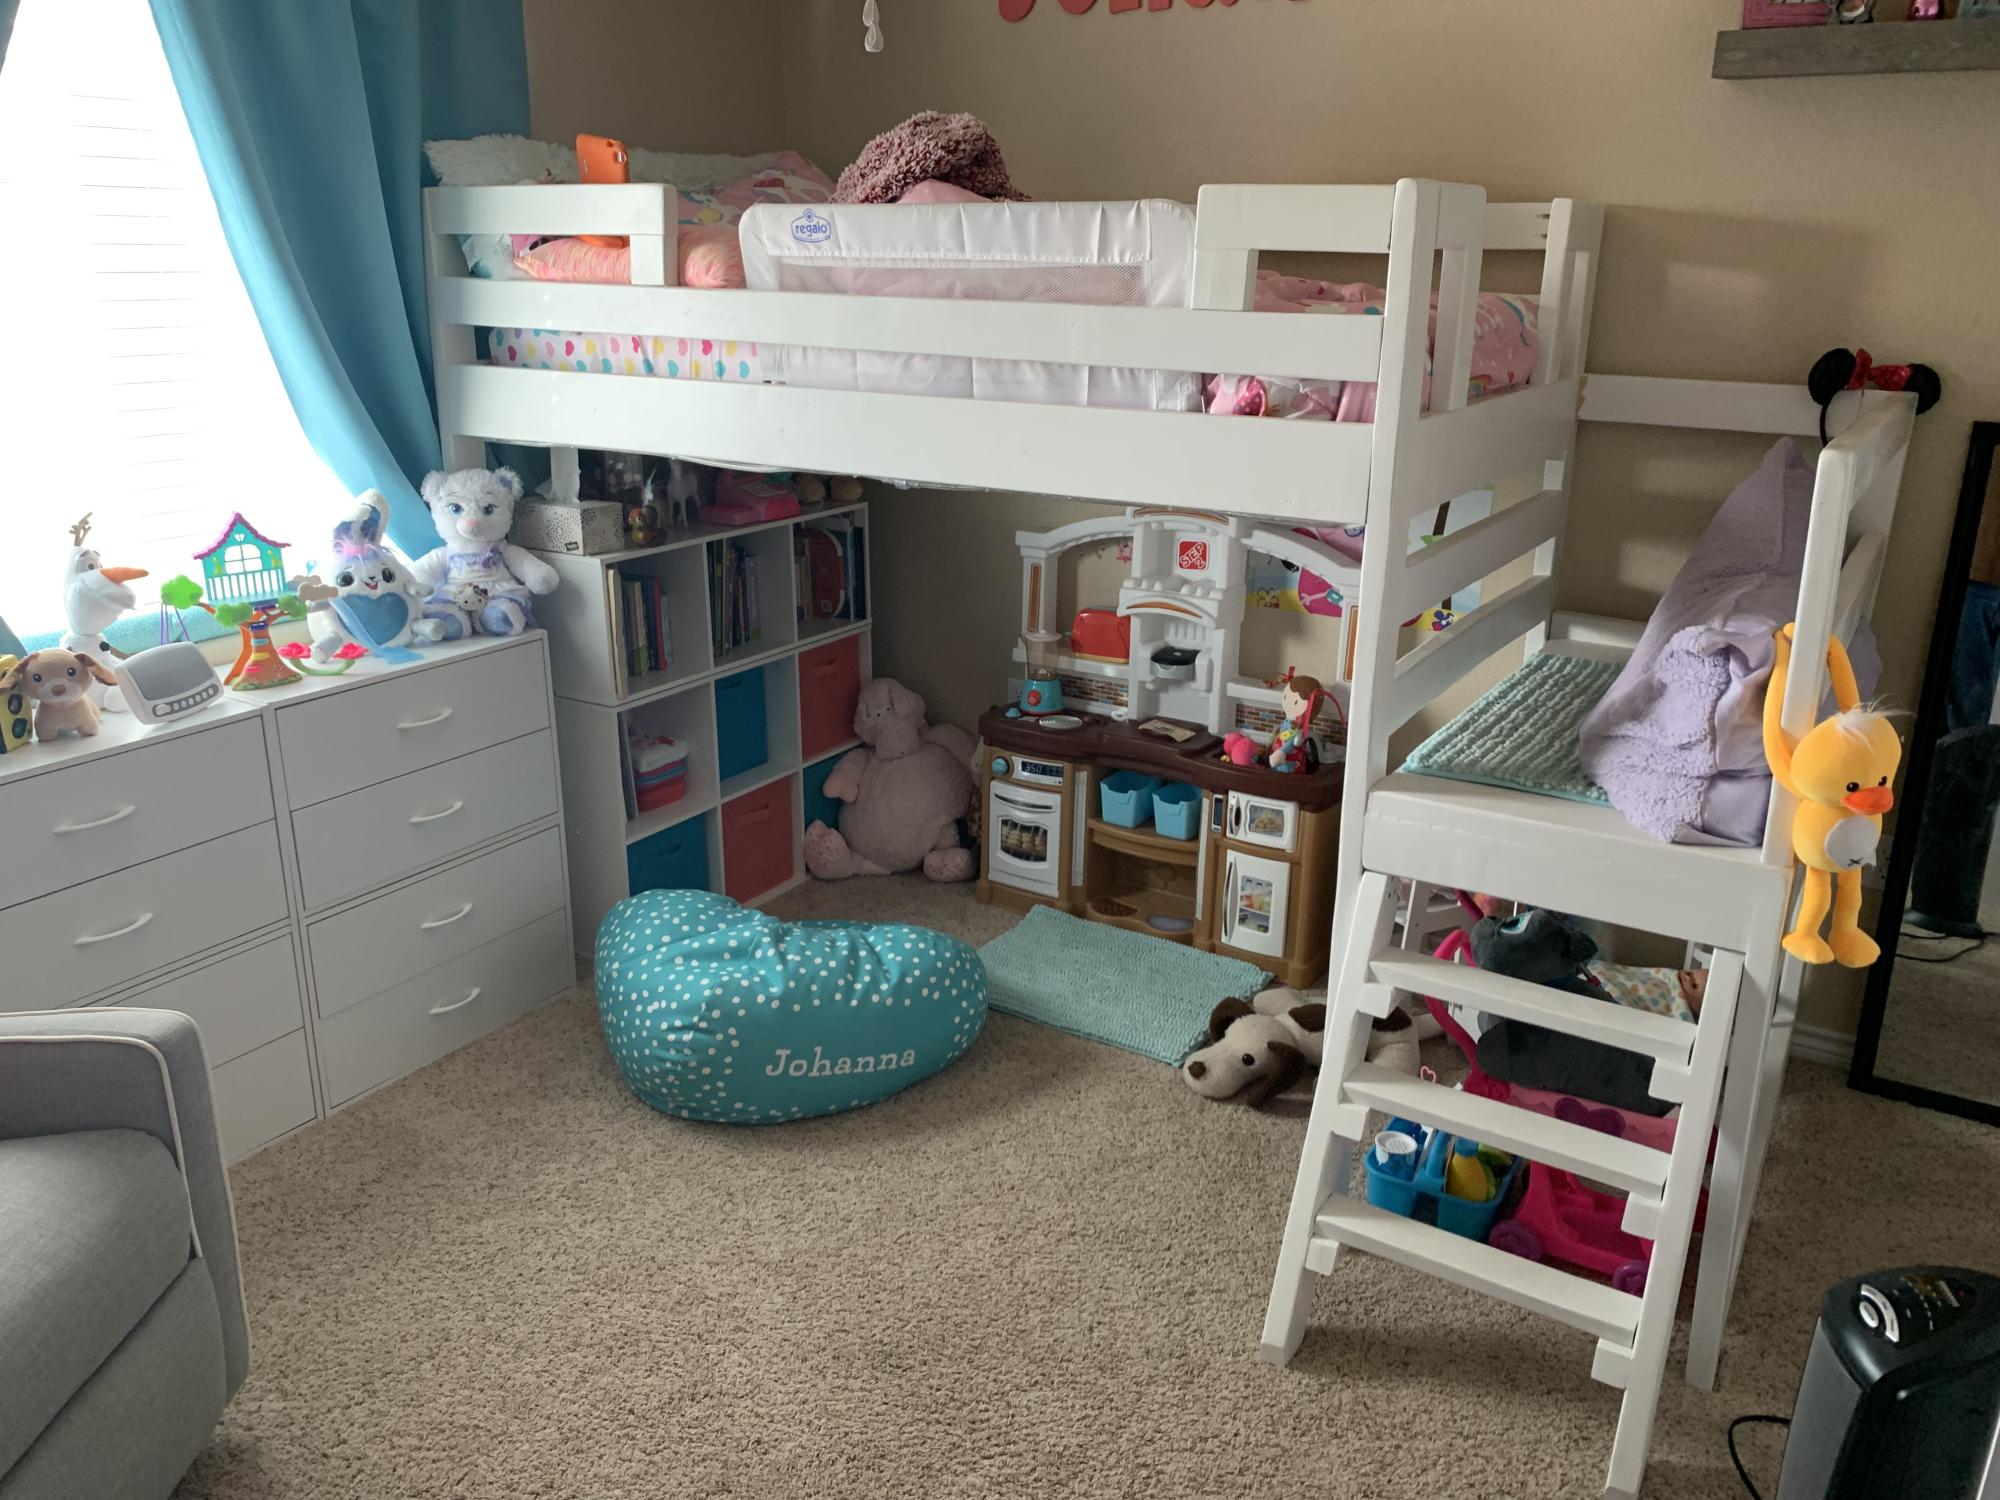
I used your loft bed plan and made some adjustments to better suit our needs. My daughter absolutely loves her bed and we love having all the extra room under her bed. Thank you and I will be using many more of your plans.
Justin
Built from Plan(s)
Comments
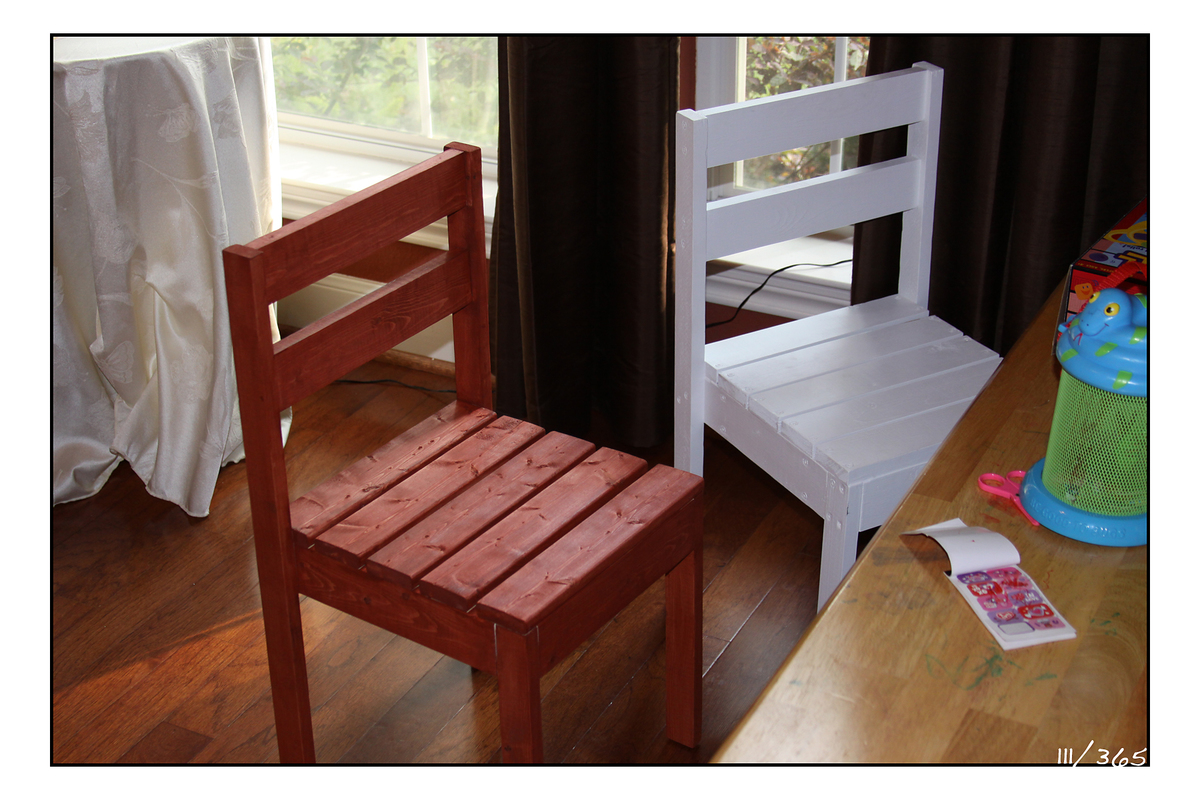
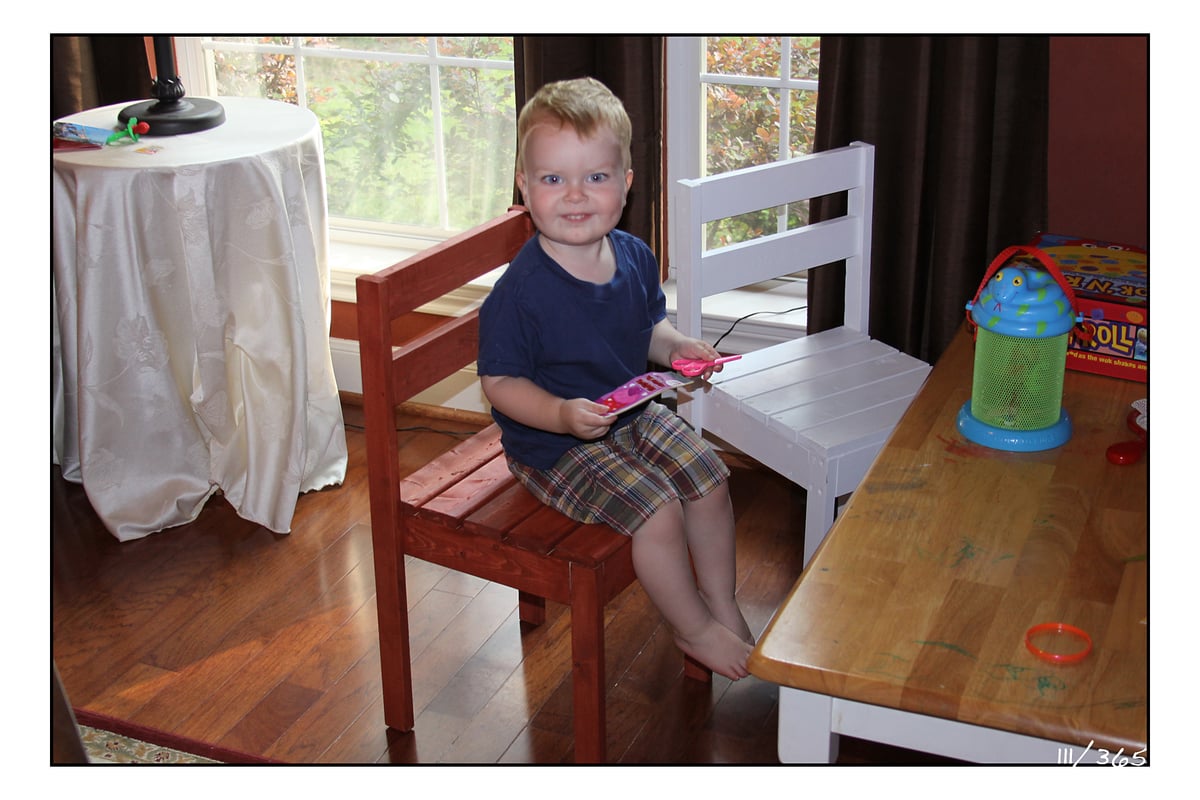
Simple kids chairs
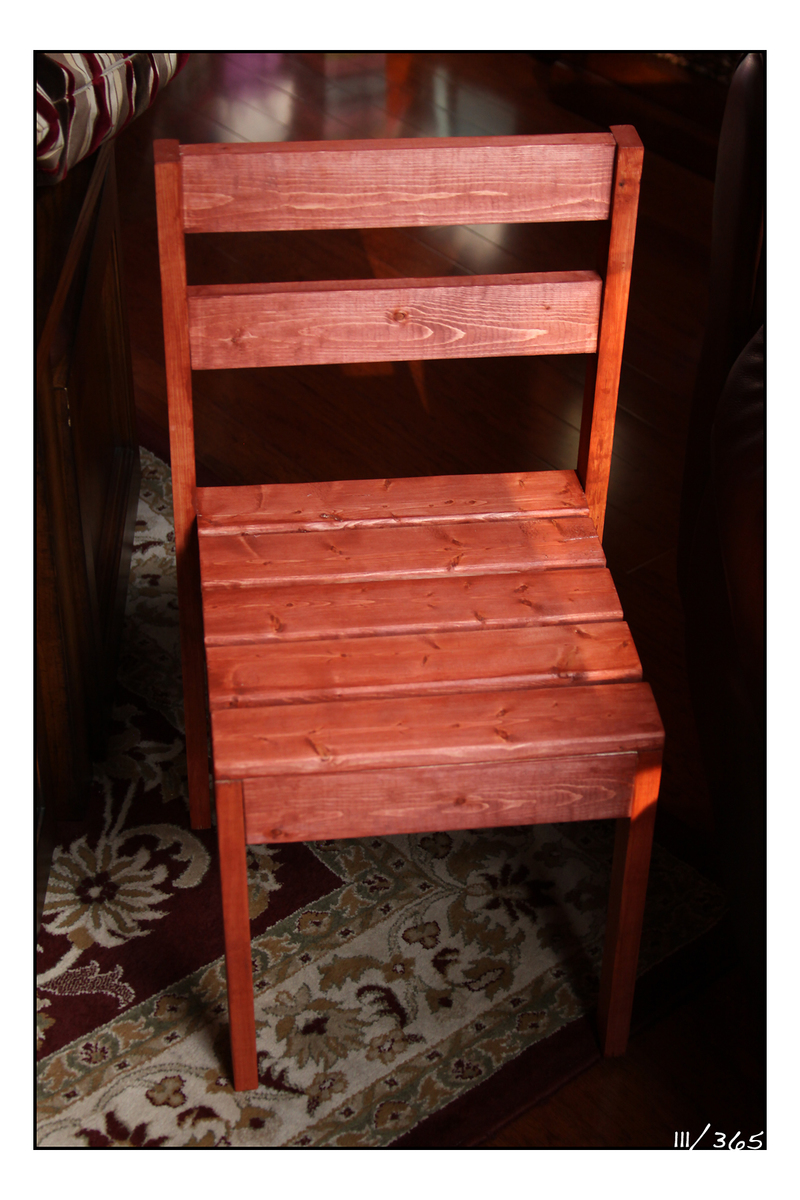
I built two of the $4 kids chairs for my two kiddos. After building the first one (the white one) I changed the plan a little to use pocket hole screws as much as possible to avoid the visible screw heads on the seat slats. I really love how the red one turned out.
Estimated Cost
$5
Estimated Time Investment
Afternoon Project (3-6 Hours)
Finish Used
One the white one I used spray primer and white spray paint. On the red one I used Minwax wipe on stain. It was really easy to use.
Recommended Skill Level
Starter Project
Outdoor Farmhouse Table made of Cedar

We used the plans for the Farmhouse Table Knockoff similar to the one from RH, to build this table. We made some changes, and some hints:
1. The table is made of Cedar, as it will be used outside. Pine is just not an outdoor-friendly material, but Cedar is rather insect-proof. This will be used at a beach house.
2. We used 1x, not 2x on the top. The top just seemed to clunky with the 2x size. Plus, it's near impossible to find 2x in cedar.
3. We couldn't find 8x1 or 8x2 for the breadboard, so we used 6x1 (same as the table top).
4. We measured the length of the breadboard before we cut. I"m glad my husband made that suggestion because I found the seven (7) 1x6's totaled 38 3/4, not 38 1/2 as the plans call for. So it really does depend on the wood and humidity and such. So I think it's a wise decision to measure the width of all of the boards before you cut that piece.
5. We did not screw into the table top as recommended by the plans.
Built from Plan(s)
Estimated Cost
$250, including screws
Estimated Time Investment
Weekend Project (10-20 Hours)
Finish Used
None at this time. My sister wants to age the wood first, and then I'm going to bug her until she puts a marine grade finish on it :)
Recommended Skill Level
Beginner
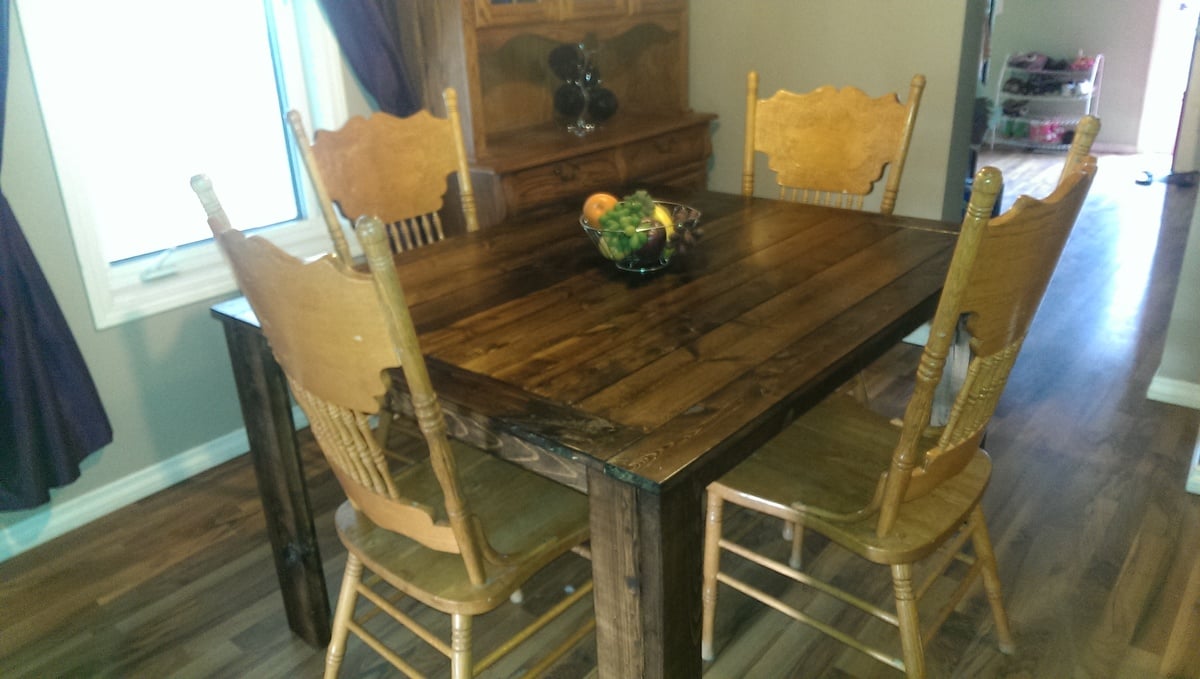
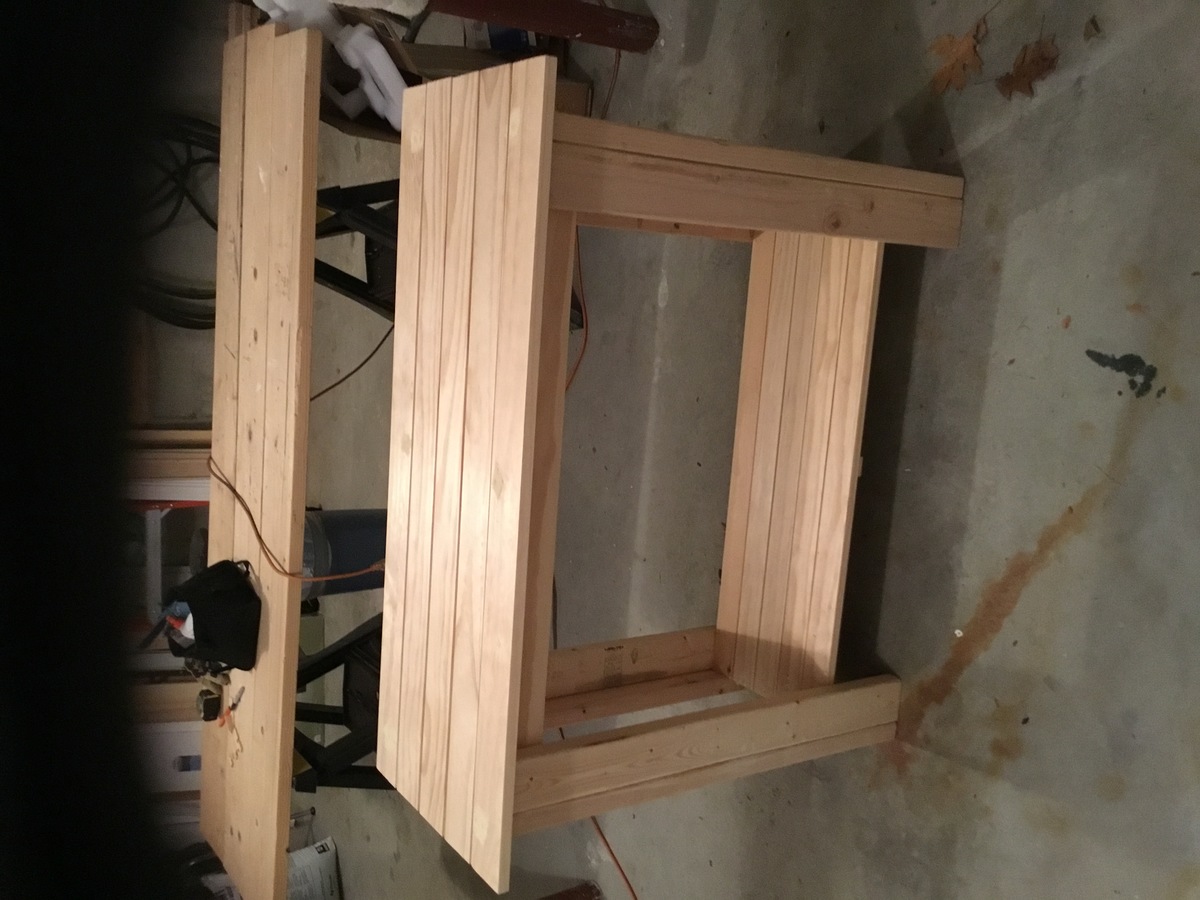
Table for barbecue
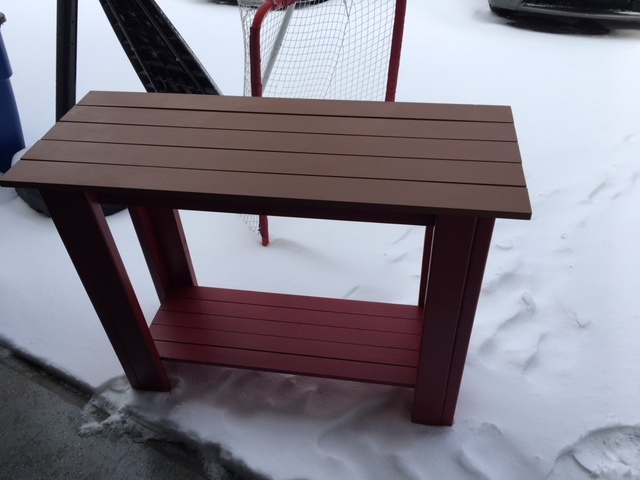
Modified plans to make it a little larger. Top is brown and bottom is ‘wild currant’ (red)
Estimated Cost
$80
Estimated Time Investment
Day Project (6-9 Hours)
Finish Used
Top was Olympic paint / sealant. Bottom was SW enamel acrylic
Recommended Skill Level
Intermediate
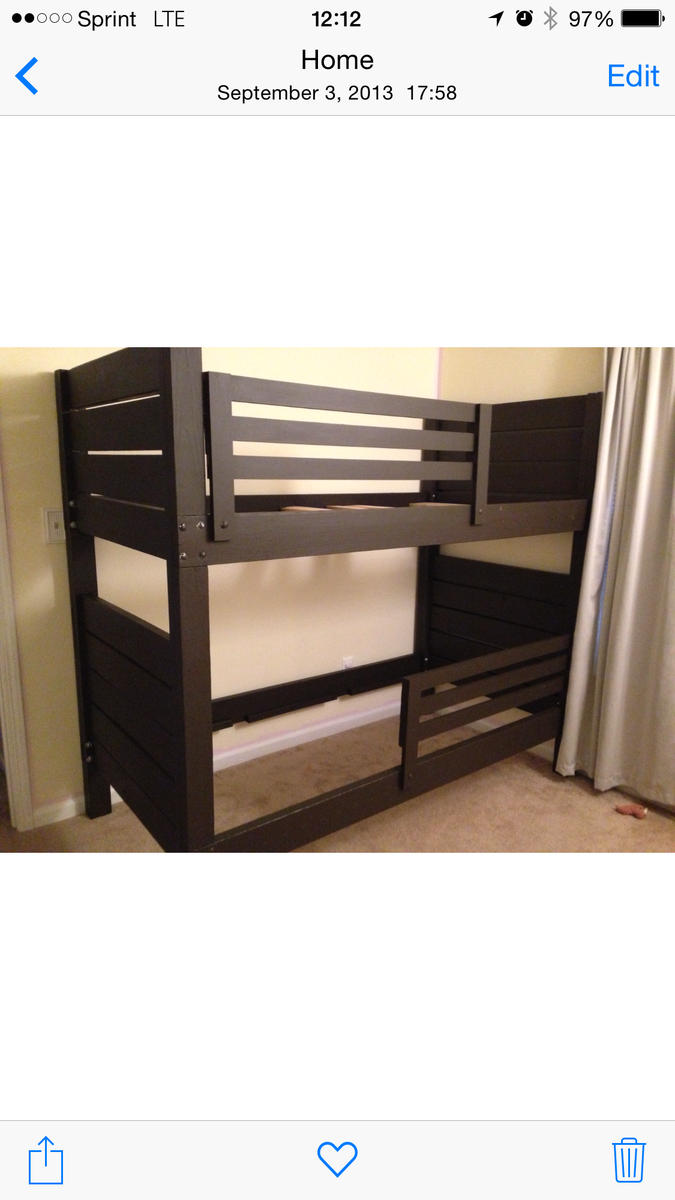
Bunk bed
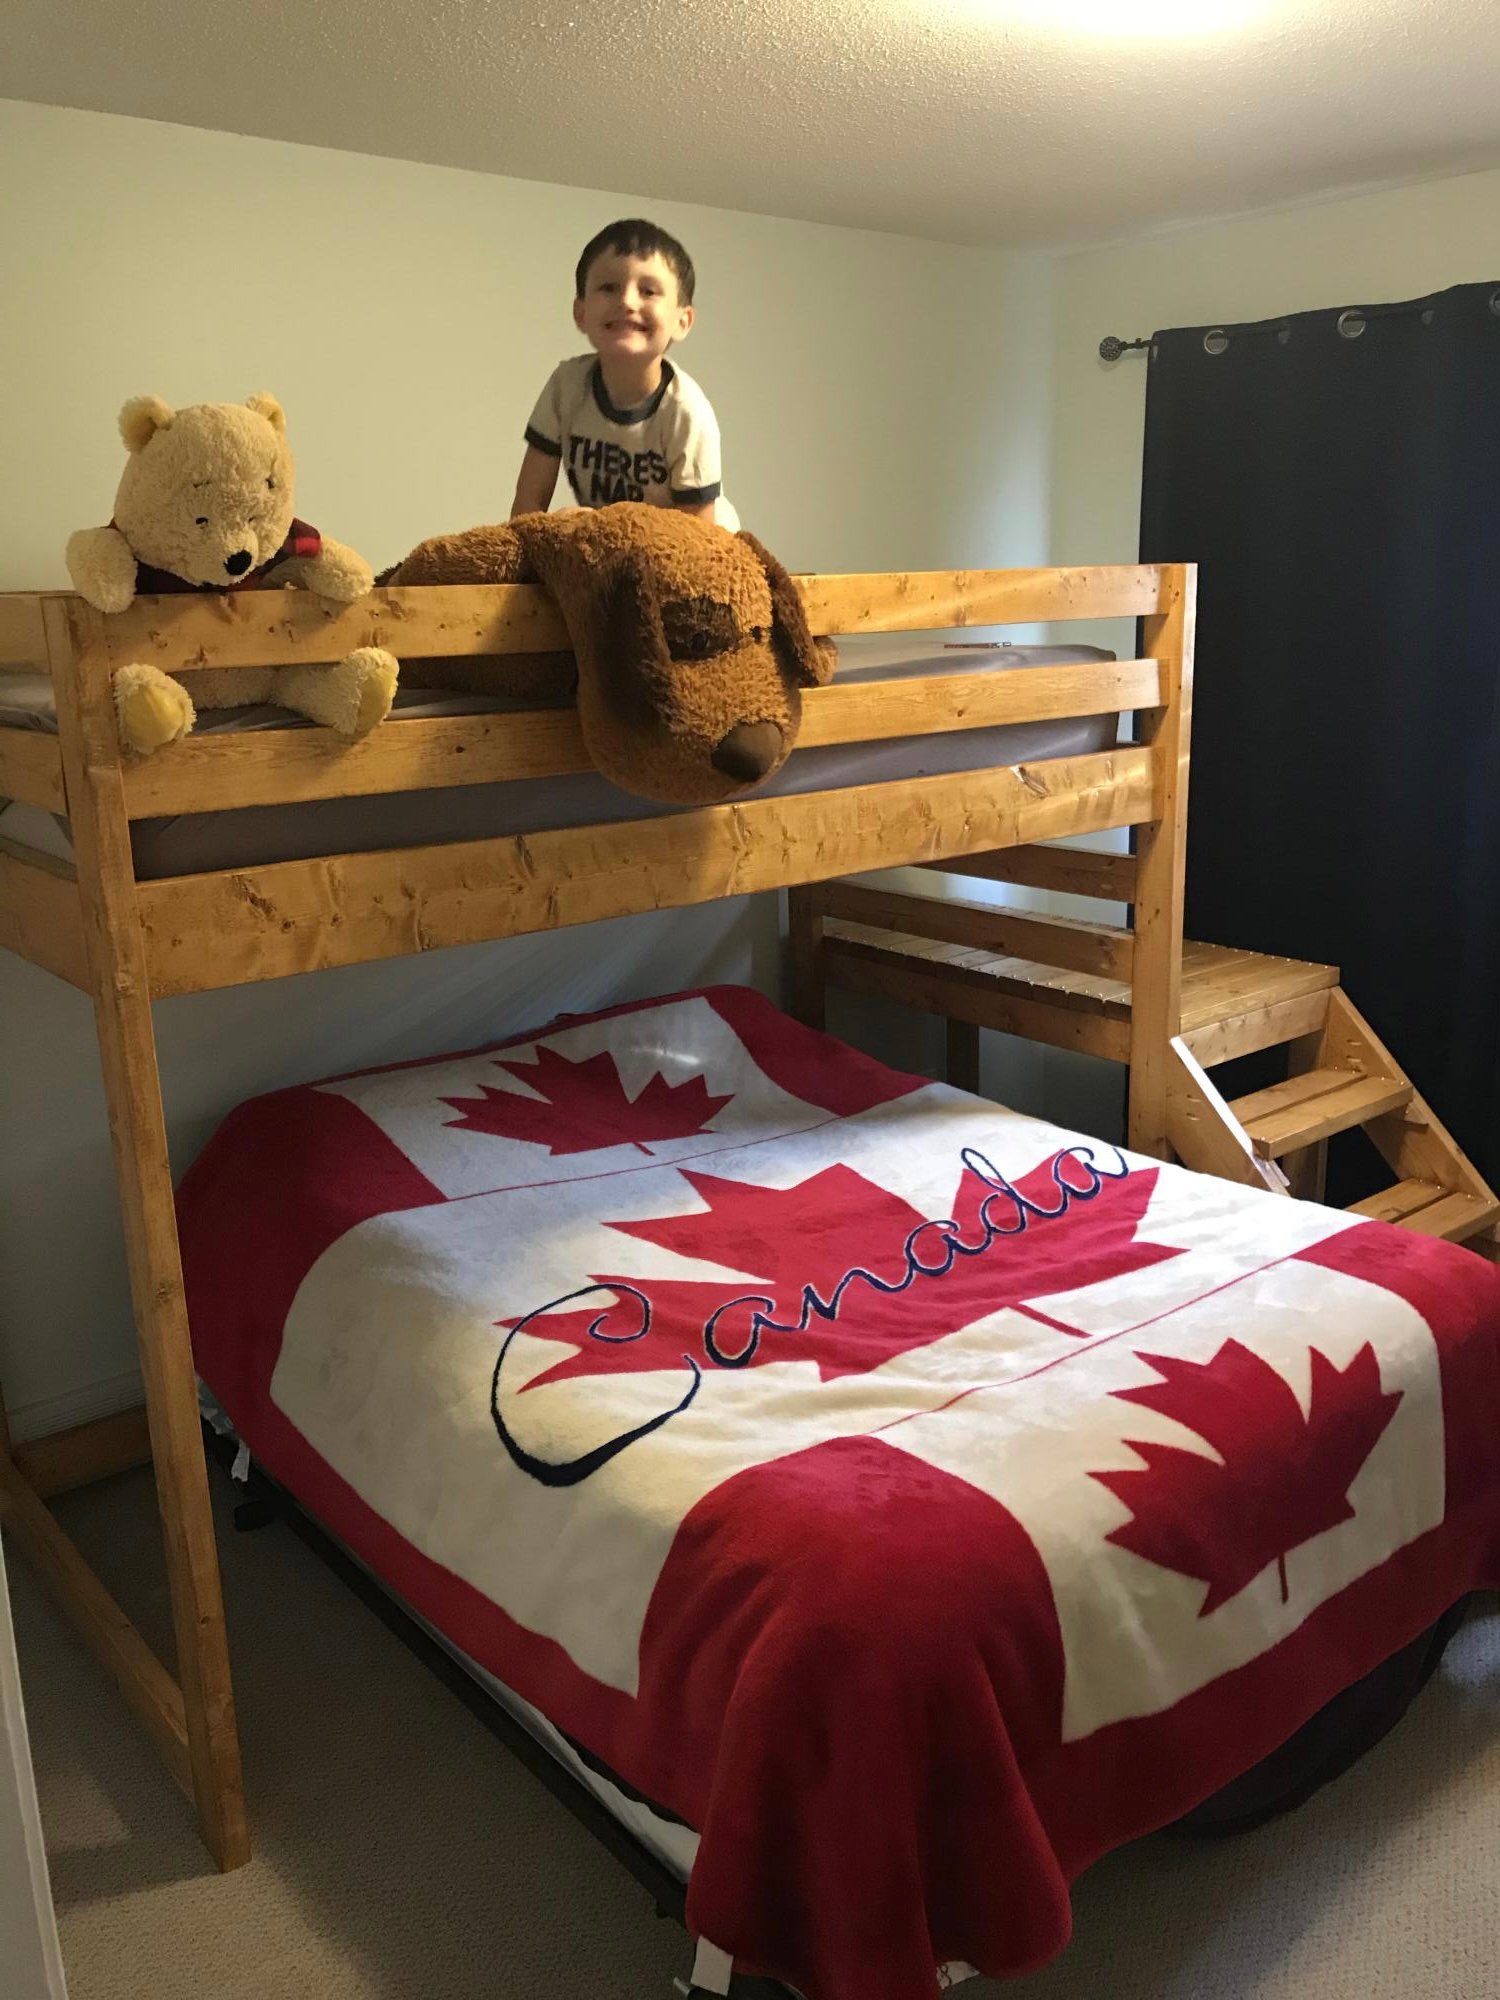
Great build, easy to follow, very affordable. Thanks so much.
Built from Plan(s)
Comments
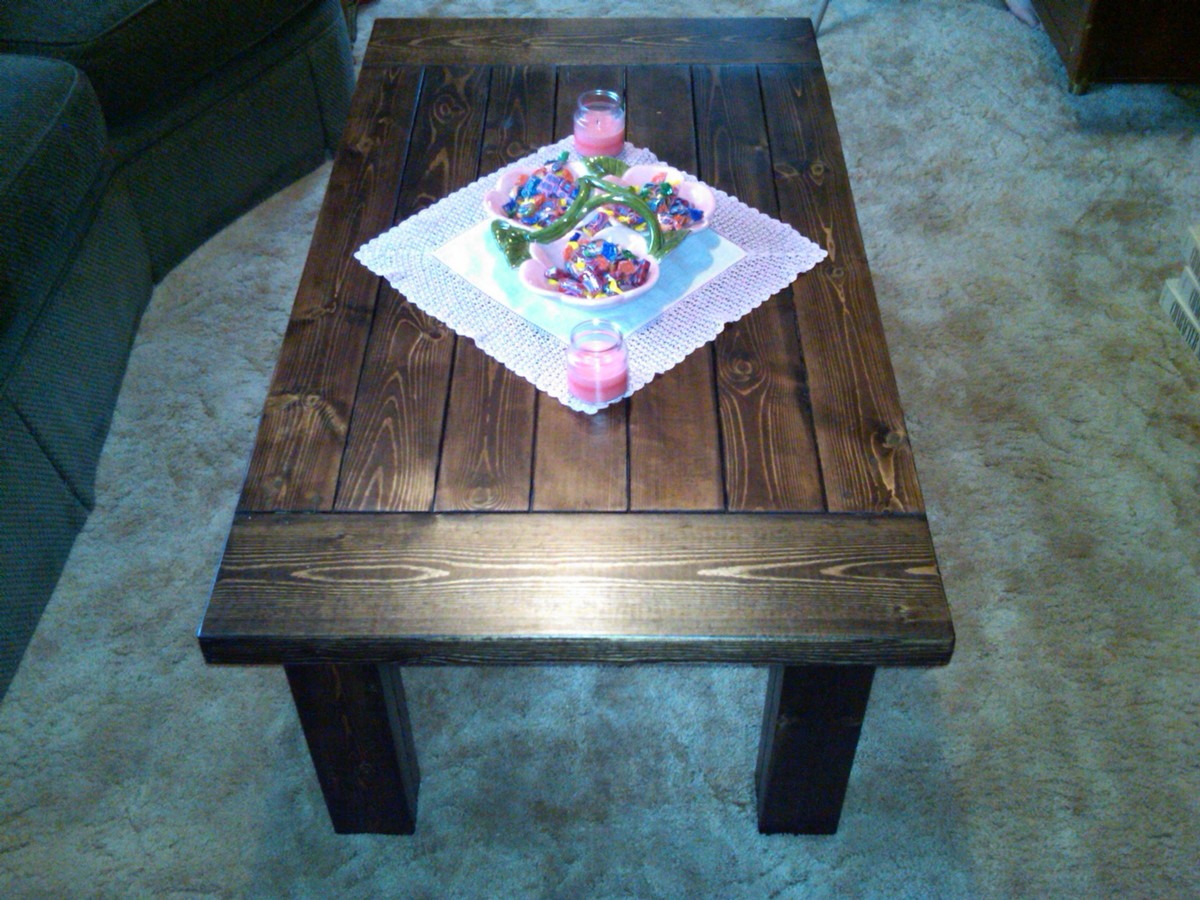
Tryde Coffee Table
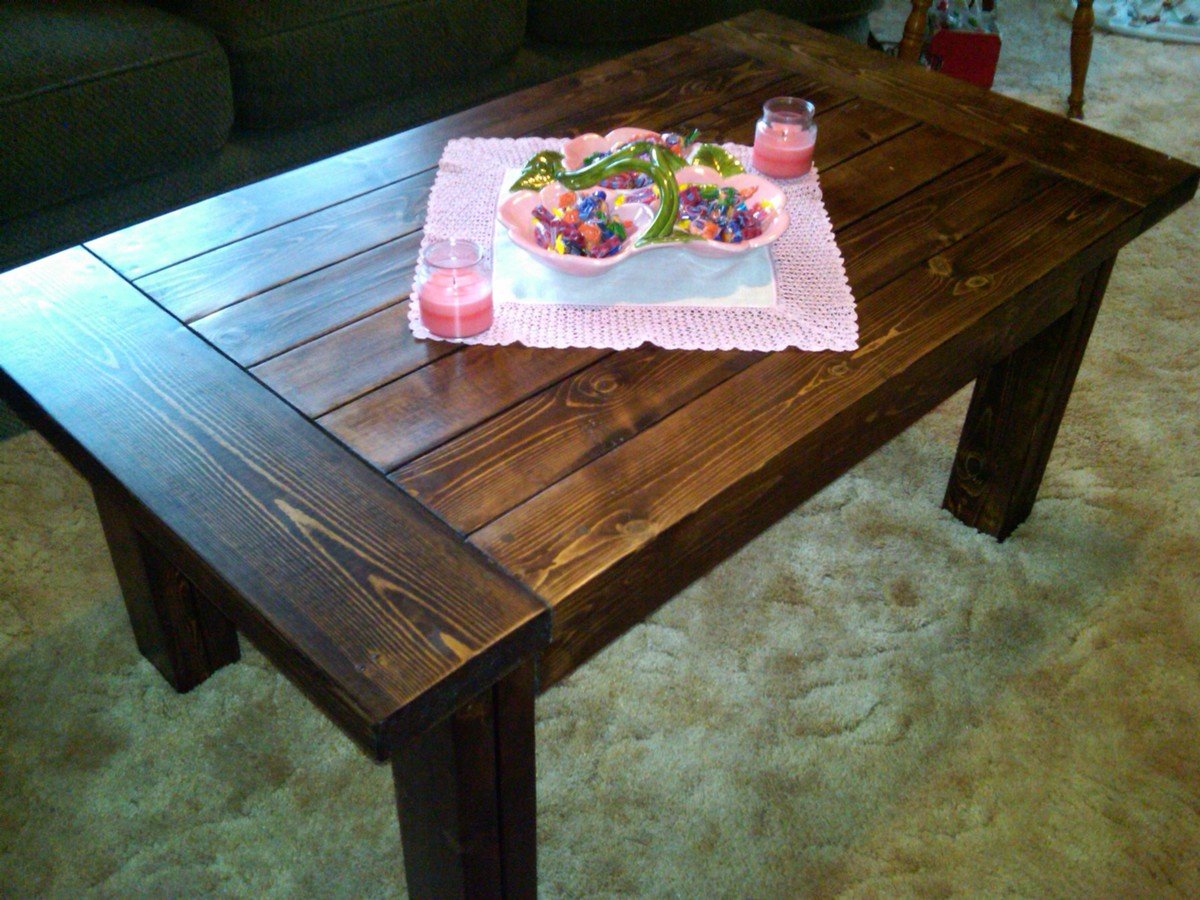
This was a build for My Mother-In-Law, she loves it!
I did not use 4x4s, I used two 2x4s because I was concerned the treated lumber would not stain properly.
Thanks Ana!
Built from Plan(s)
Estimated Cost
40$
Estimated Time Investment
Weekend Project (10-20 Hours)
Finish Used
Minwax Dark Walnut Stain,and Minwax water based clear satin polyurathane. I used an old sock to apply the stain, with the grain!
Recommended Skill Level
Beginner
Comments
Ana White Admin
Tue, 12/07/2021 - 15:26
Beautiful custom headboard!
Lucky you, it looks amazing, thanks for sharing!