American Girl Dollhouse
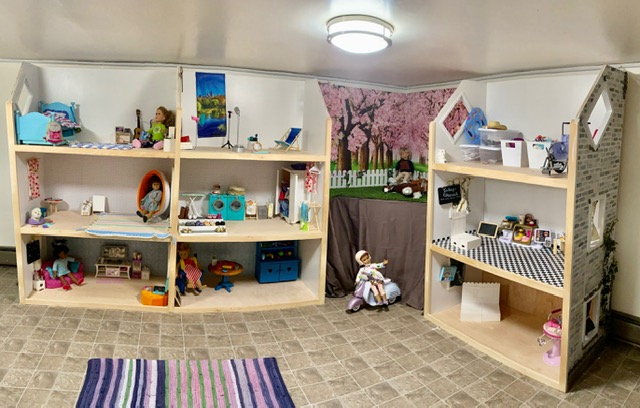
American Girl dollhouse built using PureBond Plywood, Kreg K4, and Ryobi tools!
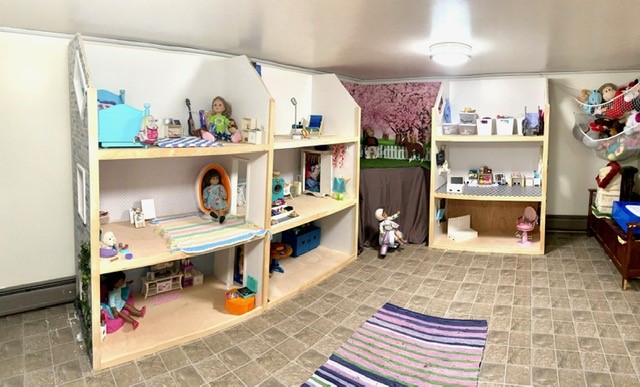
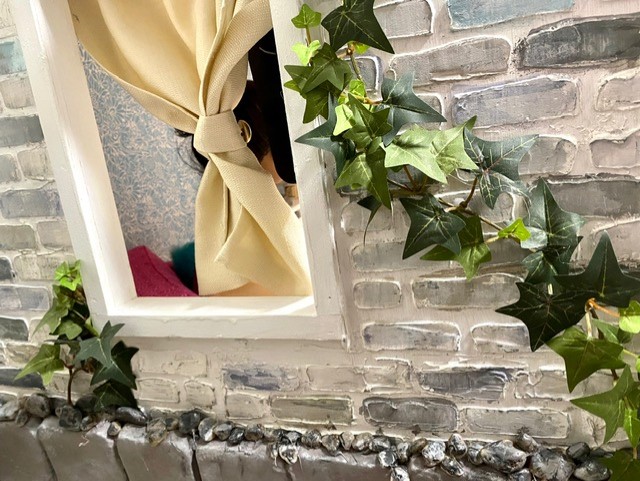
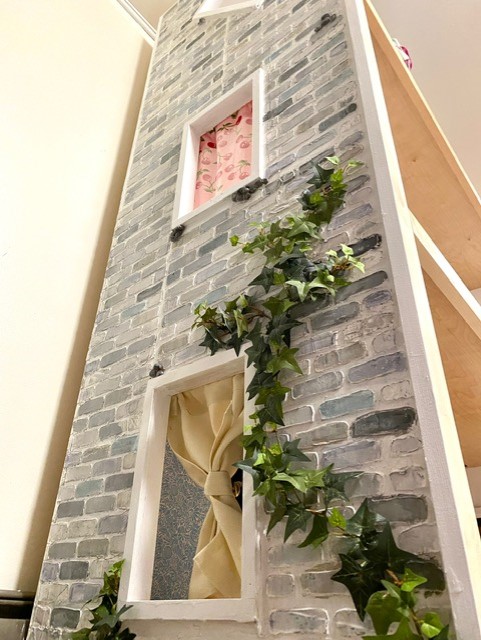
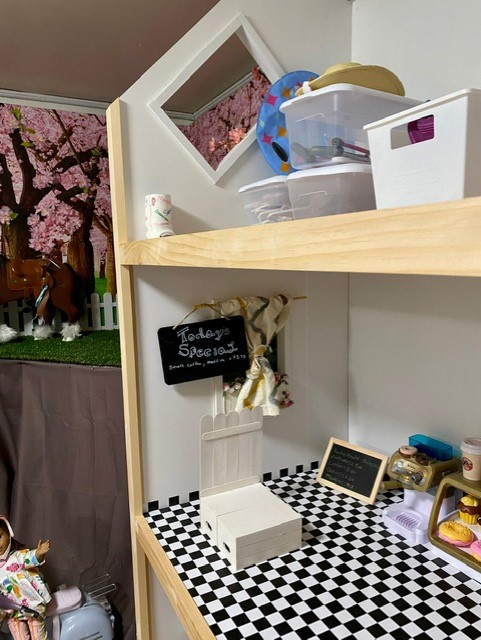
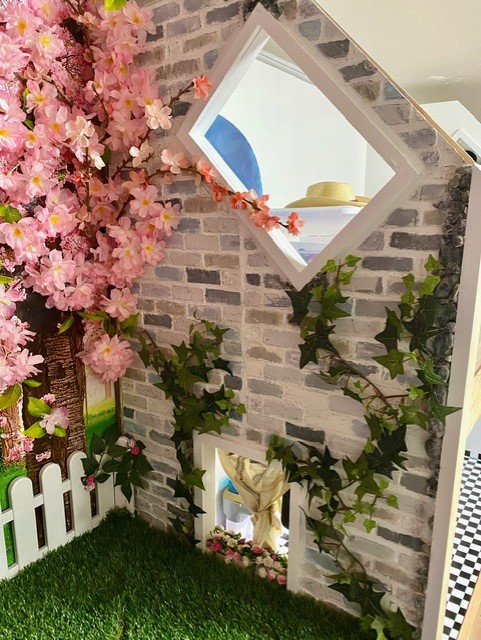

American Girl dollhouse built using PureBond Plywood, Kreg K4, and Ryobi tools!


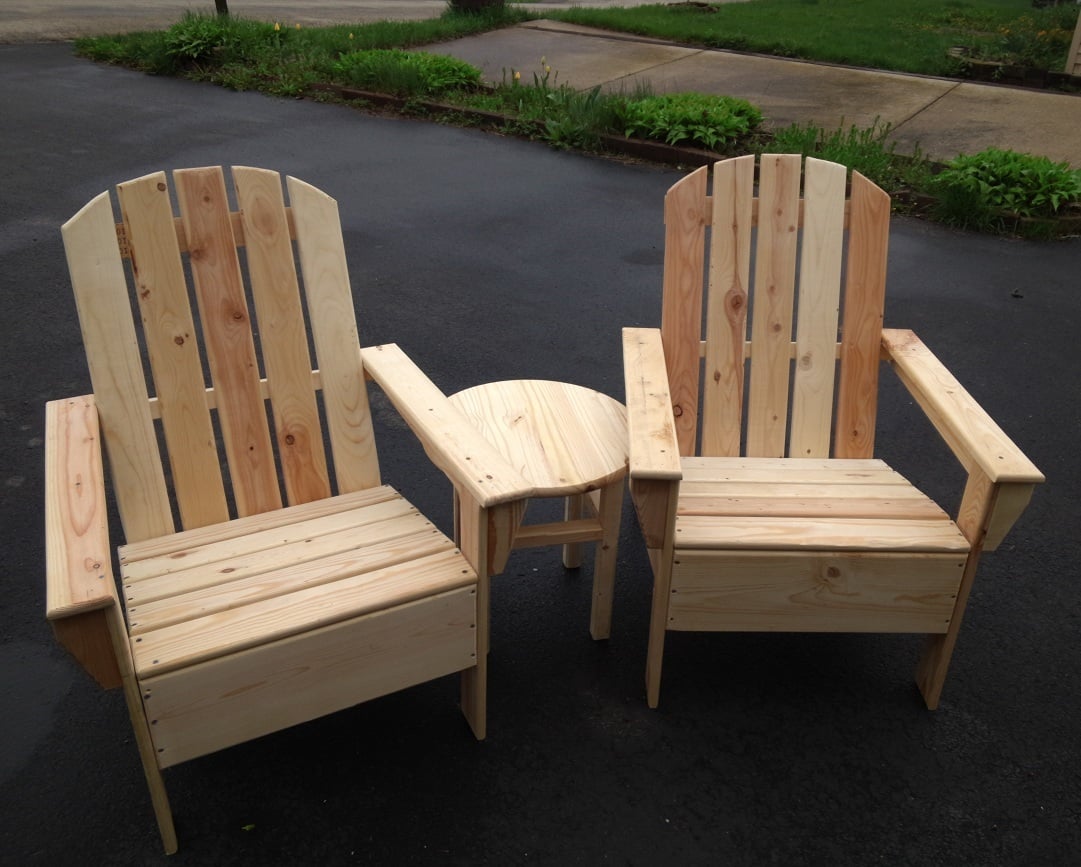
My dad and I built these chairs by following Ana's Adirondack plan, and then adding our own curved back. We also routed all the edges to give the entire chair a rounded feel. We also built the simple little round side table to use with the chairs.
This cart was smaller then I expected but makes a great little addition to my office
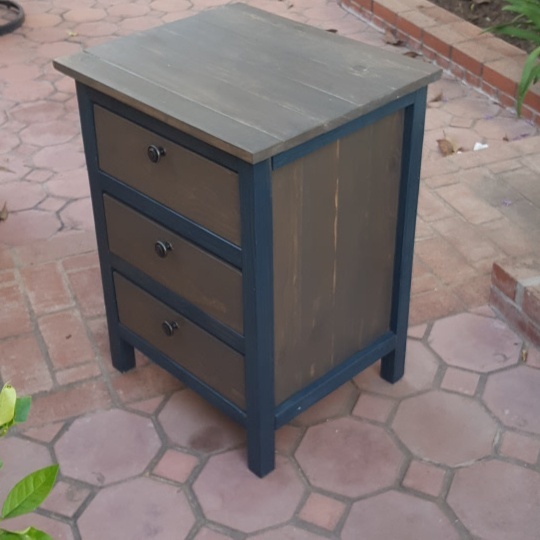
Followed the plans closely. Stained before assembly for the two color look.
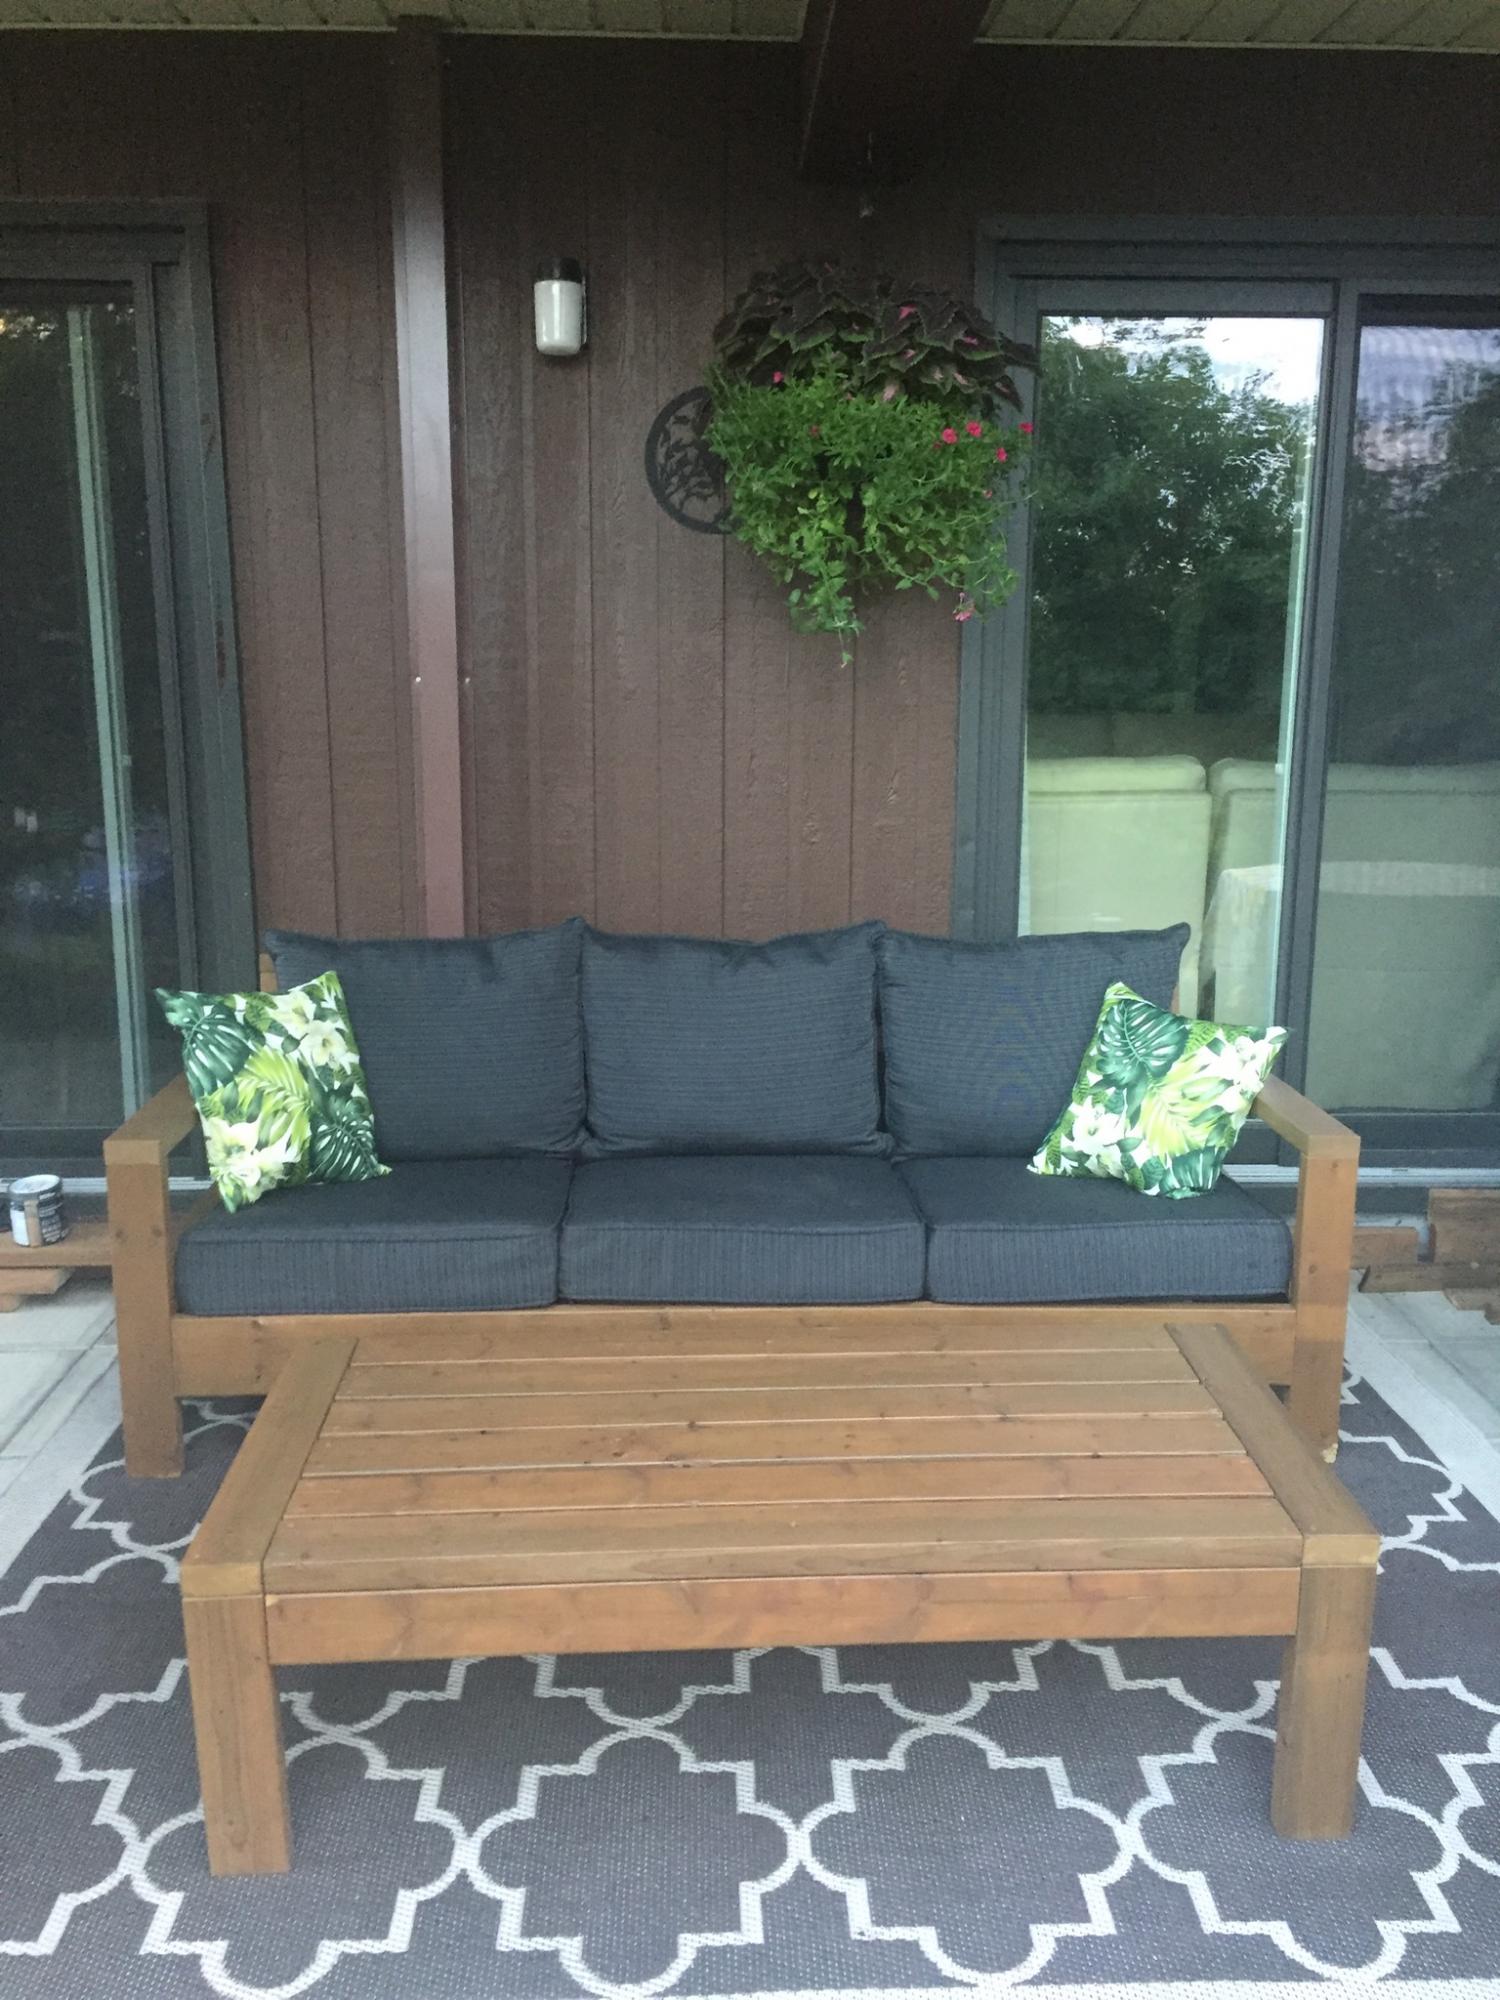
I love my Sofa and coffee table!
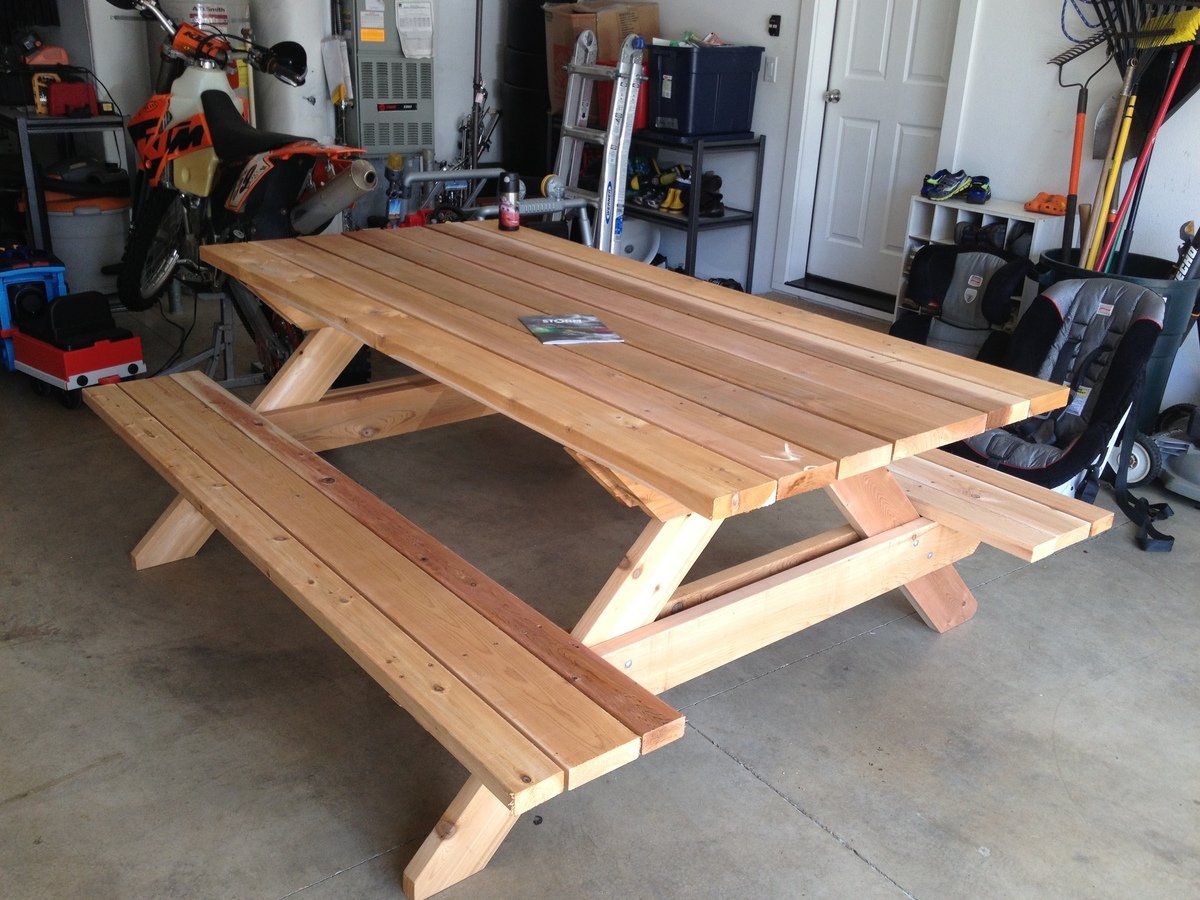
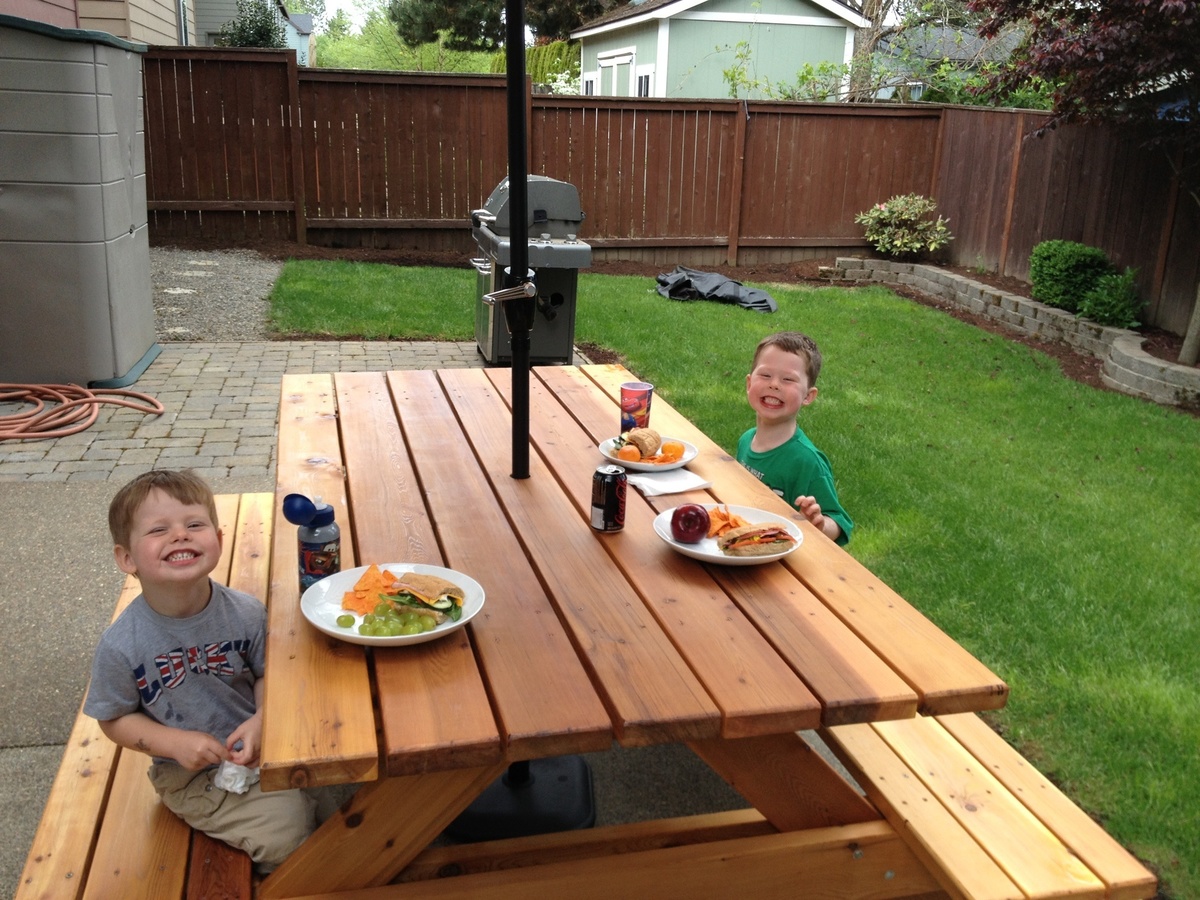
My wife started looking at expensive patio sets, which I thought were not worth the price, so I decided to build a picnic table. This is not the cheapest table out there, but it's built to last for years!! I used a high quality cedar as I got a price cut from a friend. I also used deck screws, so there would be no rusty screws!! The table top measures 7' long and looks like one you would see at a state park, notHome Depot!
Thu, 08/25/2016 - 09:48
Really like the picnic table - do you have plans for this? (I'm new to this site so apologies if they are here but I just could not see where?).
best wishes
Gerry
I took the original plans from the Farmhouse Table - Updated Pocket Hole Plans - and I modified it so that my table could be countertop height and join up to my counter - like a modified breakfast bar, so this table it countertop high, and is also more narrow and alittle longer. I can easily pull it away from the wall and sit 6 people around it. It is now my favorite place in the house!
My husband and I built this on Sunday- I love how it turned out! The hardest part was finding cushions, and carrying it up a flight of stairs!
Wed, 06/05/2019 - 08:40
I am looking to build something very similar! I was wondering where you purchased your cushions they are beautiful!
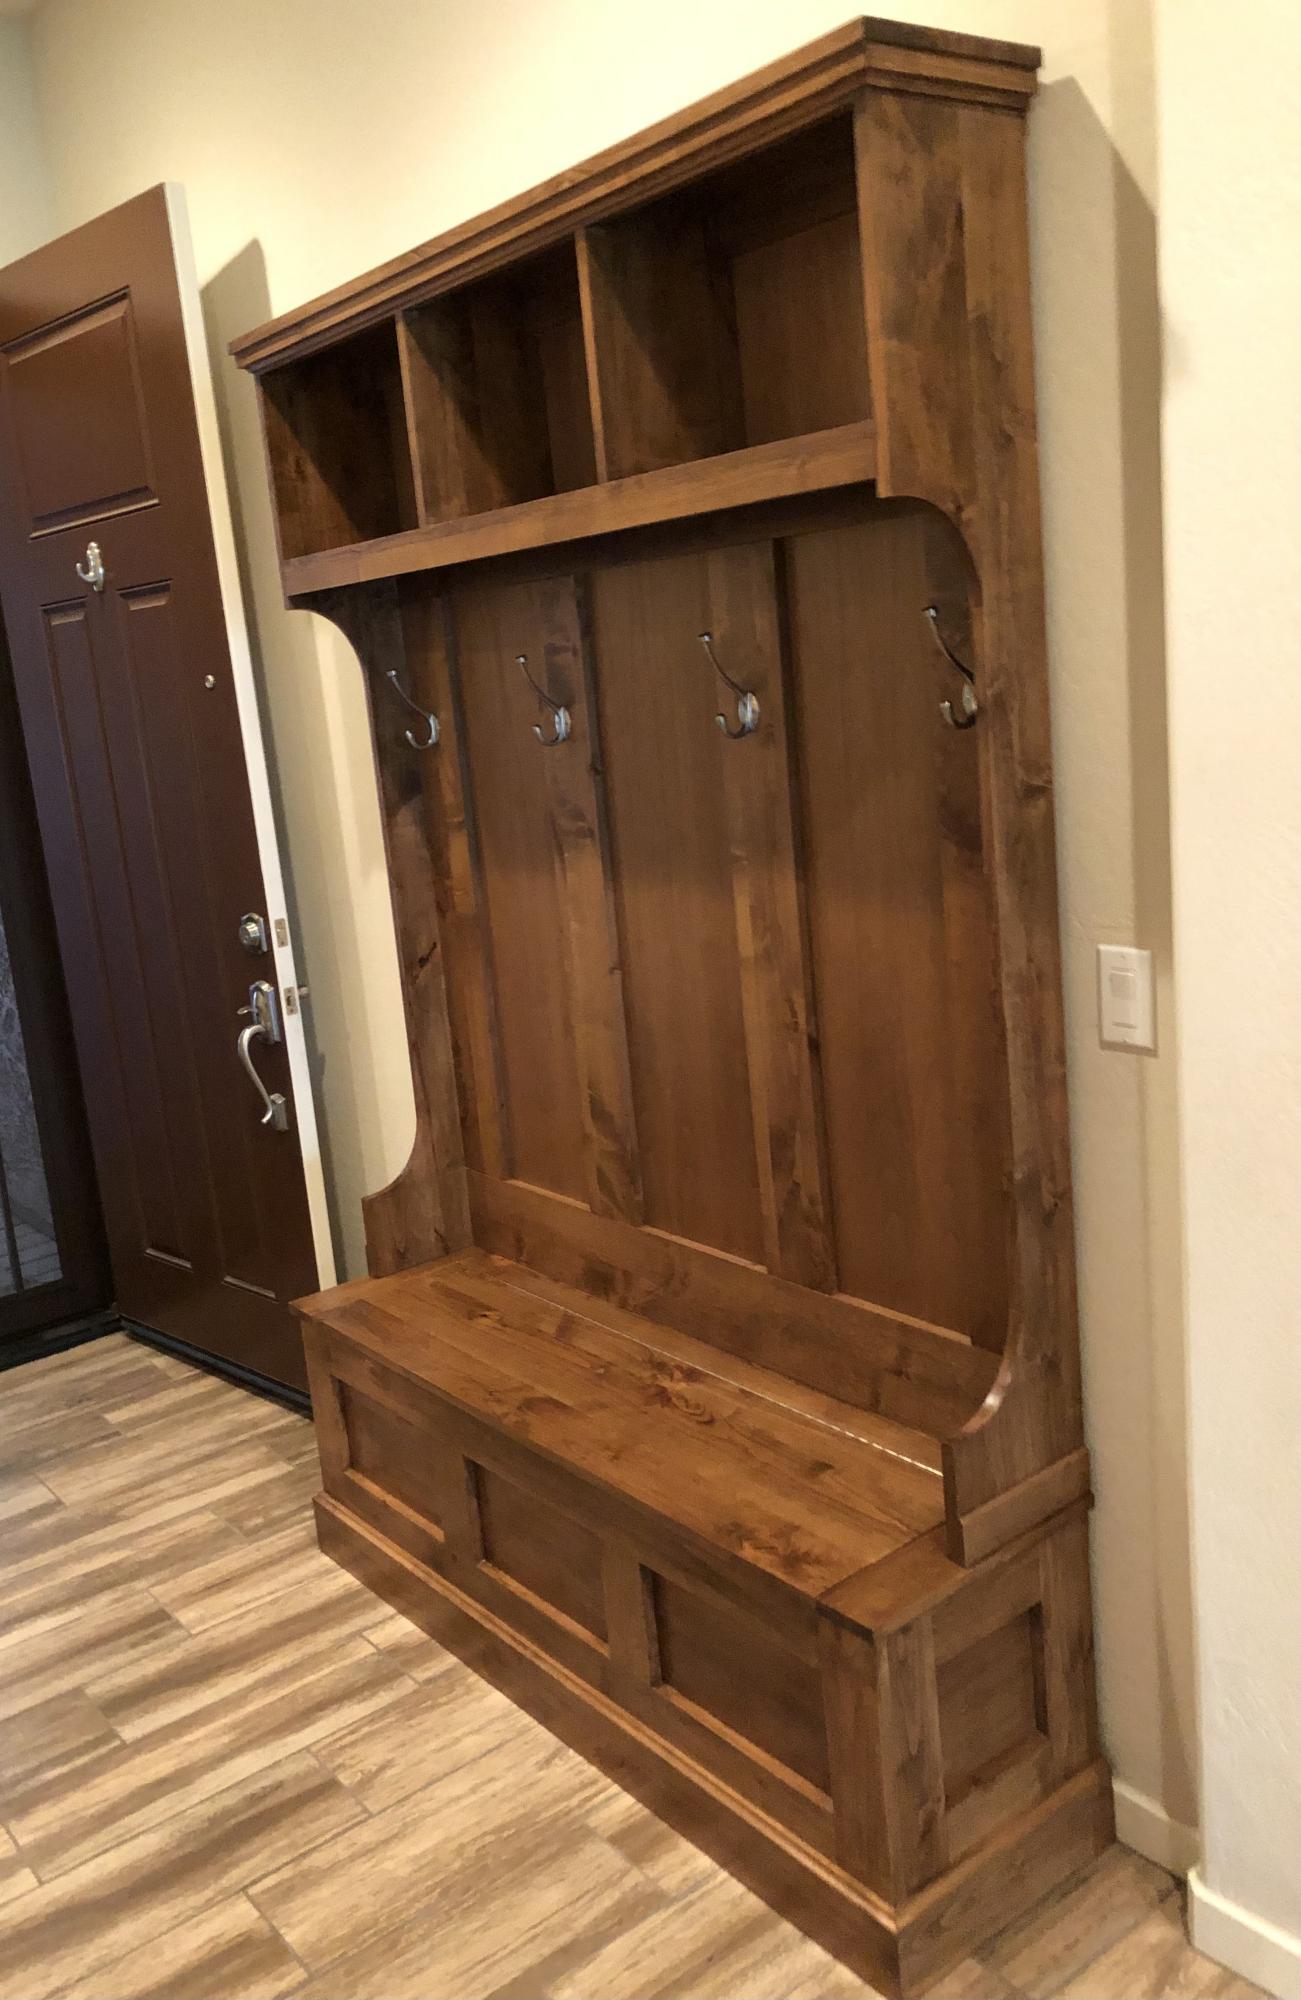
A friend asked me to build them a hall tree for their entryway because they couldn’t find one big enough to suit the area in their home. Thankfully I found the plans here for Mimi’s hall tree bench and hutch. I had to modify them slightly to make it a little wider and taller. They were very happy with the finished project!
Thank you for providing woodworkers with these excellent plans for all skill levels!
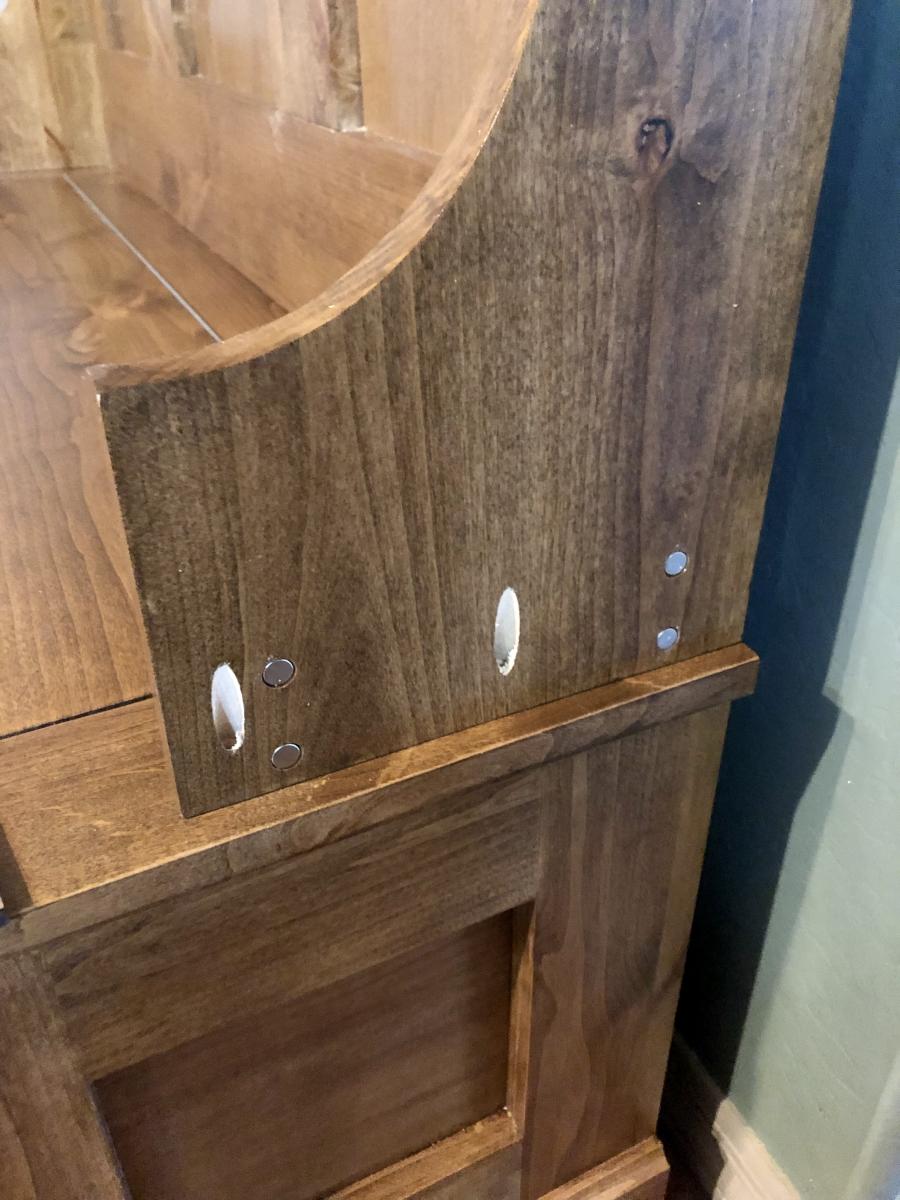
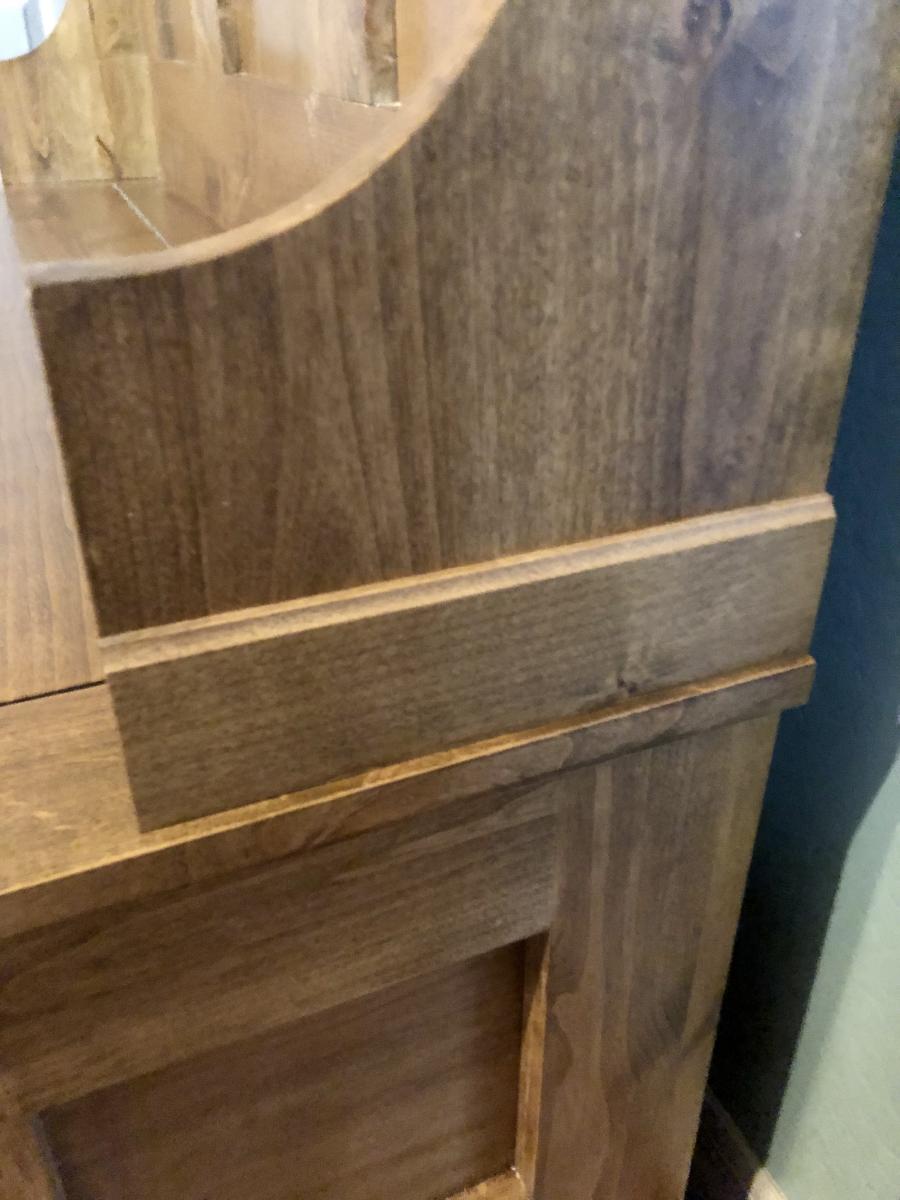

I built this using the plans for the Perfect End Table. I made it a little taller and jazzed up the shelf a bit. The whole project cost me less than $35!


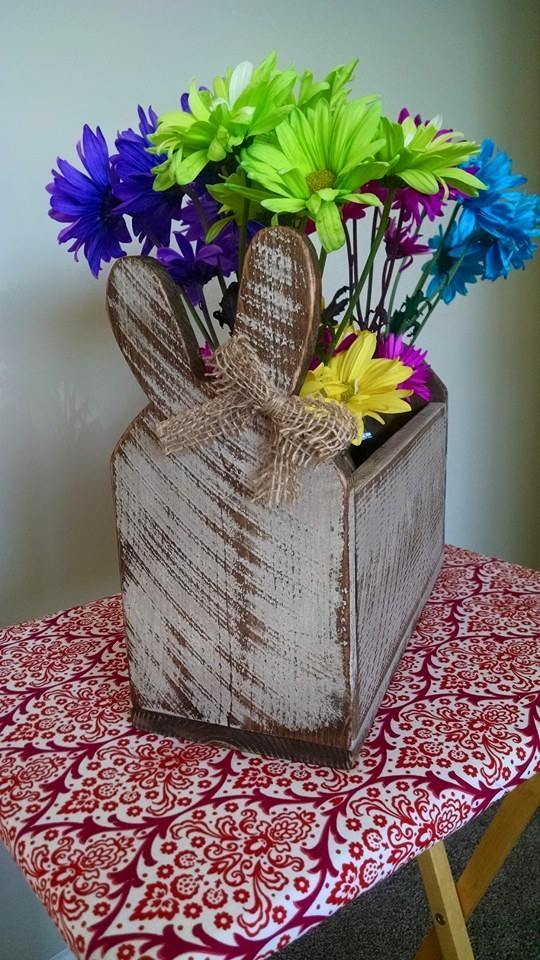
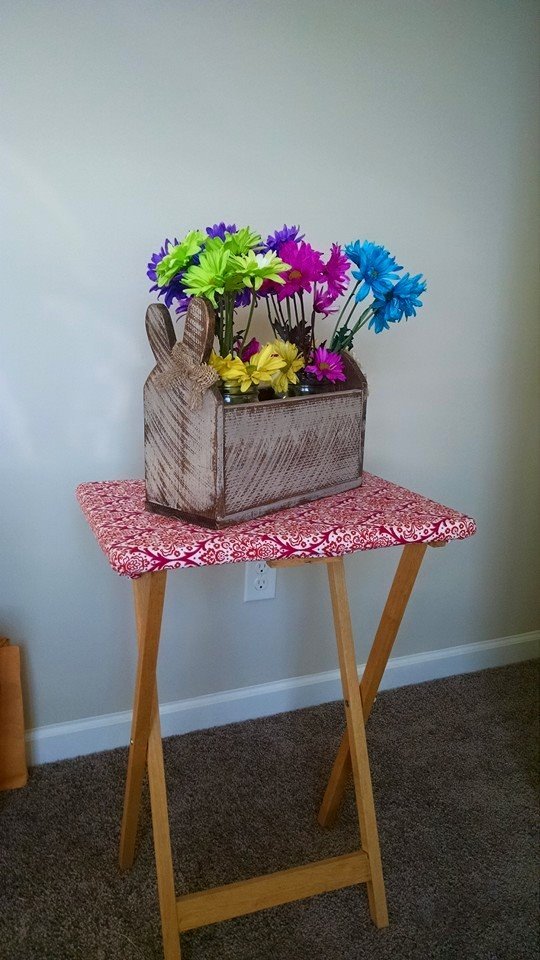
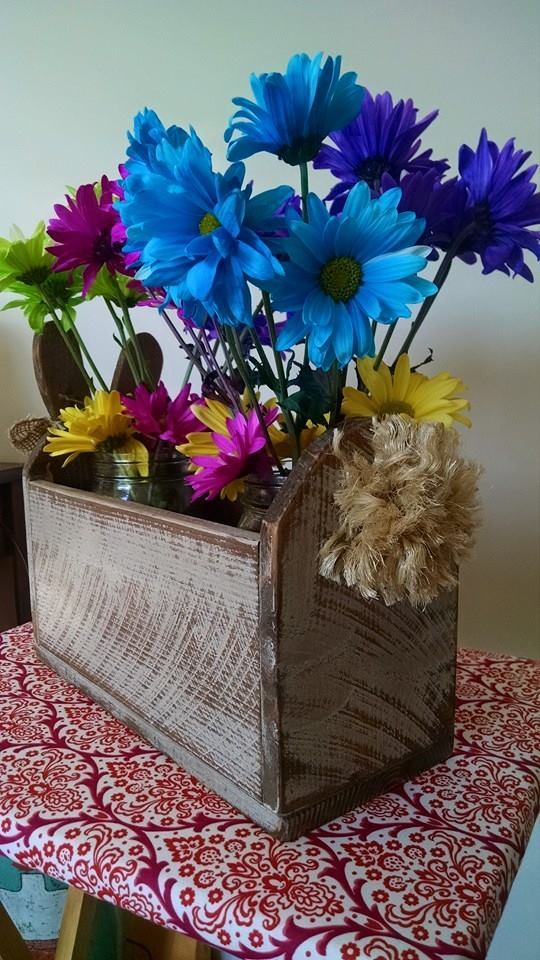
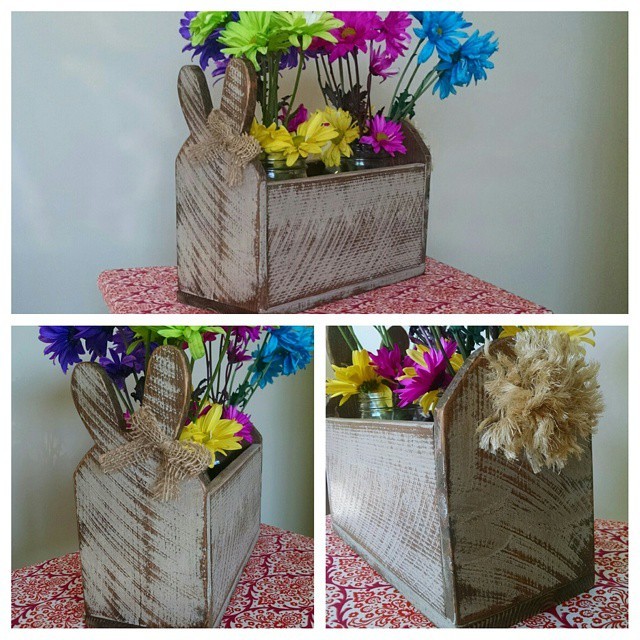
I had a lot of fun with this project! It was quick, and I already had everything I needed on hand. I have been wanting to get more practice with my jigsaw and this project was perfect for that. I used one cedar picket for the whole box and still had some left over. I added a burlap bow and made the tail with some extra pieces of rope and my glue gun. It was a breeze!
Tue, 03/31/2015 - 06:47
Excellent! I doubt that I will make it in 2 hours, but I'll try. I really like this kind of product, especially given the fact that my wife loves in flowering :). By the way, if someone need help in writing of any type of works, you can visit my website http://www.trusteddissertations.com/ and get a decent discount.
Have a nice day!
This is the table I made for my wife using 2x lumber...I used the epoxy resin finish and it gives it a beautiful look and finish...my wife, family and friends love it...I'm very pleased with how well it turned out...
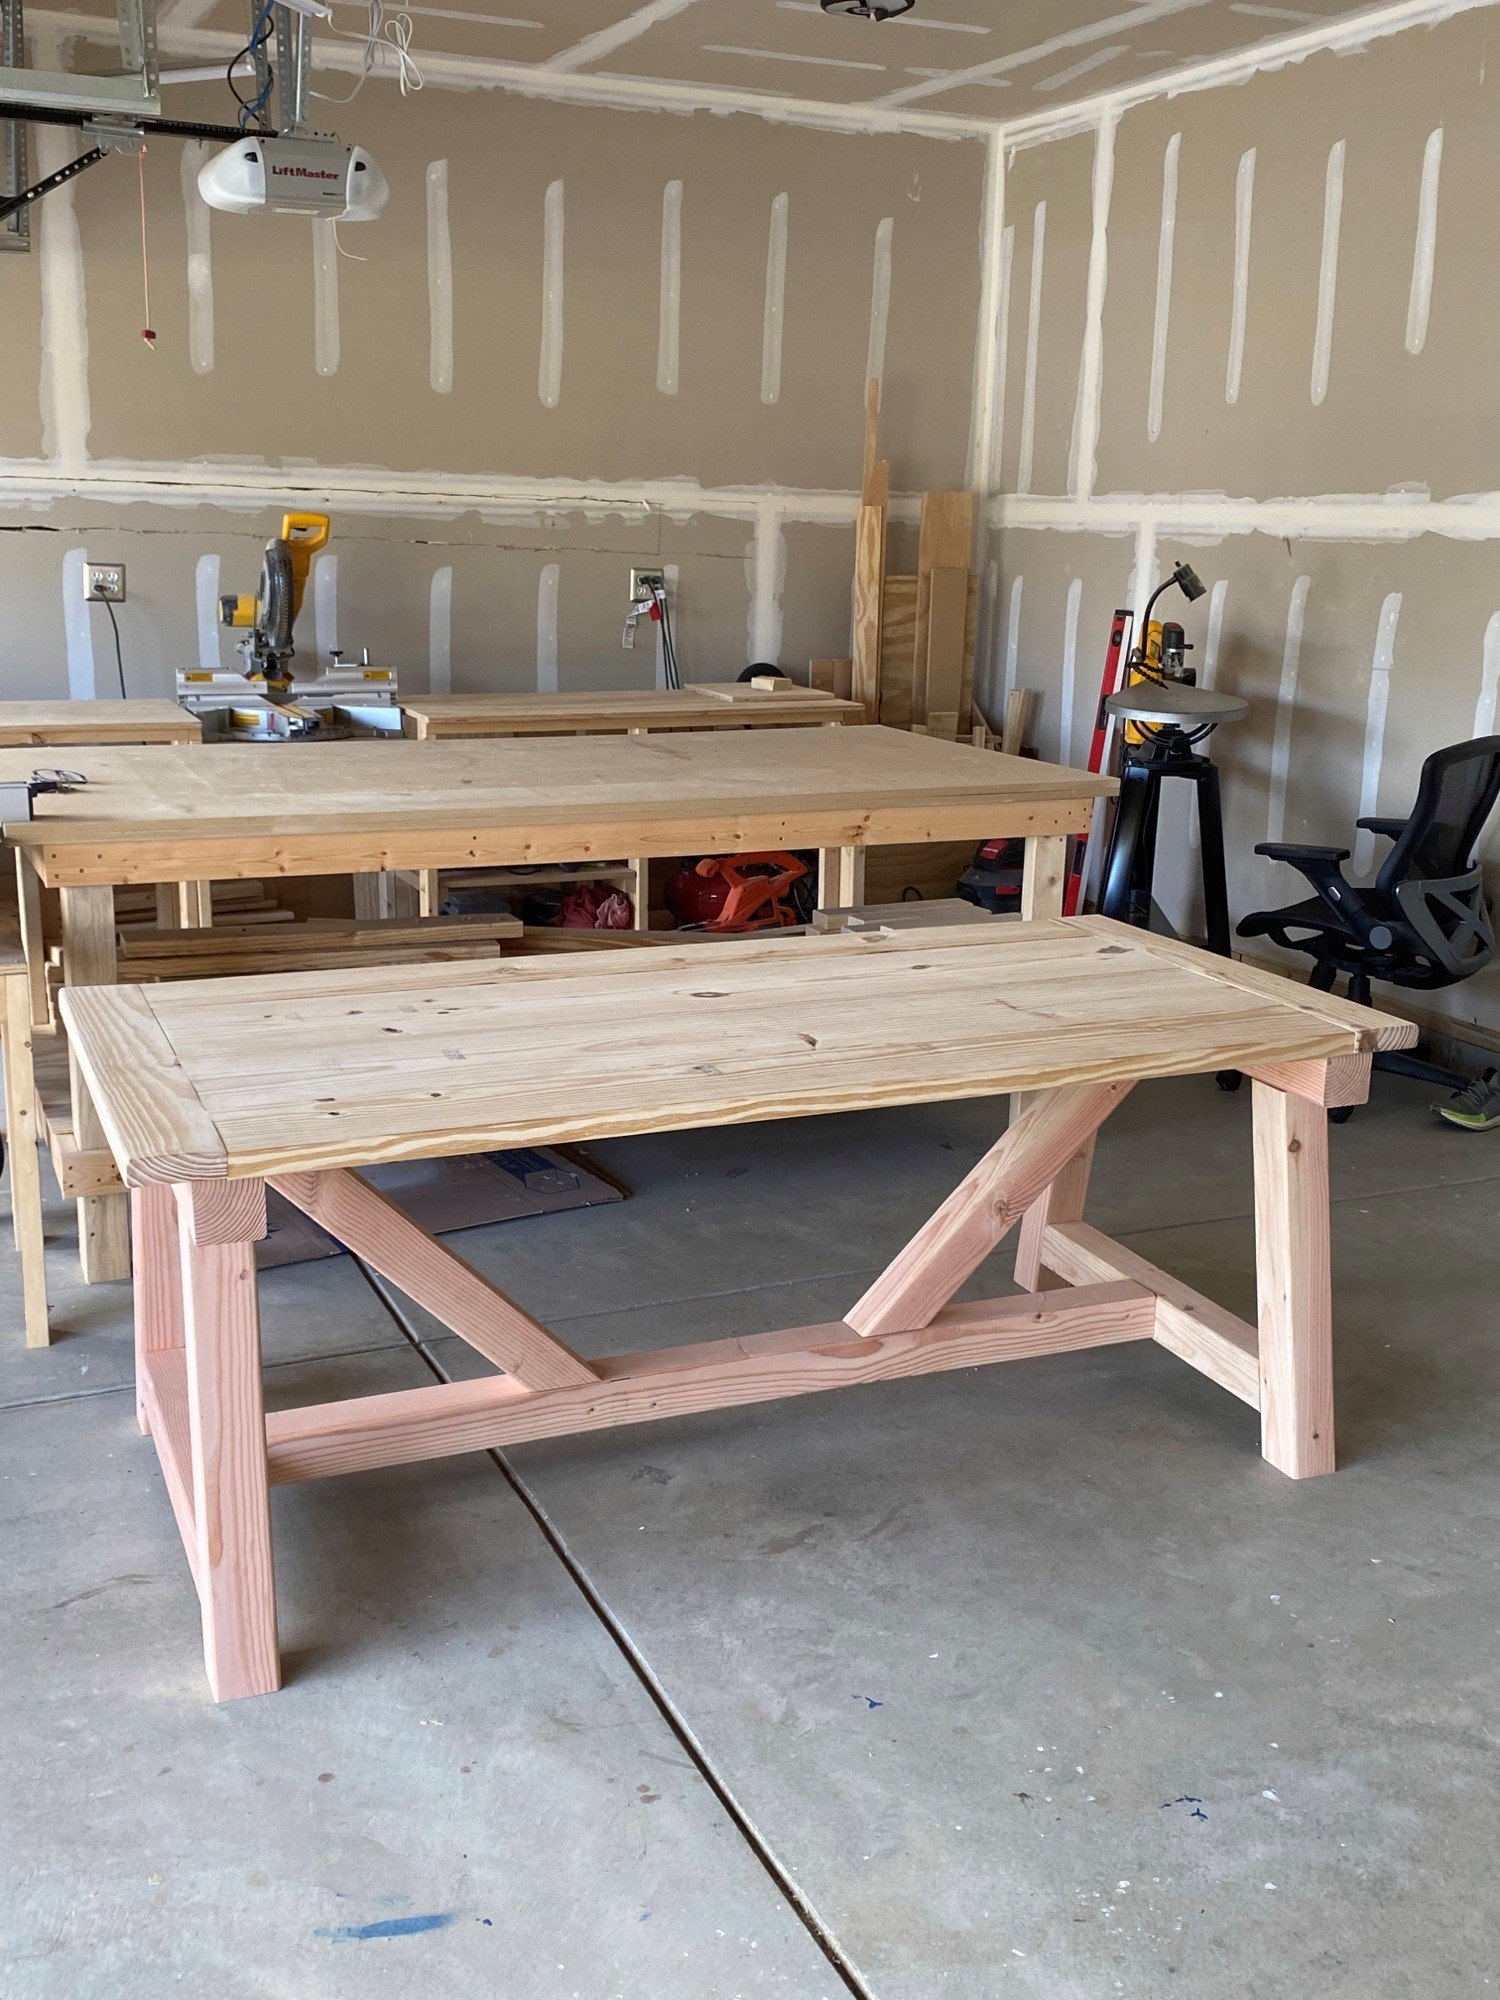
I followed the plans for the 4x4 Truss Beam Table and it turned it out great! I definitely recommend the Kreg Jig HD for the 4x4's. I used non HD Kreg screws for the table top.
It's much easier to build it upside down to ensure you get all your pocket holes underneath. Also, use duct tape to keep the 45 degree angle posts clamped as it's much easier when screwing together.
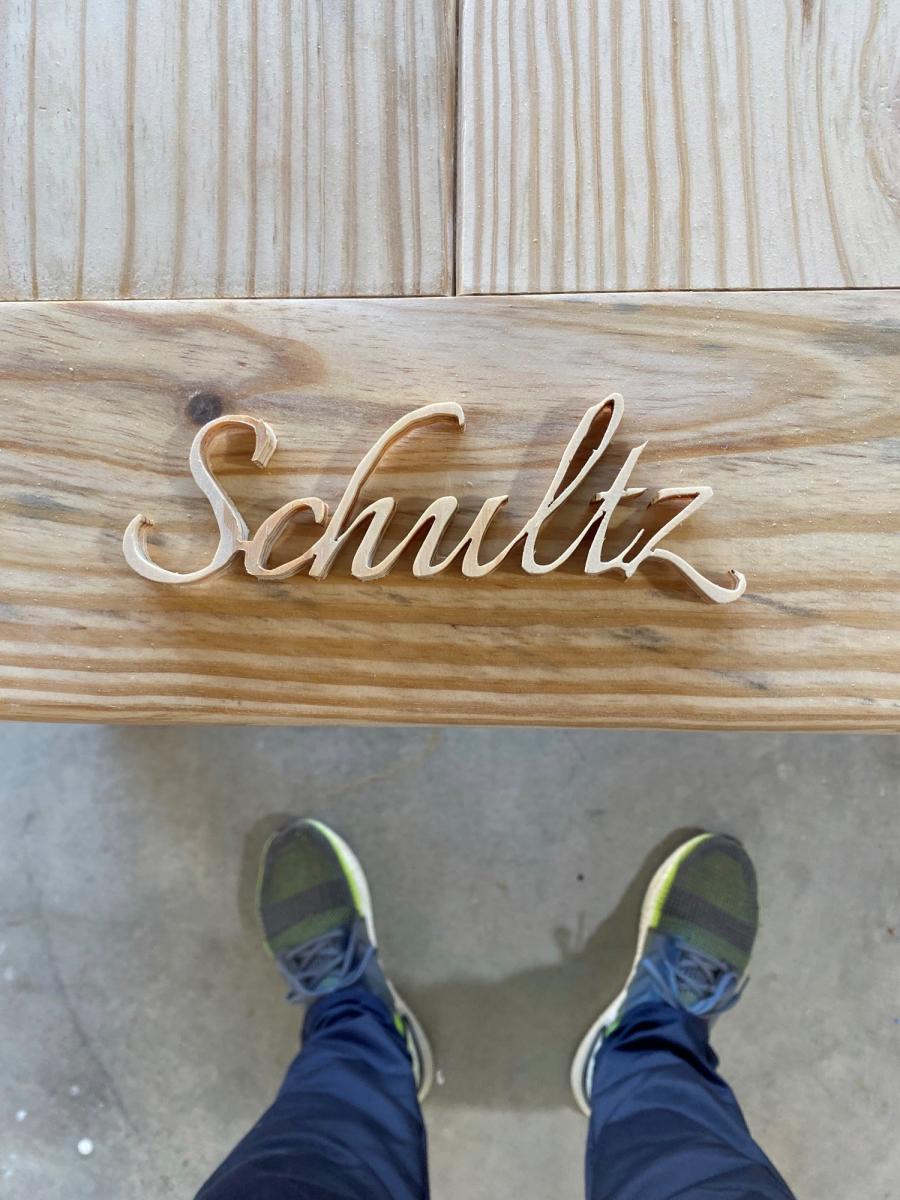
As a bonus for the family I built it for, I cut their name out with my scroll saw and added as a personal touch for the piece.
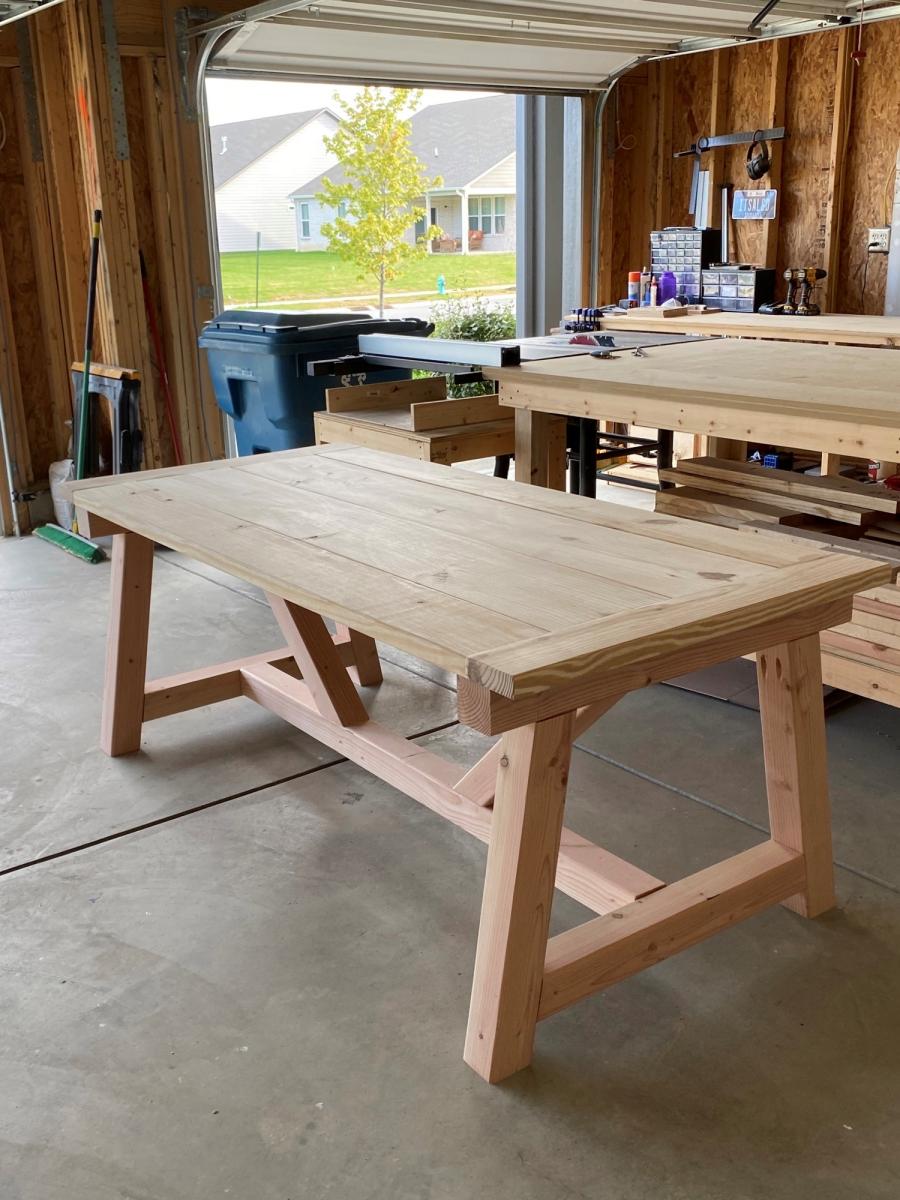

This was mine and my husbands first project ever! And it turned out even better than expected….now we are hooked! Next the loft bed!
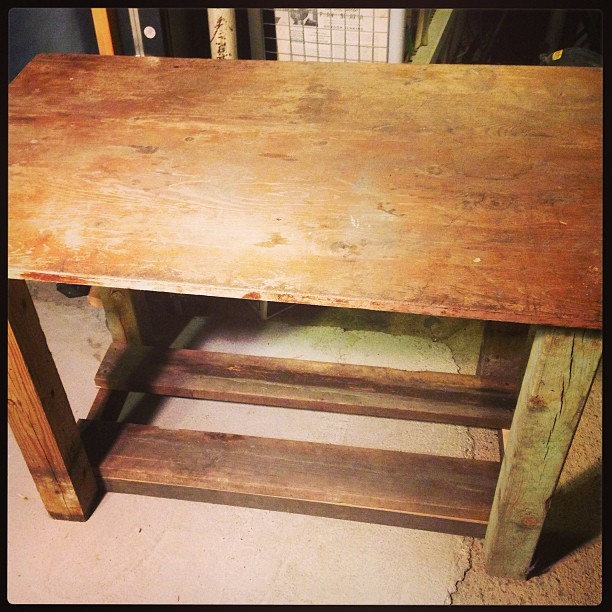
Today I built a workbench from wood found in my alley. No money was harmed during the making of this workbench #renew #reuse #recycle
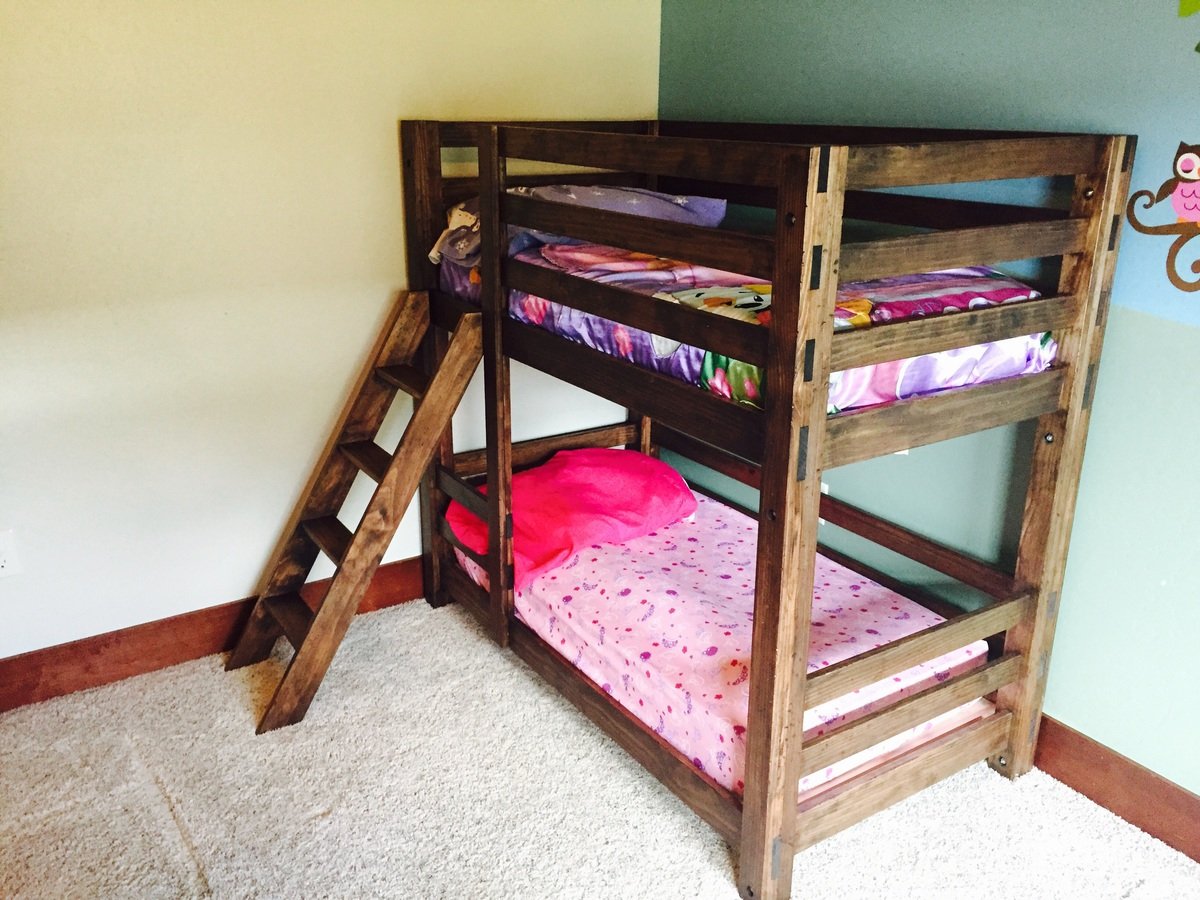
Started with the classic bunk bed plan. Changed most of the 1x4s to 1x3 except the boards at the mattress level. Added an additional rail up top to make safer for my young children. Also added 1x3s on both ends of the head/foot board to make the legs a litter sturdier and to widen the frame as our mattresses turned out to be a little wider than standard. Took out the built in ladder and matched the rest of the rails. Then added detachable stairs to be able to remove during the day and make it easier for my girls to get up and down. Made a few mistakes along the way (when you write 57.5 inches and transfer 52.5 inches to your cut list you eventually have a really bad/sad day), but had a ton of fun!
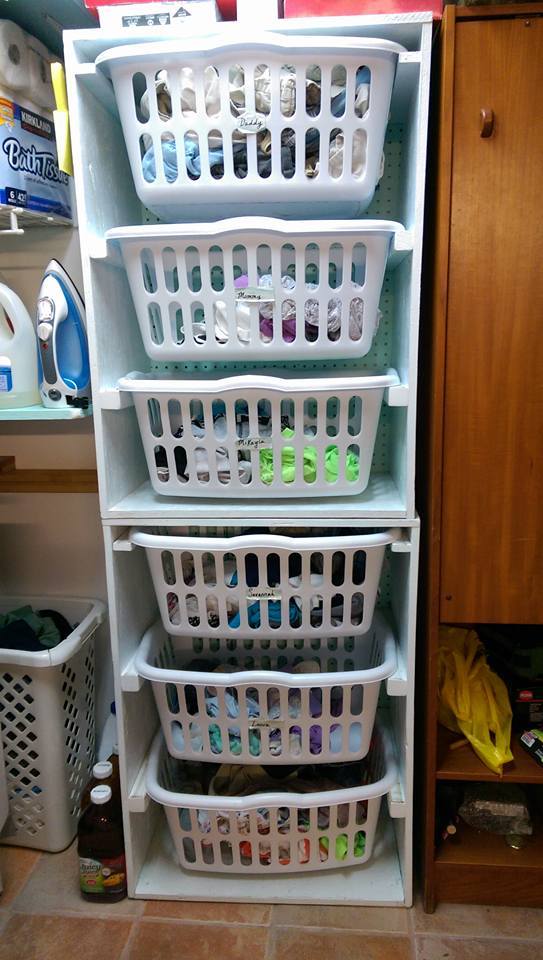
This was super easy. Just make sure you bolt it to the studs in the wall. I bolted them to each other and to the wall for added support. It only took me the afternoon and then I stayed up all night to finish it and get it done. I made this system over 3 years ago and it still works great for our family.
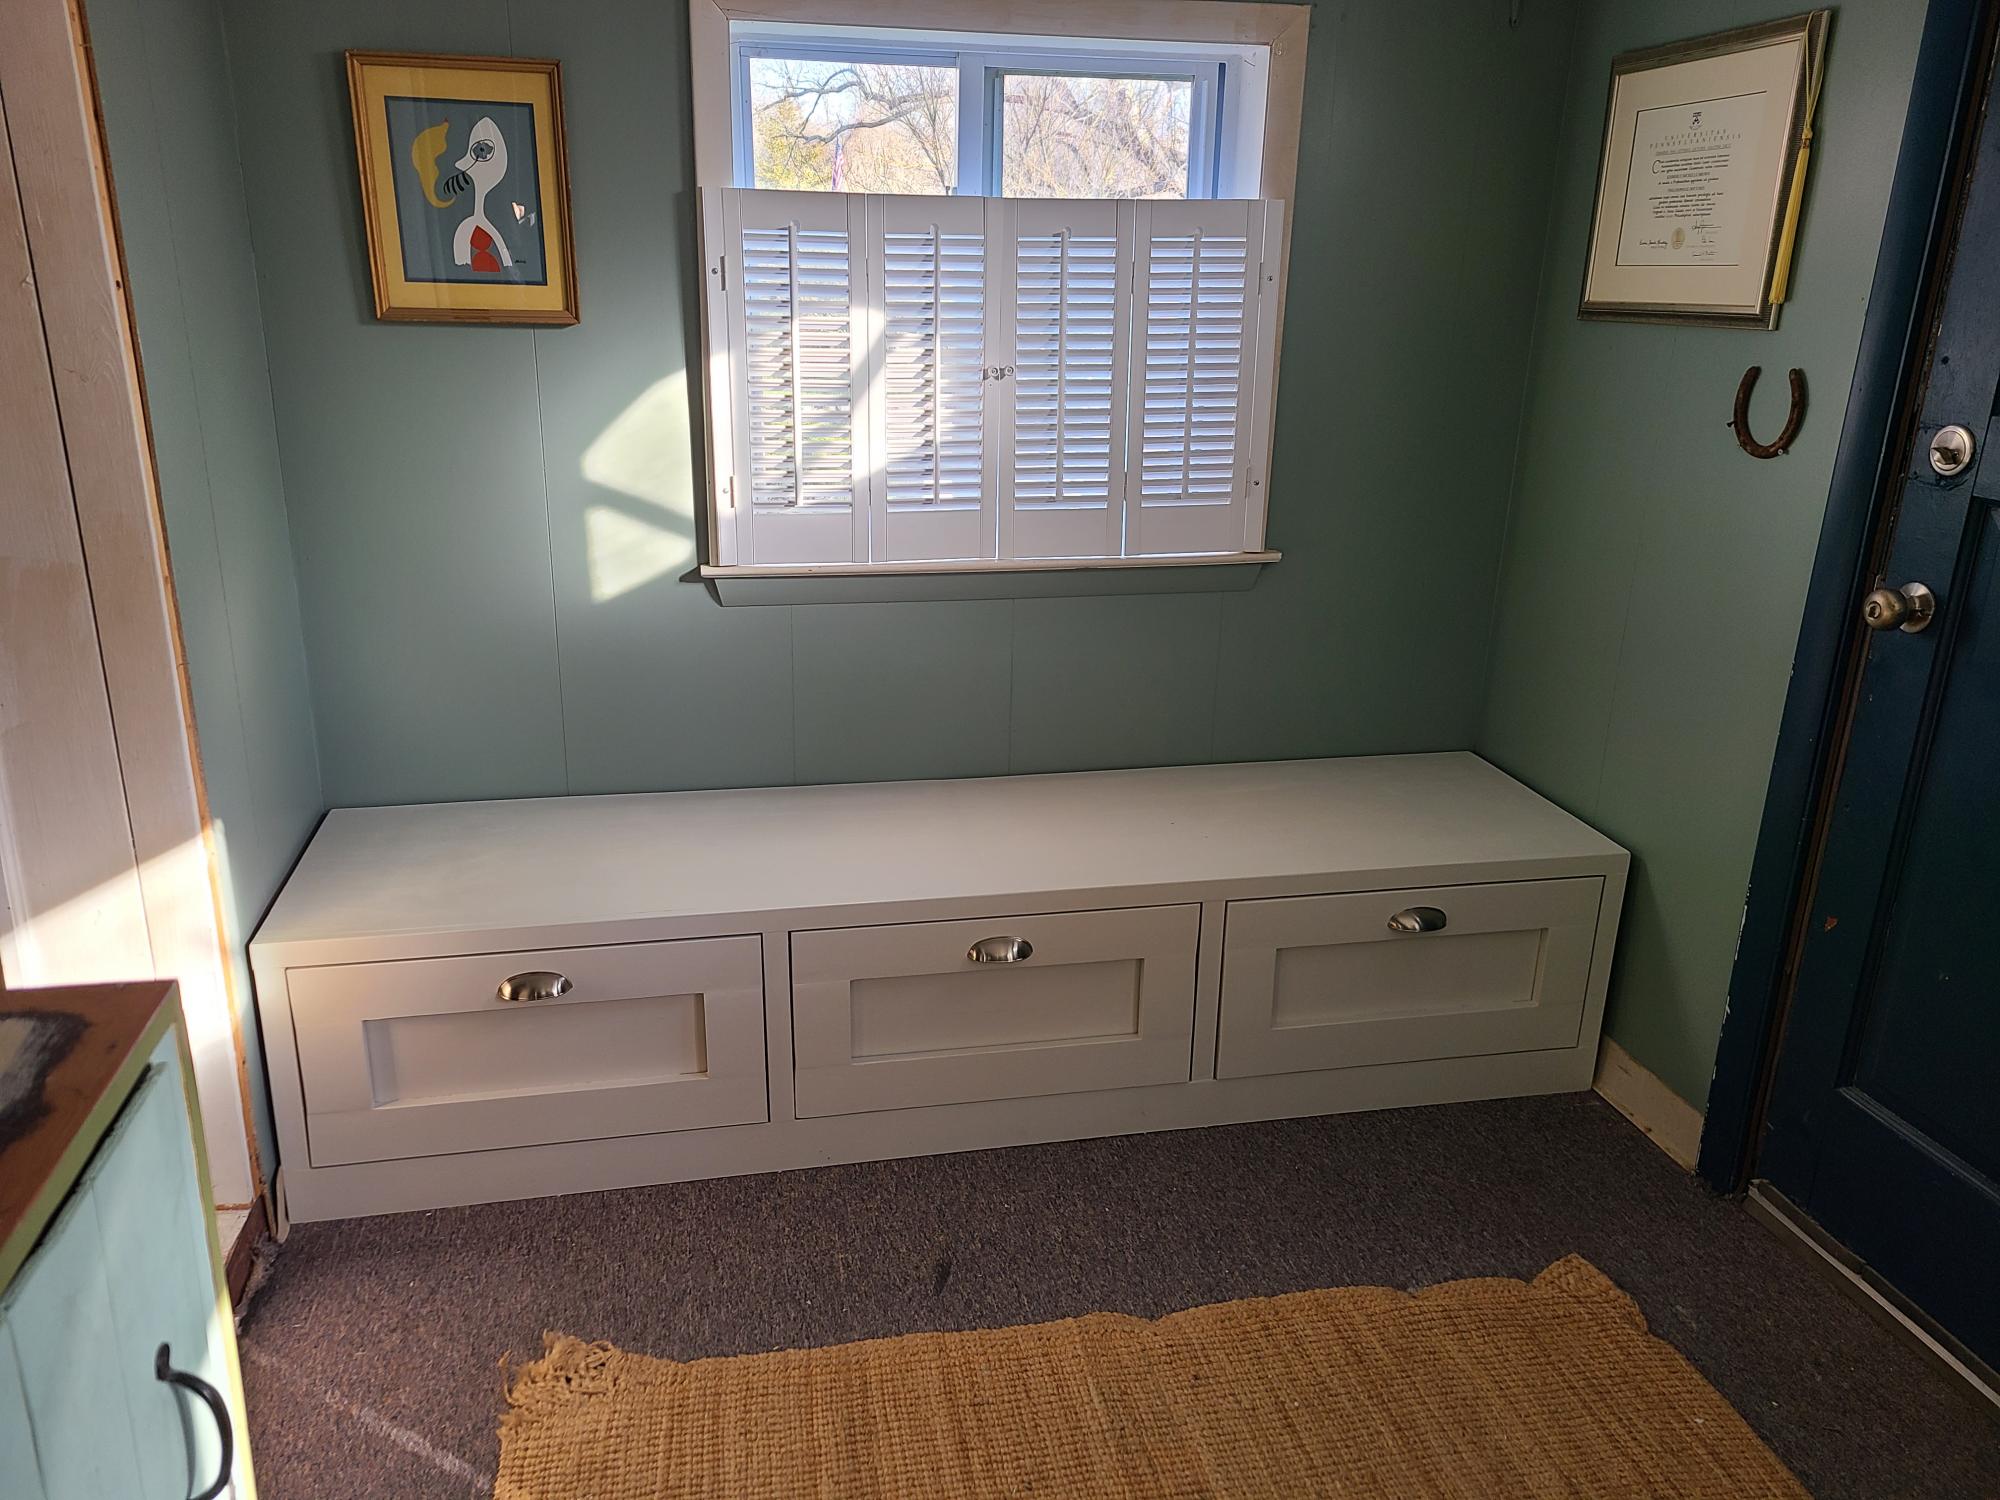
I made this window seat for my home office from your mudroom bench plan. Turned out fantastic. Loads of storage in these huge drawers. Loving it!!
Tue, 10/05/2021 - 10:57
Looks amazing , along with a place to sit and store things! Thanks for sharing:)

Less than $15 for wood and paint. Learned the incredible value of a Kreg Jig in the mix. We ended up painting it a princess pink :) We think this will be a great gift for our friends' toddlers!
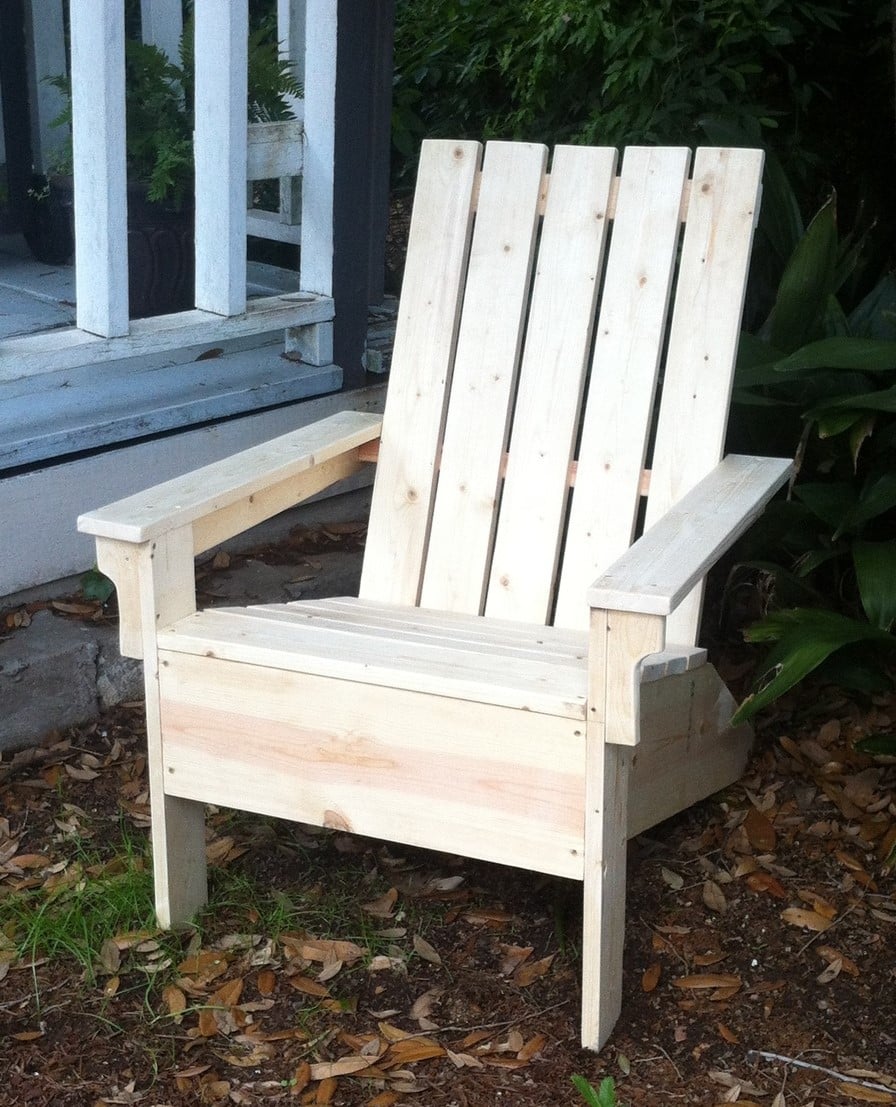
Easy and fun. Don't worry yourself over the angle on the left side of the stringer. The 15 degree one matters, the other, not so much. Buy an extra 1x4 unless you want to spend a pile of time figuring out how to cut them to maximize the space!
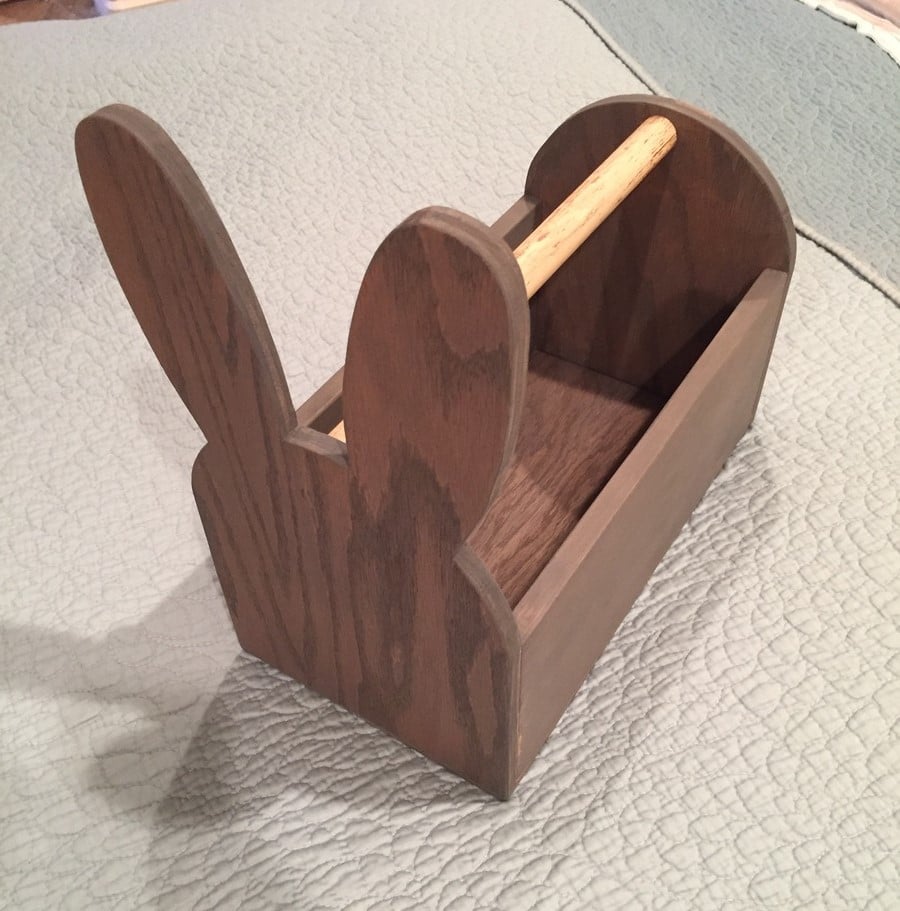
1/2" oak ply, cedar fence post, 1/4 inch oak ply
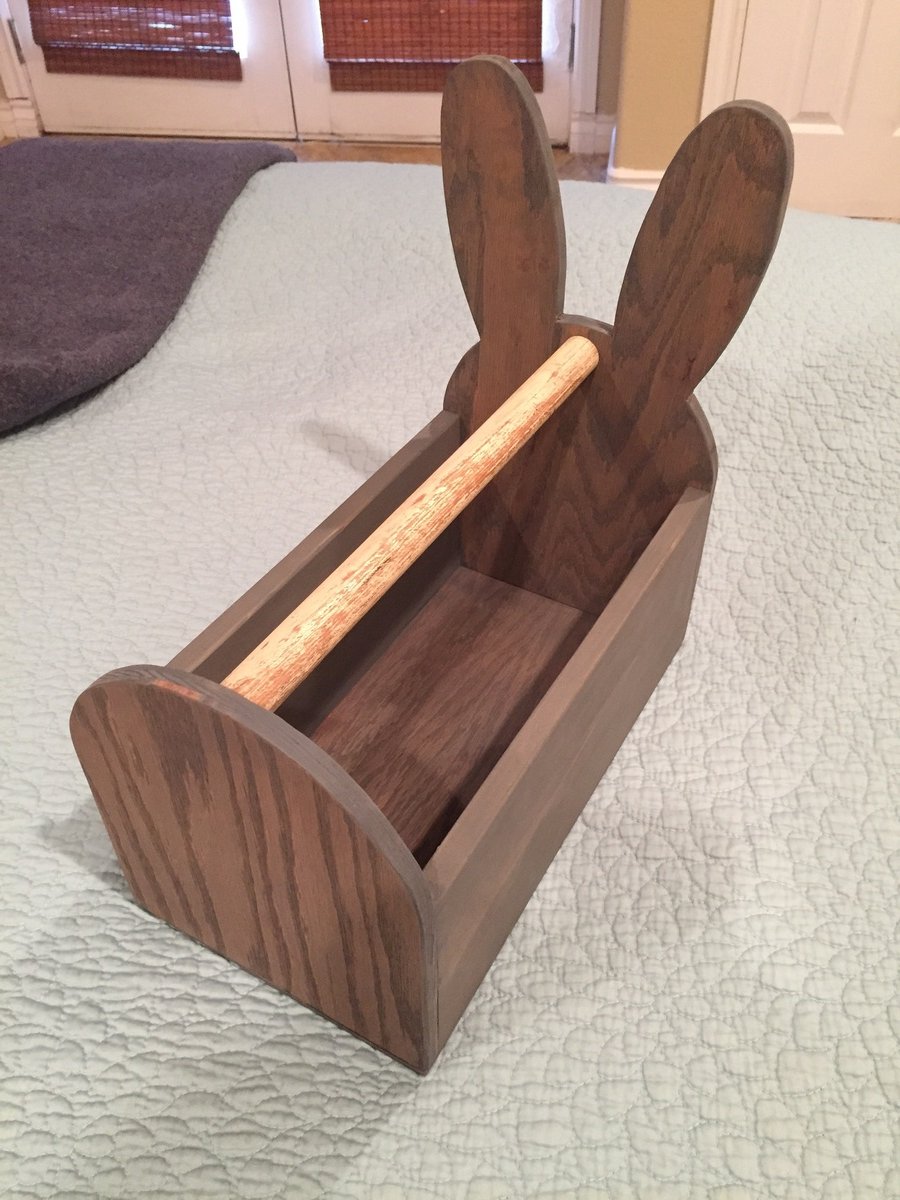
First brag! I had a little time to play in the garage and decided to join the scrap wood bandwagon. The wife loves the bunny box and now the mother-in-law NEEDS one. Back to the garage I go...
Comments
Ana White Admin
Wed, 09/22/2021 - 19:25
Great details!
Super cute and great builds, thanks for sharing!
pcook67
Wed, 01/25/2023 - 11:11
Outside
Do you have more detail on the materials for the outside of the house?