Farmhouse Table
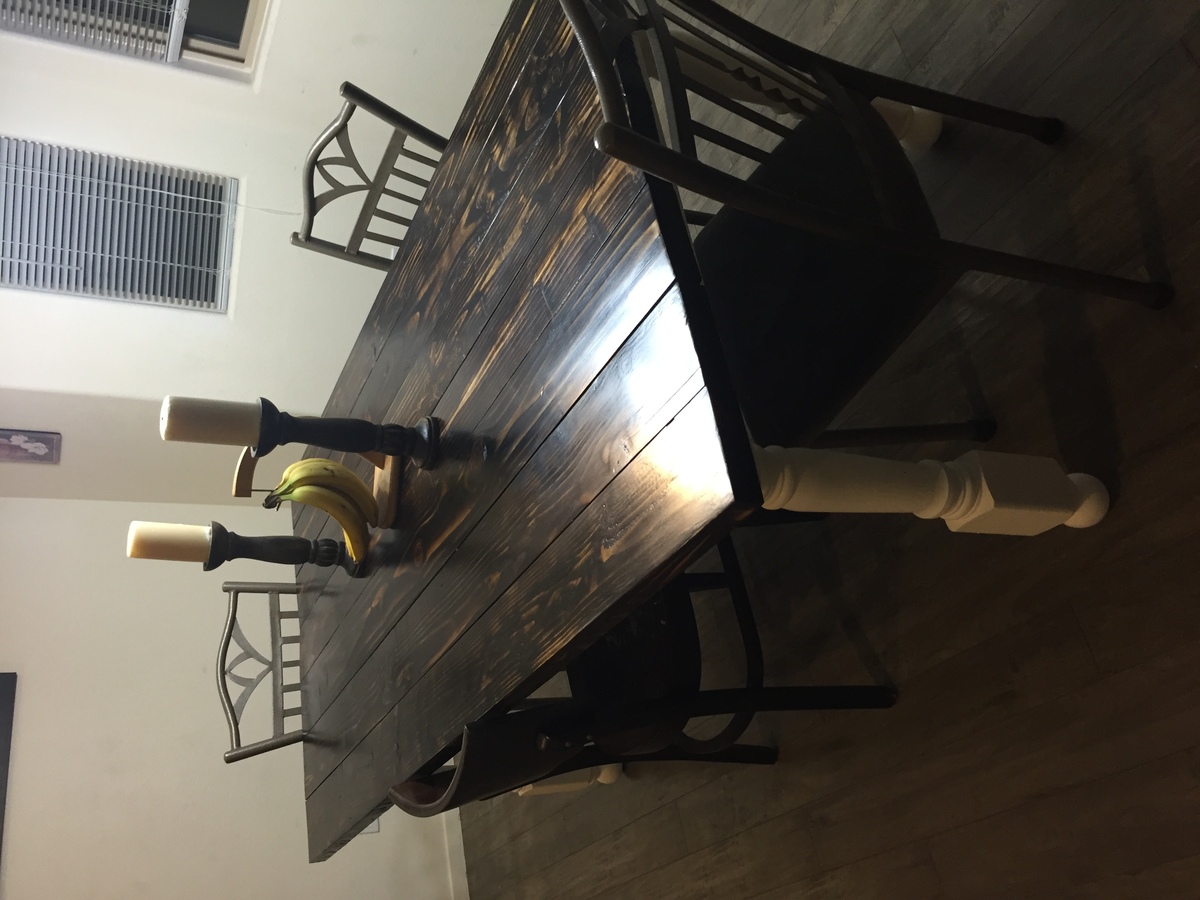
Loved this and after some searching for husky legs, I ended up using fence post from Lowes. They were fat and just perfect as the leg options in town were so thin and weak looking.
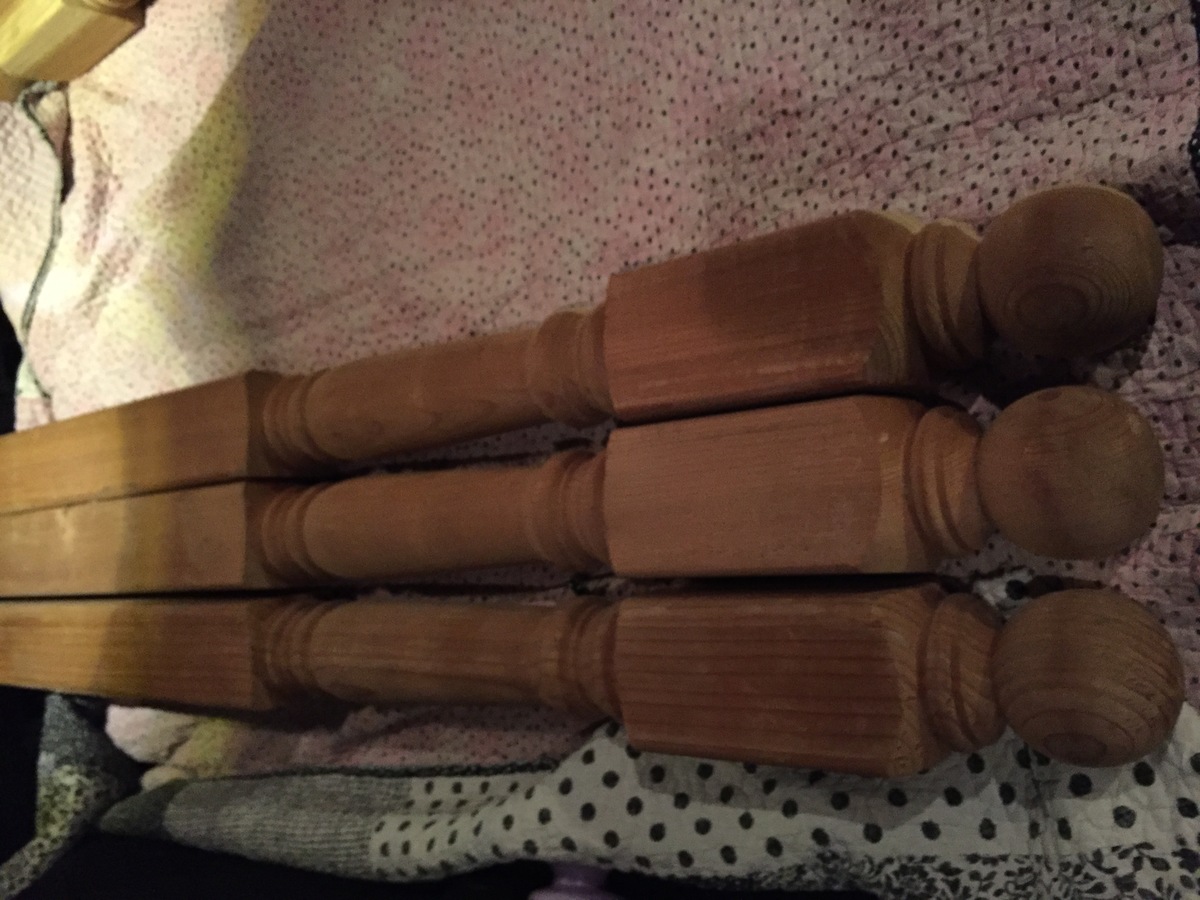

Loved this and after some searching for husky legs, I ended up using fence post from Lowes. They were fat and just perfect as the leg options in town were so thin and weak looking.

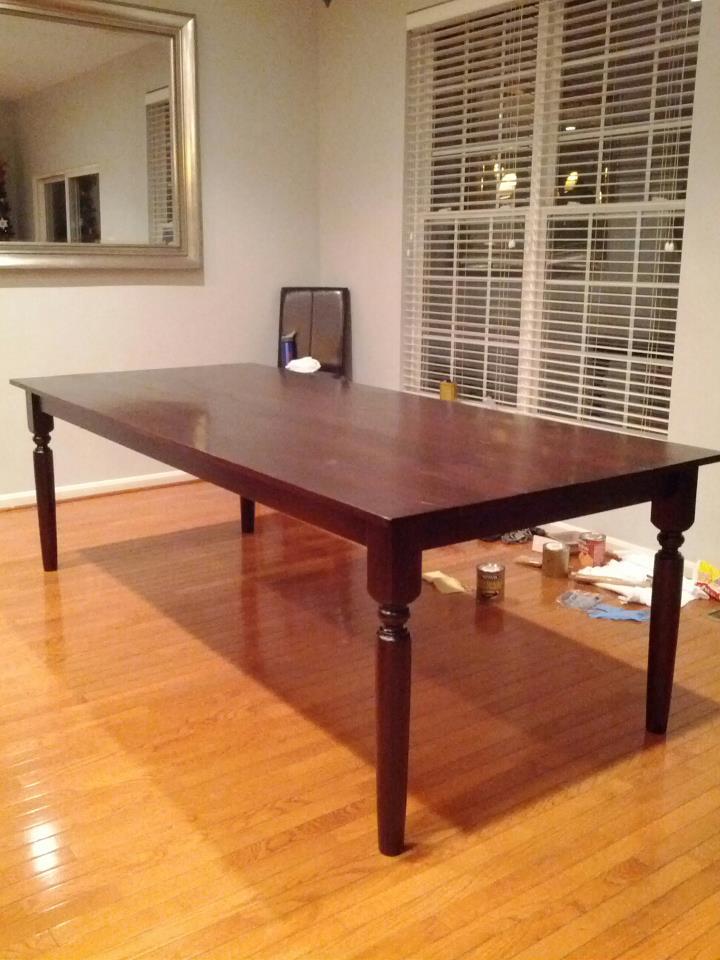
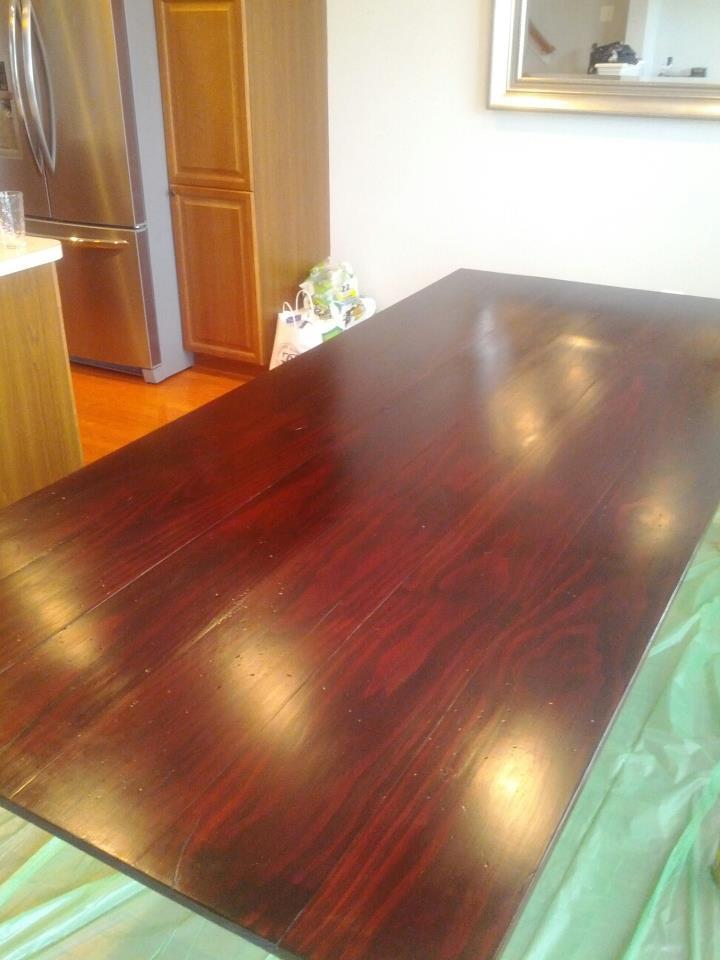
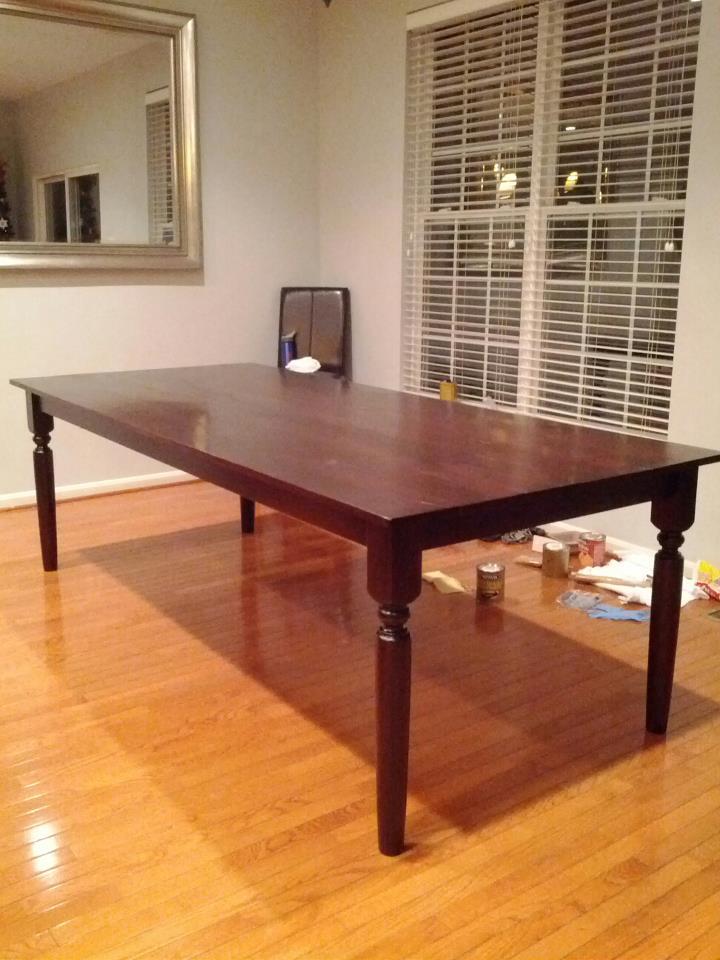
I stumbled across this site on accident one day in need of a dining room table. After hunting desperately for weeks, my wife and I couldn't find one we liked for under 1200 dollars. So, I had this great idea to build one myself. I figured if it didn't turn out I would just stick it on the deck and use it as a patio table.
I looked at the dozens of table plans on this site and picked things i liked from each and finally came up with the end product you see in the picture.
I used all pine, and found pre-turned legs at a local big box home improvement store. Total wood investment was about 200 dollars, half of that being the turned down legs.
Came out much better than I thought, and the wife was please.
Thanks to the users for all their amazing photos and directions! They came in handy!
My wife is already asking me to build more!
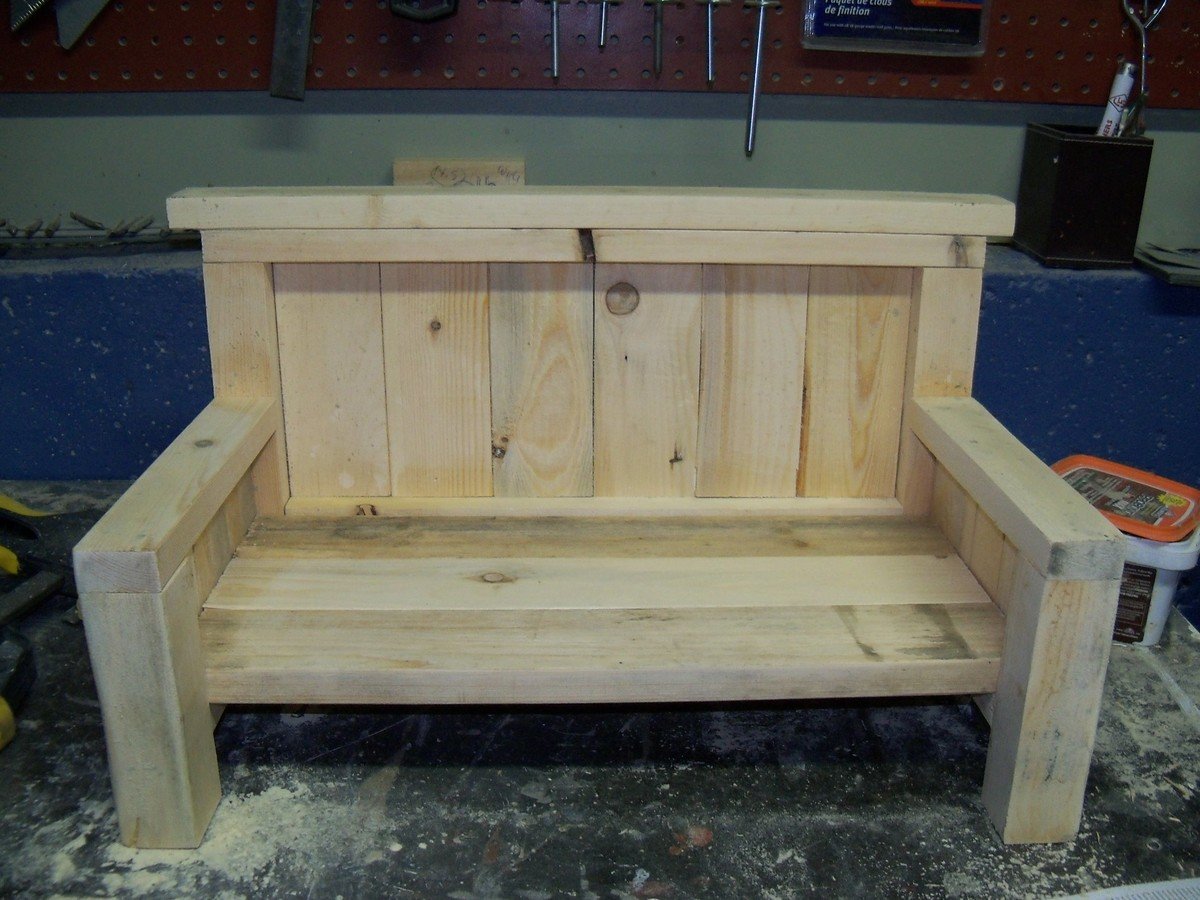
My friend's daughter's both love American Girl Dolls. I have made them the bunk beds and the Farmhouse bed. But they really wanted a couch. I made them one using some of the elements from the Farmhouse Bed. I used a blue paint with a pickling whitewash stain on top.
I did have a hard time getting a good photo of the finished project.
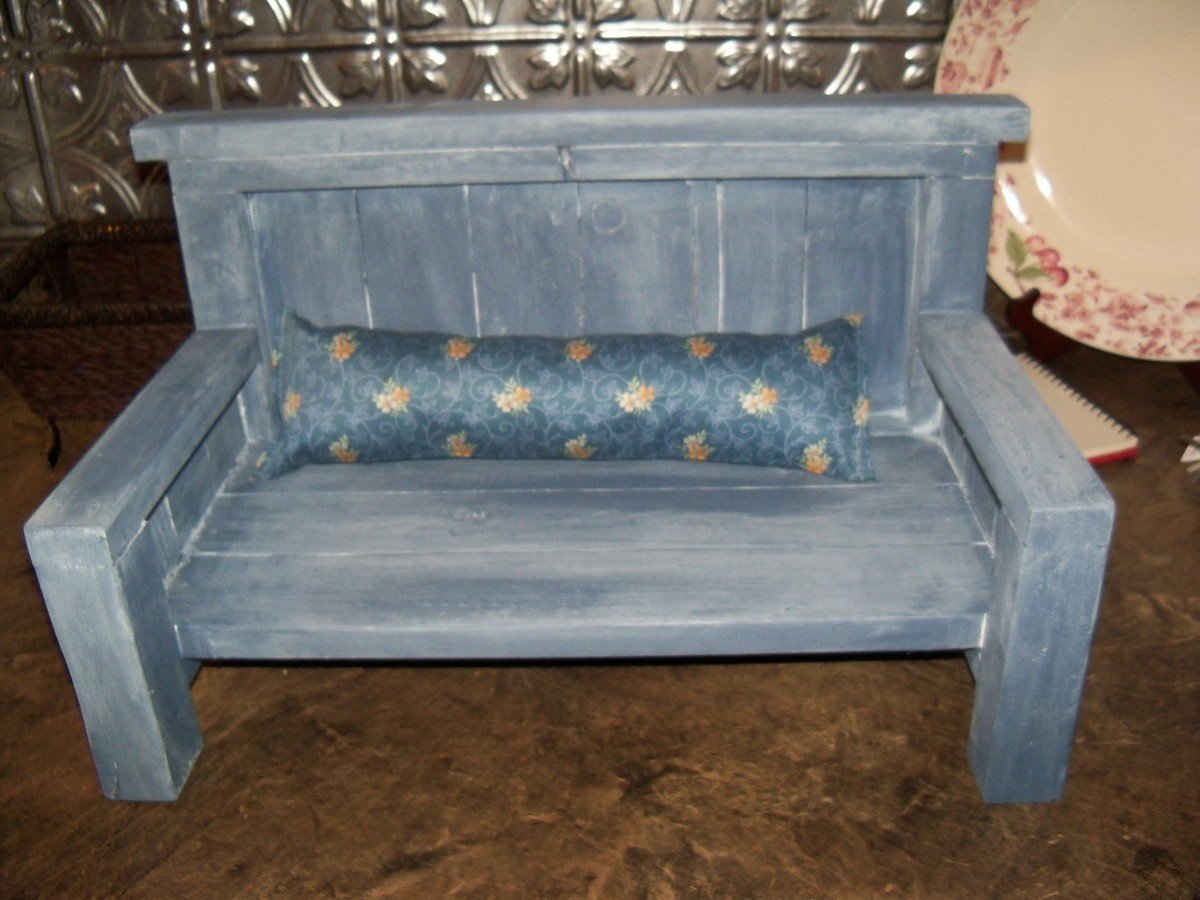
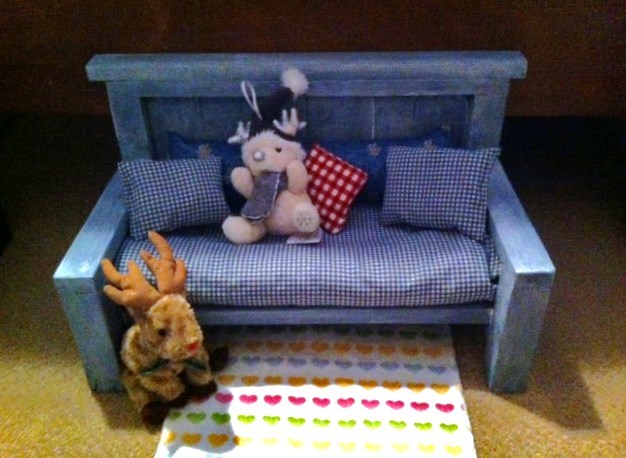
Very simple to make and looks very nice.
Wed, 11/11/2020 - 08:38
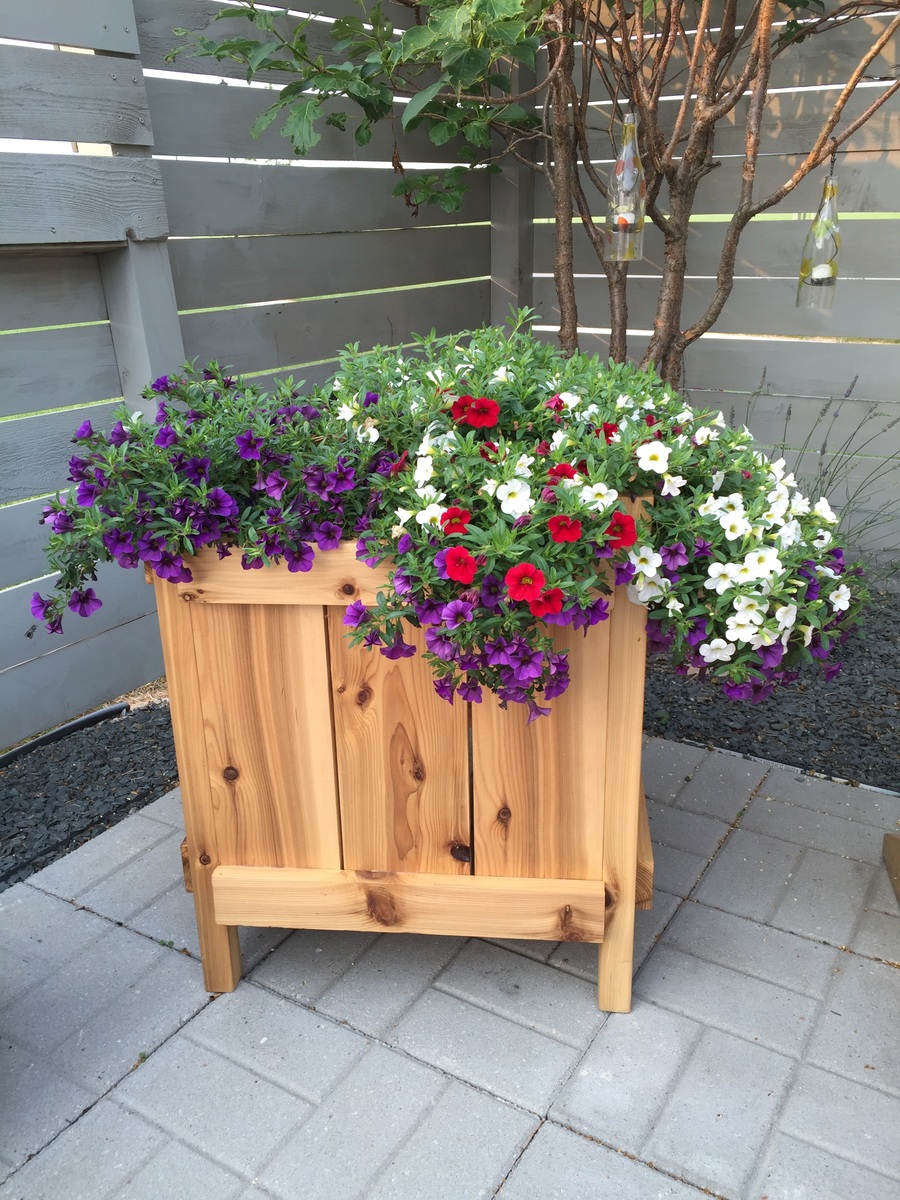
This was a fun, easy project. I built two of them. The pickets that I used were 3-1/3” wide. I used five per panel resulting in an 18” (vs. 17”) wide panel.
For those who have difficulty sourcing cedar locally, check out this link for a fence panel kit sold by Home Depot: https://www.homedepot.com/p/Outdoor-Essentials-3-1-2-ft-x-8-ft-Western-…
~$80 with free delivery. Just enough for two planters. I ripped one of the 2x4s down to make two 2x2s for the legs. The other 2x2 I ripped down to make more 1x4s. Since these ended up being 1/4” wider than the pickets in the kit, I used them as the bottom cross pieces on the panels.
They look great and my spouse loves them!
I built this for my friend who wanted a double cabinet for her recycling material. I used Ana's plan and just doubled it up. She also wanted a weathered looking top. The plan's were great but it was a bit difficult to get the two side by side bins.
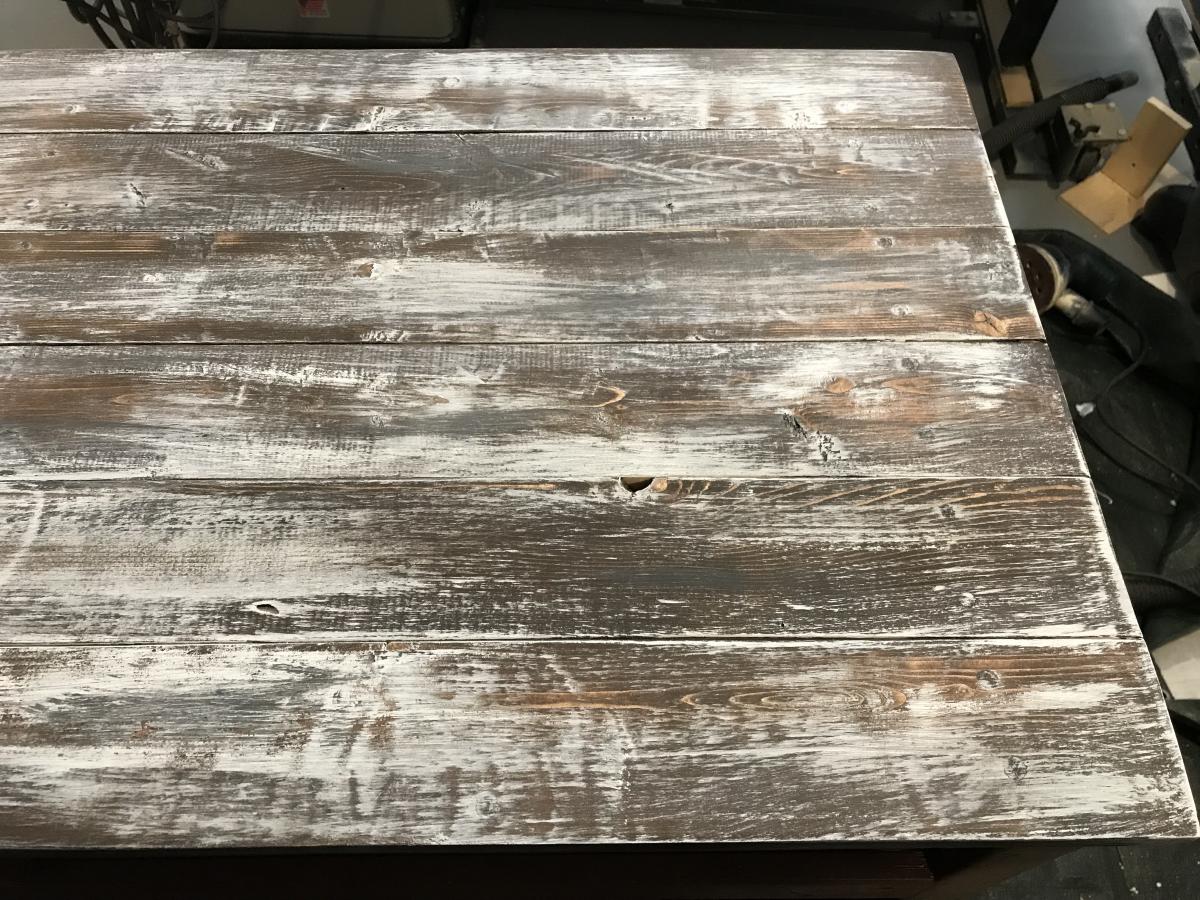
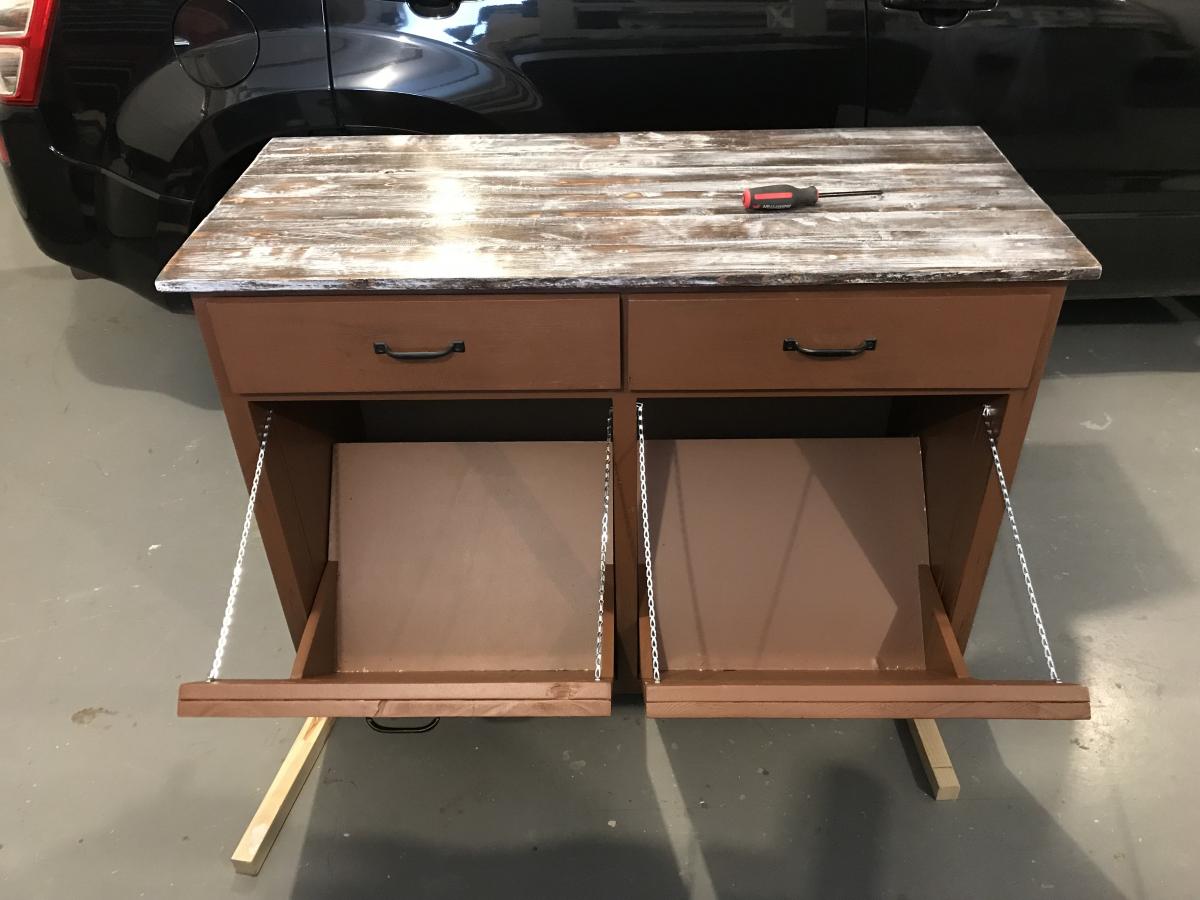
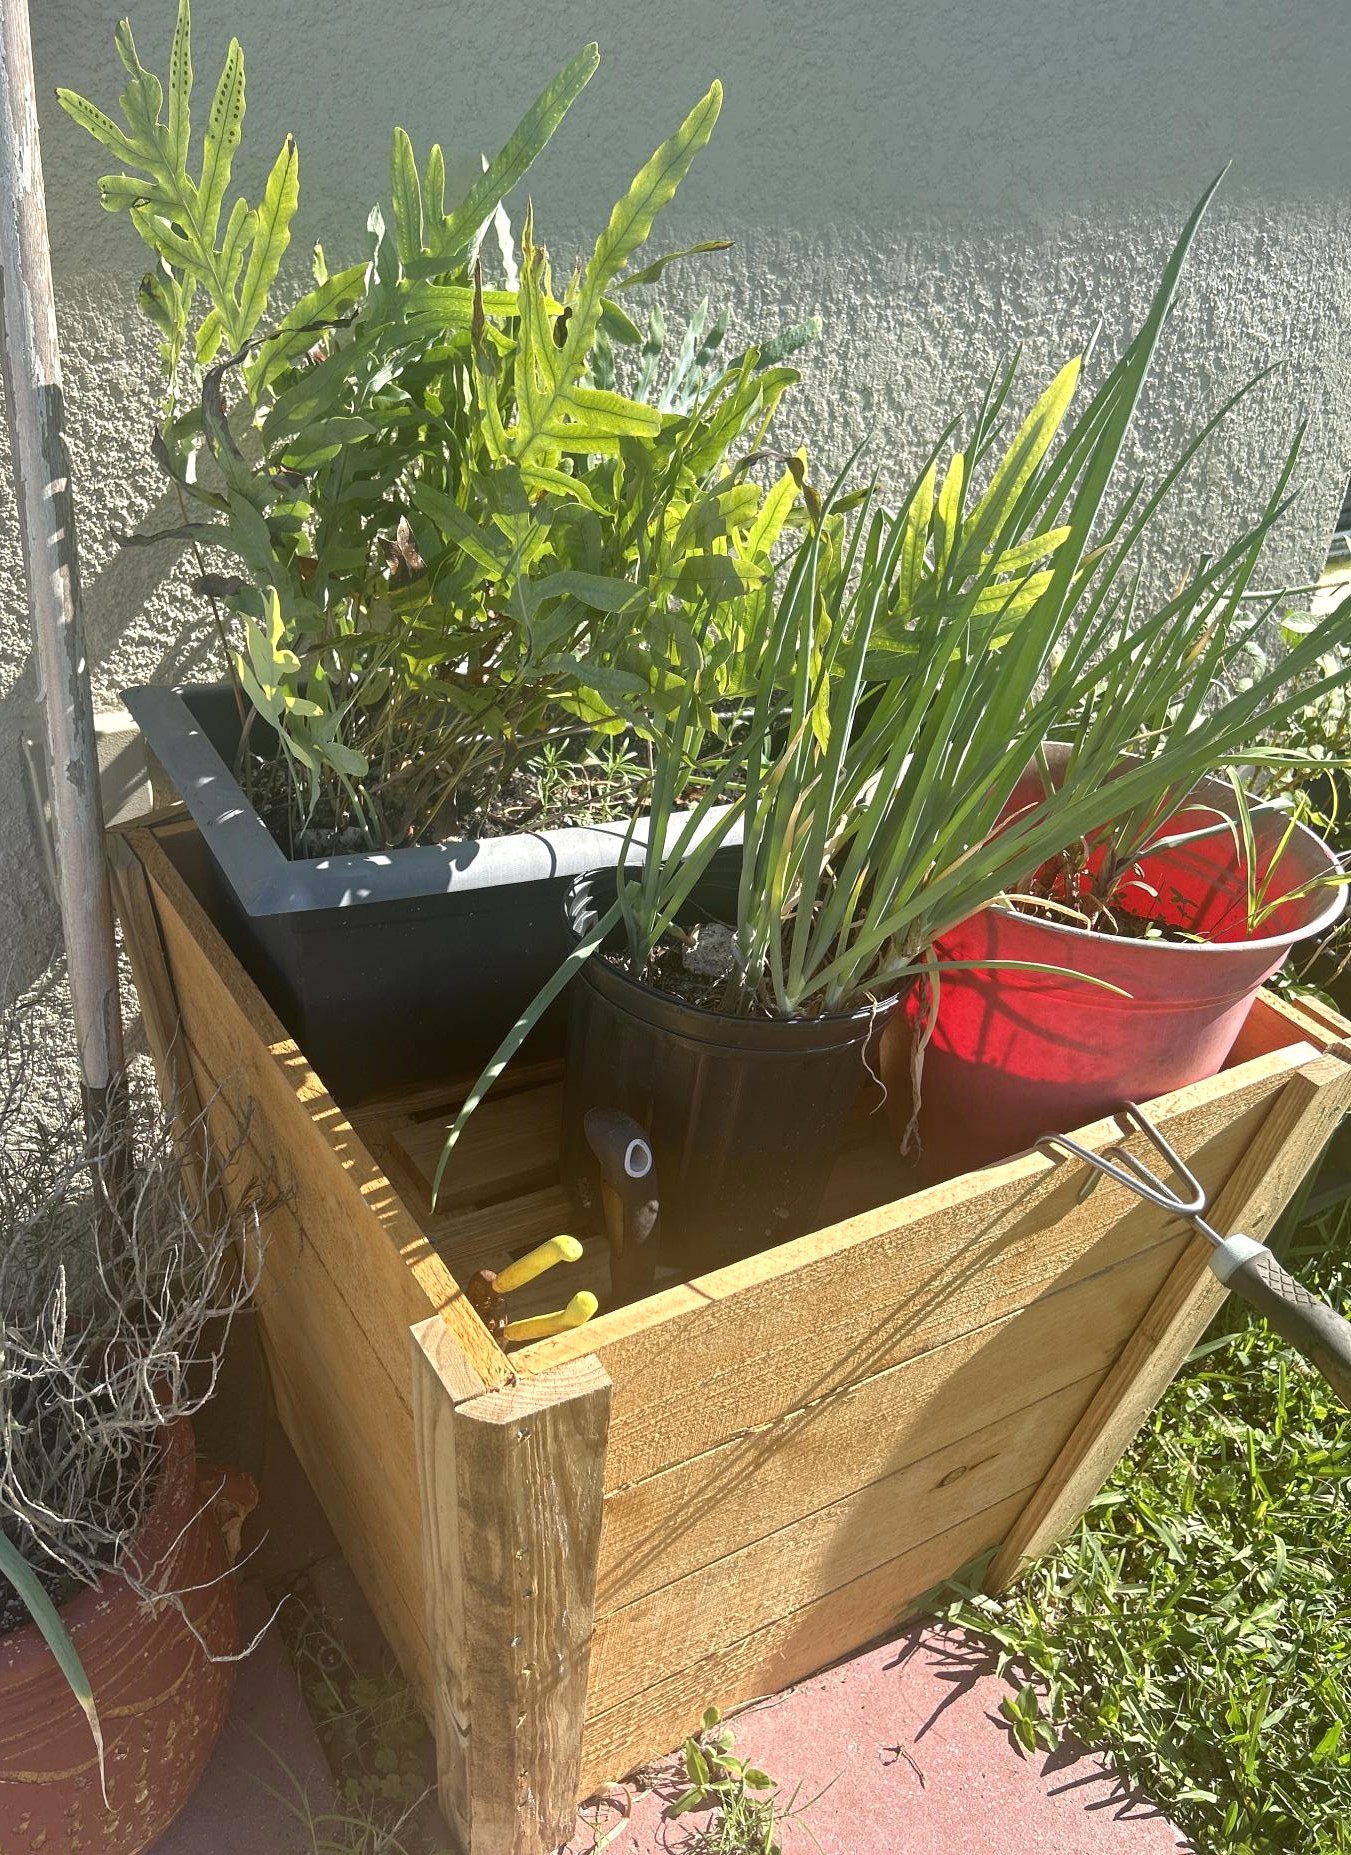
Was recommended by YT (yes I subscribed) thought it was awesome. Just getting into woodworking and thought it was perfect to try. Appreciate the help, very kind. Godspeed.
Sat, 06/10/2023 - 06:41
Thanks for sharing and subscribing, it looks great! Can't wait to see what you build next.
I stumbled upon the Ana White website (and subsequently the farmhouse bed plans) via something I saw on Pinterest. I had been bugging my husband for bedroom furniture for years, but there were always other bills to pay. So when I came accross that BEAUTIFUL and super-inexpensive-to-build bed, you can imagine my excitement! I sent a link to my husband, who was equally excited, and a few days later we have this georgeous new bed!
Fri, 01/27/2012 - 08:20
I asked my husband what his stain concoction was, and he said he used a 1:1 mixture of Minwax's Fruitwood and Red Oak stains. He did first use a wood conditioner so the wood would accept the stain more evenly. Hope this helps!
Sun, 01/29/2012 - 10:21
I really love the warmth of the stain color. I will have to try the concoction on my next project. Thanks again. :-)
Sun, 01/29/2012 - 13:36
I think after supplies it was probably closer to $100. I am amazed though every time I walk into our bedroom that our bed was so inexpensive and easy to build! It really is a beautiful piece. I defintely think you won't be disappointed. Happy building :o)
In reply to I think after supplies it was by jessabender
Sun, 01/29/2012 - 15:59
Yup, inexpensive and SOLID wood! something that will last and irreplaceable.
Thu, 07/10/2014 - 20:11
I have been admiring your bed. It is lovely. So I am seeking your advice. I am wondering how you sandwiched the panels between the 1x4s. I don't see any nail/putty marks through your stain. I am obsessing about how I can finish this bed without like 32 little patched nail holes on the front of the headboard and the footboard. I would really love to stain the bed similar to the color you used but I'm worried about the nails. sigh. Did you use nails? Did you only nail the boards from behind so they are not visible? I have been scrutinizing your bed, but i just cannot tell. if you did use little nails and putty them, you did a great job of blending them in. I don't have a kreg jig, but i think that would solve the problem. hmmmm. I am so worried about this that I can't take the plunge and just make the bed. On the areas that are screwed together, I plan on using wood plugs, but for the panels I'm stumped. The plans call for sooooo many nails. I simply just don't want to see them on the front of the bed. Thanks for anyone that can help. If i were painting the bed it would not be a problem, but for staining I think the patched nail holes would not be good. Any thoughts?
Tue, 12/08/2015 - 17:38
it is probably something stupid simple. but what are you guys using to connect the side rails to the head and foot board? mainly the foot board.
Thanks in advance.
Built of these bedside tables using Ana's book. The plan was very clear to understand and the cut and supplies list took a lot the guess work out of the project. Instead of using a circular saw I used a portable Dewalt table saw. This worked extremely well, especially for cutting pieces of MDF. It is worth noting that you DO NOT want to make large cross cuts using your table saw fence. I learned the hard way with ONLY a bruised hand (and ego). Once I removed the fence from my saw the second table was built much faster and I felt safer doing it.
The only other snag in the build was not being able to find the "1x16x72" MDF. Instead I purchased a 2'x4' section for $8. I planned on painted the tables all along so the MDF was perfect. If you were going to stain the tables you would want to use some sort of hardwood (I used pine everywhere else) on the top, sides, and bottom.
Both tables were finished in a weekend (took about 3 hours each) and I spent the following weekend priming, painting, and installing the drawer slides and hardware. I would highly recommend these tables for anyone looking to get a high quality bedside table at a fraction of the cost. Thanks Ana for the plan and I look forward to my next build.


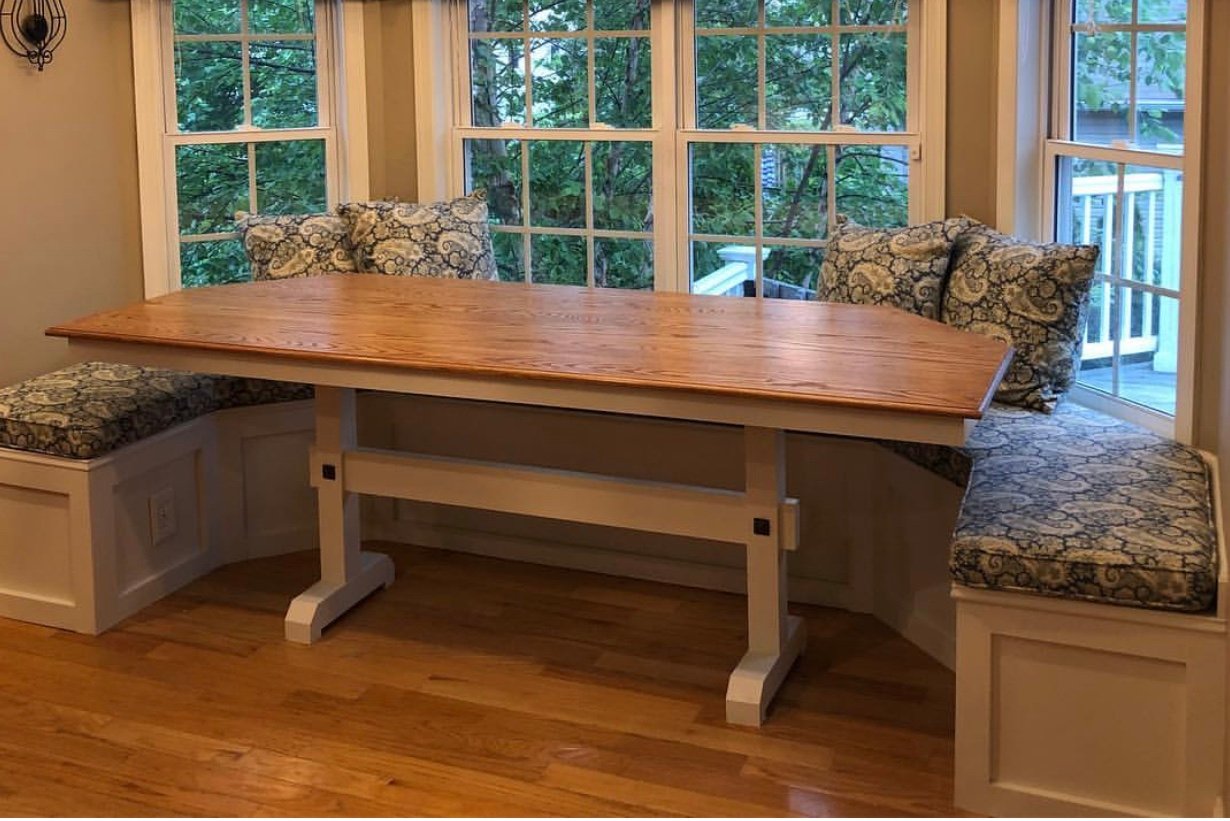
When we moved into our house, there was an empty breakfast nook. I built in the banquette seating, and then built the table out of oak. This was inspired by the Triple Pedestal Table (http://ana-white.com/woodworking-projects/triple-pedestal-farmhouse-tab…)
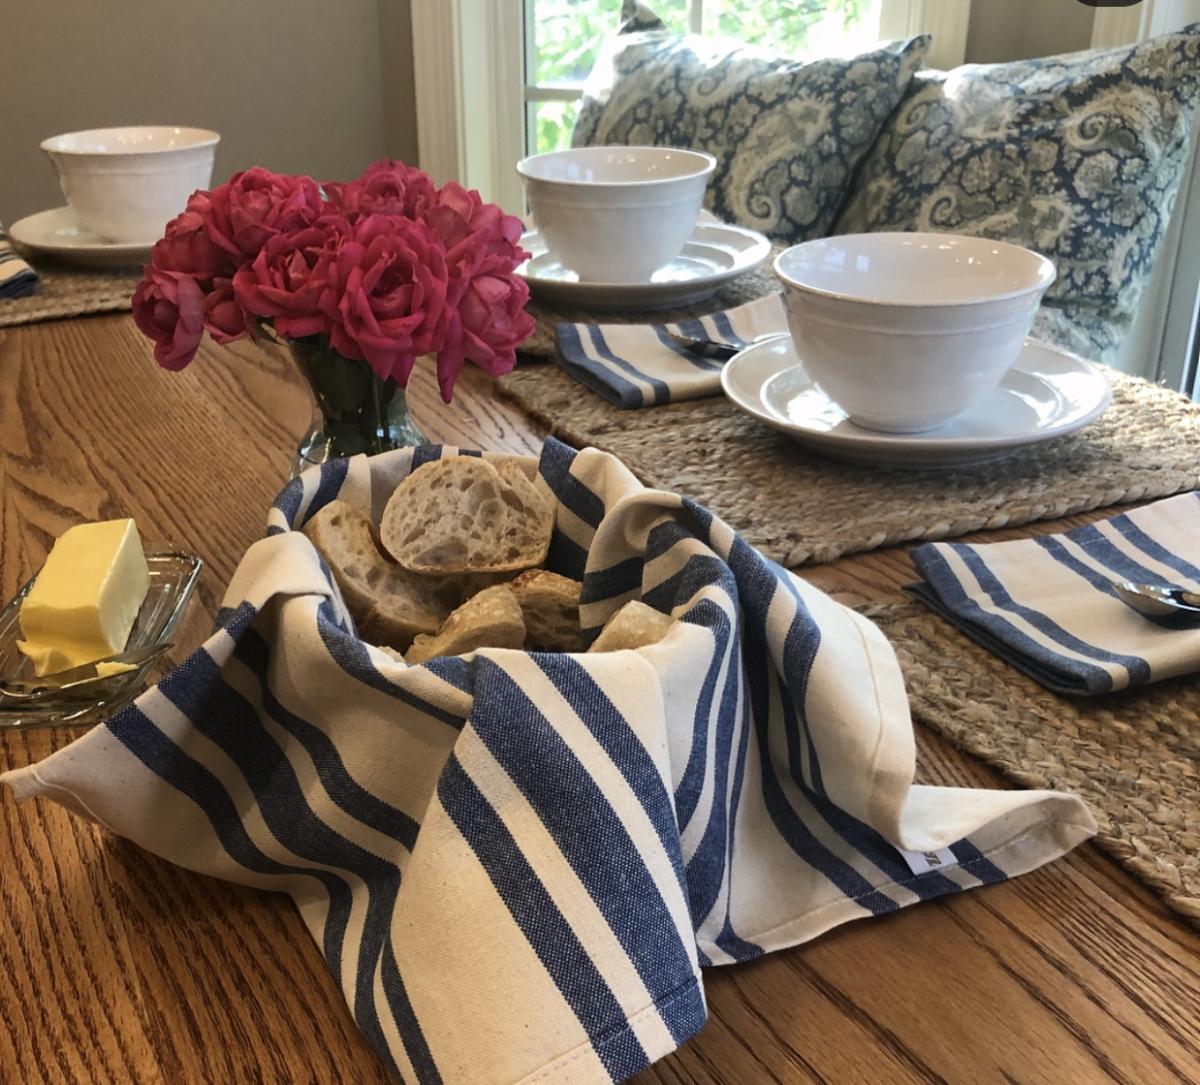
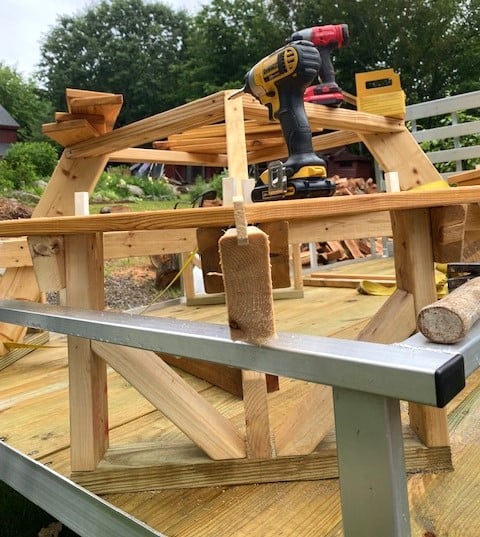
I downloaded the plans for the octagonal table. I have made several and used a few different woods, made a few minor design changes as well as creating a routine and using a jig or two. This jig fits in between the two boards that form the seat support frame. I used a large paint stick and a scrap piece of 2 x 4. Using a table saw, I cut a groove in the 2" edge, approximately 1/2" deep, this took two passes (pass it through, turn it and pass again), a slight adjustment and another two passes. Insert the paint stick and seat all the way down. Place jig between seat support frame, might be a little snug or use a clamp to hold in place. Adjust so just the paint stick sticks up enough to separate seat boards. With seat boards against the jig, it forms the perfect angle/guide to match cuts. I also used 1/2" spacers to create consistent spacing. Love the various plans you make available as well as your videos.


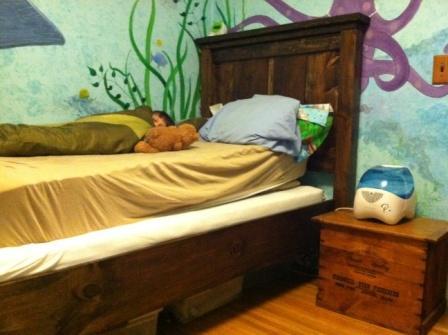
Beautiful farmhouse bed - it makes a statement!
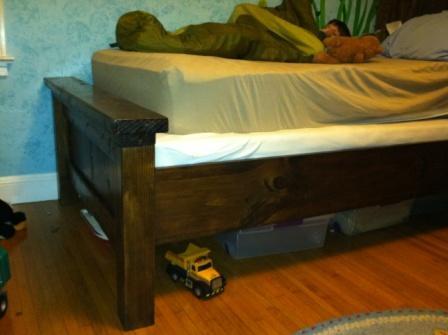
Fri, 02/03/2012 - 10:05
What a great job! I'm wanting to make this bed for my son and am wondering if you remember what type of inexpensive wood you used for this? I like the price tag! The stain looks really good with the wood grain, too.
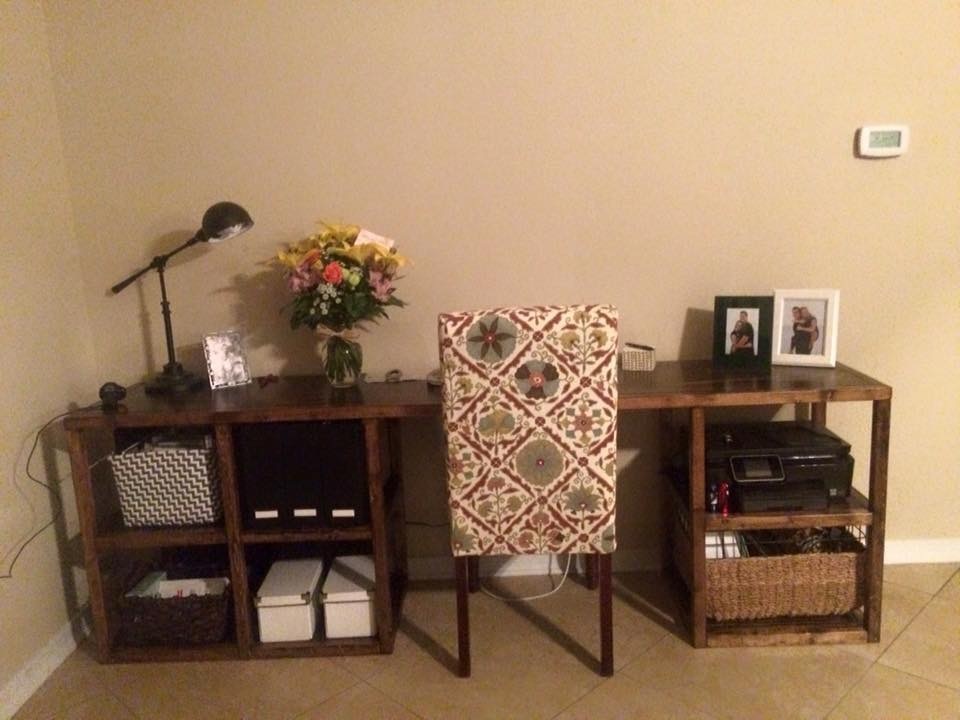
Custom length Parson Tower Desk.
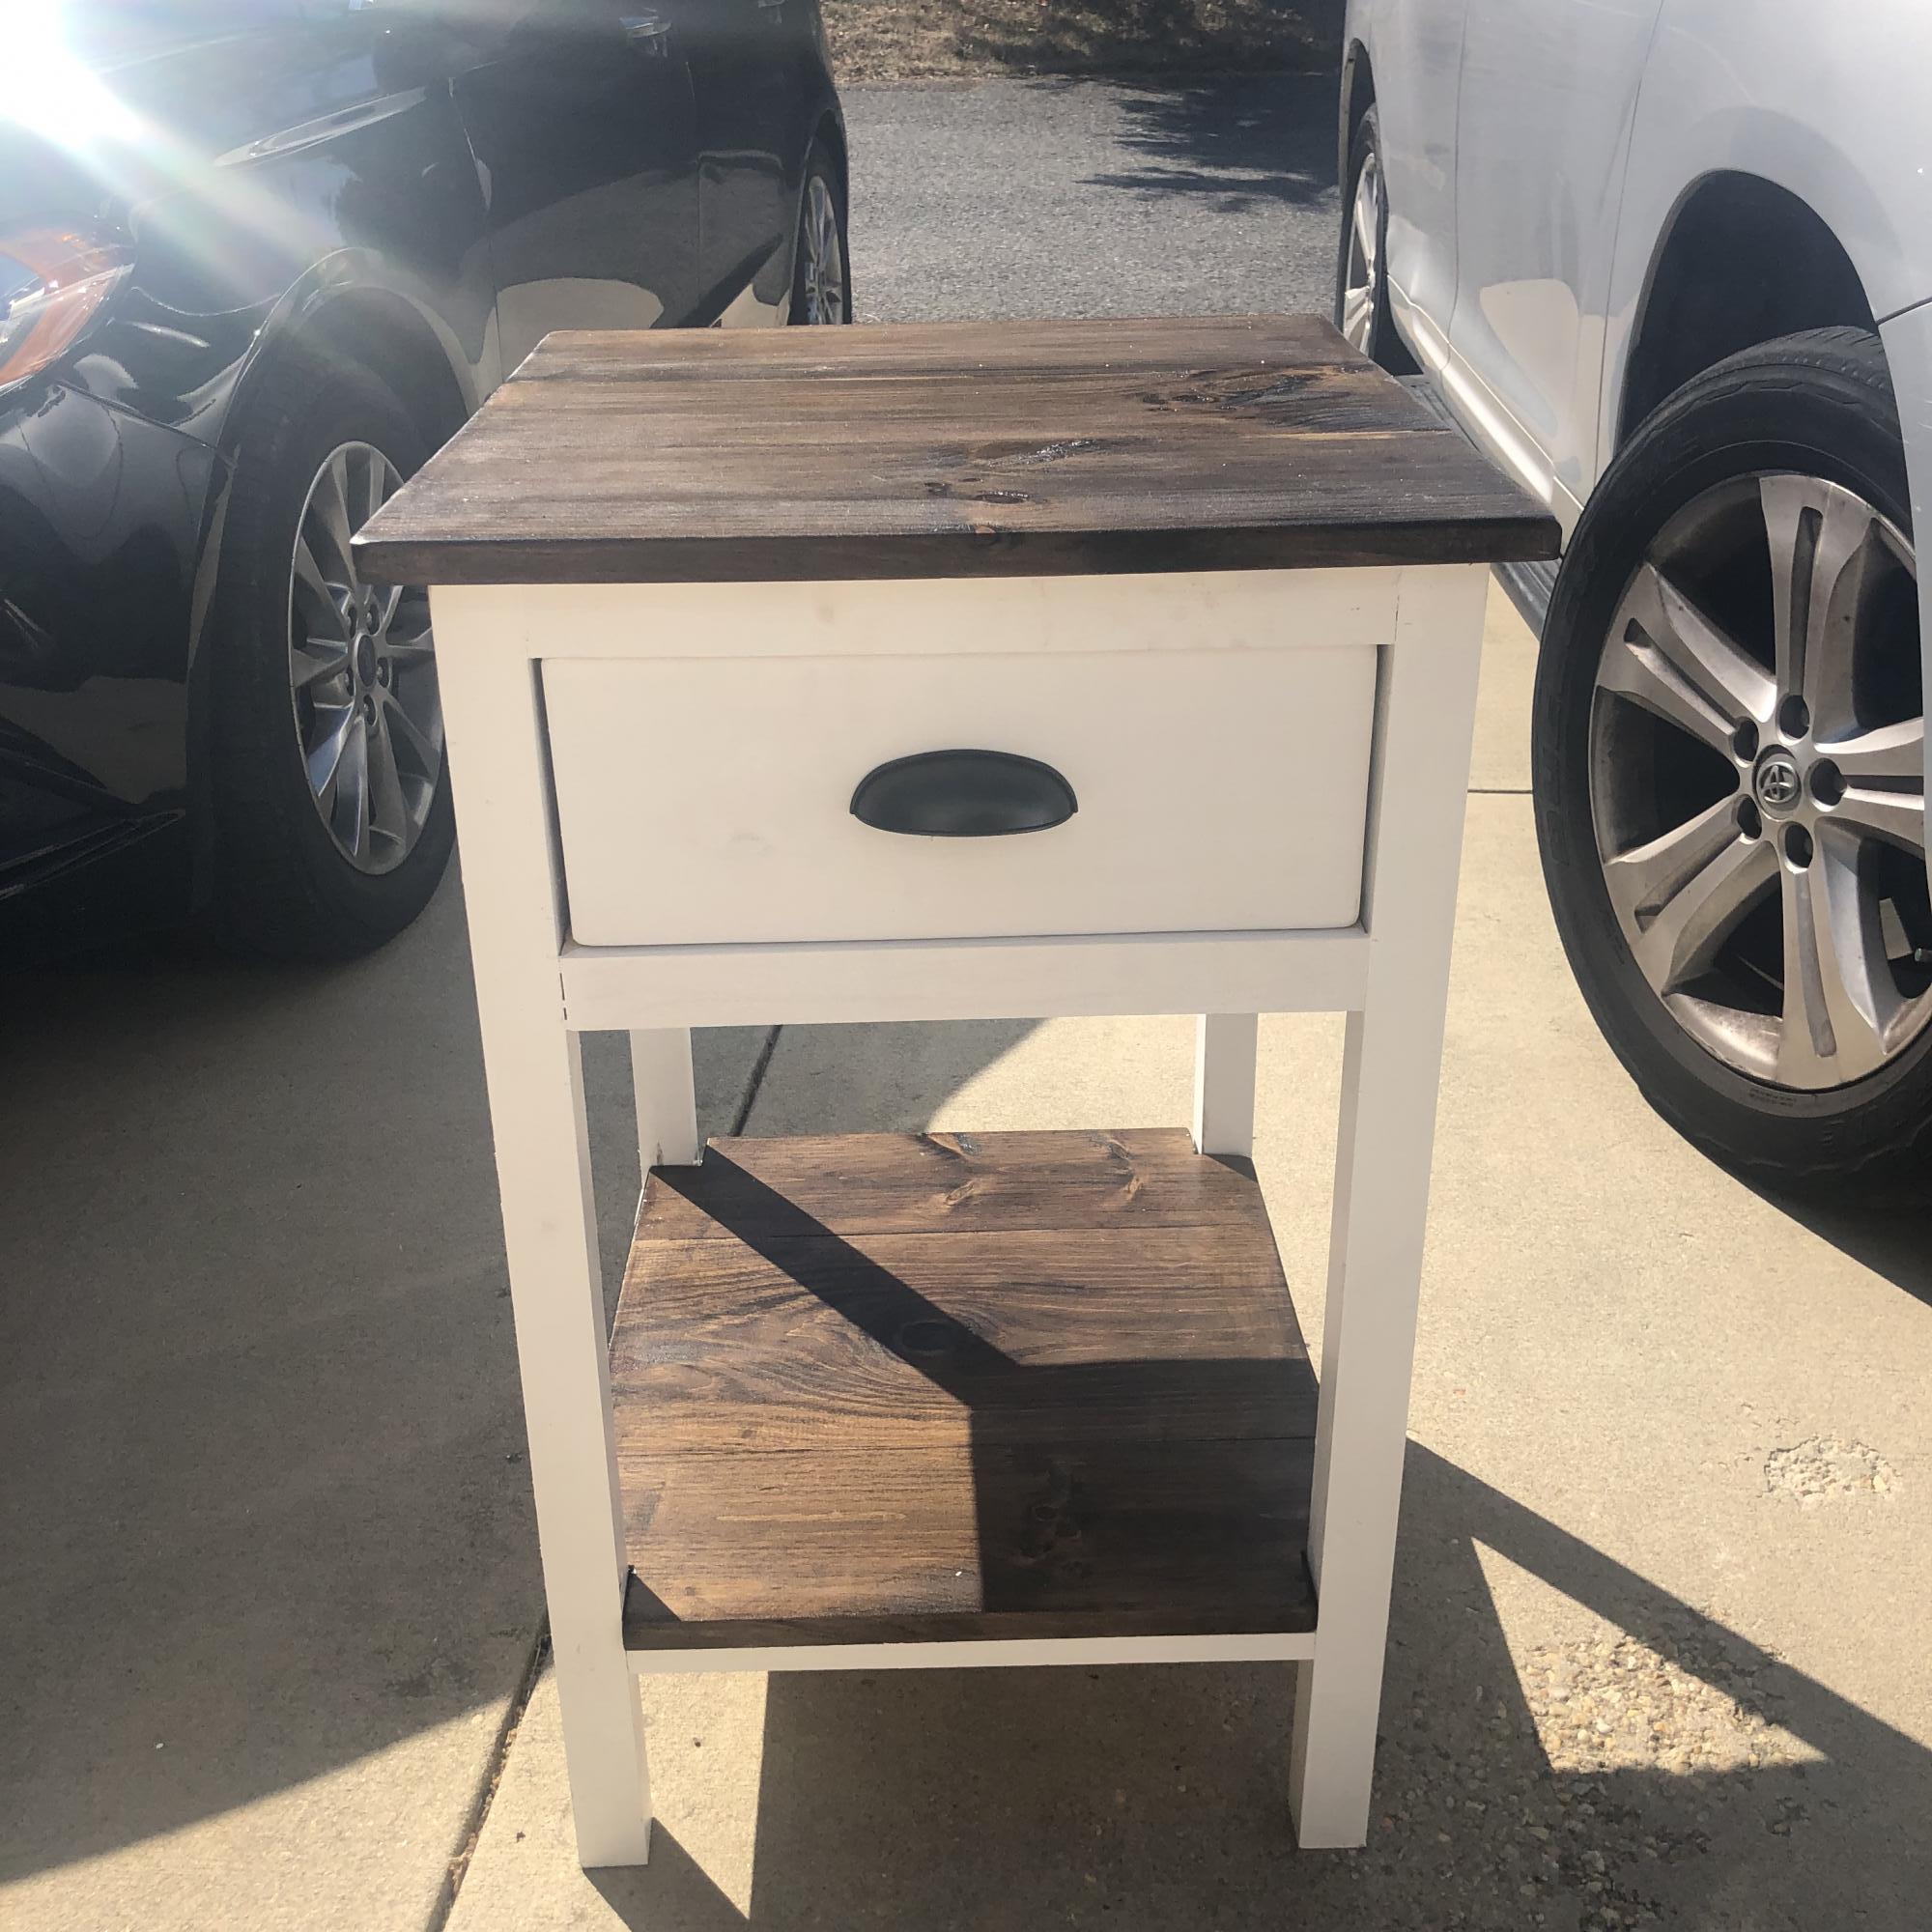
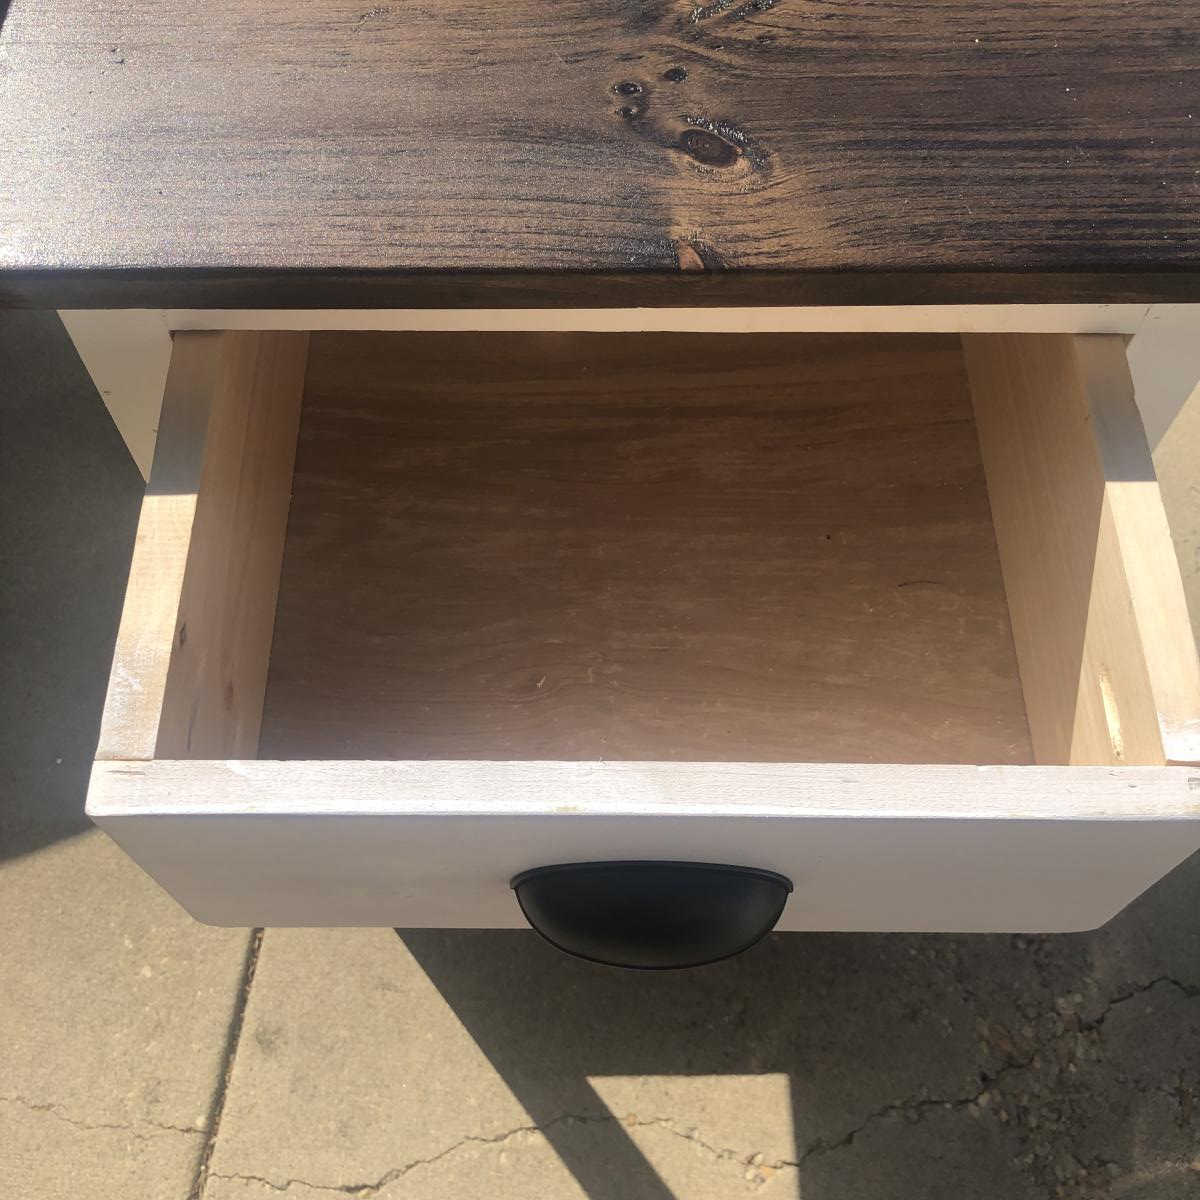
My daughter wanted a table to fit a specific location .... your plan for a side table fit the bill - with some dimensional adjustments
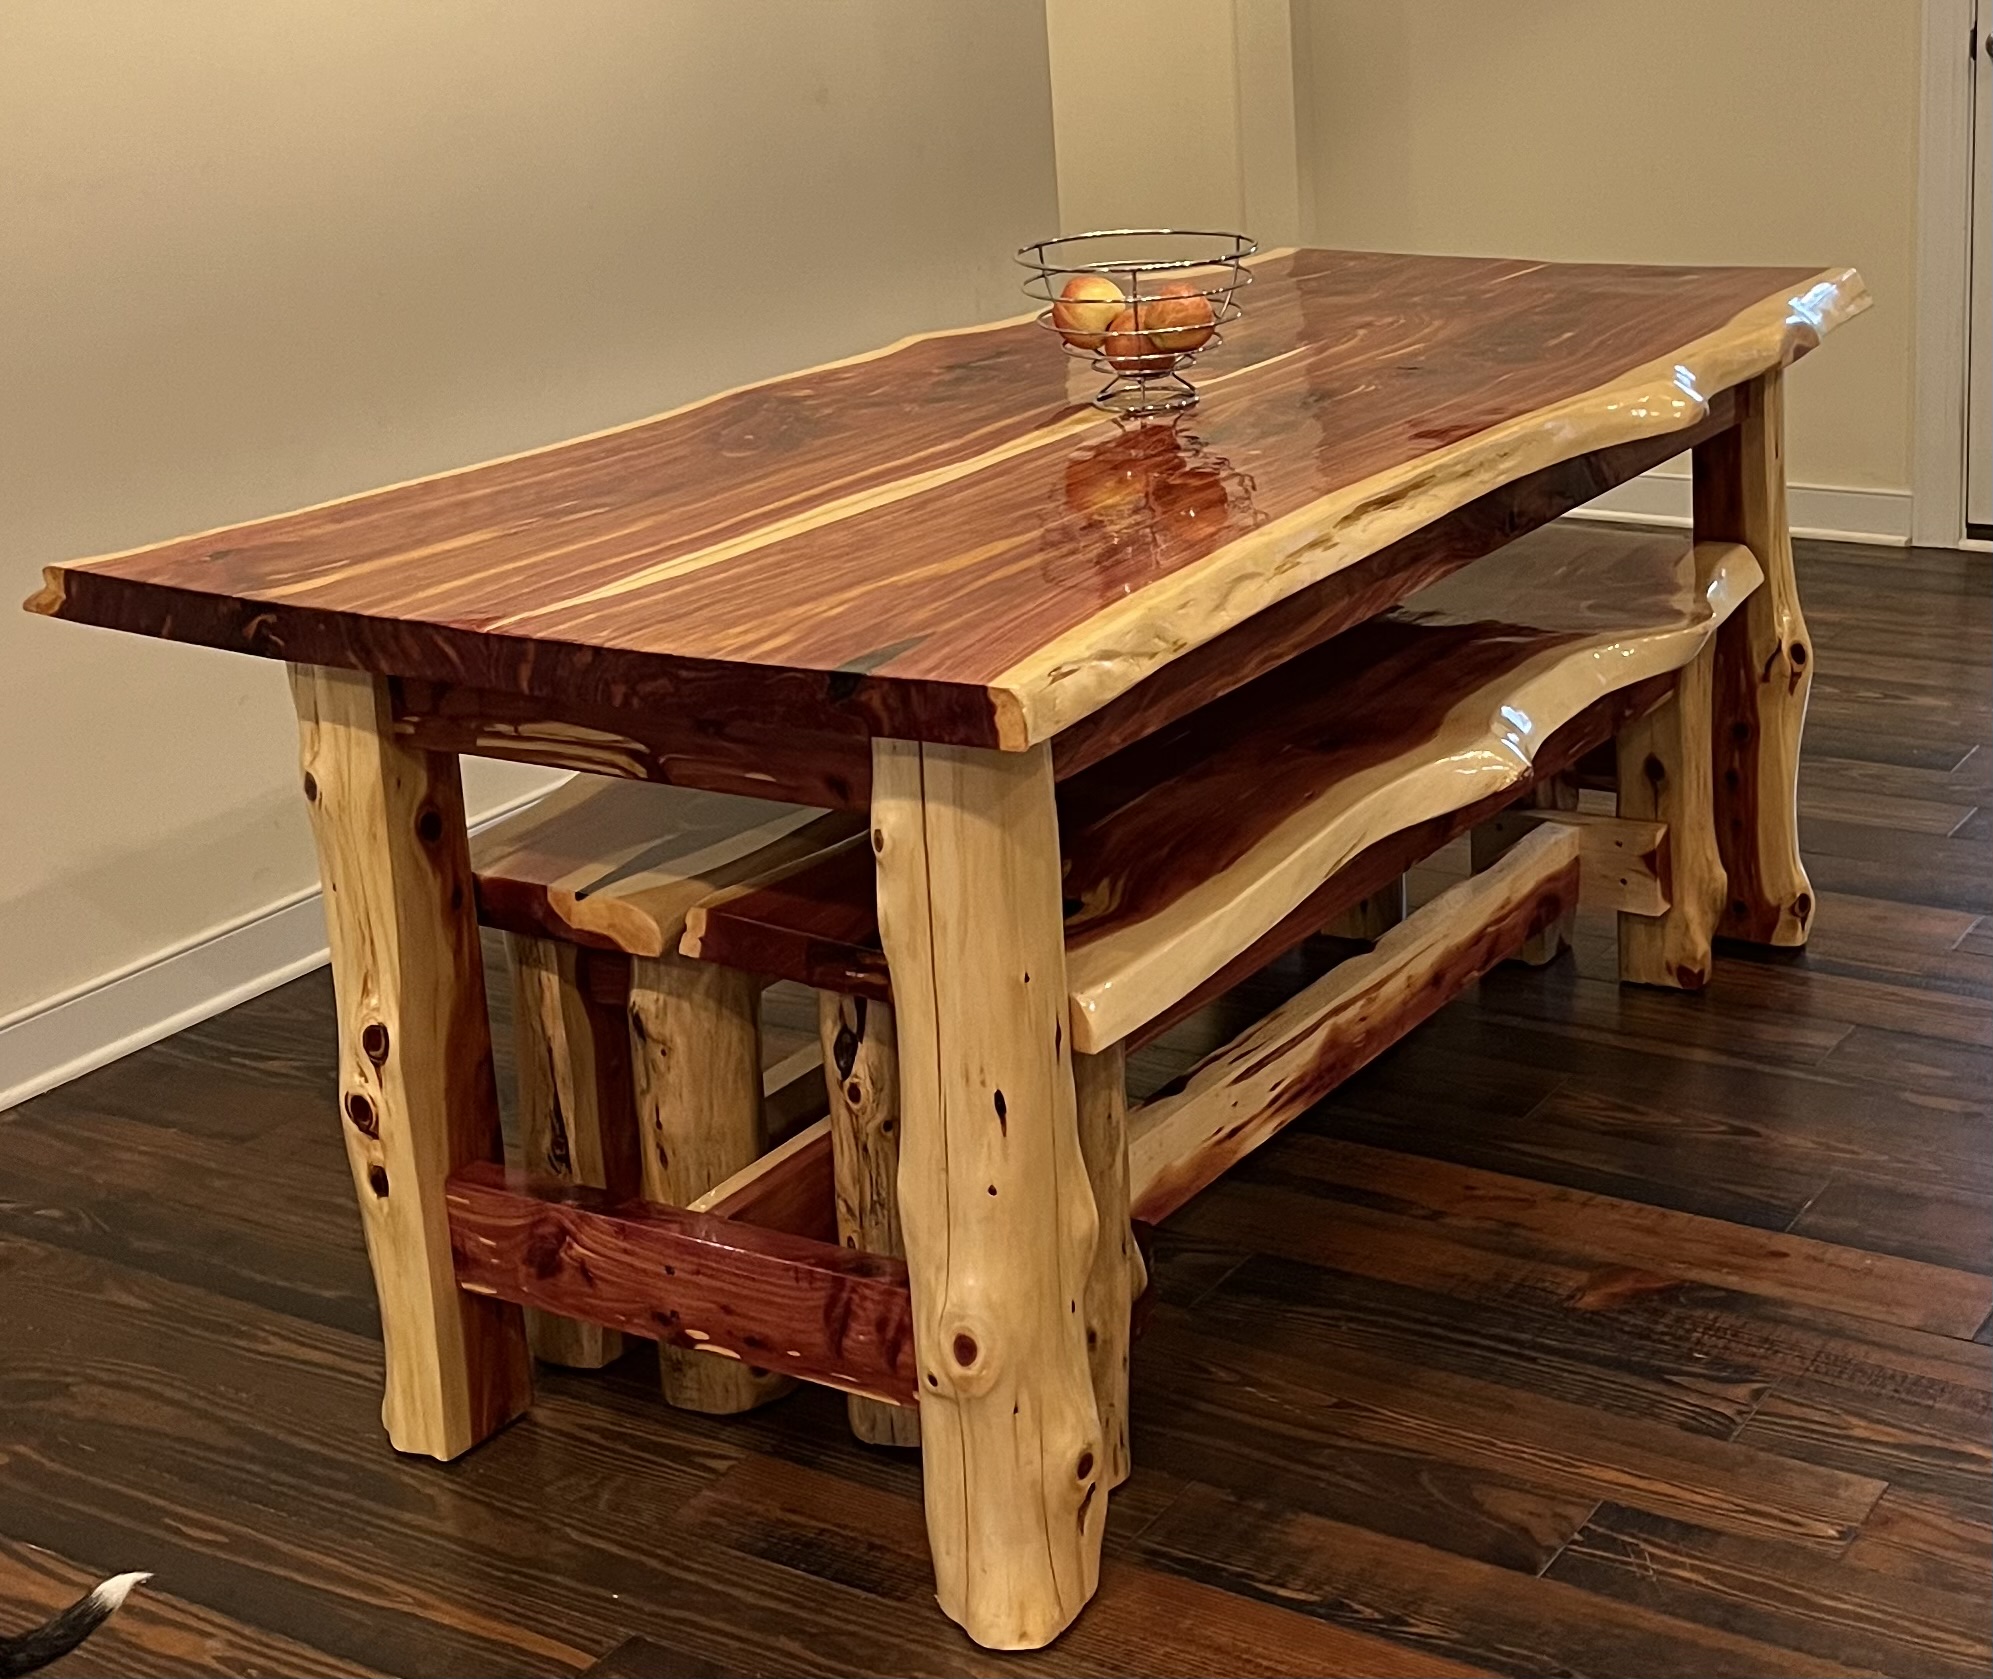
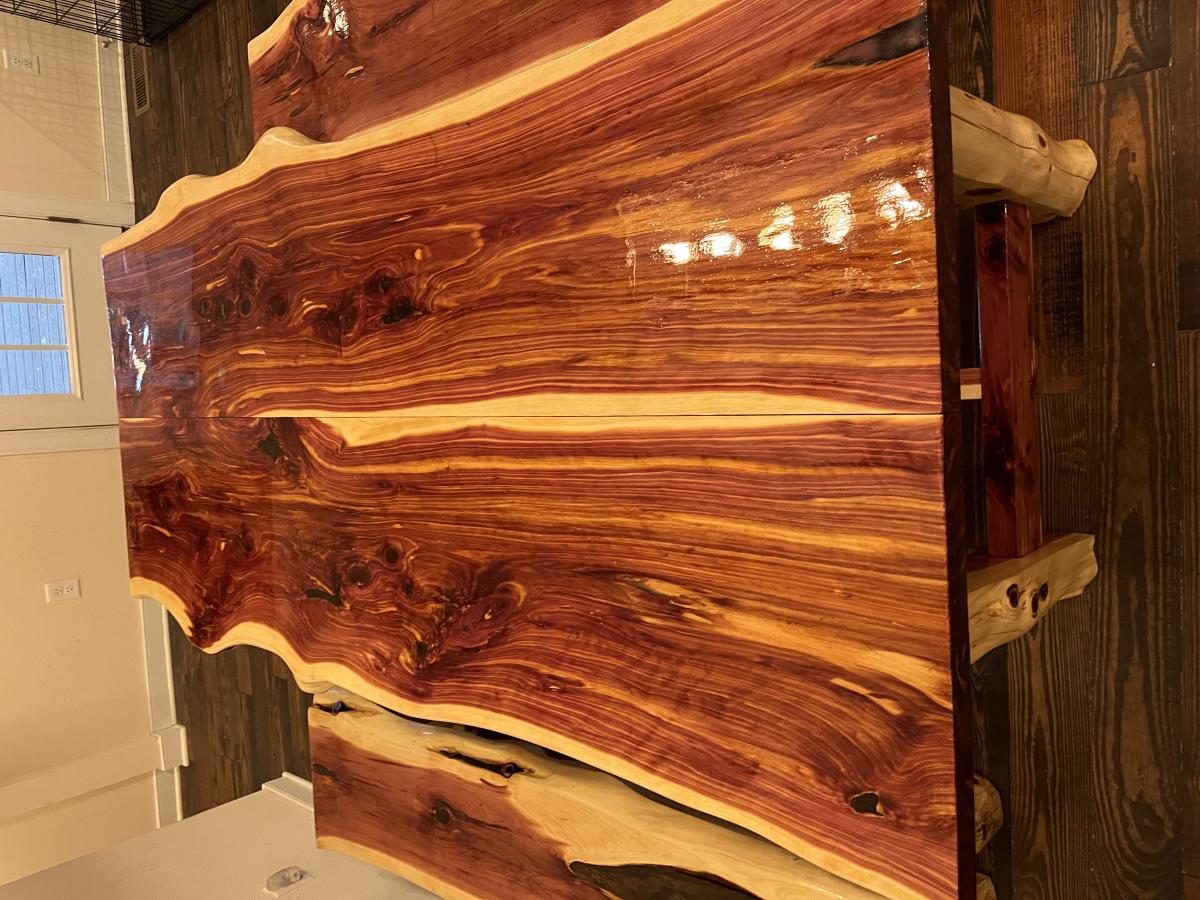
All cut up with our sawmill! Francesca and Bob Schilling. Beaverdam, Virginia
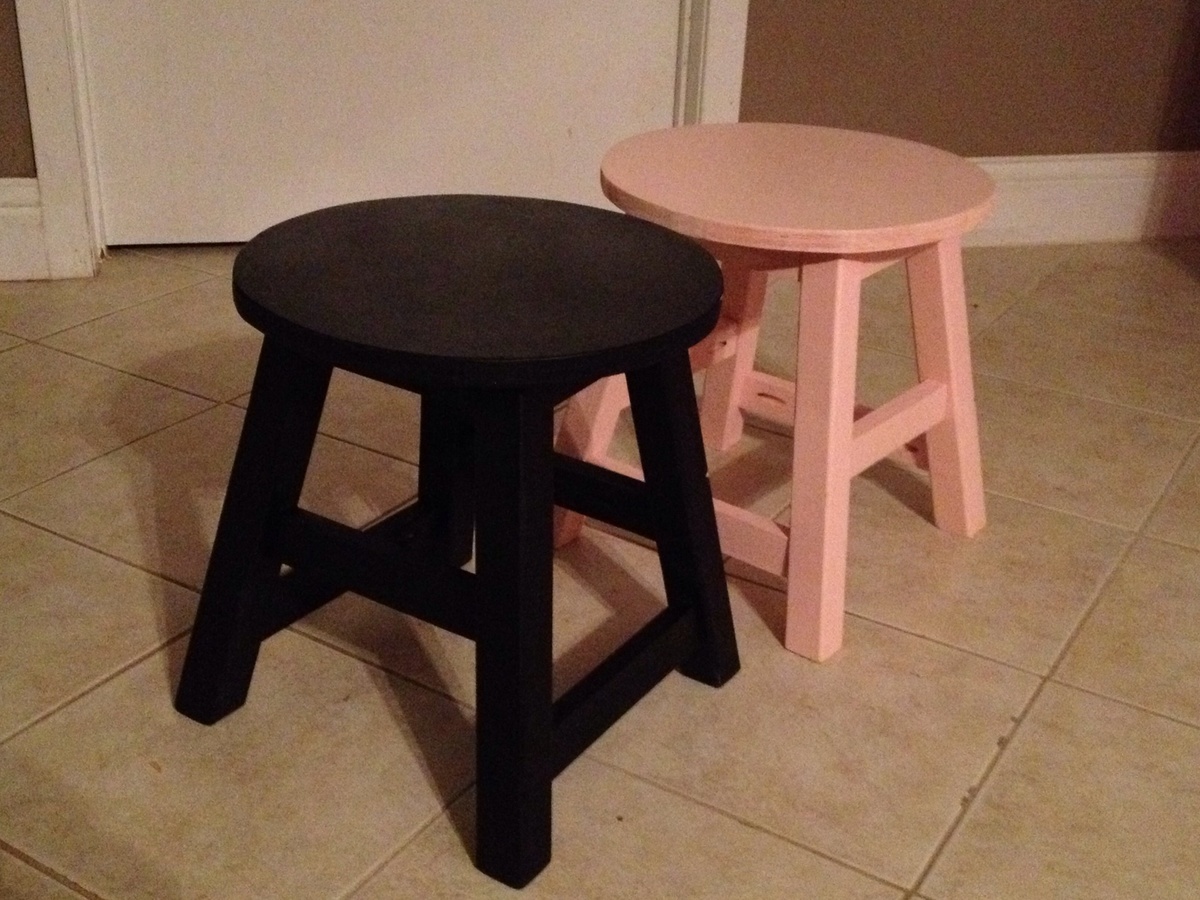
These are the Play Table Stools that I made. I'm a beginner, and these were a little tough for me. I couldn't get the drill in the tight spaces to finish all of the pocket hole screws. I ended up just running a 2" screw through the last leg into the apron. The second one was a little easier because I think I made my cuts better.
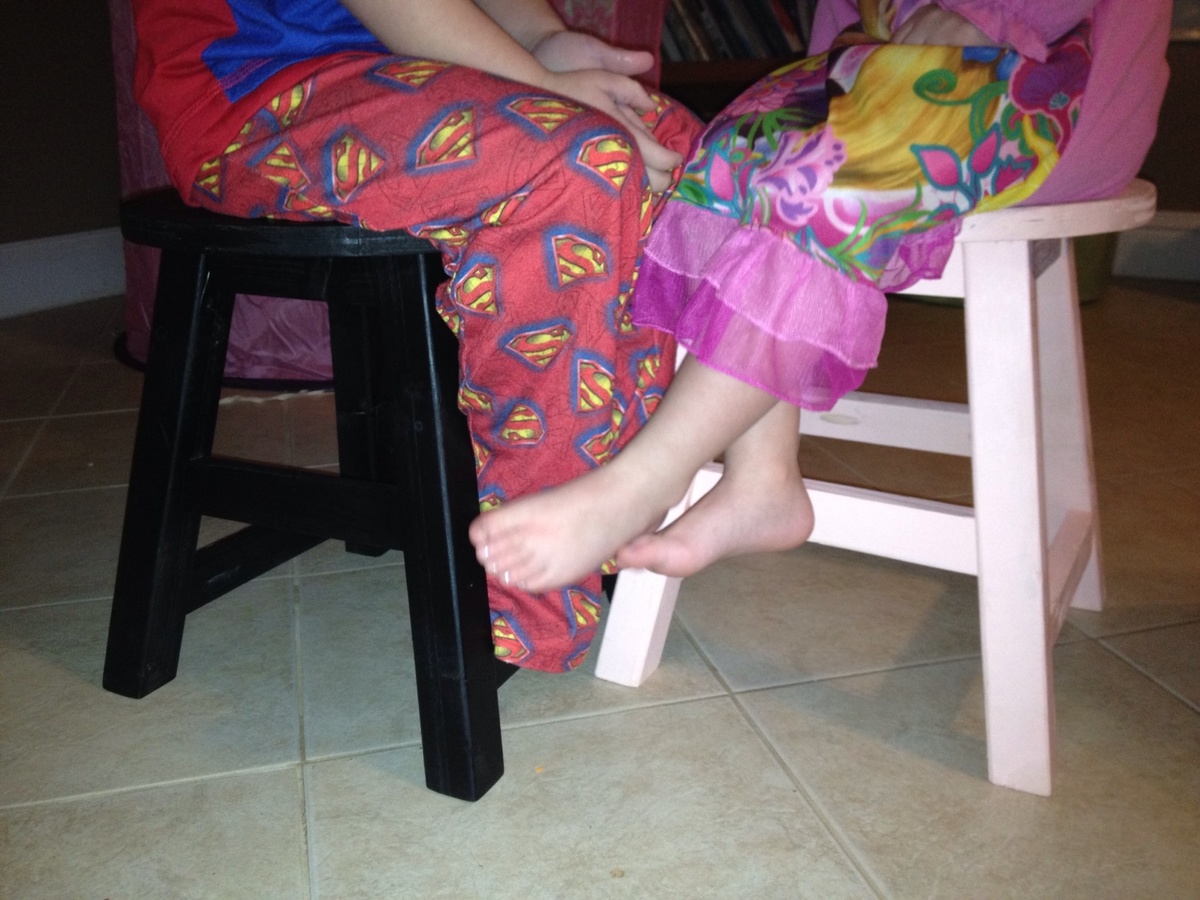
They are both very sturdy, and they are the perfect height for my 4 and 2 year olds. They use them at the drum set and at their desk.
The black one painted just fine, but I should have primed the pink one first. It took several coats to cover the wood.
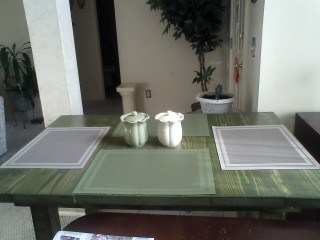
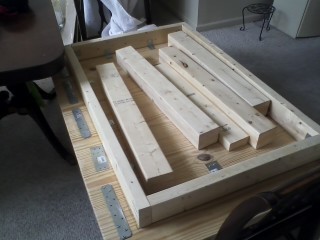
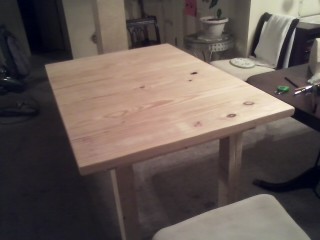
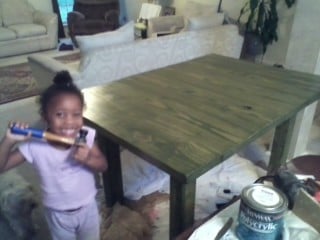
This was my first real build. I did some small furniture pieces for my grand-daughters to get my foot wet. I used the farmhouse table plans but mostly built by memory, which caused me to do it differently. Our Lowes don't carry 4x4's that's untreated so I glued two tx4's to get the legs. I still like the outcome. This build was during the spring of this year and it's still holding up. I didn't have a kreg jig so I used glue and brackets. I've learned so much since building and still learning. I used a water based stain and finish because I was concerned about the spill my grands would make. I'm planning on doing my dining table differently (using my mini kreg).

Wed, 12/18/2013 - 08:20
I really like the finish on your table! What brand and color did you use?
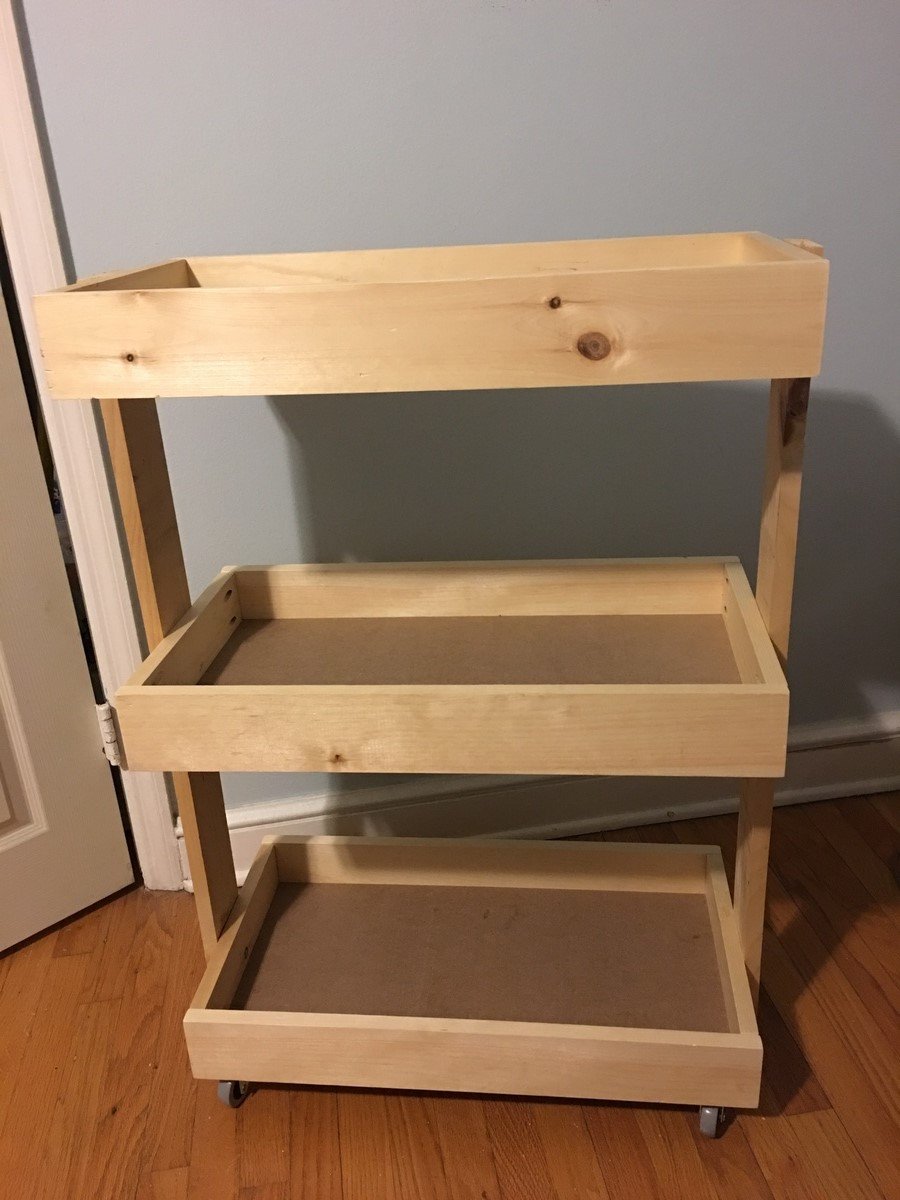
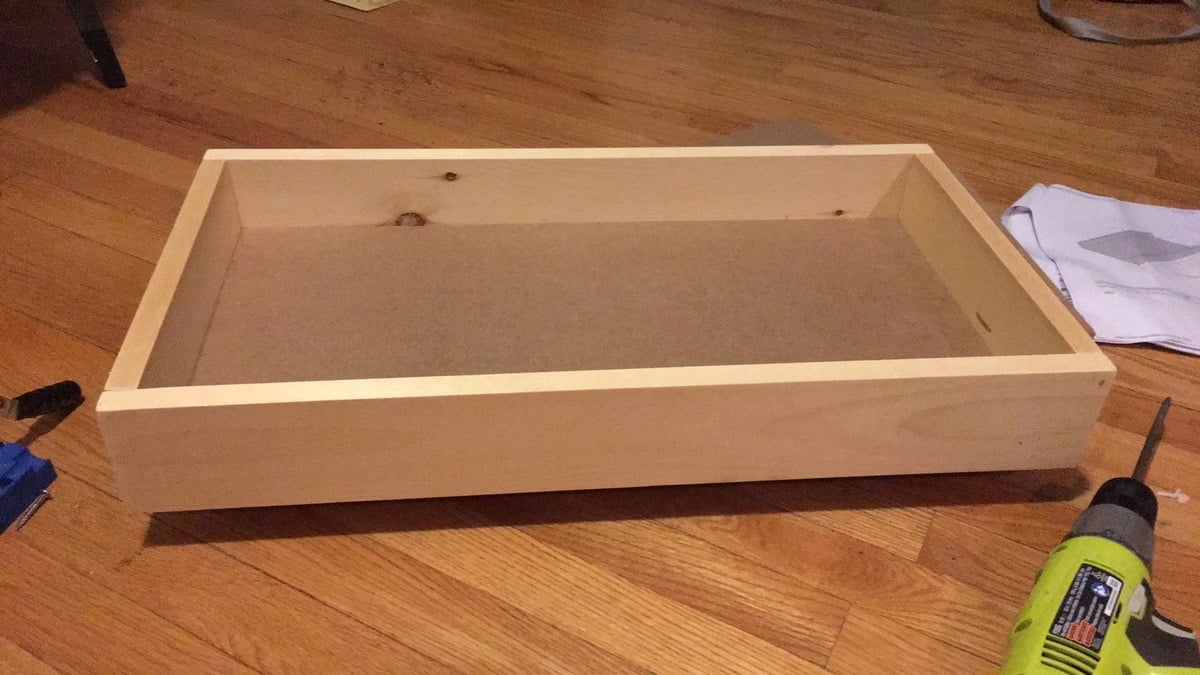
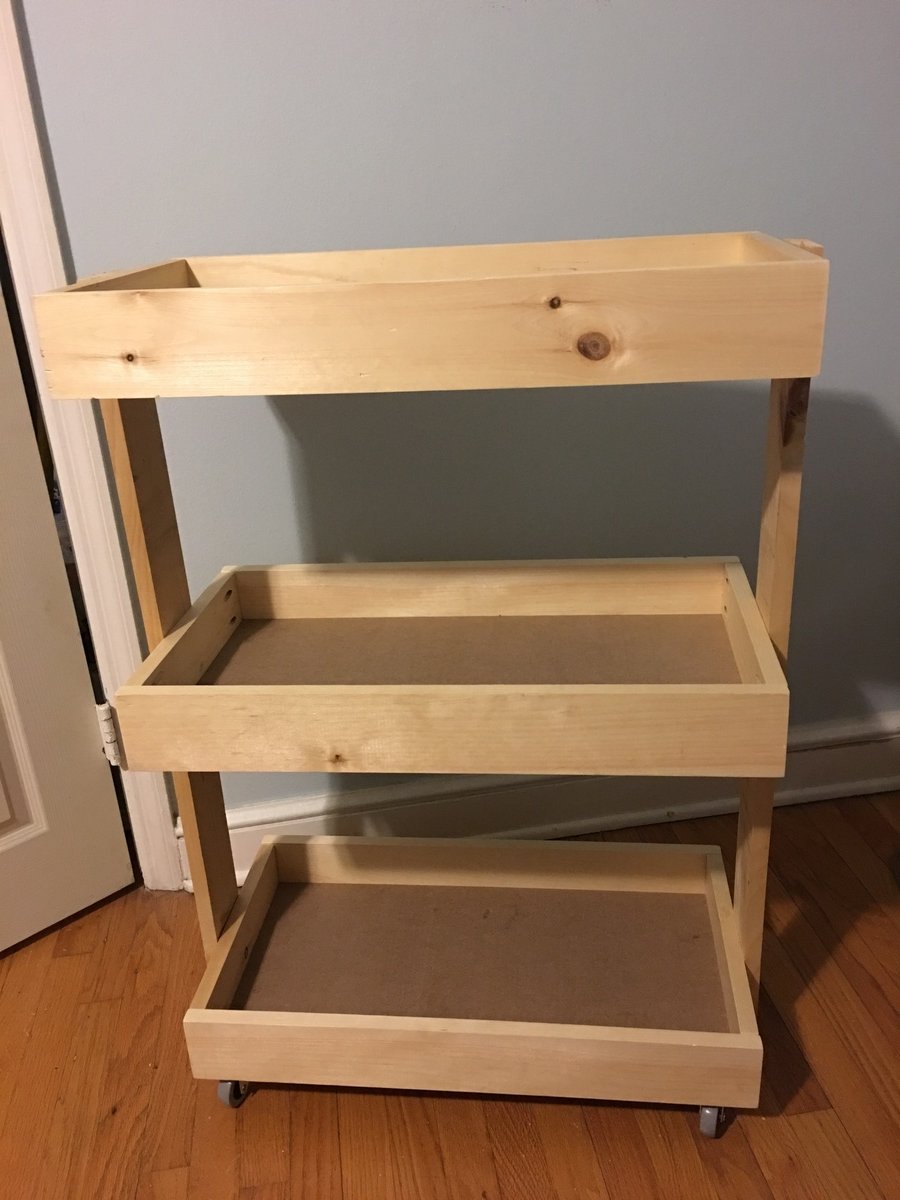
Wanted a Raskog cart from IKEA but honestly it was too small. Used scraps from my craft desk build and purchased the wheels from IKEA. Just need to finish her off. Love Ana's plans. This is my third build from her plans.
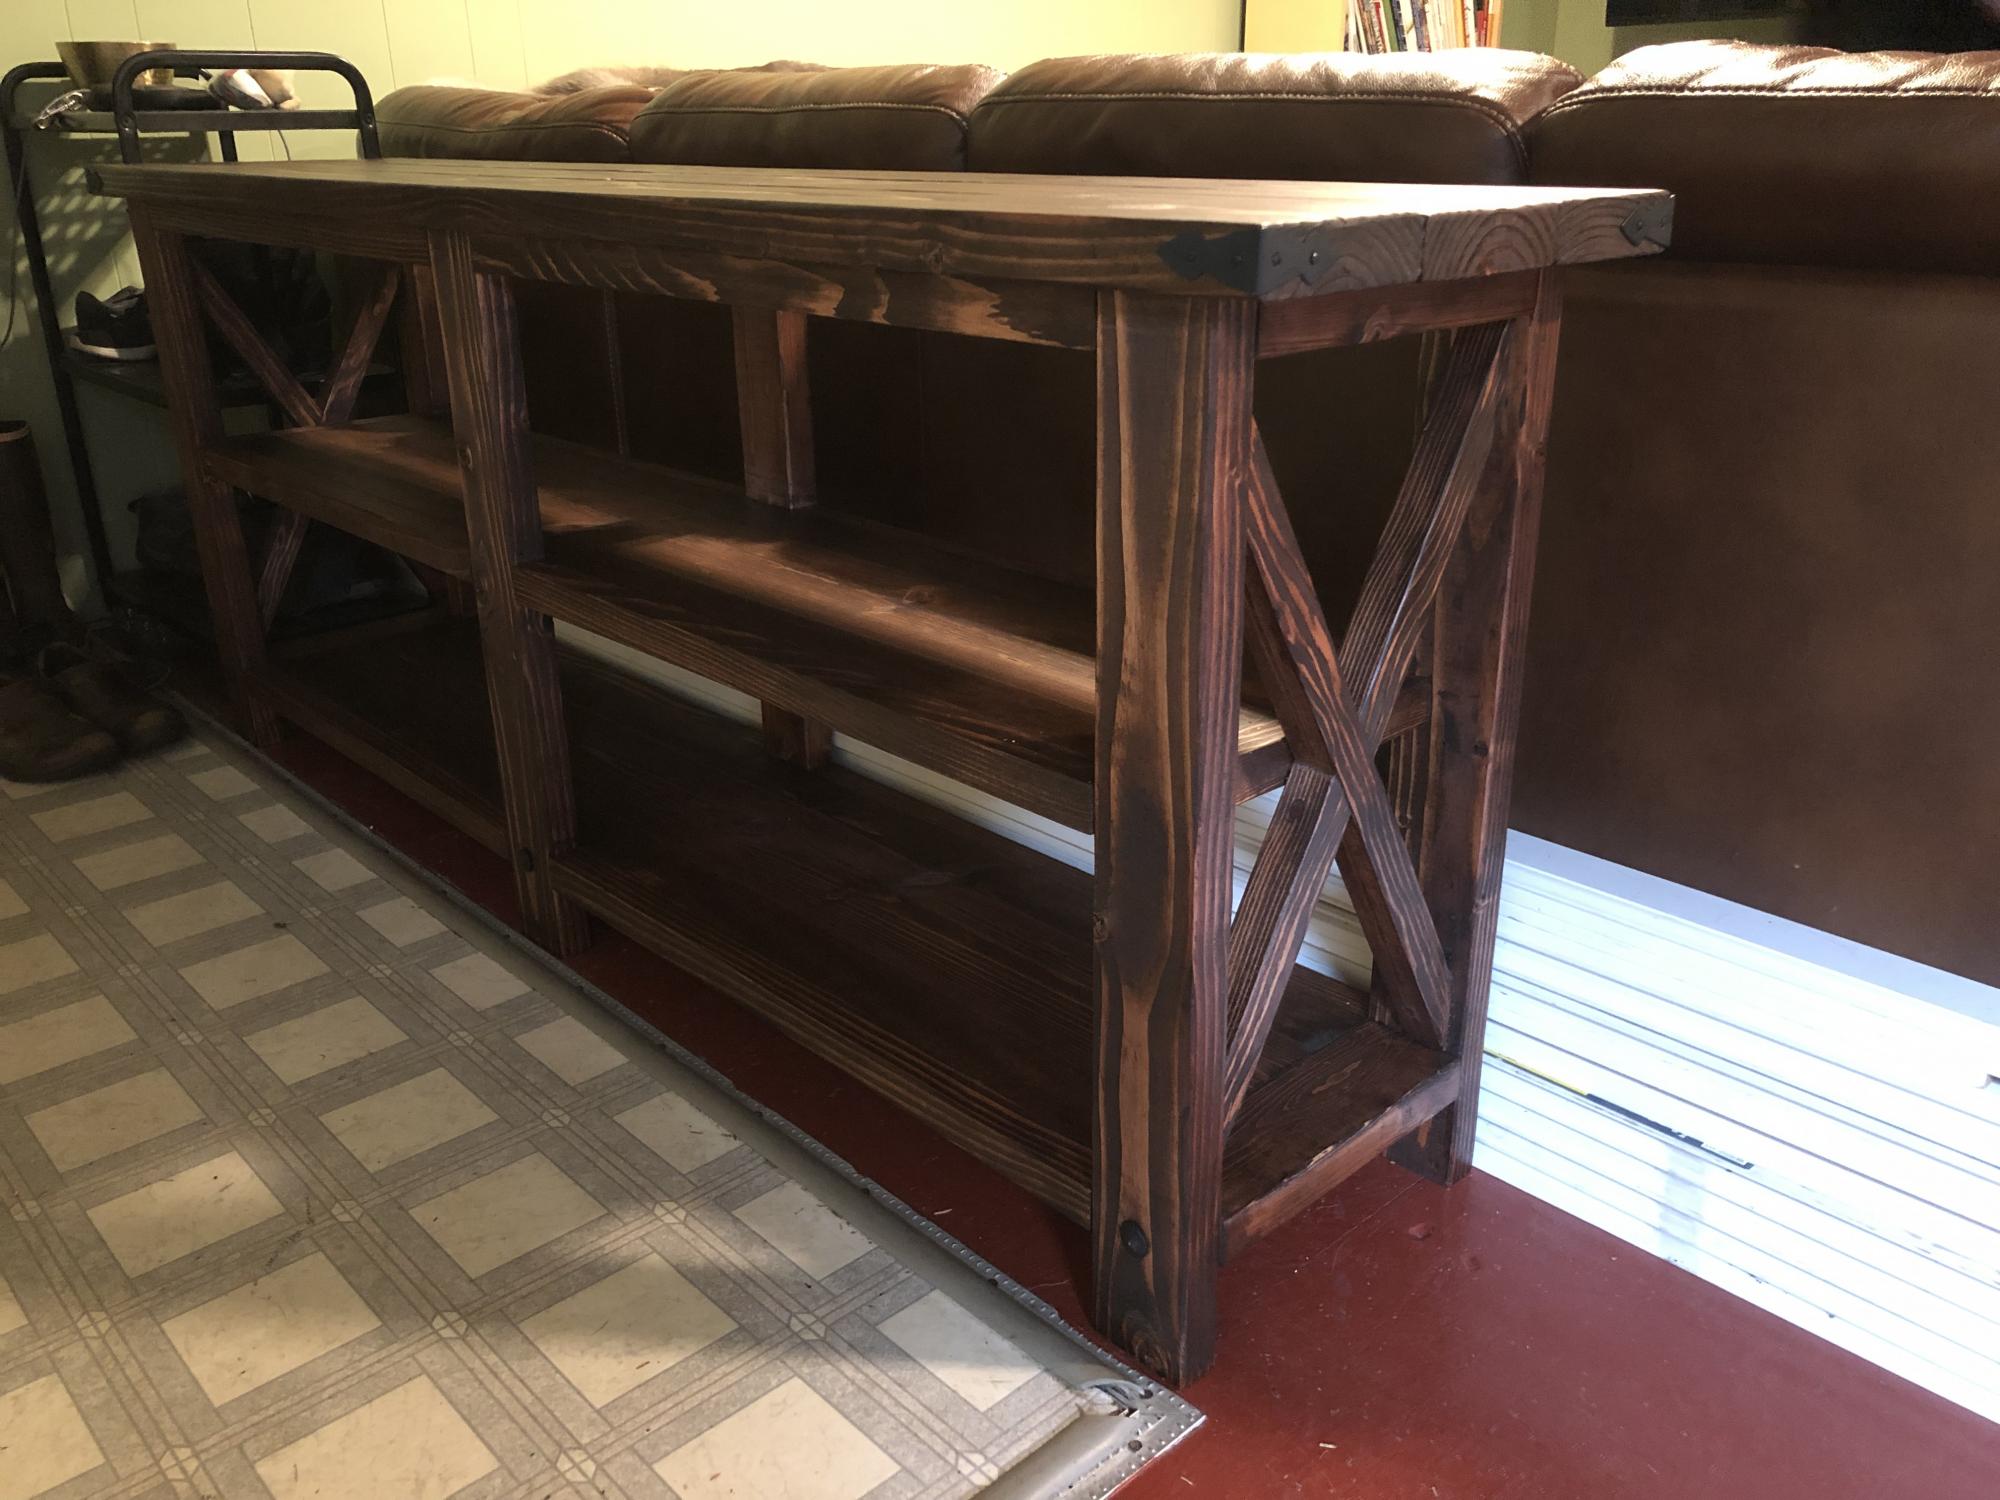
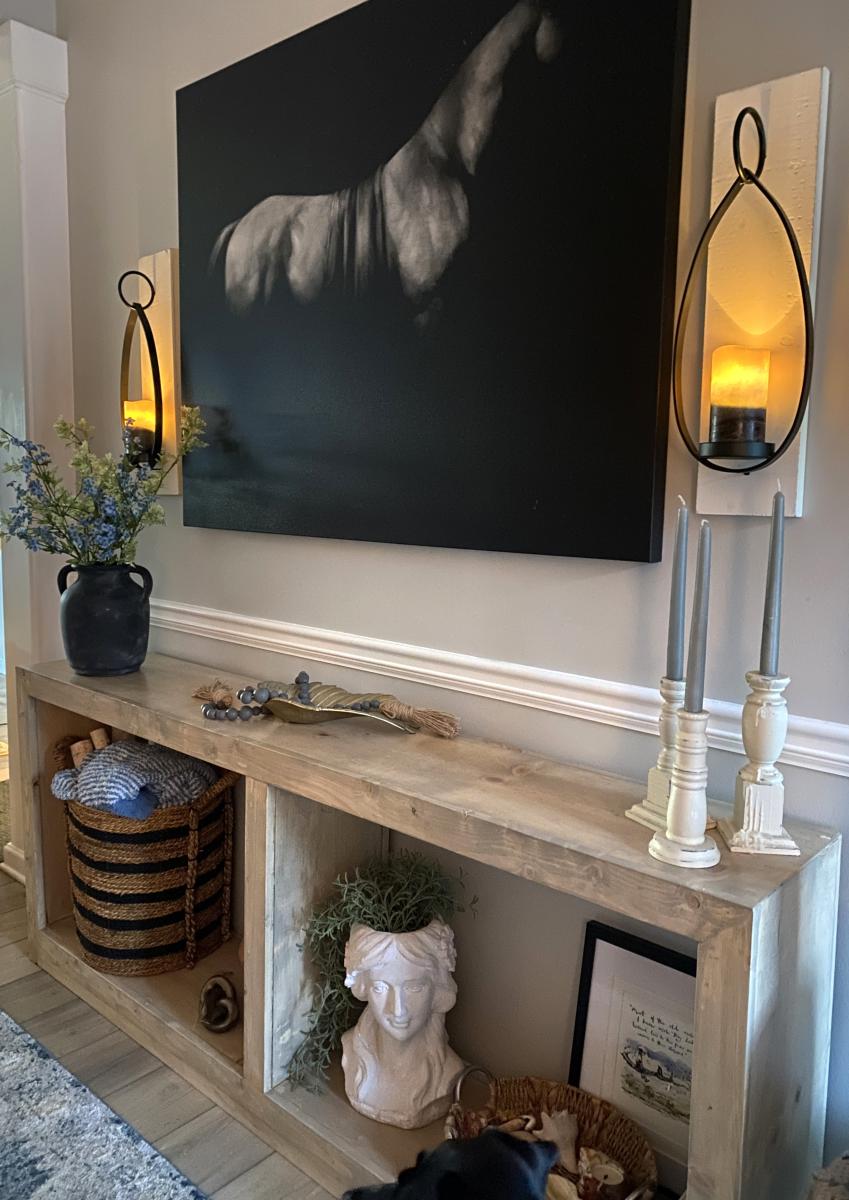
Made from the rustic Console Table plans, used a dark oak stain and antique oil finish.
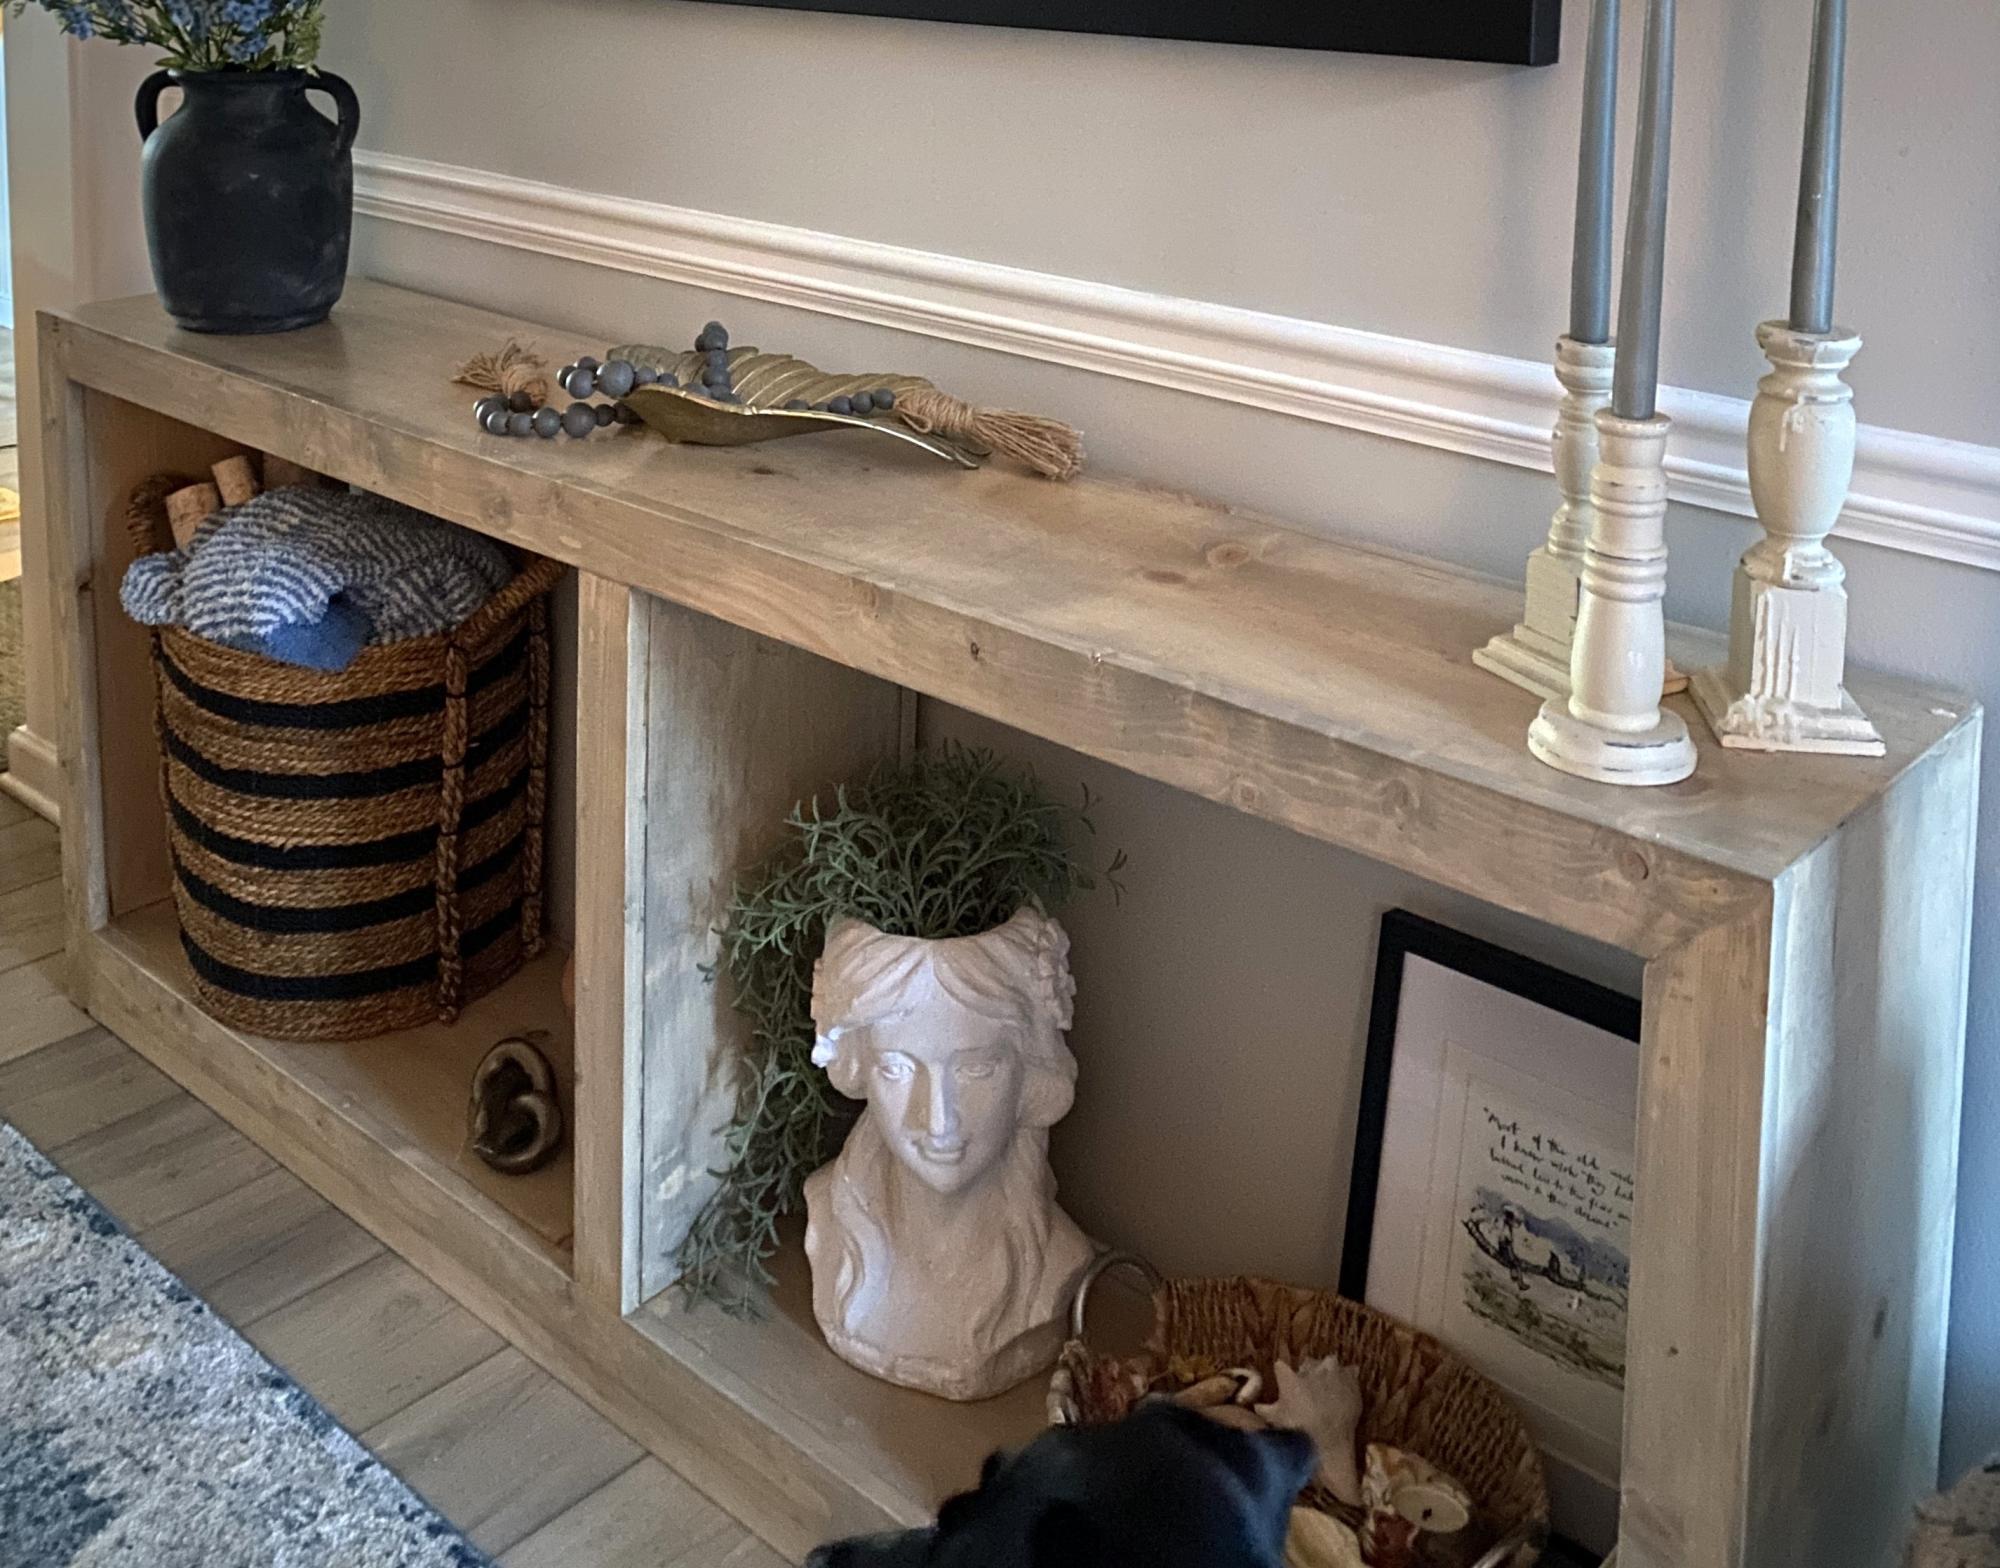
I used the Grand Waterfall Console plans, but modified them to be 72 inches long instead of 84 inches. Overall, I learned a lot during the process, but wood filler, sanding, stain, and finishing with polycrylic made all the difference in the end. The hardest parts for me were the mitered cuts. I think if I did it again, it would look even better!
Deb
Thought I'd try two tone. A bit of a challenge after it has been assembled. Have to tape off, etc. The yellow ended up being brighter than I wanted so I decided to put stain over it and wipe it off for an aged look. The biggest challenge for me was getting the rounded ends, that the dowels go in, just right. Can be quite frustrating when you are a perfectionist but your skills aren't quite there yet. However, still happy with the outcome!
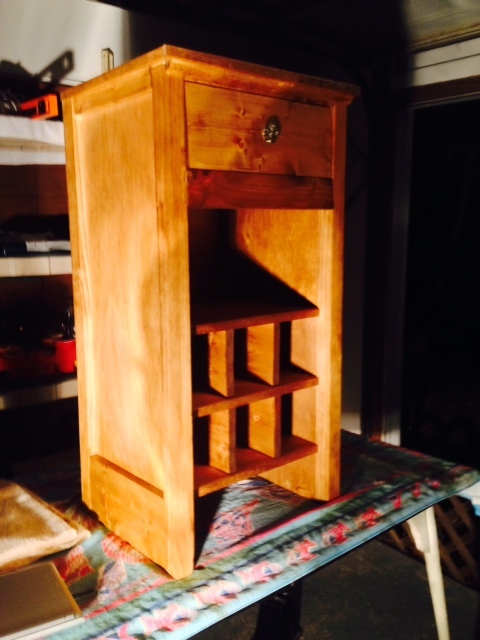
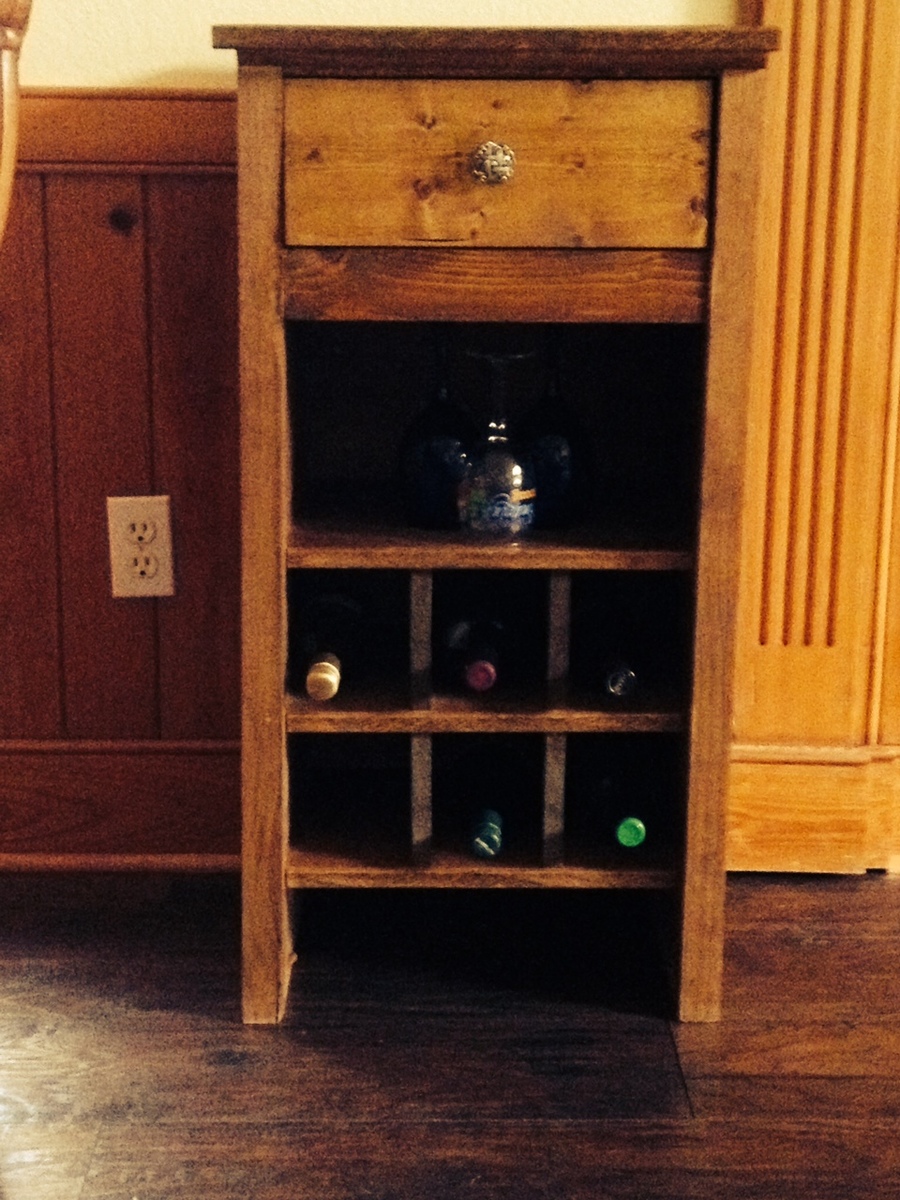
I made the mod bar and made some adjustments for what I needed. DIdn't need alot of wine racks. Getting the drawer on the slides was a real challenge. I added some trim that's hard to see in the pic. I will add another pic when I get it finished and in the house. Just used plywood and pine boards, and stained it with Golden Oak.
