Bookcases
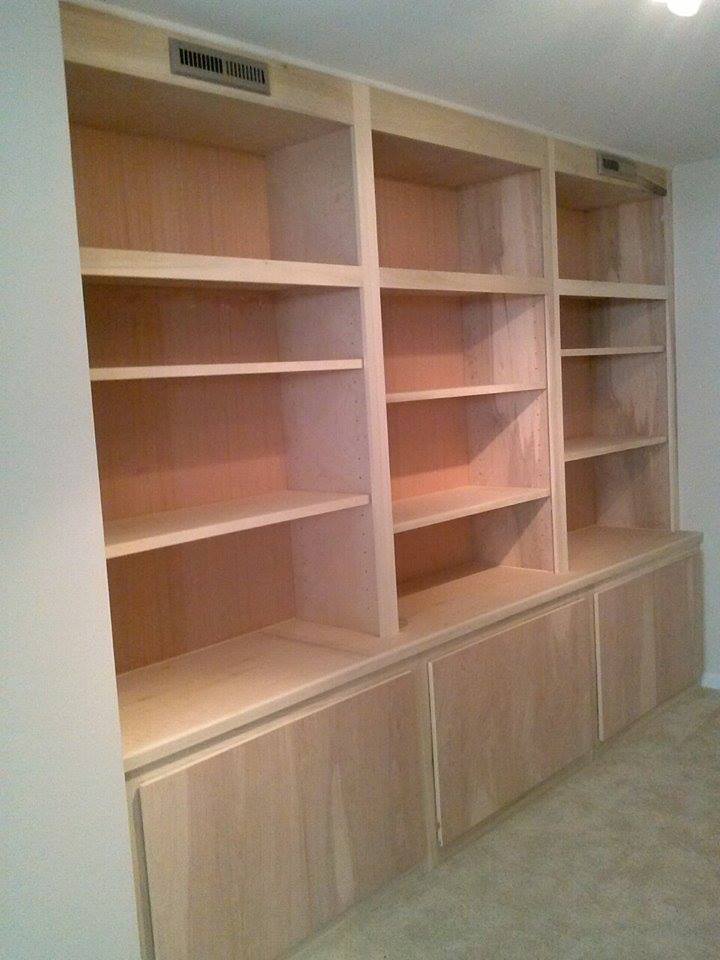
I own a small cabinet shop, in Missouri, we build several types of book cases fireplace surrounds and kitchen cabinets, would love to expand.
Maybe check us out @ Patriot Cabinets and Woodworking on Face book.
Jim

I own a small cabinet shop, in Missouri, we build several types of book cases fireplace surrounds and kitchen cabinets, would love to expand.
Maybe check us out @ Patriot Cabinets and Woodworking on Face book.
Jim
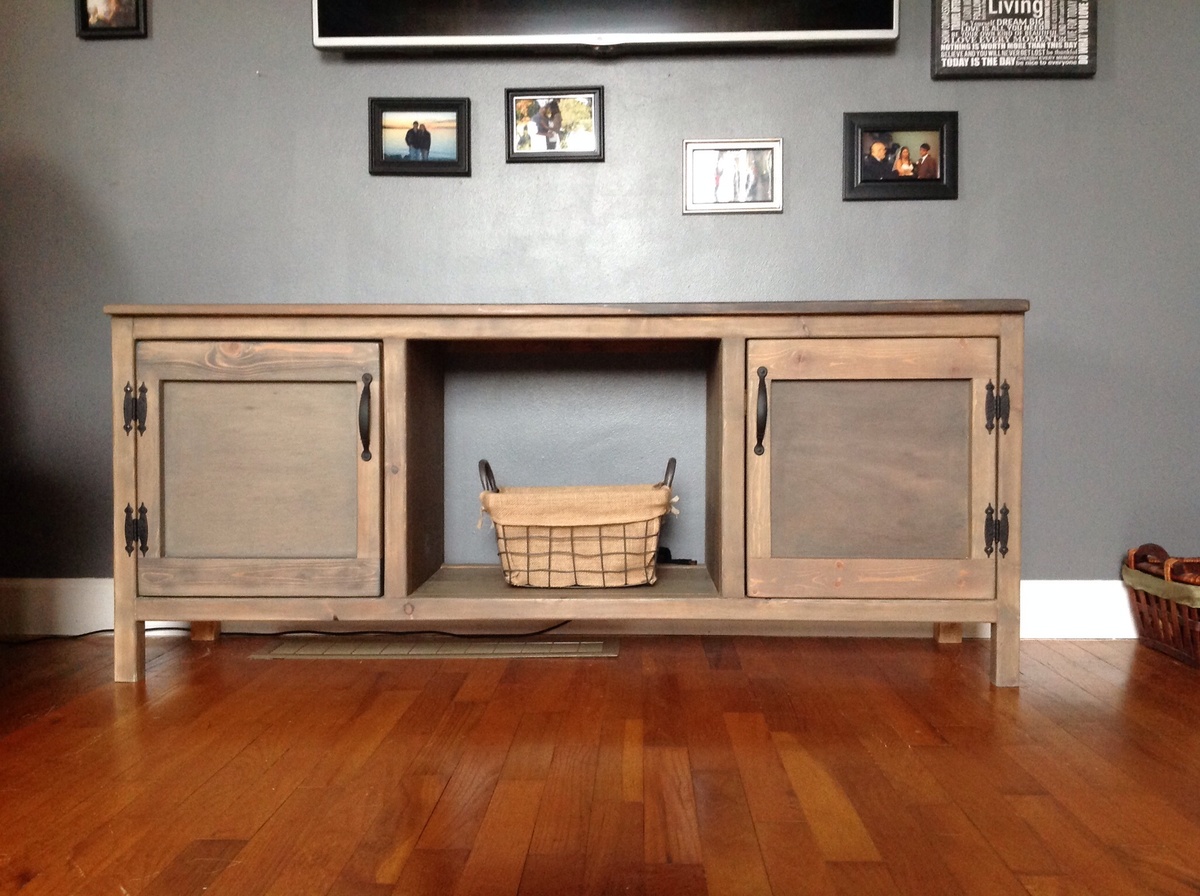
We were looking for a temporary desk to fit in a space next to our fireplace until we can build some built-ins. We modified the width and depth to fit. This was super easy. We love it.
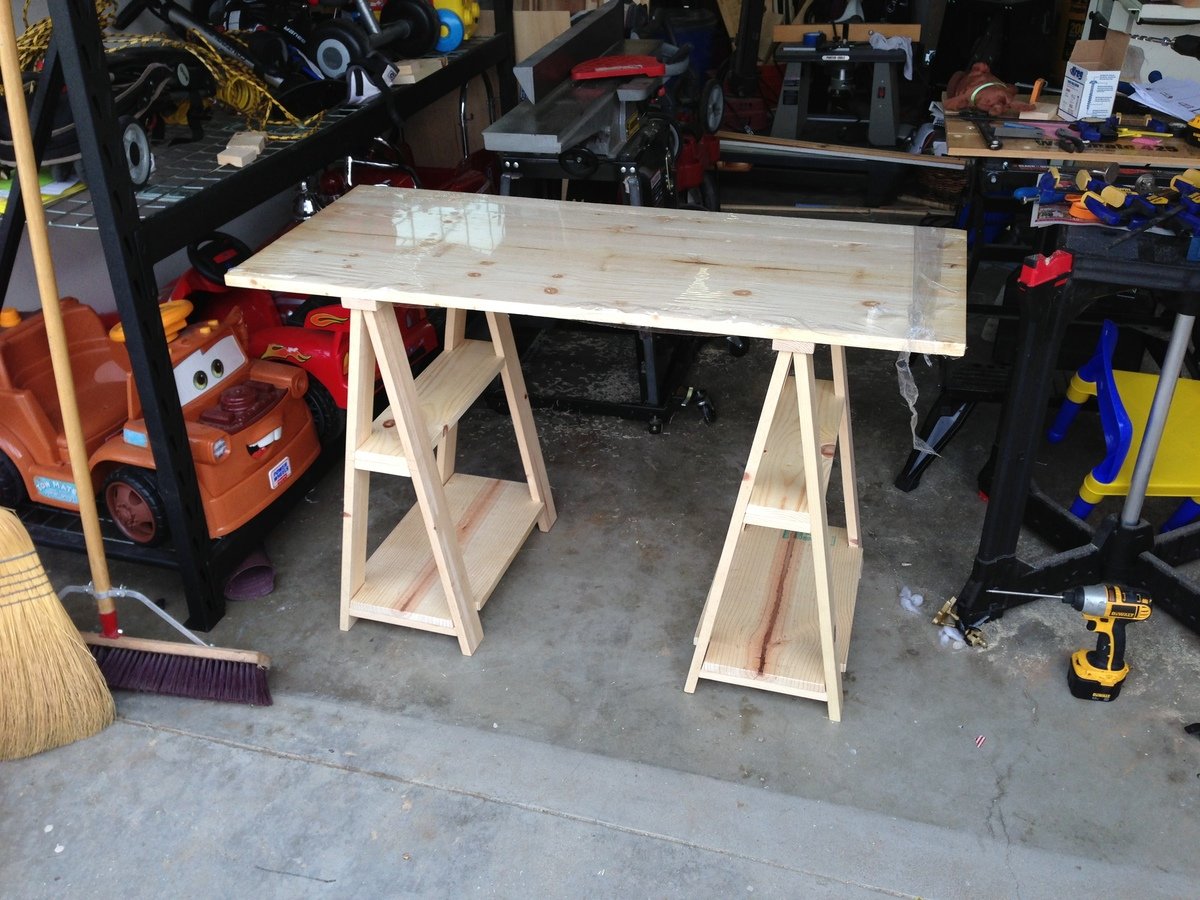
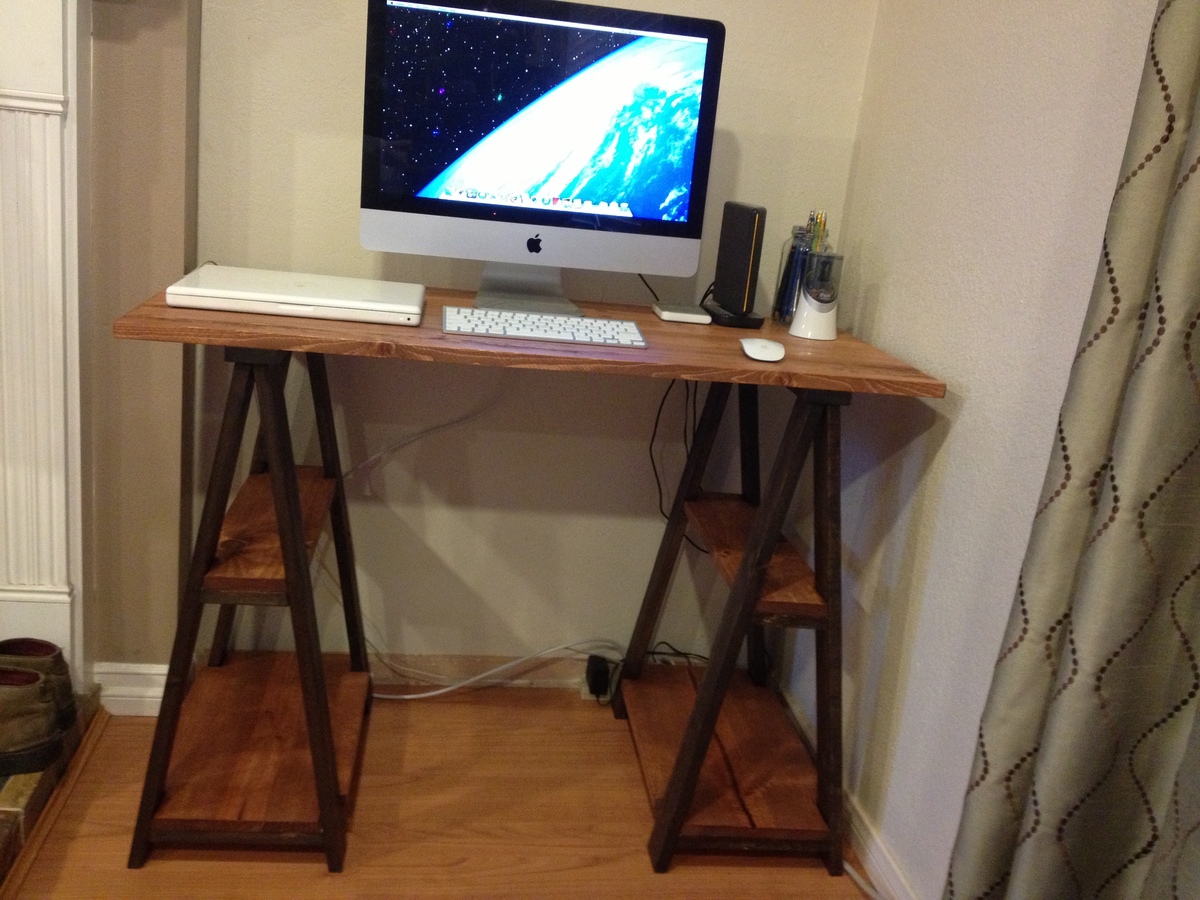
Love this piece! Thanks Ana!!!
Thu, 11/13/2014 - 13:38
This looks great. I like that you still have the option to add a shelf in the middle down the road. I really like the finish. Great job.
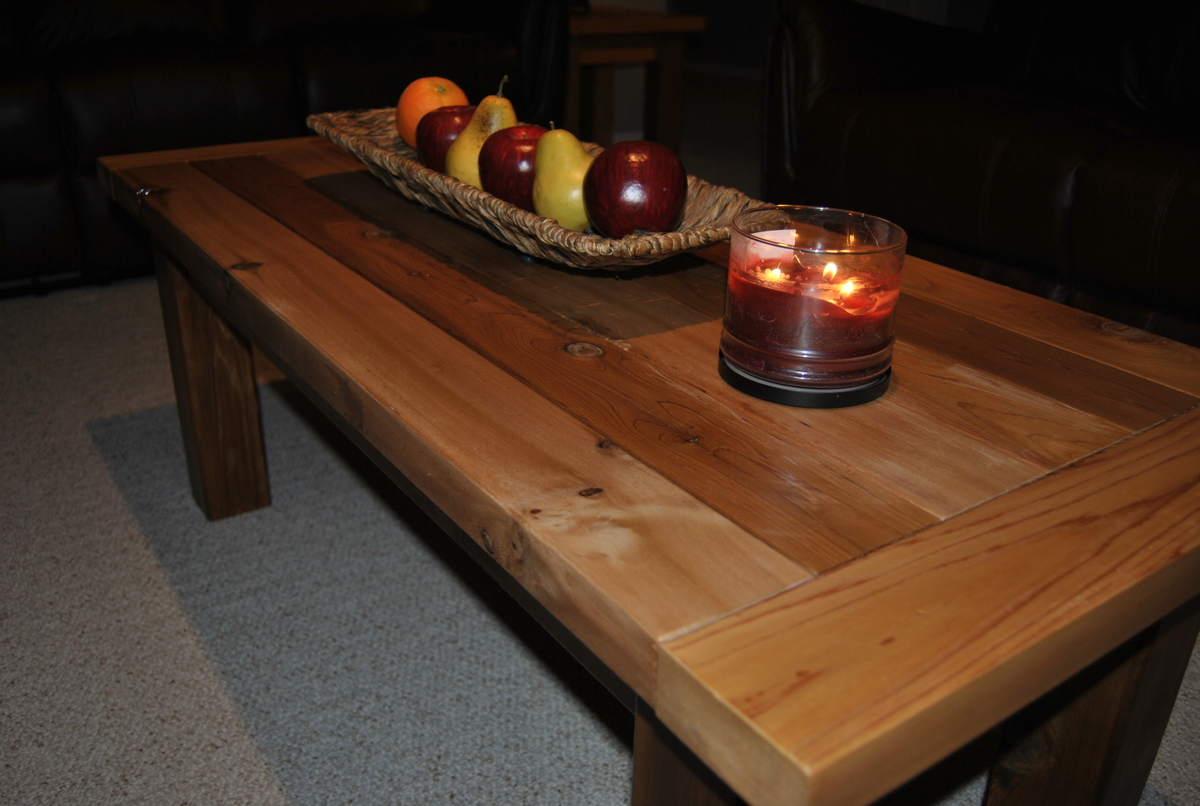
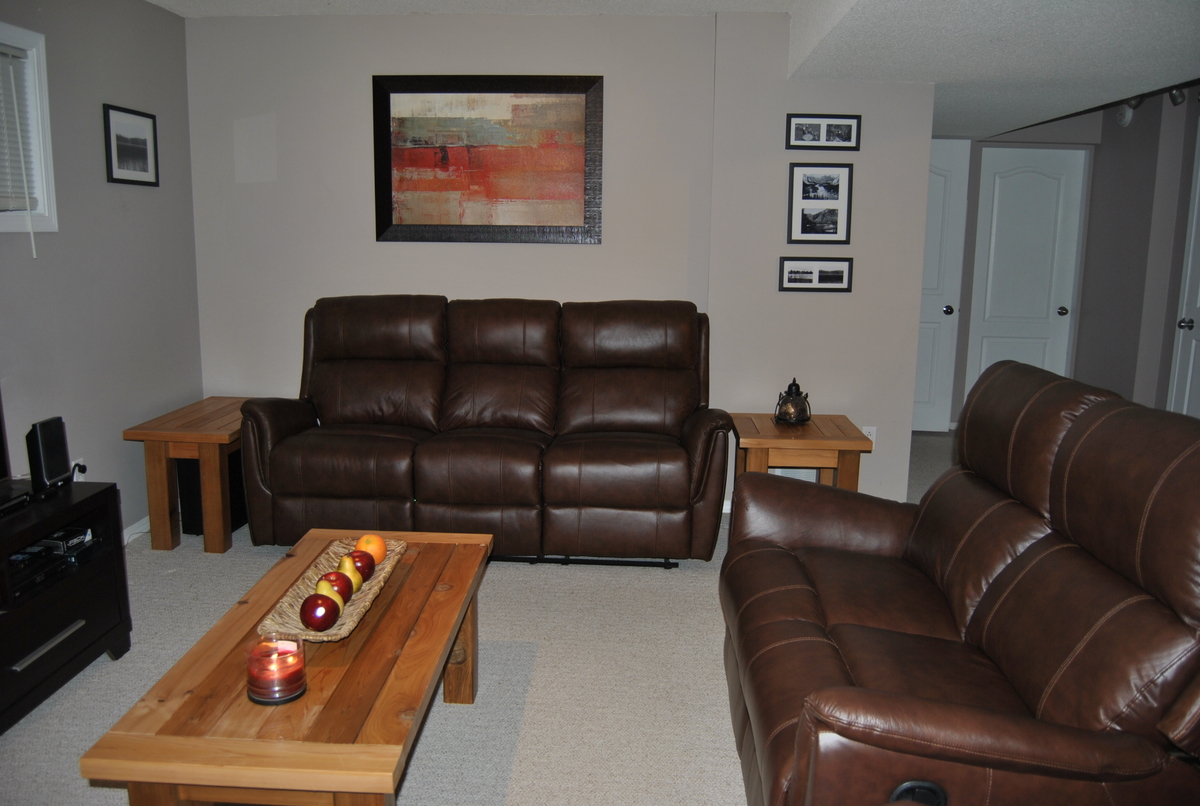
This set of tables is exactly what my fiance and I were looking for. Its rustic knotty look pulls the room together and glows a warm colour when the fireplace is on. Thanks Ana!
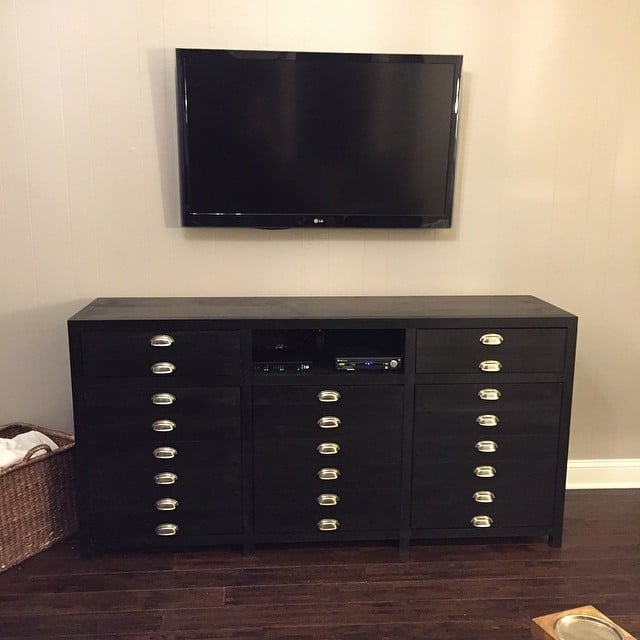
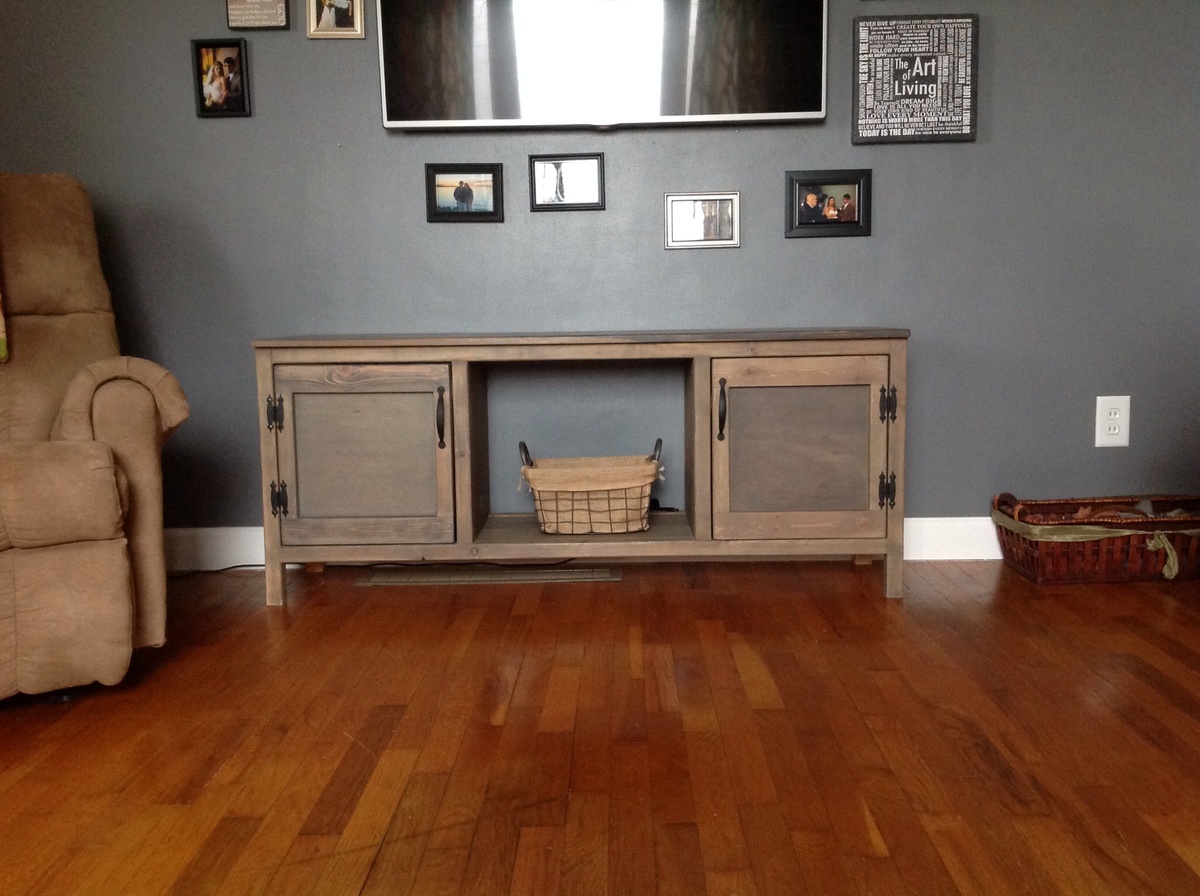
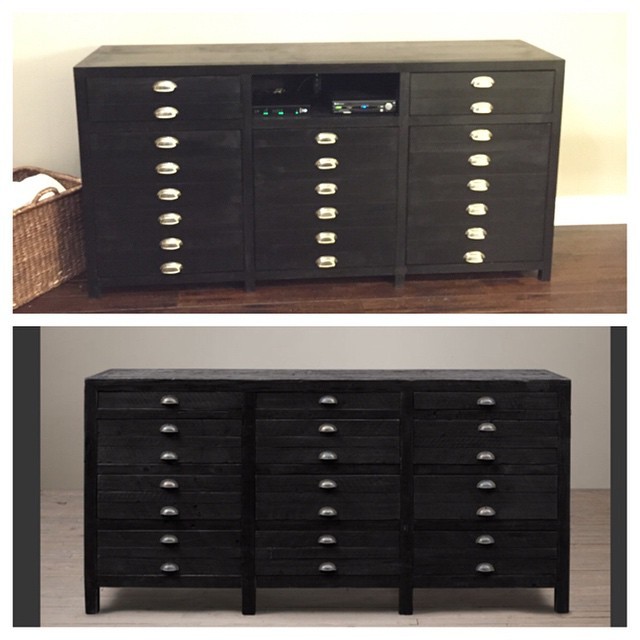
We used the plans but slightly adjusted them. We added a piece of lattice to the inside of the cabinet for a door stop, and left out the center drawer and made a shelf instead for our cable box and internet. The second photo compares it to the Restoration Hardware piece that costs upwards of $1400. Total I spent just under $400. We bought the hinges and cabinet pulls on overstock.com.
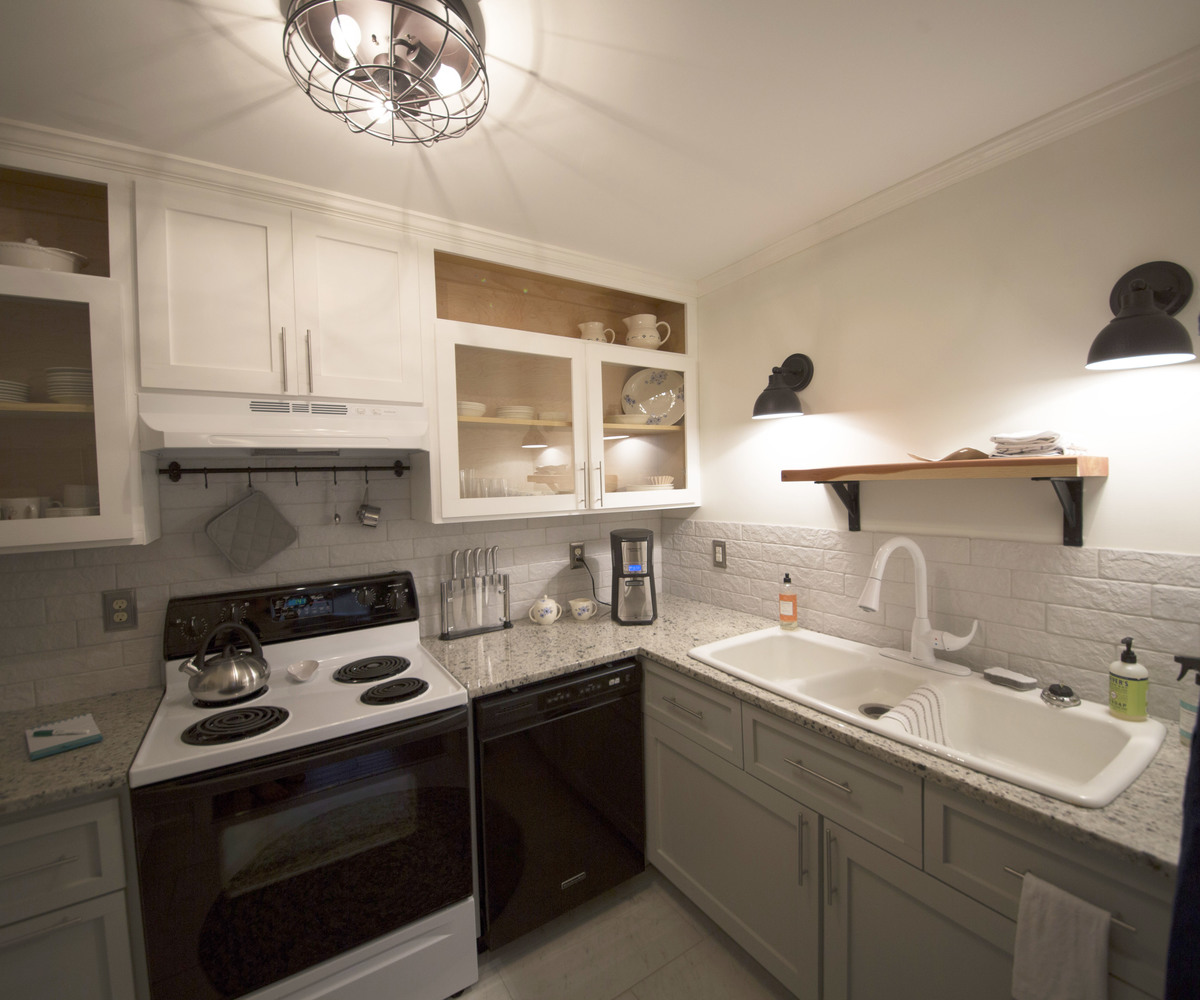
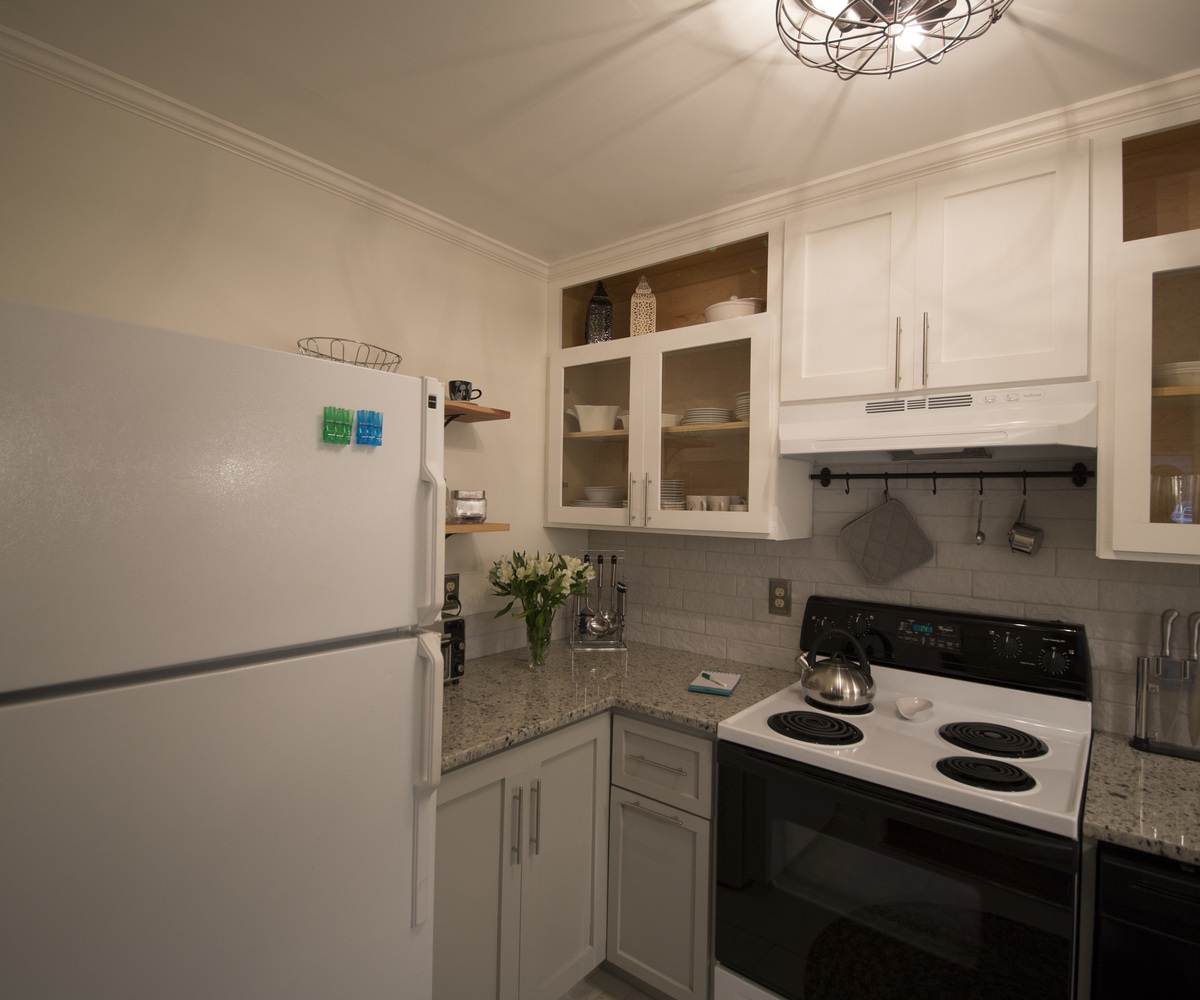
I took an old storage closet and turned it into a kitchen so that we could rent out our downstairs using Ana's basic cabinet plans altering them to fit my space. I really liked that she used 2 x 6's for the base of the cabinets and it worked out perfectly for the toe kick.
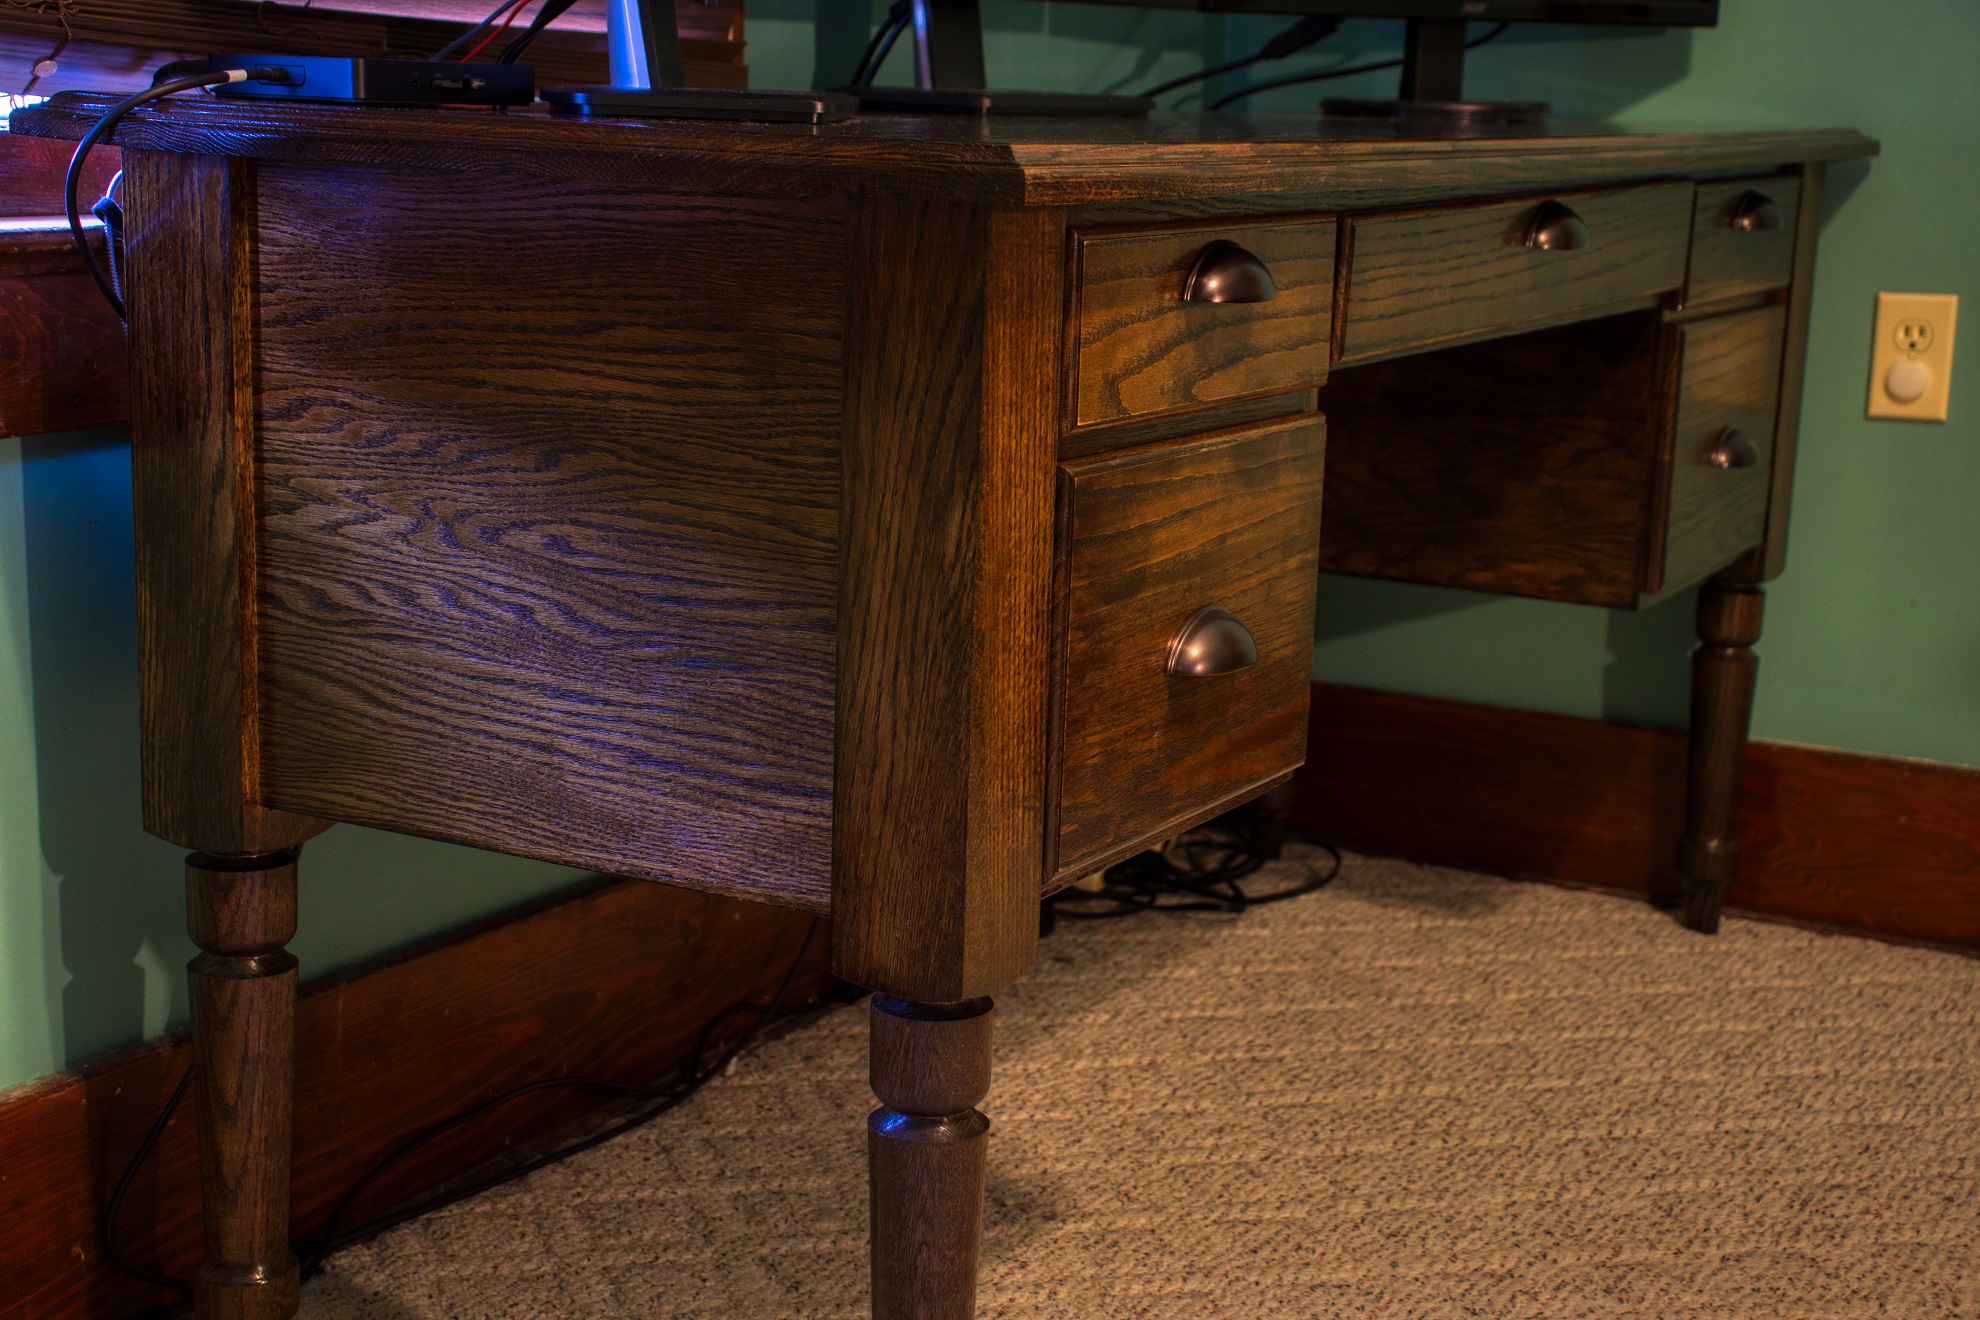
I know it's been a while since you and Pneumatic Addict worked on the Pottery Barn Keyhole Desk but I wanted to let you know I was so inspired by it that I built my own. I also made a build video: https://youtu.be/AzkjgI3VmAo. Thanks for your great inspiration!
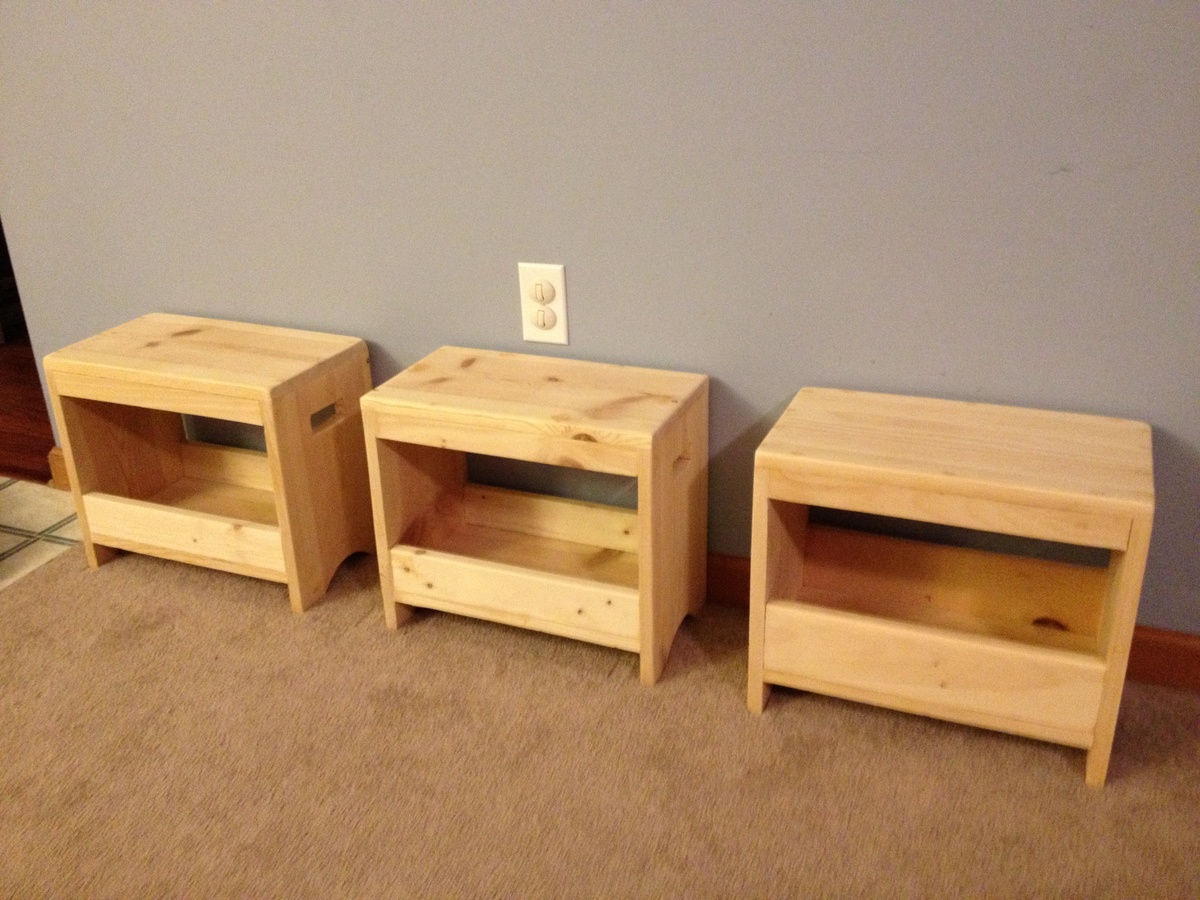
Well I have found your site through Pinterest md now I am Addicted. Not only did I make one stool, but now three ( one for each of my boys). I will be finishing them shortly. But since it is my first project I wanted to share and thank you for the plans.
Next up is a sofa table (90% done already) and the media center (which I will float and use as storage for kids toys and double as a window seat)
Anyway, these stools are great, the kids love them and thy will go great in the kids room under the camp loft bed or loft playhouse bed (my next project :)
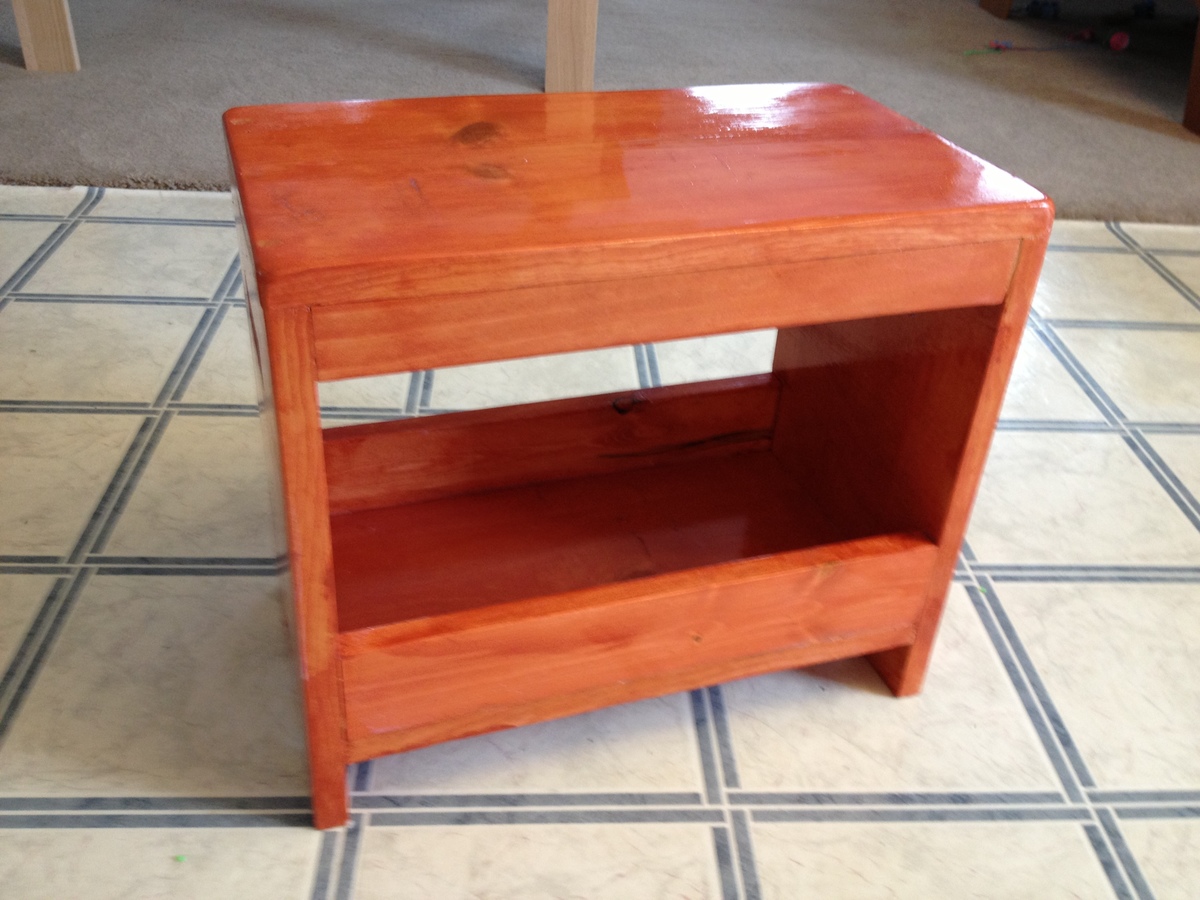
Fri, 01/25/2013 - 21:46
This is a nice project. I gotta make one for my nephew.:)
Wed, 01/30/2013 - 07:36
thanks, they really like them - simple but practical and useful project
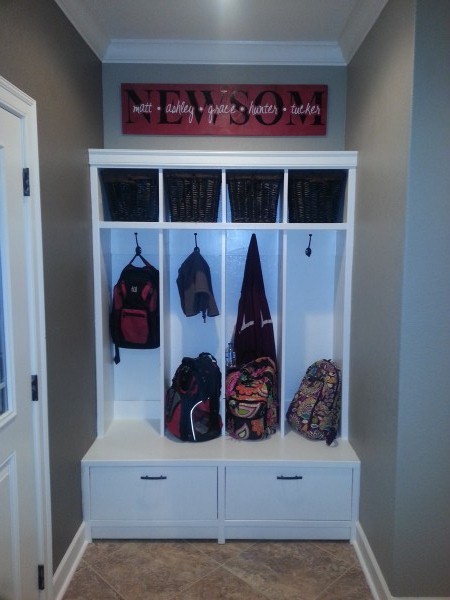
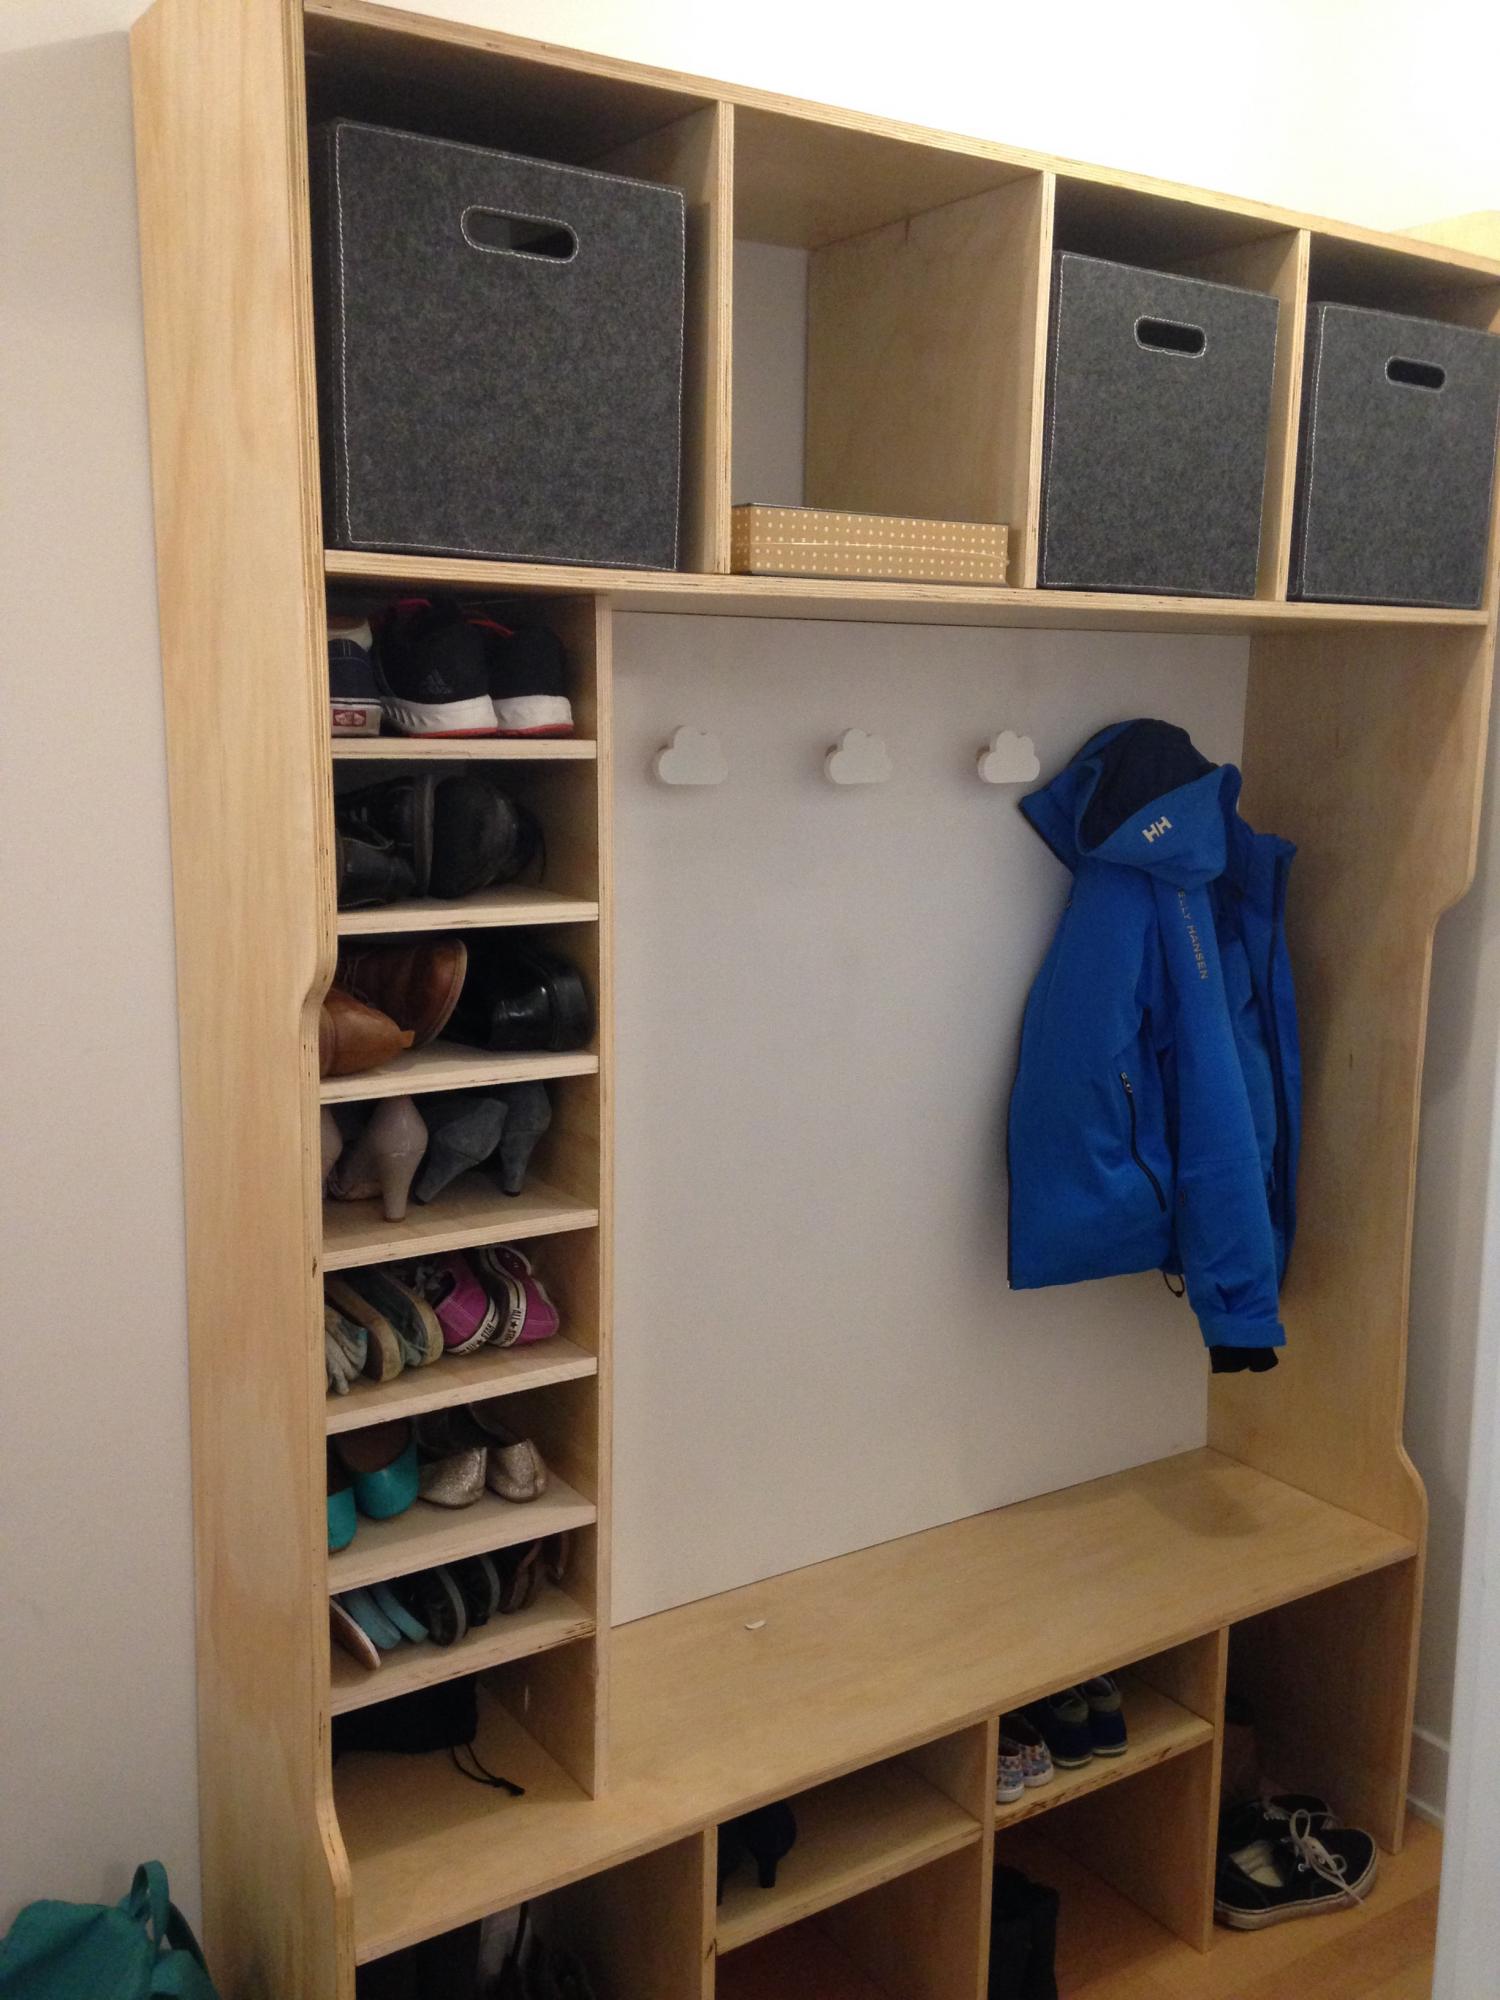
My husband and I built this based on the braden entryway system with a few modifications. Love it!
Fri, 11/21/2014 - 09:08
That looks great and fits perfectly! Thanks for sharing!

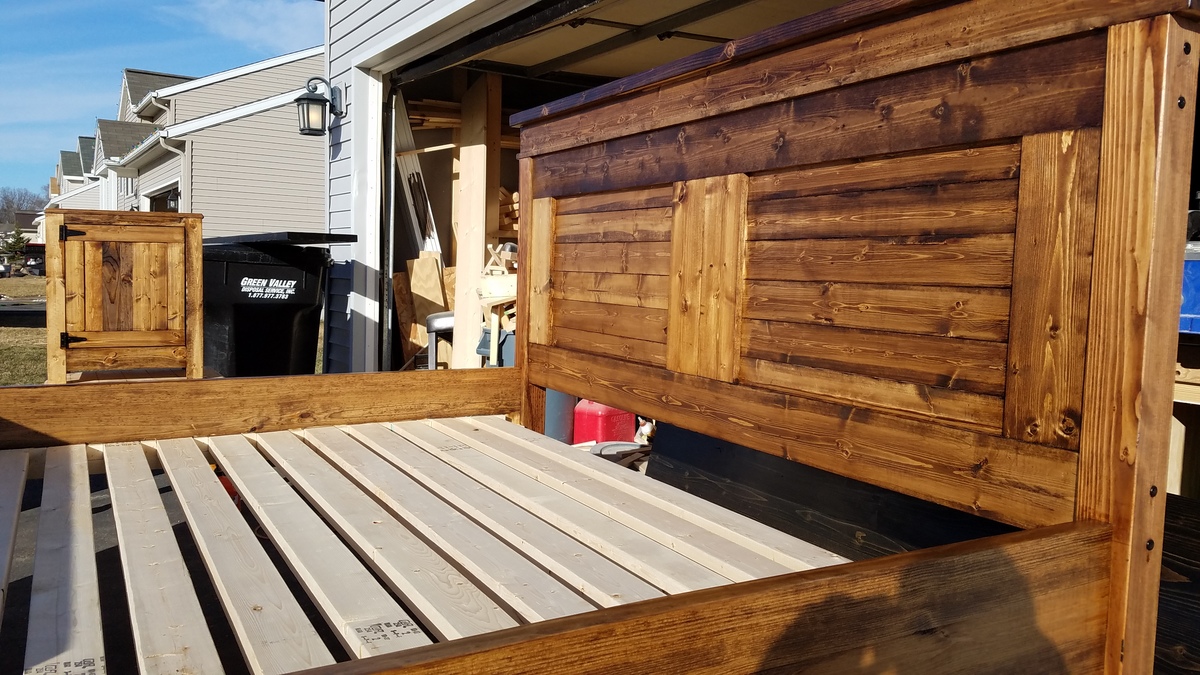
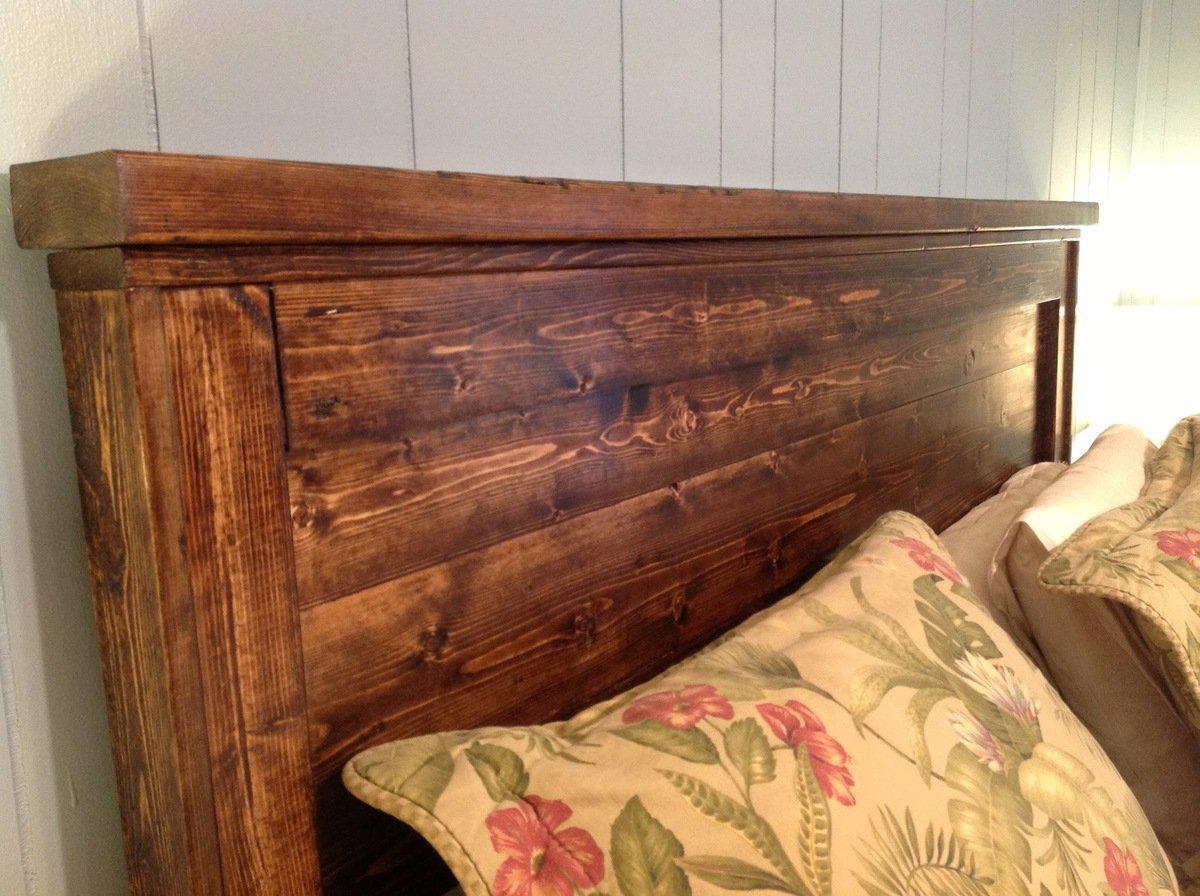
A gorgeous king size farm house bed. Created for a customer. If you are interested please check out our Facebook page, R&L Custom Creations of West Michigan

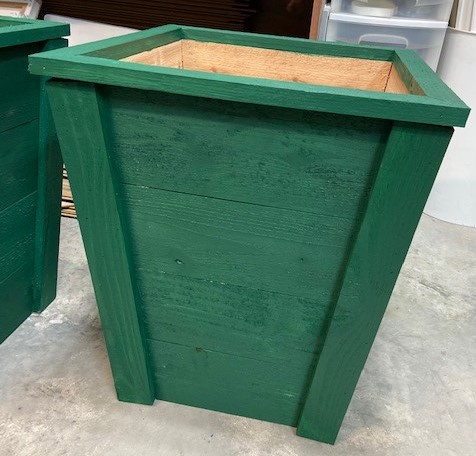
These were made using the Tall Planters plan...4 cedar pickets for each one. I also used cedar rough cut trim for the 1x2's and 1x3's. They are painted to match cedar shutters I made for my parents mountain house. I used Cabot's Solid Color Acrylic Deck Stain in Evergreen to protect the planters exterior. The only alteration to the plans was adding the top trim. I used 1x2's cut at 16" long each on a 45 degree angle to form the box. I glued and nailed together the trim before nailing into the tops.
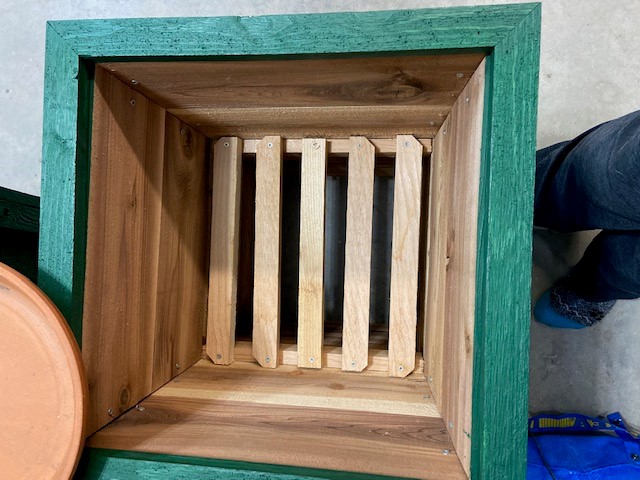
Super easy project with huge results!
Took us 2.5 hours to build and about 2 hours of finishing work. Be sure to use a square as you position each panel.
Thanks Ana!
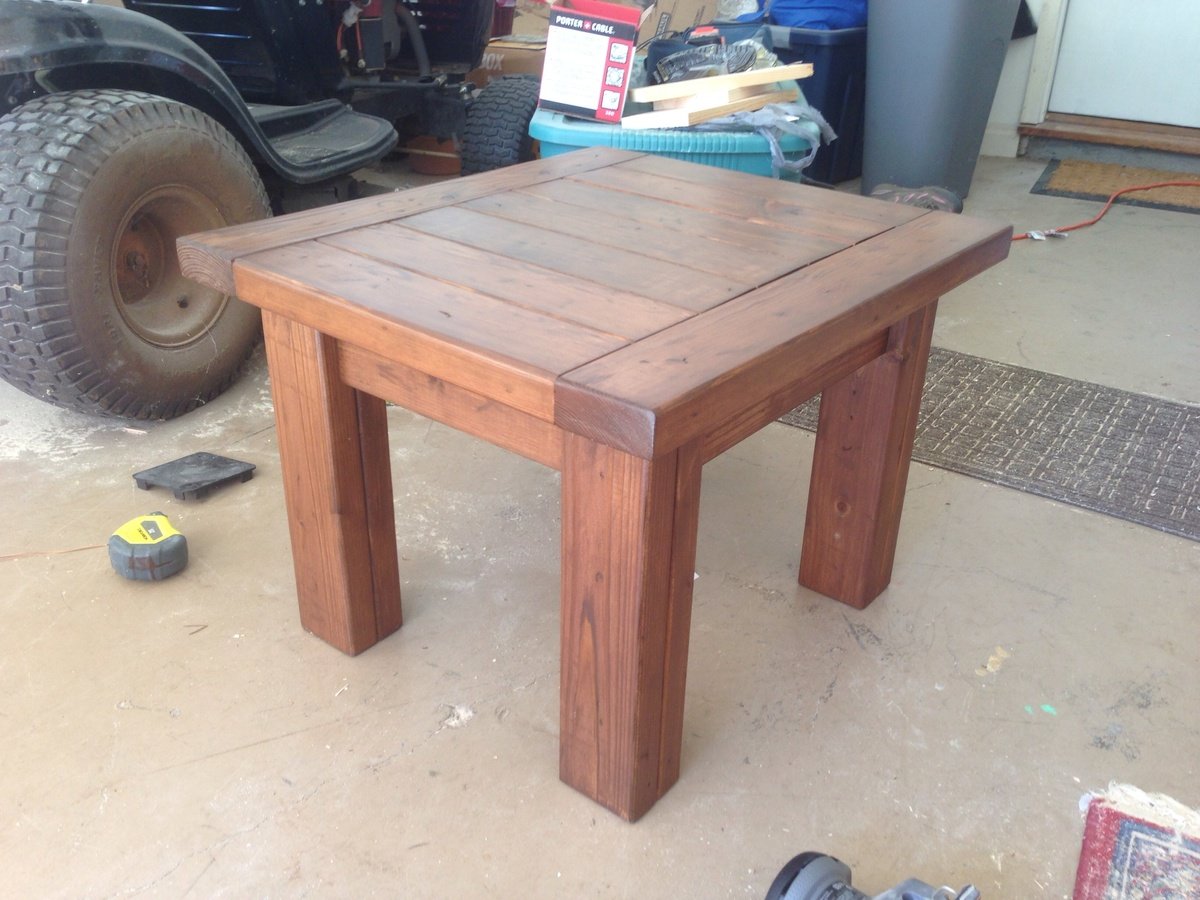
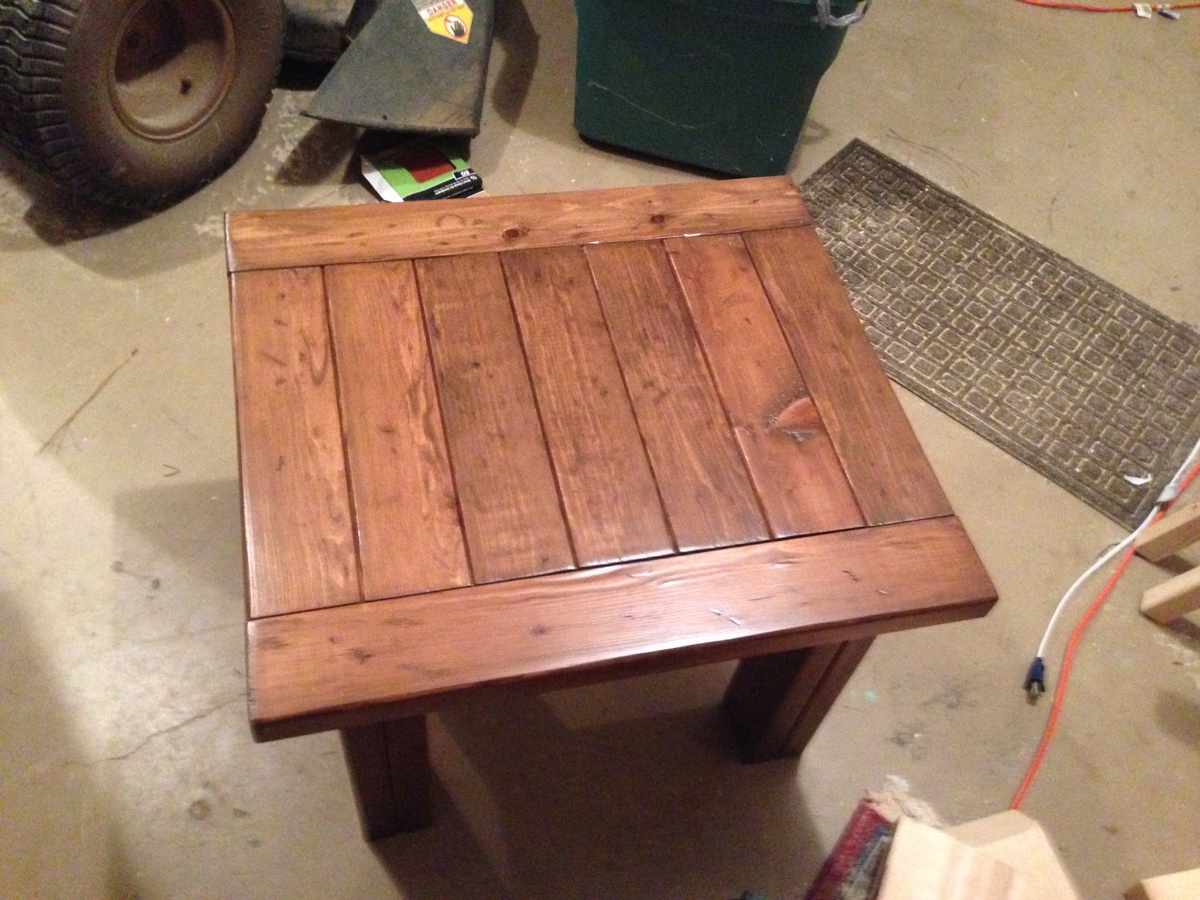
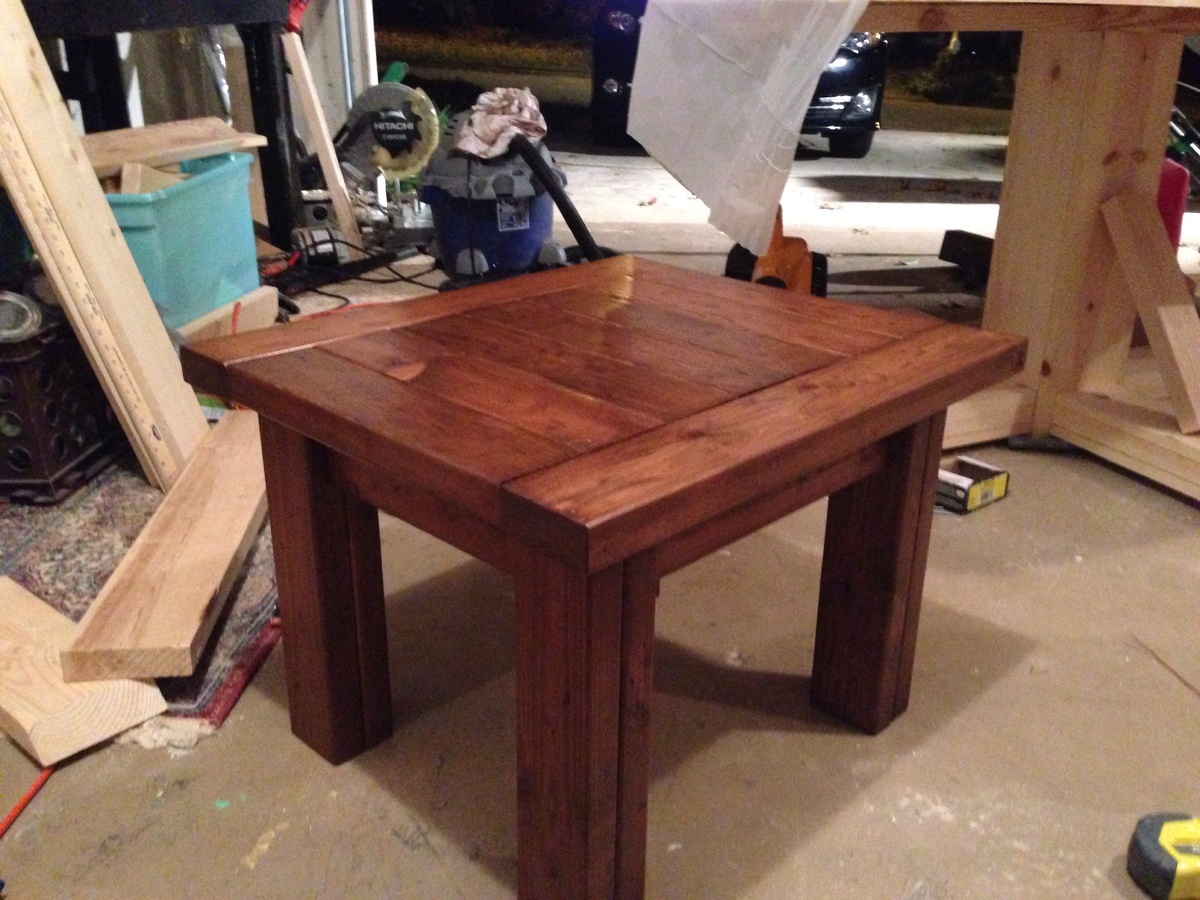
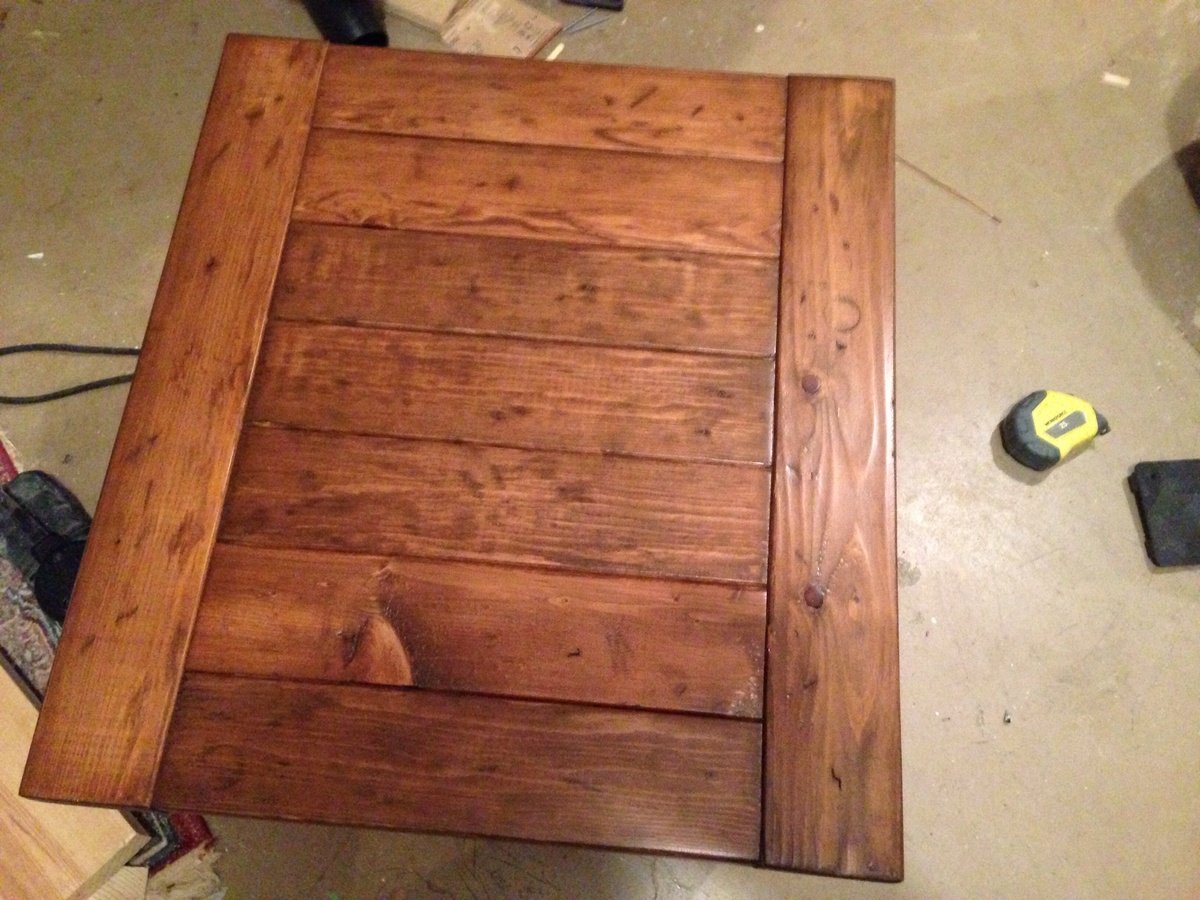
Tryde end tables
Fri, 11/21/2014 - 09:32
I really love the rounded edges! This is beautiful!
This was my first indoor woodworking project, where it mattered if the corners were 90 degrees and the colour matched and the wood was not warped.
Even when the lumber yard gave me the wrong width of board, did all the cuts and I didn't notice until I was home, laying out my pieces and measuring everything, I will still able to complete it.
I went with the 10" (9 3/4") wide top instead of the 12" (11 3/4") rather than go back to the lumber yard and have it recut. I was anxious to make my project and it was a hassle to drive that distance. it didn't have the 1 1/2" overhang that the larger width would have had but it fit in my tiny space better.
The next time I visited that lumber yard for more wood, I got my money back and I learned a valuable lesson - just because the lumber yard staff are picking up the wood for you, you need to read and check. I didn't go closer to see it because of Covid-19 restrictions but next time I will ask to measure it and check it before I bring it home. I've learned to carry my tape measure with me, just in case!
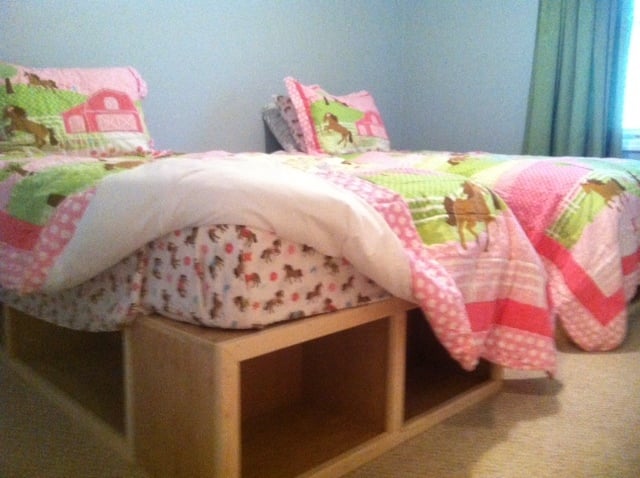
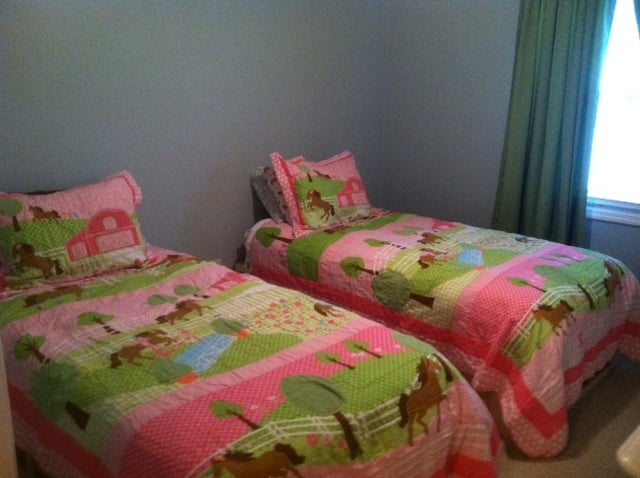
Rather than buying beds for two of our daughters, I wanted to take the opportunity to build them. I really had a great time doing. I used the plans from the Captains Storage beds, but modified it a little.
We ripped two 3/4 inch finished ply into 12in pieces.
That gave us all the sides, ends, and dividers.
The platforms are 12x12 3/4x
The ends are the same only sorter.
Rather than using slats for the middle support I just used the remain ply.
We finished the front with 6ft sections of 1x2 inch furring strips. A good sanding and clean up, and we are good to go!
Thanks for posting the plans! We really enjoyed building the beds and our girls love them!
Fri, 09/20/2013 - 13:14
LOVE this! was looking for something other than the slats that would TRULY hold my polynesian kids, thank you for sharing! :-)

Thanks, Ana! My main recommendation is to give more details on how to connect the three separate pieces. I ended up using two 3/8" carriage bolts on each side of the headboard and four 5/16" carriage bolts across the footboard. I also made the 2x6 slats in the frame such that my mattress is "countersunk" since we have such a tall mattress. Otherwise, the design and instructions were great.
We used Silk Pillow mate paint from Home Depot, and then did some distressing (but not much!) and went over with American Paint Company brown glaze (sponge brush with a old white t-shirt to customize the darkness).
I spent more than Ana's impressive $120, but definietely kept all my expenses under $400. Worth every penny!
-Mike
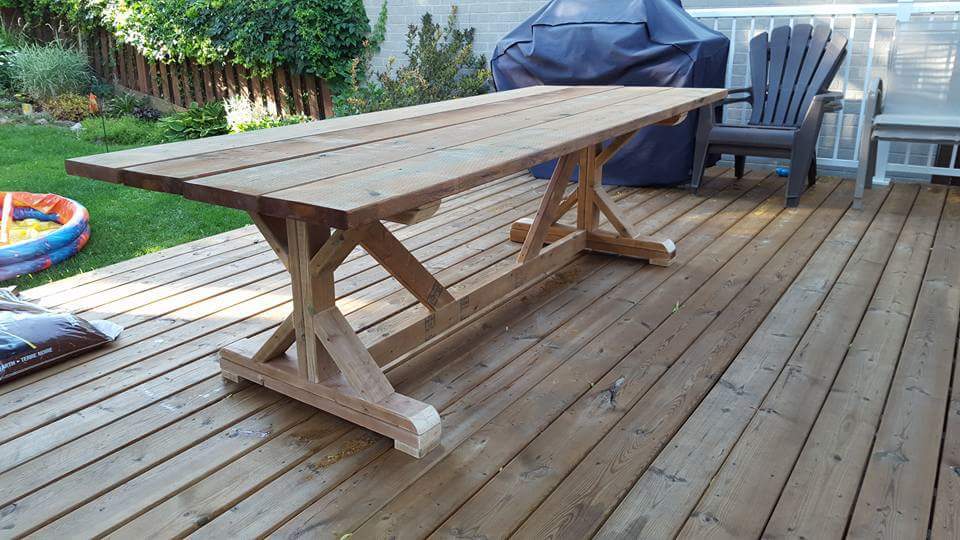
I really enjoyed making this plan. Only disappointment was the red stain finish I chose, live and learn.
The plans were helpful and accurate!!
Another thing I goofed up on and learned was on the 45's on the legs, I cut along the length instead of the width at first, wasted a 2x4 lol That was a good lesson to learn though. Shouldn't happen again any time soon...
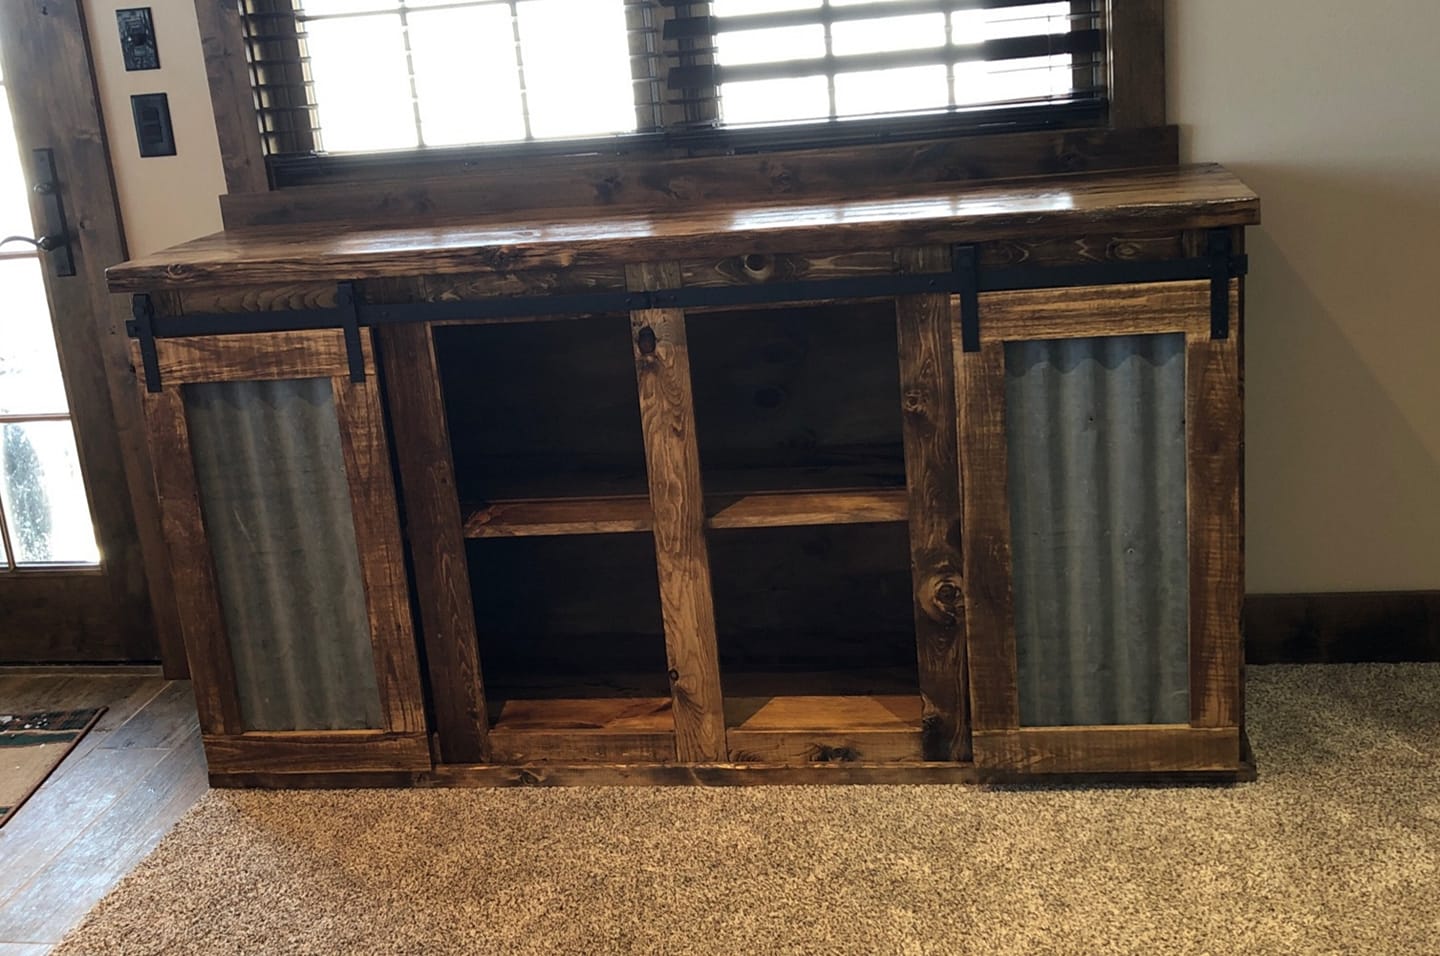
I made this out of primarily reclaimed lumber. This project had to be modified in size to fit in a certain space.
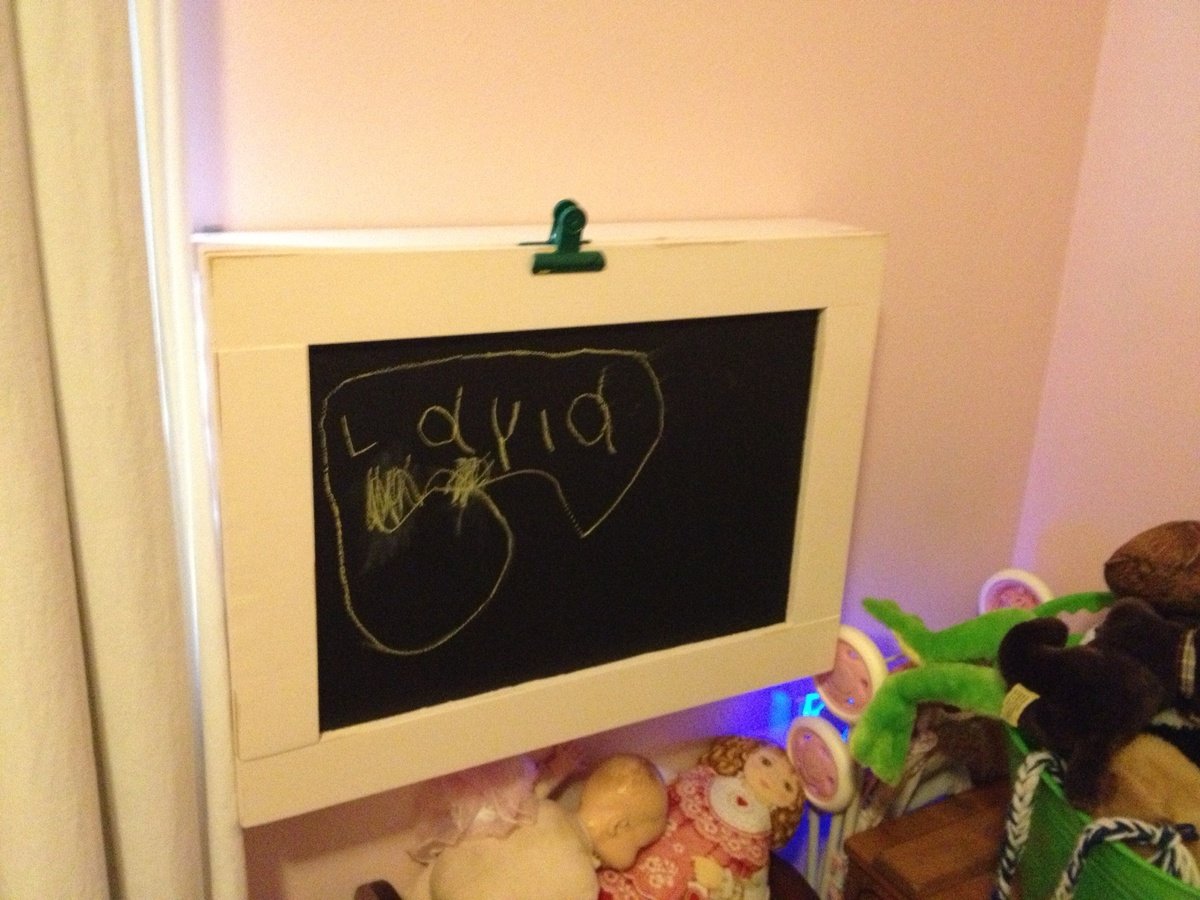
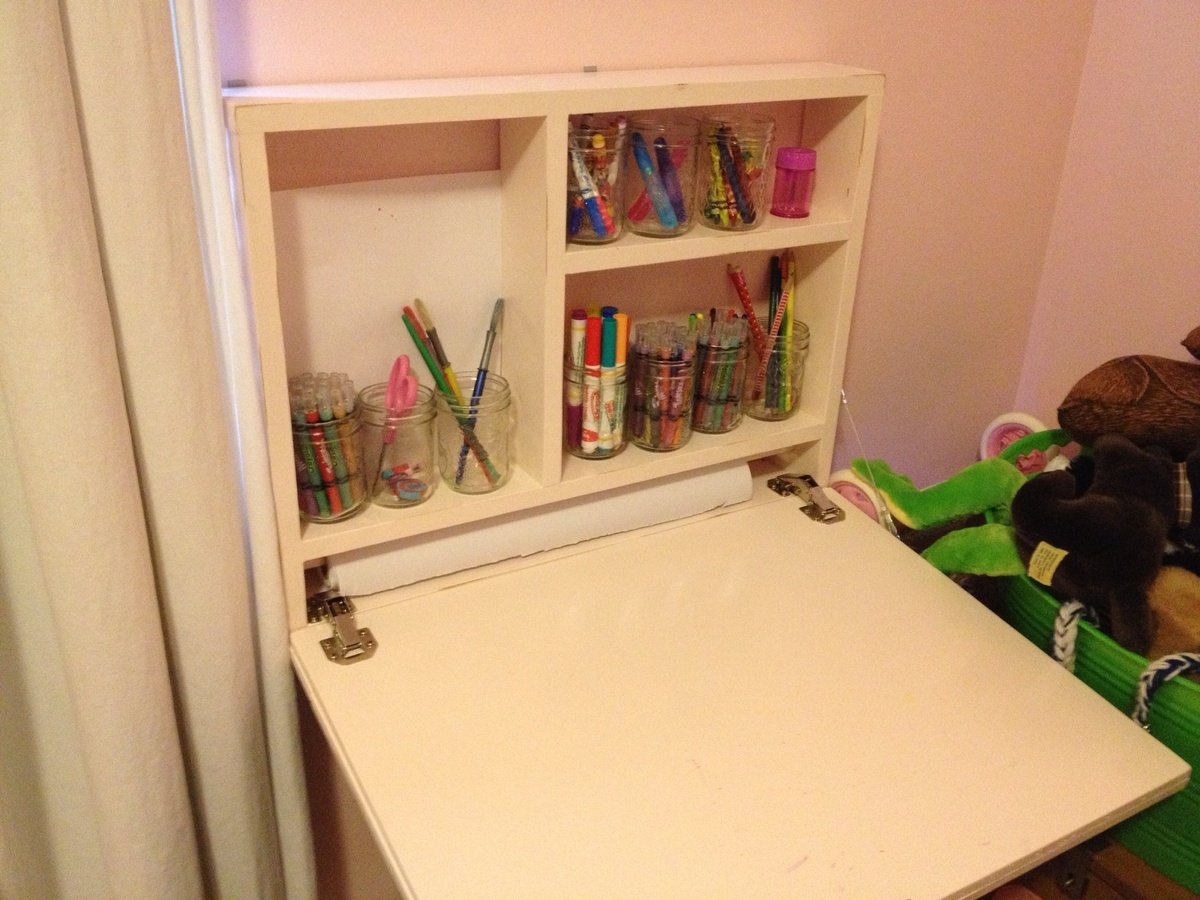
This is our first project. My wife was searching the Internet for a small desk to buy/build after we decided it was time for the little one to have a dedicated art station. She was previously using a small chair in her room. Followed the plans with the exception of making it 18" tall instead of the 16" the plan calls for.
Overall it was very easy. But definitely attach the hinges before finally assembly of the bottom frame. That took about an hour to put 4 screws in with fingers, screw bit, and a wrench.
I built and my wife painted.
Thank you Ana White and everyone for their follow up comments.
Nick
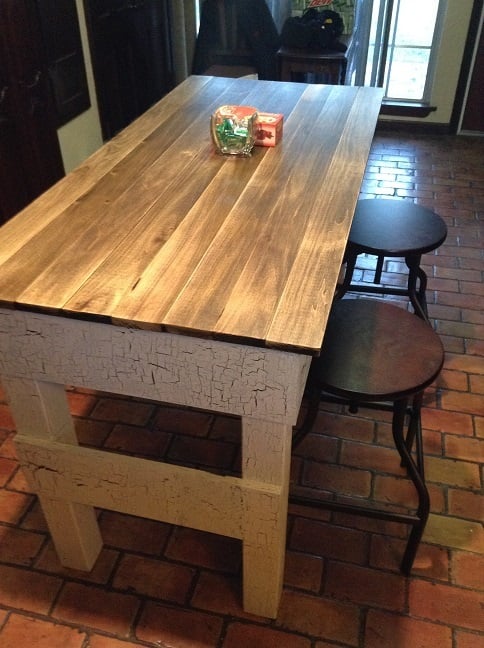
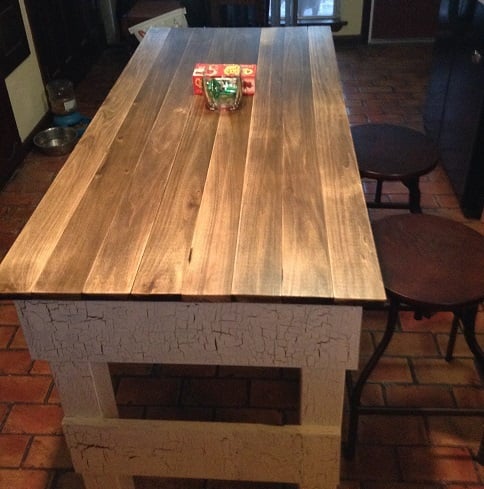
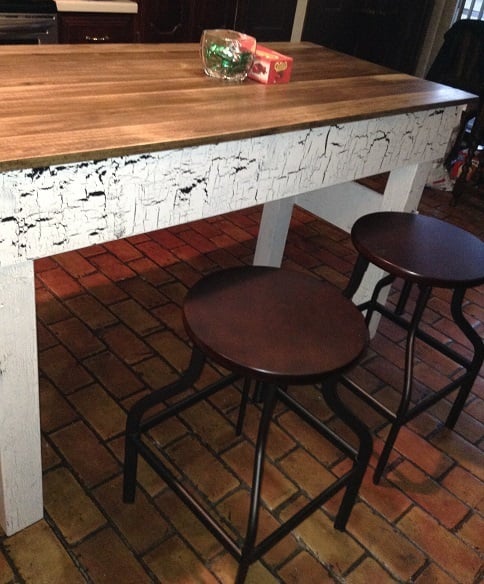
I wanted to build my Wife a kitchen island and we settled on the Michaela's Kitchen Island design. I made it without the bottom shelf and bought a couple of spin top stools from Pier One.
Ana, thanks for your awesome website that has inspired me to get into wood working. Thanks for sharing your knowledge, experience, and passion with the rest of us.
God bless,
Jody & Glenda Knowles
Thu, 12/04/2014 - 21:55
I absolutely love this! The crackle finish is awesome!