Upscale - vintage bar stools
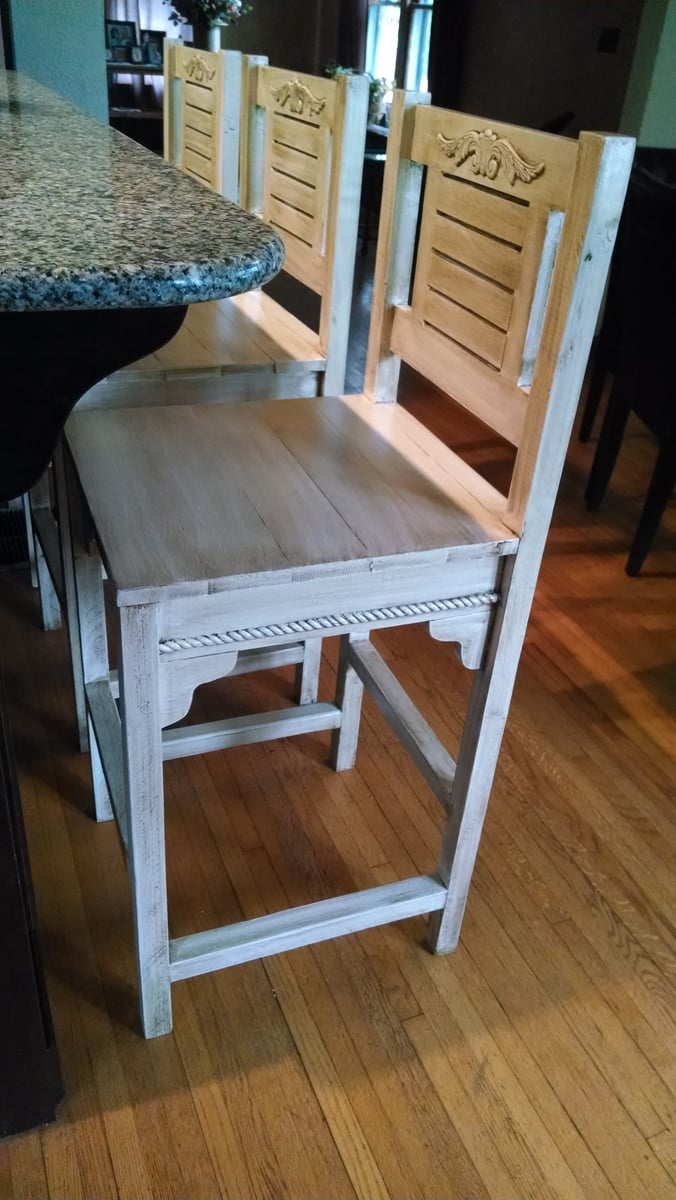
Added some decorative detail with roping and accents to apron pieces and back. Then painted and glazed the whole piece. Adjusted seat height but not overall height. Built it for our awesome neighbors.
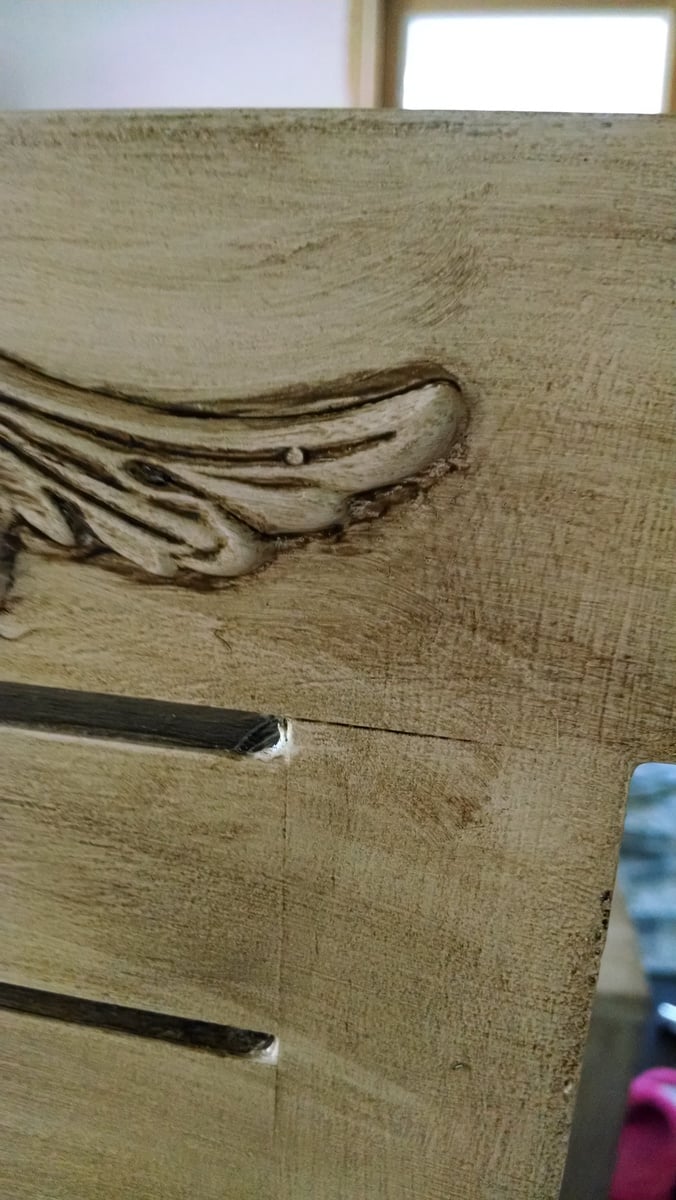
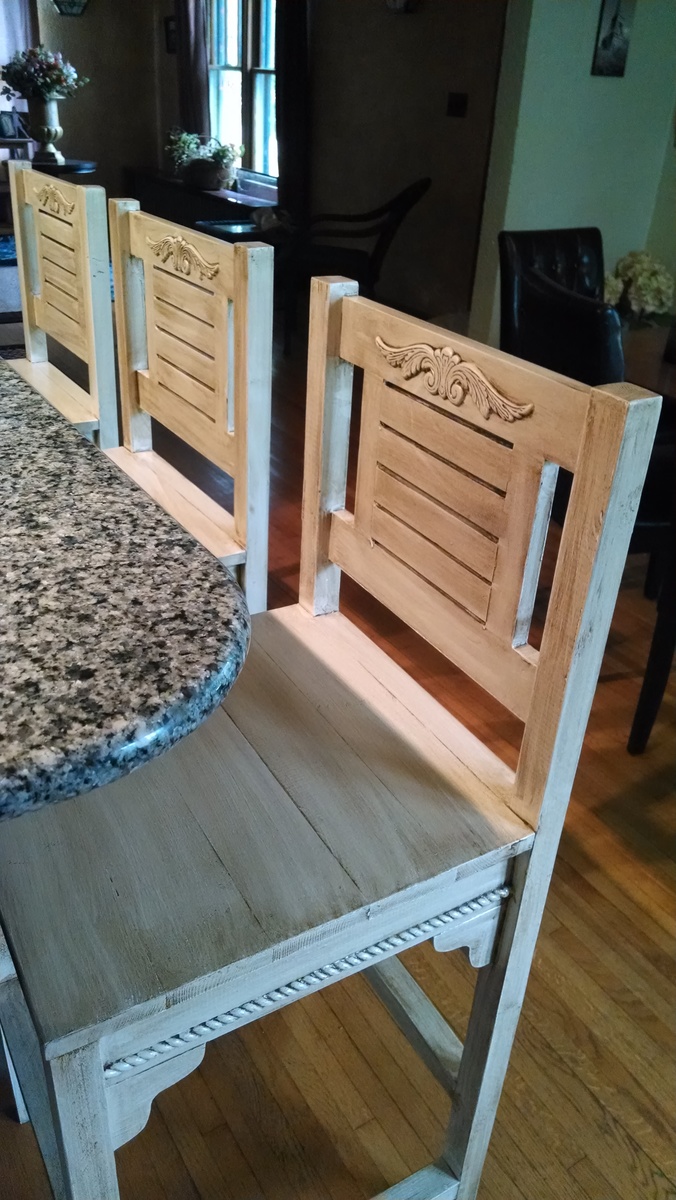

Added some decorative detail with roping and accents to apron pieces and back. Then painted and glazed the whole piece. Adjusted seat height but not overall height. Built it for our awesome neighbors.


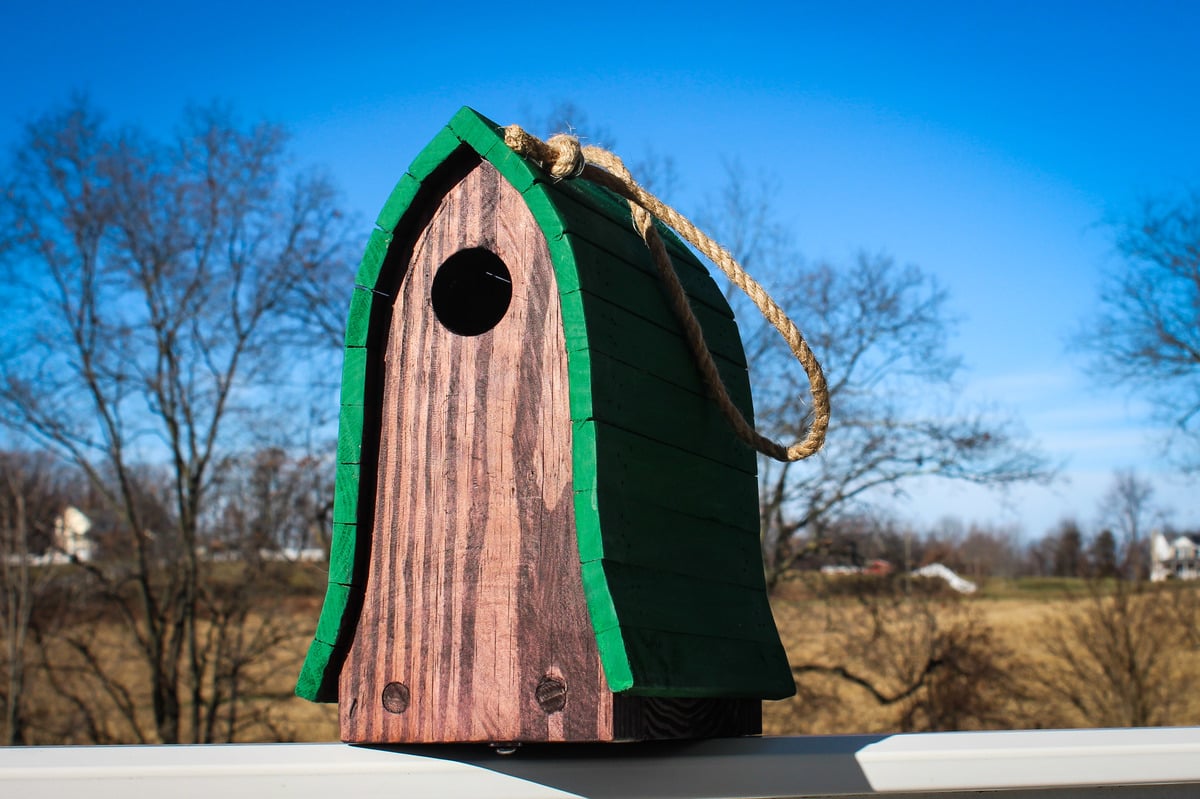
Build Instructions: https://www.instructables.com/id/Bluebird-Birdhouse-Made-From-Pallets/
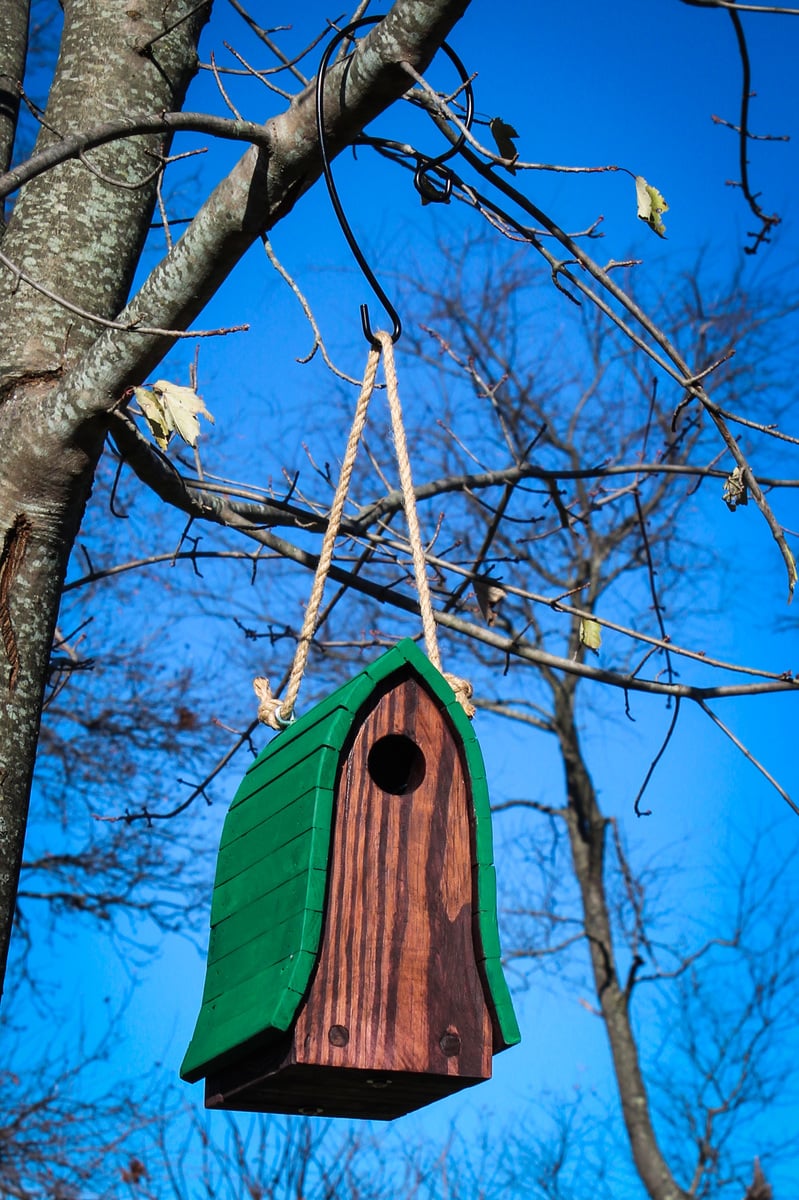
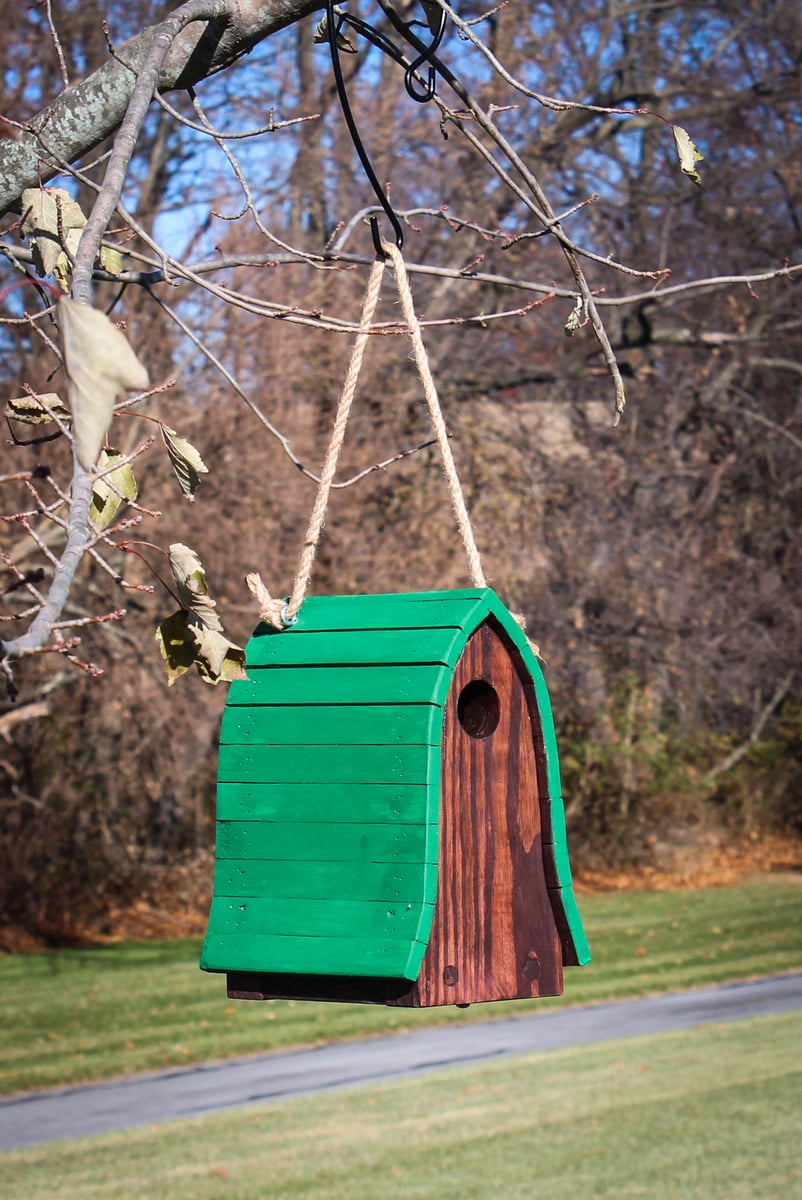
This is a very easy project to make for attracting bluebirds to your yard. I wanted to reuse some of the wood I have from with the pallets I broke apart last year. This project uses a combination of industrial strength pallets made from 2x6s and standard pallets which provide slats in the 3/8" to 1/2" thick range. As for the house, I tried to hit the basic bluebird birdhouse dimensions for this build:
Feel free to leave the birdhouse exterior to weather unfinished or stain/paint it. I finished the house with a combination of stain for the bottom and sides and green paint for the roof.

This is my second Ana project. It matches my apothecary cabinet that I made a few months ago. I am using this in my living room to nicely store kids shoes. I still need to get a few bigger baskets for the bottom. Thanks for looking!


I took inspiration from the Library Catalog Play Table and modified it to fit my needs for an entryway table that would not obstruct the radiator.

I started with Ana's raised garden beds, but due to limited funds, opted to cut down the size of the beds to be able to use a smaller amount of lumber.
I also used 2x4's screwed together instead of 4x4 posts for the legs.

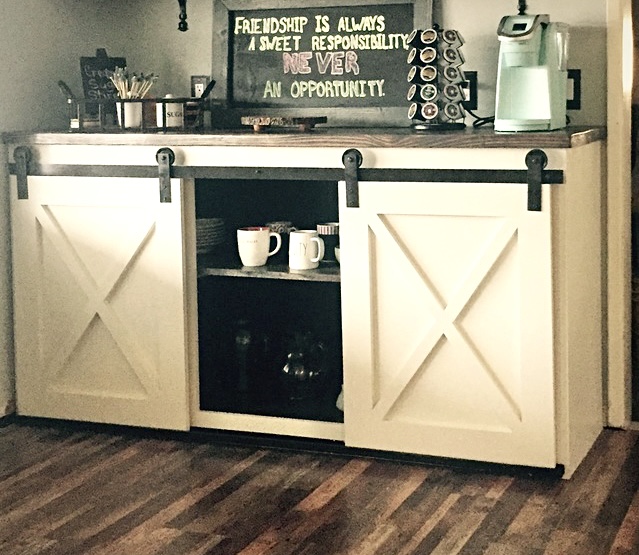
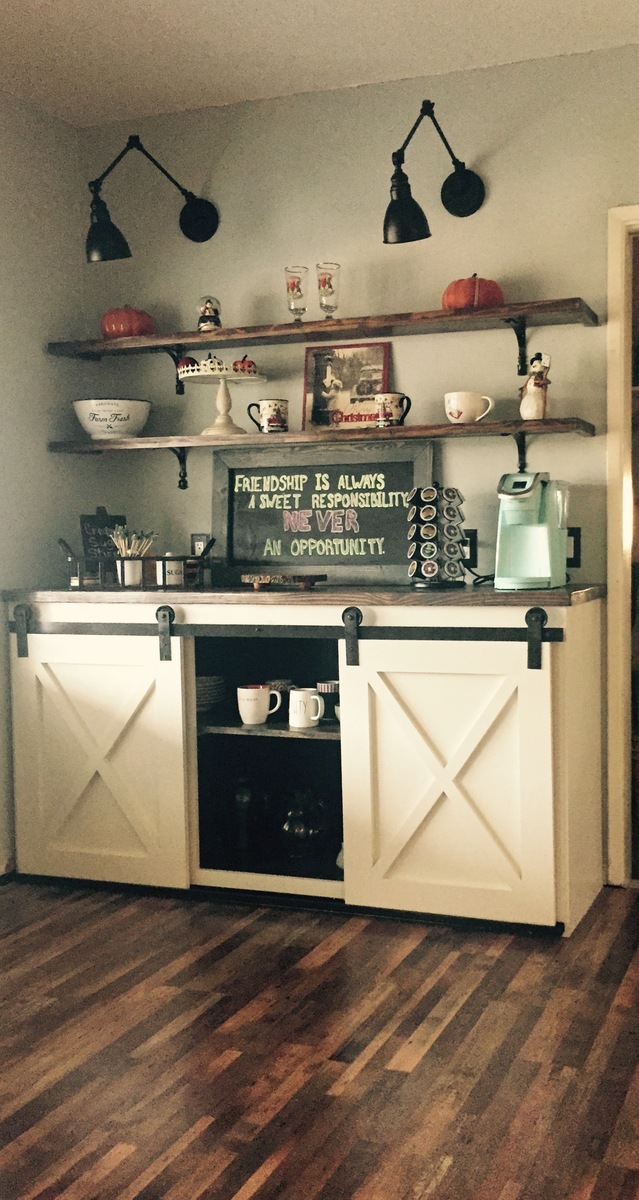
My husband building this using Ana White plans. I just love getting to put a bunch of different items almost as a display. I love this coffee bar and it is now almost the focal point in our dining room. I just love the presence it has in this room.
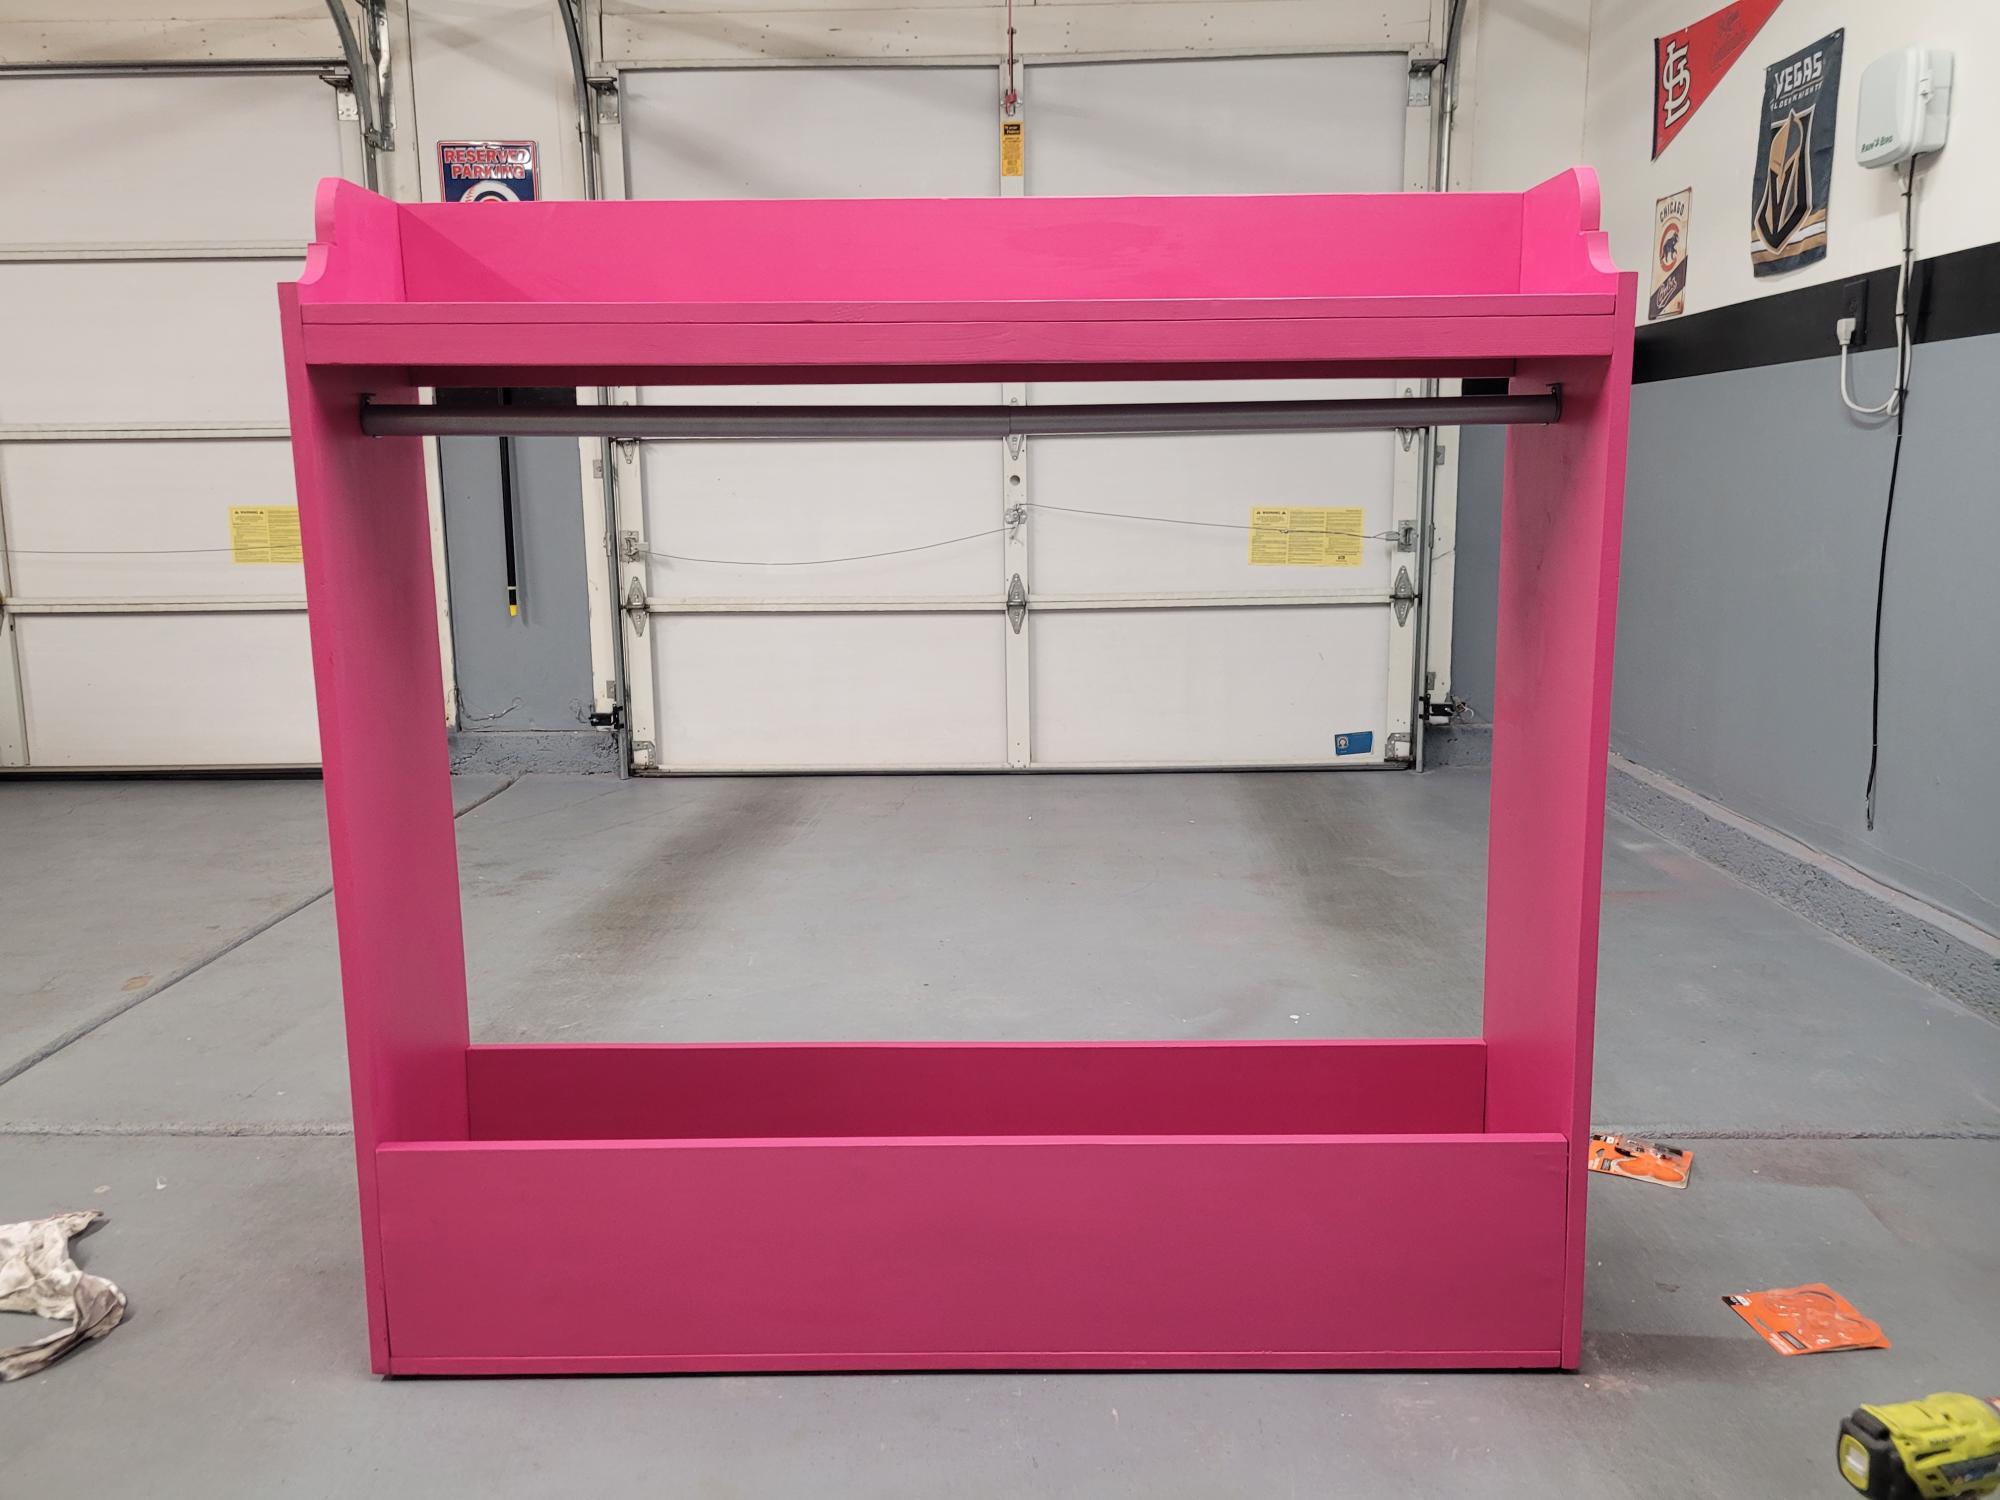
Project #2 in the bag! I haven't personalized because I am still considering making another at 36" wide to better fit her room and giving this one away. Very pleased with how it turned out! Still learning!
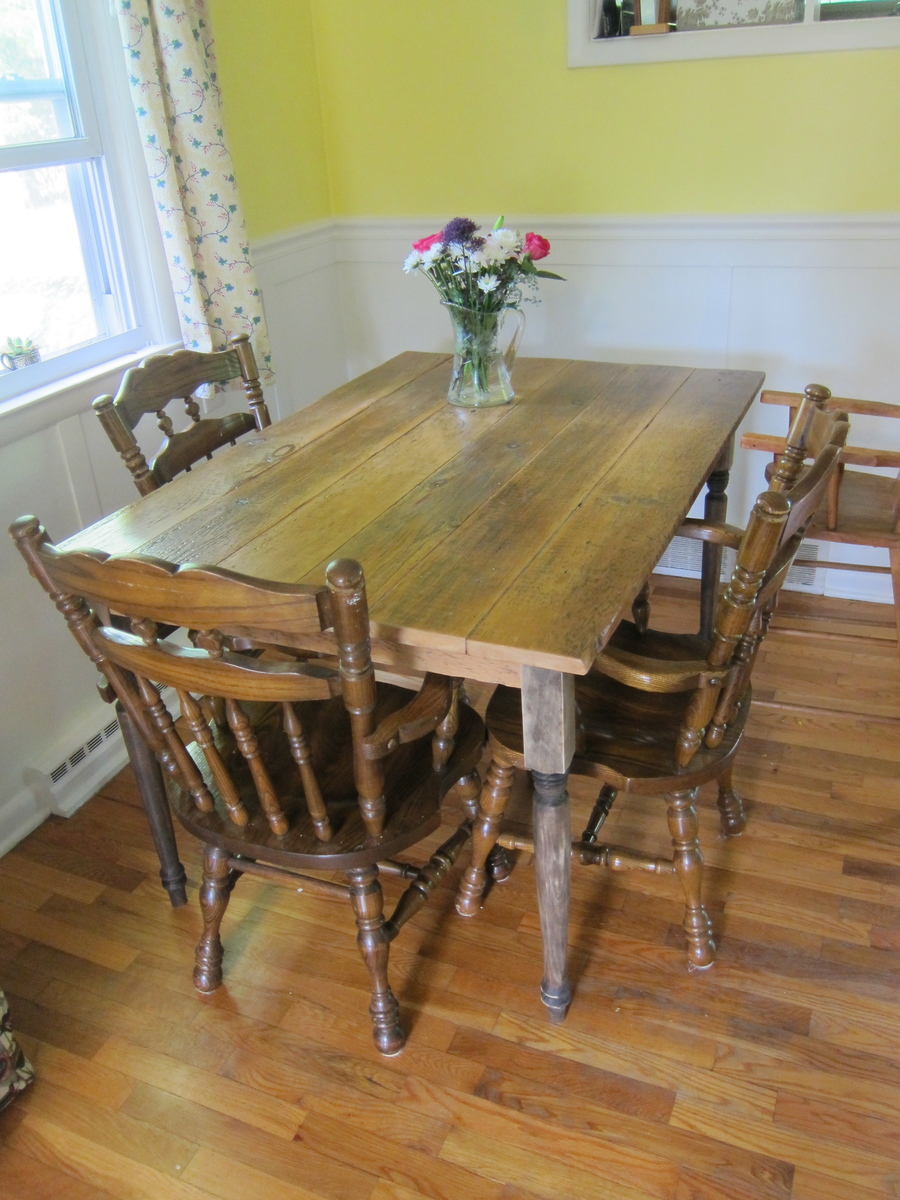
I've been wanting to build a "plank" style farmhouse table for a long time. I used metal corner brackets to allow for easy removal of legs of the table. However, I found the corner brackets quite hard to work with. I think they're probably sturdier than just pocket holes, so I guess that's good.
I used 100-year old barn wood and it looked so beautiful. BUT...I have a two year old and I'm expecting another child soon, so I wanted to plug up some of the gaps in the wood (like old nail holes that went the entire way through the boards) and put something down to preserve the quality of the wood.
After researching a lot of ways to fill in the gaps in wood tables, I tried a few things.
First I tried clear silicone. I think this would have been a great option if the holes were just a little bit smaller. It ended up just looking like plastic in the spaces, though. So I scooped that out and then tried wood filler. The wood filler looked terrible under polyurethane, though, and no matter how much I tried to get them to match, it just looked like a different color. Finally, I ended up using painter's tape on the bottom of the table under slats and holes and filling them slowly with polyurethane (I used an eyedropper for this task!). It worked really well. I should also say that I sanded the already planed boards as much as possible to reduce the gaps between boards.
I'm really pleased with my new table!
I used only poly on the top. The wood is its natural color.
Thanks for the idea, Ana!
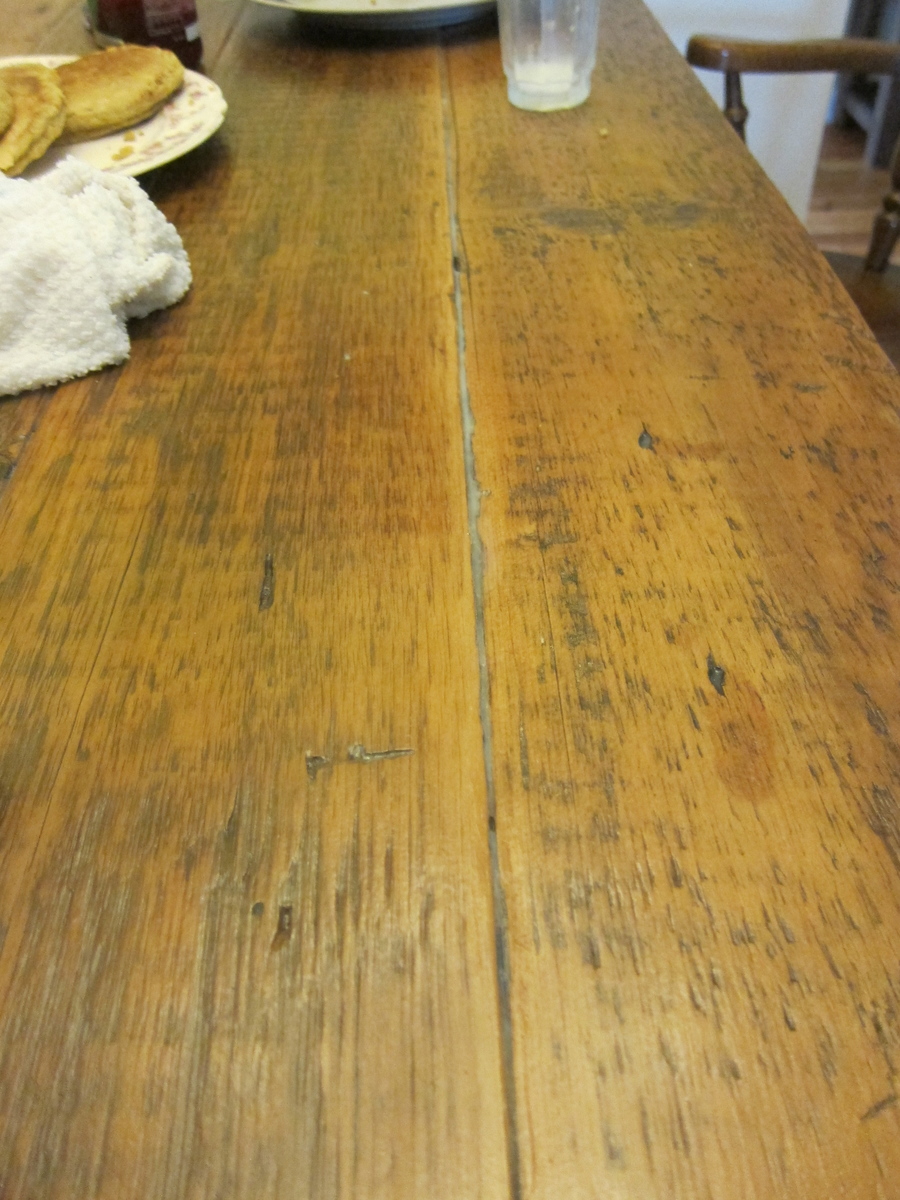
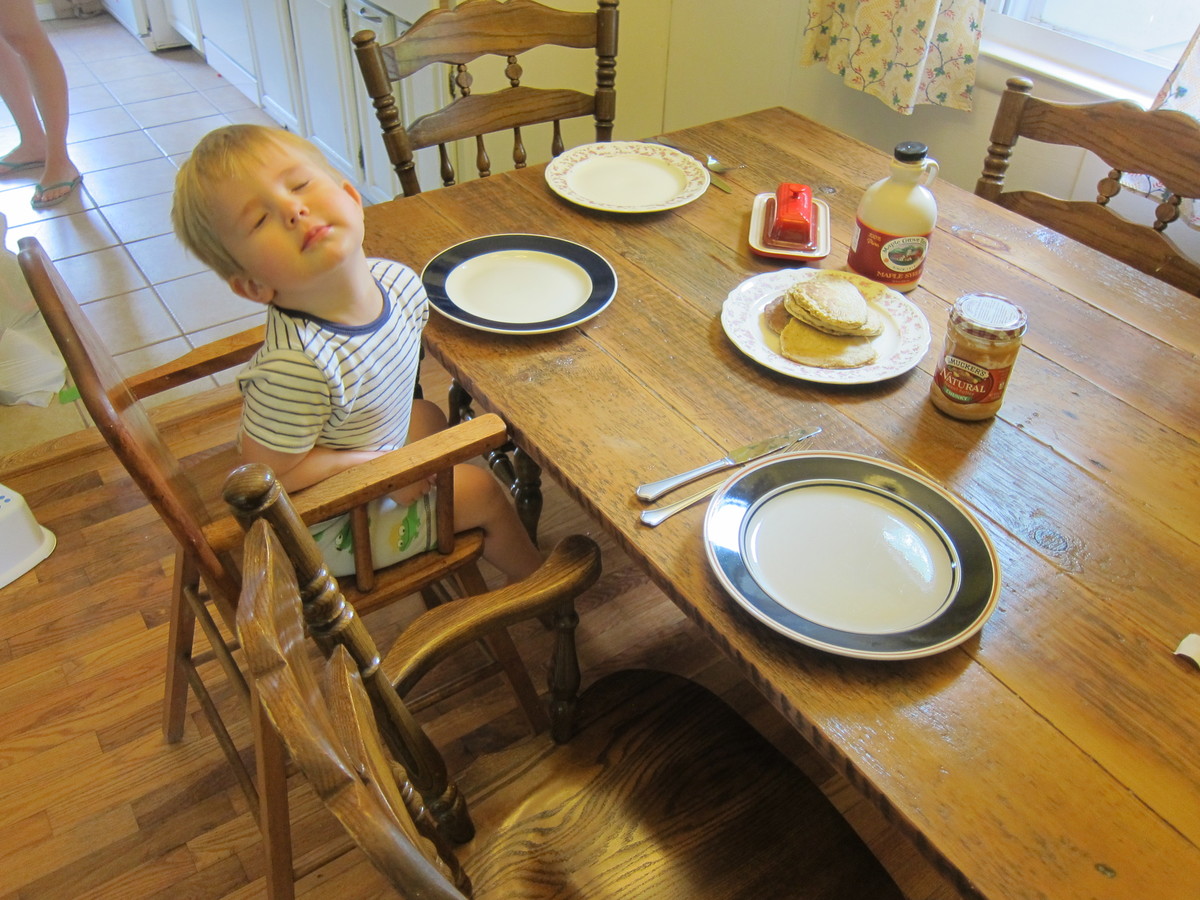
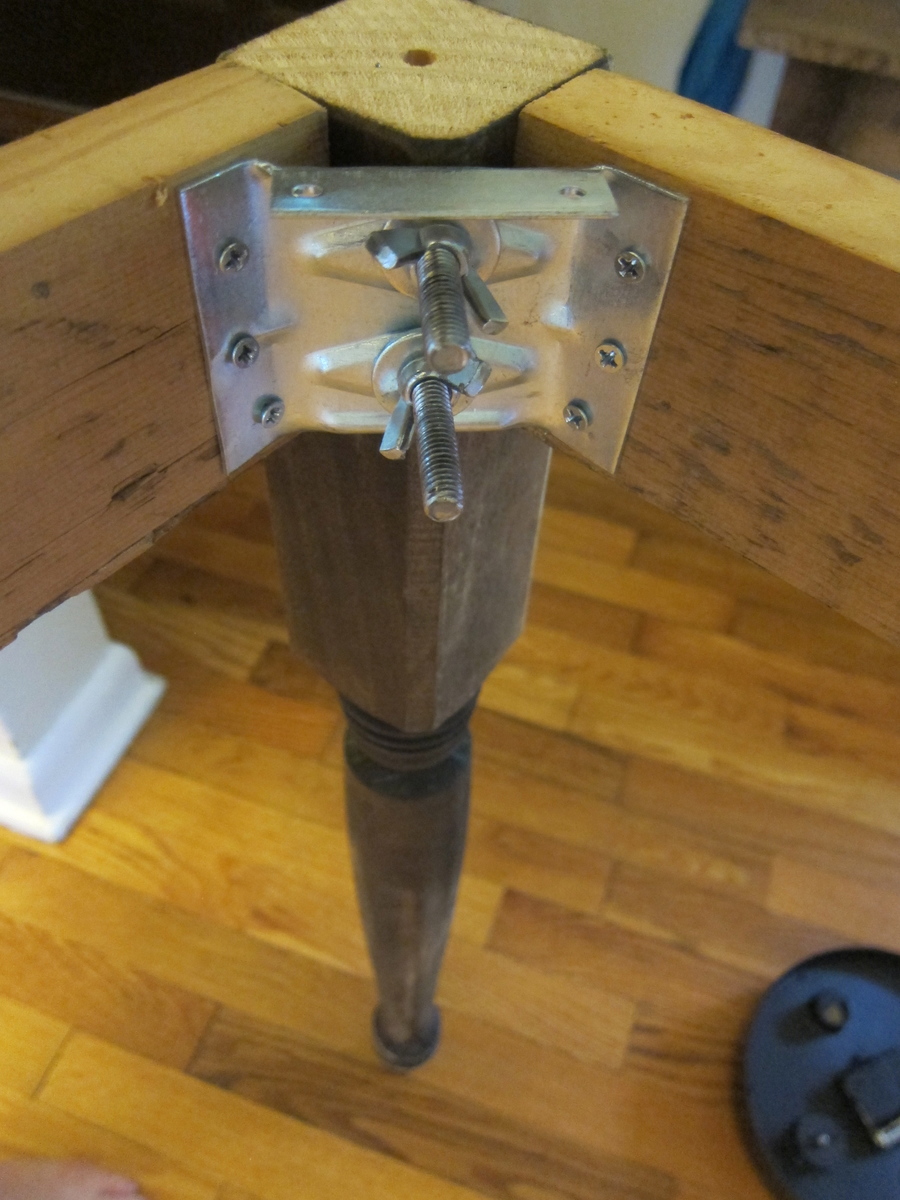
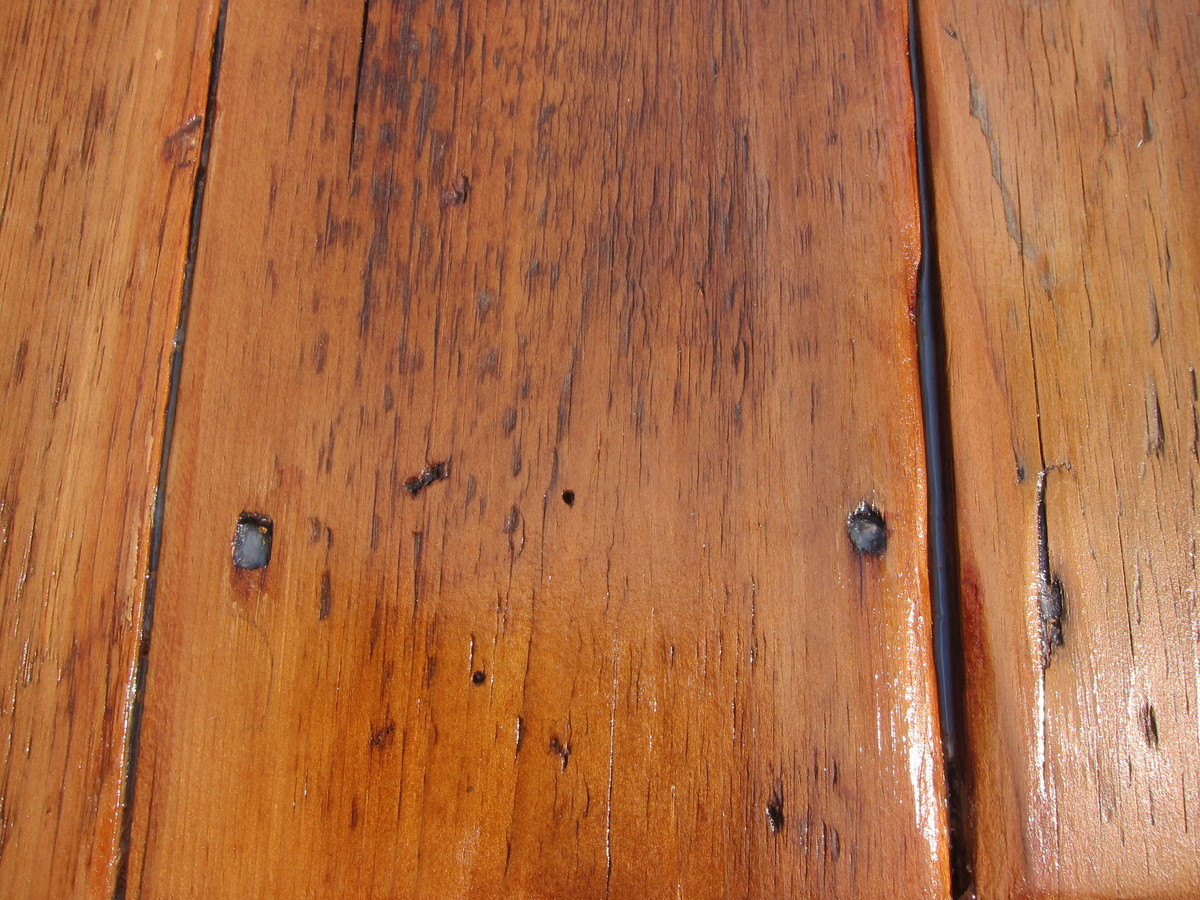

Table was a fairly straight forward build. The only thing I'd do differently if I were to make another one is to paint the base pieces before assembling. Once the base is together its hard to get in between the angled supports. I ended up having to use my paint sprayer to paint the base because brushing it on was just not working for me. I ended up buying the round top piece from the Blue big box store and it was around $11 so that put the cost of this table over the price quoted in the plans.
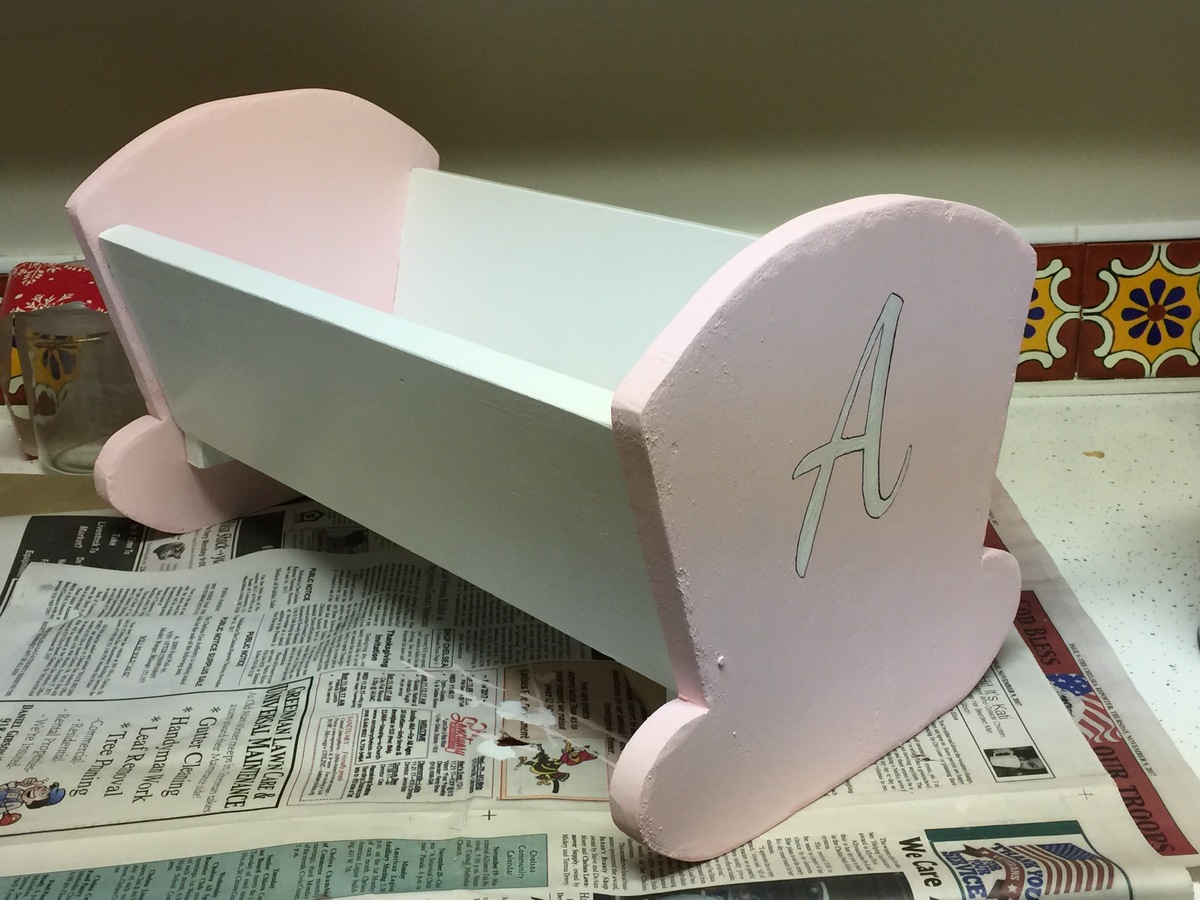
My husband and I used your plans to make this cradle... He built it, and I painted it. I’m so excited to give it to our granddaughter for Christmas!!
Sun, 12/17/2017 - 20:52
I put that it took 10-20 hours... that was mostly the painting and drying time between each coat, and doing the A for her name.

After special ordering glass spice jars for my cupboard I came across your plans for this spice rack and decided to attempt the build. Plans were very well written and easy to execute with a few customizations. I opted for brass rods to hold the jars in place and lined each shelf with shelf liner to ensure the jars don’t move when the pantry door swings. I am very pleased with the outcome and will be making a matching rack for my aluminum foil, plastic wrap, etc.


My first build! Added a shelf to the bottom. Think it came out great :) Super excited to tackle my next project!!
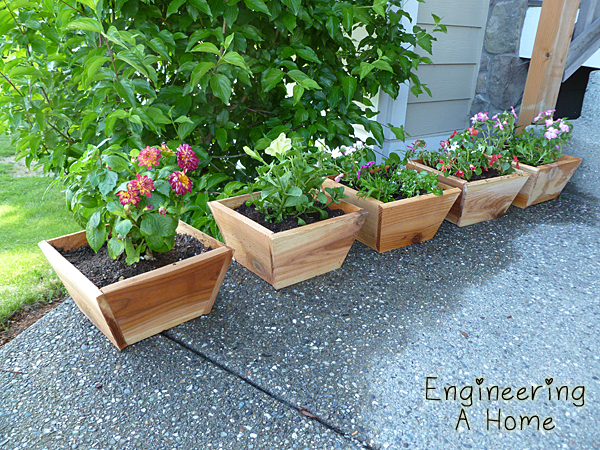
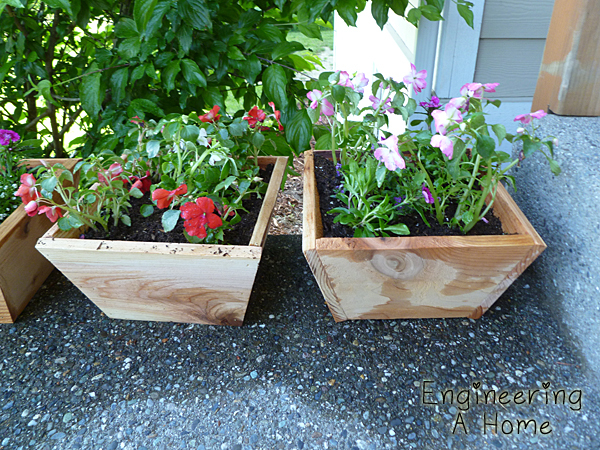
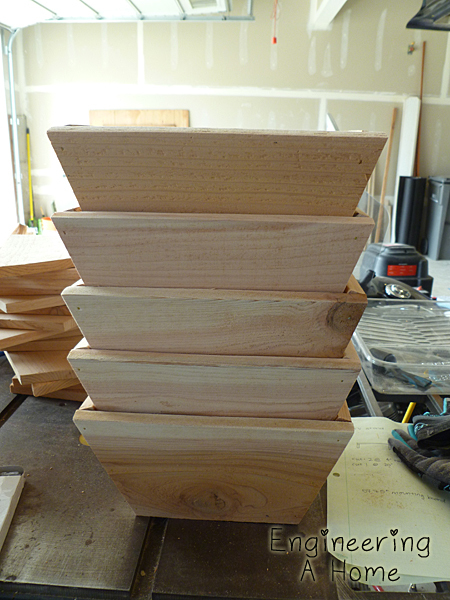
I made some of the cute little cedar boxes to use as planters. I love the size and they were super simple to make.

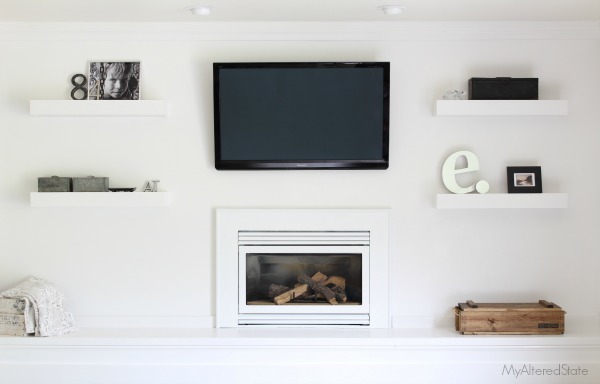
I needed a solution to my shelving problem. I wanted something clean looking, modern, and white to flank both sides of my fireplace. Count on Ana White to come up with a plan. Within seconds of sitting down to surf her site, I found that perfect plan to build four floating shelves.

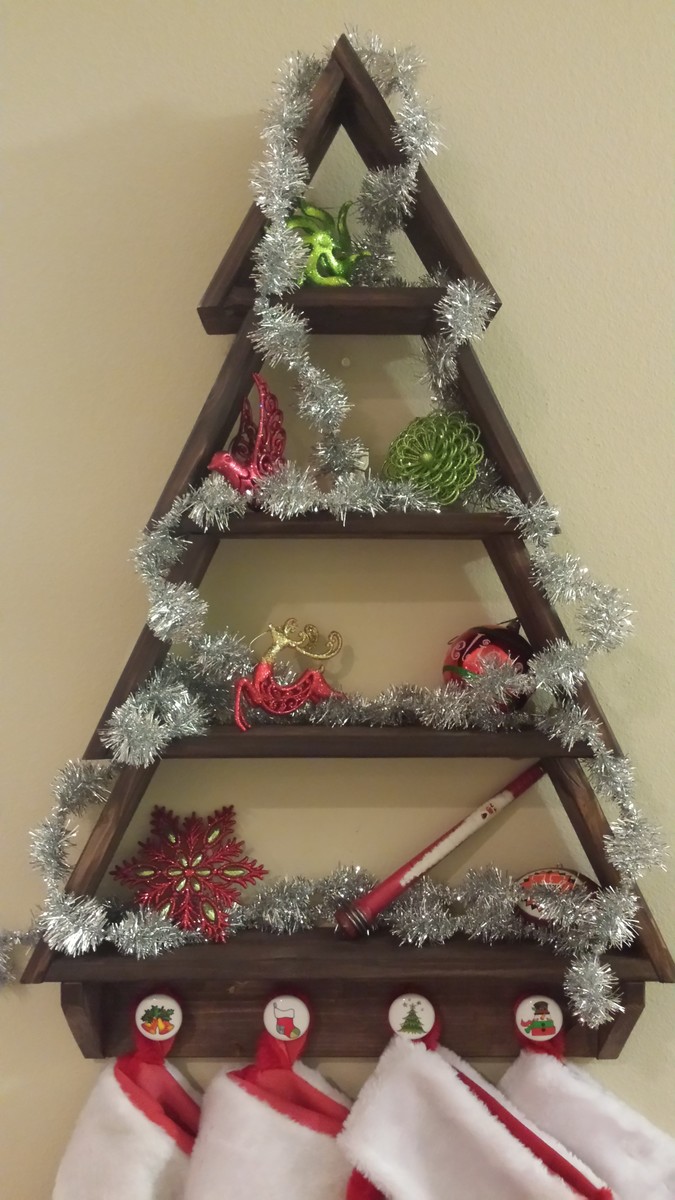
Christmas Tree Wall Shelf
Stockings hung using cabinet/drawer pull knobs that I found on Amazon
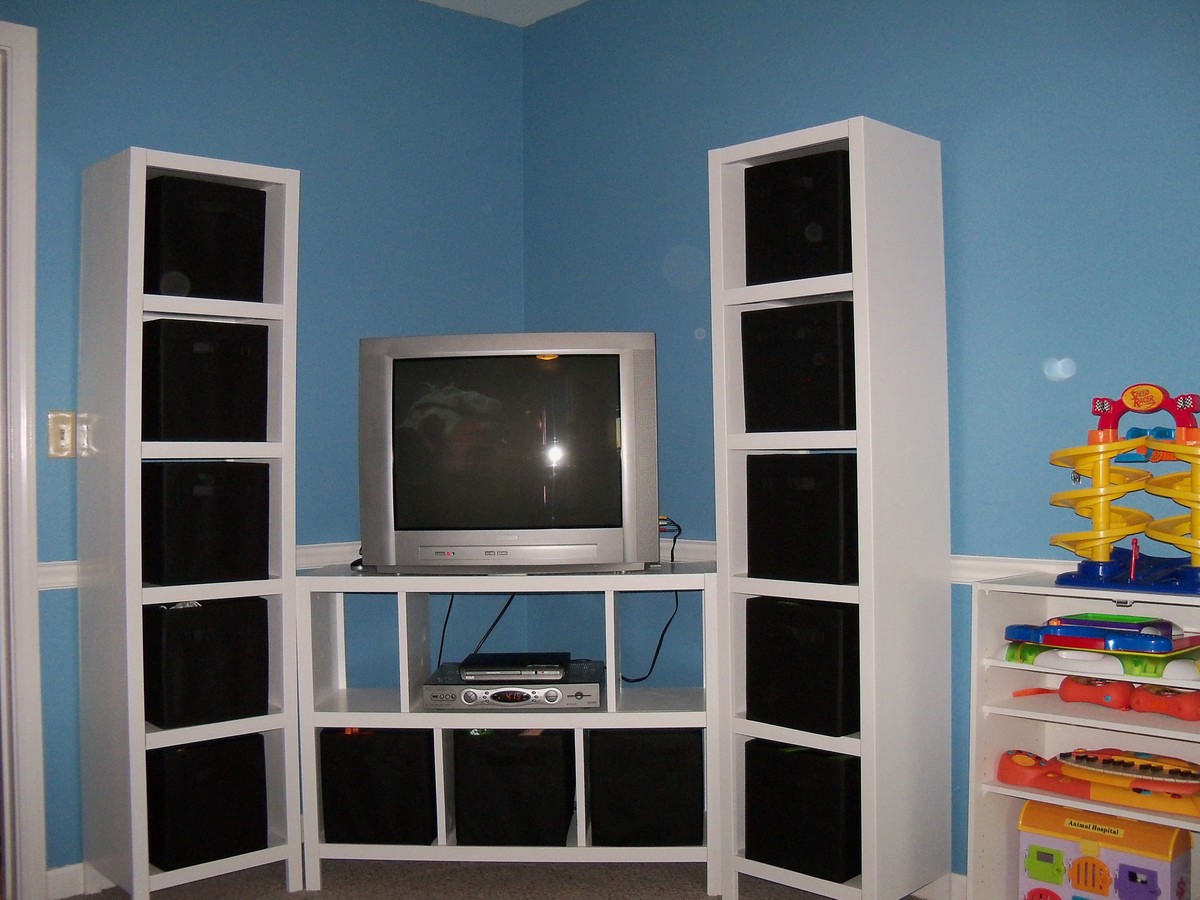
We combined two 5 Cube Tower Bookshelves with one 6 Cube Bookshelf (with a larger top center compartment to fit our cable box) to make an Entertainment Center for the kids playroom.
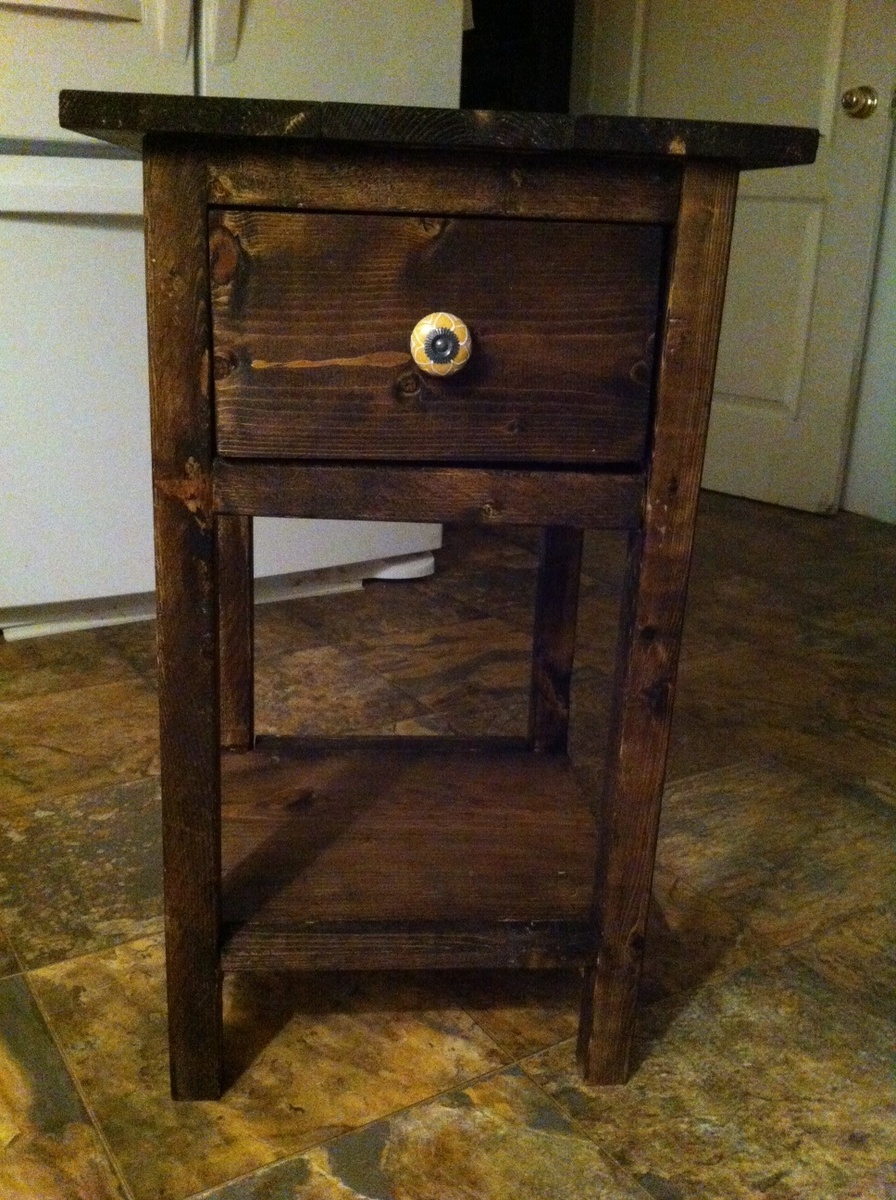
Fun project to do! I still have to make the other one, but thought I'd post the one that I did complete so far. The drawer doesn't fit in as perfectly as I wanted it to, but it's still ok and not completely noticeable. I was really torn on whether to do the paint/stain look but ended up staining the whole thing and like how it turned out. I had to split this project up into several days because of work, but hopefully the next one won't take as long since it'll be the second one. Overall not too hard!
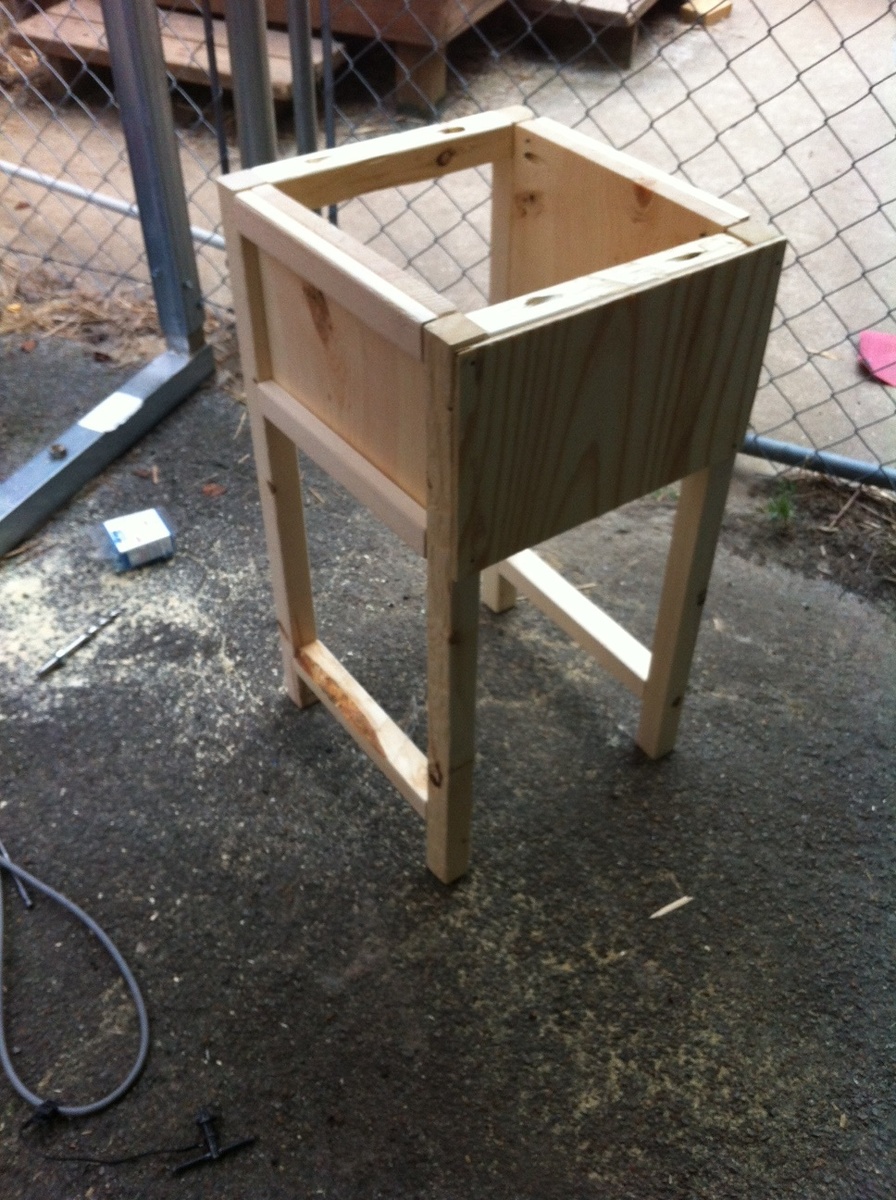
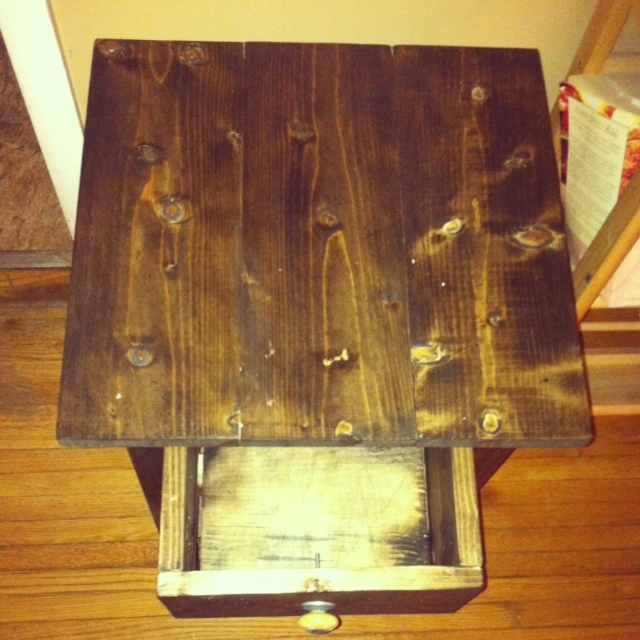
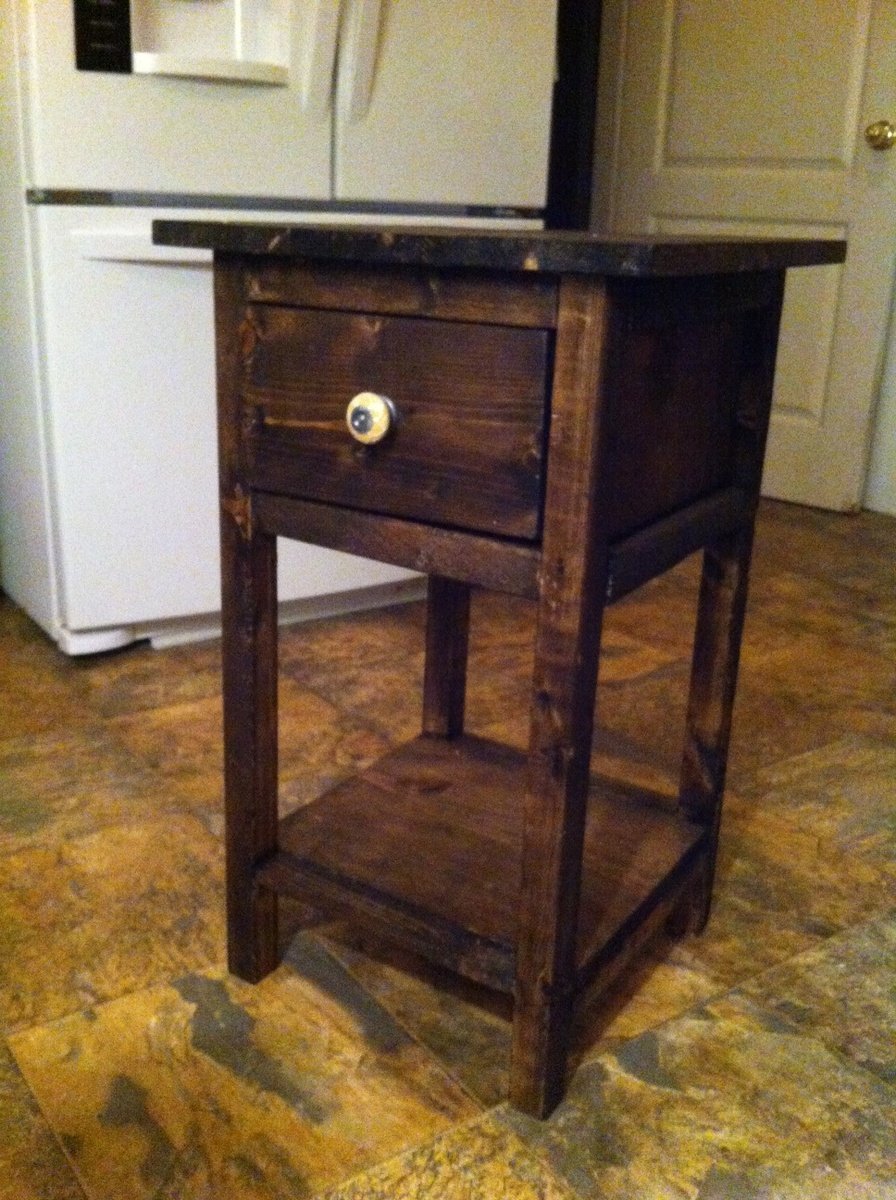
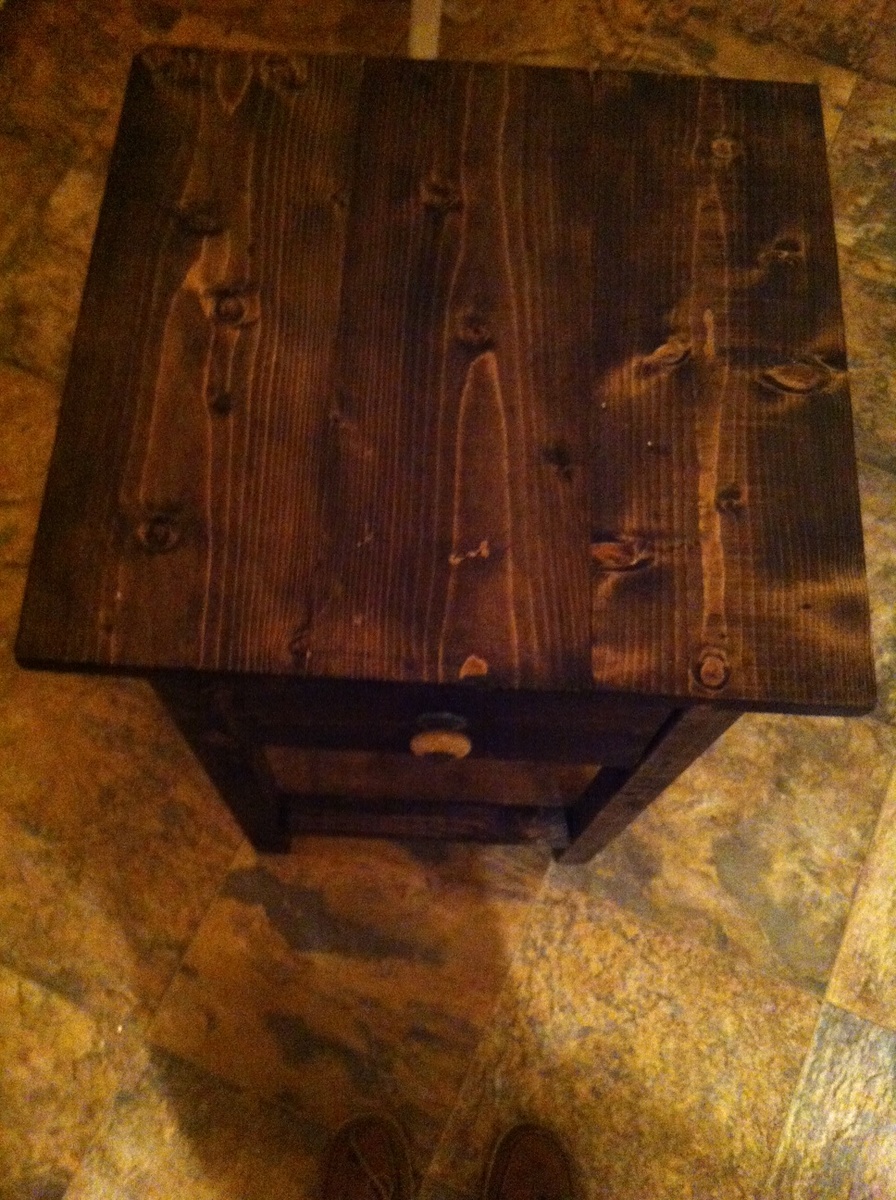
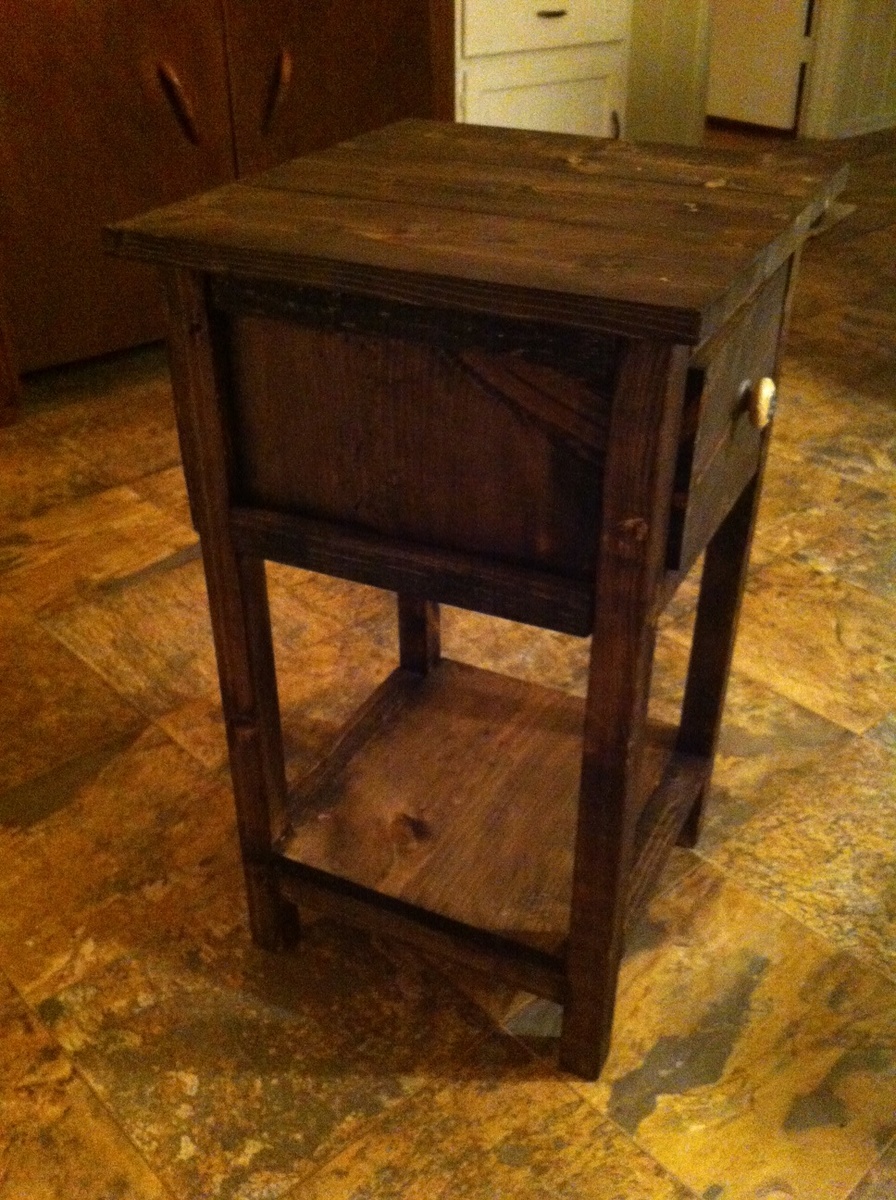
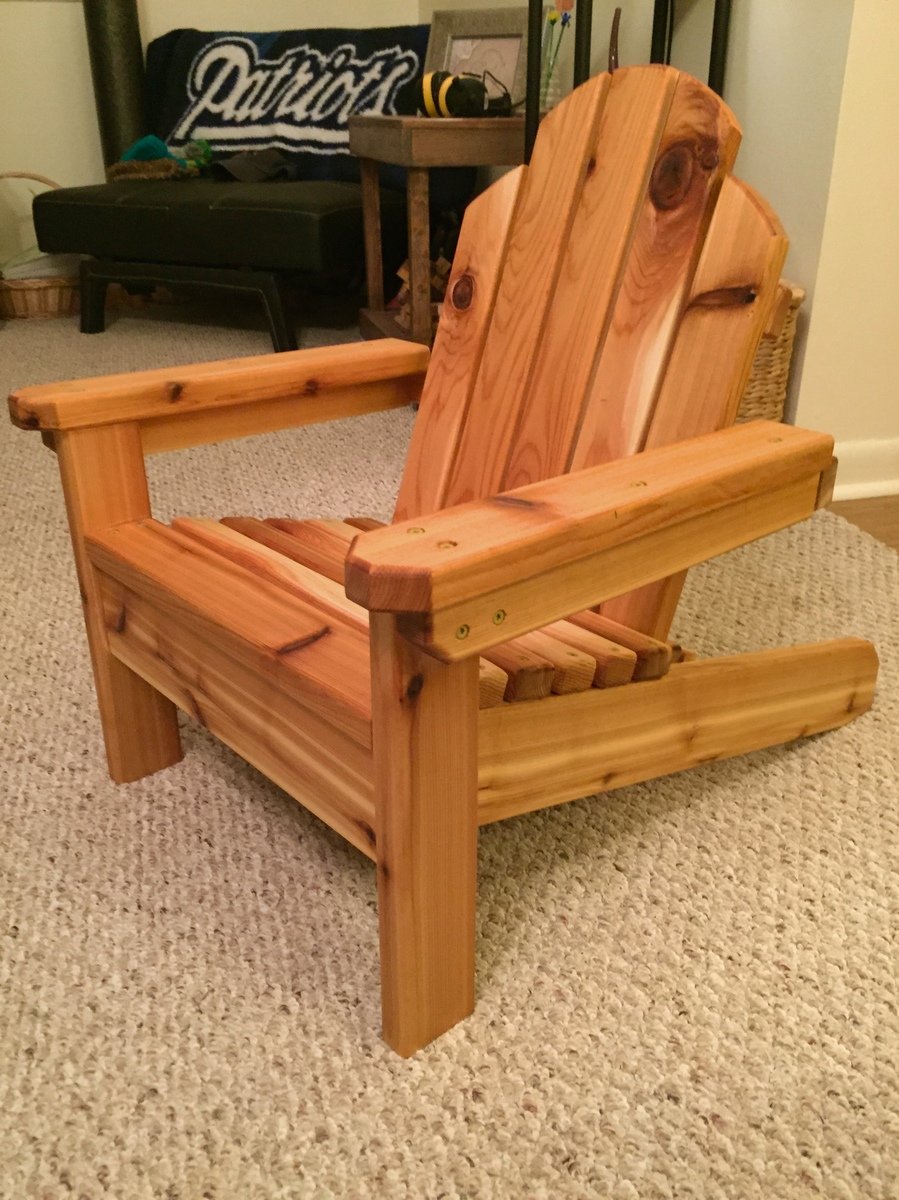
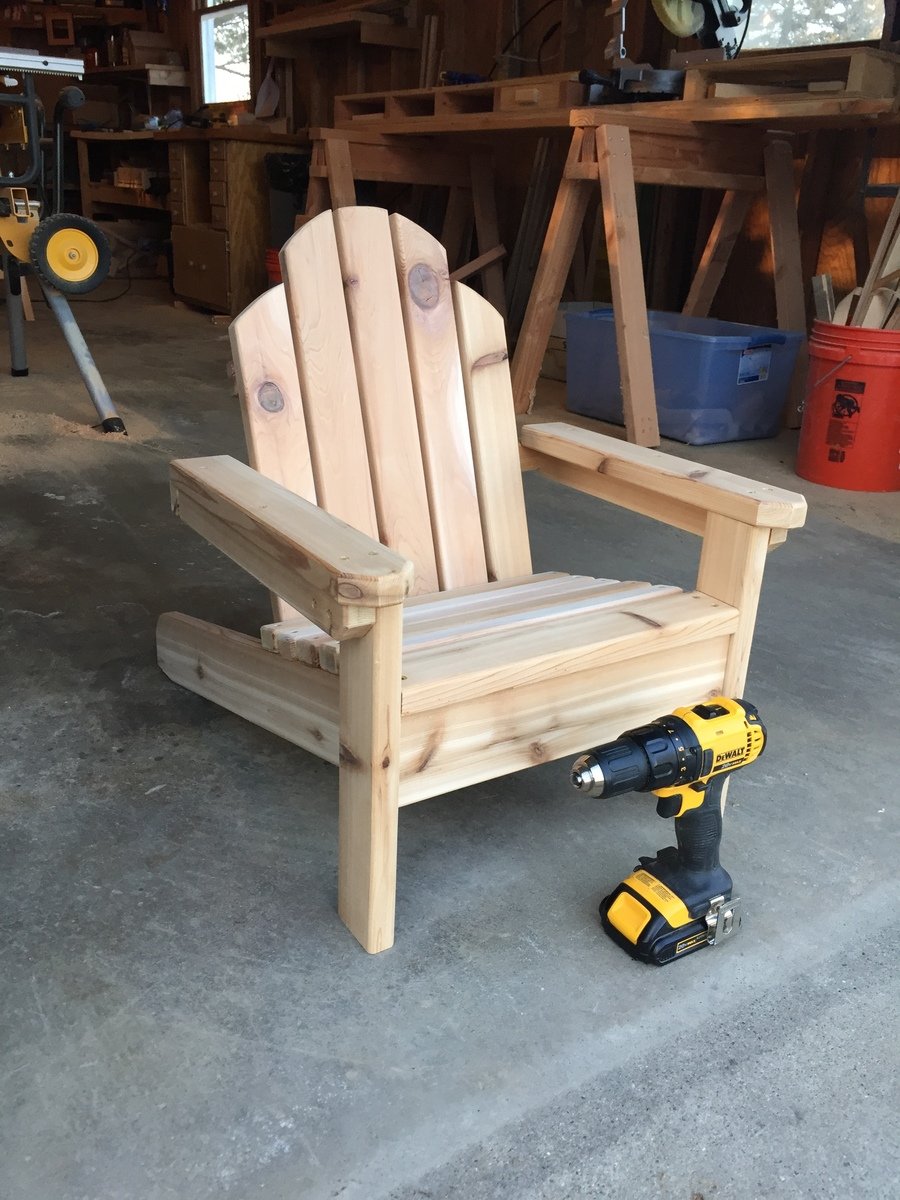
This was a fun little project that I built for a friend, whose son was turning one year old. I used 5/4 cedar deck boards and ripped them down to size. For a finish I used Watco's teak oil. I love the way it brings out the cedar's natural tones. You can see in one of my pictures the before/after when applying the teak oil.
Thank you Ana for the plans. Our daughters dolls needed some pets and this project was the perfect home for her New bunnies! I can't wait for her to open this gift Christmas morning.
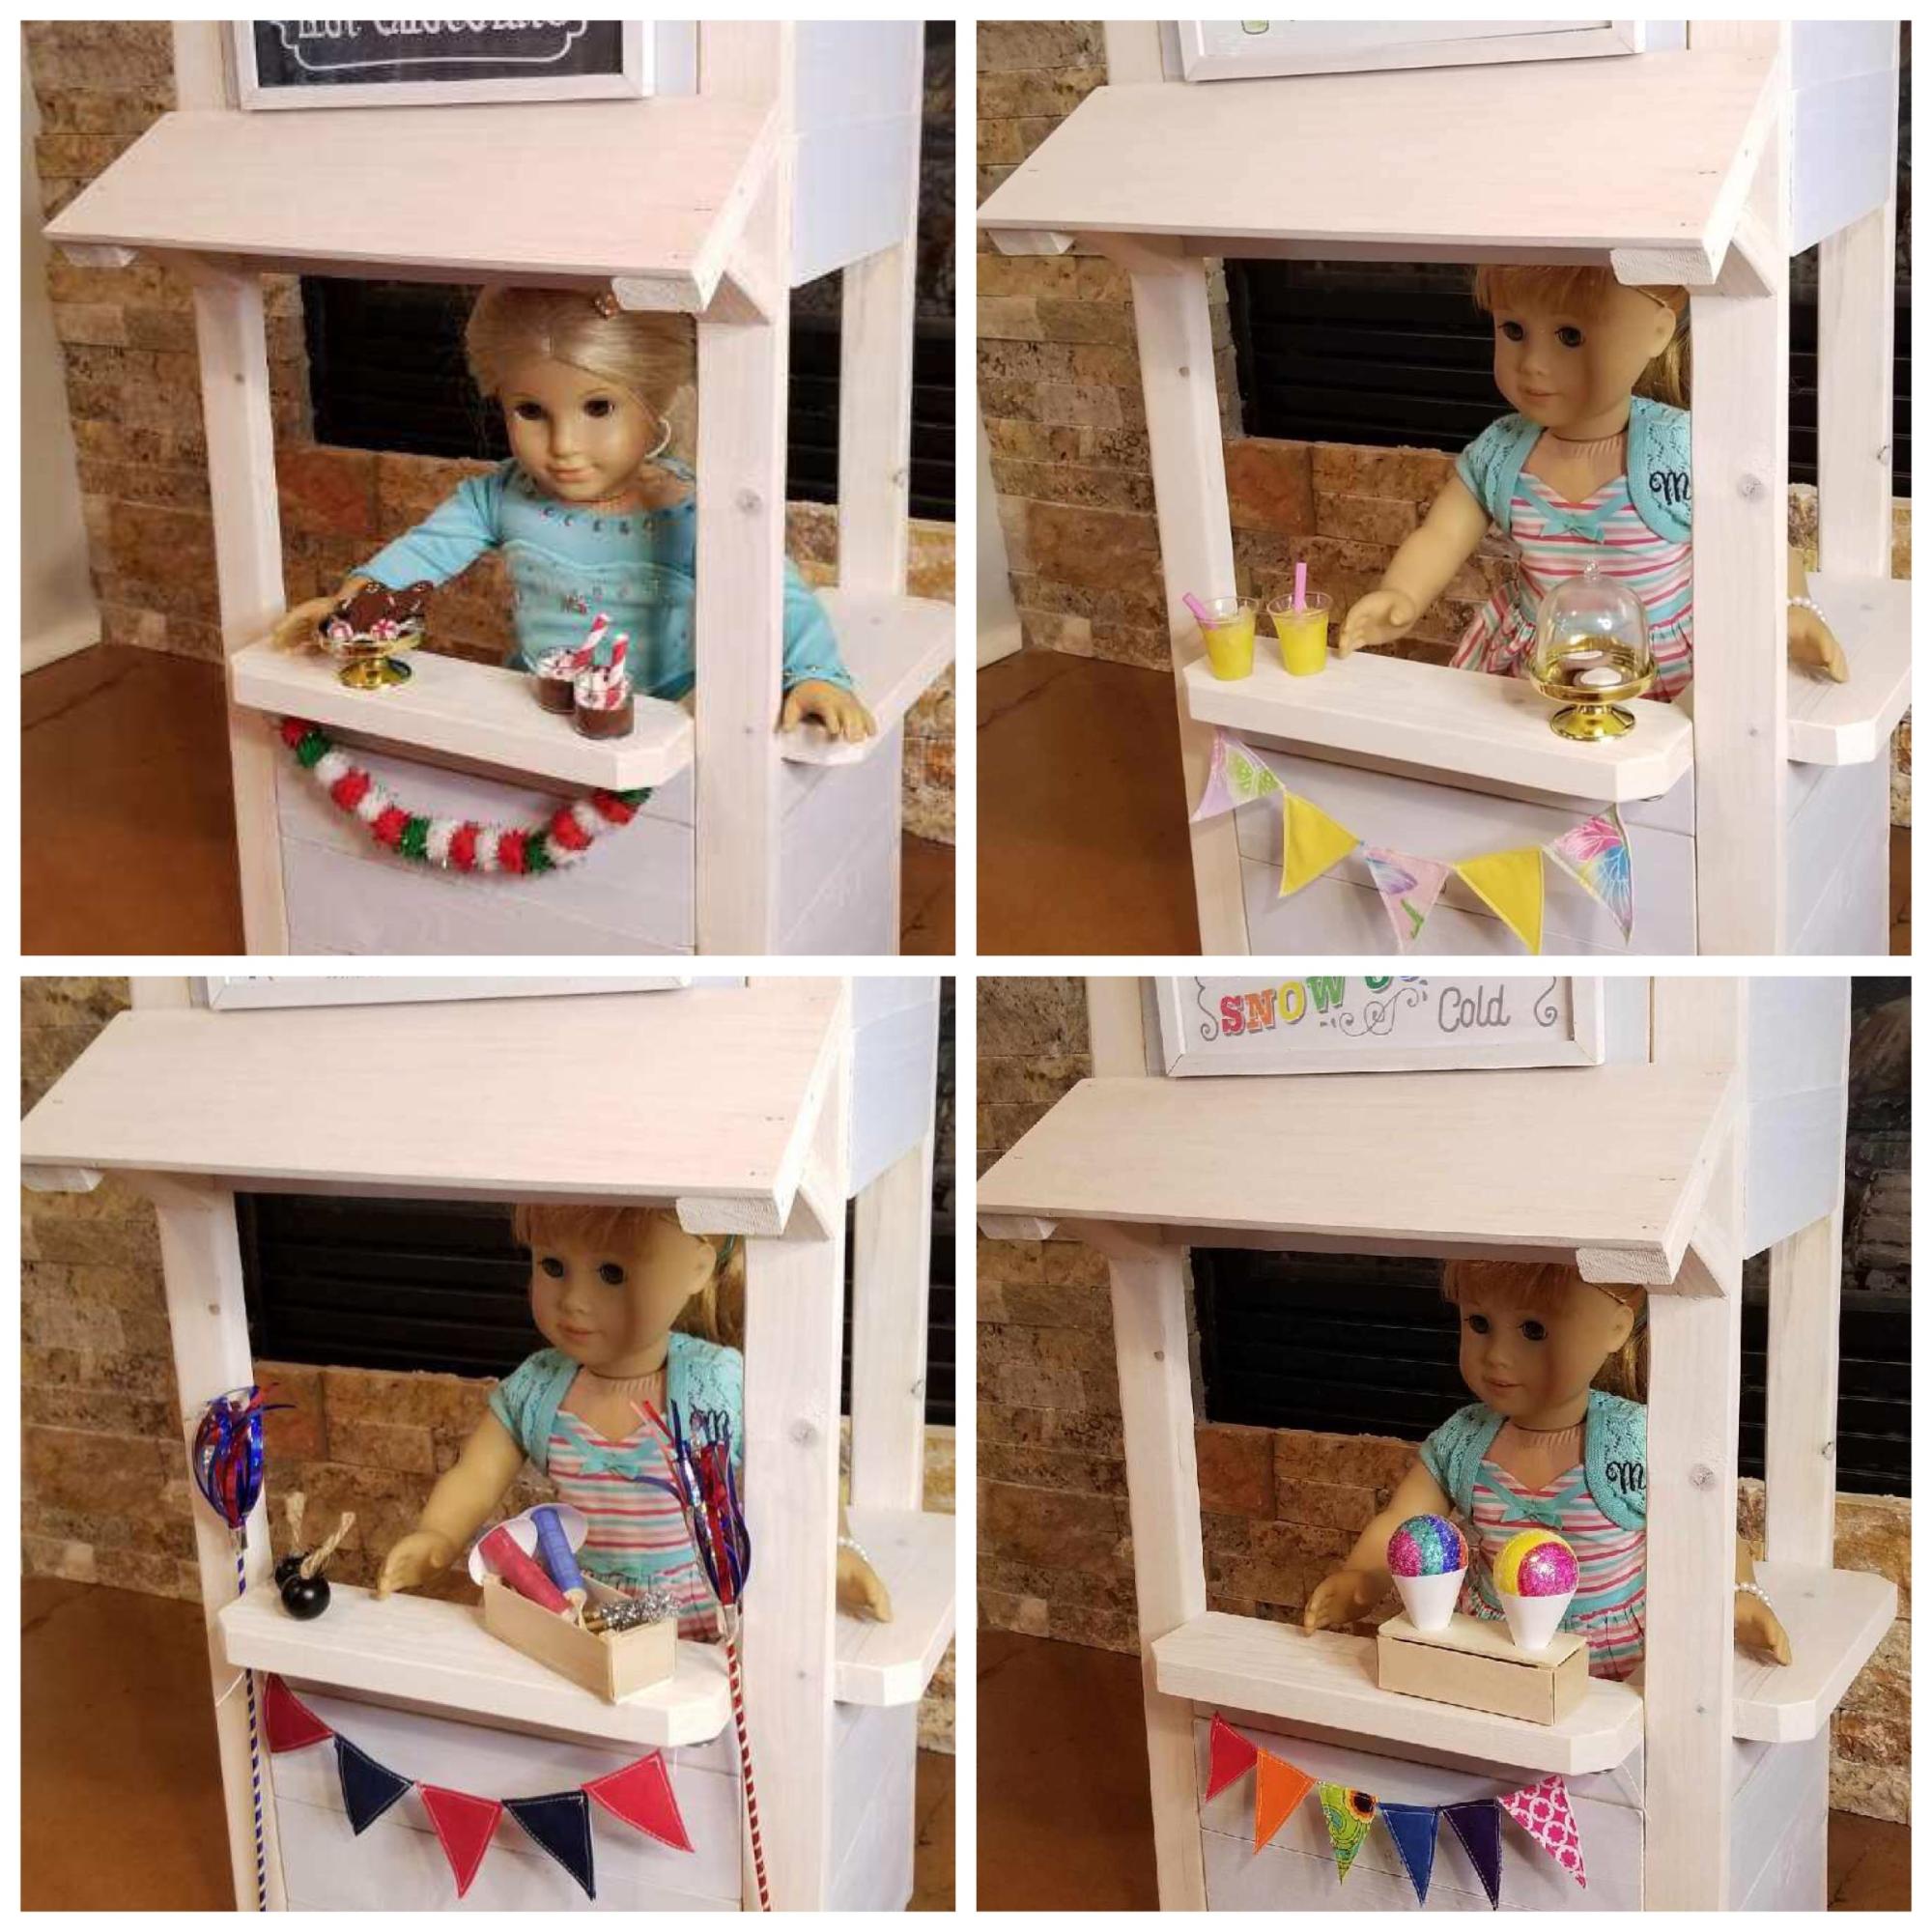
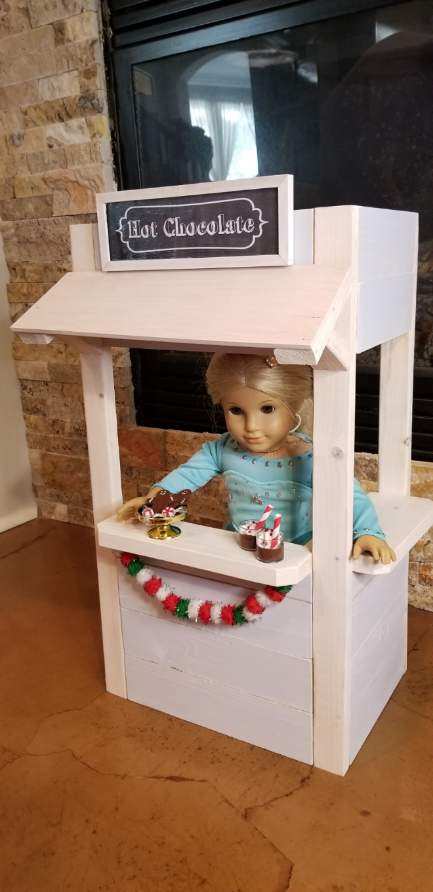
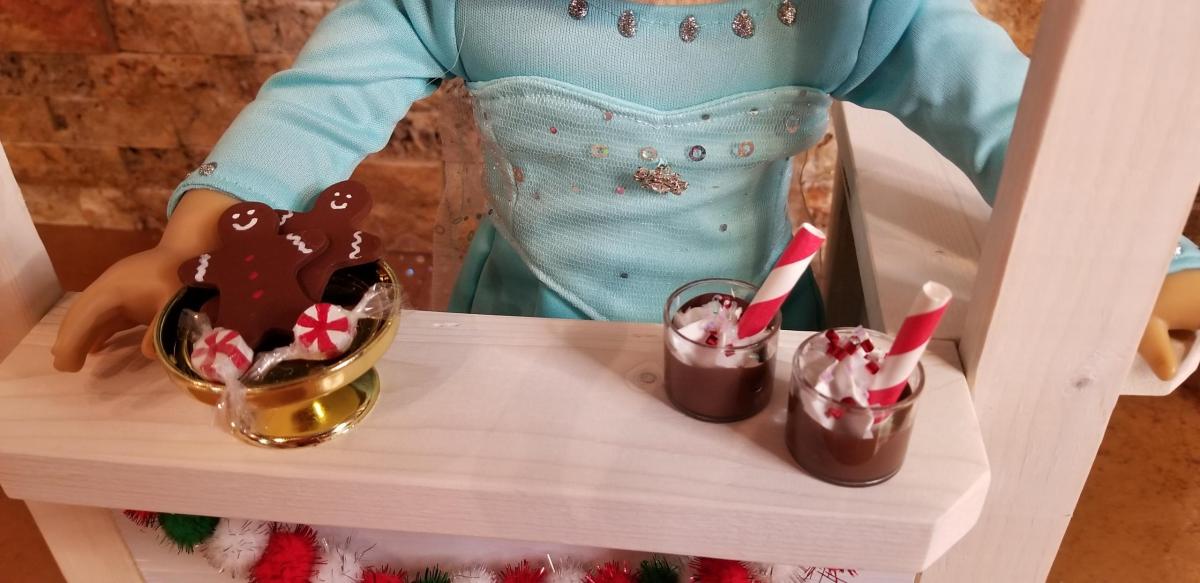
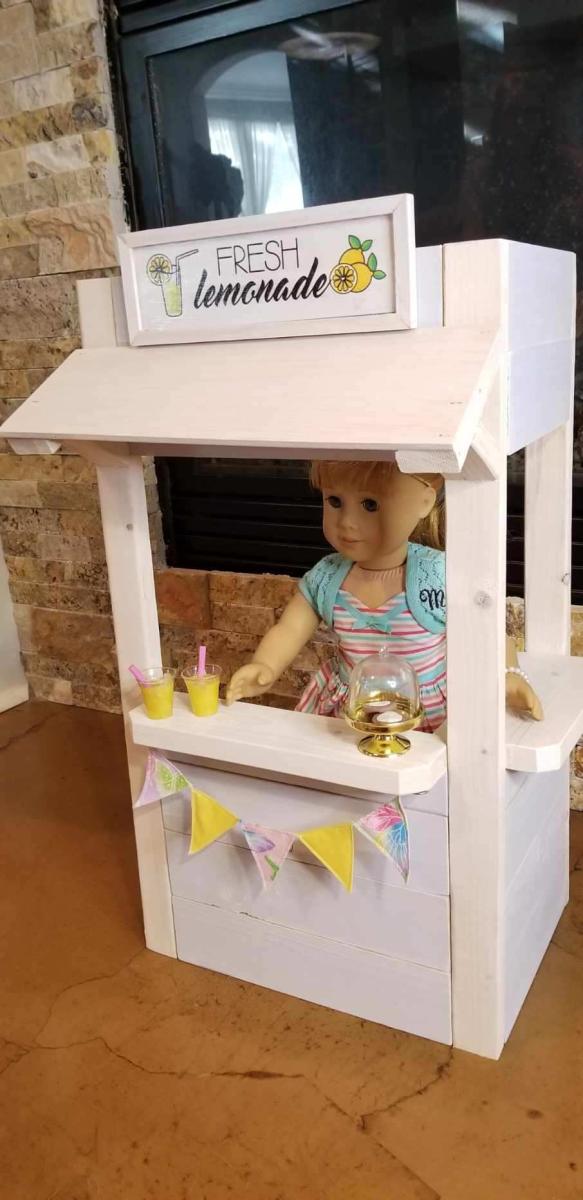
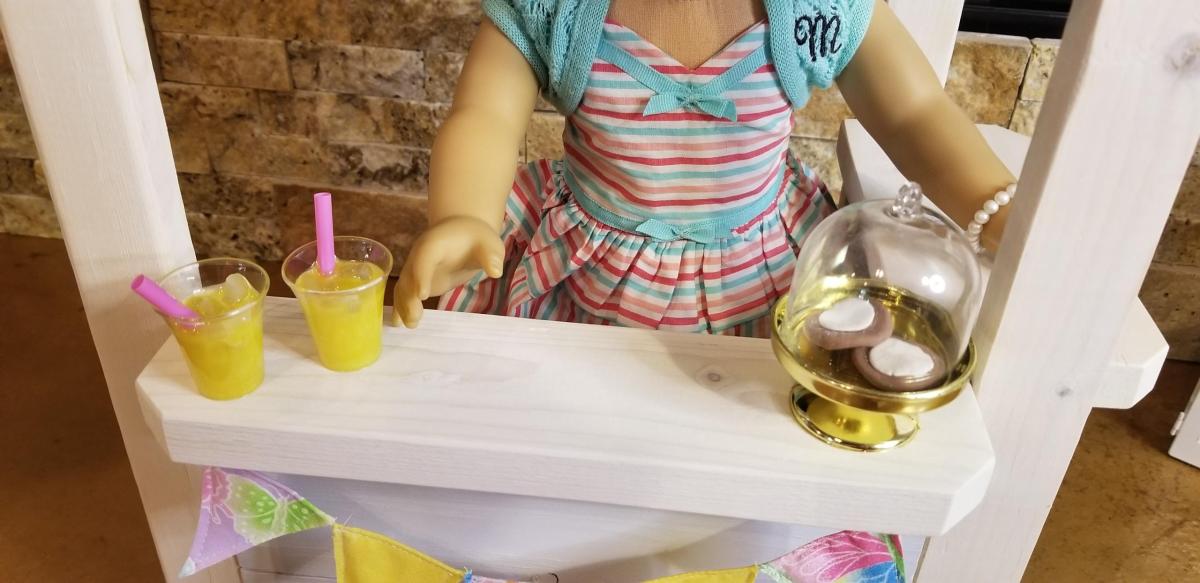
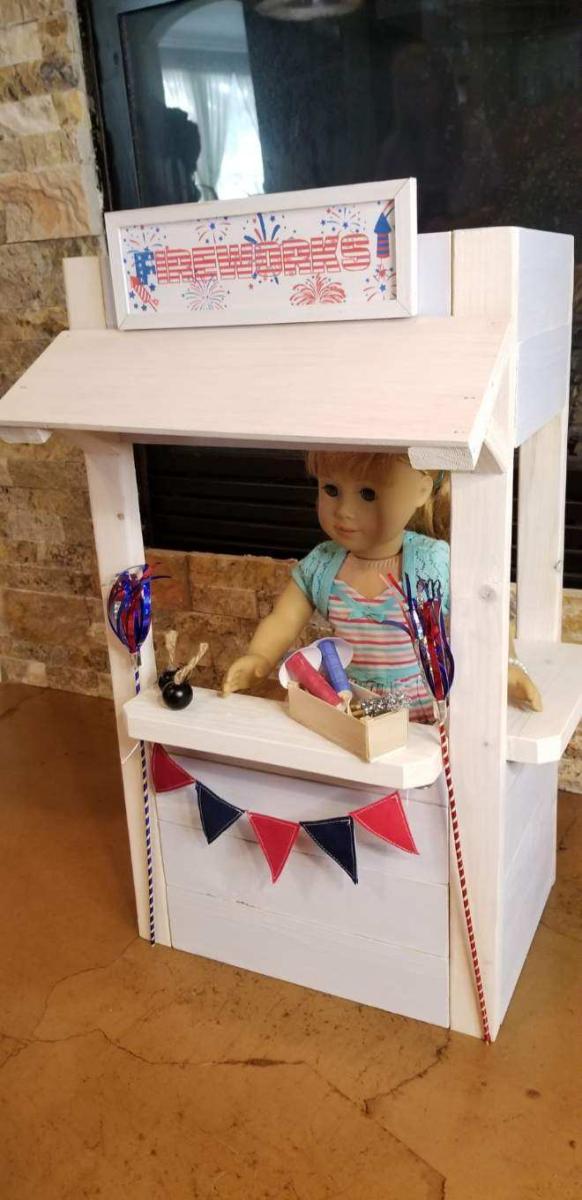
I LOVE the hot cocoa stand but wanted to make it “year round”. So I also created accessories for lemonade, fireworks and snow cone stands. The signs are reversible. They are made of metal and attach with magnets. The banners also attach with magnets. There are hot cocoas, gingerbread cookies, peppermints, lemonades, iced cookies, a cake plate, fireworks, smoke bombs, bottle rockets, sparklers, snow cones and a snow cone holder that flips over to become a crate.
Thu, 12/23/2021 - 20:09
So awesome, love all the accessories to make it a year round favorite! Well done:)