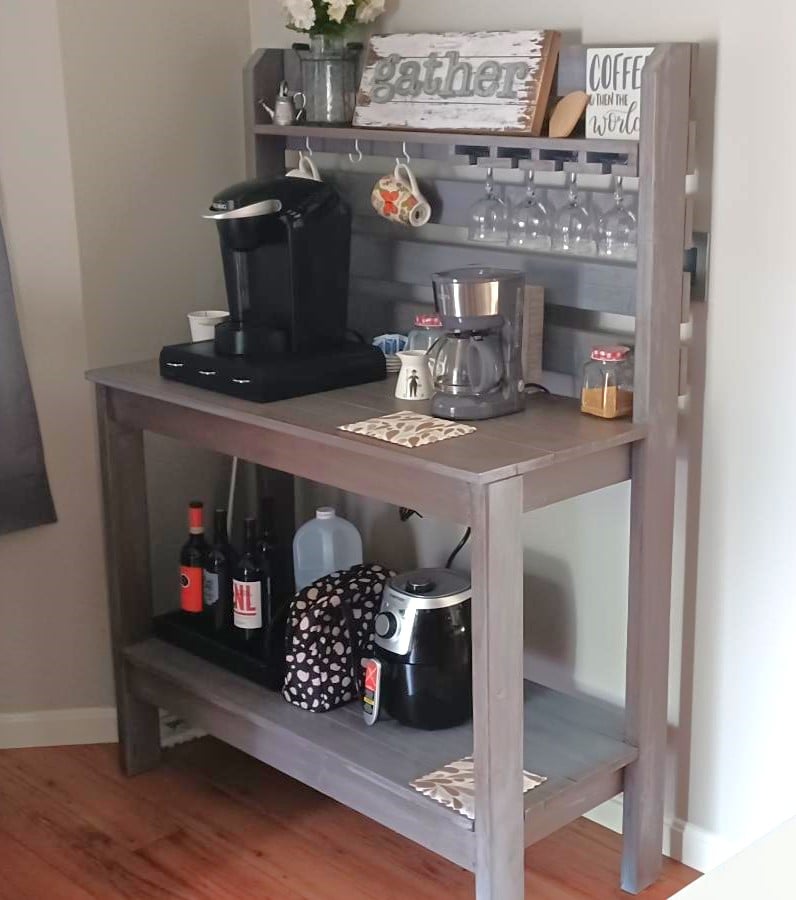
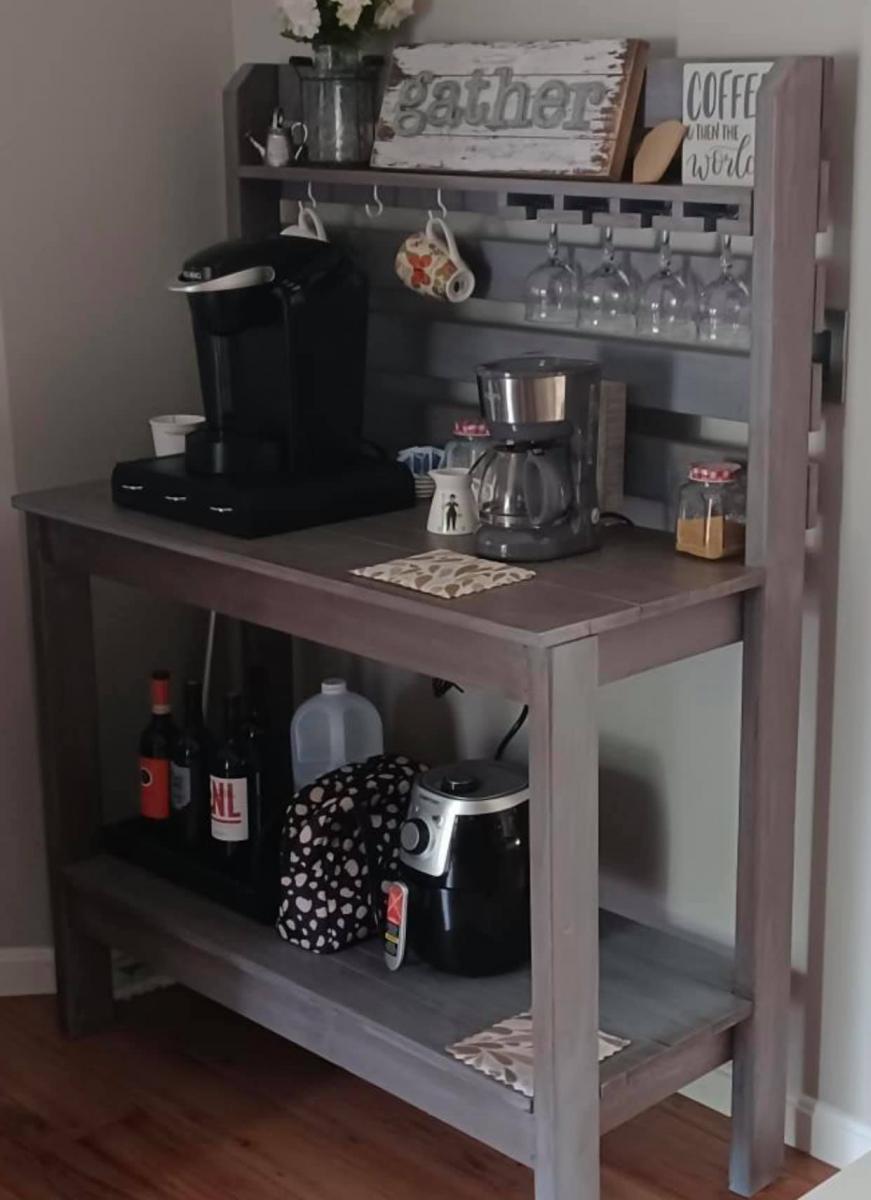
Media console
This great plan!! Thx Ana!
Built from Plan(s)
This great plan!! Thx Ana!
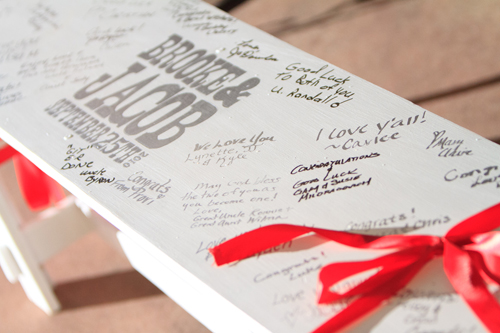
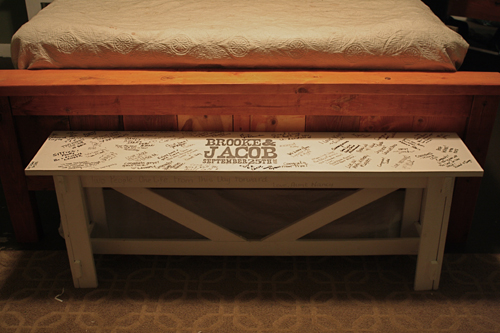
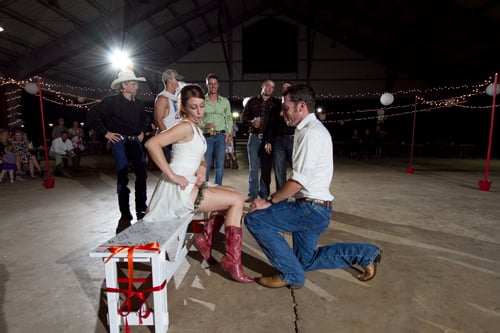
Having already built a rustic bench to go with my Farmhouse Table, I knew it would be the perfect guest "book" bench for my wedding. For only $15 (I had the lumber for the top on hand), and the help of all my bridesmaids during my bachelorette weekend, we built this bench in just about an hour. Everybody had a hand in it, which makes it even more meaningful. It sits at the foot of the Farmhouse Bed my husband and I built from reclaimed barnwood from my father. I love that we have something so hand-made and sentimental to commemorate our wedding celebration. It makes me smile every time I look at it!
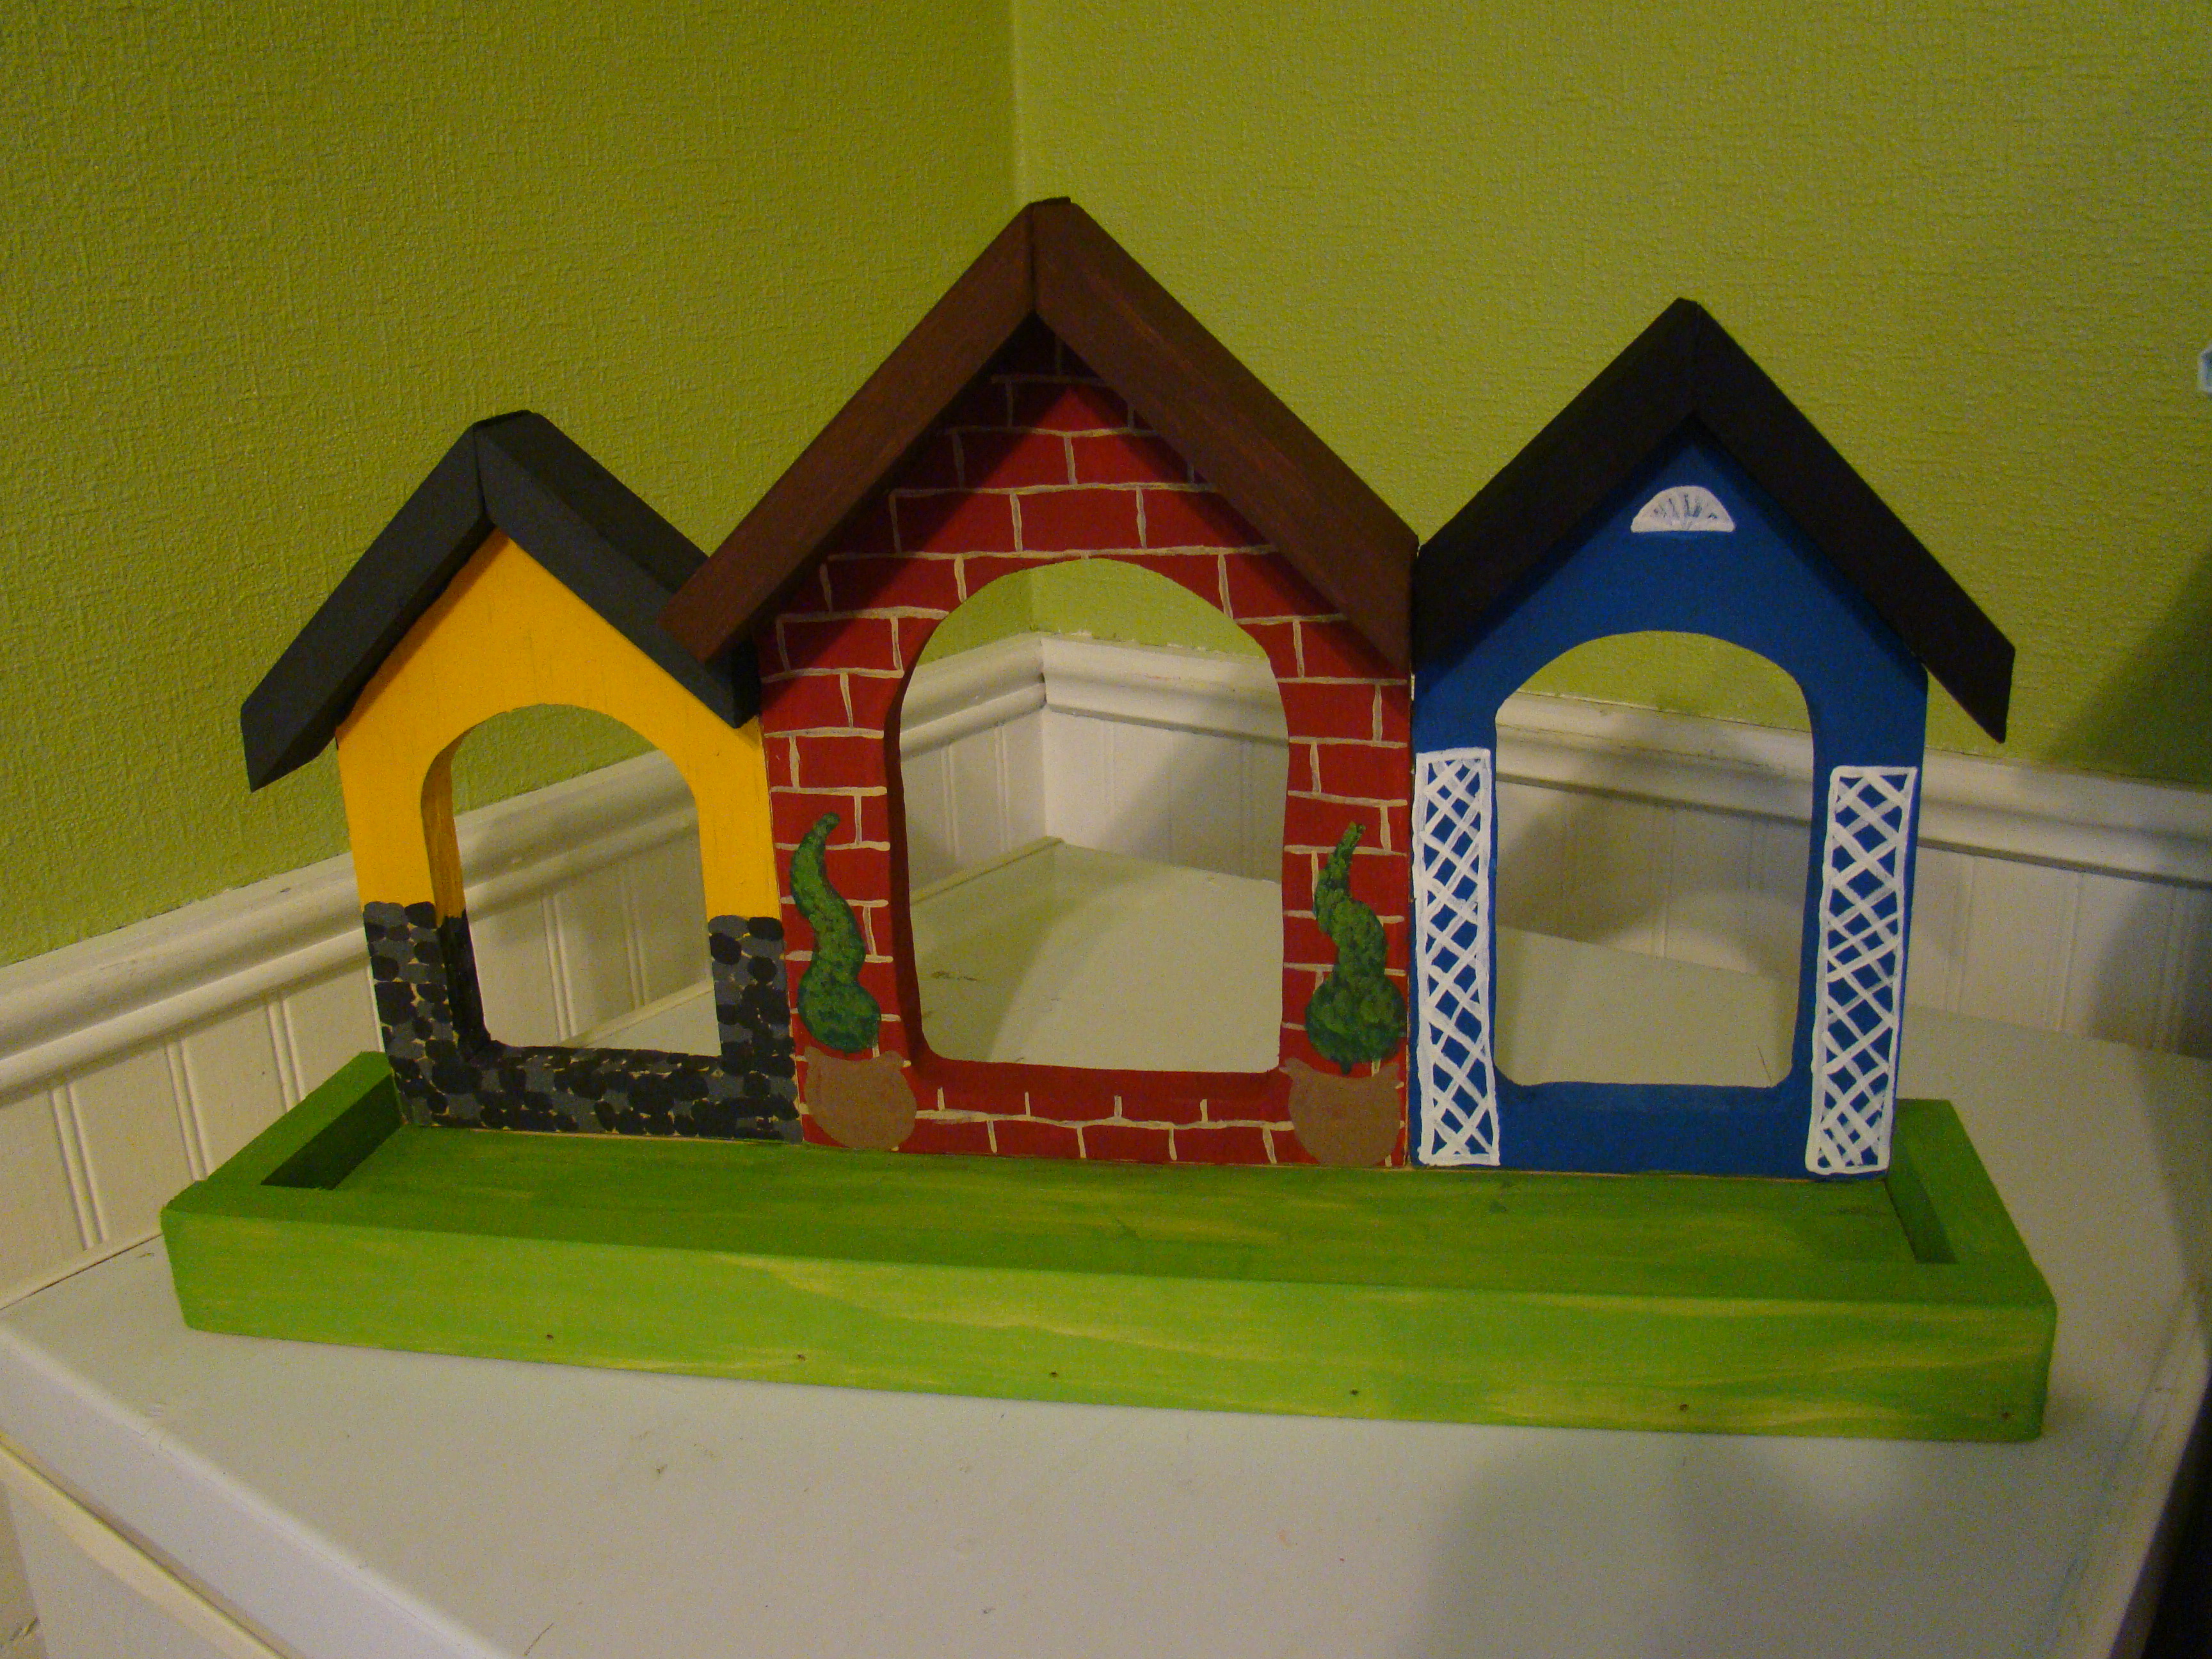
My homemade mother's day gift for my mother in law. She likes to sit in her living room looking out the big picture window at the birds eating at her birdfeeders. It's also a favorite passtime of my son who spends time there occasionally. What better gift than this! I wanted to do something a little less simple than the single "house" so I made the main one smaller, and then added two more houses to make bird townhouses.
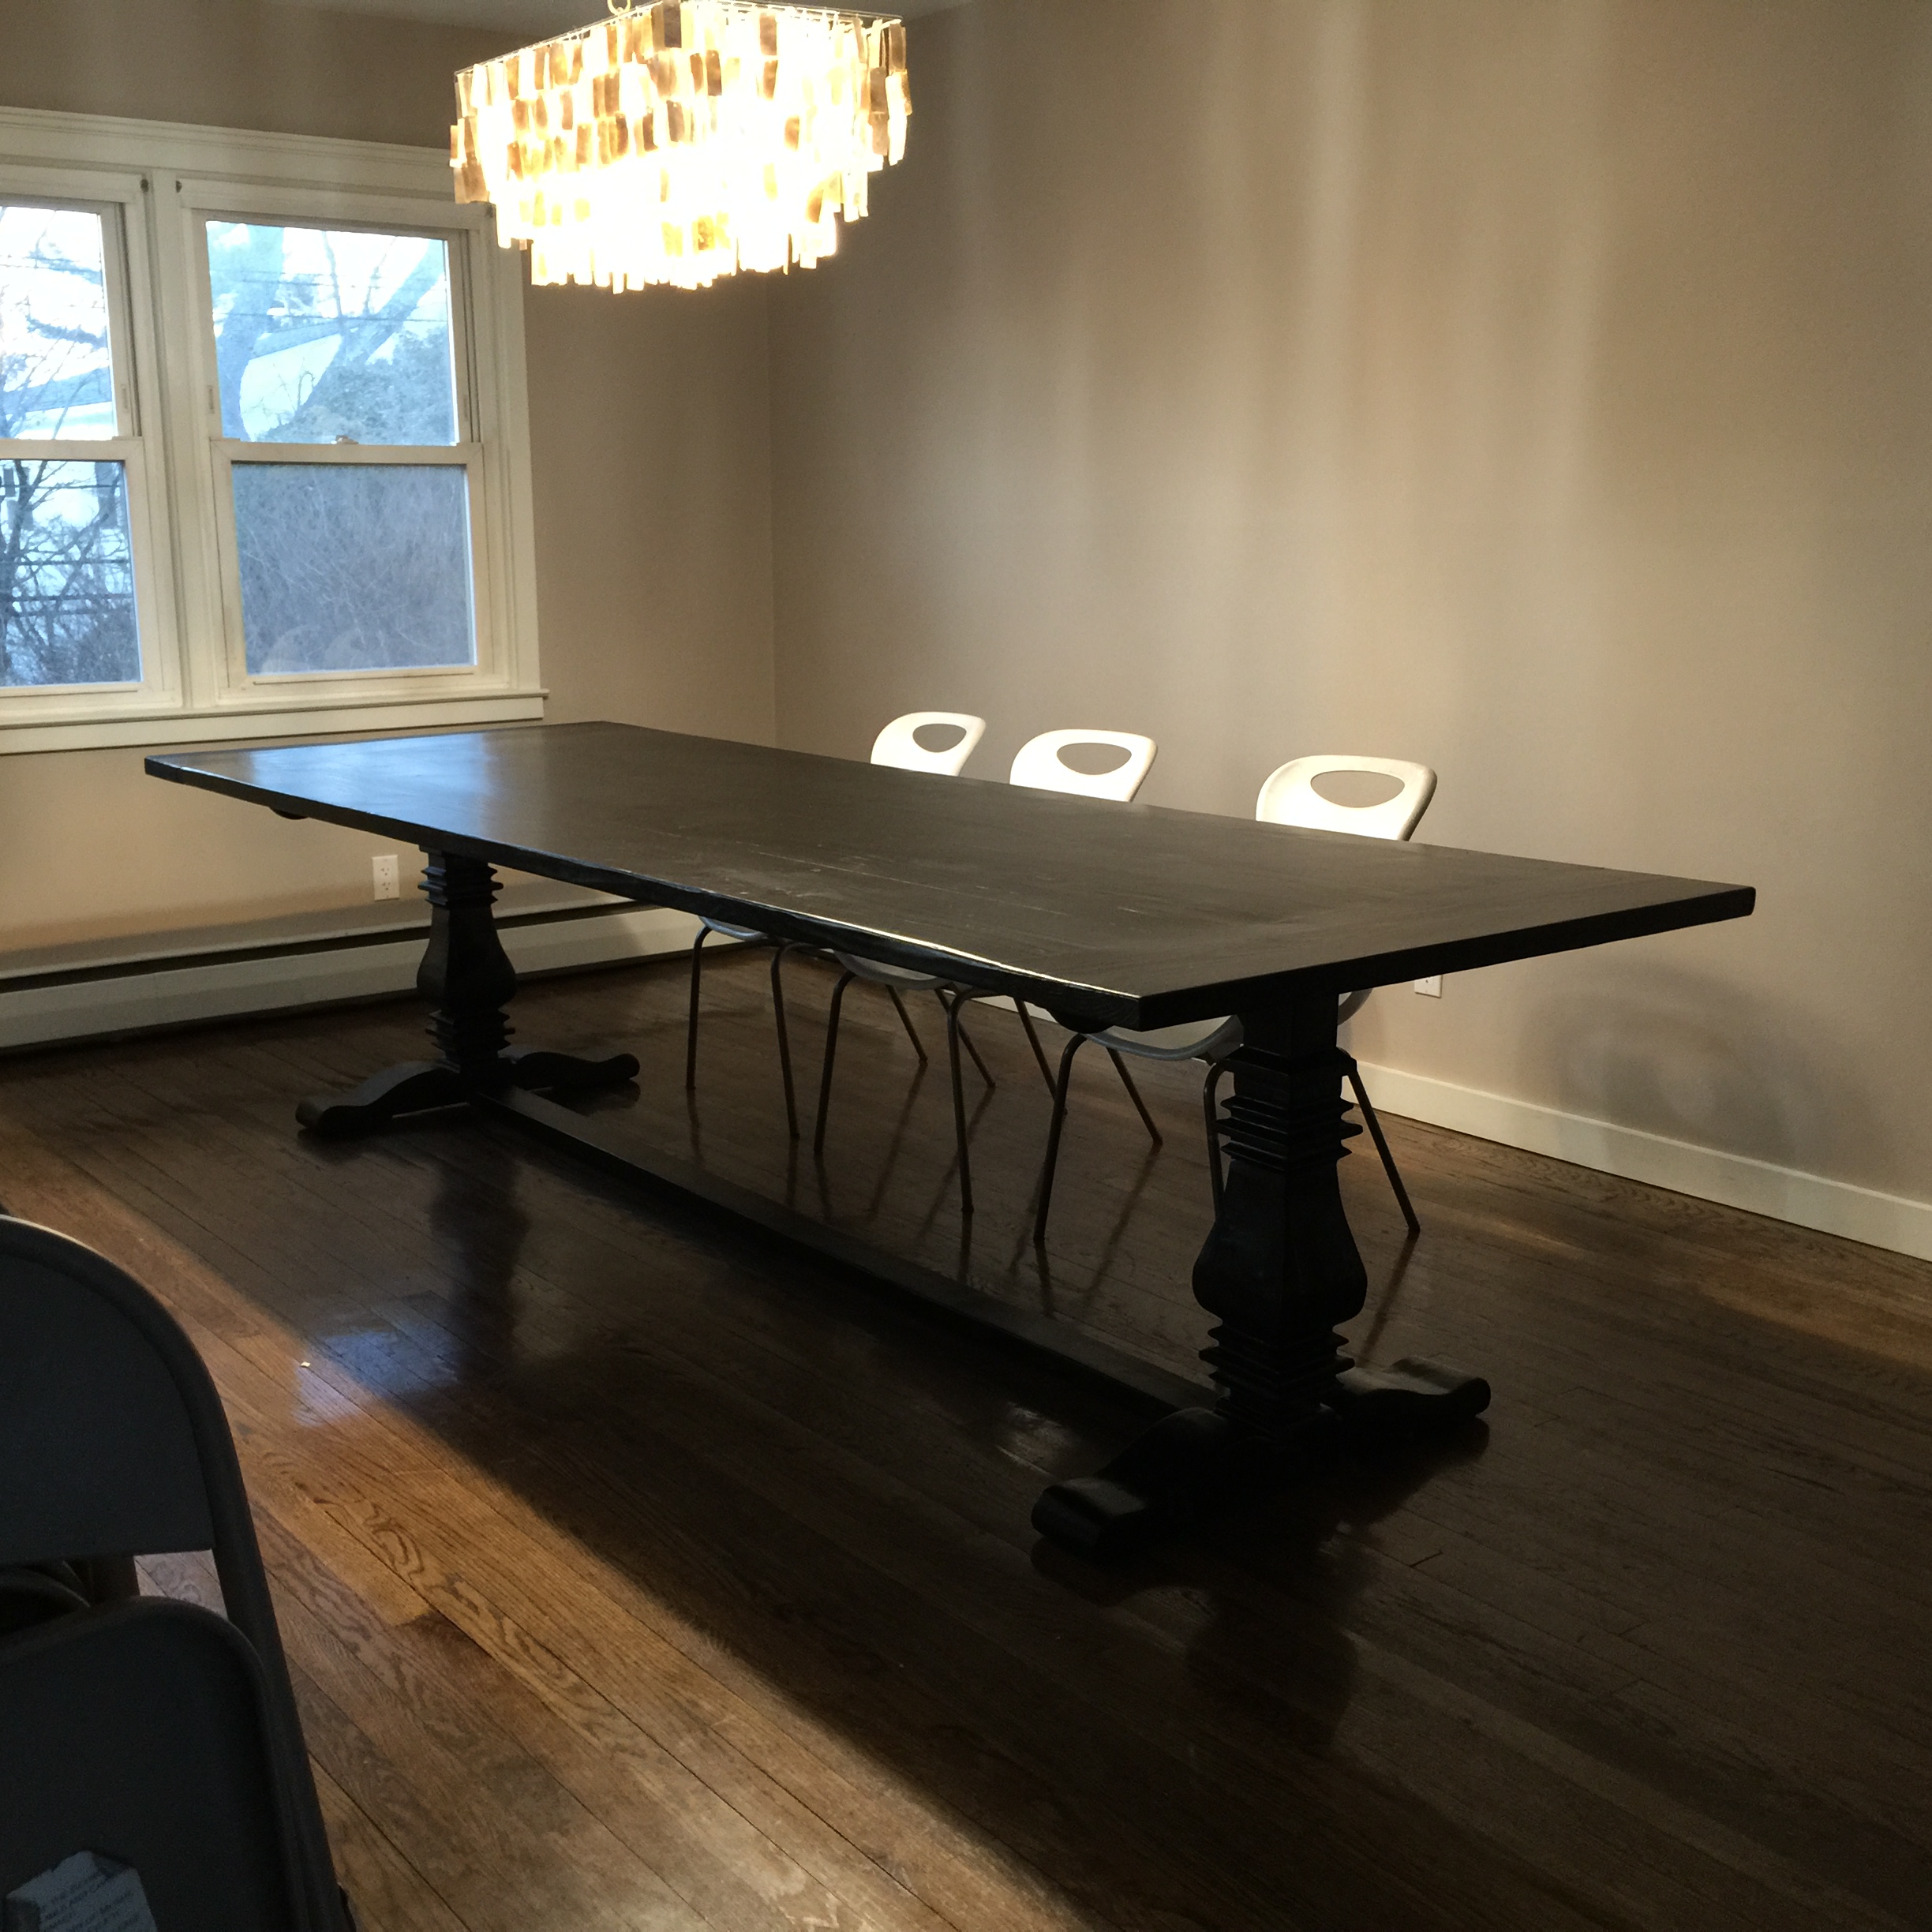
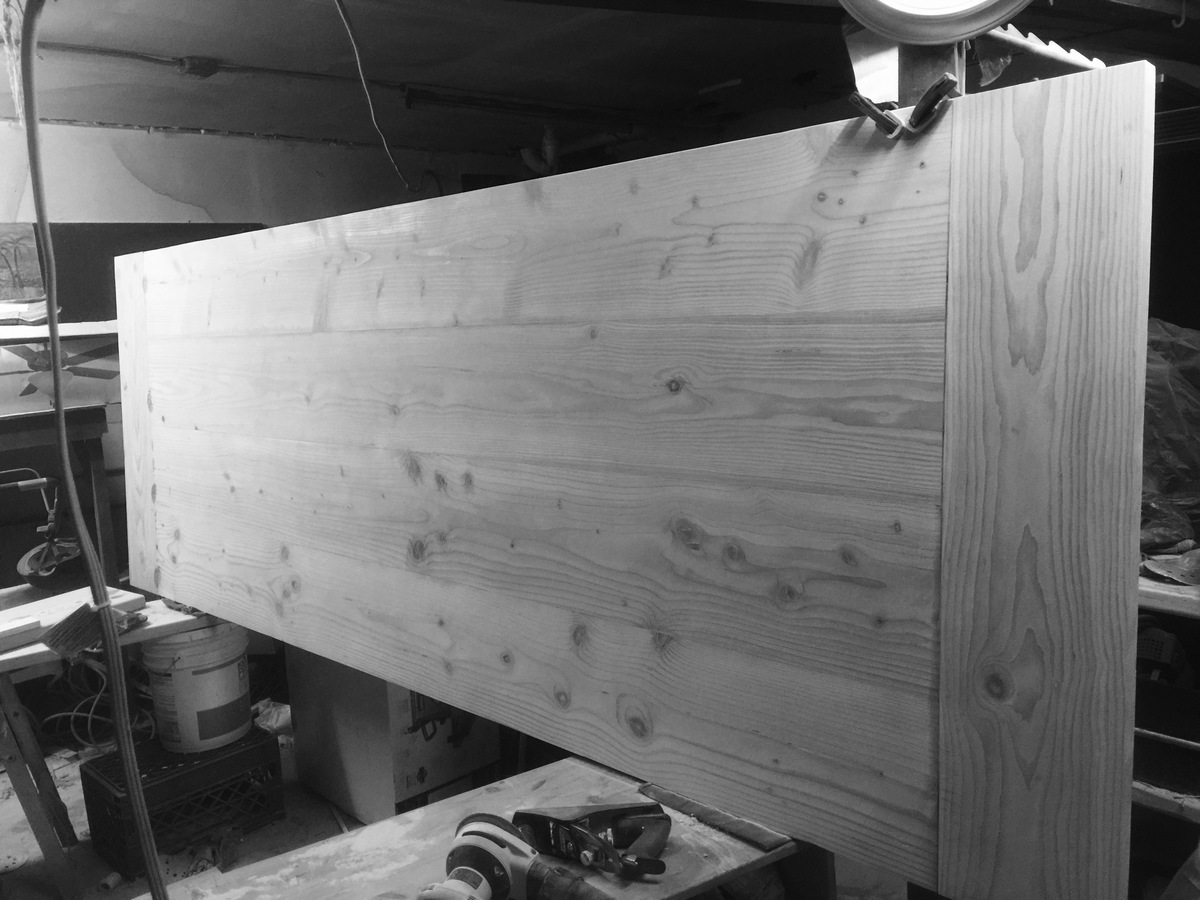
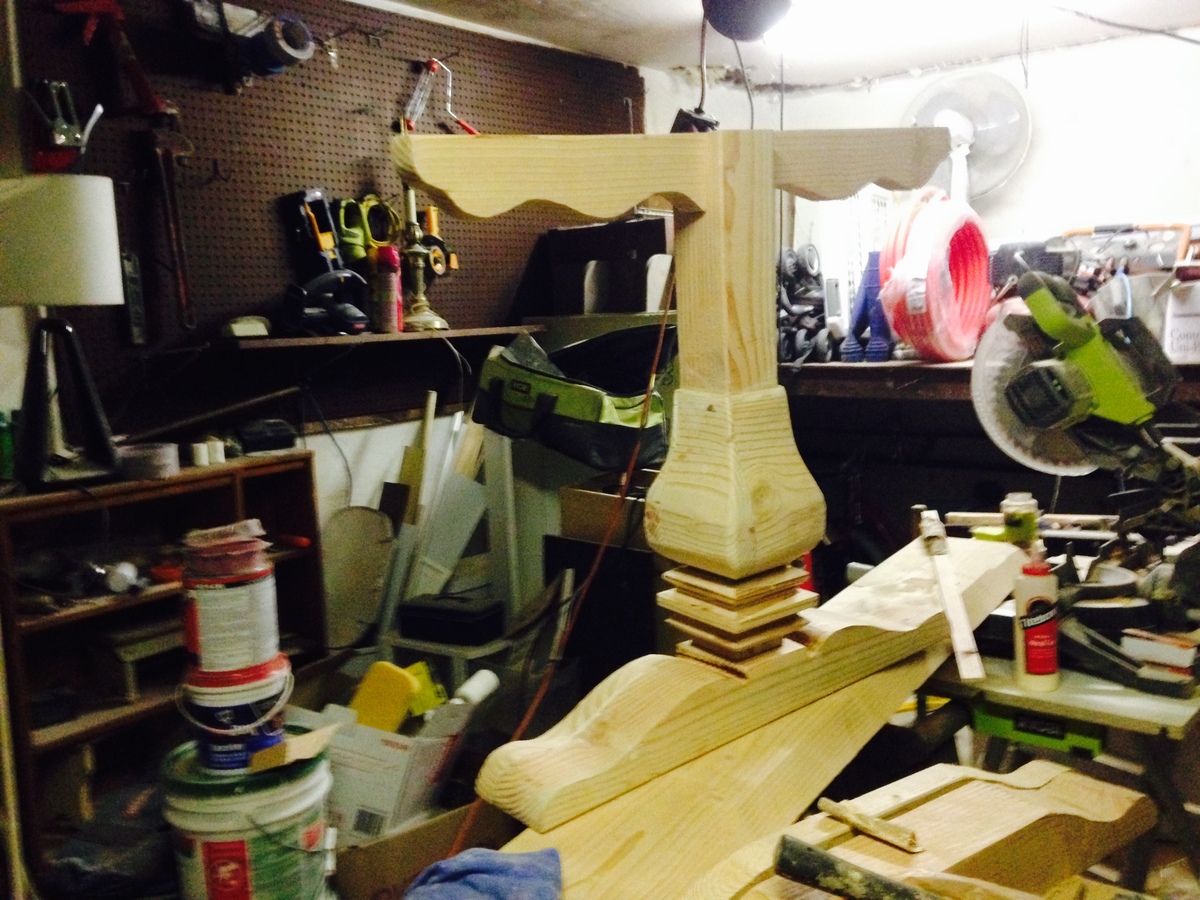
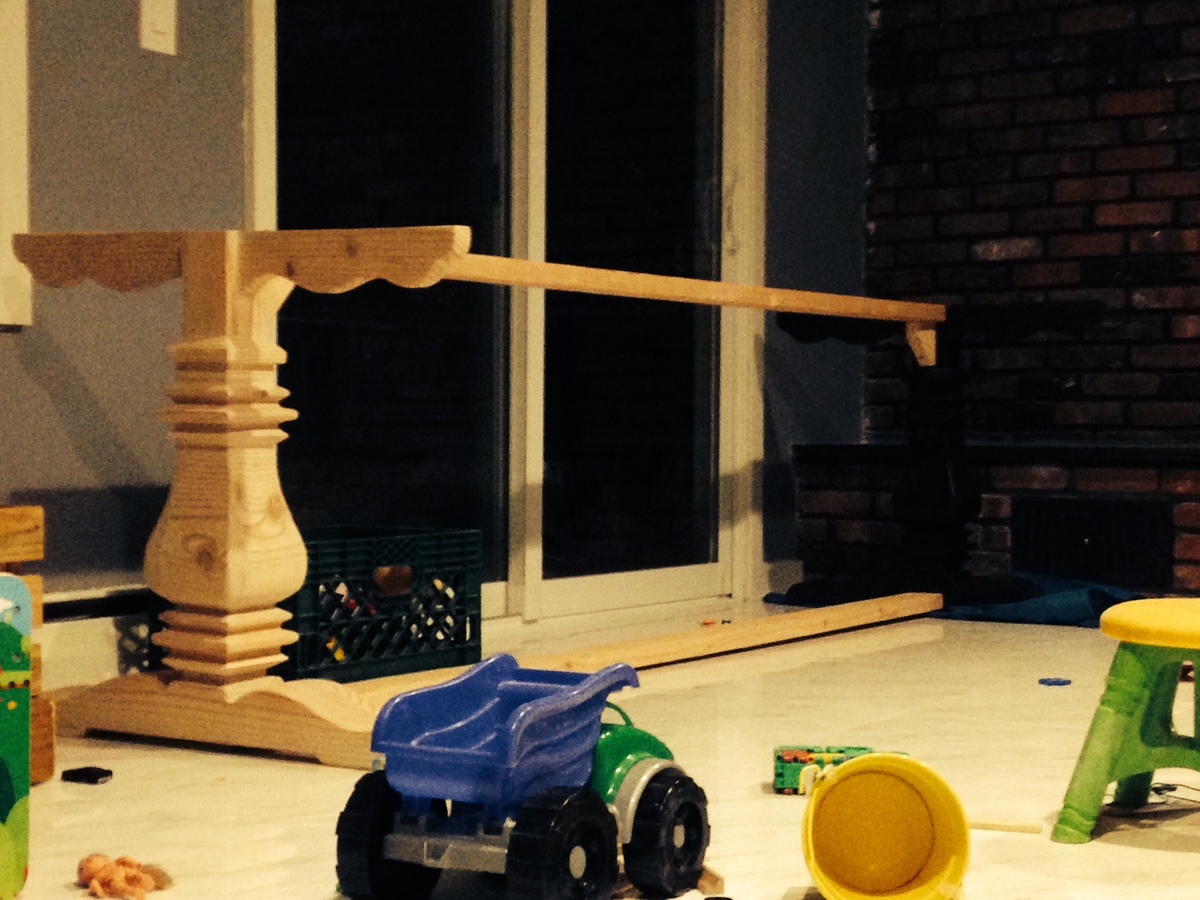
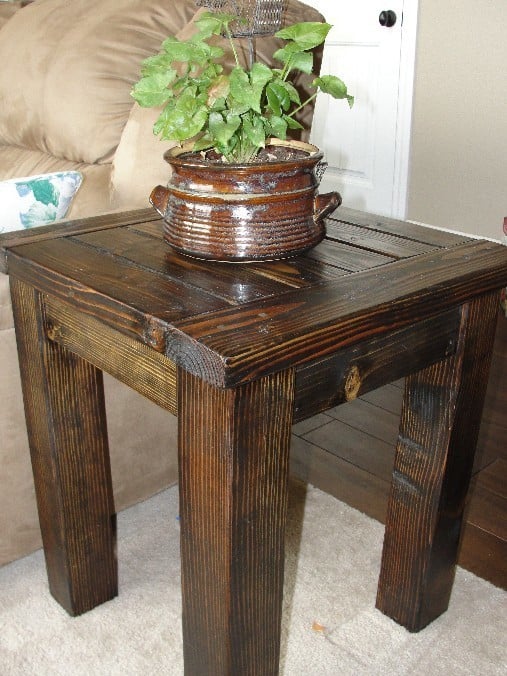
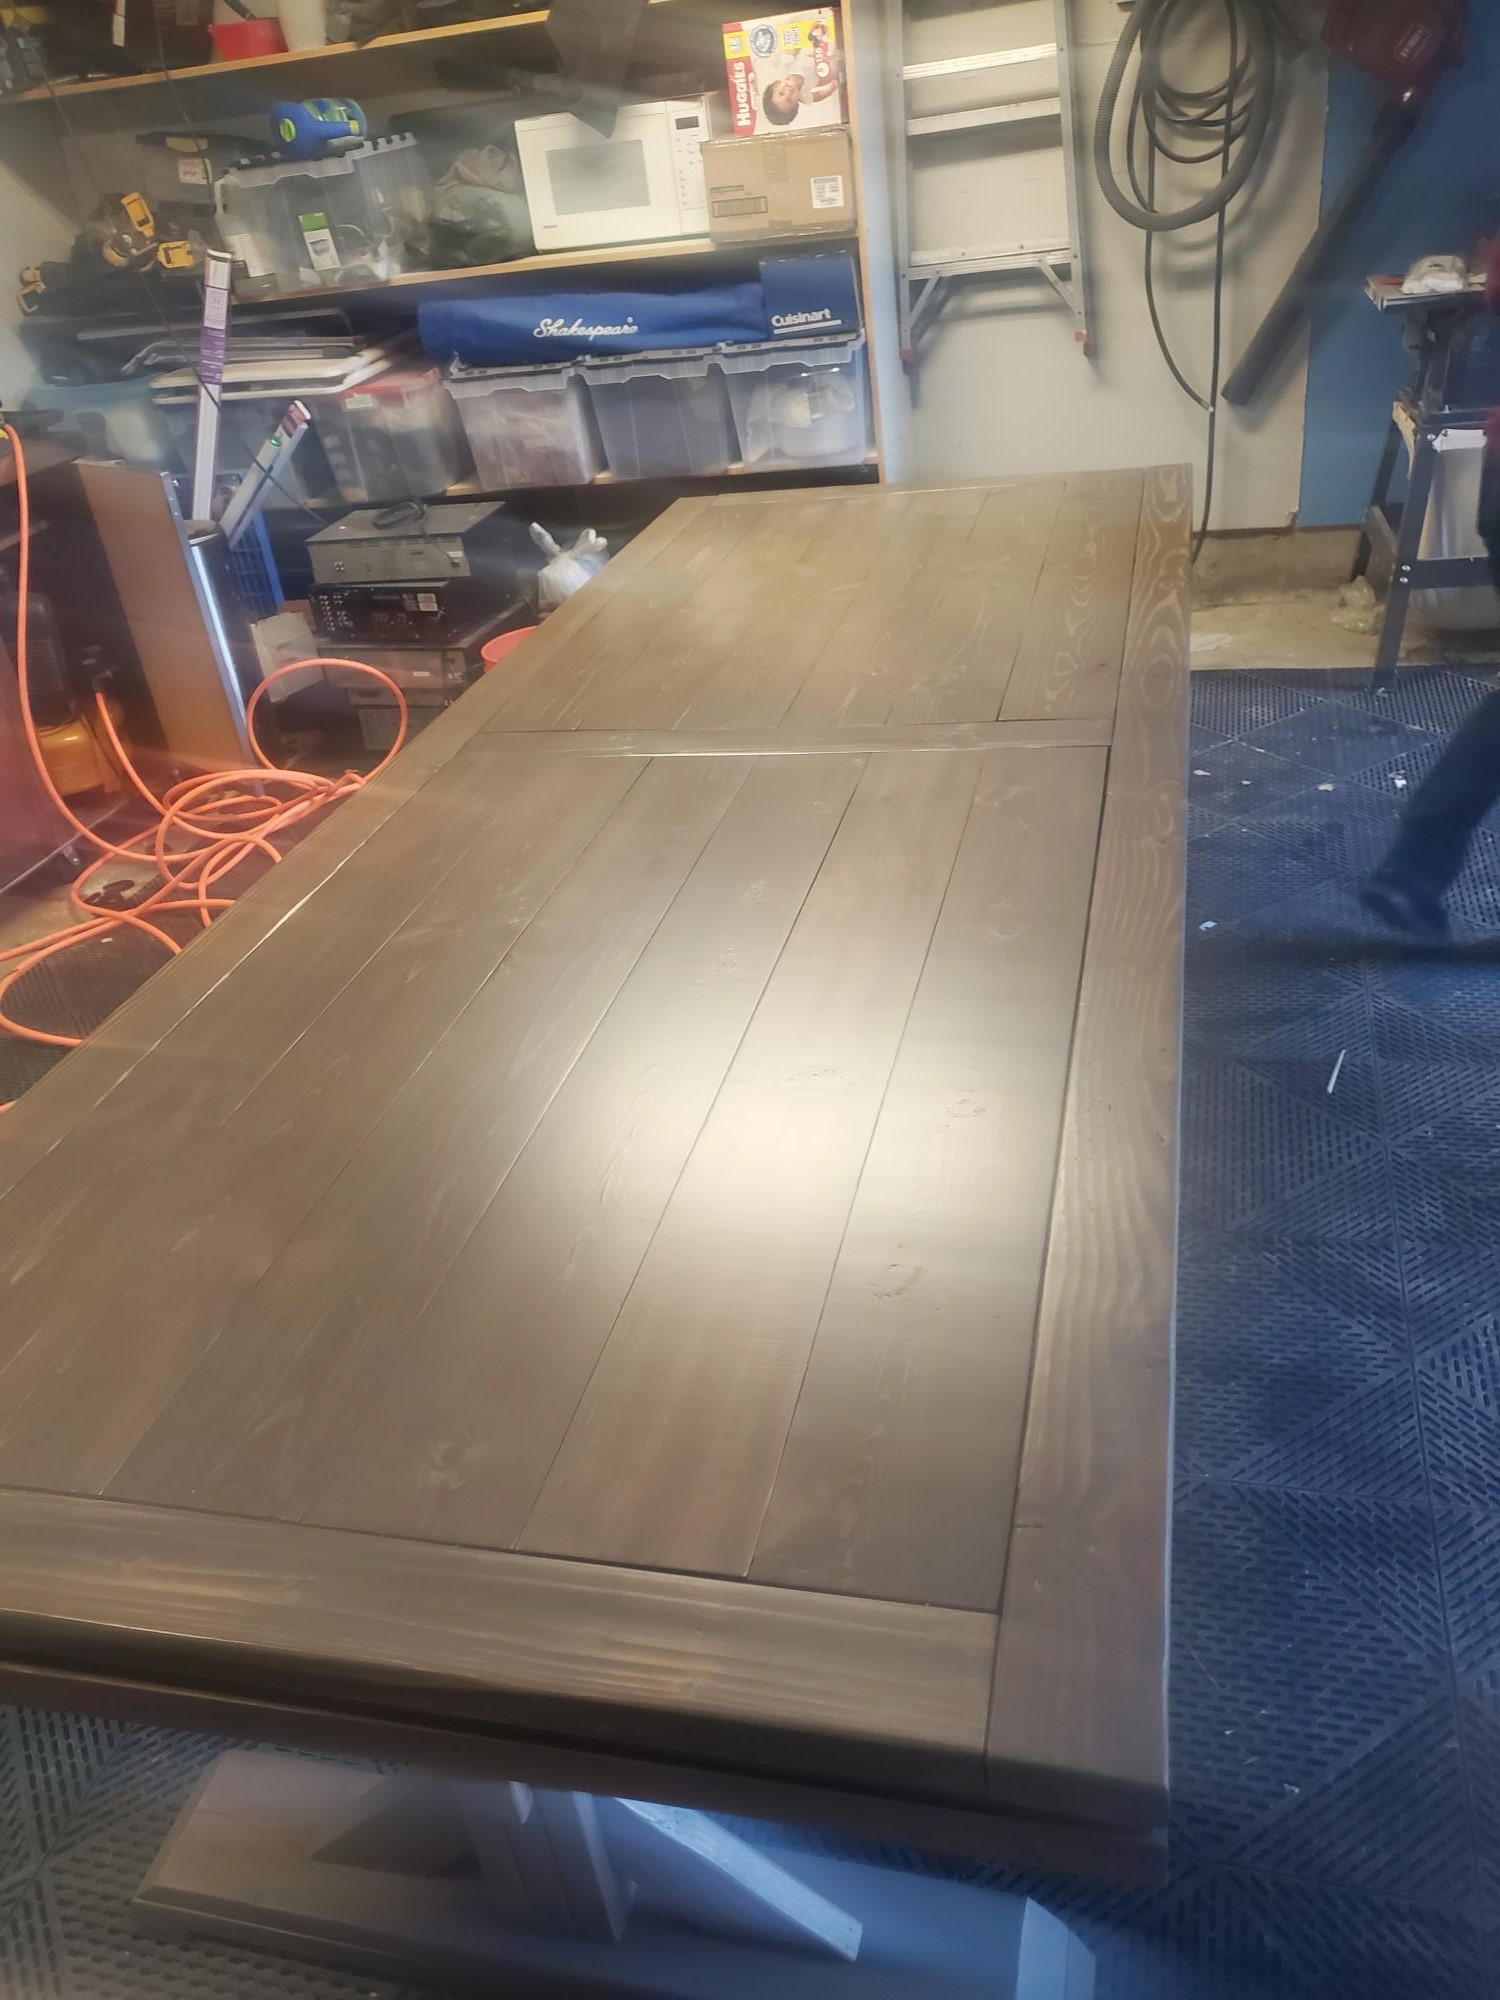
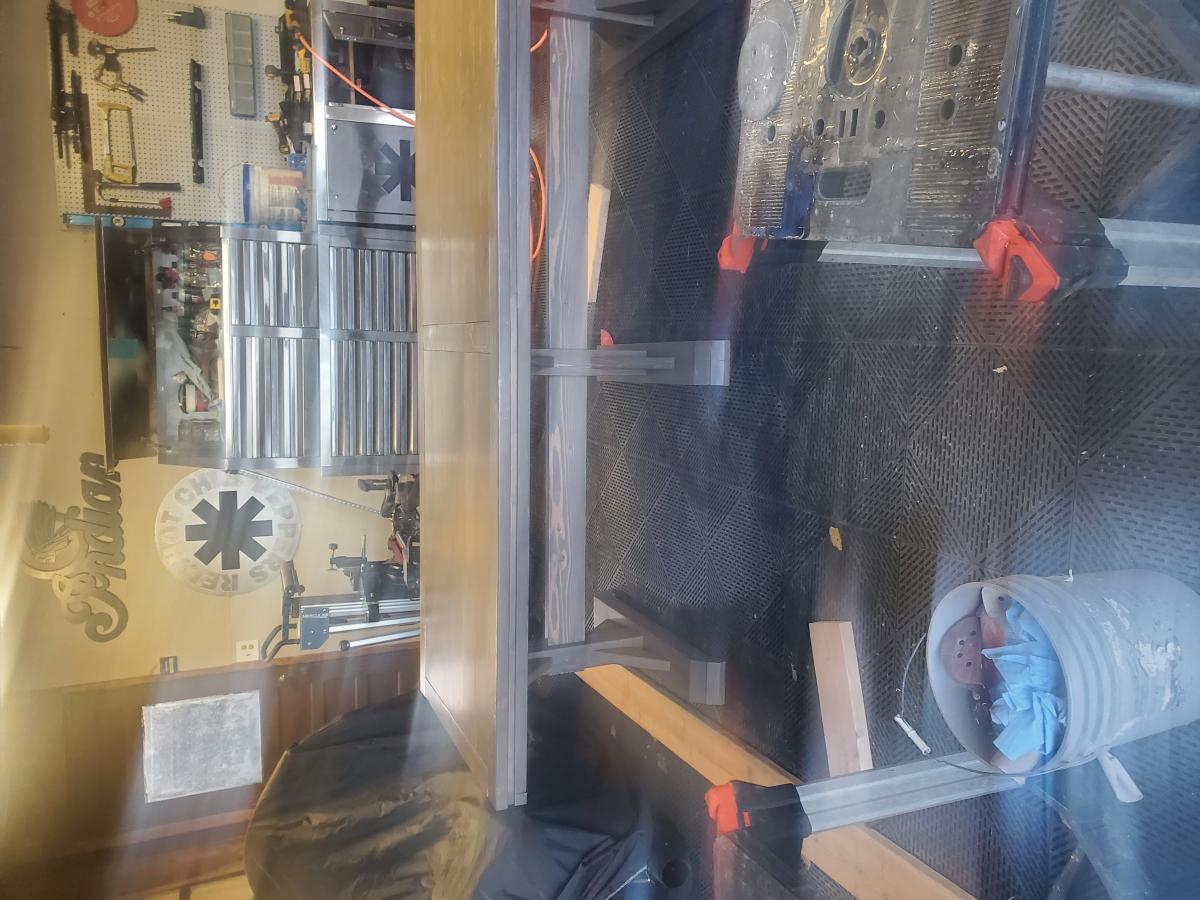
wife wanted restoration hardware table after looking at the price decided to make it myself cost was about 300-350 dollars - spend a nice amount of free time on it ~ 10 feet long - solid pine wood
im not a such a skilled carpenter but think it can easily be done with the correct tools
Fri, 04/03/2015 - 11:37
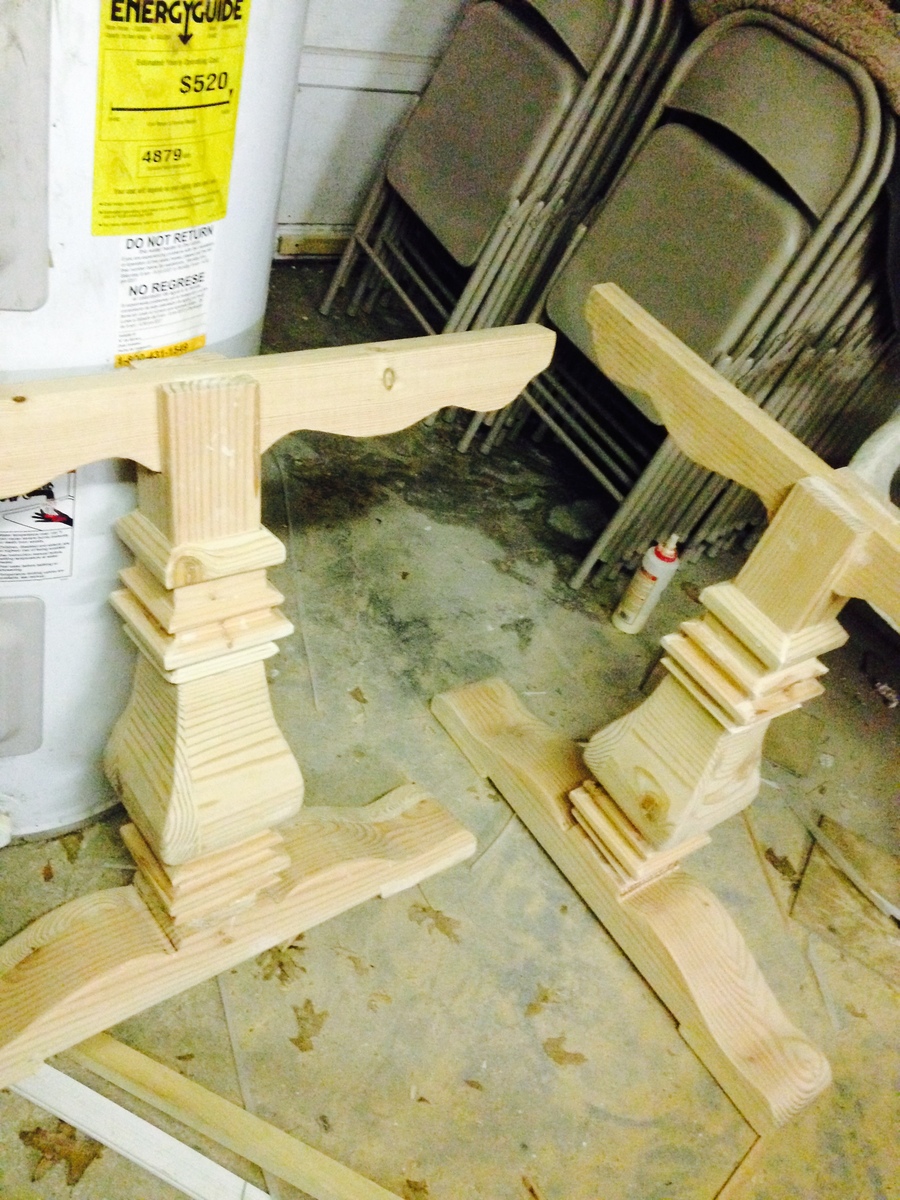
First I drew it out on a cardboard template then once chosen I traced the edges on the wood and cut it ,i made them using table saw, jig saw, miter saw, orbital sander.
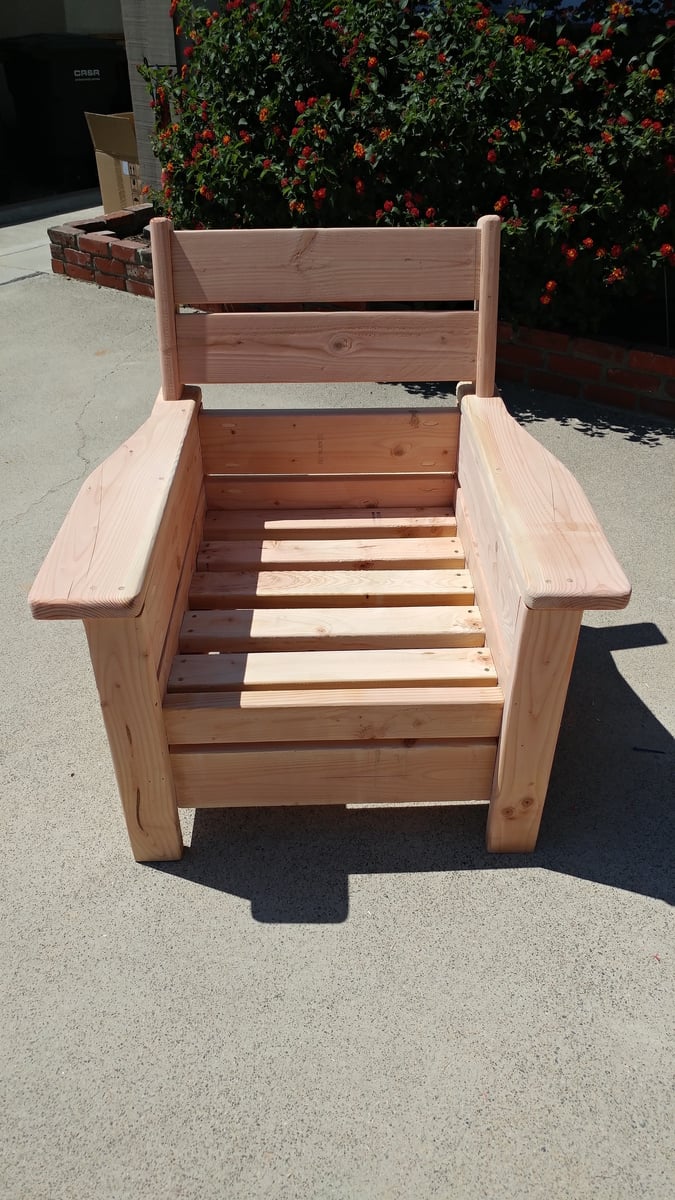
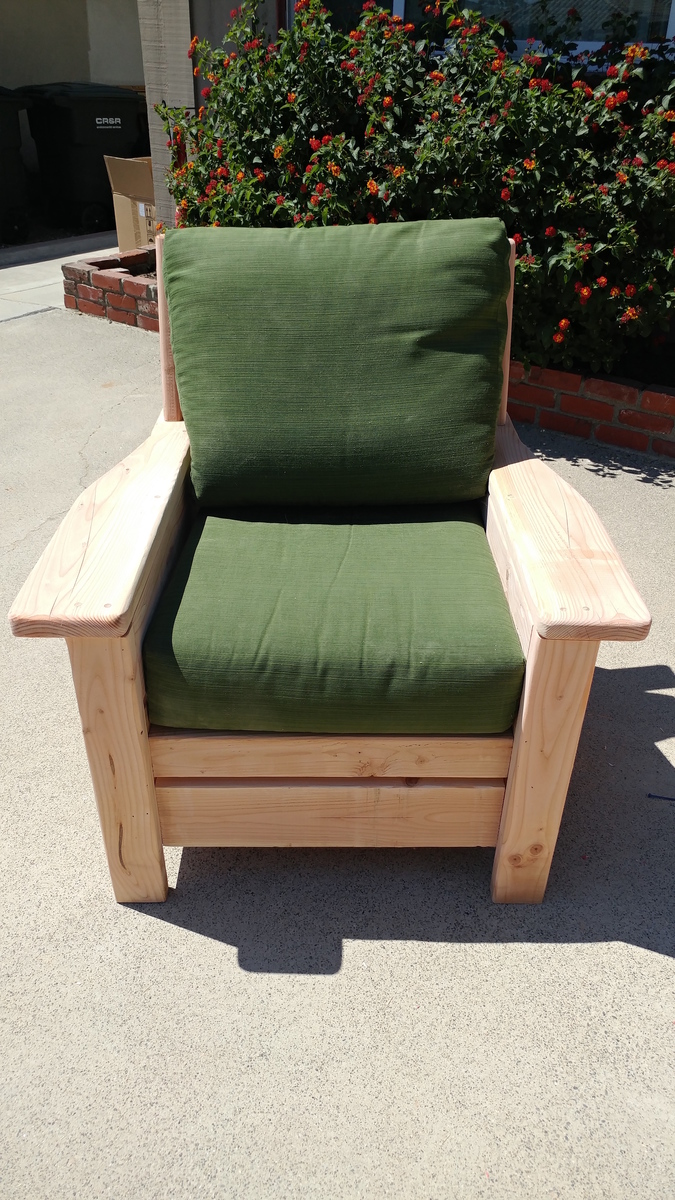
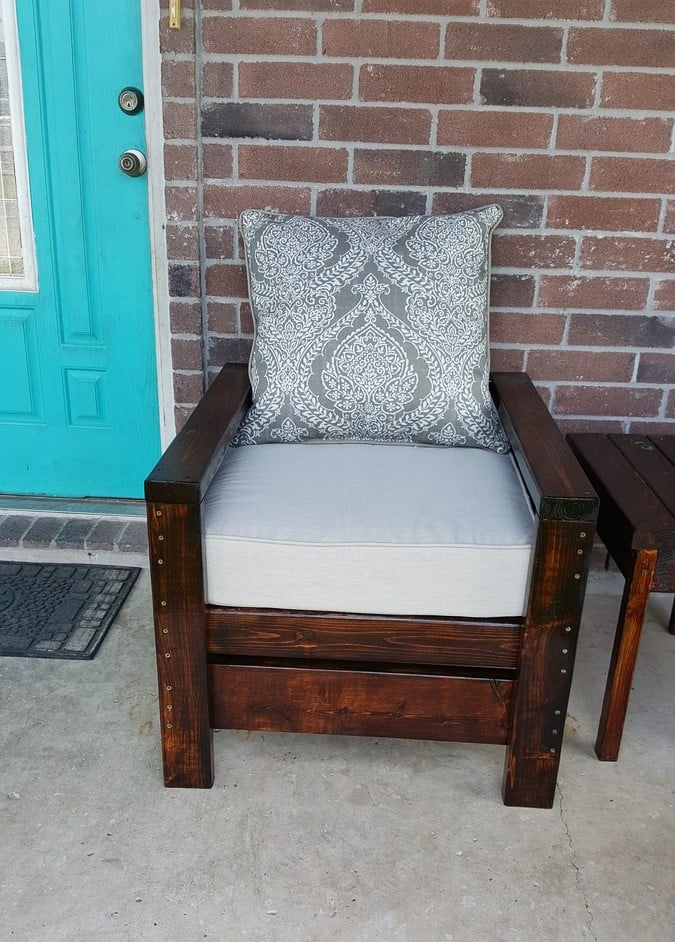
Taken from the Modern Outdoor chair project and added a back. Then decided that I love the andorak style chair arms and thus the Andrmodern chair was born..
Mon, 08/03/2020 - 09:02
I’d love to know how you made the changes, love it!

Thu, 03/18/2021 - 09:20
Could you please share how you added the back and arms to the modern chair plans.
Built for my daughter but it came out so well, kept it.
This was my very first project, with a little help from the husband.

I just wanted you to see what a great Mother's Day gift your planter made. It was a great project for a 4 year old grandson!!!
Thanks, Ana
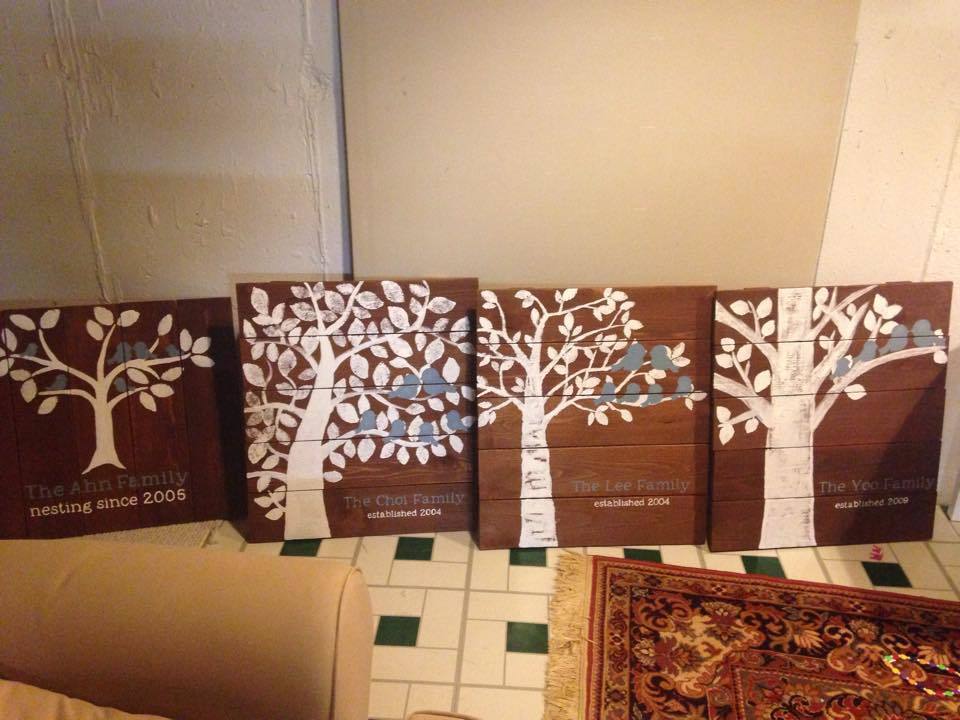
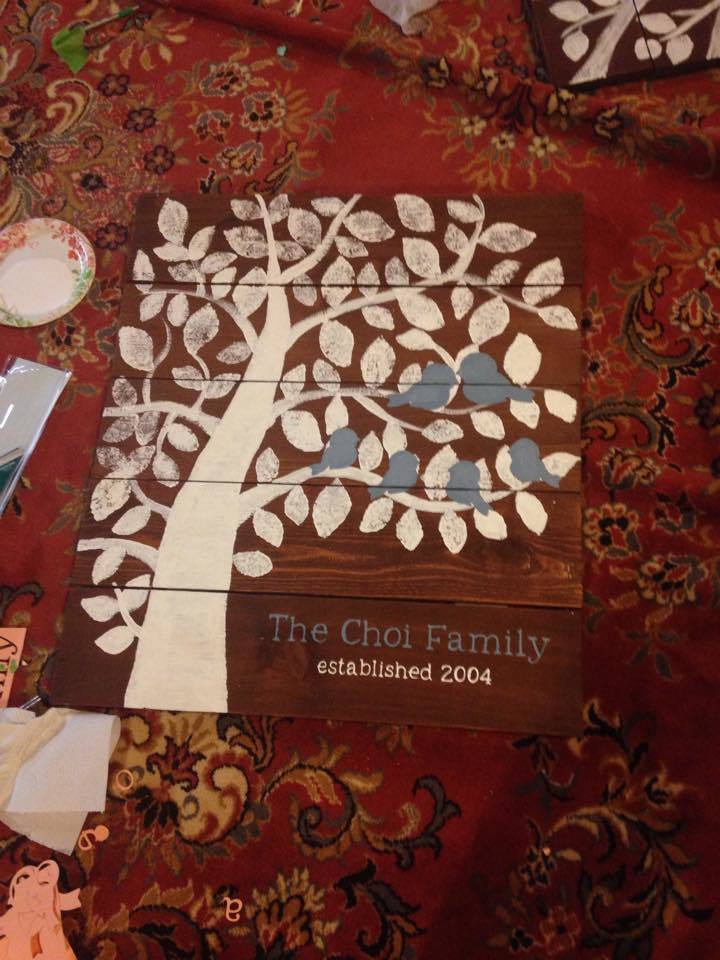
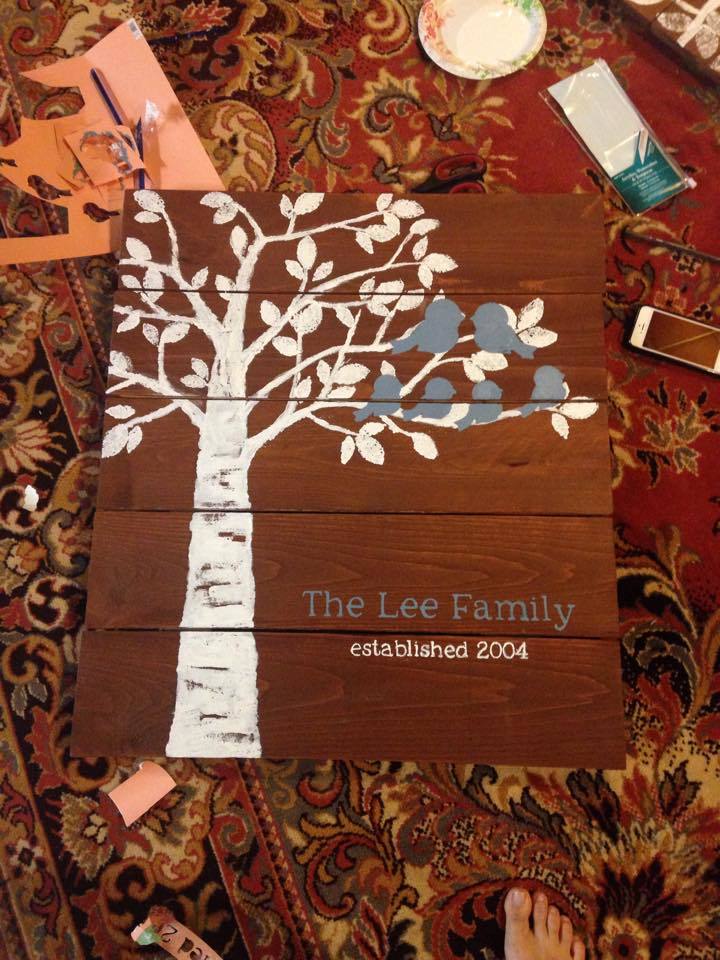
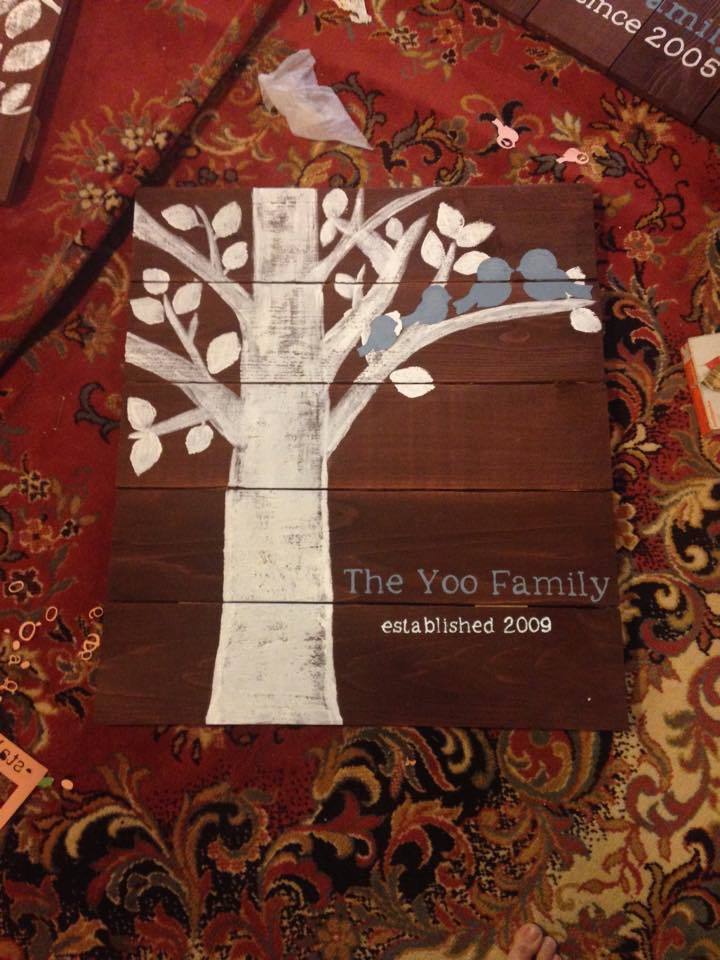
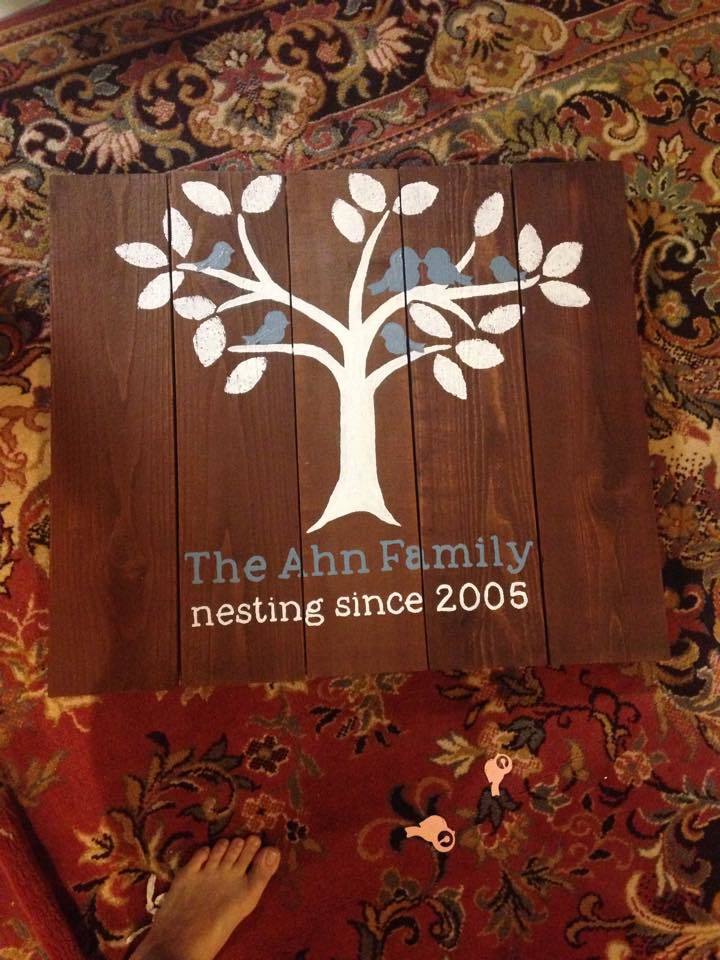
We wanted to a group painting class that seems to be really popular right now and offered all over the place. Instead of spending $30/person on a class we thought we would try doing something like this on our own! We had a great time and would do it again! Ours was smaller than the original in the tutorial because we wanted to make 4. Each person found an image online that they liked to make it more individualized.
Now that I've had a taste of working with wood, I'm ready for more! Ana, you're an inspiration! Thanks for the great site!

Mon, 04/06/2015 - 08:05
What a great and fun project for a group of friends. They all look wonderful!

Mon, 04/06/2015 - 16:27
What a creative and cool idea! Thanks for sharing and these all look amazing!
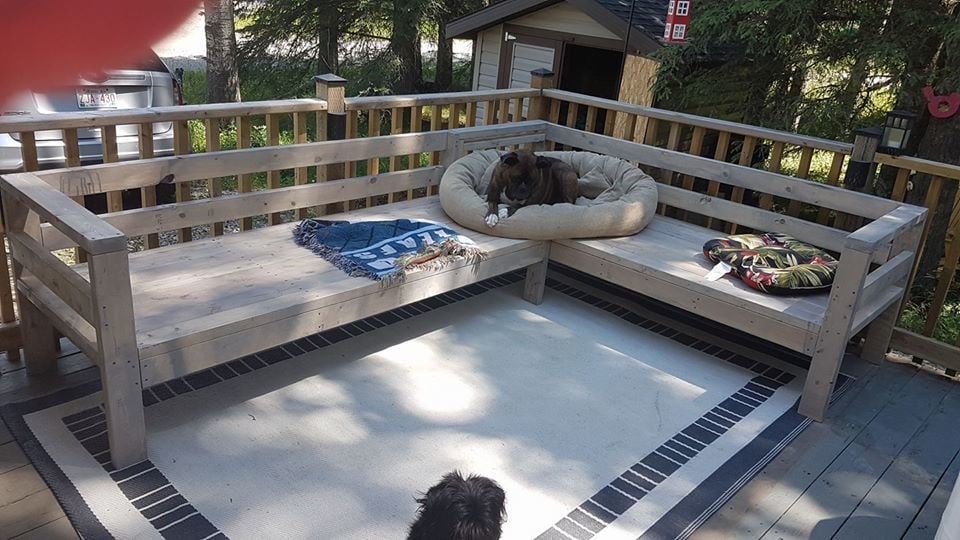
I haven't really done anything like this, came out quite well. I modified the back for what I think is better comfort, added side supports to hold throw pillows in place and added 2 extra 2x4's to seating surfaces. The sofa I built in an afternoon with an extra pair of hands to line things up and hold them in place. The sectional took a little longer to complete as my helper was off building his own couch (after he saw how simple it was to do). I also didn't use a pocket jig (couldn't find one in rural hardware store) but a countersink drill bit for all screw holes.
Fri, 06/28/2019 - 09:39
I love the changes! I wish I thought of them myself.
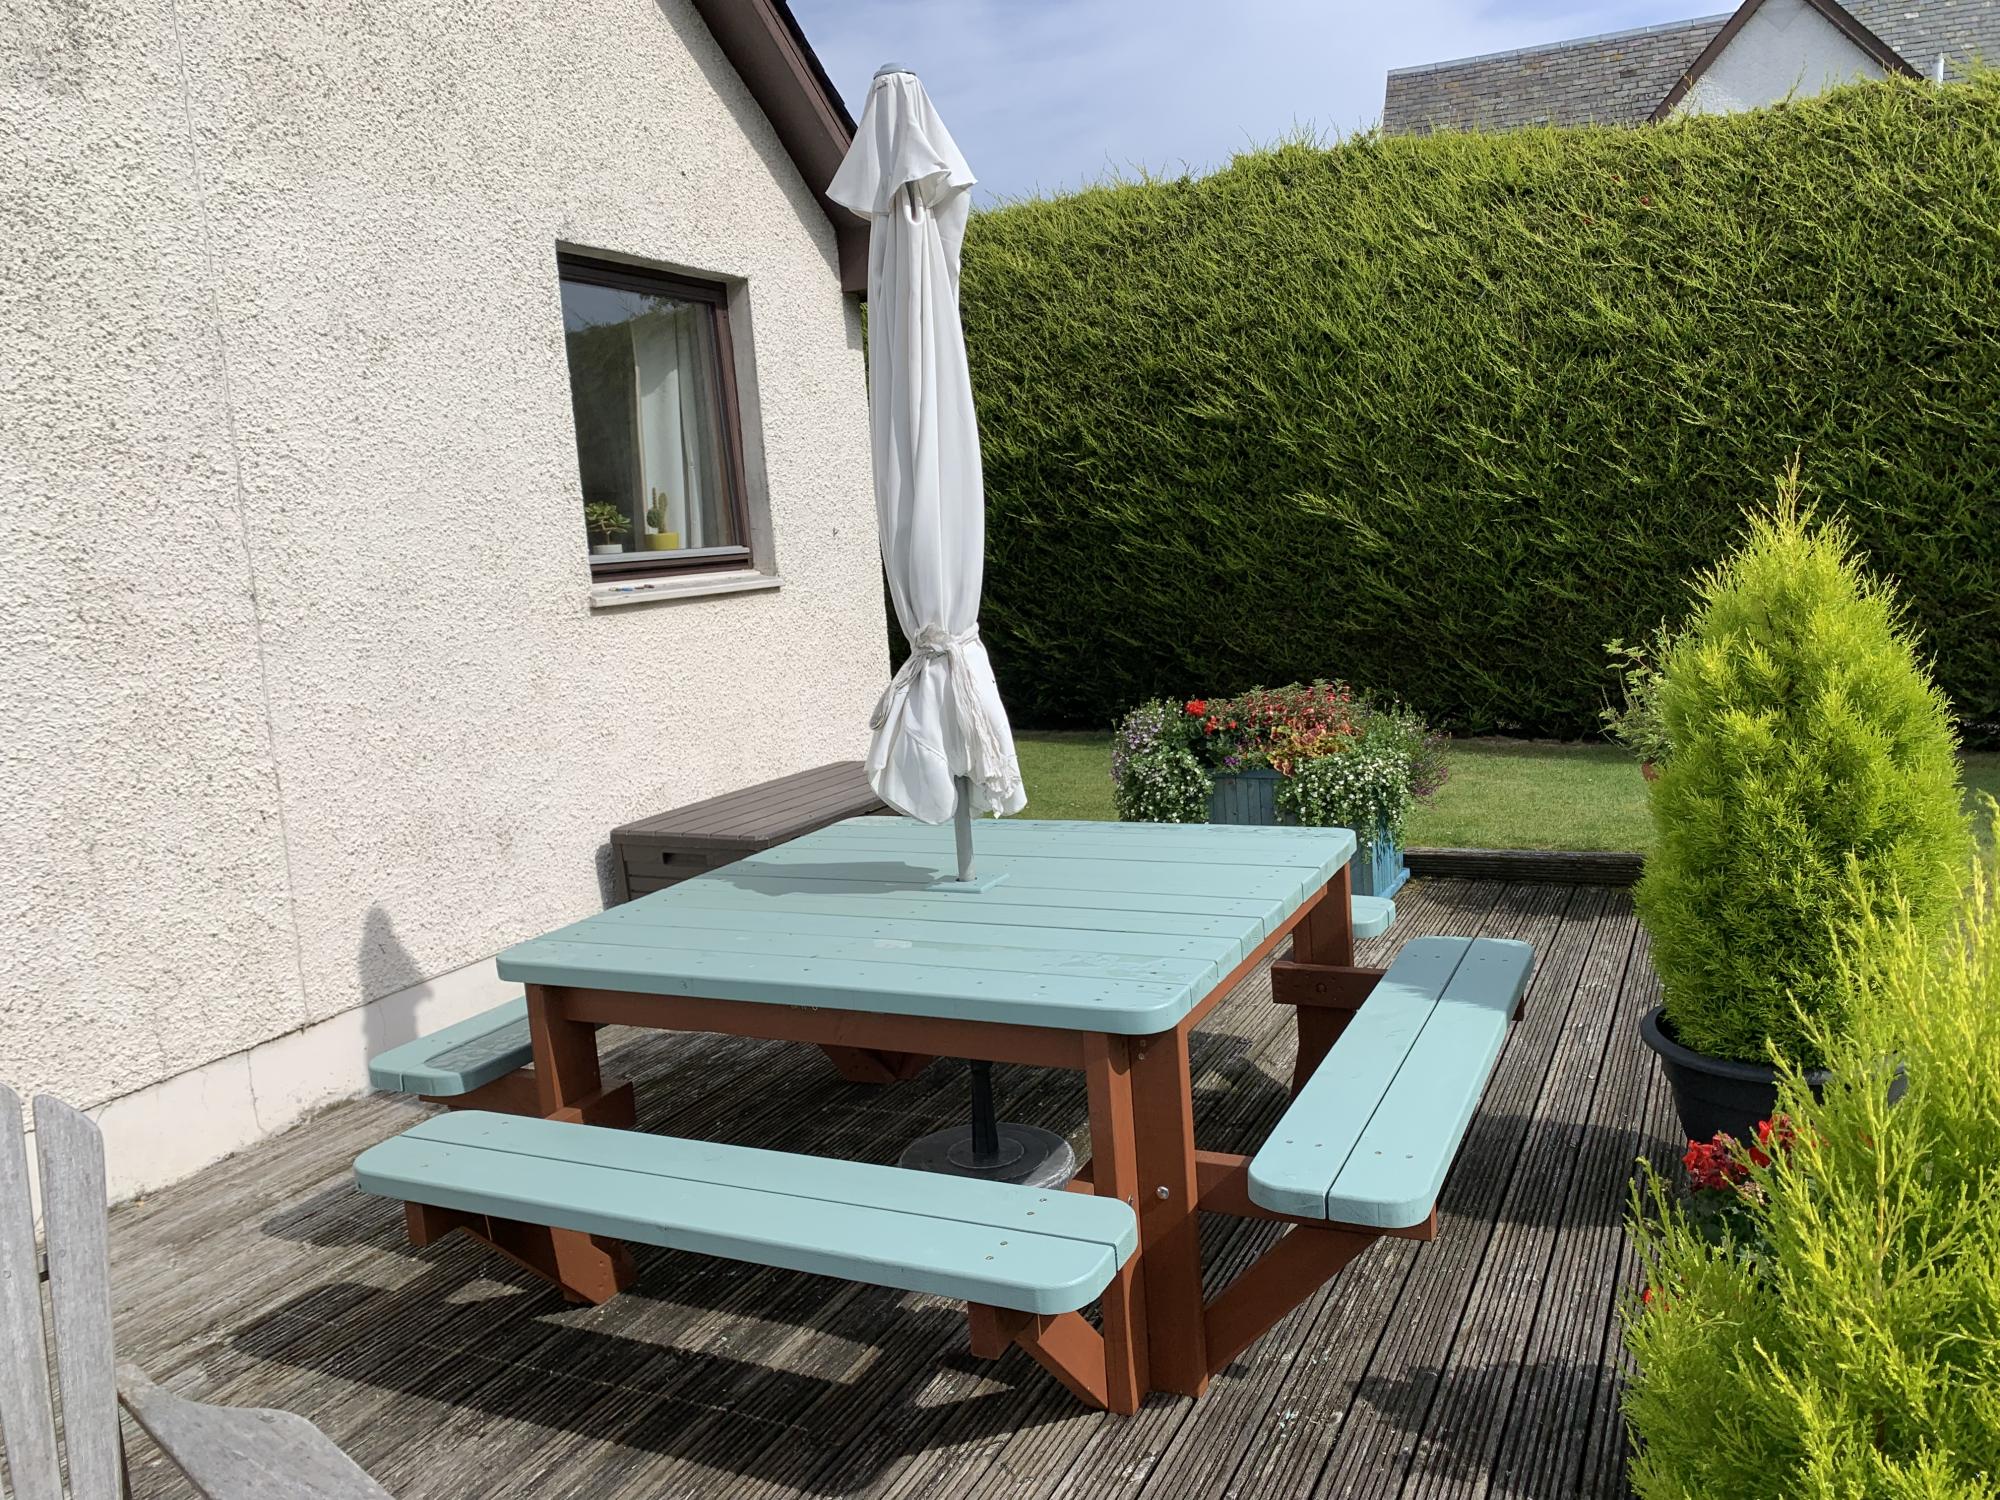
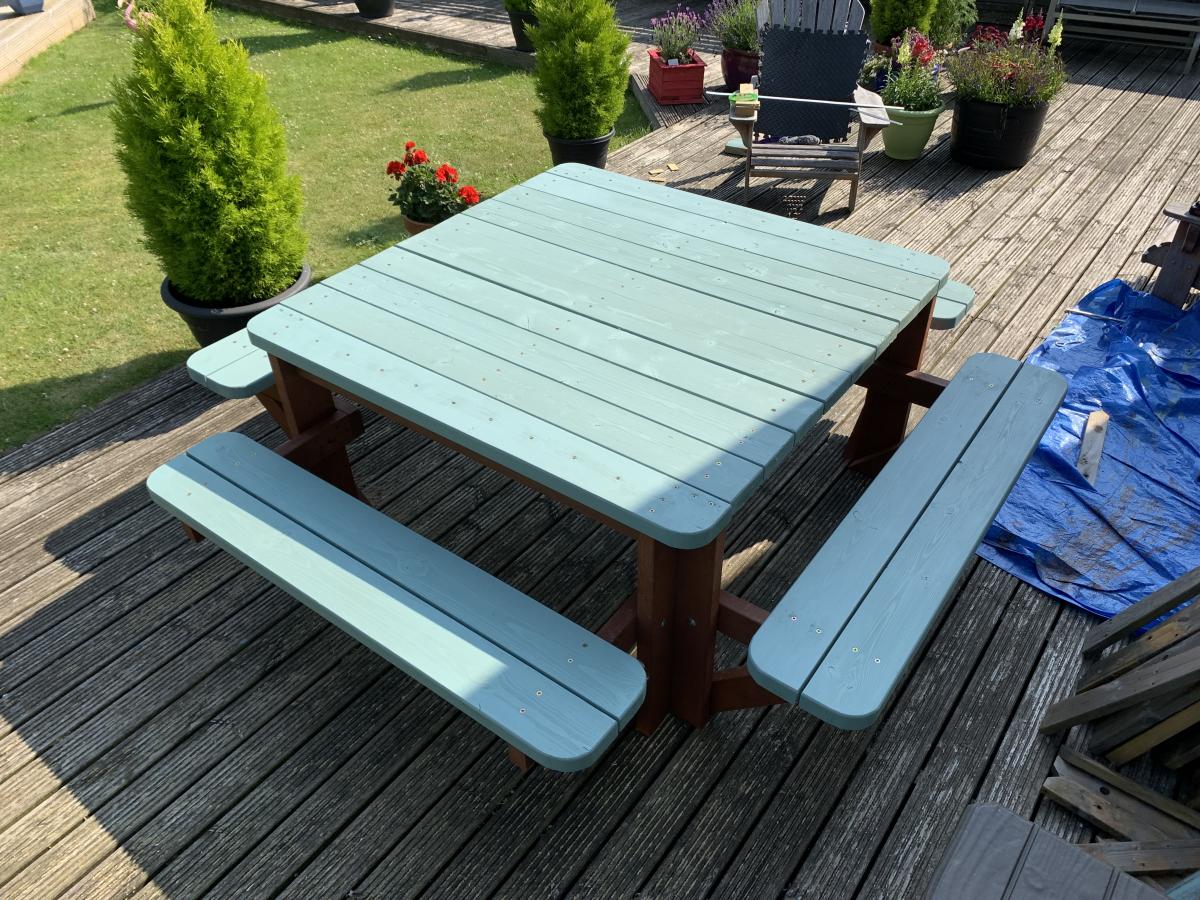
This is a bit larger than Ana’s plan. I added additional support to the table top and added a braced opening for the umbrella. I also went for a more rounded finish by rounding all the corners of the table and benches with my jigsaw and then sanding to create smooth curves.
I’m a complete beginner without any sort of wood working experience. The only experience I have is taking a jigsaw to my dresser while my husband was gone for the day.
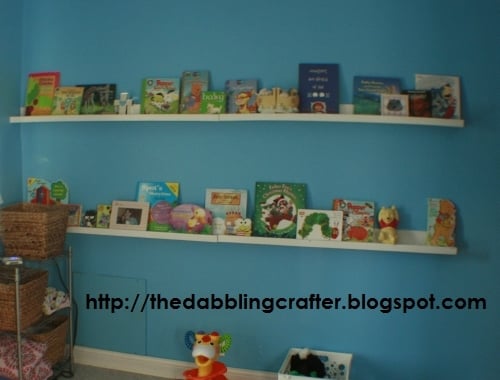
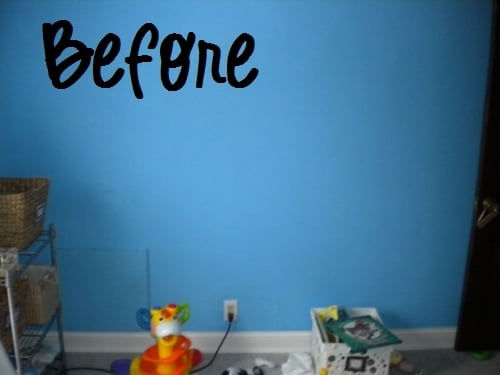
When I was visiting my in-laws, I decided to start a project. I knew the 10$ ledges were a great easy first project. My main lesson from the project is to check the state of your wood! I was at a home improvement center that goes and gets the wood for you. I had it bundled and didn’t bother to check it until the next day. By that time there was a couple of feet of snow and all the highways and roads to the home improvement center was closed, and most in South Dakota for that matter. (I’m going to venture a guess that Ana probably deals with worse conditions in her neck of the woods.) Any who, the wood was a bit rough and ugly…even for pine, but I decided to deal with it. I was snowed in and may as well do a project while I was!
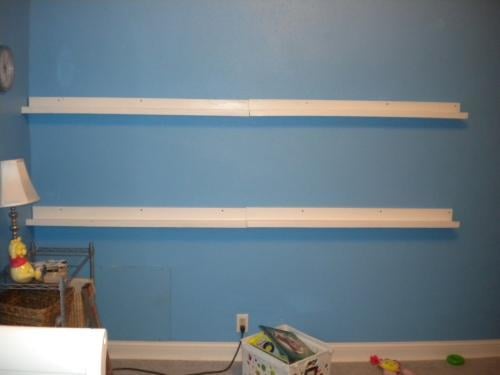
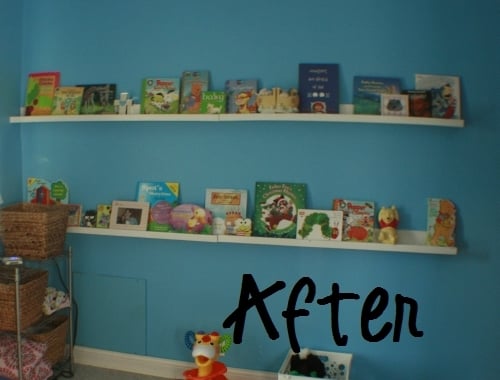
The only adjustment I had to make was cutting them in half since an 8 foot shelf wouldn’t travel back home with me in our SUV. This ended up making them a bit off when I put them on the wall, but it was a necessity and I’ll deal with it. I used a table saw and belt sander for the most part. It was the first time I used this equipment. After my husband gave me a lesson, he had strict orders to back off and let me do the work. The plans work absolutely great. My husband and I agree that the shelves create a whole new atmosphere in the room.


This entire project was built with 3/4 MDF plywood. The lid is 3/4 MDF with sides routed for rounded edge for professional appearance. Inside the box are two friction hinges ( one on right and one one left) to support the lid.
On the bottom of toybox are four casters with mounting plates that attach to bottom. Two of the wheels have locks while 2 are 360 degree motion.
The paint is Signature Series and primer used is Kills high hiding low odor.
The letters on the front are 4 inch letters purchased from BIGLOTS. Holes were countersunk into the letters, screwed to front of toybox, and filled with wood filler.
I couldn't be happier with how this project turned out.


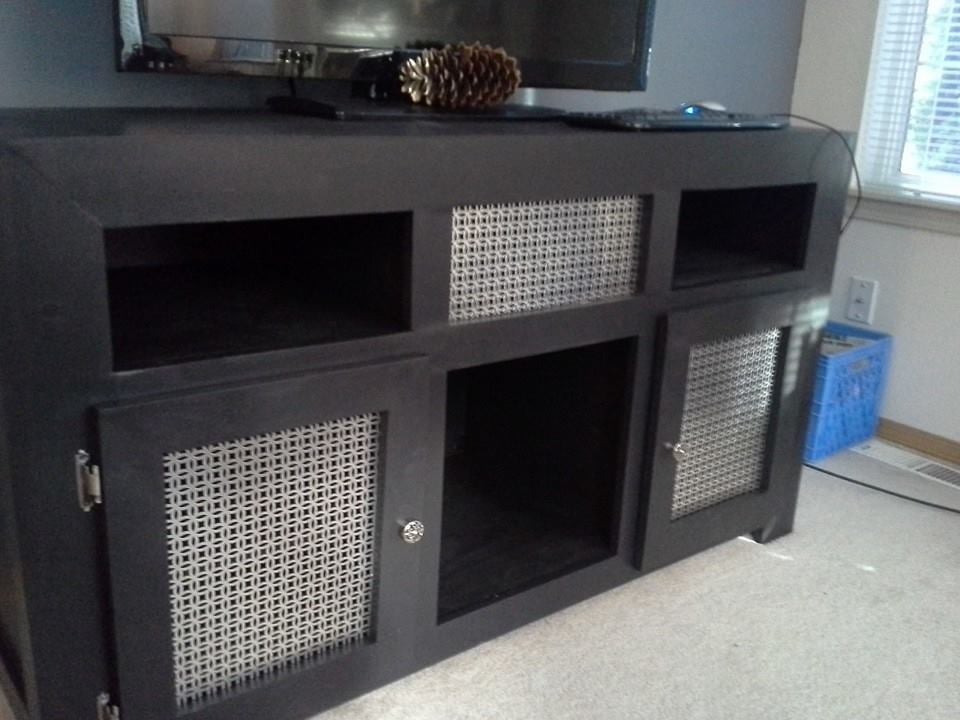
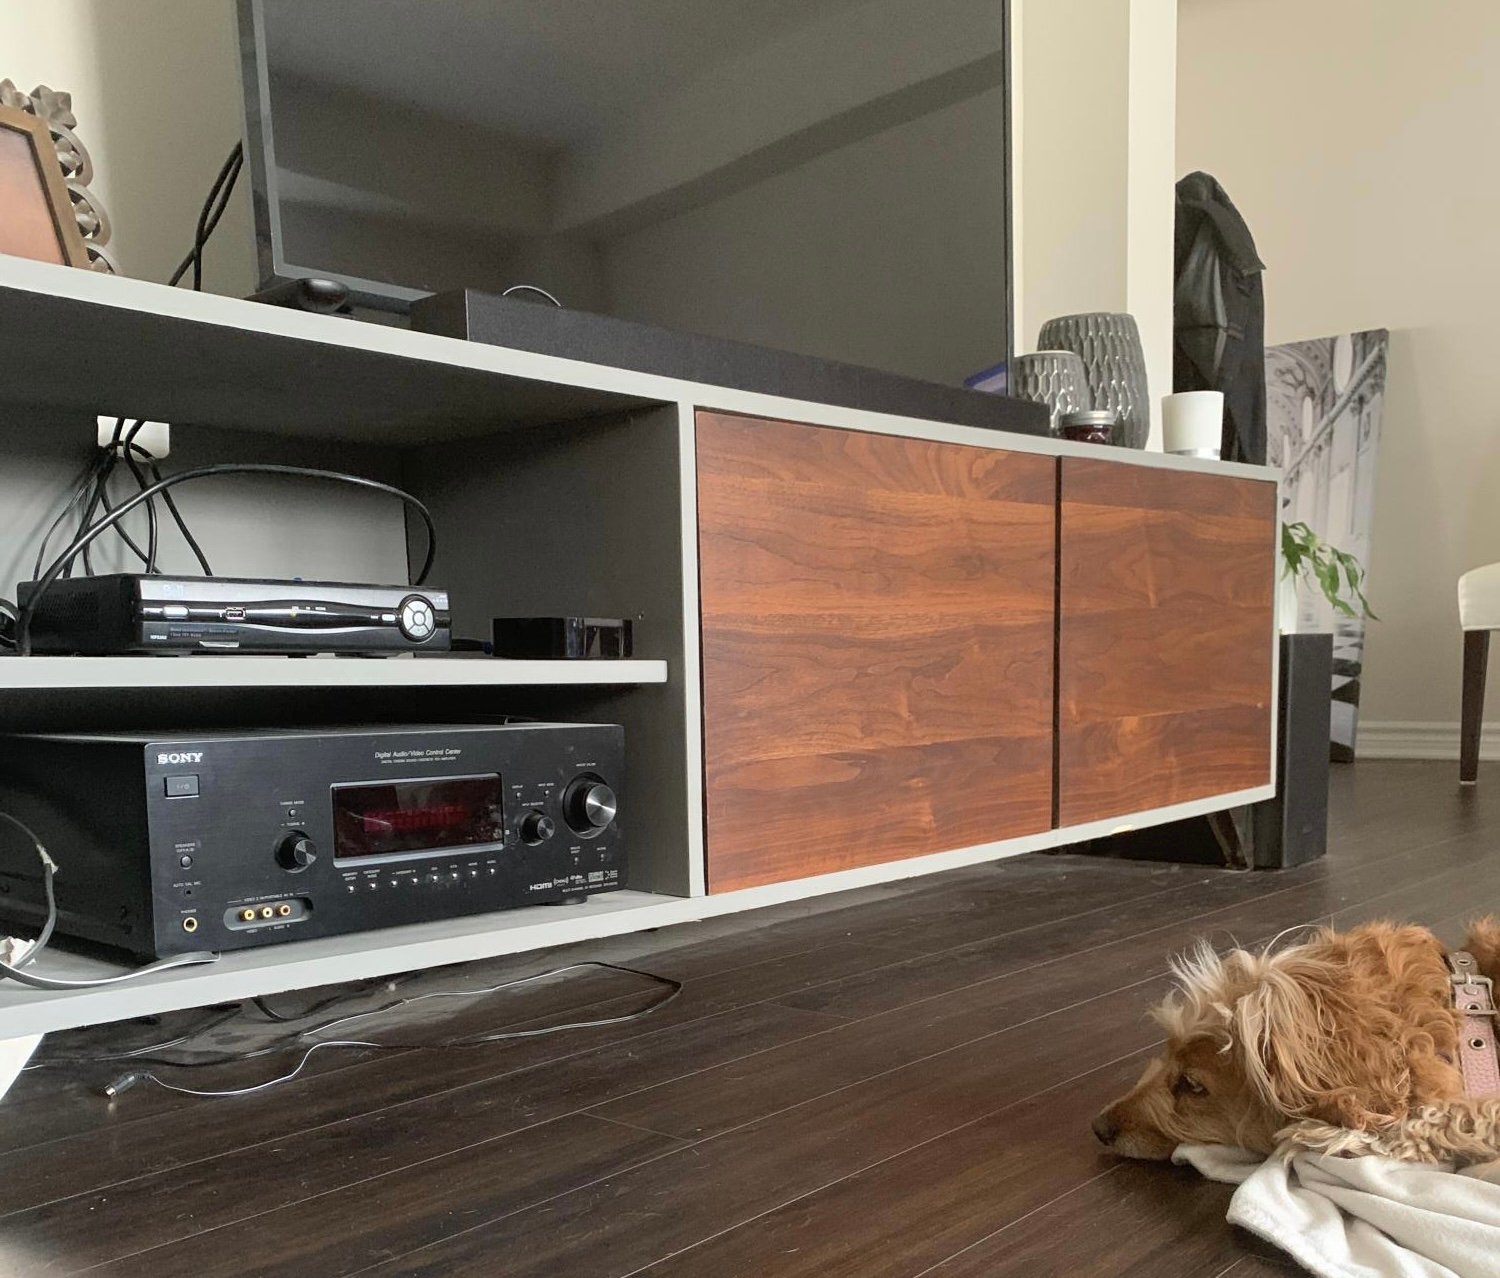
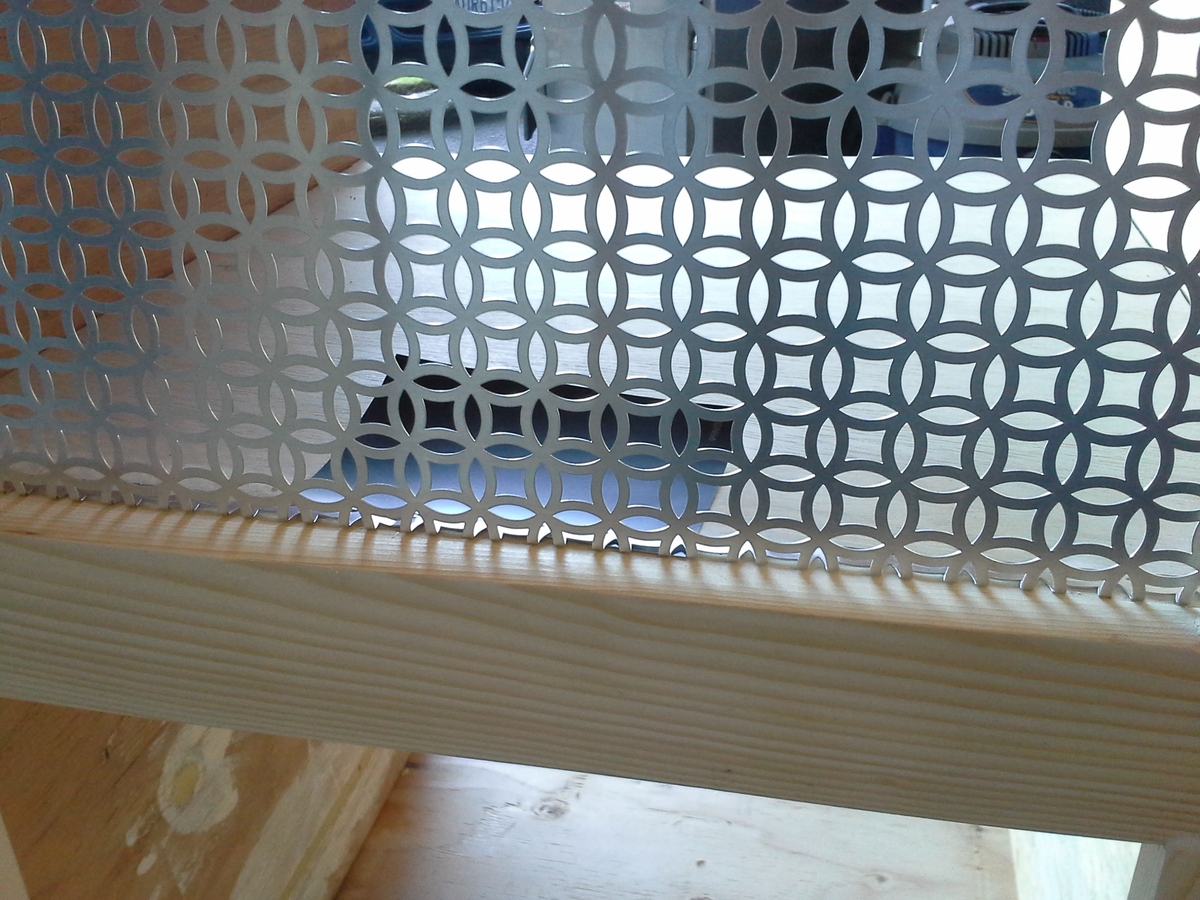
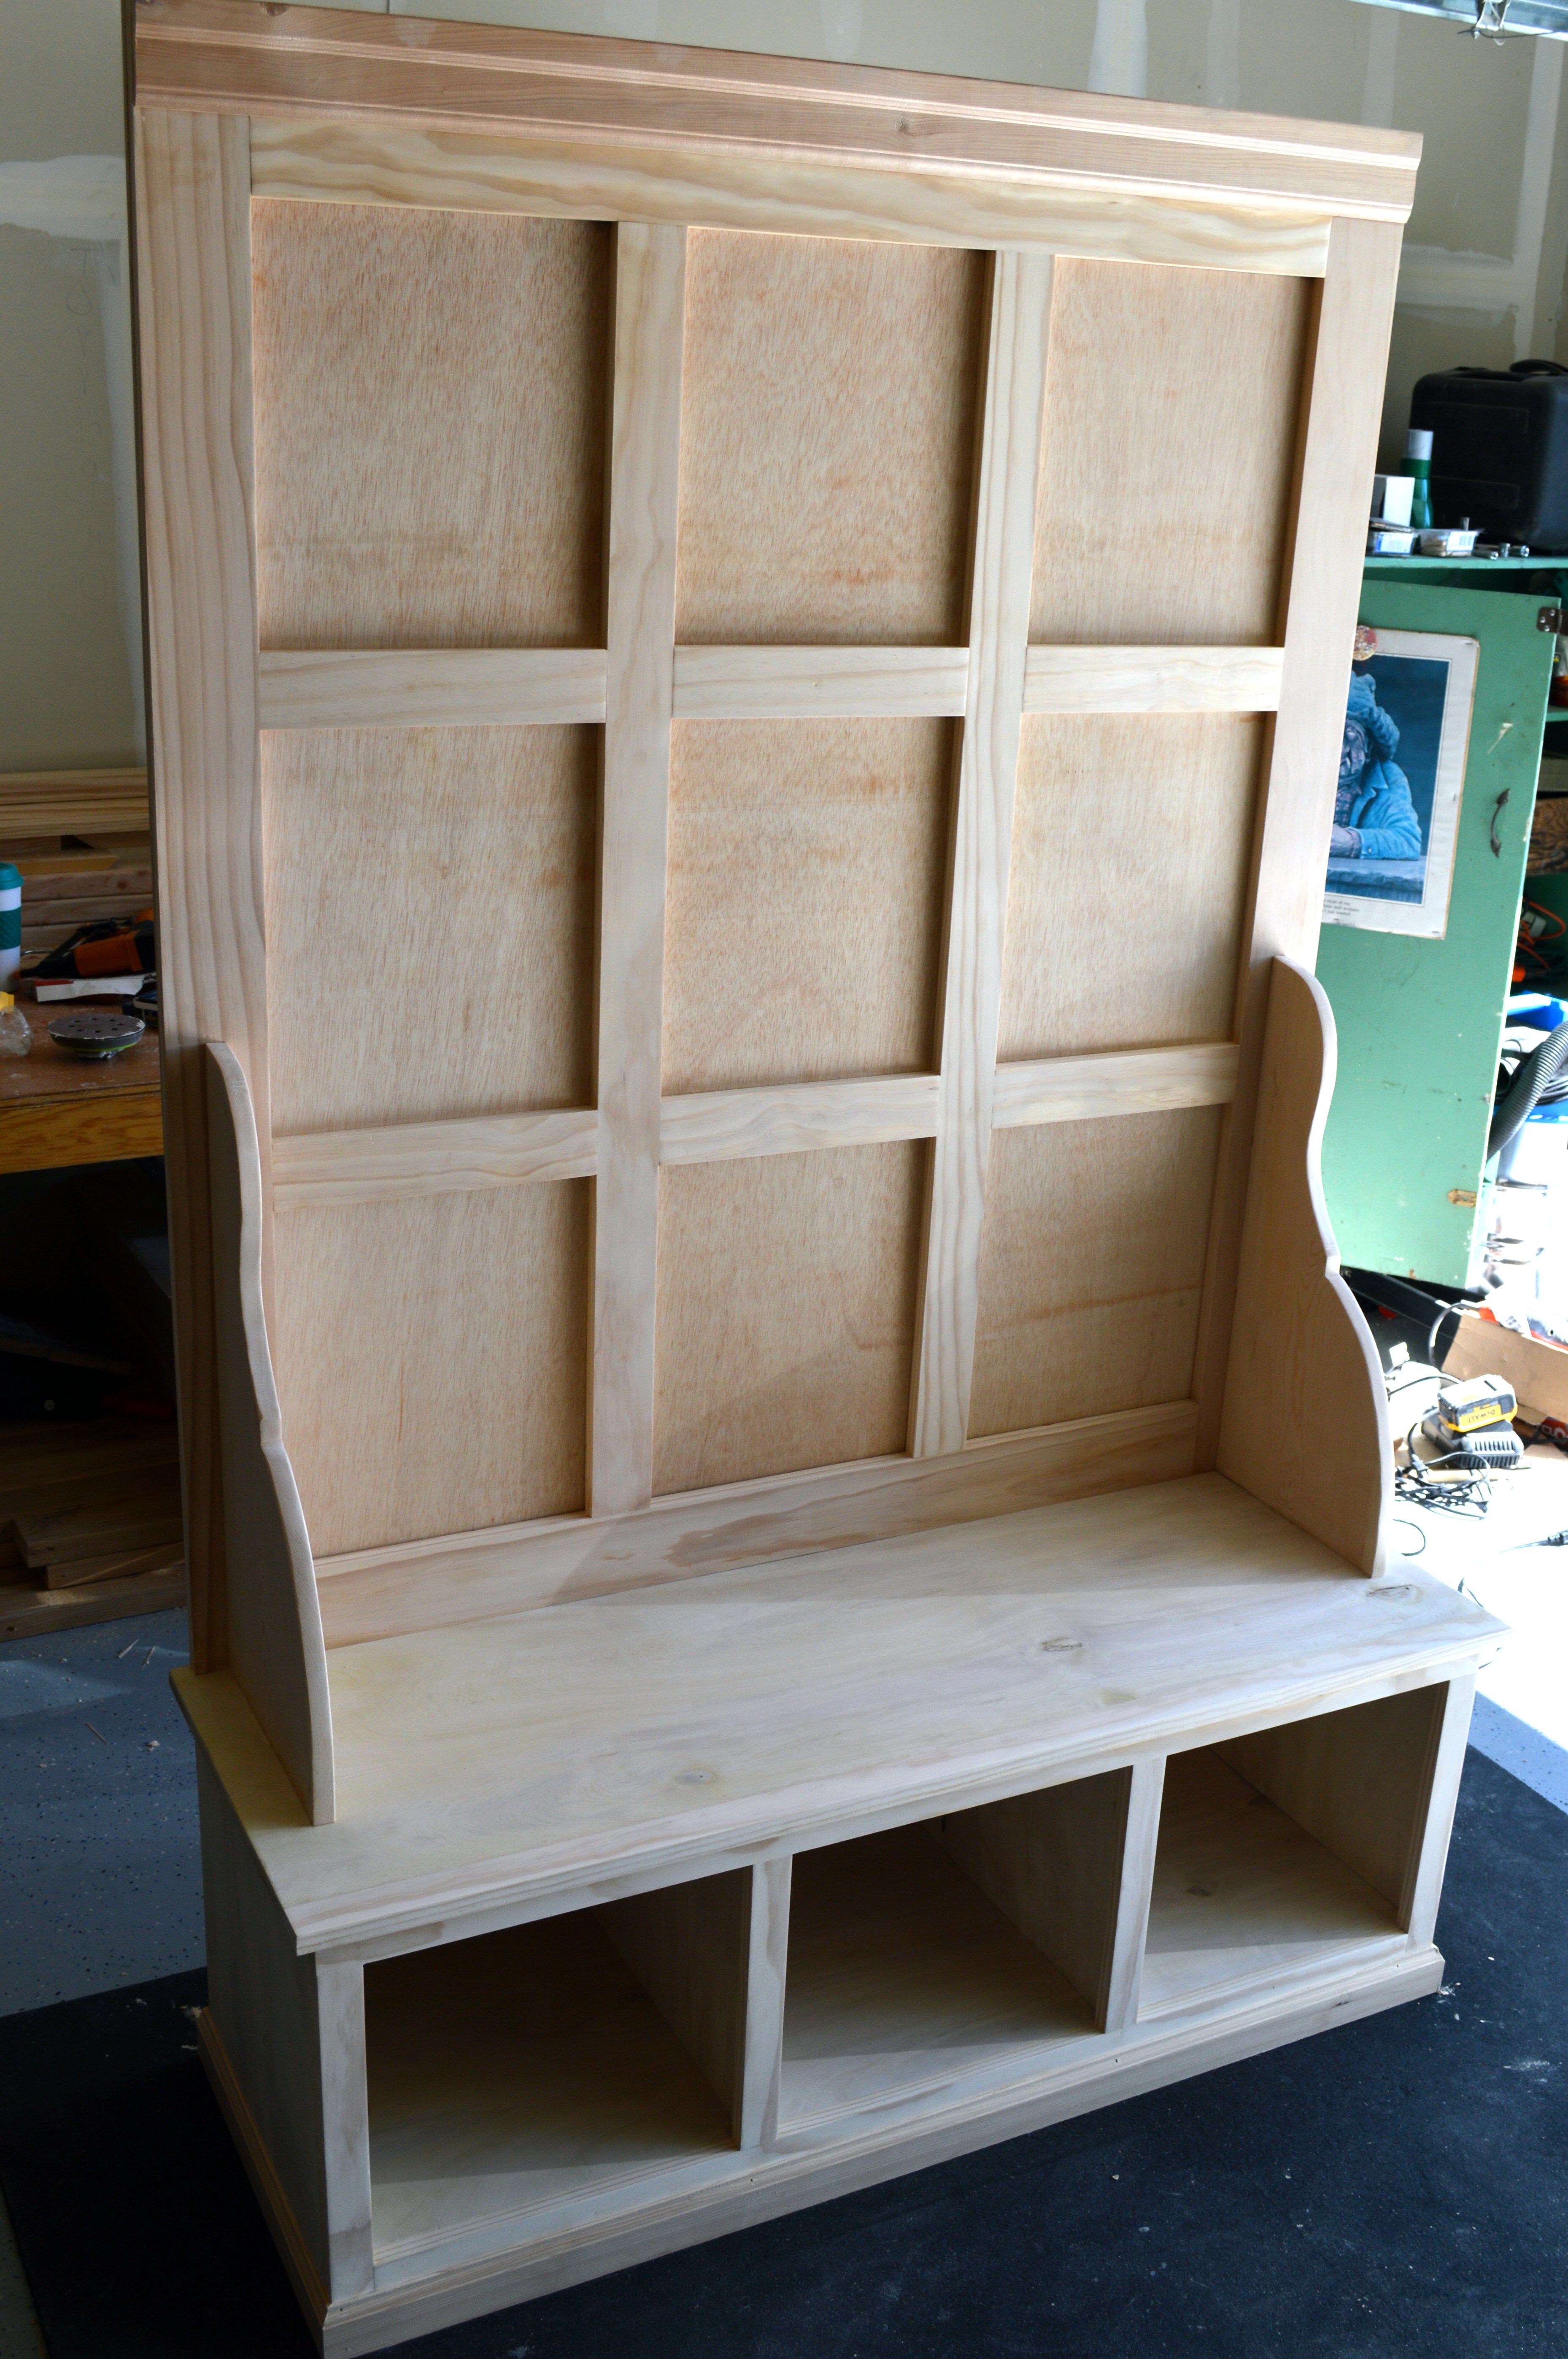
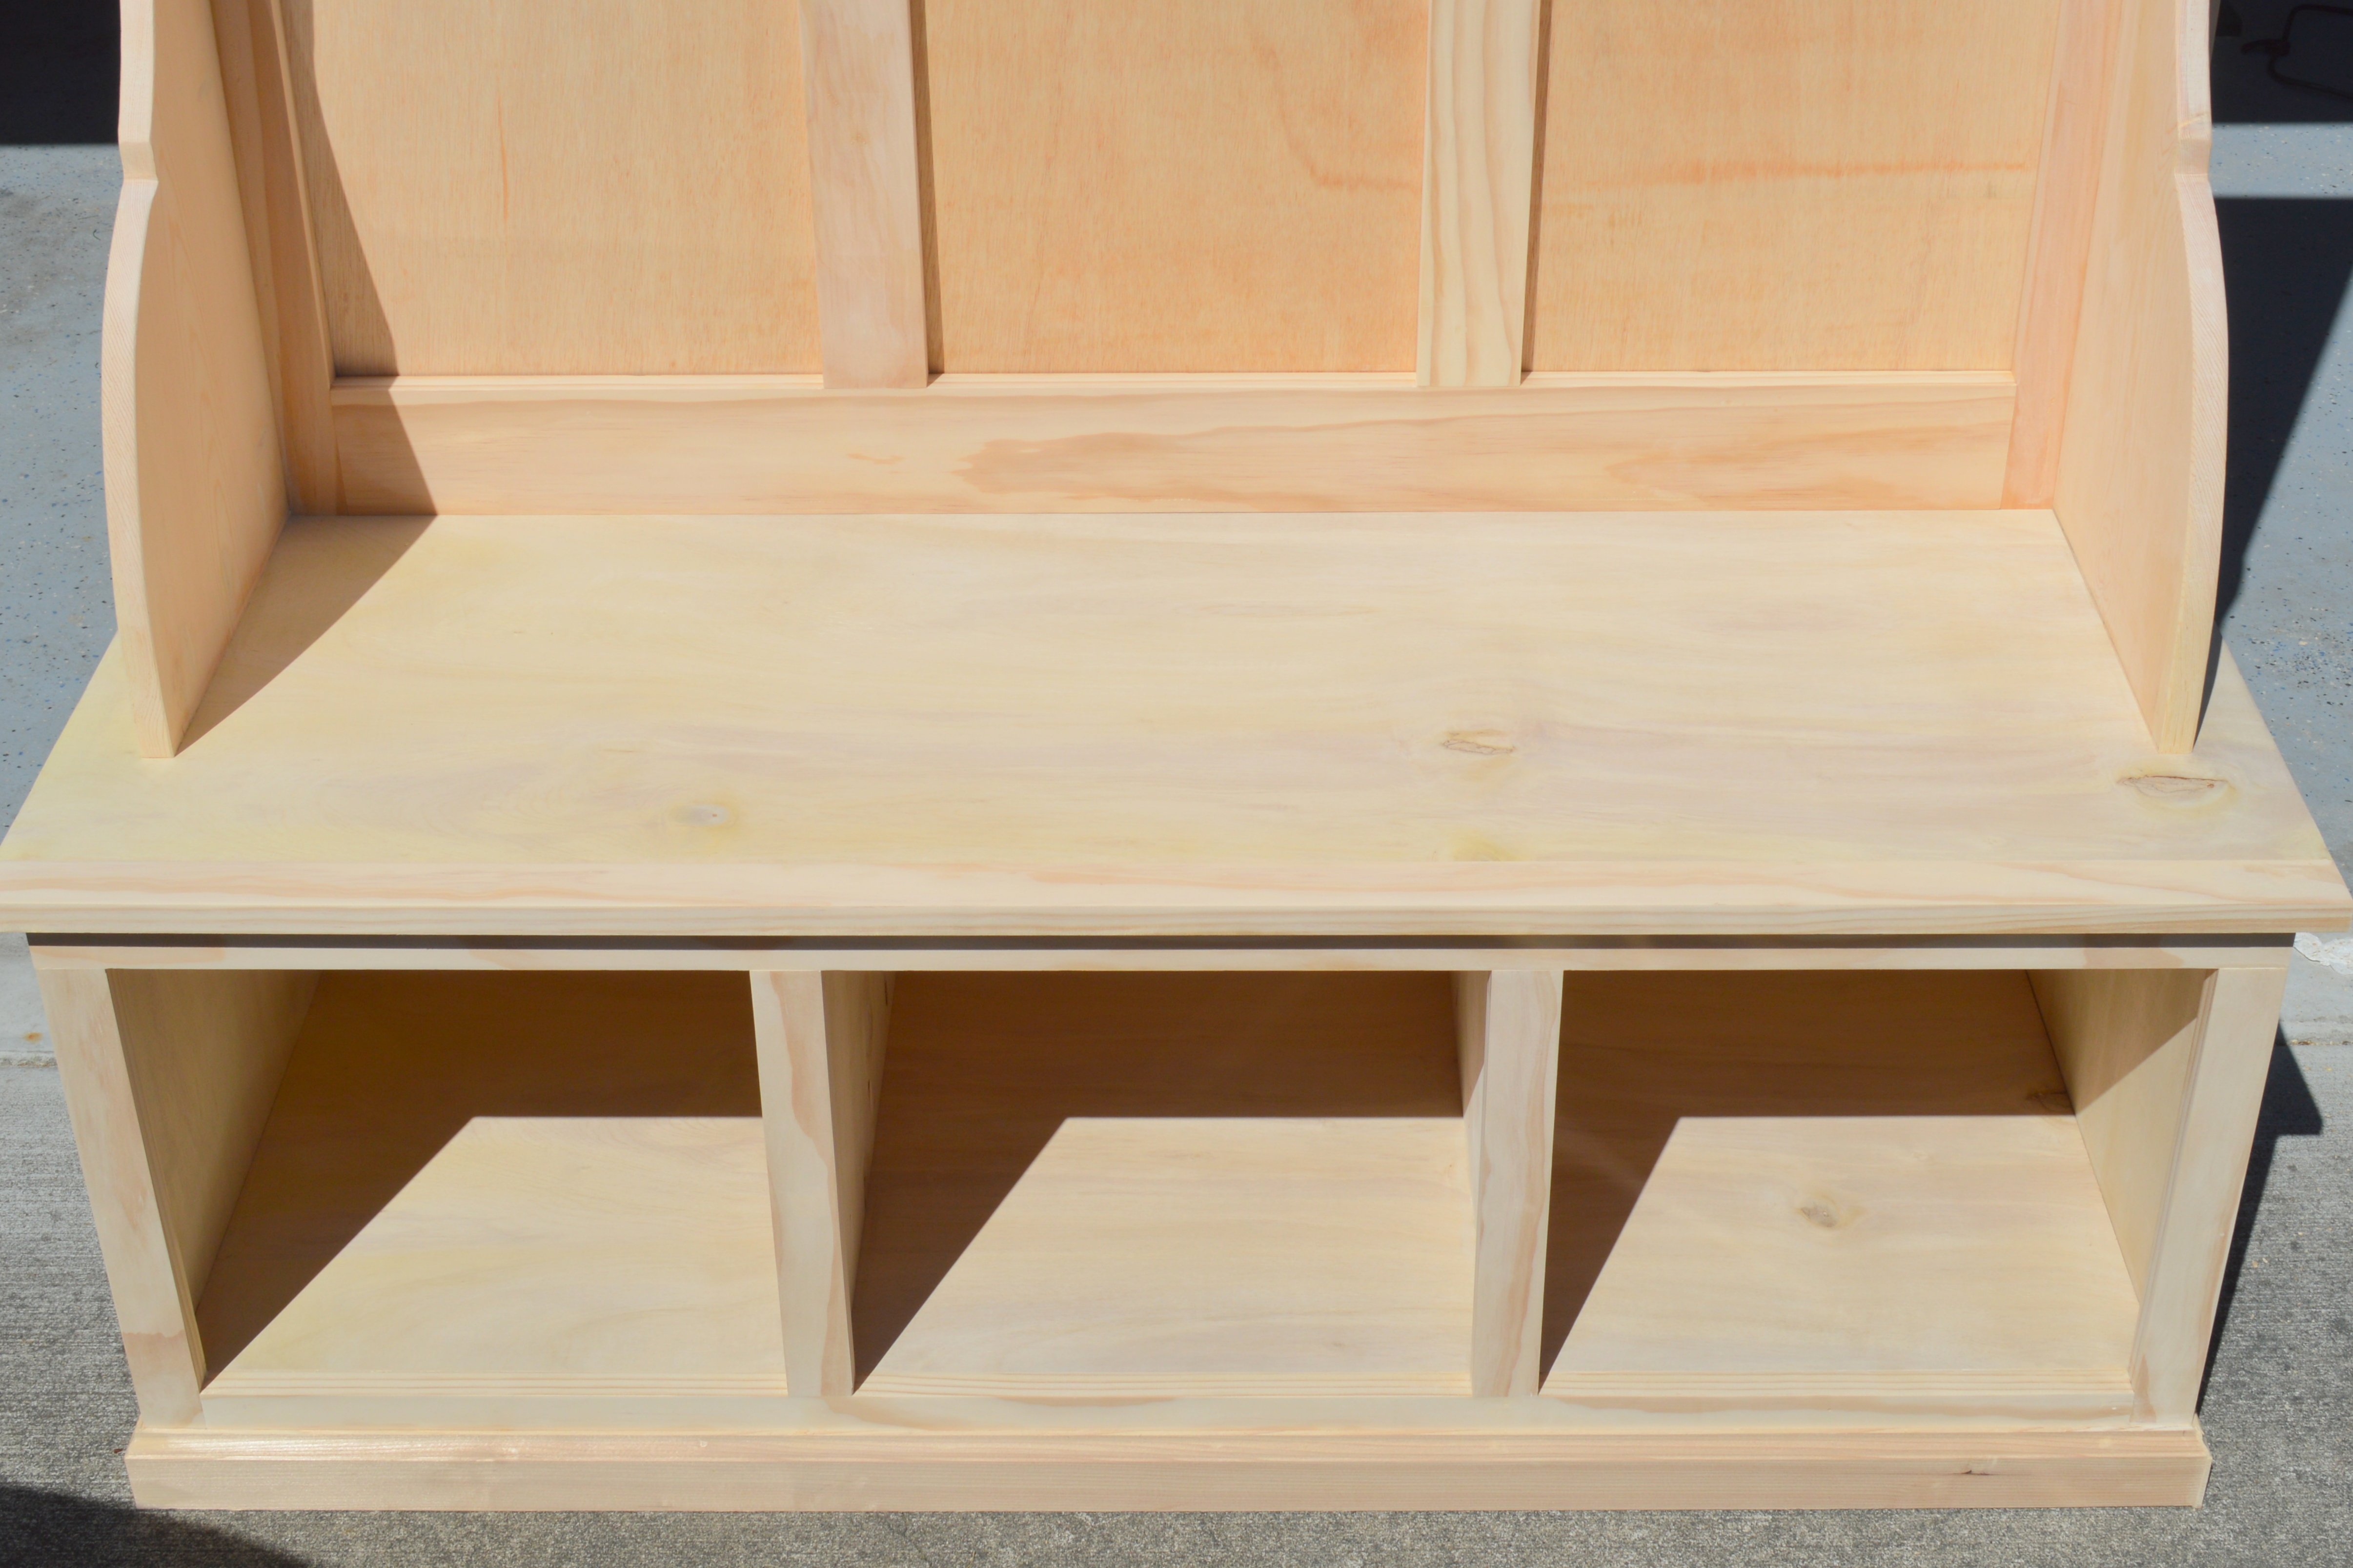
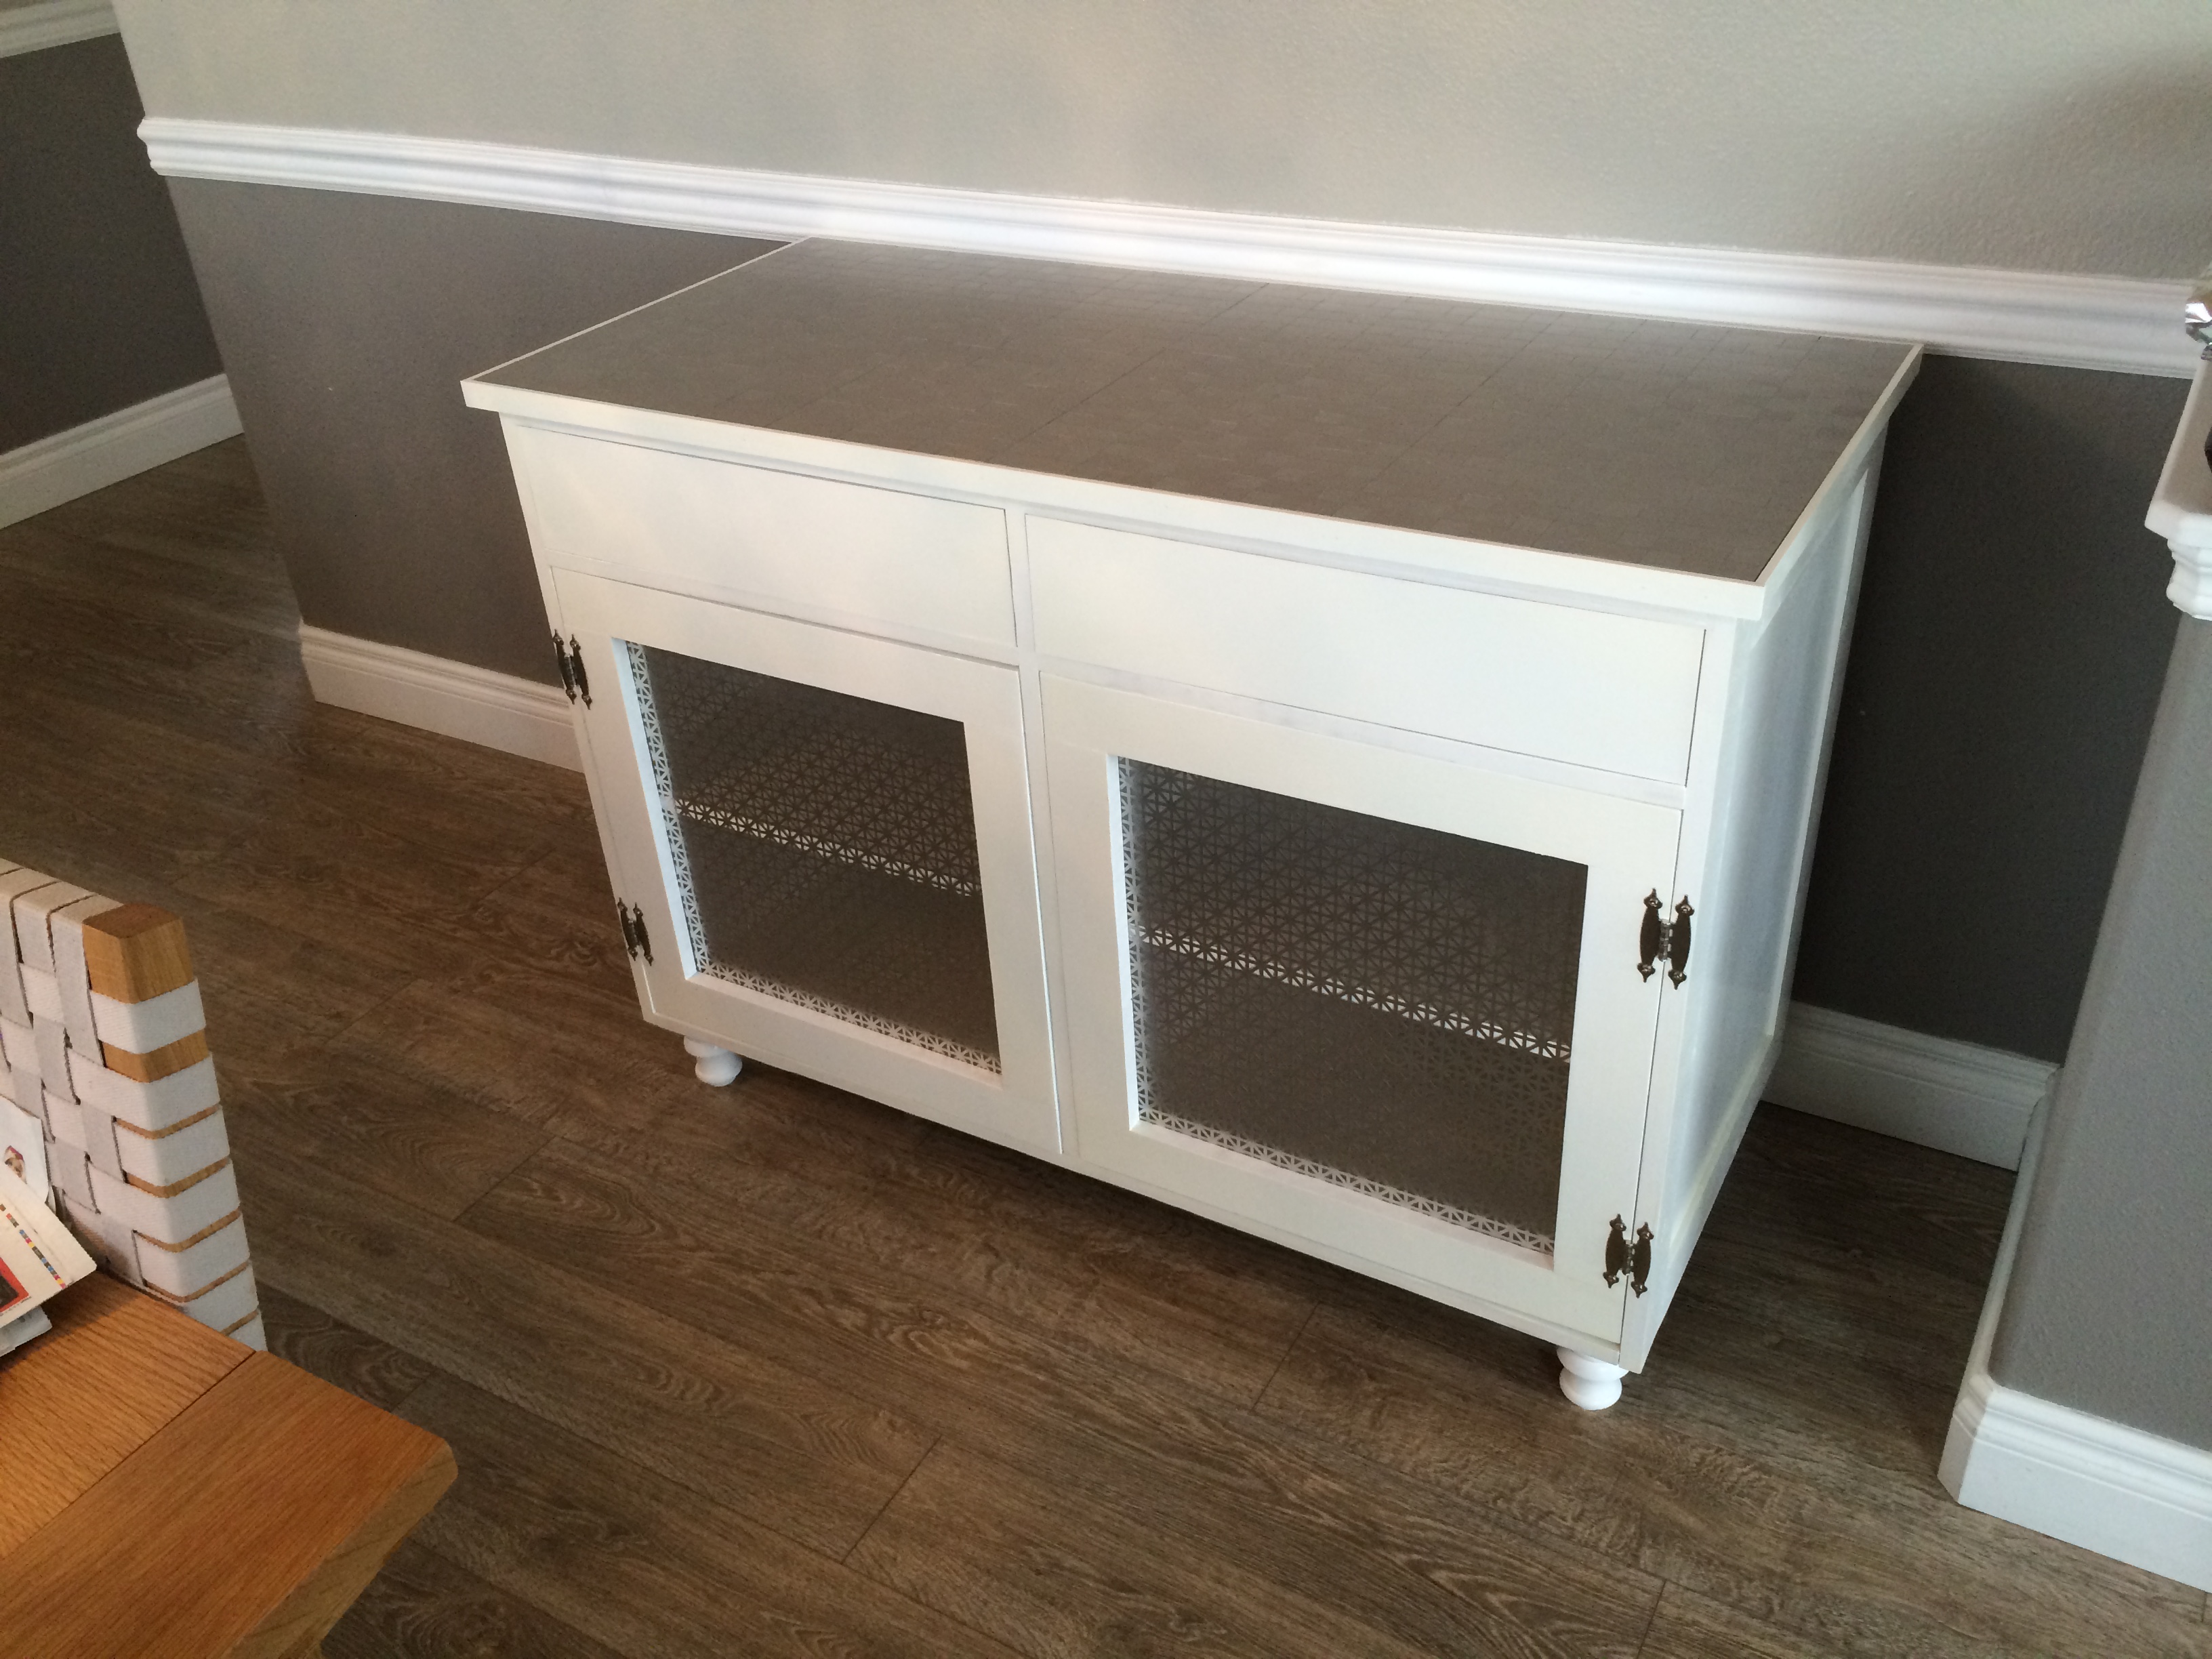
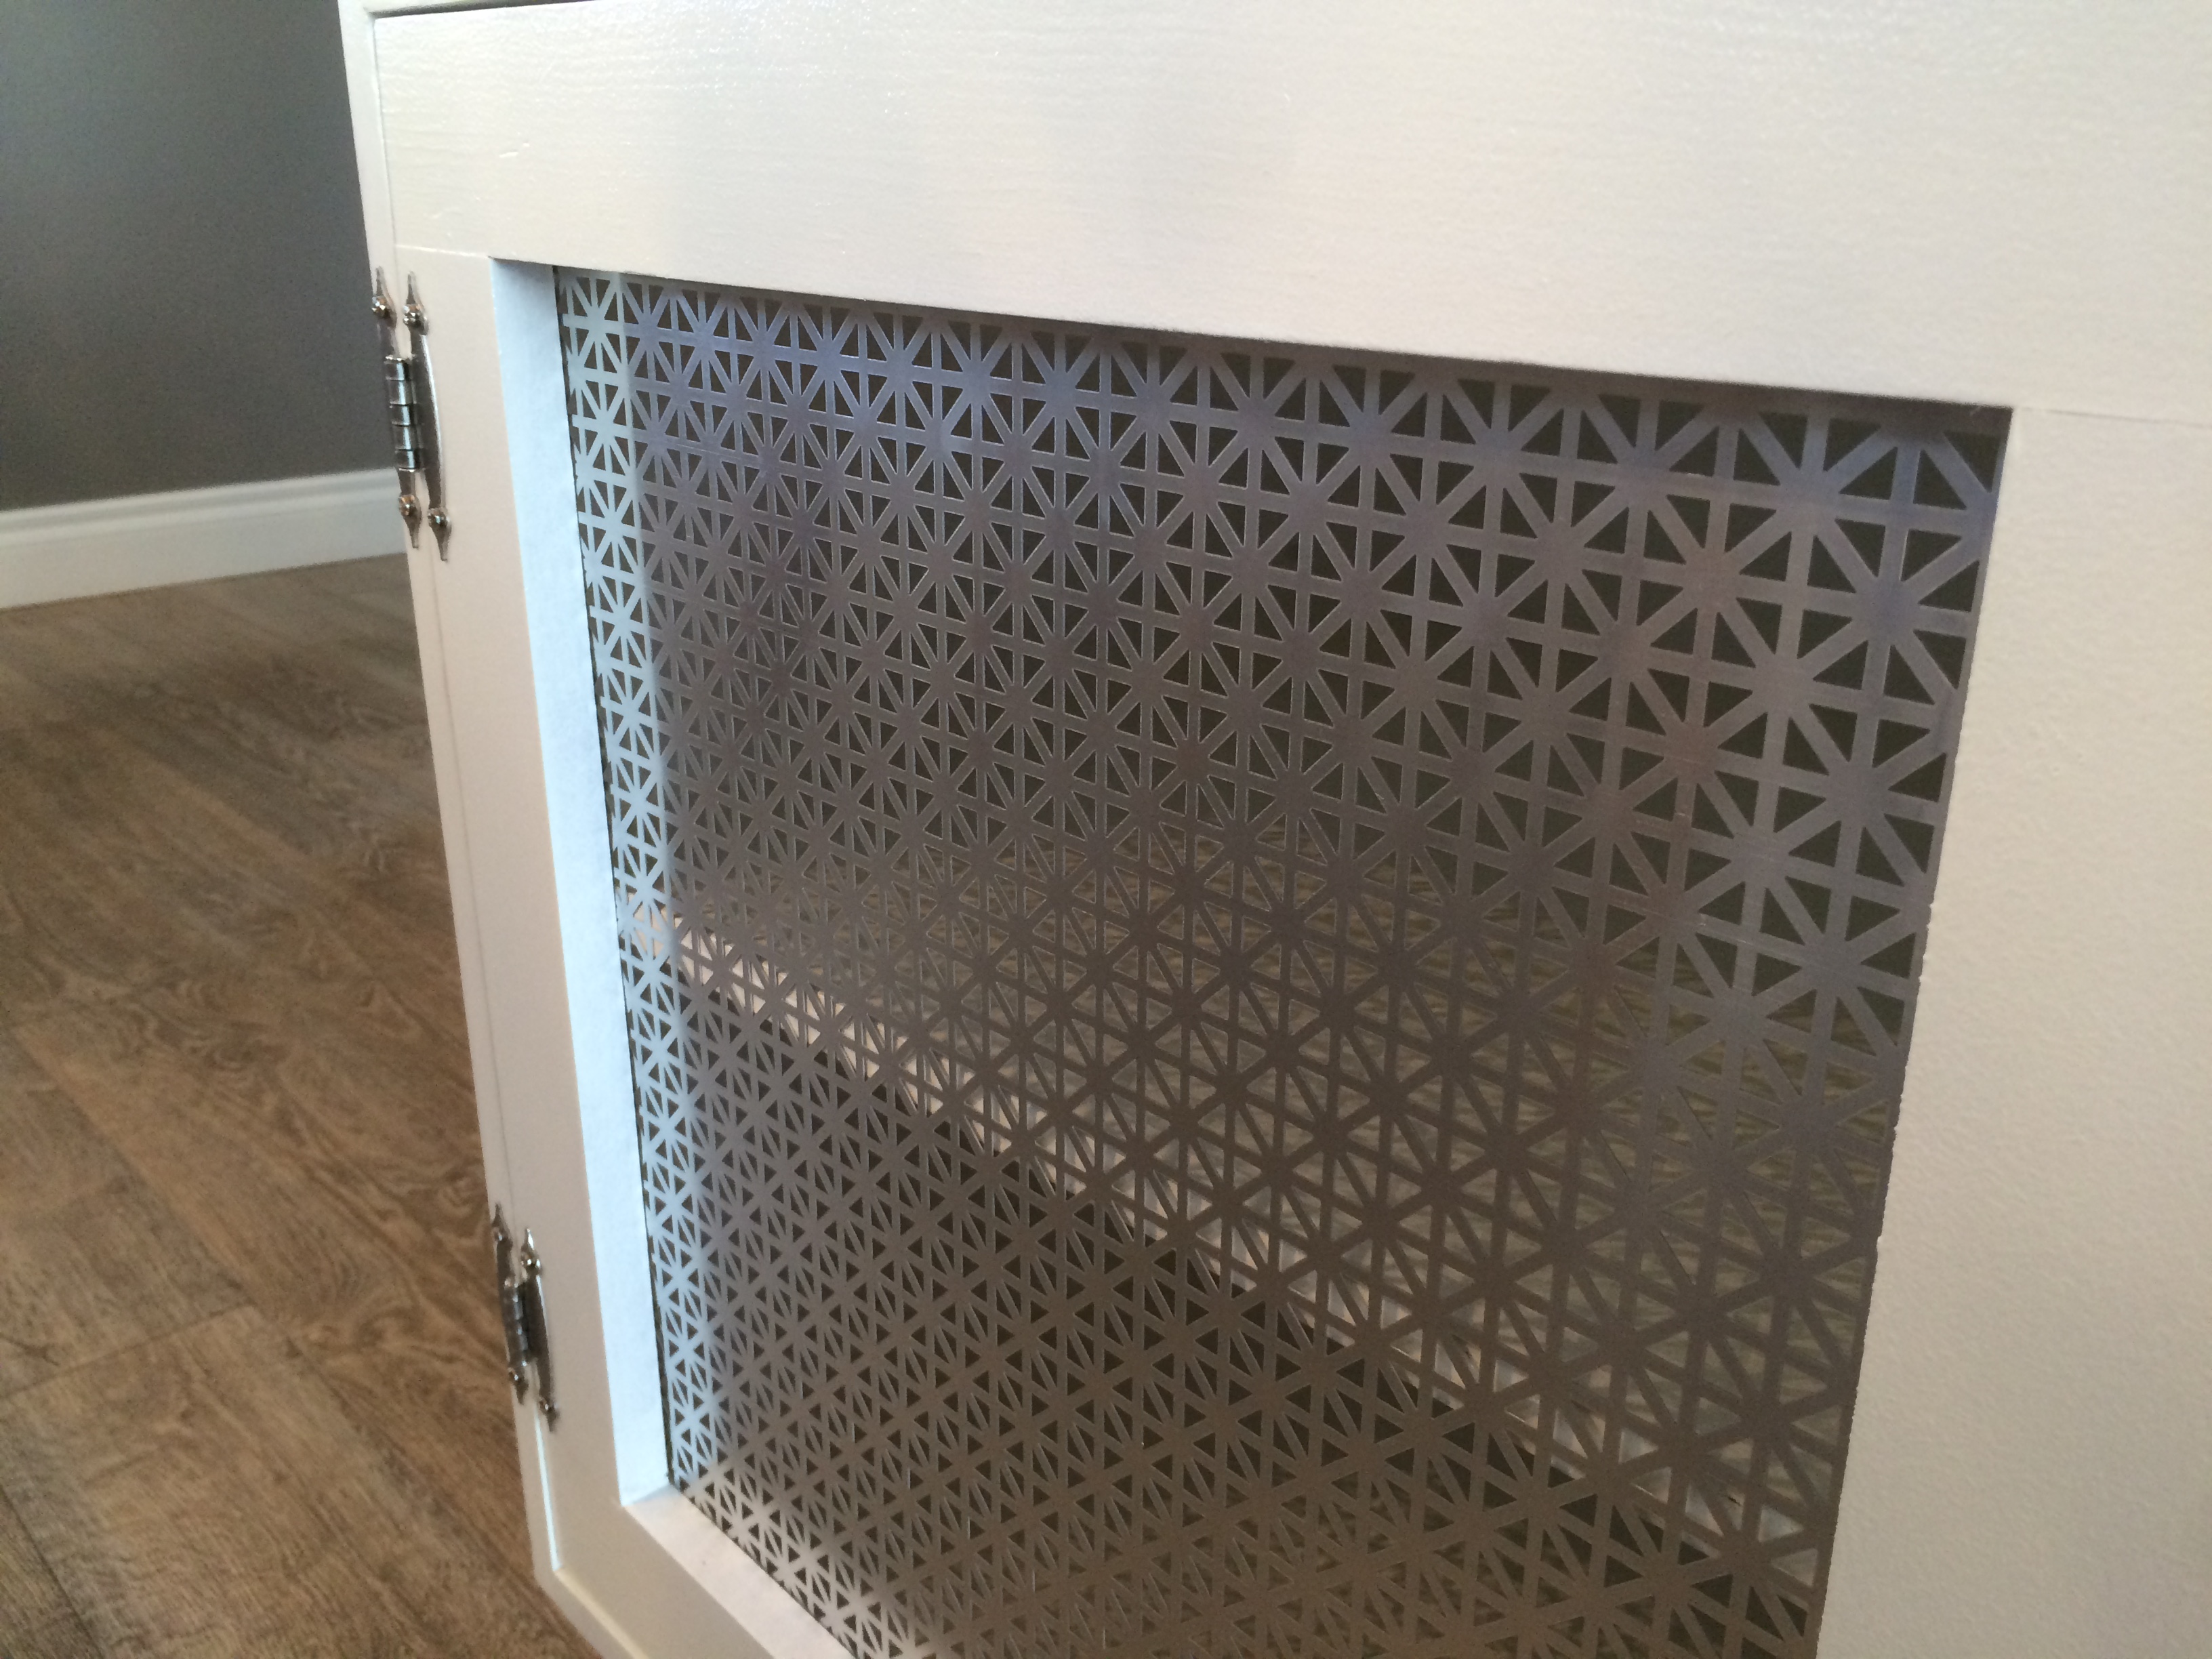
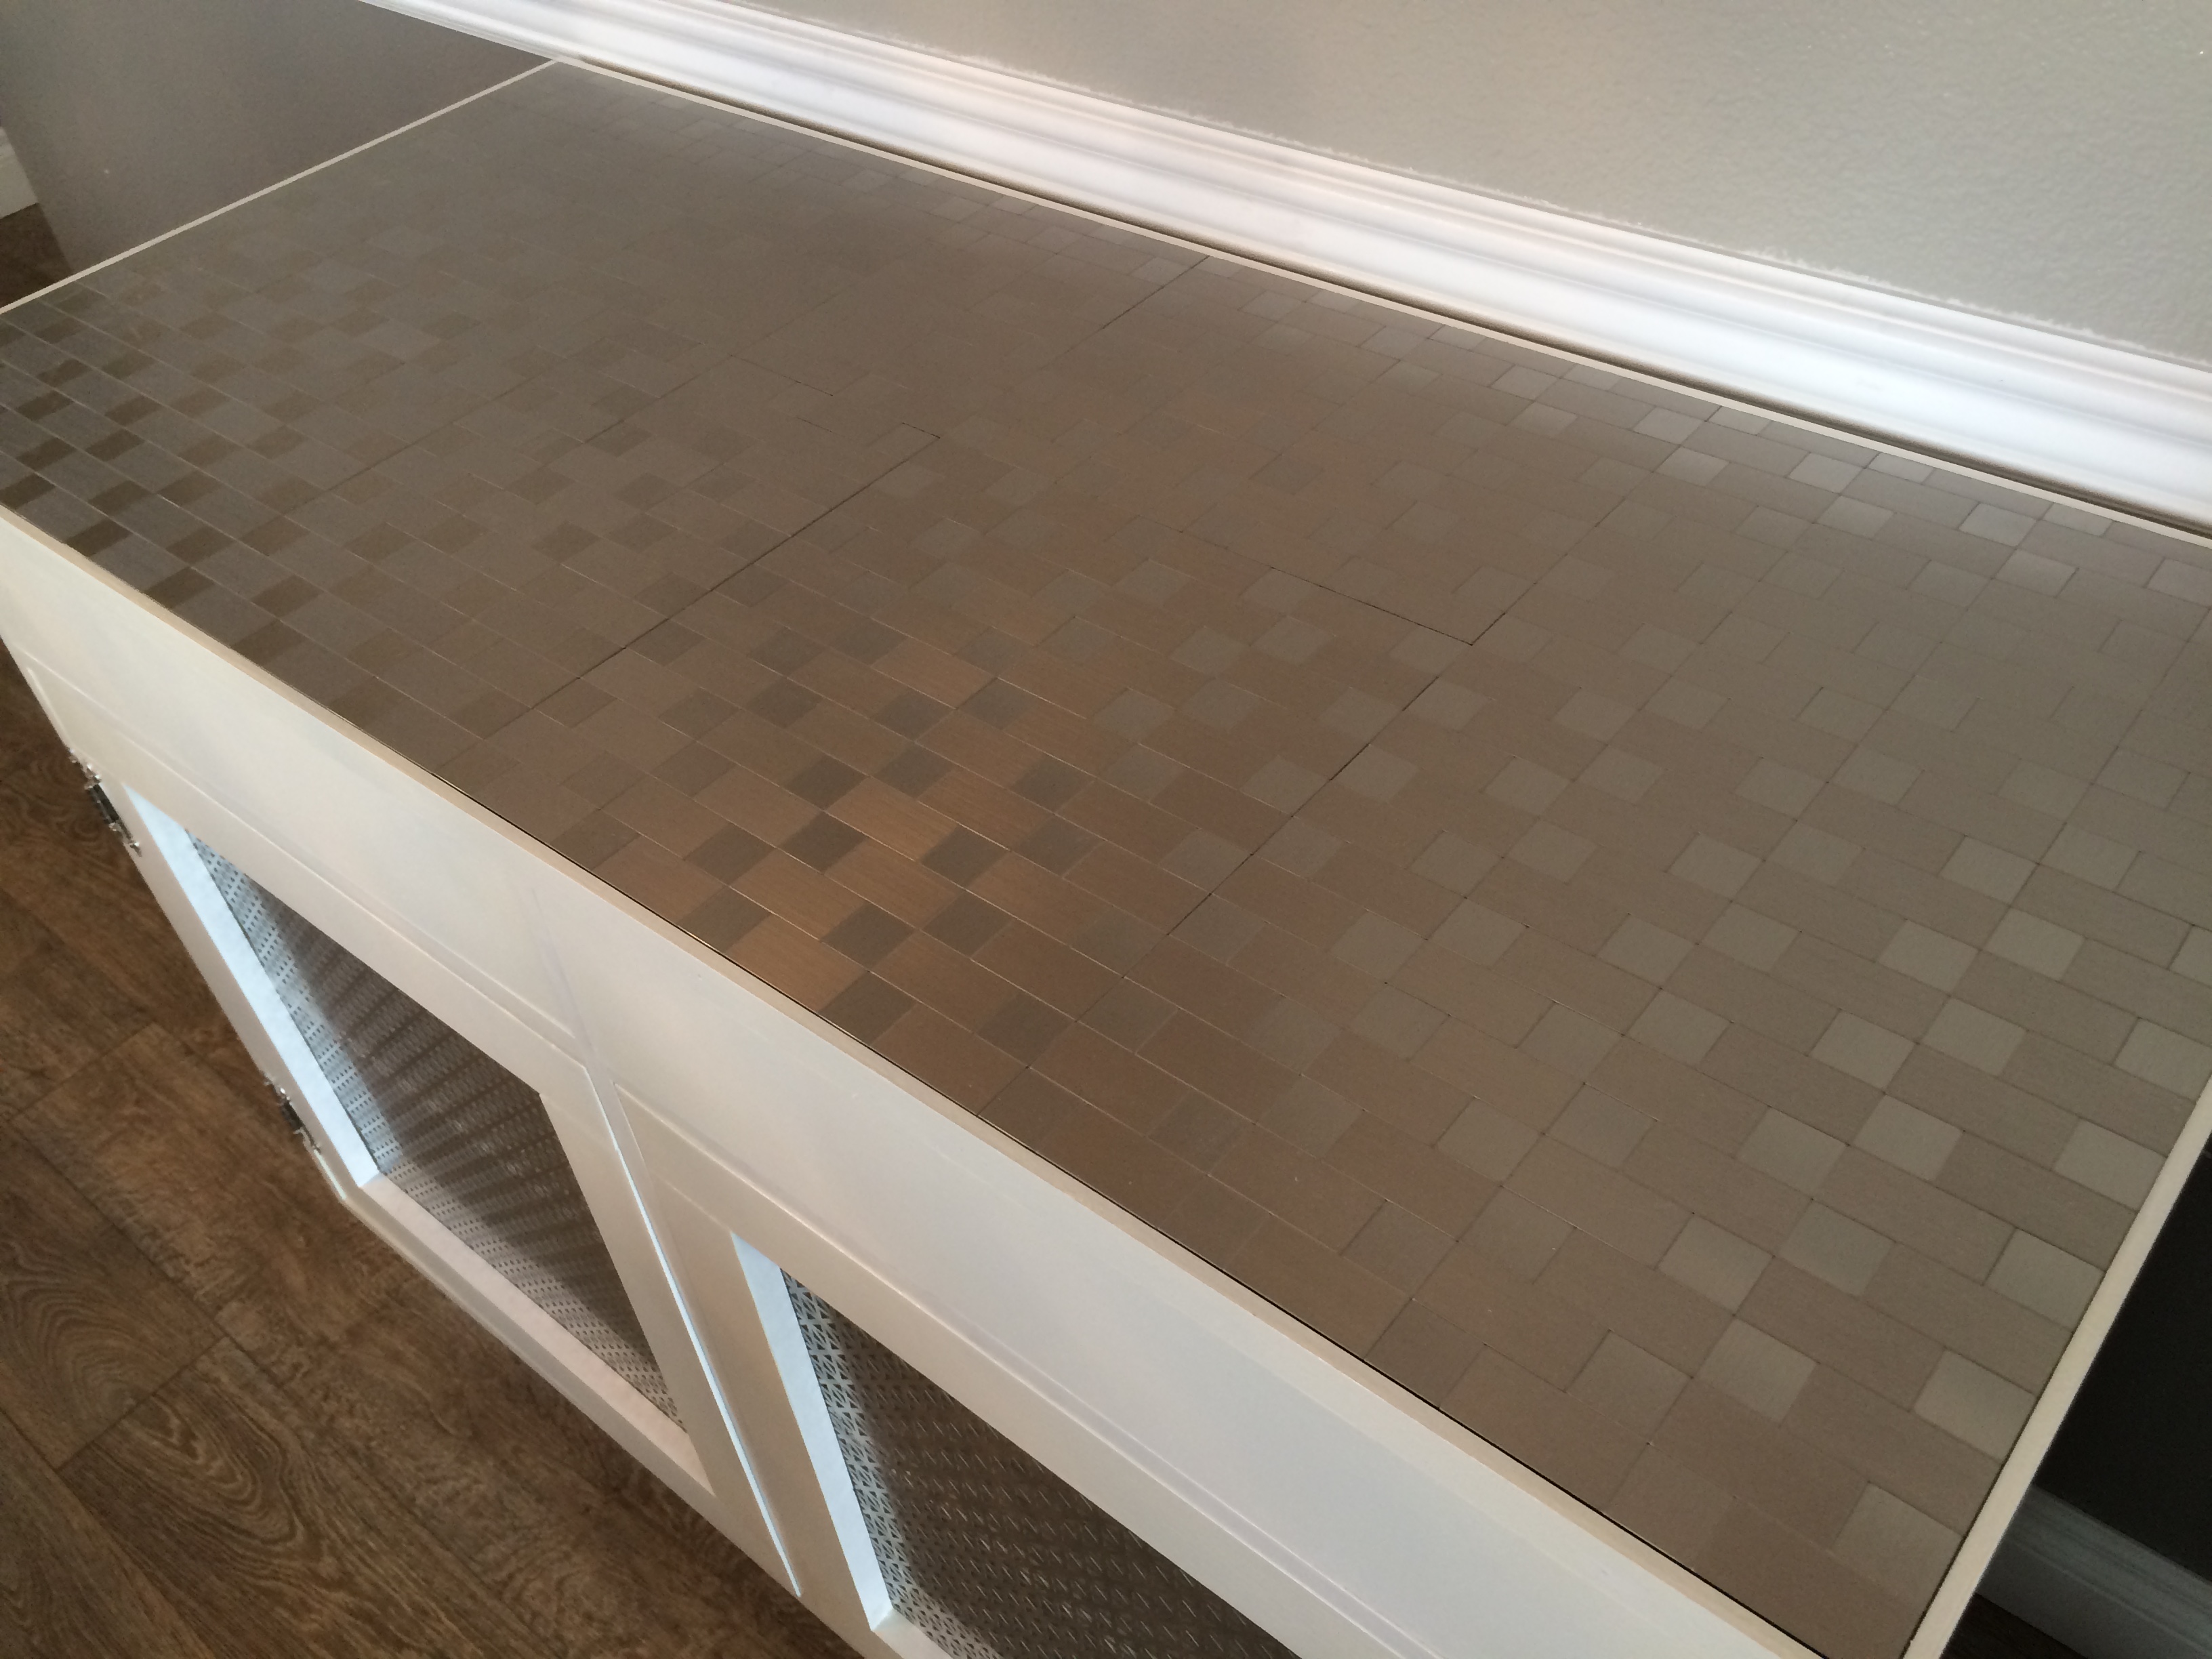
We built our version of the Dawsen Media Console to replace our TV stand. We adjusted the size to fit our living room. The length is 59" and 20" deep. We went with the open areas and enclosed the front middle to "hide" the tv boxes. We also used the screen in the doors to match the middle screen.
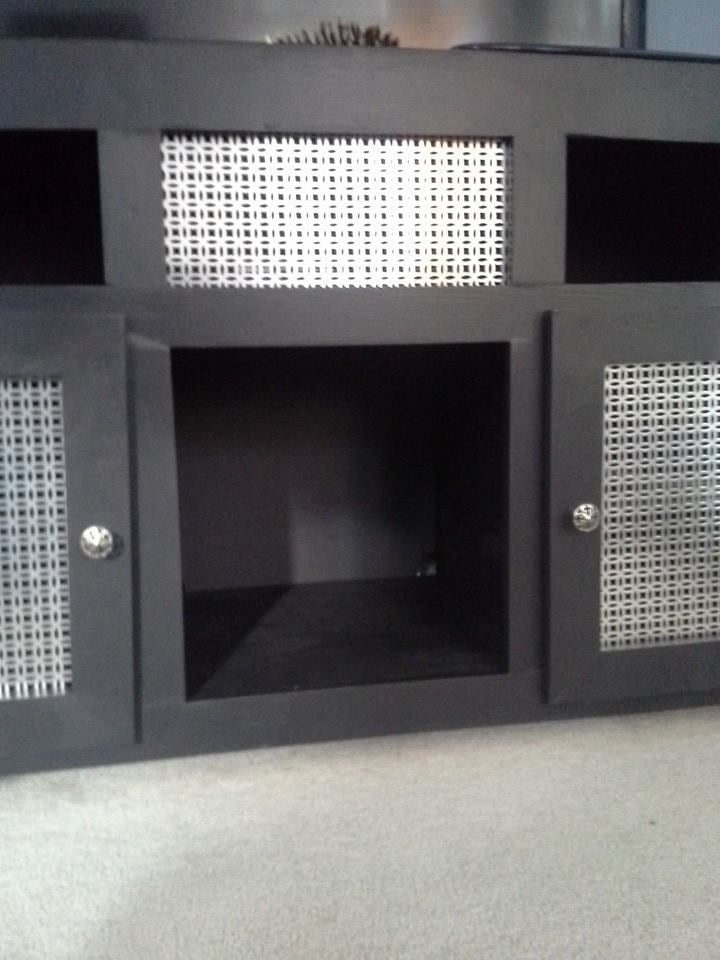
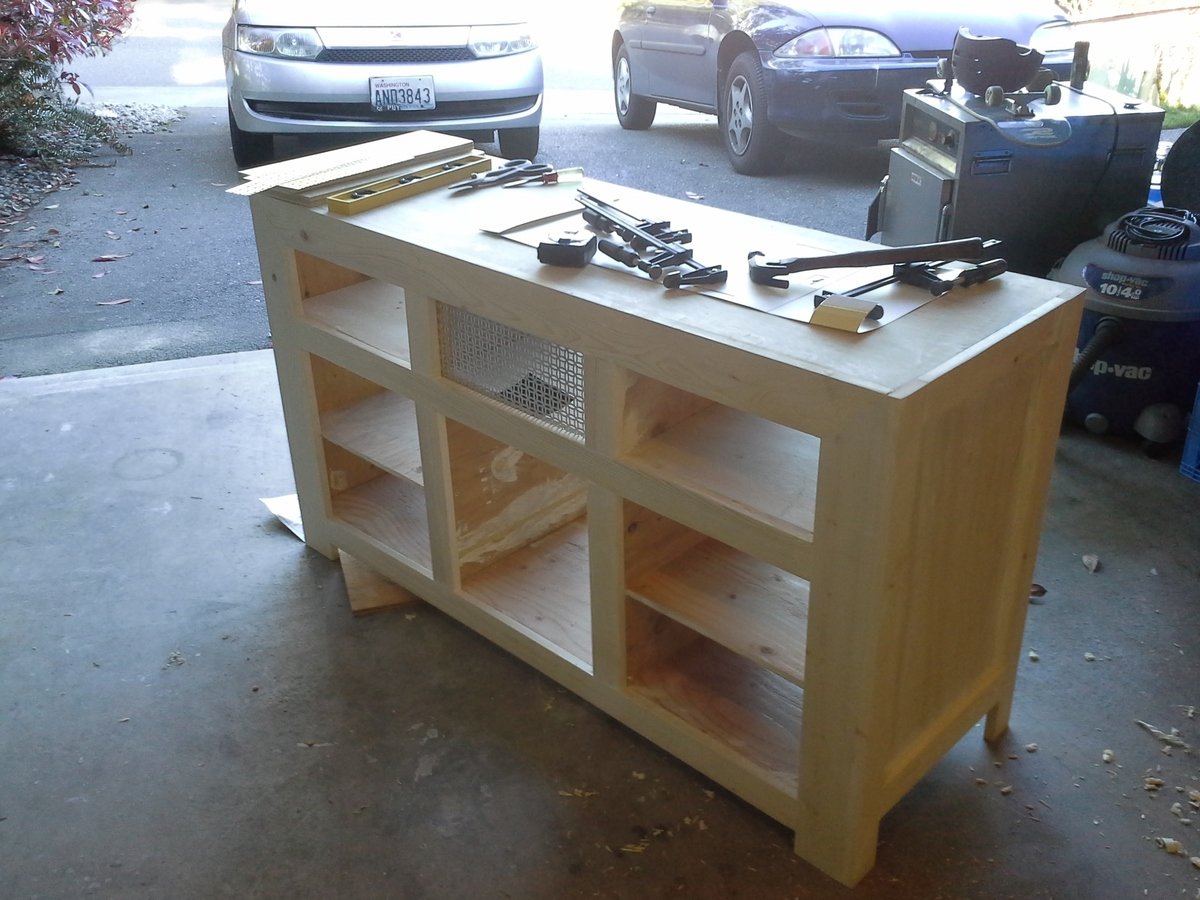
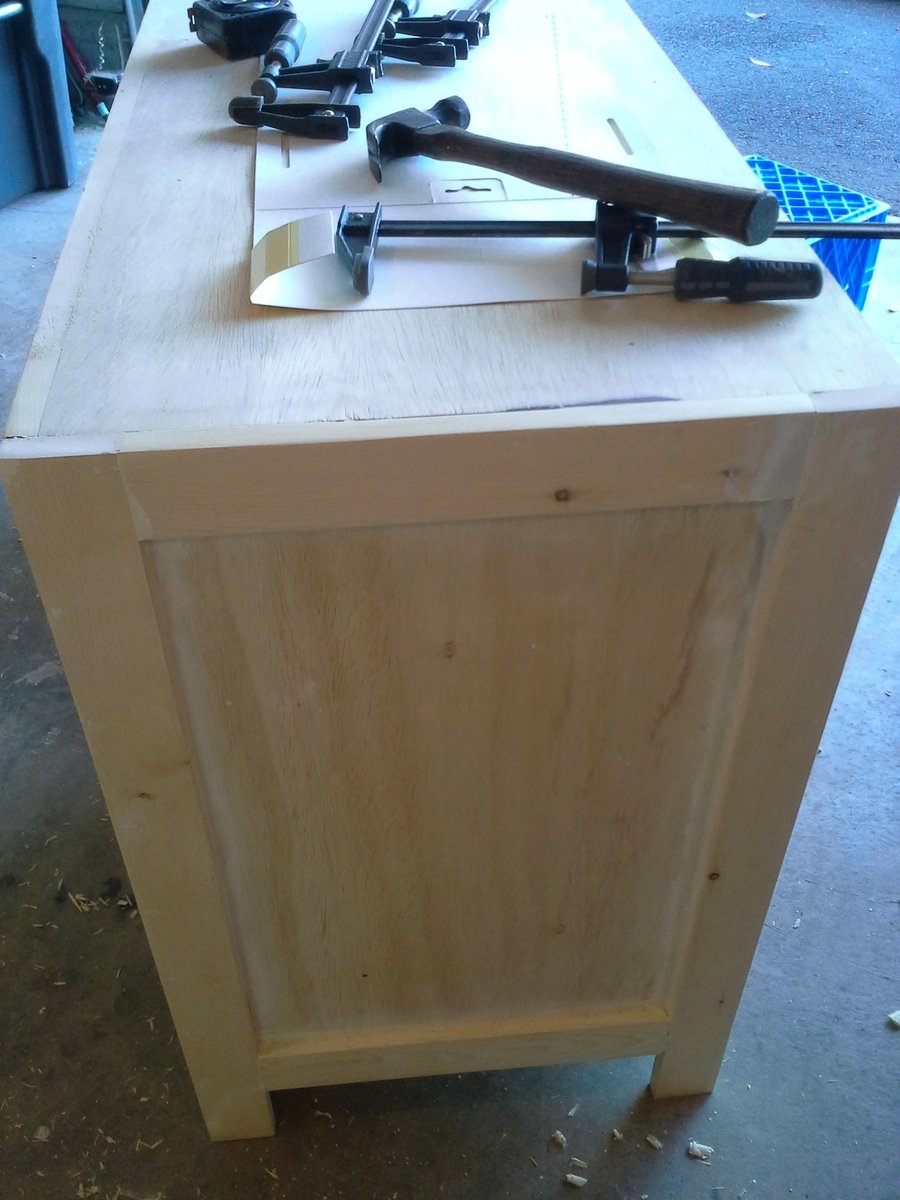
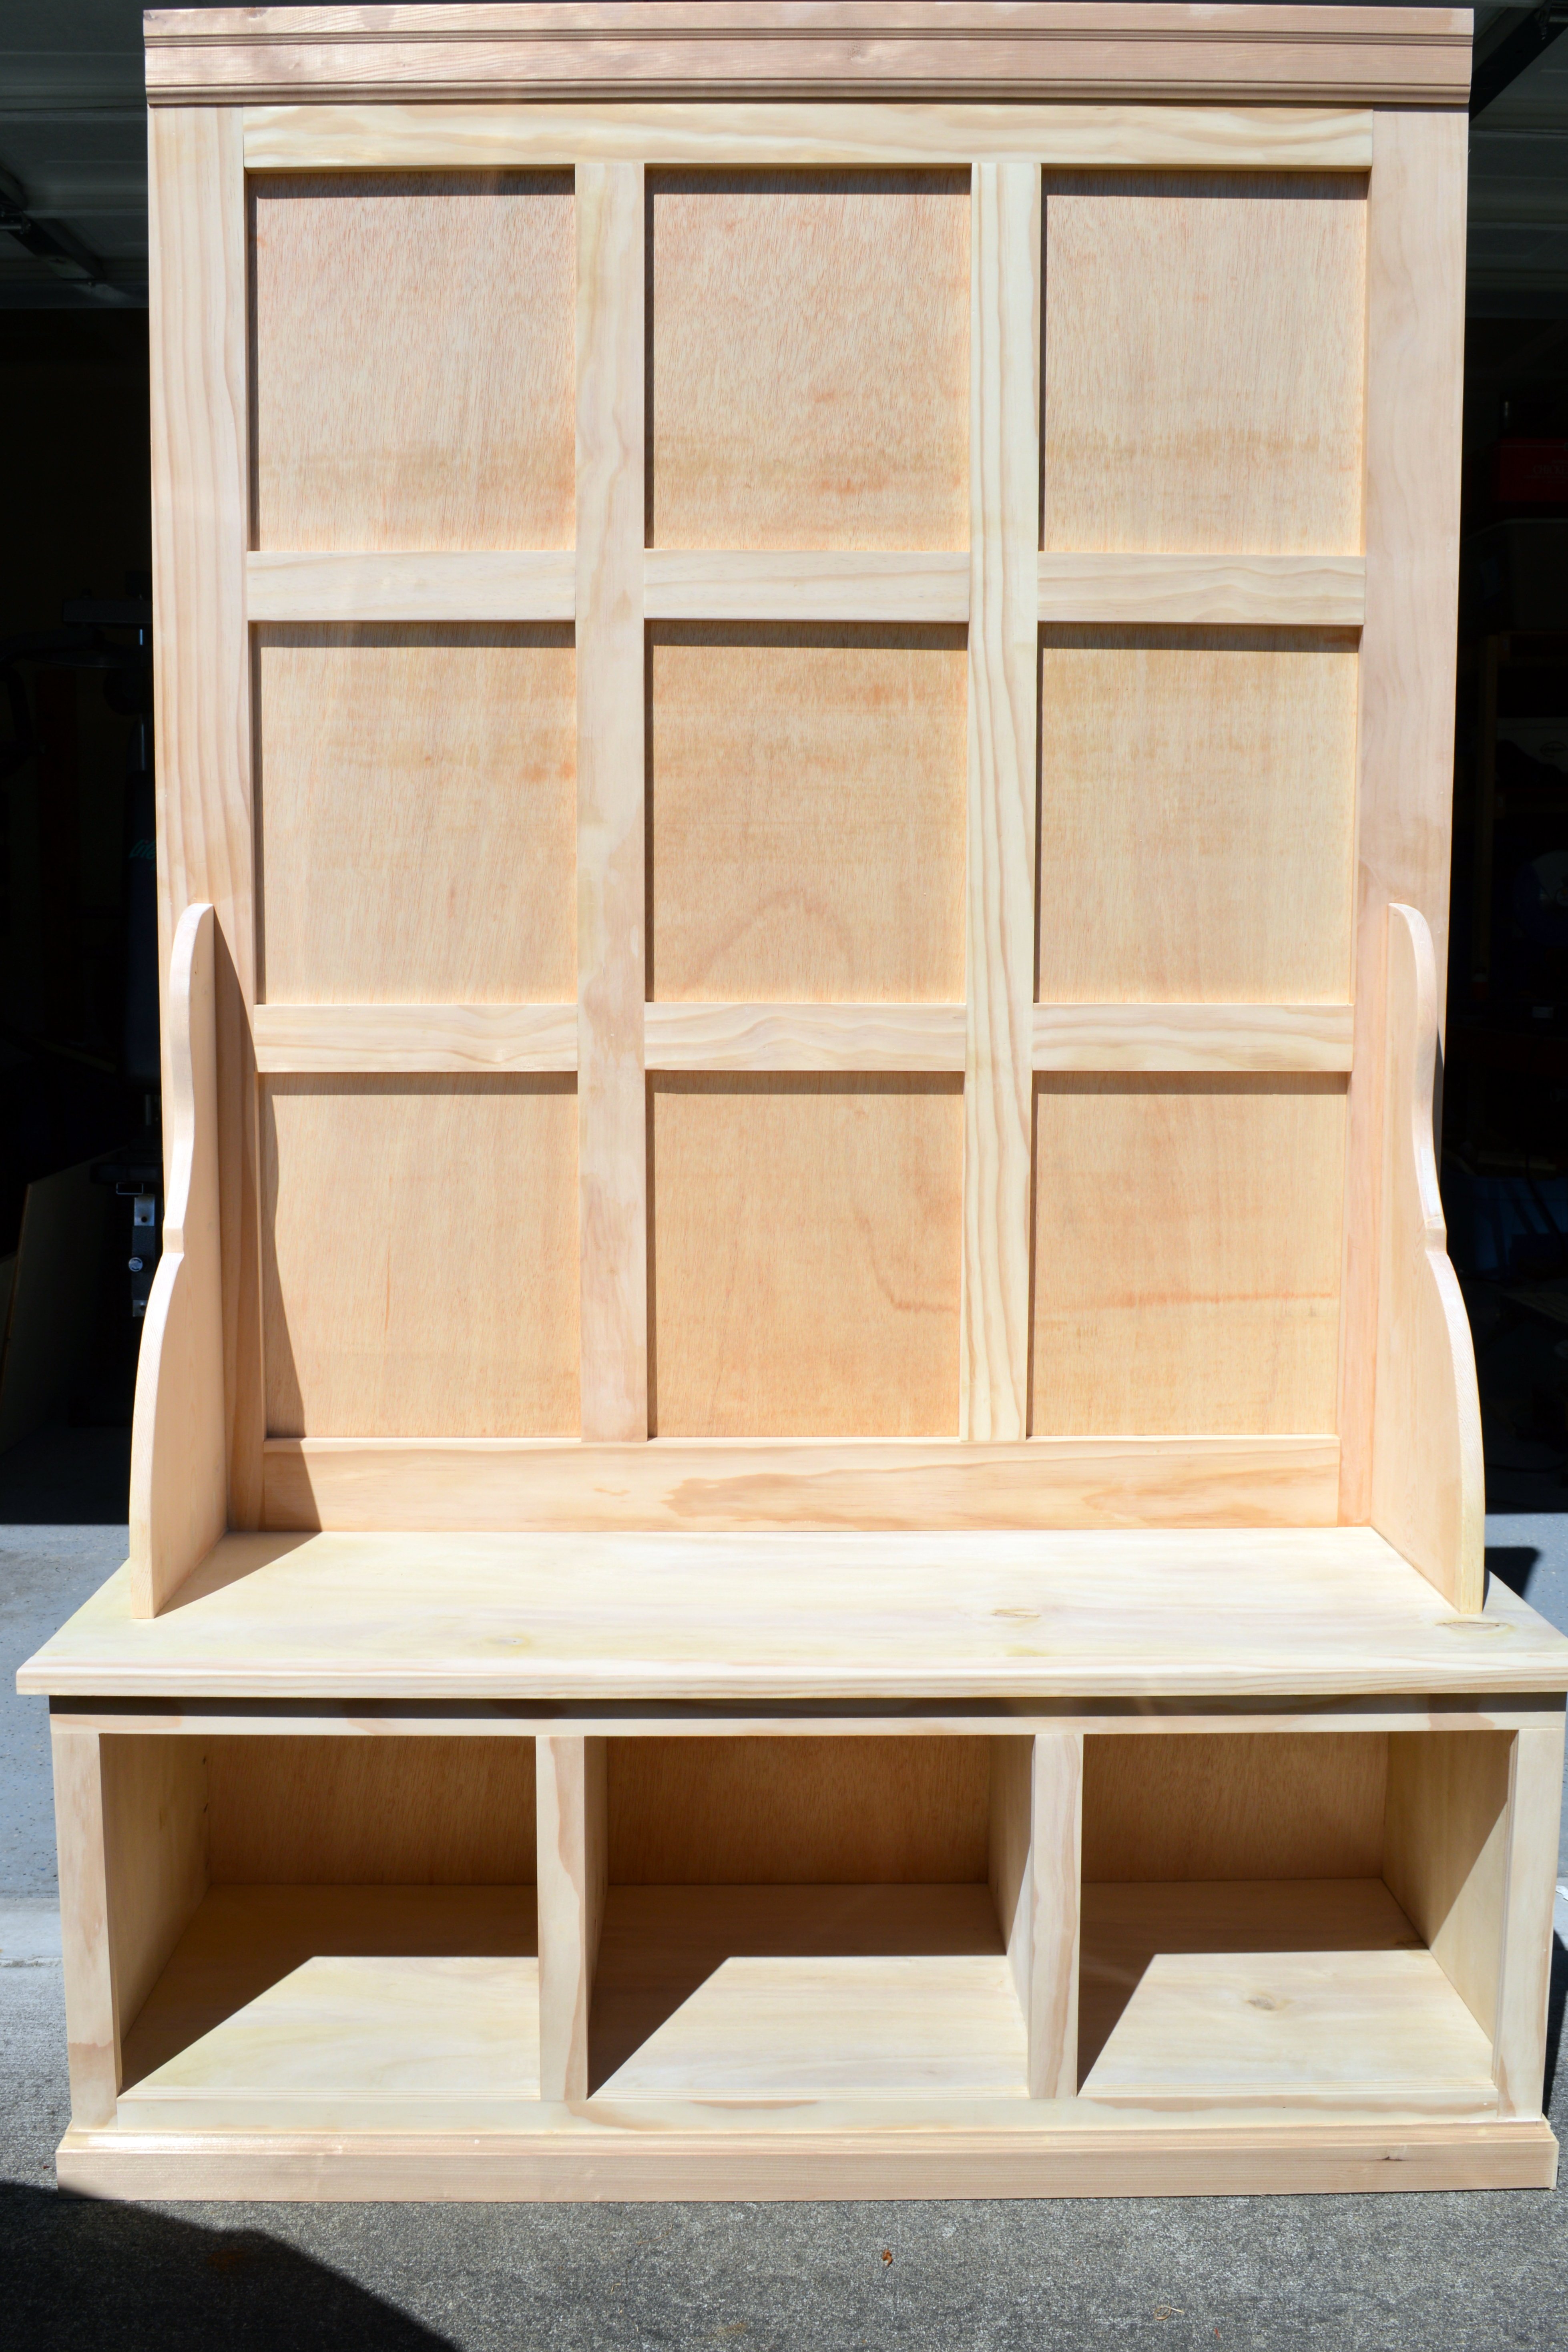
I made this project for a friend. It was very important to get straight boards for the back in order to make everything square. Let me know if you have any questions!

Farmhouse table
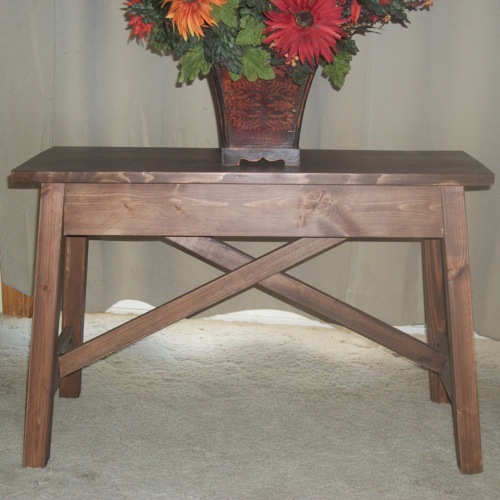
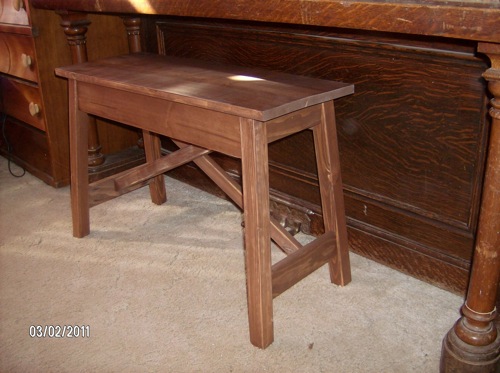
This was a really cute bench that I thought would look nice paired up with my grandmother’s piano we’d inherited after she passed. My 13 year old daughter has been taking lessons and needed something better than a folding chair to sit on when she practiced (at least I thought so).
We did modify it a bit. We made it a bit taller for her to be able to sit comfortably at the piano. We also ran into a little bit of trouble when putting this together because the shopping list isn’t exactly right on the plans. Other than that, this was a great plan, easy to do and very inexpensive. Even if you had to buy the stain (which we didn’t as we had some left over from another project) it should still only cost about $27 or so. So for under $30 you’ve got this great bench that is super cute and very functional. Can’t beat that!!!!
Thanks Ana for posting the plans and allowing us to all live in your world! This is a great website and a wonderful online community. I check out the site everyday to see what’s new!
Thanks again!!!!!!
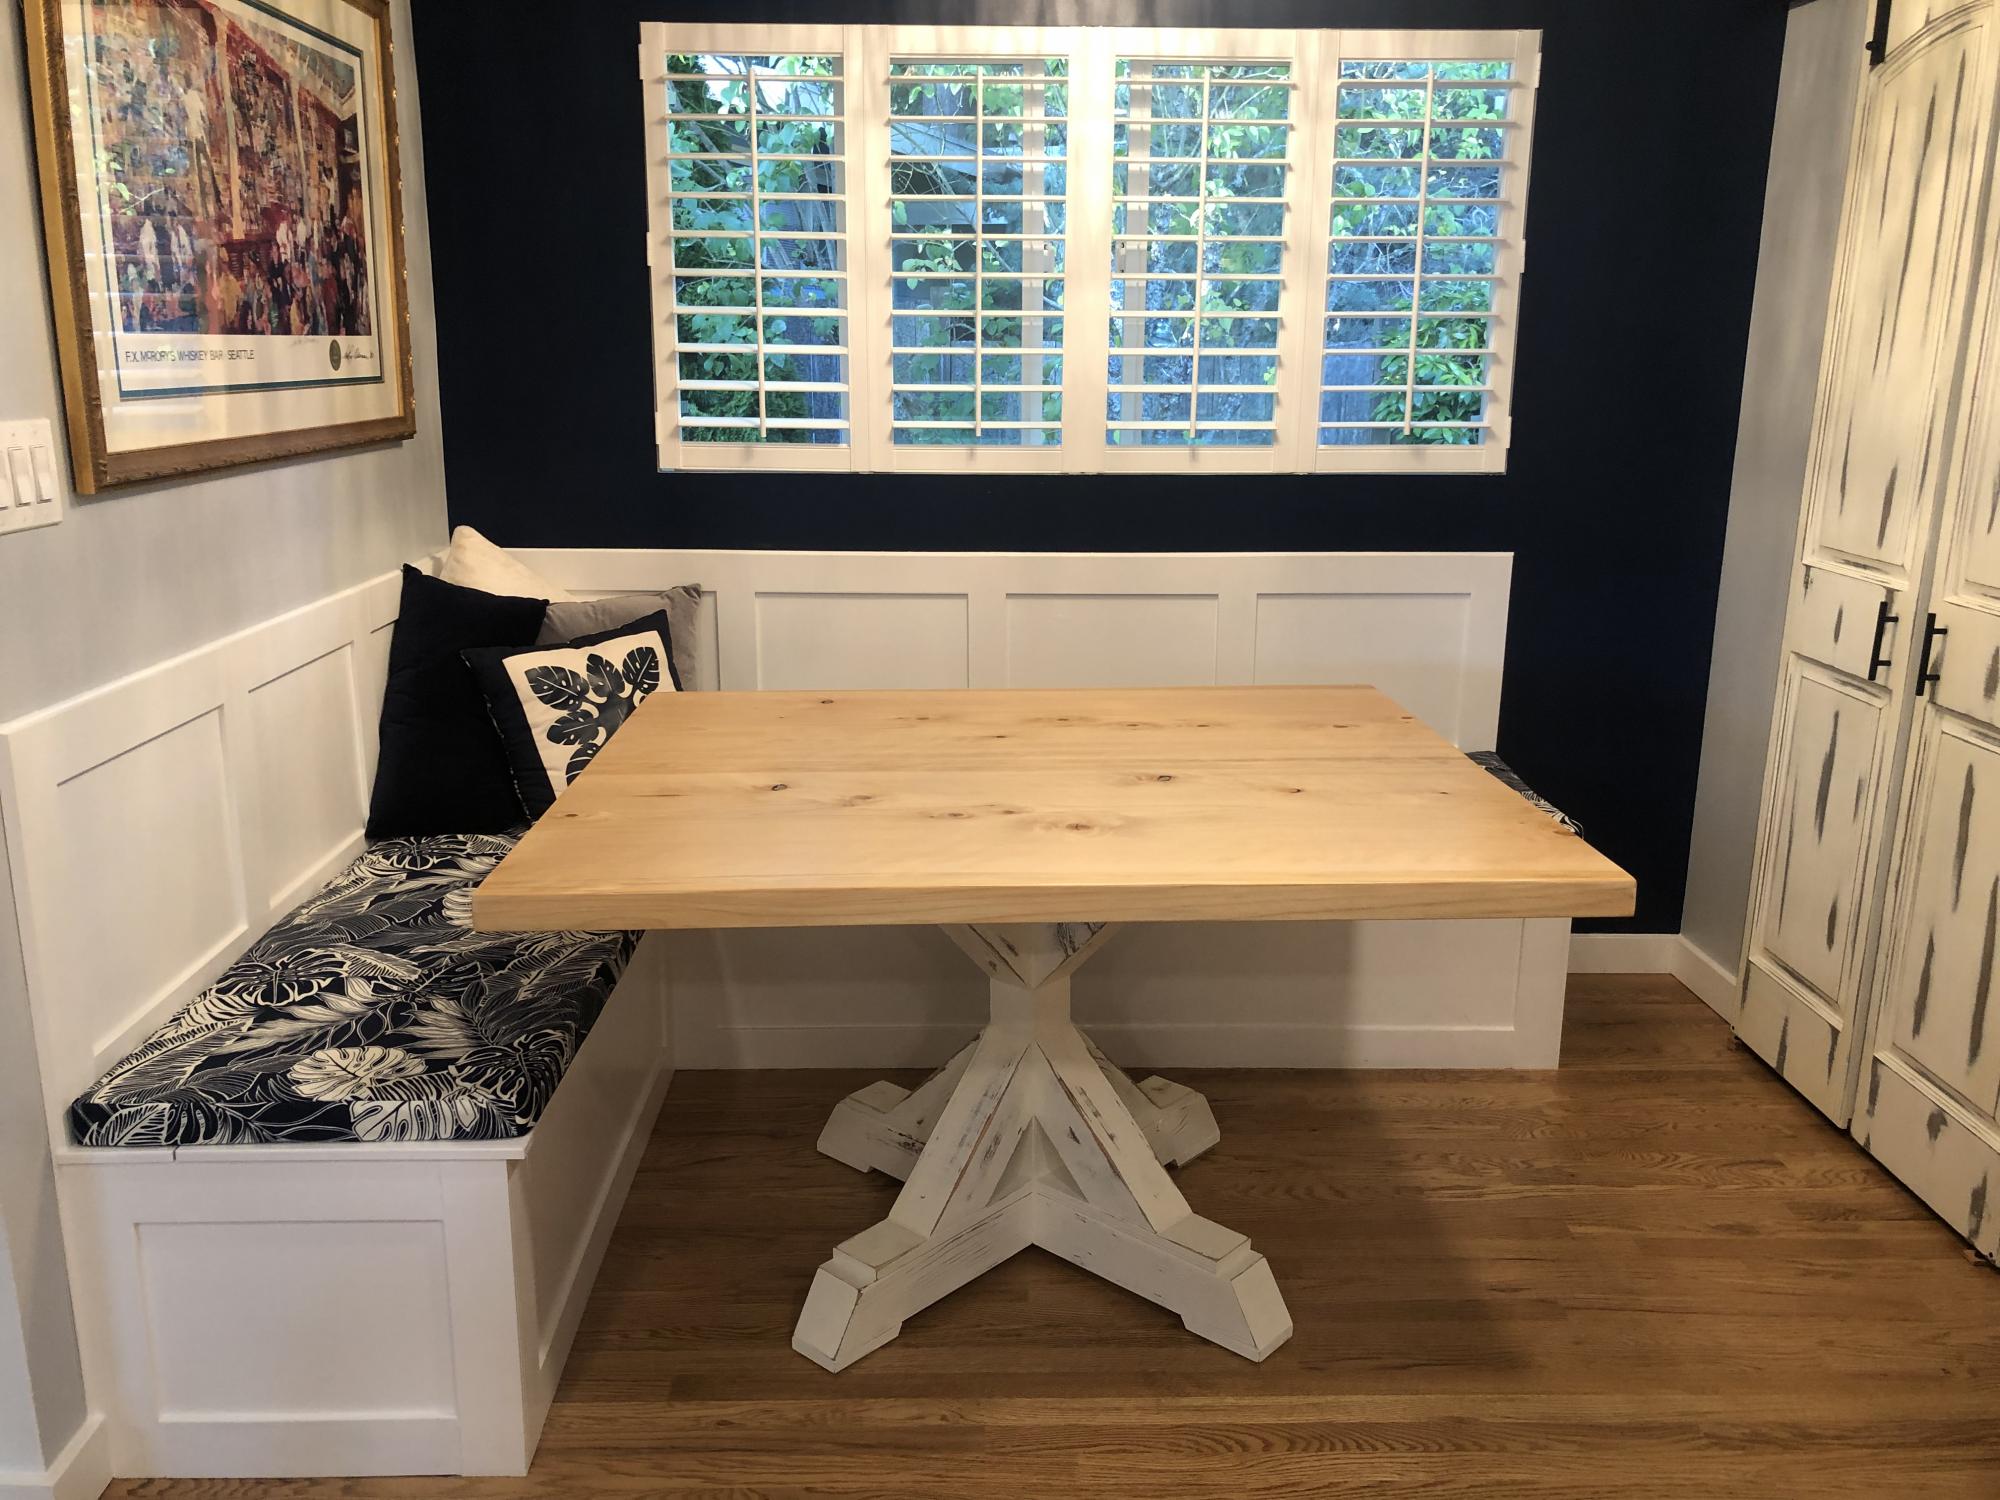
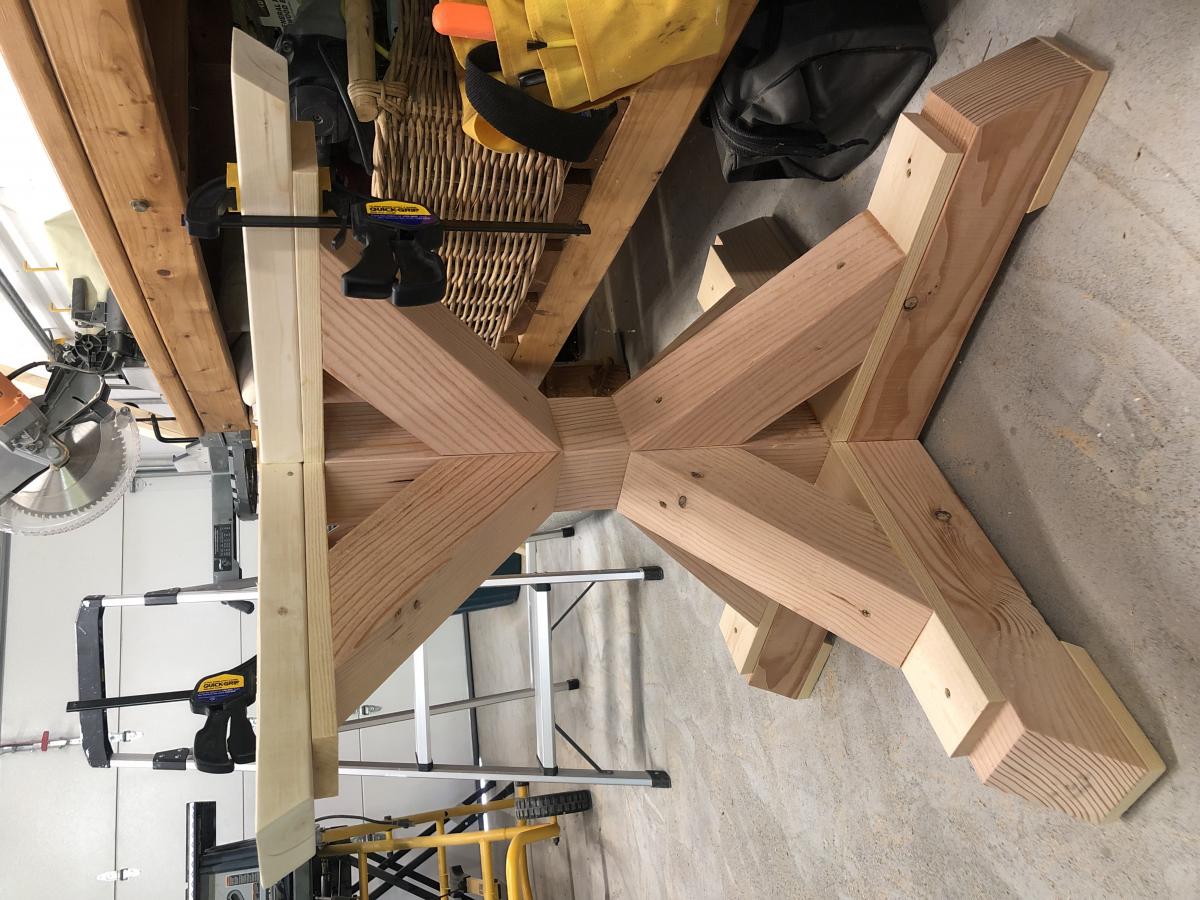
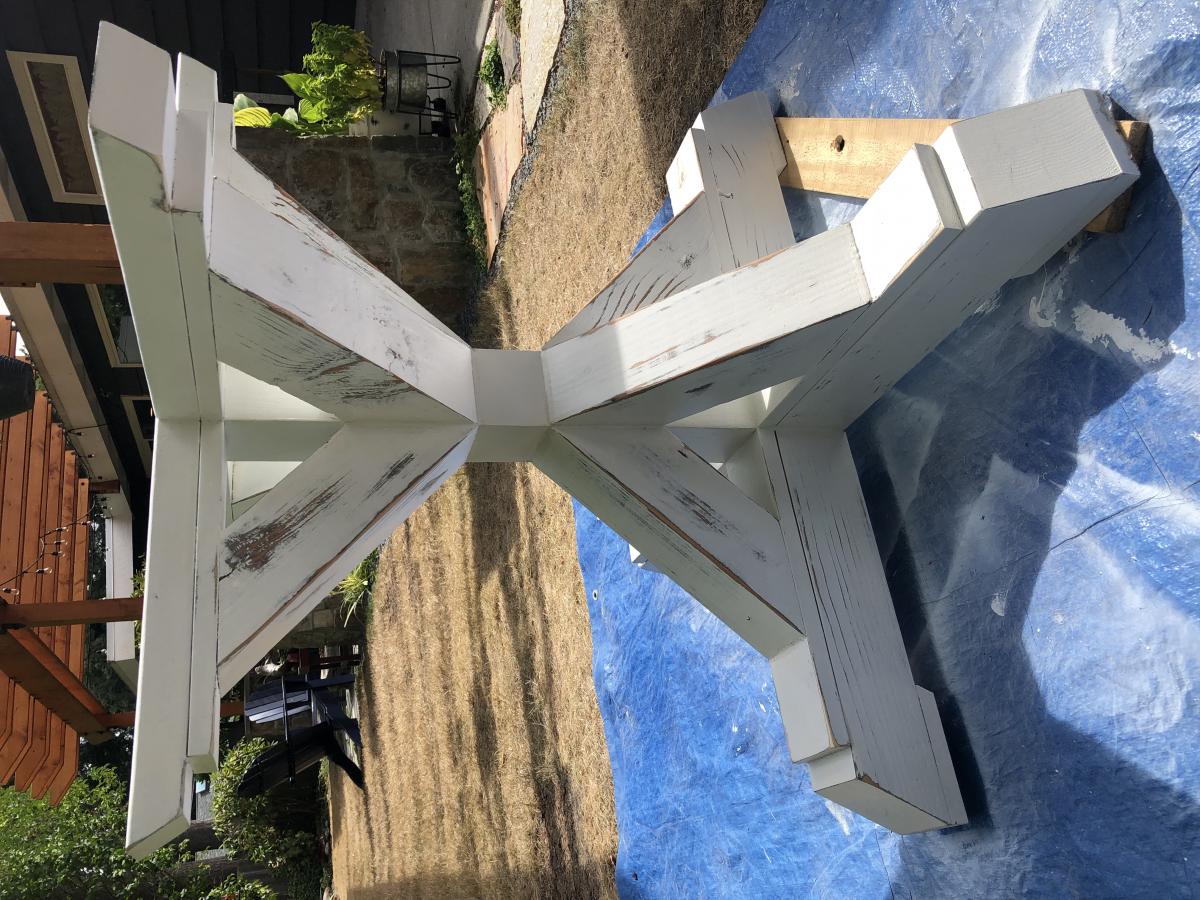
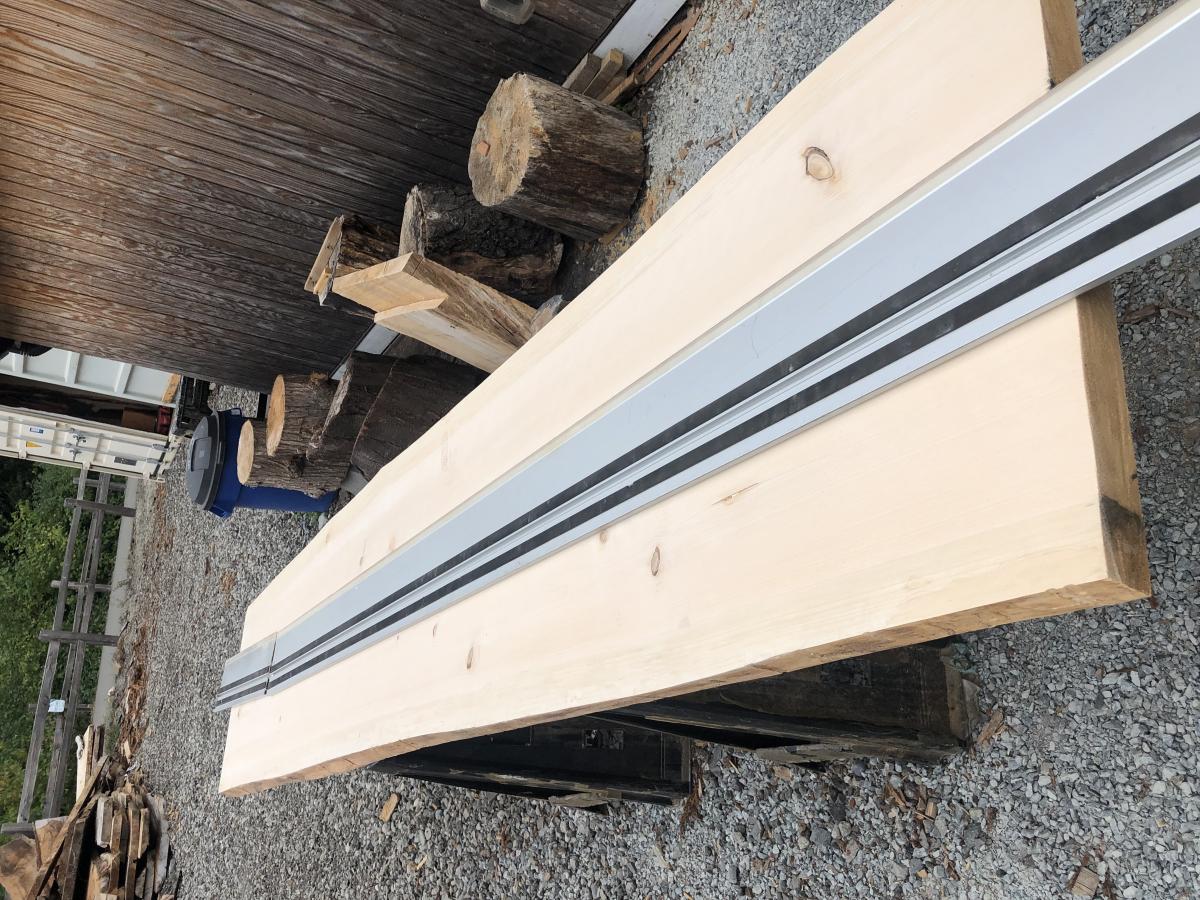
I used Anna Whites DIY plans to build the base for our dining room table. Then I went to my “wood guy” RV and picked up a beautiful piece of hinoki wood for the top. Love it 😍
Although advance, the pedestal plans were very straightforward and easy to follow. Made me look like a pro.
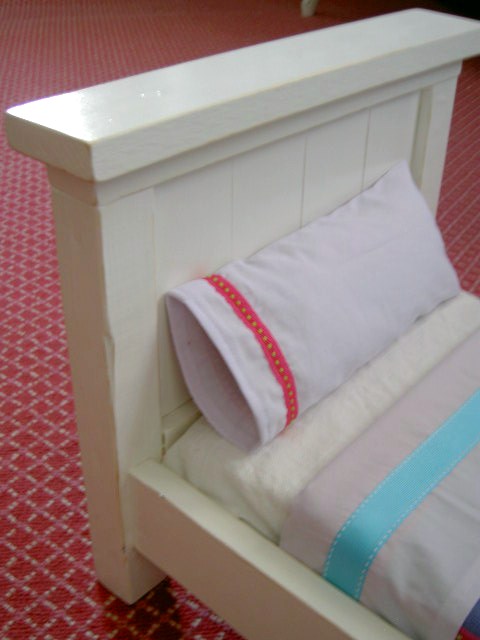
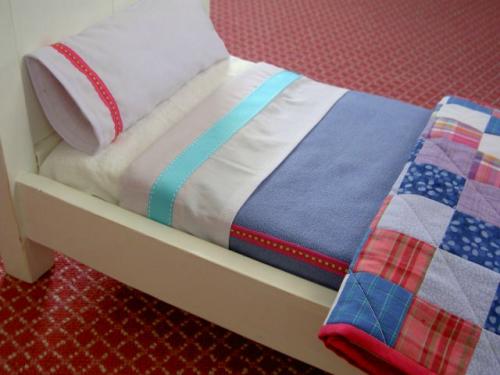
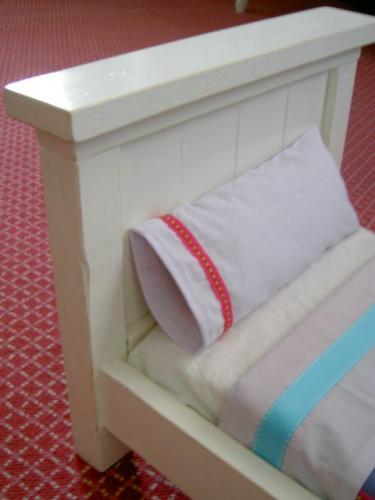
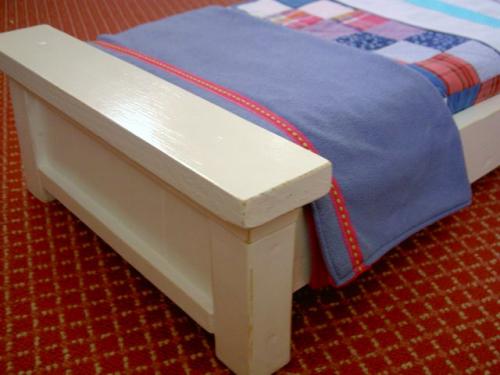
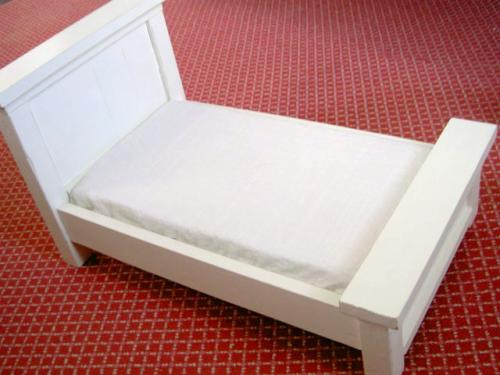
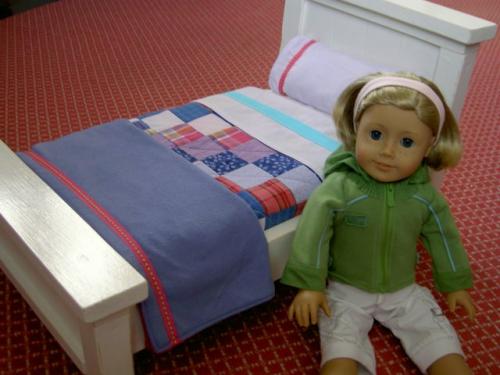
Farmhouse doll bed modified - one slat less in width.
Comments
Ana White Admin
Tue, 10/05/2021 - 11:04
Looks great!
Thank you for sharing, love the two tone finish!