Kids Picnic Table
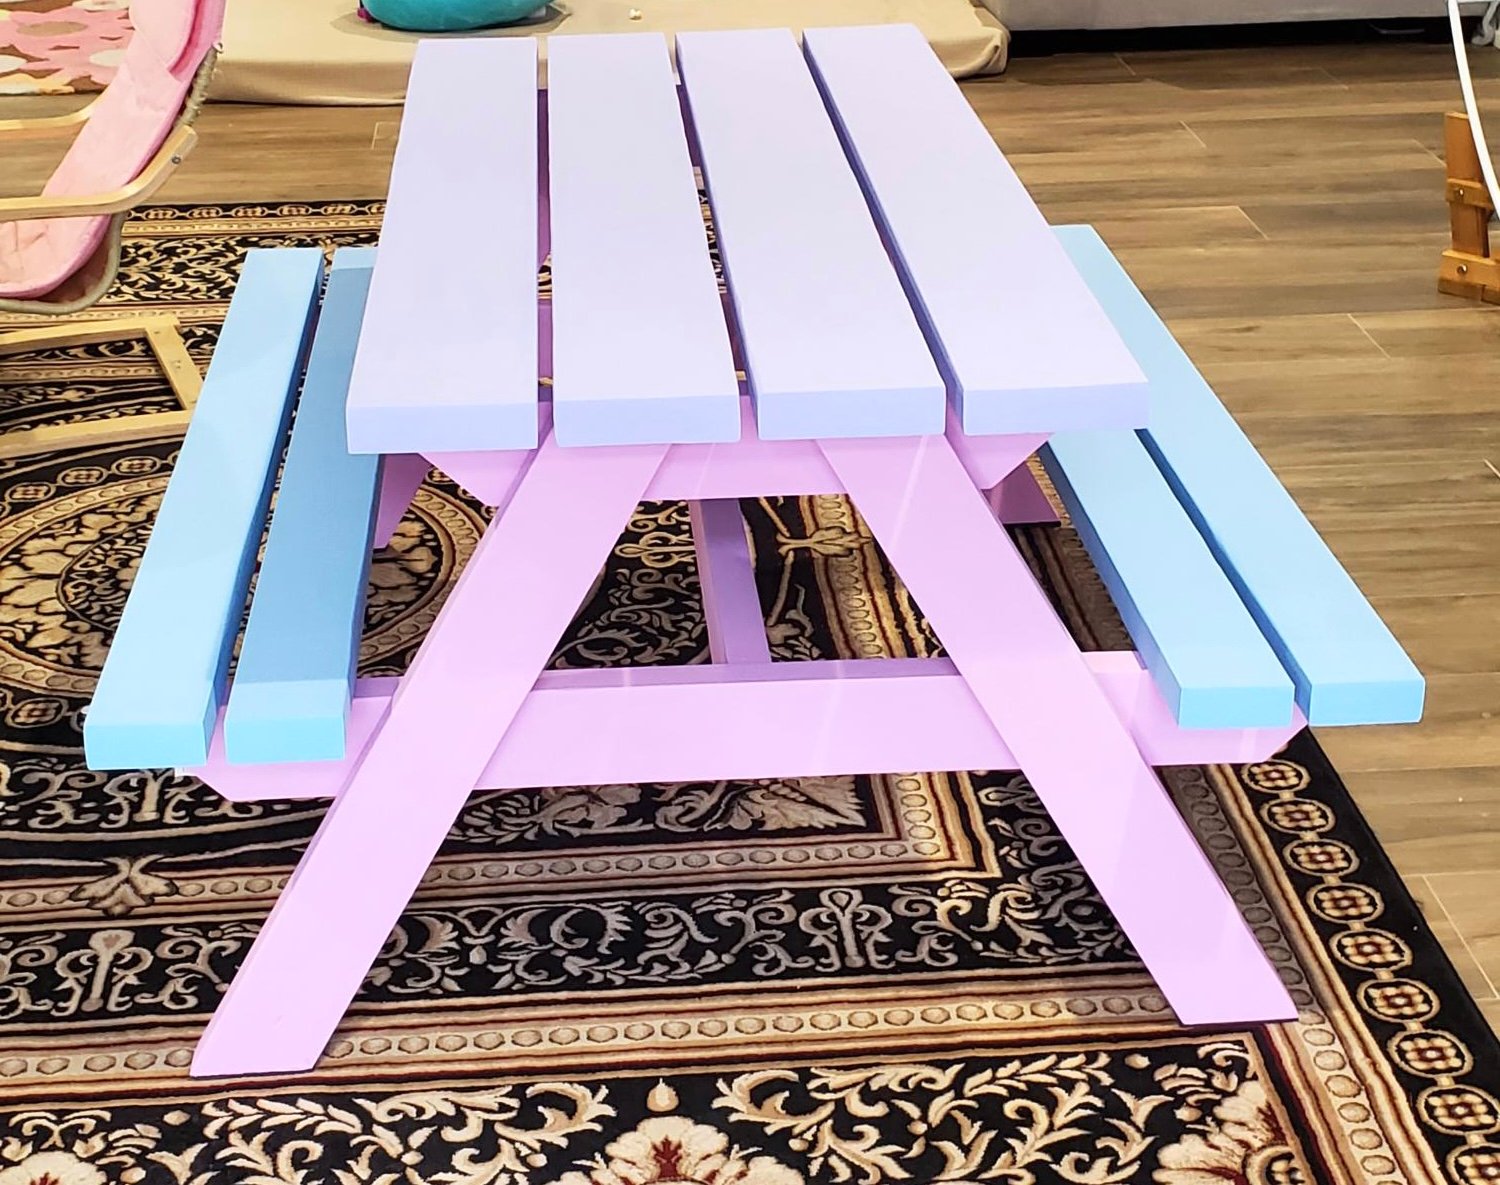
Fun and easy project

Fun and easy project
Third AG doll bed for my nieces - they are so much fun to make! I loved how the green turned out - I want to paint everything in the house this color!
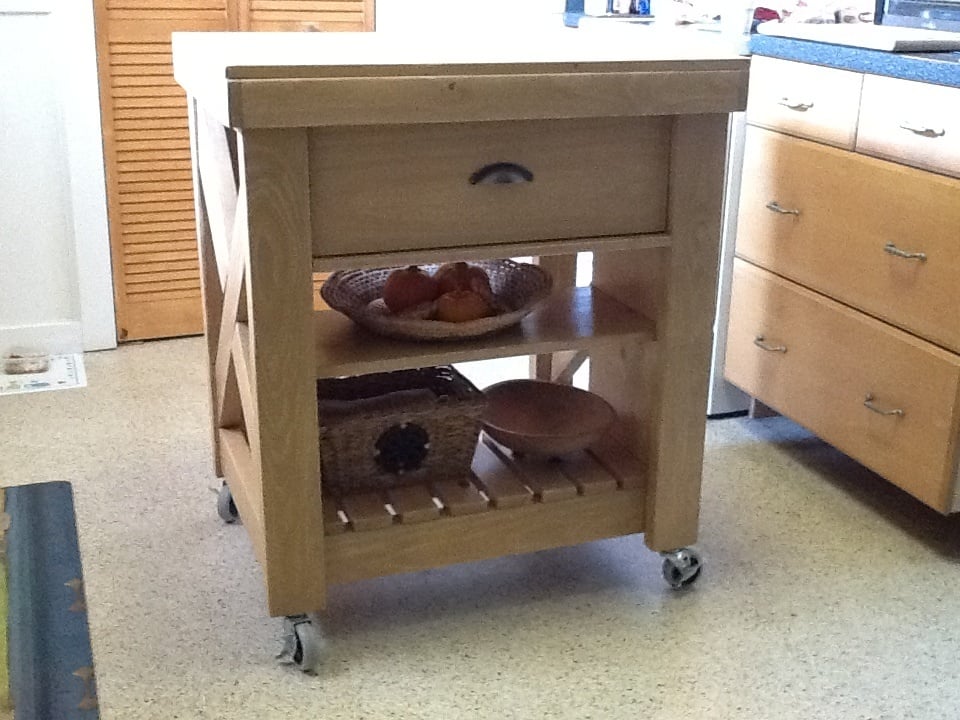
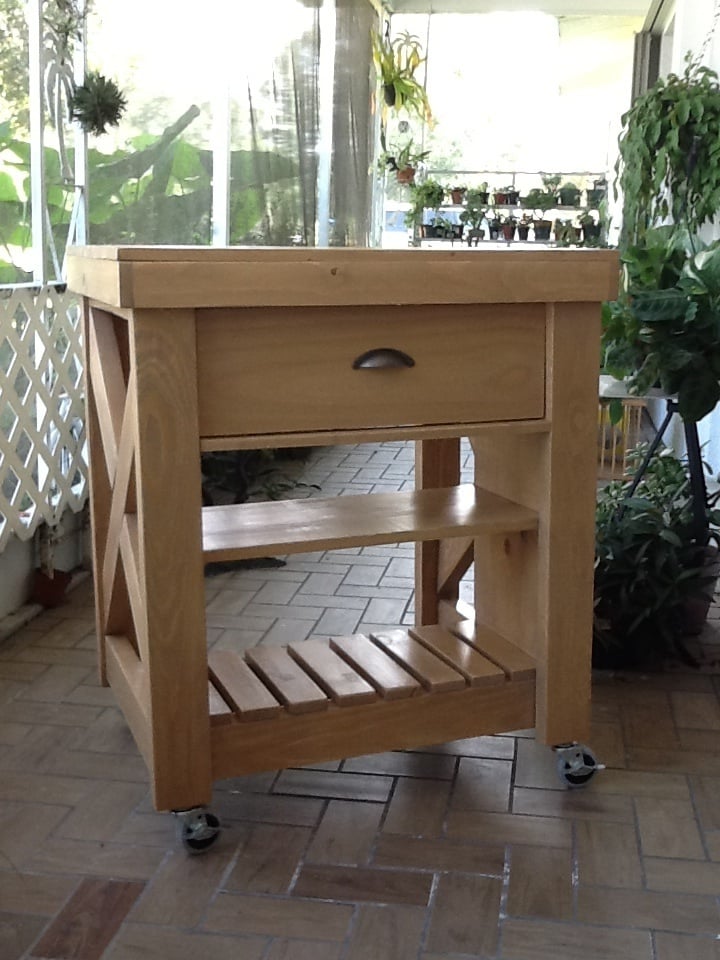
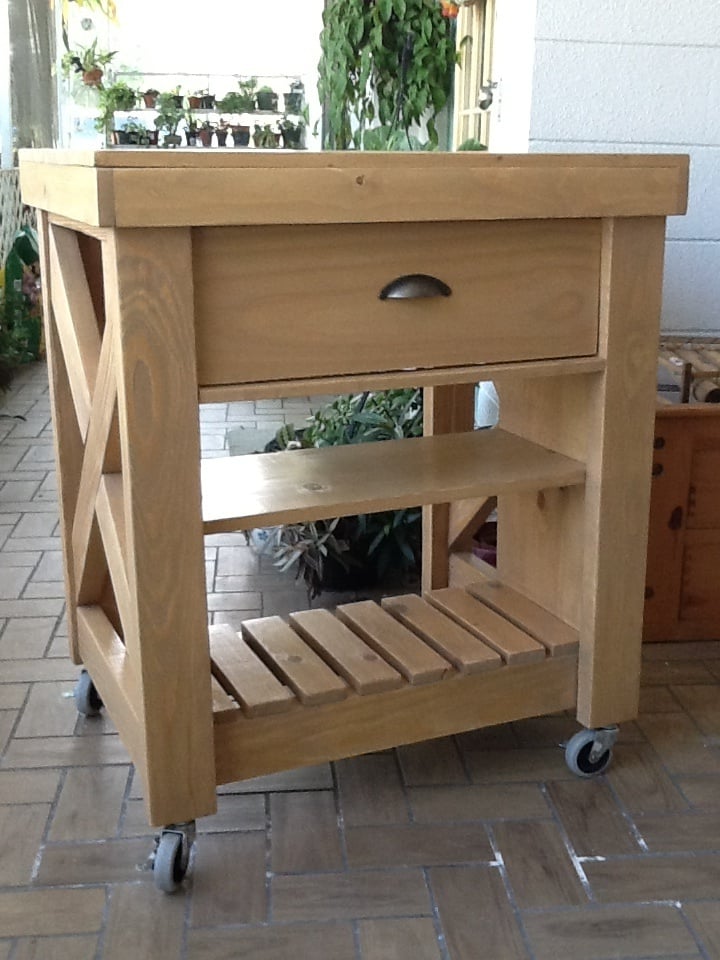
This was my first furniture build. I learned a lot and can't wait to build furniture for the rest of the house! I used off the shelf lumber for this and with all the supplies I needed it ended up costing around a hundred to build. I used a water based light stain to match the rest of my kitchen. (Desert Sand by Minwax). Thank you for the plans! :)
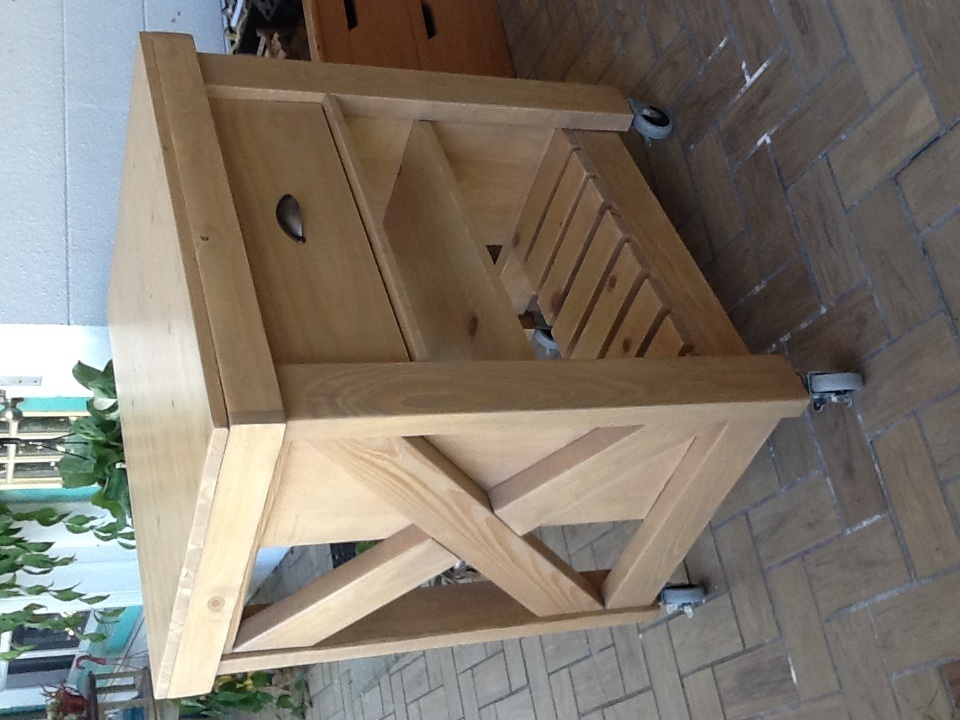
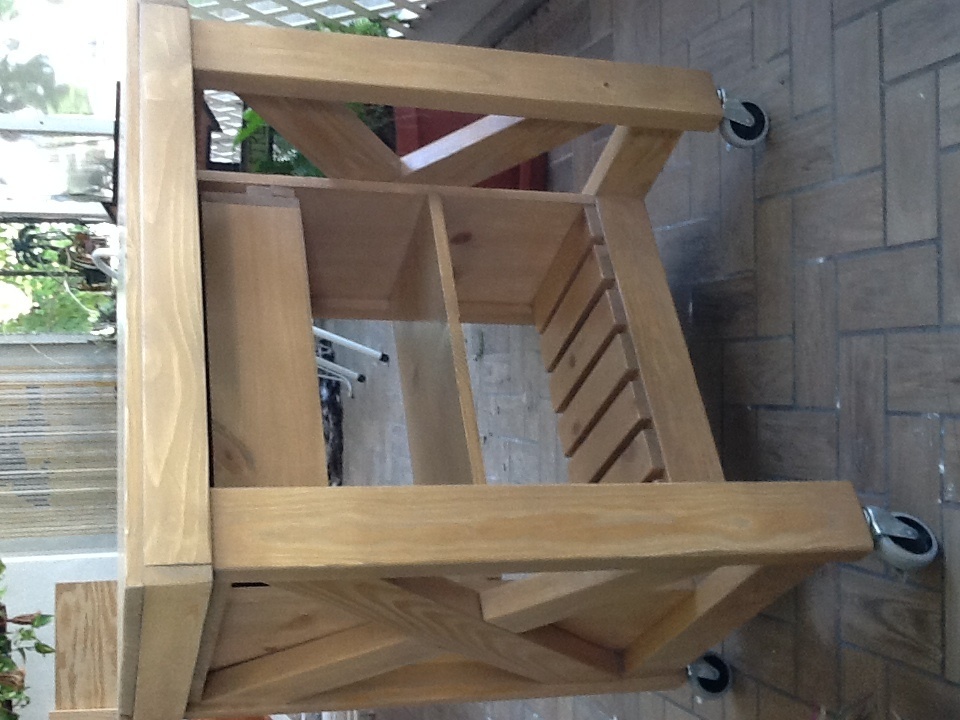
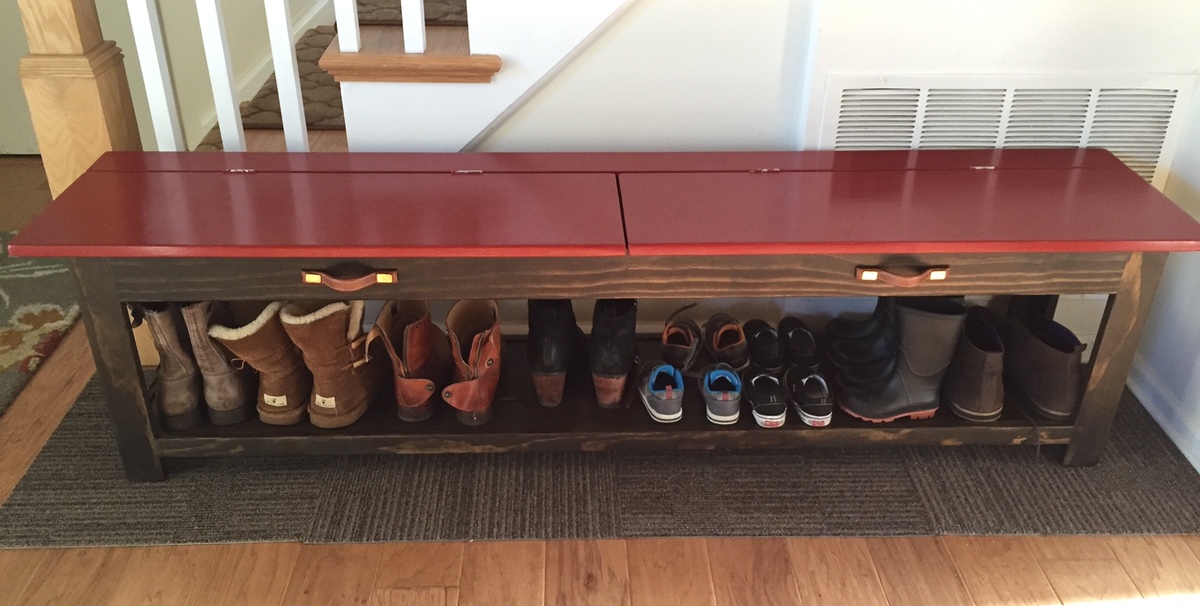
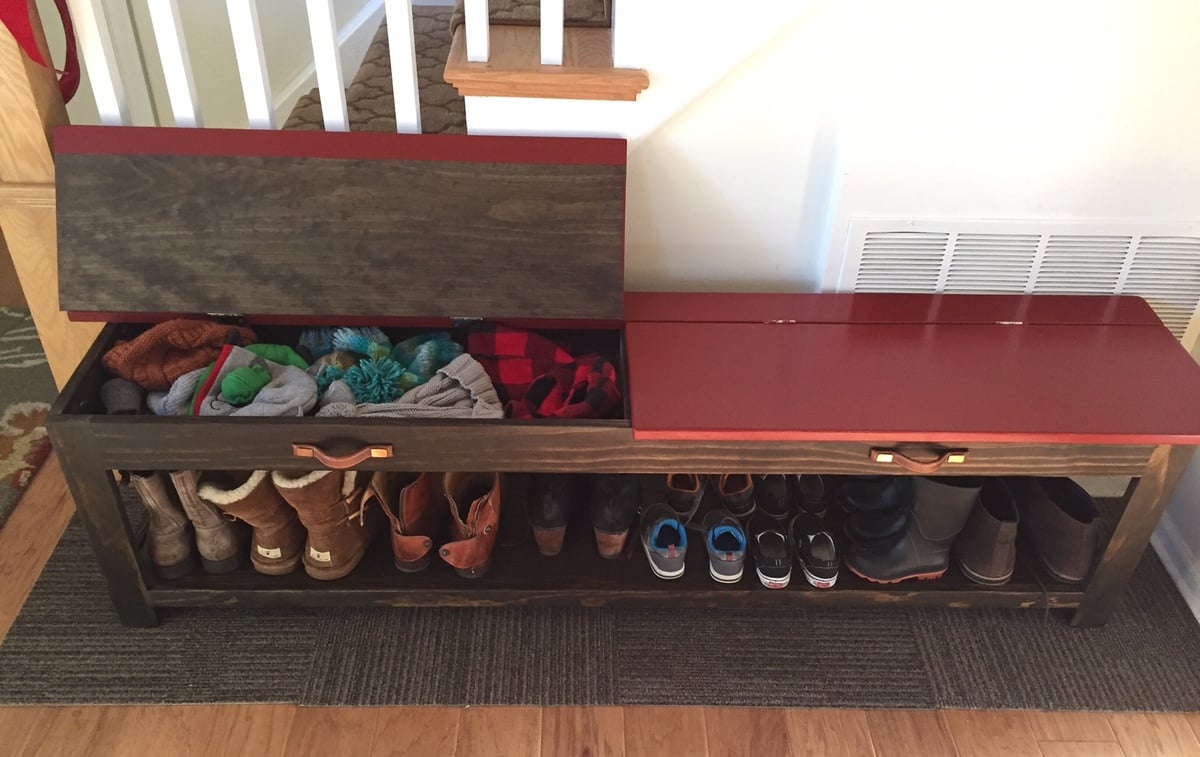
We are loving the way this turned out. I made it 5.5 feet long, split the top and added a divider support bar in the middle inside the top storage area. It feels super sturdy (has had our twin toddlers climbing and banging all over it without a problem!) and is getting a ton of use. Winter gear in the top, and shoes/boots in the bottom. As my first big wood-working project, it was relatively easy thanks to the instructions. Having the wood pre-cut at Lowes saved me needing the tools, but the pieces were not exact. I also found that this cost us more in materials than was listed, maybe because I bought the higher-grade pine, and we made a longer bench. I
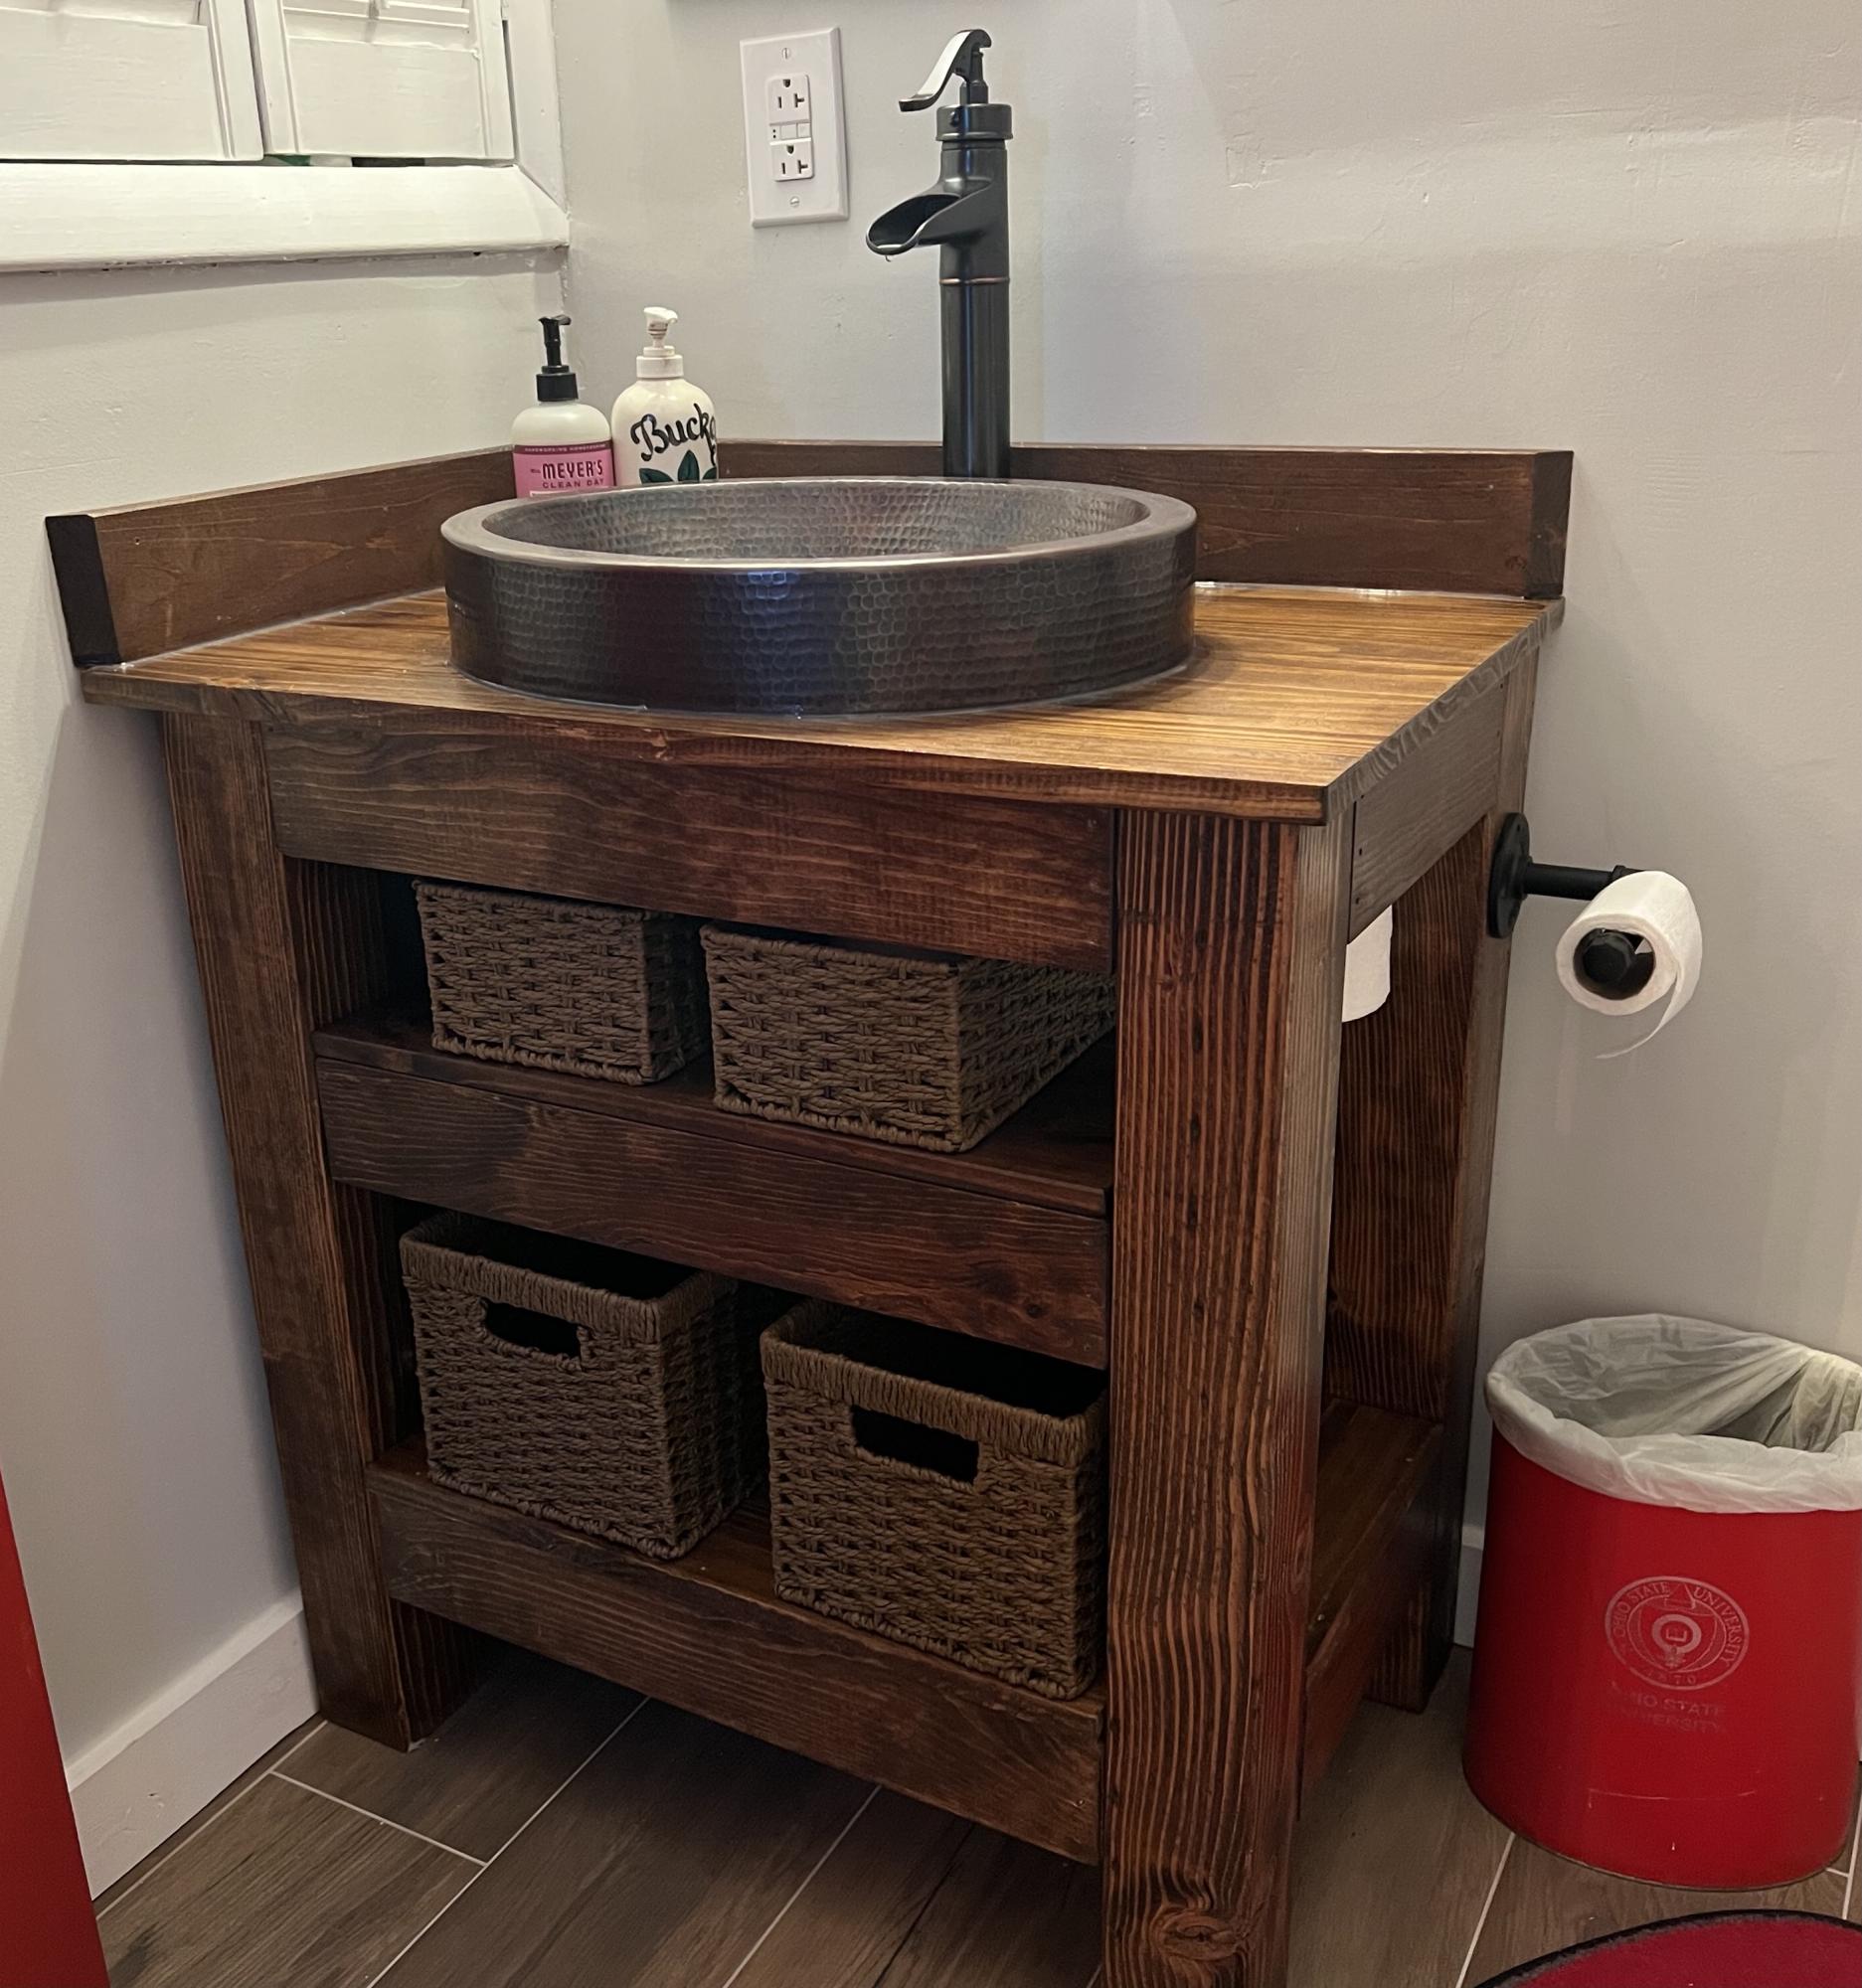
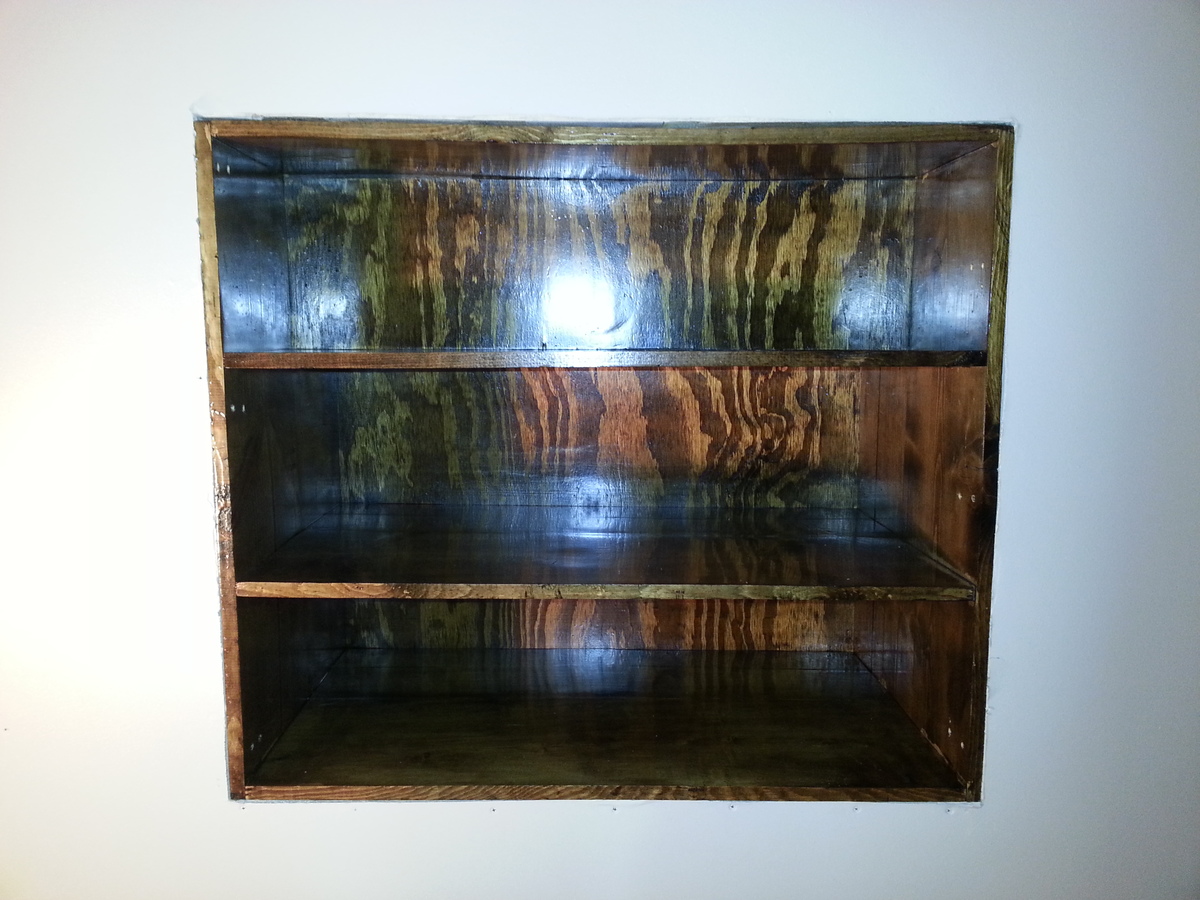
The plumbing underneath was a bit wonky, so we needed something that was open on the side against the wall and could be built in place around the plumbing. Added a few shelves to hide said plumbing.
Thanks Ana White for the blue print to an awesome storage sofa. I used the similar dimensions except mine is a bit shorter in width (60 inches wide). Now I just need to find awesome pillows to go with it.
Sat, 12/08/2012 - 05:39
How has the sofa held up? Also how much did it cost to make.
Sat, 12/08/2012 - 05:41
How has the sofa held up? I want to make one, and also would like to know how much it cost to make.
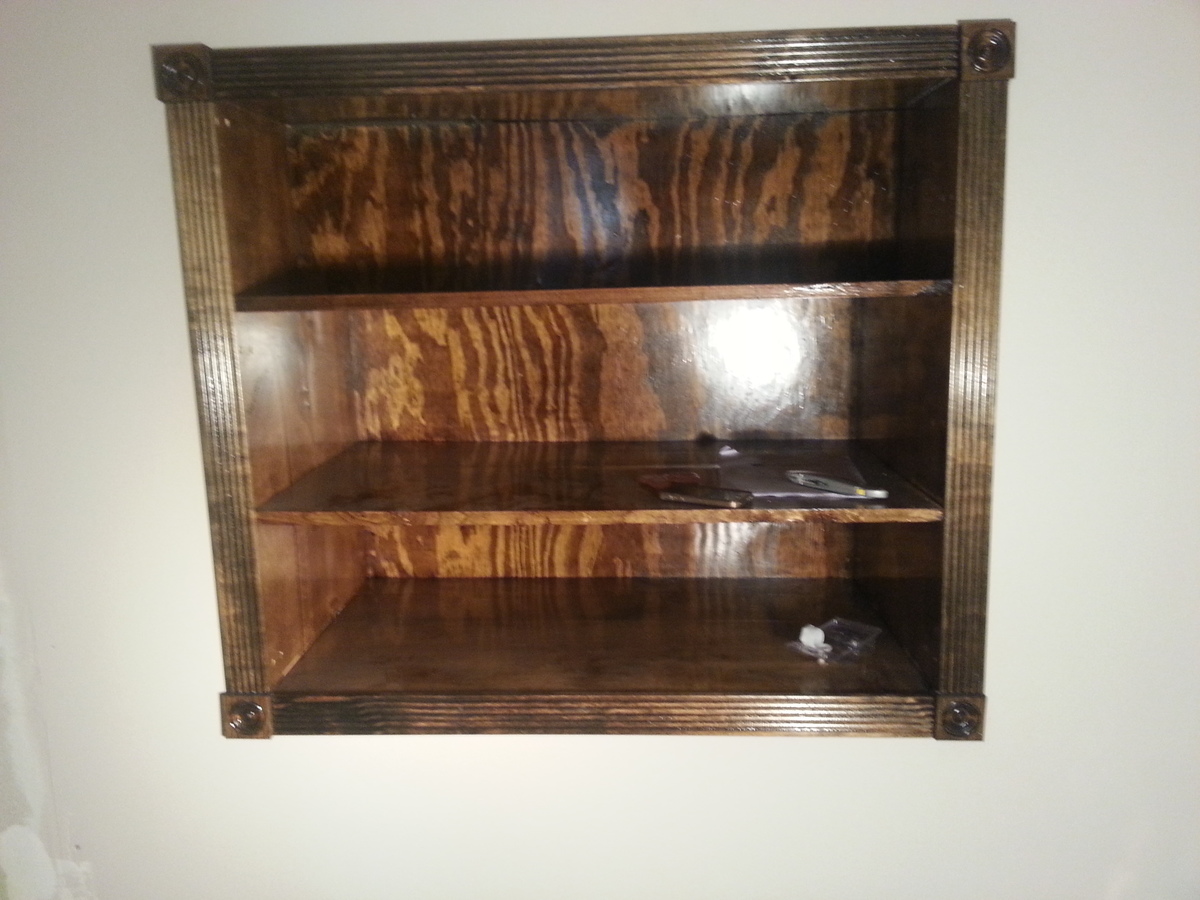
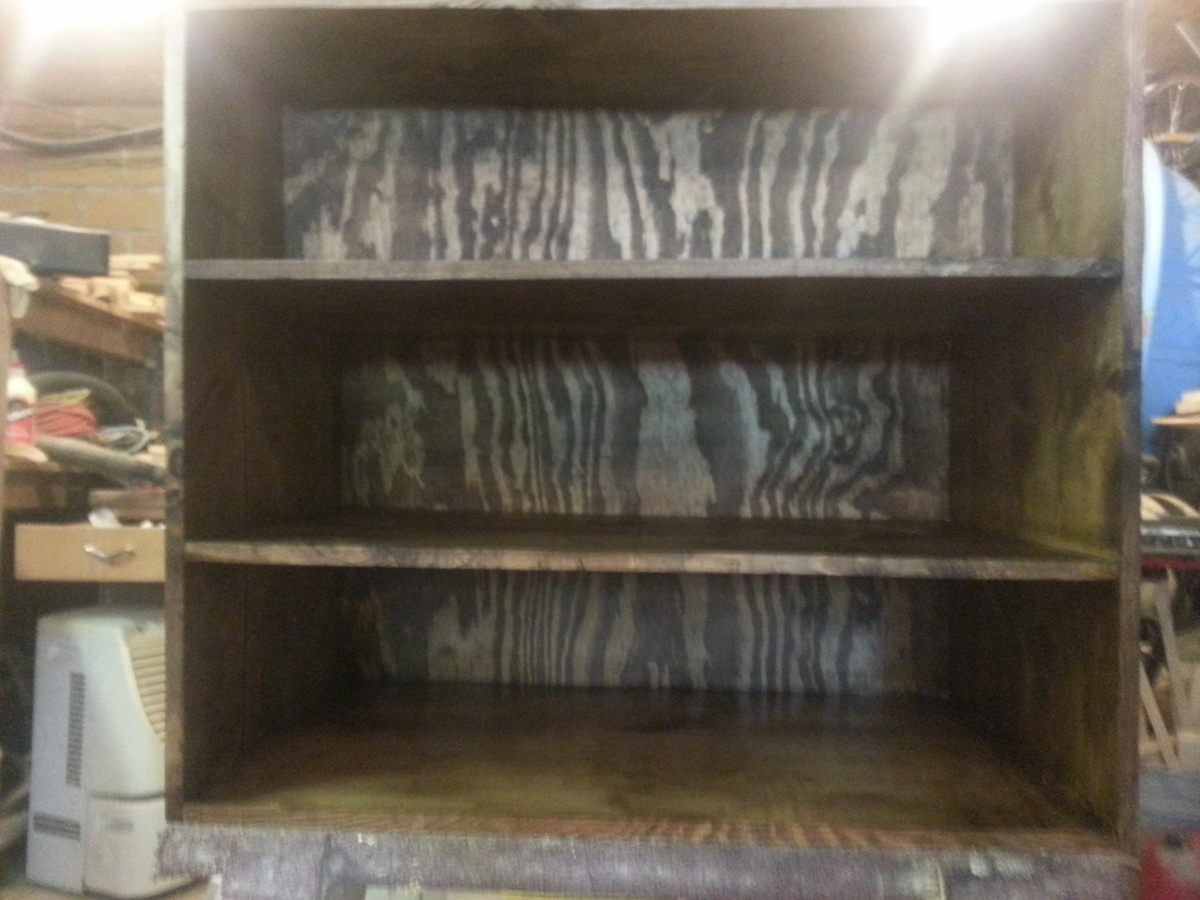
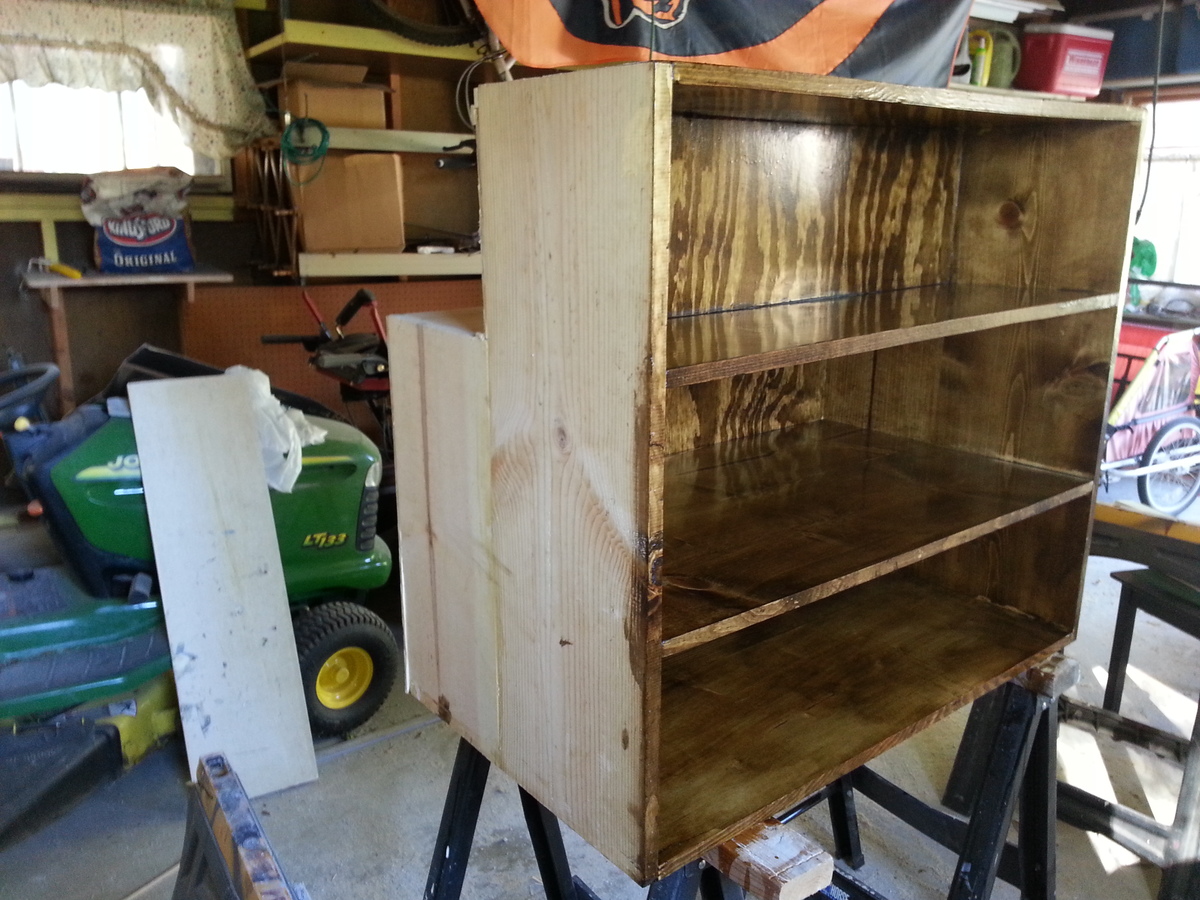
My brother and I just re-did his entire upstairs bathroom. We gutted it re-did some walls and he asked me to build some shelving because it was a small space. I framed off a wall and this is what I came up with is what you see. (it's big 37.5' 'L x 33' ' W x 21'' D) I shouldn't here him complain about not enough shelf space on this one...
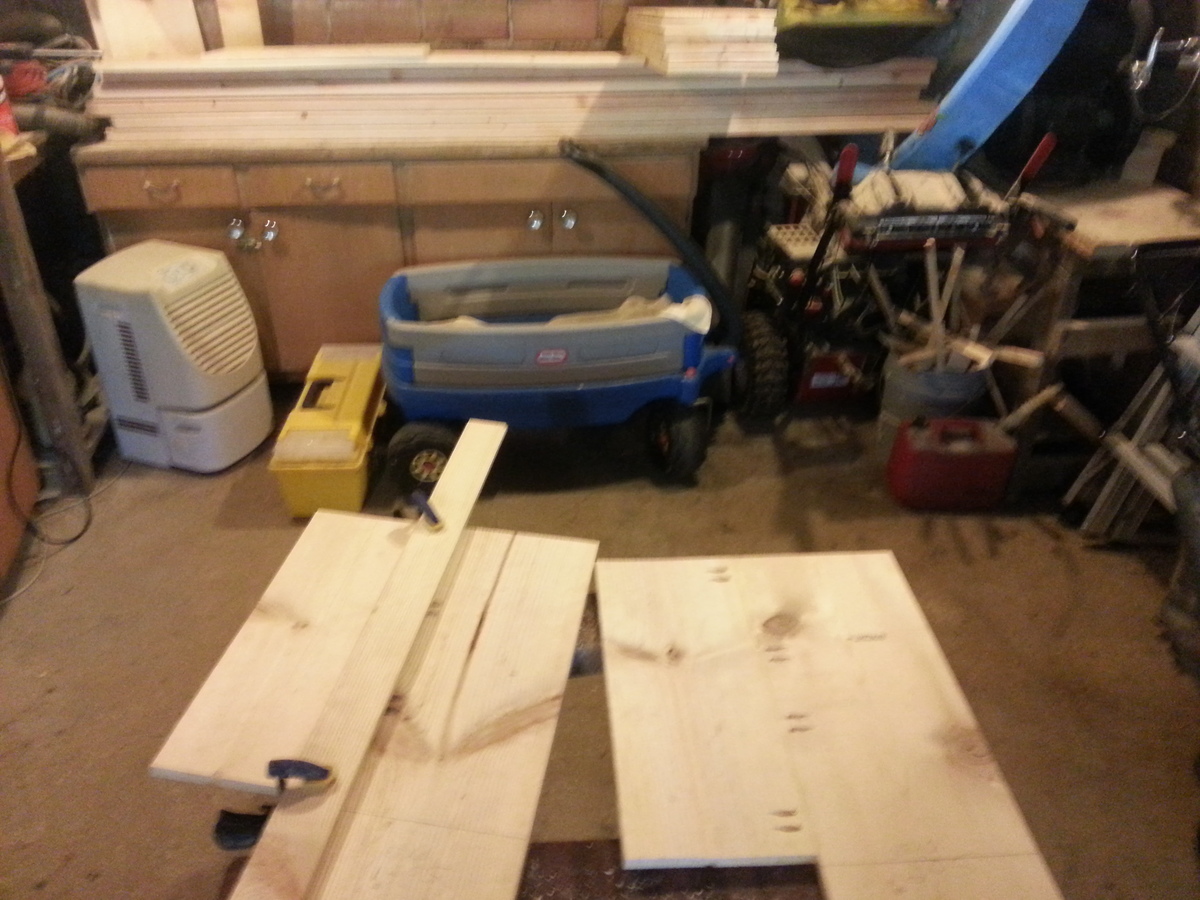
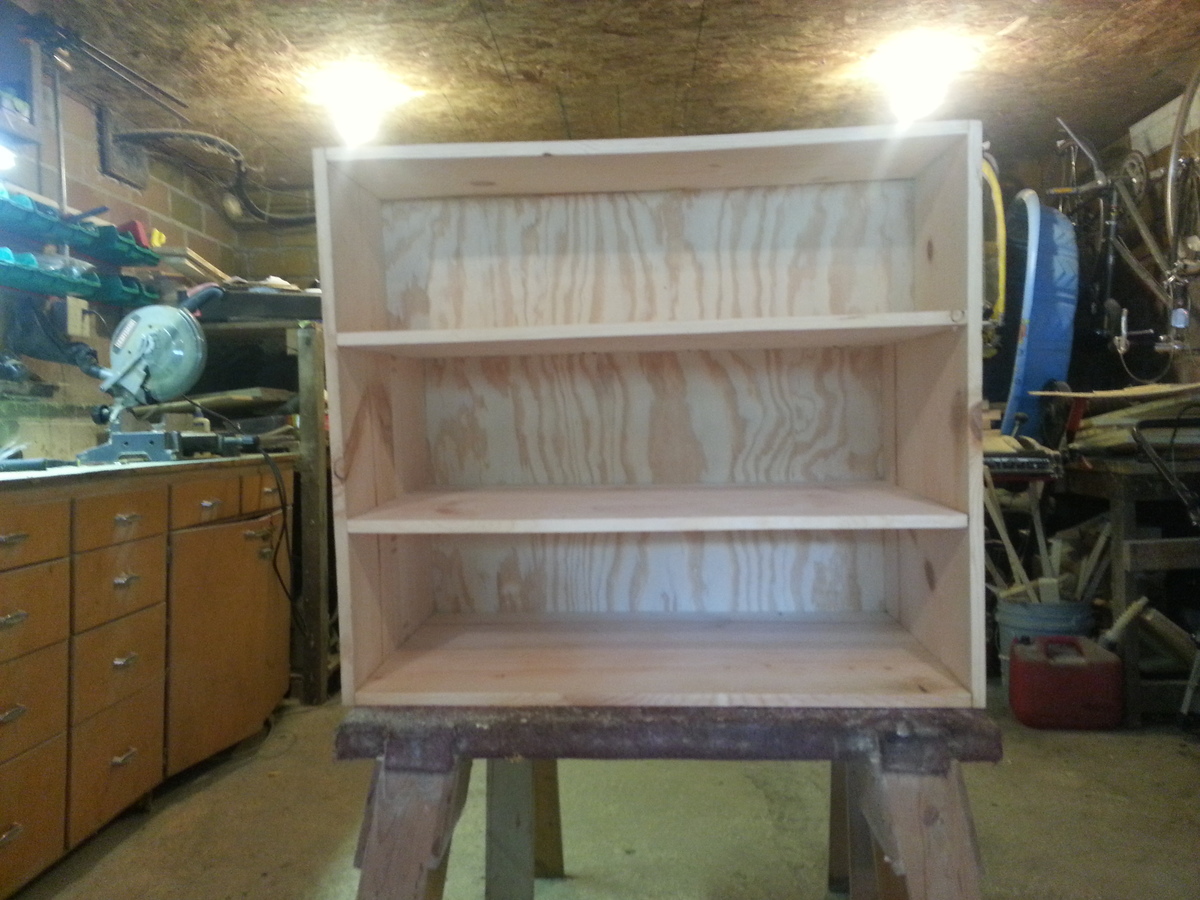
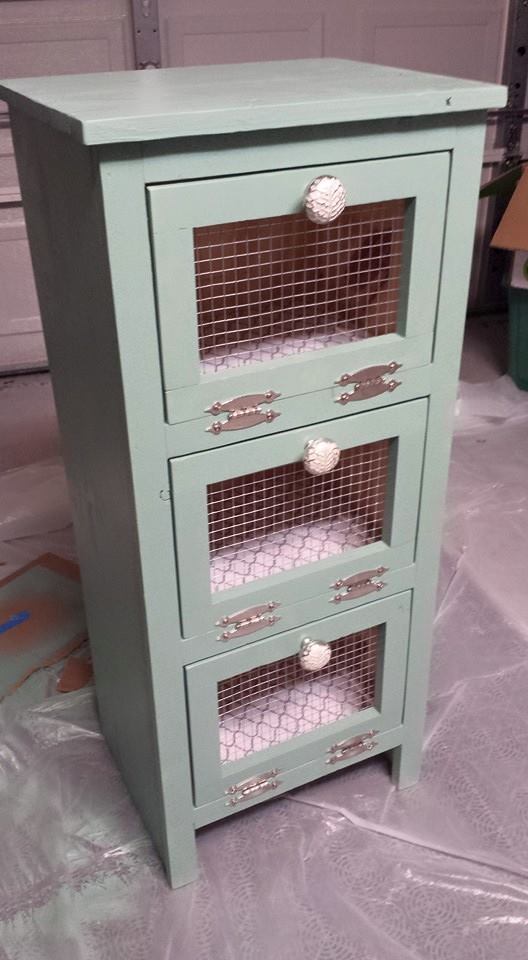
My husband's and my first Ana White build. Made it for my mom for Mother's Day 2015. She loved it and I absolutely loved how it turned out!
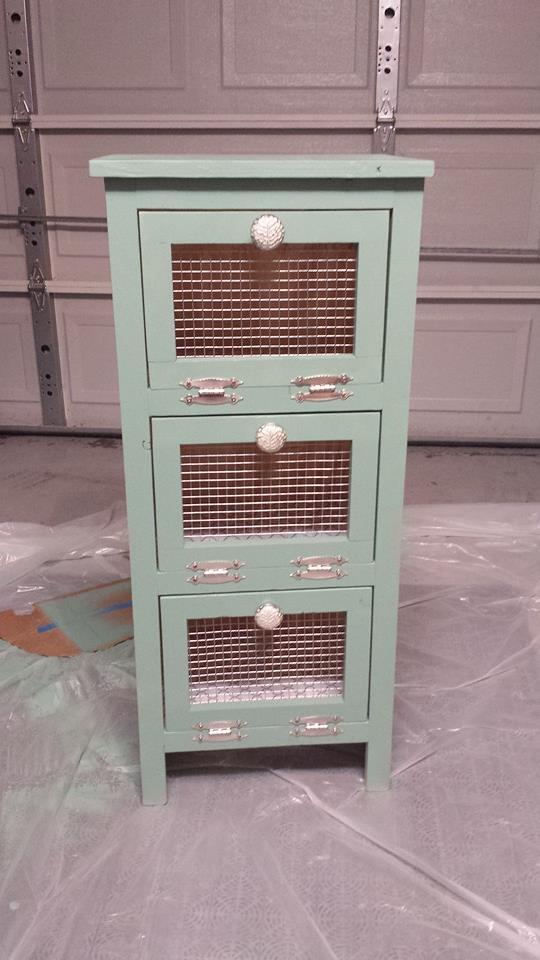
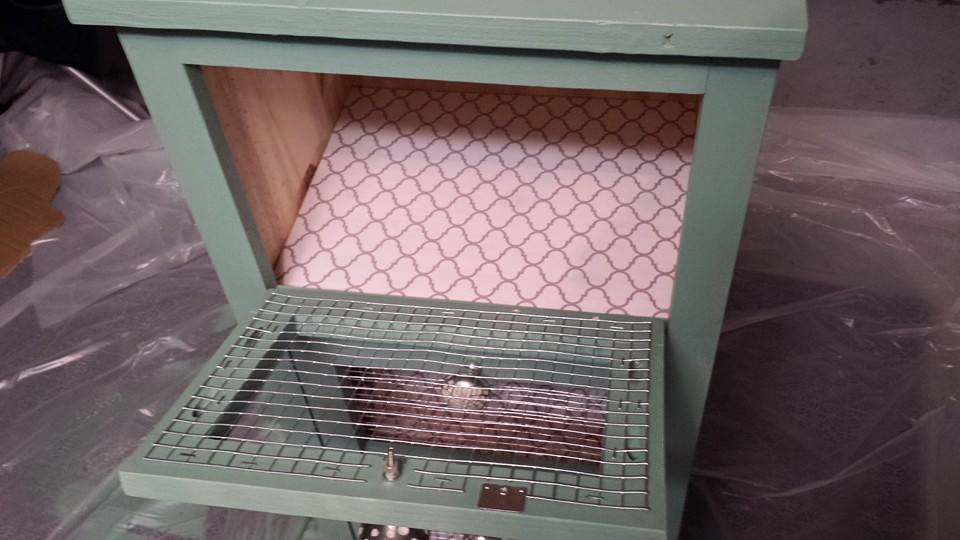
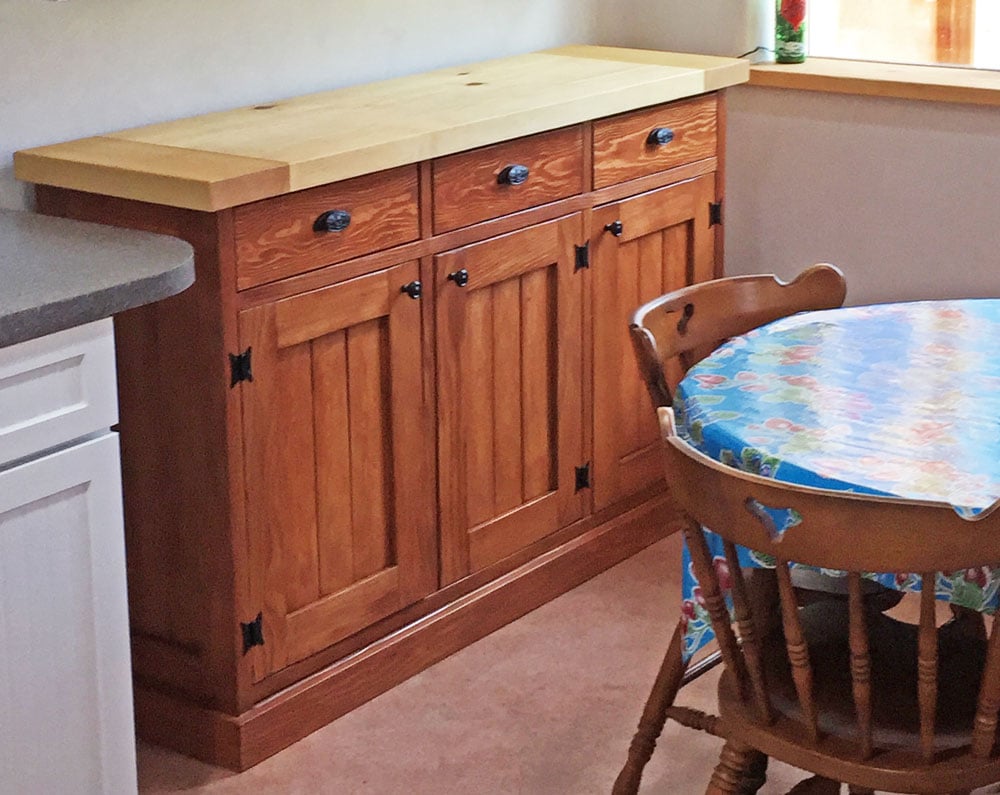
Great plans; thanks Ana . . .
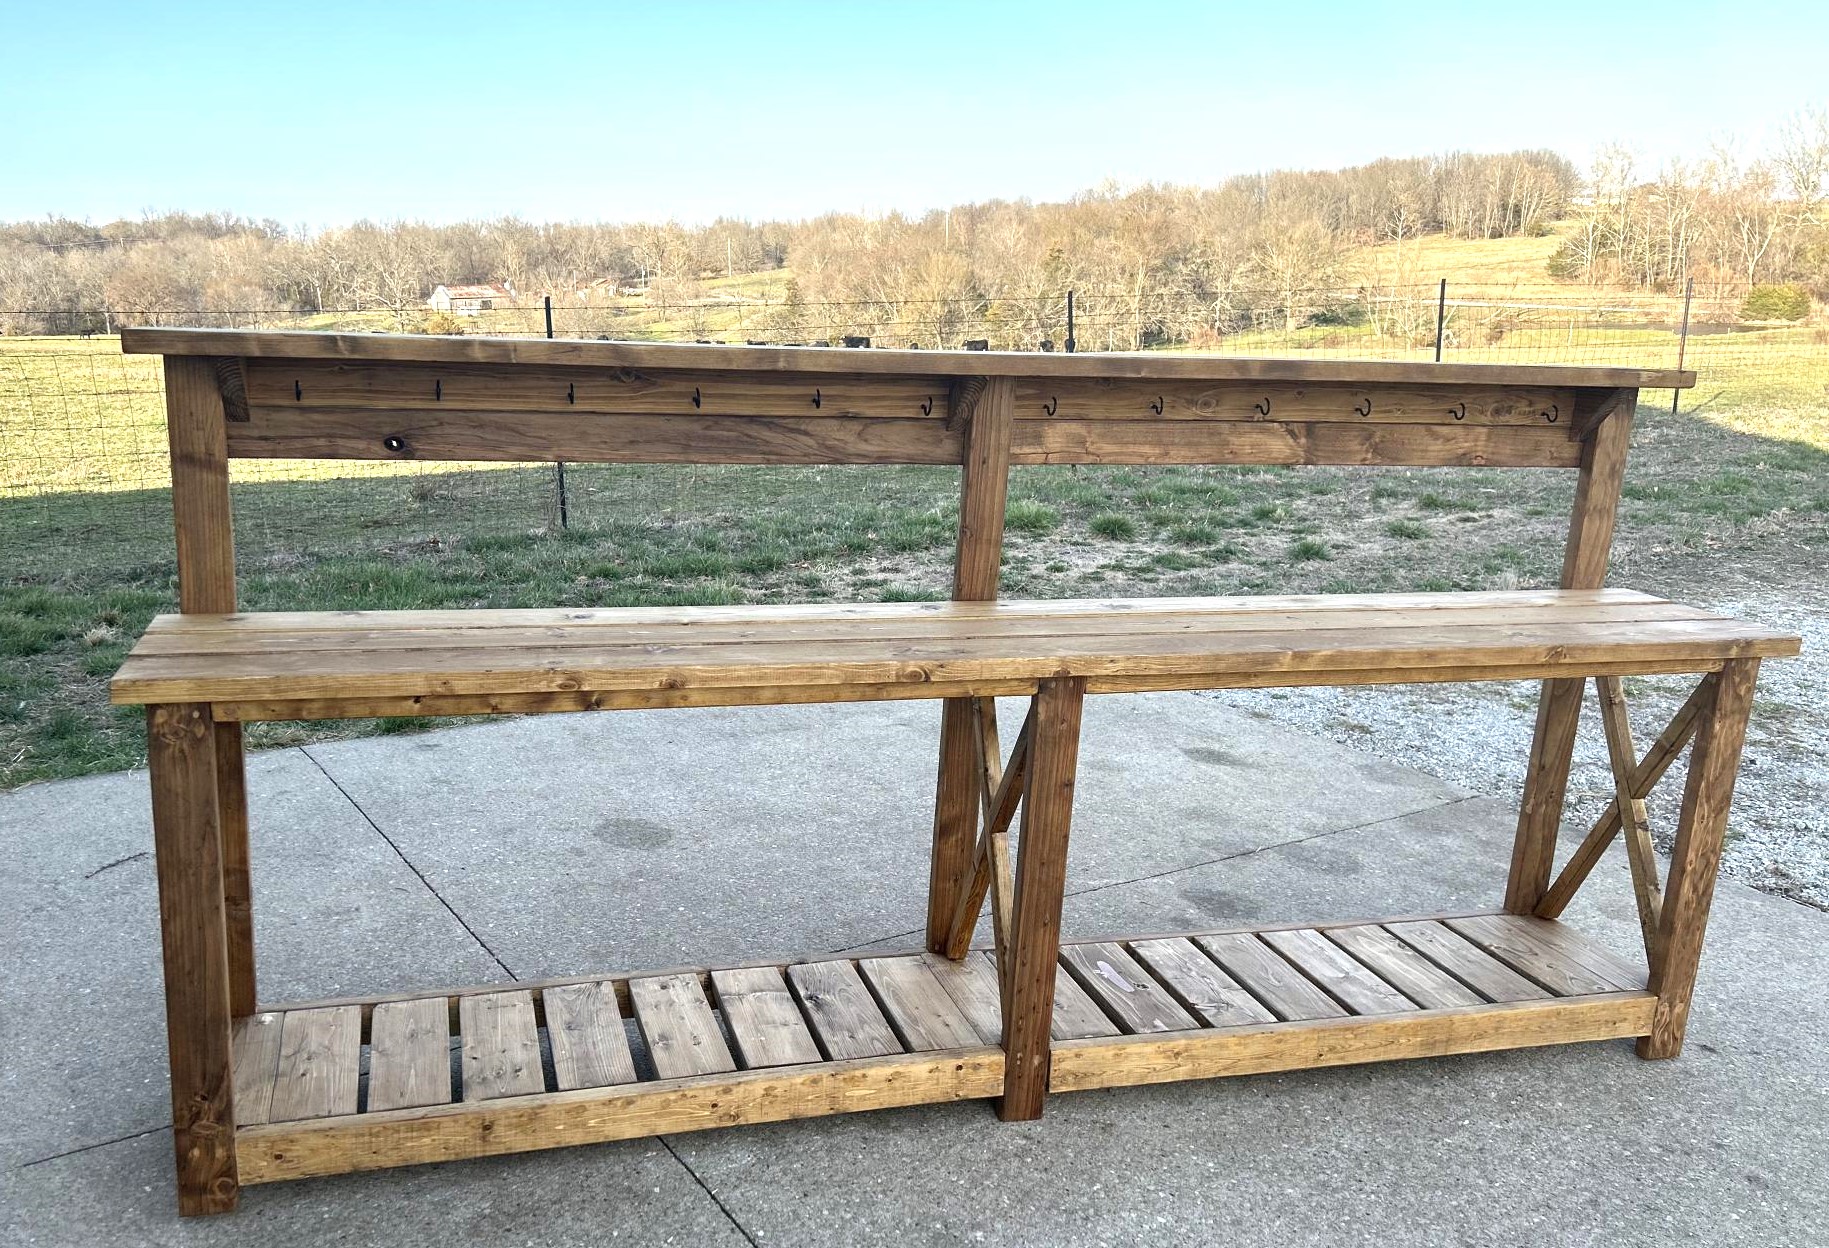
I built this 10’ long potting bench to fit into a 12’ barn stall. It fills the need to have a work surface plus room for storage on top and underneath. The hooks provide a place to hang my many hand tools and my Bluetooth speaker.
Fri, 03/10/2023 - 12:19
This is such a great idea for a house stall! Thank you for sharing that it can be done.
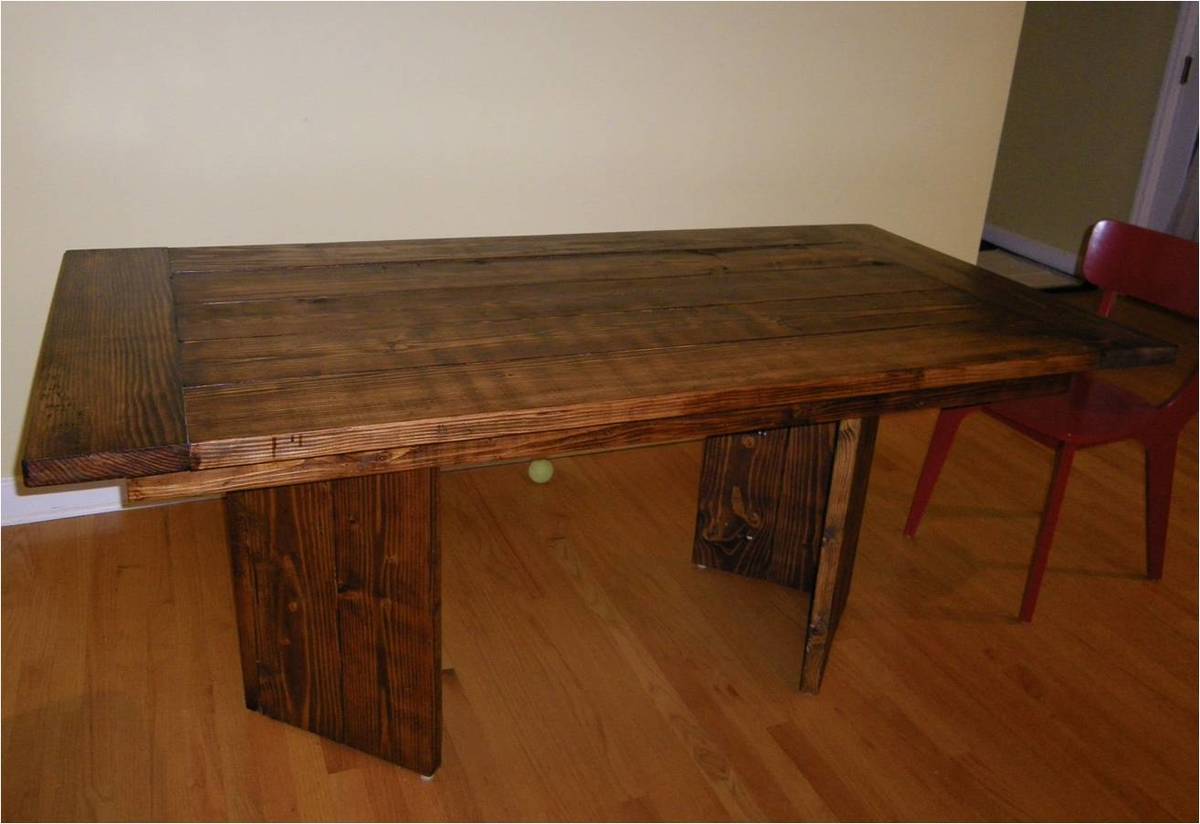
I looked at the Tryde coffee table and some of the brag posts and used that as my inspiration for my dining table. Other than that, it isn't too similar to any specific project plan, but borrowed aspects from several.
I spent about $70 on wood - douglas fir - and completed the entire project for under $150.
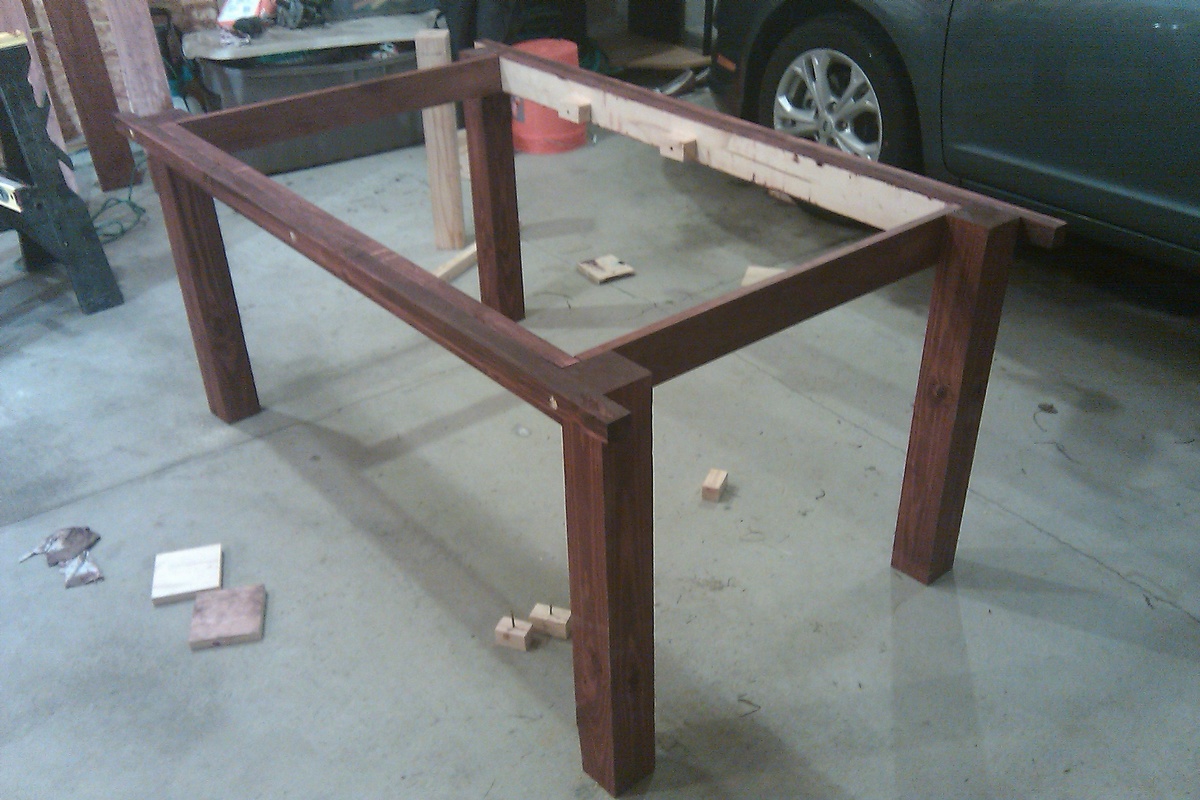
The legs are four 2x8 boards. I wanted to do something a bit different, a bit modern, and I think this achieved the goal.
This was my first staining project. Next I am going to build some matching chairs.
Full rundown: http://our-big-house.blogspot.com/2011/11/project-dining-table.html
Wed, 11/23/2011 - 08:19
I really like the way you did the legs. I may use that idea myself. You did a great job!
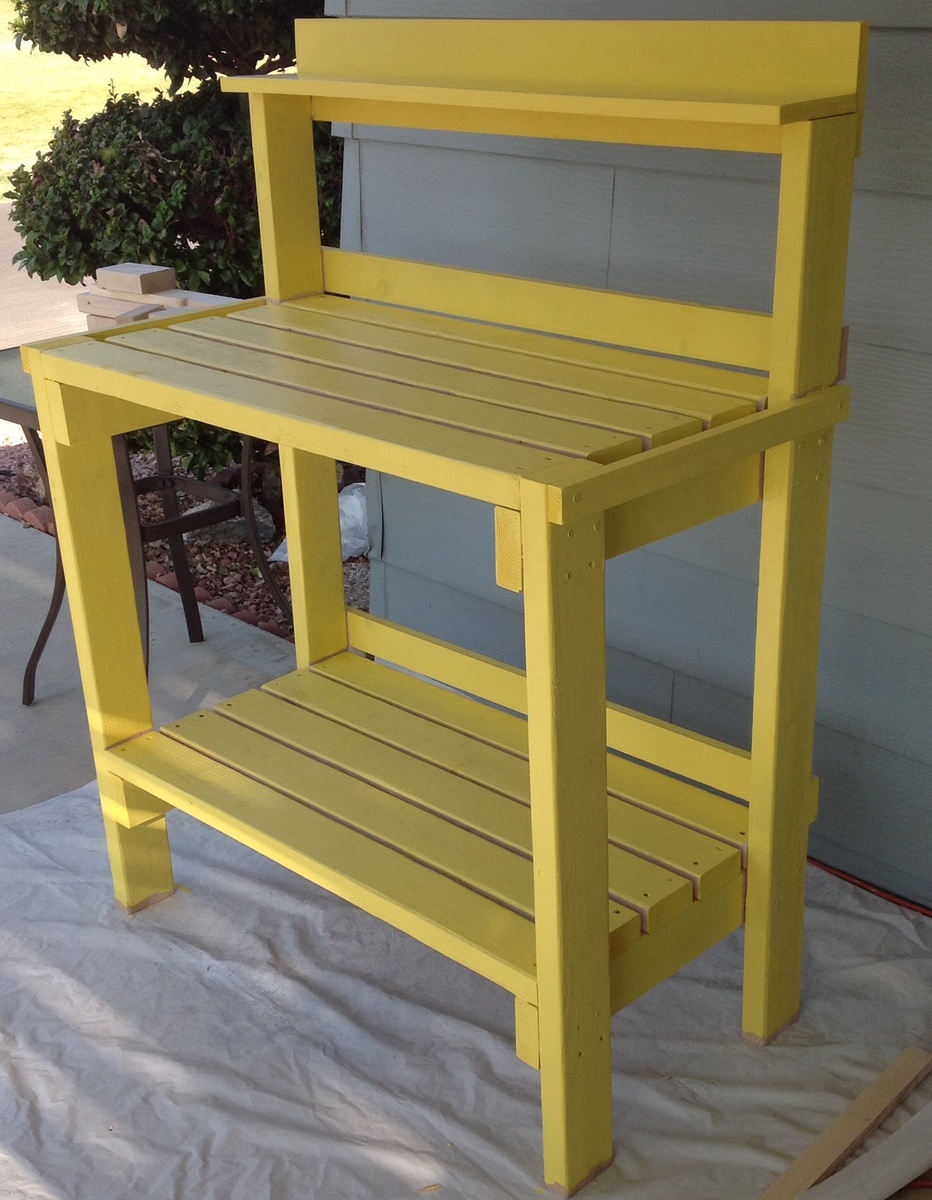
I'm so happy to have found your site! I've been wanting a potting bench for a while. Today the Hubs and I built this one in Daffodil Yellow! It is only partially painted, but I already love it! The hubs wants to build a modified one for his heavy electronics equipment. Thanks a Bunch!
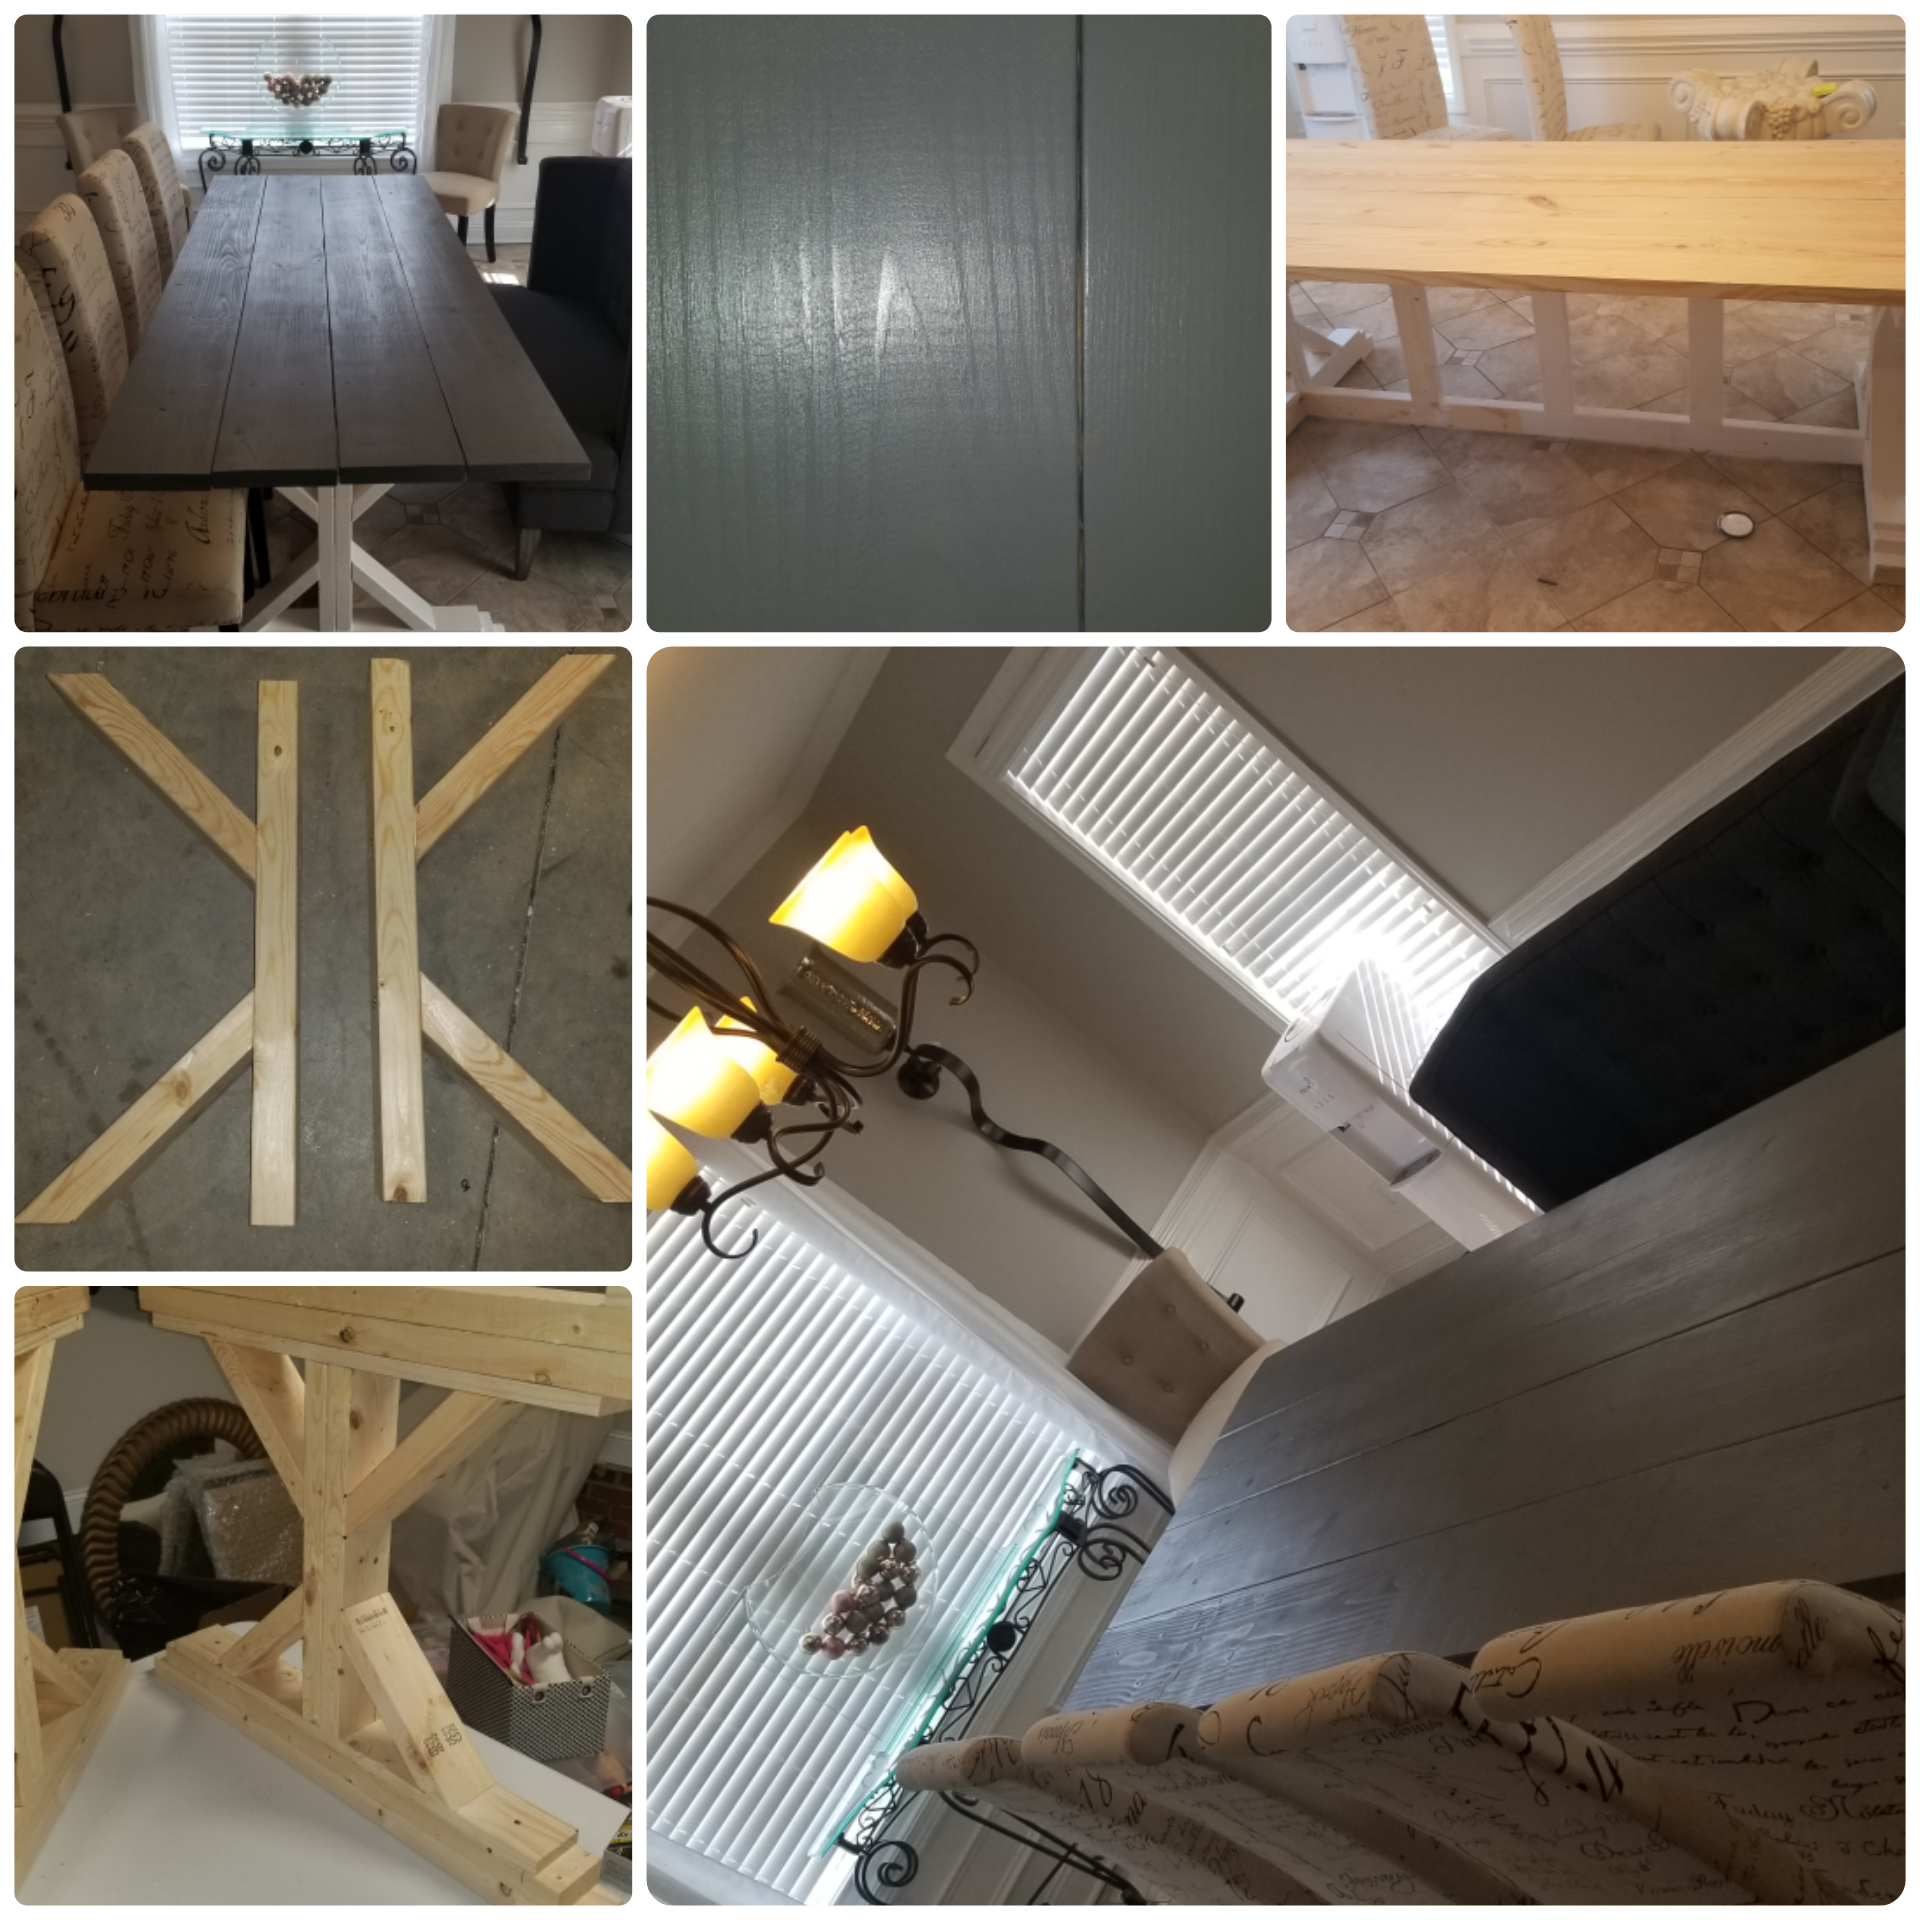
This is my first (but not last) large DIY project. My wife wanted a farmhouse style table but not the price that went with it. So while she took the LO out of town, I surprised her with this and she loved it. It's not as hard as it seem, but as a beginner, a lesson that I learned was to always cut the boards yourself to make sure the measurements are correct. Don't let a big brand named store cut your wood because, well, just because. I had to recut a few boards myself because of their lack of correct measuring. Other than that, this was fun.
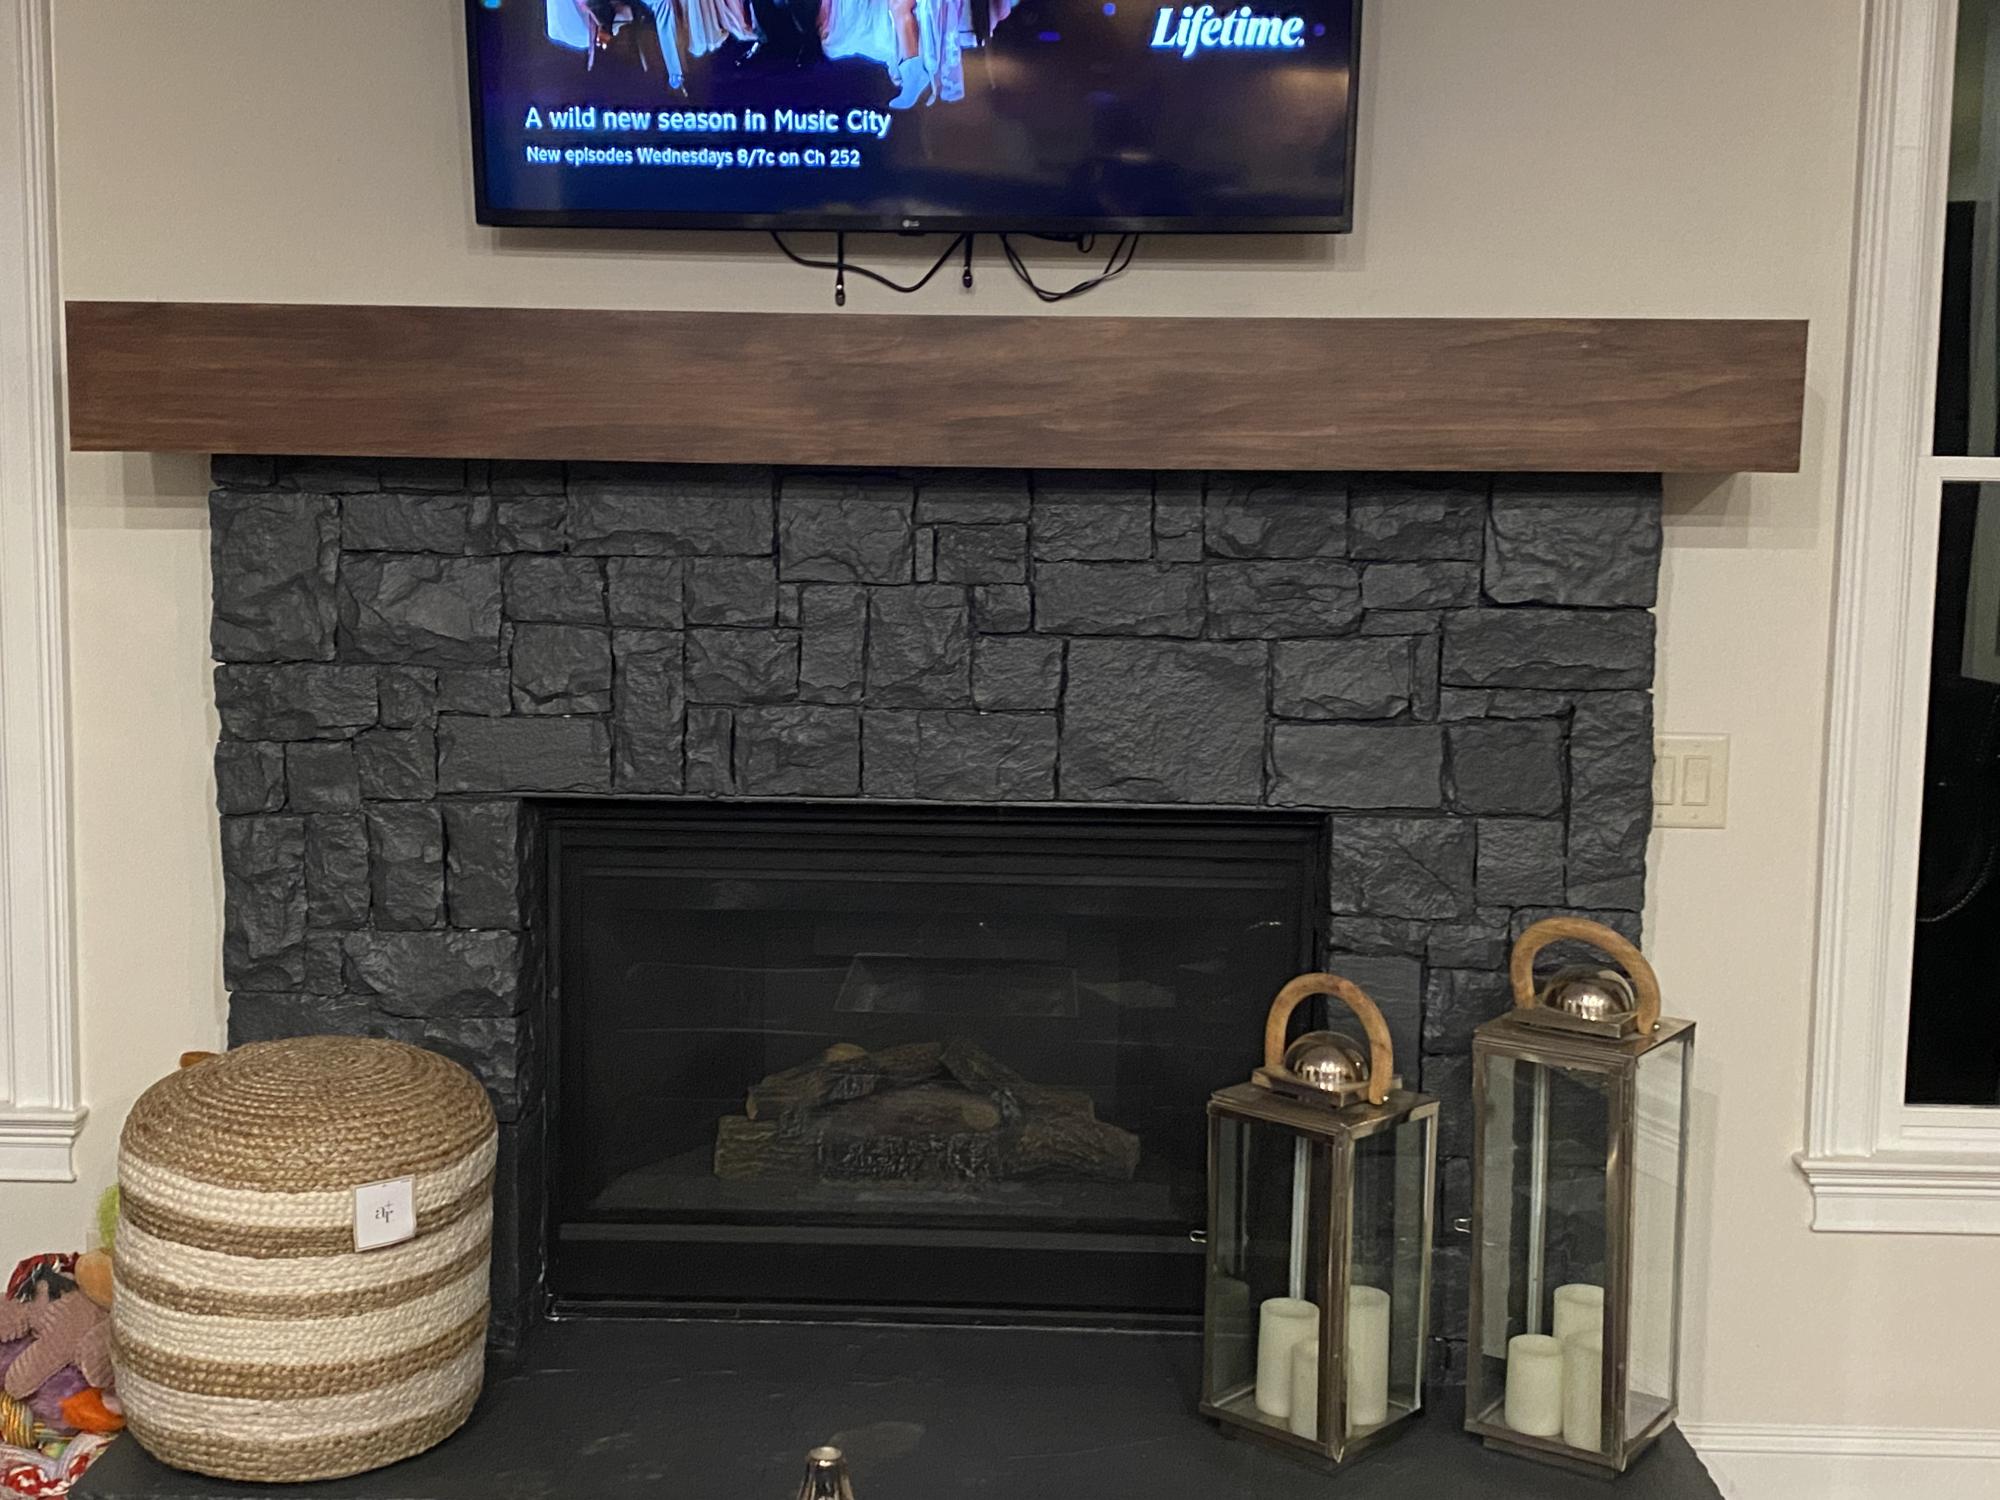
The second one was before. It was the very first project I ever did all by myself. It only took me a couple of months to get the nerve to go to the store and buy everything. Then I cut and did everything on my own. 😬 I am so stinkin proud of myself.

Build Instructions: http://www.instructables.com/id/Quilt-Rack/
This is a nice little project that can be made in an afternoon. The simple design allows for easy construction with only a few basic tools. All joints are interference fit with glue added for extra strength.

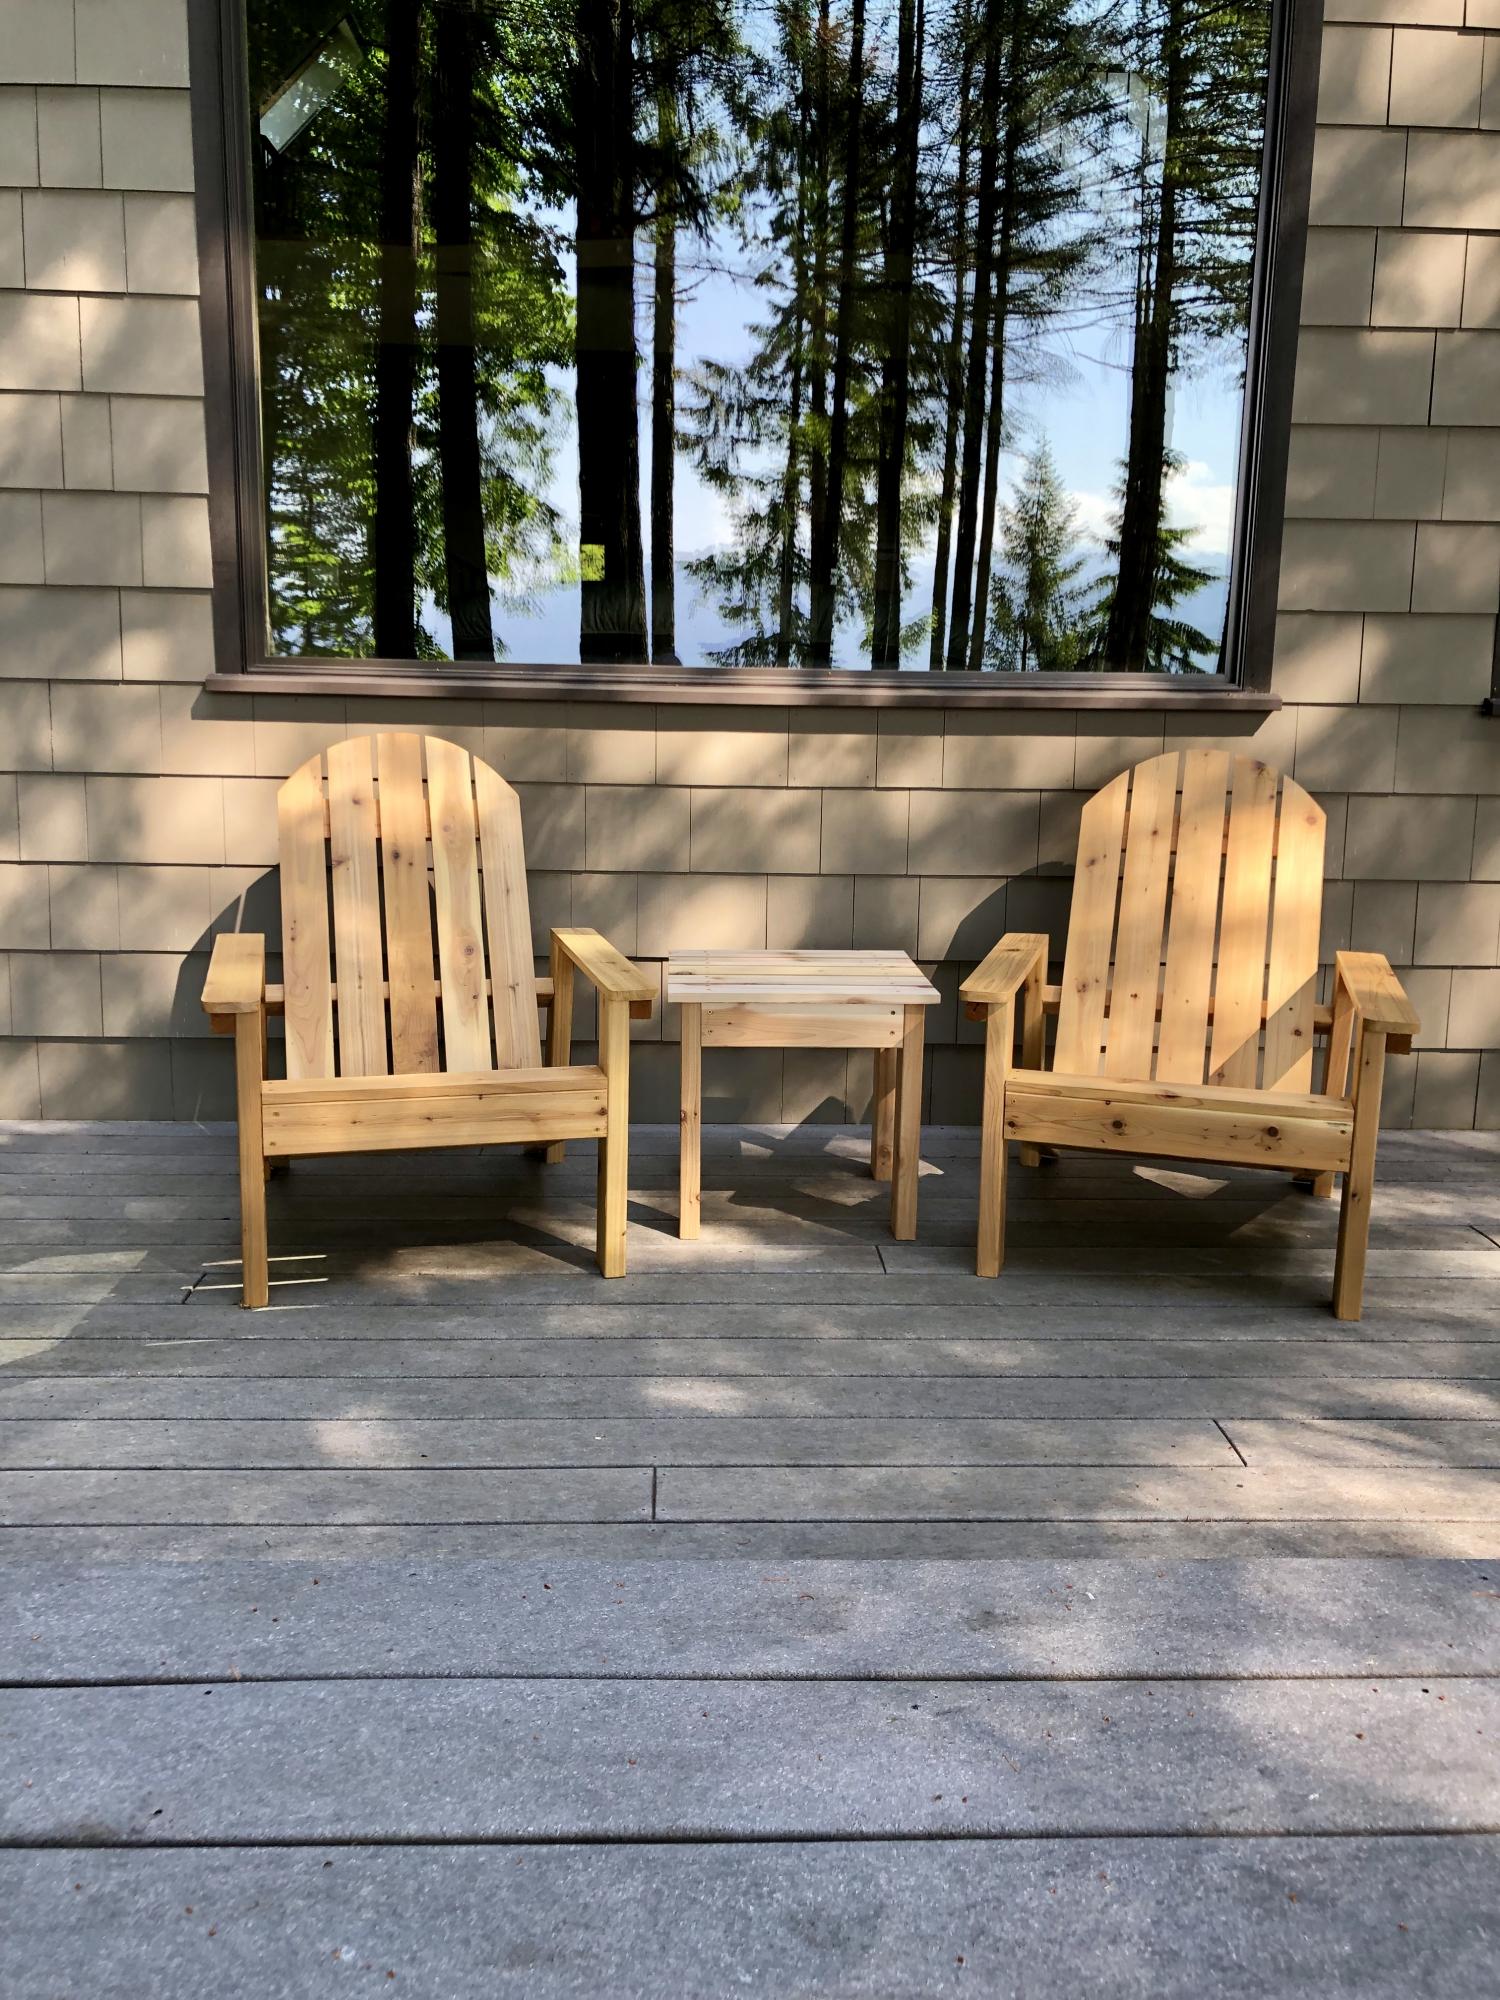
Thanks for sharing. Added a smal table to match!
Mon, 06/03/2019 - 11:35
These are gorgeous chairs! Thank you so much for building from our plans!

Planters build by Urban Wood Solutions


Fri, 03/31/2023 - 04:23
These are incredible. They look a little deeper, and would be good for vegetables. How deep are they?
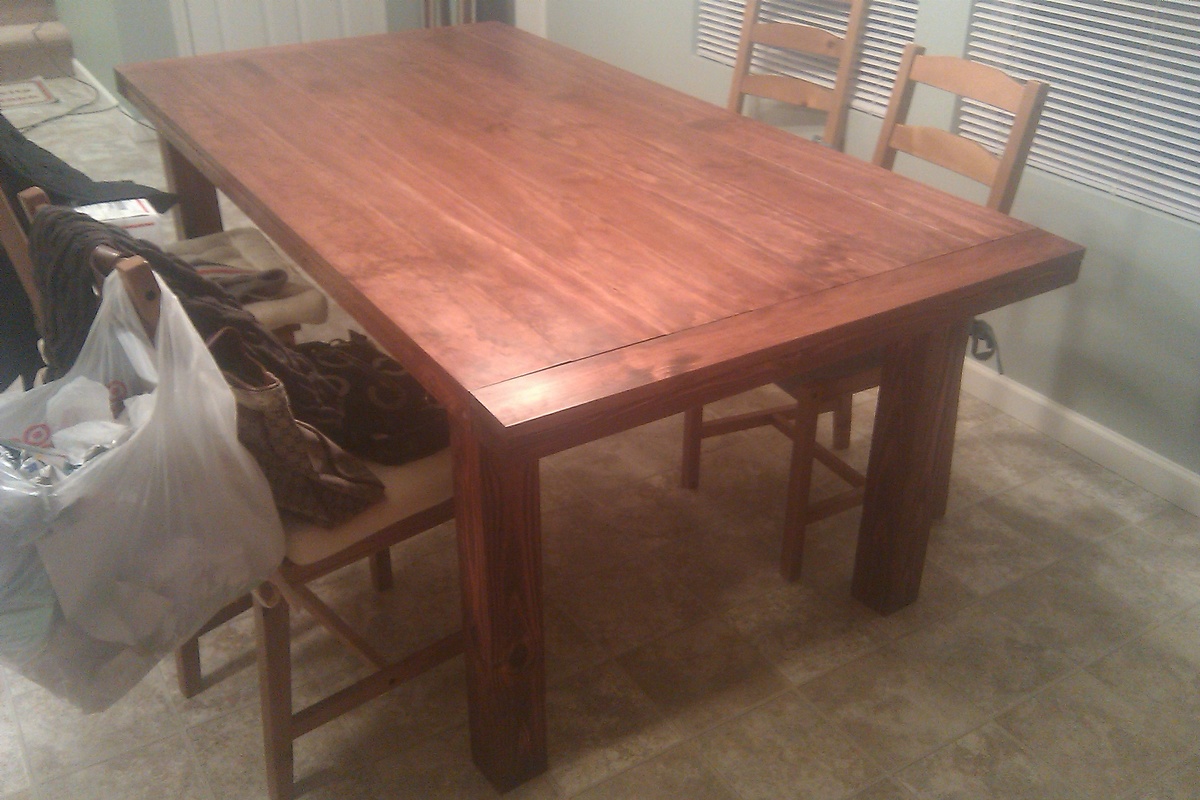
Well, this is my second project and was built to replace the first one I did about 2 years ago.
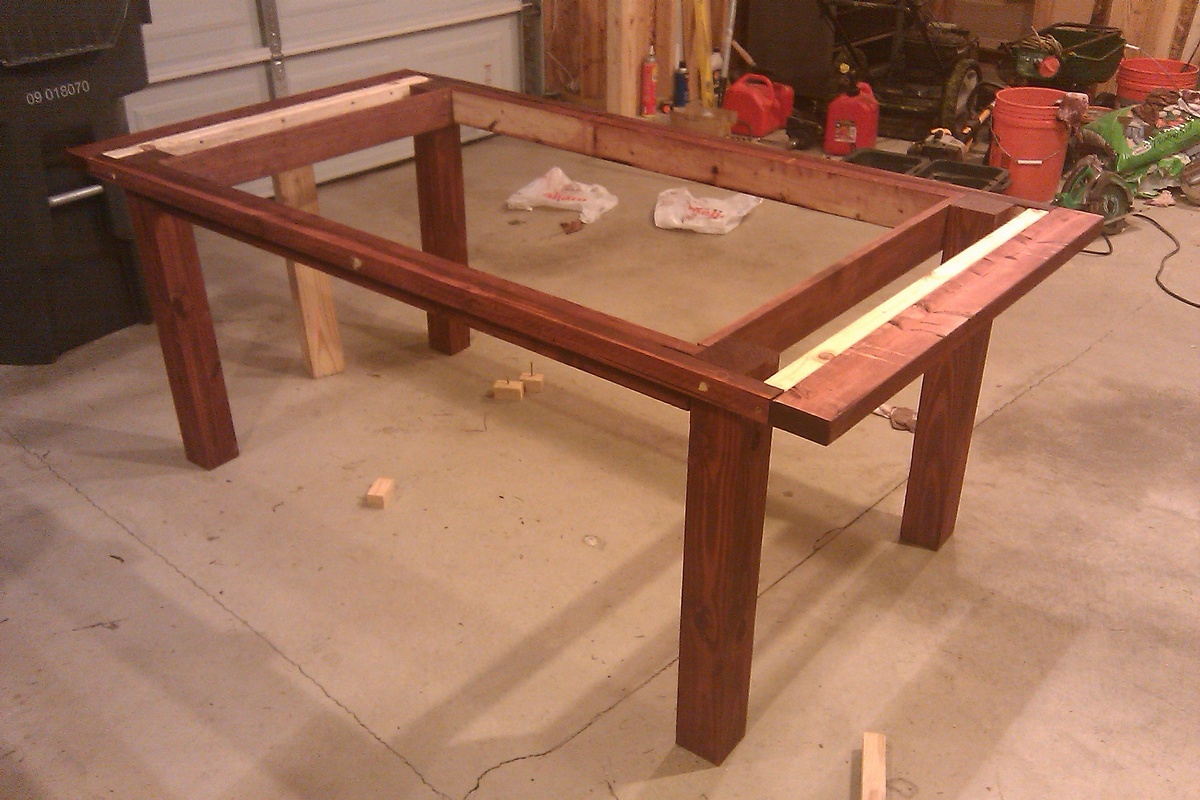
Two summers ago I built the Modern Farm Table and, quite frankly, screwed it up. I rushed that job, not taking the time to be selective about my lumber and forgetting to heed the old axiom of "measure twice, cut once". In short, the table turned out 27" wide and the the table-top surface was as uneven as a highway's rumble strips. Yeah. I know. A sad showing on my part.
This project was a different story. I took my time; and by time I mean it took about 10 hours total, including 3 trips to Home Depot to buy things that I didn't take into consideration (like mineral spirits for brush clean up after polyurethane).
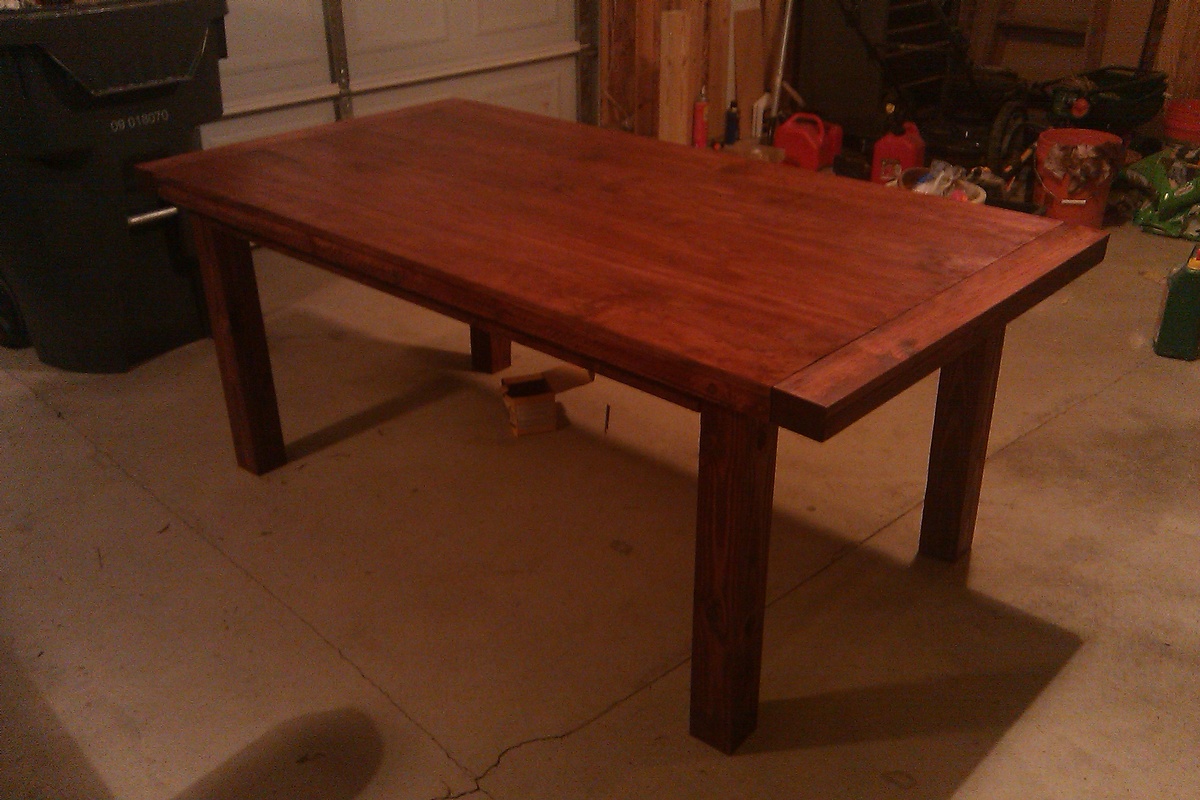
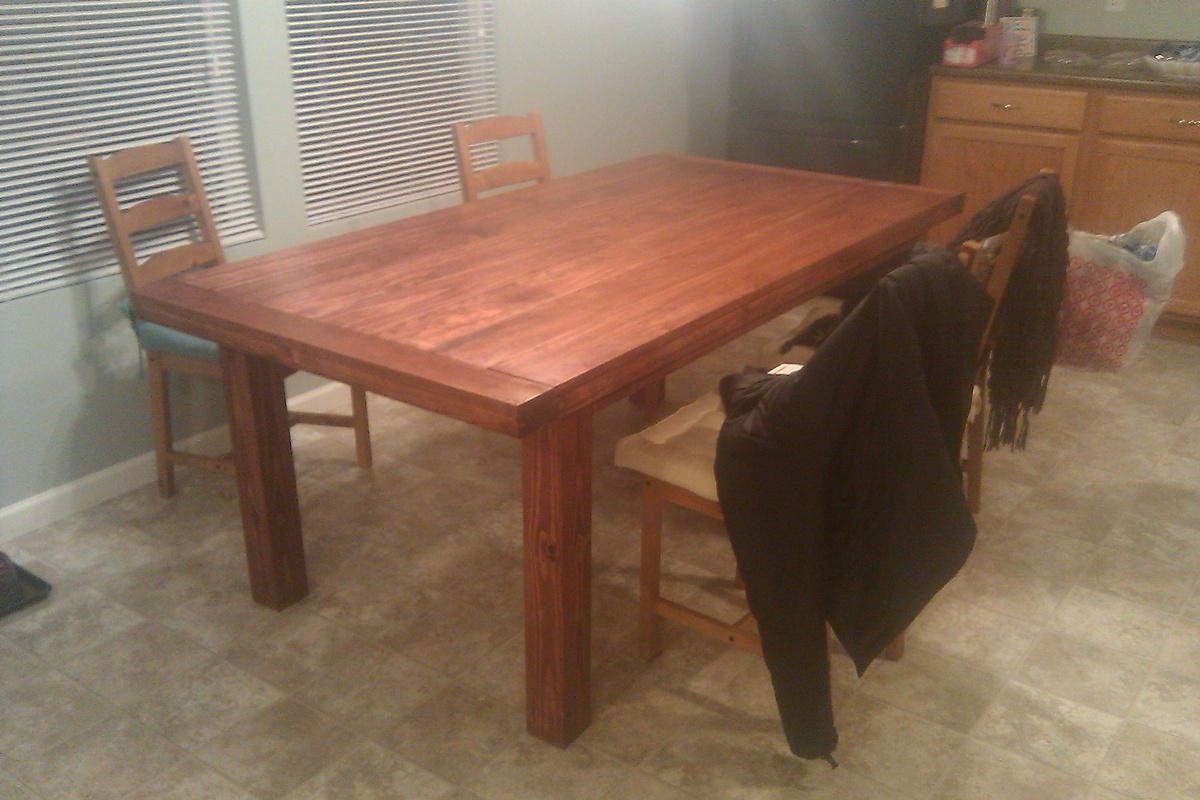
Anyway, this table is a mix between a regular Tryde Table and the Benchwright Table. I liked the thick, heavy look of the Benchwright Table's top, but did not want to sacrifice the ends' leg space by including the trestle.
So, this is pretty much a Tryde Table, with the faux-thick top of the Benchwright and 4" x 4" legs. I used Select Appearance Pine for the top boards. I did this more to ensure I got straight edges than for the surface finish quality. But I like the end result.
Dimensions: 74 1/4"L X 38.5"W X 30"H
Lumber: 4" X 4" legs, S4S 1" pine boards top, 2" X 4" aprons.
Finish: Red Mahogany
Cost: $160
Total time: 10 hours.
Mon, 12/05/2011 - 17:28
You should be proud of yourself for not only doing a wonderful job on this table but for trying again! I love Ana's site because it allows each of us to begin small and build (no pun intended) bigger and more complicated as we learn!
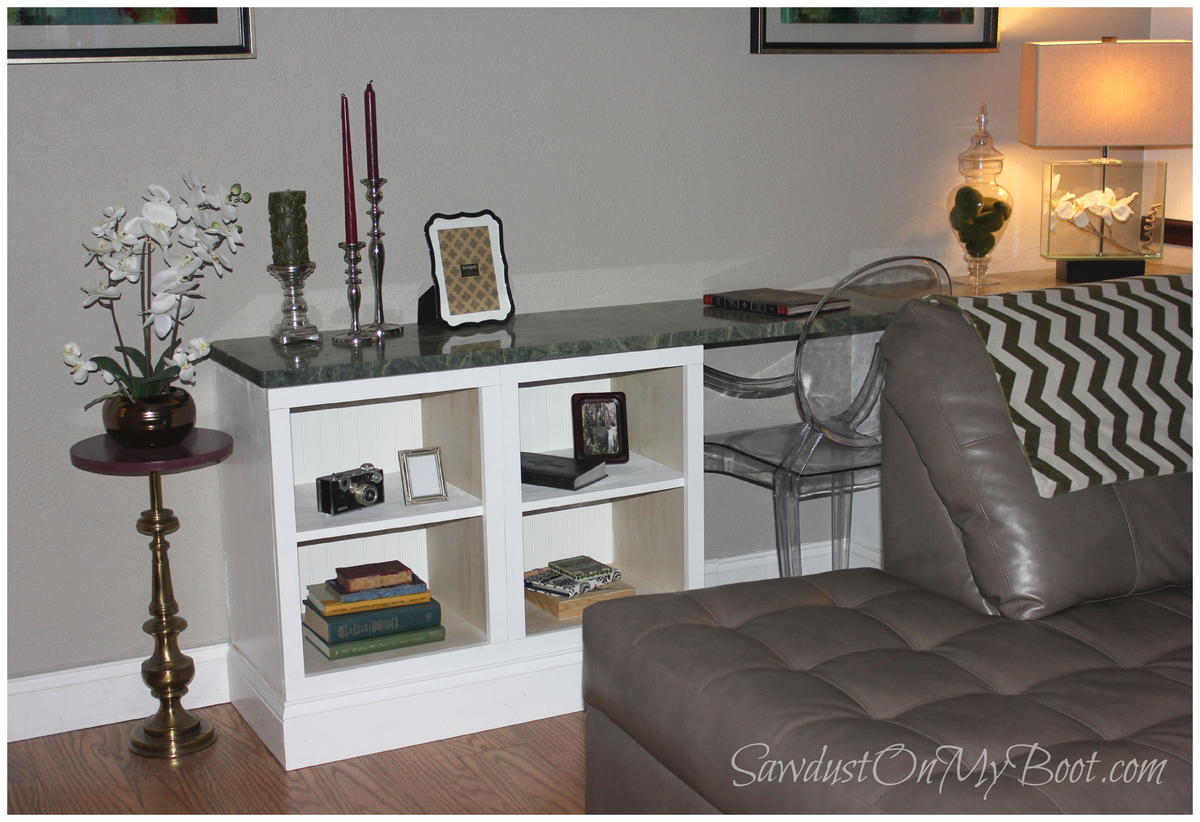
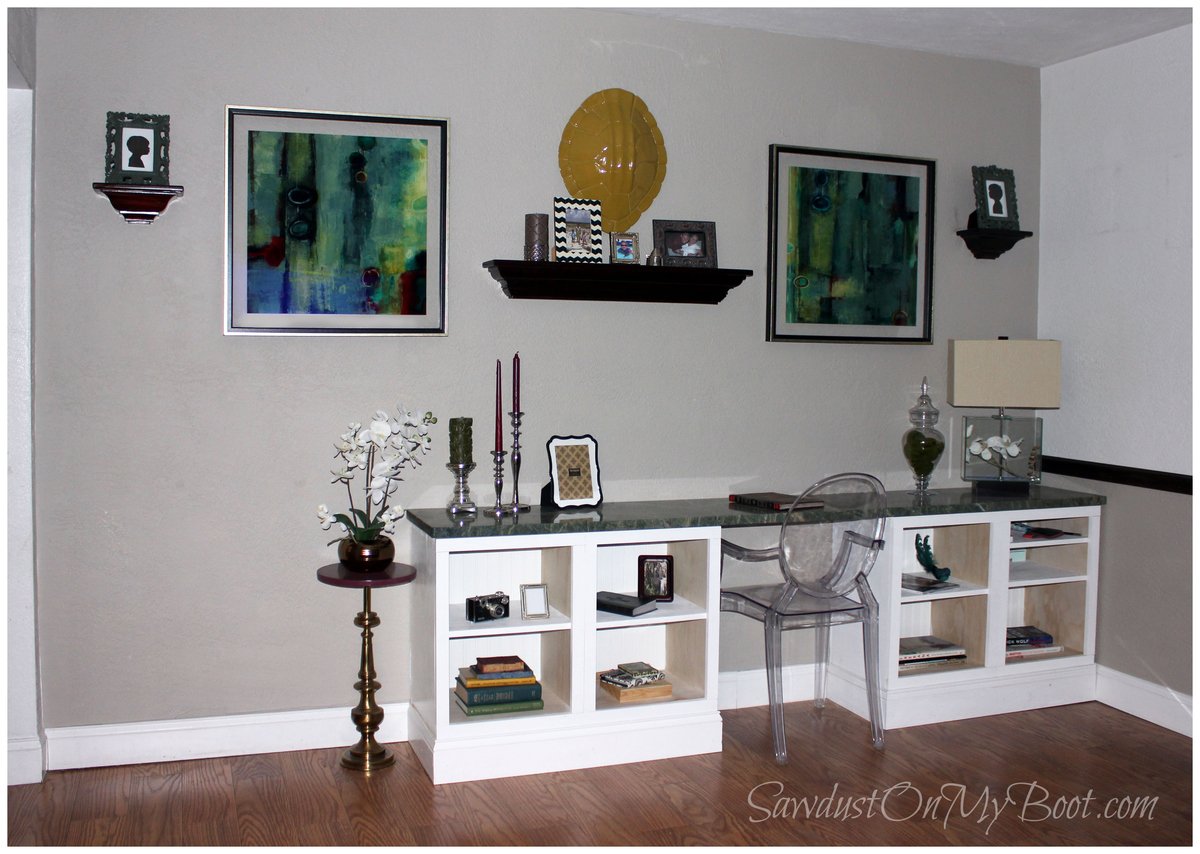
Hi there! I made a built-in desk for our long rectangular living room using a granite top on 4 cabinets... modified from a simple base cabinet plan. It was a blast to build & my family really enjoys it! :D

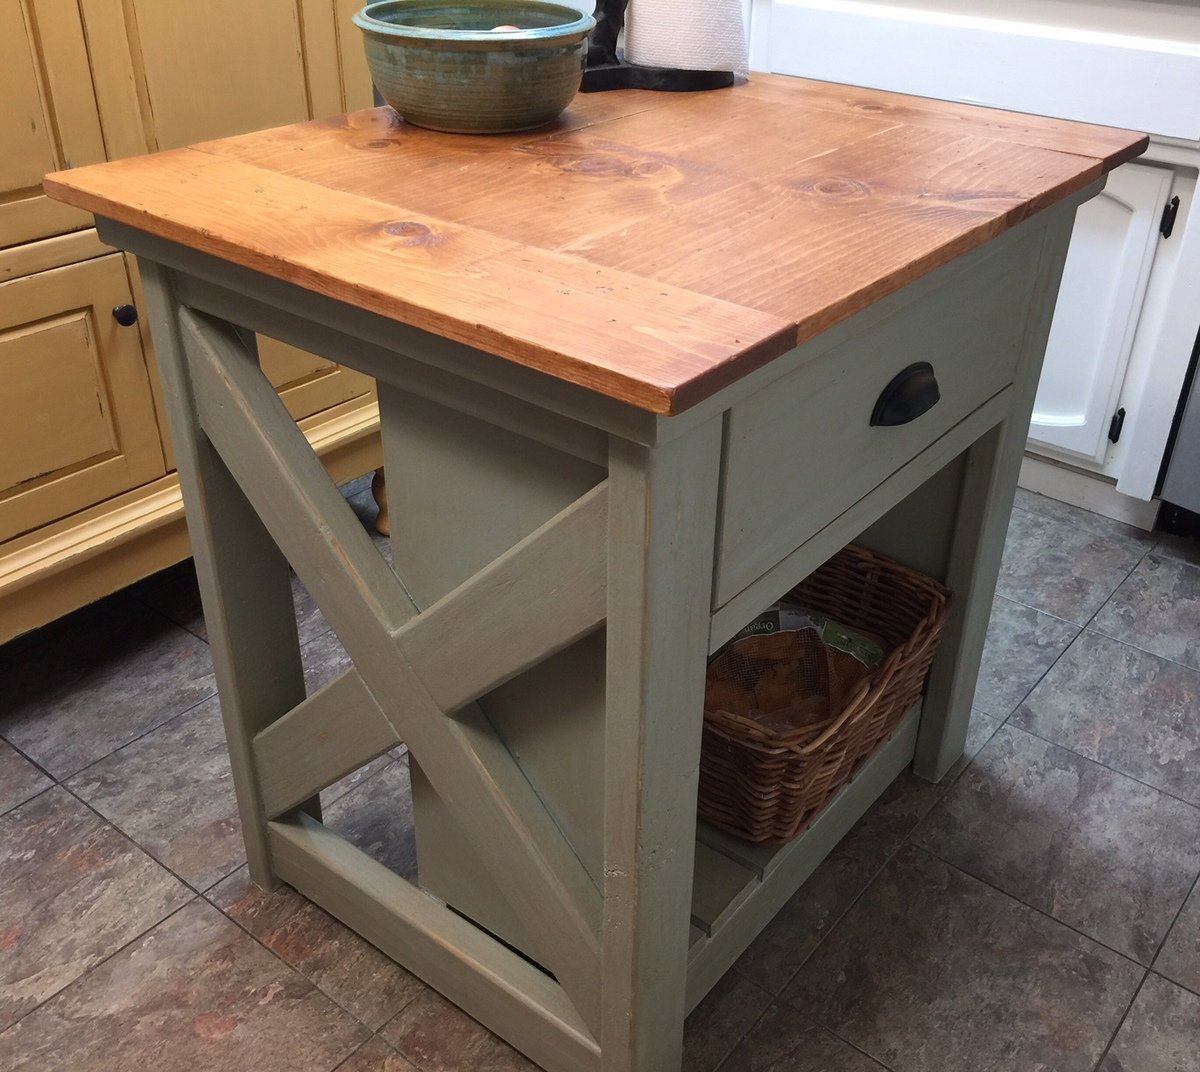
This was my husband's first furniture build and he really enjoyed it. The whole project took about three or four hours to build. He changed the top to a plank style with Douglas fir pine planks which I then beat up with a hammer and a screwdriver to look old. The top was then stained with five layers of Minwax Ipswich Pine and sealed with two coats of satin polyurethane. The base of the island was chalk painted, then distressed. I then took the Minwax furniture stain and wiped it on over the chalk paint and immediately wiped it off to age it and darken the chalk paint. I then sealed it with Rustoleum Chalked Matte Clear. We love our new kitchen island and it really fits in with our little cottage!
Comments
Ana White Admin
Fri, 02/24/2023 - 09:01
Love the finish!
Super cute! Thank you for sharing.