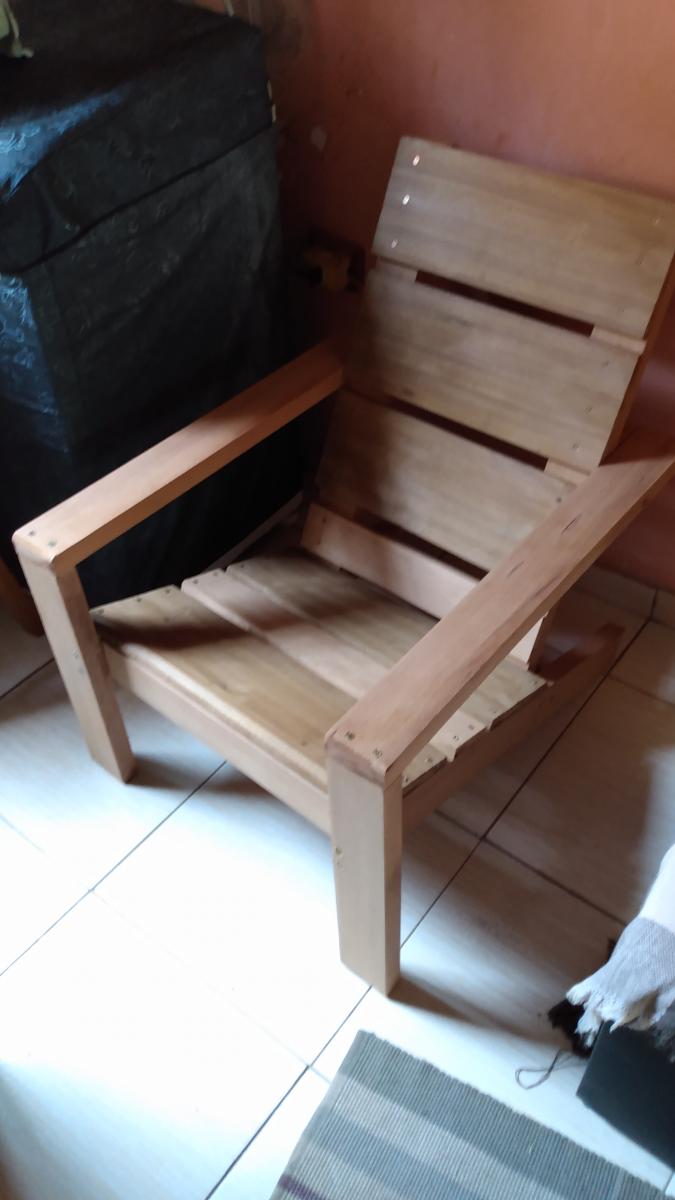
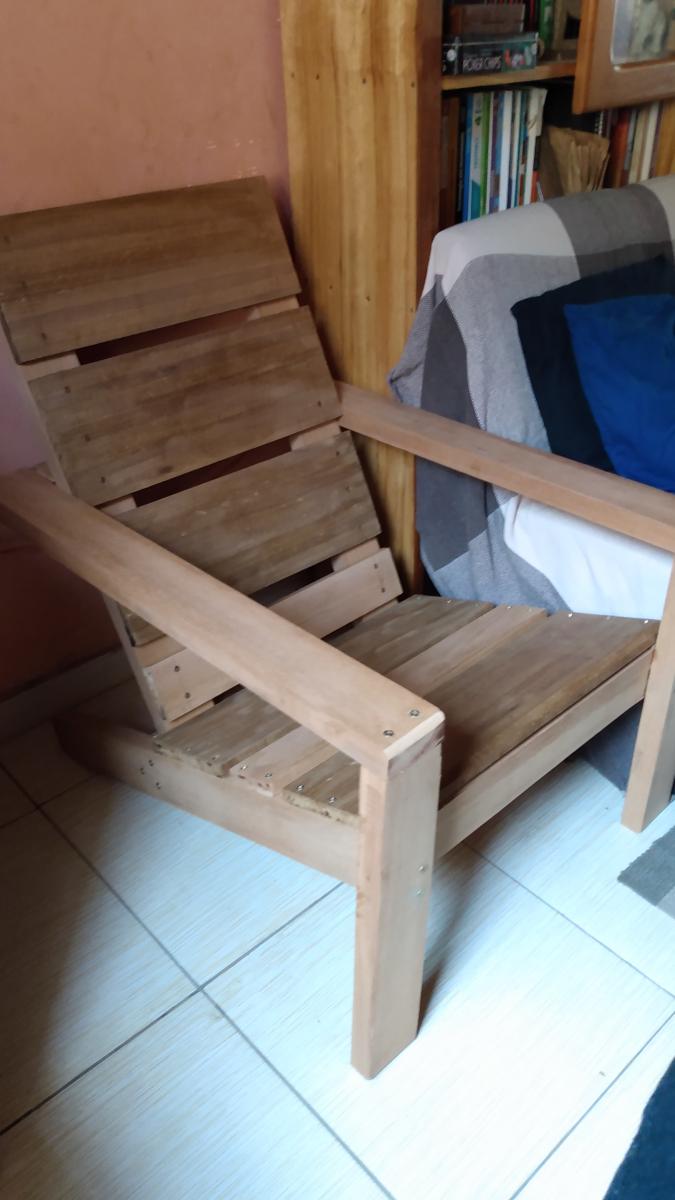
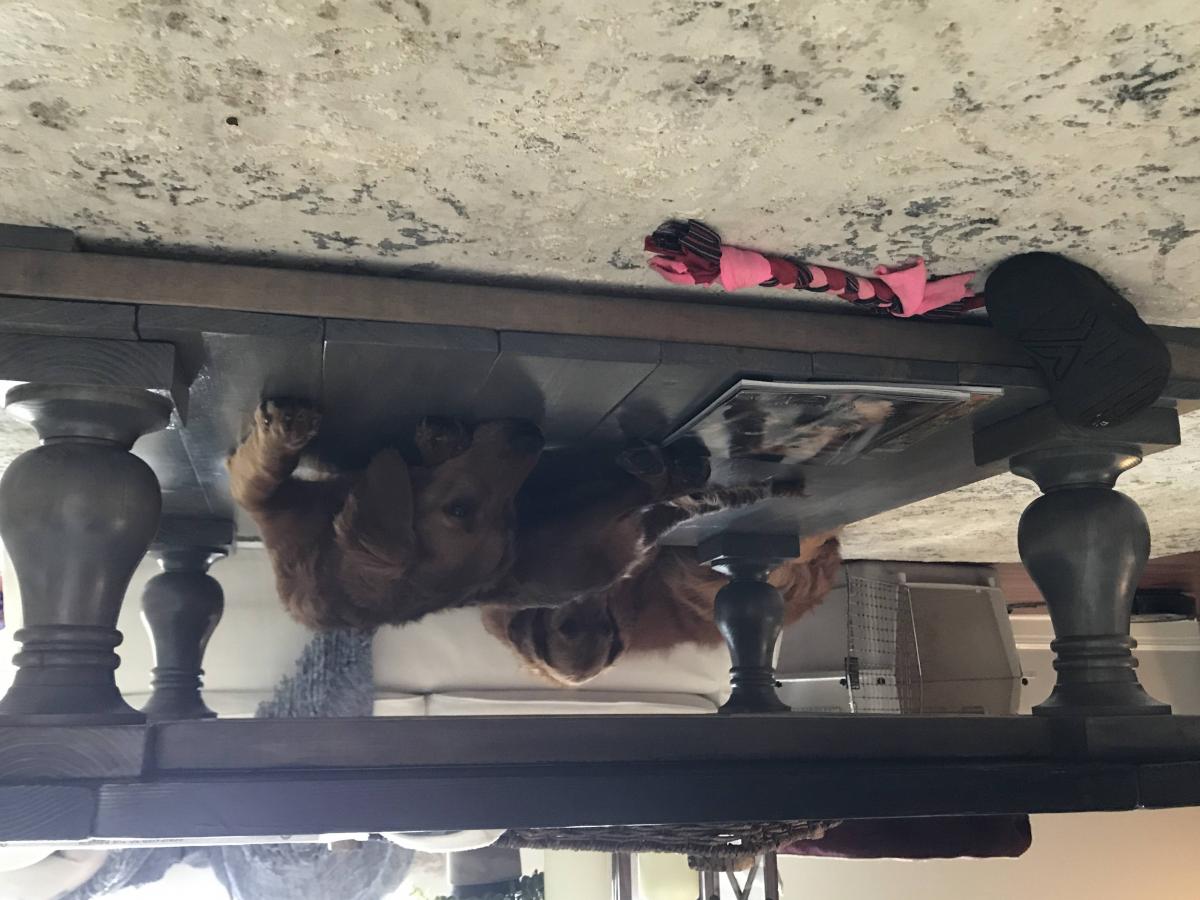
Thank you for the plans and inspiration for our project!
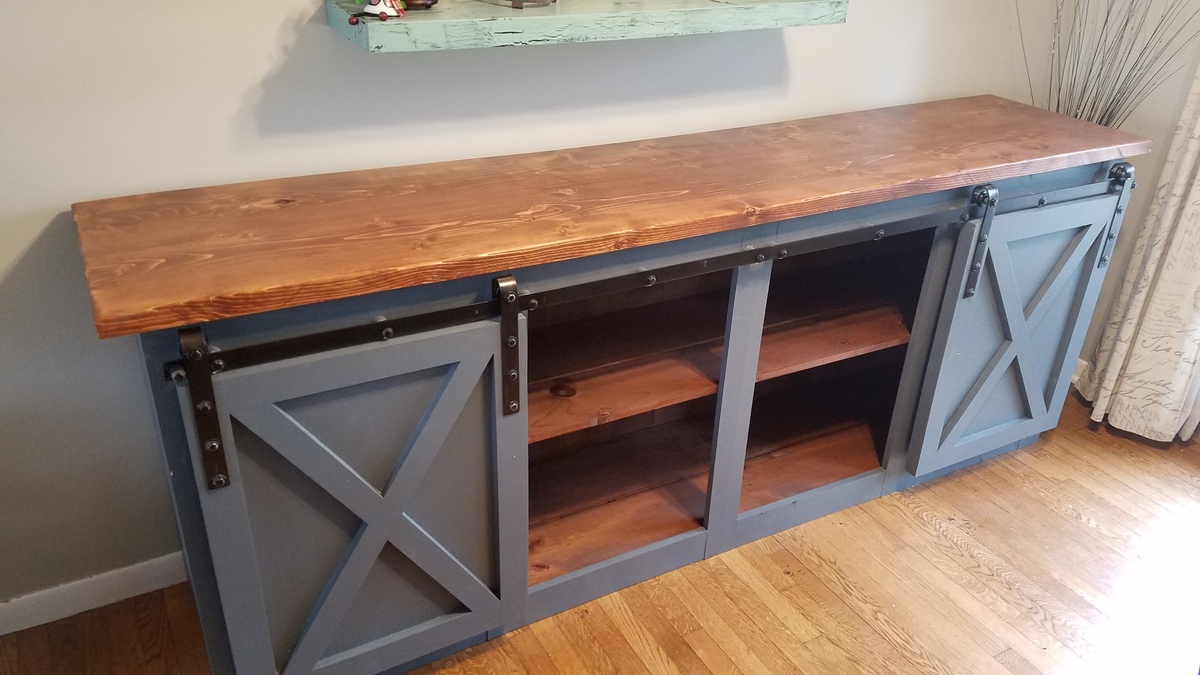
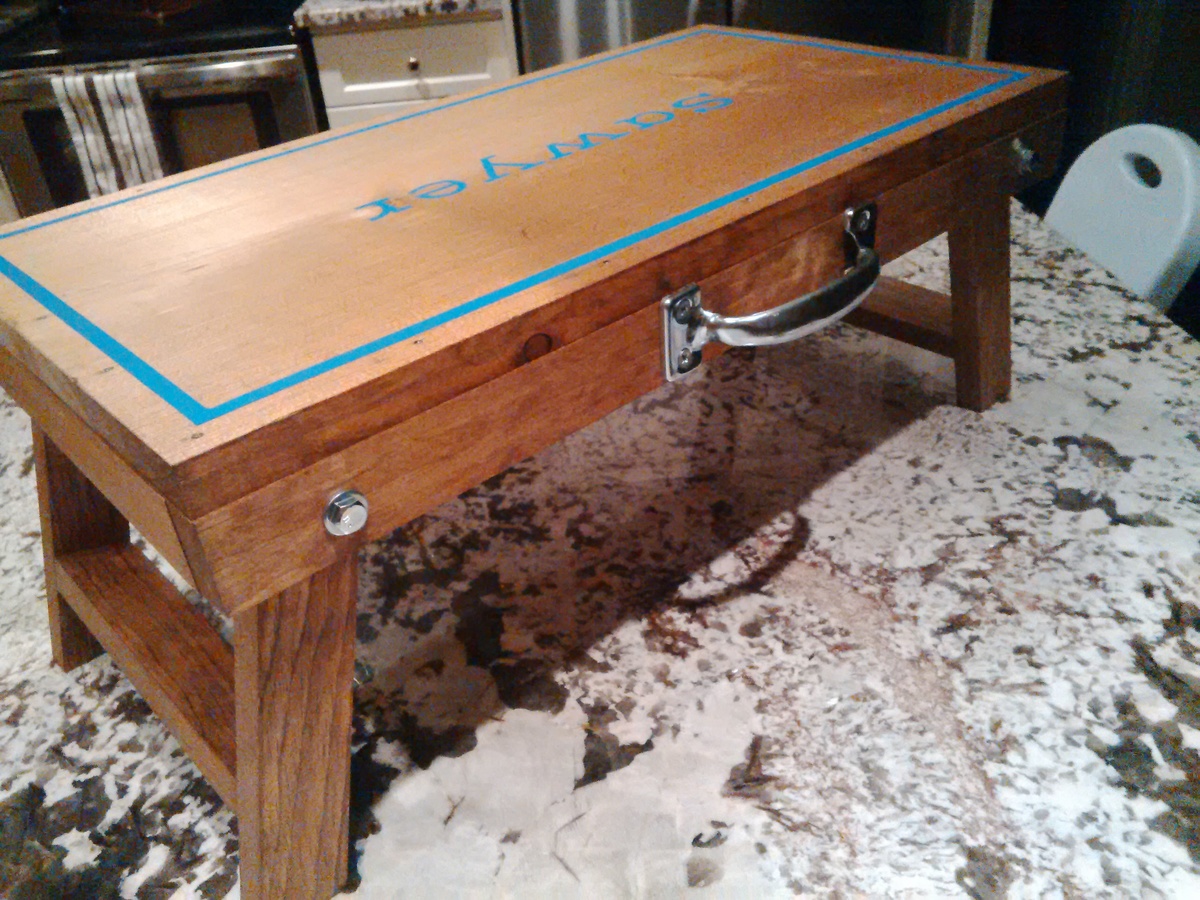
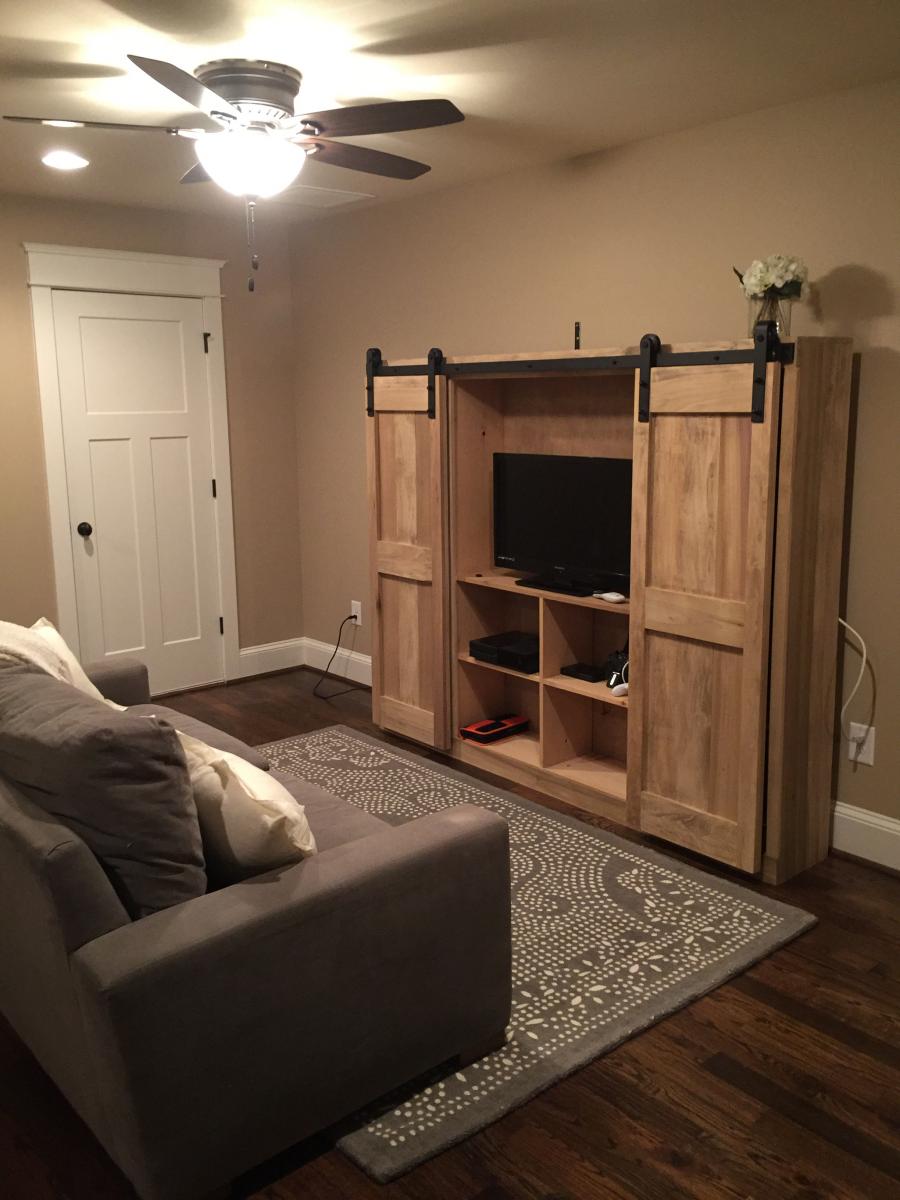
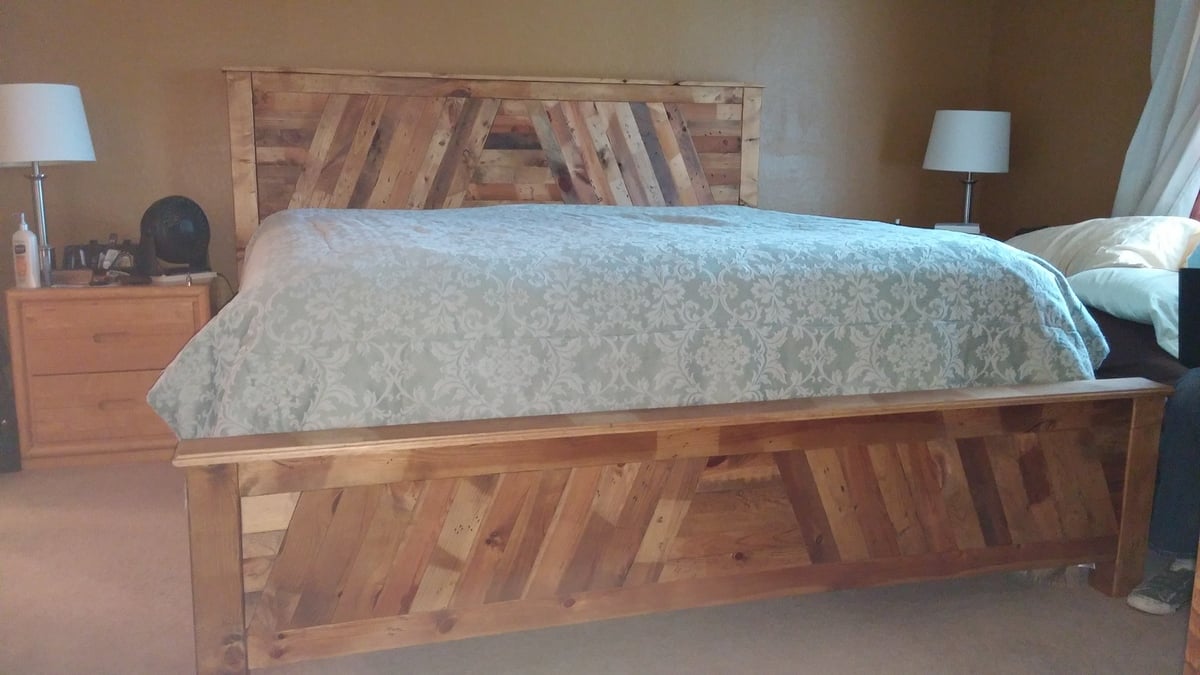
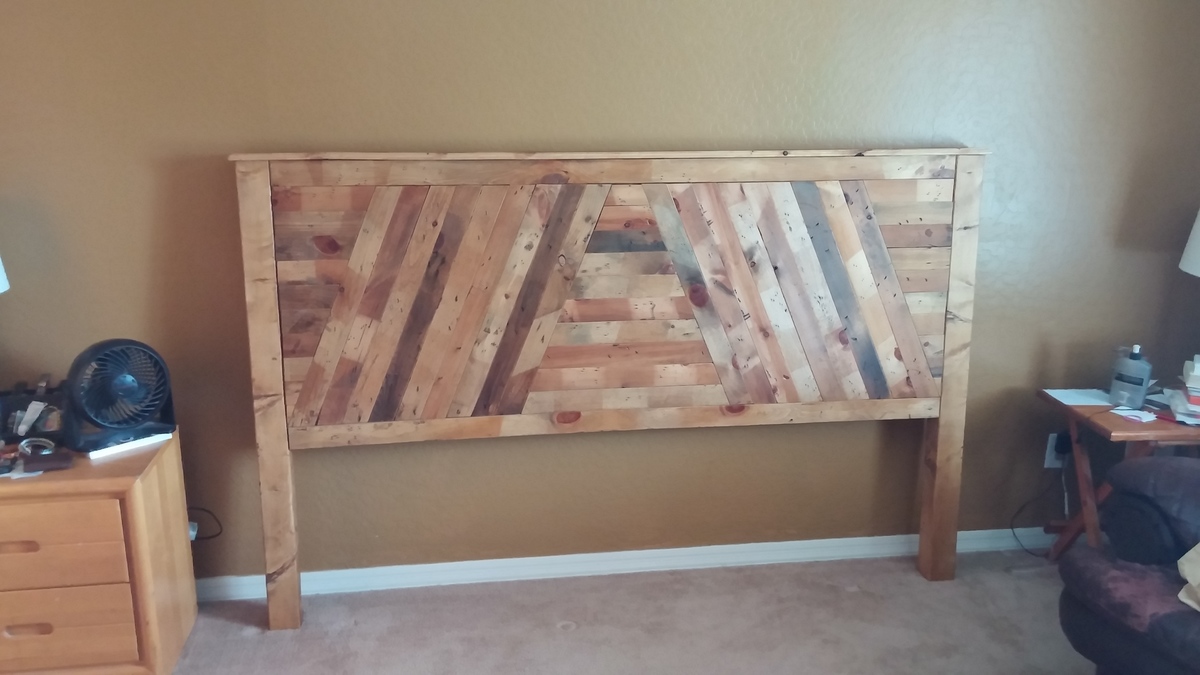
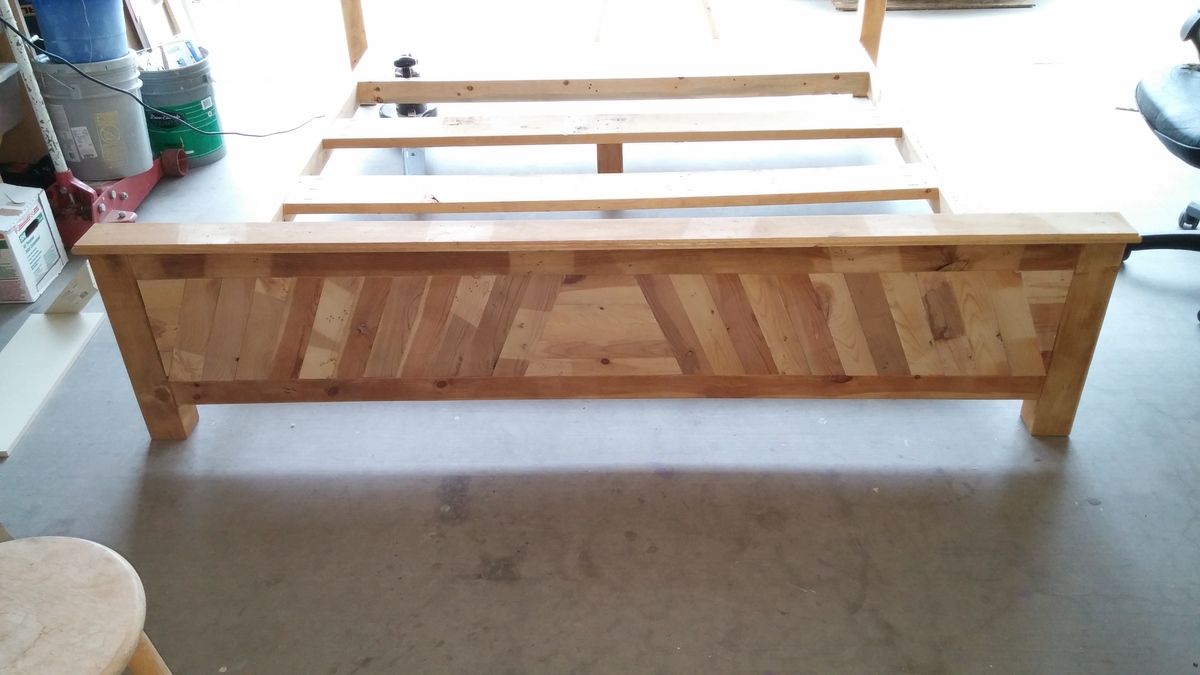
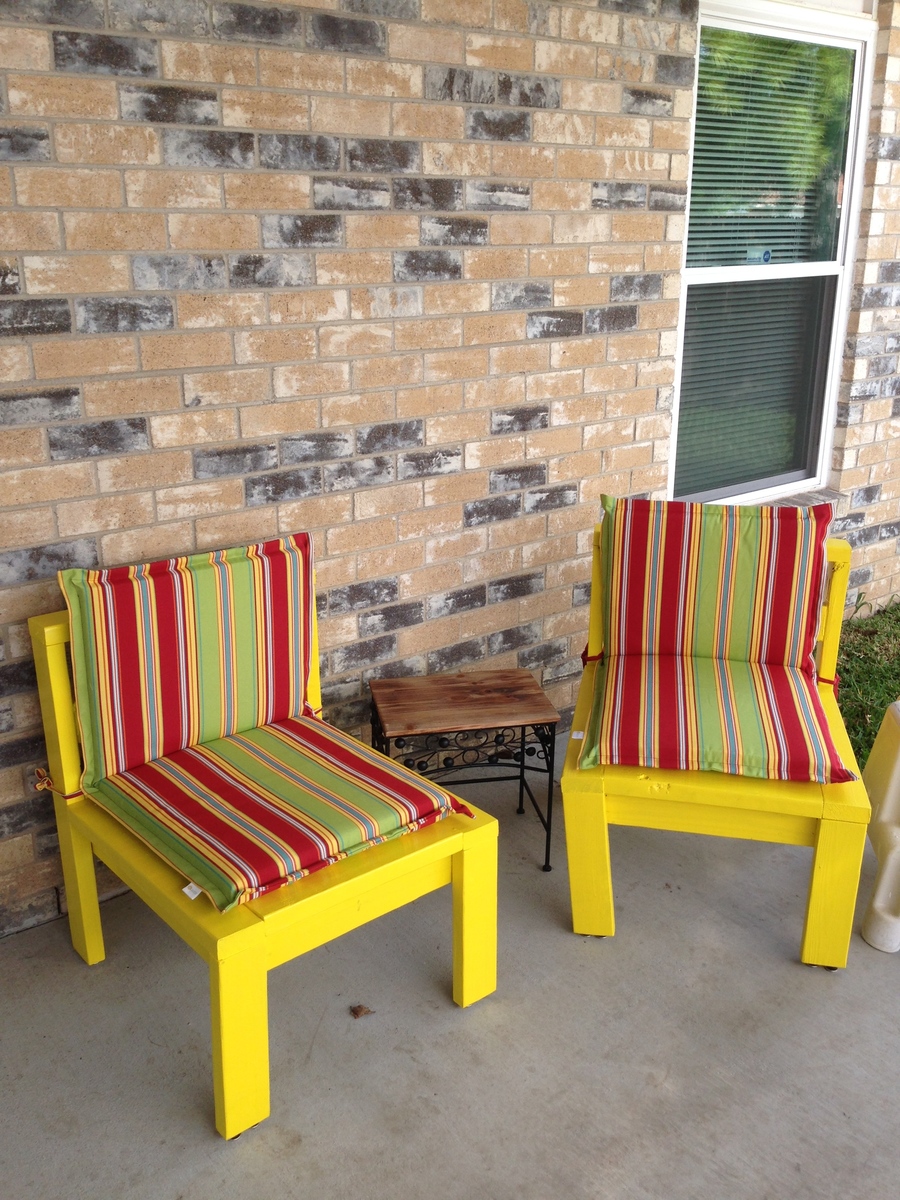
I just wanted to say thank you for the awesome plans. We modified the dimensions a bit to match our couch.
Thank you again!
Dori and Geoff

Built from Plan(s)
Estimated Cost
$250
Estimated Time Investment
Week Long Project (20 Hours or More)
Finish Used
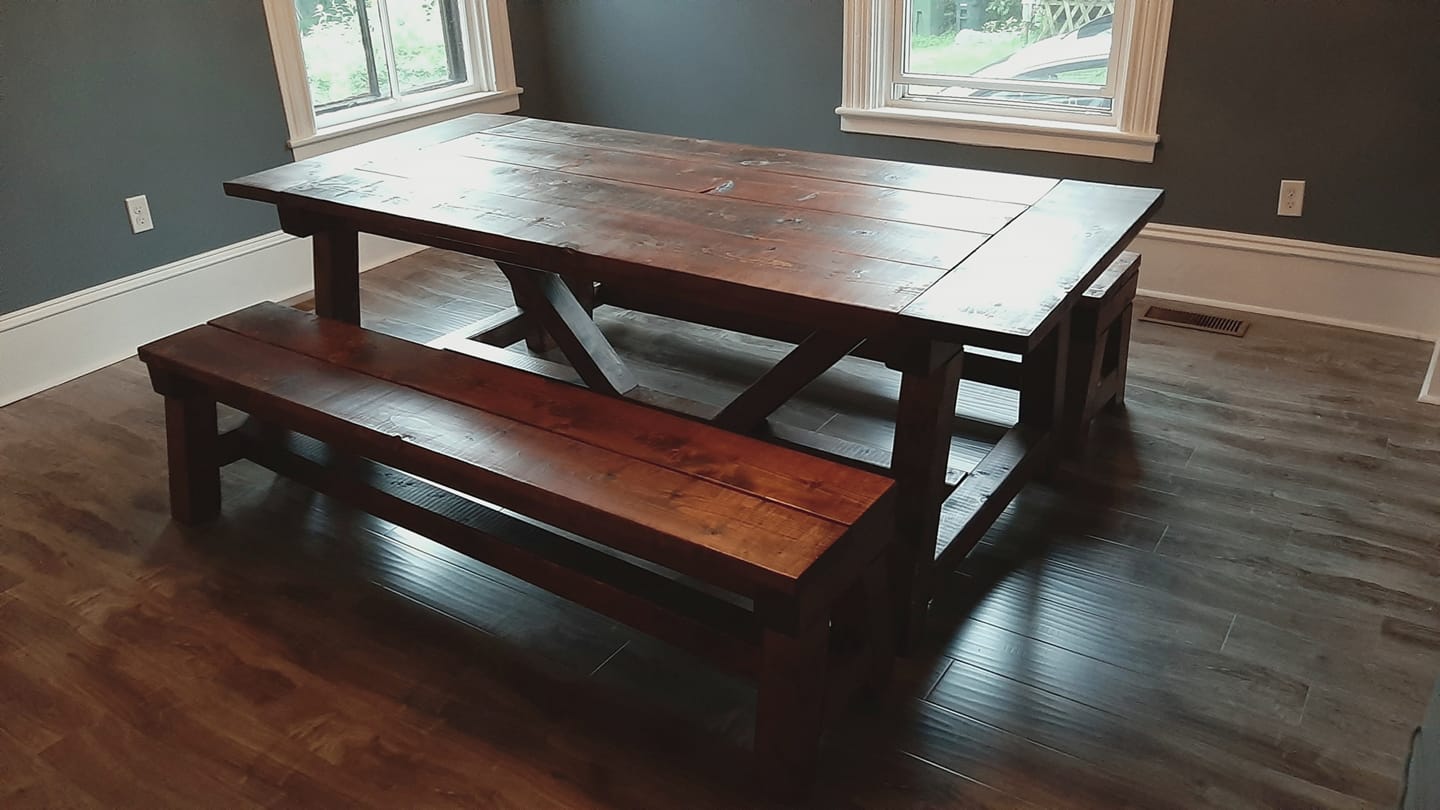
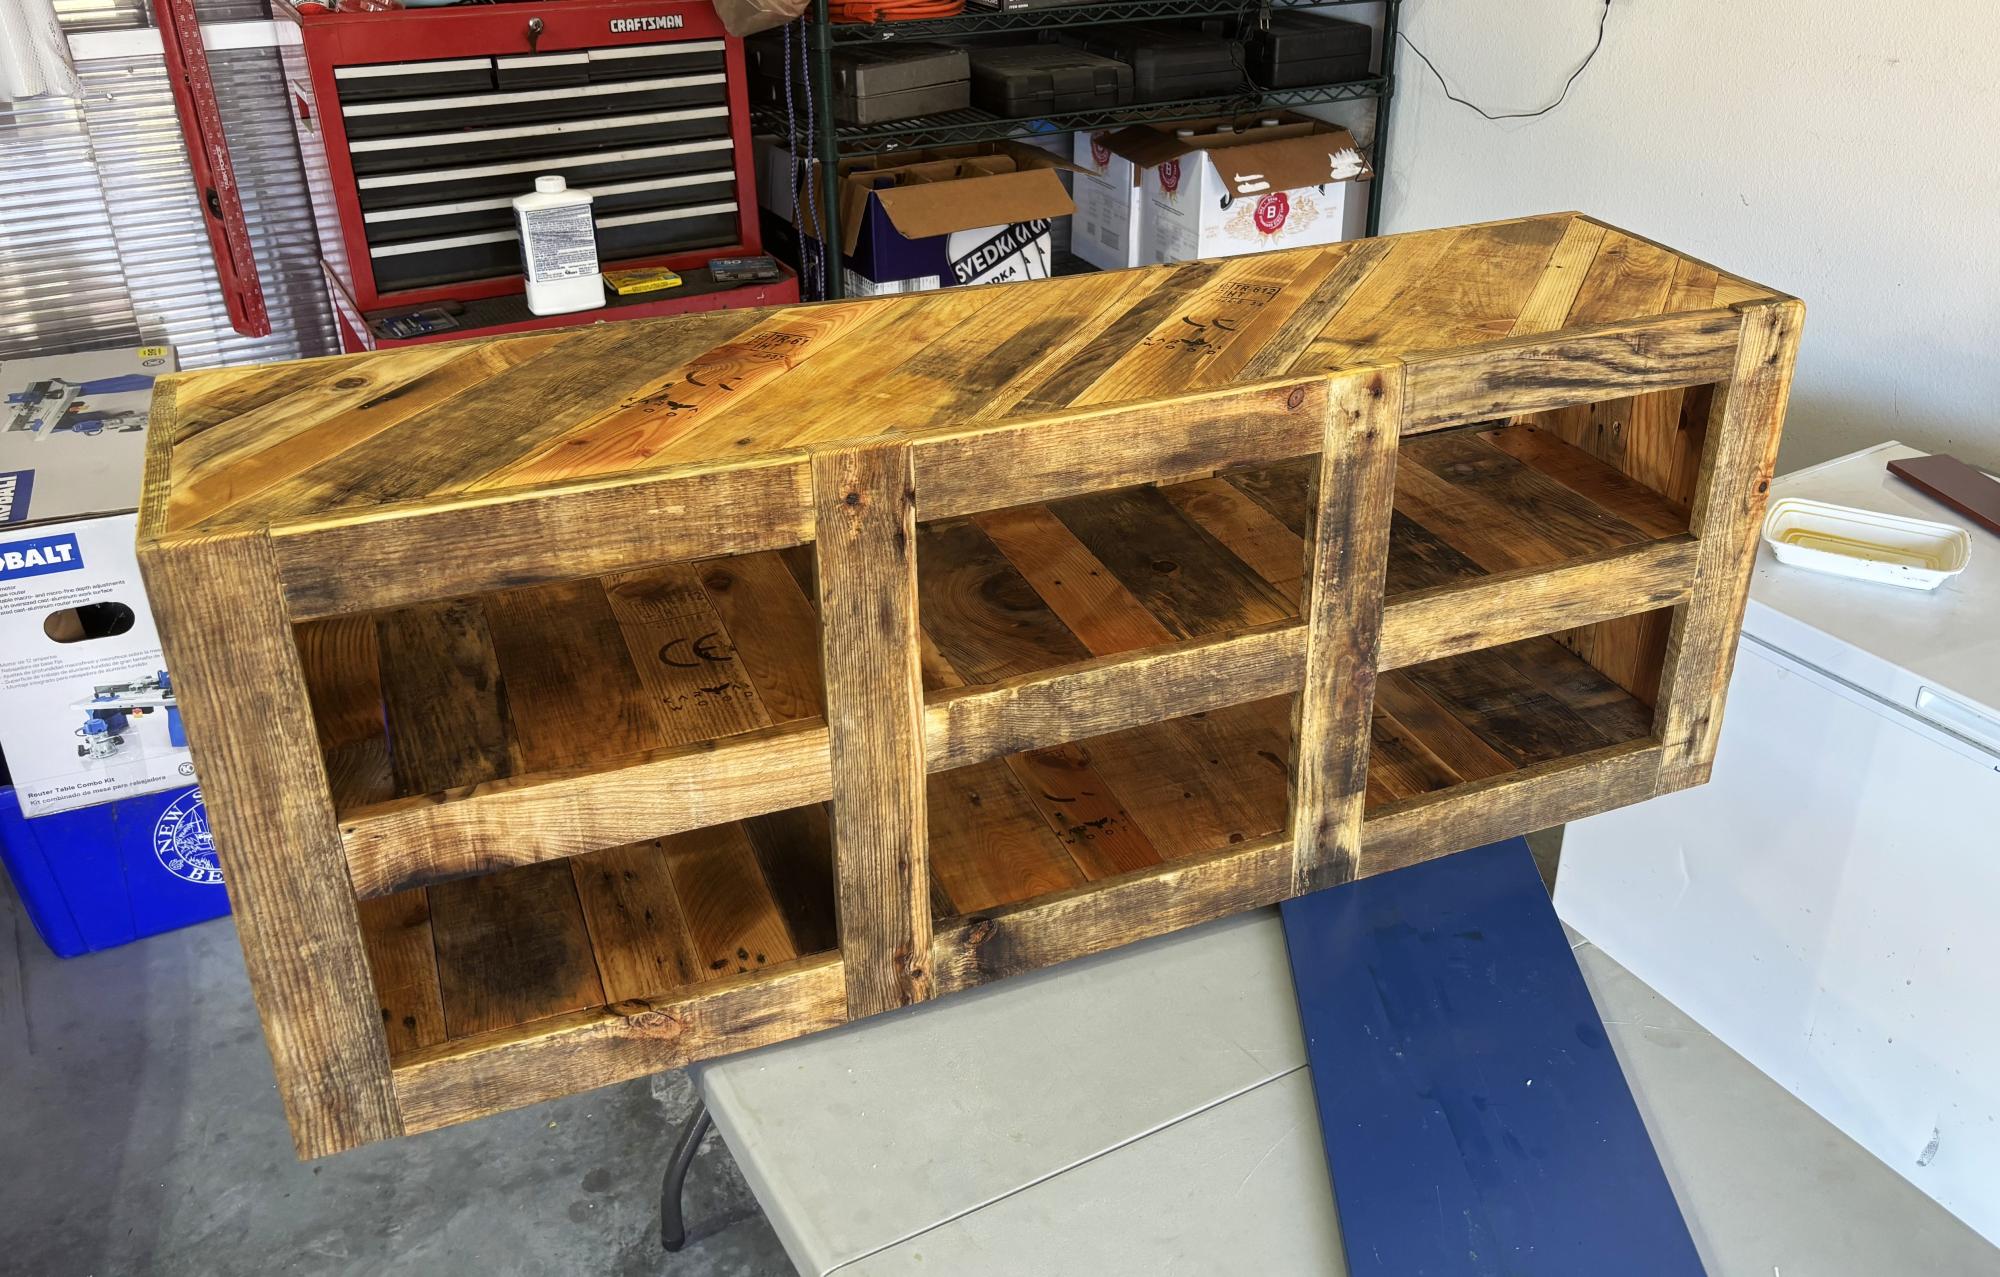
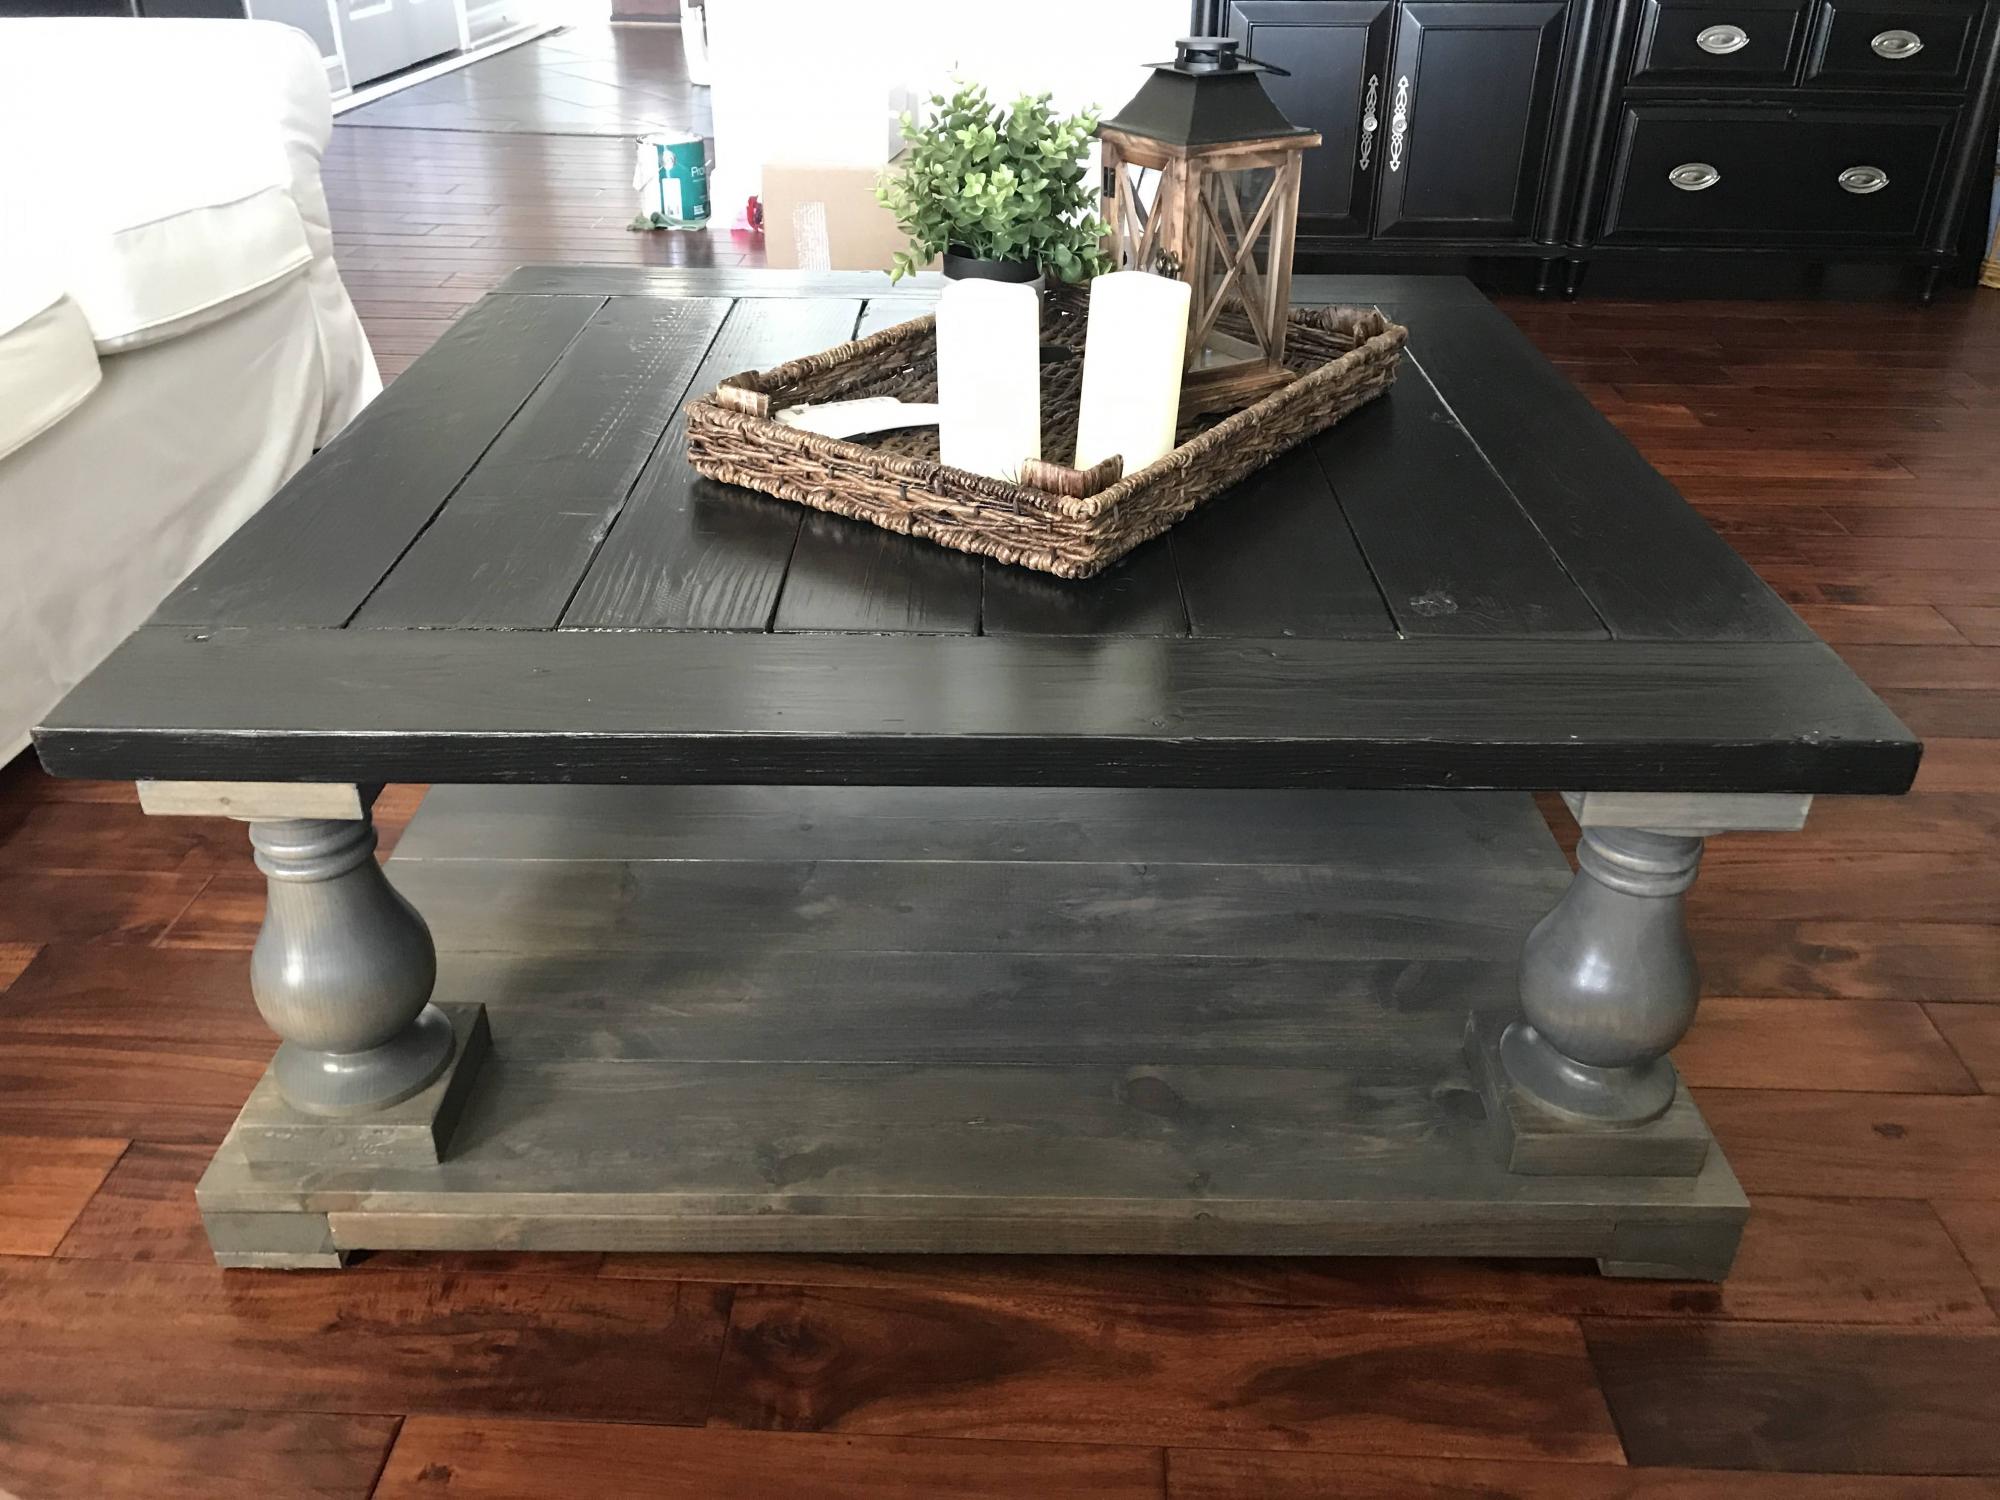
I used the Minwax furniture wax for the top. It was my first time using this and it turned out amazing. I would very highly suggest using this in a very well ventilated space. (I didn't and that was a very smelly afternoon in the house.)
Recommended Skill Level
Intermediate


Comments
Ana White Admin
Wed, 01/18/2017 - 19:21
Looks great!
Thank you for sharing:)