Small End Table from 2X4's
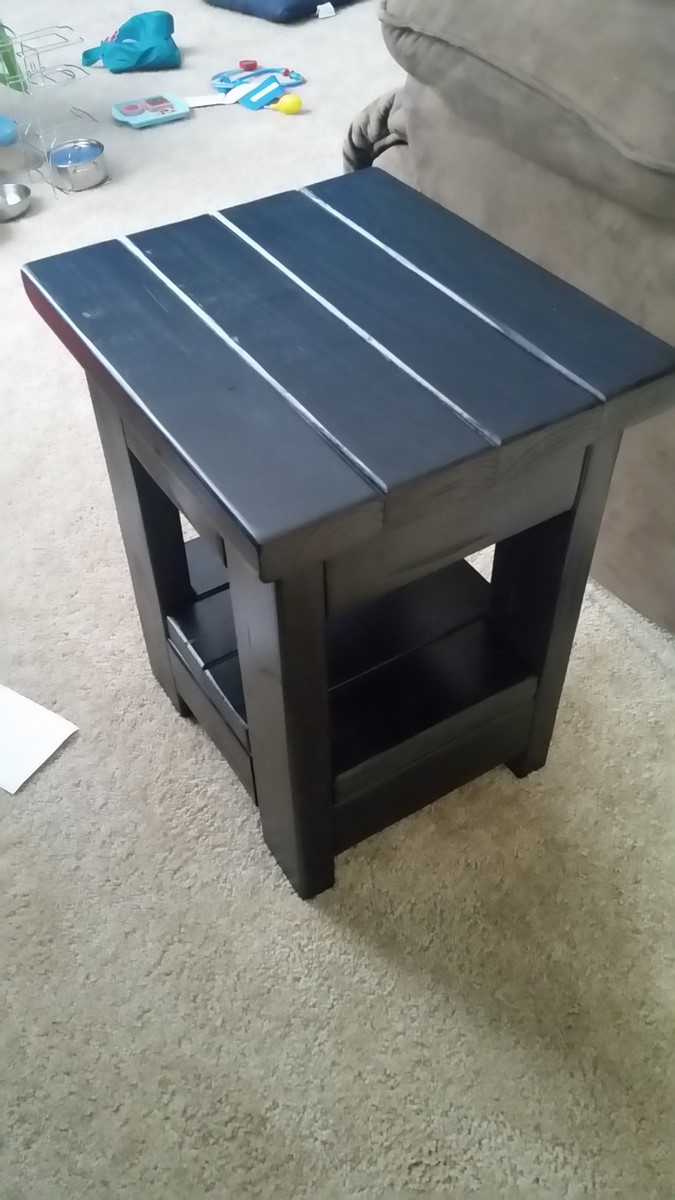
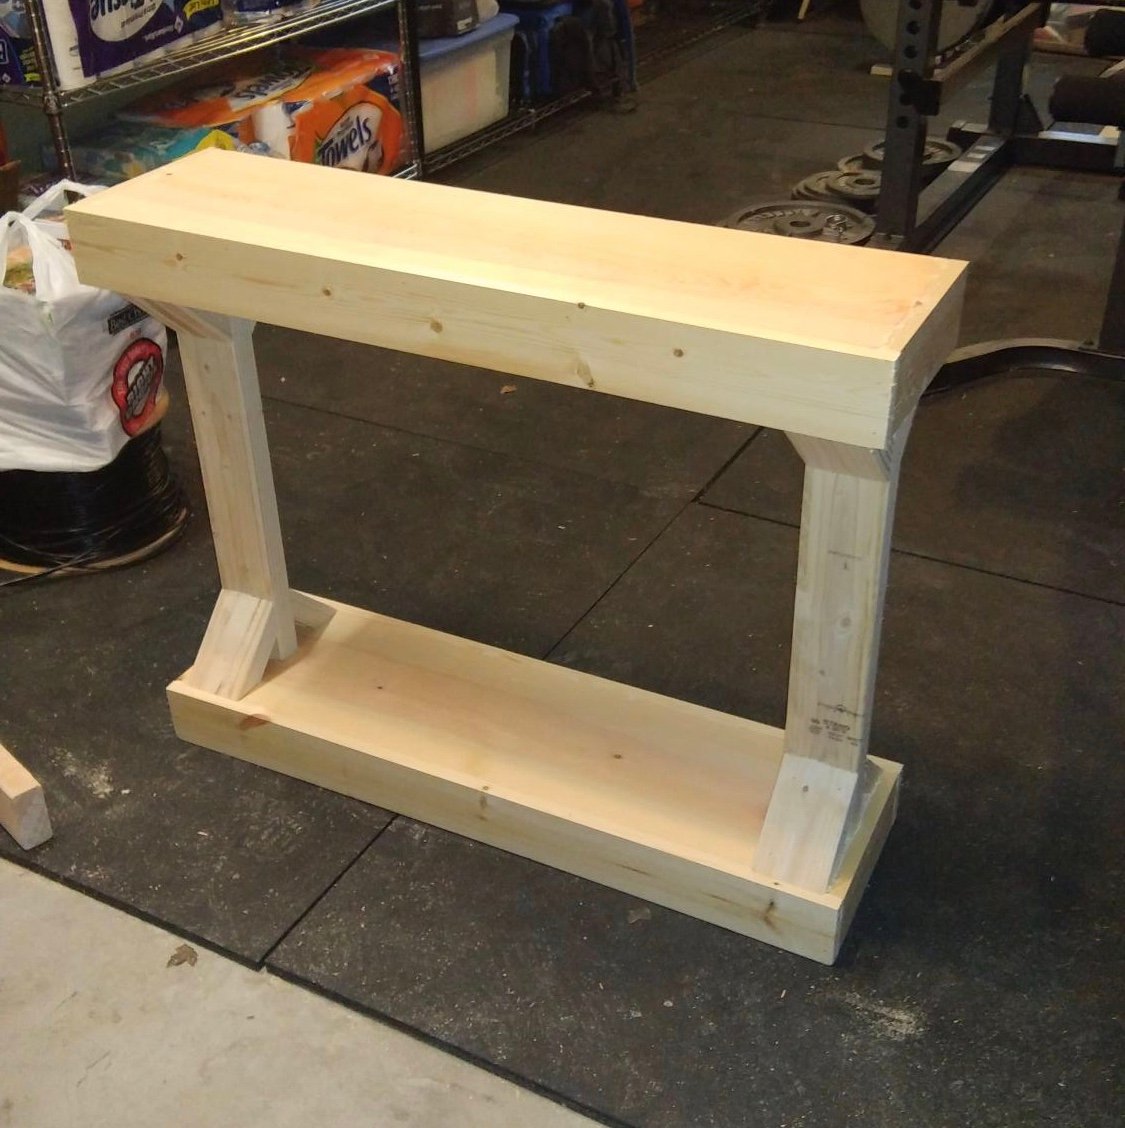
I made a smaller version of the Tryde End Table with Shelf. I made 2 of them from 6 2X4's
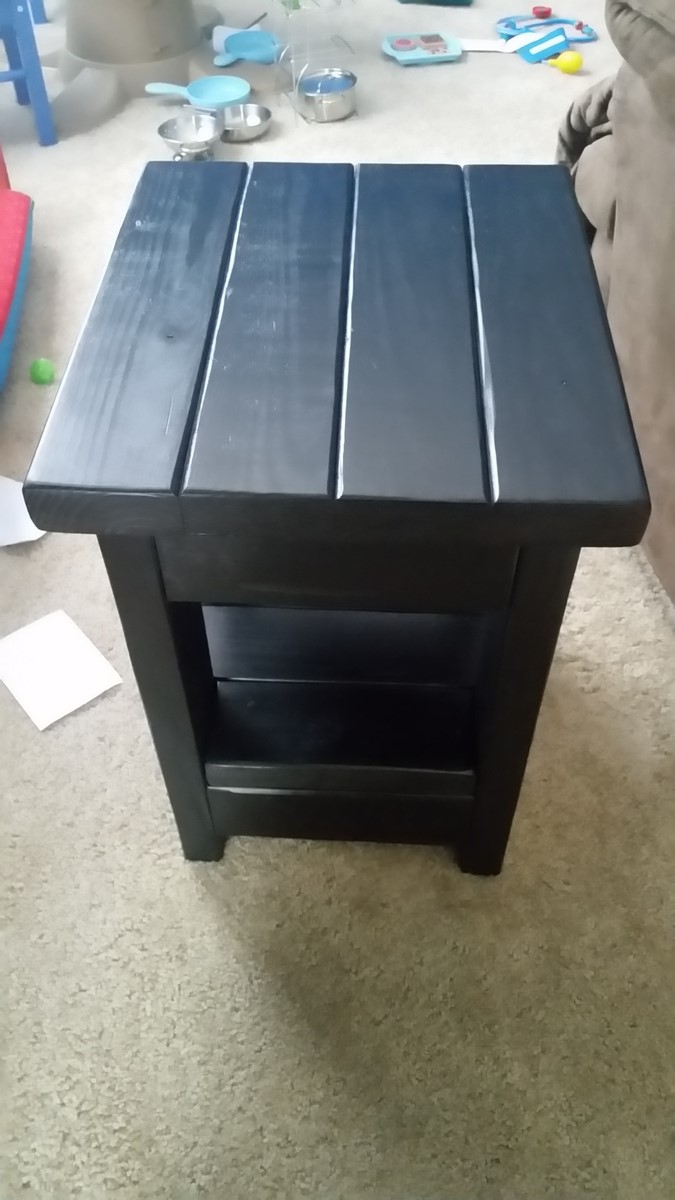

I made a smaller version of the Tryde End Table with Shelf. I made 2 of them from 6 2X4's

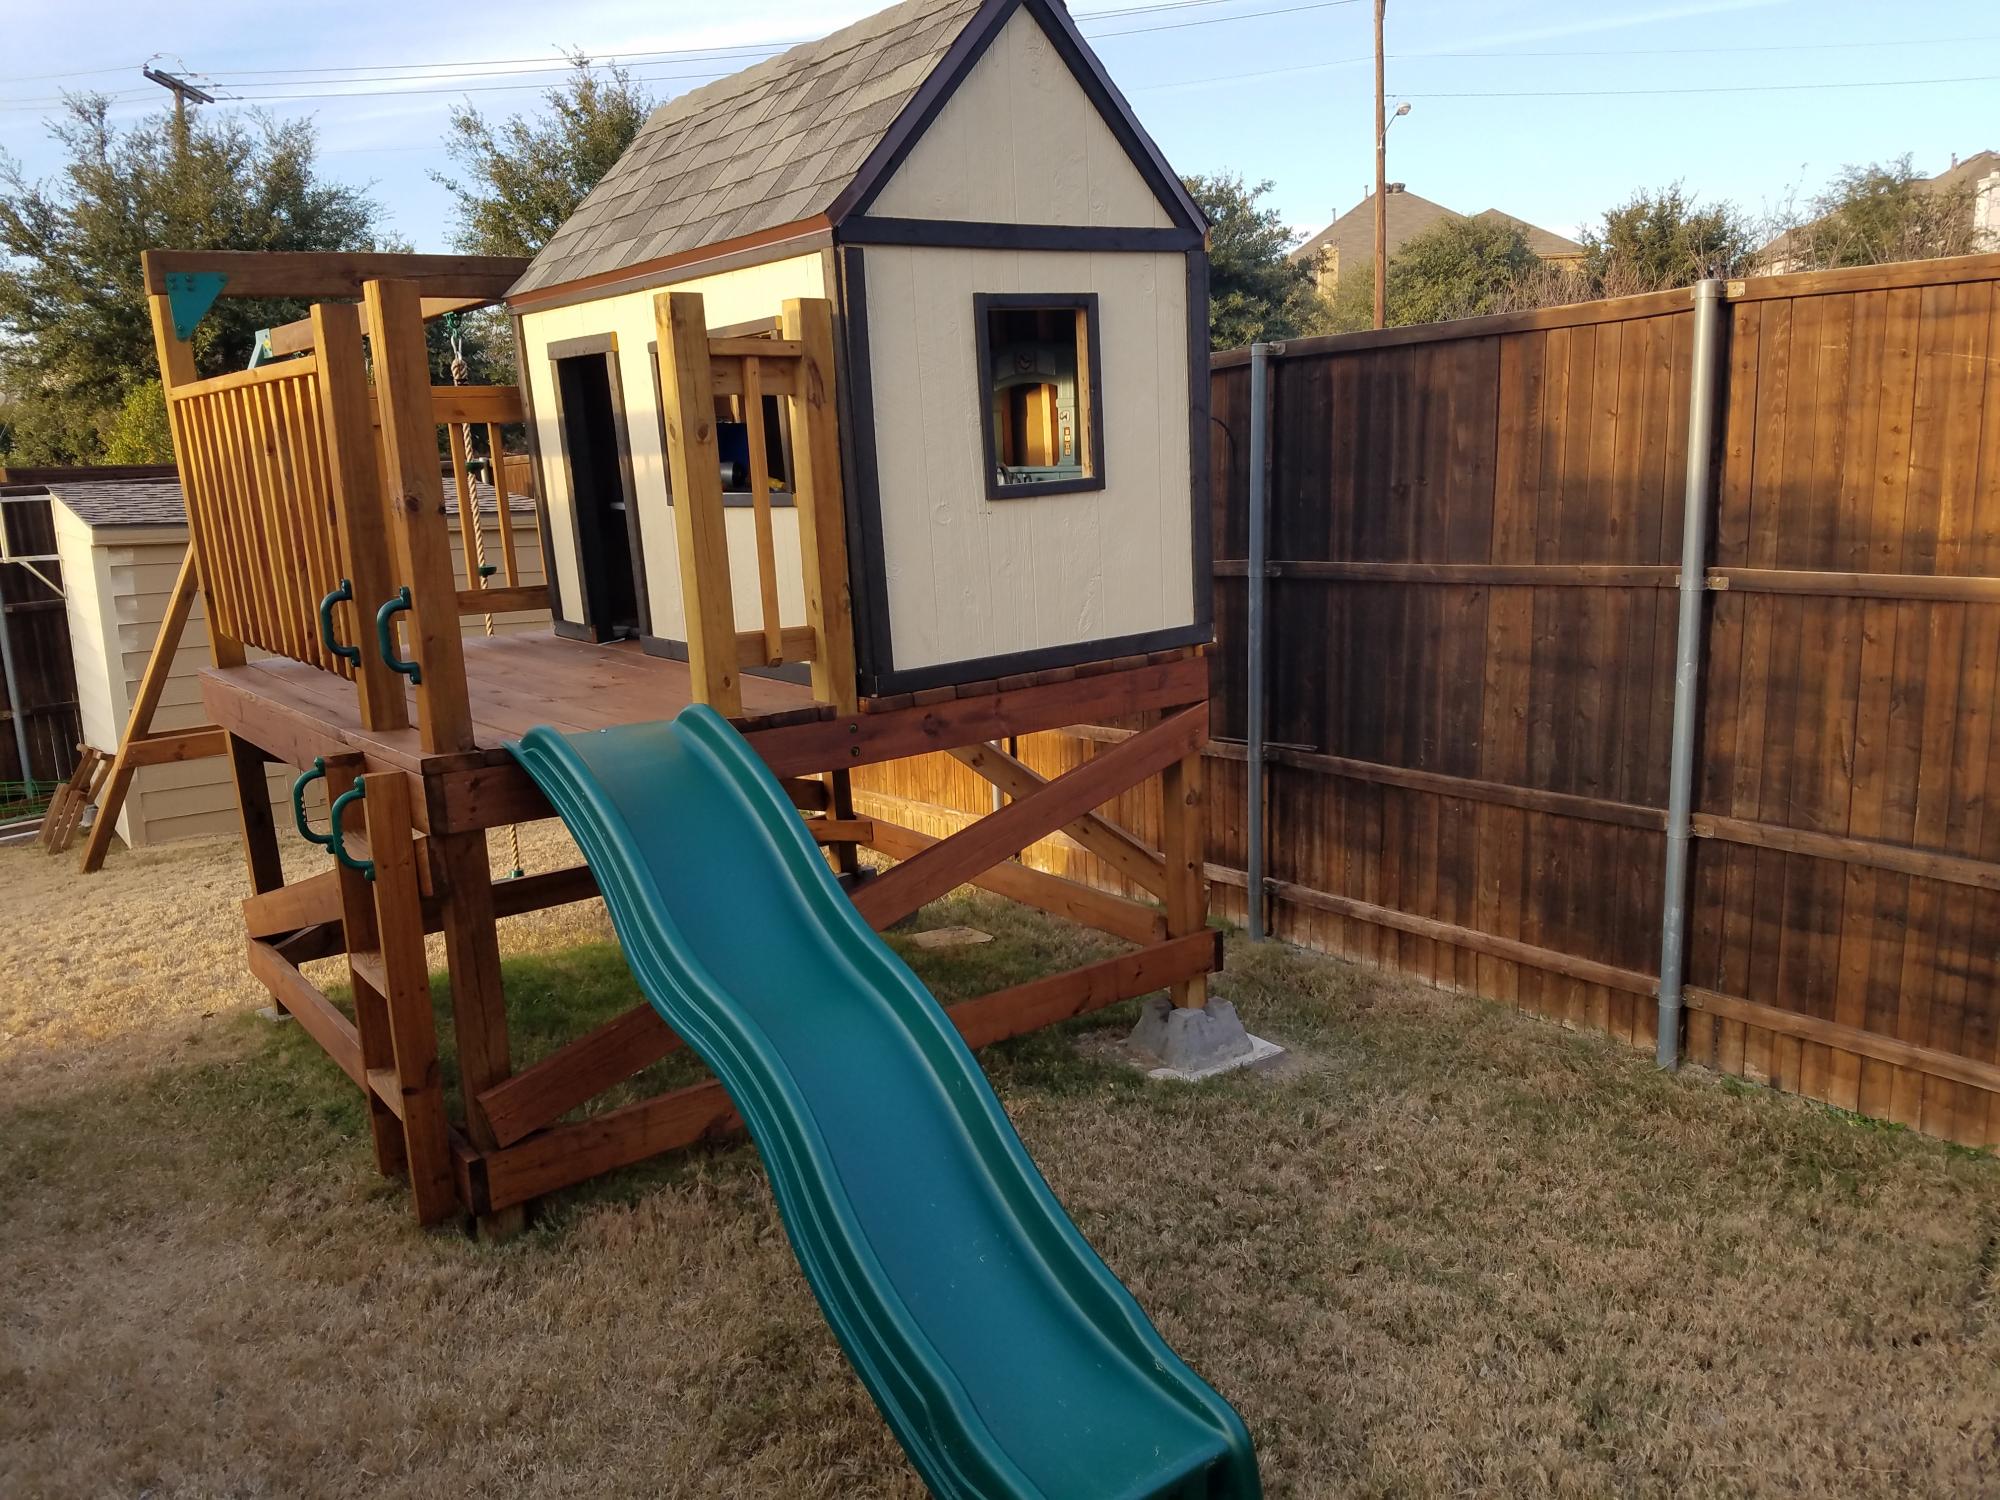
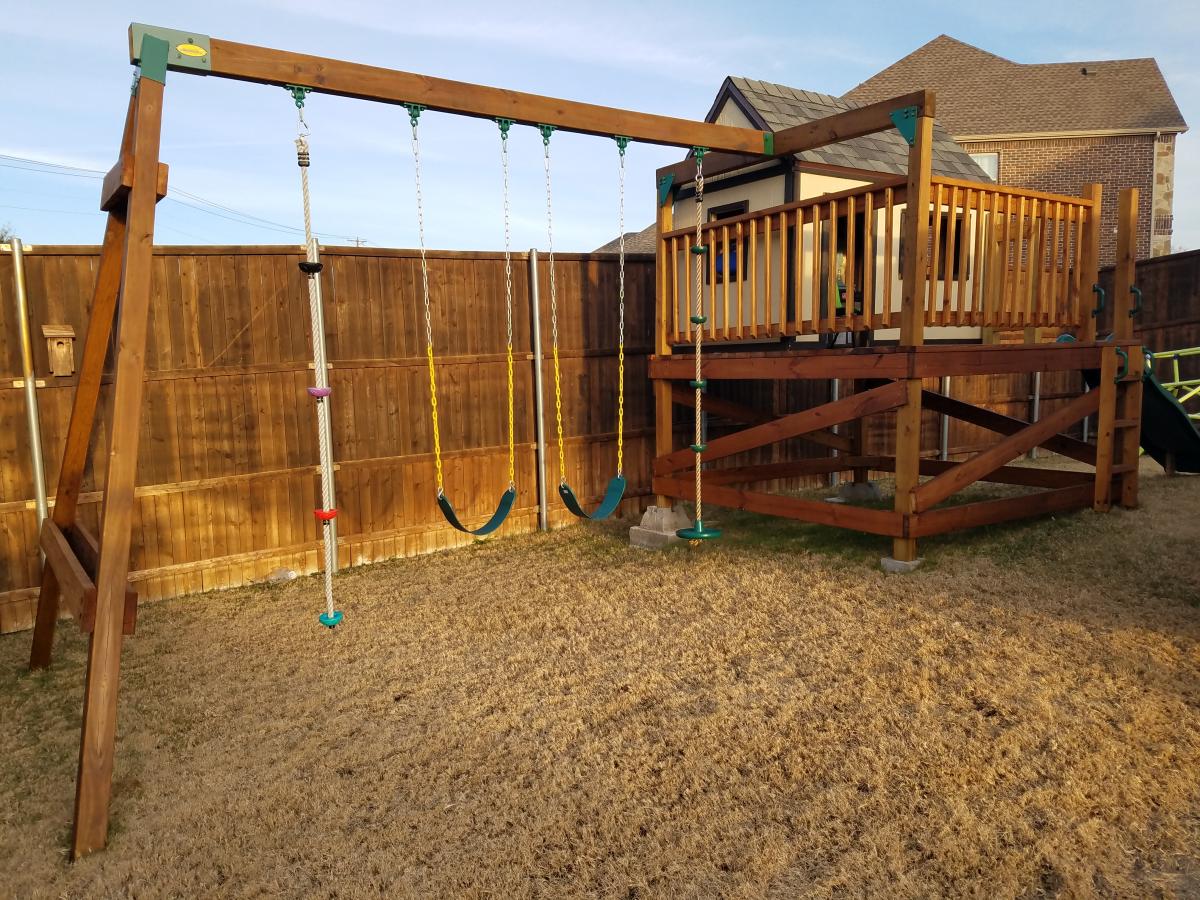
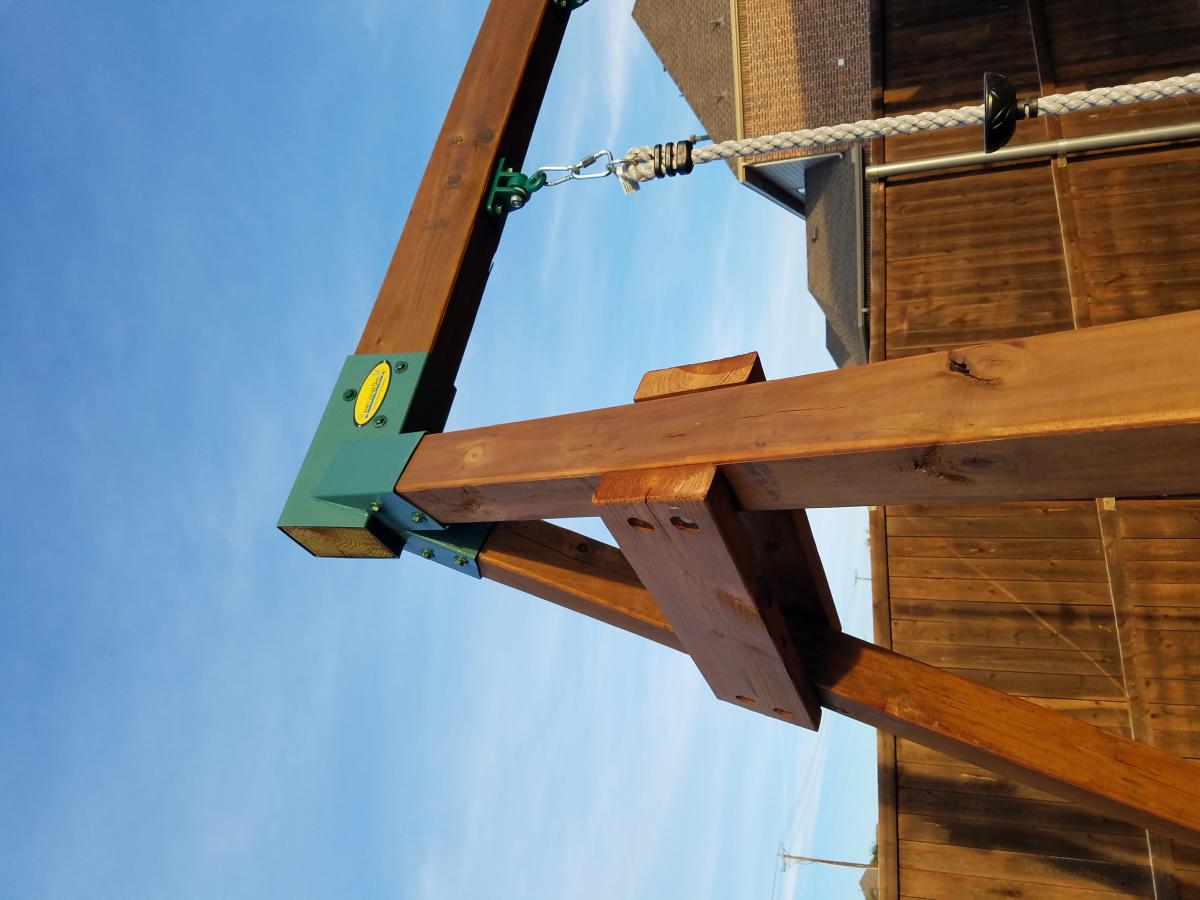
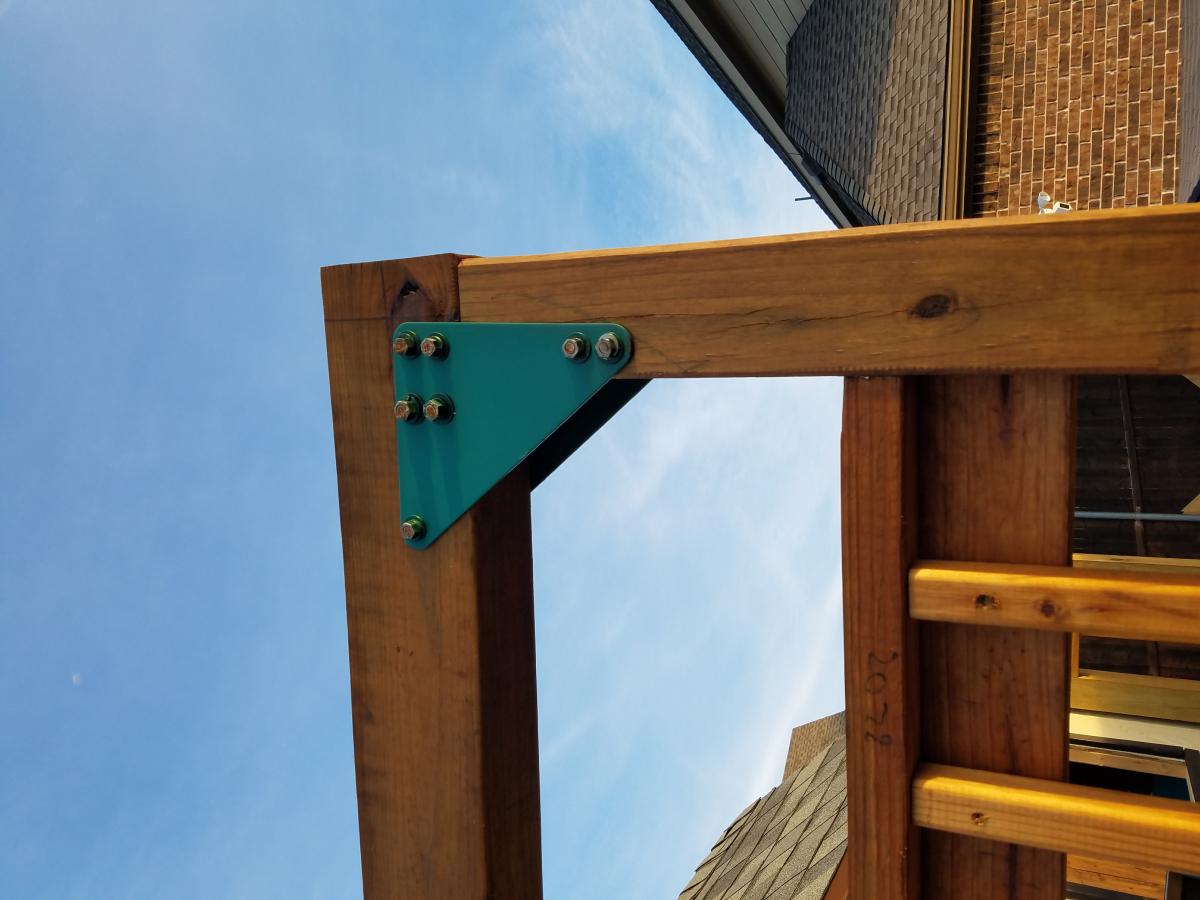
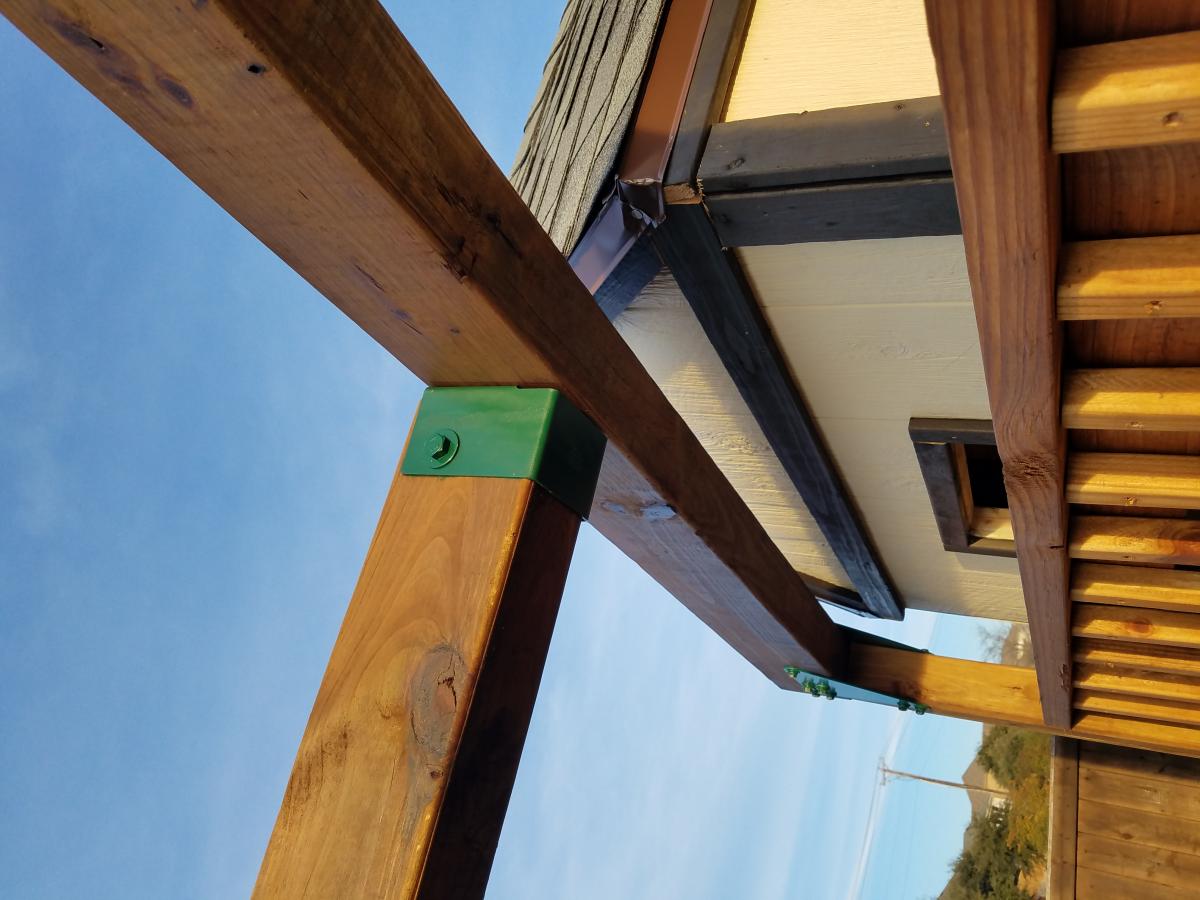
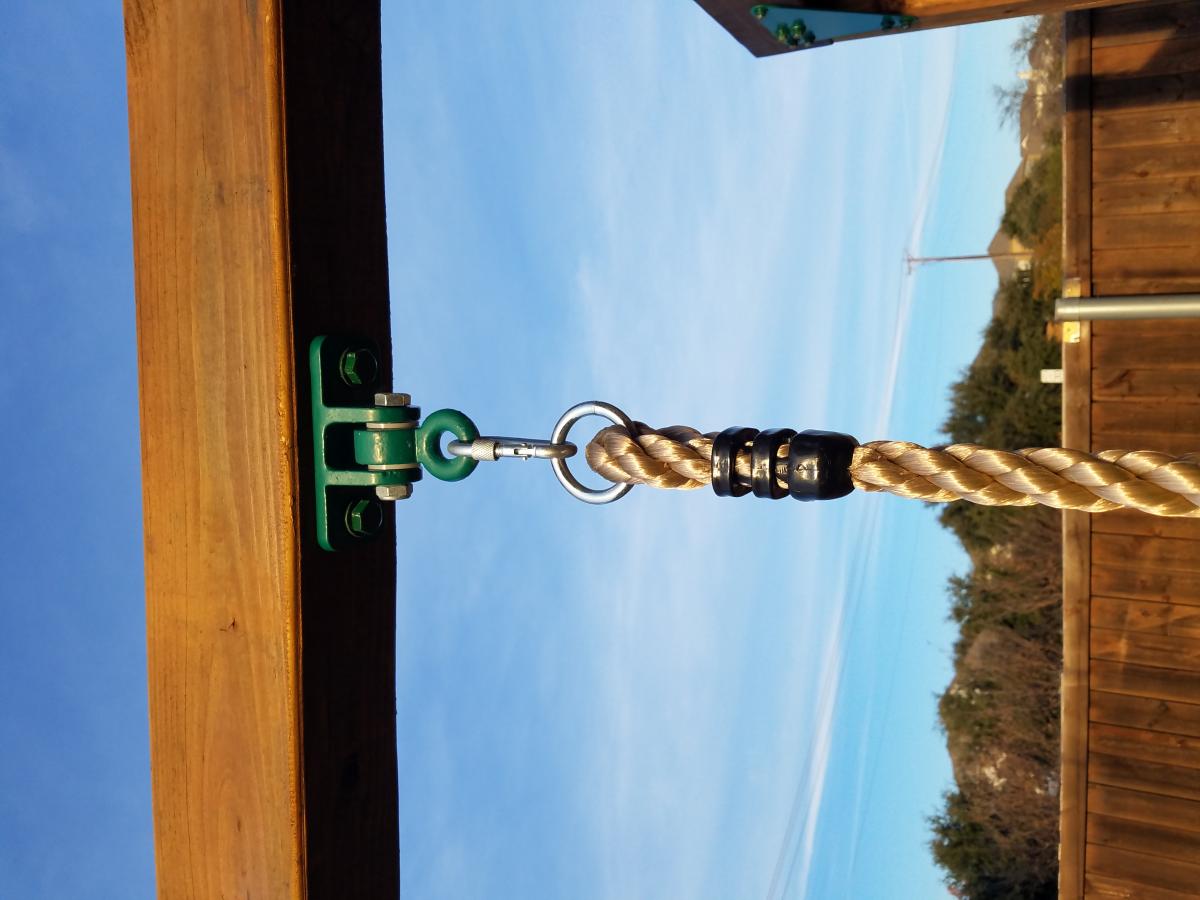
I deviated quite a bit from the plans. Mostly, I used readily available swingset hardware to beef up the design. This stuff can be found on big online sites or specialty sites.
I bought all of the swings, and ninja rope online along with the 4ft slide and safety handles.
Mon, 04/12/2021 - 15:48
did you put your pillars into concrete? It looks like you have a few different bases.
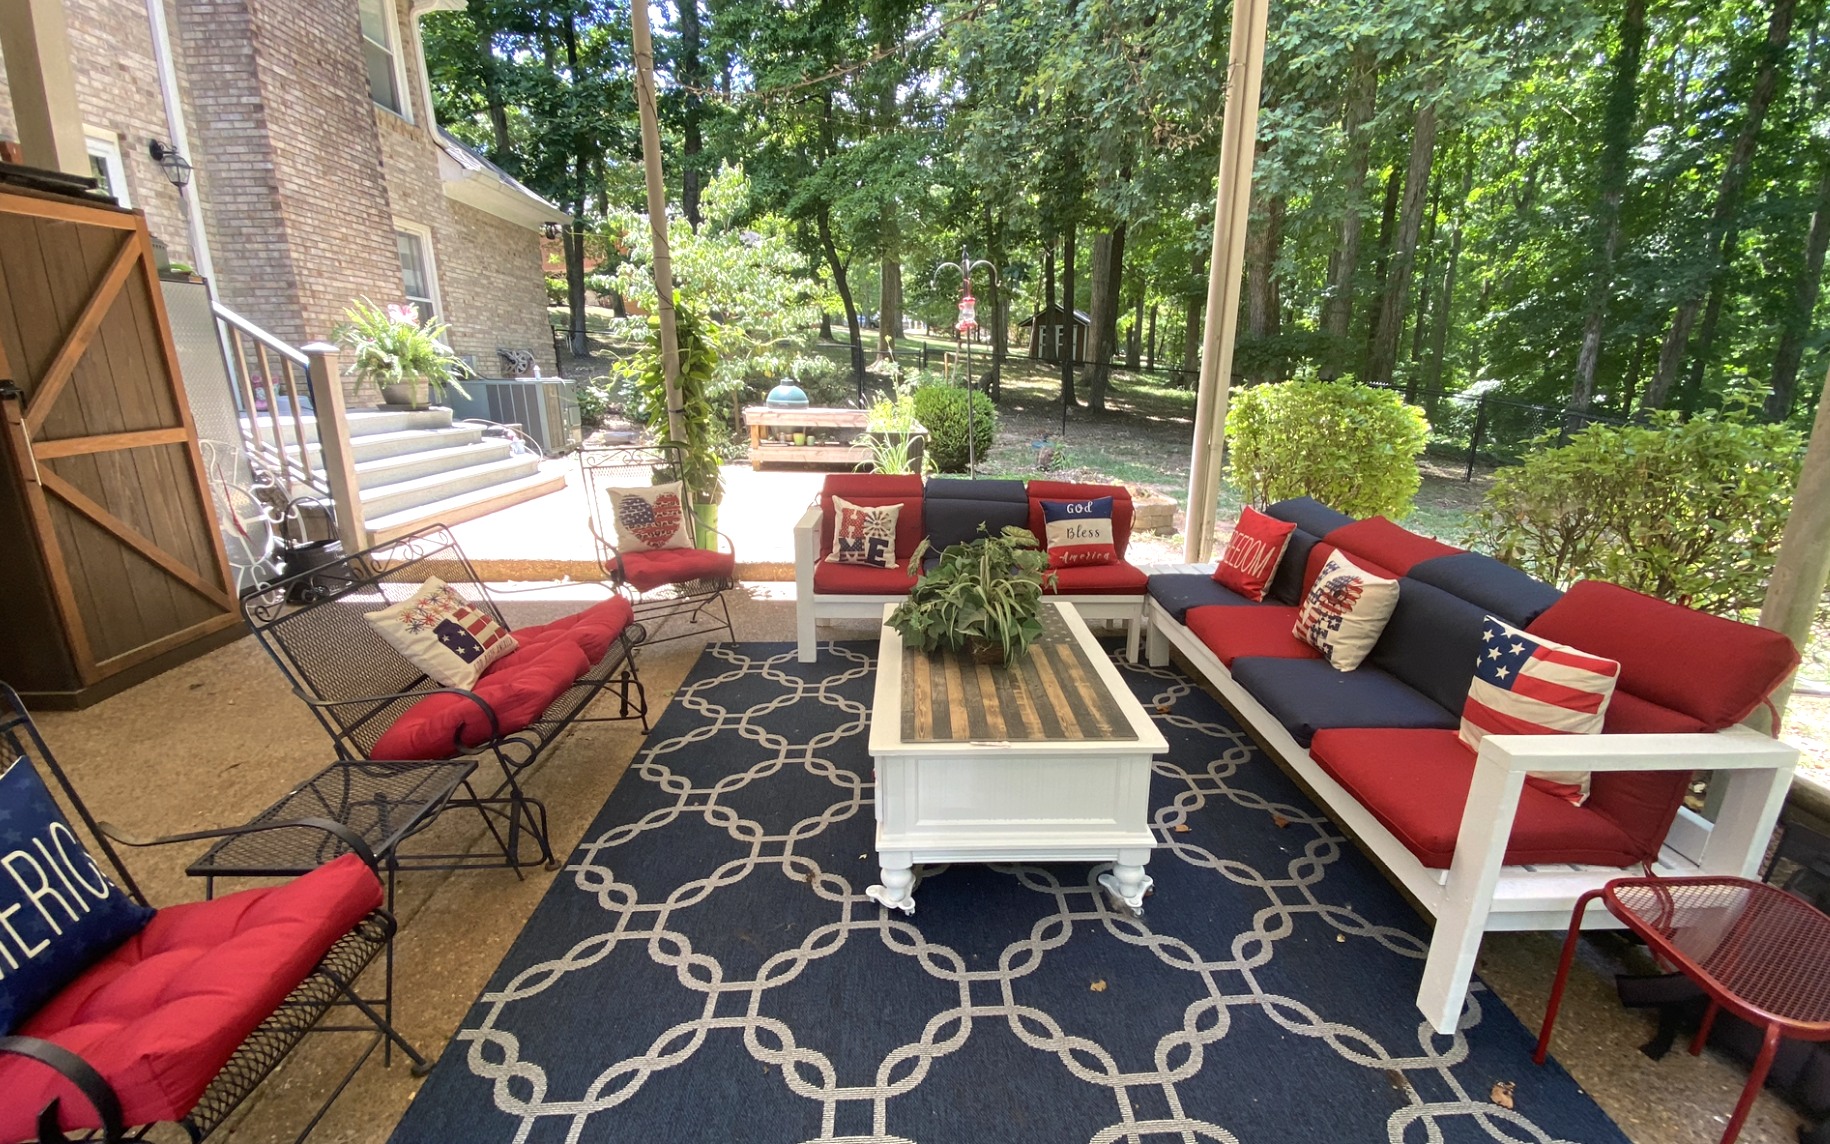
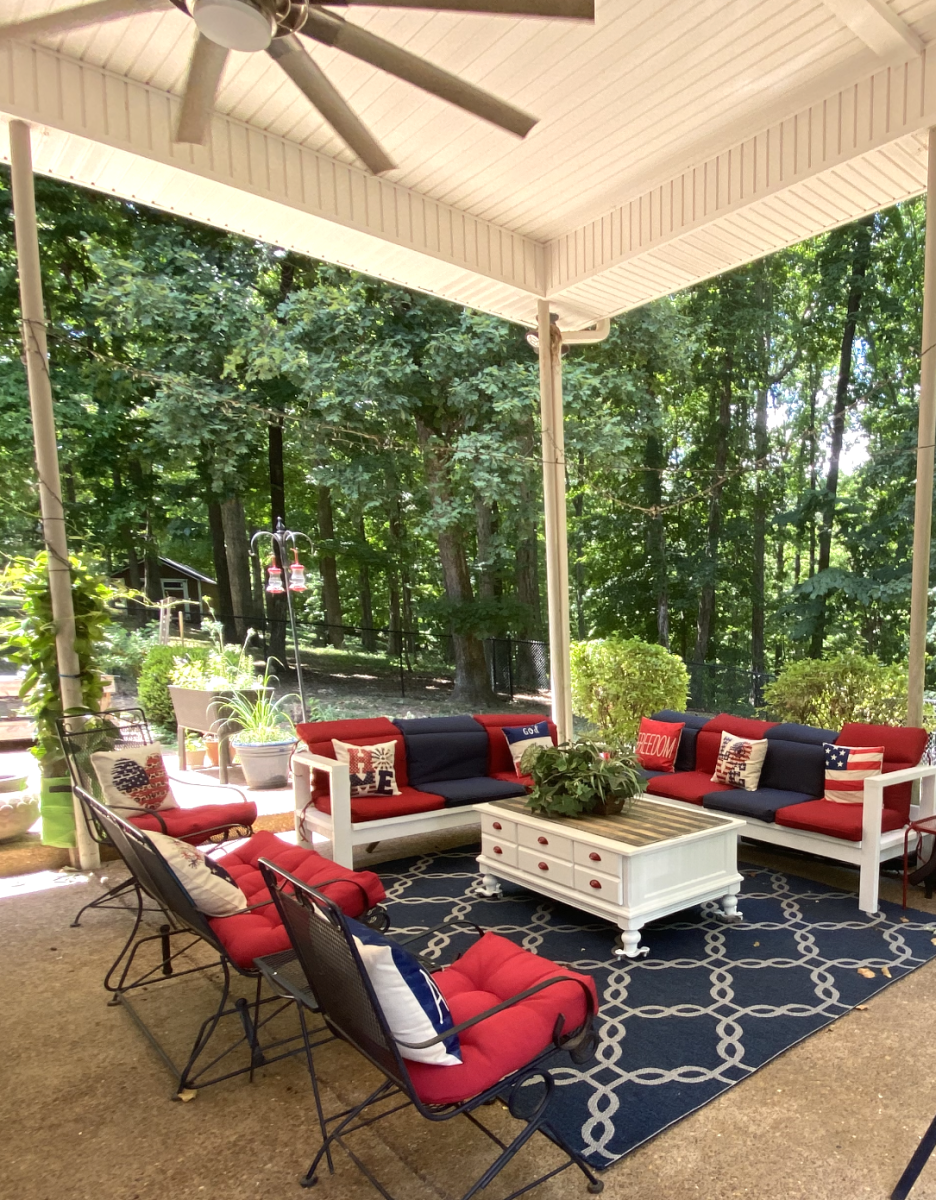
I wanted a bar lounge on my patio so I built it from your plans. We had a July 4th party for the my family. It was so nice.
Everyone was surprised I had done it myself.
I also made a corner table but unfortunately it doesn’t show in pictures.
Thank you! Your plans are amazingly easy.
Donna-Tennessee
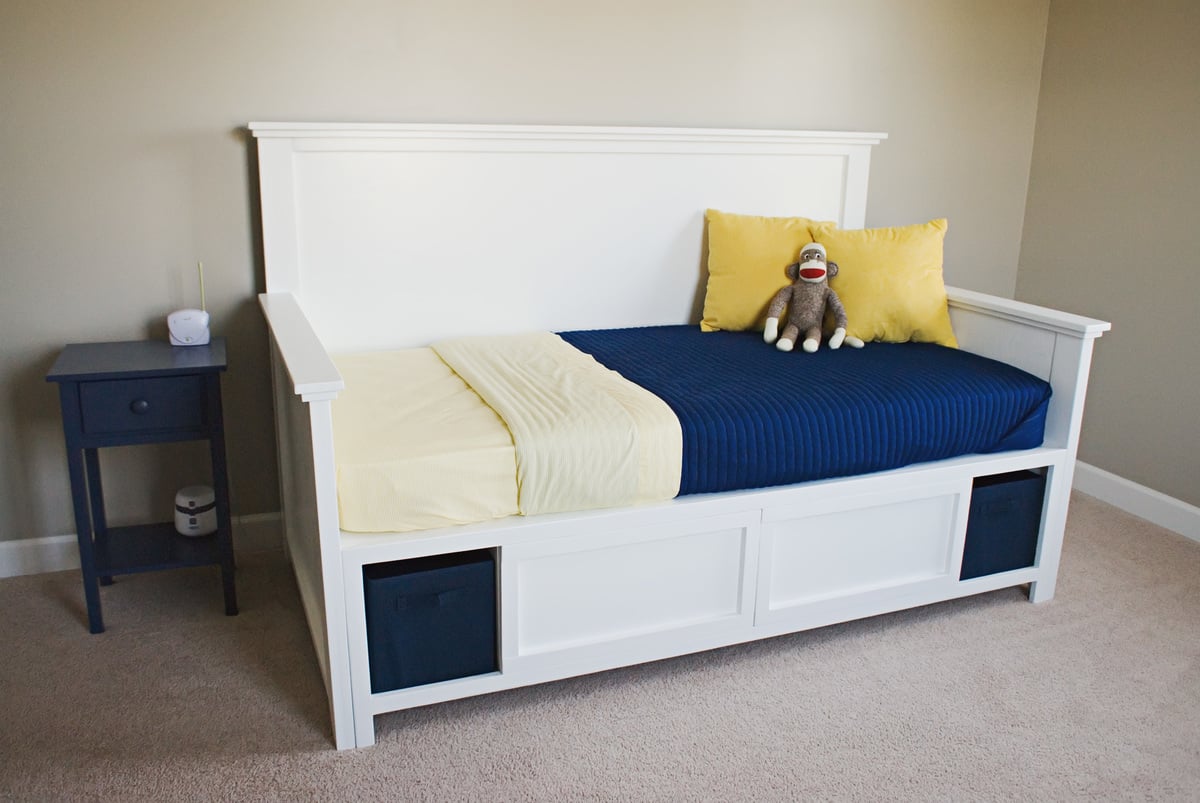
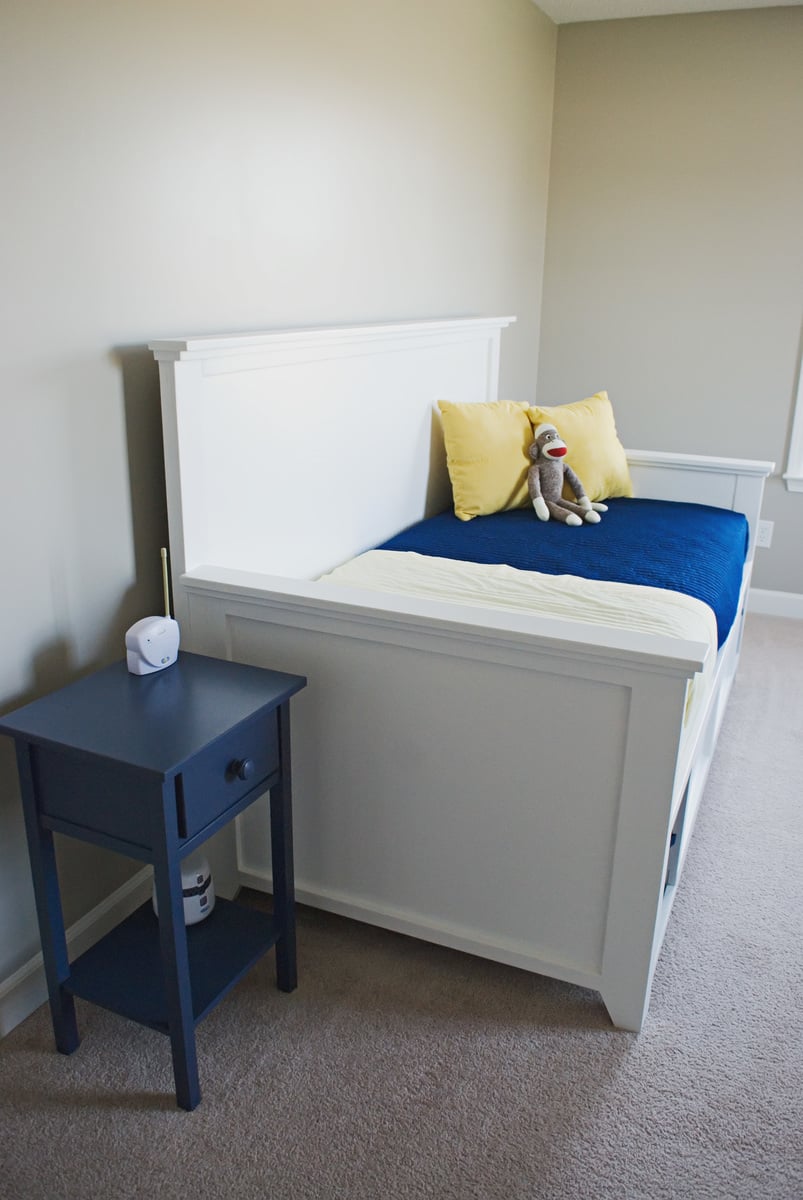
This is our second bed from Ana and definitely our favorite. This bed is one nice, sturdy piece of furniture. It went together easily and everything was right on. We did make a couple changes. Instead of putting two legs on the end of the bench in back, we put three - one where the center divider is and one on the dividers on each side of the center. We changed it so you wouldn't be able to see the bench legs from under the bed. It worked perfectly! Also, we added a 1x4 top trim to the back and arms instead of just stopping with the 1x3. Thank you so much for saving us hundreds of dollars!
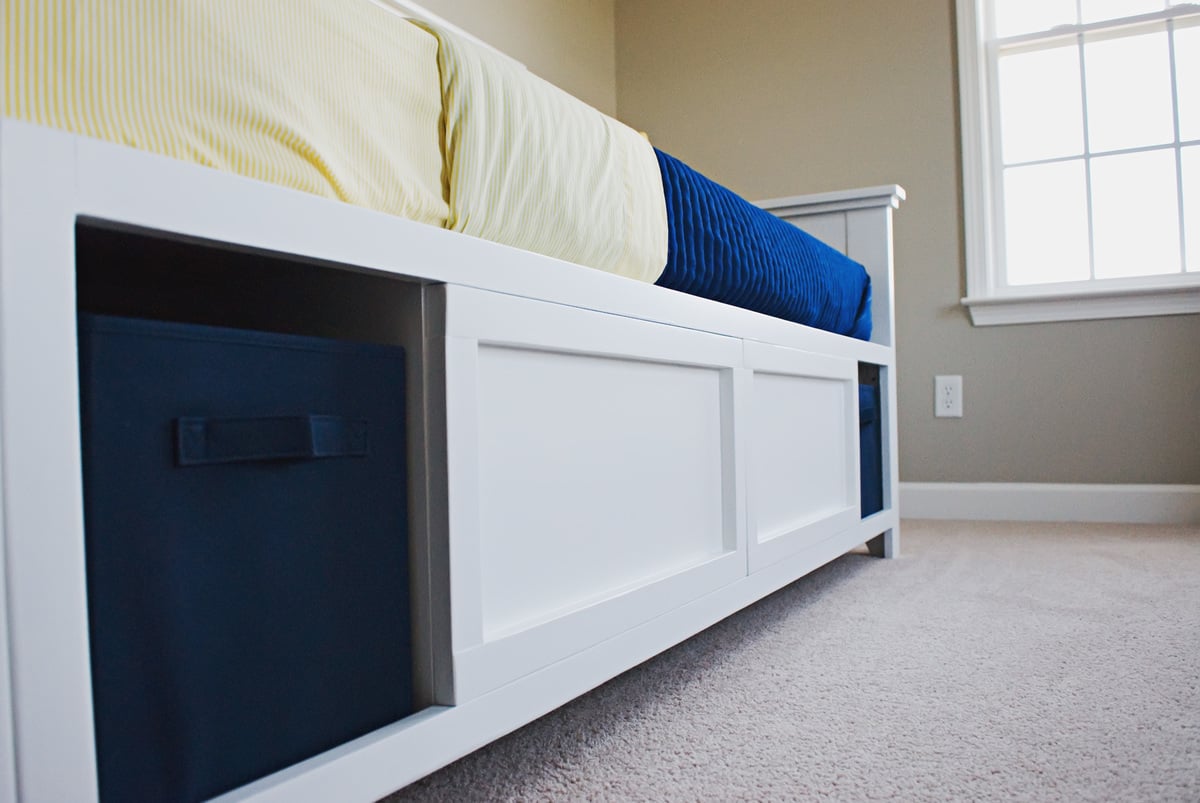
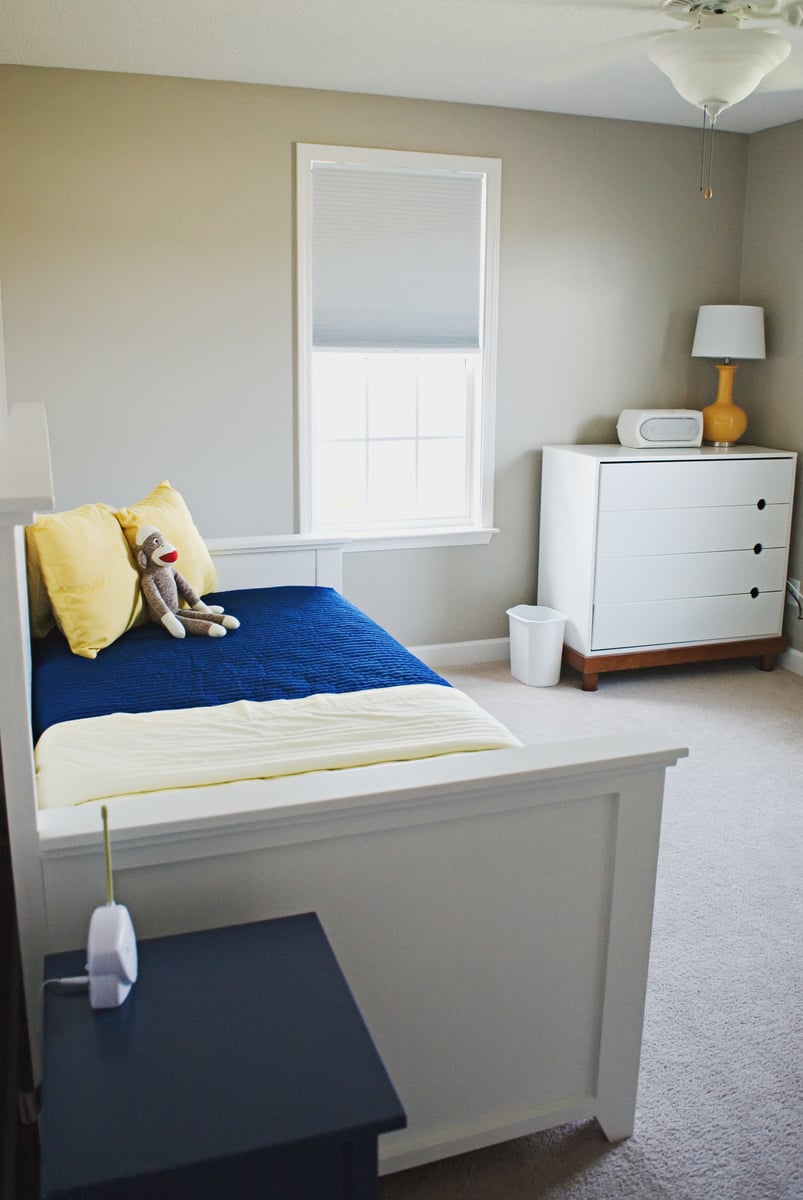
Tue, 06/18/2019 - 13:47
What a beautiful room! Thank so much for taking photos and sharing!

The top was made with reclaimed wood and we used pine for the base. We decided to go for a "chunky look" so we used 2x4's for the sides and skirt. We used 1x3's for the shelf slats and also spaced them to give it an airy feel. We had to customize the size due to the limited space in the kitchen. This was finished with an antique white paint for the base, mahogony stain for the top and finished with a water based poly for durability,


Wed, 01/22/2014 - 07:16
Hey, great job, I love the hooks on the side, good idea.
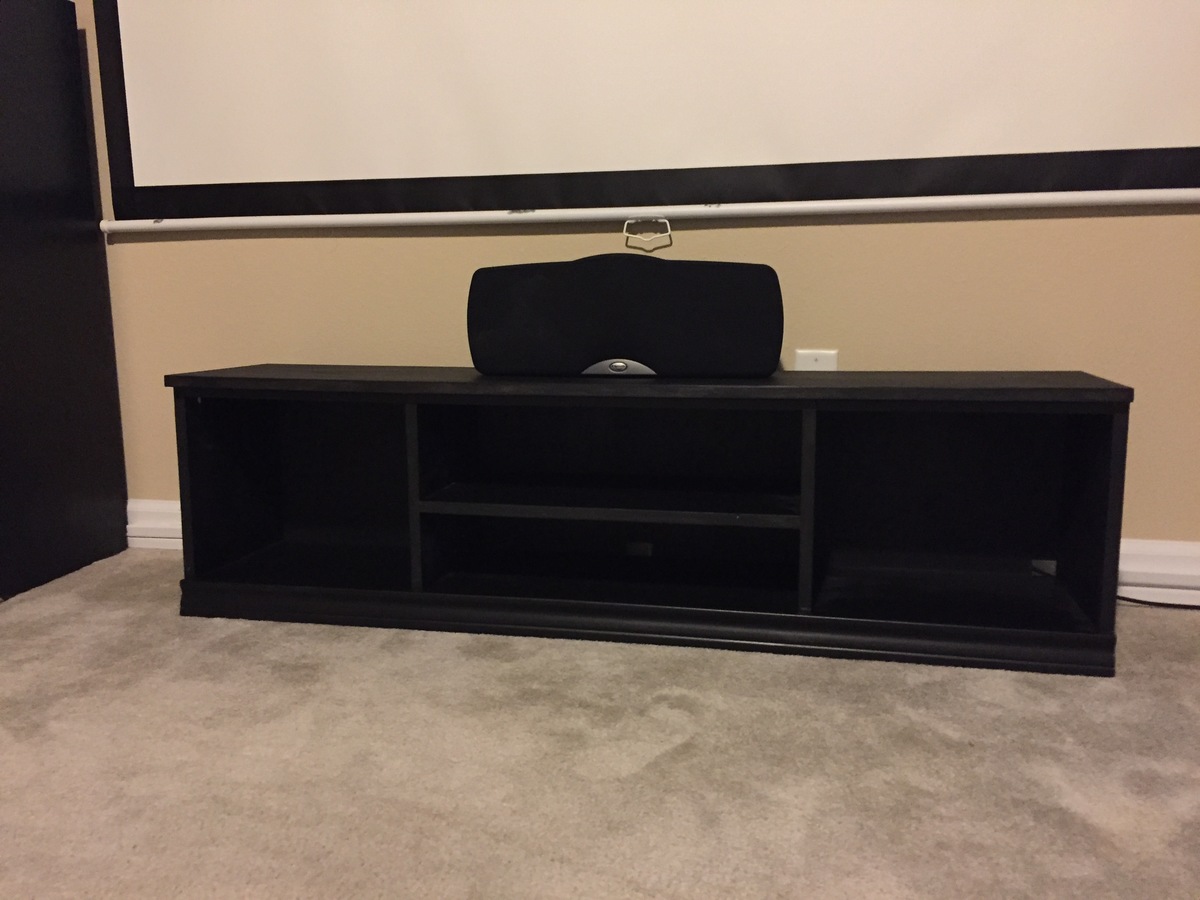
Slightly wider and not as deep as the original plans to match the other furniture in the room.

I needed a tv stand that wasn't ugly. This was one of my first projects, and I learned a lot from it. It's not perfect (the drawers don't work well), but it looks nice :)
Sun, 04/08/2012 - 22:29
I love this table! By any chance do you know the name of the paint color on the walls behind it? I have been looking for the perfect color for my living room and LOVE that color :) thanks and good work!
Mon, 04/09/2012 - 07:10
Thank you! The paint on the wall is Ranchwood by Benjamin Moore (cc-500).
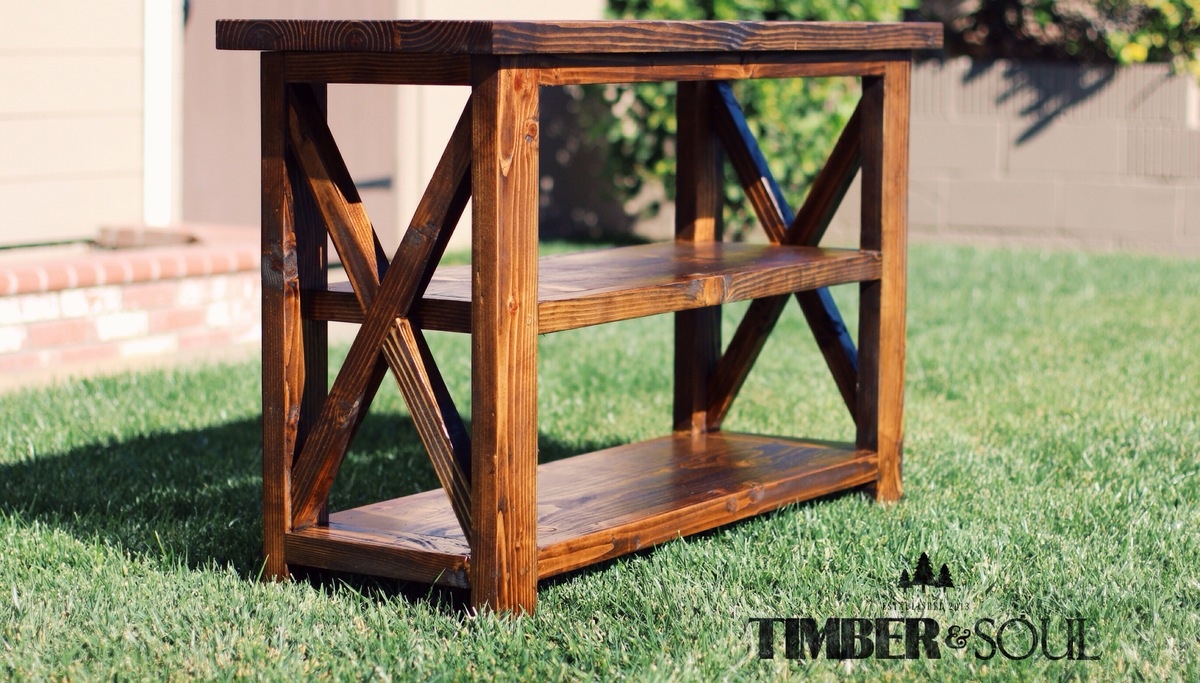
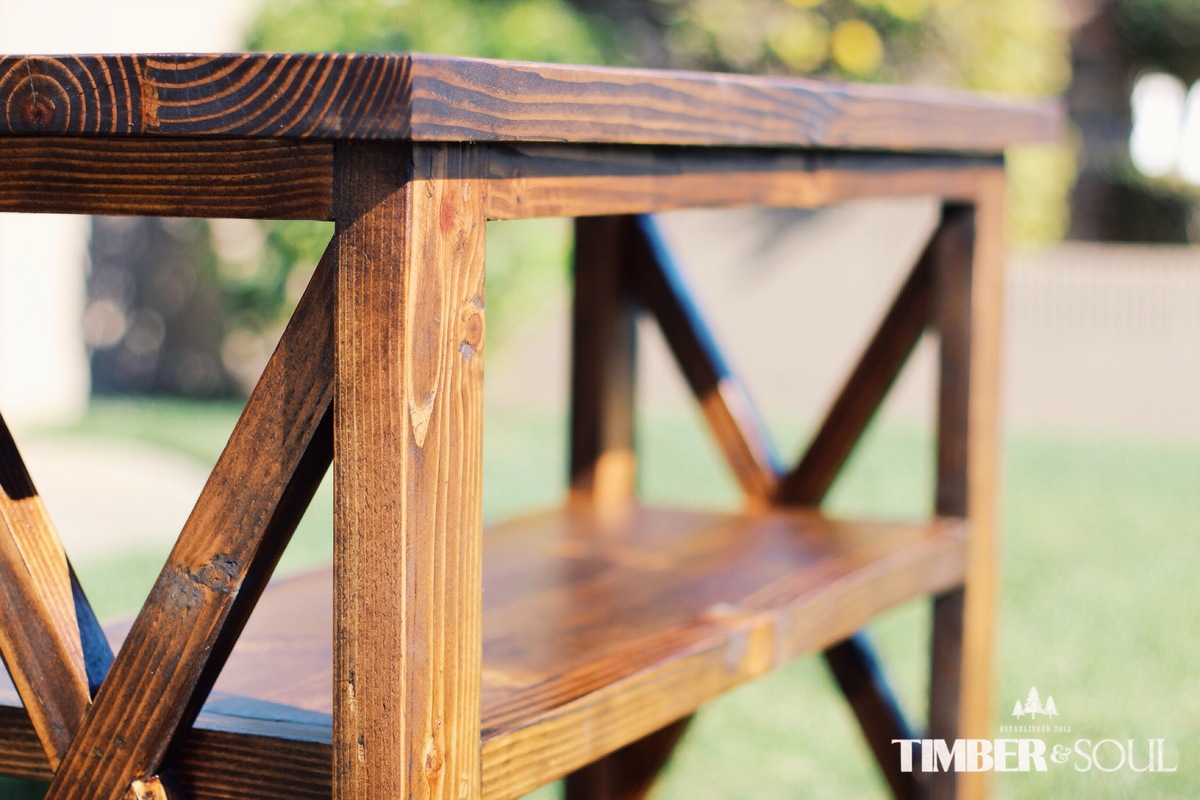
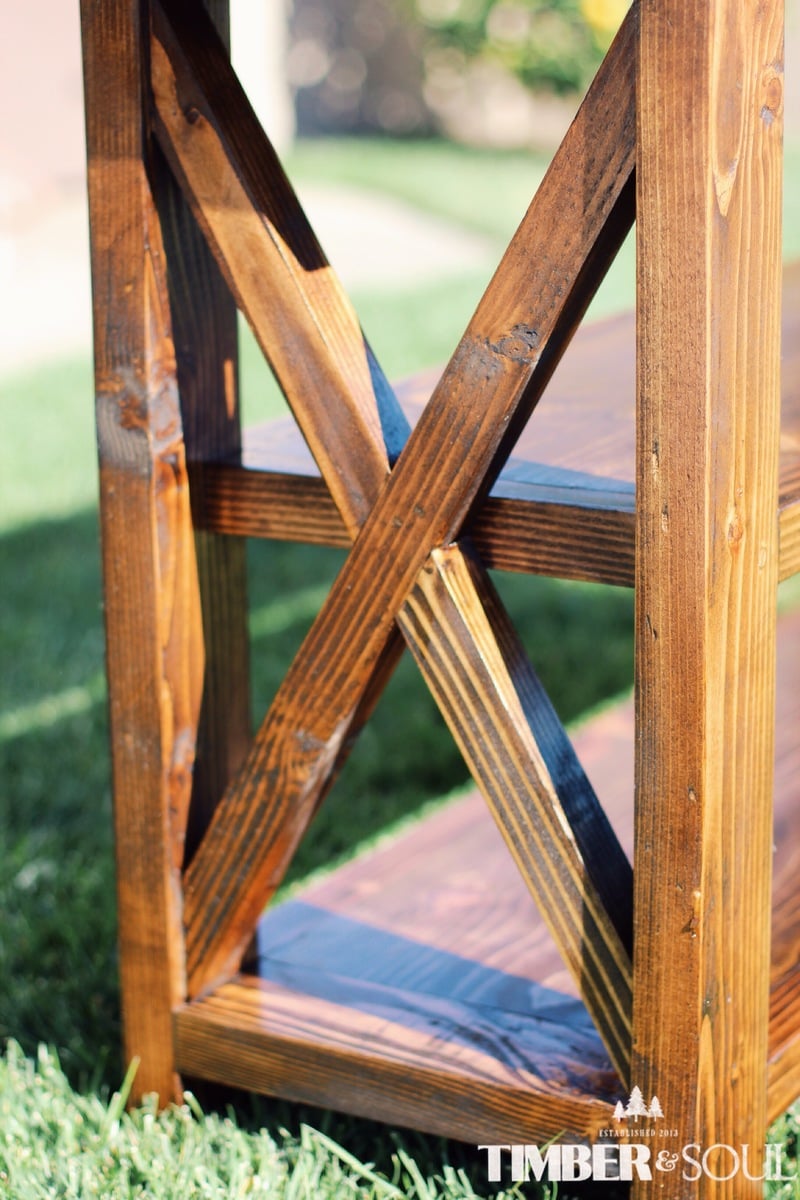
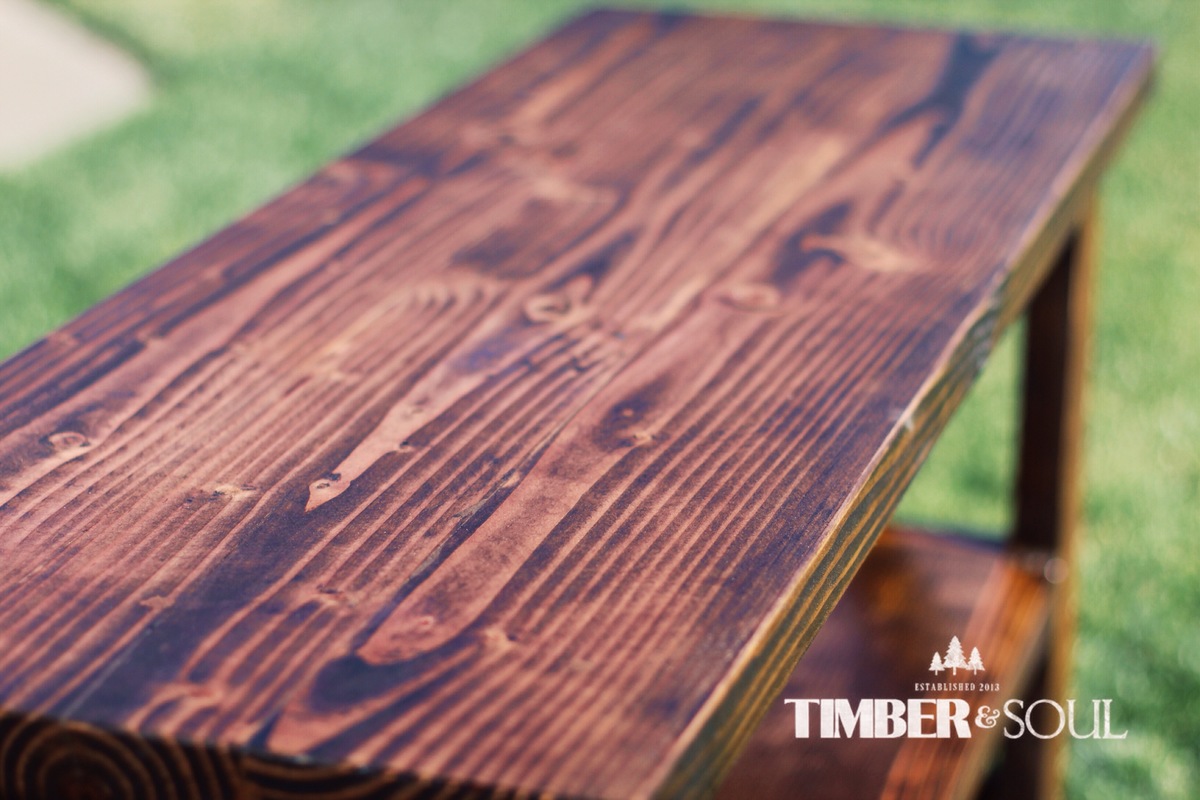
I modified ana white's plans to build a smaller x console.
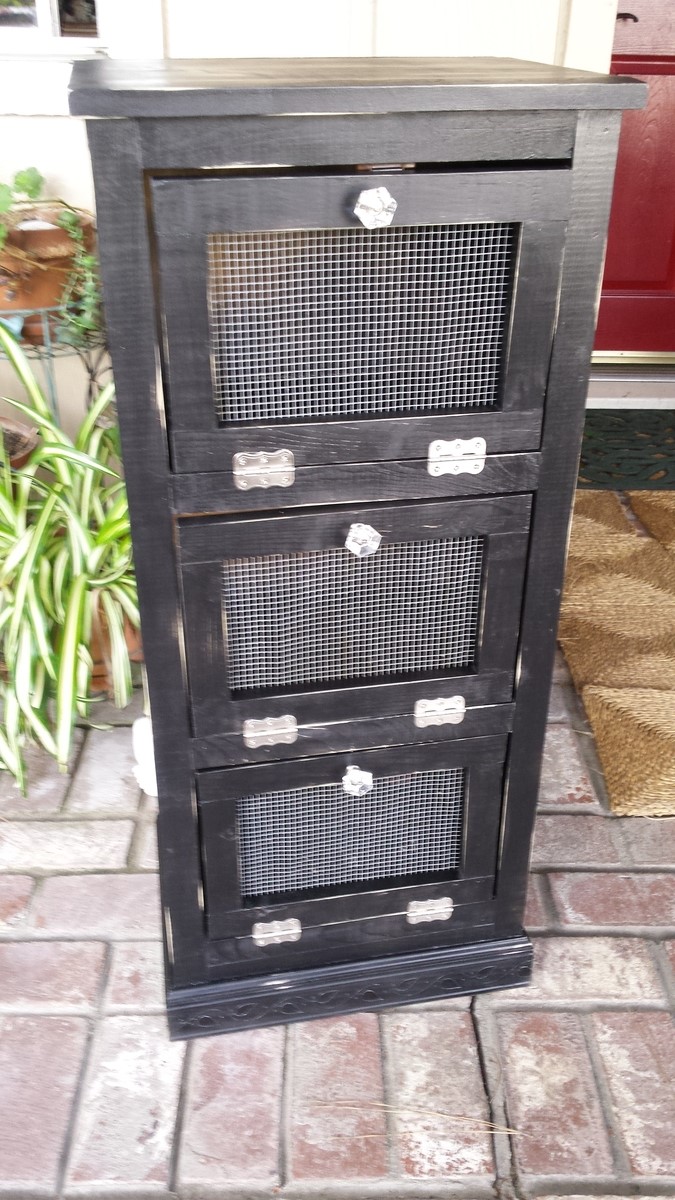
Vegetable bin chalk painted and hand distressed.
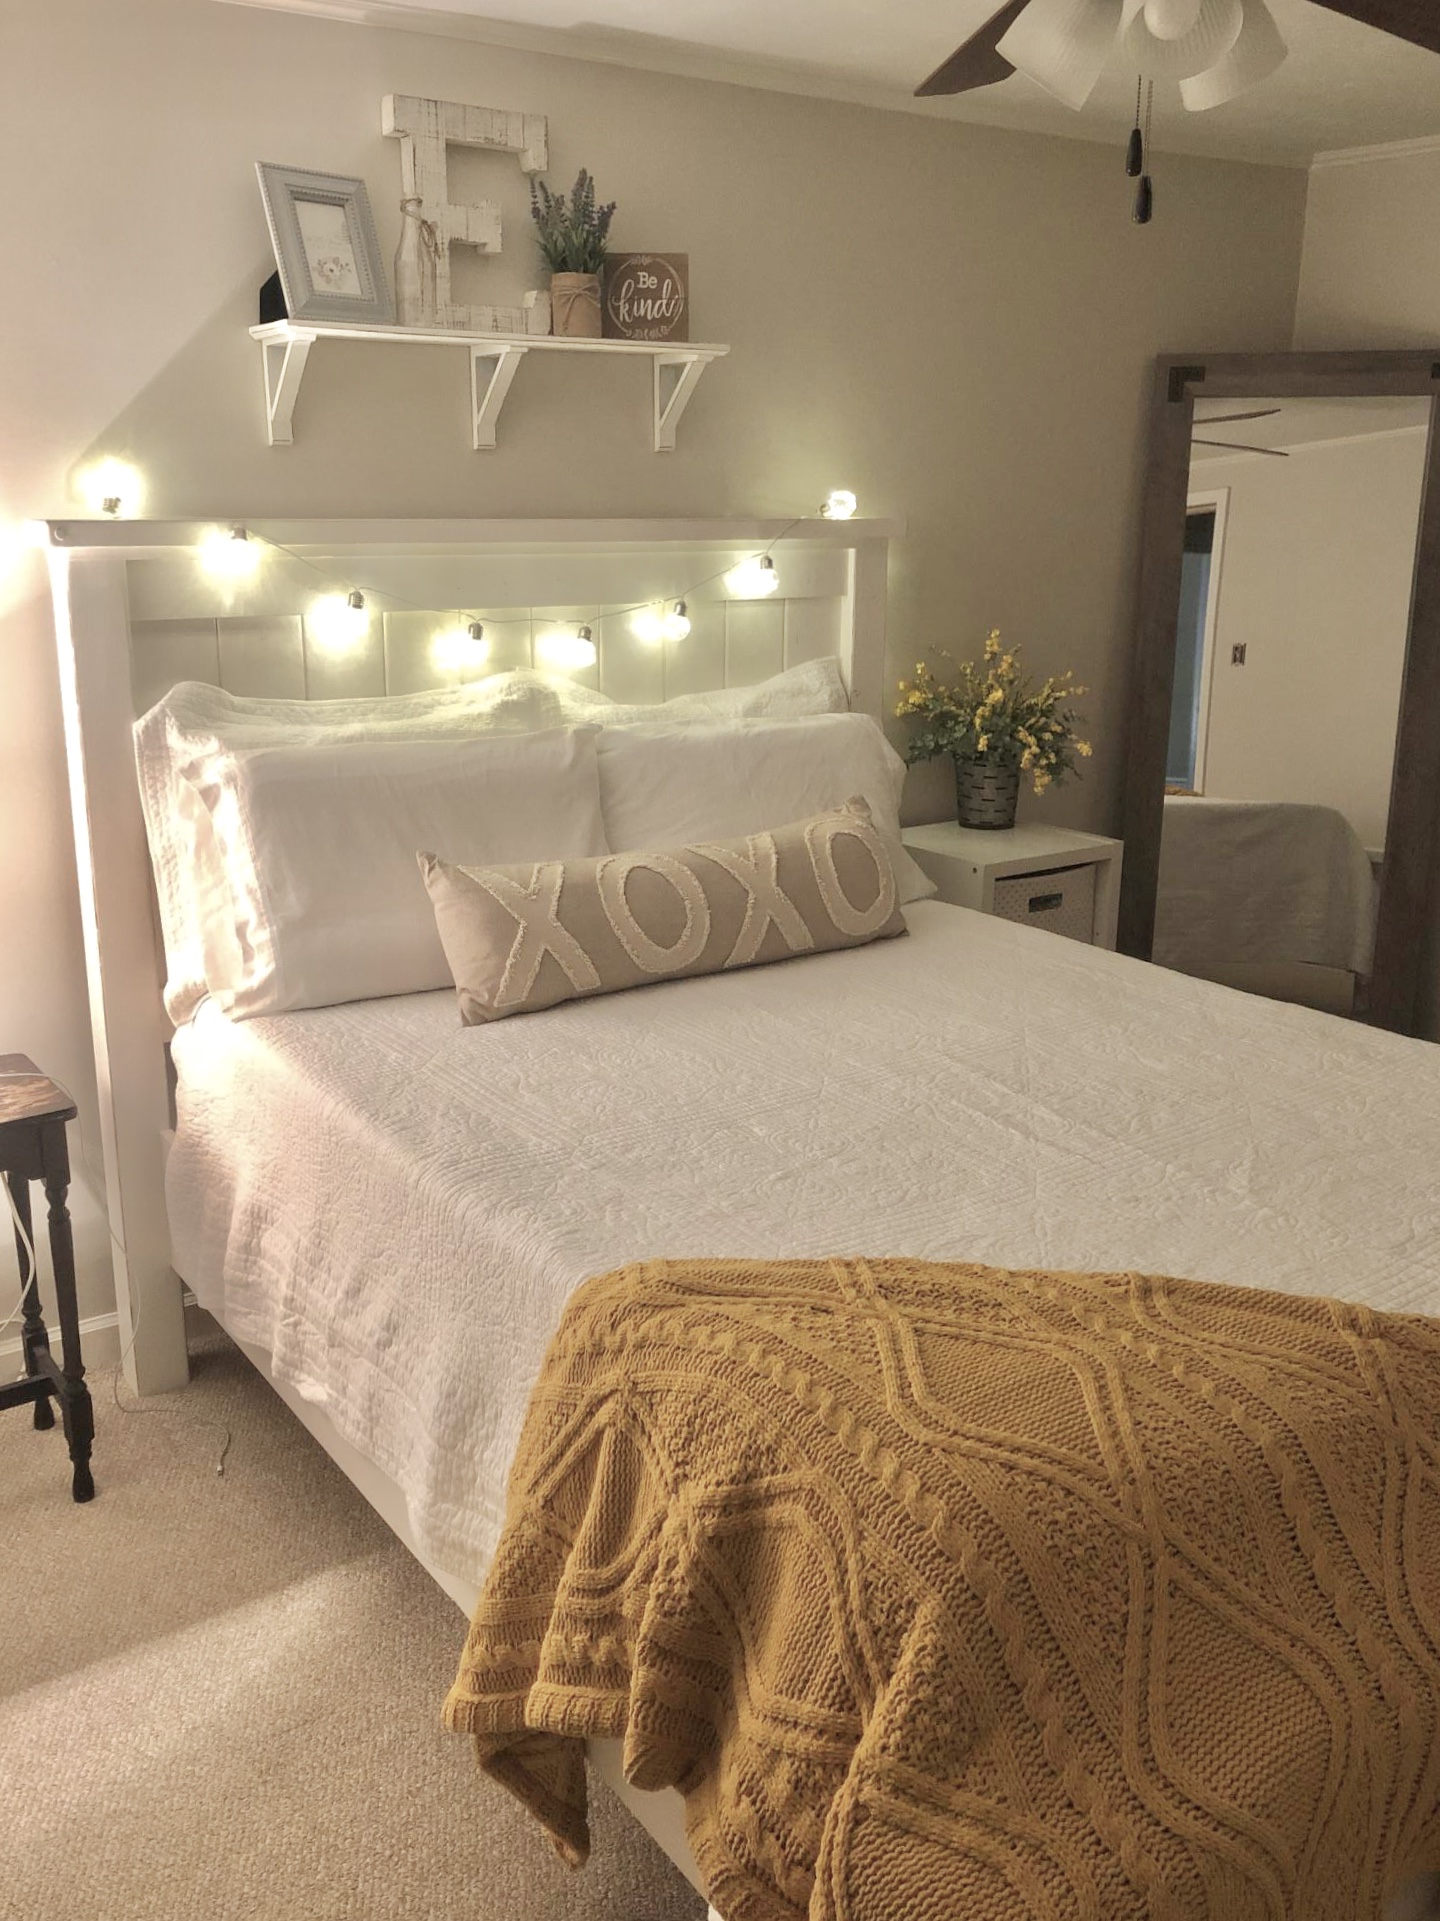
Such a great sturdy bed! Daughter loves it.
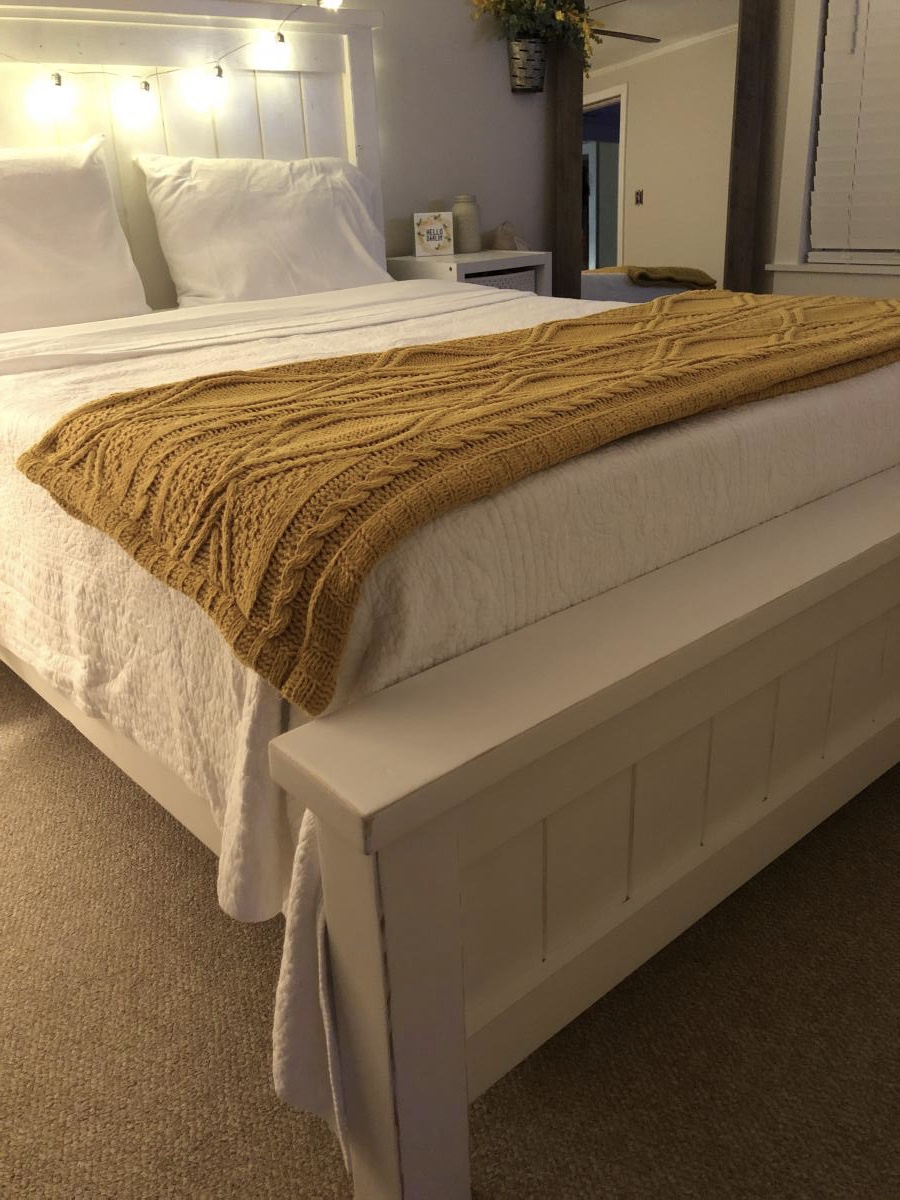
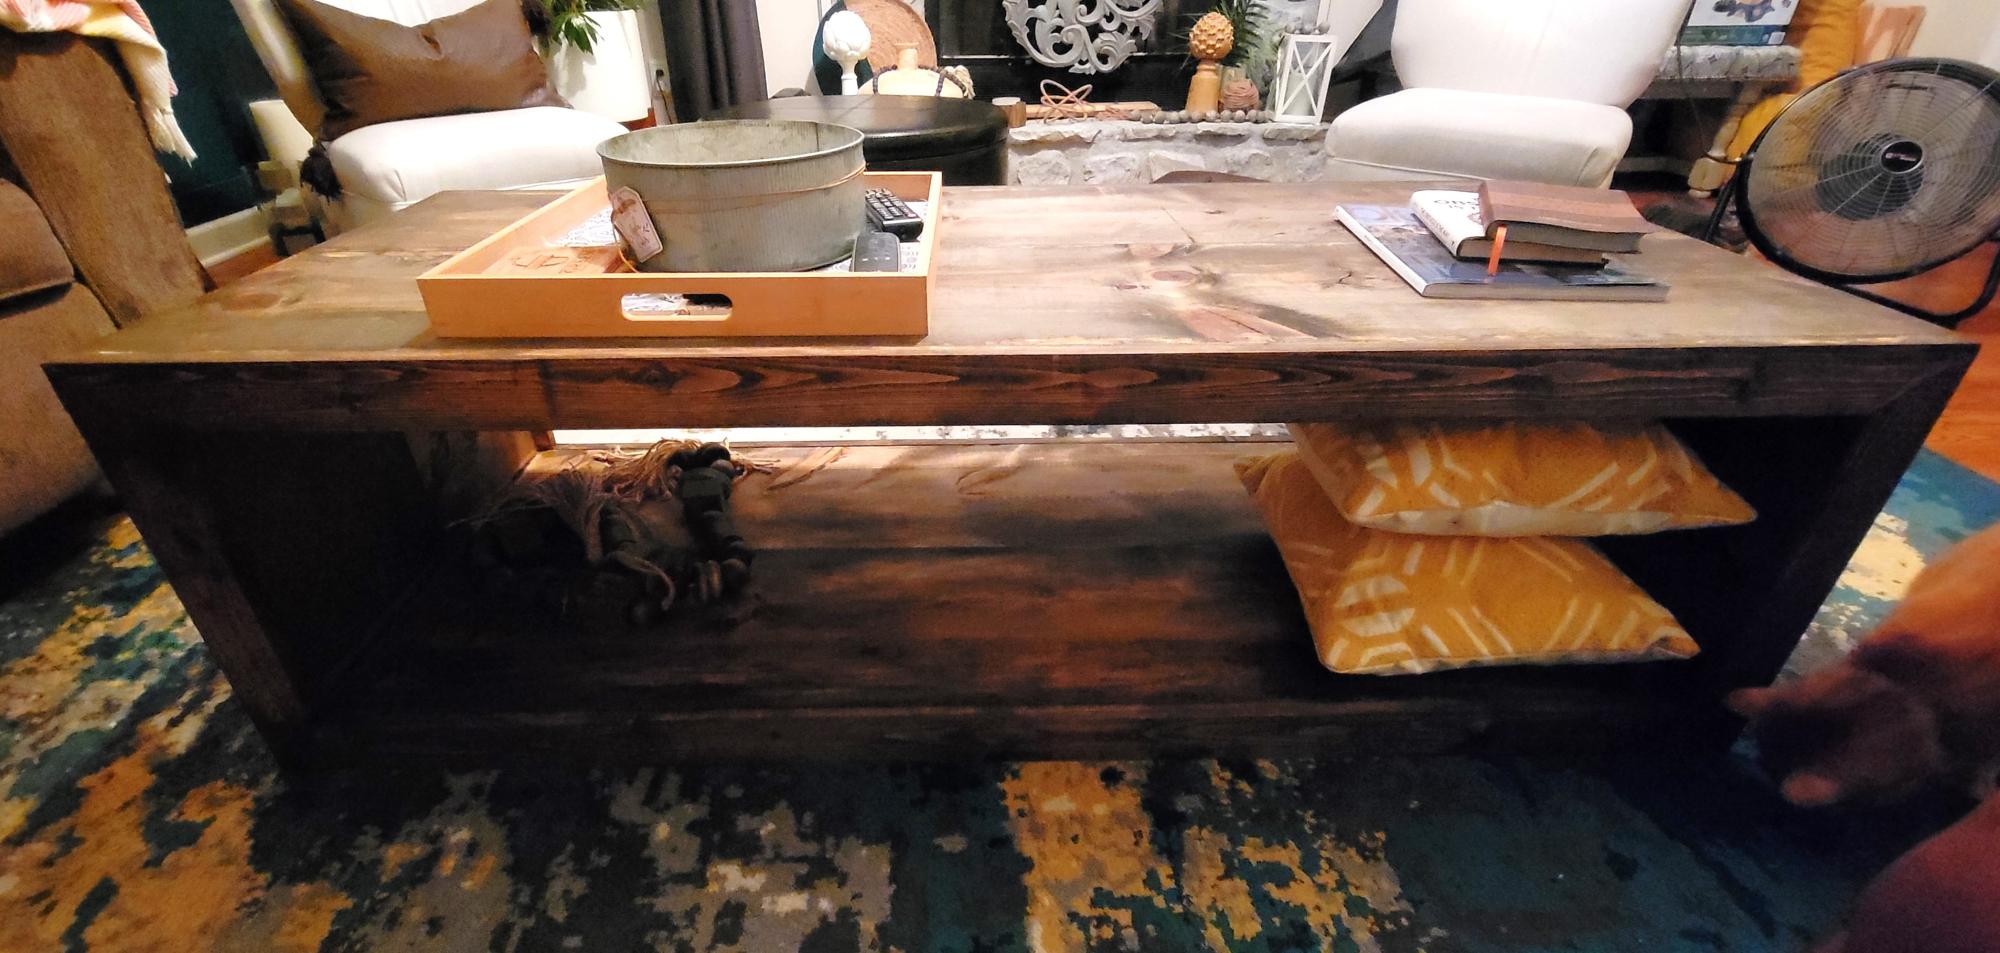
Ana White Coffee table.
Vallerie Brown
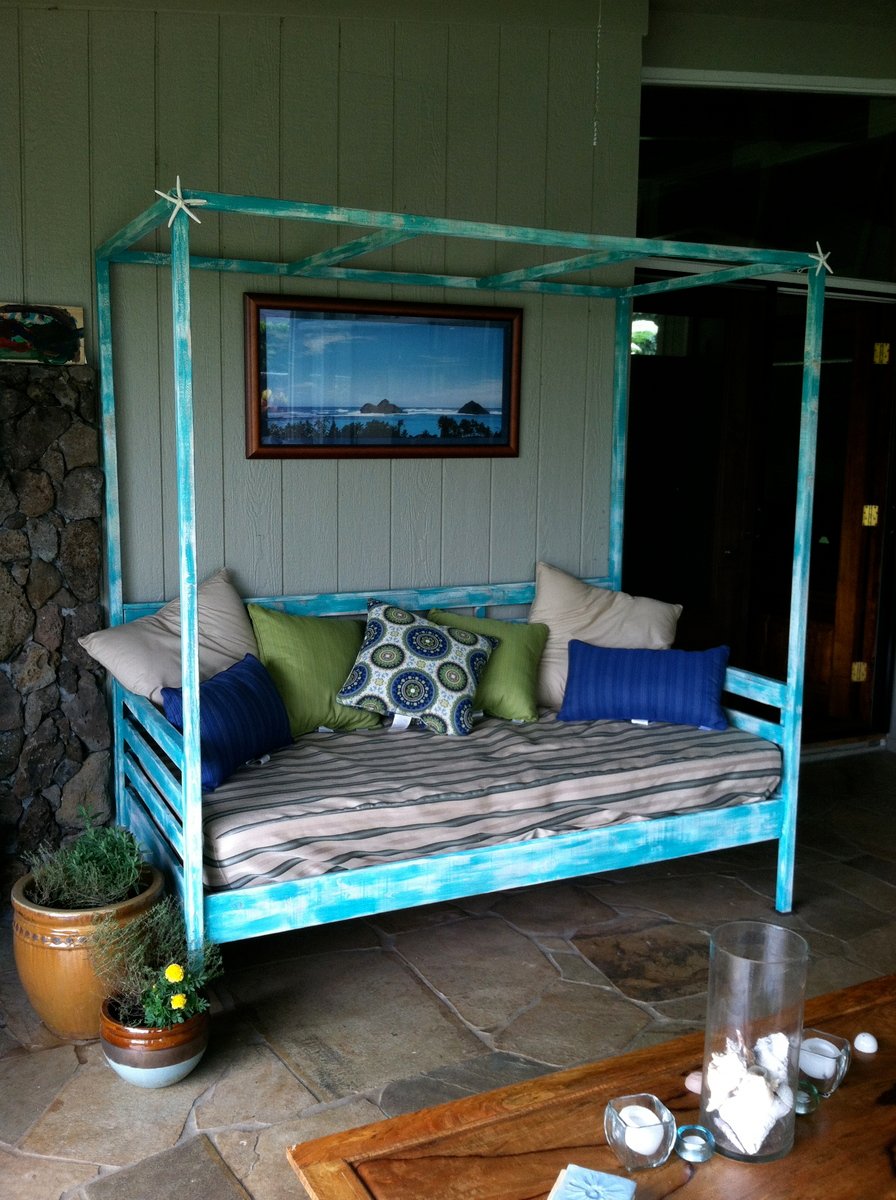
We needed a daybed for our lanai and when I saw these plans I knew it was perfect. We built the bed in a day and then painted later when we had time. It is just the place for taking a nap and because it is on a covered lanai, weatherproofing was not an issue.
We followed the instructions and it was very easy to complete! Thanks Ana!!
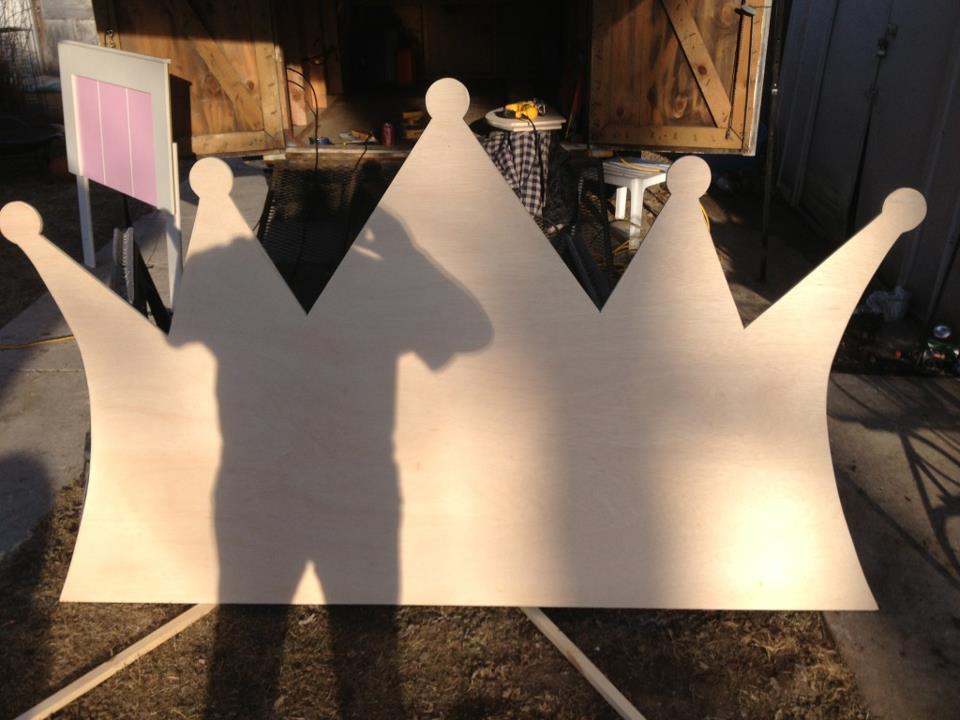
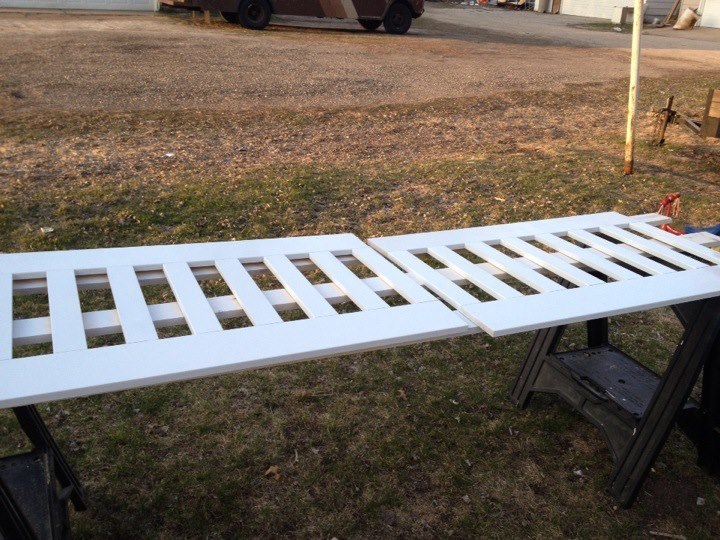
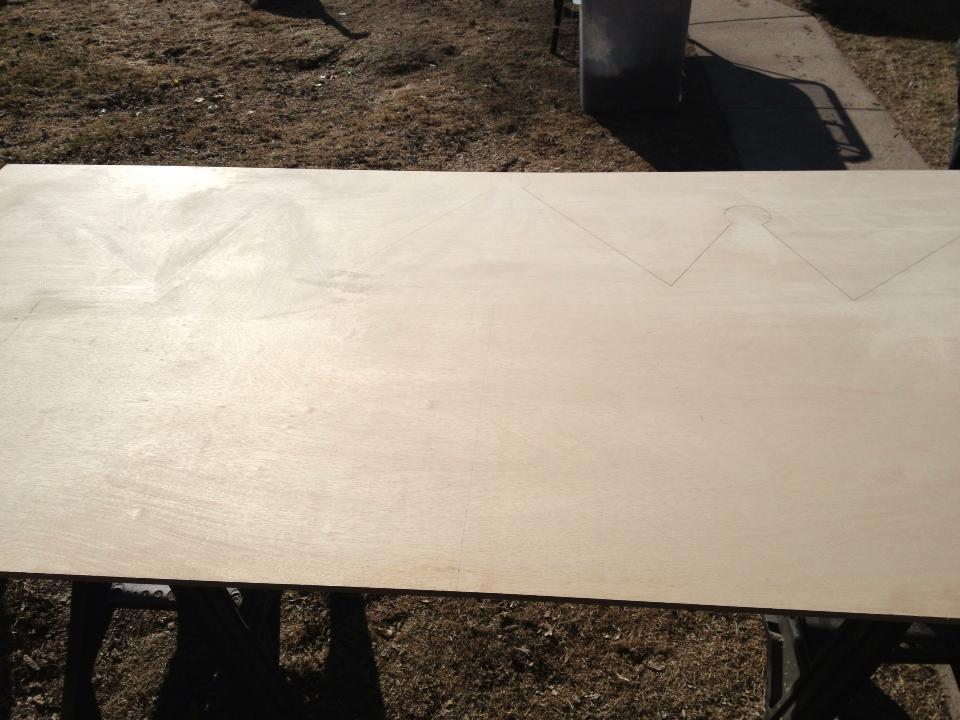
I purchased a twin girls captins bed for my daughter to grow into but she wasn't quite big enough for it yet so I had my husband convert it into a twin size crib!!!! Im in love with how it turned out. My husband Free hand a crown on a sheet of ply wood and cut it out. I used quilt batting and covered it with pink material and did the tips of crown in purple.
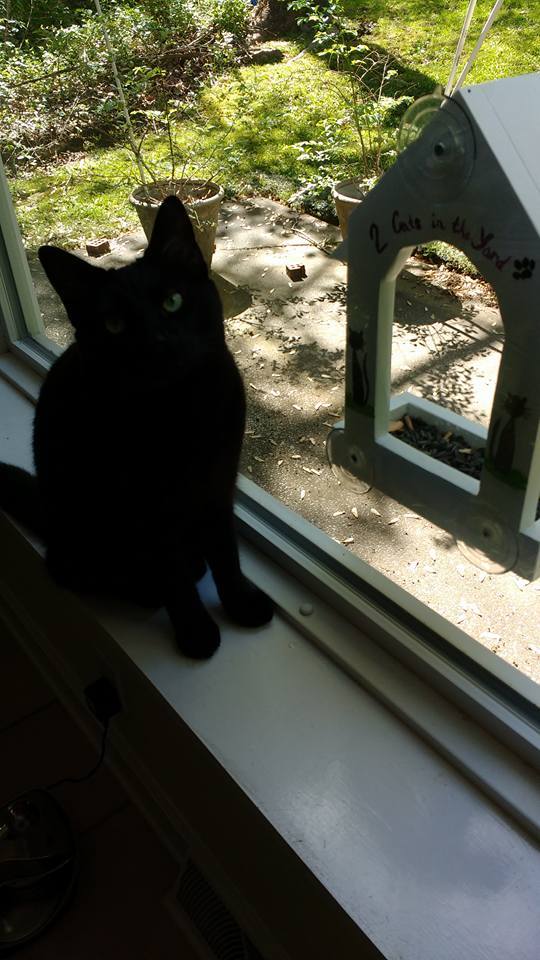
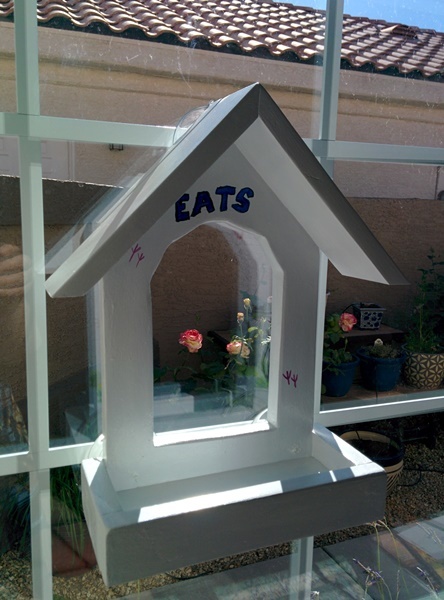
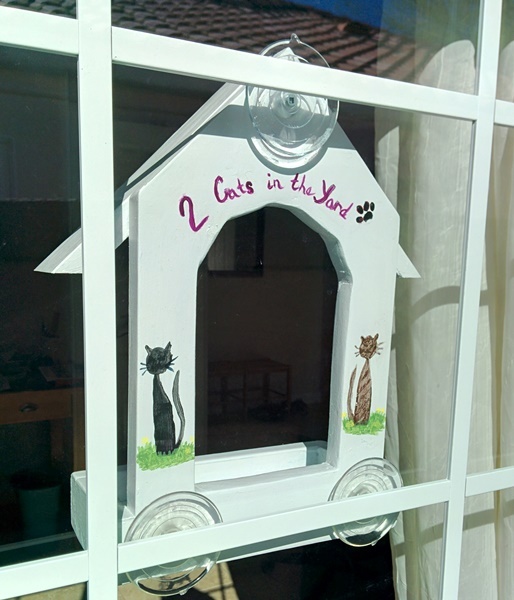
Made the birdfeeder by Ana for my Daughter in-law's birthday. She loves it and so does her cat. My bandsaw stopped working, so had to cut the center out with an oscilatting saw. Surprisingly it worked really well.
The hardest part was figuring out where to get suction cups without the hooks on them. Ended up at Michaels where I found some rated for 7 pounds of weight. They seem to be holding up well. I ended up screwing them into the back of the birdhouse. Tried construction adhesive and it just did not hold.
Mon, 04/18/2016 - 08:34
I always have such trouble posting brags to this site. It takes about 7 tries to do it. You have to have the exact URL of the plan you are basing your brag off of, and then it loses the links to the pictures. Finally got this one posted and now it doesn't show up on the front page in the brag area. I have tried viewing it with both Chrome and Internet Explorer. Really frustrating.
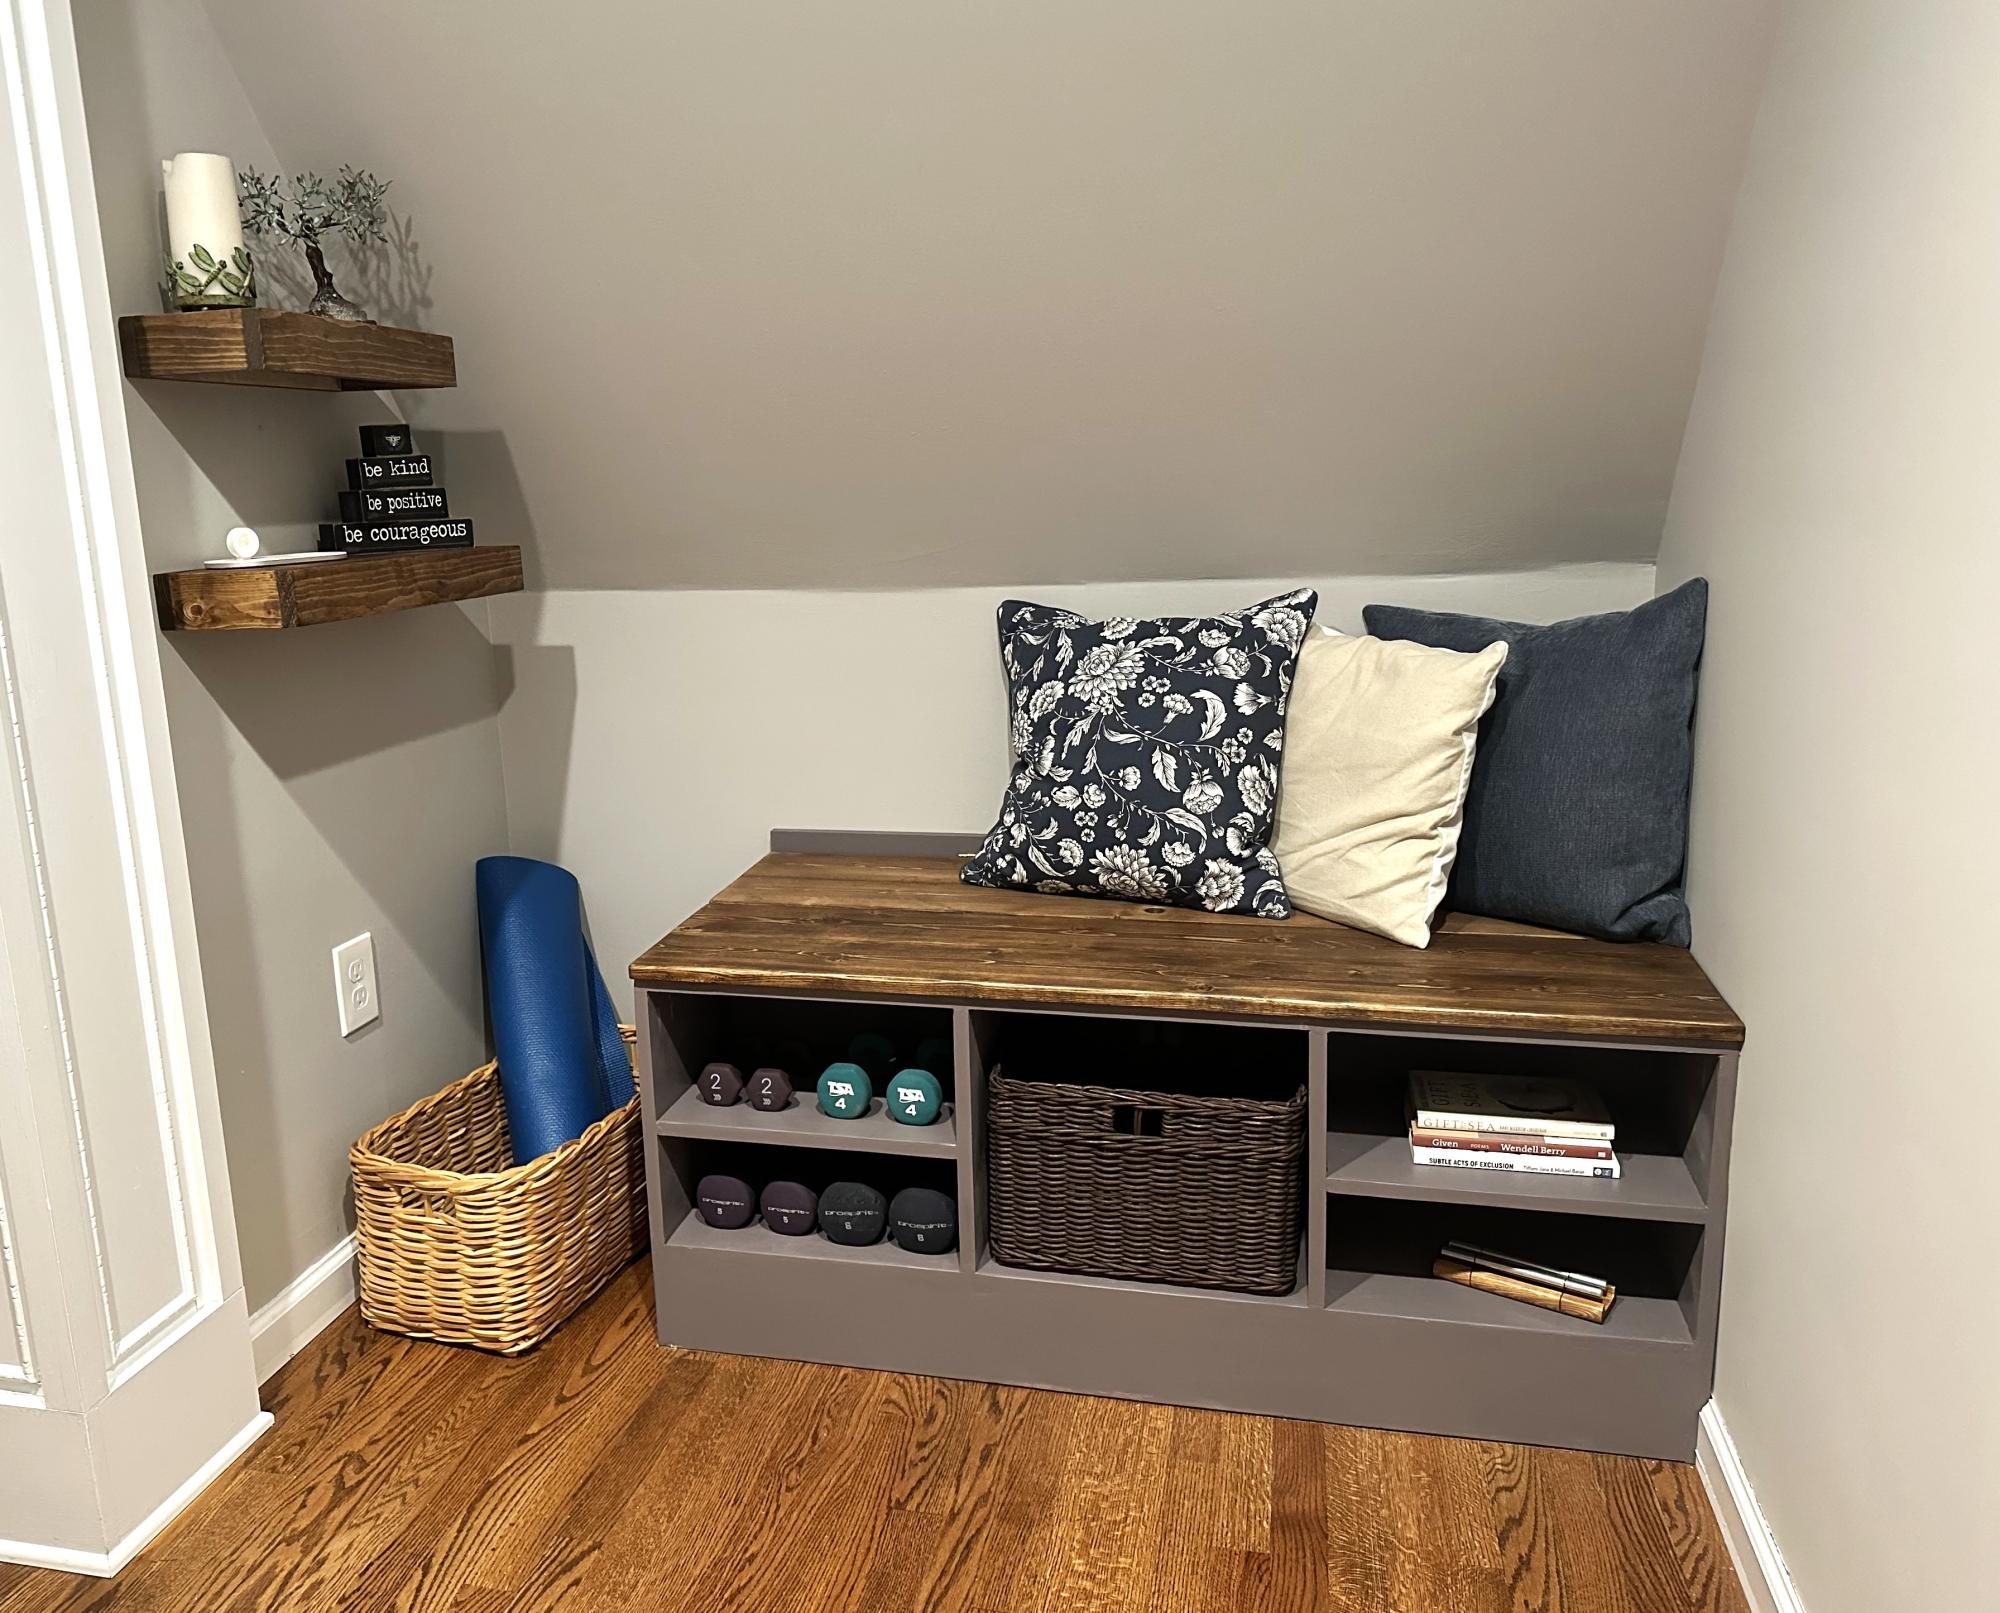
Exercise/Yoga nook. Built using the base plans from Ana's Shoe Bench Front with Hidden Storage and Easy to Build Floating Shelves.
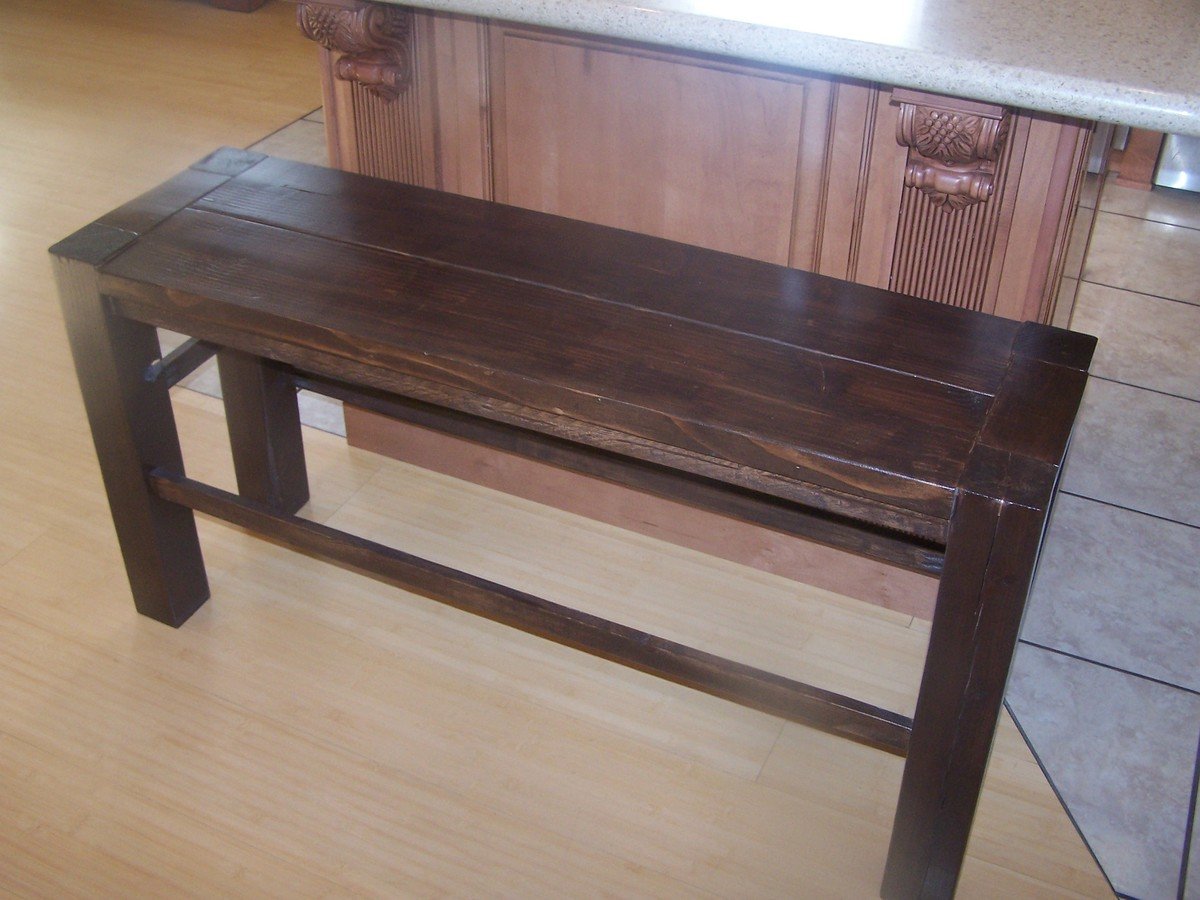
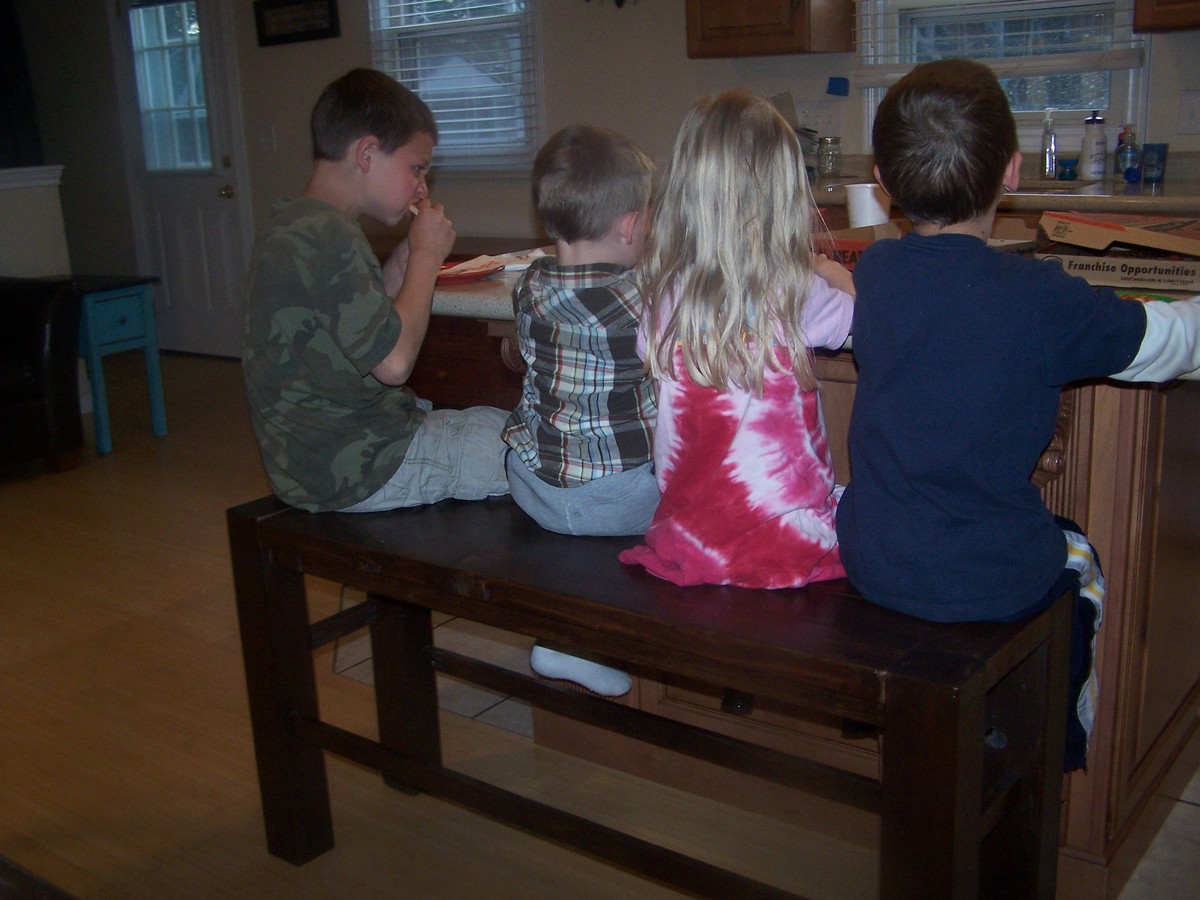
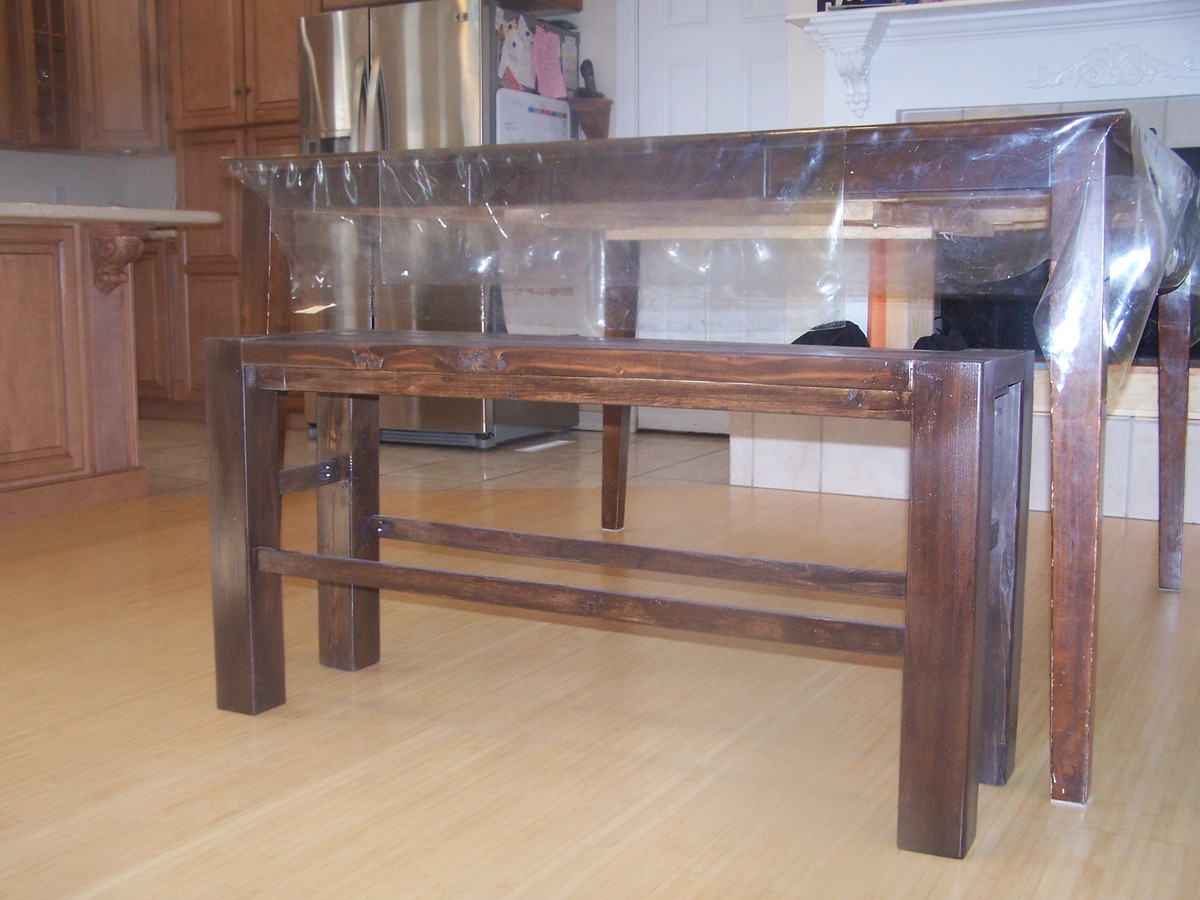
I have been wanting a bench for my counter for sooooo long! I loved the Big Ur bench and finally got up the nerve to adjust the plan to be a counter height bench.
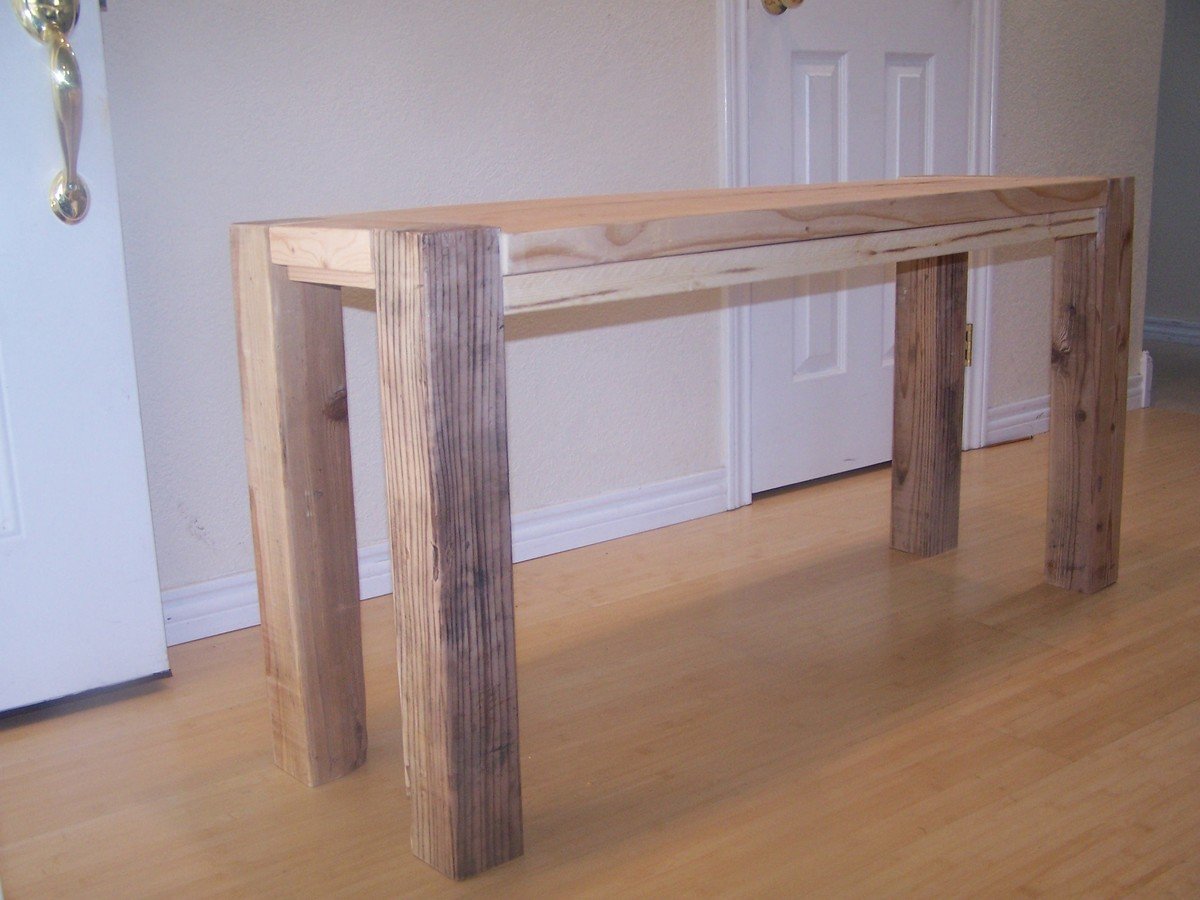
Since I am so cheap, I like to collect wood from the free section on craigslist. And that is how this bench came about! I had these 4x4's (well actually they were a little small and had to adjust for that as well) And these great top boards, which were a little warped, I think it just adds a little character to the bench to not be totally perfect, like me! :) (that was a joke, I am FAR from perfect!)
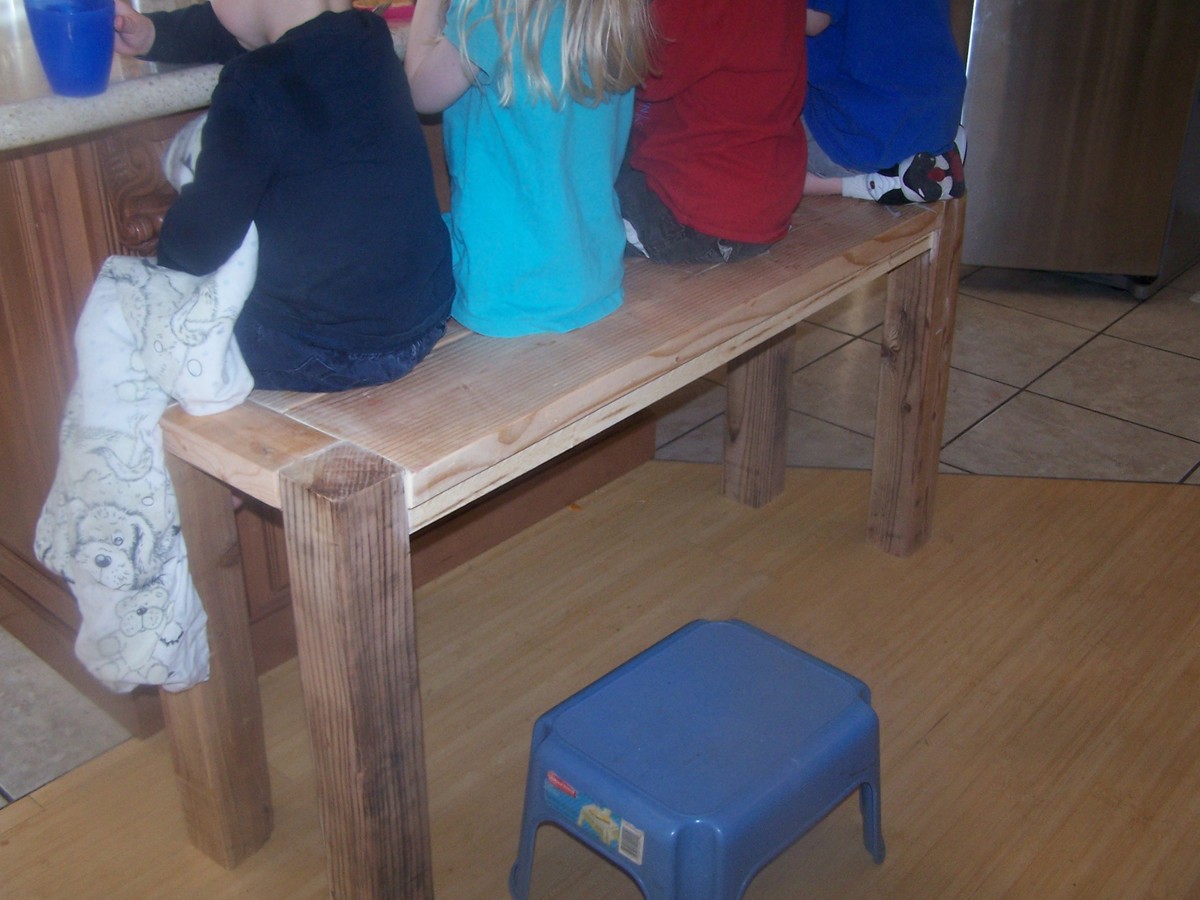
I made it like the plan, and as you can see from the unfinished picture my little ones needed a stool to climb up on the bench. So I added some 1x2's to give them a ladder for climbing. I love how it turned out and the best part is that it fits at my table as well!
Now my husband thinks I should build a smaller one for the short side of the island. We have six kids and this bench only fits four....we'll see.....
In reply to Well.. by Bunnie1978
Thu, 04/12/2012 - 13:12
Yeah, you could say I am crazy, in a good way! I do feel like a chicken with it's head cut off sometimes, but I am not sure I have a handle on things, does anyone? It's fun though! Thanks for the comment on the bench, and I am WAY impressed with your son's playhouse loft bed, I am still trying to find courage to tackle a project that impressive, great job!
Thu, 01/21/2016 - 09:44
You did an excellent job on this! I'd love to build something similar, but with upholstery on top.
BTW, I adore large families, and know that your six little ones must be a great blessing!
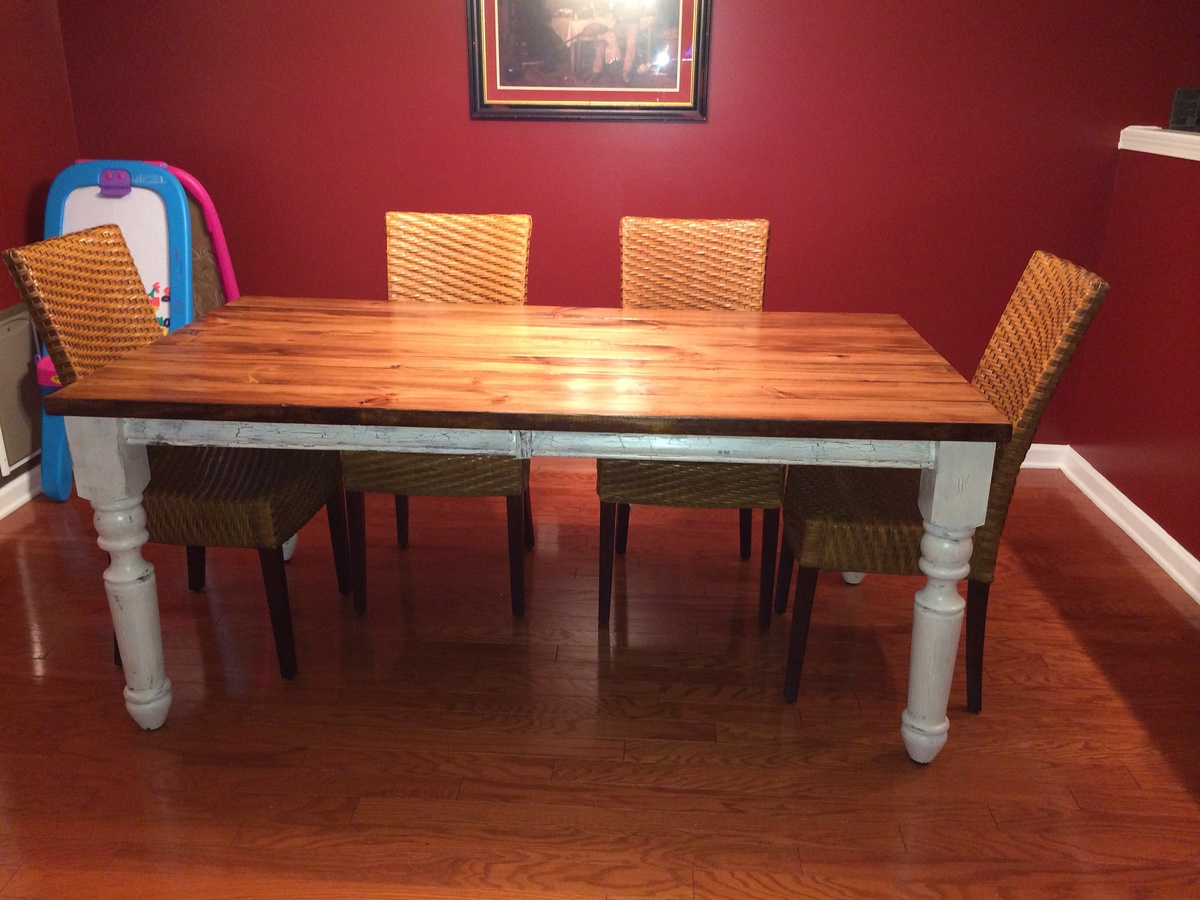
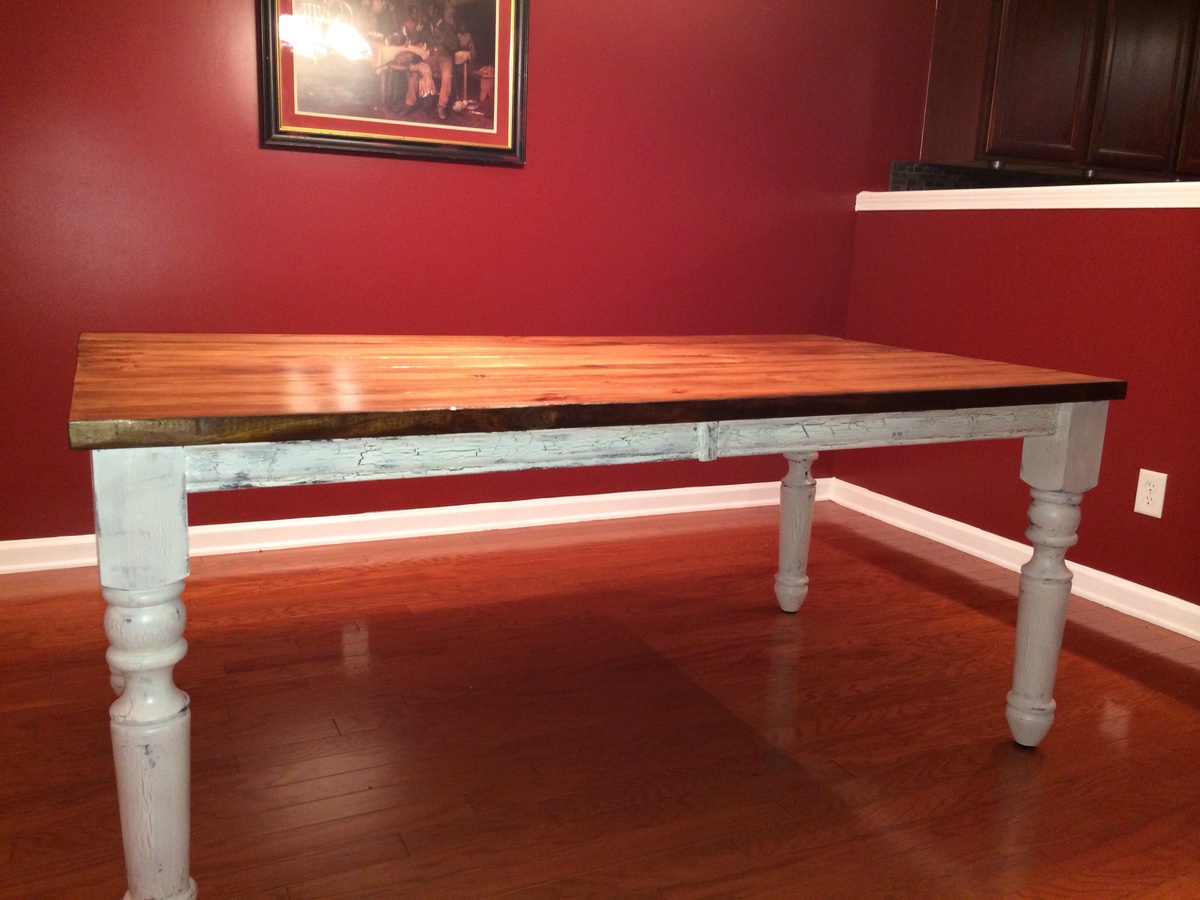
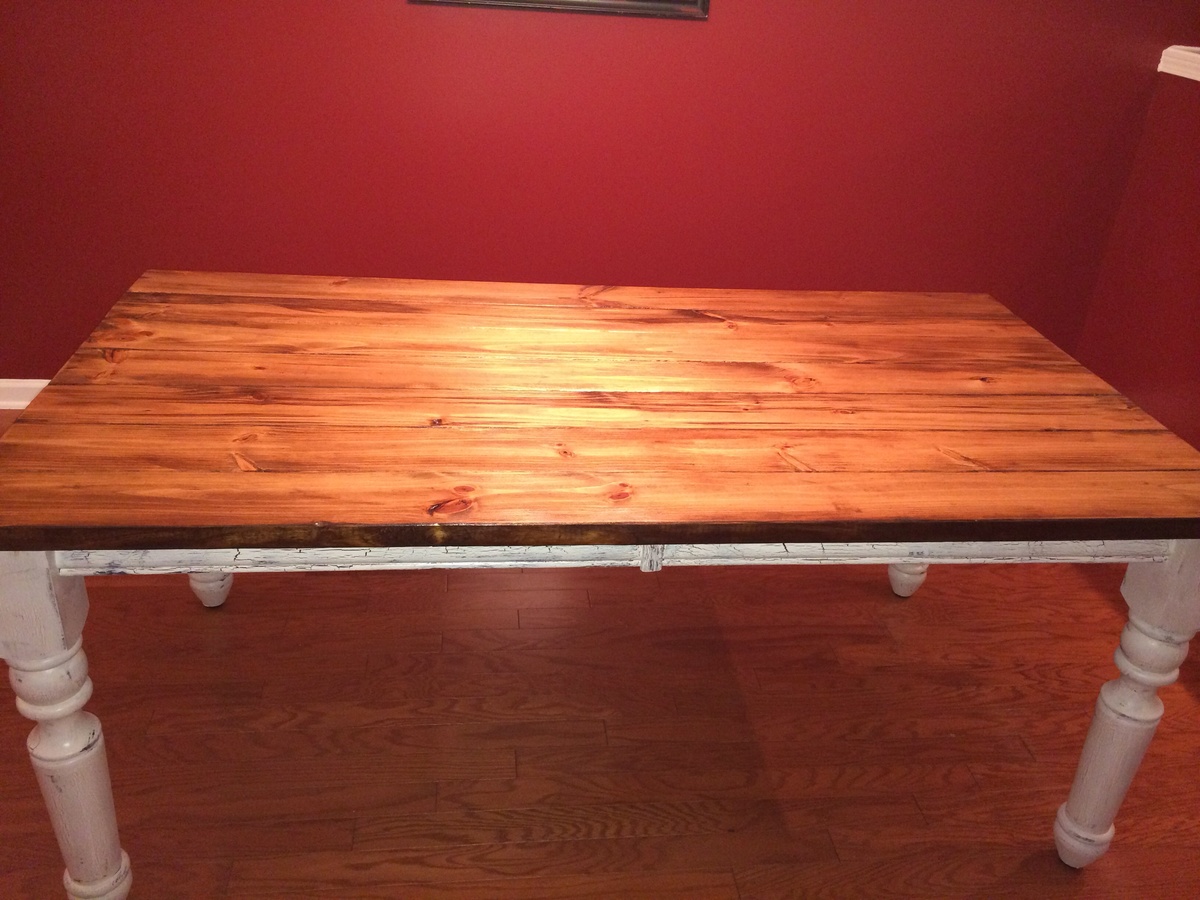
Largest project yet. Loved the variety of legs at Osborne.

I found these plans online and was just waiting for the kids' grandpa to come out and build it. Could be built in one afternoon (depending on how many trips to your local Home Depot, and availability of the correct tools)
Modifications from original plan:
6x6 instead of 4x4
Brackets to hold patio umbrella for shade
Added seat gussets for additional support
Added "wooden flange" around bottom of box to run lawnmower on
One additional center back support on each bench
One centered handle (instead of a handle on each end)
Stapled landscape weed barrier fabric onto the bottom
Sanded all exposed edges
Materials:
4@2x10x8'
12@1x6x6'
2@2x6x12'
8 hinges
2 handles
3 1/2" decking screws (for attaching 2"x boards)
1 5/8" decking screws (for attaching 1"x boards)
2+ 1 1/4" 2-hole straps for metal conduit (for attaching patio umbrella*)
*Our patio umbrella pole was 1 1/2" diameter, but 1 1/2" straps had too much play, so we used 1 1/4" straps and misc flat washers to adjust the snugness to the pole
Cut lengths:
2@2x10 cut to 72" (long sides of the box)
2@2x10 cut to 69" (short sides of the box)
Cut one each of the following out of a 12 footer:
2@2x6 cut to 75" (long side "flange")
2@2x6 cut to 64" (short side "flange")
No cuts were made to the 12 1x6's
Used one leftover 2' from the 2x8x10's ripped in half cut to 11.5" for arm rests
Used two leftover 2' sections from the 2x8x10's ripped in half cut to 21" for back supports
Used the last 2' cutoff to make two seat gussets (cut about 9 1/2" off and then ripped it at 45 degrees)
Used the remaining piece (ripped in half length-ways) to attach to the center of the backrest for additional support and as the attachment point for our handles
We decided to do one handle in the center of the backrest so one reasonably strong adult could open the lid
The bottom "flange" was assembled with the box upside down. Basically a 2x6 screwed to the bottom edge of the box allowing 1 1/2" overhang all the way around
After making cuts, but before assembly, we recommend using a quarter-sheet pad sander (or similar) with 60 grit paper to break all of the edges and round over any ends or corners that will be in contact with sandbox users
Followed other general assembly instructions
First attempt at trying this.
Comments
Beachchica
Mon, 05/25/2020 - 06:27
Love this! Do you have the…
Love this! Do you have the dimensions of the pieces for this one?