Community Brag Posts

Pull Out Trashcan

Submitted by etbuogie on Mon, 01/16/2012 - 20:01

I modified the plans to make the top even with the counter, and added a cutting board to the top. The cutting board top is great for cutting veggies, then scooping the scraps right into the can. I also opted for the bead board instead of the raised panel on the door, and finished the door with quarter round to give it a more finished look. Finally I used trim on the base; I had to rip the trim to width to fit my 1x3 on the bottom.

Estimated Cost
$100
Estimated Time Investment
Afternoon Project (3-6 Hours)
Finish Used
Black paint ruffed up with sand paper.
Recommended Skill Level
Beginner

Comments

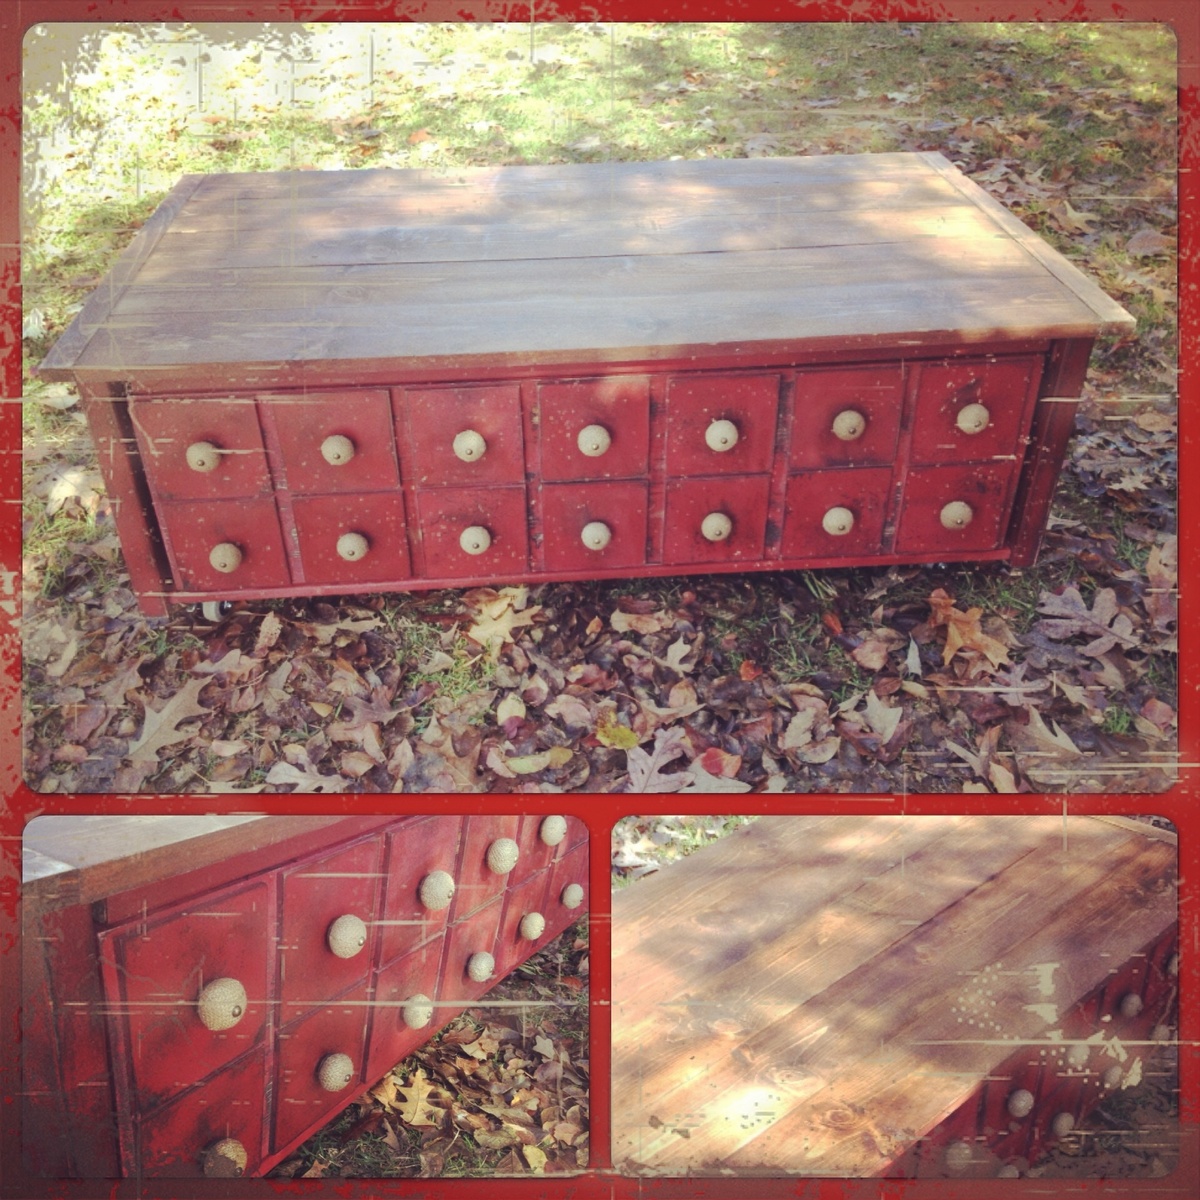
Apothecary Coffee Table

Submitted by Idella on Tue, 12/03/2013 - 07:17

I built this apothecary style coffee table with a few modifications. I wanted the drawer to actually be attached to the table itself, so I attached two 1x3s (one on the front and one on the back) from the bottom inside of one side to the other, if that makes sense. I also attached a 1x3 to the bottom inside of each side vertically between the other added 1x3s for extra drawer support. I used my kreg jig for all of this. I then added drawer slides. I attached the casters to the new added bottom frame where the vertical and horizontal 2x3s meet and viola...an apothecary coffee table with a sliding drawer. I also added a planked back using some extra 1x4s I had in the shop. I wish I had taken a picture of the back, but I forgot! I am horrible at remembering to photograph all my projects, and this table has since gone on to be with a happy home!

Estimated Cost
$100
Estimated Time Investment
Weekend Project (10-20 Hours)
Finish Used
The top was stained with Kona from Rustoleum and heavily sanded for a distressed look. The rest was painted with Annie Sloan Chalk Paint in Emporer's Silk then distressed and finished with Annie Sloan dark wax to darken and age the red (which was quite bright to begin with).
Recommended Skill Level
Intermediate

Ninja Turtle Bed

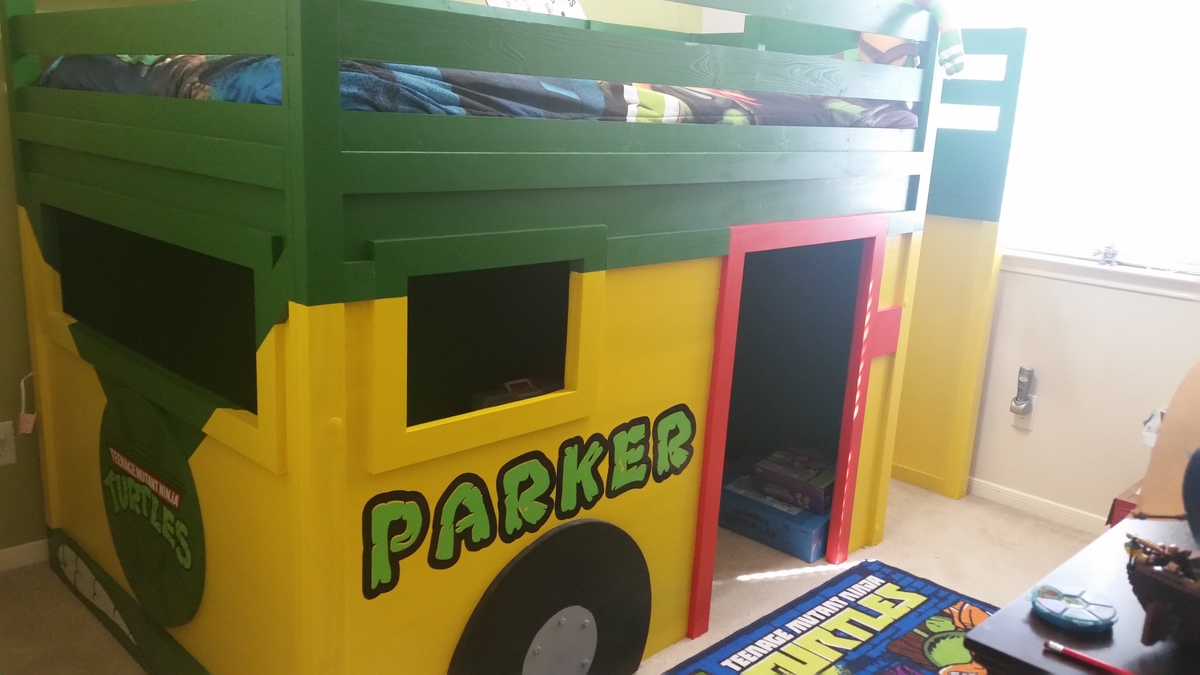
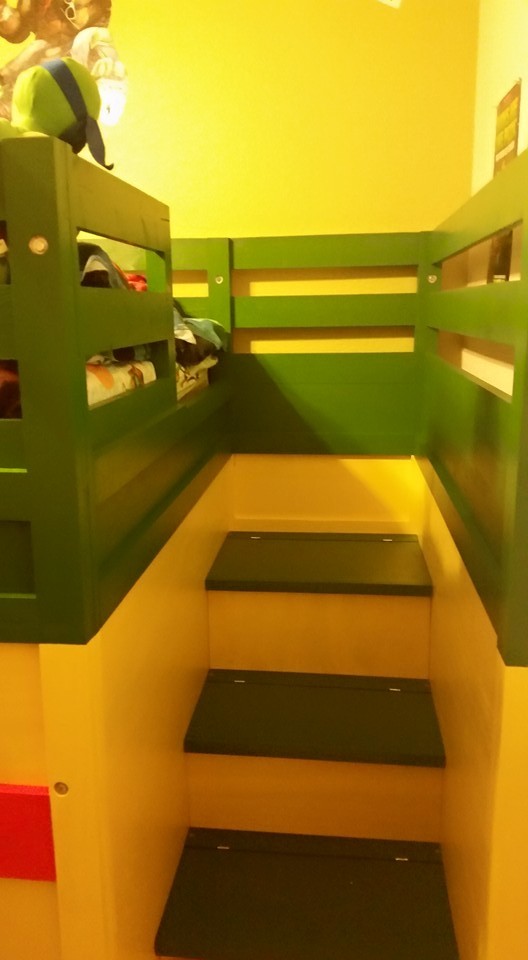
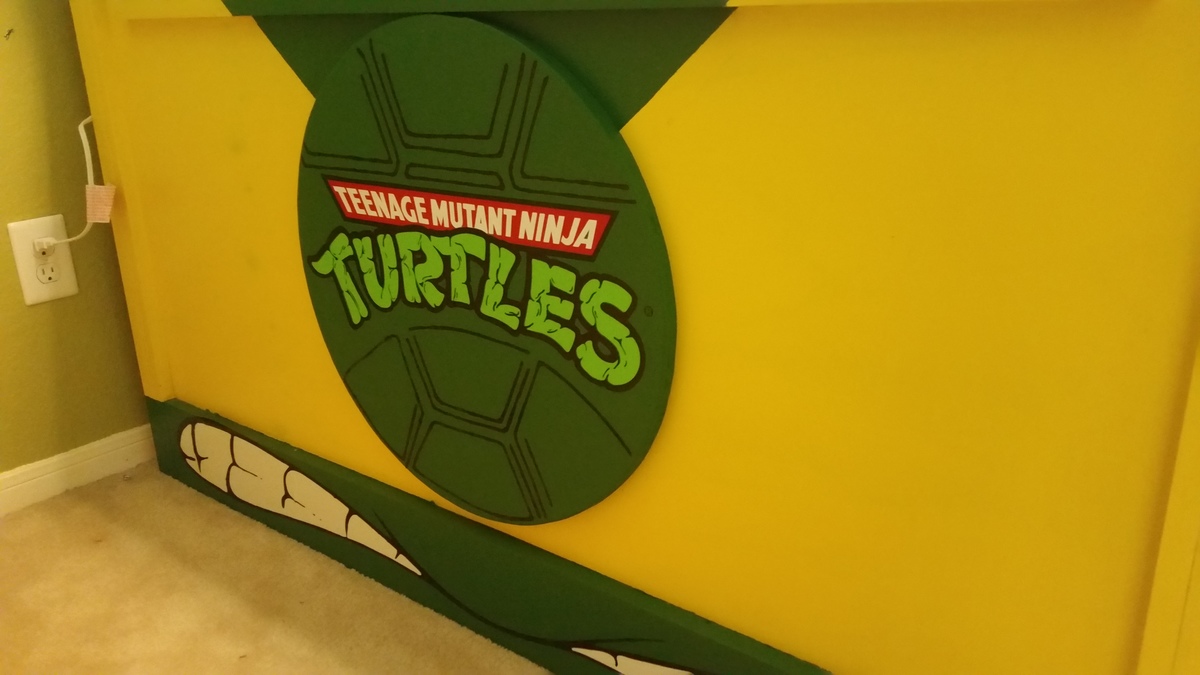
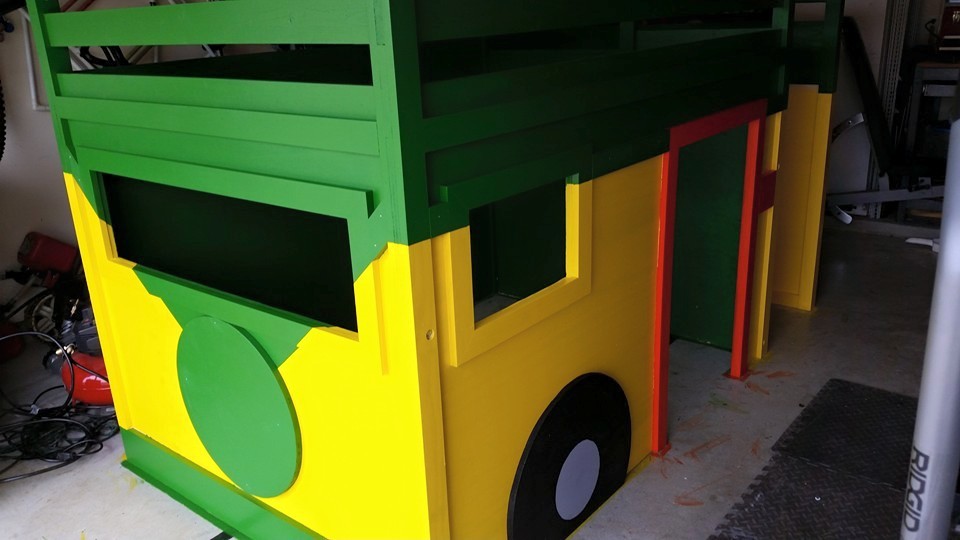
This project was a blast to build!!!! I modified the fire truck loft bed by changing a few of the exterior accent pieces. I also built it to fit a full mattress in stead of the planned twin. I did this by adding additional slates for support. I just recently was able to finish it completely when i found someone who could make the decals. Hope you all enjoy and feel free to ask any questions. Also I used cabnet grade plywood so mine cost was a lot more expensive.

Built from Plan(s)
Estimated Cost
I think total it was around $ 600 -700.
I used all cabinet grade pine and that was the reason for the cost.
Estimated Time Investment
Week Long Project (20 Hours or More)
Finish Used
Bayer paint and primer
Recommended Skill Level
Intermediate

Bar / Buffet Table

Submitted by Anonymous (not verified) on Wed, 10/02/2019 - 06:23

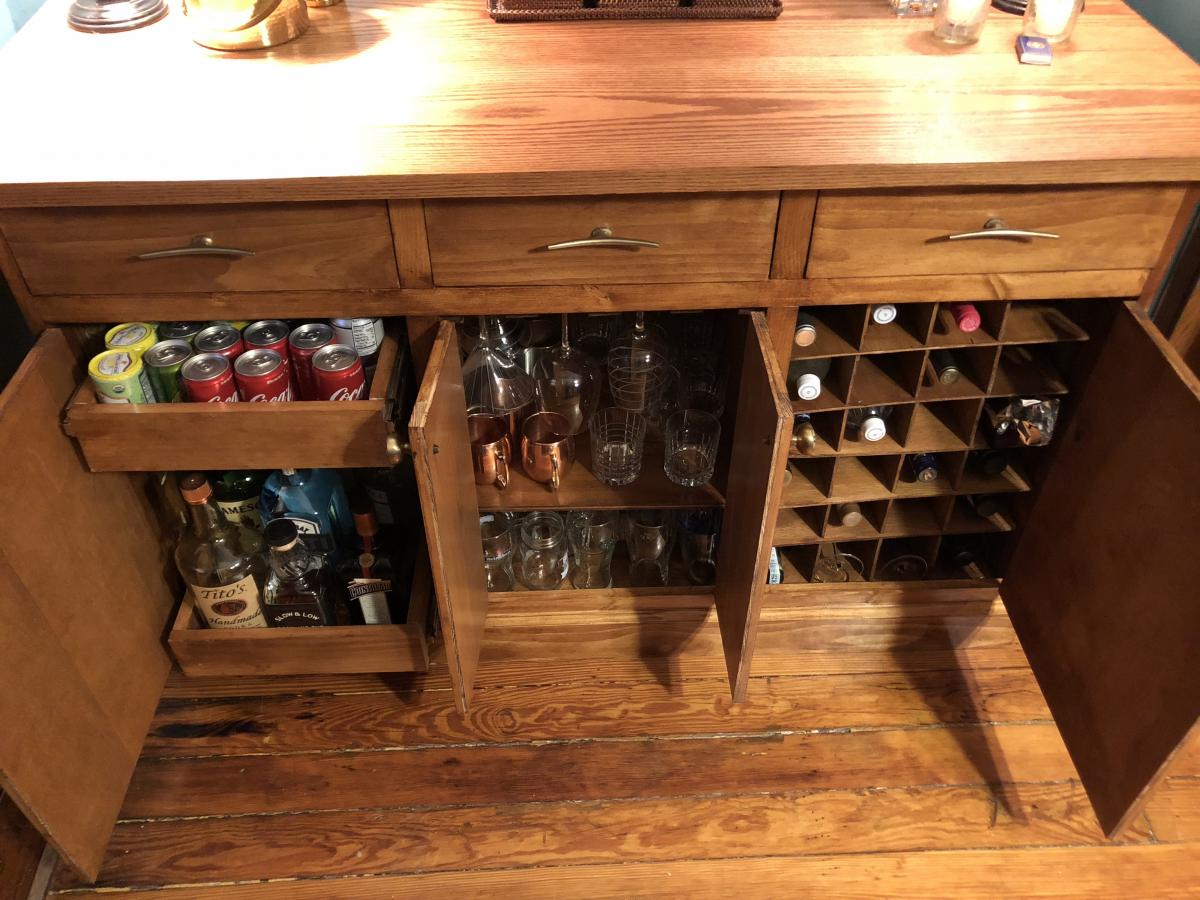
Made from a combination of Ana White plans to build the ultimate home bar! I used the Rustic Sideboard / Buffet Table and Modular Bar Wine Grid Hutch plans for this custom build

Estimated Cost
$200
Estimated Time Investment
Weekend Project (10-20 Hours)
Recommended Skill Level
Intermediate

Comments

Holiday Colored Tapered Crates

Submitted by PL8IM on Sun, 06/04/2023 - 15:49

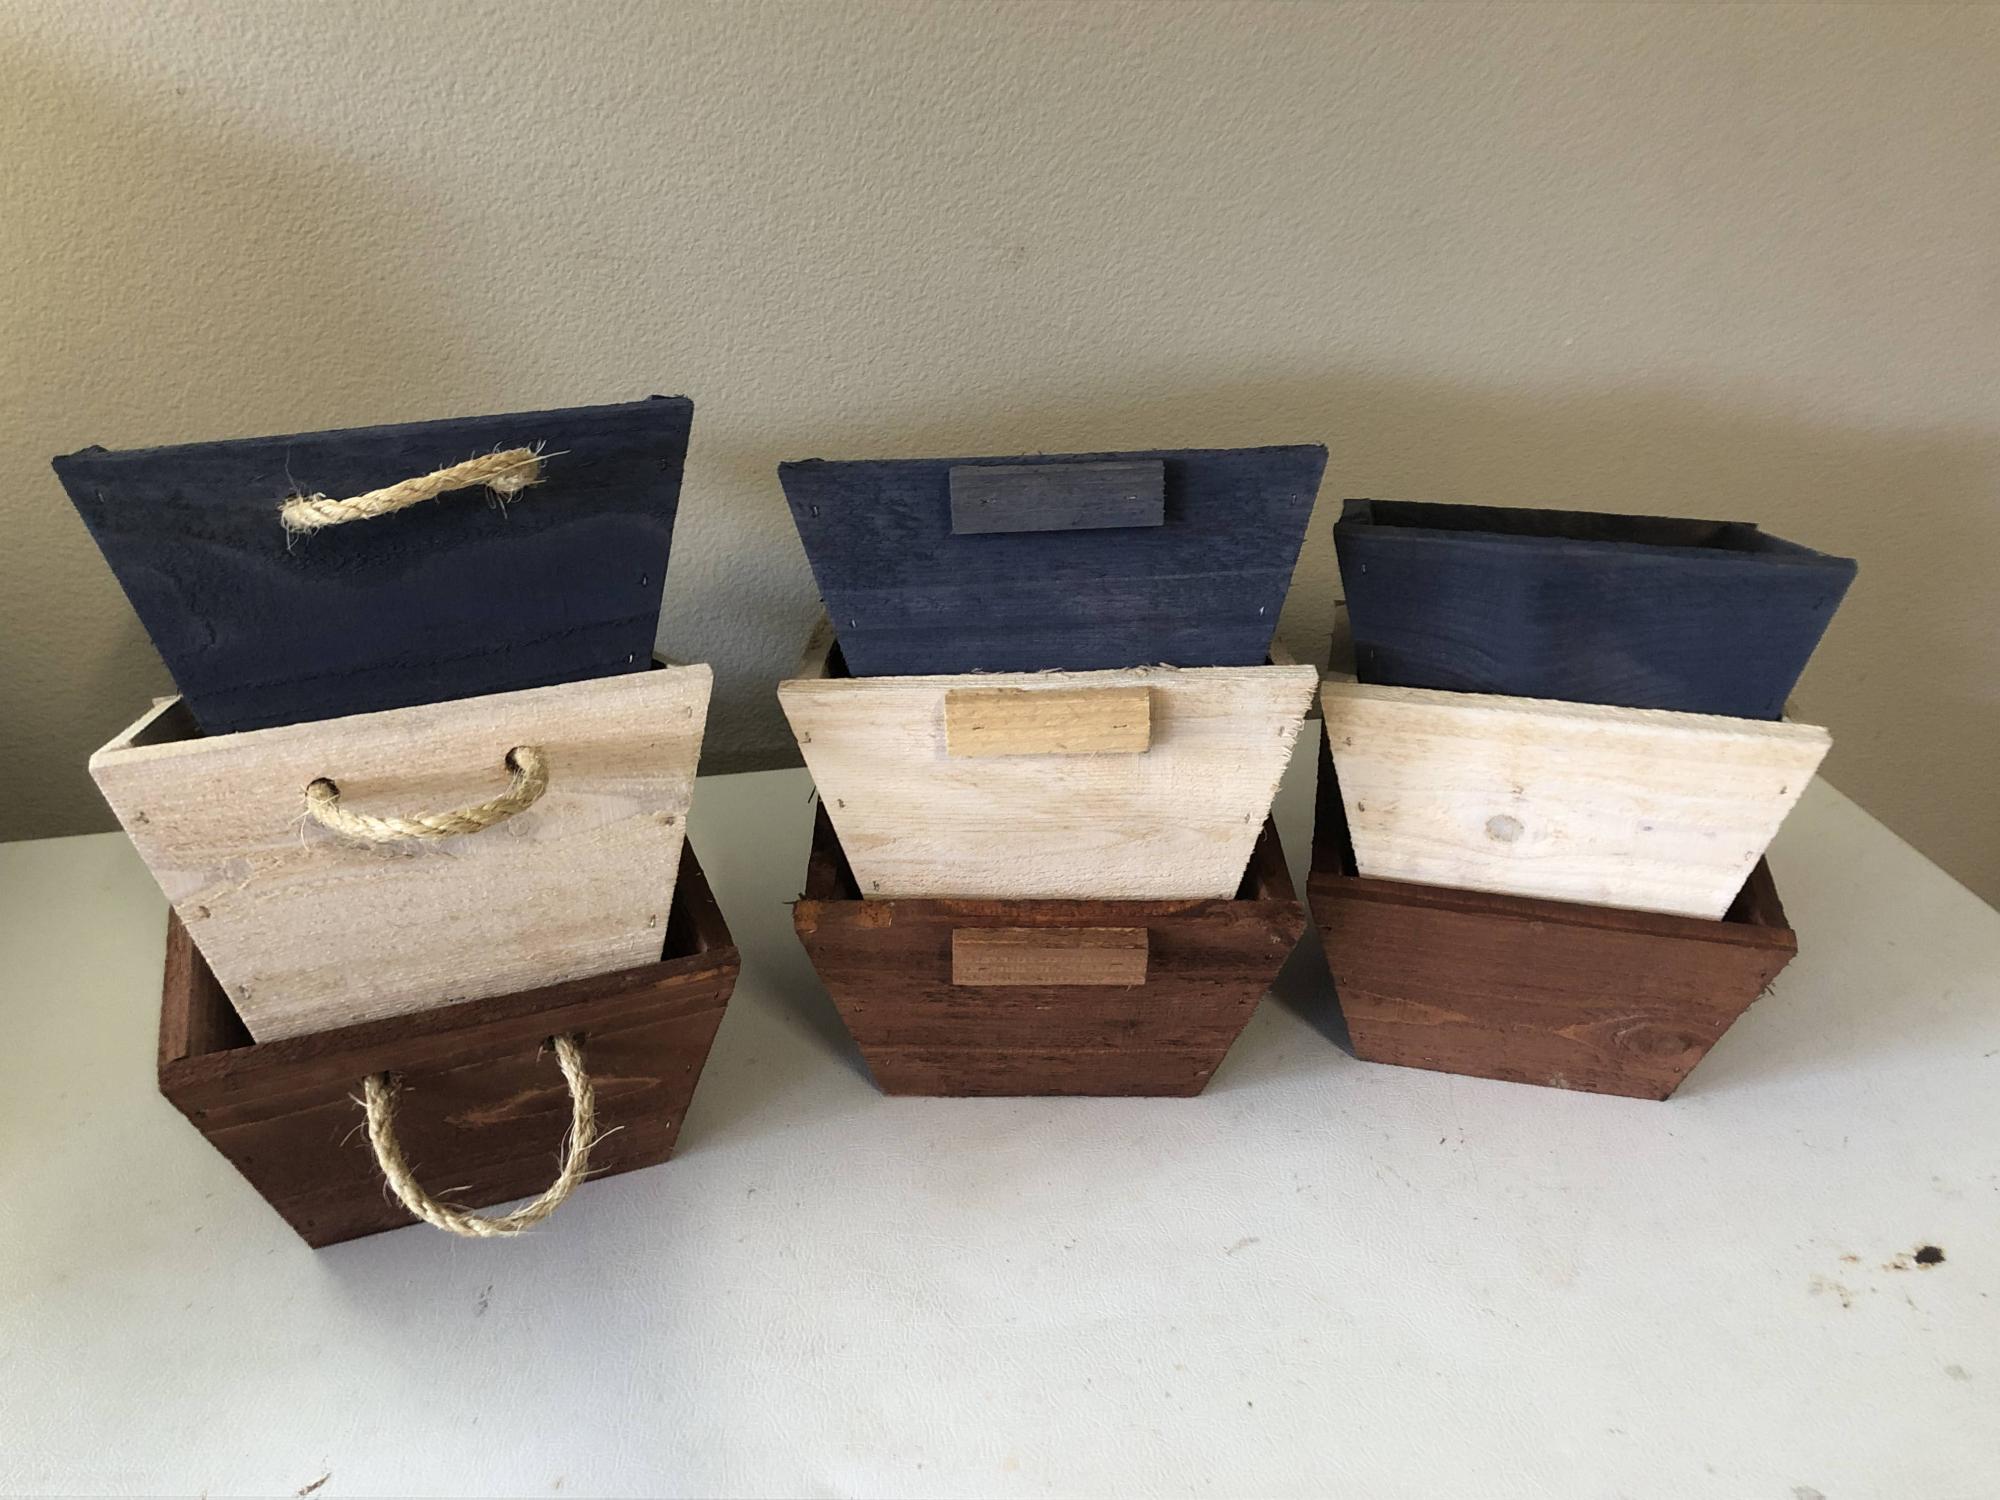
We like to fly the flag in our family so 4th of July is a big deal for us. I built three sets of crates to share, each with a little difference but all three with red white and blue stain from HD.
Easy to build and the instructions/plans were perfect. Nine crates required four cedar picketts.

Comments

Cal. King Farmhouse Bed

Submitted by netterj on Fri, 01/20/2012 - 19:56

My brother built my bed by not following my directives but I love it anyways. We(he) made some changes for a look I wanted and it only took a day to build. The sanding and painting took the longest. My son liked it so much he built a queen size for his girlfriend. His first build. His is the black one.

Estimated Cost
145.00 to 175.00
Estimated Time Investment
Week Long Project (20 Hours or More)
Finish Used
semigloss dove white paint/primer
Recommended Skill Level
Intermediate

Comments

goingfor3

Sat, 01/21/2012 - 06:08

Wow! That is awesome! How cool to tell people when they ask about your bed. A year ago, I would've never thought of making my own bed, now all I want to do is build a house and all the furniture in it! I absolutely love your bed, and actually bought one very similar. Wish I would've seen this first :)

FergieW (not verified)

Tue, 06/26/2012 - 16:20

Is the black one painted or stained? I can't really tell on my old school iPod lol thanks

Pantry

This is my second big project. Our home is rather small and my wife was in desperate need of a pantry. I was worried how well I could do with making everything square. I used 3/4” birch plywood for the case and shelves. The shelves are permanently attached with Kreg screws and glue. I used a HVLP gun I purchased from Harbor Freight to spray on the primer. I was really impressed with its performance…especially since I had never used one..lol. I painted the interior of the top doors with Valspar chalkboard paint and it works great. My wife chose to use colors that would match the existing colors of the kitchen. Had a lot of fun with this one.

Estimated Time Investment
Week Long Project (20 Hours or More)
Recommended Skill Level
Beginner

Comments

Jonjo

Mon, 09/21/2015 - 21:35

Wow! It turned out great! Nice work! We would love to do a project like this! Would you provide any information on dimensions/plans that you followed to give us a jumping off point to planning our own pantry? Again, love the design!

Cost less than $5

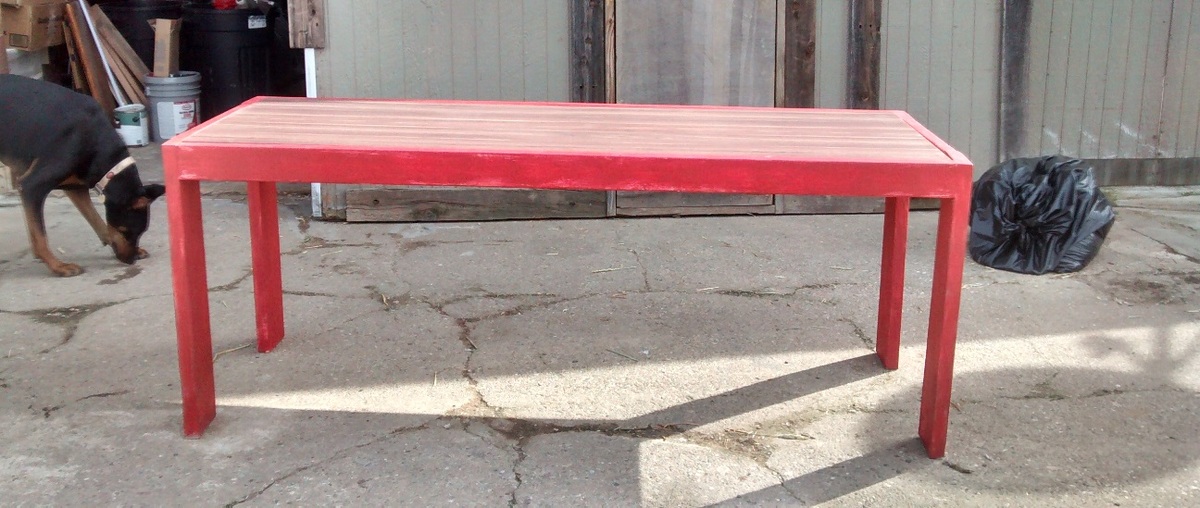
Nothing was bought for this table. I allocated $5 as cost for the screws and sandpaper. 2 x 6 legs & 2 x 4 rails used wood recycled from material removed during alterations to our 1930's barn. Supports were extracted from the woodpile. Nails were removed where possible, or cut off and punched below the surface where they were not removable. Because the wood was very old and splintery an enormous amount of time was spent sanding.


The top is an Ikea counter thrown out from a kitchen remodel and rescued from the roadside, still in its cardboard box. Score!


I am very pleased with the design and plan to make another using better lumber. The table is very sturdy and will be used as a sewing/crafts table.

Built from Plan(s)
Estimated Cost
Less than $5
Estimated Time Investment
Afternoon Project (3-6 Hours)
Finish Used
The paint is Glidden Rusty Red latex leftover from a friend's barn and so old it had separated beyond remixing. What was left acted like a cross between a glaze and chalk paint. It had to be rubbed down with rags after each coat to remove specks of pigment and loose powdery color. Four coats each applied 24 hours apart and coverage was as good as it was ever going to get. Final coat was Minwax wax.

To duplicate it:
1. Randomly paint white or light paint. Let dry. Sand.
2. Dilute 1 cup of red paint with one cup of water and rub it in/wipe it off immediately. You shouldn't need more than one coat if you want the white to show through depending on how much "old paint' you want to show.
Recommended Skill Level
Beginner

Kitchen Island

Submitted by Anonymous (not verified) on Wed, 10/02/2019 - 16:21

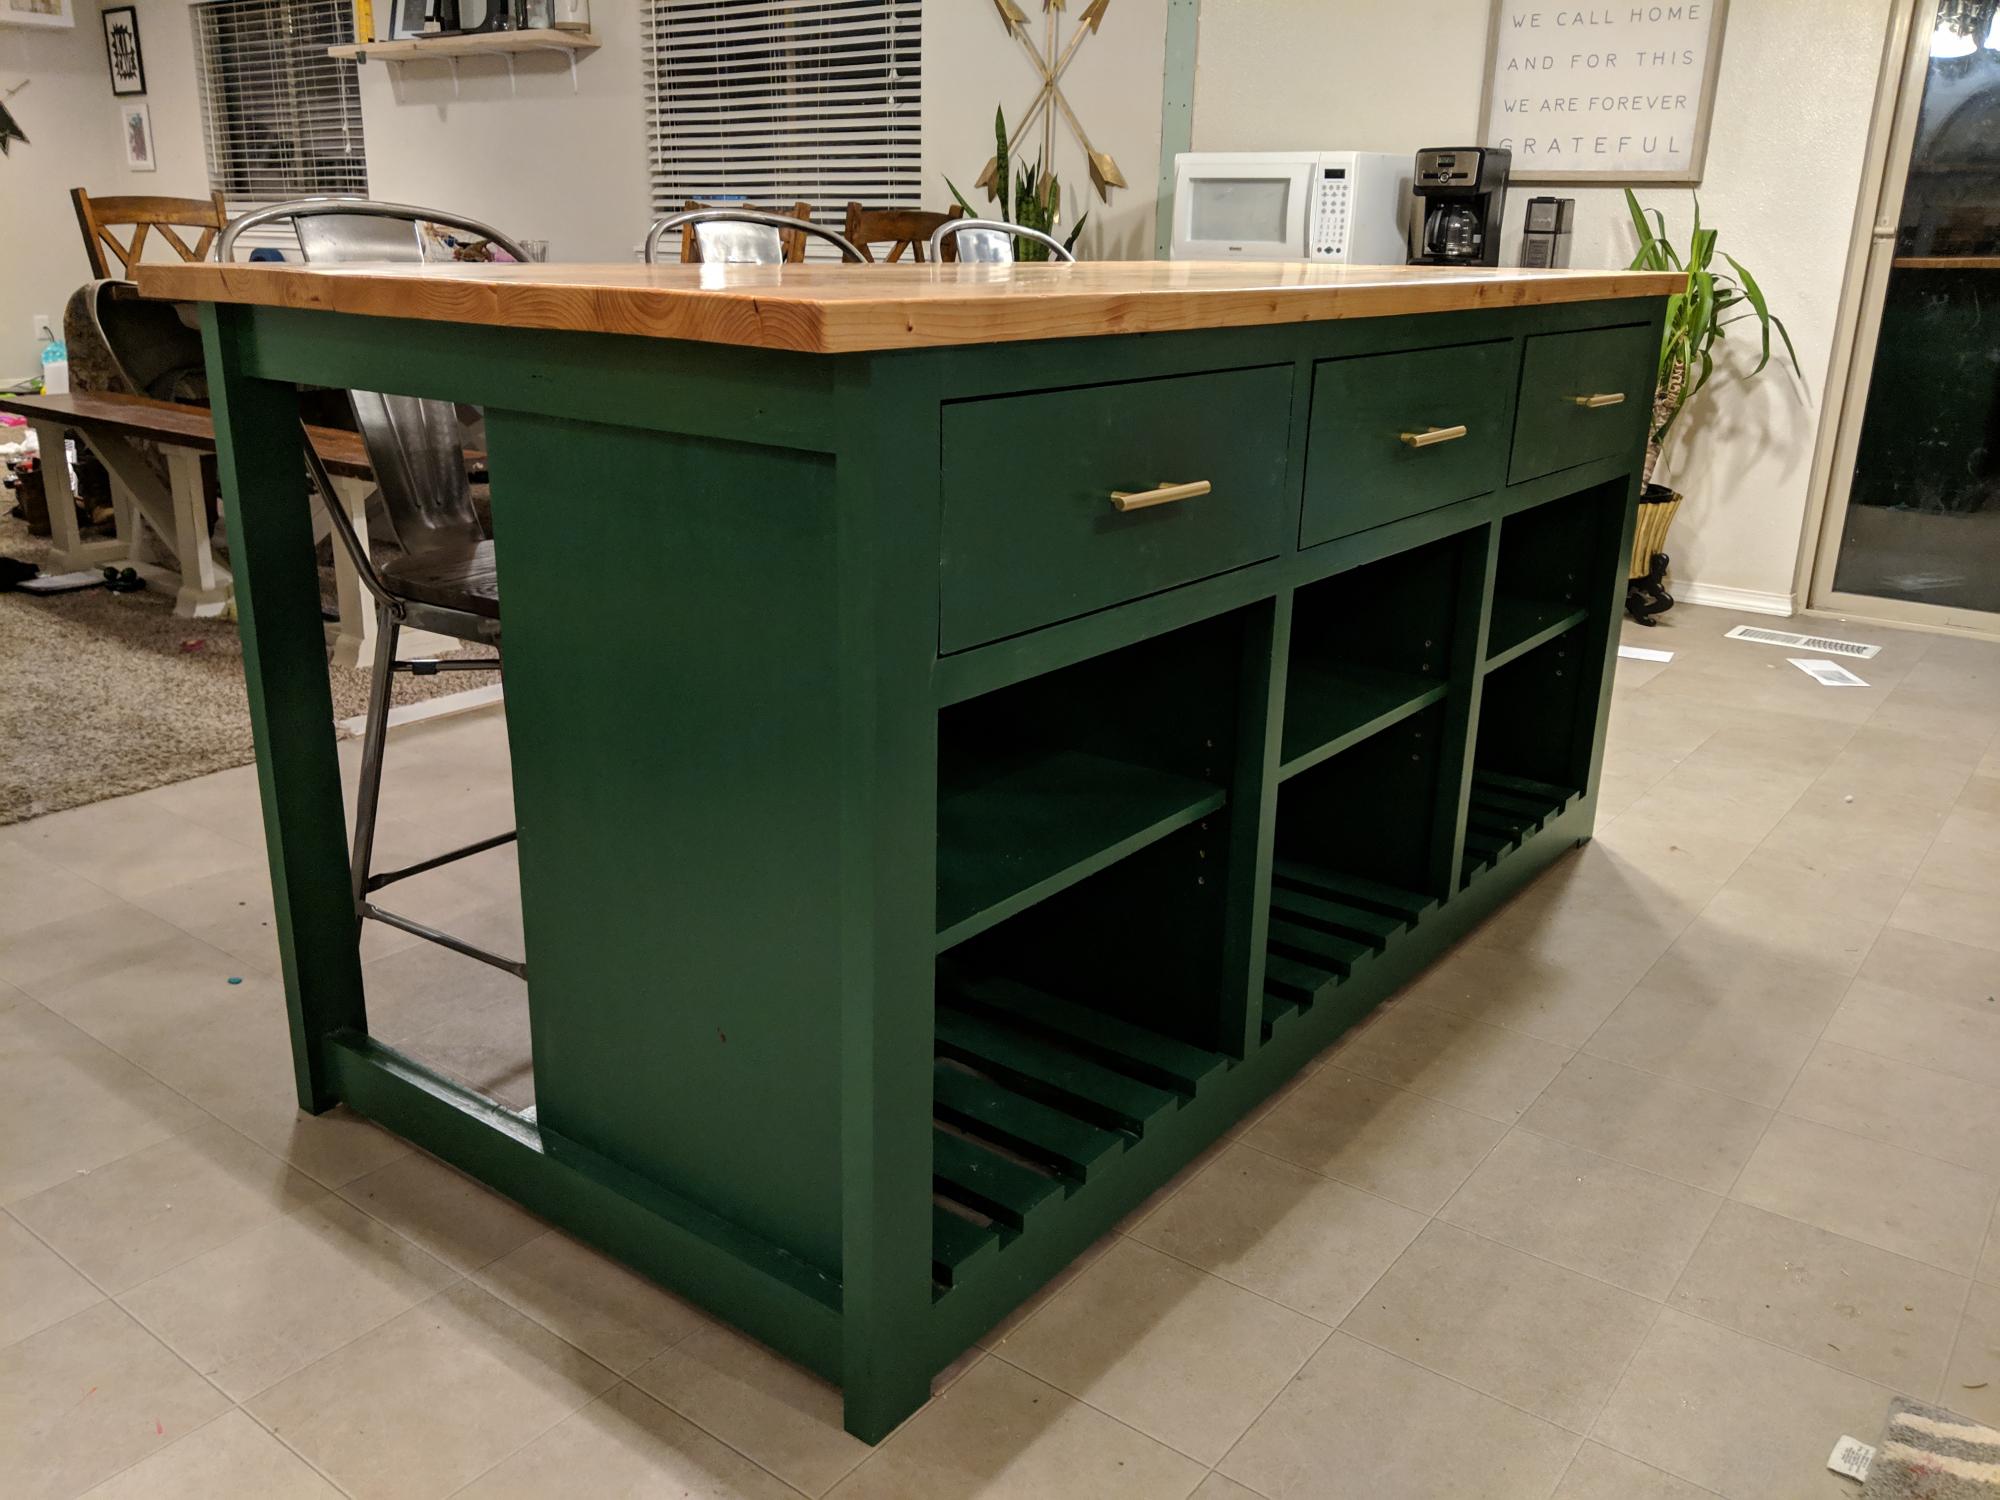
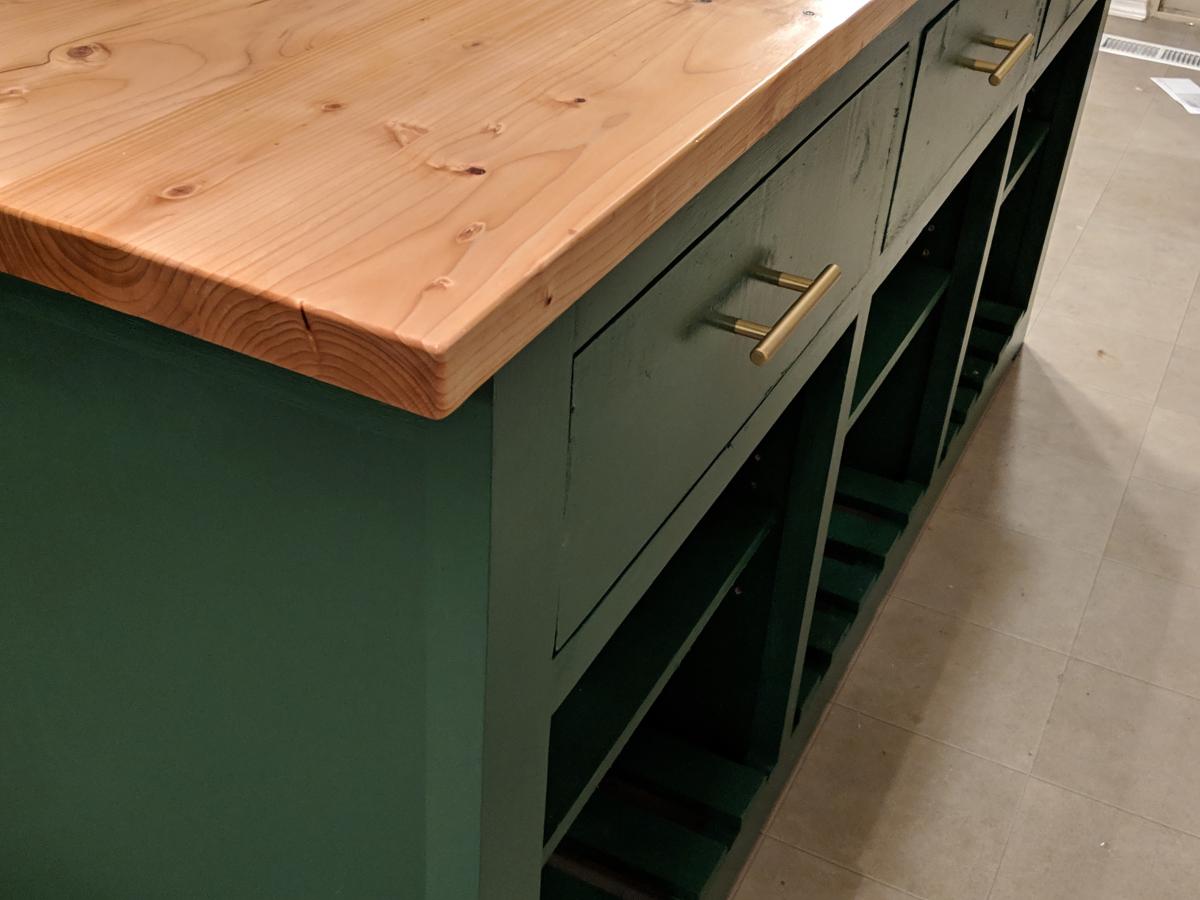
Our kitchen REALLY needed an island, and with a few modifications from Ana's plan, we had the perfect new piece for our home!

Built from Plan(s)
Estimated Cost
$300
Estimated Time Investment
Week Long Project (20 Hours or More)
Recommended Skill Level
Intermediate

6 seater L shaped sofa,

Submitted by Anonymous (not verified) on Fri, 06/09/2023 - 14:37

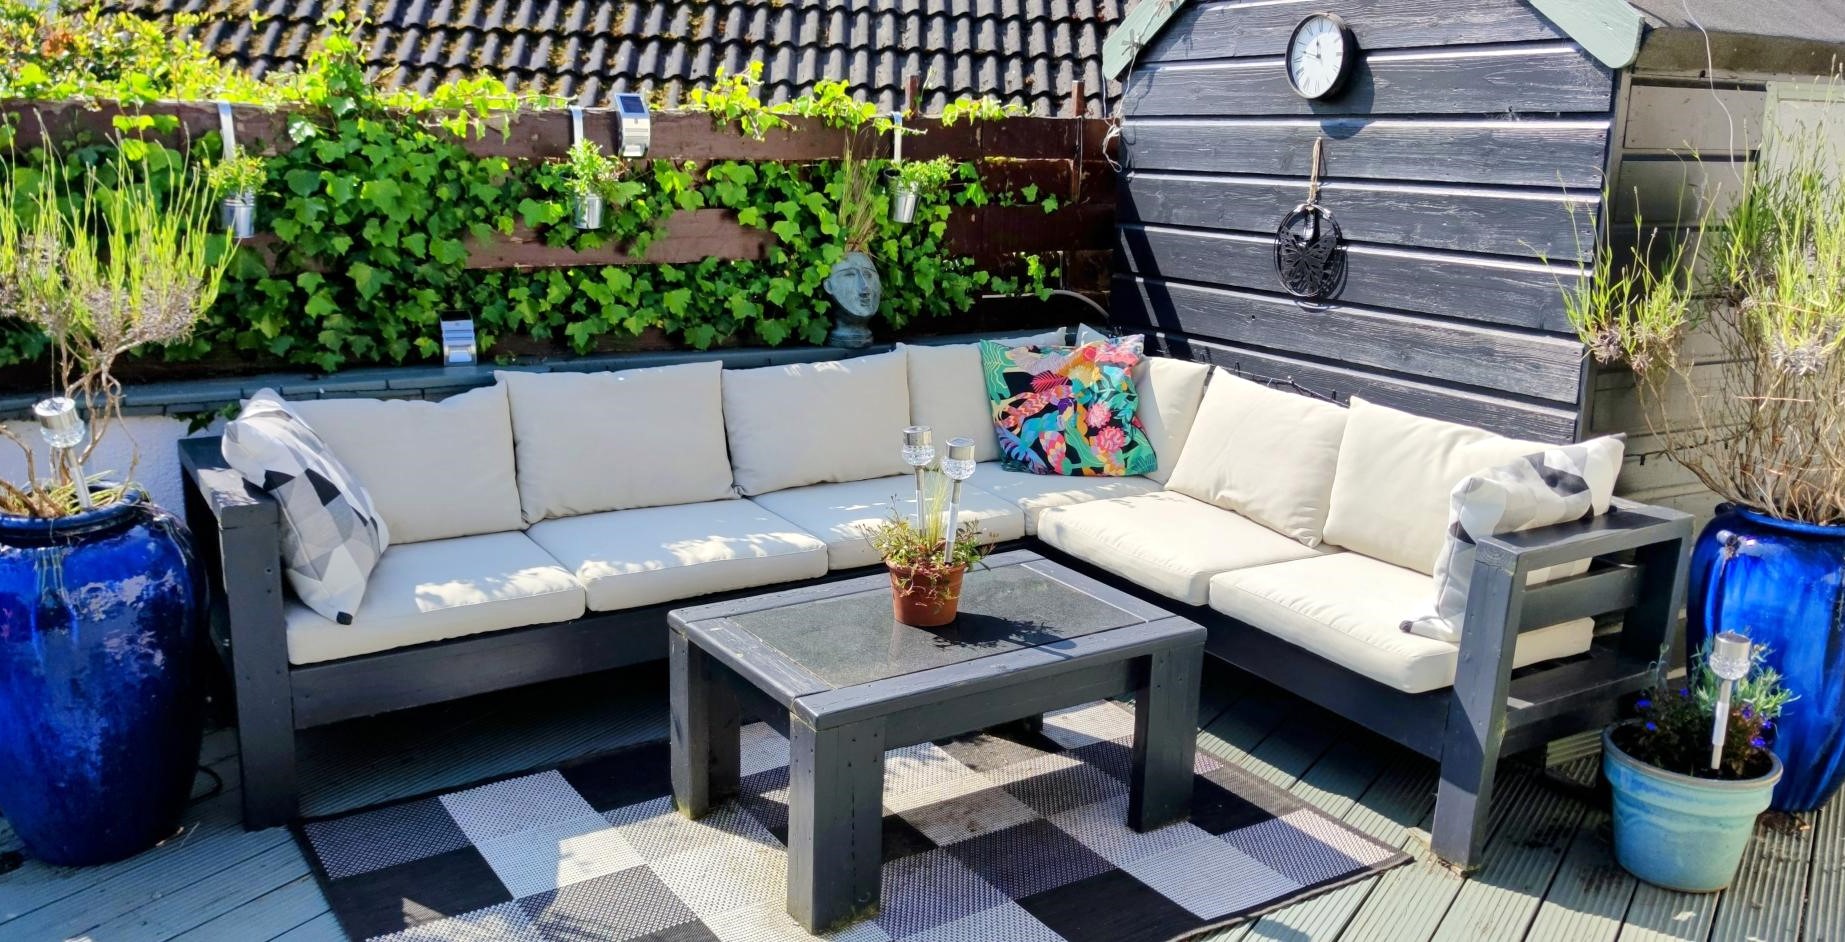
Made this about 7 years ago from Ana's plans. Very easy to follow. I actually extended it to be a 4 and 2 seater set. Still a perfect today. Love it
Wicklow
Ireland.

Comments

Farmhouse Bedside Table

Submitted by kaytrishjr on Thu, 01/26/2012 - 06:44

The Farmhouse bedside tables I made for my bedroom.

Built from Plan(s)
Estimated Time Investment
Day Project (6-9 Hours)
Finish Used
Miniwax Sedona Red Satin with 3 coats of poly.
Recommended Skill Level
Intermediate

Comments

my daughters big girl bed

Submitted by Anonymous (not verified) on Mon, 02/22/2016 - 10:10

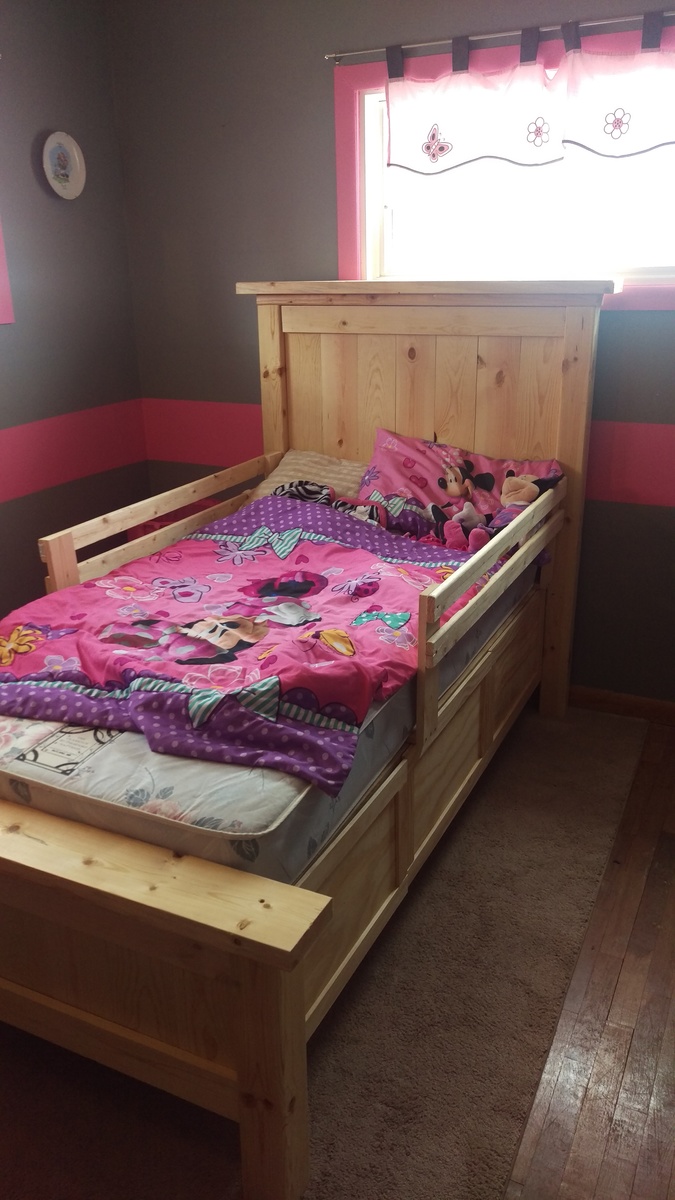
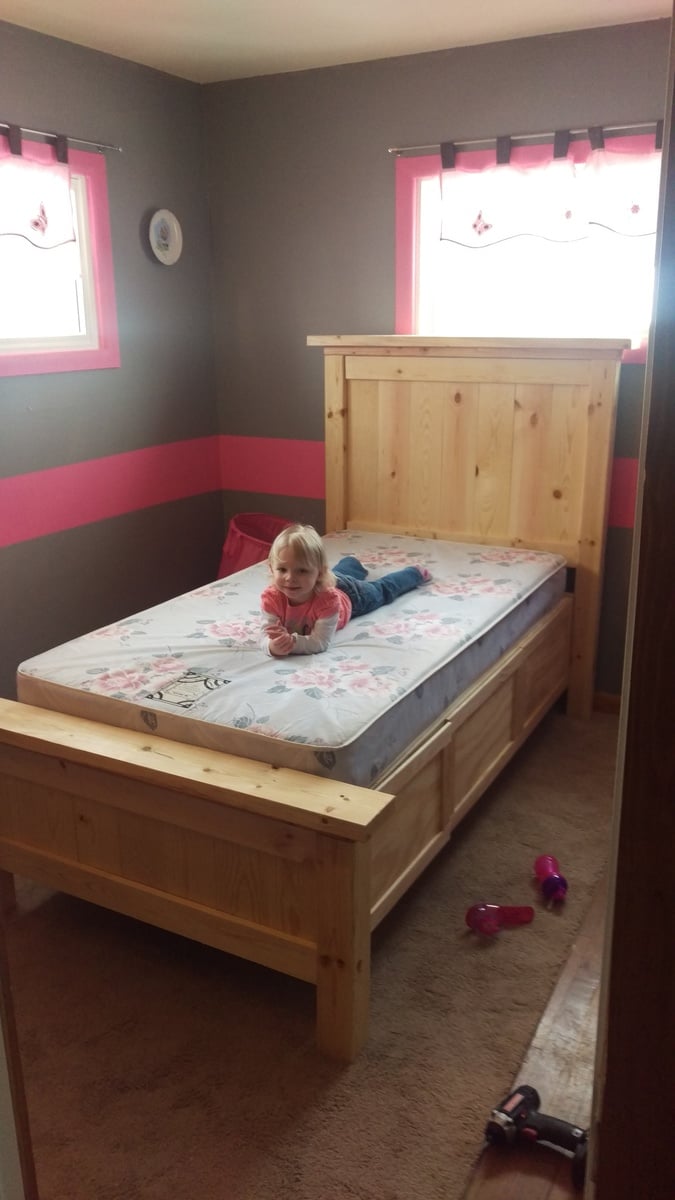
I was looking for a bed for my daughters room. She does not have much storage or room so this plan worked perfect. Took about two days so a great weekend project. Built with love unlike from a store.

Estimated Cost
Around $250 for all the material
Estimated Time Investment
Weekend Project (10-20 Hours)
Finish Used
Poly clear gloss
Recommended Skill Level
Intermediate

Headboard with lights

Submitted by wtclarke1 on Thu, 10/03/2019 - 10:21

This is a queen size headboard I built for our guest room.  This is inspired by http://ana-white.com/woodworking-projects/reclaimed-wood-headboard-queen-size.

Estimated Time Investment
Afternoon Project (3-6 Hours)
Recommended Skill Level
Beginner

Comments

Perfect size for two granddaughters

Submitted by Anonymous (not verified) on Fri, 06/16/2023 - 11:01

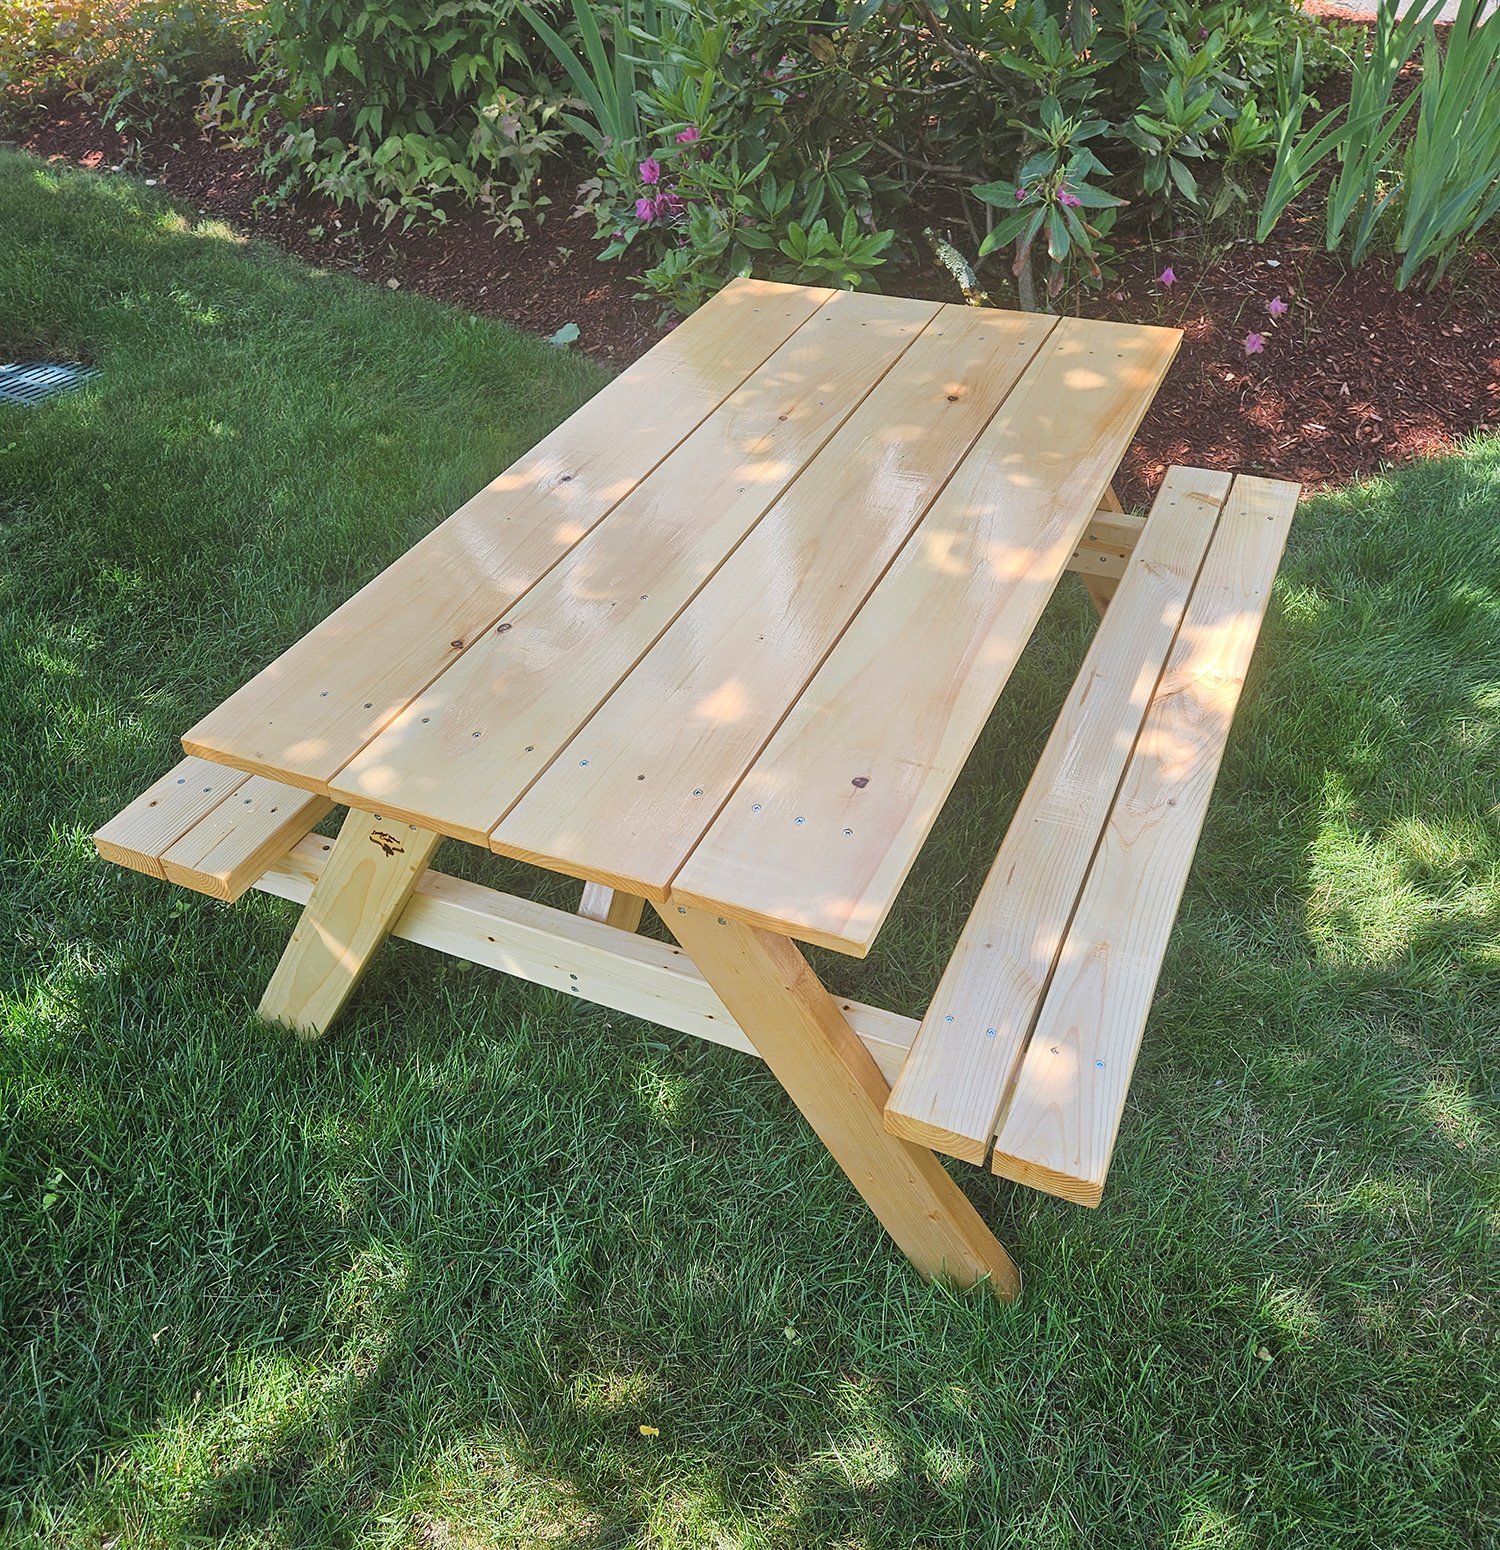
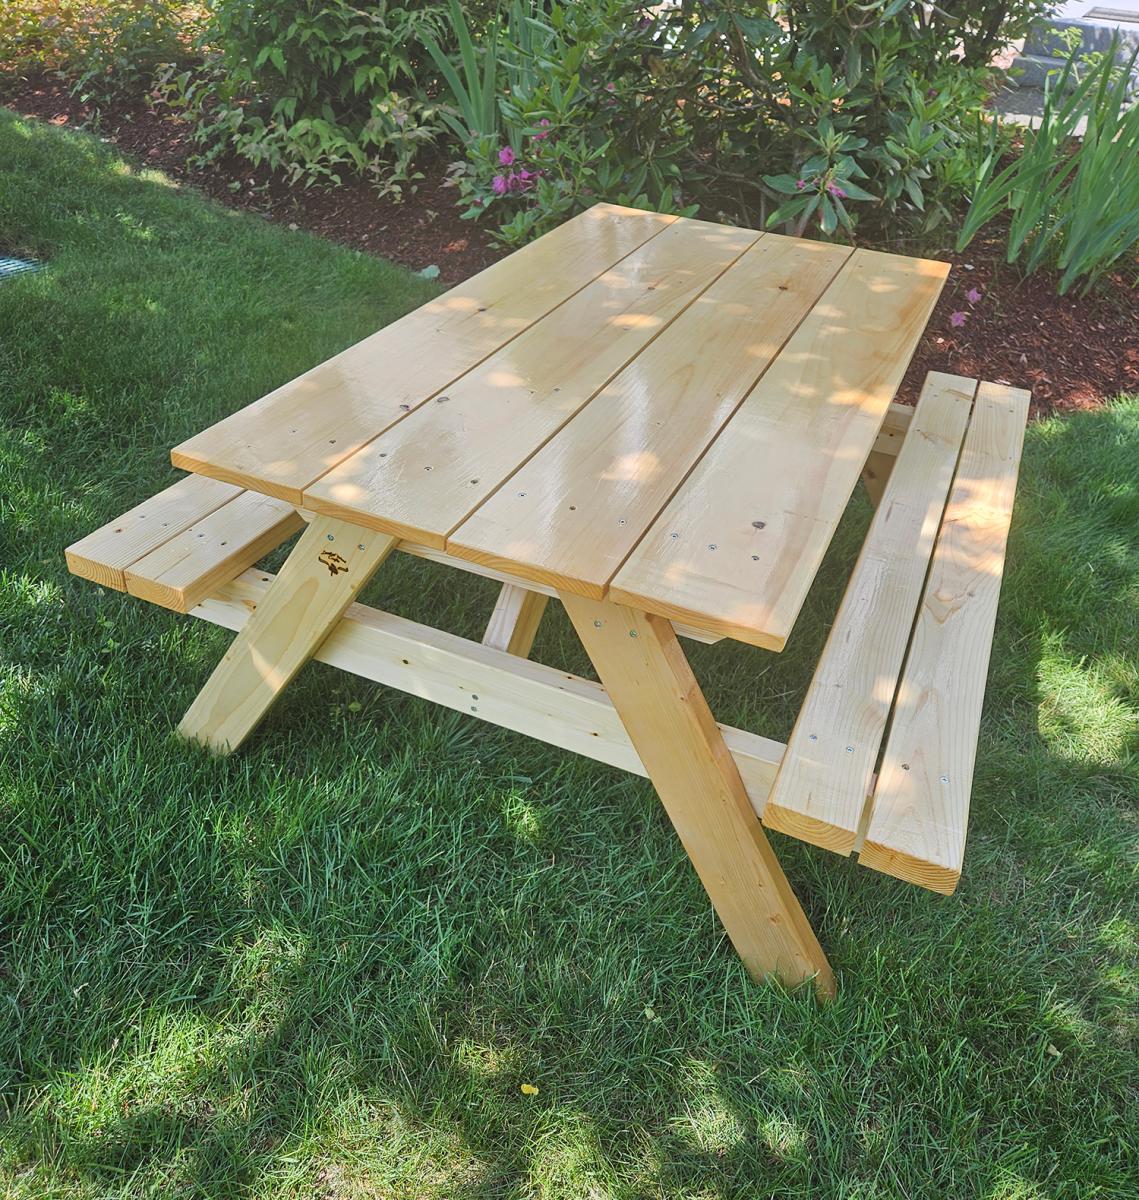
The plans for the small and medium picnic table came at a perfect time. Our two granddaughters were growing out of their plastic play table and a big party was on the horizon - a graduation from pre-school.

As it turned out, I had purchased some very nice pine pre-covid and decided to use it for the table. The only change I made to the plan was to use 1" x 6" boards for the top as that was what I had. It gave the table a lighter look. I'm not sure if the boards will cup over time but I'm hoping the 5 coats of Spar Varnish will prevent that from happening.

I was surprised at how easy the plans were to follow and that the level of detail was enough to get it build without questioning "What do I do next?" or "How do I do this?"

I must say that having a miter saw and drill press made the job go faster but I could see that using more basic tools would certainly get the job done. Having the material allowed me to build the table in a single day. The coats of varnish took time to apply and let dry but I believe it will protect the table better than polyurethane.

Built from Plan(s)

Comments

Storage bookcase inspired by Grace's Bookshelves

Submitted by sach on Thu, 02/02/2012 - 07:38

I wanted a prettier way to store my kids toys in the family room, but was having a hard time finding something with the right dimensions. I modified Grace's Bookshelf to fit my space needs. This is my first furniture build, so it's not perfect. I needed a lot of wood filler and it took forever to get the right finish. But I'm happy with the end product and am inspired to build more!

Built from Plan(s)
Estimated Cost
$40
Estimated Time Investment
Week Long Project (20 Hours or More)
Finish Used
Primer, 2 coats of Valspar Java Brown, 2 coats of Minwax Polyshades in Bombay Mahogany. I'm hoping it holds up!
Recommended Skill Level
Starter Project

Comments

Yo Joe (not verified)

Thu, 02/02/2012 - 08:39

Just surfed your web site through Kres site. Was able to look at severial beds. I did choose one to make.

Thank You

Jeo Brenner

Adirondack Chairs for the Littles

Submitted by Robynsnest on Fri, 12/13/2013 - 13:26

These chairs turned out great. I have five grandchildren and made one for each. To cut down on arguments, I painted them all the same color and painted their names on their chair. This is a really sturdy chair they will enjoy for years!. Thank you, Ana, for the great plan in your book, "The Handbuilt Home."

Estimated Time Investment
Week Long Project (20 Hours or More)
Finish Used
Painted with external Behr paint.
Recommended Skill Level
Beginner

Spa Bench

Submitted by Anonymous (not verified) on Wed, 02/24/2016 - 08:45

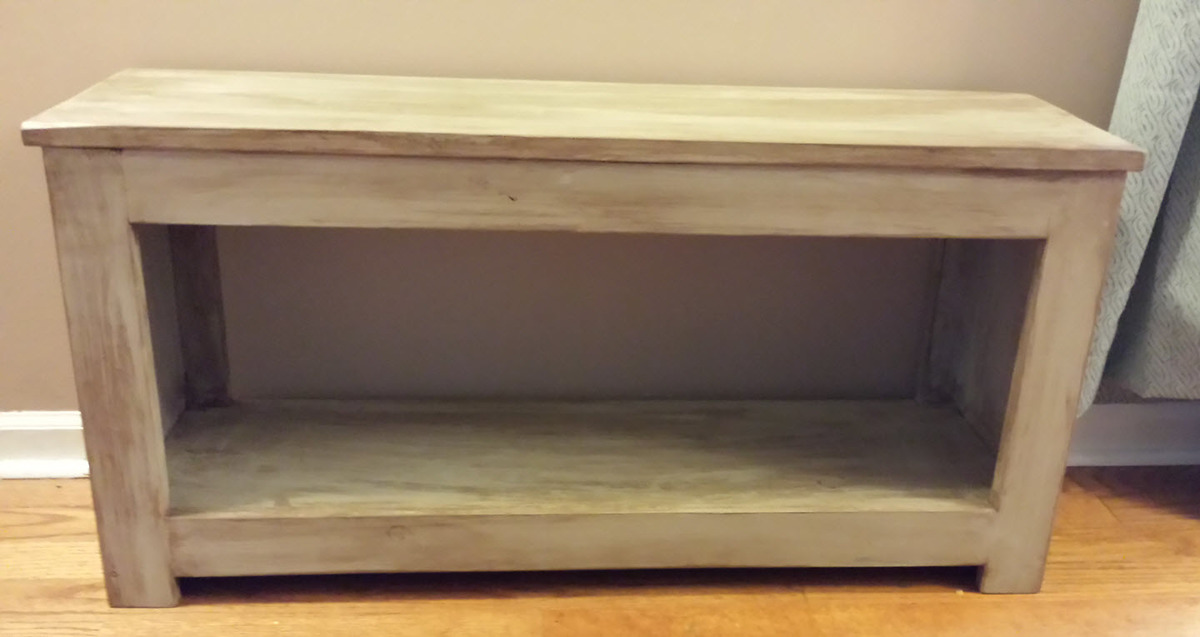
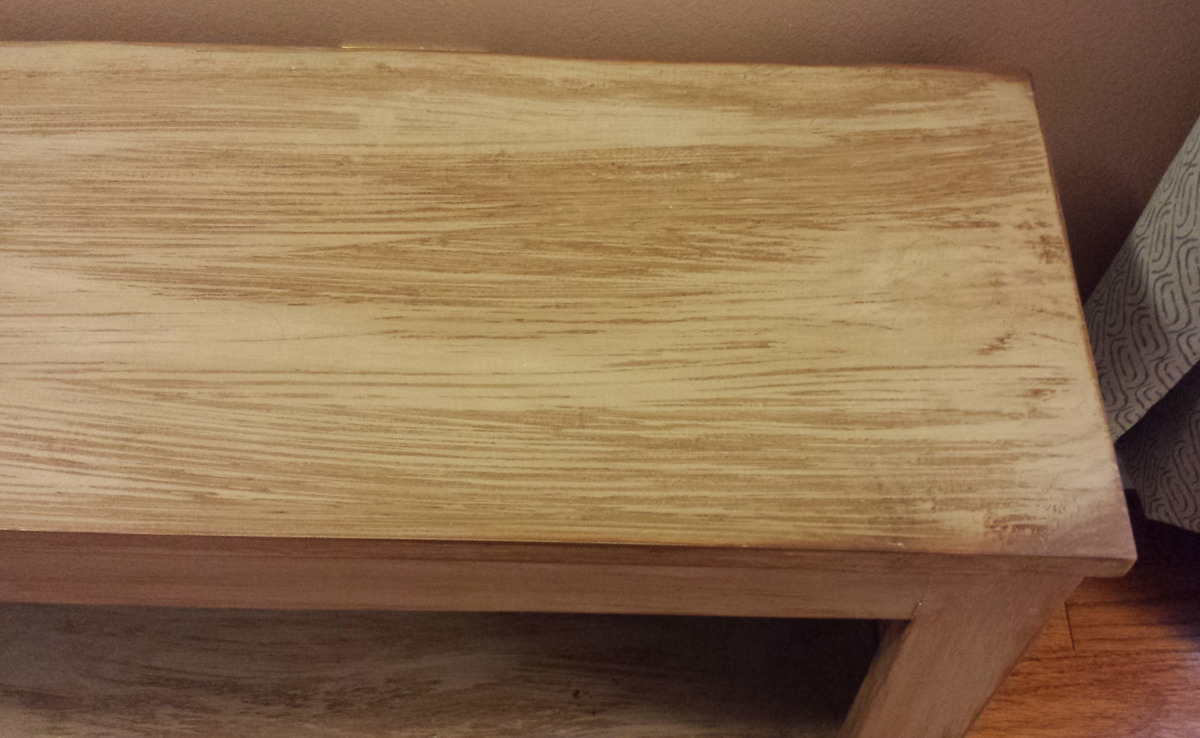
I love this plan! It's so versatile. I made this bench for my daughter's entry. First I painted it with an all in one paint/primer in light grey, then I sanded it down to reveal some of the wood grain and roughed up the edges a bit. Next, I brushed a dark ebony stain over the entire bench, one section at a time, and wiped it away. I thought I would get less stain, but really enjoy the end results. Thanks Ana!

Built from Plan(s)
Estimated Cost
$30
Estimated Time Investment
Afternoon Project (3-6 Hours)
Finish Used
Paint/Primer in one (I had some leftover and mixed it with a black chalk paint to get a light grey)
Ebony stain
Recommended Skill Level
Beginner

Patio furniture

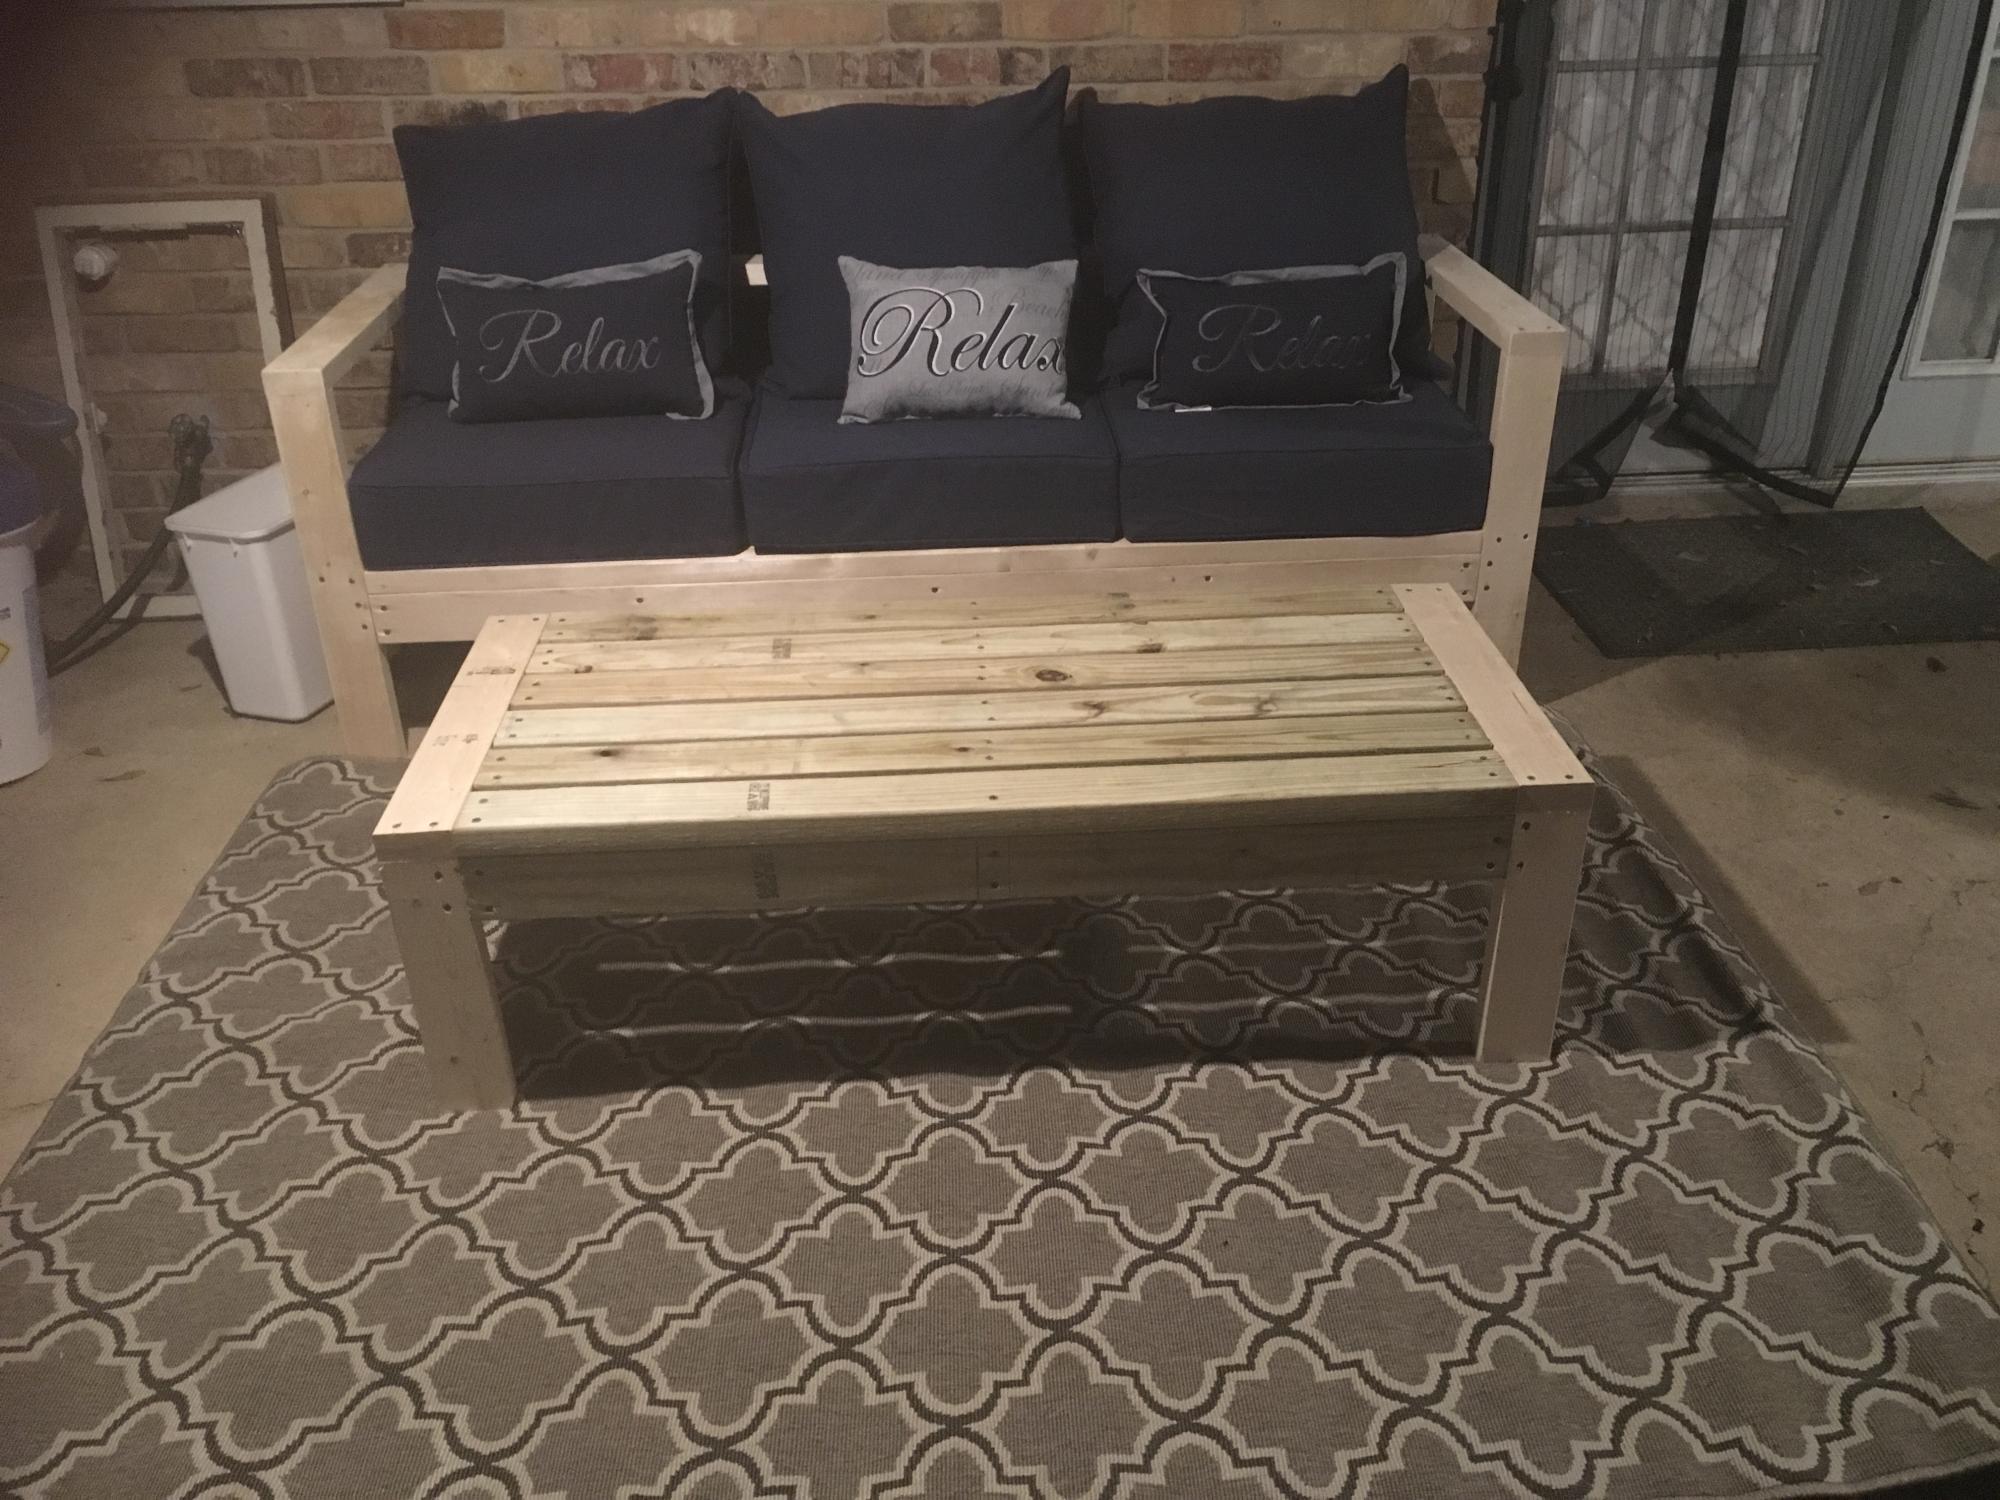
We modified Ana’s plans only slightly and we love our outdoor furniture we are going to make a second couch and a couple of chairs as well!

Estimated Cost
$50, with cushions $165
Estimated Time Investment
An Hour or Two (0-2 Hours)
Recommended Skill Level
Beginner

MITER SAW CART

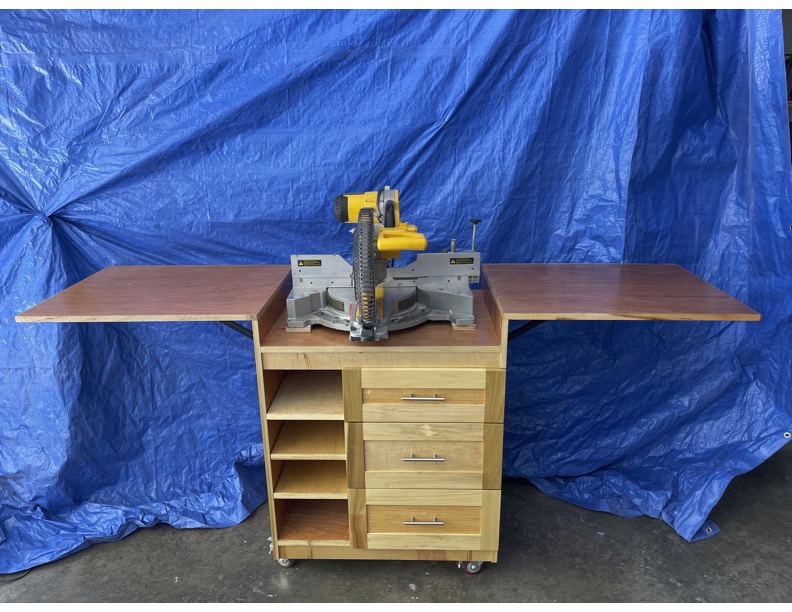
Great Miter saw cart plans! Absolutely love how mobile my miter saw is now. I added adjustable shelves and drawers for a ton of storage.

Built from Plan(s)

Comments

Entry Cabinet - My first piece

Submitted by Surly Duff on Mon, 02/06/2012 - 13:59

I found this website a while ago, but it was a while before I had an opportunity to utilize the plans as I have a long honey-do list of things around the house (insulation, installing new light fixtures, putting up crown moulding) that took priority. Well, I finally got some time and Hillary's locker cabinet was a perfect first project.

We have a small Cape Cod with no separate entryway, so our coats, shoes, bags, keys, and other accessories ended up on our windowsill or the dining room table, which was okay until dinner started and we had to clear it all off before eating. It was aggravating to say the least. So the narrow cabinet was the perfect solution. I made a few changes to the plan - added doors instead of drawers, and changed some dimensions to fit my space, and I also added trim pieces to the inside shelves to finish it off a little more - and it worked out great. The spaces between the doors and the trim are not even, and while that bothers me a little, I'll just have to improve on my next piece...and there will be a next piece. Soon.

Thanks Ana and Hillary!
Estimated Cost
$105 (paint and hardware incl.)
Estimated Time Investment
Day Project (6-9 Hours)
Finish Used
Mystic non-toxic paint, sage green (I think).
Recommended Skill Level
Beginner

Comments

Hillary (not verified)

Wed, 02/22/2012 - 18:36

Great work! How did you like using Mystic Paint? I've heard about it before but haven't worked with it before. What sheen is it? Did it sand well?