Community Brag Posts

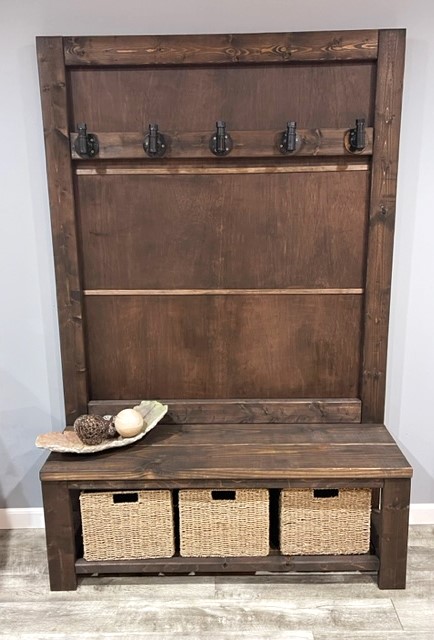
Rustic Hall Tree

Submitted by Anonymous (not verified) on Wed, 11/08/2023 - 10:21

I used the Rustic X Hall Tree plans and slightly modified them. I'm very happy with how it turned out. I used black pipe for the hooks as I have a lot of this style of decor in my home. The stain color is Dark Bourbon from Varathane. The back is luan with screen bead across the front to hide the cut panels (I have a Ford escape and had them cut the luan into panels). The back is secured with 1x2s so I had something to hold my 5/8 inch brad nails for the screen bead. I didn't use the X design; I can always add it later if necessary. The baskets are from Amazon sized 12x12x10. I also didn't add the 16 inch side pieces or the top piece. I used pocket holes on 95% or more of the piece.

Built from Plan(s)

Storage Cupboard

Submitted by sophie on Wed, 05/23/2012 - 23:44

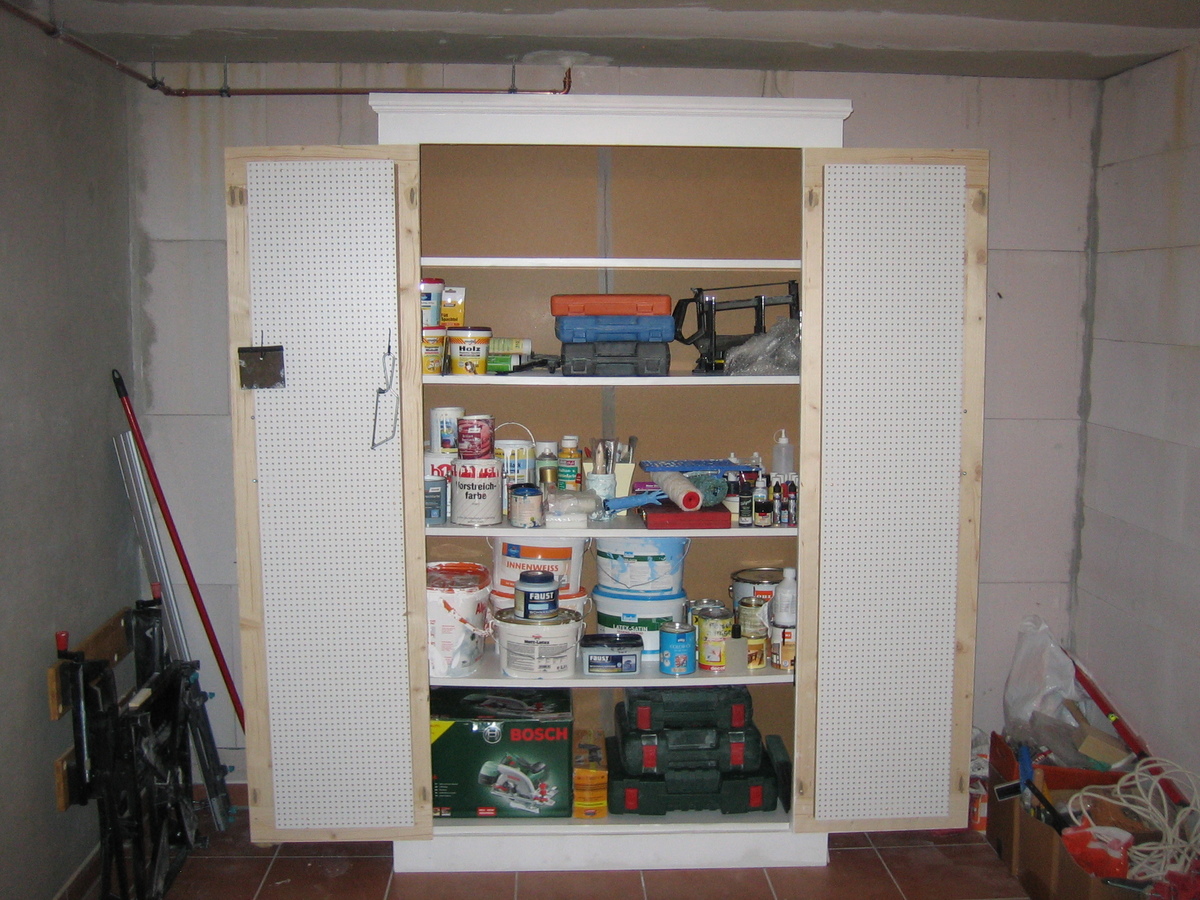
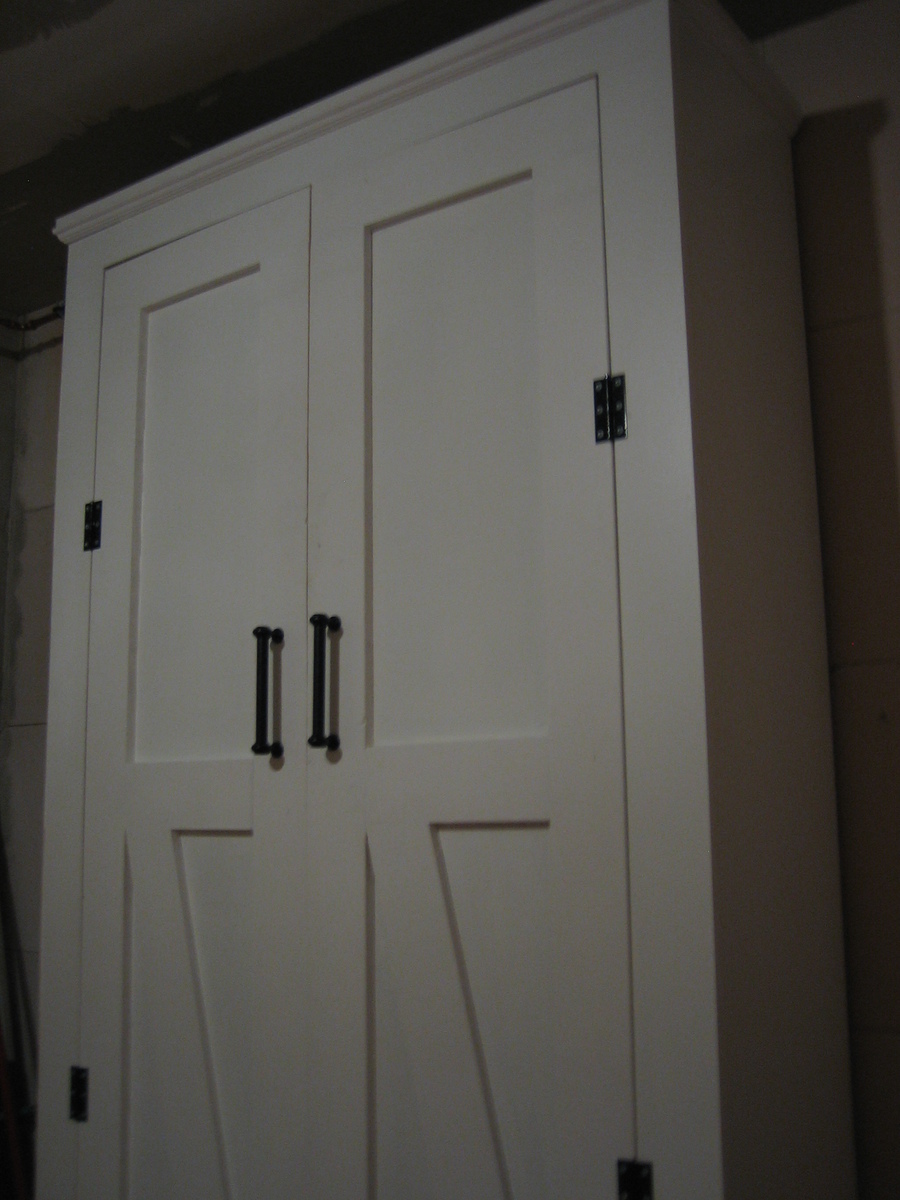
My cupboard is quite a lot bigger than the one in the original post but is super sturdy.
It was a relatively easy project to build. My main issue was that I used chipboard for most of the cupboard and ironed on veneer on the cut sections which threw my door frame measurements out of whack and I had to shave a bit of my door off with a plane to get it to fit in neatly.

Built from Plan(s)
Estimated Cost
€60
Estimated Time Investment
Weekend Project (10-20 Hours)
Finish Used
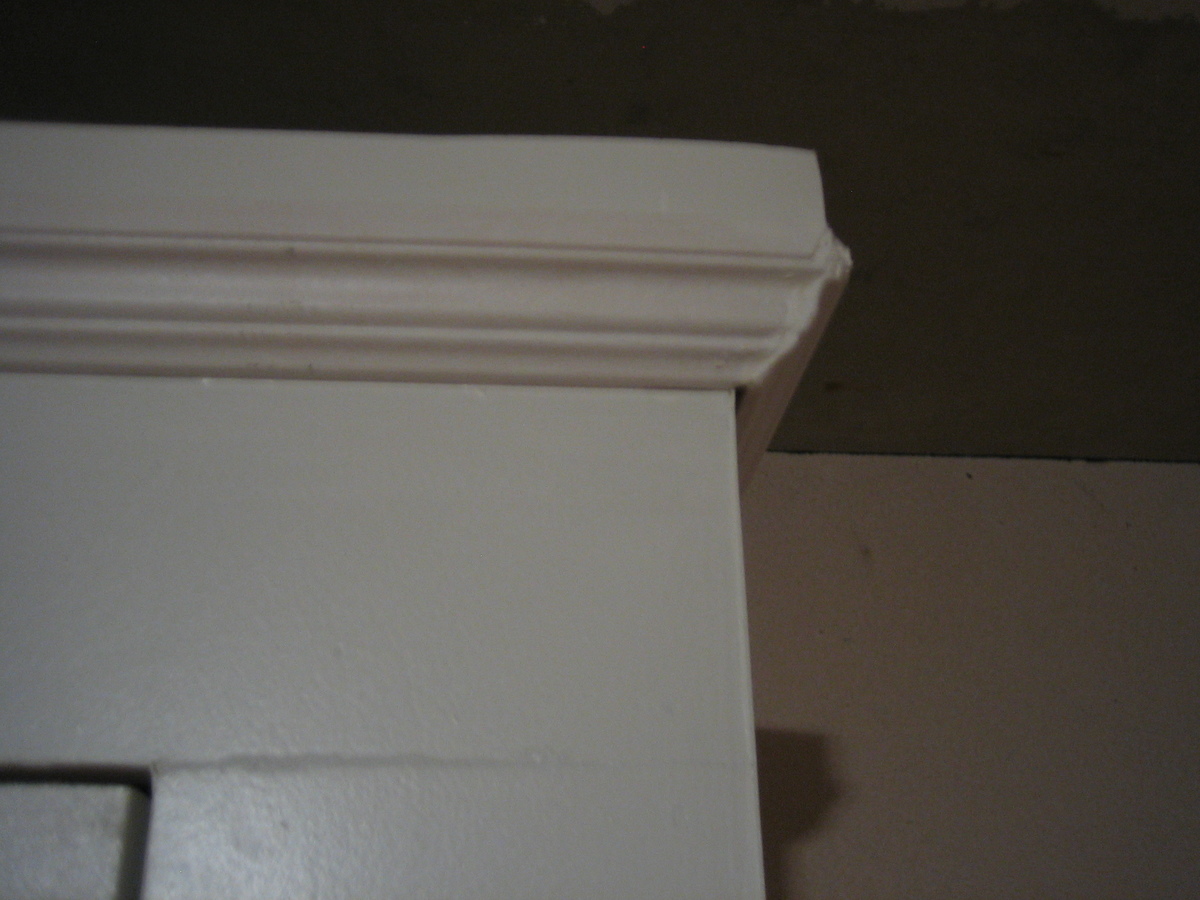
White 2 in 1 primer and matt white
Silver hinges painted with high gloss black
Recommended Skill Level
Beginner

Comments

Amandahaslip (not verified)

Sun, 08/12/2012 - 11:47

Hi there. I love this!!! I was wondering if you remembered the dimensions of wood used or what not? I want to make one or two of these for my basement laundry room for storage but am new to this so not sure how much I would increase all of the wood etc from the original plans. Thanks!

sophie

Mon, 08/13/2012 - 02:48

Hi! So glad you like it! I used SketchUp to create my dimensions to fit my space. Have you ever used it before? It's a free designing tool and really helps me to visualise if the wood's all going to fit together or not.
Here are the wood measurements I used:

Chipboard, white, 19mm
Part/Length (mm)/Width (mm)/Amount
Top:1200/436/1
Side x2:2000/400/2
Bottom shelf:1124/350 /1
Shelf x4 :1124/350/4
Frame top & bottom:1162/100 /2
Frame side x2:1800/100/2
Door frame top & bottom:476/100/2
Door frame side x2:1594/100/2

Door backing MDF 3mm
Part/Length (mm)/Width (mm)/Amount
Back:2000/1162/1
Door back:1700 /360/2

If you have any other questions, I'd be happy to help. Good luck!

Media Console

Submitted by Csaum on Sat, 03/08/2014 - 13:04

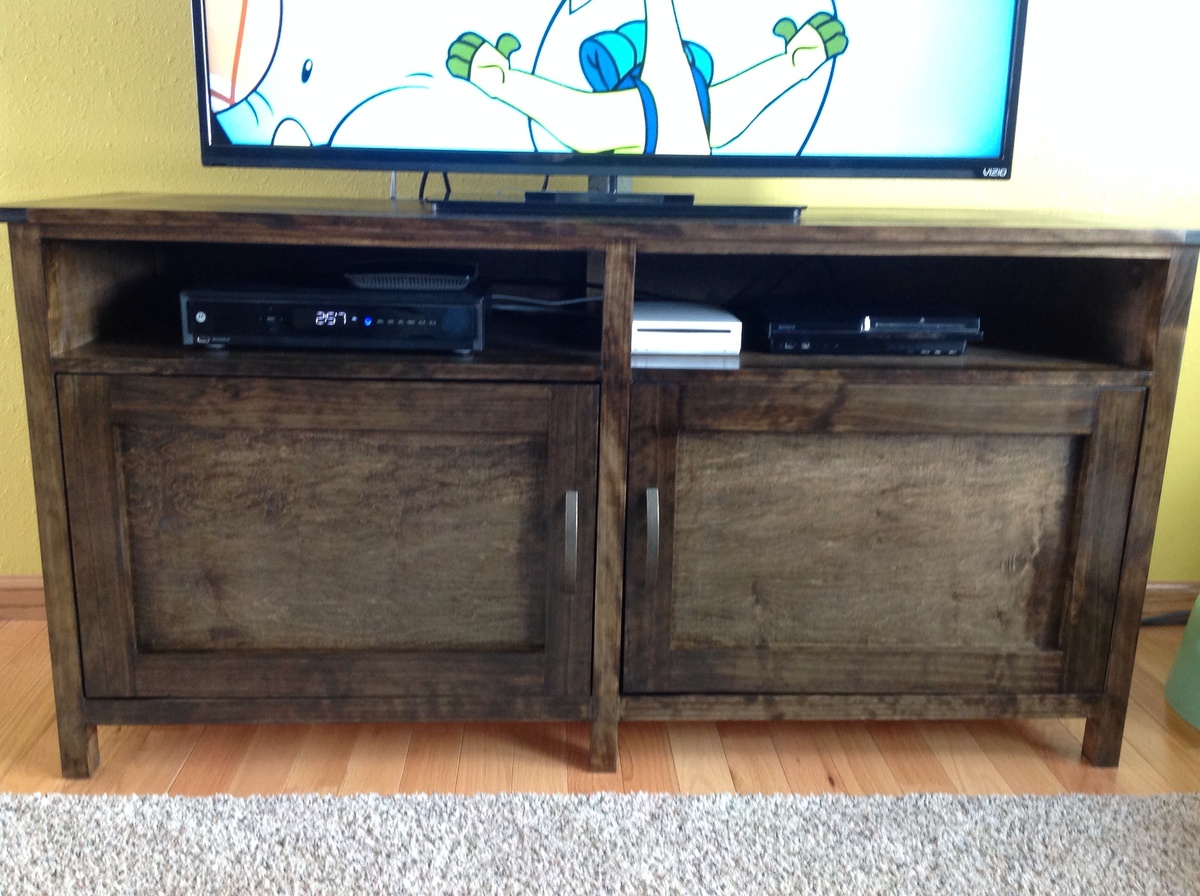
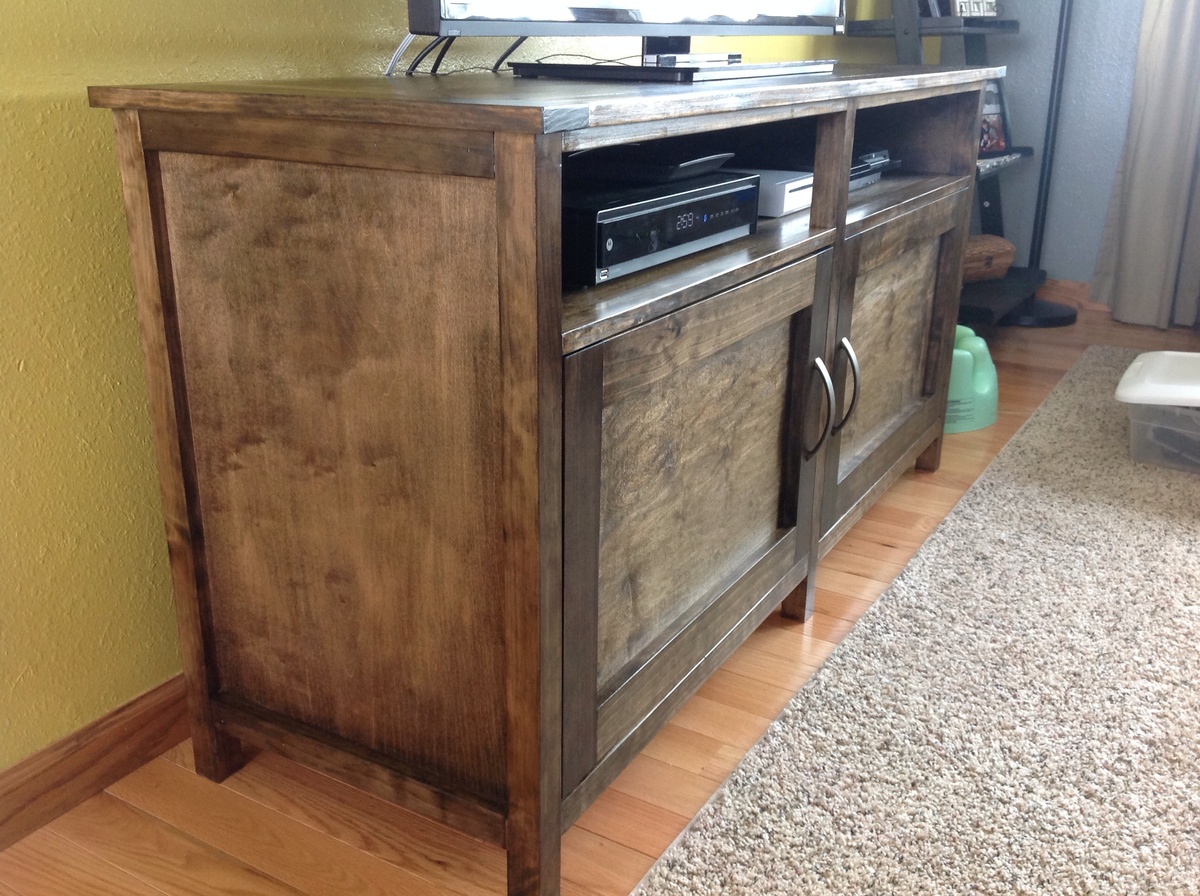
Worked on this very casually and intermittently for about 3-4 weeks, though I would consider it a weekend project if you have all materials and tools necessary to complete, and a couple full days to devote to the project. With 2 young kids at home, I was only able to get an hour here and there at a time in my shop to work. I decided to leave off the top flip-down style doors, as our cable box requires line-of-sight to work, and my wife wasn't crazy about having to open those any time we were going to watch television.

I was a bit uneasy about the weight of the top, especially once the tv was placed, without any support bracing directly under the top-center piece of plywood. To add a bit of support, I added a 1x3 brace, attaching it between the tops of the 2 center legs, flush to the underside of the top. Completely hidden, and added just enough peace of mind for me to put my new tv on it, worry free.

Materials: I used maple hardwood plywood, and select grade pine for the finish/edge pieces. I found that polycarbonate sheeting was pretty expensive at my local hardware store, plus I had to special order an opaque finish, so I finished my doors with 1/4 plywood that I had left over from the back panel. I used 4 different grit levels of sandpaper (120, 220, hand sanded with 320, and then used 400 between coats of poly). Minwax Dark Walnut stain and 2 coats of clear satin polyurethane. Kreg jig is a must for a project like this, would have been lost without mine! I love that all the hinges and screws are hidden!

I'm planning to build the matching media towers from this collection next.
Built from Plan(s)
Estimated Cost
$200-$250
Estimated Time Investment
Weekend Project (10-20 Hours)
Finish Used
2 coats Dark Walnut stain - Minwax
2 coats clear satin polyurethane (400 grit hand sand between coats) - Minwax
Recommended Skill Level
Intermediate

Comments

Shoe Dresser

Submitted by Anonymous (not verified) on Tue, 06/07/2016 - 16:29

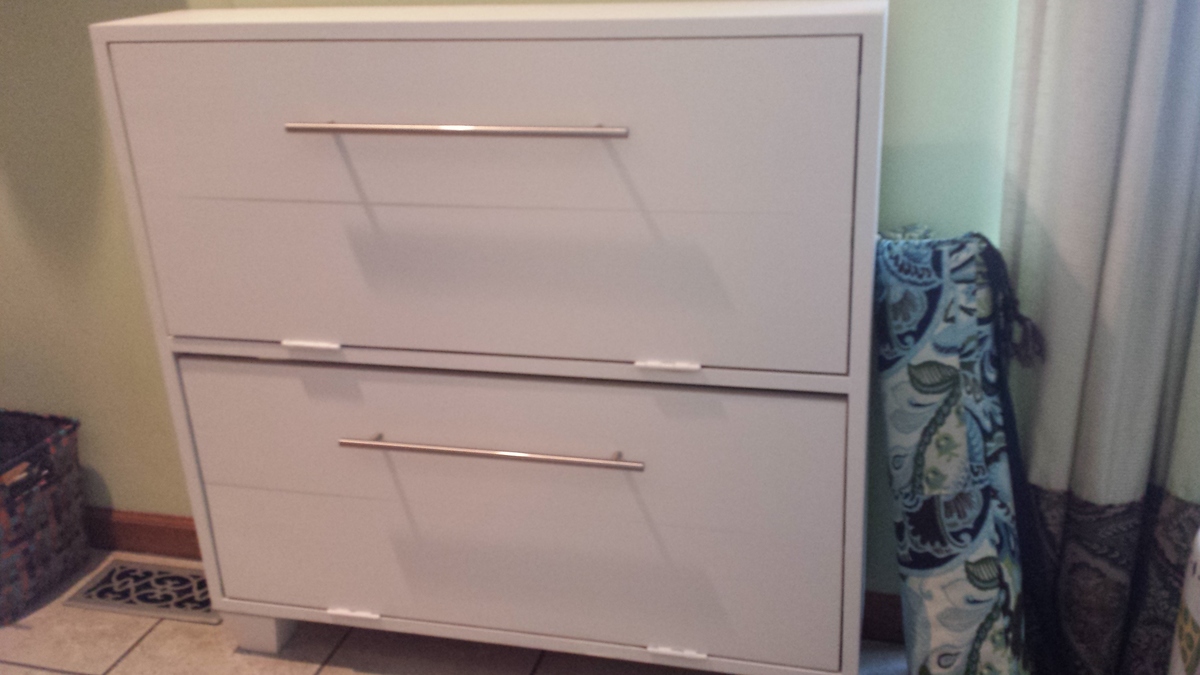
Made tis twice. First one was a mess, Bought more wood and started over aware of problem areas and built more carefully second time.

Built from Plan(s)
Estimated Time Investment
Week Long Project (20 Hours or More)
Finish Used
Paint
Recommended Skill Level
Beginner

Easy Kitchen Island Plans

Submitted by Tammy MT on Sat, 05/26/2012 - 09:28

We made the top a solid piece, so we wouldn't have to deal with food getting in the cracks.

We modified the measurements to fit our space, it measures 48" w x 16" d x 36" h. I absolutely love this island!

Built from Plan(s)
Estimated Time Investment
An Hour or Two (0-2 Hours)
Finish Used
legs painted black, top stained mahogany
Recommended Skill Level
Beginner

Comments

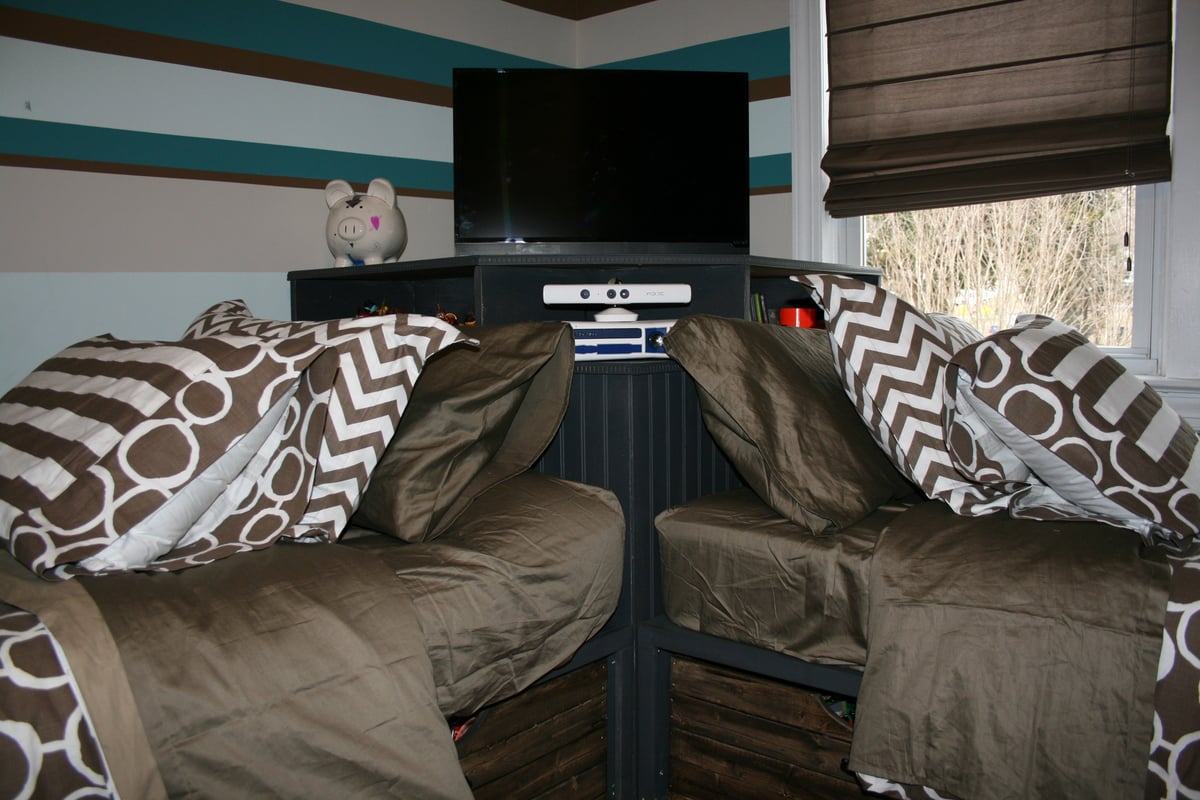
Corner hutch and twin storage beds

Submitted by Chriss45 on Wed, 03/12/2014 - 01:47

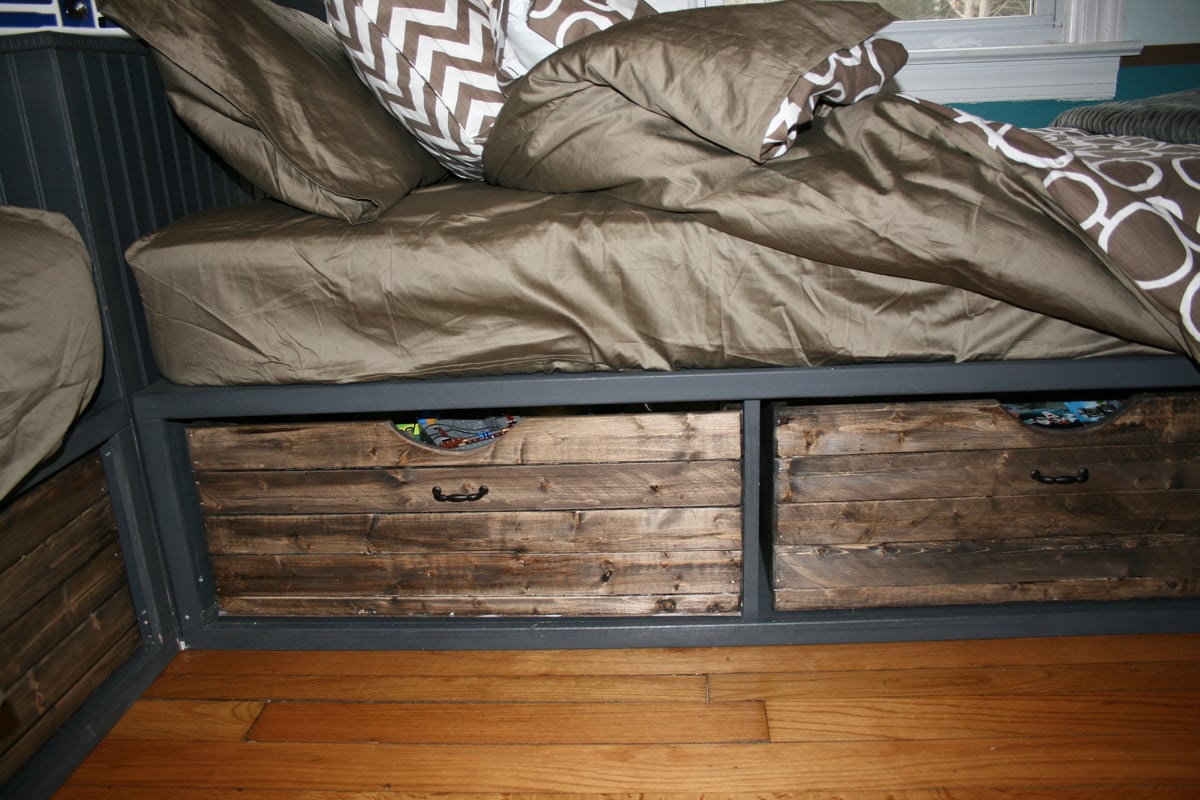
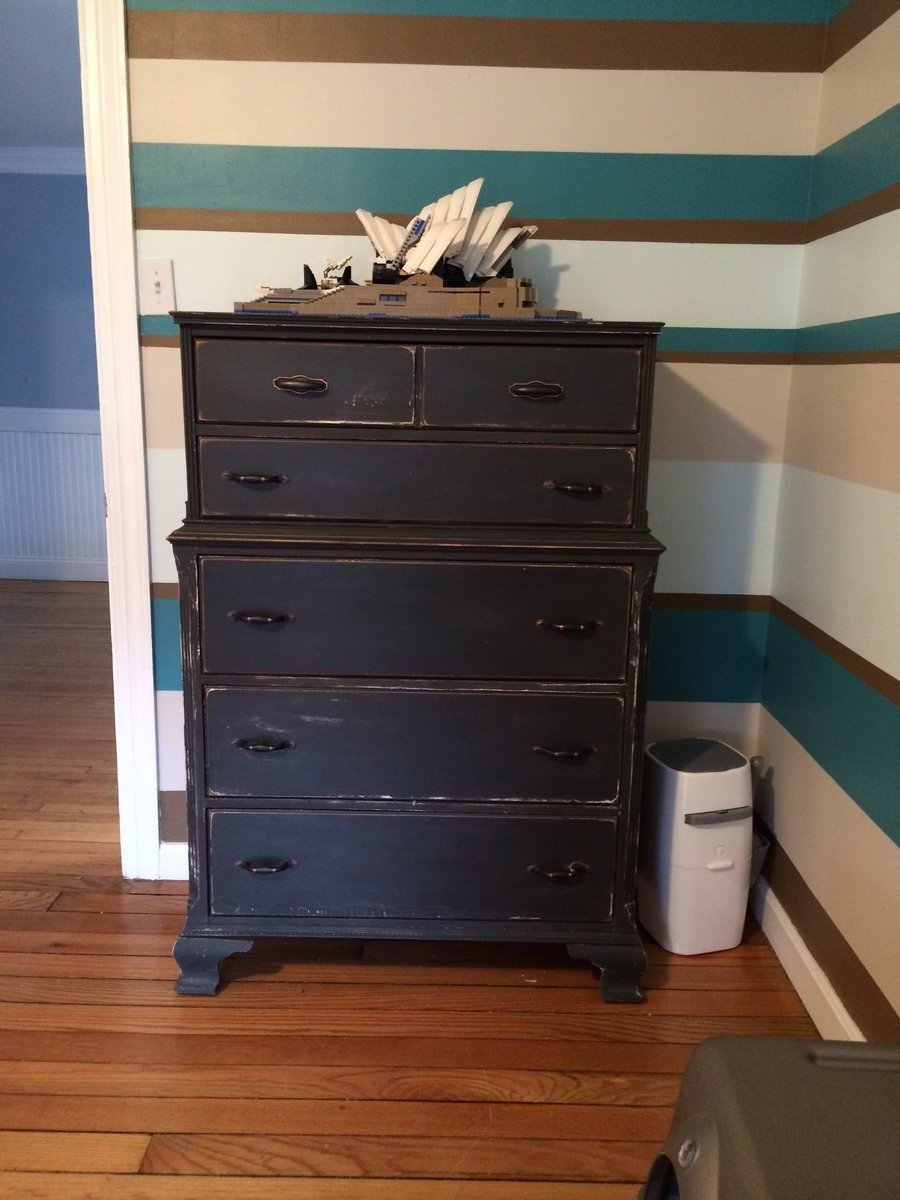
This was my first build and it took me about a week to finish. My son has an L shaped room due his closet being the laundry room. This plan was perfect for his room and provided tons of storage. I could not find baskets that I liked so I just made bins using 1x2 for front and backs, left over scraps for sides and 1/4 plywood for bottoms then stained them. The approx cost for each bin was 5 dollars. I made my own chalk paint and painted them the same as the antique dresser i found on craigslist that I refinished.

Estimated Cost
450.
Estimated Time Investment
Week Long Project (20 Hours or More)
Finish Used
Chalk paint recipe using Behr flat primer/paint= 4 parts paint-1 part water-1 part plaster of paris. Finished with a coat of wax.
Recommended Skill Level
Beginner

Comments

bellcynt

Wed, 03/12/2014 - 13:23

I love this room! The paint job is amazing and the beds look great!

Heather03

Thu, 02/05/2015 - 18:09

Do u still have the blue print to make this. I've been looking and it's hard to find. If so can u send me a link

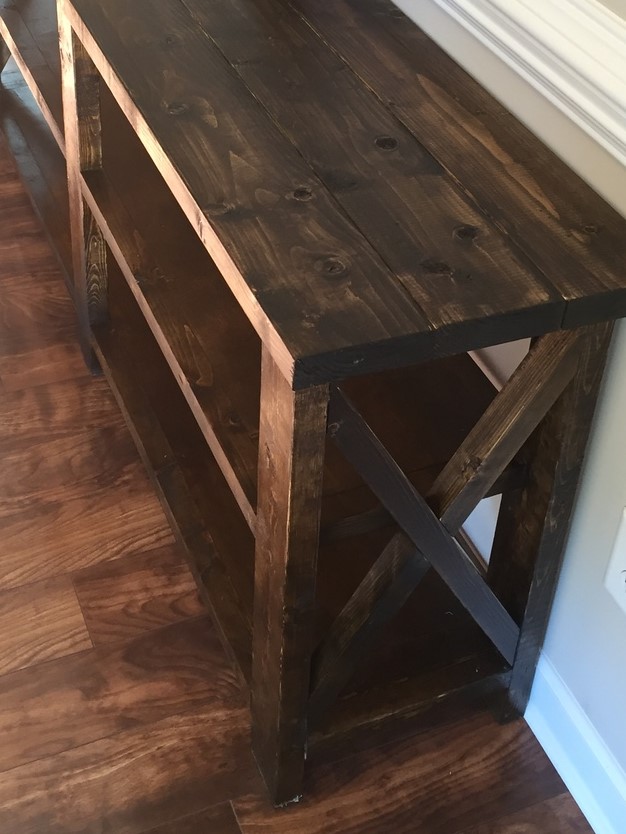
Rustic X console

Submitted by Anonymous (not verified) on Sun, 06/12/2016 - 06:09

Did this project over the span of two weekends.

only tough part really was the X sides. Had to source from a friend.

Built from Plan(s)
Estimated Cost
120
Estimated Time Investment
Weekend Project (10-20 Hours)
Finish Used
Jacobean
Recommended Skill Level
Intermediate

Coffee Table with Drawers

Submitted by Anonymous (not verified) on Sat, 11/18/2023 - 12:14

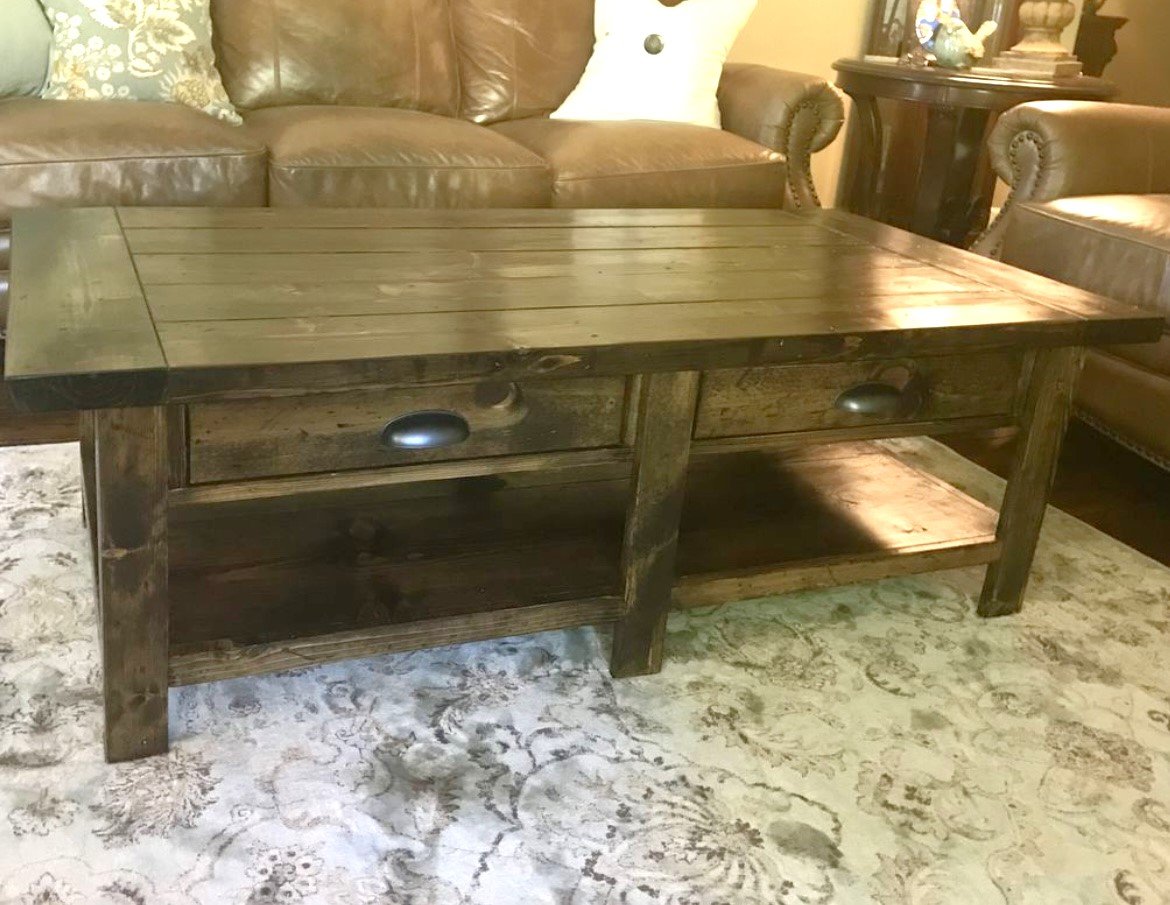
This was inspired by a Potter Barn table that looked similar. It was one of my first projects. I couldn’t afford the 2000 plus from there so built it. Sanded very fine and used Dark Walnut stain. Sealed four times with polyurethane sanding between each. Rubbed last coat of polyurethane on with cloth and used 0000 steel wool to give it a very soft and smooth finish.

Lynn

Farmhouse Table - My first project!

Submitted by ksuehr on Wed, 05/30/2012 - 13:02

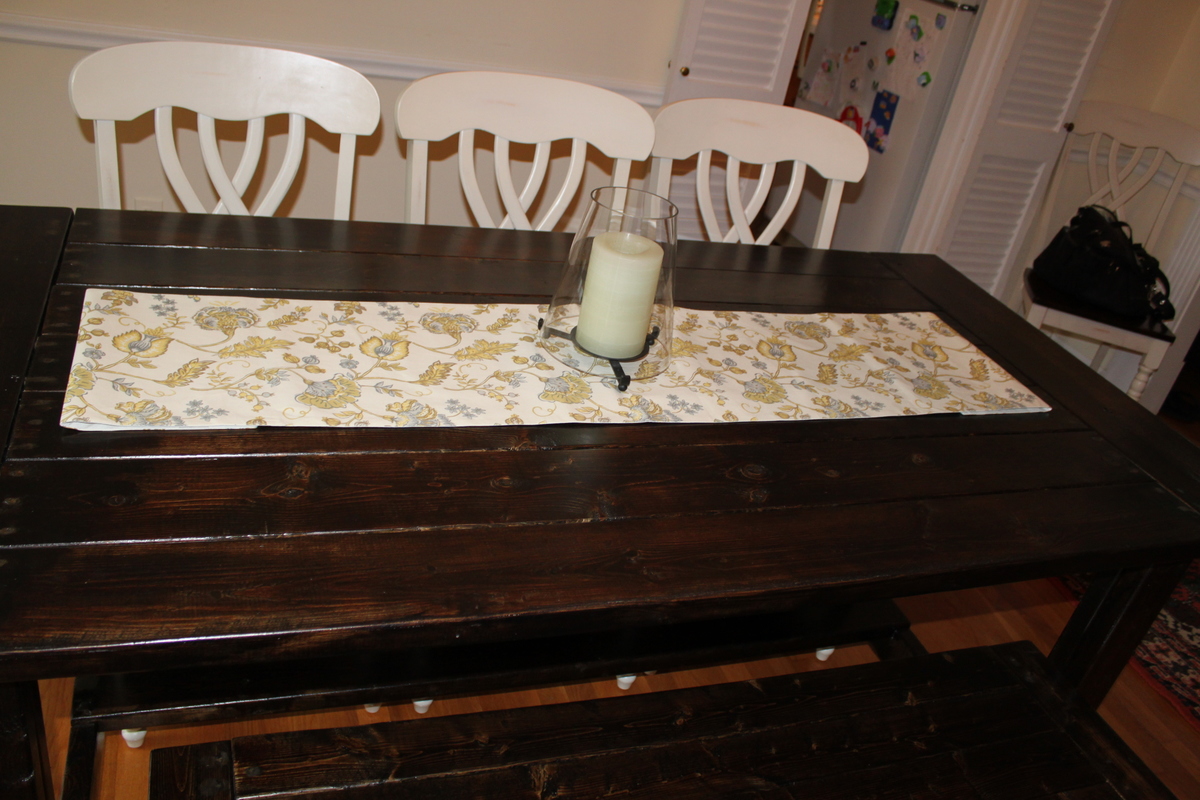
I followed Ana's plans for the farmhouse table and bench. This was my first project and it turned out really well! The flash makes some of the table top look discolored but it does not look like that in person - just a weird flash thing I think :)
The project took me about a week - table and bench and I only worked on it during nap times and when the kiddos went to sleep! The original plan was for a 96 inch table - I shortened mine to 75 inches to fit our dining room.
A great dining room table for us and it cost around $200 for both table and bench.
I am so proud that I actually built something that my family can use and I get so many compliments on!
Thanks, Ana!!!

Estimated Cost
$200
Estimated Time Investment
Weekend Project (10-20 Hours)
Finish Used
minwax in jacobean plus a polycrylic finish (3 coats)
Recommended Skill Level
Beginner

Wooden Illusion

Submitted by mtairymd on Sun, 03/16/2014 - 07:39

I found a picture of this online but couldn't find the instructions on how it was built. With some trial and error, I recreated the illusion.

Watching the video is the easiest way to see how it works. I've included a drawing which is linked in the video description.

https://www.youtube.com/watch?v=b3vbaZP2cL8

Build Instructions:
http://www.instructables.com/id/Wooden-Illusion/

Estimated Time Investment
An Hour or Two (0-2 Hours)
Finish Used
None
Recommended Skill Level
Starter Project

Comments

Extendable Triple Pedestal

Submitted by Anonymous (not verified) on Thu, 06/16/2016 - 12:07

I made this extendable triple pedestal table based on Ana's orginal plans.  I had to "engineer" the extension system - which was fun - and it worked out nicely.  I also added a threaded rod through the pedestals (towards the top) to give added support in addition to the pegs through the centerboard.

Thanks for the inspiration and the plans, Ana!

Built from Plan(s)
Estimated Cost
I used select pine for the table top, but construction grade lumber for the base. For the extension slides I also used 2x2 select pine. Therefore the cost for me was higher (than Ana's) - and all totaled about $400. More, if you include stain, poly, hardware, misc. tools, brushes... But you get the idea.
Estimated Time Investment
Week Long Project (20 Hours or More)
Finish Used
Dark Walnut Stain (minwax) 1 coat
Helmsman Spar Finish (minwax) 3 coats on table top; 2 coats on base

I used beeswax on the extensions to get them to slide nicely. But don't get beeswax on any wood that you're going to finish...it repels stain and finish.
Recommended Skill Level
Beginner

Comments

mullencl

Mon, 04/13/2020 - 06:53

So I realize it's been a few years but I'm curious if you can send me plans/talk me through how you made this expandable? I would love to build this table but I can't seem to wrap my head around the expandable part.

Dresser to Buffet

Submitted by tazO on Fri, 06/01/2012 - 06:07

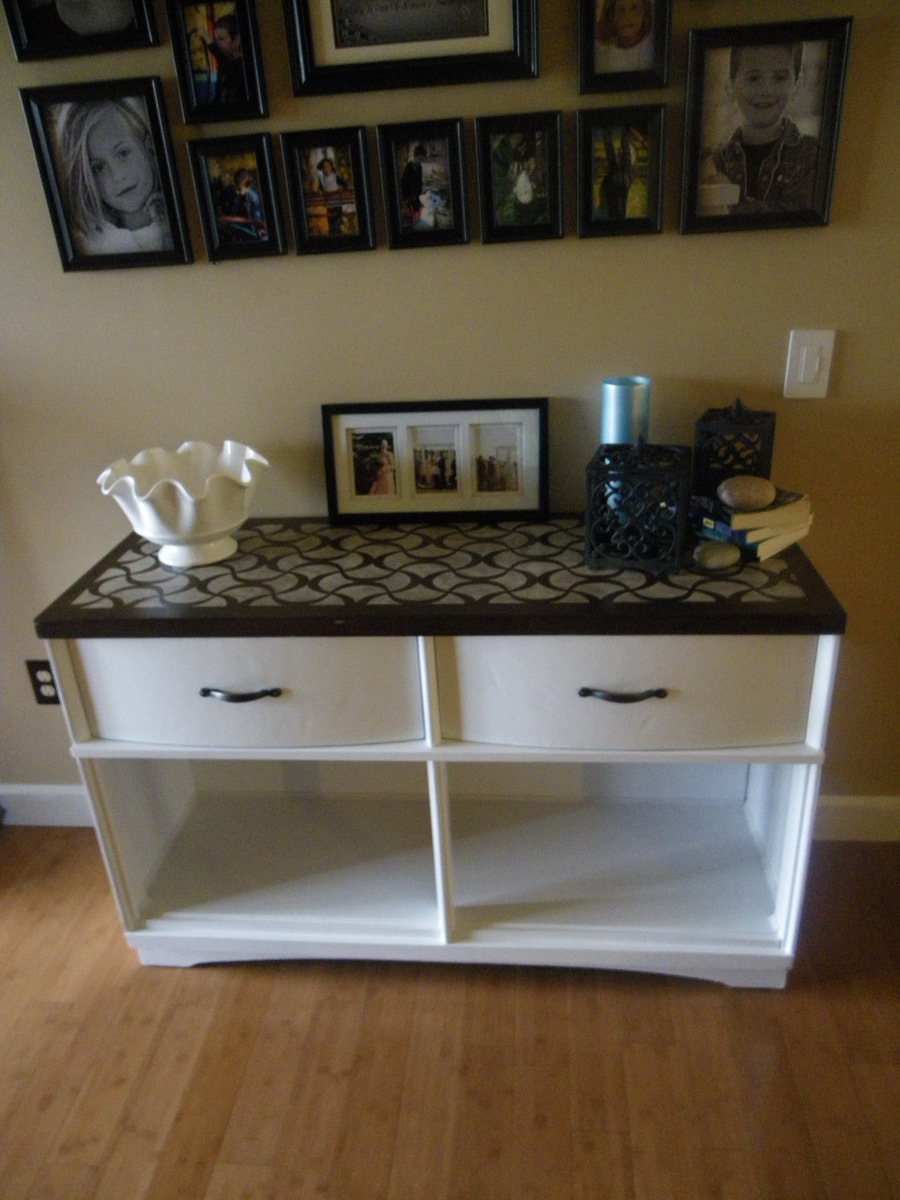
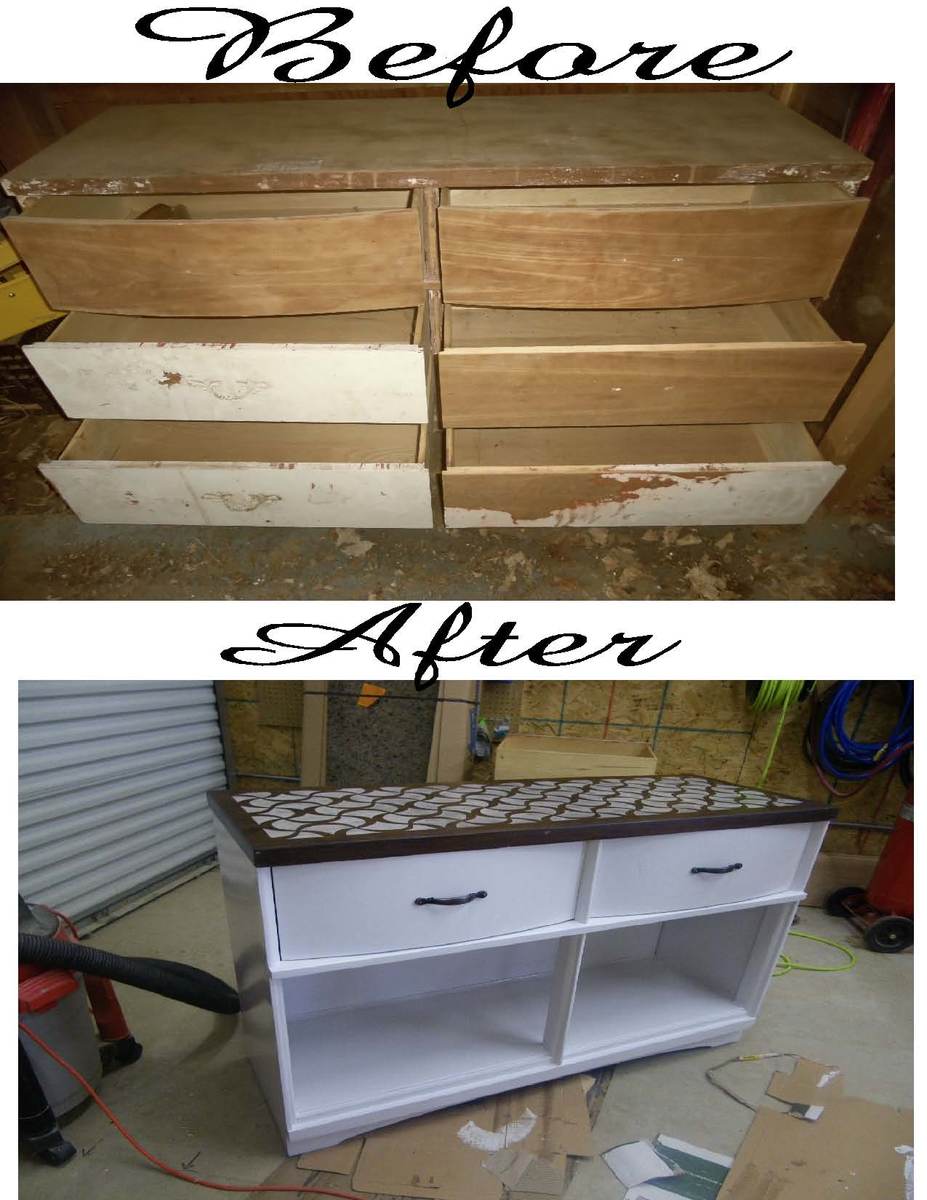
I have been looking for a dresser to transform into a buffet. I posted on a facebook yard sale group and a wonderful woman offered me one she had been keeping in her garage for free.
Step one stripping a lot of old paint and sanding, sanding, and sanding some more. I found a stencil i like on etsy. Stenciled that design onto the top of my "buffet" with white paint and then when it was dry lightly sanded it. I then stained the entire top the color i wanted. 3 coats of varnish finish that off.
The next step was the bottom. The hardest part about that was getting all the old paint out of all the ins and outs of this piece. Once that was done, with the help of the husband, we removed all the rails and braces holding the bottom 2 sets of drawers. It was put together with interlocking pieces so taking it apart left some hold in the side and middle brace. My husband cut pieces to fit in there and were put in place with wood glue. Once dried they were sanded completely smooth. We used a 1/4" piece of luan for the back and 3/4 piece of pine for the bottom of the now open area. A little trim, 2 coats of white enamel and some new hardware for the drawers and tada a new buffet..lol.
Just got it in yesterday so I'm still decorating, but i love the way it turned out!

Estimated Cost
$40
Estimated Time Investment
Weekend Project (10-20 Hours)
Recommended Skill Level
Beginner

Comments

spiceylg

Fri, 06/01/2012 - 06:29

That came out really nice. Love the stencil touch, too! I am looking for a dresser to turn into a media console. Never thought about posting on FB. Great idea!

Rustic X Coffee Table

Submitted by ajdostie on Tue, 03/18/2014 - 22:33

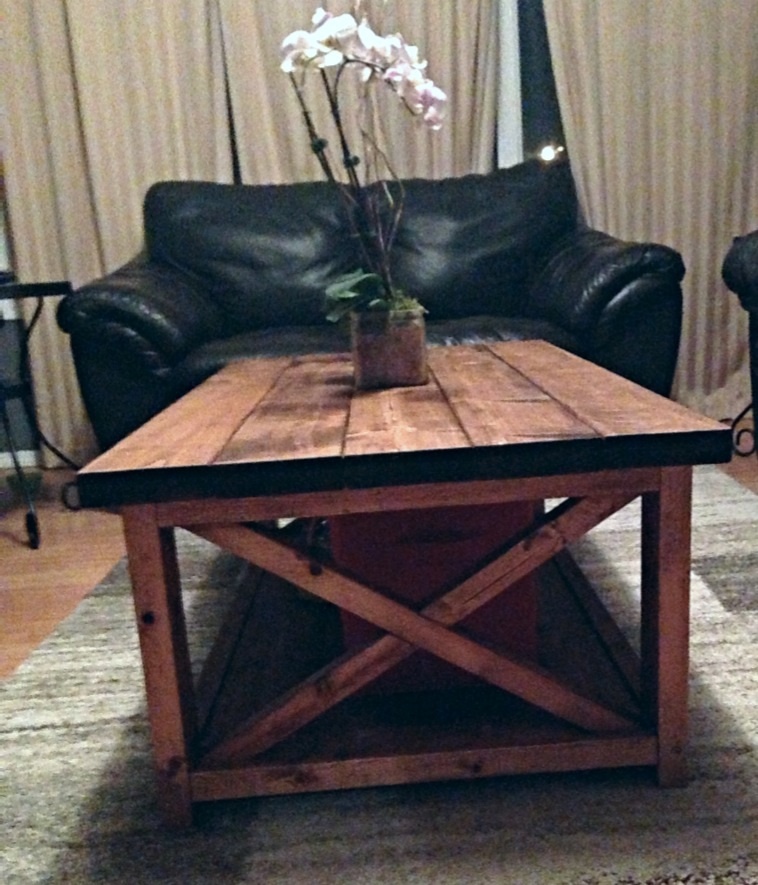
This was my husbands first time using a plan from the Ana White website. For finish we used Danish oil in "dark walnut" and we also put a coat of beeswax on it as well. We are so happy with the end project!

Built from Plan(s)
Estimated Cost
$40
Estimated Time Investment
Weekend Project (10-20 Hours)
Finish Used
Danish Oil "dark walnut"
Beeswax wood finish
Recommended Skill Level
Beginner

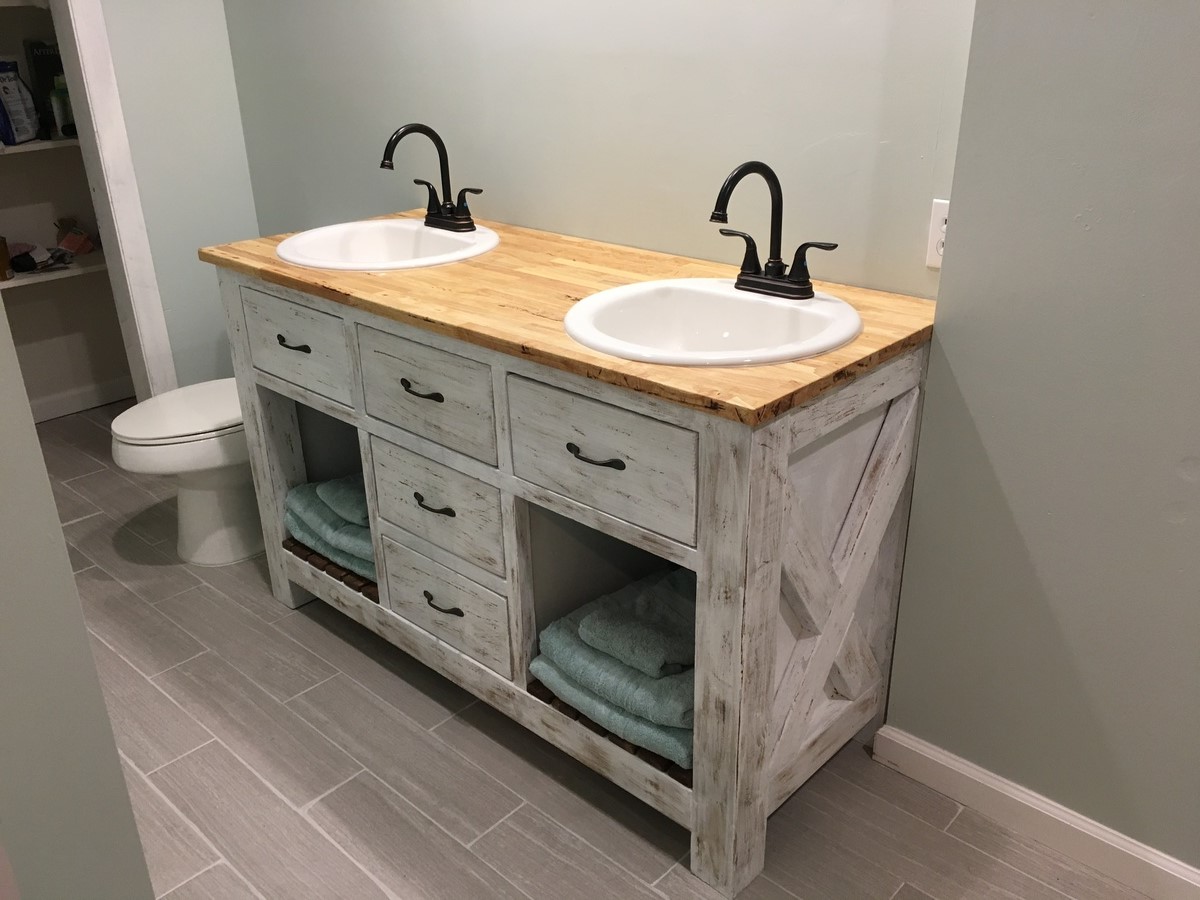
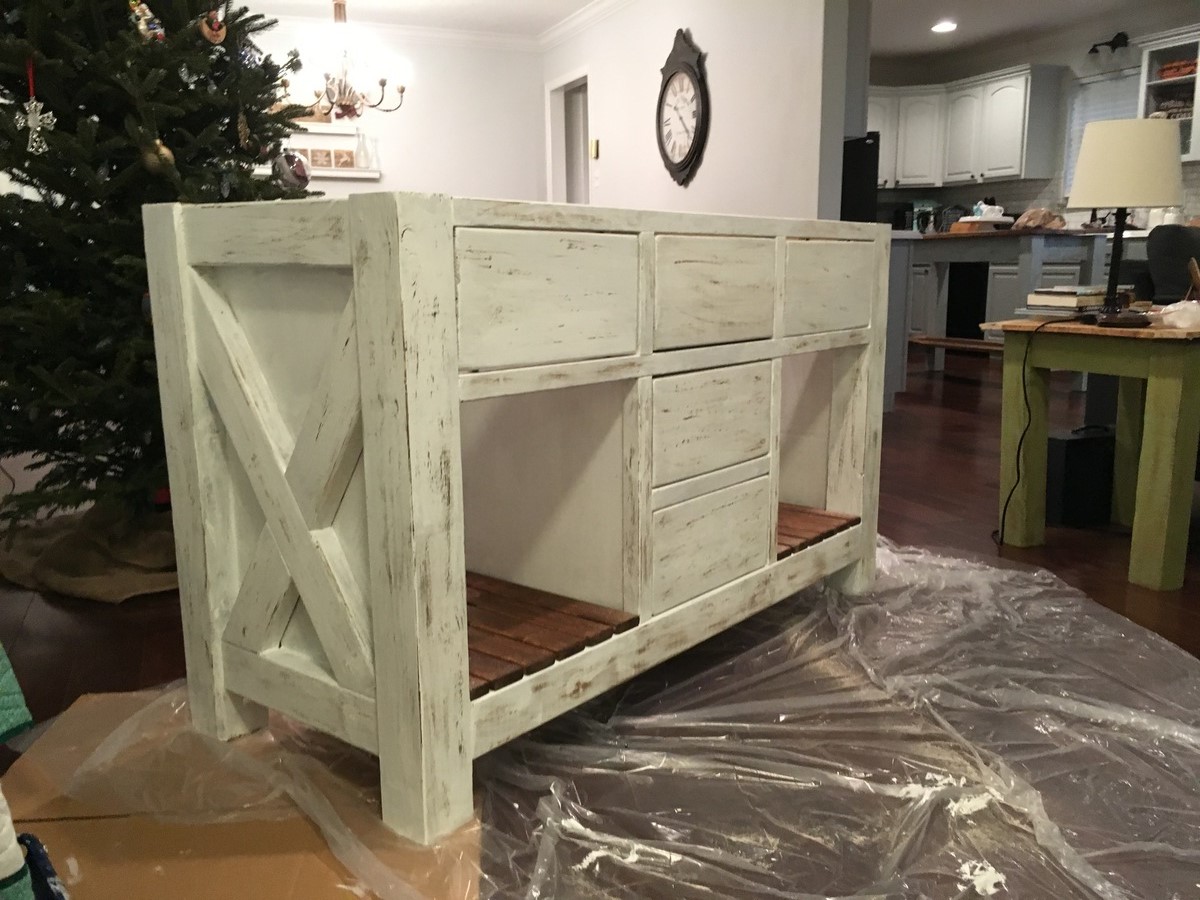
Rustic X Bathroom Vanity

Submitted by Decross on Thu, 08/15/2019 - 11:49

This is a heavily modified version of the rustic x kitchen island that I tweaked to make for 2 sinks. 

Built from Plan(s)
Estimated Cost
$250
Estimated Time Investment
Weekend Project (10-20 Hours)
Recommended Skill Level
Intermediate

Comments

Sandishmily

Thu, 01/18/2018 - 05:30

Hi i actually have a question about the tv stand you made. I love it and I'm wondering what paint you used?  Sorry i wasn't sure that you would see my comment on the tv stand link because it was under guest.

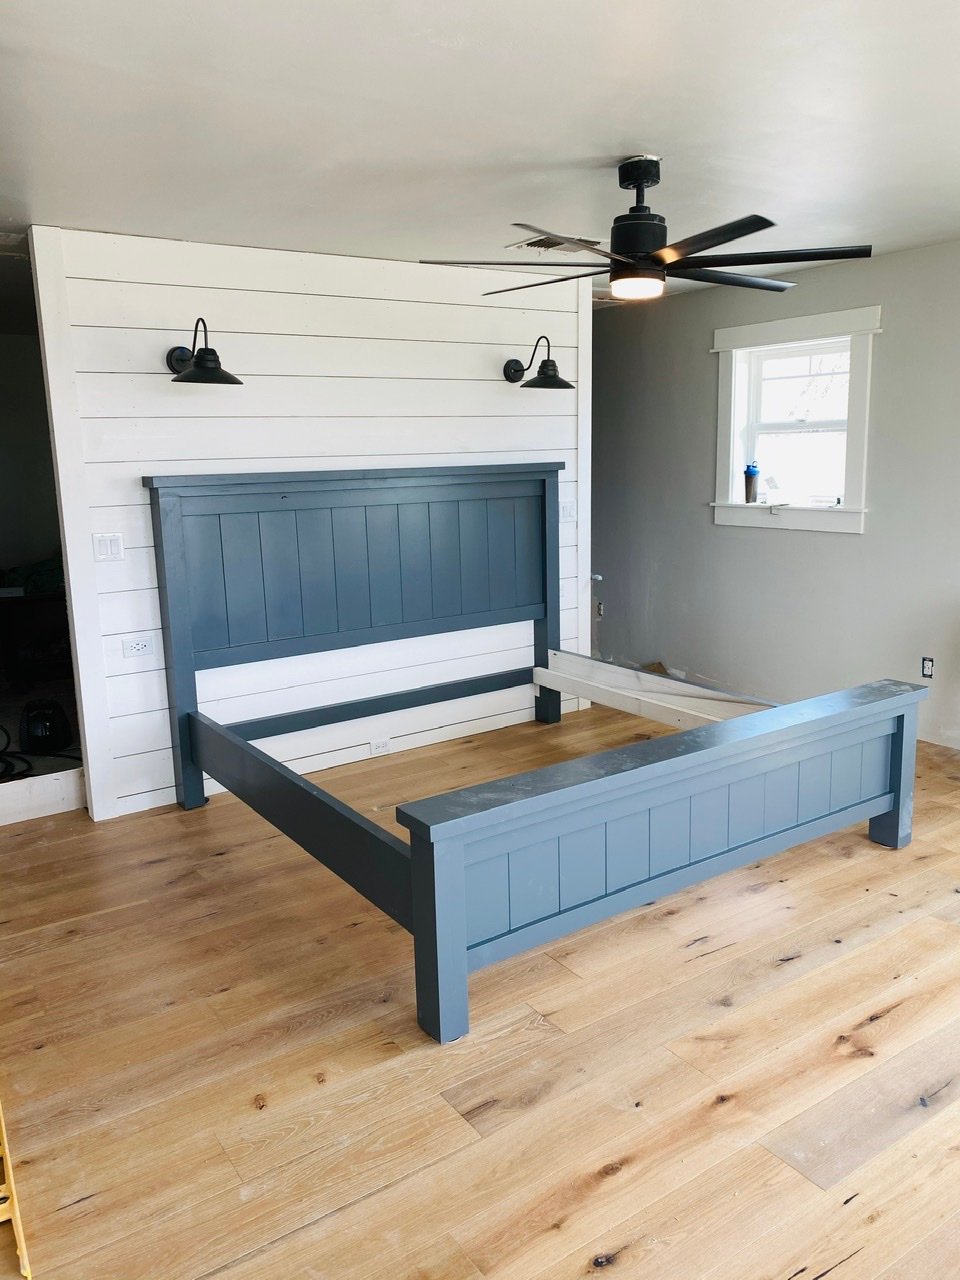
King size Farmhouse Bed

Submitted by Anonymous (not verified) on Sun, 04/19/2020 - 15:59

This is a plan that My 16 year old son chose to do for a project to fulfill a goal to learn some woodworking skills during our unexpected downtime from School.
Mom is thrilled with the new space.
He adjusted different sizes based on what lumber we already had. He used 1x7’s and routed a 45deg on the edges to give the tongue and groove look. Posts are 4x5 and top railing is 2x7.

Estimated Cost
$40 in paint and supplies. Wood was free from a friend.
Estimated Time Investment
Weekend Project (10-20 Hours)
Finish Used
Valspar Furniture Enamel.
Color - Web Grey
Recommended Skill Level
Beginner

Comments

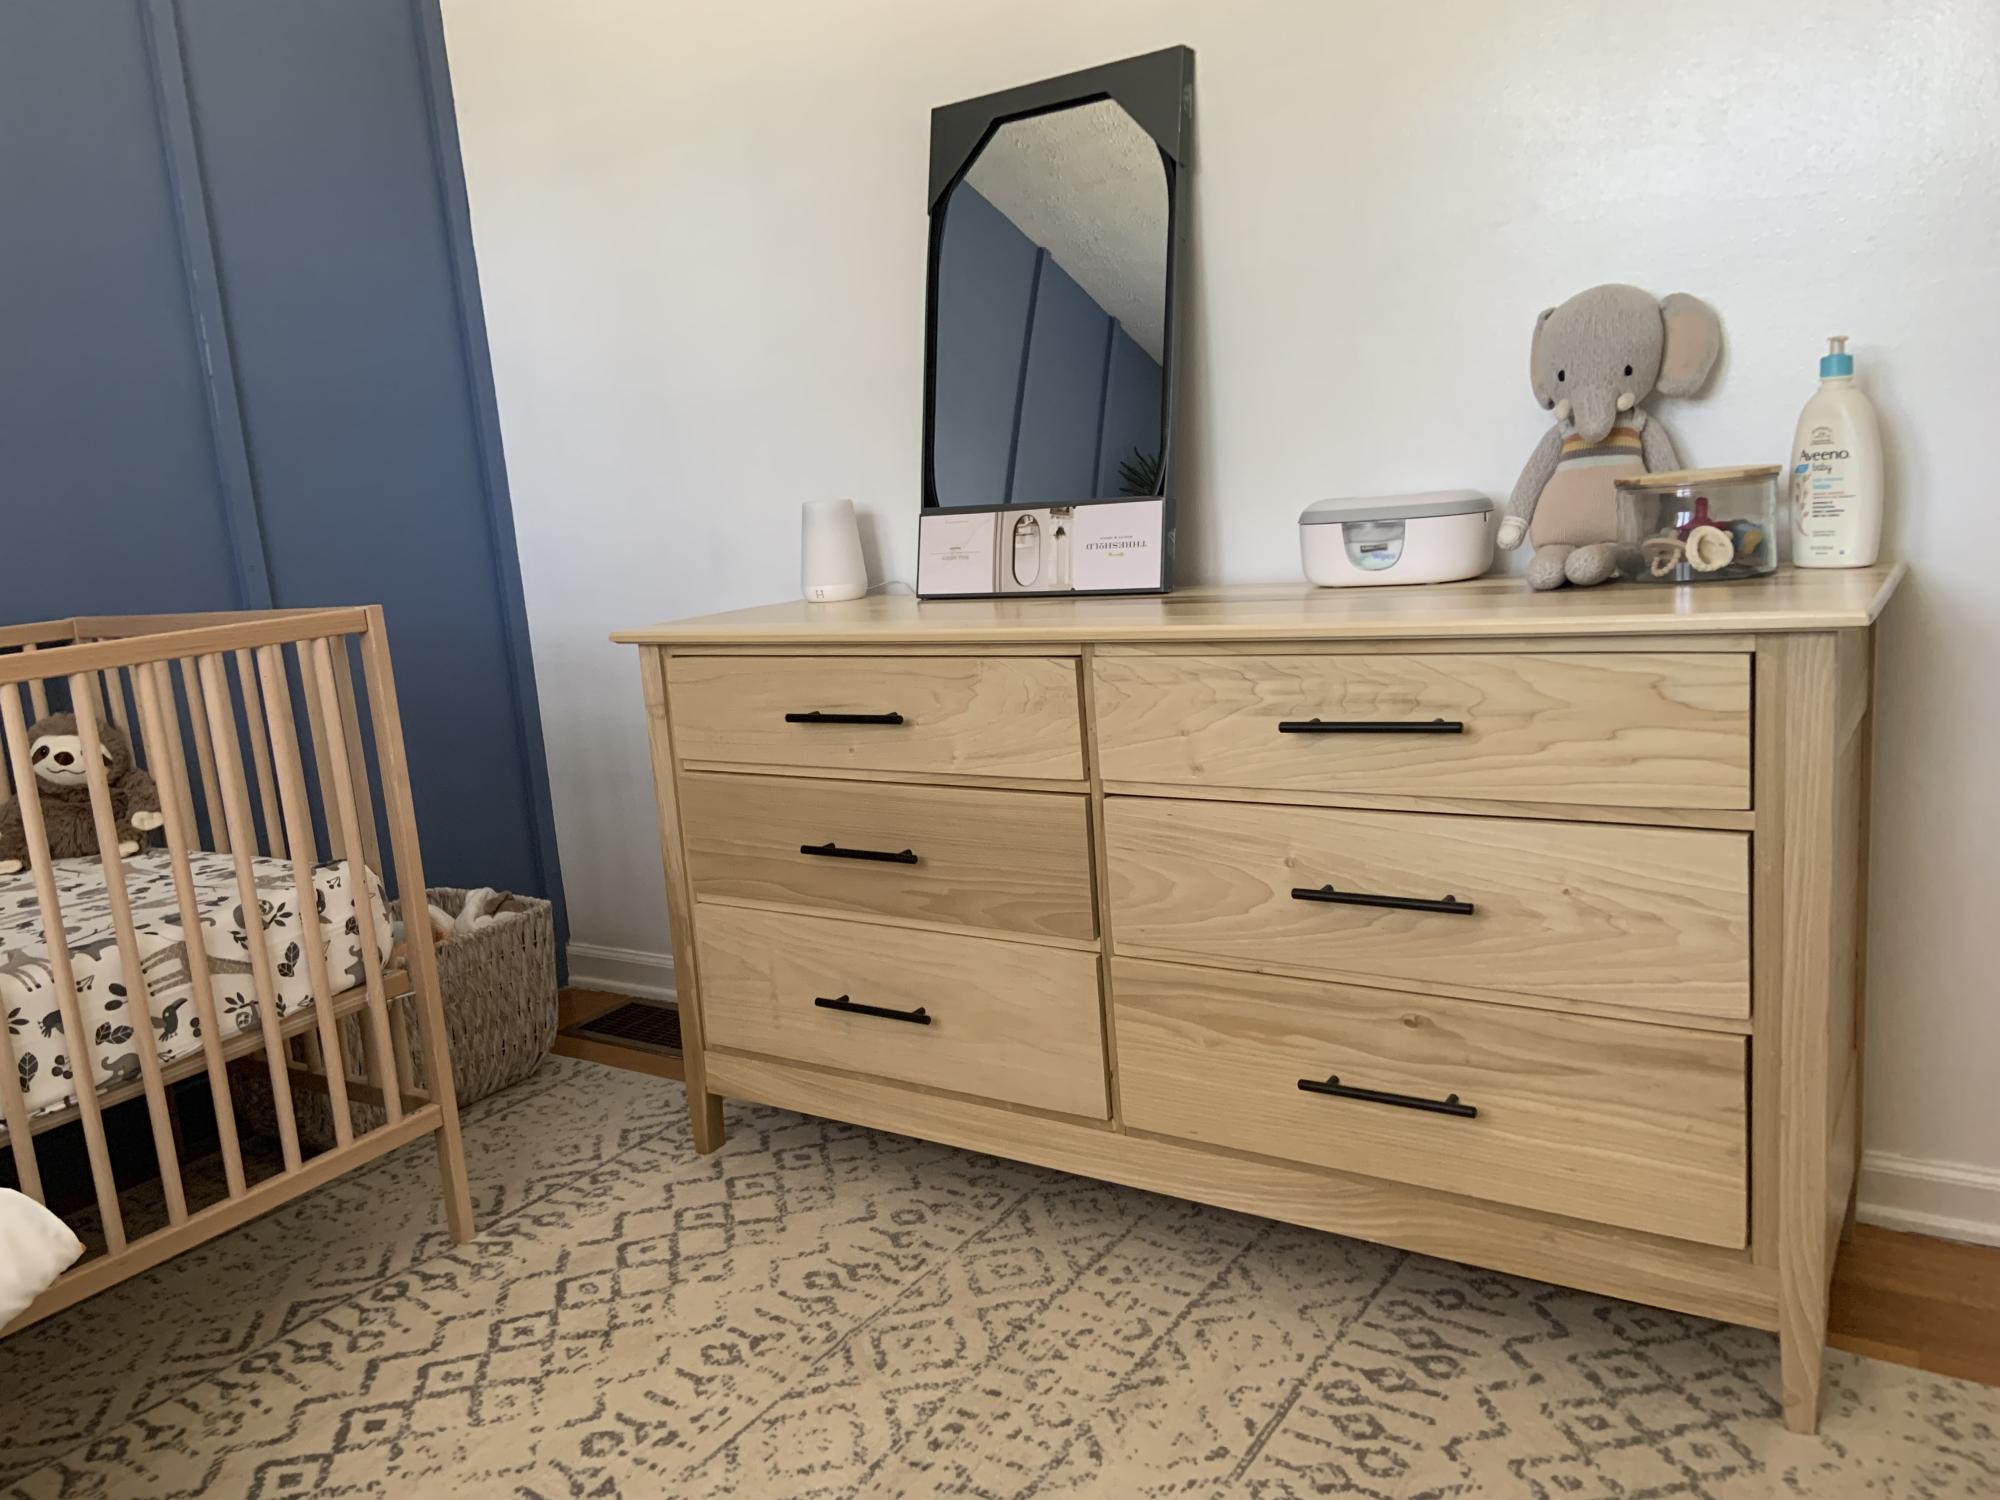
Nursery Dresser

Submitted by Anonymous (not verified) on Sun, 11/26/2023 - 12:18

My first attempt at a dresser before my first grandson arrives.

Rick White

Comments

Perfect for lego table

Submitted by vic b on Mon, 06/04/2012 - 18:49

This table took six hours to build plus finish and is perfect for Lego.

Estimated Cost
$100
Estimated Time Investment
Day Project (6-9 Hours)
Finish Used
maple stain and varnish
Recommended Skill Level
Intermediate

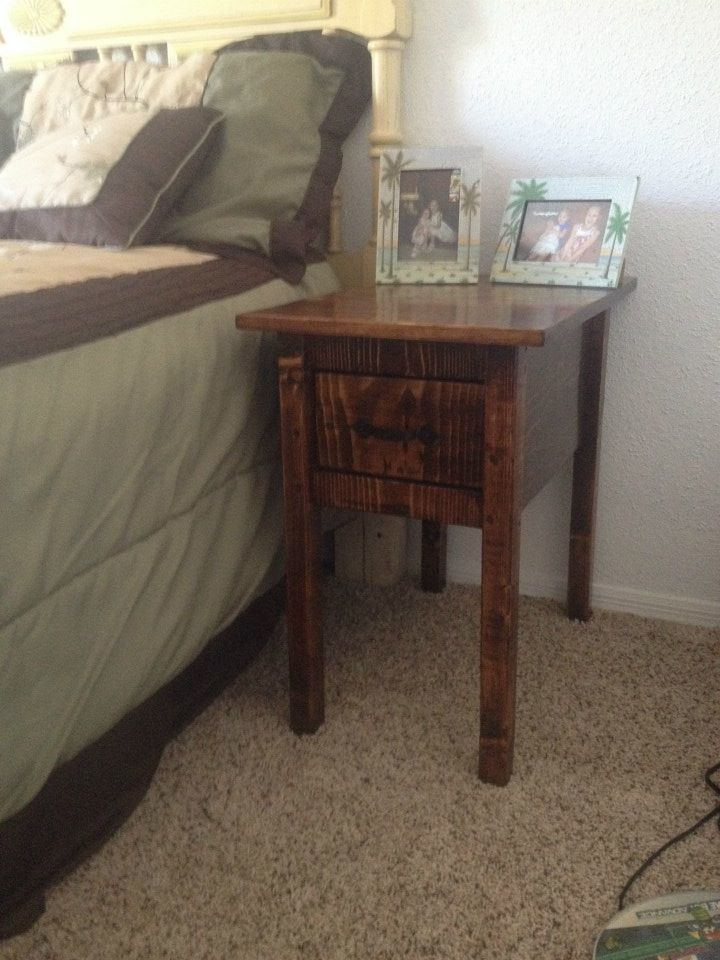
Cottage End Table

Submitted by JamieLynn on Tue, 04/01/2014 - 13:25

This was my 4th woodworking project and boy did I learn a lot! I was dead set on building something with a drawer and also with staining it. My first for both. For one of my first wood projects, I think it turned out cute =) It's a definite improvement on my first 3 projects!!

The plan was great, I changed up the top a little but not by much. Otherwise followed it pretty step-by-step. I did not do pocket holes (a Kreg Jig is my next purchased).

Estimated Cost
25.00
Estimated Time Investment
Afternoon Project (3-6 Hours)
Finish Used
Polyurethane and English Chestnut Stain
Recommended Skill Level
Starter Project

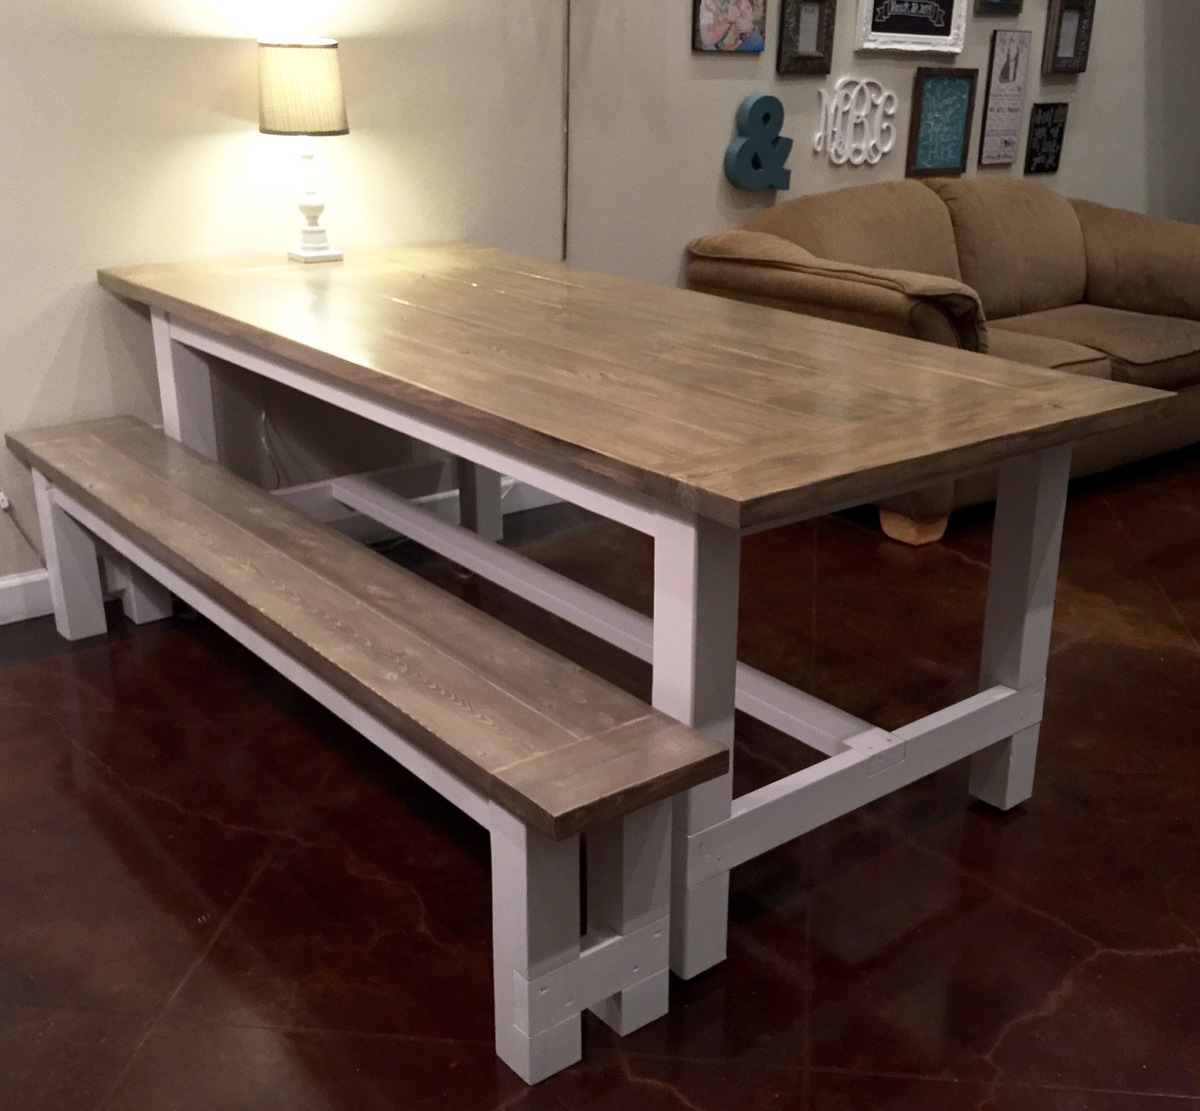
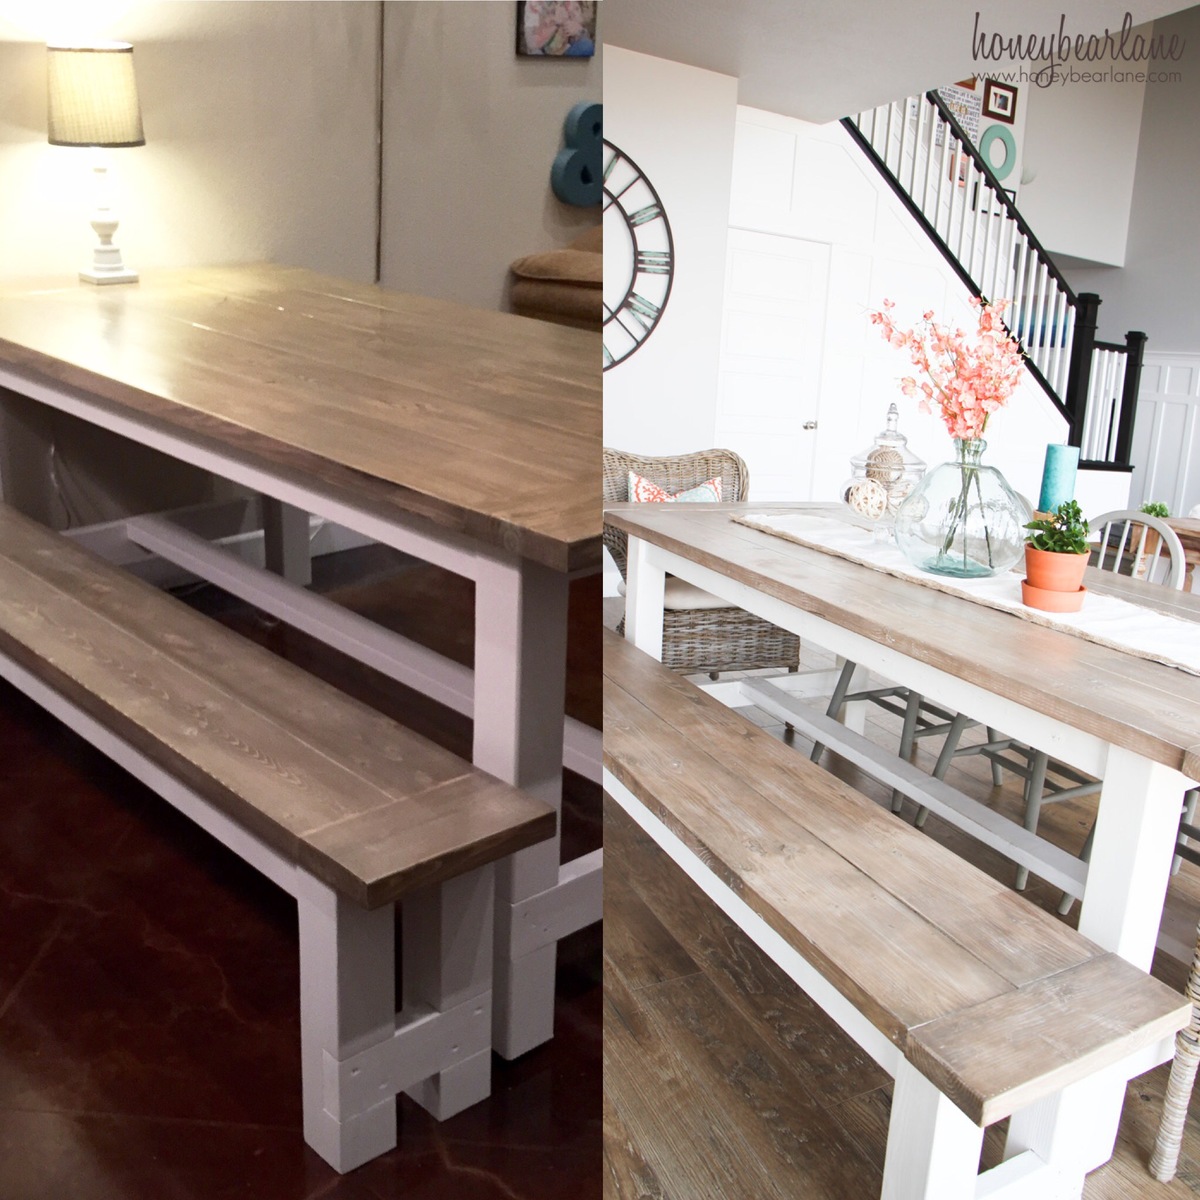
Farmhouse Table

Submitted by Anonymous (not verified) on Fri, 06/24/2016 - 10:06

Farmhouse style table using Ana-white plans and HoneyBear finish. 

Estimated Cost
Wood $100
Kreg jig $100
Paint/misc $50
Estimated Time Investment
Week Long Project (20 Hours or More)
Finish Used
White paint
Dark Walnut Stain
Min wax semi-gloss poly
Recommended Skill Level
Intermediate
Back