Community Brag Posts
Rustic X Coffee Table

I skipped the X part, I had a few issues with alignment. I also used the oxidizing mix reccomended on the page. Mine turned out very grey, I'm not complaining. Could be because I only let the mixture sit for a few hours? I really dont know. It was a fun project though and I plan to try more for sure.
Note: The 1x12s didnt oxidize much at all. Neither did the wood filler I used (must make much better cuts next time).
Built from Plan(s)
Estimated Cost
$90 (+$50 or so for needed tools/supplies)
Estimated Time Investment
Weekend Project (10-20 Hours)
Finish Used
Oxidized and Minwax Polycrylic clear satin
Recommended Skill Level
Beginner
Indoor Playhouse
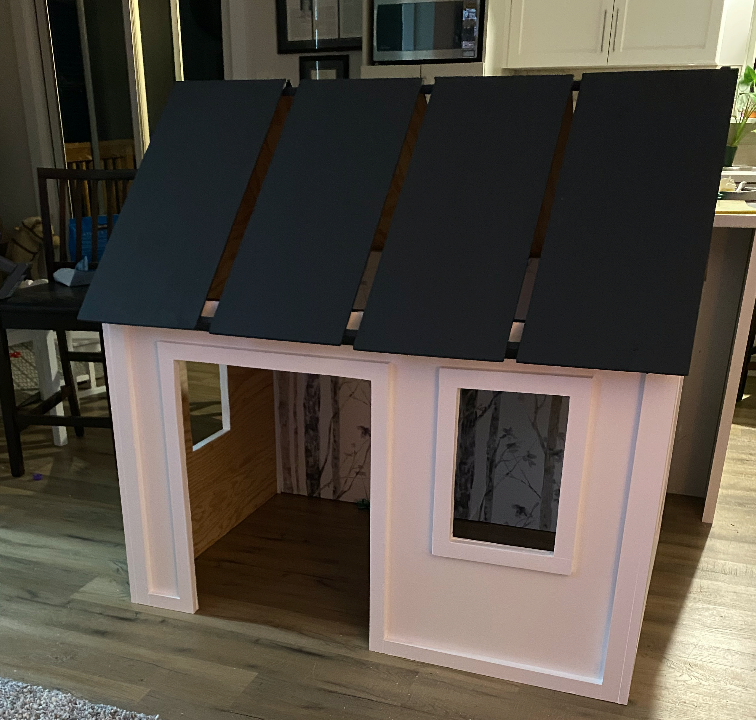
I rushed to get this done for christmas for my son and daughter between working 60 hours a week and spending time with them and ALOT of painting help from my elves (husband and brother), we got it done! They were so excited to see what Santa brought.
Comments
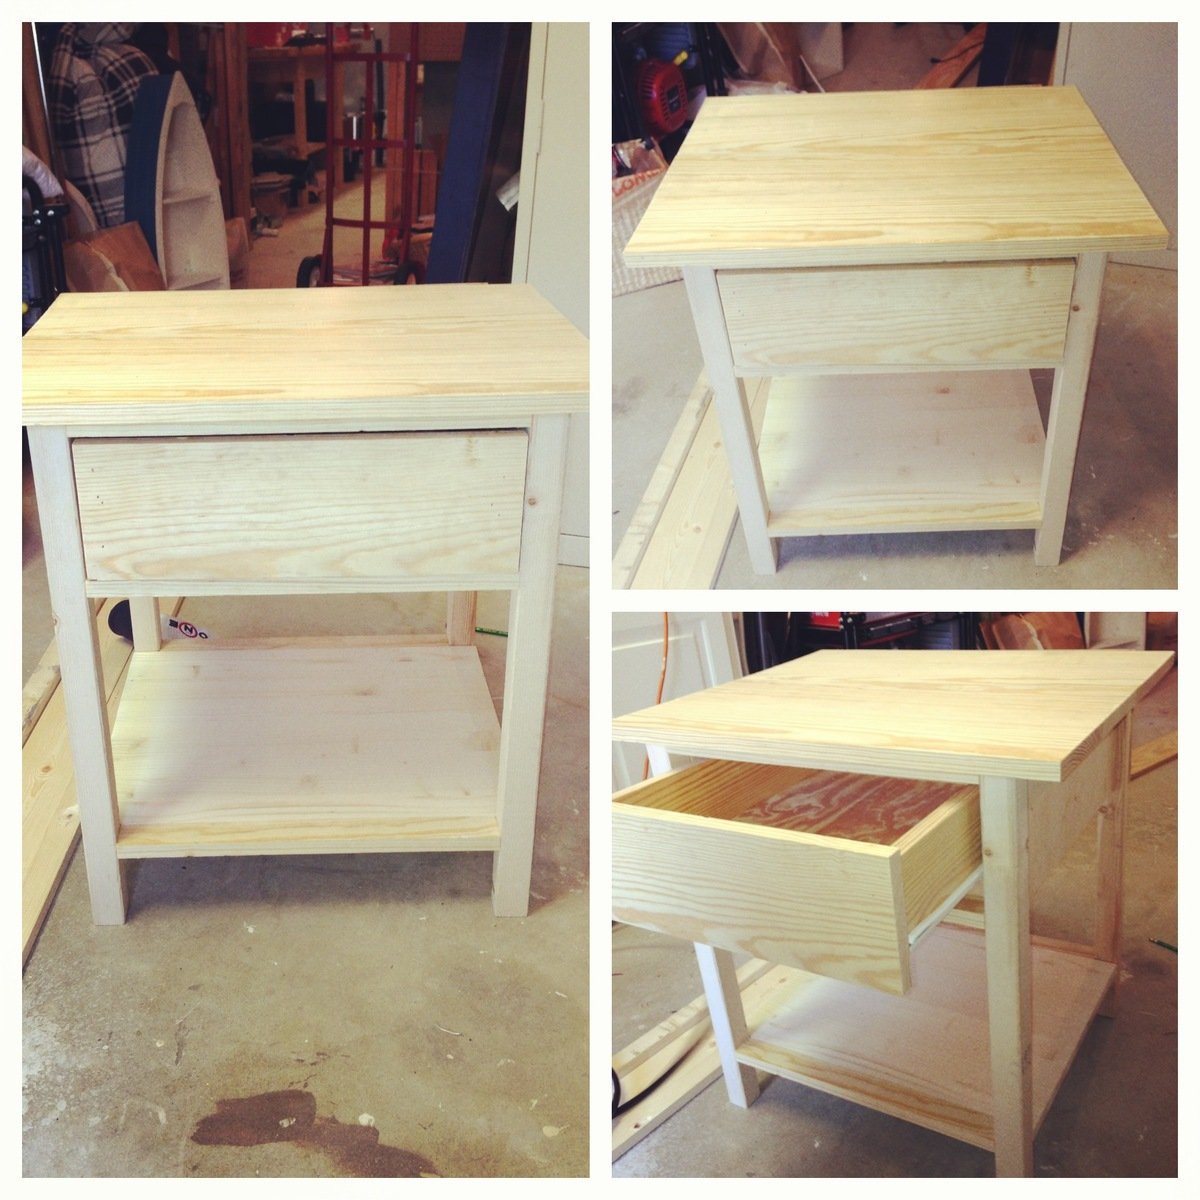
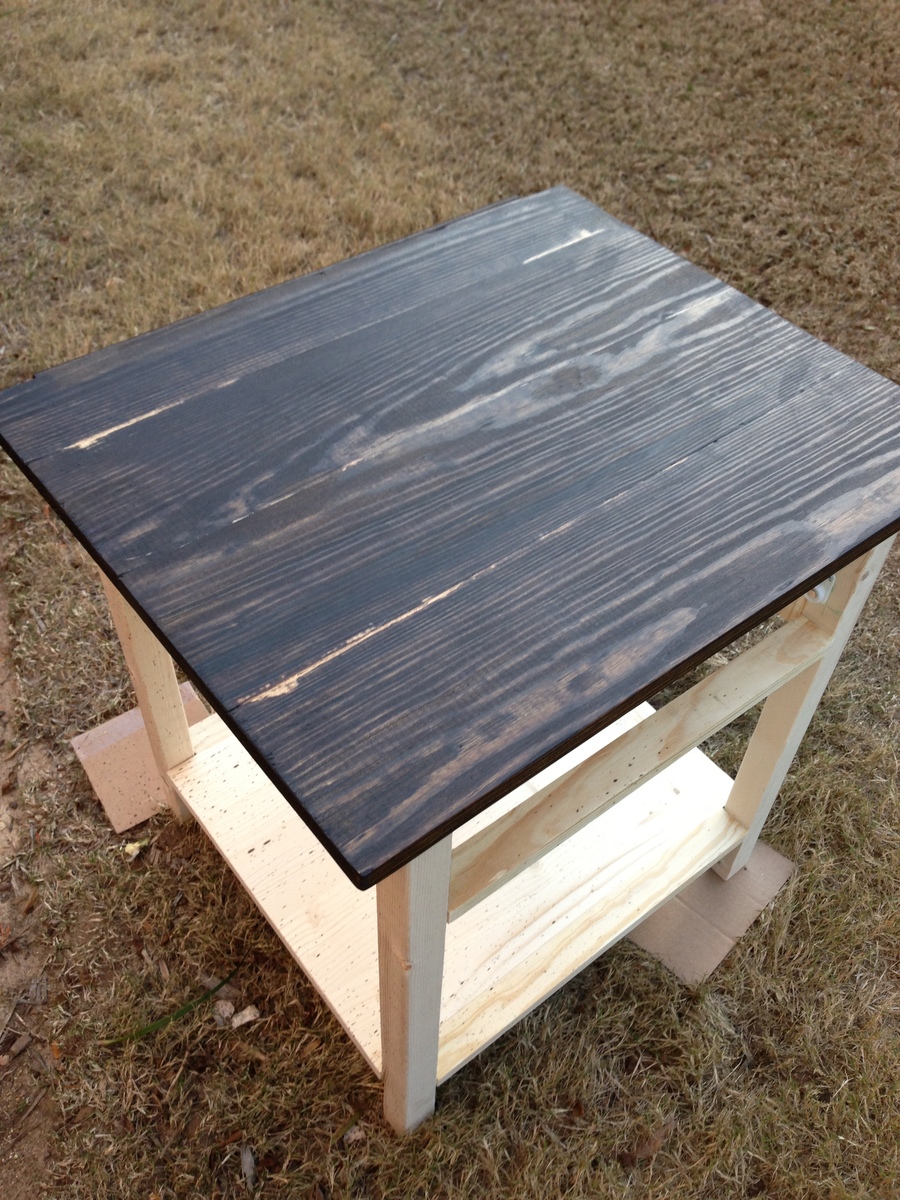
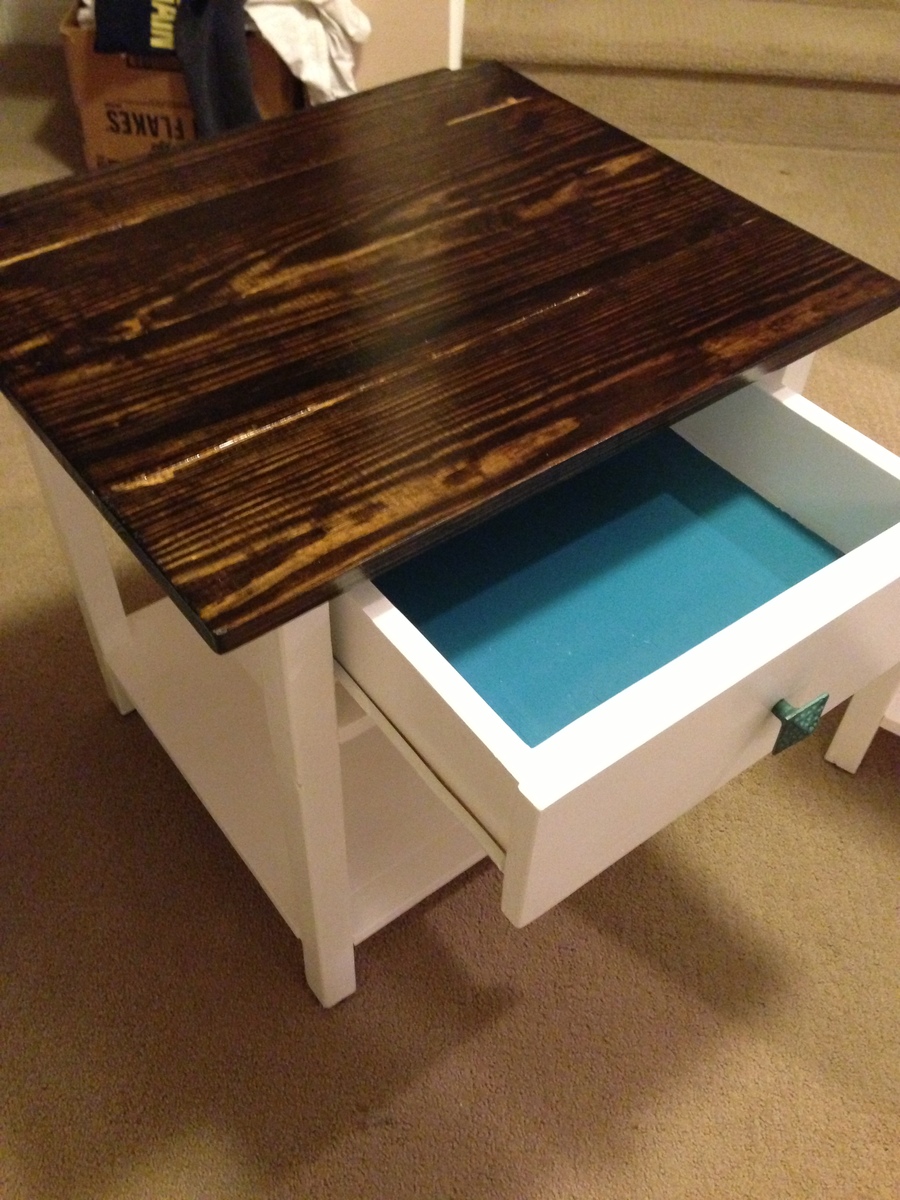
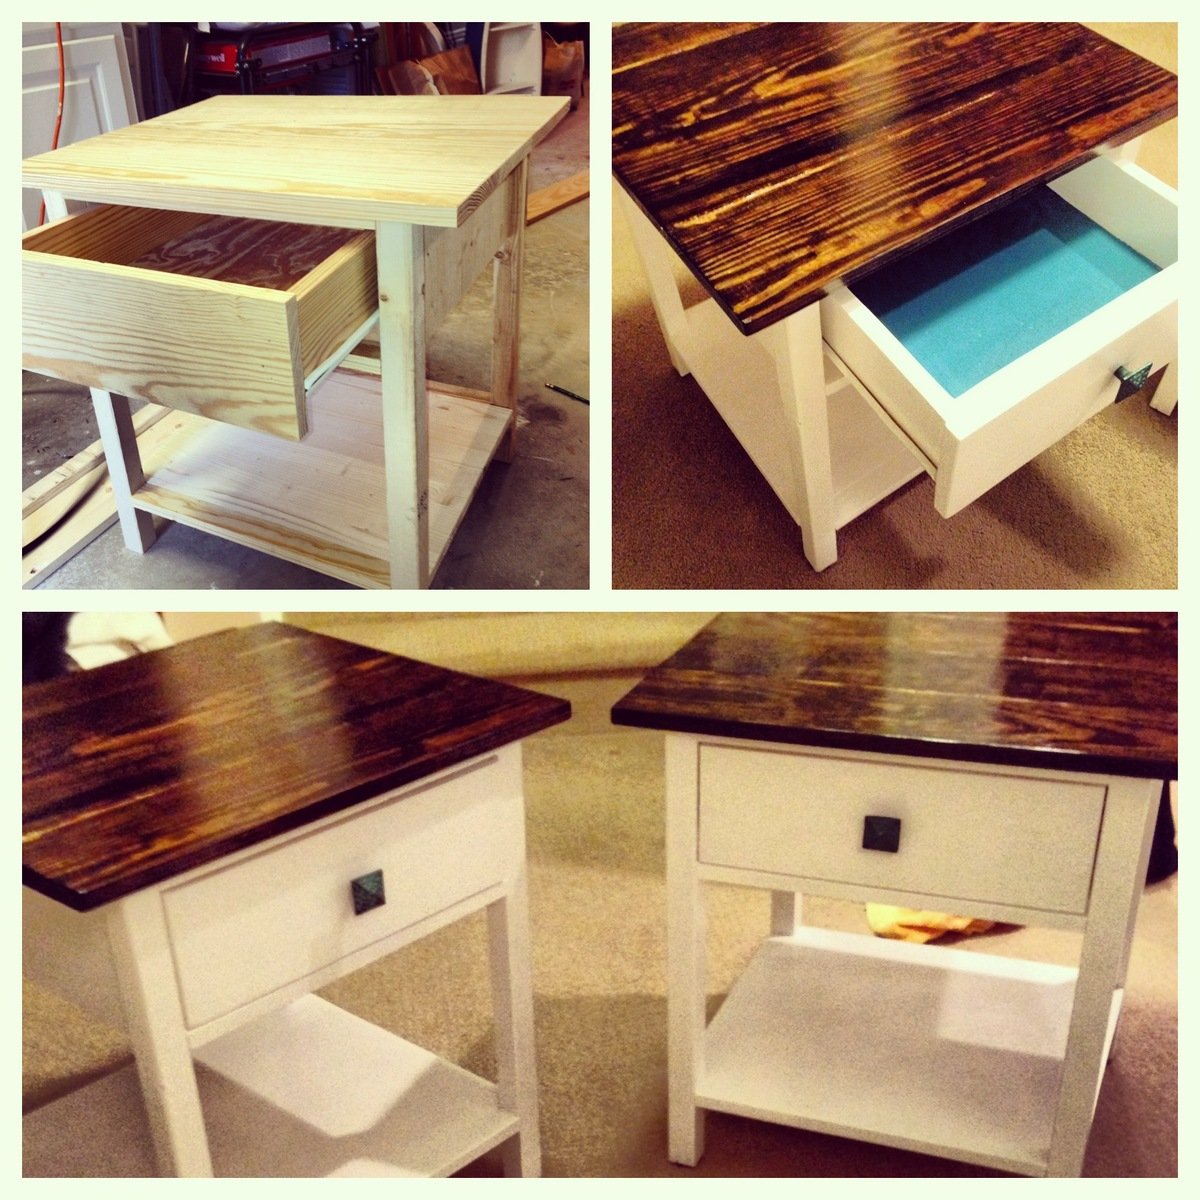
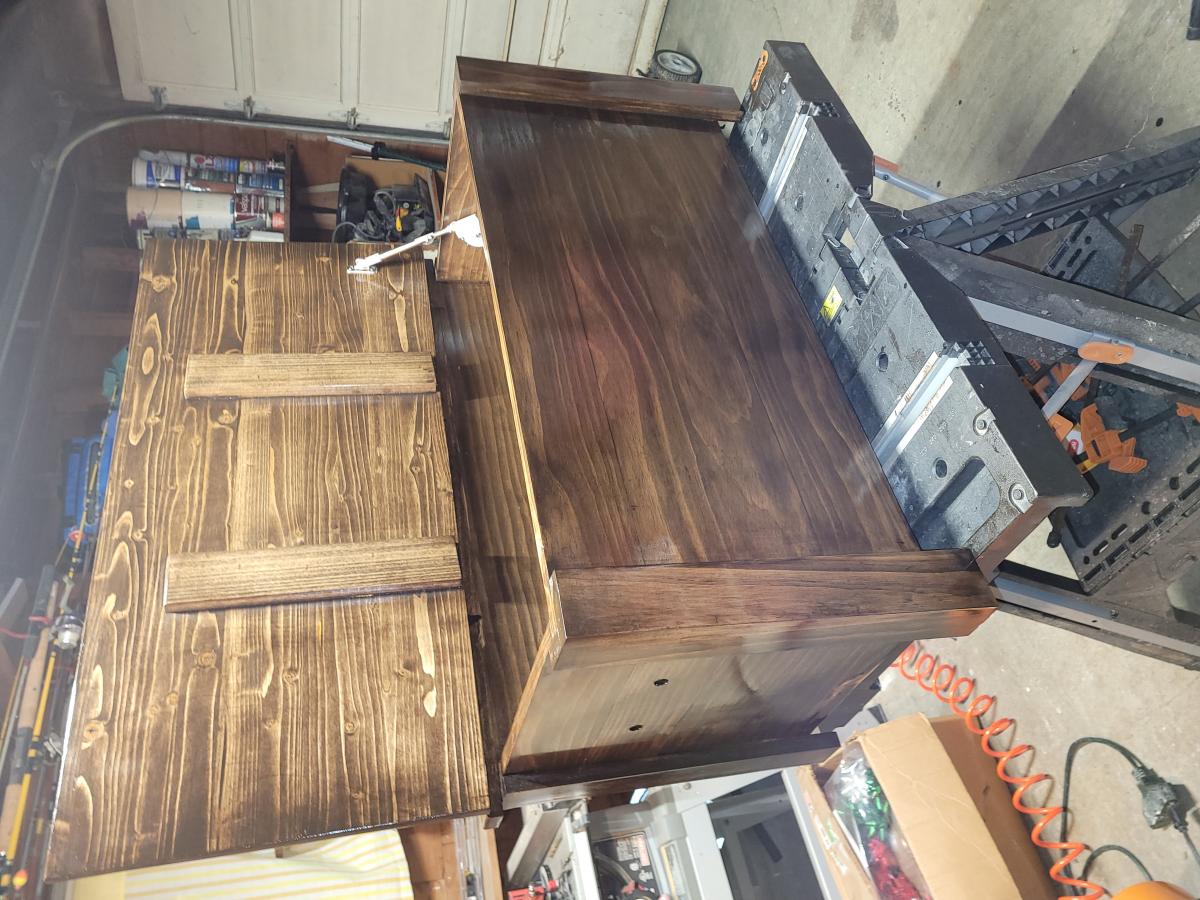
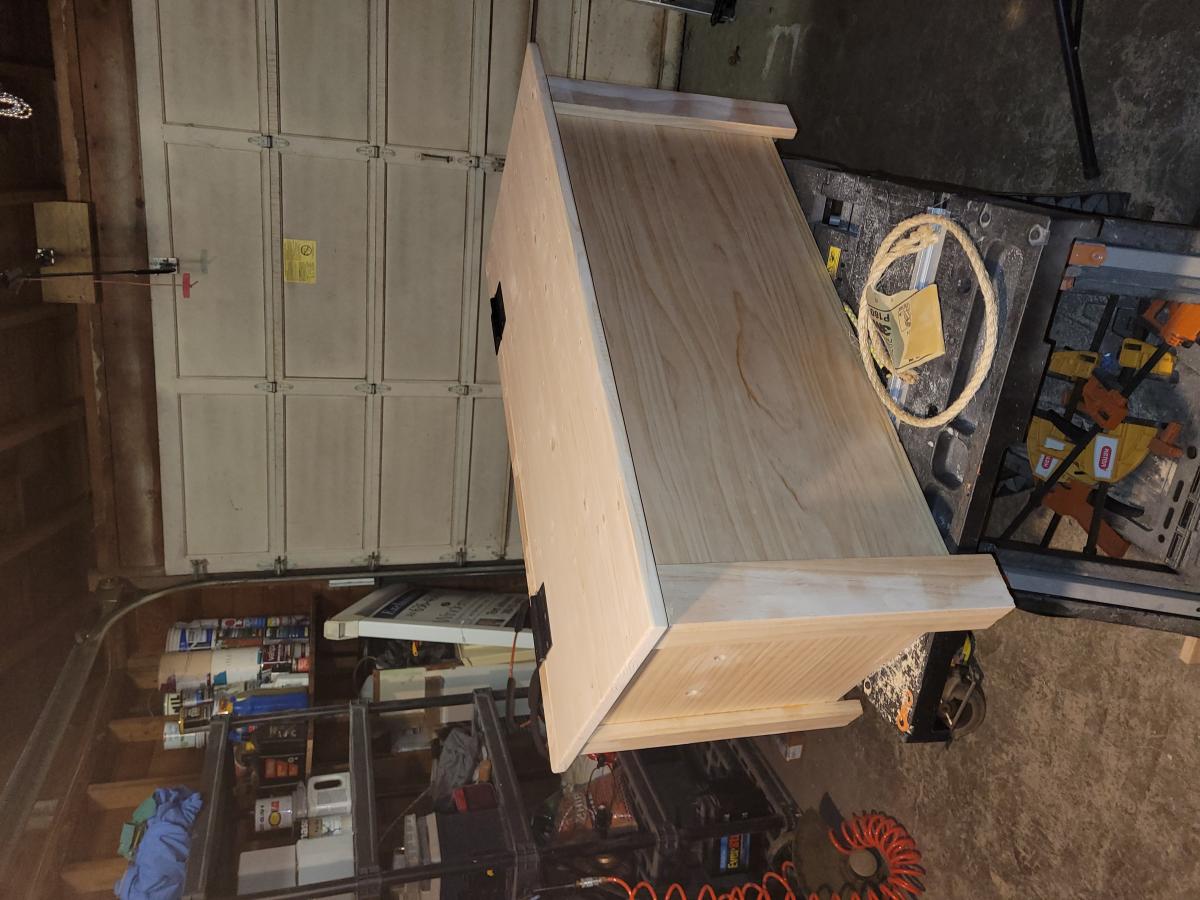
Farmhouse Bedside Tables 2 toned
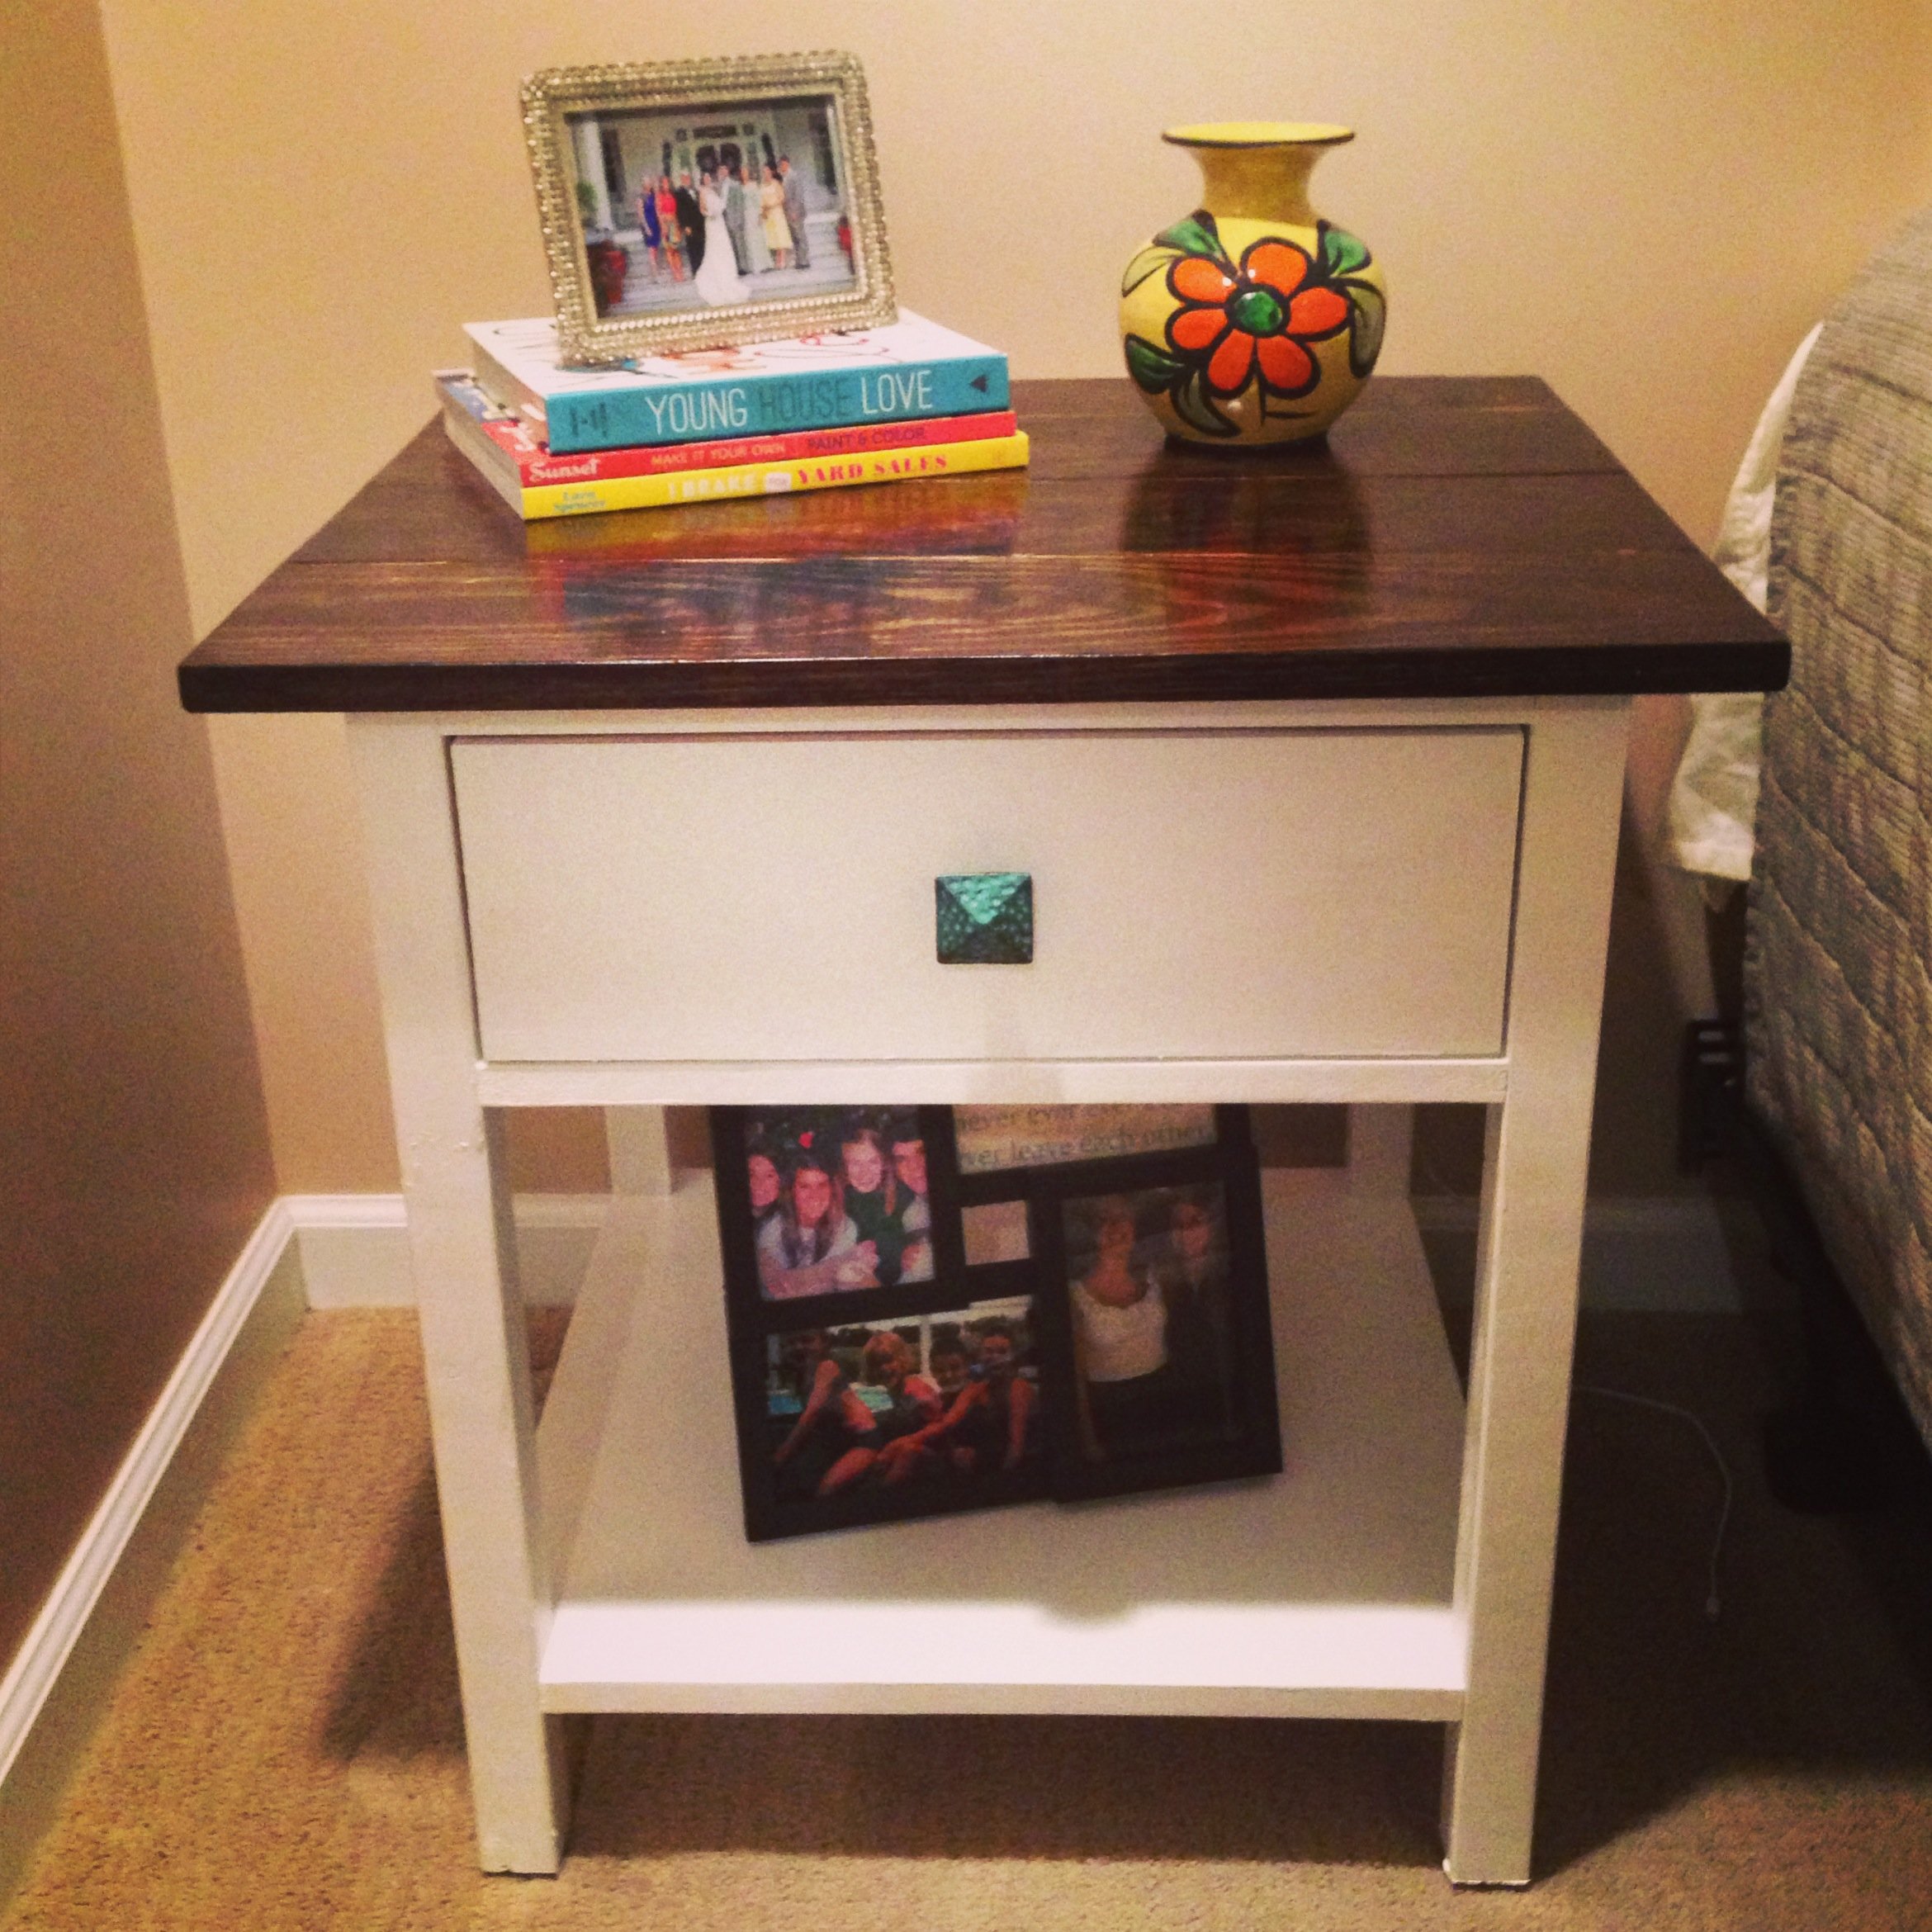
This was my husband and I's first building project. The plans were very easy to follow, with exact dimensions and lists of materials needed. We are really pleased with how they turned out and are about to build a matching king size Farmhouse bed to go with the Farmhouse bedside tables.
The pocket hole jig was optional, but it definitely helped make the finished product much more sturdy and professional looking. Since that cost about $100, it raised the total price of the tables, but now we can use that on any project. We highly recommend it!
We built both of these in about 2 weekends.
**Also, the plan we followed was for the bedside table in Ana White's published book of plans. It may differ from the plans that this post links to**
Built from Plan(s)
Estimated Cost
$120
Estimated Time Investment
Day Project (6-9 Hours)
Finish Used
-Dark Walnut Minwax Stain for the tops of the table- 2 thin coats, that soaked into the wood for 15-20 minutes each time before wiping excess off
-Polyacrylic clear gloss on top of the stain- 2 thin coats applied with a paintbrush
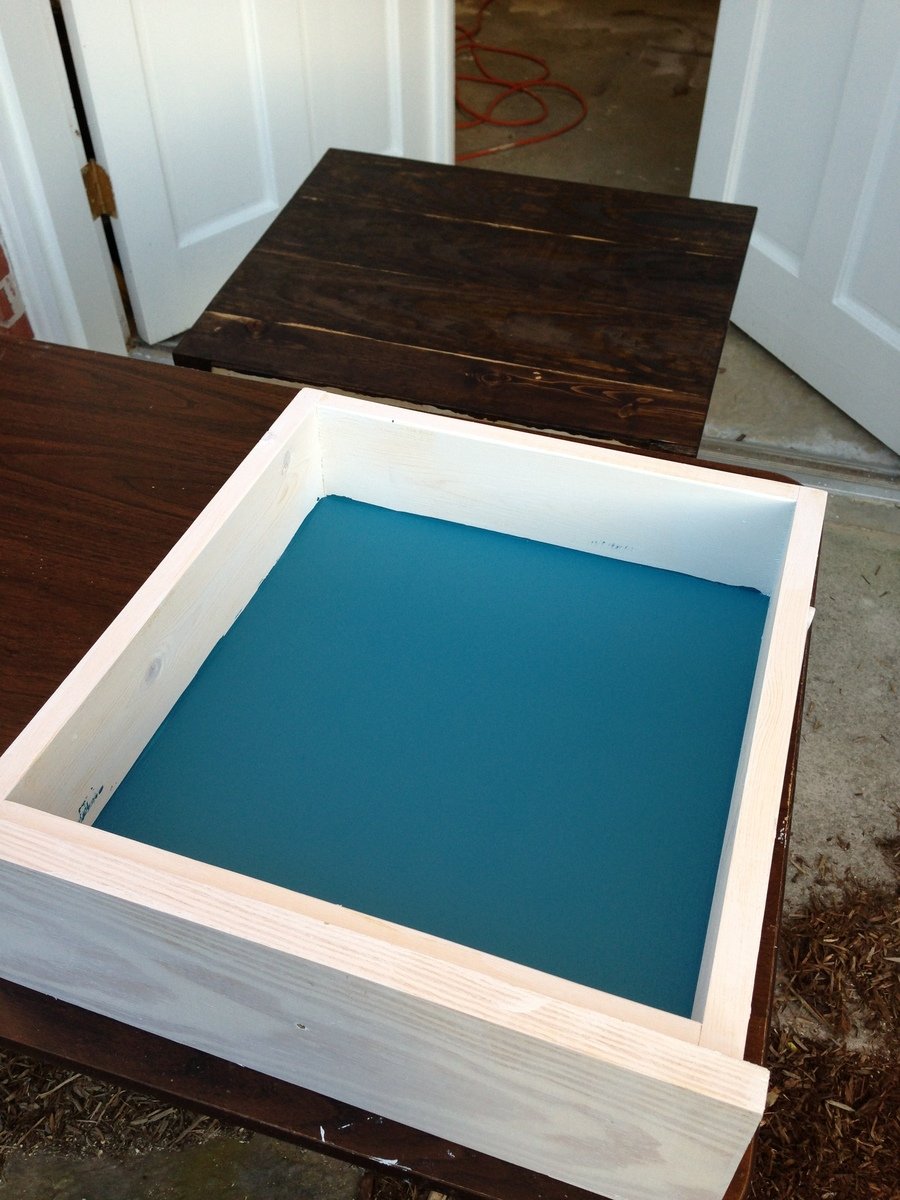
-Kilz stainblocking waterbased primer
-Clean White Valspar semi-gloss latex paint- 1 quart- paintbrushed and foam roller
-Teal paint for inside the drawer
-Oil rubbed bronze and teal drawer pulls from Hobby Lobby
-Polyacrylic clear gloss on top of the stain- 2 thin coats applied with a paintbrush
-Kilz stainblocking waterbased primer
-Clean White Valspar semi-gloss latex paint- 1 quart- paintbrushed and foam roller
-Teal paint for inside the drawer
-Oil rubbed bronze and teal drawer pulls from Hobby Lobby
Recommended Skill Level
Beginner
Comments

Sat, 02/02/2013 - 19:06
how lovely!
This turned out beautiful! I already started cutting the wood for mine and will hopefully get it finished by tomorrow (with the exception of the finish). I just love this nightstand and I now have all new bedroom furniture for under $300. Again, you did a beautiful job!
Sun, 02/03/2013 - 13:02
thanks so much! yes it's
thanks so much! yes it's definitely cheaper and way more satisfying to make it yourself..good luck with yours!
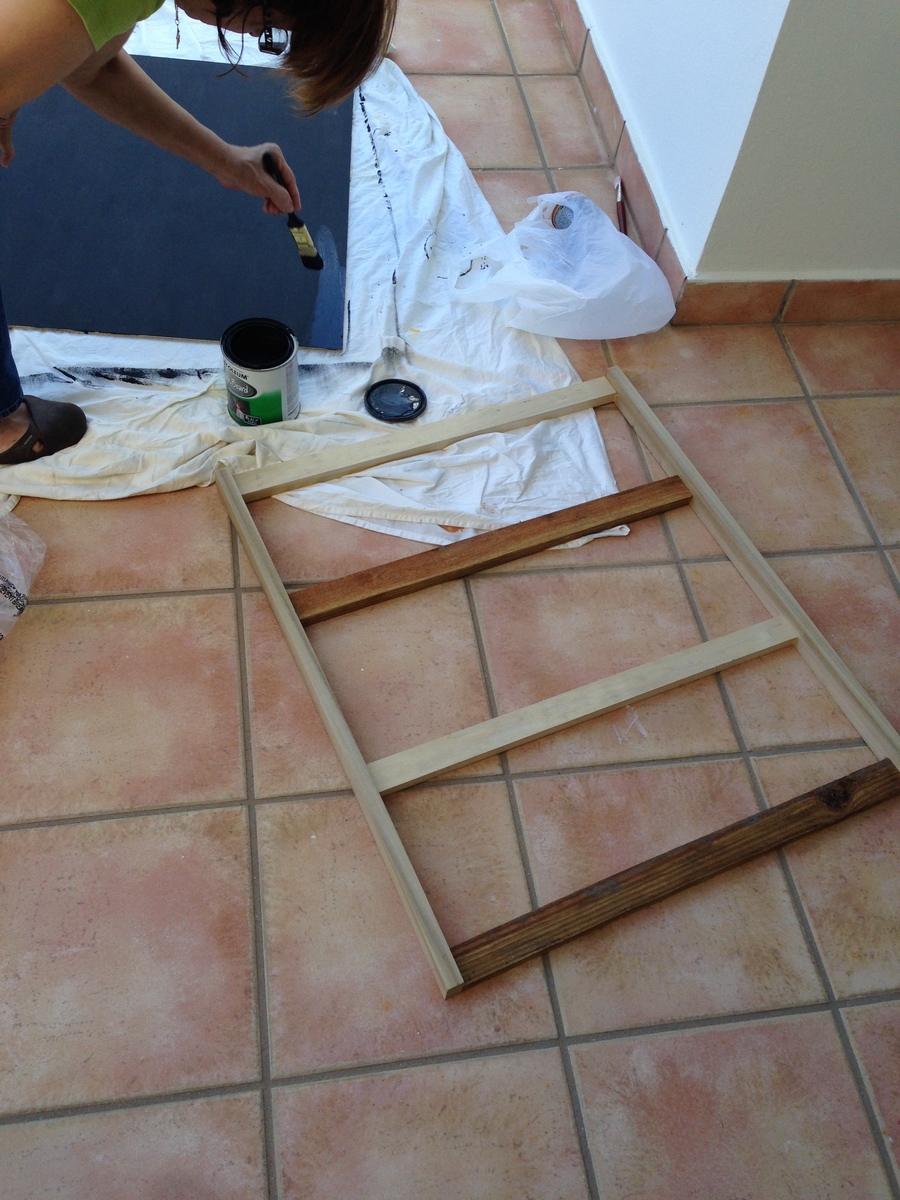
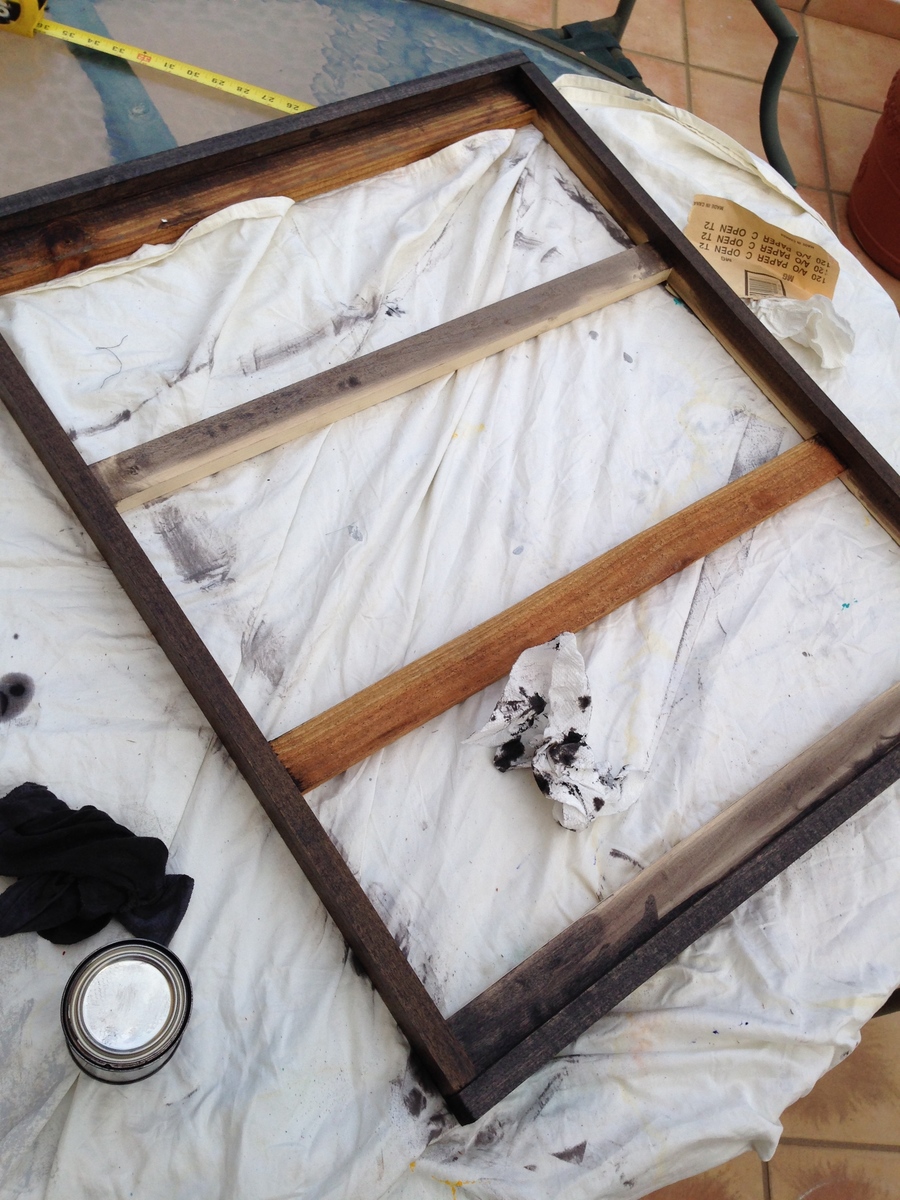
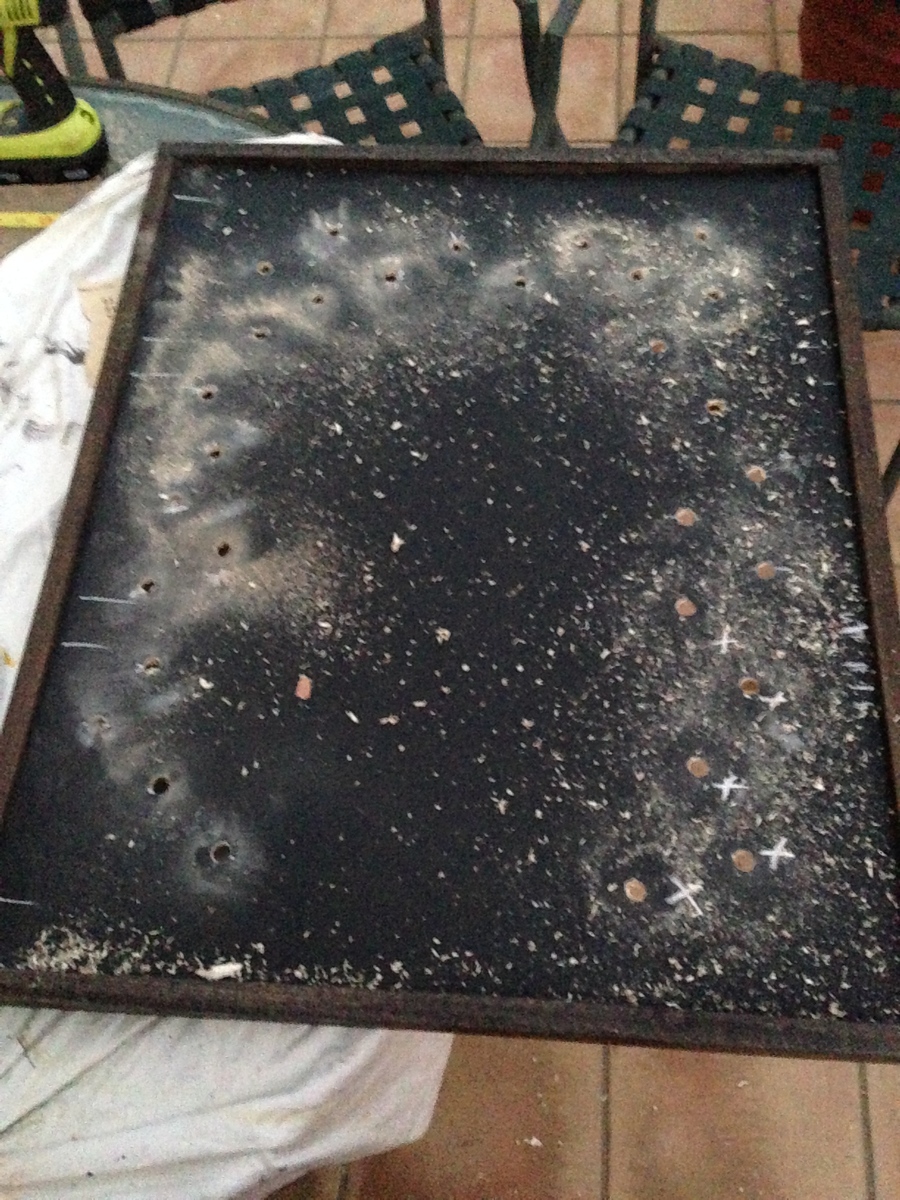
Lighted Chalkboard
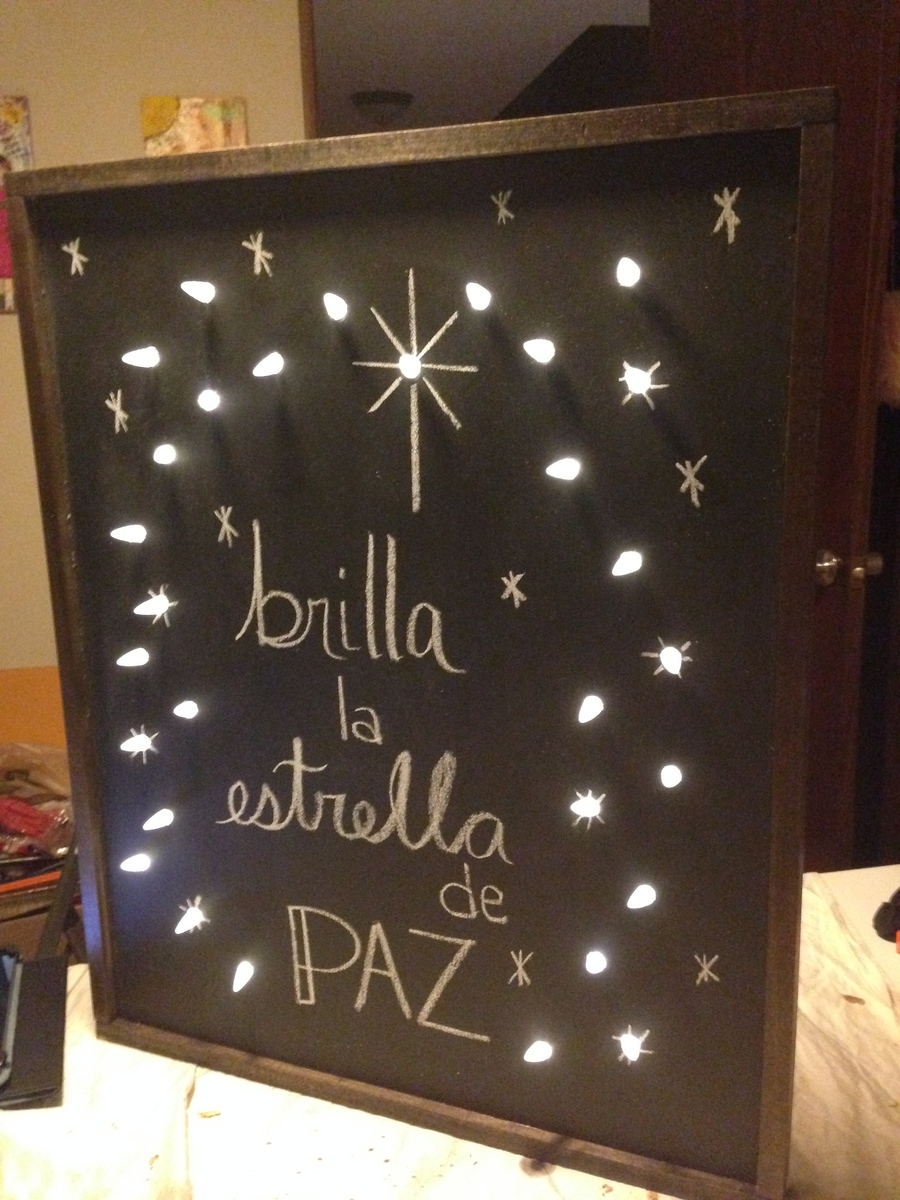
For my birthday I asked for power tools. My boyfriend followed your video of beginners tools and got me a lot of them.
For my first project I decided to do the Lighted Chalkboard Sign. I accidentally nailed my working table and I was drilling the holes with the wrong direction on the impact drill but I managed. Rookie mistakes :)
Everyone loved it and I´m super exited to build new things.
Thanks for the inspiration and easy to follow instructions!
Built from Plan(s)
Estimated Time Investment
Afternoon Project (3-6 Hours)
Recommended Skill Level
Beginner
Comments

Thu, 12/04/2014 - 22:54
This is a super cute story!
This is a super cute story! It sounds like you have an awesome boyfriend! I love your sign too!
Rustic console
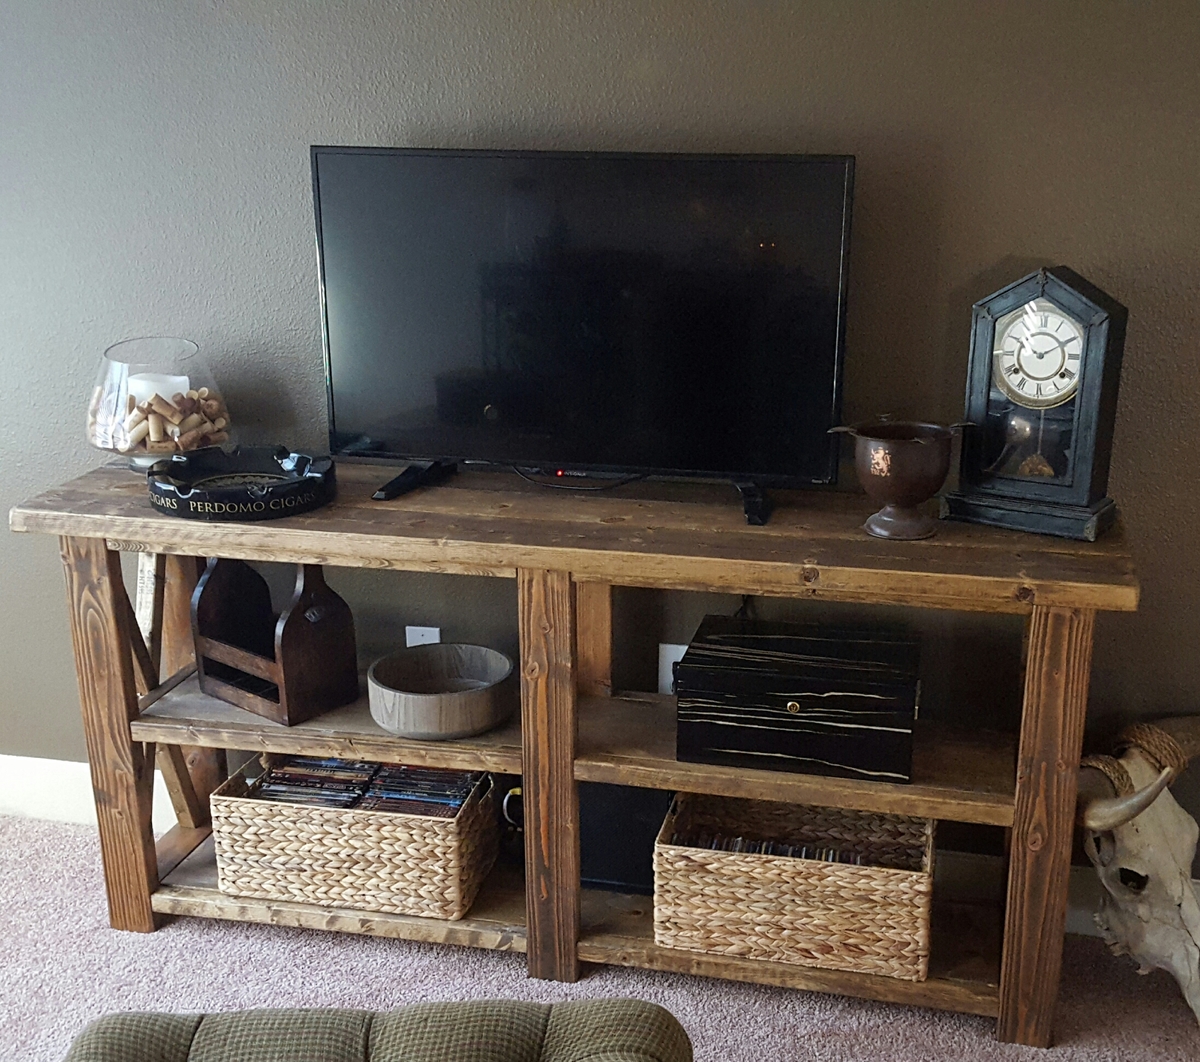
Since everyone else is making them, I had to jump on the bandwagon. Typical console, but I left off the metal trim (for now at least) and used a wire brush on the top boards and the face of the legs to eat away at the wood and raise the grain. It gives it tremendous texture and really makes it look more like old reclaimed lumber.
Estimated Cost
$40
Estimated Time Investment
Afternoon Project (3-6 Hours)
Finish Used
Minwax Special Walnut with a layer of poly on top
Recommended Skill Level
Beginner
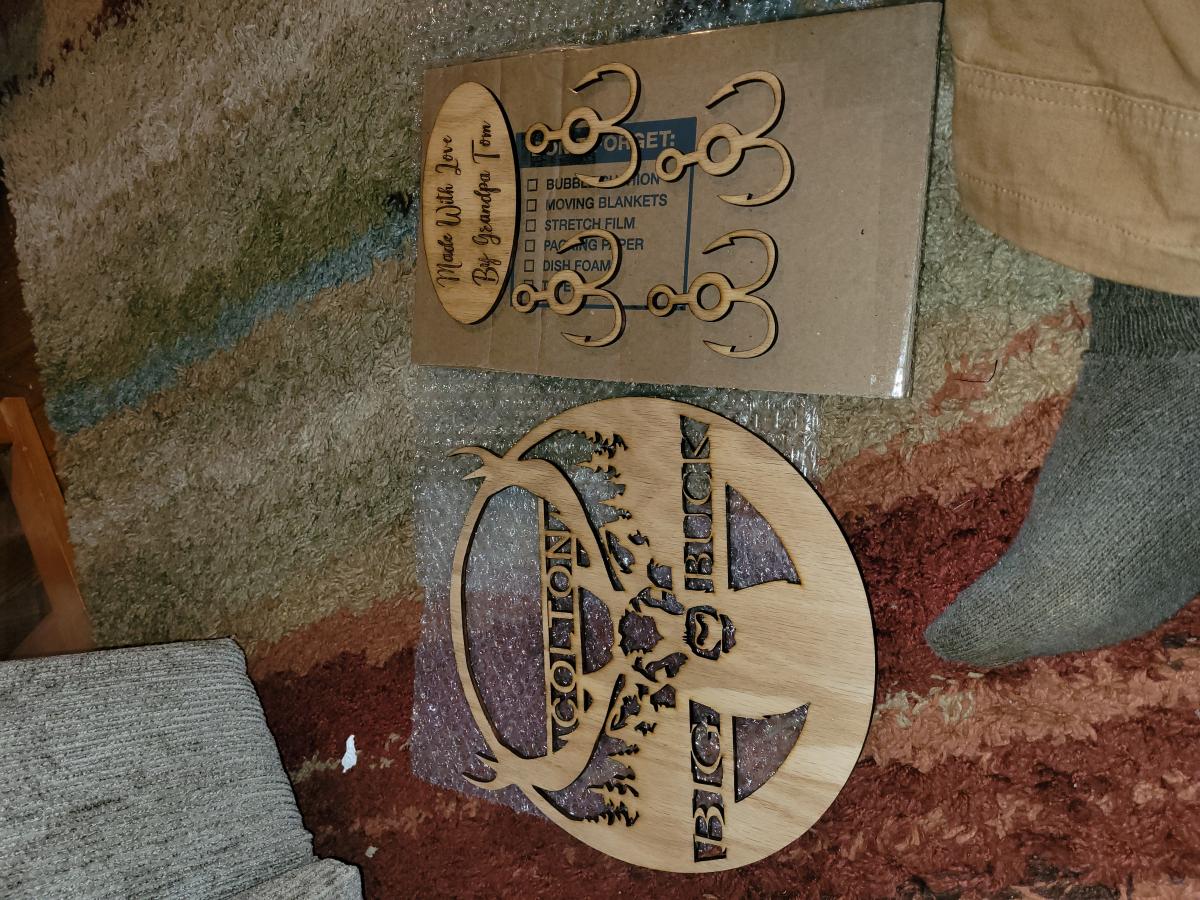
Toy Chest
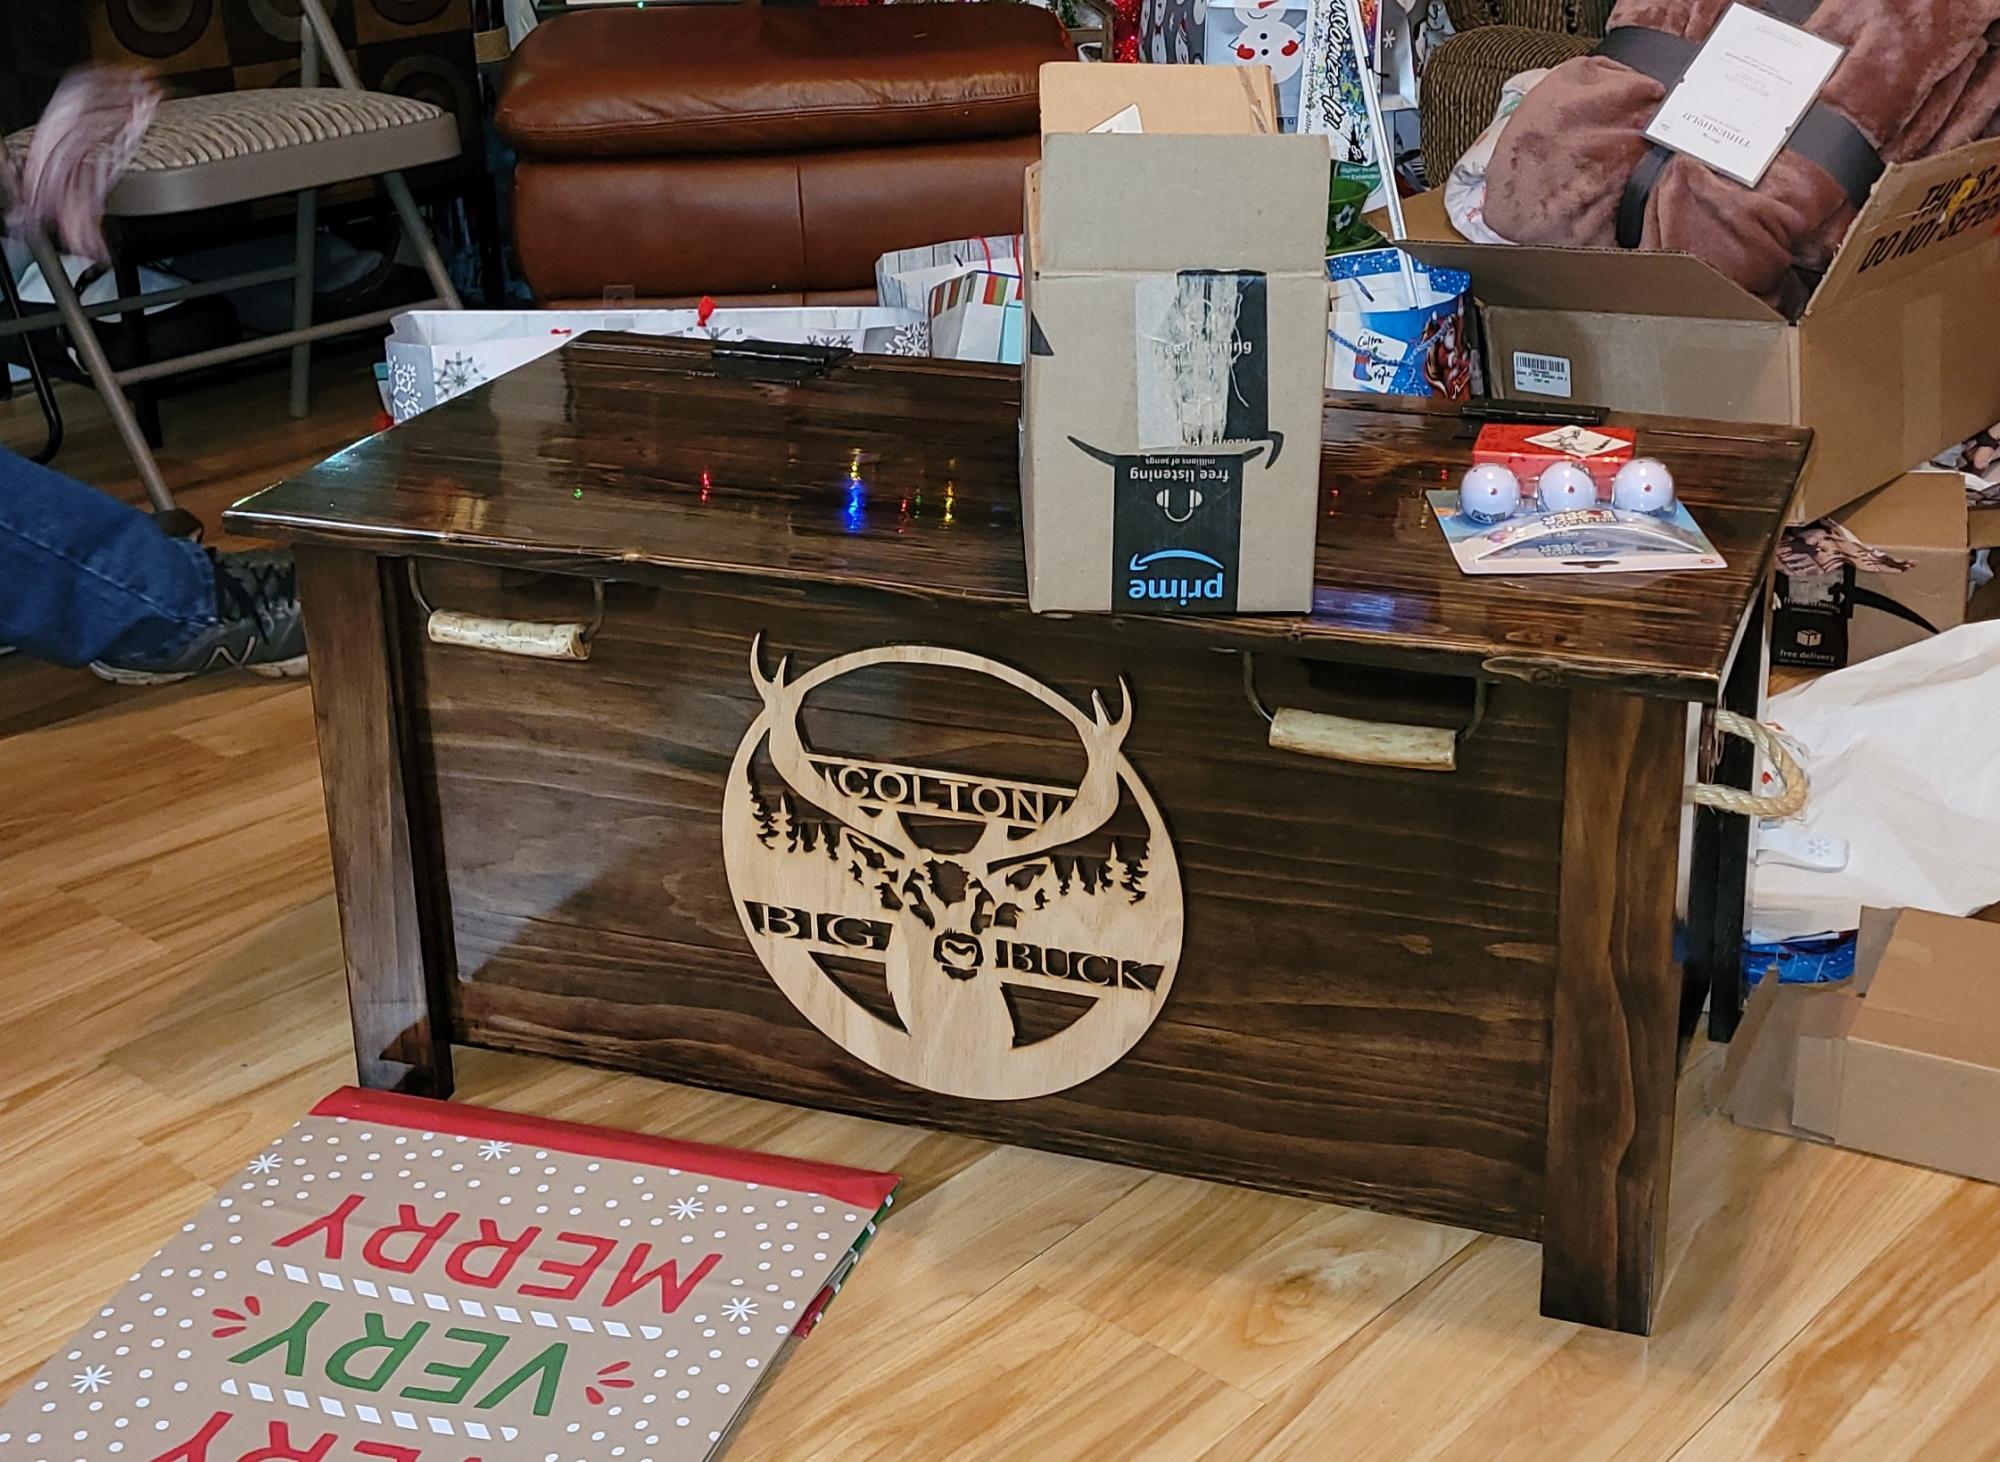
Built this for my grandson for christmas. First woodworking project I've done.
Built from Plan(s)
Estimated Cost
$160
Estimated Time Investment
Weekend Project (10-20 Hours)
Finish Used
Polyurethane
Recommended Skill Level
Beginner
Hall tree

This was the first time I have built furniture, and I really enjoyed it. (And my wife loves the results!) I made it about a foot shorter and two inches wider to fit under the window, and I attached it directly to the wall.
Built from Plan(s)
Estimated Cost
$80
Estimated Time Investment
Weekend Project (10-20 Hours)
Finish Used
Sherwin Williams Dover White
Recommended Skill Level
Beginner
Comments

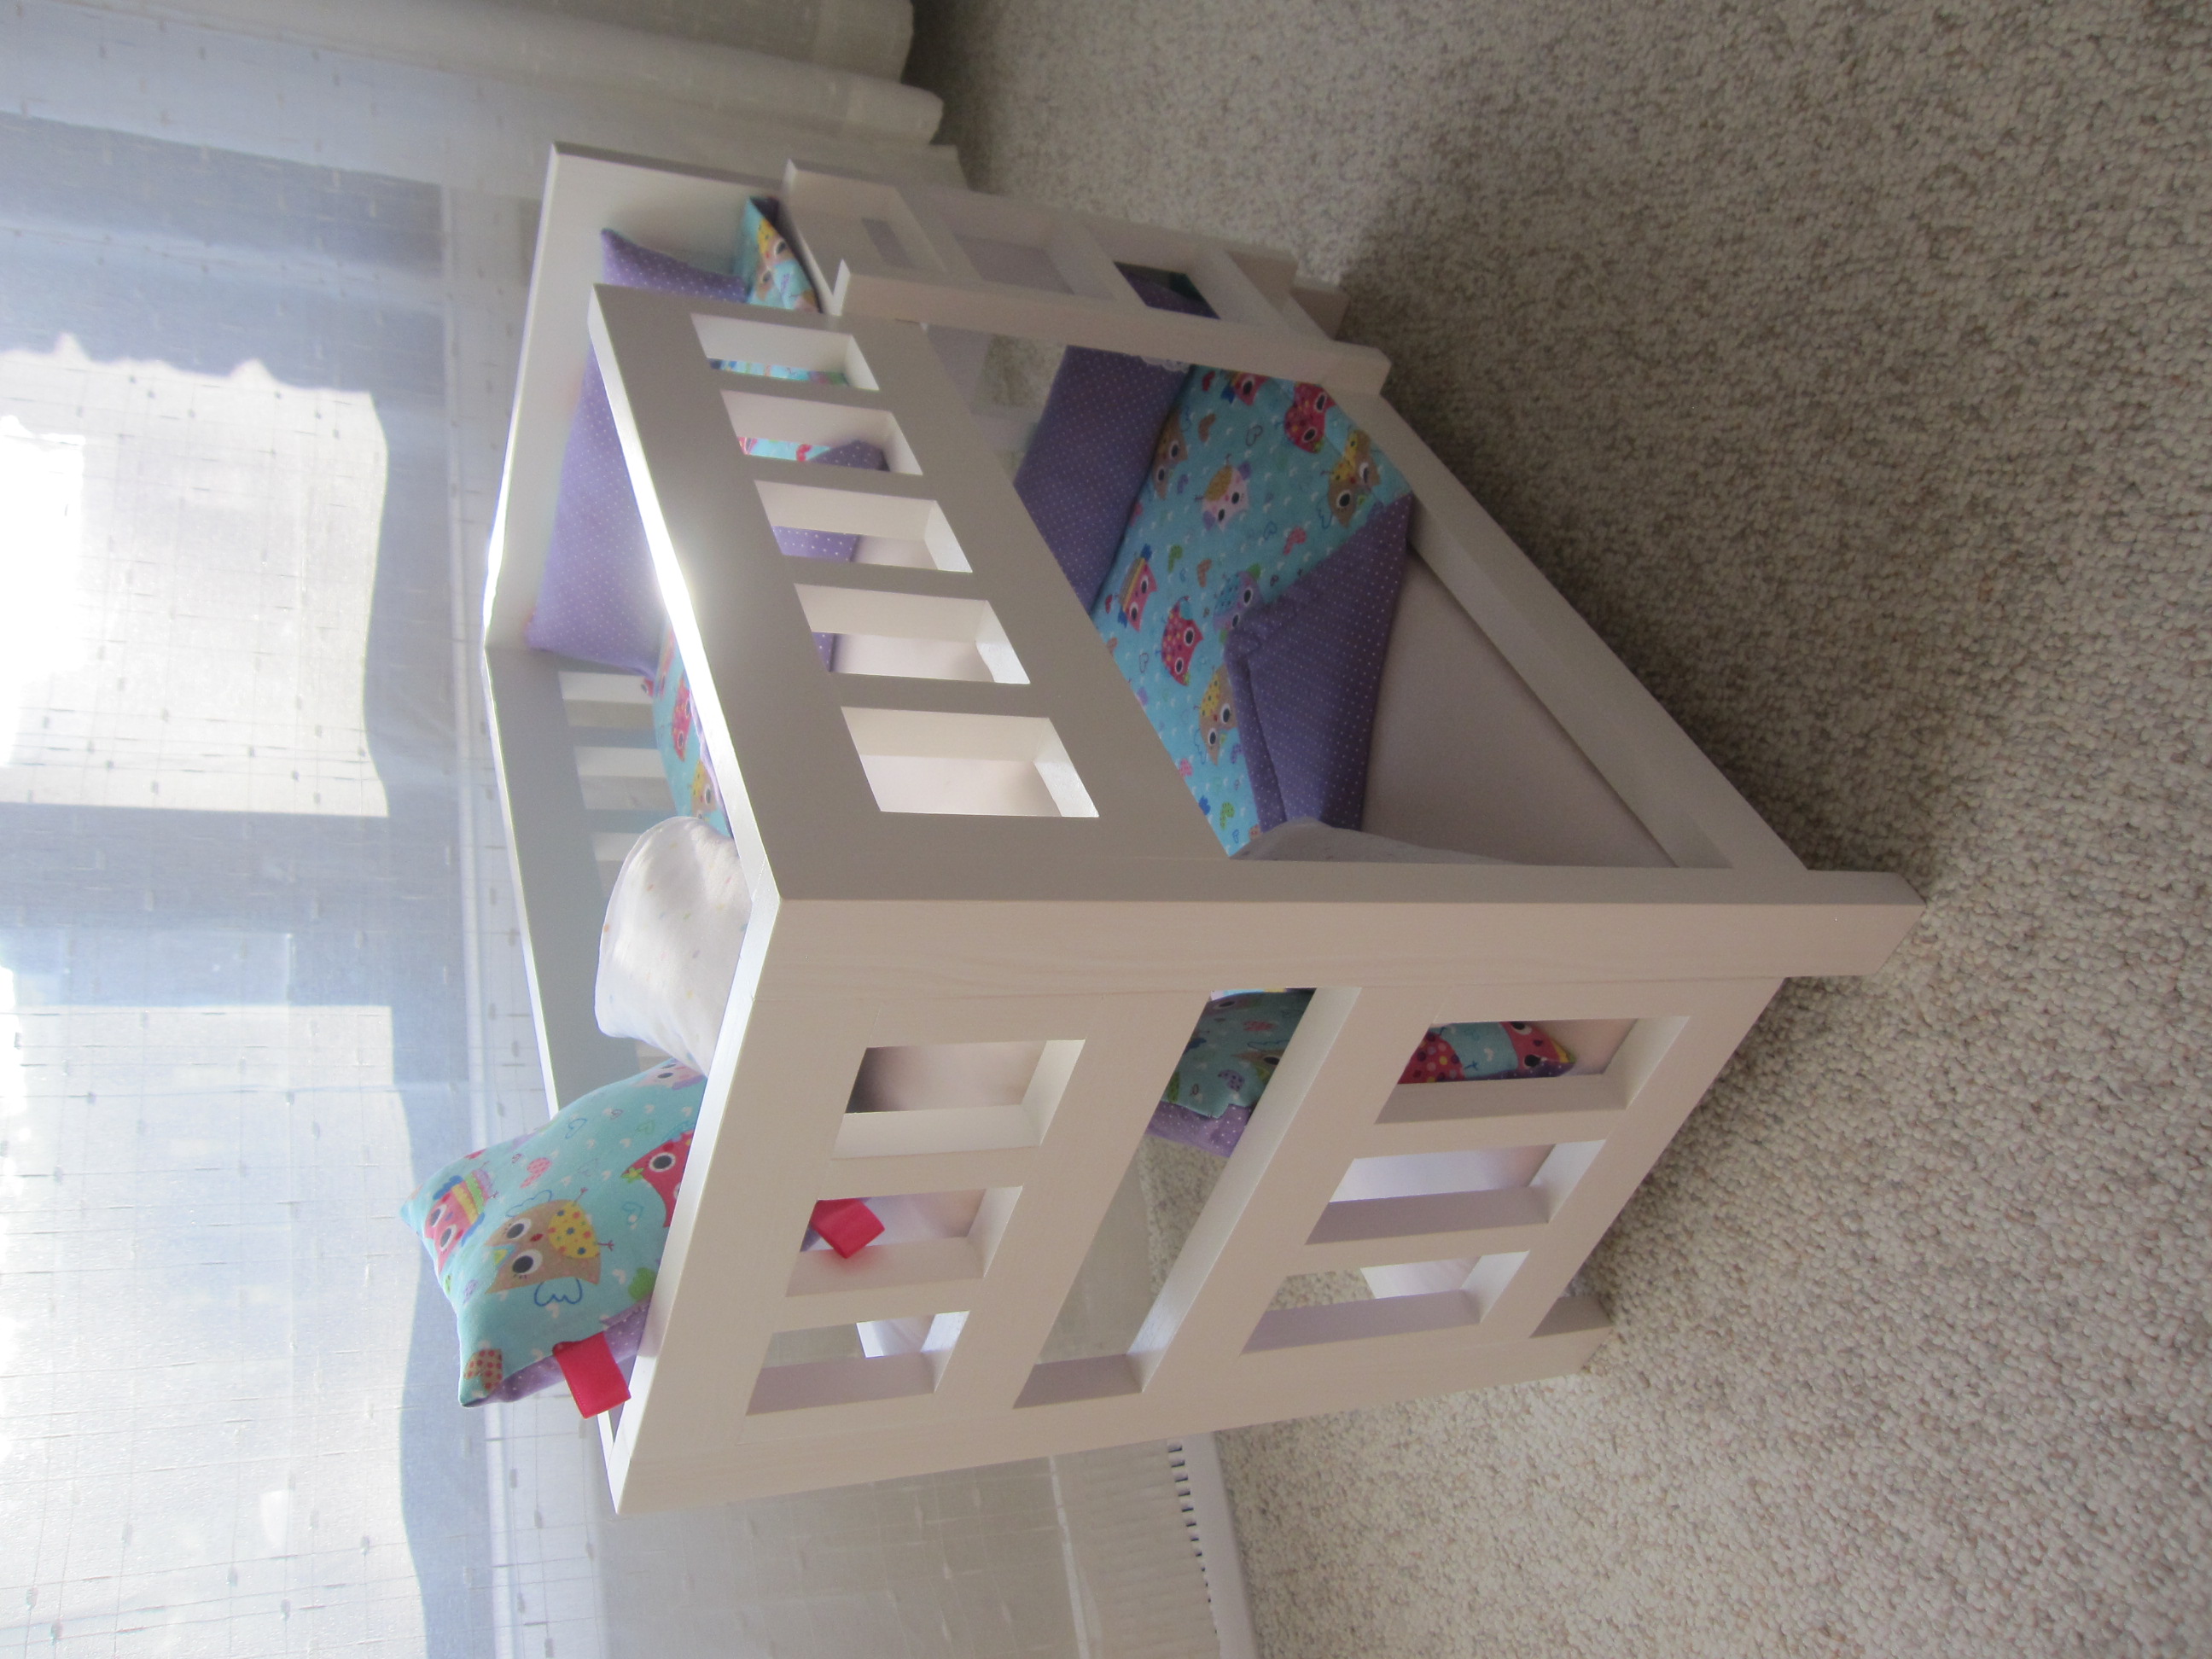
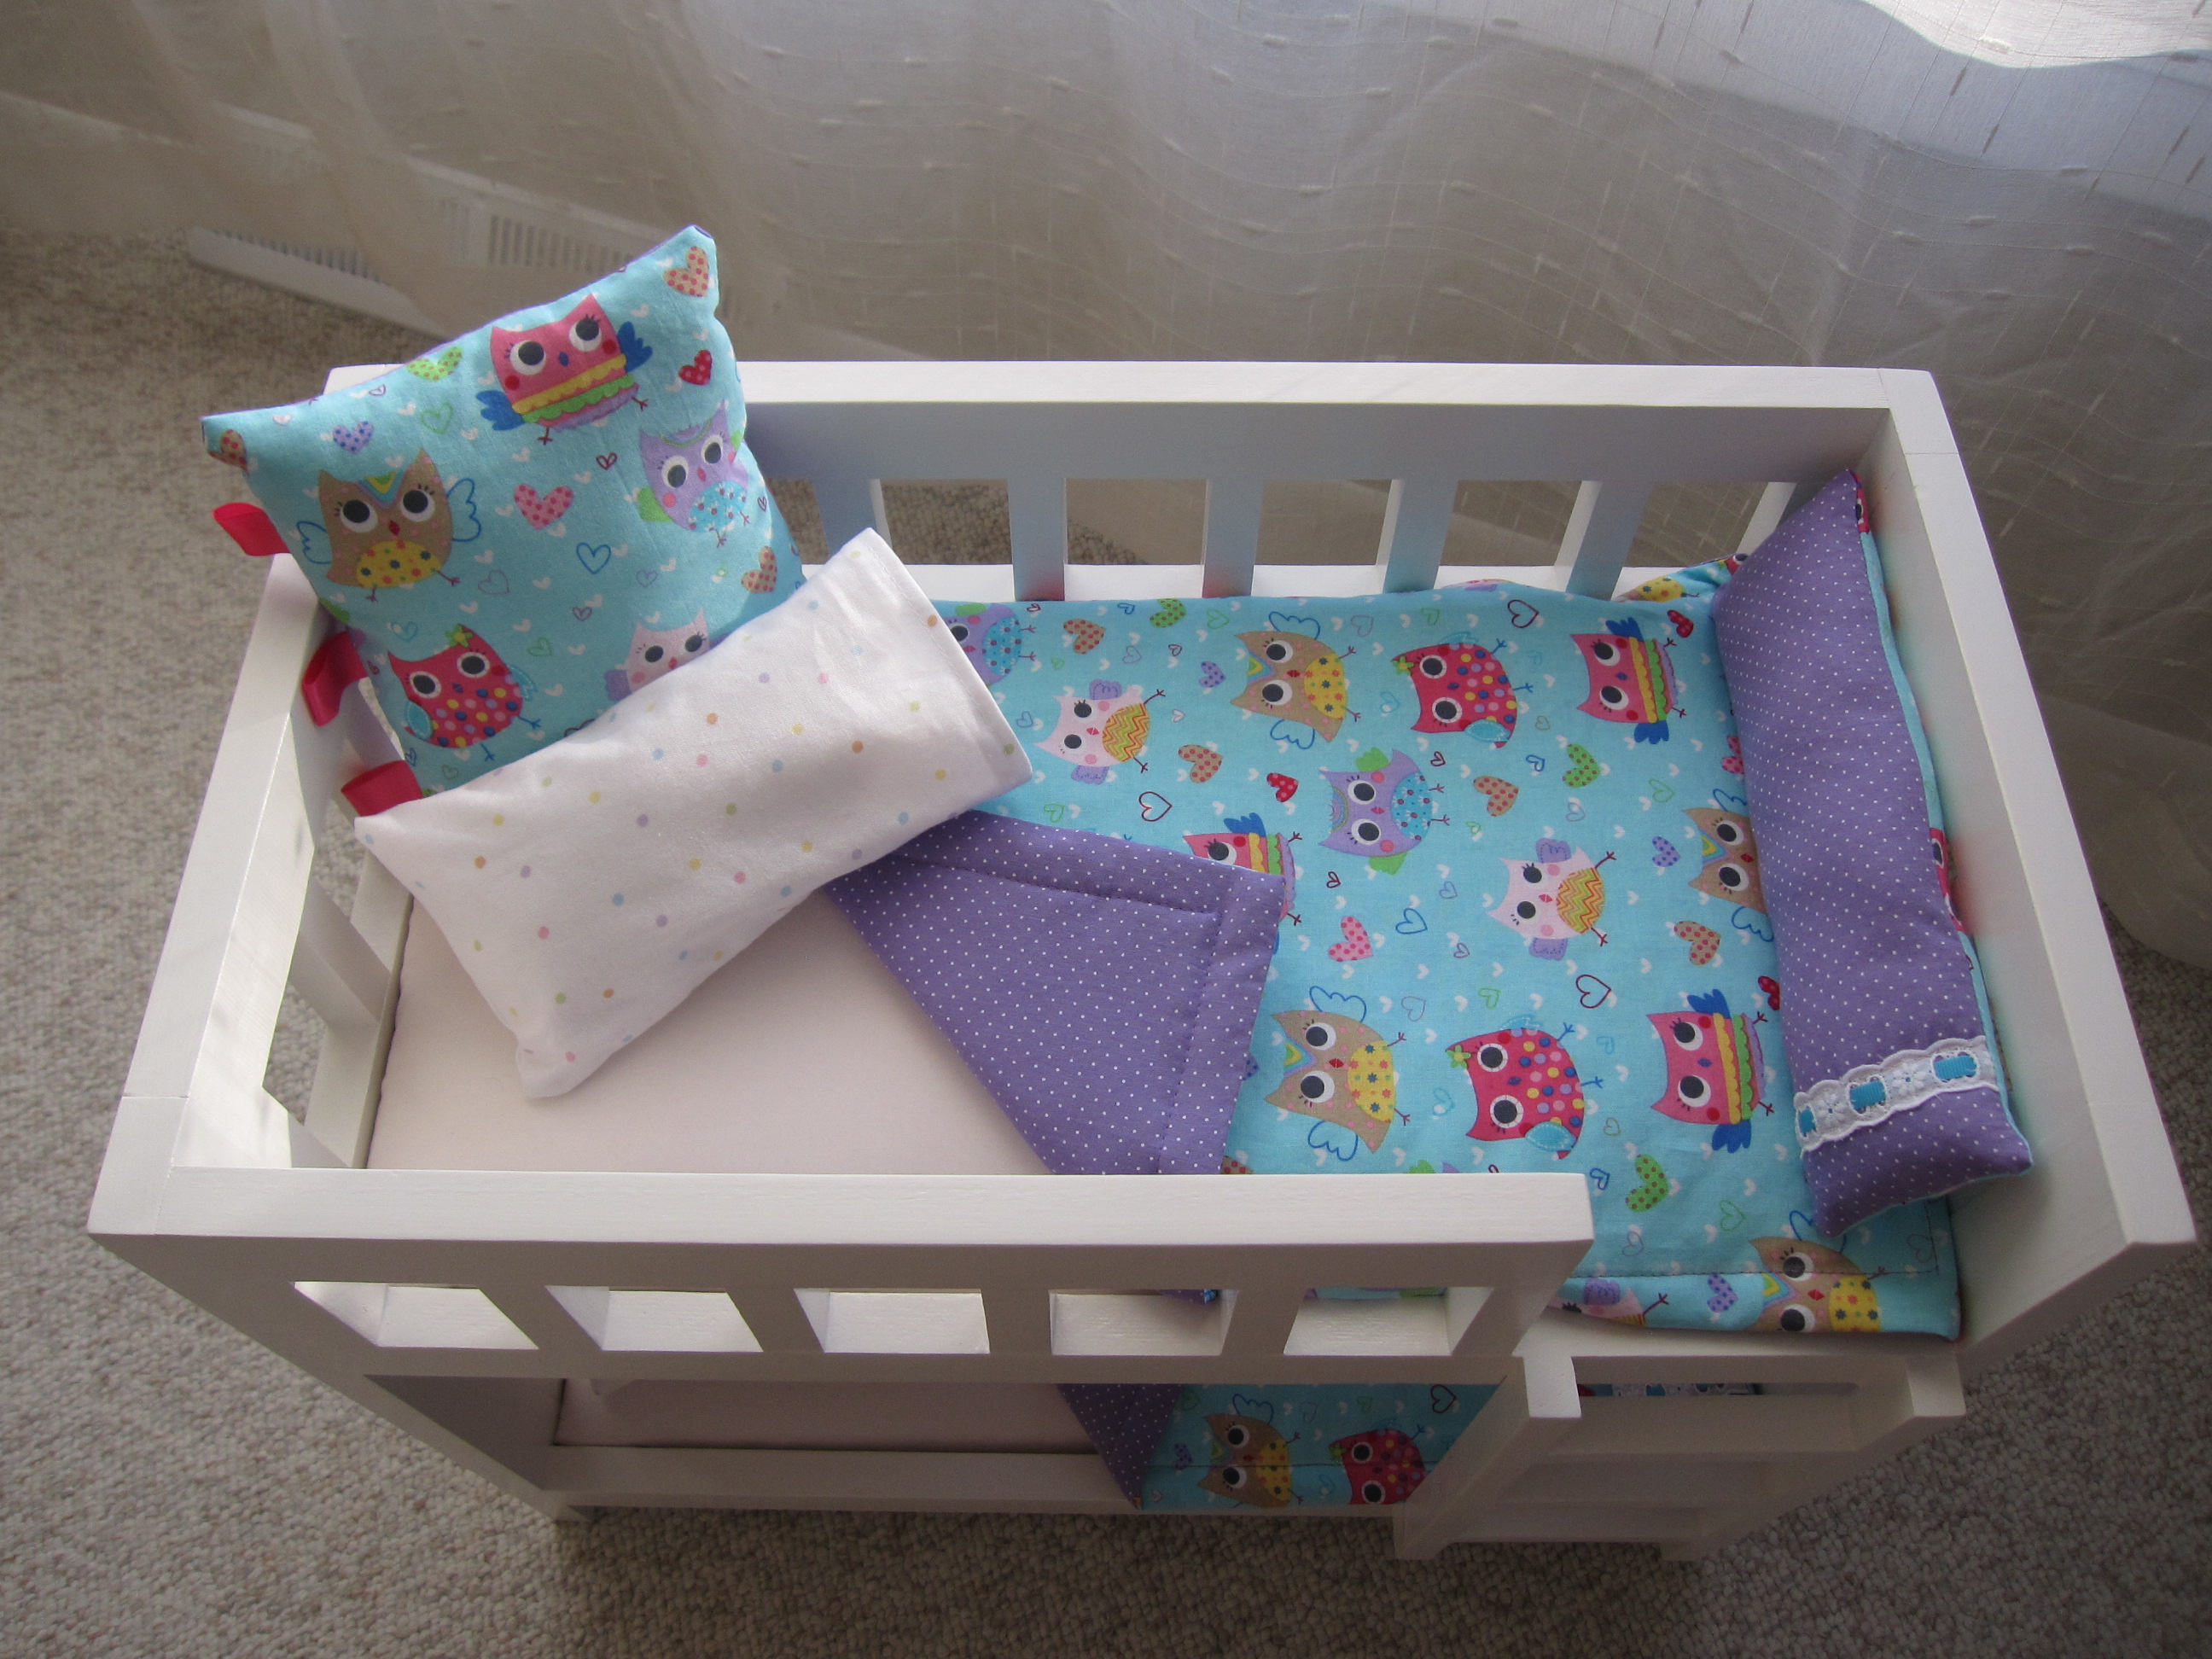
Owl bunk beds
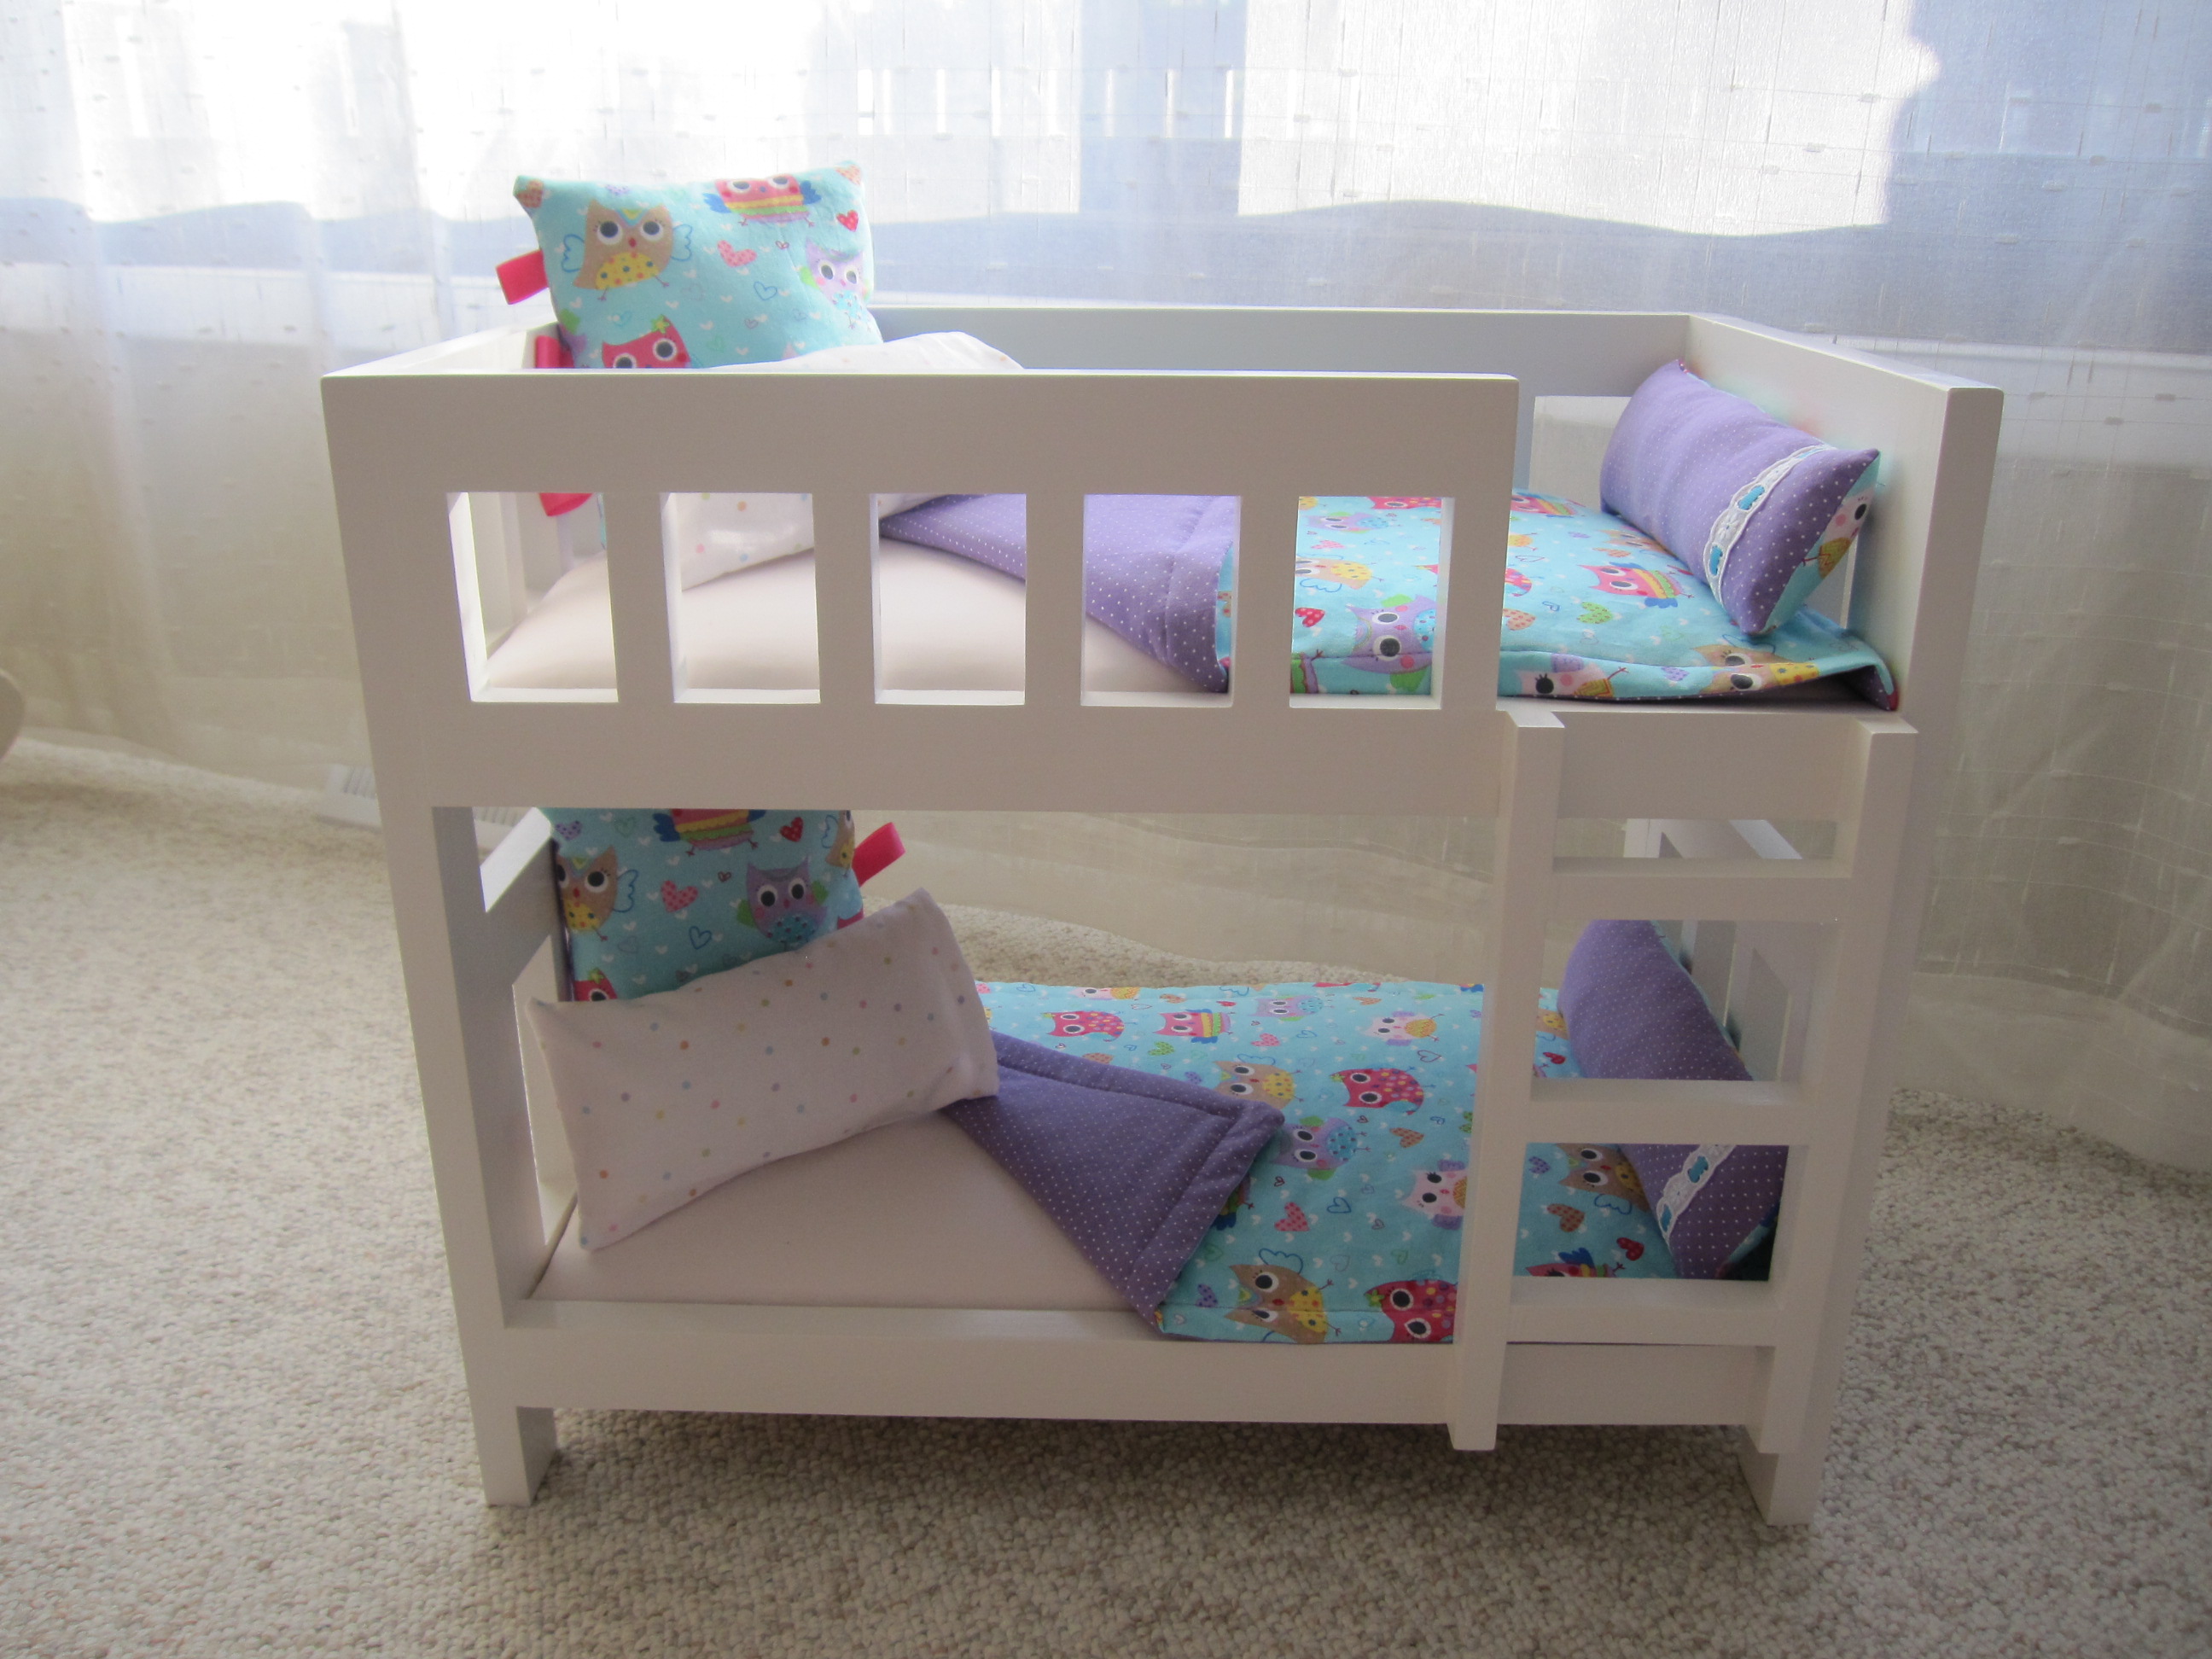
I looked at the doll bed plans forever trying to decide which one to make our daughter. I settled on the camp style bed that Jamie from "that's my letter" made from Ana's plans. There was one error in the cut list, you do not need 7-20" 1x2 pieces, unless I really messed up! You only need 5. It was fun and surprisingly easy to build. The sanding and painting took far longer than the actual building. It took me less than two hours to build, including dry time for the wood glue on the rails (hot glue would be faster) I found craft paint brush #16 (3/4 inch) worked the best and fastest for painting all the rails. Any bigger brush and you'd get runs at all the corners. I put on one coat primer, and three coats of paint, probably about 6-8 hours total time in sanding, painting and applying the finish wax. I made the bedding with some cute fabric from Joann's Fabric, also harder than the building! All said and done the extra hours were worth the finished product, it is beyond beautiful and I am so happy! I can't wait to see Elena's face on Christmas morning. (You can build it in 1-2 hours, I put weekend project b/c of the time to finish it) I worked on it for about an hour at a time over a two week period, as I couldn't let her see me working on it!
Built from Plan(s)
Estimated Cost
$30
Estimated Time Investment
Weekend Project (10-20 Hours)
Finish Used
Sherwin Williams (Snow Bound) paint
White wax for top coat
White wax for top coat
Recommended Skill Level
Beginner
Comments

Sun, 12/07/2014 - 17:09
One thing I forgot
I wanted to add that I ripped a 1x2 to get the 1x1 pieces and it was so easy! Don't be scared to try it.

Thu, 12/11/2014 - 16:58
Mattress material
I used diamond-double-faced-quilt-fabric and it really held the foam down tight, it looks like a real mattress! The white was too bright next to the paint so I used a light pink cotton sateen for the top layer, you can still see and feel the diamond detail. (I followed the plans on "that's my letter" for the mattress construction)
Entryway & Coffeetable
This was my first time making a project with plans from the site. They were easy to follow and modify to my sizes. I am extremely happy.
The cost of wood is higher due to the pandemic, however. A 2x4 was nearly $5.50 in Ohio.
Built from Plan(s)
Estimated Cost
$120
Estimated Time Investment
Afternoon Project (3-6 Hours)
Finish Used
Gray stain, applied with a foam brush.
Recommended Skill Level
Beginner
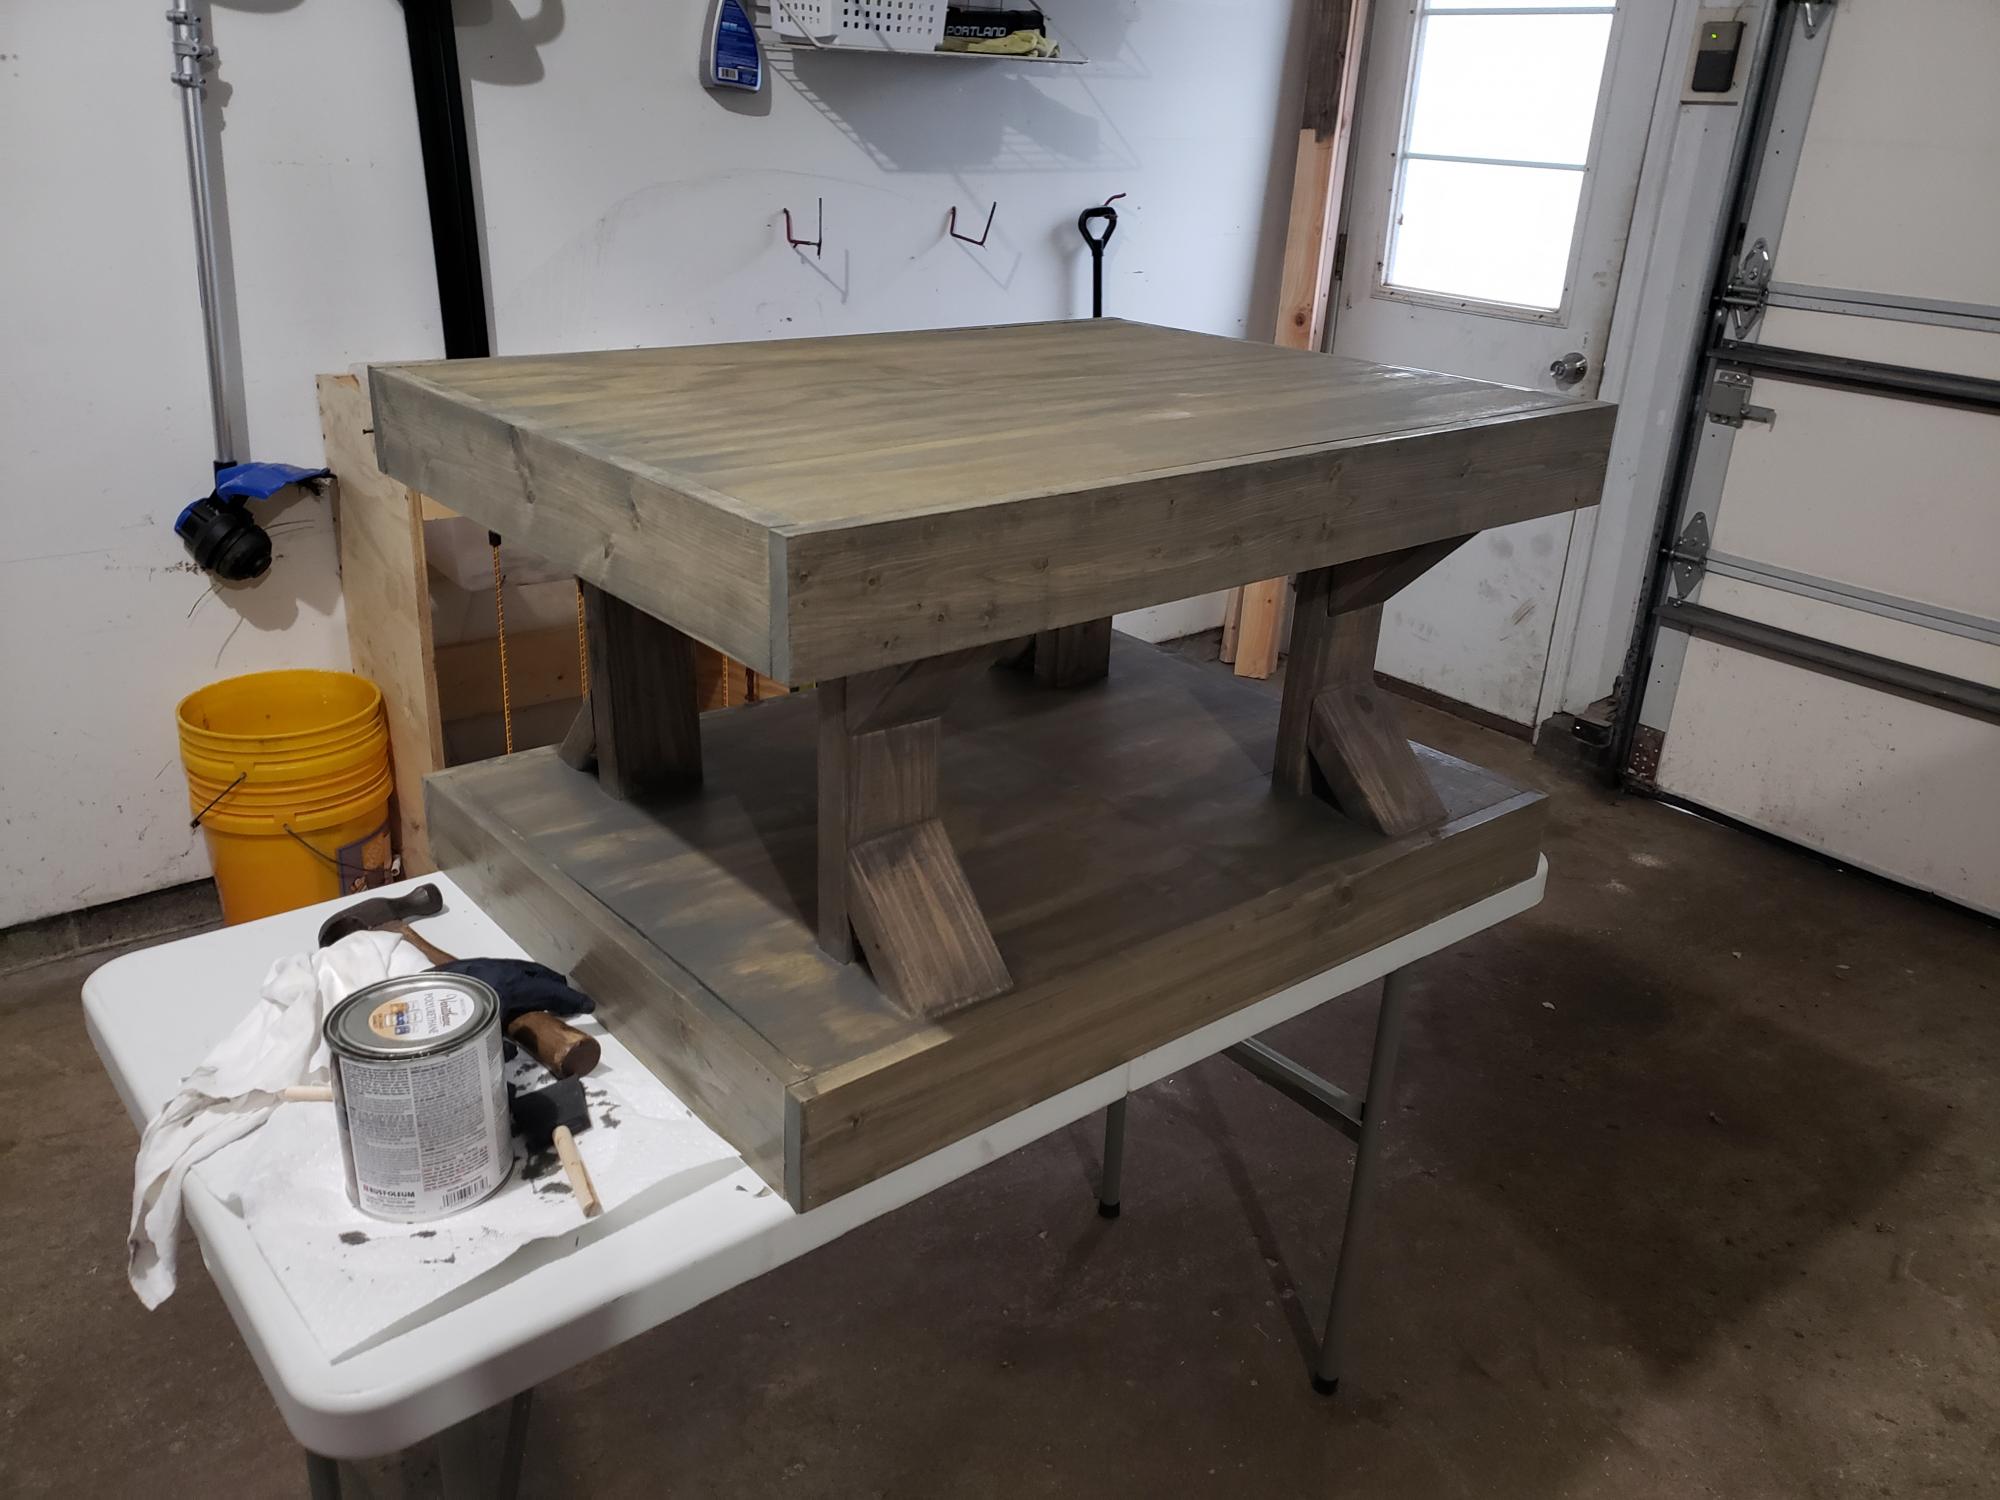
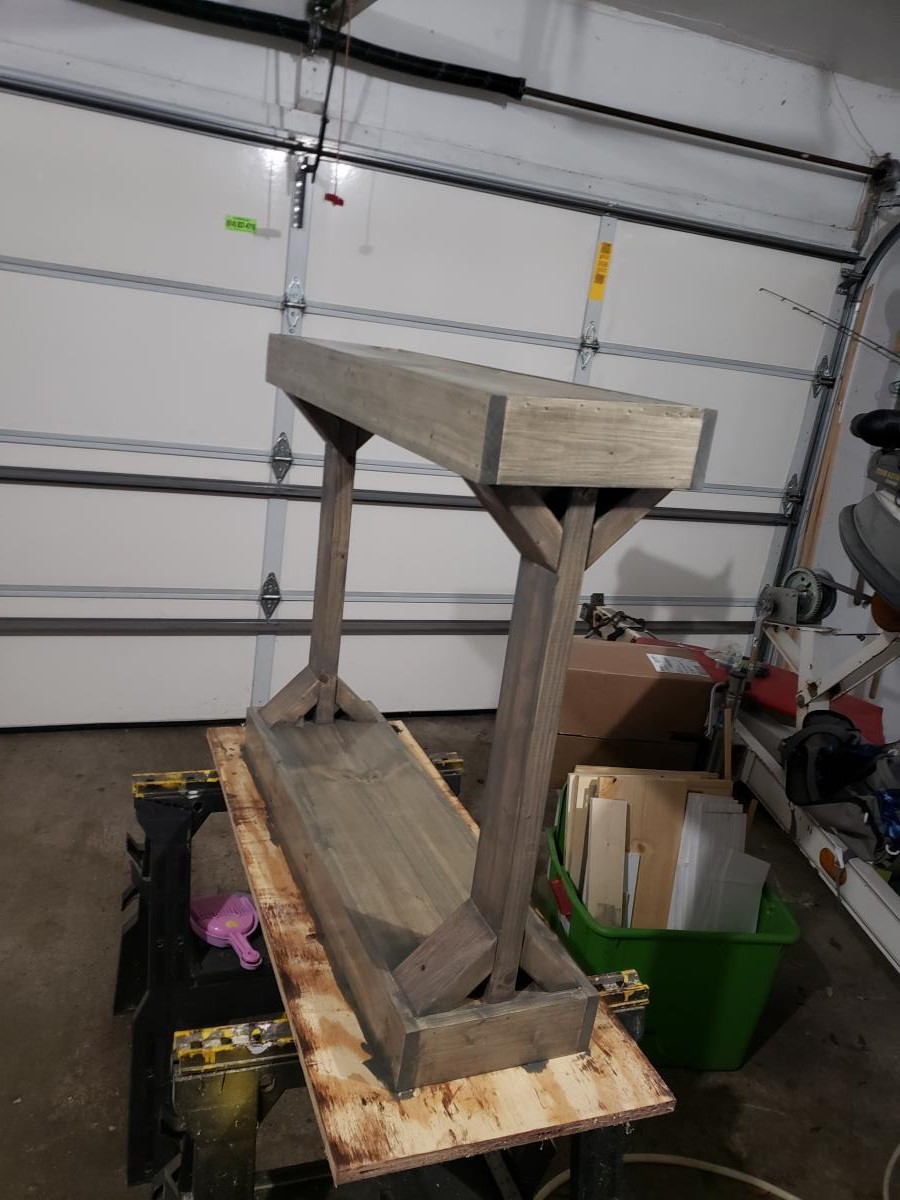
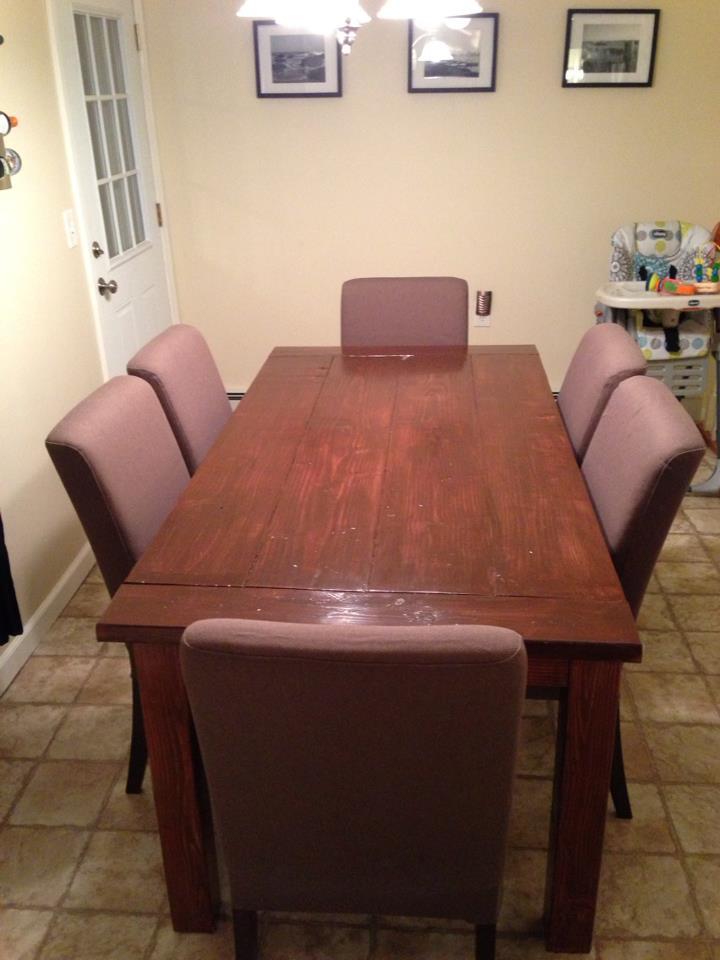
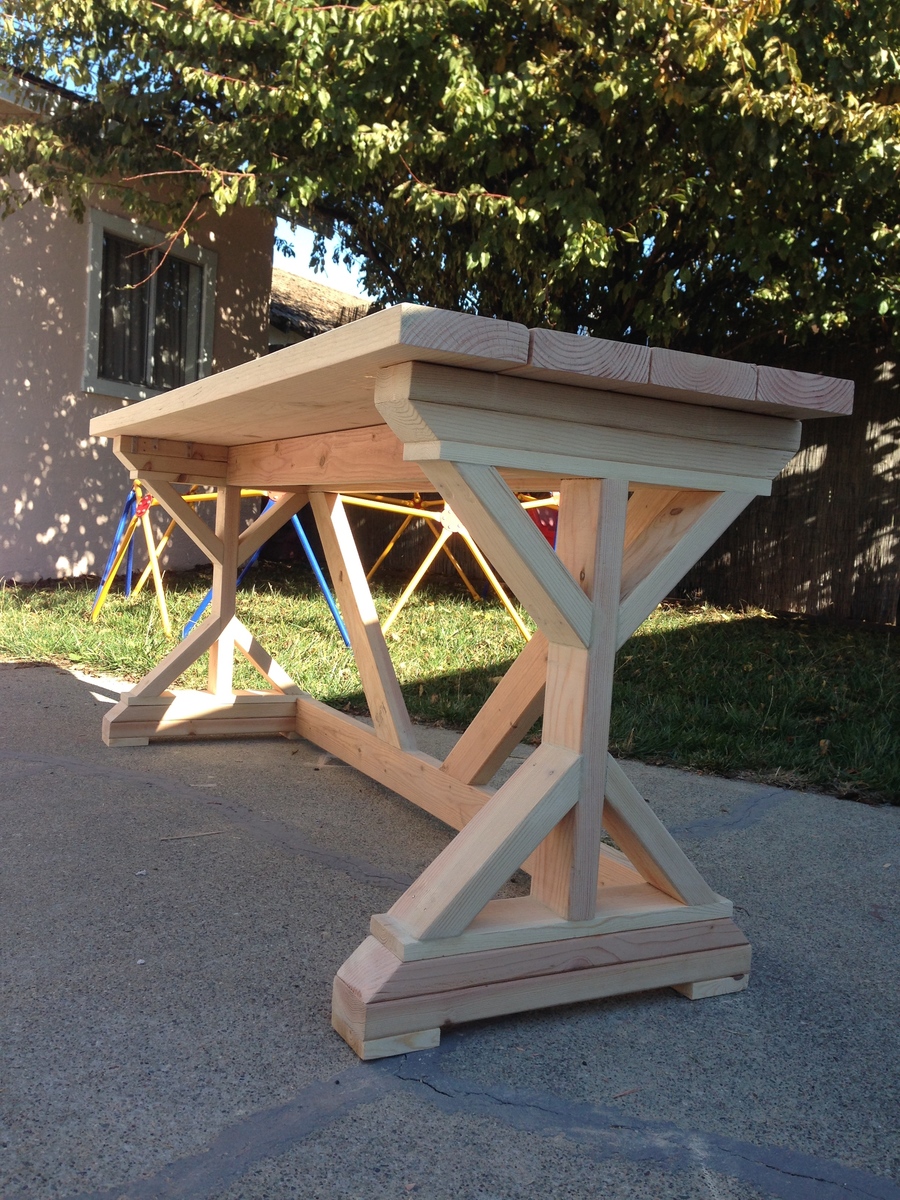
Modified Farm Table
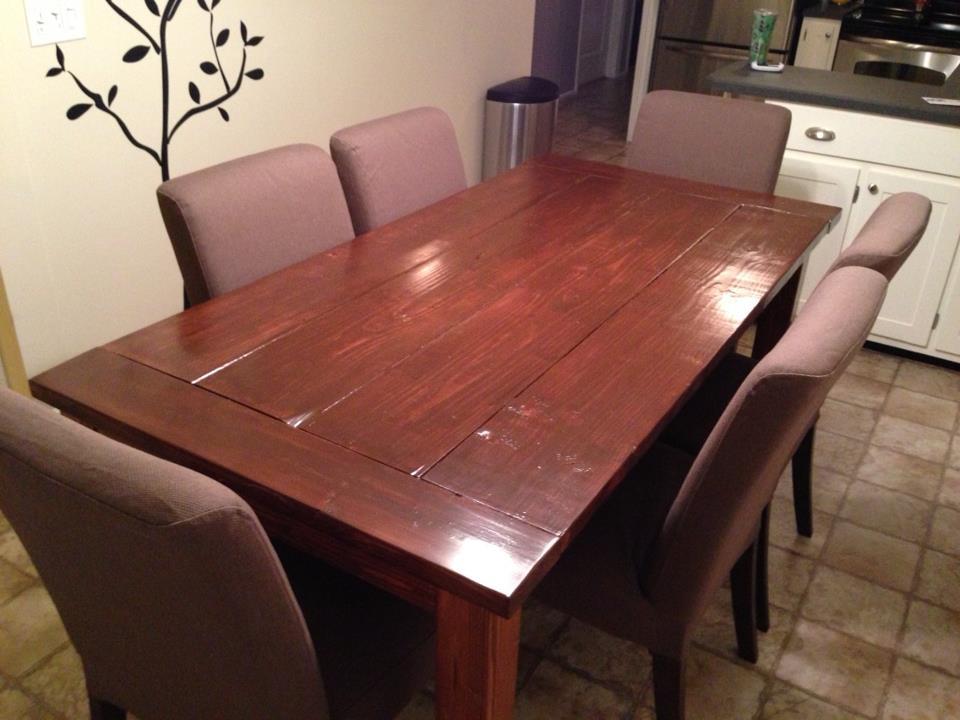
This is my modified version of the farmhouse table. I wanted to be able to sit 6 people at a 6' table, so I decided to go with a different style of legs. It is still very sturdy.

Built from Plan(s)
Estimated Cost
$85
Estimated Time Investment
Weekend Project (10-20 Hours)
Finish Used
Several coats of minwax water based stain in Coffee color.
3 coats of water based minwax poly.
3 coats of water based minwax poly.
Recommended Skill Level
Beginner
Comments
Fri, 02/08/2013 - 09:40
Love the leg mod
Love the leg modification. My brother-in-law likes the farmhouse table look with the exception that he couldn't place chairs at the end, so he fell in love with this table. We may be following your modifications if we build him a table at some point in the future. Excellent job!
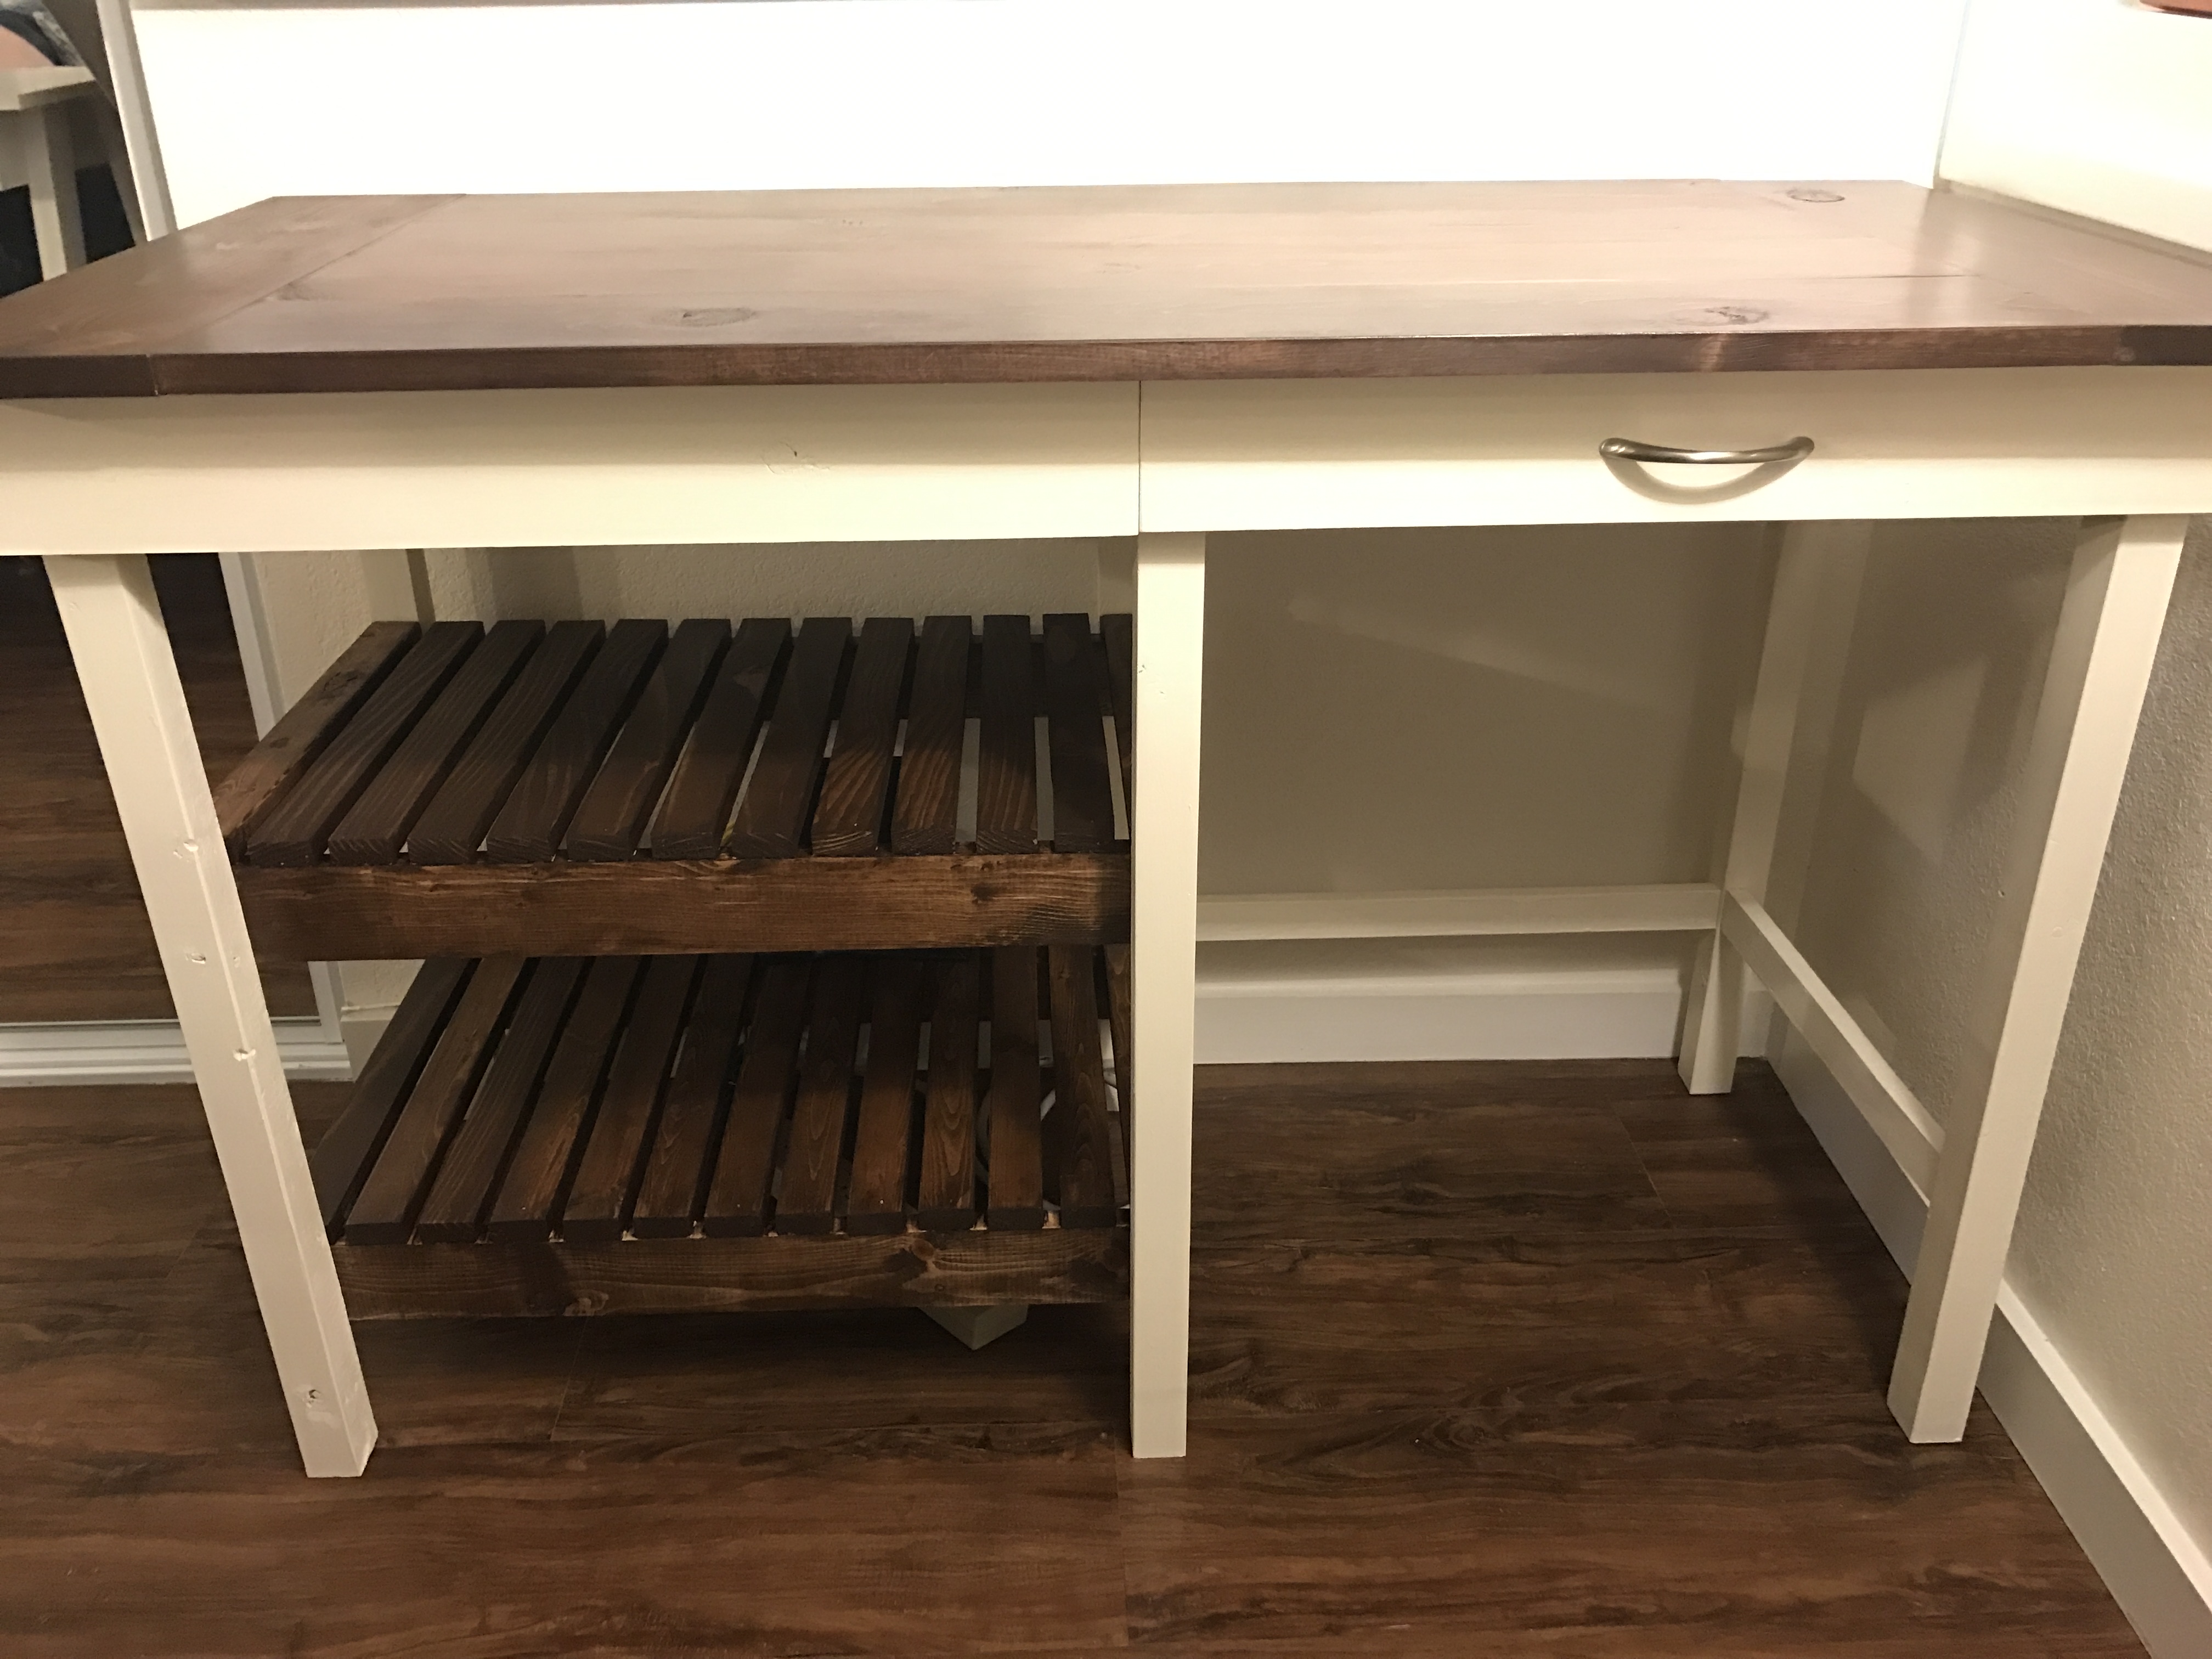
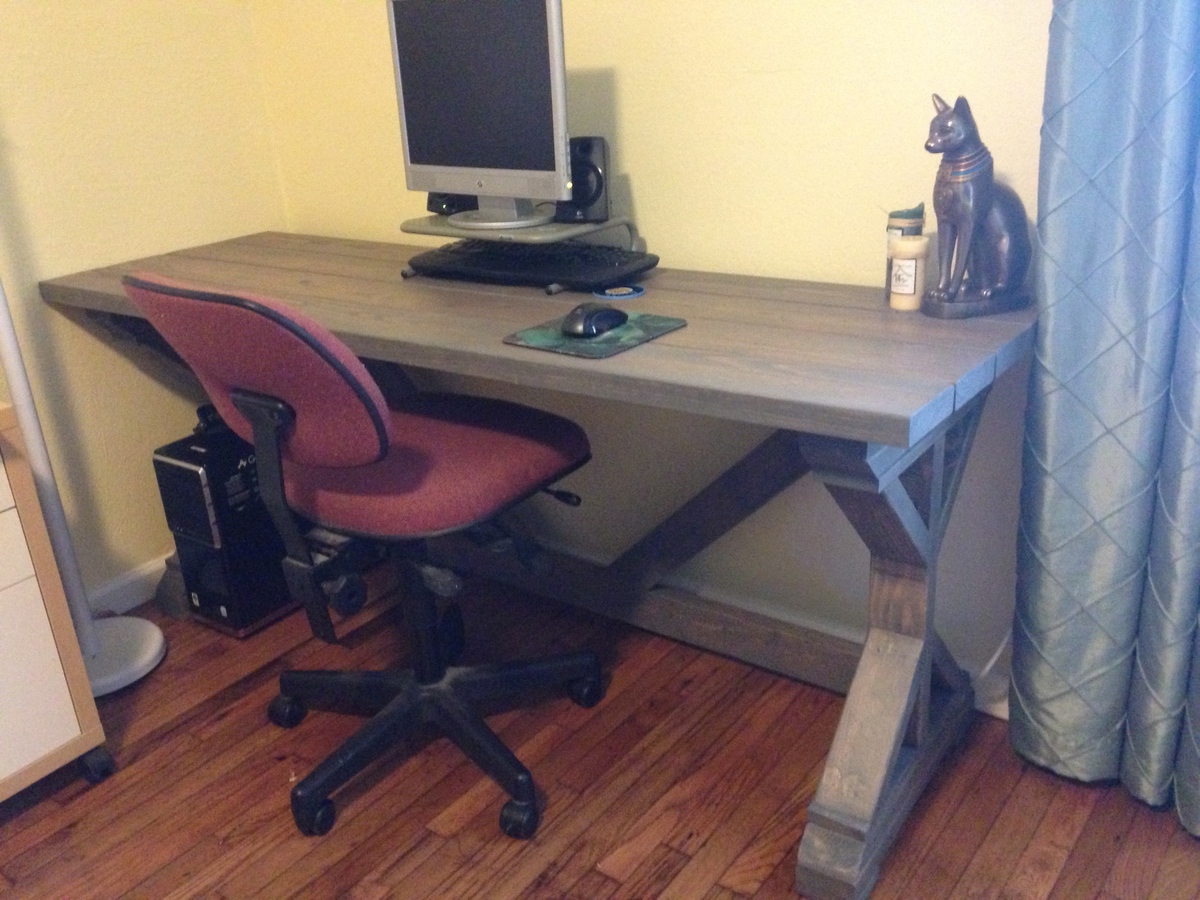
First Build: Two of them!
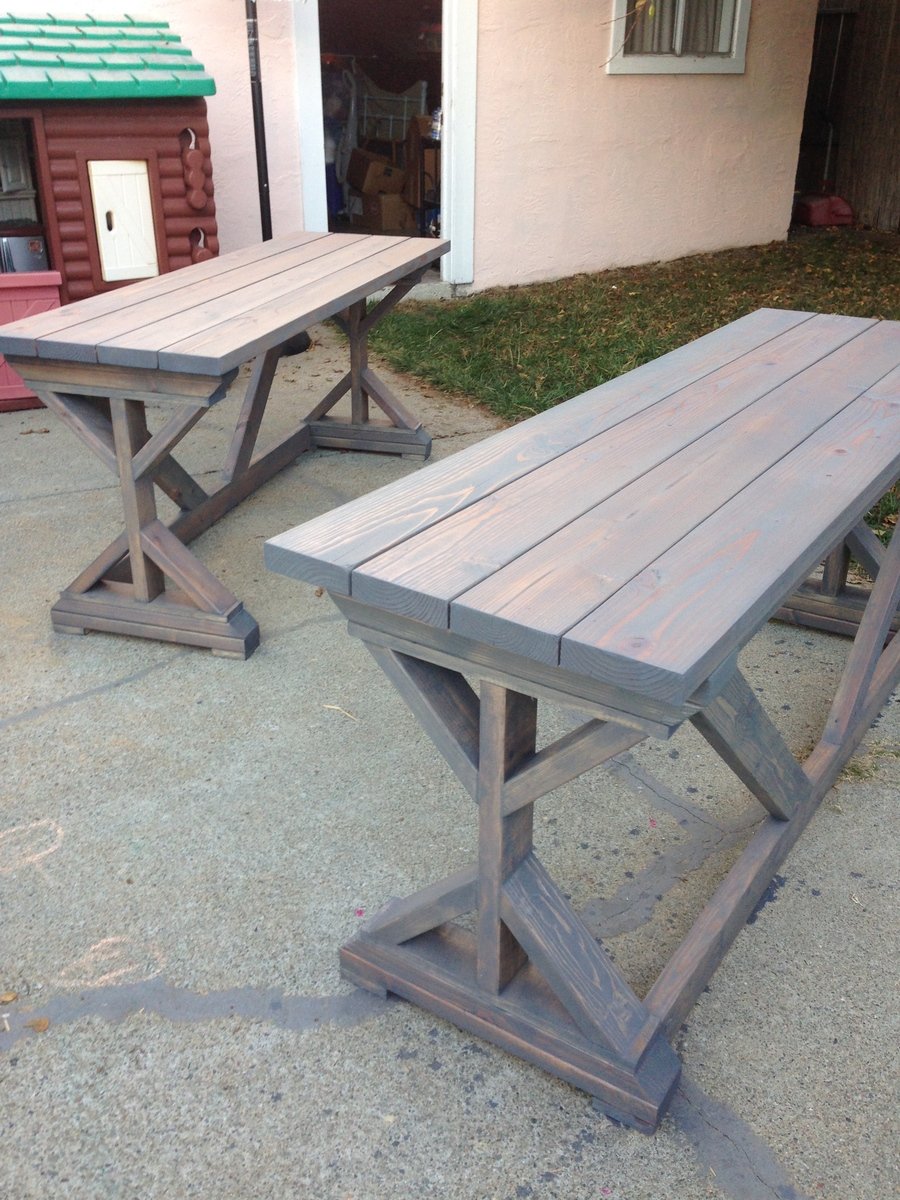
I wanted a project to build with my husband, and his desk was falling apart. Mine was old and tiny so we made two of these side by side. I did all my own work with some instruction from him, and it was pretty easy! It was also really fast: I think the total time spent was under 8 hours!
Built from Plan(s)
Estimated Cost
$70
Estimated Time Investment
Day Project (6-9 Hours)
Finish Used
Minwax Stain in Gray, with 4 coats of Matte finish Varathane sealer.
Recommended Skill Level
Beginner
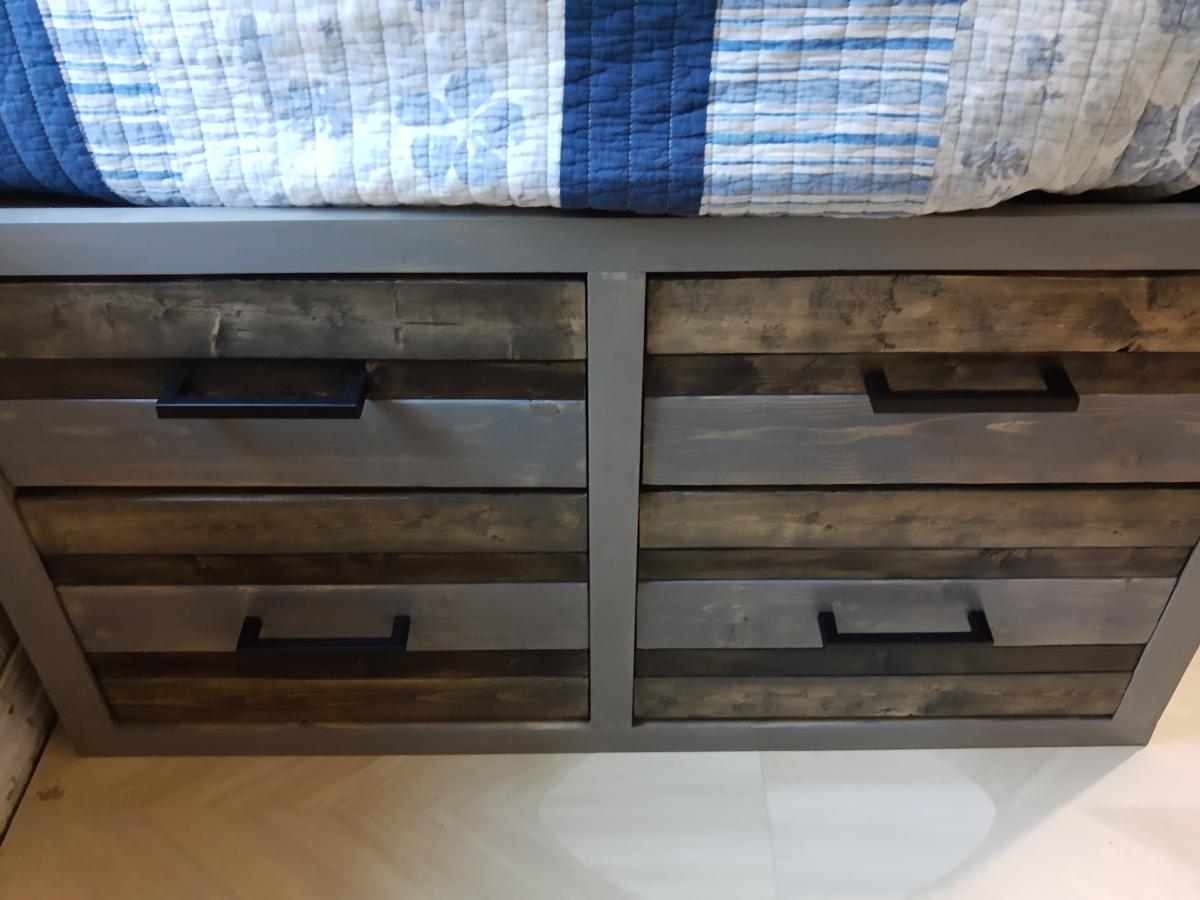
Classic Storage Bed, adapted
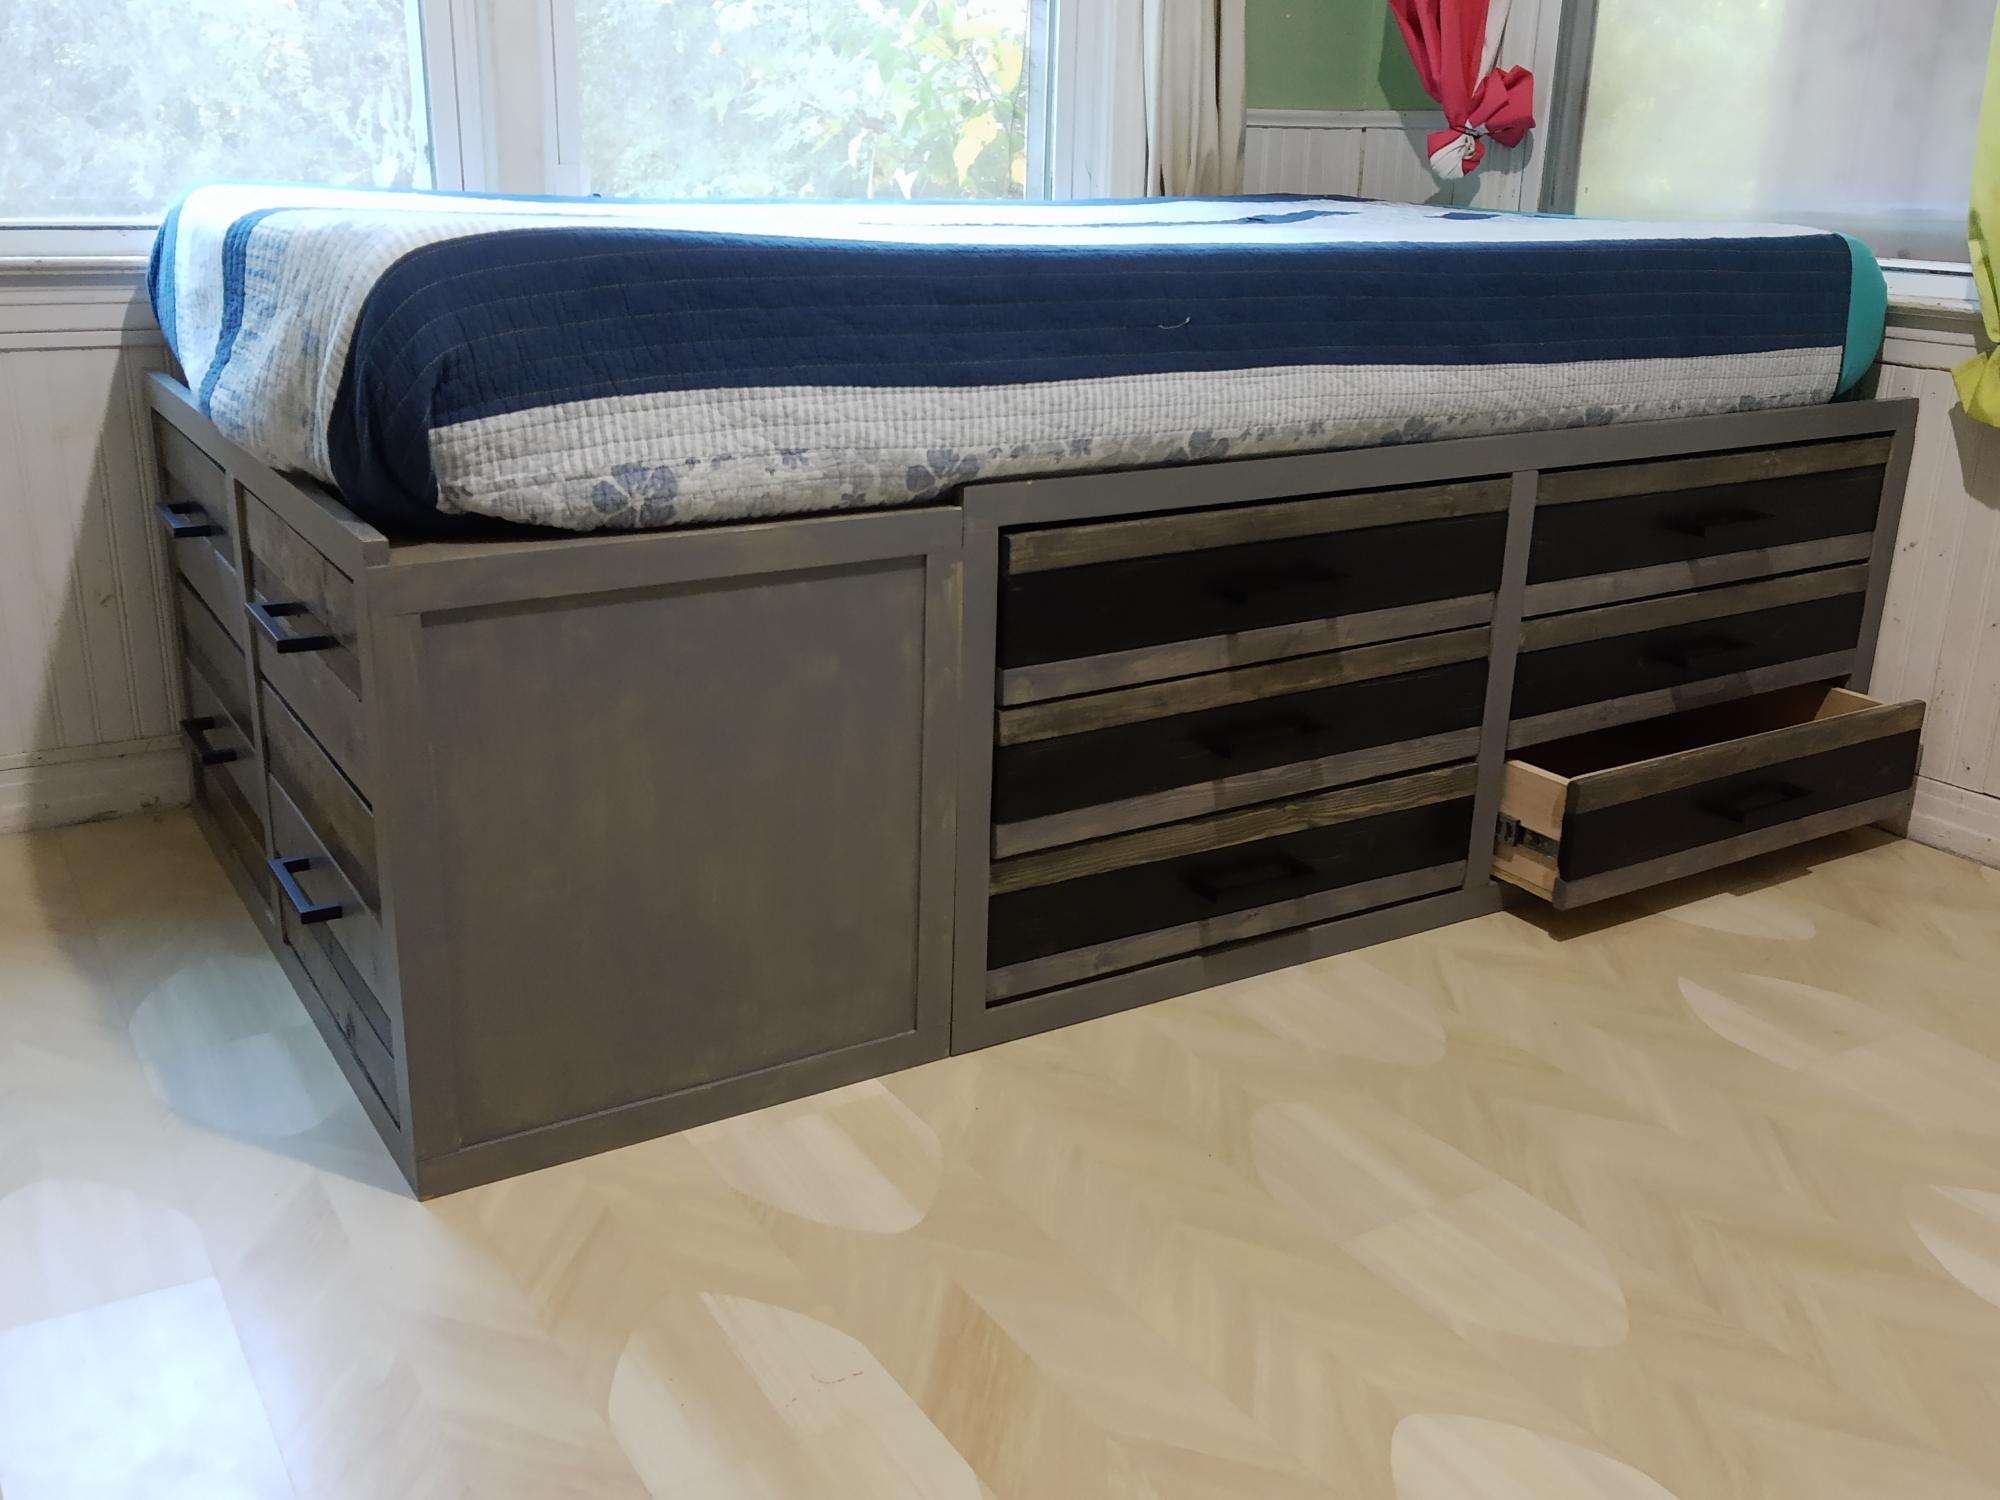
I doubled the height of the Classic Storage Bed to create 6 side drawers and 4 bottom doors for my daughter's twin bed. She lives the extra storage in her small bedroom. Thanks for the inspiration!
Built from Plan(s)
Estimated Time Investment
Week Long Project (20 Hours or More)
Comments
Barn Frame using 1x3 and 1x2 lumber

I built this for an odd-sized print. I used 1x3 on the interior frame, and 1x2 on the border frame. I really like the rustic look of it, and it came together really quickly.
Built from Plan(s)
Estimated Cost
$2
Finish Used
beeswax, carnauba wax blend
Recommended Skill Level
Beginner
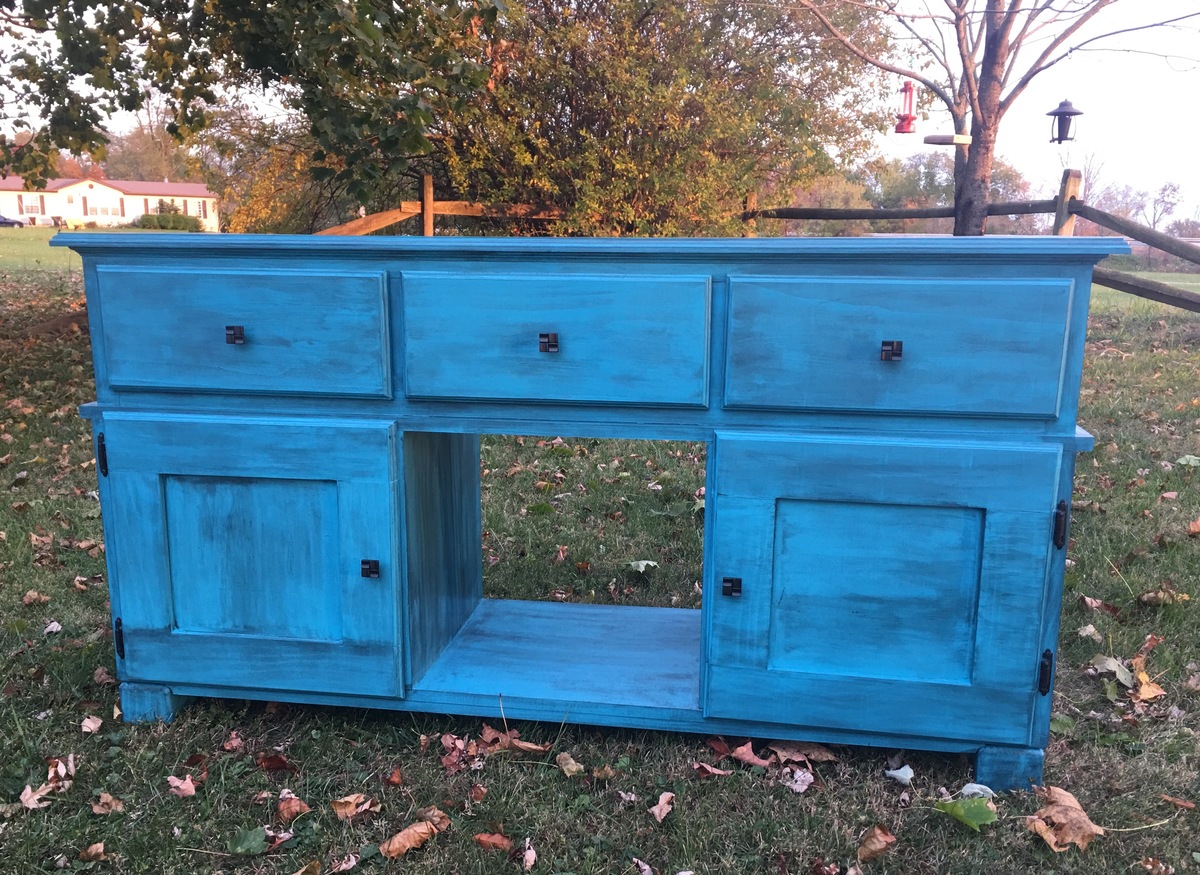
Ashley Makes: Rustic X Console (Minus the X)
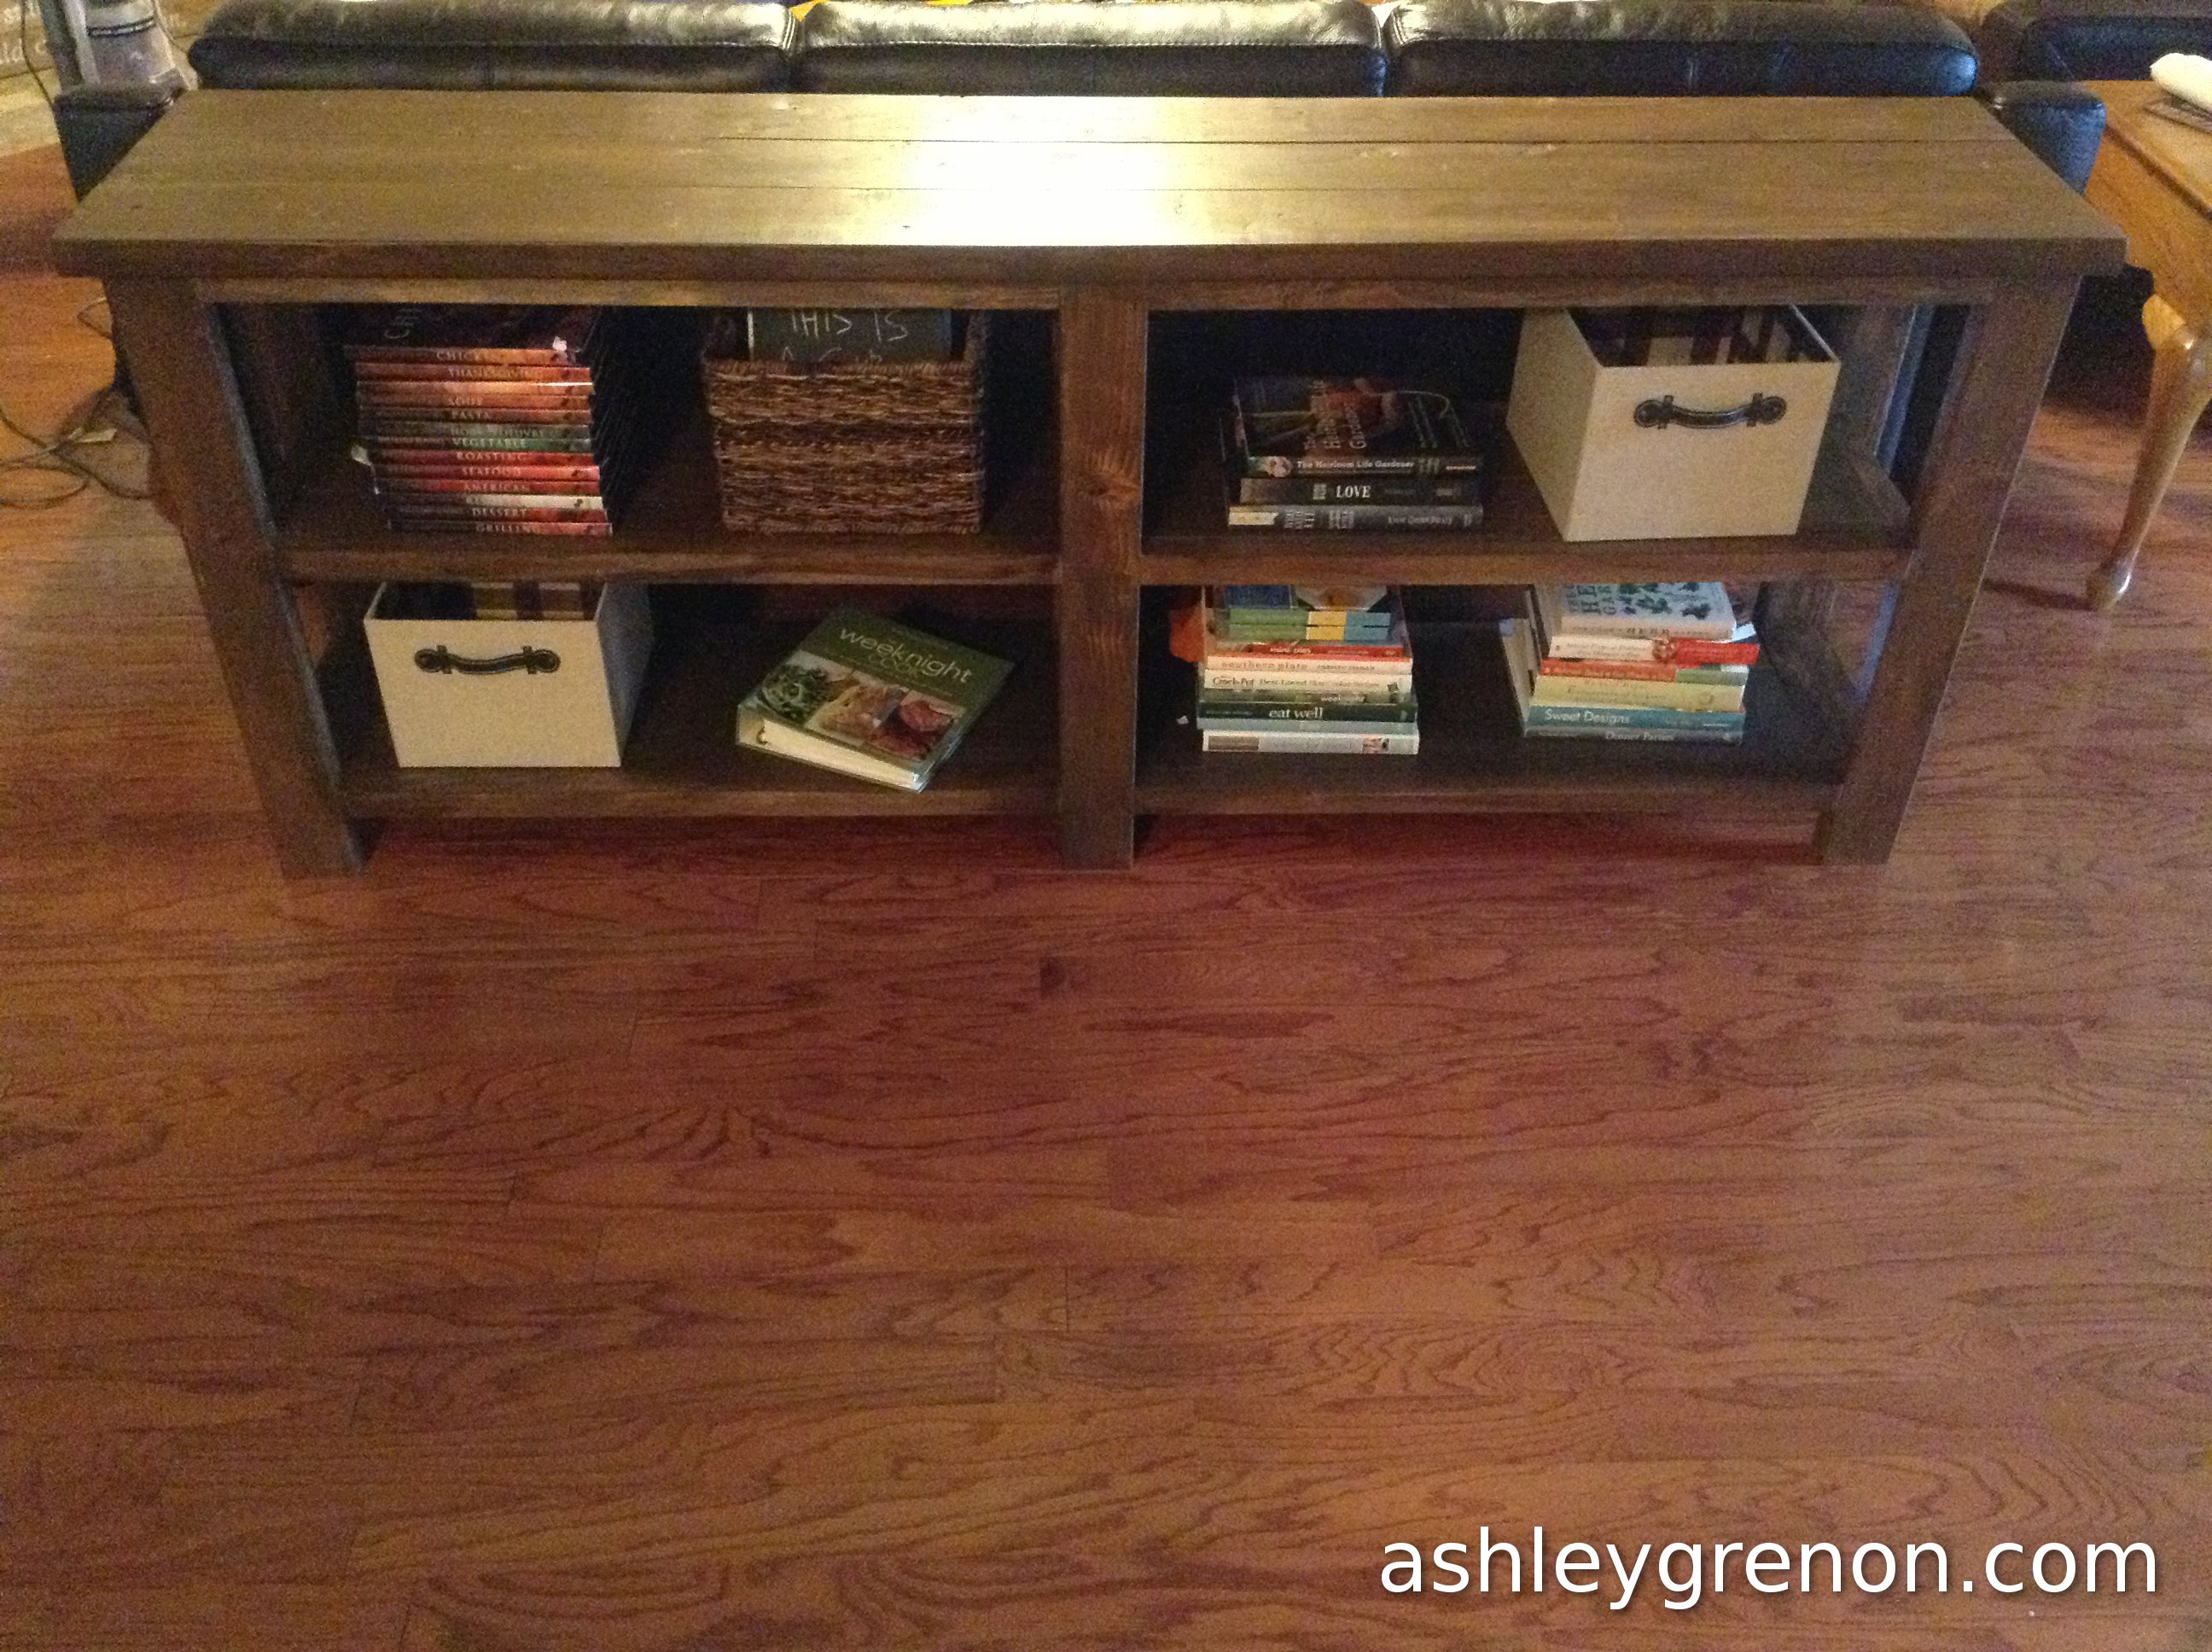
I built the Rustic X Console to store my growing collection of cookbooks. The plans were pretty easy to follow. I really struggled with warped boards!
You can check out my blog entry for more photos and details.
Built from Plan(s)
Estimated Time Investment
Week Long Project (20 Hours or More)
Finish Used
Rust-Oleum's Early American and Vermont Natural Coating PolyWhey Stain
Recommended Skill Level
Intermediate
First piece!
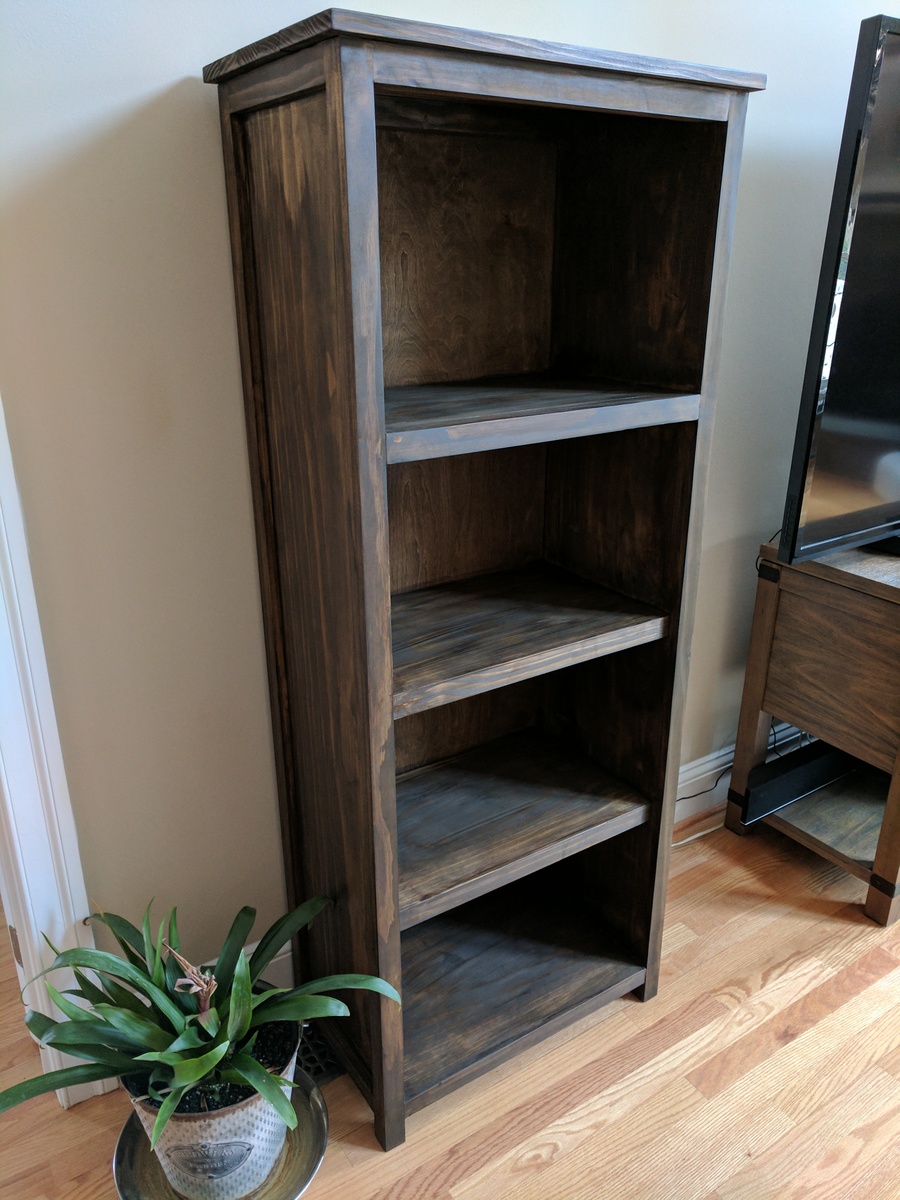
Used this plan as a "practice" platform for a larger version in the future. Very simple yet nice design. I would prefer to hide some pocket holes on the sides to avoid the extra work of plugging them next time. Also, Lauan plywood panels are cost effective way of finishing the back.
Estimated Cost
150
Estimated Time Investment
Day Project (6-9 Hours)
Finish Used
Wenge semi transparent
Recommended Skill Level
Beginner
Pot holder
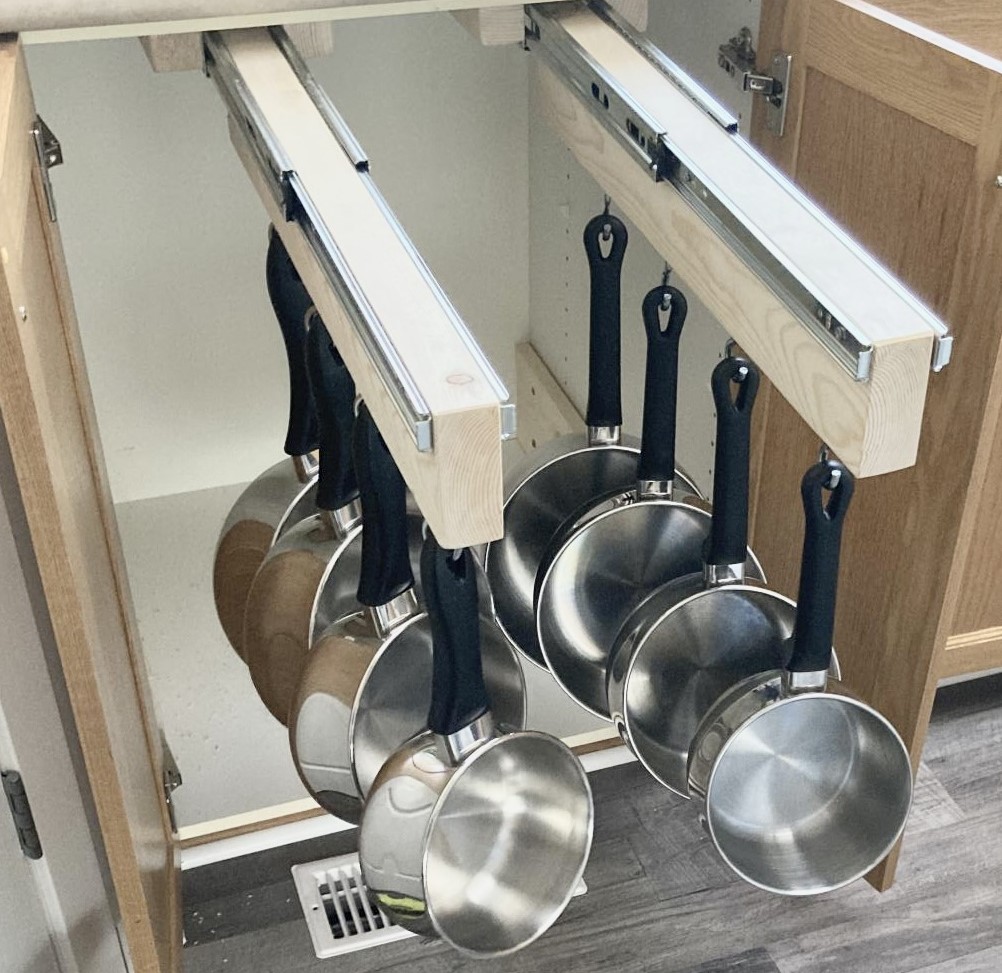
Working off your idea. Added another holder. There will be a bottom drawer for bigger stuff.
Built from Plan(s)
Finish Used
Will be painted
Recommended Skill Level
Starter Project
12-foot ledges for front-facing children's books

We built three 12-foot shelves to span the entire width of a wall in our play room. Each shelf cost approximately $30, mainly because we had to purchase a higher grade wood to get 12-foot pieces that were reasonably straight. I haven't filled the screw holes with wood filler yet.
Because these are child-height and we have a little climber on our hands, we screwed the shelves into every stud along the wall, and used more screws throughout than we would have for simple display shelves.
This was my first project and I did most of the work myself, with my husband's assistance when extra hands were necessary. It turned out so well I plan on tackling a few more Ana White projects! :)
Built from Plan(s)
Estimated Cost
95
Estimated Time Investment
Day Project (6-9 Hours)
Finish Used
Behr self-priming interior enamel color-matched to my home's trim color
Recommended Skill Level
Starter Project
Comments

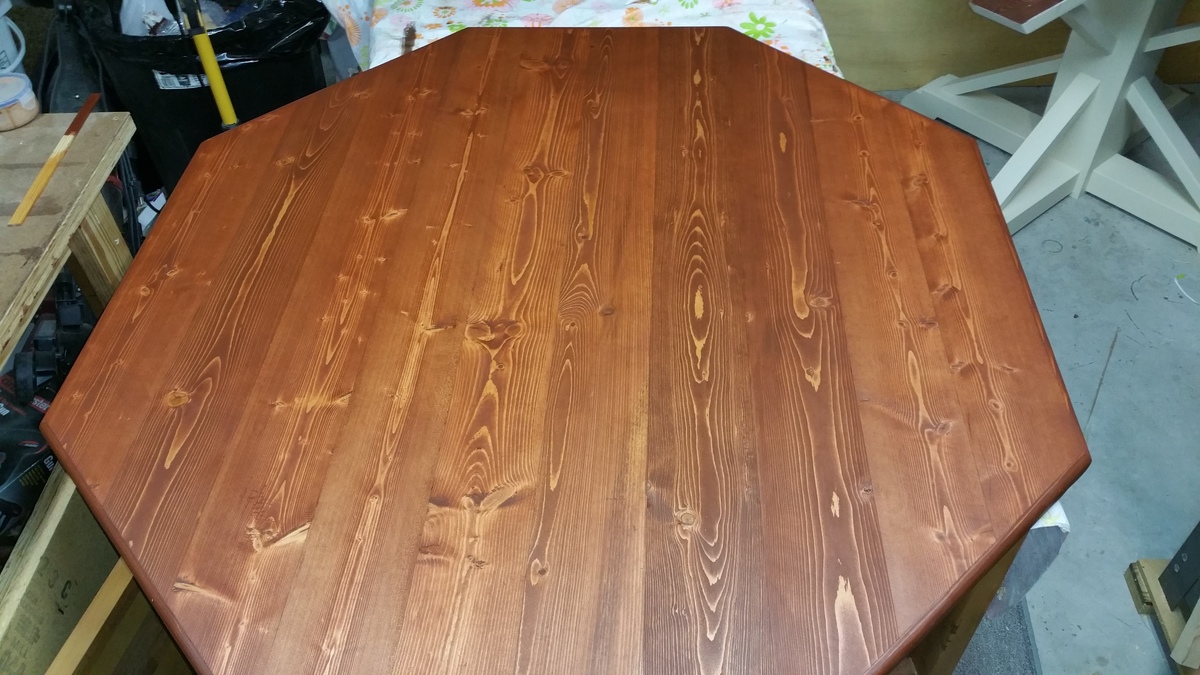
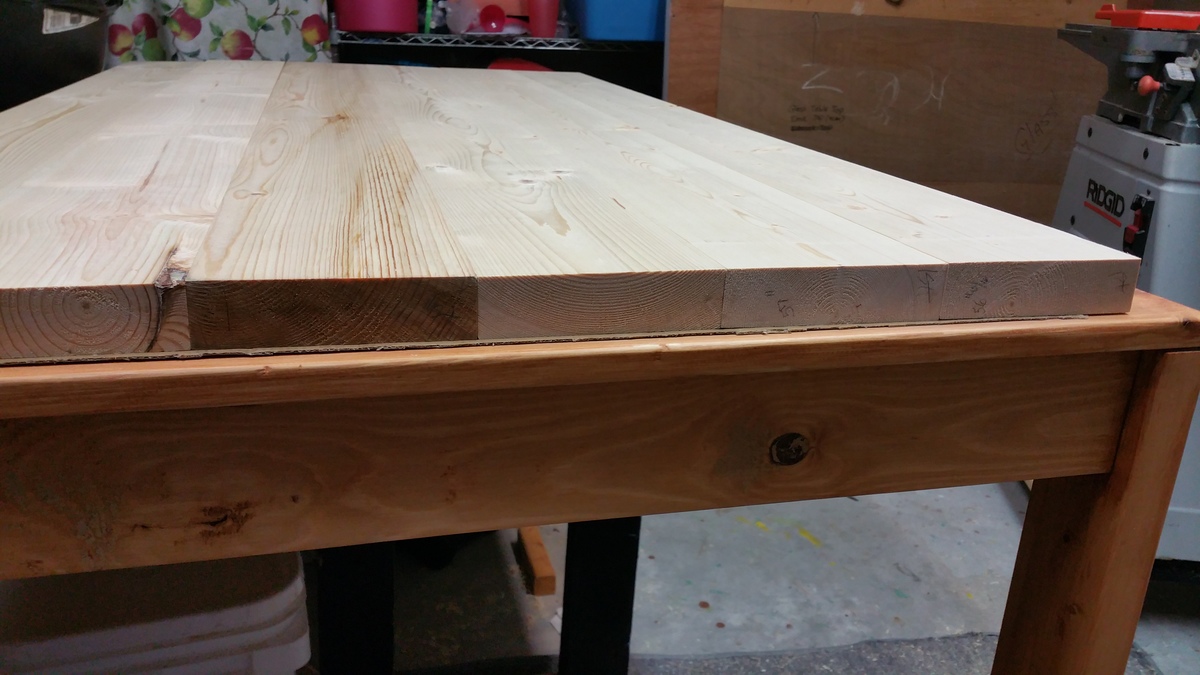
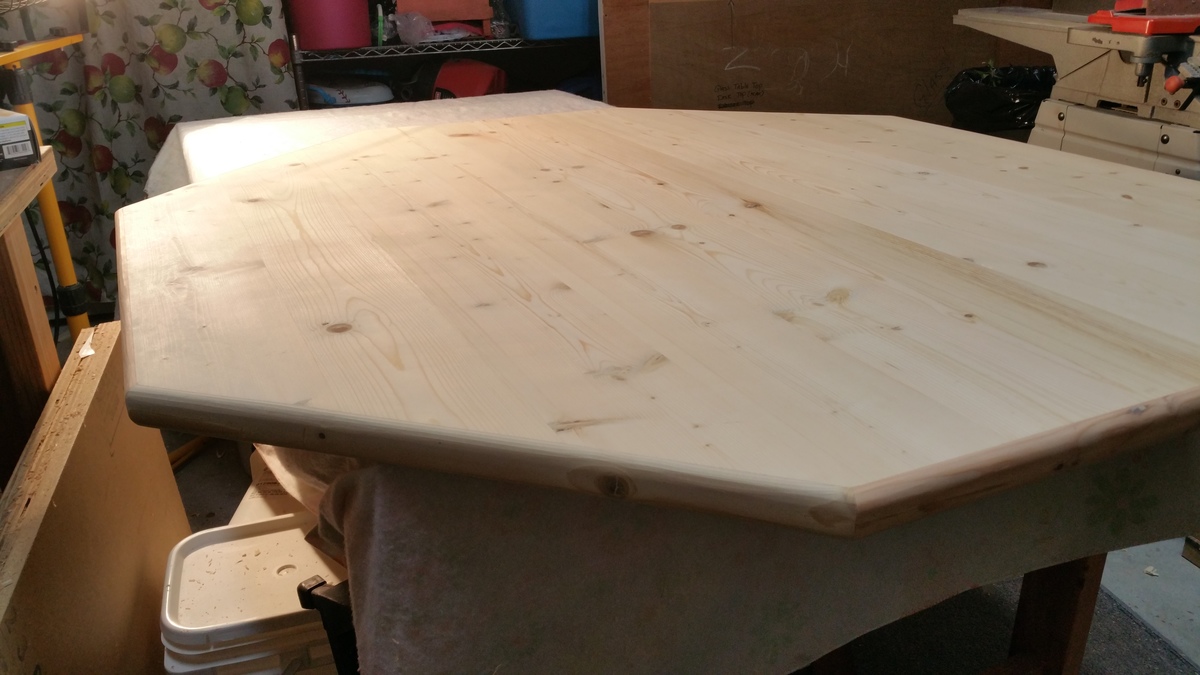
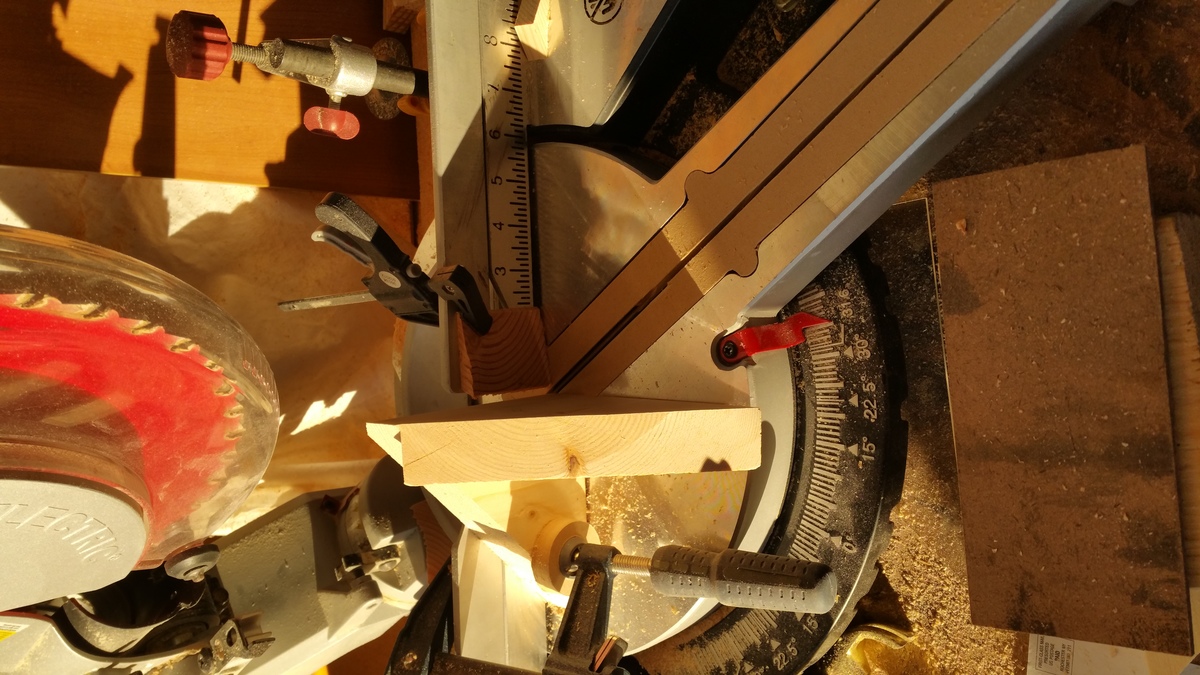
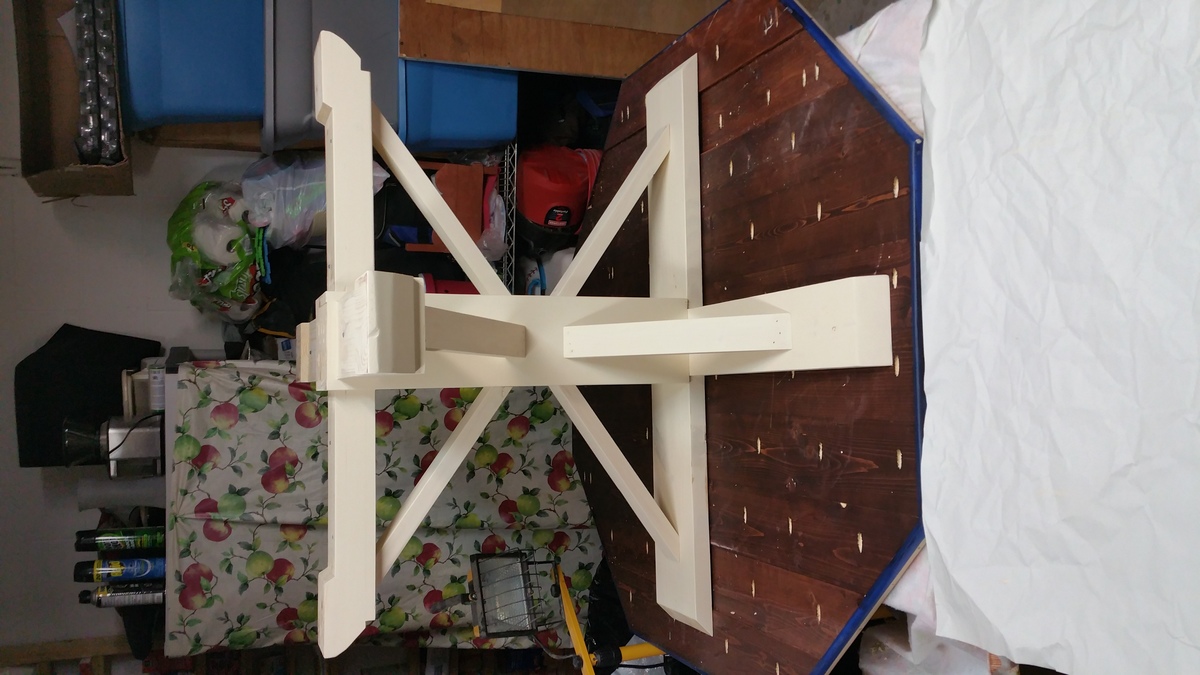
Octagon table with moulding
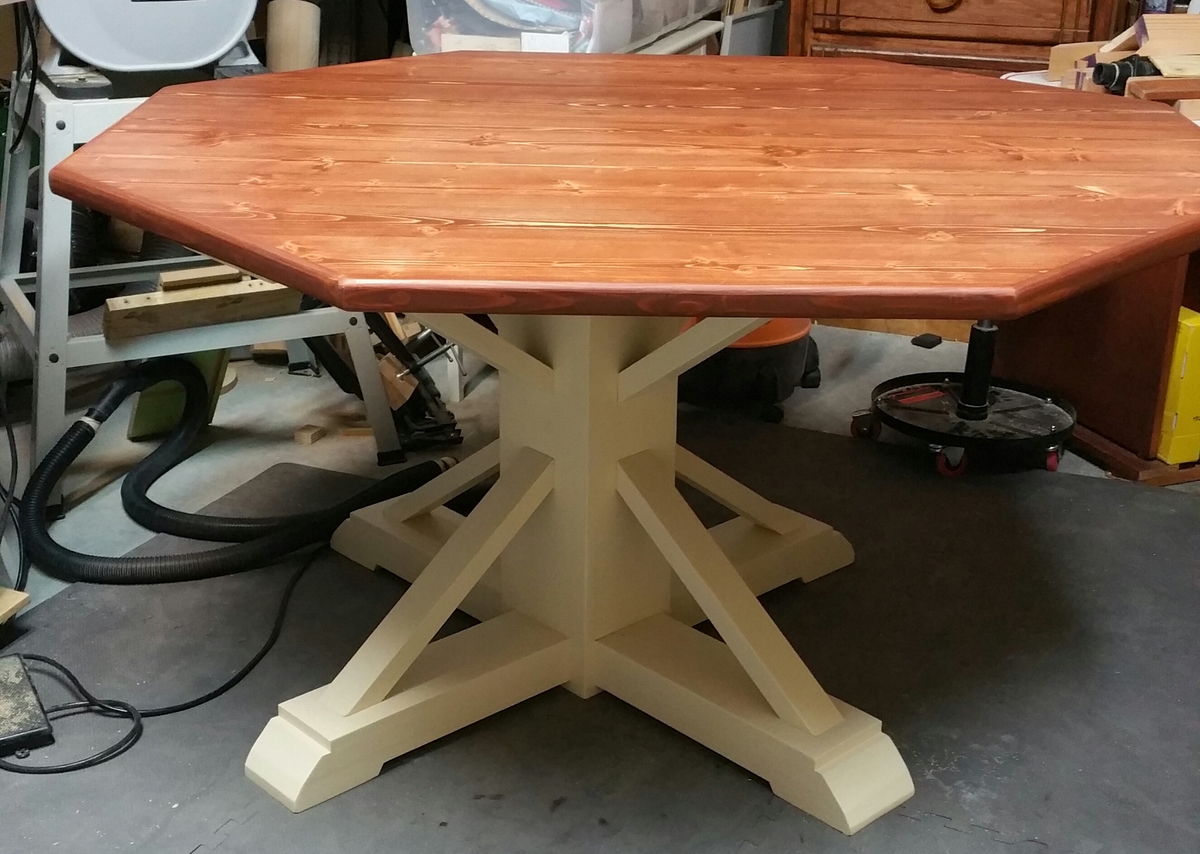
The angles were very challenging. I wanted to replicate the angles of 55 degrees. But of course my saw wouldn't cut them. So I made a quick jig for my miter saw that allowed the supports to be cut on their side just 10 degrees off 45 degrees equaling 55.
Built from Plan(s)
Estimated Cost
I used mostly cull lumber from Home Depot from 2x6s & 2x4s. I made my own moulding from 2x4s. Purchased the 1x8 full price. Around $100 with stain.
Estimated Time Investment
Week Long Project (20 Hours or More)
Finish Used
Varathane cabernet
Varathane matte touch Polyurethane
Applied stain with Terry cloth covered sponge from Harbor Freight.
4" best roller from home Depot for the clear coat.
Varathane matte touch Polyurethane
Applied stain with Terry cloth covered sponge from Harbor Freight.
4" best roller from home Depot for the clear coat.
Recommended Skill Level
Intermediate