Community Brag Posts

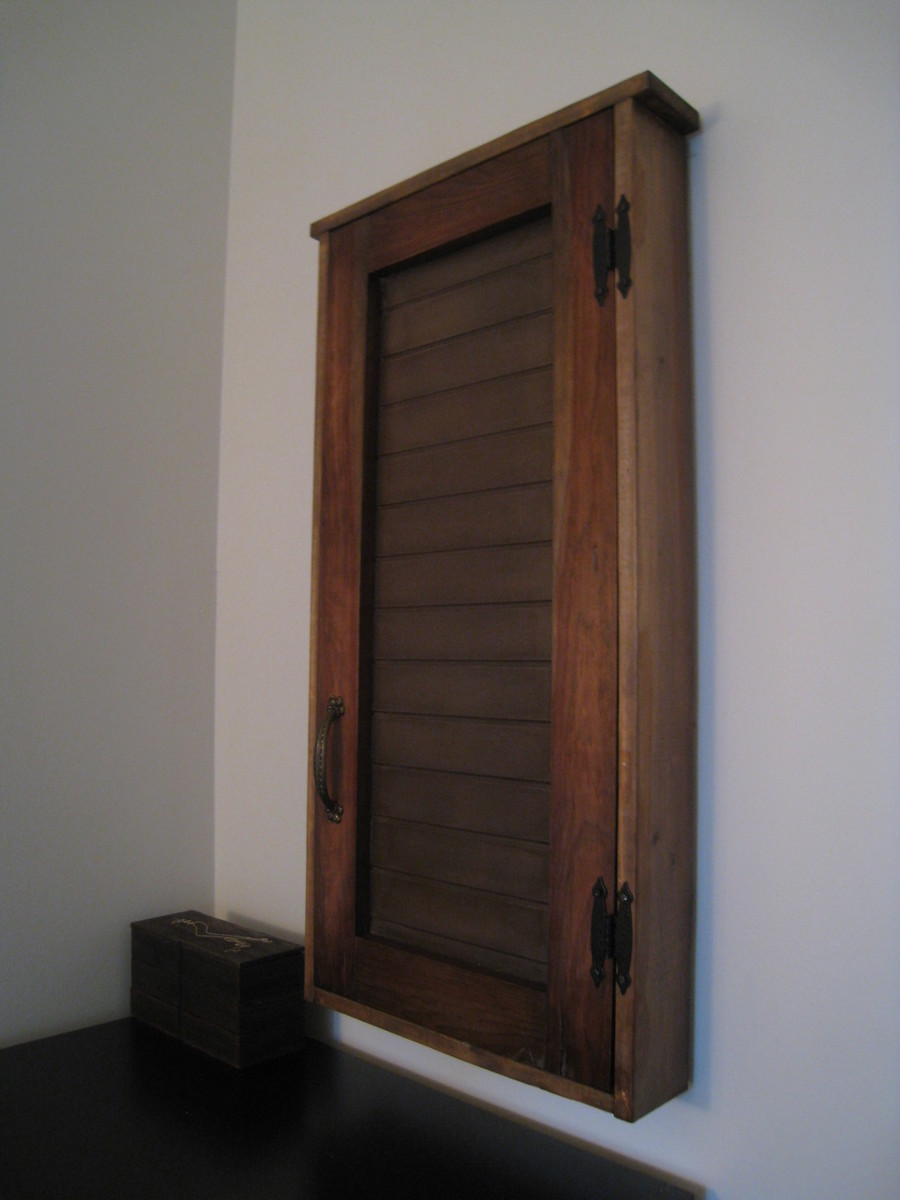
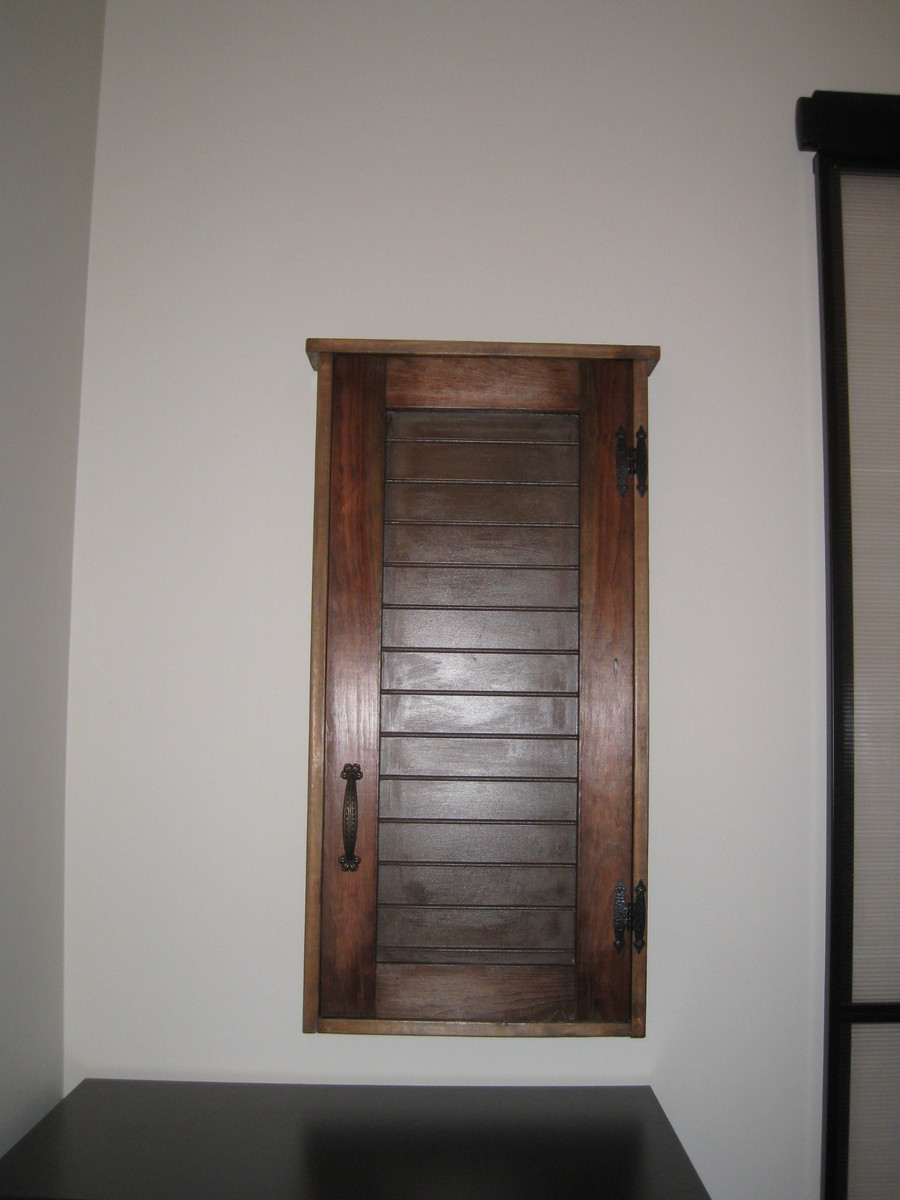
Jewellery Cabinet

Submitted by dsteinberg on Wed, 01/22/2014 - 08:33

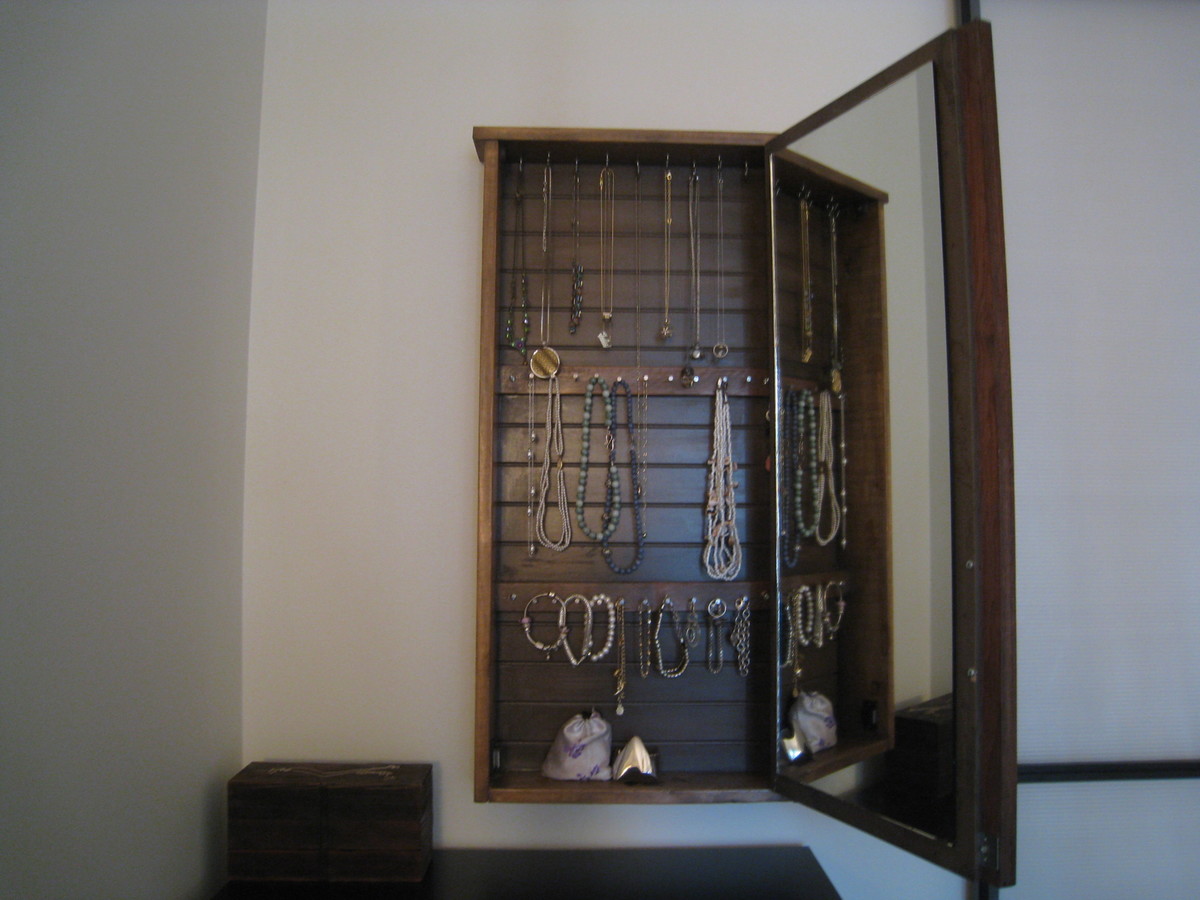
Modified the original plan a bit.

- Instead of using a wire door I used a board instead to give it a more closed look.
- Attached a mirror to the inside of the door
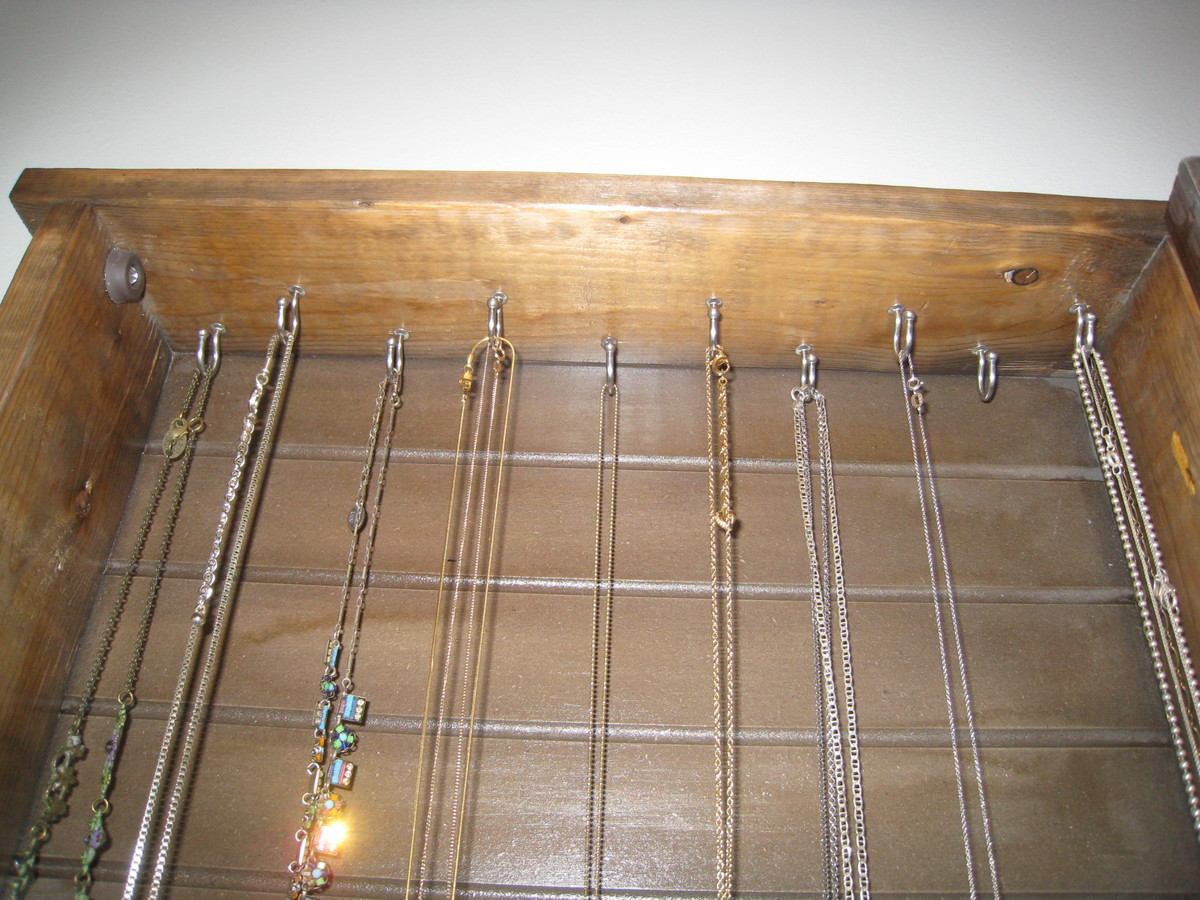
- Attached lots of hooks on the top piece of wood to hang more necklaces
- added a magnetic catch at the bottom and a rubber stopper at the top to ensure the door closes evenly and holds
- attached to dry wall with 4 toggle bolts

Built from Plan(s)
Estimated Time Investment
Afternoon Project (3-6 Hours)
Finish Used
- Brushed on black tea
- Brushed on solution of vinegar and steel wool that sat for 72 hours
- Vermont Natural Coatings Wipe on PolyWhey
Recommended Skill Level
Starter Project

Comments

Val Manchuk

Thu, 01/23/2014 - 09:15

Wow, did you ever do a great job on this project. The tea stain looks good!

Val @ artsybuildinglady.blogspot.ca

Knot Good with Wood

Thu, 01/30/2014 - 09:41

I'm actually building one for my wife right now, but was stuck on how I wanted to design the door. Your design is very cool. Can I ask what you used for the back and door...is is just wainscoating? And what did you apply to support the mirror on the inside of the door?

Thanks in advance!

dsteinberg

Thu, 01/30/2014 - 10:01

I am glad you like my design :-)

To support the mirror I used a combination of mirror tape

http://www.homedepot.com/p/Erias-Home-Designs-Mirror-Mounting-Tape-Squa…

and adhesive

http://www.homedepot.ca/product/lepage-pl-610-mirror-adhesive/827654

http://www.homedepot.ca/product/lepage-no-more-nails-all-purpose-clear-… (I used this one, it says not for mirrors but it didn't ruin the backing at all. The one above is probably safer to use)

As for the the back and the door, to be honest I don't remember the name of the board. I think I got it at home depot or maybe lowes. It came unstained and it was pretty thin. I cut it down to size for both. Sorry I can't be more help there. I did just check the home depot and lowes websites and couldn't find the exact panel. I am sure if you go and show them a picture they will be able to find it. The panel was around $15.

Let me know if you have any other questions!! Post a link here to yours when you are done, I would love to see it.

Knot Good with Wood

Fri, 01/31/2014 - 07:46

Excellent feedback, thank you! I found some small sheets of wainscoating at Lowes for around $10, and it's more than enough to do the job.

I'm heading to Home Depot after work today to pick up these other items so I can finish out this project. I figured if I delay long enough it will make a great Valentine's Day present.....

I'll be sure to post pics once completed. Thanks again!

-Brian

Knot Good with Wood

Fri, 01/31/2014 - 07:47

Excellent feedback, thank you! I found some small sheets of wainscoating at Lowes for around $10, and it's more than enough to do the job.

I'm heading to Home Depot after work today to pick up these other items so I can finish out this project. I figured if I delay long enough it will make a great Valentine's Day present.....

I'll be sure to post pics once completed. Thanks again!

-Brian

JoanneS

Fri, 01/31/2014 - 08:24

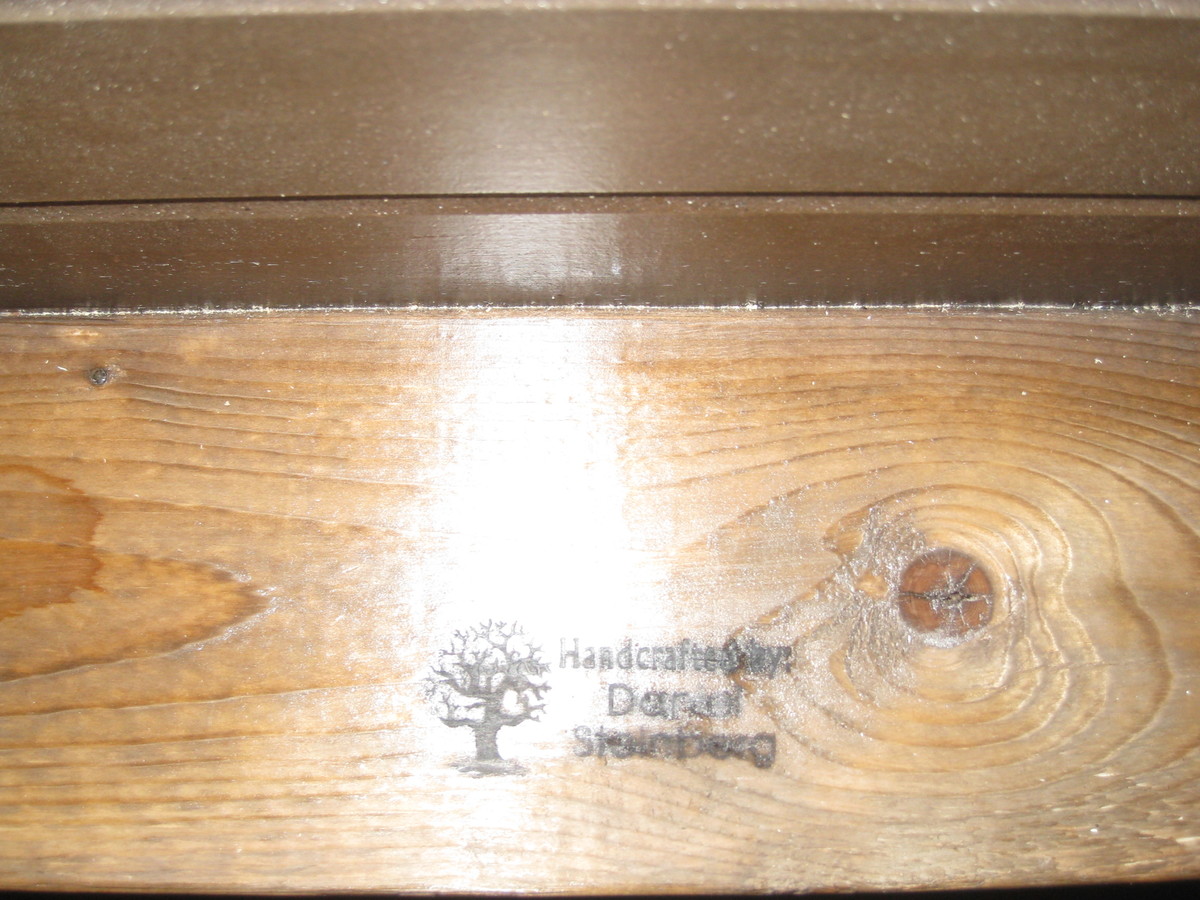
This looks beautiful! What did you use to add the "handcrafted by" personalization on your project? That is a very nice addition. Great job!

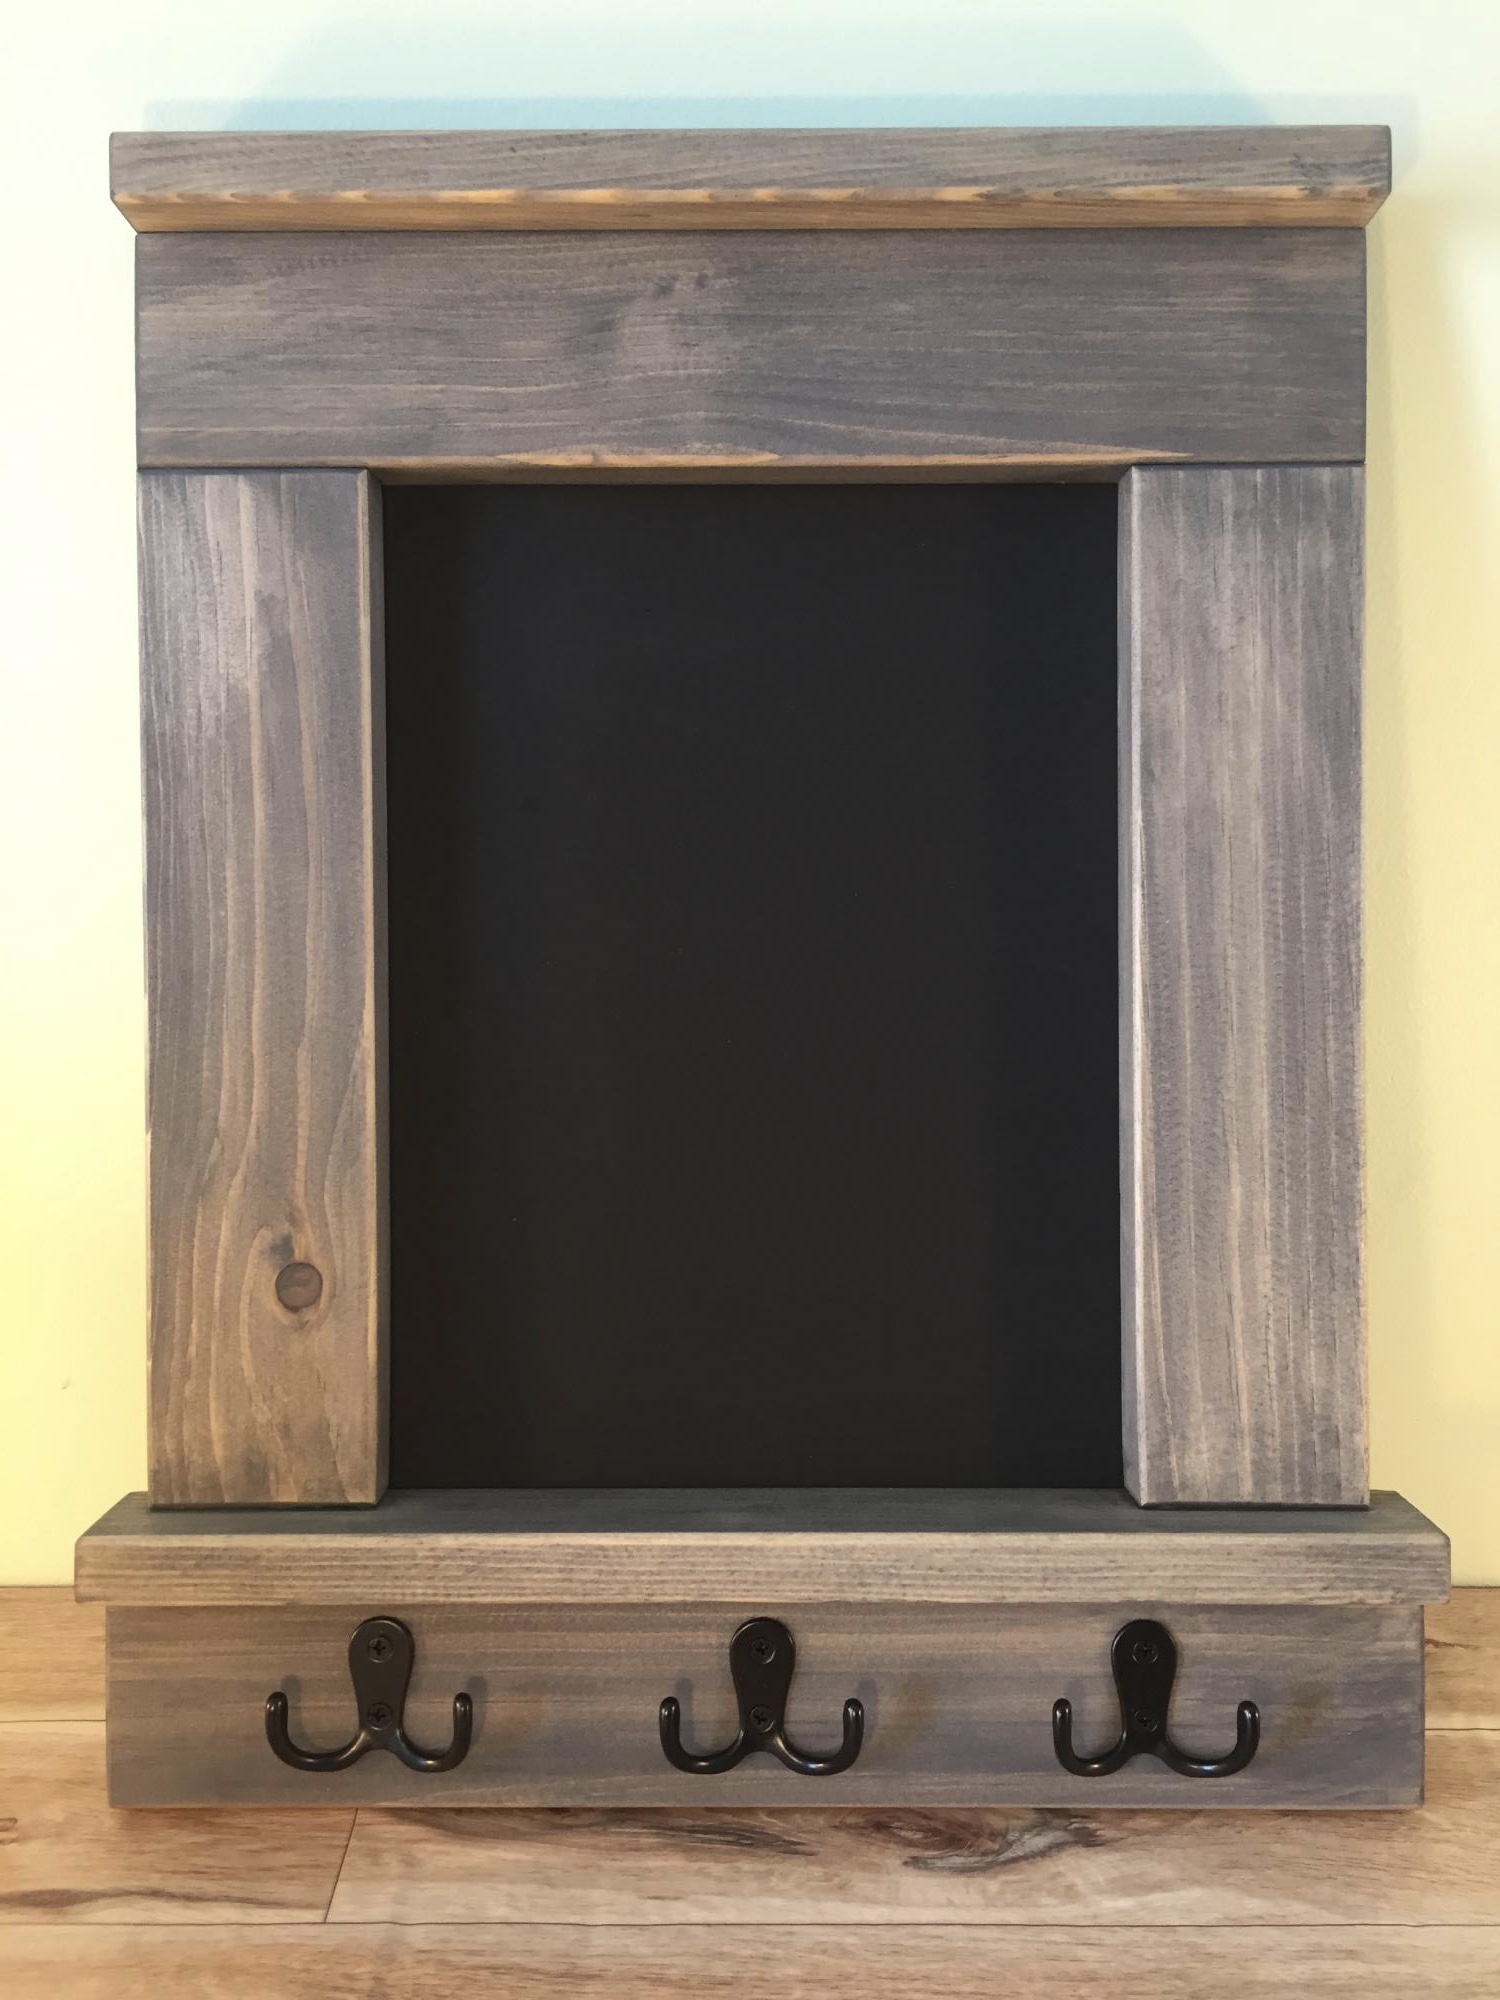
Chalkboard frame

Submitted by Kate_14 on Sun, 12/29/2019 - 08:39

I built these in different sizes. I added hooks on one to hang keys. I nailed hardboard with chalkboard spraypaint on the back.

Built from Plan(s)
Recommended Skill Level
Beginner

Sideboard

Submitted by emilyr on Mon, 04/09/2012 - 17:01

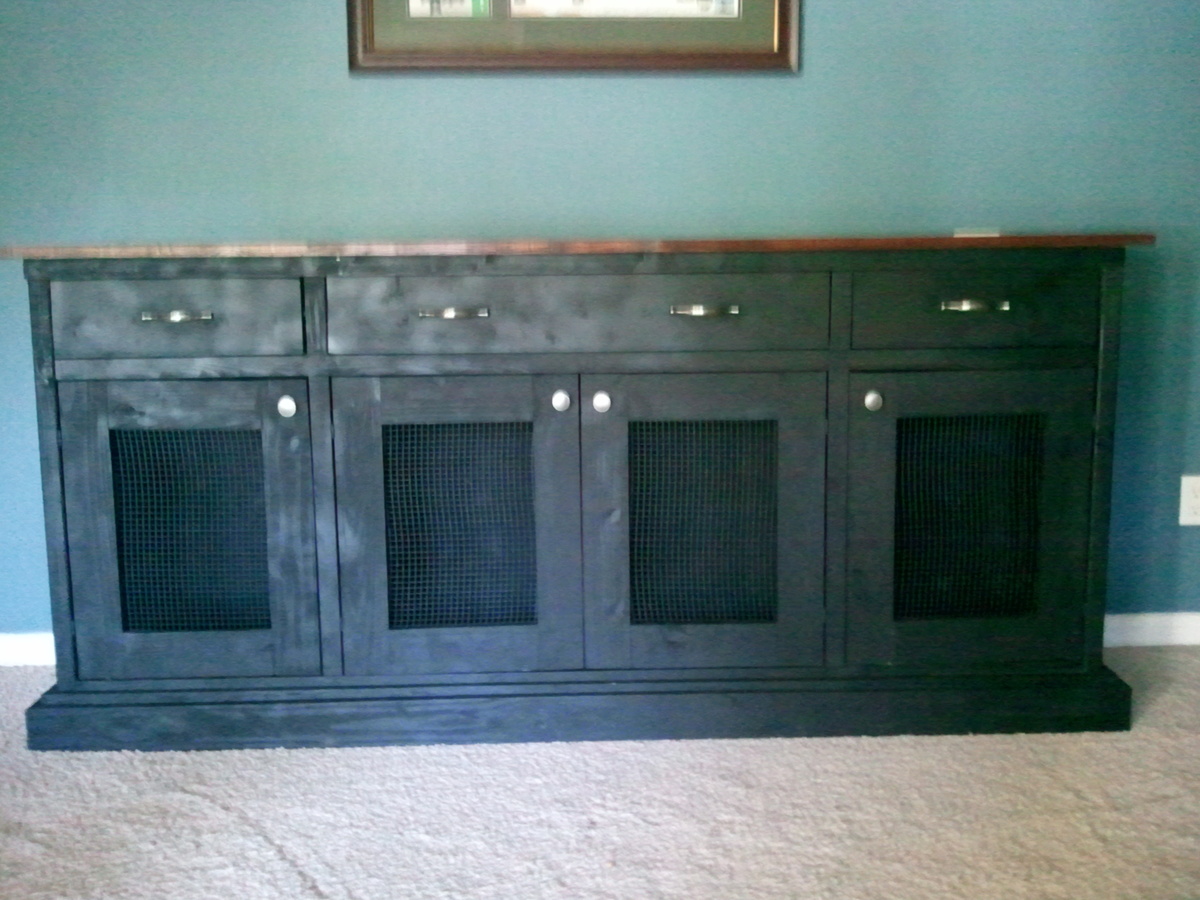
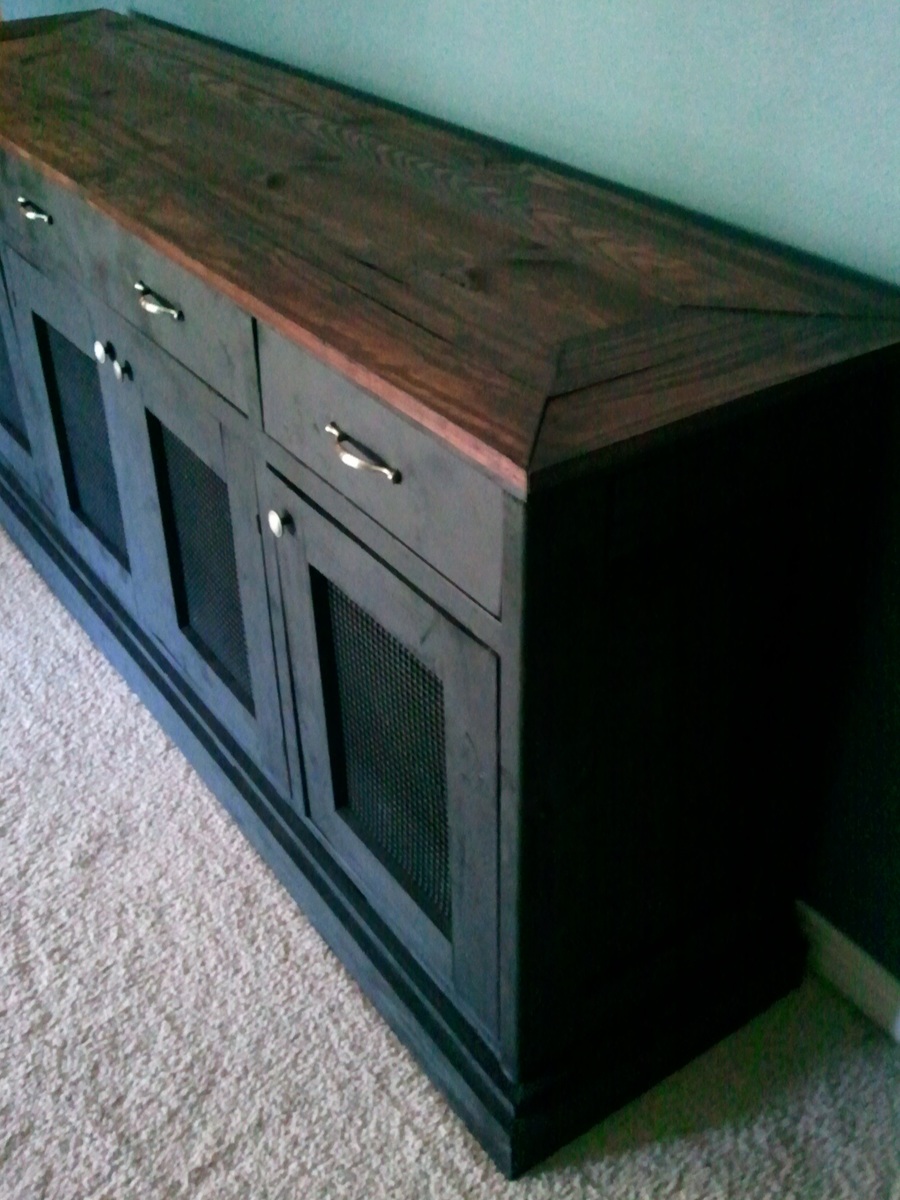
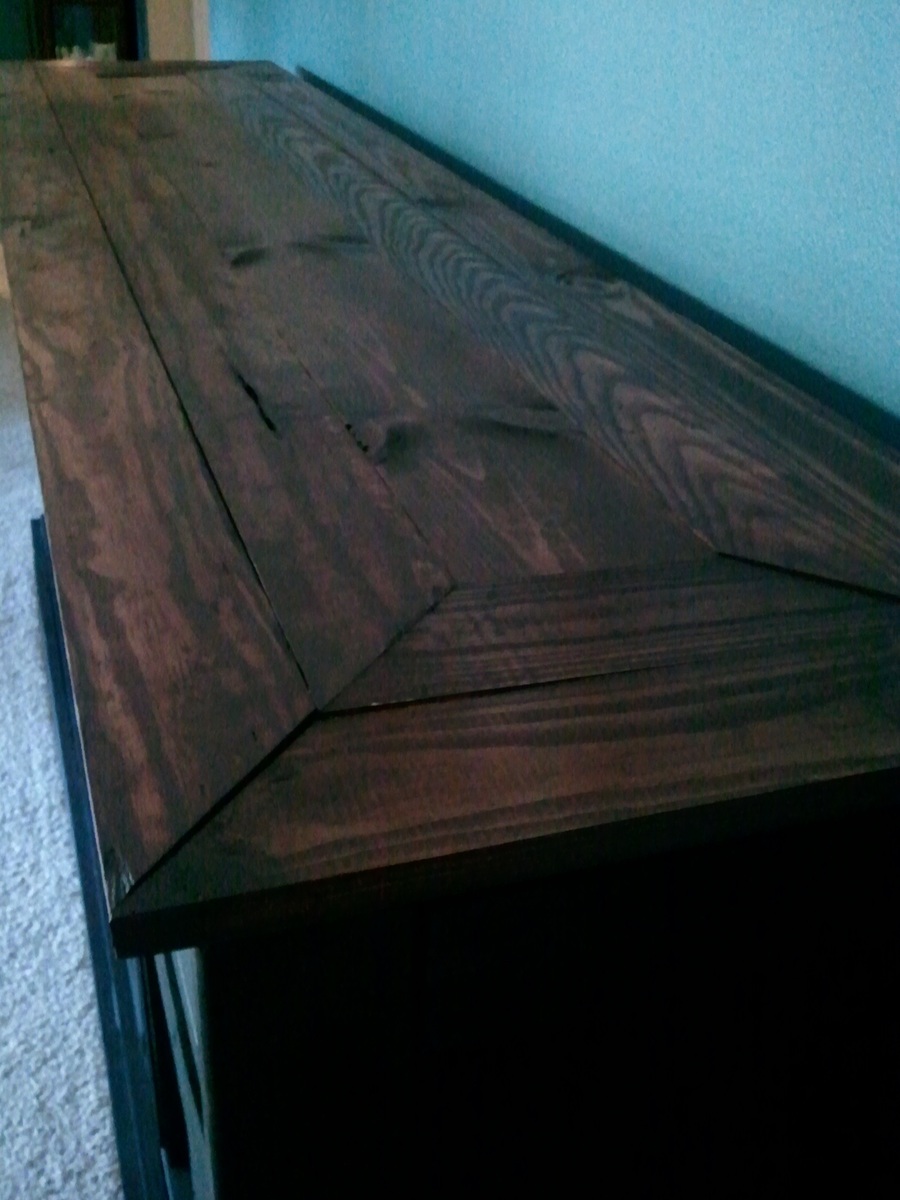
This project took me a lot longer than I wanted, but I love it. I worked a few hours each day and it seems I had to stop because I forgot one thing or another. I changed the way the top looked, I wanted to work with angles, so I framed out a 1x6 with two rows of mitered 1x4. It turned out better than I hoped, but I don't know if I will work with angles again... Like the plan says, it is HUGE!!!

Estimated Cost
About $100
Estimated Time Investment
Week Long Project (20 Hours or More)
Finish Used
Black paint for body and Red Mahogany Stain for the top
Recommended Skill Level
Advanced

Comments

Jessica H (not verified)

Sat, 05/19/2012 - 09:24

Emily, this piece looks awesome! What did you do on the doors? It looks like wire.
I also noticed that your estimated cost was quite a bit lower than Hillary's cost. How did you keep your cost low? I am wanting to make this piece but I could really benefit from a smaller price tag!!! Again, yours looks great!

bunk bed Converted

Submitted by Mamabear2 on Thu, 01/23/2014 - 10:26

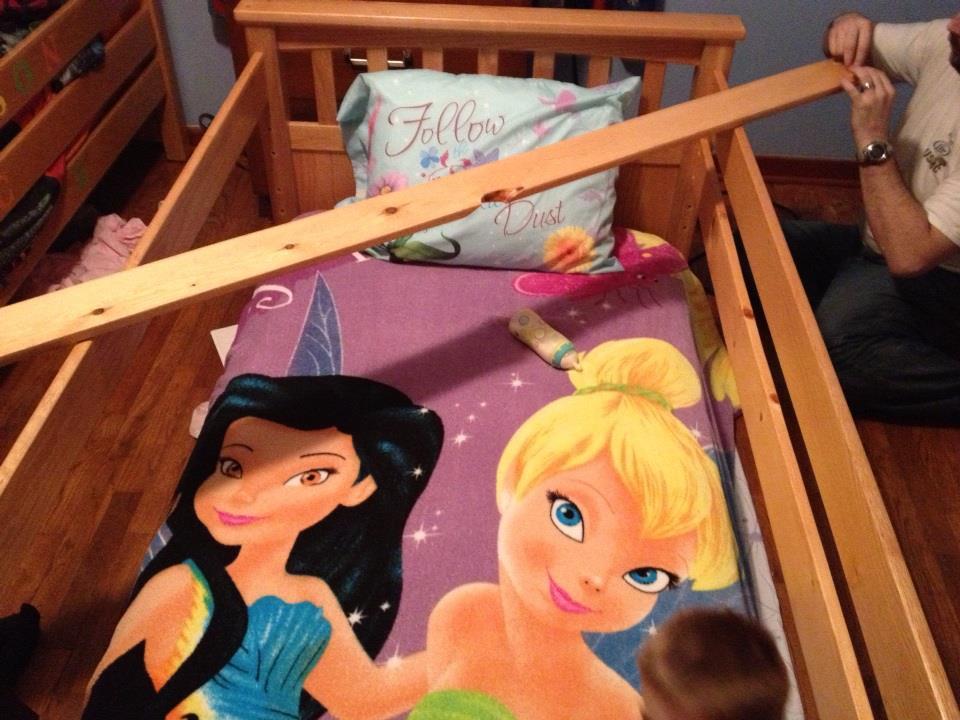
My mom purchased a bunk bed set for my children at her house but since they were only 1 and 2 at the time, we separated them and used the rails on my sons single bed, then my daughters we converted into a twin size crib

Estimated Cost
50.00
Estimated Time Investment
Afternoon Project (3-6 Hours)
Finish Used
used a light stain to match the already existing
Recommended Skill Level
Starter Project

Modified folding table/benches

Loved doing this build, I have been thinking of making these for a while.

Based off of a few of the comments I read, I modified the plans a little bit. Instead of using three 2 x 6s for the benches, I used two 2x4s with one 2 x 6 in the centre. Shortened up the bench support length by 3" to make up for the difference. This allowed for a smaller seat, which is easier to get in and out of when in table mode, but still plenty to sit on when used as a bench.

I am trying to come up with an alternate system for pinning the table in each position. I have found that after only a few uses, the table has some wiggle in the top, most likely from the bolts going in and out repeatedly. I would love some ideas on how to get these to hold nice and snug when in each position!

I posted a few pictures of these on my Facebook page, where I now have been asked how much I am selling them for and have about 3 orders already placed! Looks like the spring will be busier than expected!

Estimated Cost
For the two, 8 foot benches, about $80 for the lumber, and $10 bucks for the hardware. So totaled at about $90.00 Canadian for the 2, prior to any staining.
Estimated Time Investment
Afternoon Project (3-6 Hours)
Recommended Skill Level
Beginner

my versio play vanity

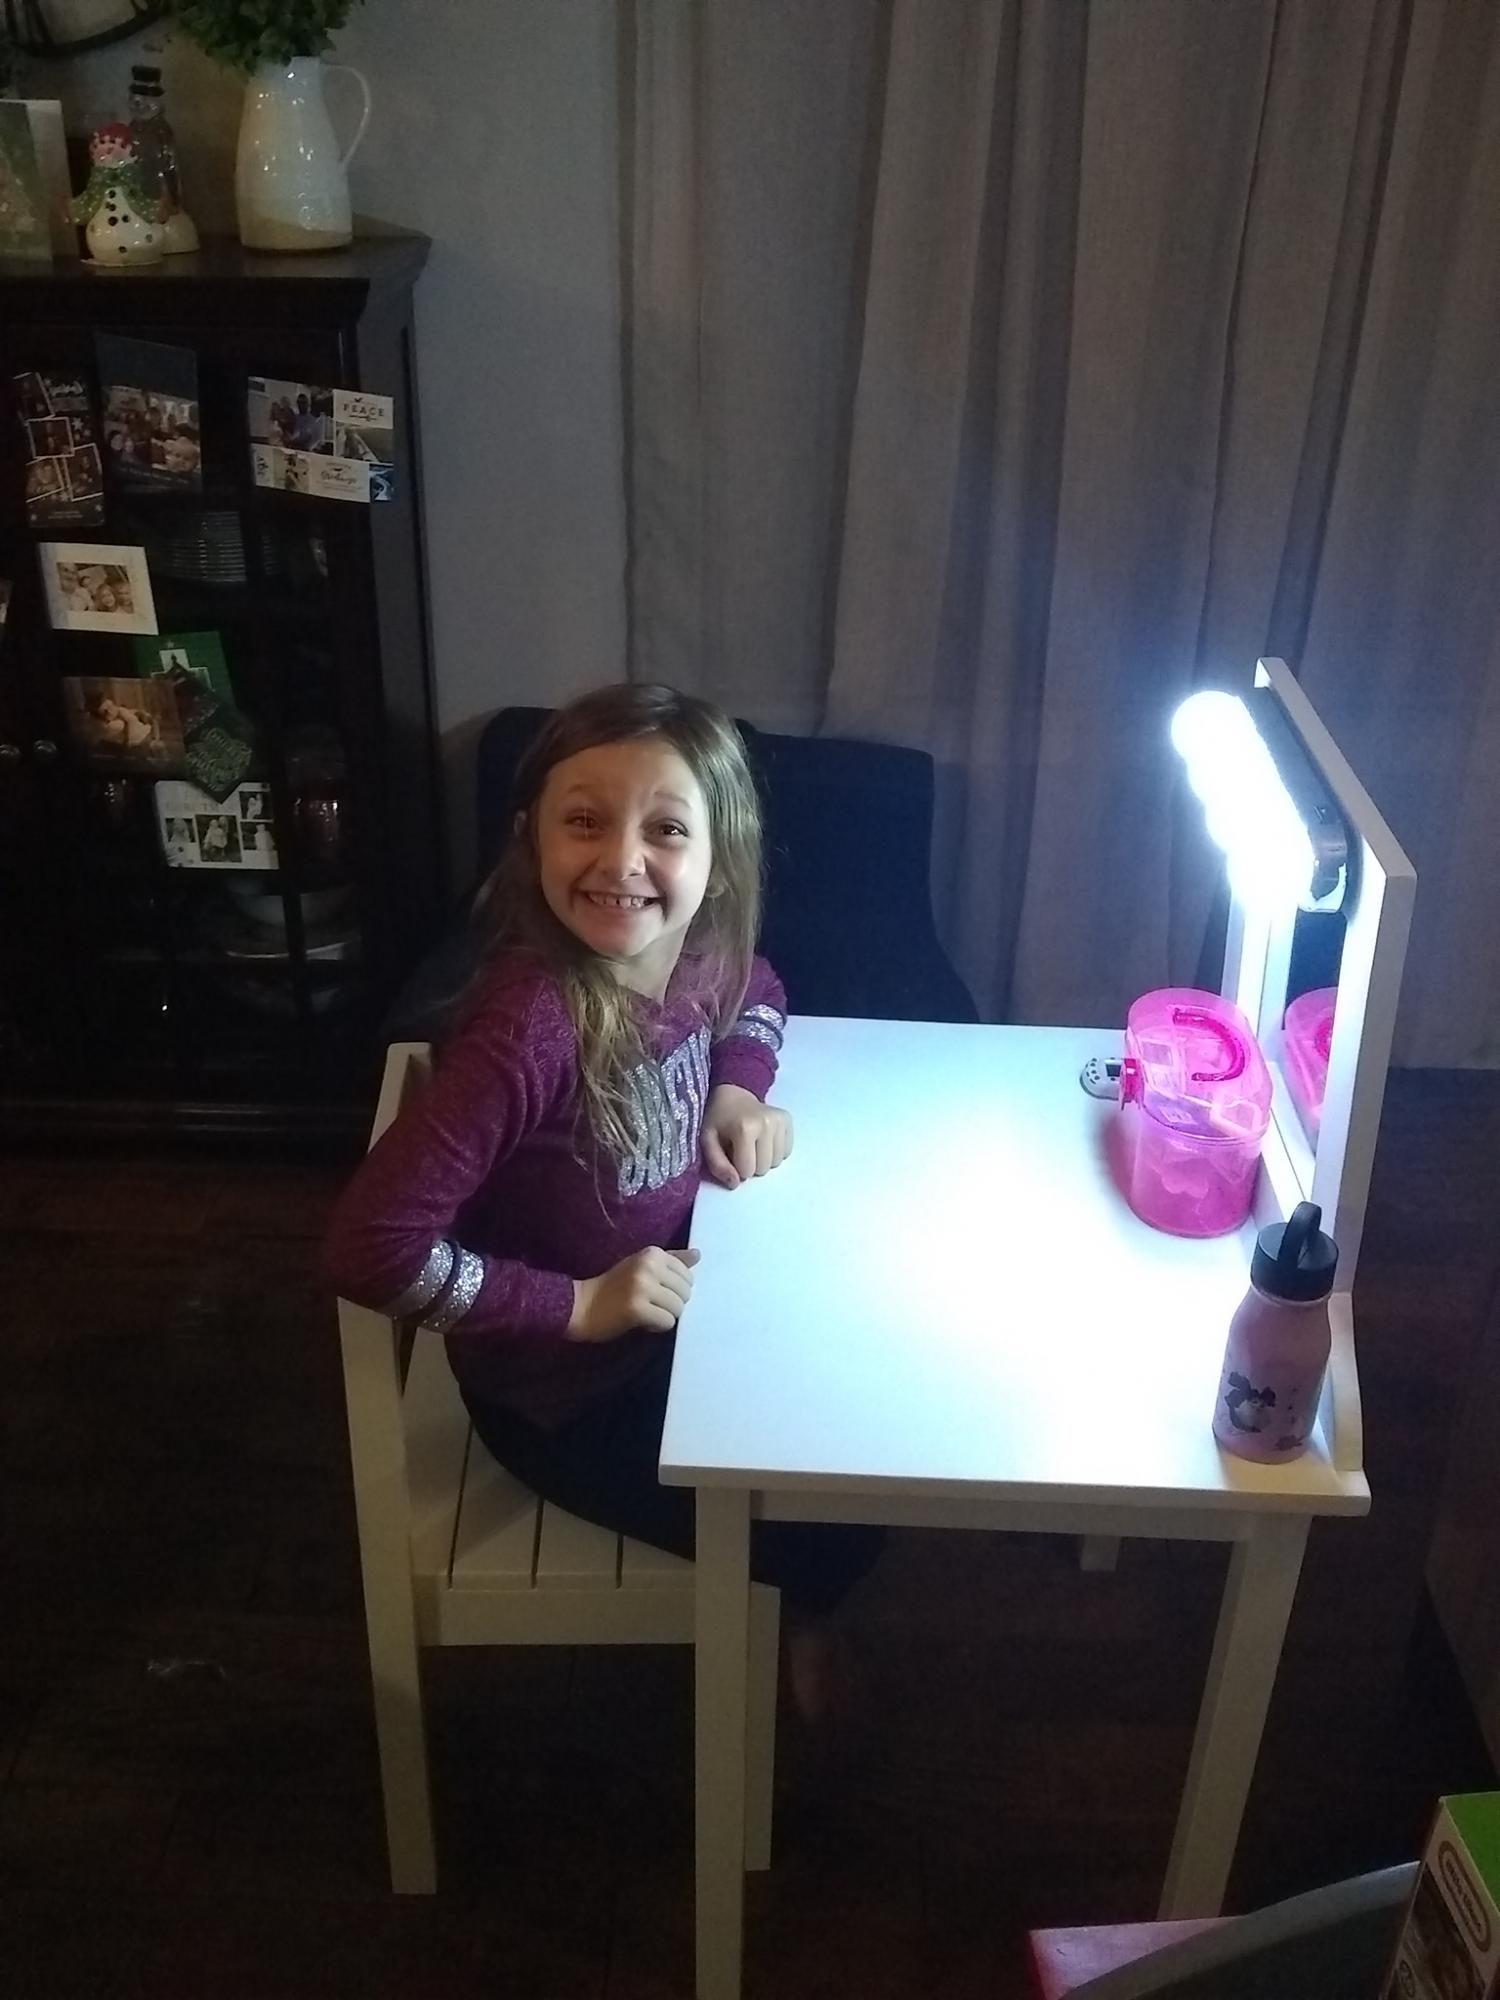
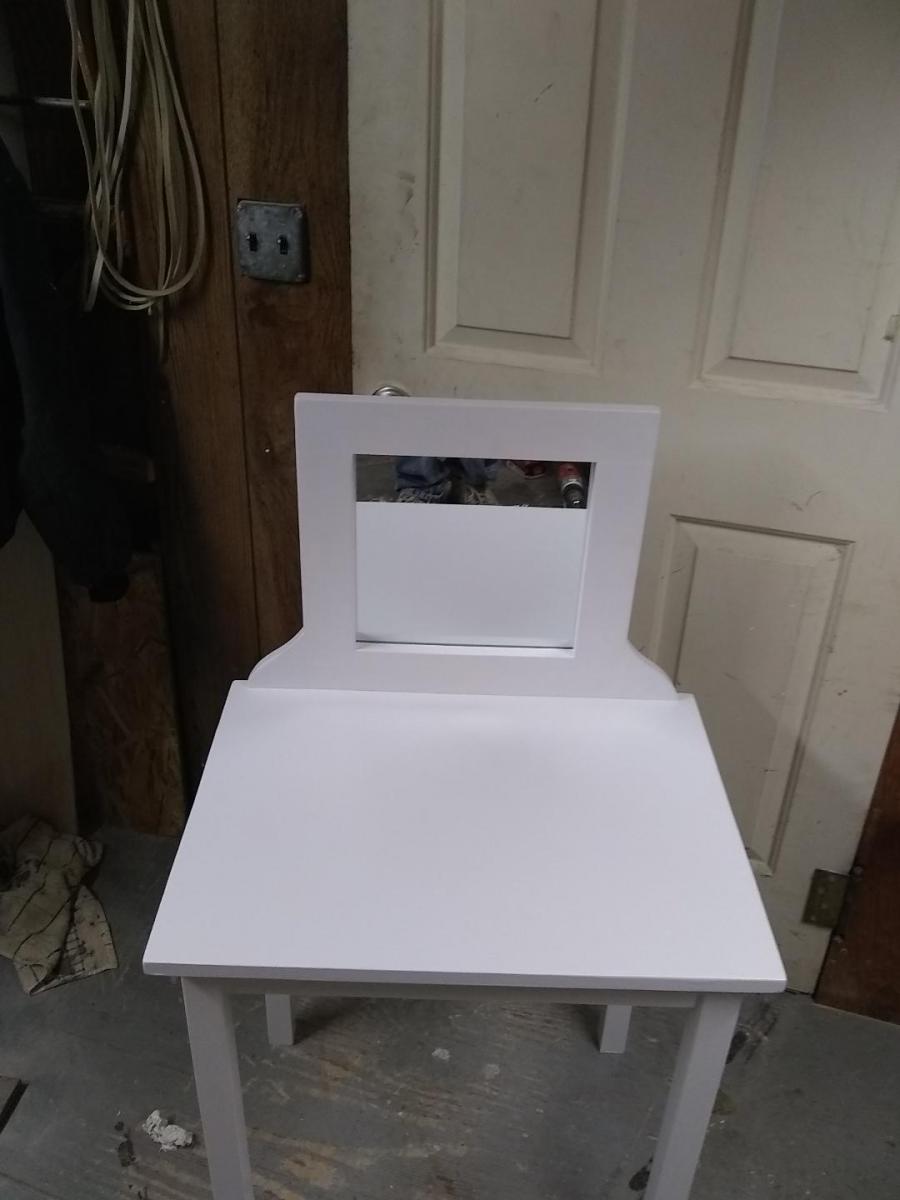
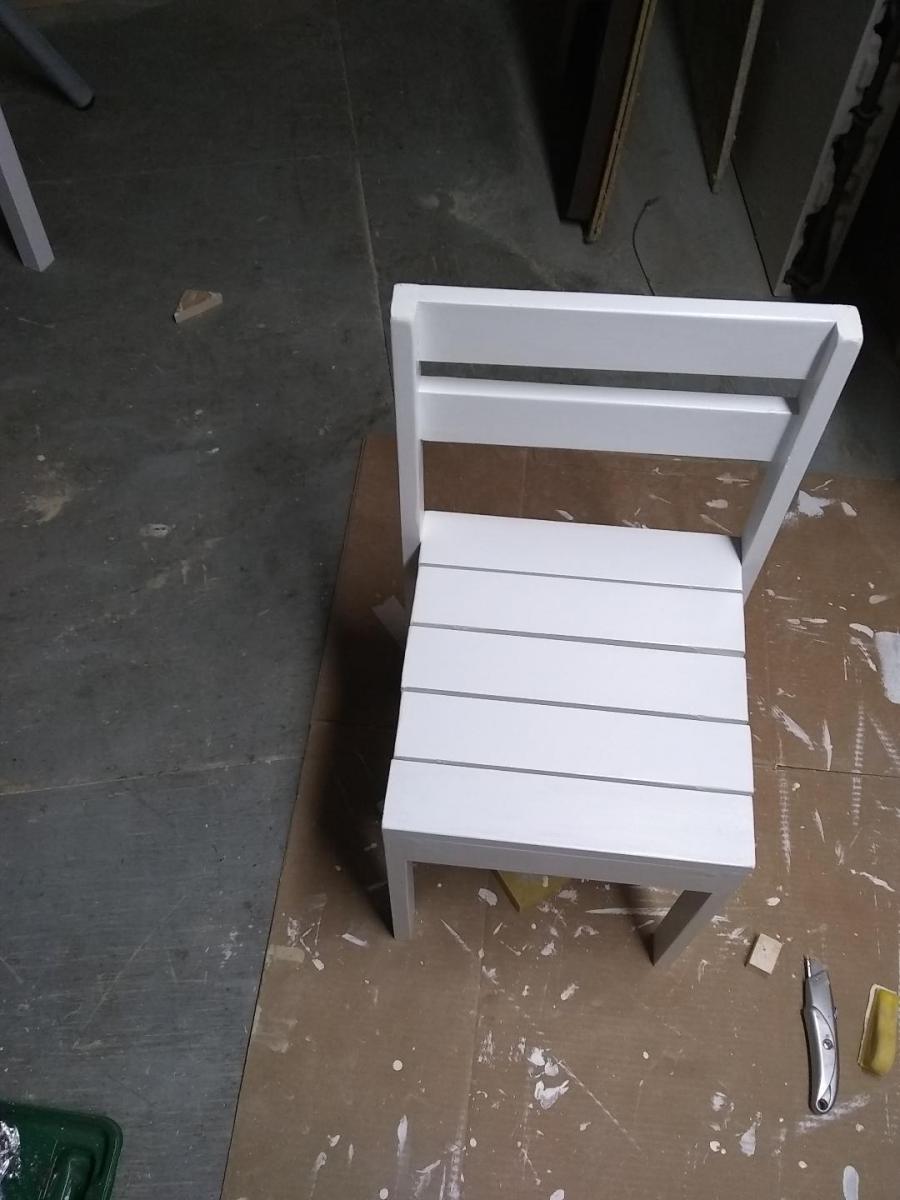
I built this for my 7 year old niece. She out grew her cheap plastic one. Her mother asked for  white. I  decided to modify the kids play table and made own my own mirror frame. I used the 4$ stackable chair plan. Chair height 15in and table top 25in. The table sixe 24w x18deep.She has room to grow. I used l L brackets on the back keep the mirror in place. If she grows up you can take mirror off  and a have table she can use for anything. I had to finish it off with $10  battery powered vanity light from Amazon. I painted it all satin white, I used glitter I put in the paint for the mirror frame. My niece just loved it and so did her parents. 

Estimated Cost
$75
Estimated Time Investment
Week Long Project (20 Hours or More)
Finish Used
Primer, than satin white paint
Recommended Skill Level
Intermediate

Privacy Planter Fence

Submitted by Anonymous (not verified) on Fri, 09/08/2023 - 08:25

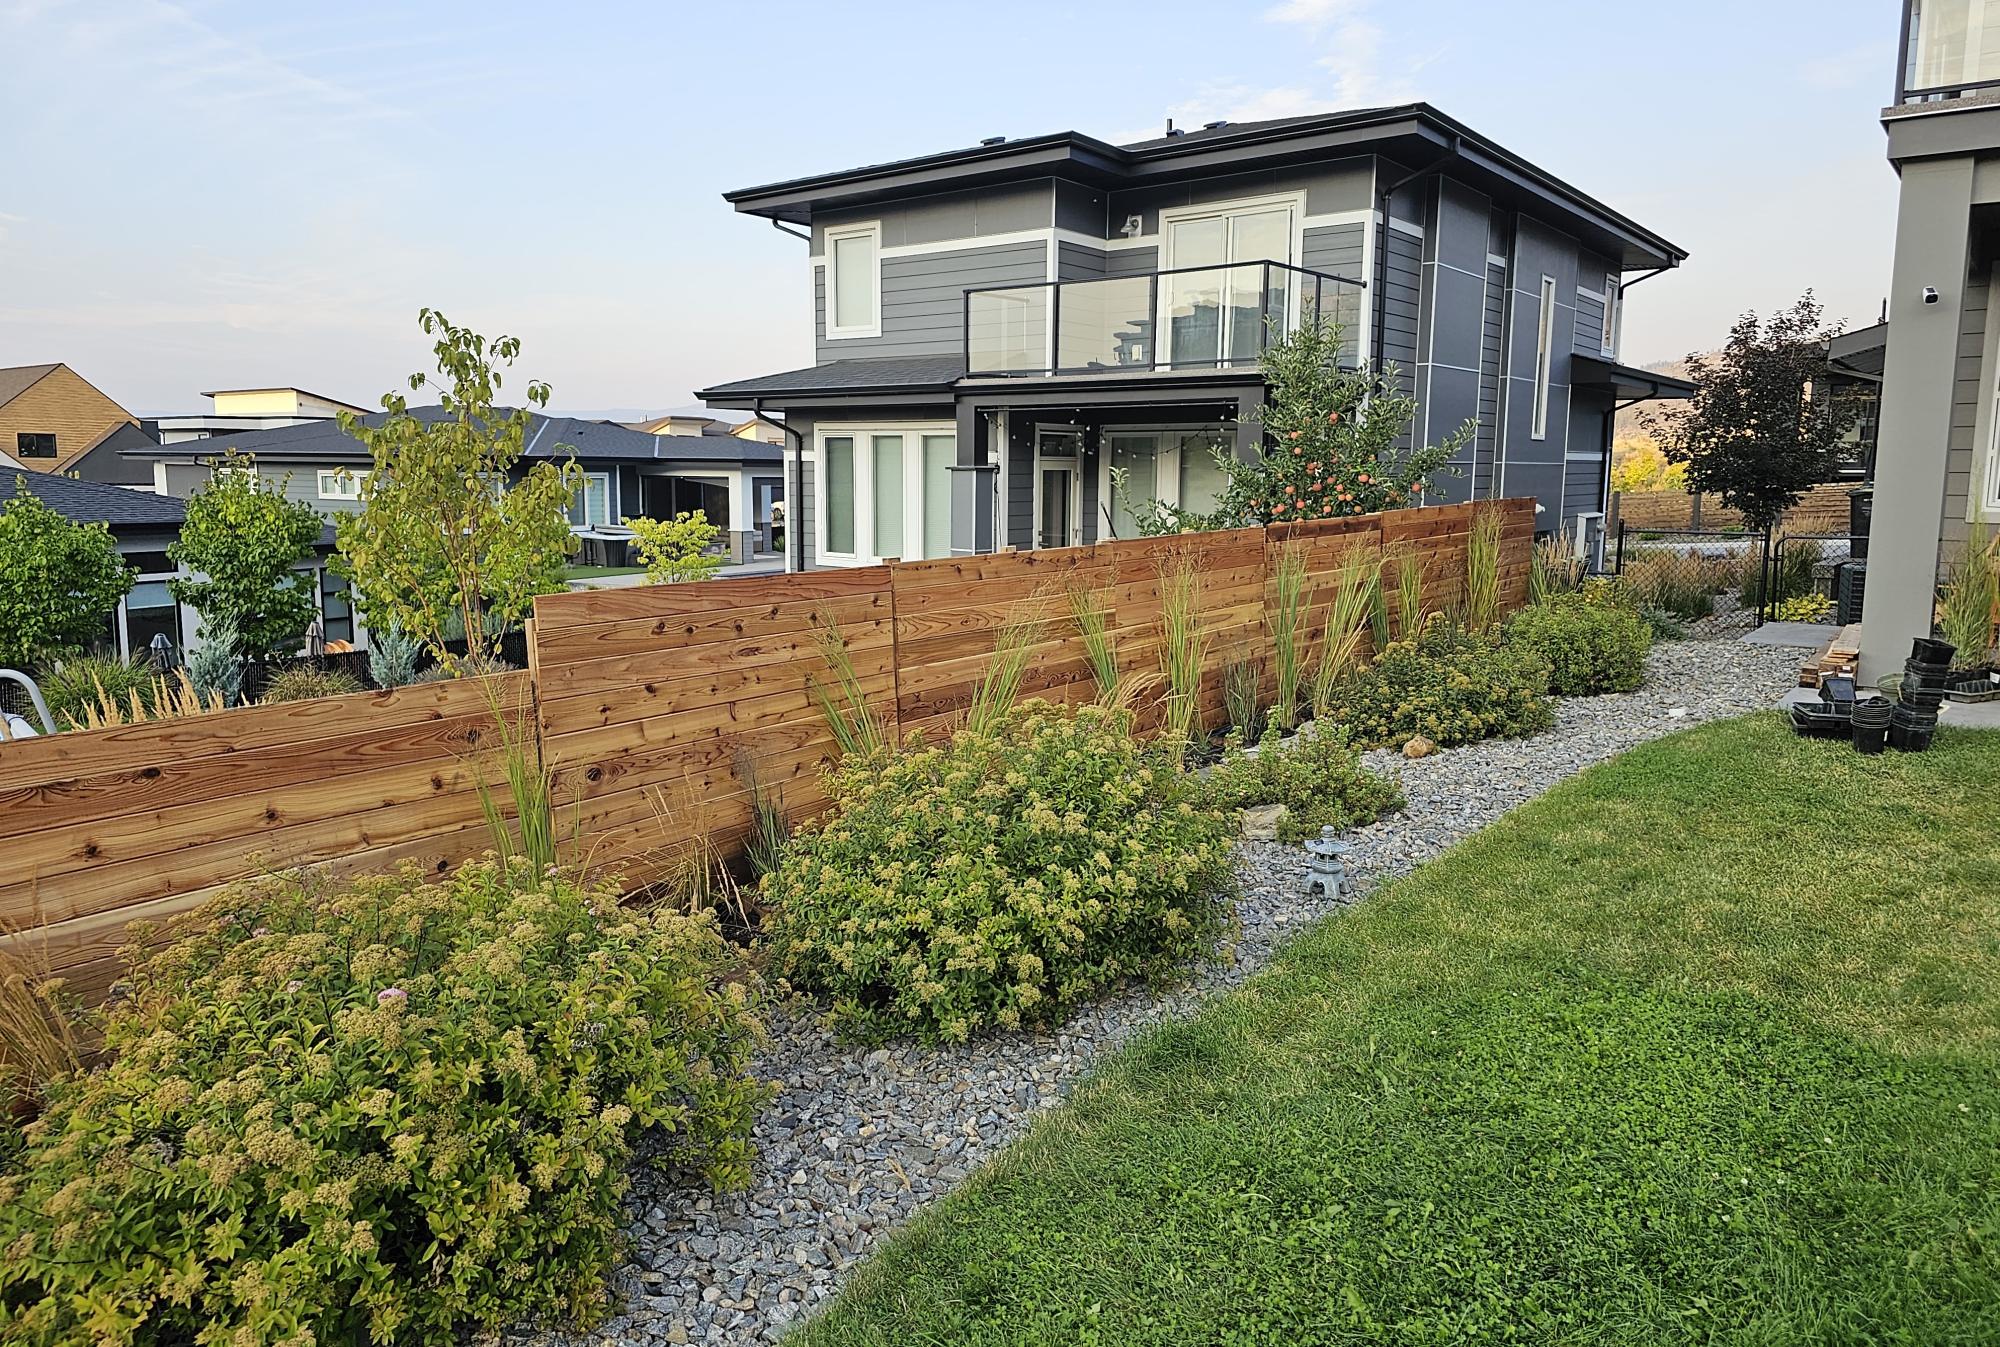
Created a privacy planter fence, using multiple planters. Most of the bases were custom sizes due to the existing rock wall. Tongue and groove cedar utilized and coated with linseed oil. I ensured the frames were square and plumb which the directions omit for some reason. Great week long project!

Kyle

Built from Plan(s)
Seasonal And Holiday

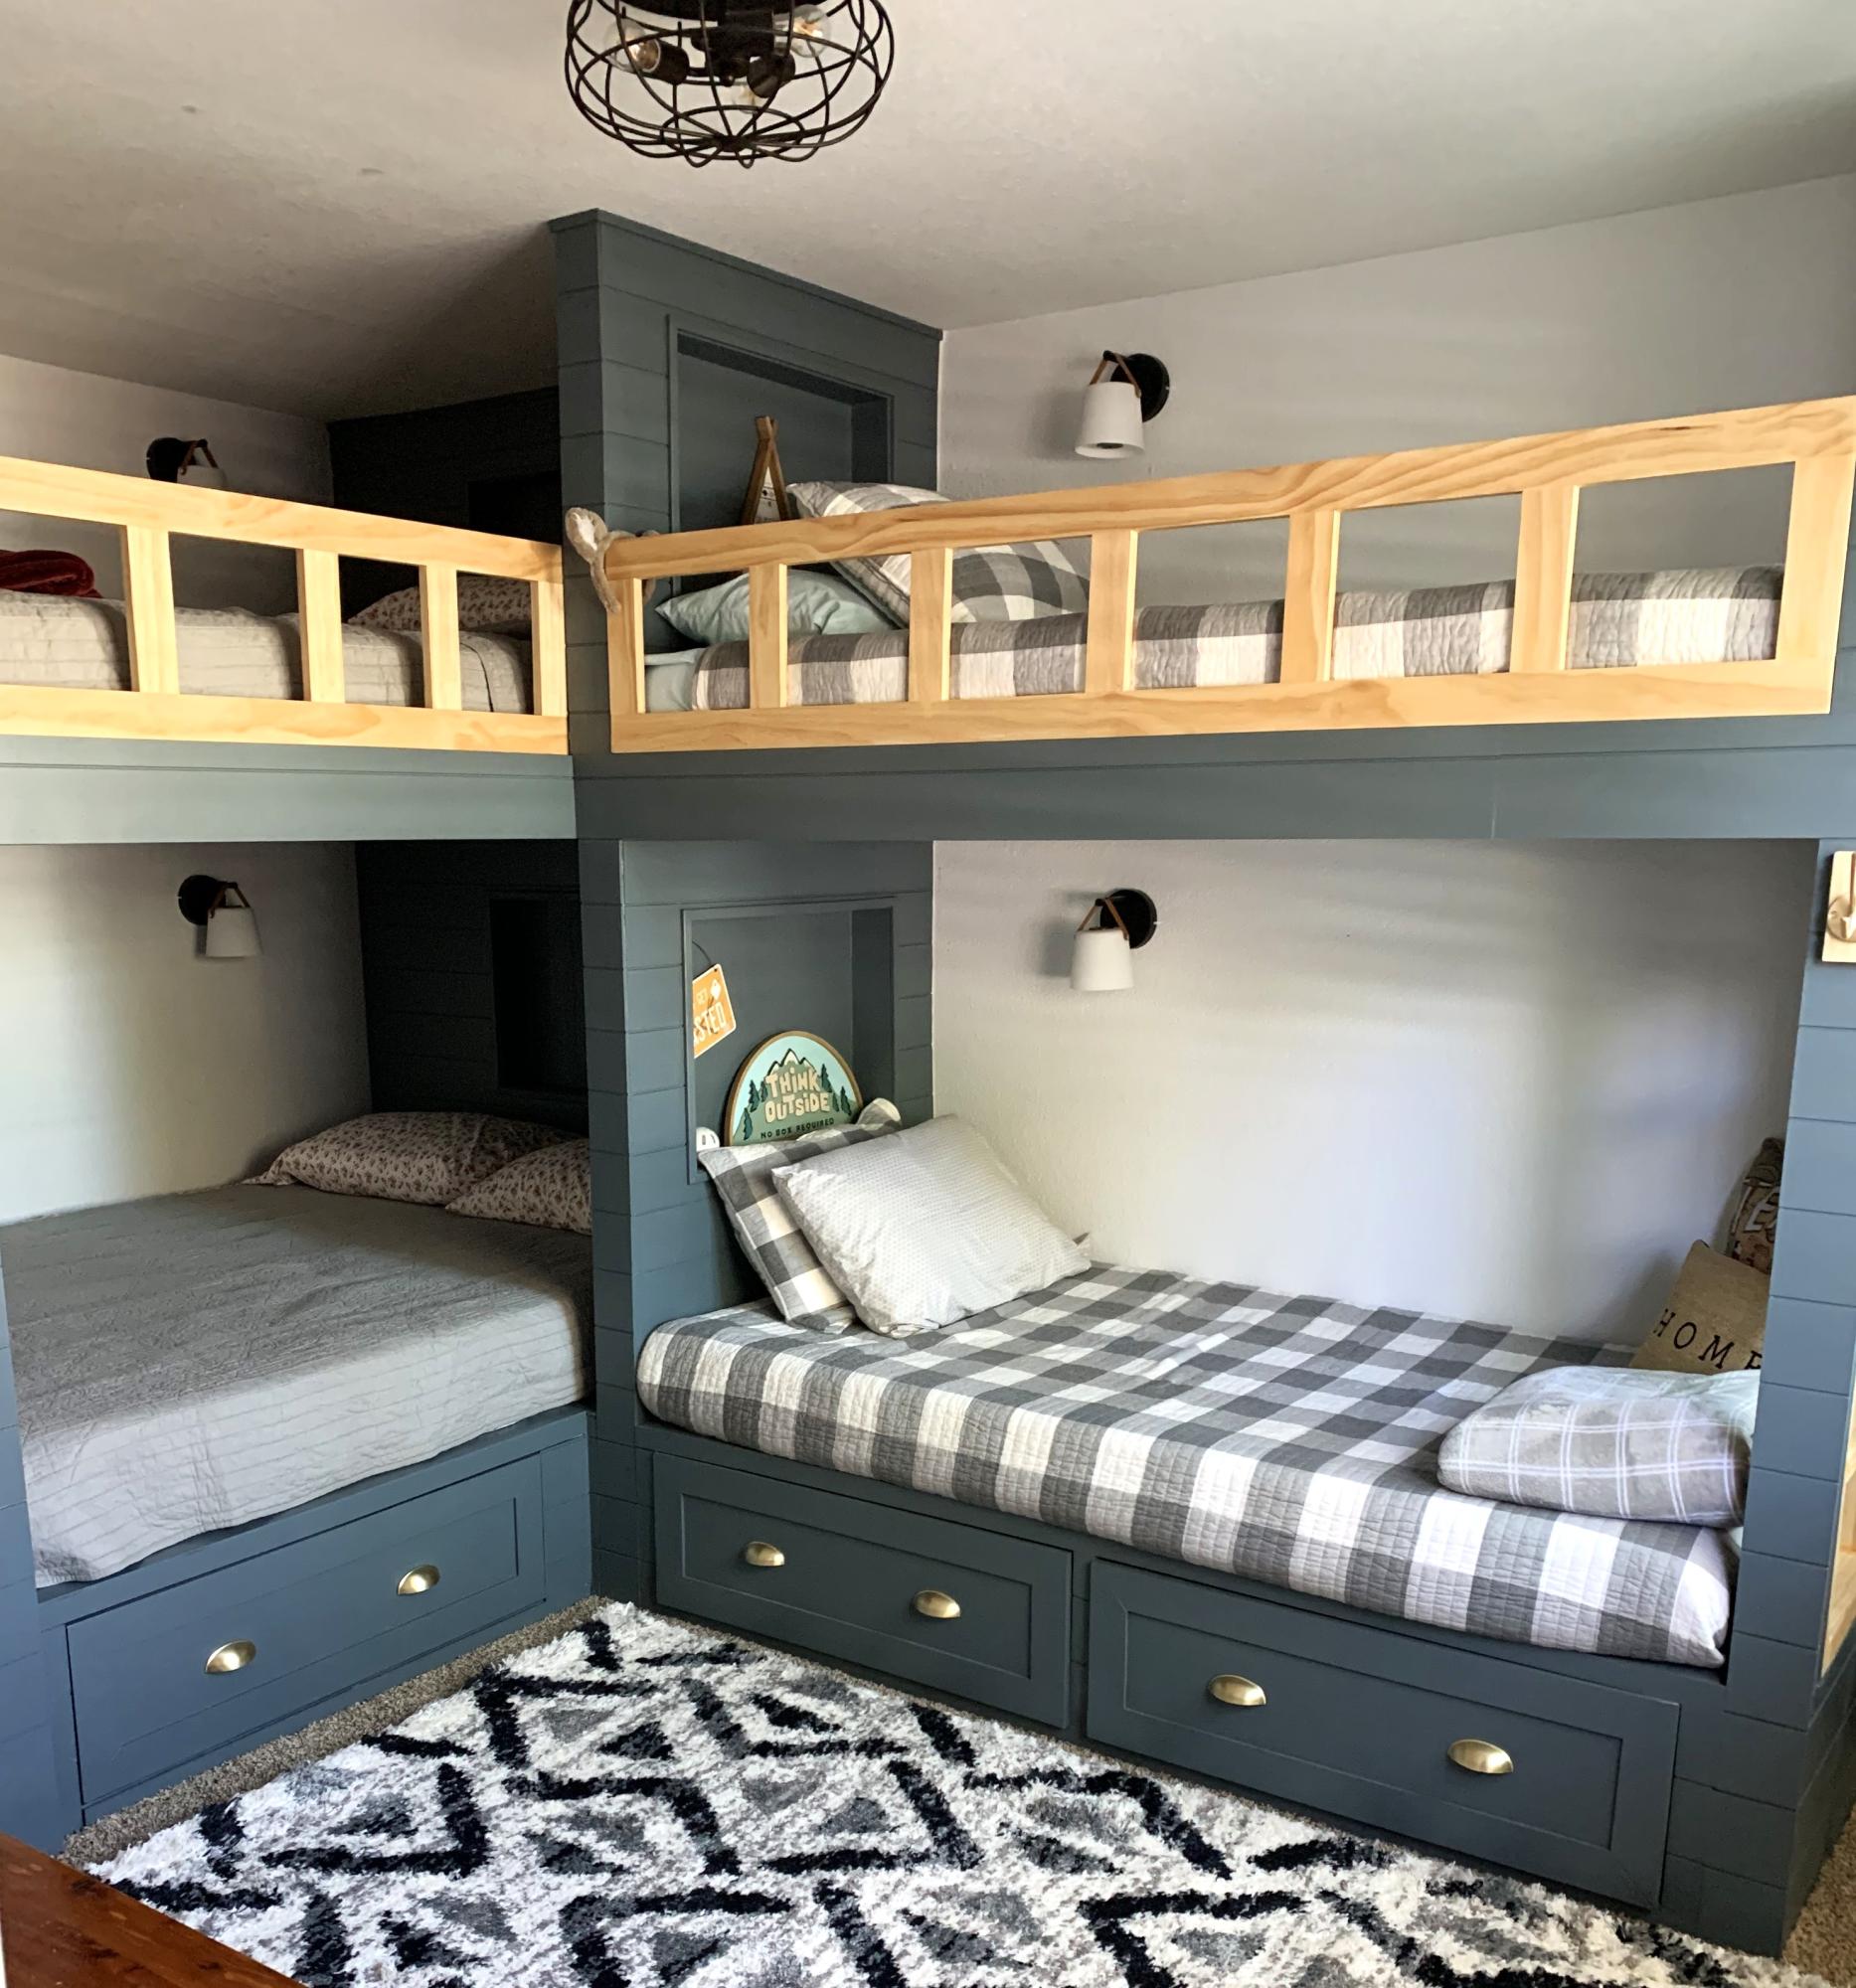
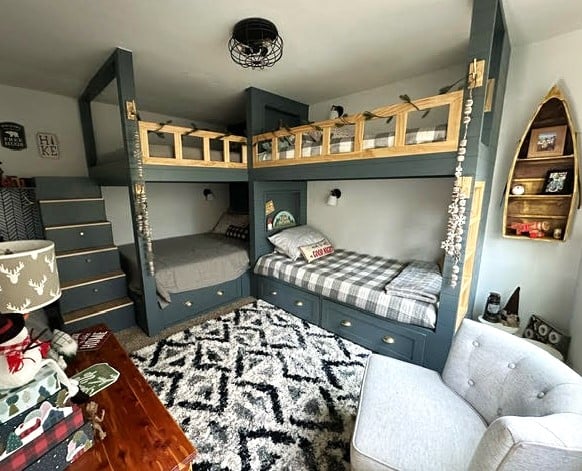
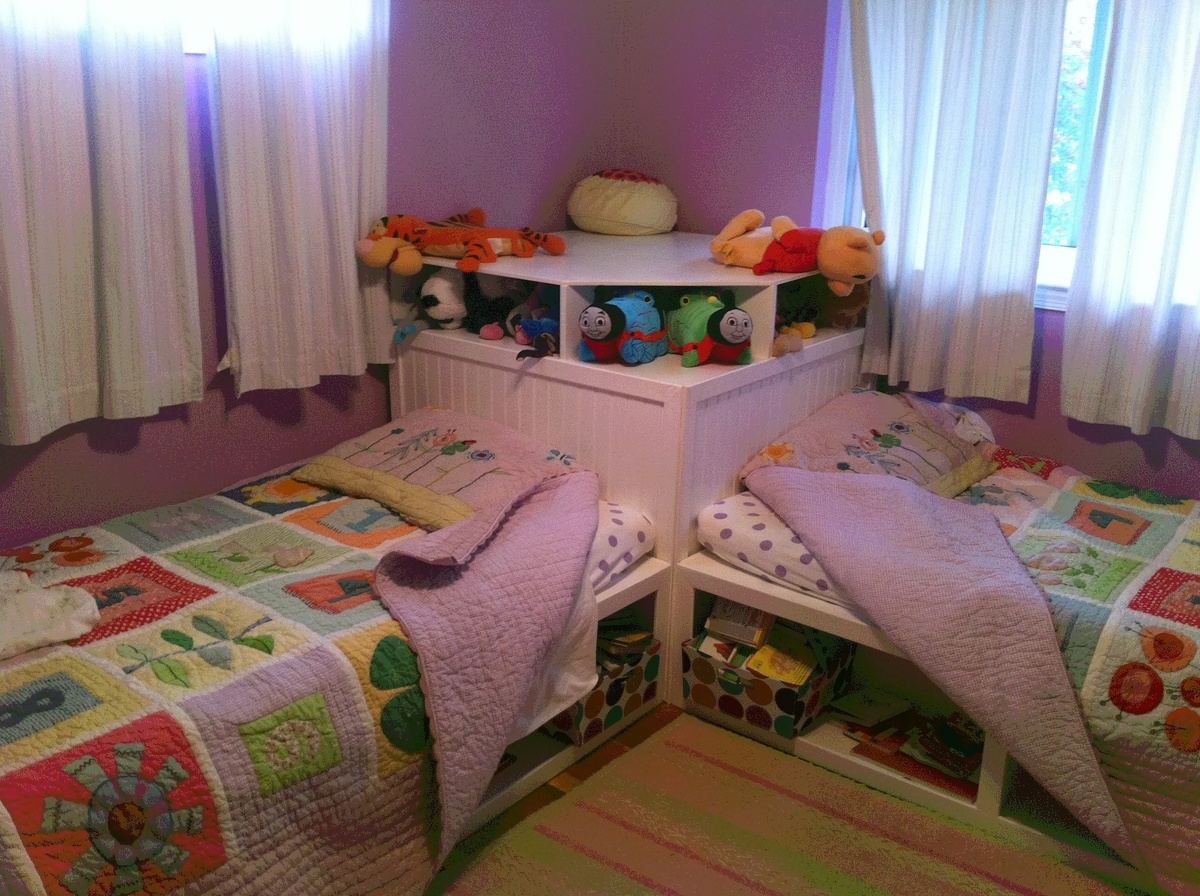
Who wants to spend over $2000 for beds? Not us!

We were looking for beds that had storage that would fit into our twin girls' small bedroom. This was to be their first "big girl" beds. Well, I spied some that would have cost us about $2100 to buy. No thanks. Then I found these plans. My husband looked at them, said "I can do that no problem". It took him over a week to build the beds, but he spent a lot of time getting "help" from the twins. Even without the distraction, he says it probably would have taken him longer than a weekend. The beds are very solid, and he says the plans were very easy to follow. The beds look great, the girls love them, and we've gotten a lot of compliments, including from a friend who works in the Pottery Barn executive offices. This was our first time using plans from Ana, but I'm already looking for our next project.

Built from Plan(s)
Estimated Cost
$600
Estimated Time Investment
Week Long Project (20 Hours or More)
Finish Used
White semi-gloss paint.
Recommended Skill Level
Intermediate

Comments

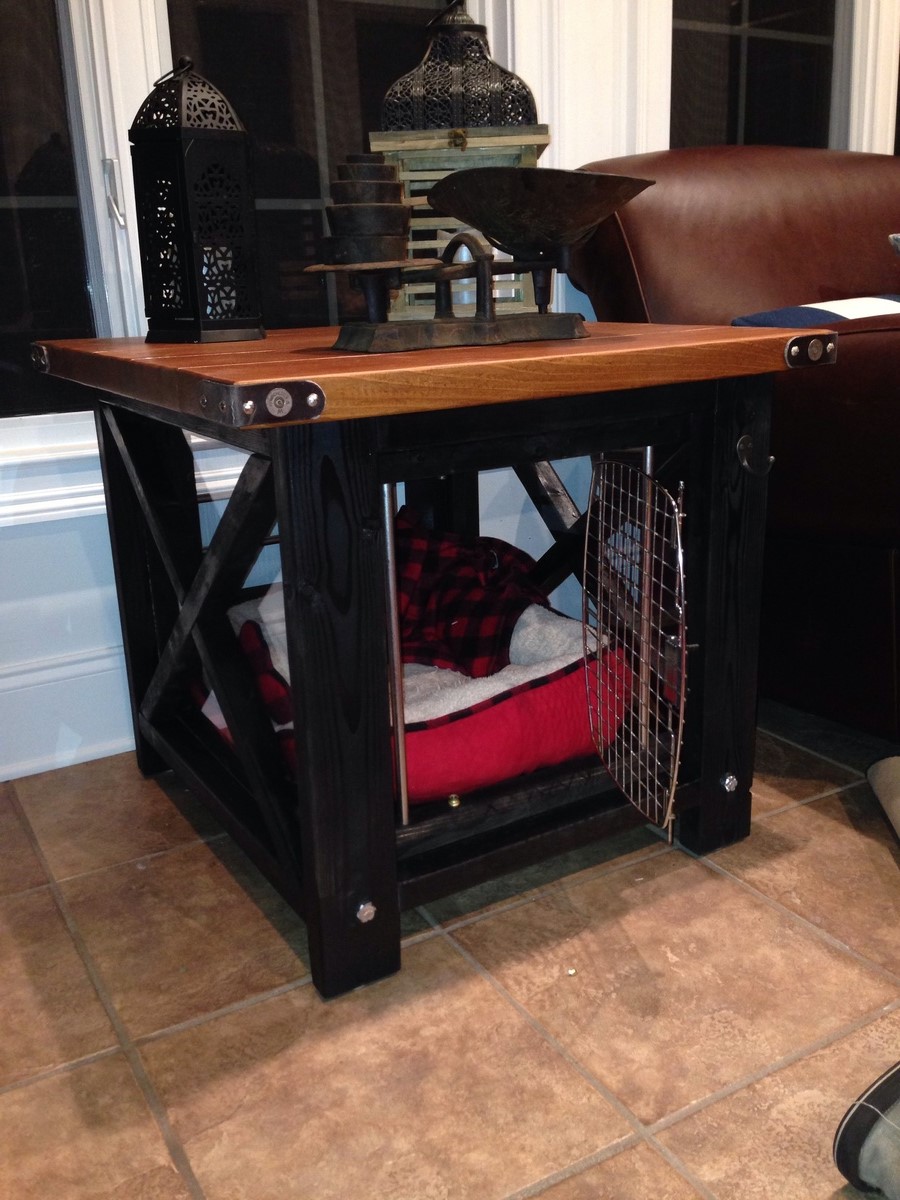
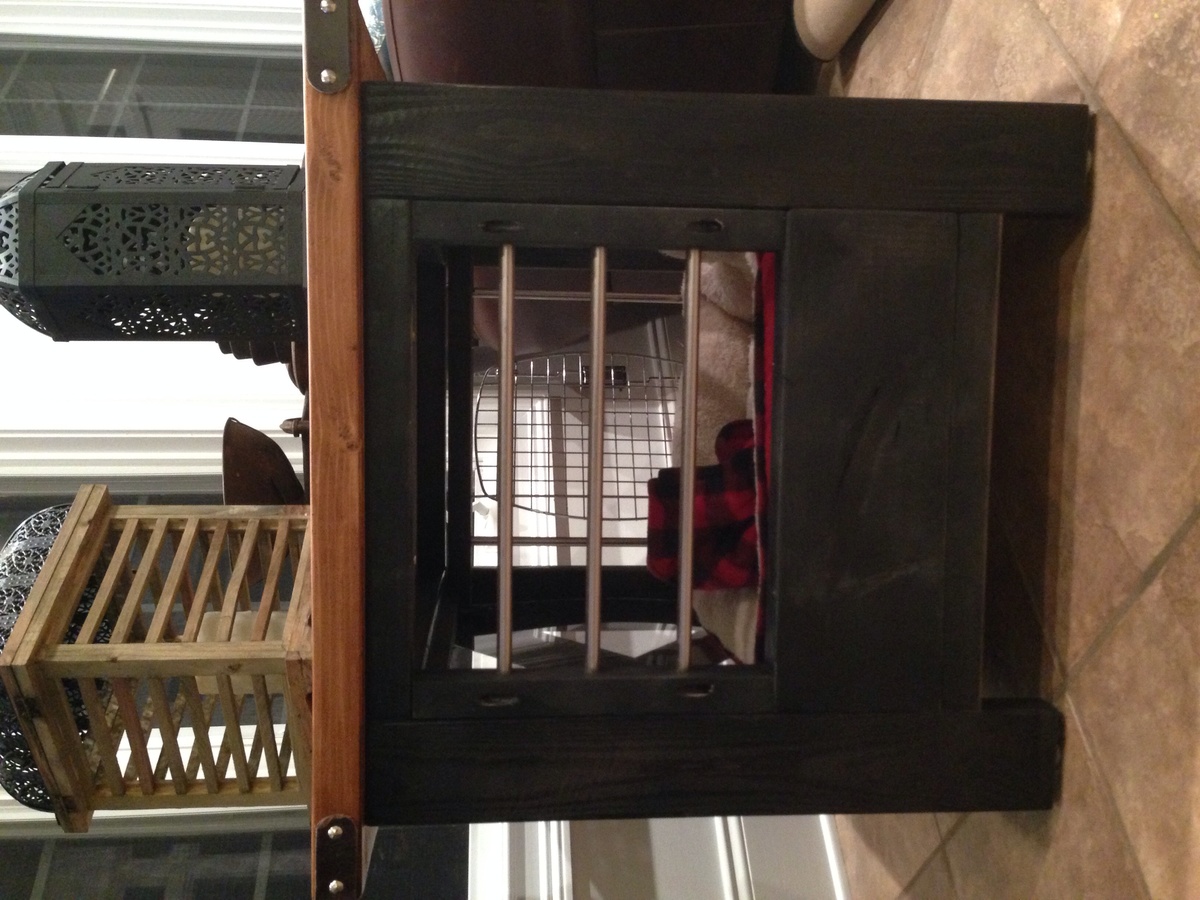
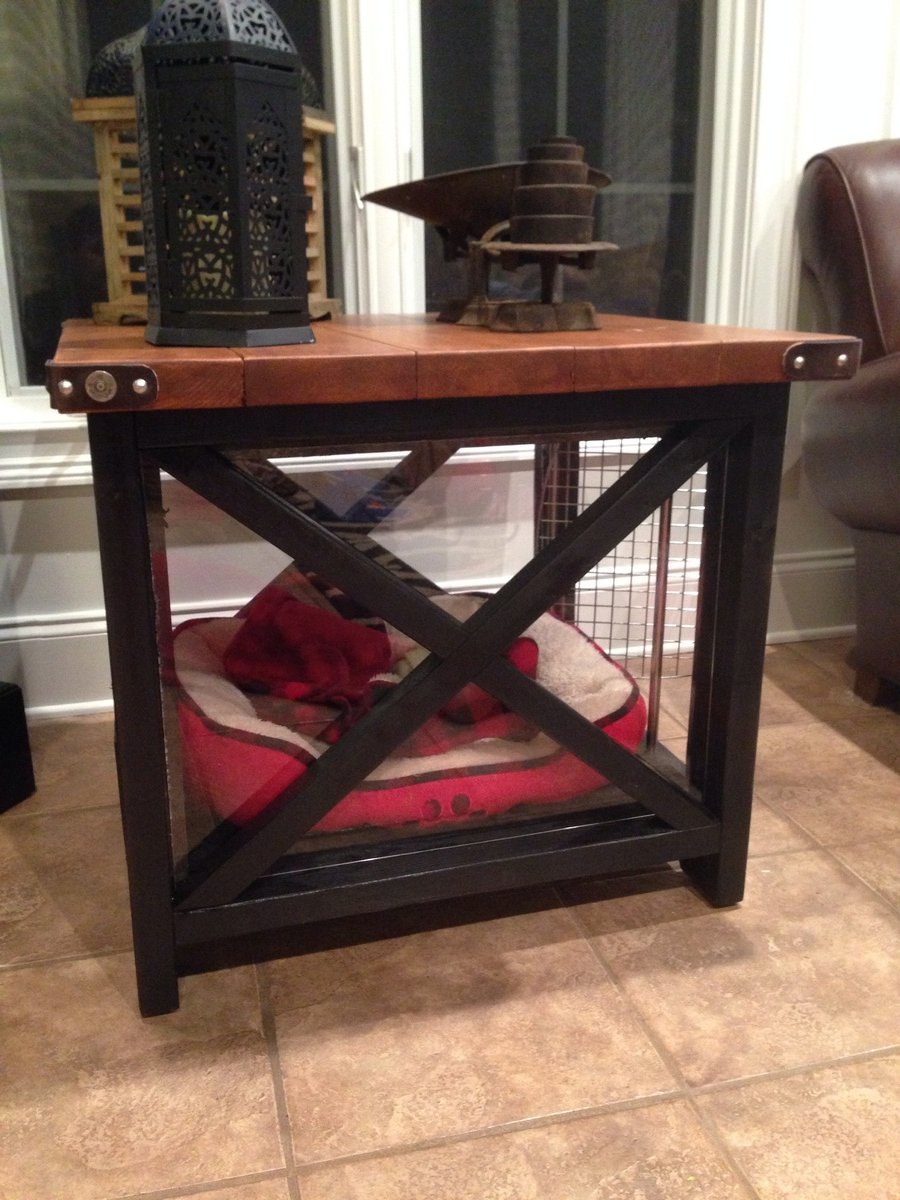
Rustic X End Table as a Dog Crate

Submitted by Spooner on Sun, 01/26/2014 - 17:40

End table modified slightly so that the underside area serves as a Dog Crate. Used Plexiglass on the X sides and other parts from a portable dog crate for the front and back. Also, leather corners add a Hunting/outdoor feel.

Built from Plan(s)
Estimated Cost
$40
Estimated Time Investment
Afternoon Project (3-6 Hours)
Finish Used
Minwax poly shade for the top and economy black spray paint for base
Recommended Skill Level
Beginner

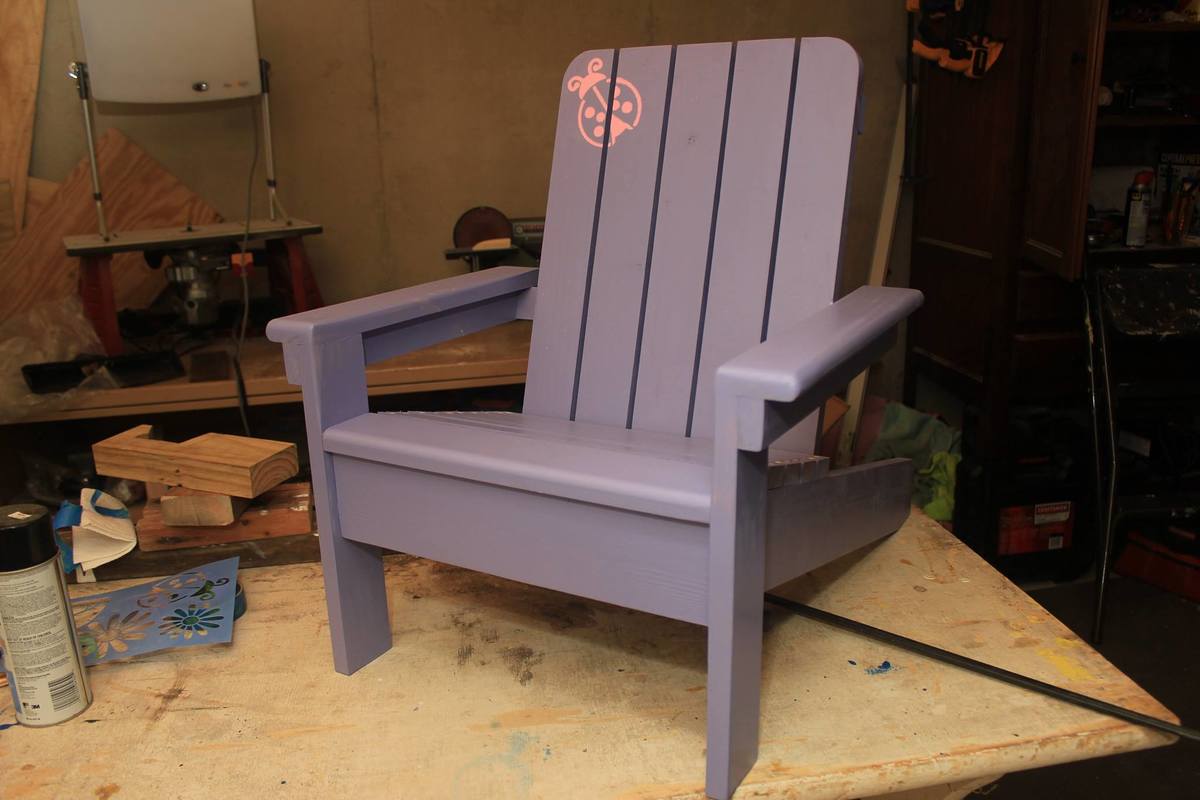
Ladybug chair

Submitted by Anonymous (not verified) on Thu, 04/21/2016 - 03:18

This was a true joy to build. I plan on making at least three to four more of these. Couple tips I learned though: I used pocket hole screw where I could to prevent drilling so many holes that would need to be filled: Ft board, Rear boards, and a couple others. Also I routed the edge of the very front board where the child's legs will be dangling from, as well as the inside/outside edges of the arm rests. Smoother the better I thought with little kids. Lastly, I painted all the boards and then put it together as recommended. However, I would go through the plans and only paint the surfaces that you know will either touch and will be difficult to get to or sides that won't be drilled out; unless you don't plan on filling the holes and painting over them. It will save you paint and time if you plan out what sides of what boards you'll paint first than doing them all at once.

Built from Plan(s)
Estimated Cost
~$35
Estimated Time Investment
Weekend Project (10-20 Hours)
Finish Used
Exterior latex paint
Recommended Skill Level
Intermediate

Rustic bench

Submitted by Anonymous (not verified) on Sat, 01/11/2020 - 11:38

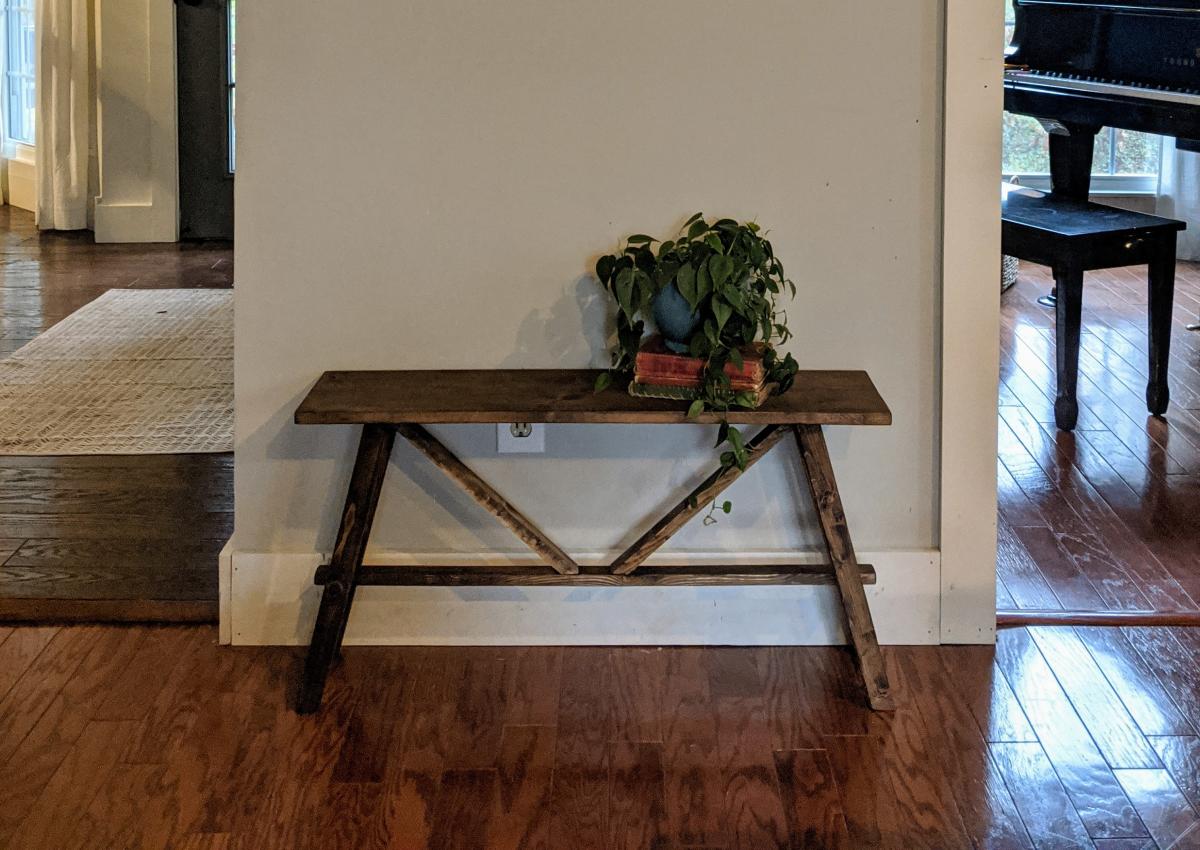
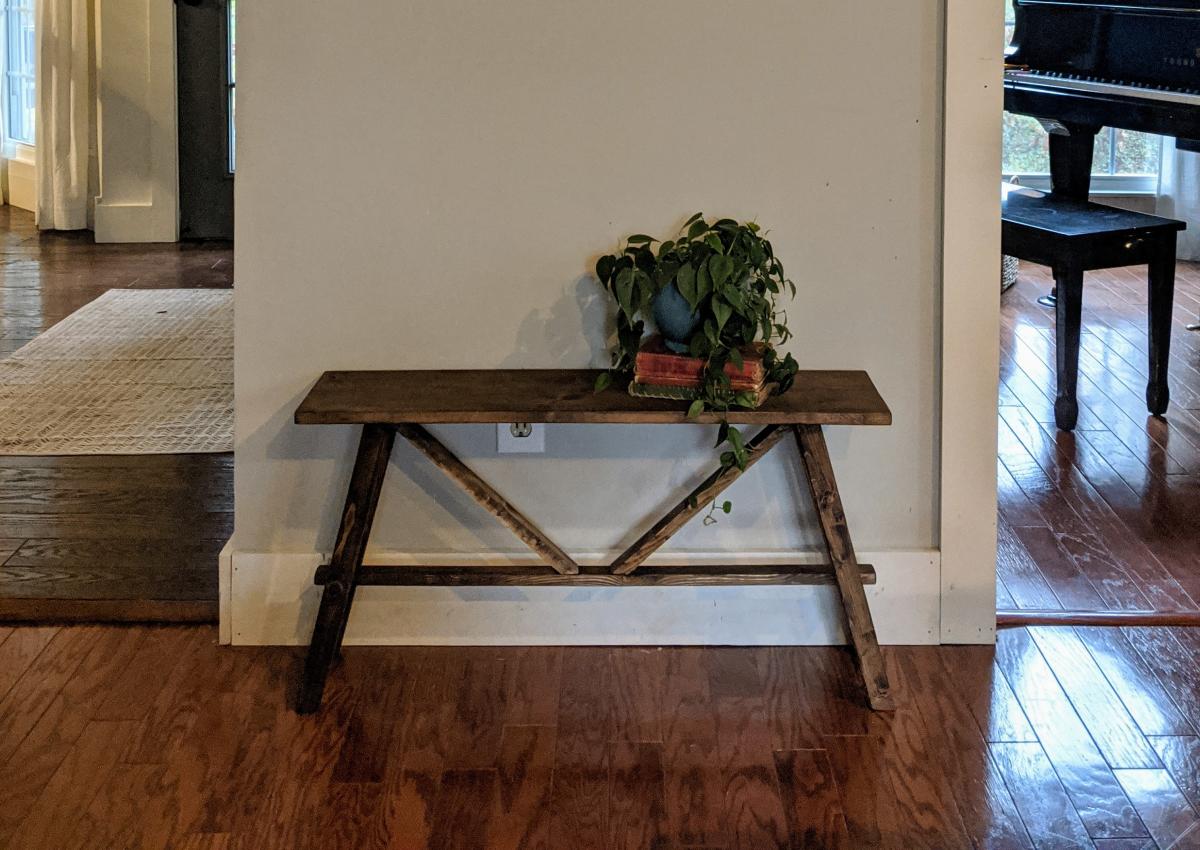
Love this little bench! My bench is a little bigger than Ana's, and the seat is not as deep, but the plans were super easy to follow. It's just what I needed to finish out my living room!

Built from Plan(s)
Estimated Cost
$3
Estimated Time Investment
Afternoon Project (3-6 Hours)
Finish Used
Dark walnut stain
Recommended Skill Level
Beginner

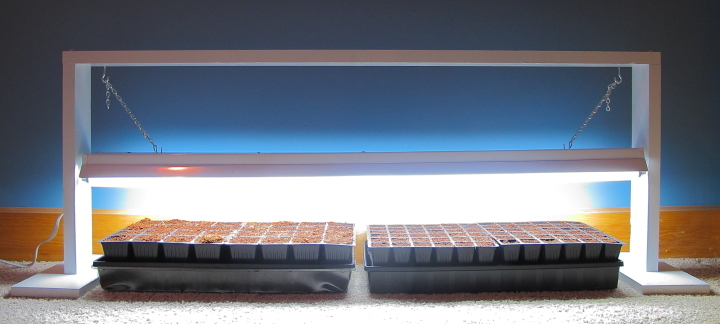
DIY Grow Light for Starting Seeds

Submitted by lbrown on Sun, 04/15/2012 - 08:31

I wanted to start some seeds indoors this year but I couldn't find a reasonably priced grow light that I liked so I decided to make one myself. With some wood scraps and a 48" fluorescent work light I came up with an easy design that was inexpensive, too. For details: http://www.homeandawaywithlisa.com/blog/2012/4/15/diy-grow-light-for-st…

Estimated Cost
$15
Estimated Time Investment
An Hour or Two (0-2 Hours)
Finish Used
Spray paint primer followed by a few coats of white spray paint
Recommended Skill Level
Starter Project

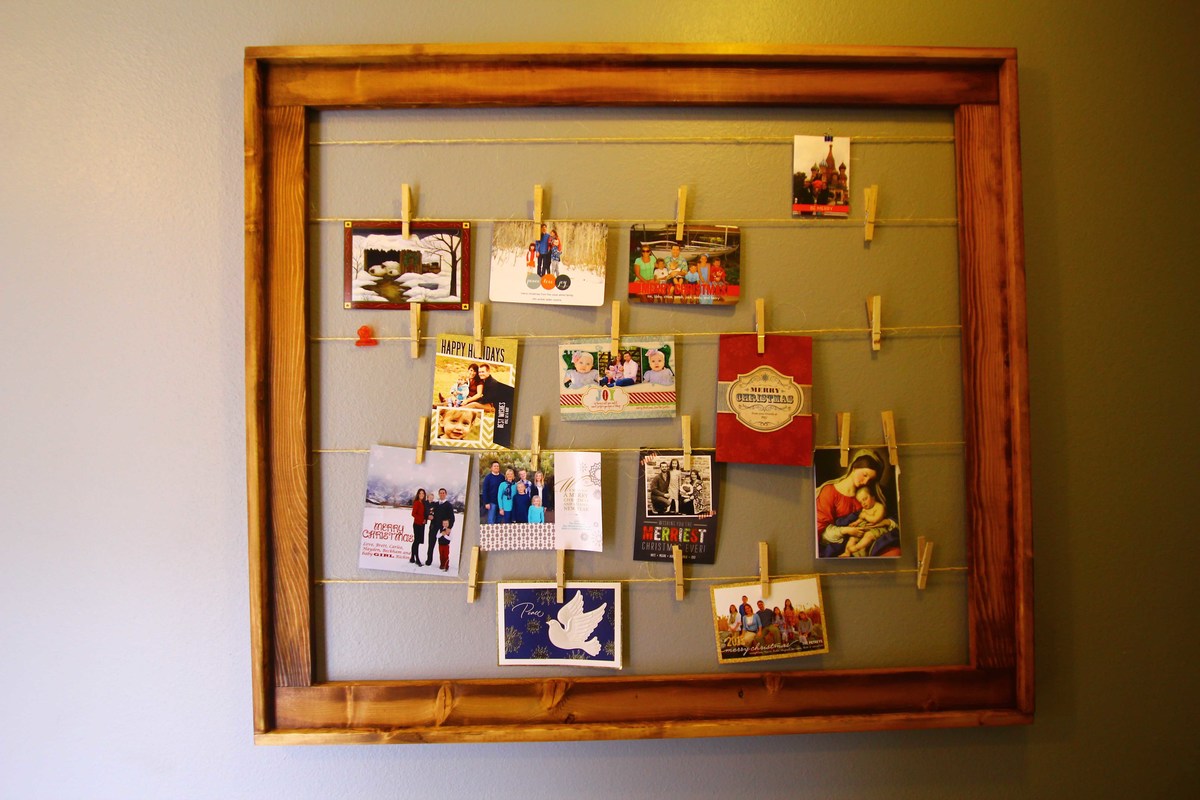
Clothesline Frame

Submitted by bhammond on Tue, 01/28/2014 - 20:57

This is huge and fits perfectly in my previously lonely naked hallway.
I also made a smaller one as a Christmas present and it has received many compliments!

Recommended Skill Level
Beginner

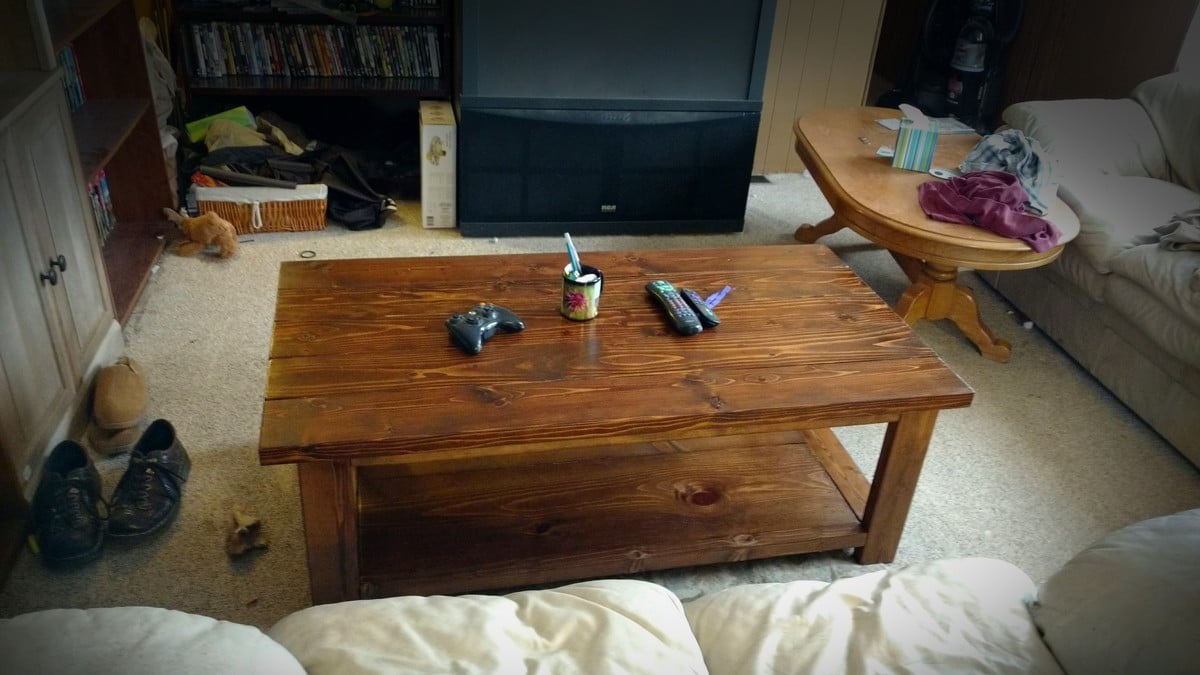
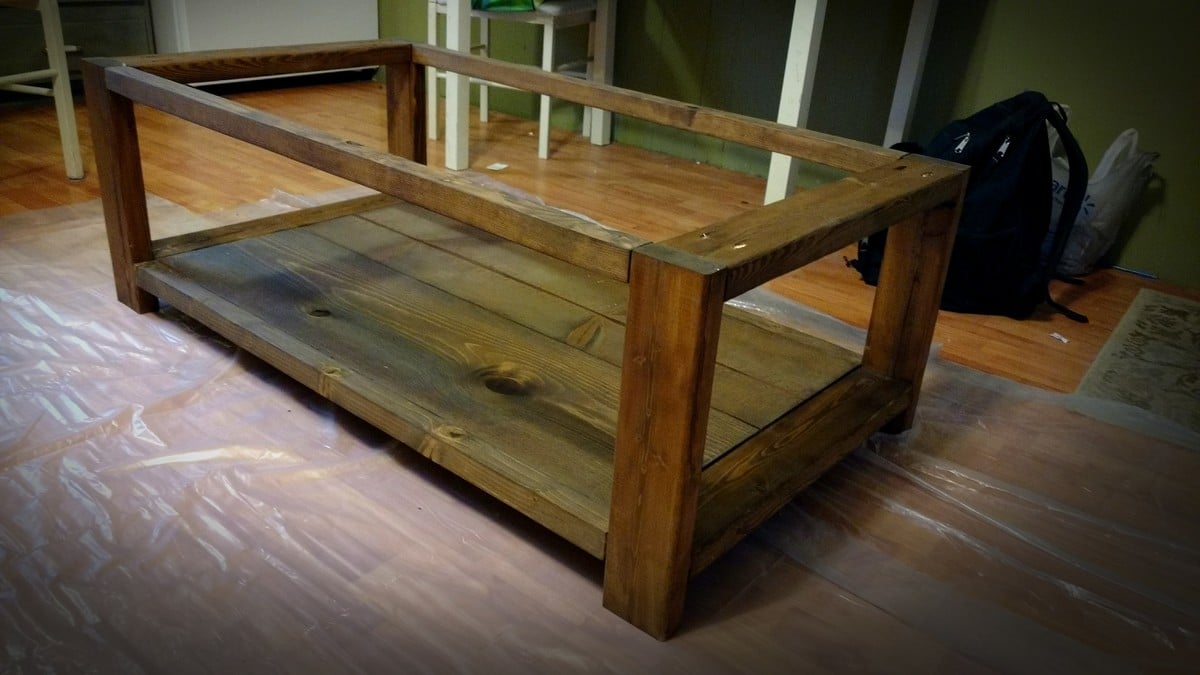
Rustic X coffee table

Submitted by Malka on Tue, 04/26/2016 - 01:39

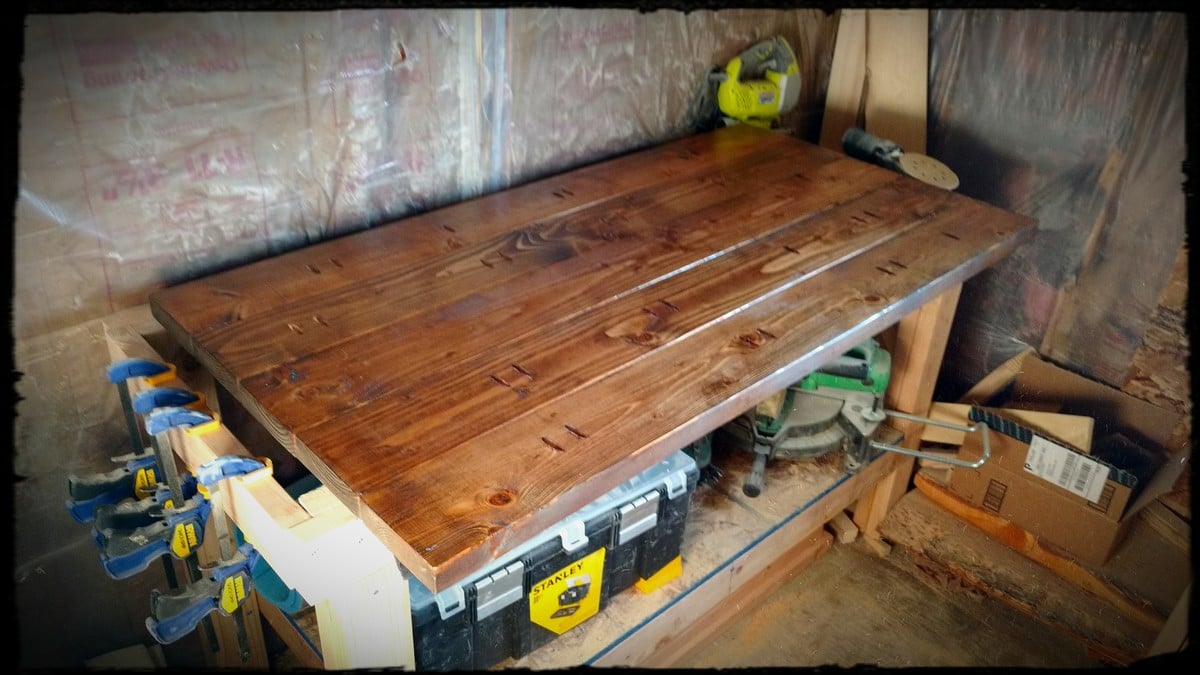
This was my 4th build, and only took a few weekends to do, working on it a few hours at a time each day. Pretty easy, though I didn't include the X braces on the sides due to miscutting them (just got the angles backwards). I used Minwax Provincial and Minwax polyurethane. Excuse the mess in the photos.

Built from Plan(s)
Estimated Cost
$80
Estimated Time Investment
Weekend Project (10-20 Hours)
Finish Used
Minwax Provincial and Minwax Polyurethane
Recommended Skill Level
Beginner

Long Modern TV Console with Pallet Wood

Submitted by Anonymous (not verified) on Fri, 01/17/2020 - 14:18

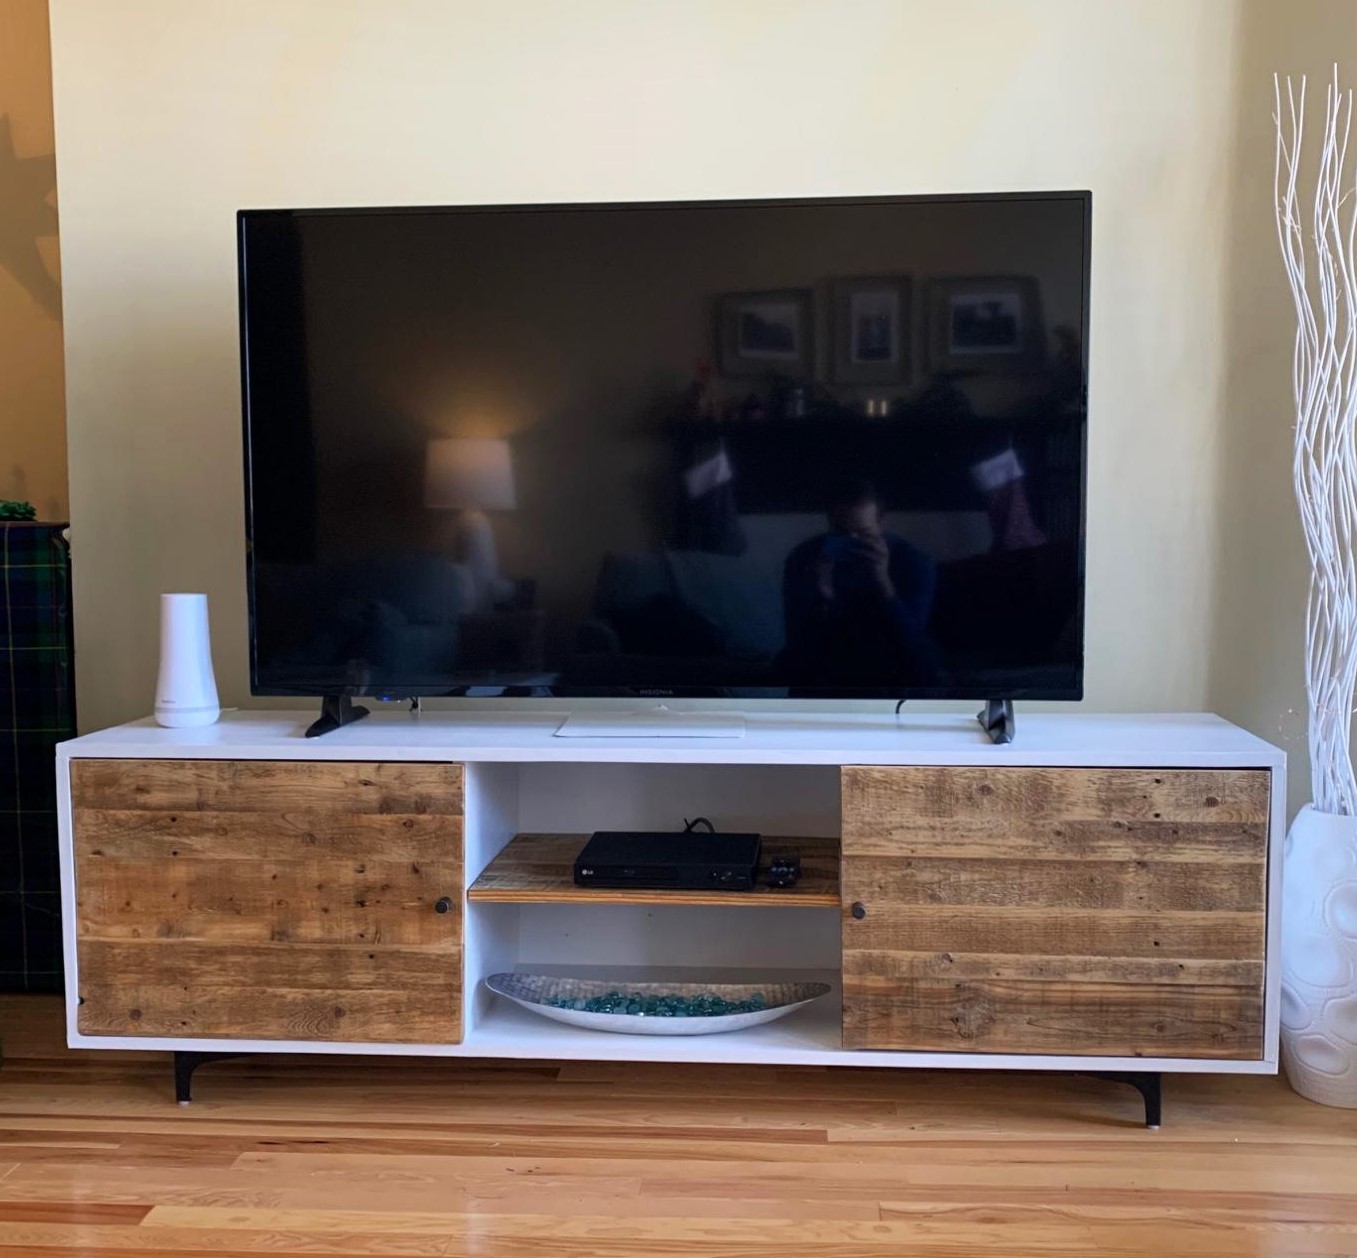
This project was a Christmas present for my girlfriend. I modified these plans a little bit to put the open shelf in the middle and used the pallet wood for this instead of it being white. The pallet wood was such a pain to cut up in to usable strips but after cutting them down, gluing them up, and sanding them down (for ages) I couldn't be more pleased with how they turned out. I used Watco Danish in medium walnut for the finish and I think it brought out the imperfections in the wood beautifully. I just used some pre-made legs from Amazon instead of the base out of laziness.

Estimated Cost
$125
Estimated Time Investment
Weekend Project (10-20 Hours)
Finish Used
Watco Danish Oil in medium walnut
Recommended Skill Level
Intermediate

DIY Farmhouse Bed

Submitted by Lkr0nes@49 on Fri, 09/15/2023 - 08:35

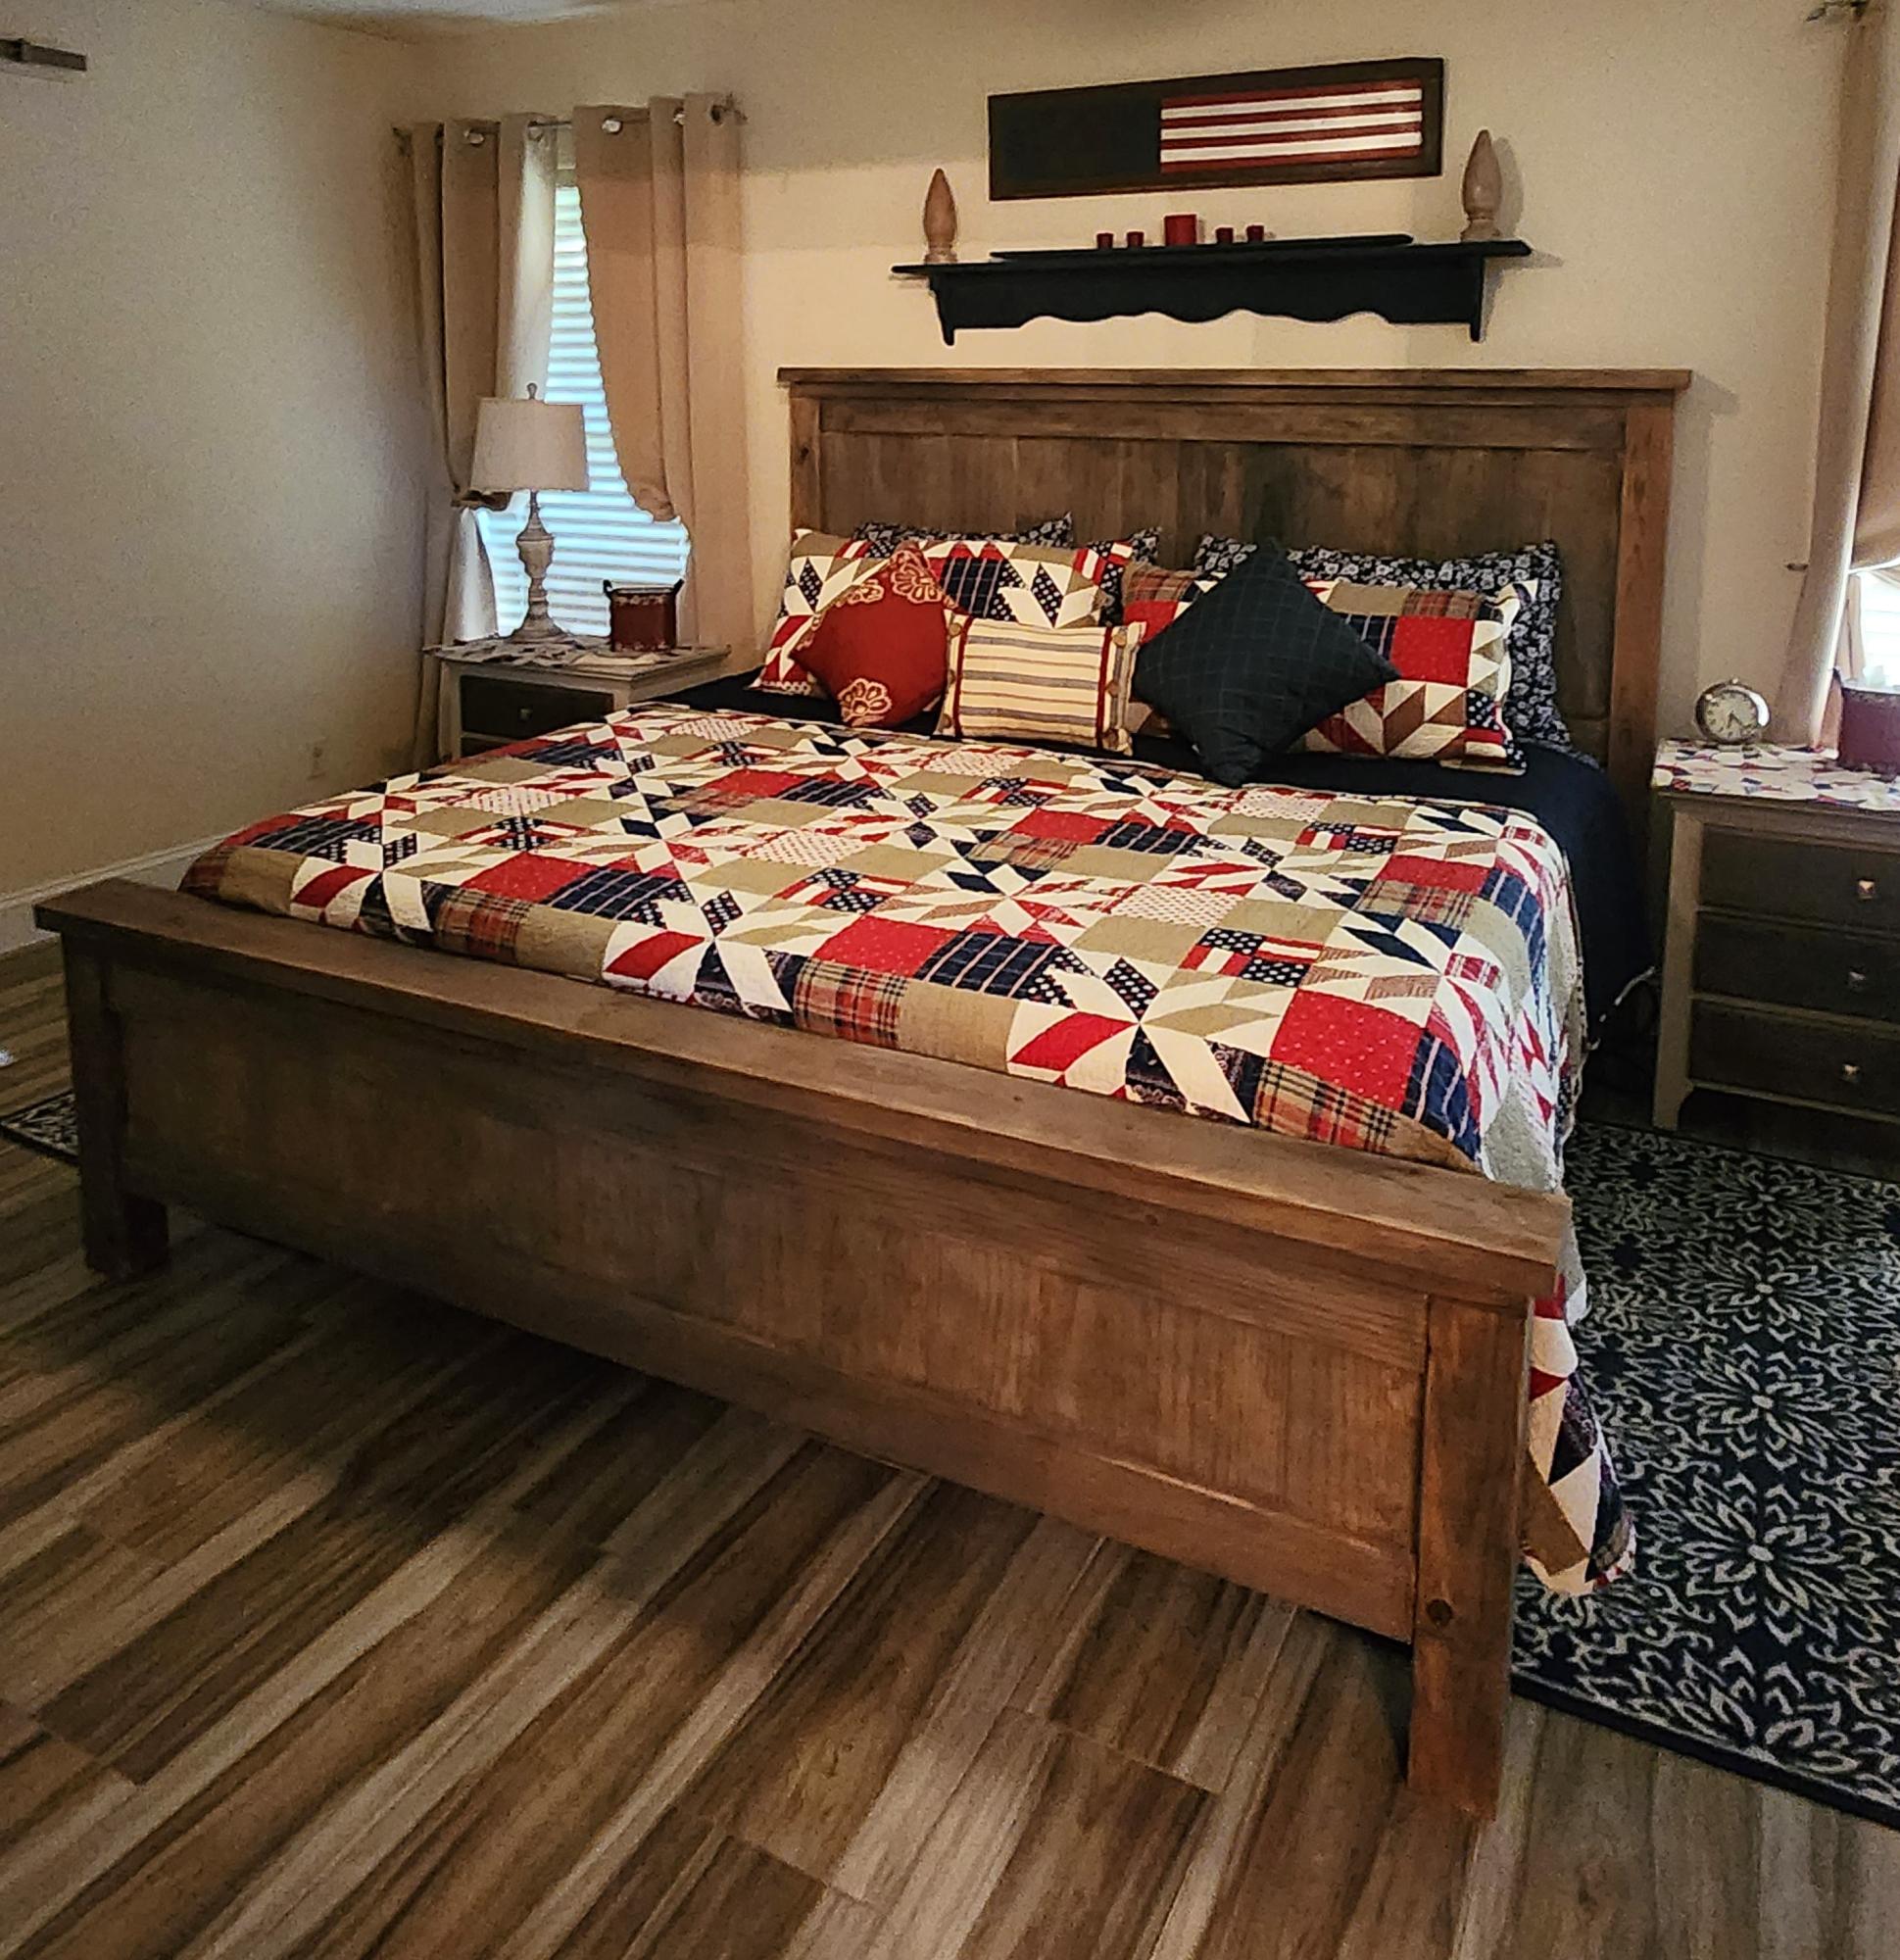
My brother (the carpenter) hates pocket holes! So to get him to help me with your farmhouse bed no pocket hole bed plan was a dream come true! It took us a few weekends but it came out so awesome. I could never buy a bed of this quality anywhere without spending a fortune. Thanks Ana!

Lisette Riveira @lkr0nes

Big Kids Picnic Table

I really love the way this table turned out. It is sturdy and does not wobble. My kids have already climbed all over it, and it seems like it's going to hold up. I was nervous about the yellow (I tried to copy the yellow from the plan), but I love it. It is just the right thing to brighten up my big back yard. I worked on this table off and on for a couple of weeks. I primed and painted all of the boards before I put it together so that I wouldn't have to worry about painting through the small gaps. It just took forever to paint one side, let it dry, turn it, paint the other side, etc. (Is there a better way I haven't figured out yet??) I thought I was never going to be done painting. When we actually put the pieces together, it took maybe 45 minutes, and that's because I'm not very good at using the drill yet :) Good thing I have some help. I intended to fill in the screw holes and paint one more coat, but as soon as it was put together, it was begging to be put in the yard under the trees. So, I let it be finished, and its perfect!!

Built from Plan(s)
Estimated Cost
About $30
Estimated Time Investment
Weekend Project (10-20 Hours)
Finish Used
I used one coat of primer and two coats of yellow paint (the kind that is already tinted, I didn't pick a certain color). I probably should have used two coats of primer because some of the printing on the boards still showed through the paint.
Recommended Skill Level
Beginner

Farmhouse Dining Table

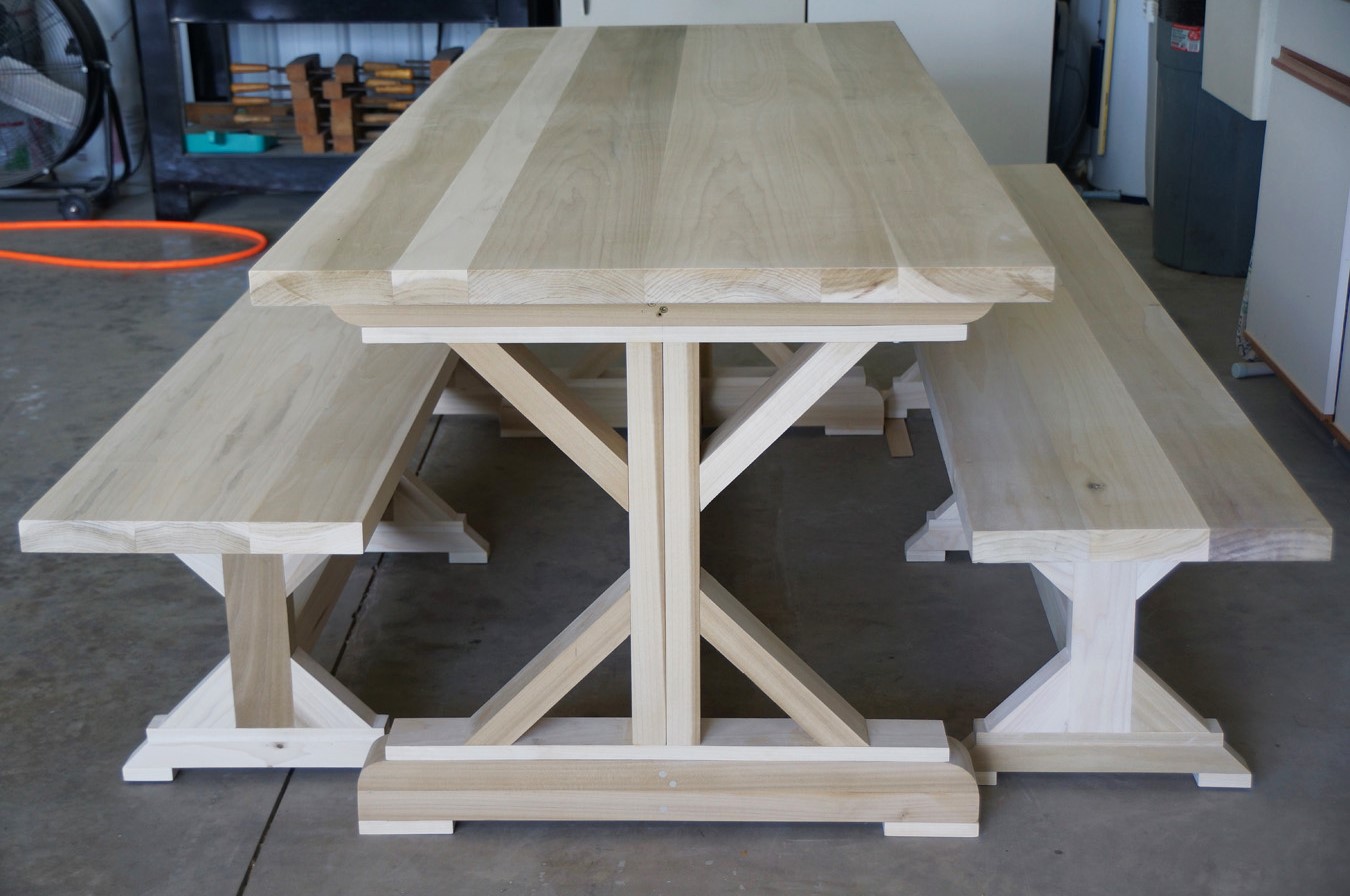
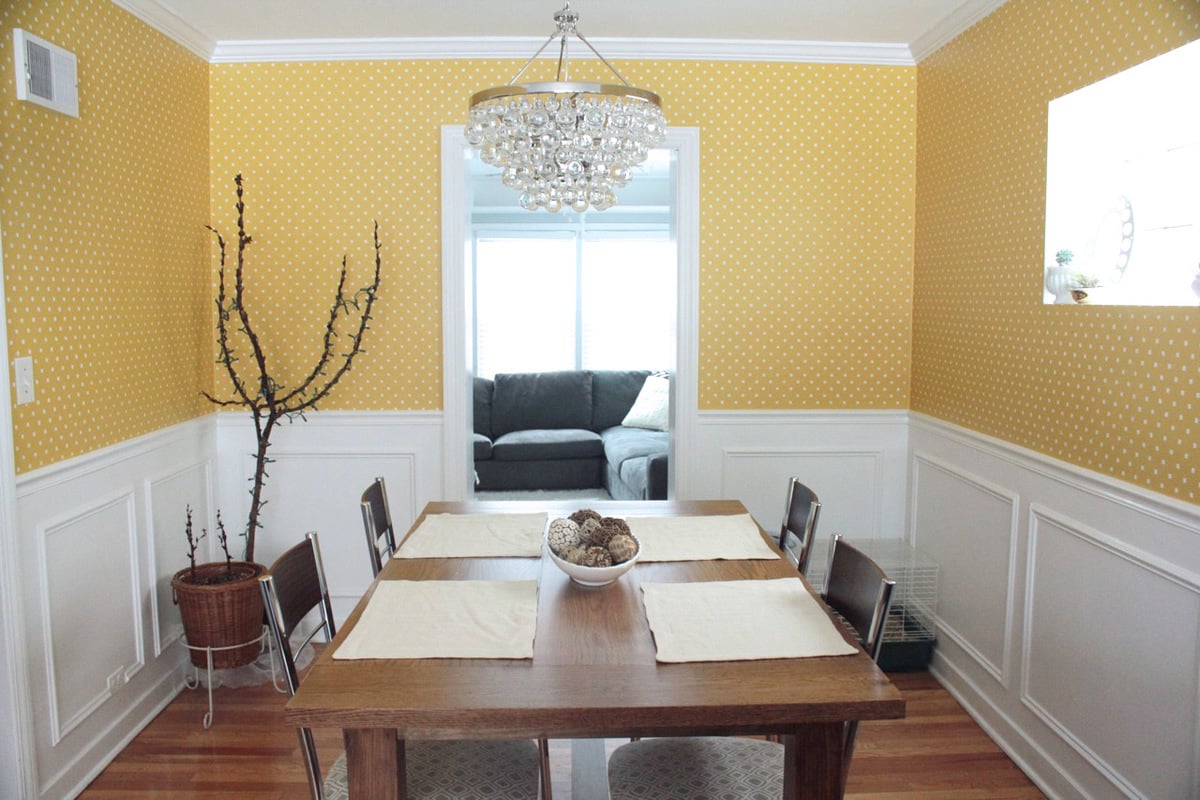
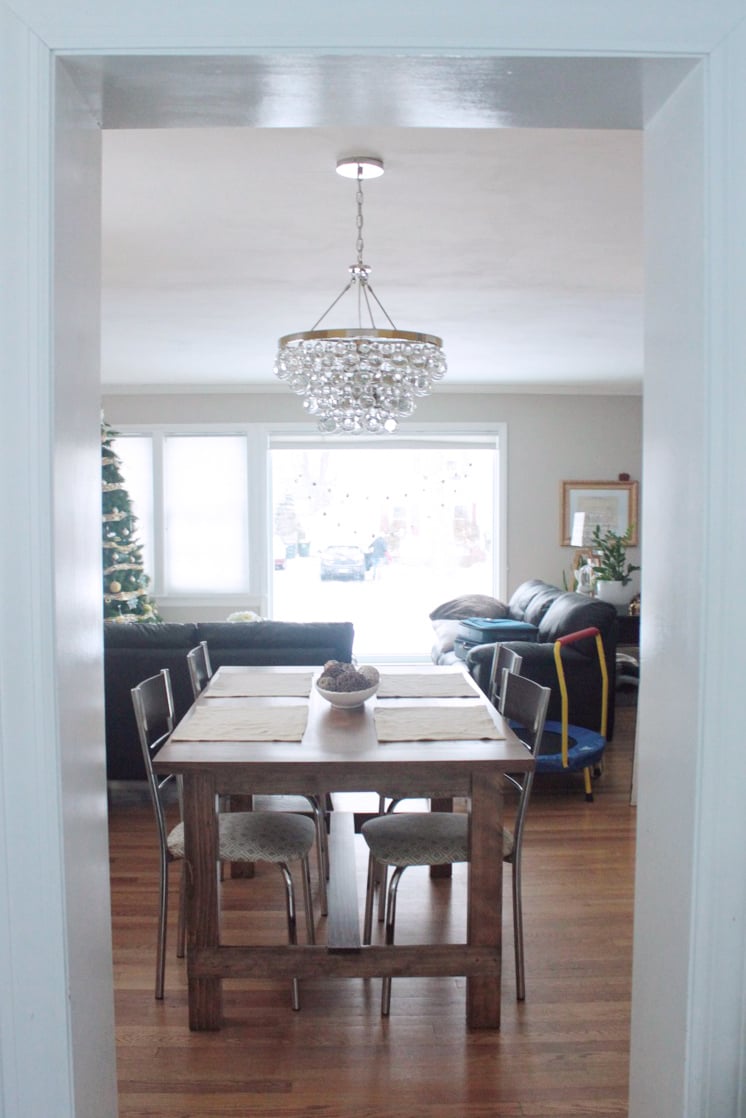
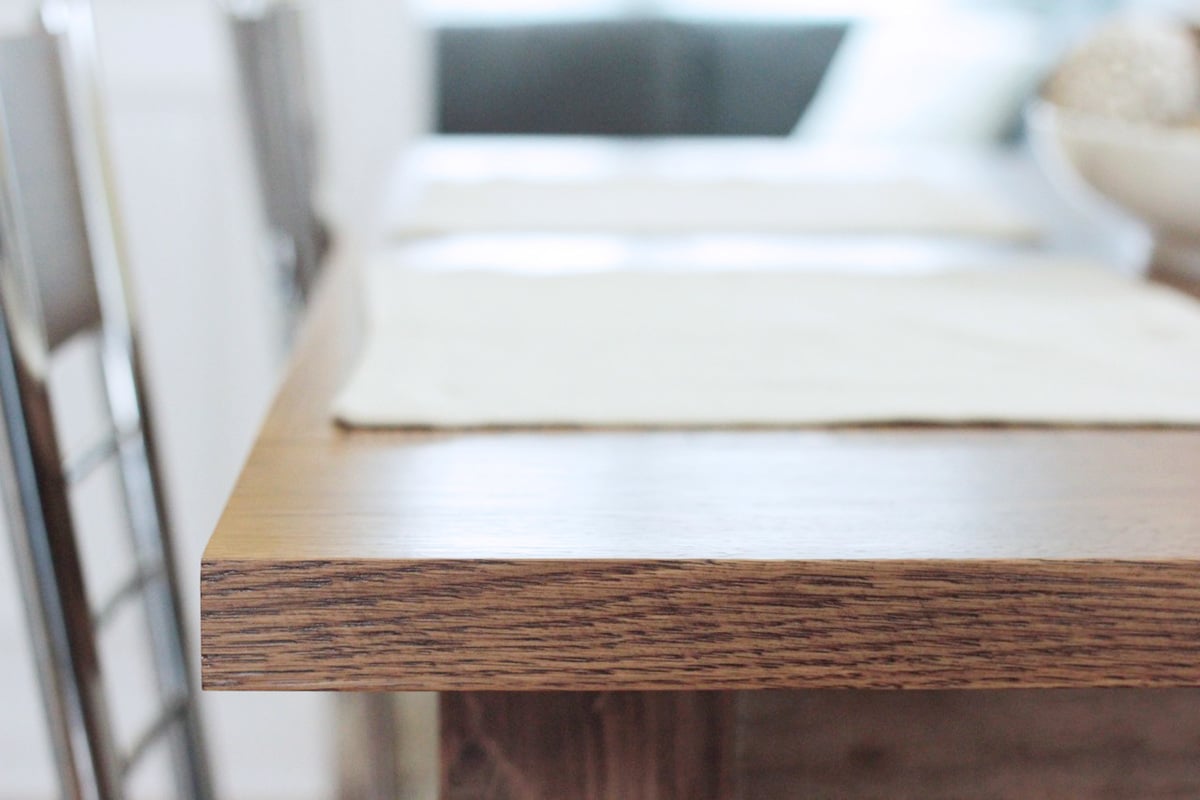
Fish made the tabletop from white oak and the base is pine. We still need to build a bench for one side and purchase new chairs, but we are IN LOVE with this table...and it somehow has allowed us to dine as a family more.

Estimated Cost
$300
Estimated Time Investment
Week Long Project (20 Hours or More)
Finish Used
Minwax Special Walnut, two coats
Recommended Skill Level
Intermediate

Comments

Master Closet - Wraparound

Submitted by Anonymous (not verified) on Fri, 04/29/2016 - 11:41

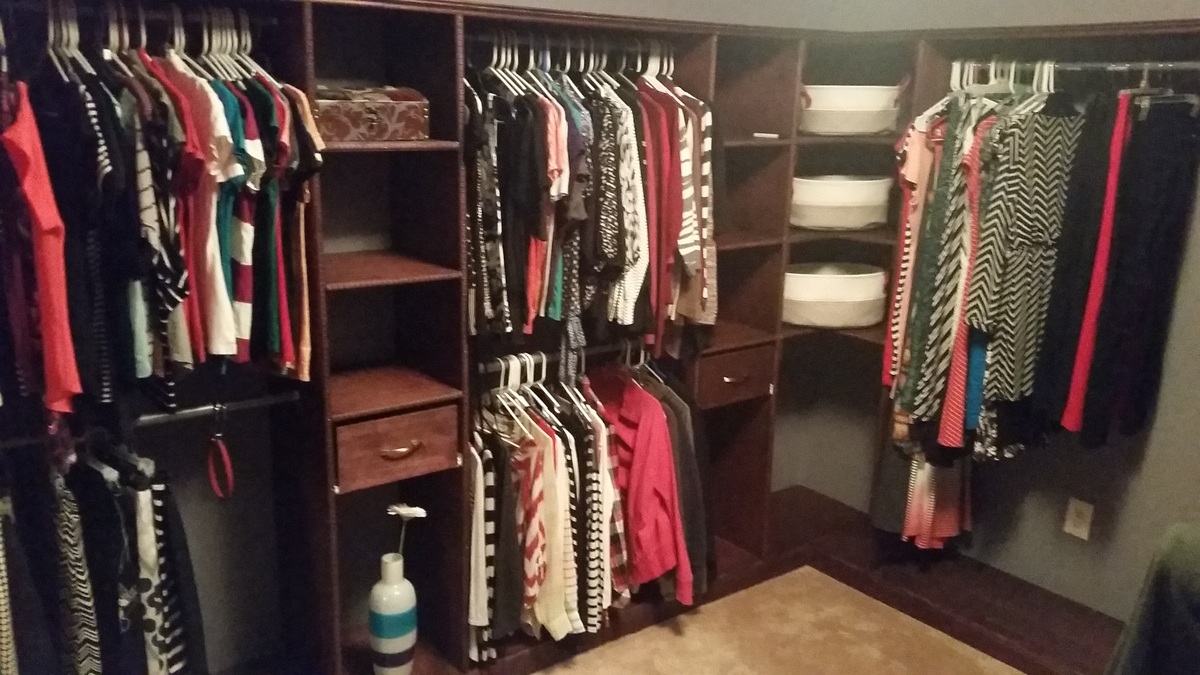
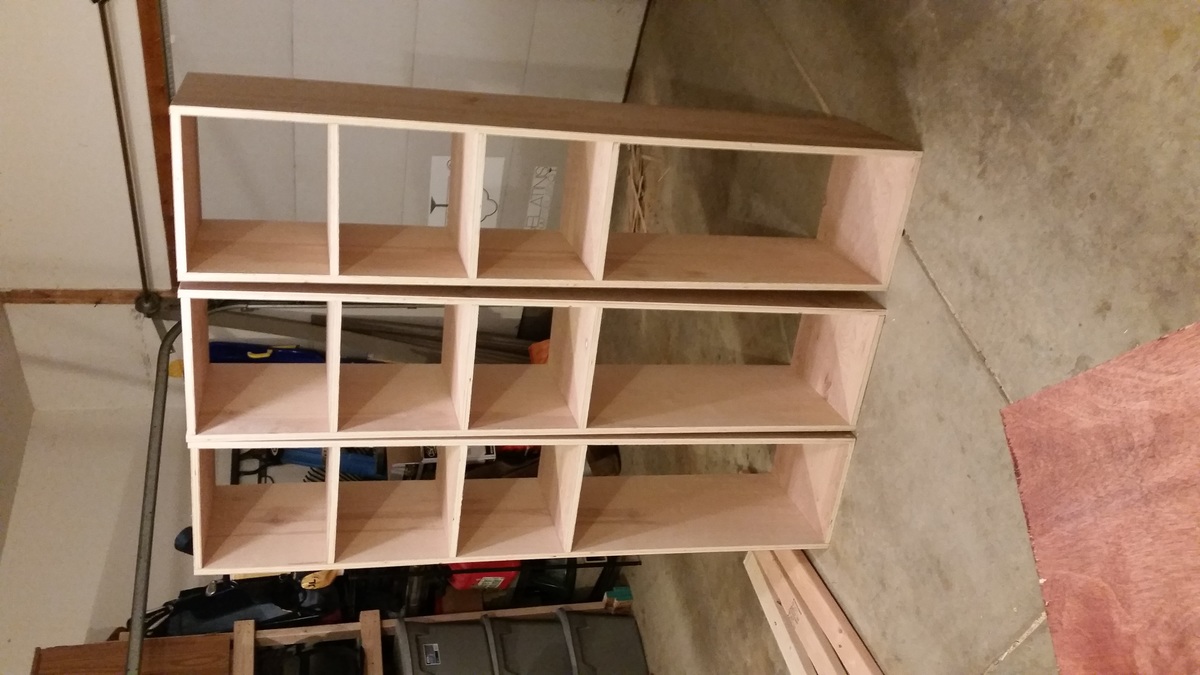
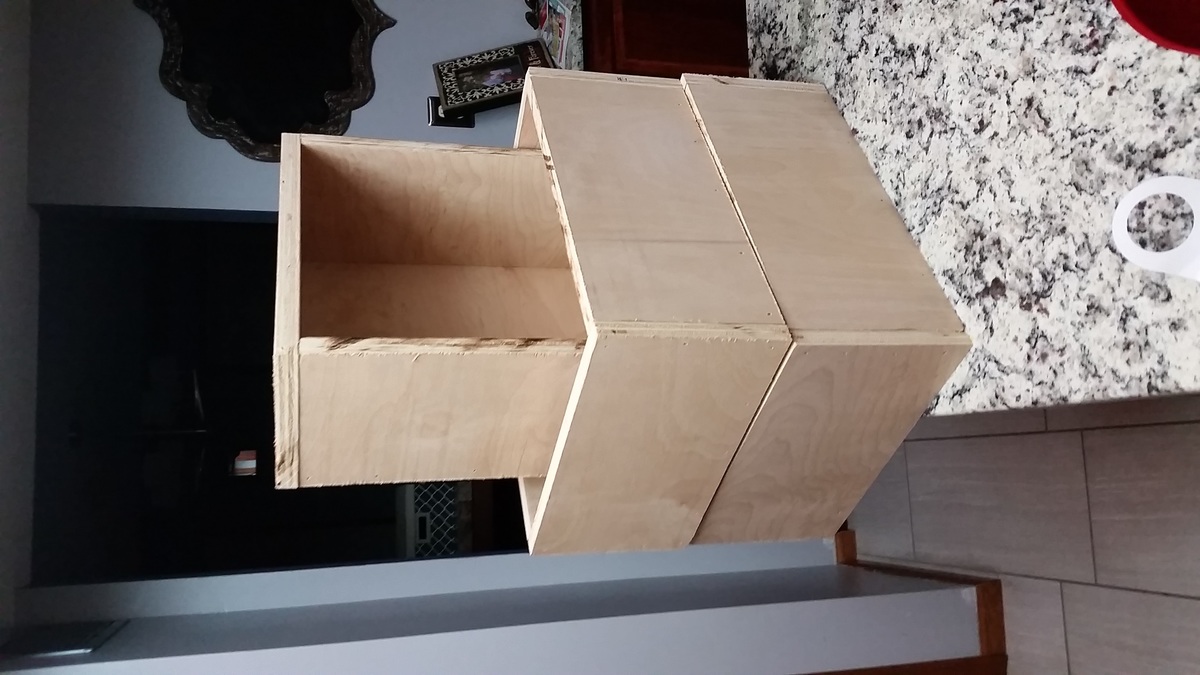
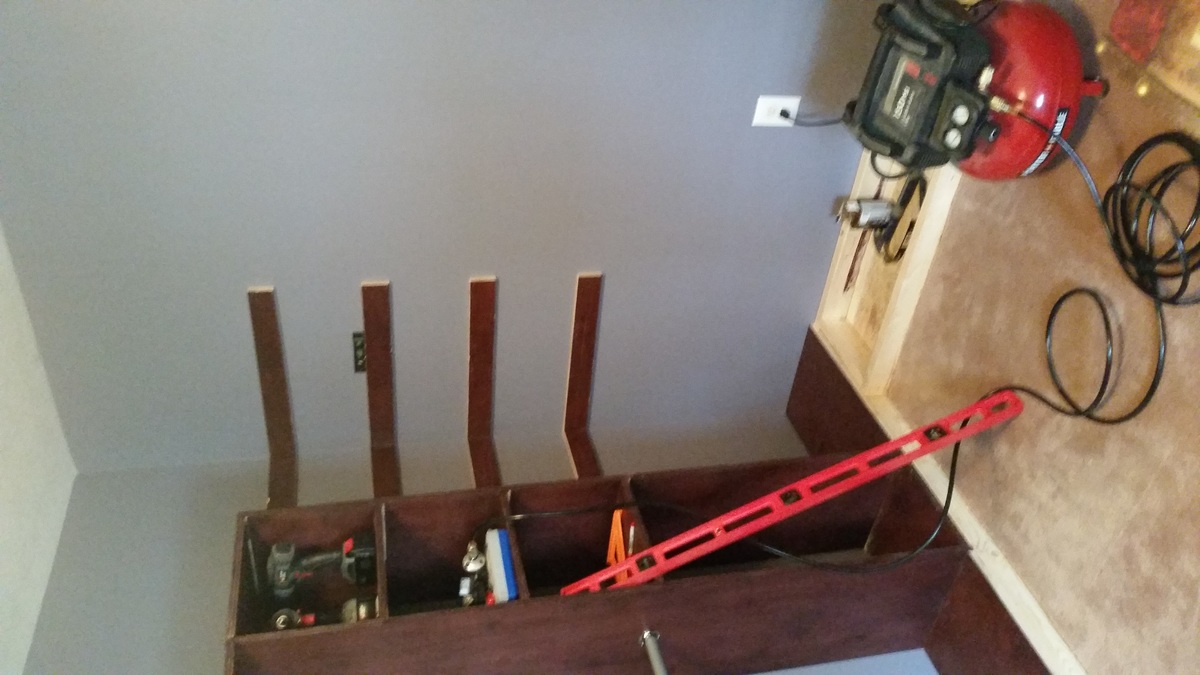
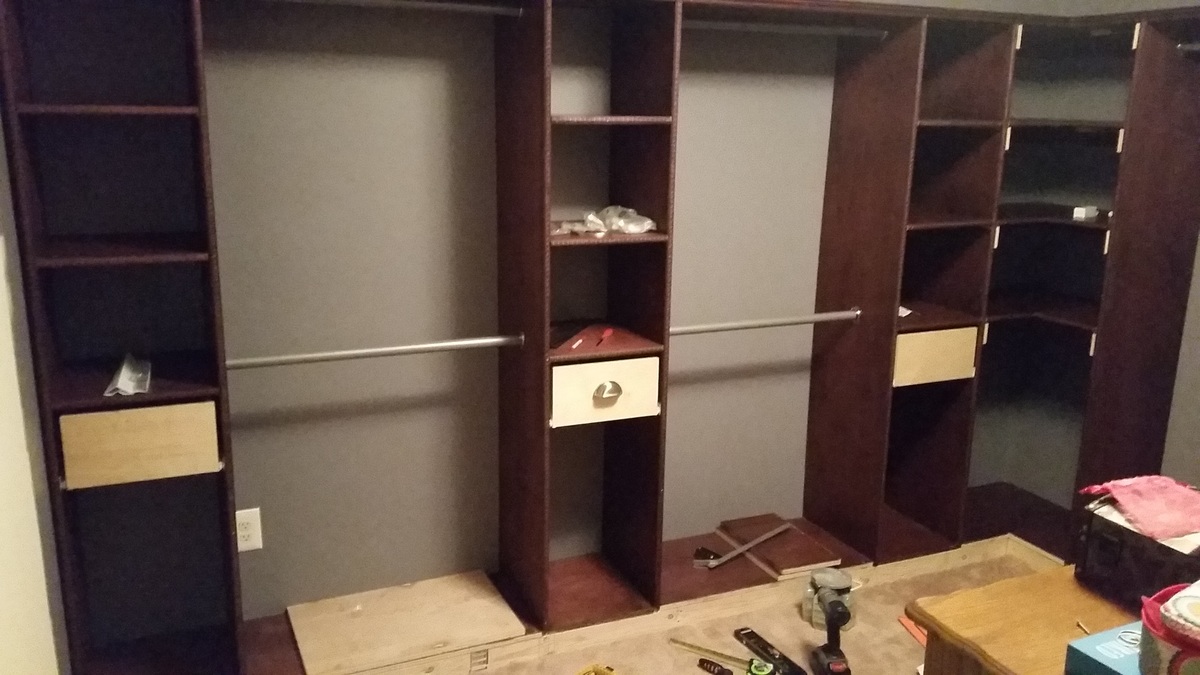
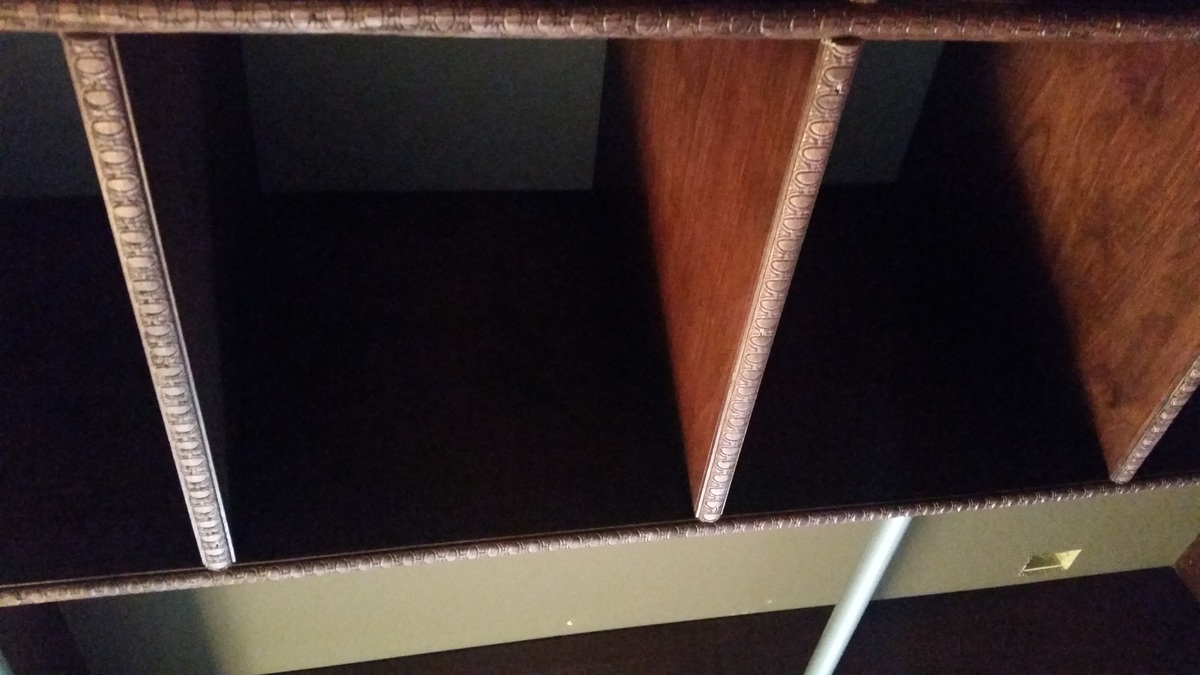
I thought I'd wait and take these glorious after photos once I was done - but nevermind that idea.  Here are some pictures of progress, start to finish.  I still plan to build some shoe cubbies for the towers so that my wife has a little more shoe-room.

We have a 5th bedroom directly off the master with a double door entrance where the 5th bedroom's closet would have been.  The room had been an office for the previous owner and my wife decided it would be a perfect closet for her.  I followed the plans quite closely for the towers.  I wish I had considered my 8+ foot ceilings and just built the towers taller because 1) storing stuff on top will look messy, and 2) The hanger rods aren't spaced quite well enough for longer clothing.  Because of this, I had to build her another hanger on the other side of the wall, which increased the complexity of the project (corner shelves, more wood, more staining, more finishing, etc).  In the end, I think it turned out great.  I will walk through the process very quickly.

  • Bought premium birch plywood, had them cut it down in the store.  They did a good job.  If I were doing it again, I would buy Aspen or Pine in precut boards, and I estimated it would have cost less than $100 more with a much higher quality and more workability, especially considering I stained instead of painted.
  • Built Towers - used my kreg pocket hole jig a TON on this project.  For boards across the top, I put the pocket holes on top, where they will be out of site.  For bottoms, I was able to use finishing brads to nail down my boards to the frame.
  • Stained wood.  I used an oil stain.  After letting it dry 24hours+, I used finishing wax to turn make the plywood very smooth.  I painted on the wax real heavy and then buffed with an electric polishing wheel.  *tip* no matter what you are thinking, stain your wood before cutting and assembling.  It will save you hours.
  • Built 2x4 bases for the frame of the system.  I used my bases as a template for cutting back the carpet.  I then fastened the bases into the wall studs and sub flooring.
  • Installed towers, played with spacing until it felt right and then fastened them into the walls and into the base.
  • Cut wood down to size for the top and bottom pieces and installed and nailed down.
  • Cut down scraps into strips to support the corner shelves and nailed them into the wall.
  • Cut down scraps into corner shelves.  I used 2 pieces of wood for each shelf and added supports on the underside so that they can bear decent weight.  I should have just done more pocket holes.  It would have been stronger and cleaner.
  • Installed mini crown molding along top border.  Installed 1/4 inch trim on all facing edges (rather than mess with laminating strips). Installed baseboard trip to cover frame and clean up border of frame and carpet.
  • Built drawers using scrap plywood from the project (via the drawer plans on this site).  I didn't mess around, just cut my wood down to the right size and brad nailed the heck out of it.  They are very sturdy.  A thinner bottom and back would have decreased their weight, but I don't see any issues the way they are built.  I opted for the 1/2 inch gap around the border of the drawers.

That is pretty much it.  I think I have about $500-600 in it. Probably 60-70 hours.  If I did it all over again, I could do it better and faster and on the same budget.  As noted in the plans, SQUARE is the most important thing.  I had to fix all the tower shelves once I had them mounted to the wall because they just were not level/square enough.  
Estimated Cost
$500-600
Estimated Time Investment
Week Long Project (20 Hours or More)
Finish Used
Varathane Premium Fast Dry Oil Wood Stain and MinWax Dark Finishing Wax
Recommended Skill Level
Intermediate
Back