Community Brag Posts
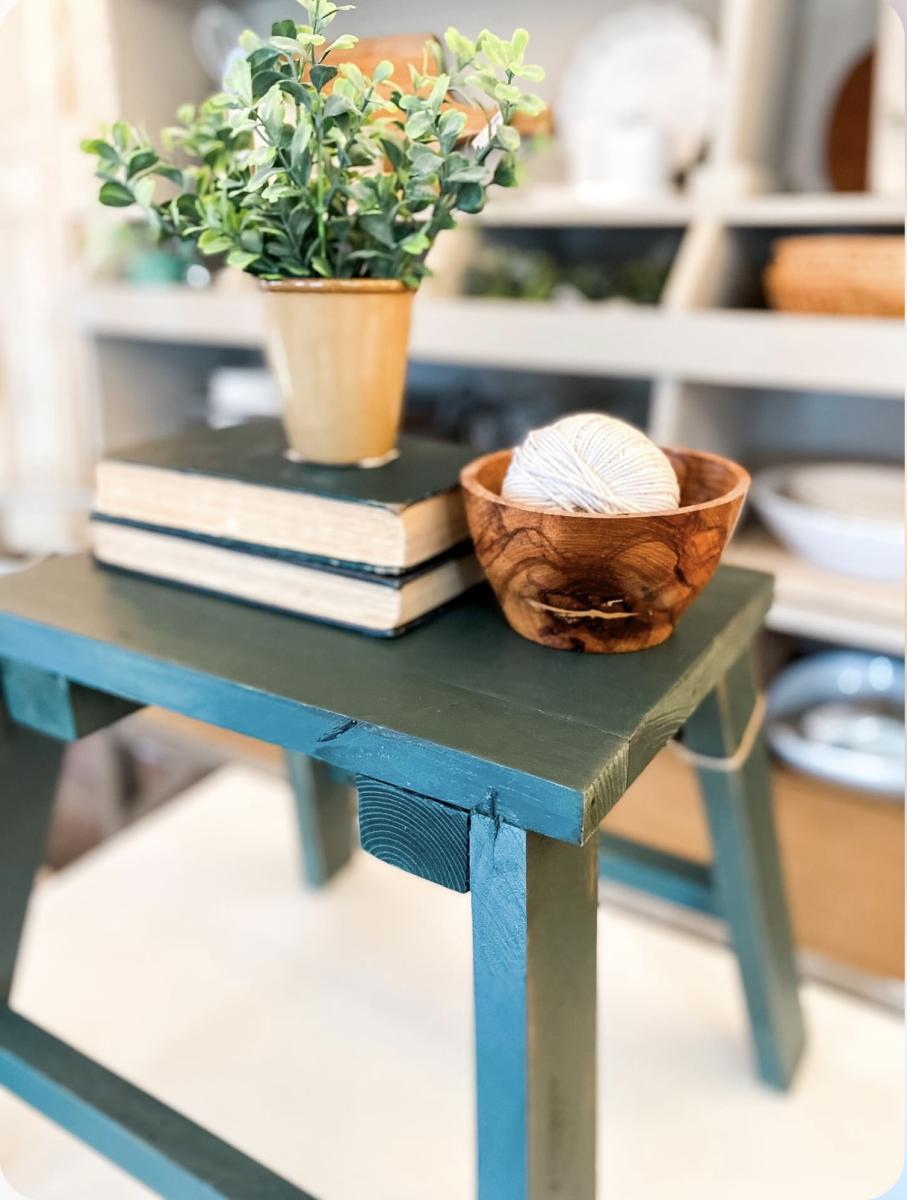
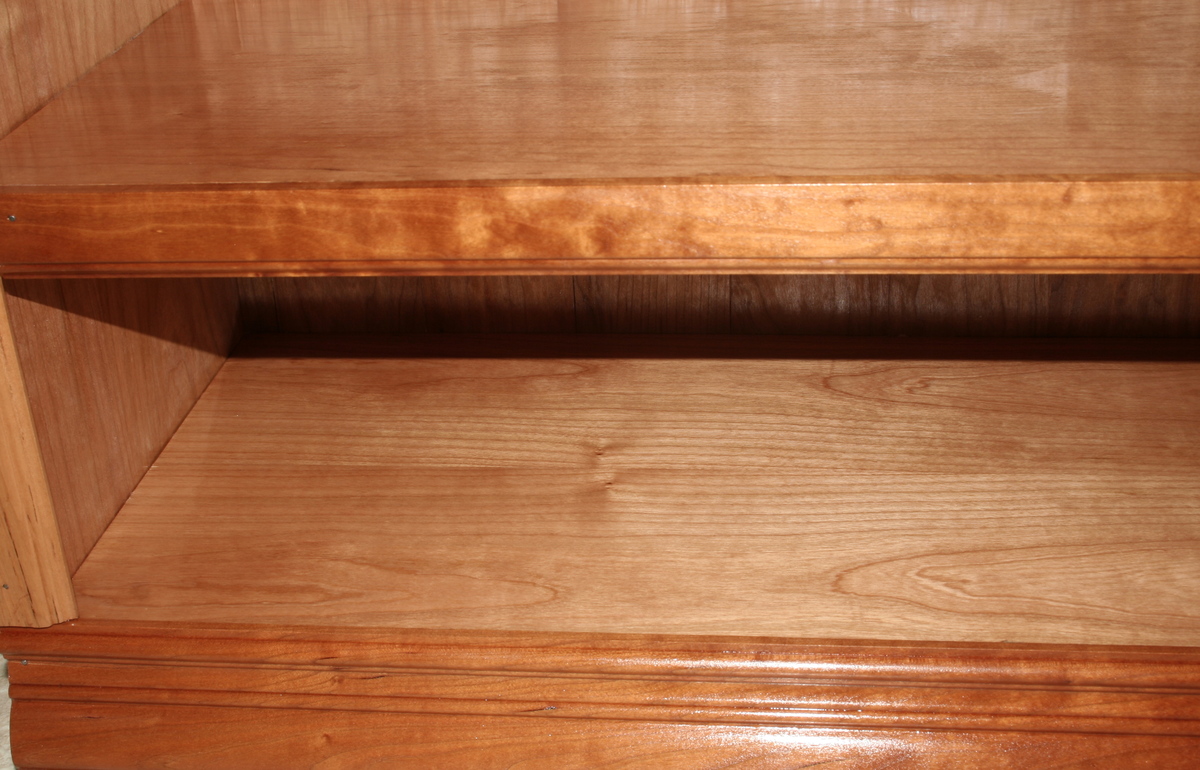
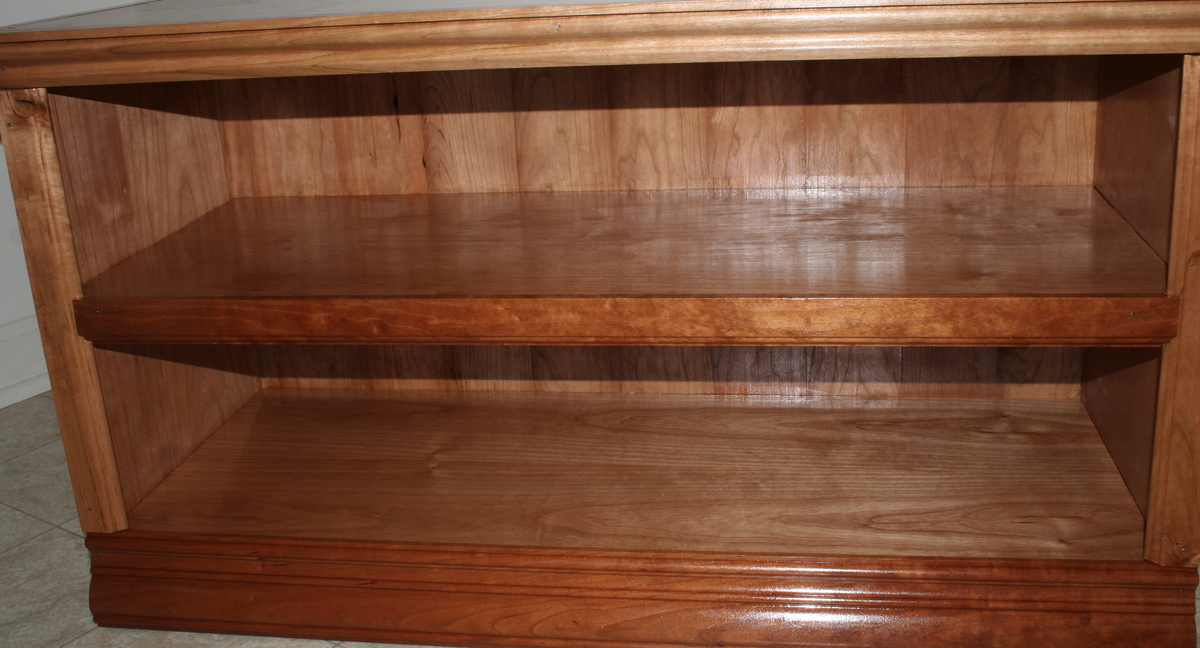
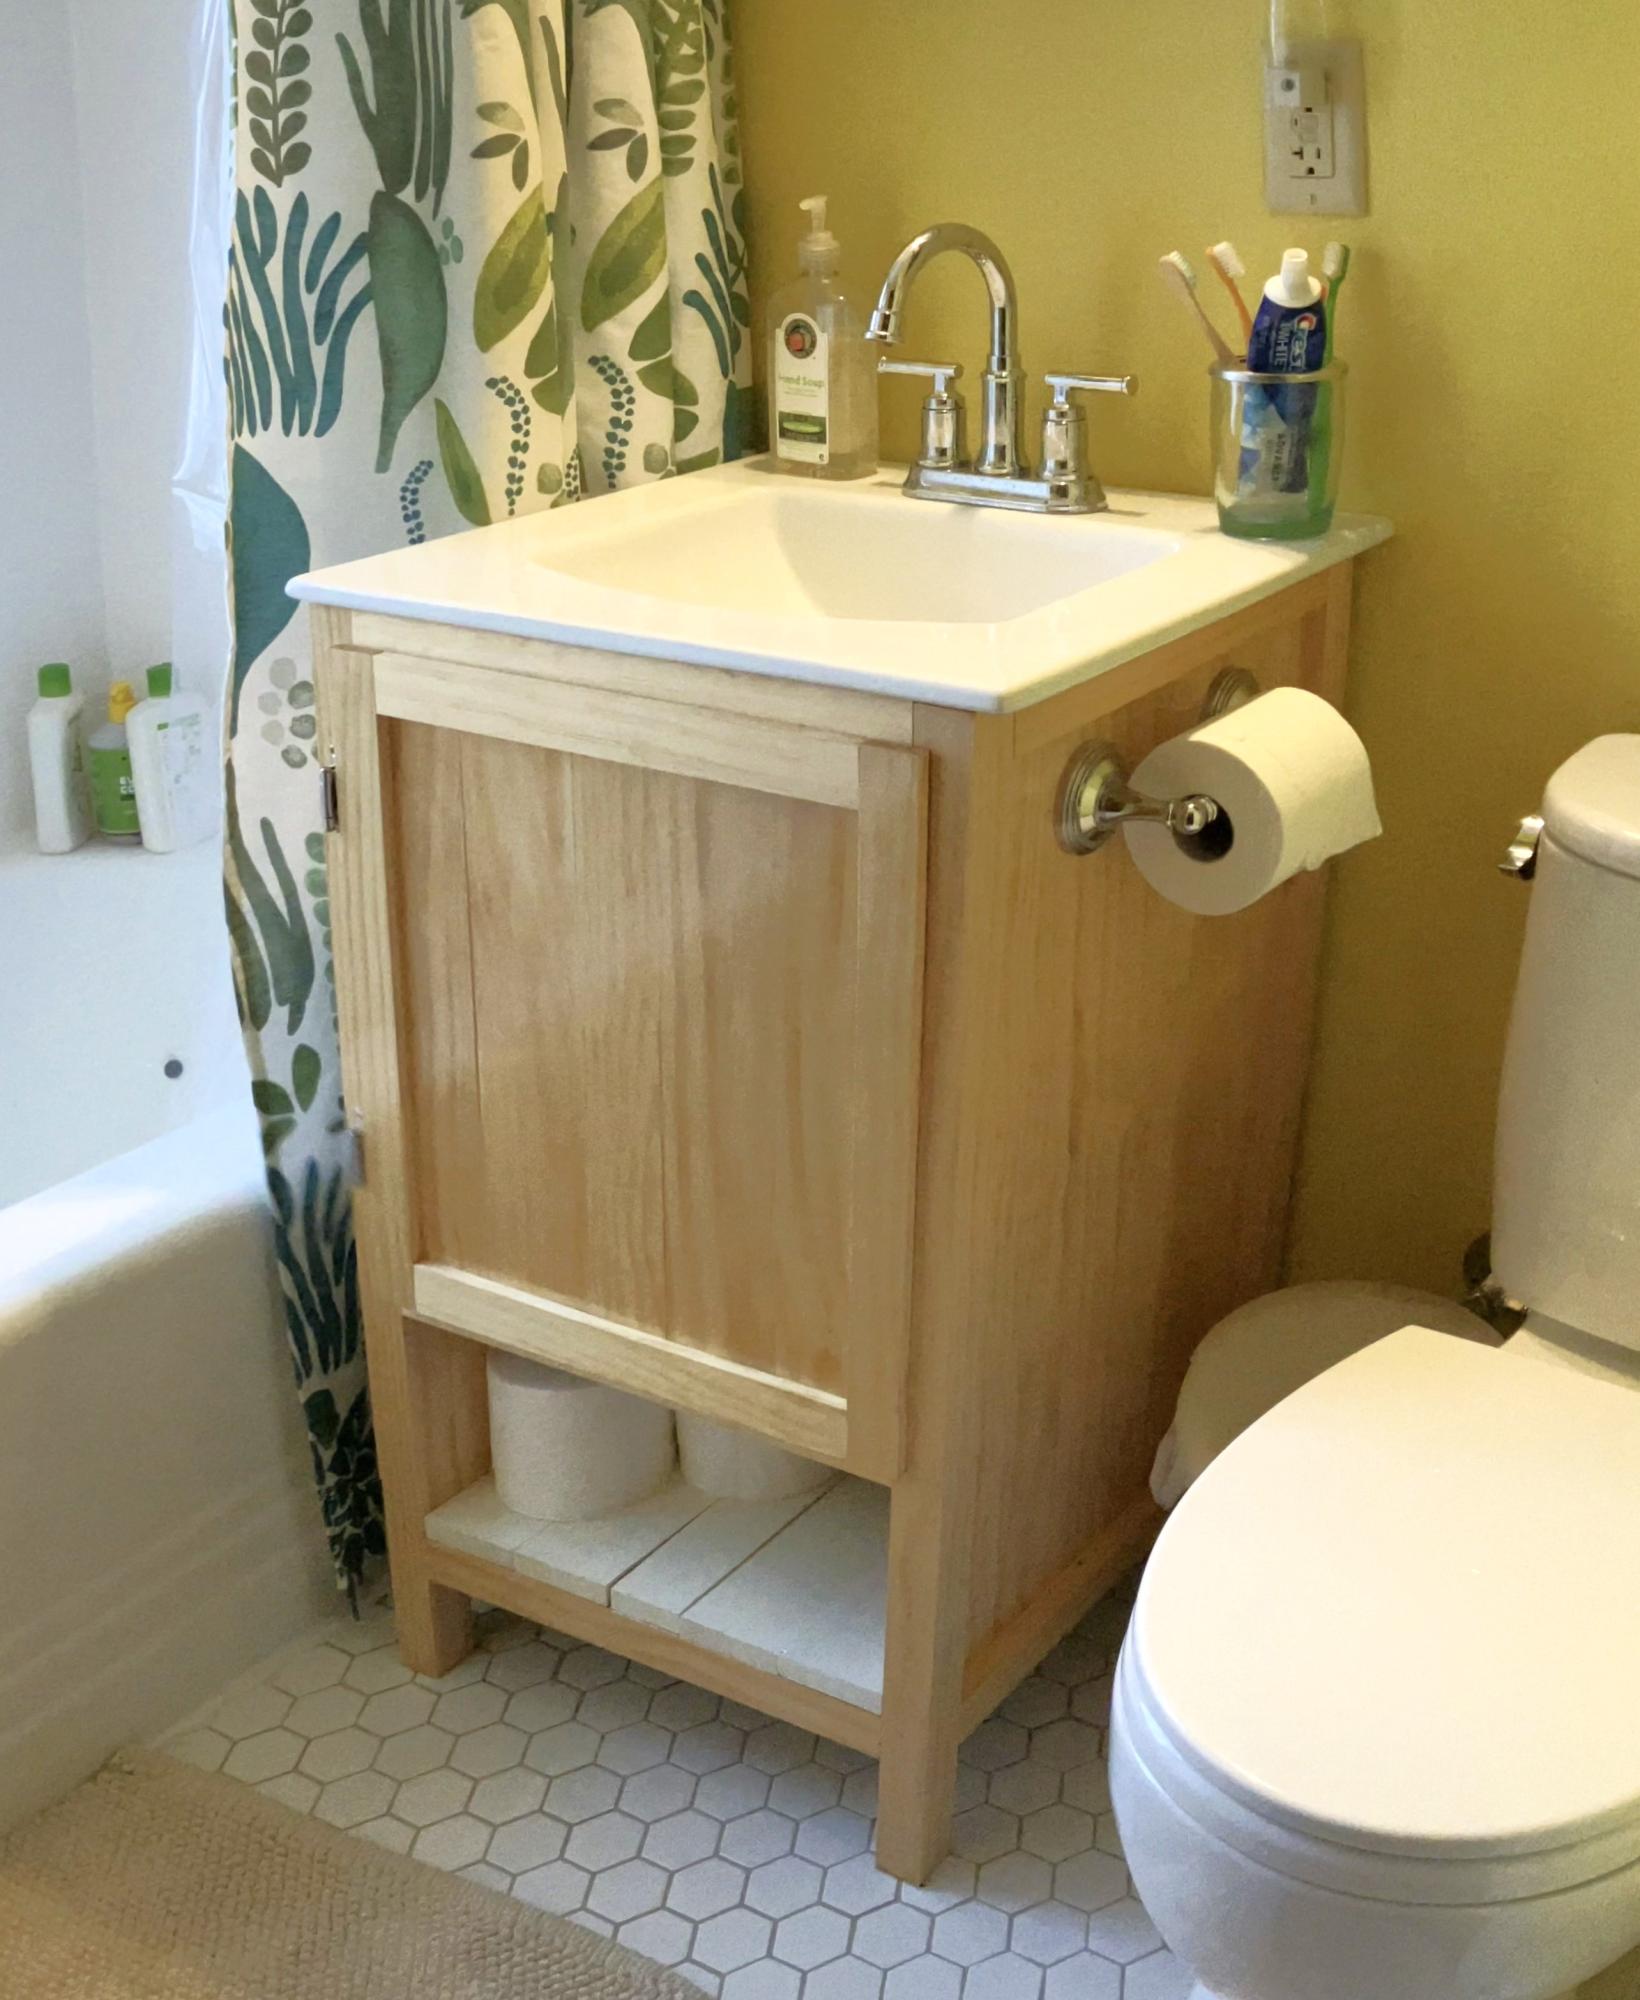
Tommy Bookcase
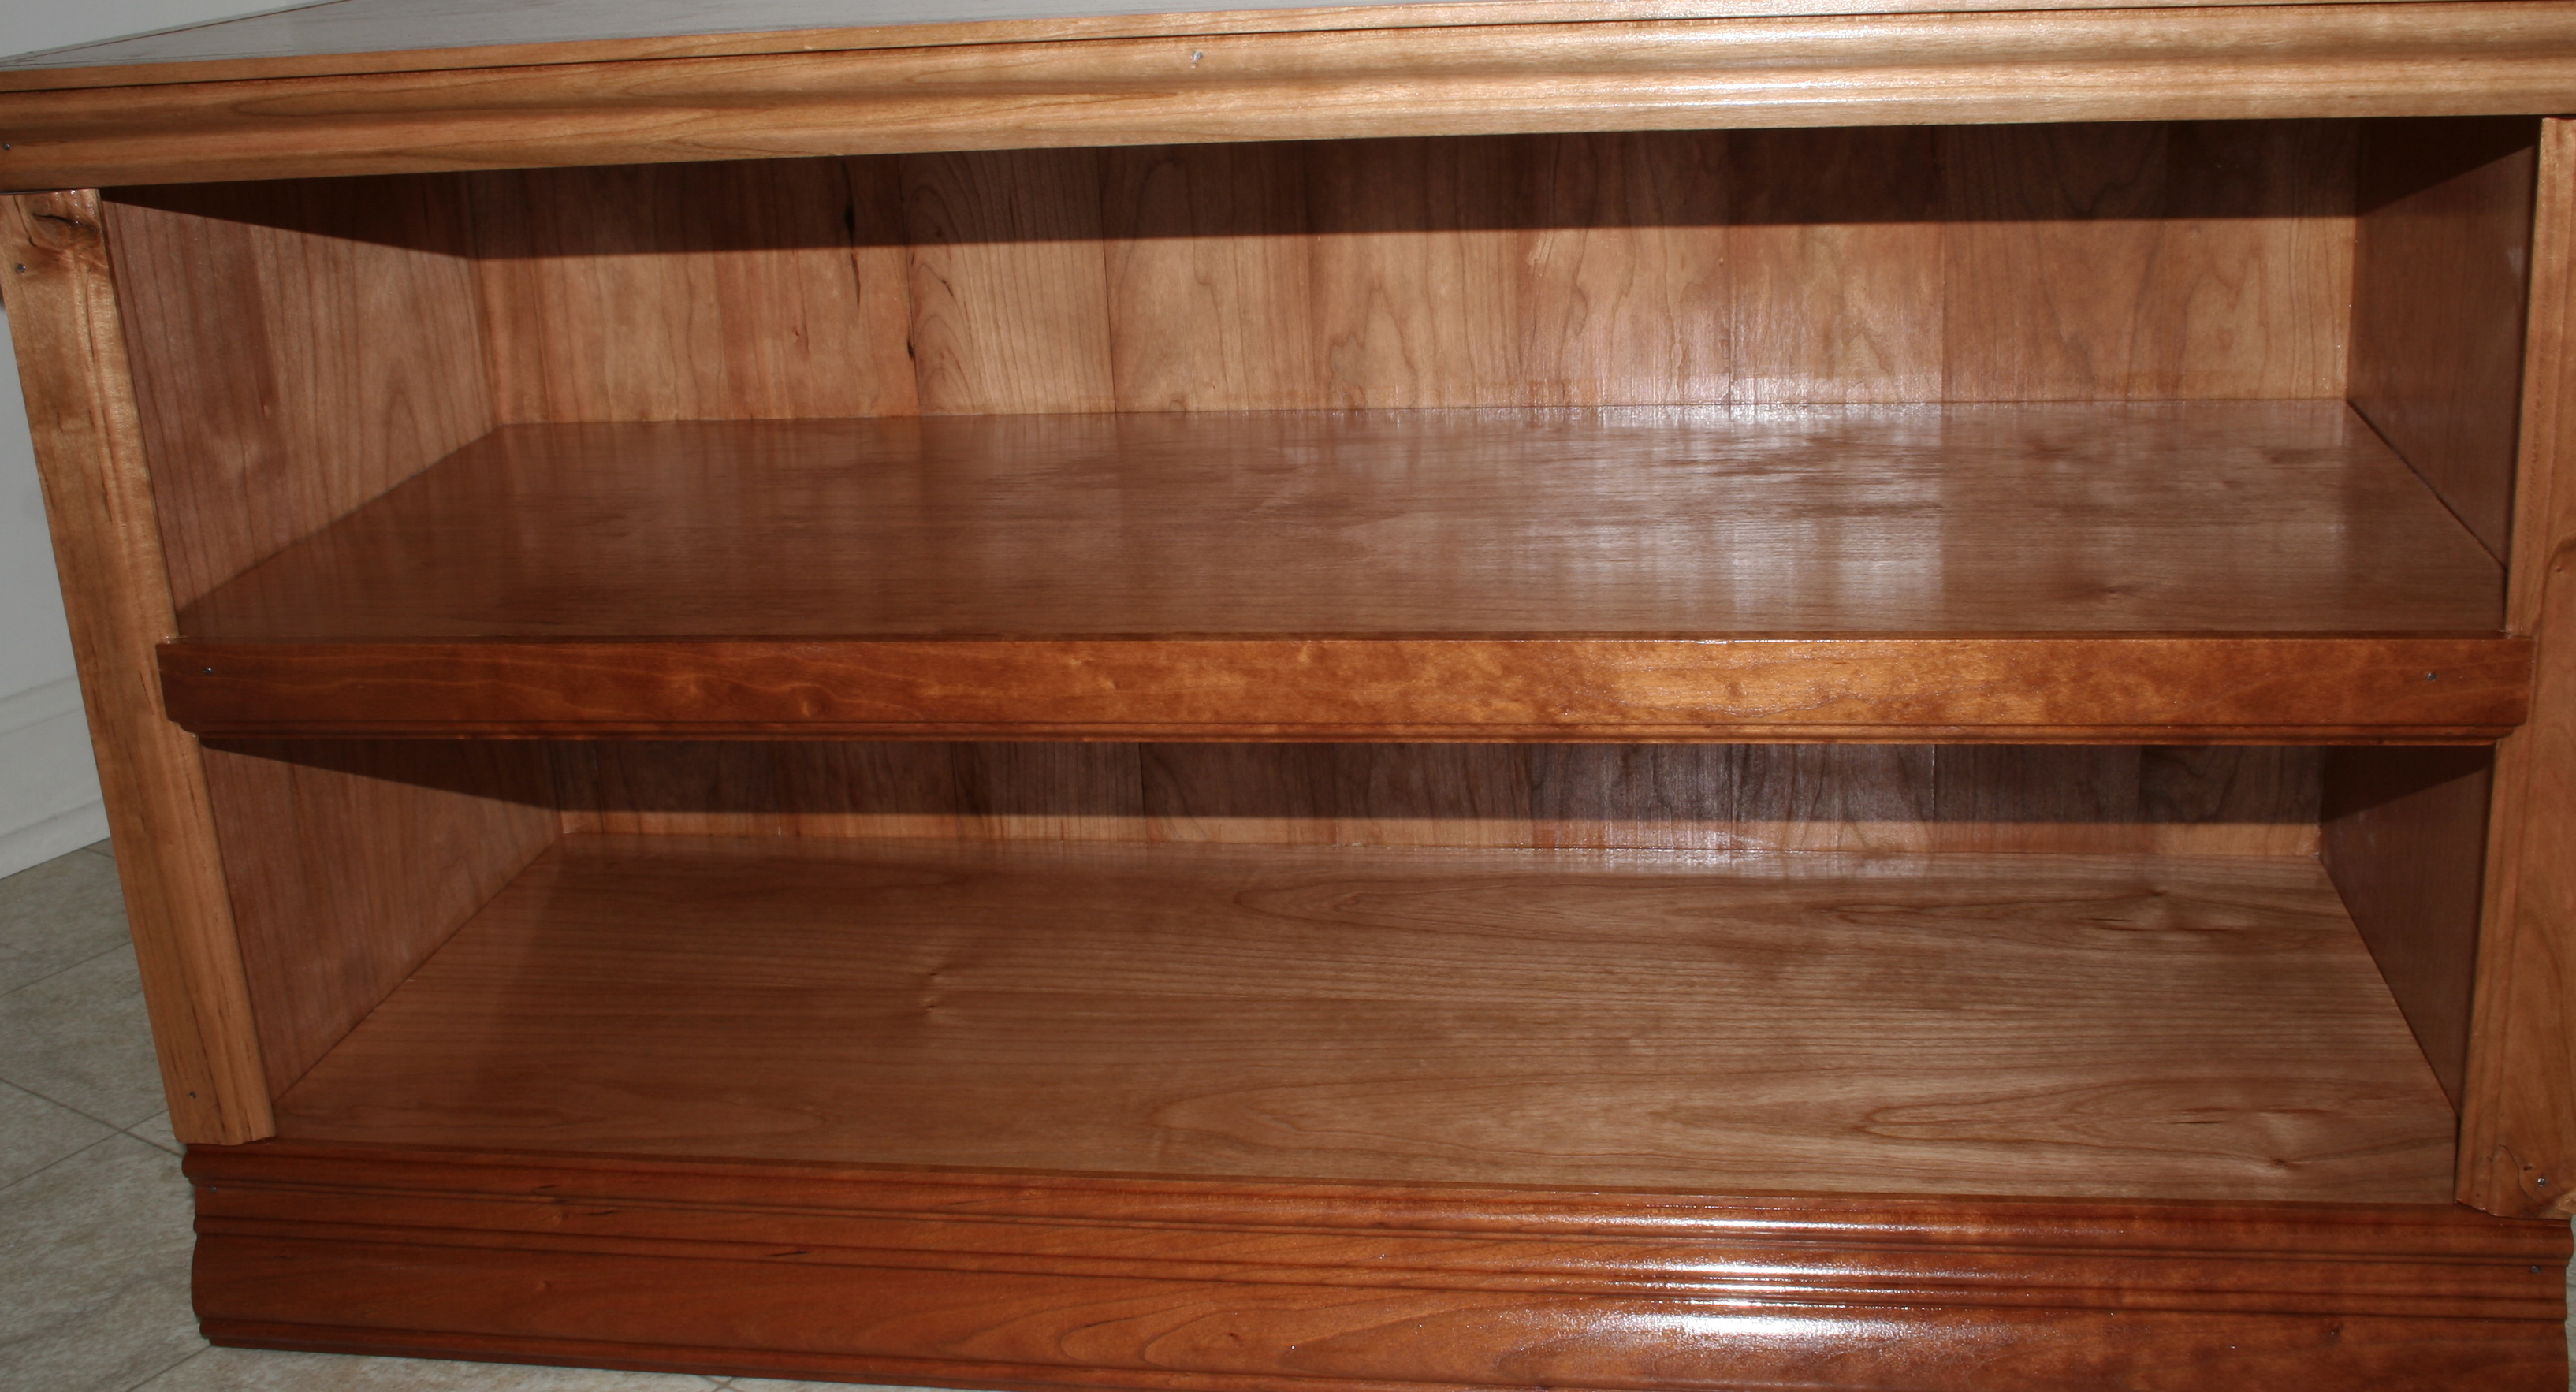
This is the mini version of the Tommy Bookcase. I am using this piece as a storage bench in the bathroom. I loved what we did with the Tommy Bookcase, so we made a mini and used the leftover trim and moulding to make this piece. I love cherry wood, but it can be very pricey. We used cherry plywood to save on costs.
Built from Plan(s)
Estimated Cost
$50
Estimated Time Investment
Afternoon Project (3-6 Hours)
Finish Used
I used a semi-gloss polyurethane finish on this piece. I sanded it down before I added it. I did 2 coats because this is in a bathroom and we were worried about spills on it. I did 1 coat, sanded, then applied the 2nd coat. The reason 2 pieces of trim look more red, is because those pieces of trim had aged for a longer time than the rest of the wood we used. That is something to consider when using cherry. It will age and turn this gorgeous red color. We love it!!
Recommended Skill Level
Intermediate
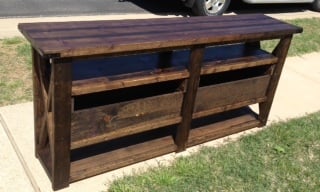
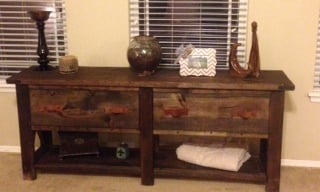
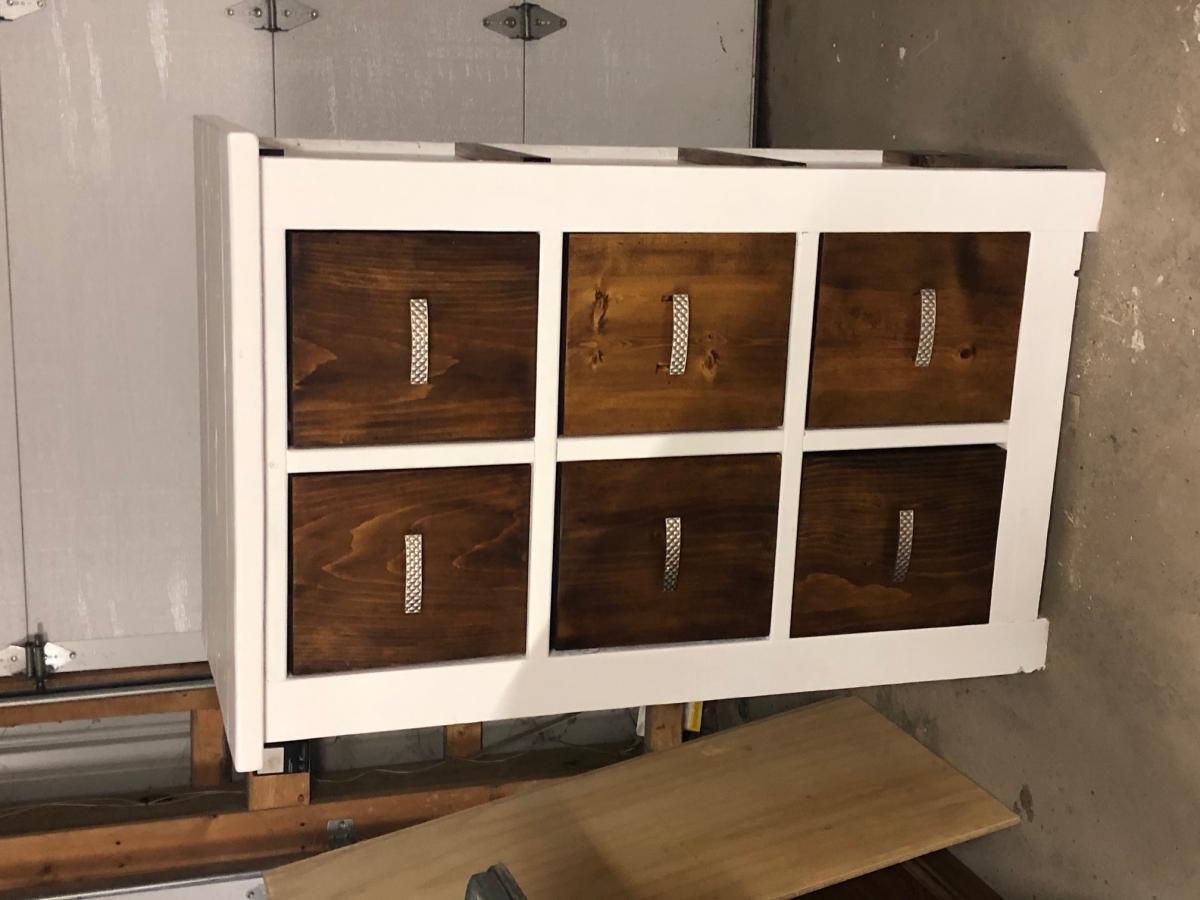
2 Rustic X consoles with drawers and one with an extra shelf
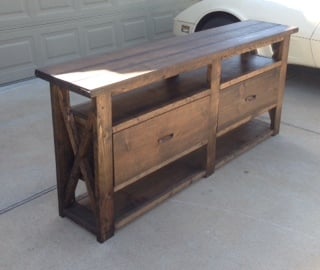
The one with the extra shelf is 3" taller than the one in the plan and I also took 3 inches from the bottom shelf as well as lowered it. The X's for the taller one were very challenging but turned out pretty good and I chose to use wood guides underneath instead of purchasing metal ones. the drawer fronts are 1x12's and sides are 1x8's. I used my router to cut a grove to hold the plywood bottom and added a support in the center. I have a dovetail joiner but haven't learned how to use it (hopefully will learn soon).
Overall I am very pleased with the way these turned out. I plan on making some with single drawers with the left over wood!
Thanks Ana I couldn't have done any of this had it not been for your site!!!

Built from Plan(s)
Estimated Cost
$120.00 each
Estimated Time Investment
Weekend Project (10-20 Hours)
Recommended Skill Level
Beginner
Comments

Old pallet wood, wine holders
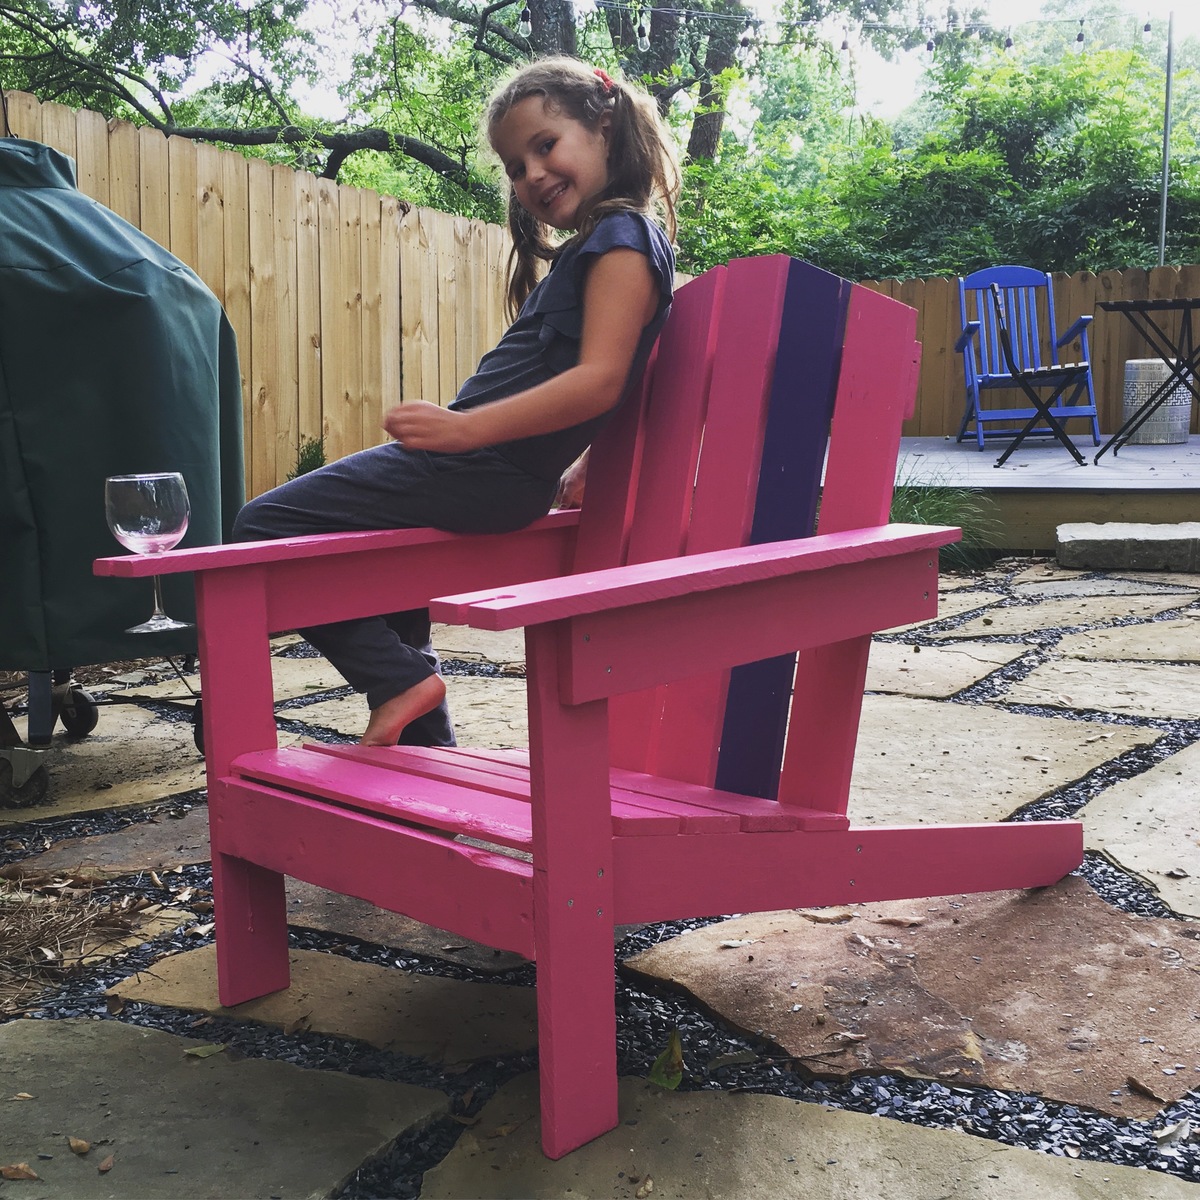
I had to make the back legs longer, since I used all pallet planks for this, threw me off a bit. And I made the arms an extra 5" long to notch in wine glass holders. If I do it again, I'll angle the back a bit more, but as is its pretty great. Guess who picked pink?
Estimated Cost
Free pallet planks and screws, $27 gallon of paint.
Estimated Time Investment
Weekend Project (10-20 Hours)
Finish Used
Satin latex outdoor paint.
Recommended Skill Level
Beginner
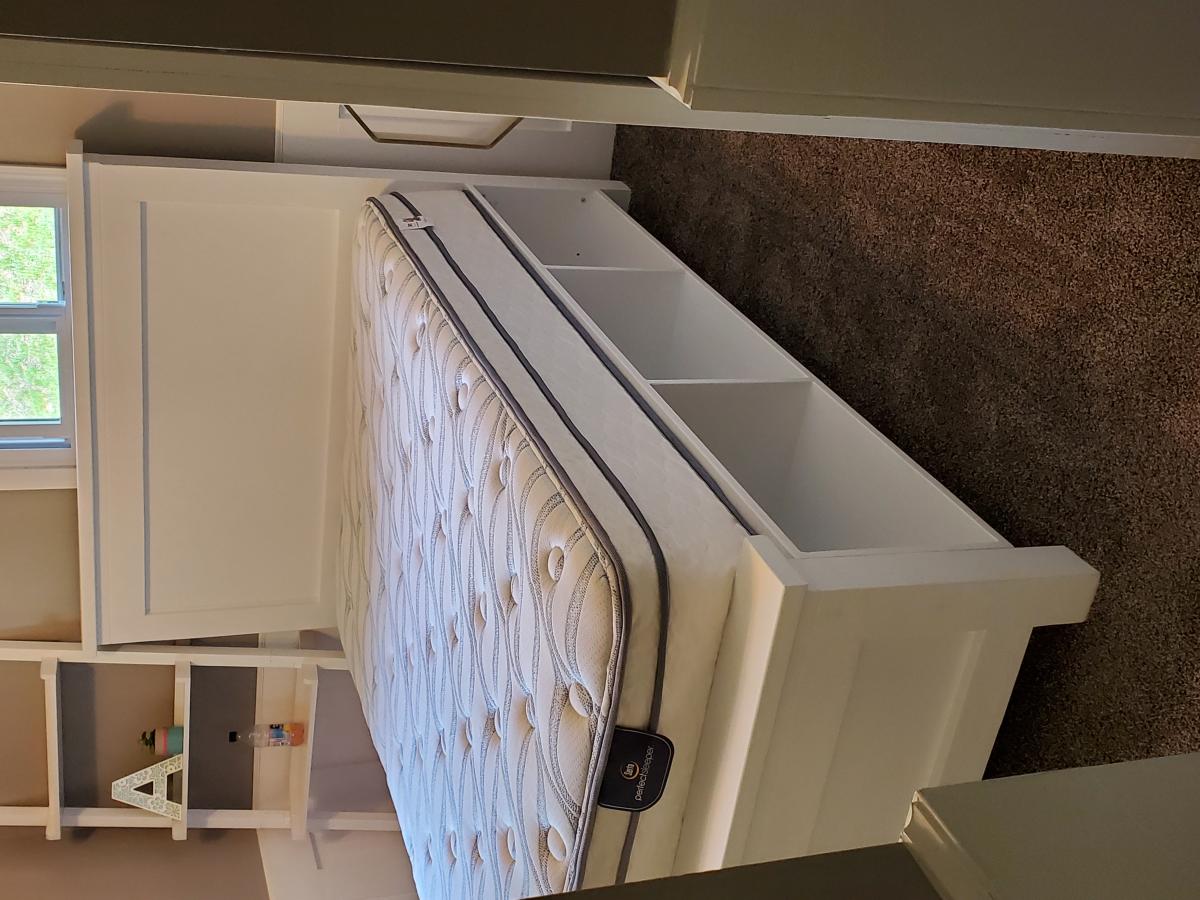
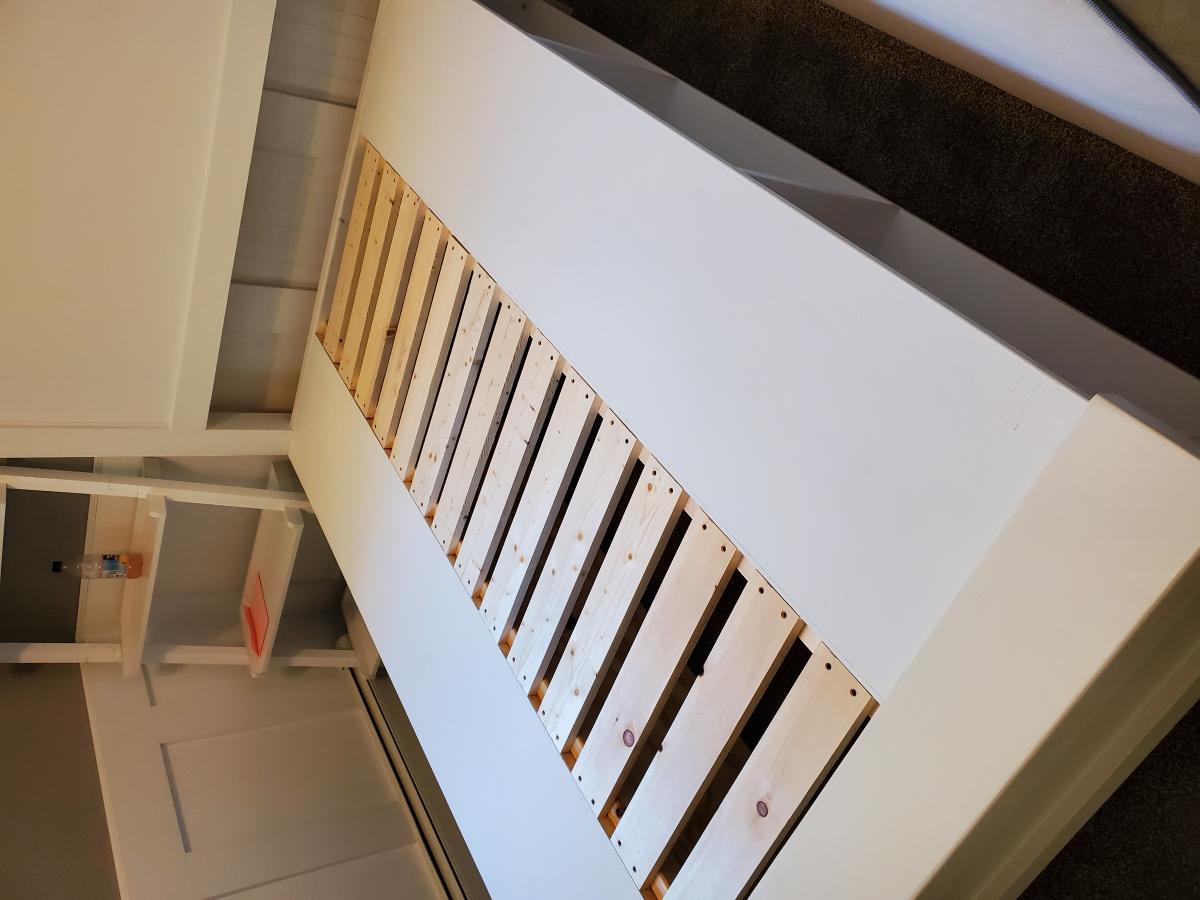
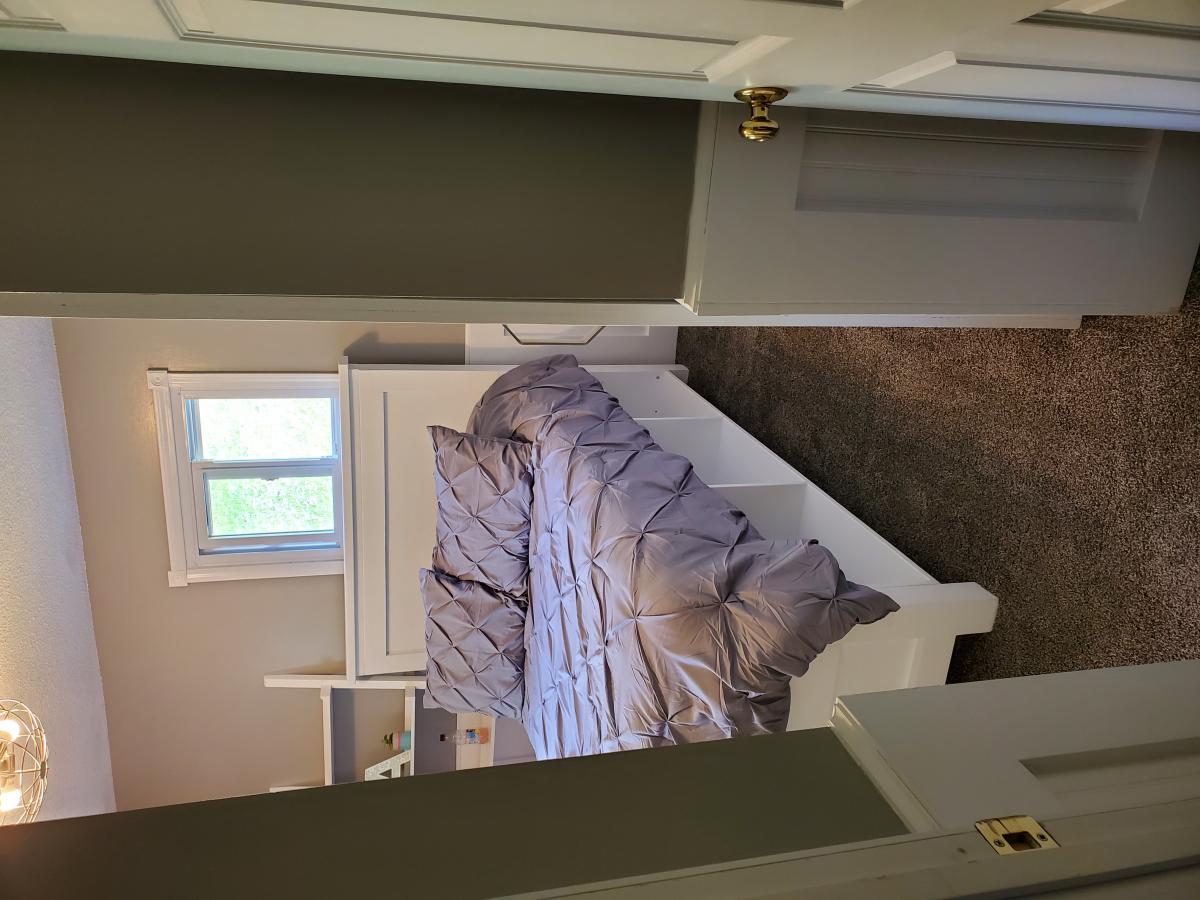
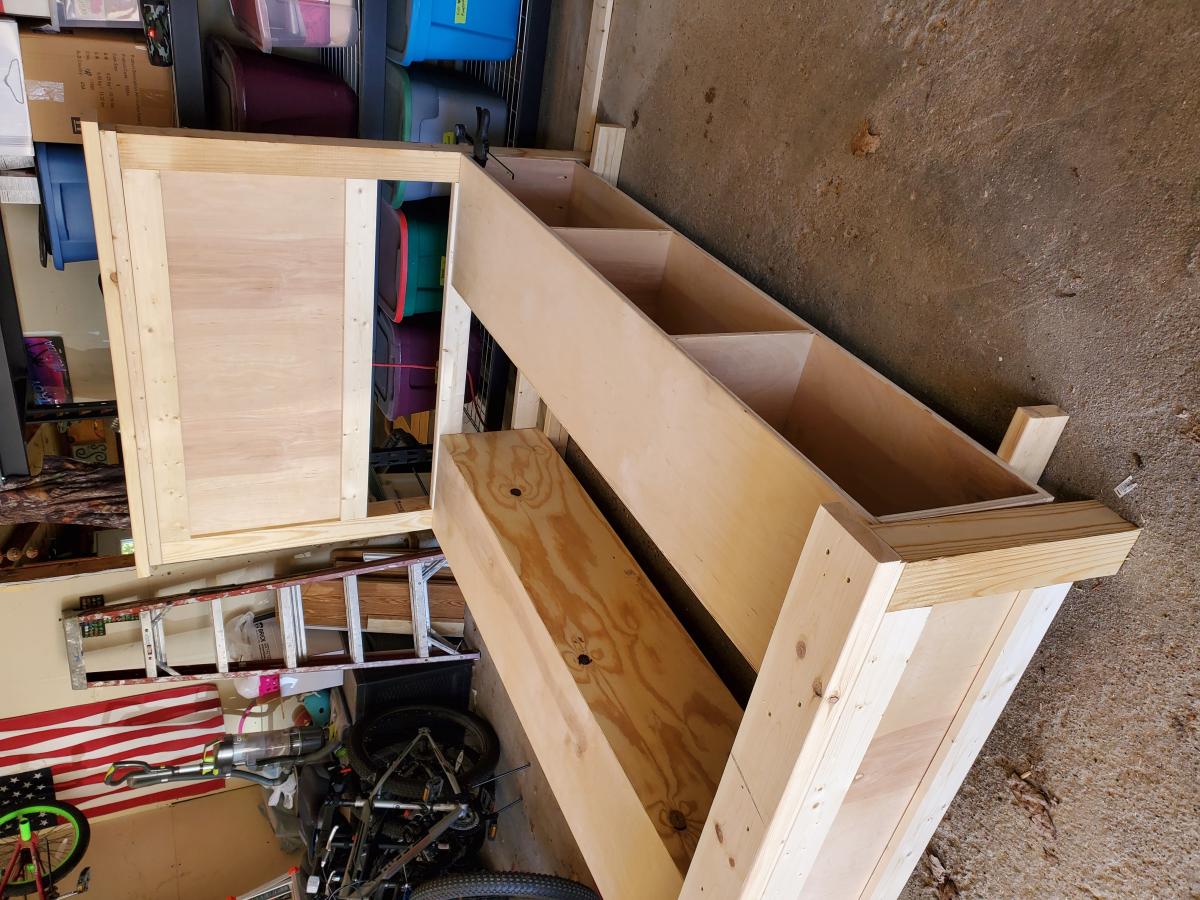
Farmhouse bed with storage full size

I built this bed for my daughters newly remodeled bedroom. It was overall pretty simple build. The plans were simple and easy to follow. I did add some center supports on the storage boxes under the center slats for added strength.

Built from Plan(s)
Estimated Cost
$200
Estimated Time Investment
Week Long Project (20 Hours or More)
Finish Used
White Valspar satin gloss
Recommended Skill Level
Beginner
Turned Leg Dining Table
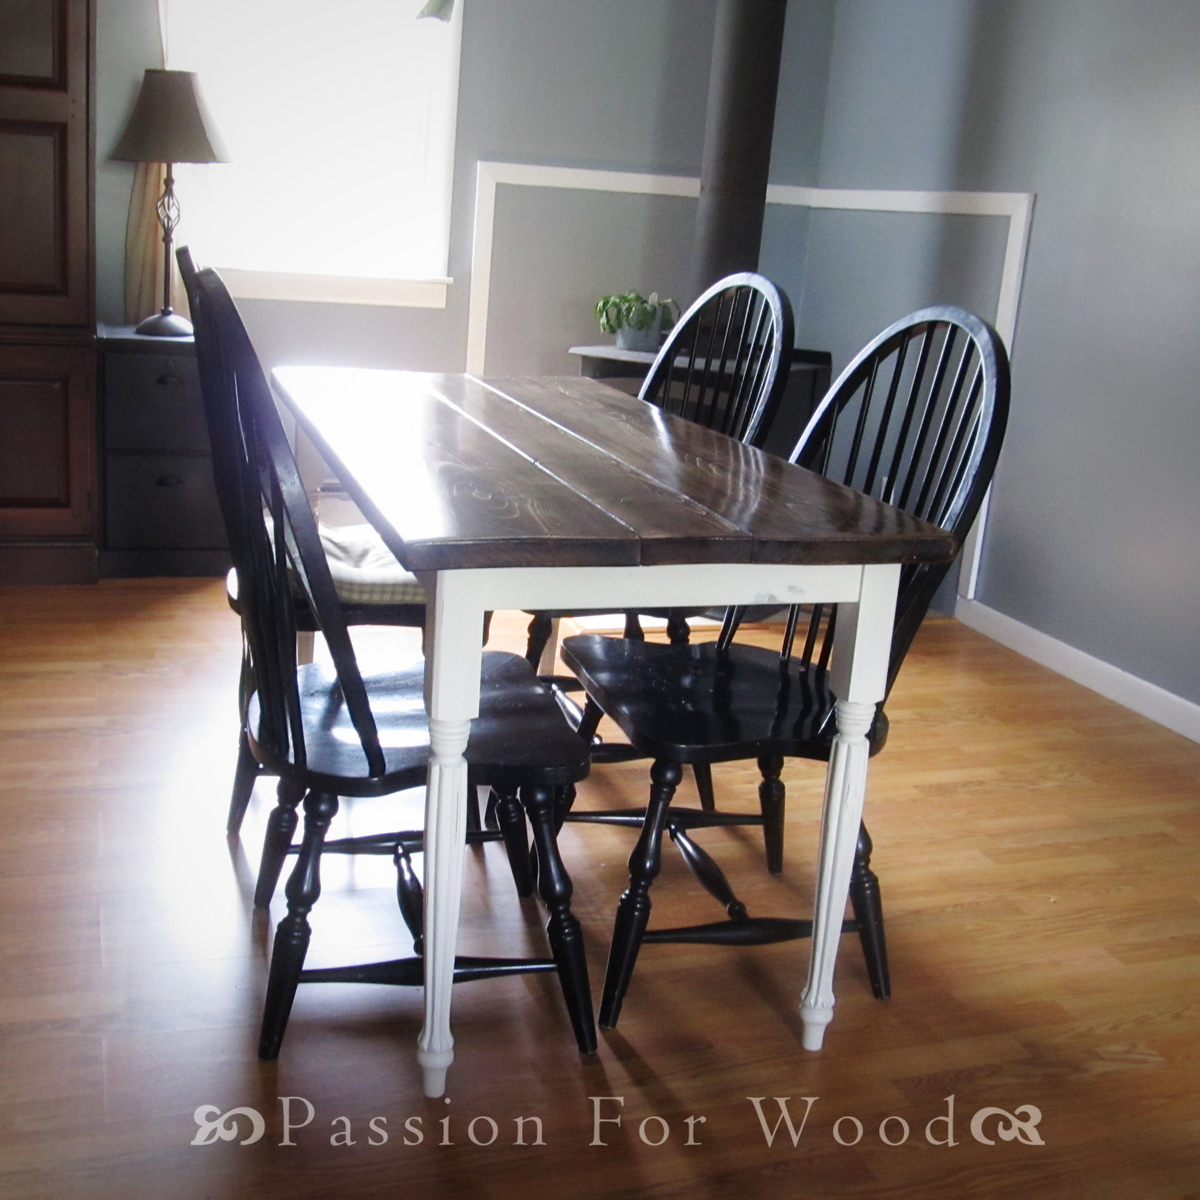
I made another turned leg table... this time on accident! Lots of finishing details on my blog. http://whitneysworkshop.blogspot.com/2012/07/the-accidental-table.html
Built from Plan(s)
Estimated Cost
Under $100
Estimated Time Investment
Weekend Project (10-20 Hours)
Recommended Skill Level
Intermediate
Comments
Fri, 07/20/2012 - 05:28
Nice rescue job on the legs
Nice rescue job on the legs for both the find and the finish. They turned out very nice.
A dream come true!

After searching for many months to find the perfect potting bench, it was clear I would have to create it myself. We finally used my moms old photography sink, that was lonely in our shed, to good use. My hubby and I just adjusted the dimensions to drop in the sink. It turned out so much better than I could have ever expected.
Estimated Time Investment
Day Project (6-9 Hours)
Recommended Skill Level
Beginner
Comments
Tue, 12/27/2016 - 11:37
Potting Bench
That is so nice! Looks great and I bet it is super handy to boot.
Outdoor Sectional
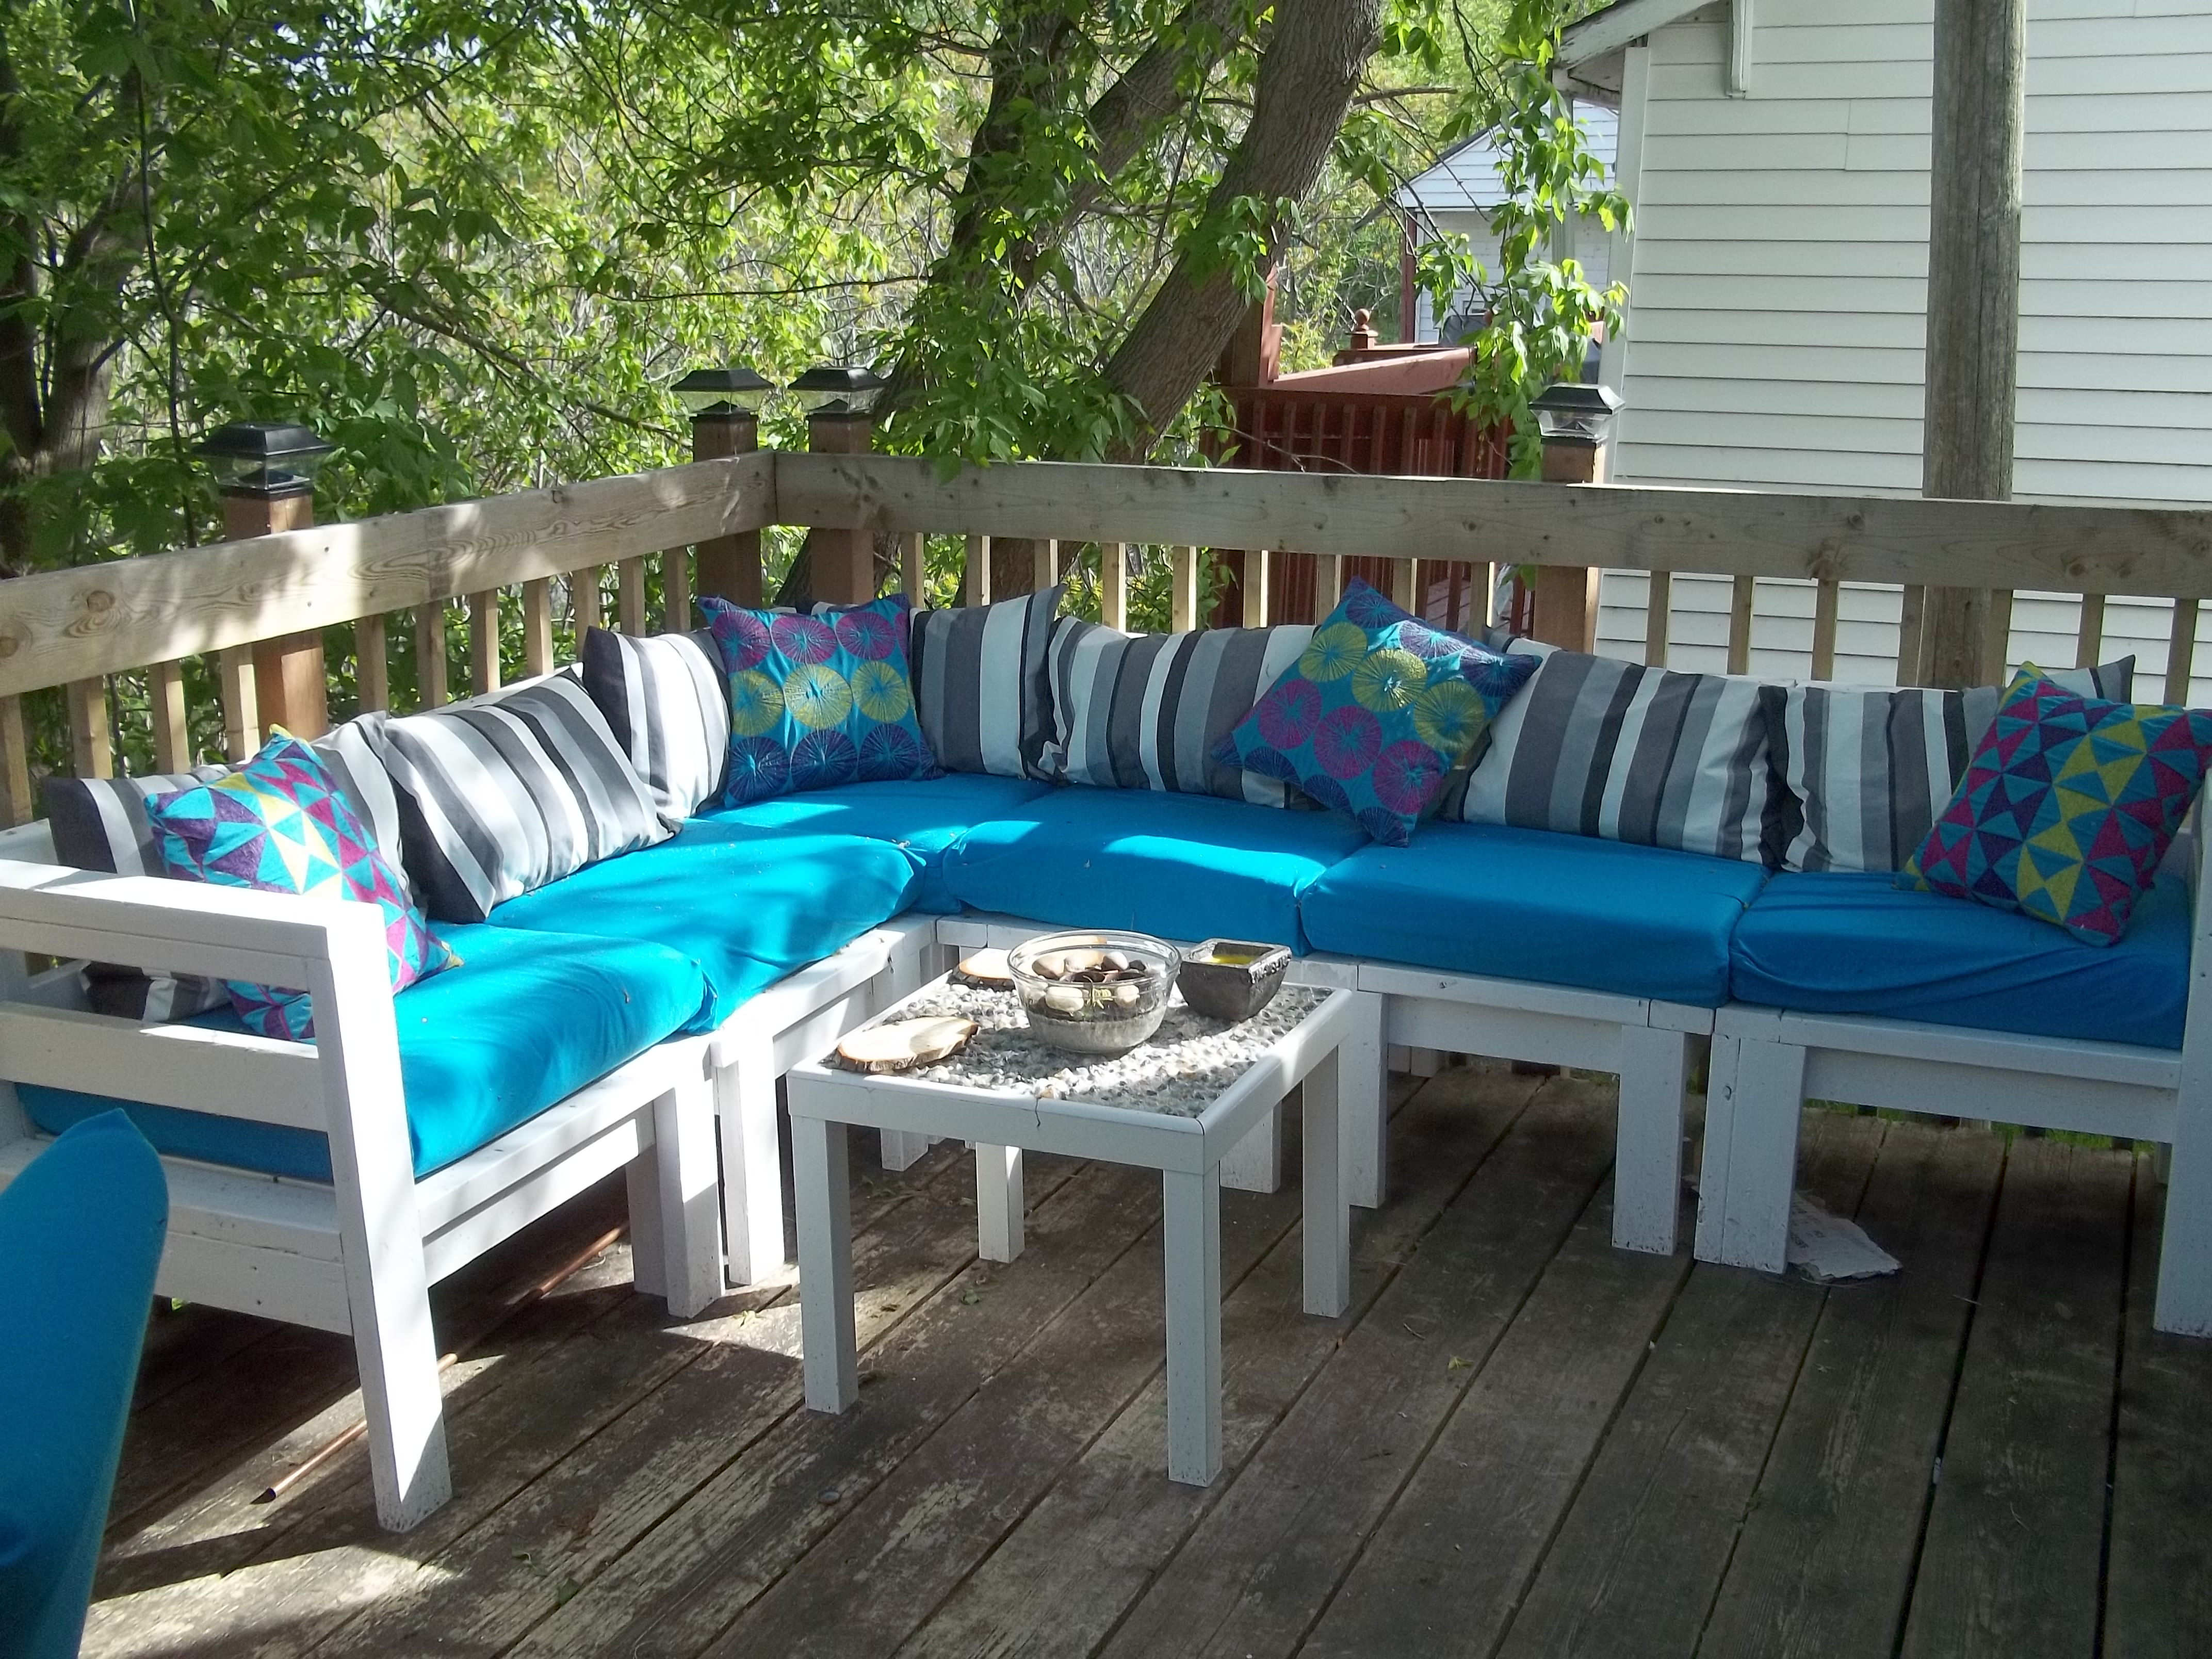
We were inspired when we saw Ana's Outdoor Sectional on Pinterest and after checking out the site we decided to build ours using the modified plans with 2 x 4s as it was much more cost effective. It was a really fun weekend project for my husband and I and not difficult at all.
Built from Plan(s)
Recommended Skill Level
Beginner
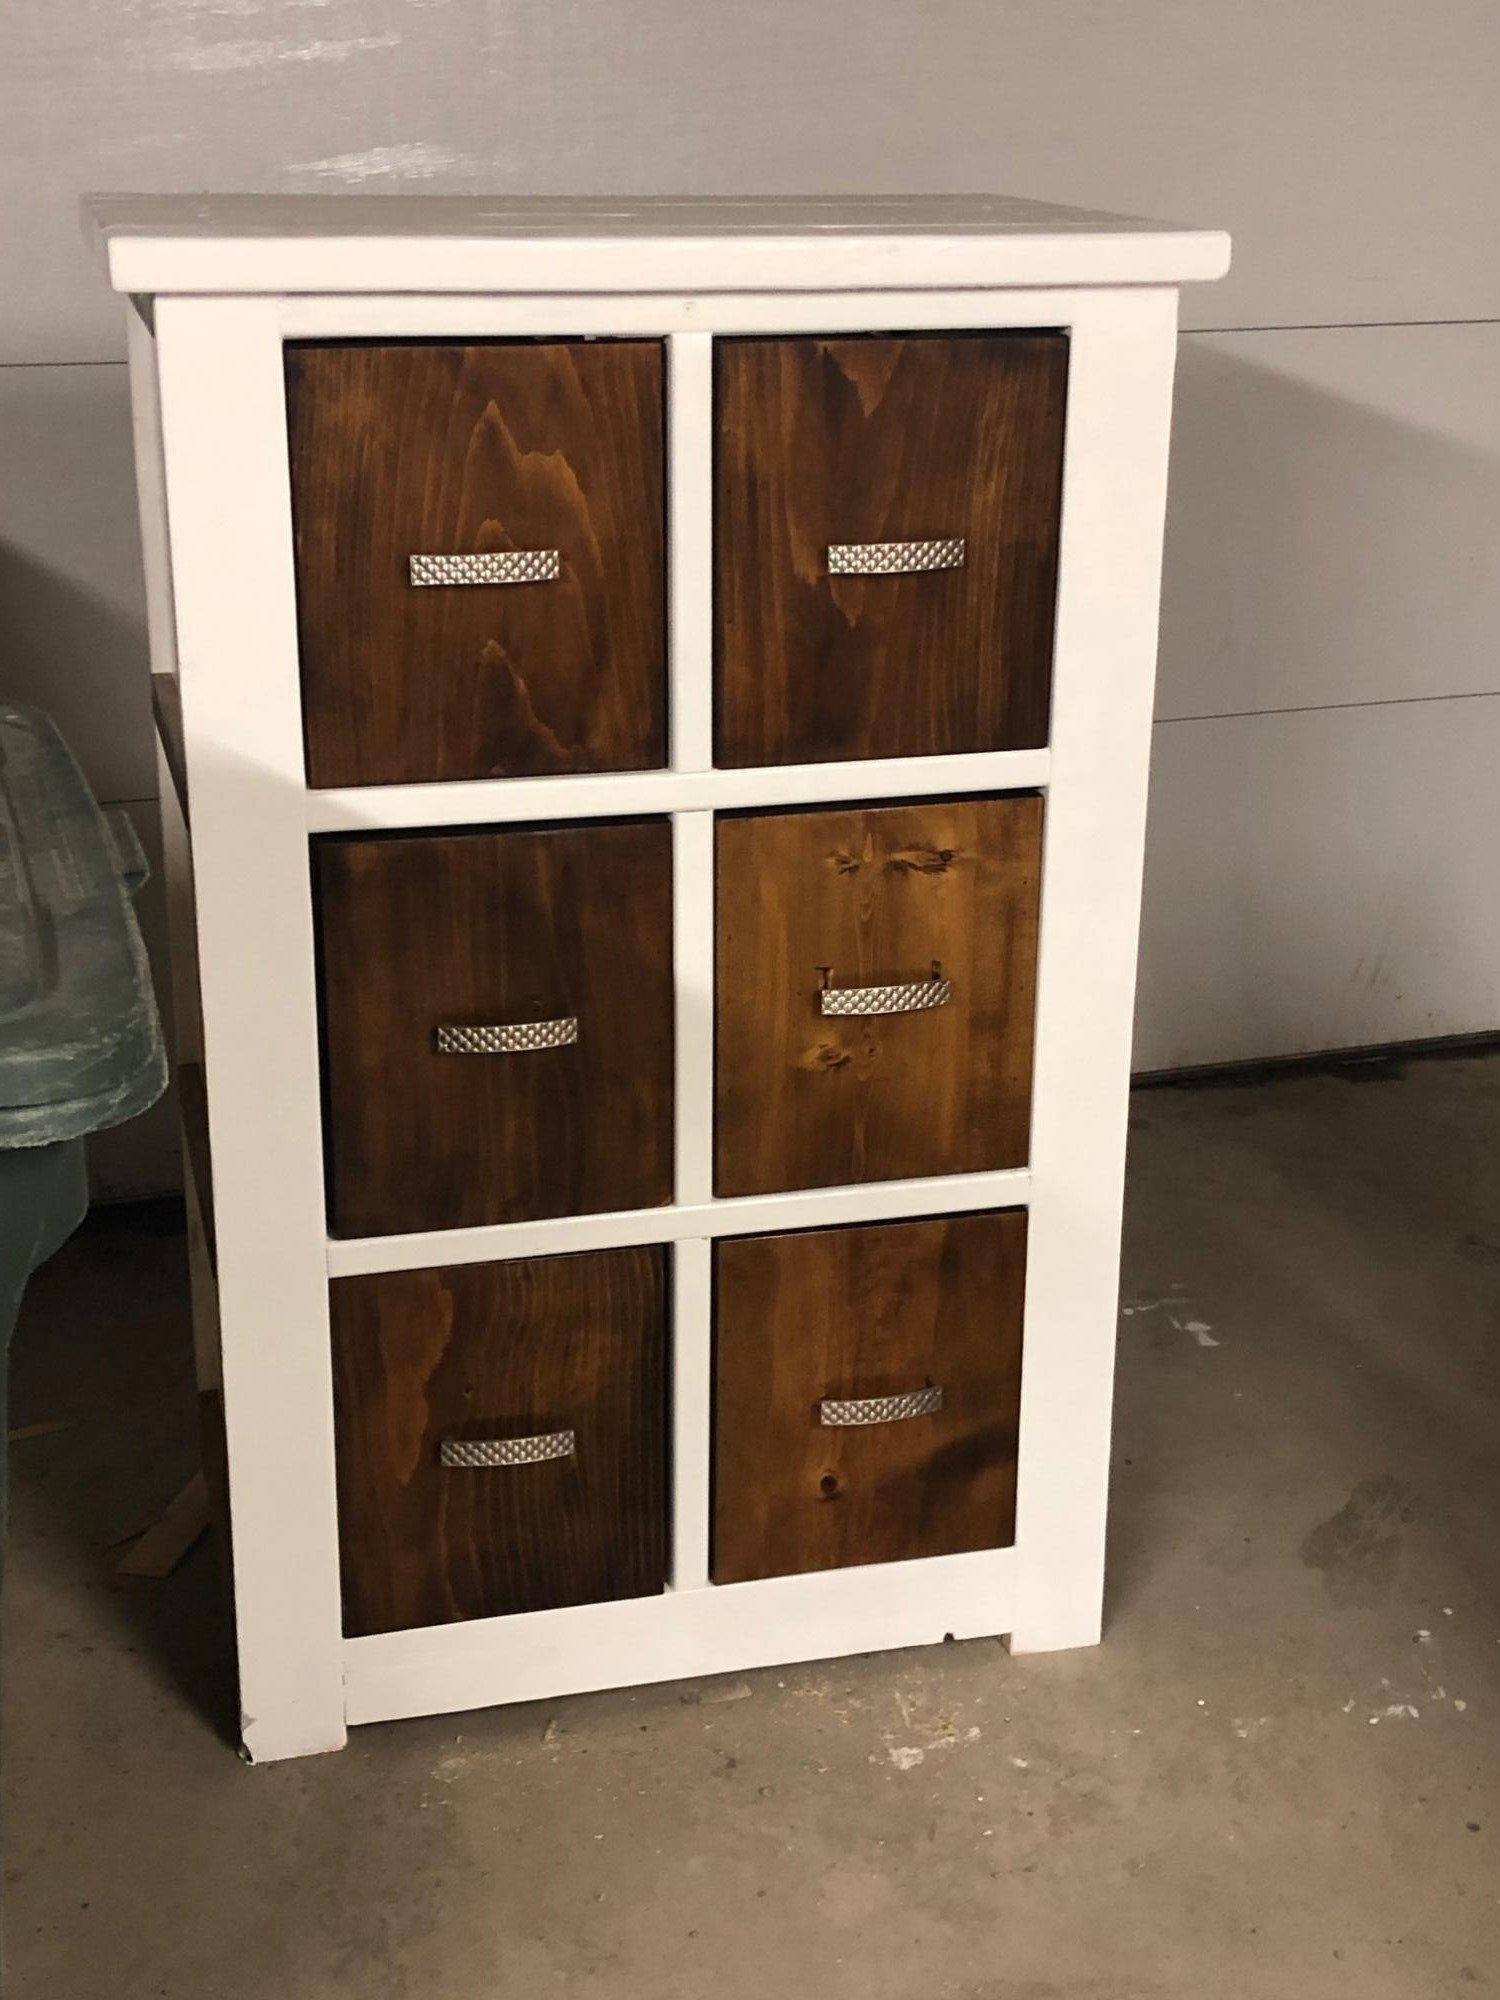
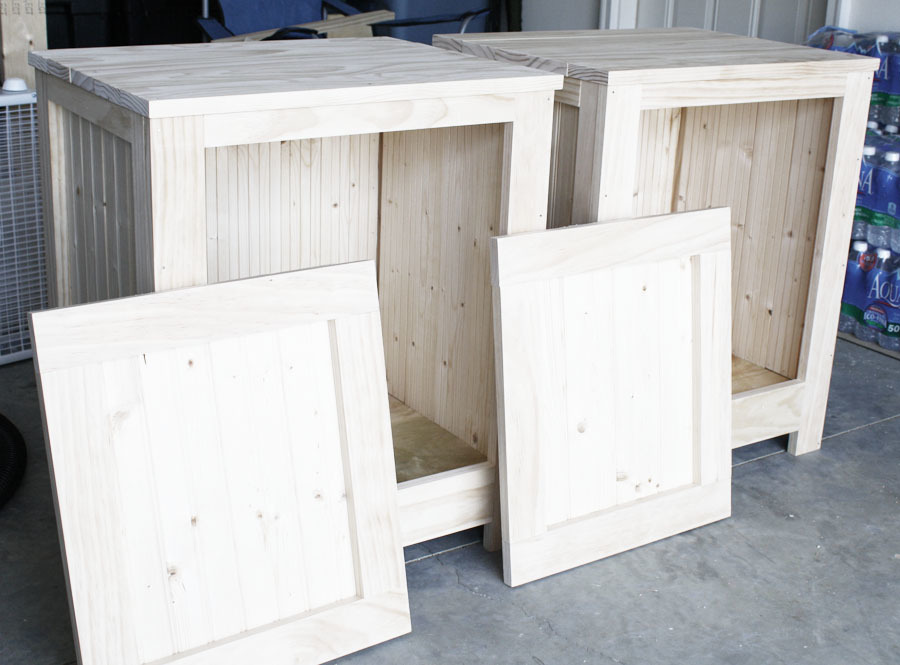
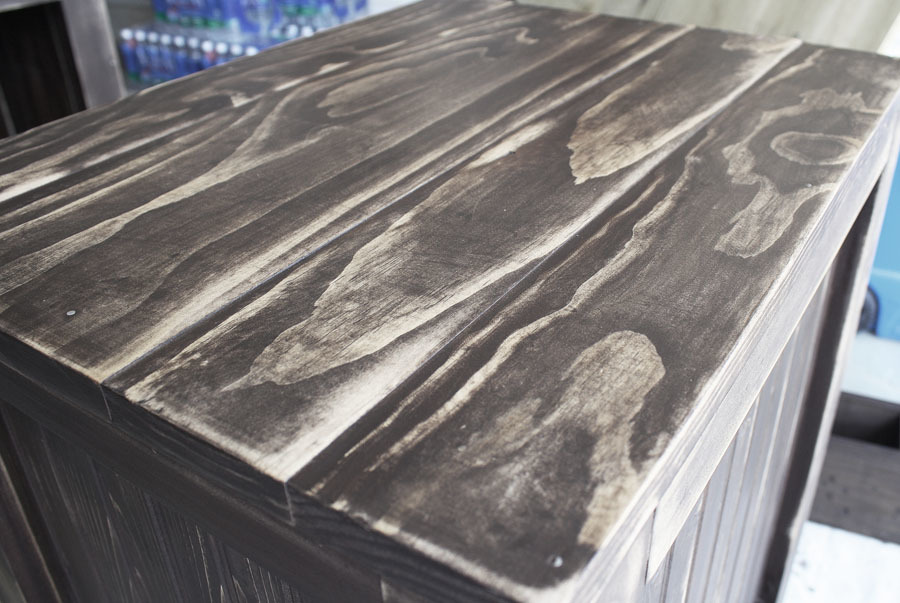
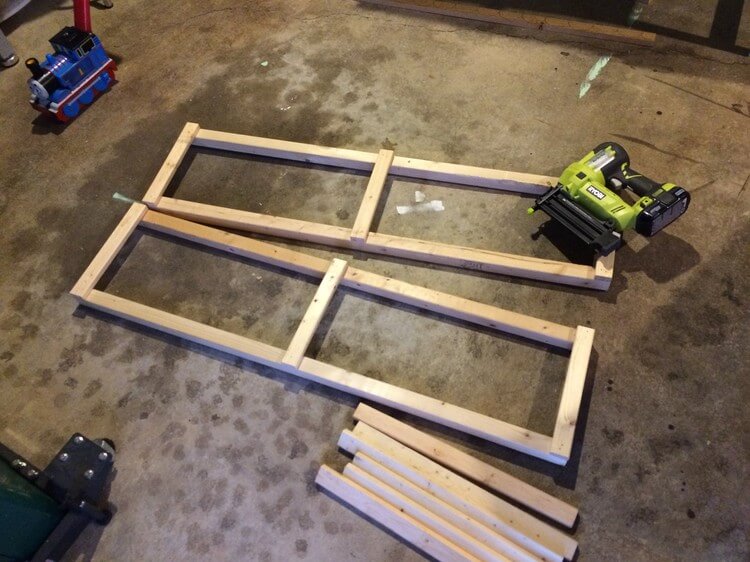
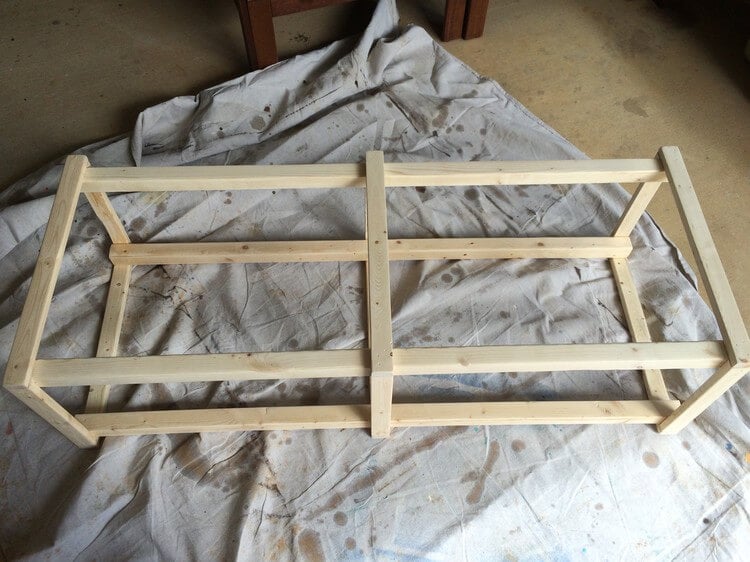
Kentwood Nightstands
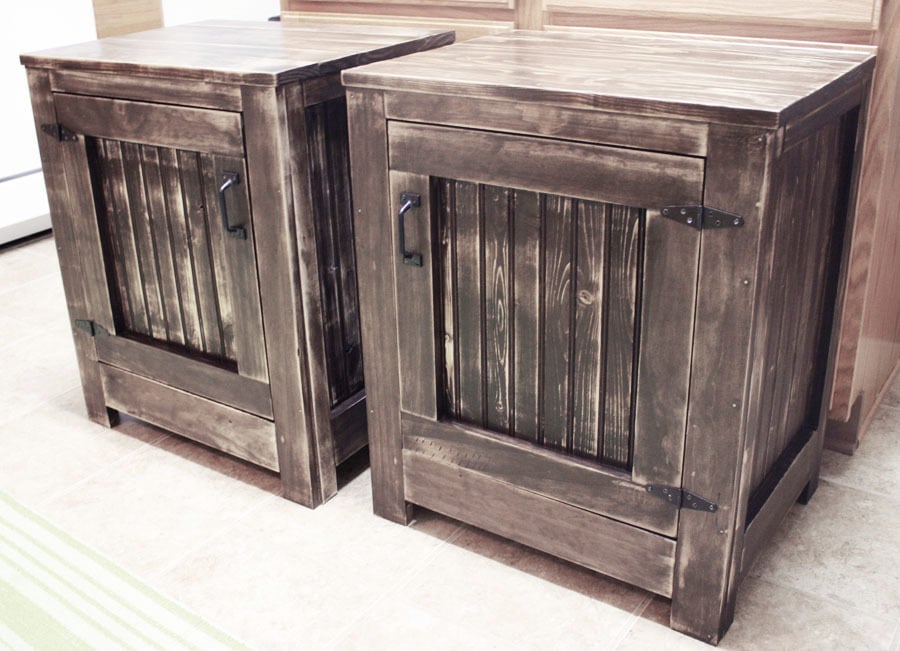
I really enjoyed making these nightstands (I made a pair). They were pretty easy to make, and I'm 7 months pregnant! I highly recommend the Kreg Jig - they made building these nightstands super easy and efficient. They're really sturdy too! If I can build them, anyone can! I'm still unsure about the finish; I may sand them down again and re-stain them a different color in the future.
Check out my blog link for the full play-by-play!
Built from Plan(s)
Estimated Cost
$70 per table
Estimated Time Investment
Weekend Project (10-20 Hours)
Finish Used
Rustoleum Ultimate Wood Stain in Dark Walnut, sanded down with 60 grit sandpaper and distressed, followed with 3 coats of Rustoleum Satin Polyurethane.
Recommended Skill Level
Beginner
Comments
Tue, 05/20/2014 - 13:33
Really Nice.
The finish is awesome, have been searchin around for some inspiration for the next project and just found it! great job and thanks!
-Justin

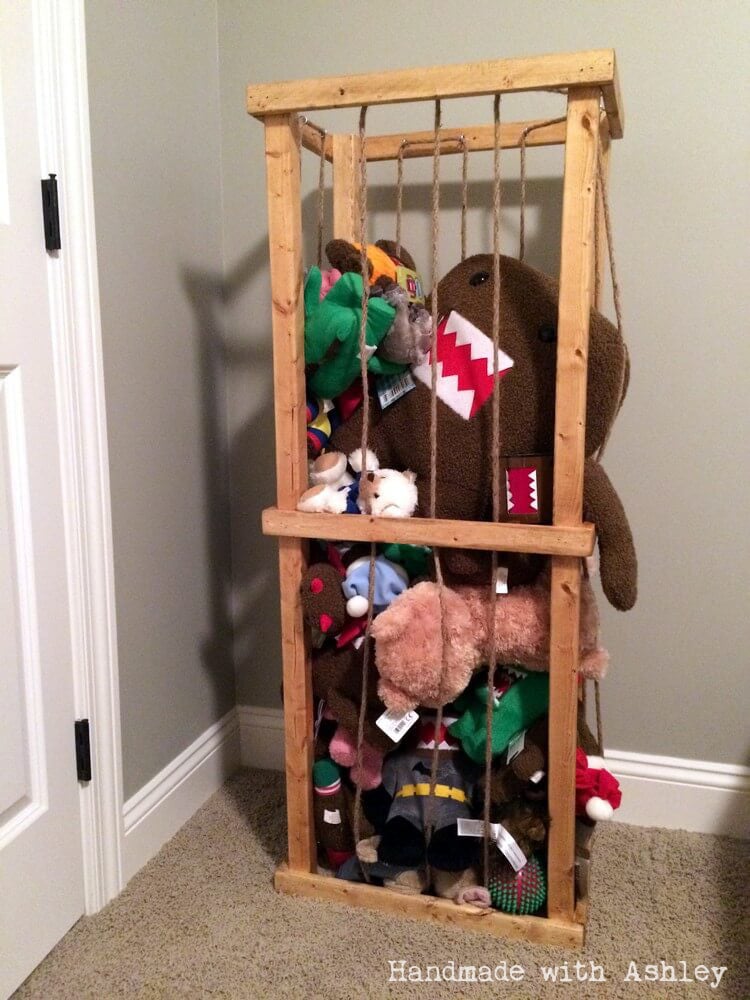
DIY Stuffed Animal Zoo Tower

This is my second stuffed animal zoo tower. This time around I used cheap 2x2 furring strips. Not the best pick of lumber, but it gets the job done well. :)
Built from Plan(s)
Estimated Cost
$30
Estimated Time Investment
Afternoon Project (3-6 Hours)
Finish Used
Watco Danish Oil (Medium Walnut)
Recommended Skill Level
Beginner
Chaise Lounge

Ana White inspired chaise lounge......
Built from Plan(s)
Finish Used
Clear Thompson waterseal
Fancy X Farmhouse table

This is all cedar with 6 coats of Urethane. Very nice project to undertake..
Estimated Time Investment
Day Project (6-9 Hours)
Finish Used
6 coats of Uurethane sanded between each coat.
Recommended Skill Level
Intermediate
Comments

Fri, 09/05/2014 - 16:06
Thank you!
Thank you Reshhia! I apprectiate your comments! Thank you for visiting our site and happy building!!
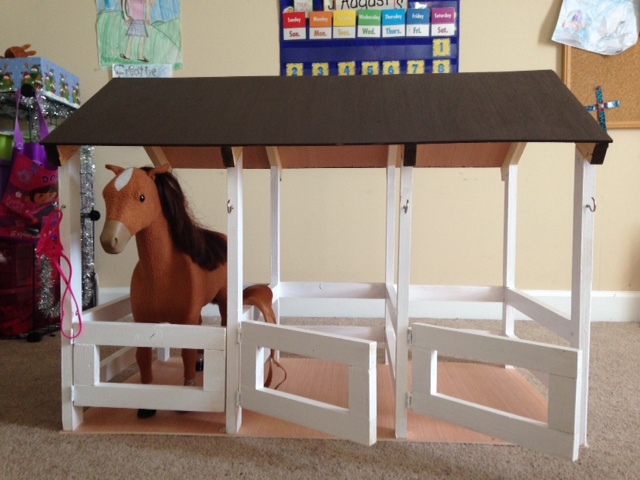
3-Stall Horse Stable
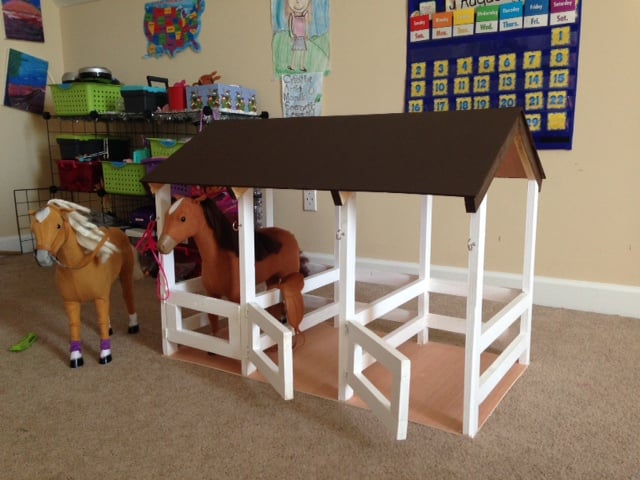
This was a Christmas gift for our three girls. They each have an American Girl-like horse. I saw all the stables in the brag section with double stalls. But I decided to make it into a triple stall instead. It didn't add much to the cost of the project and only took a little longer to complete.
I added some hooks on the outside of the stalls so they could hang the bridle. Our girls love it.
Estimated Cost
$80
Estimated Time Investment
Day Project (6-9 Hours)
Finish Used
I used a dark wood stain and white paint to finish the color.
Recommended Skill Level
Beginner
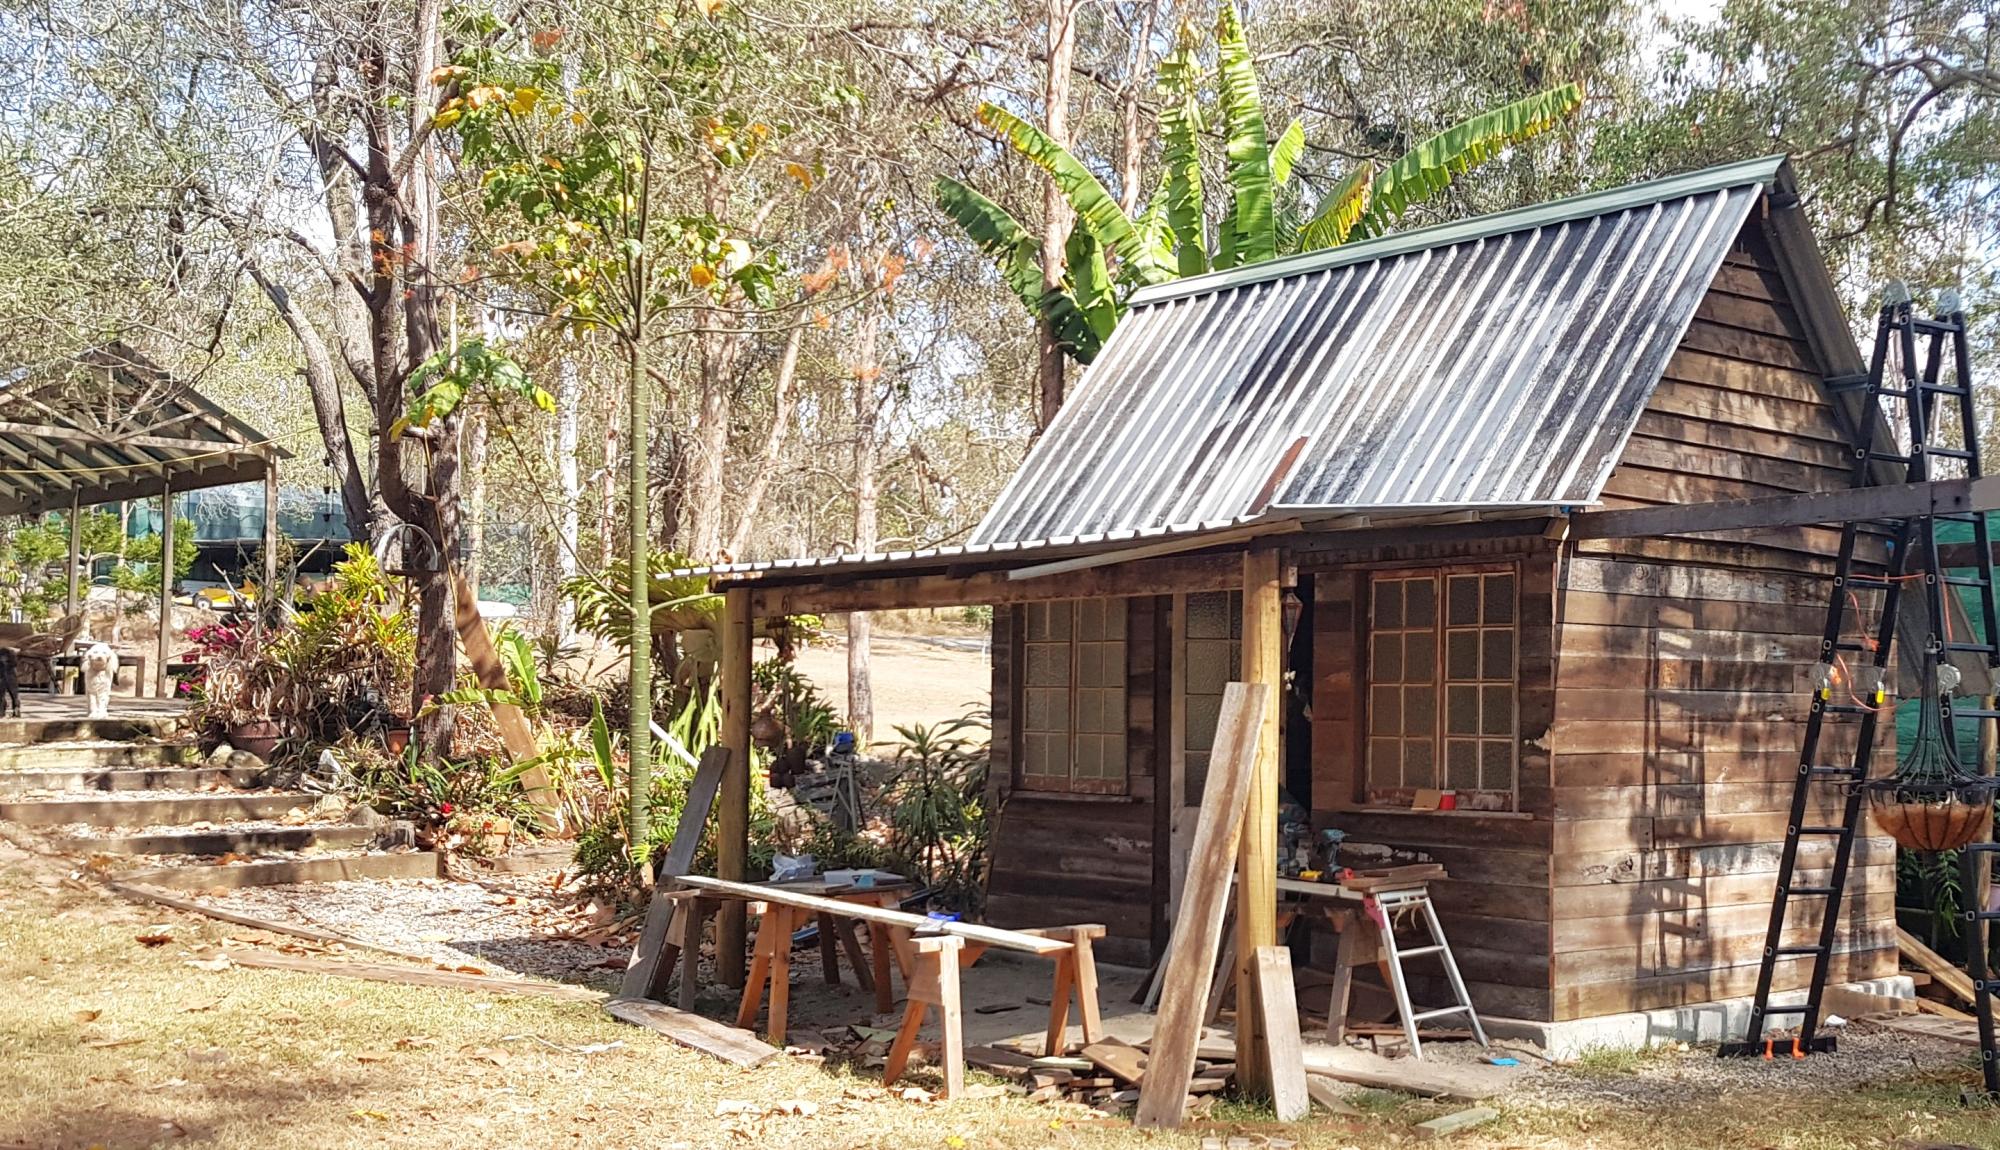
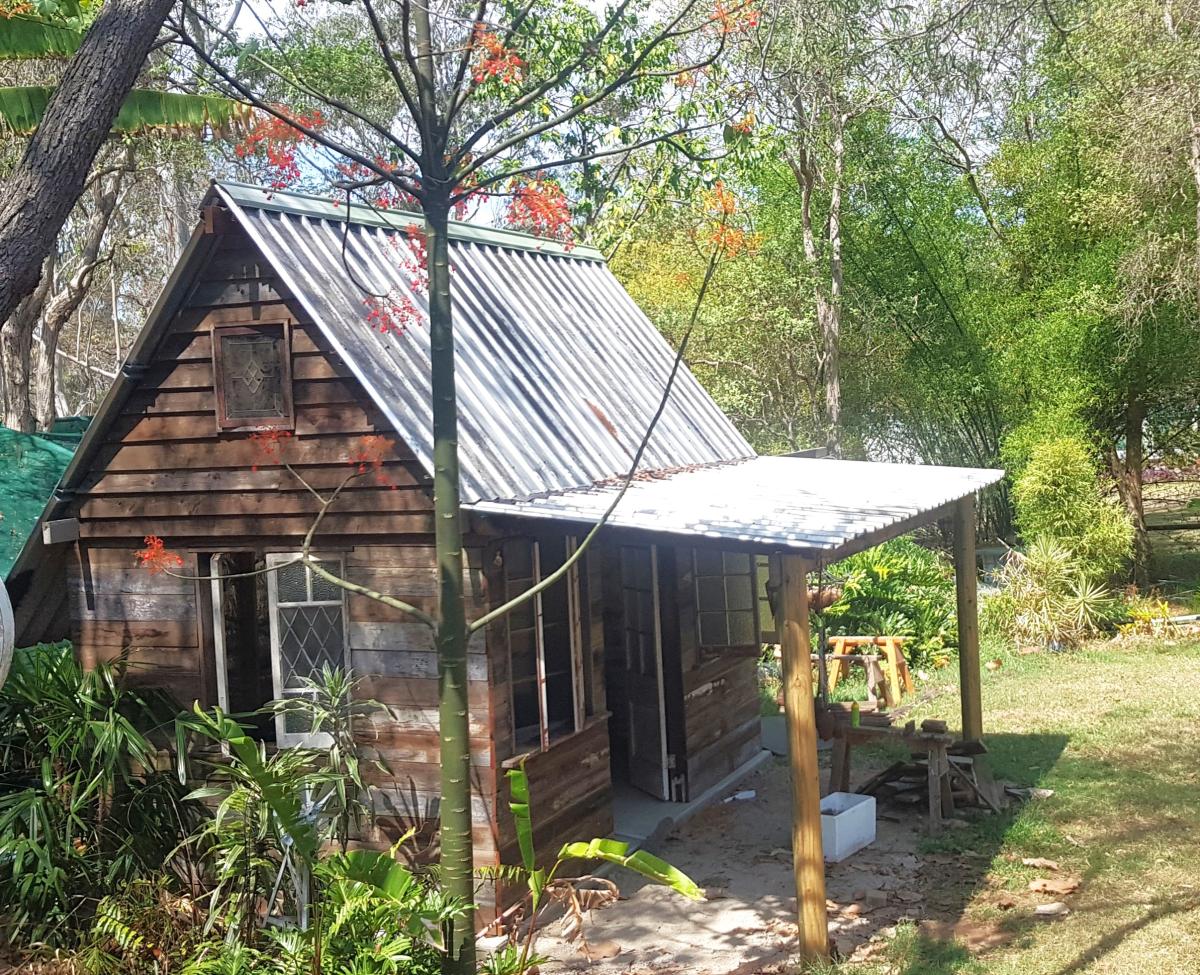
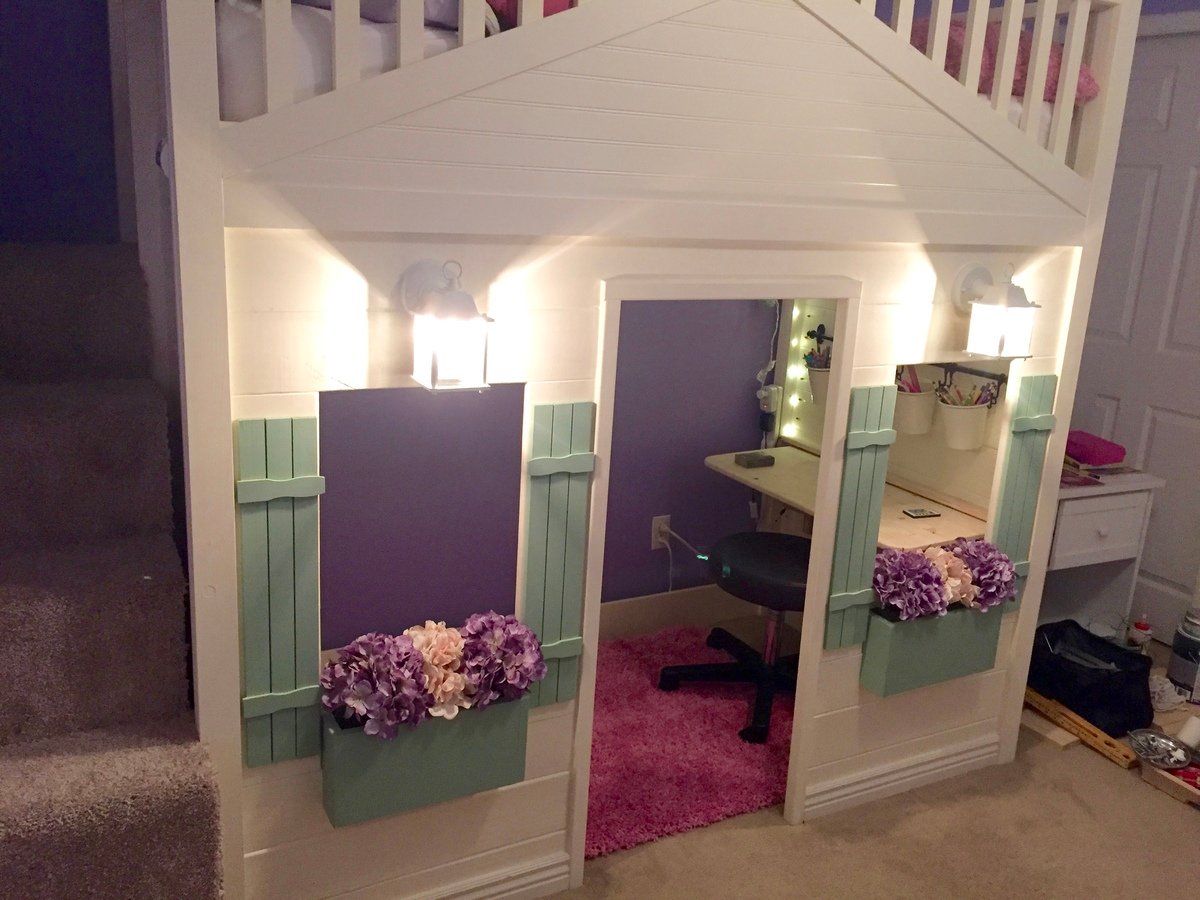
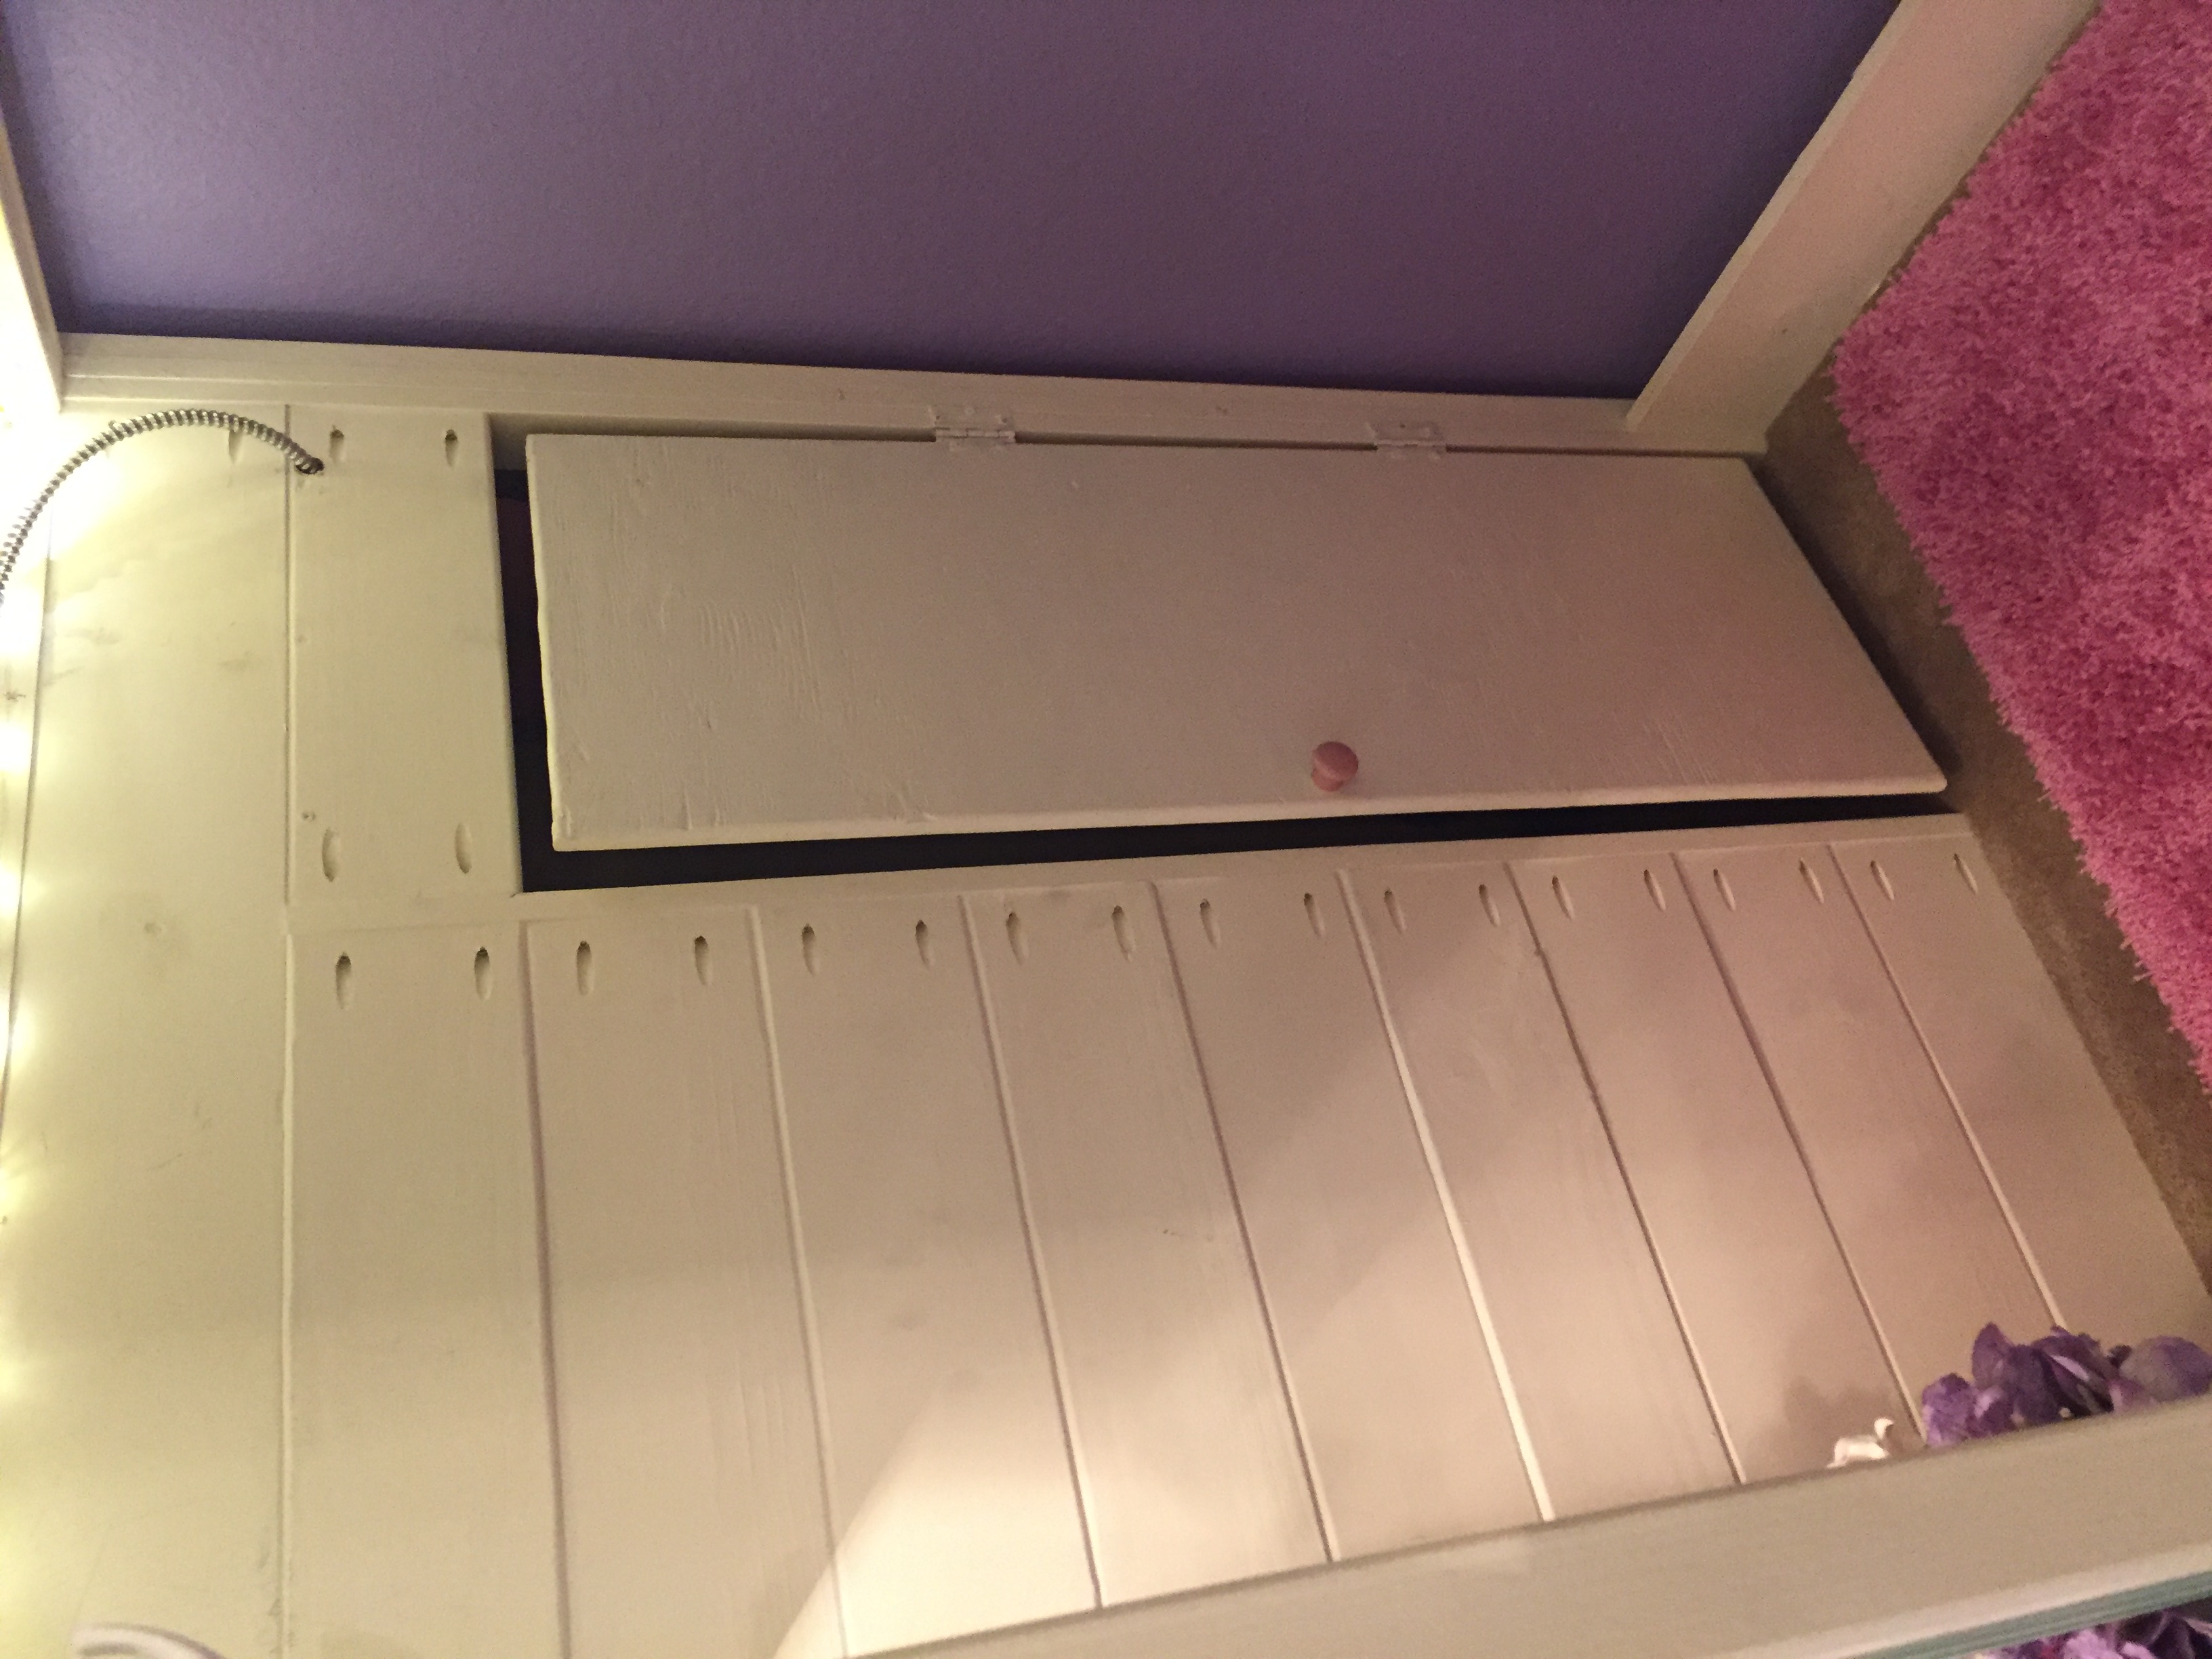
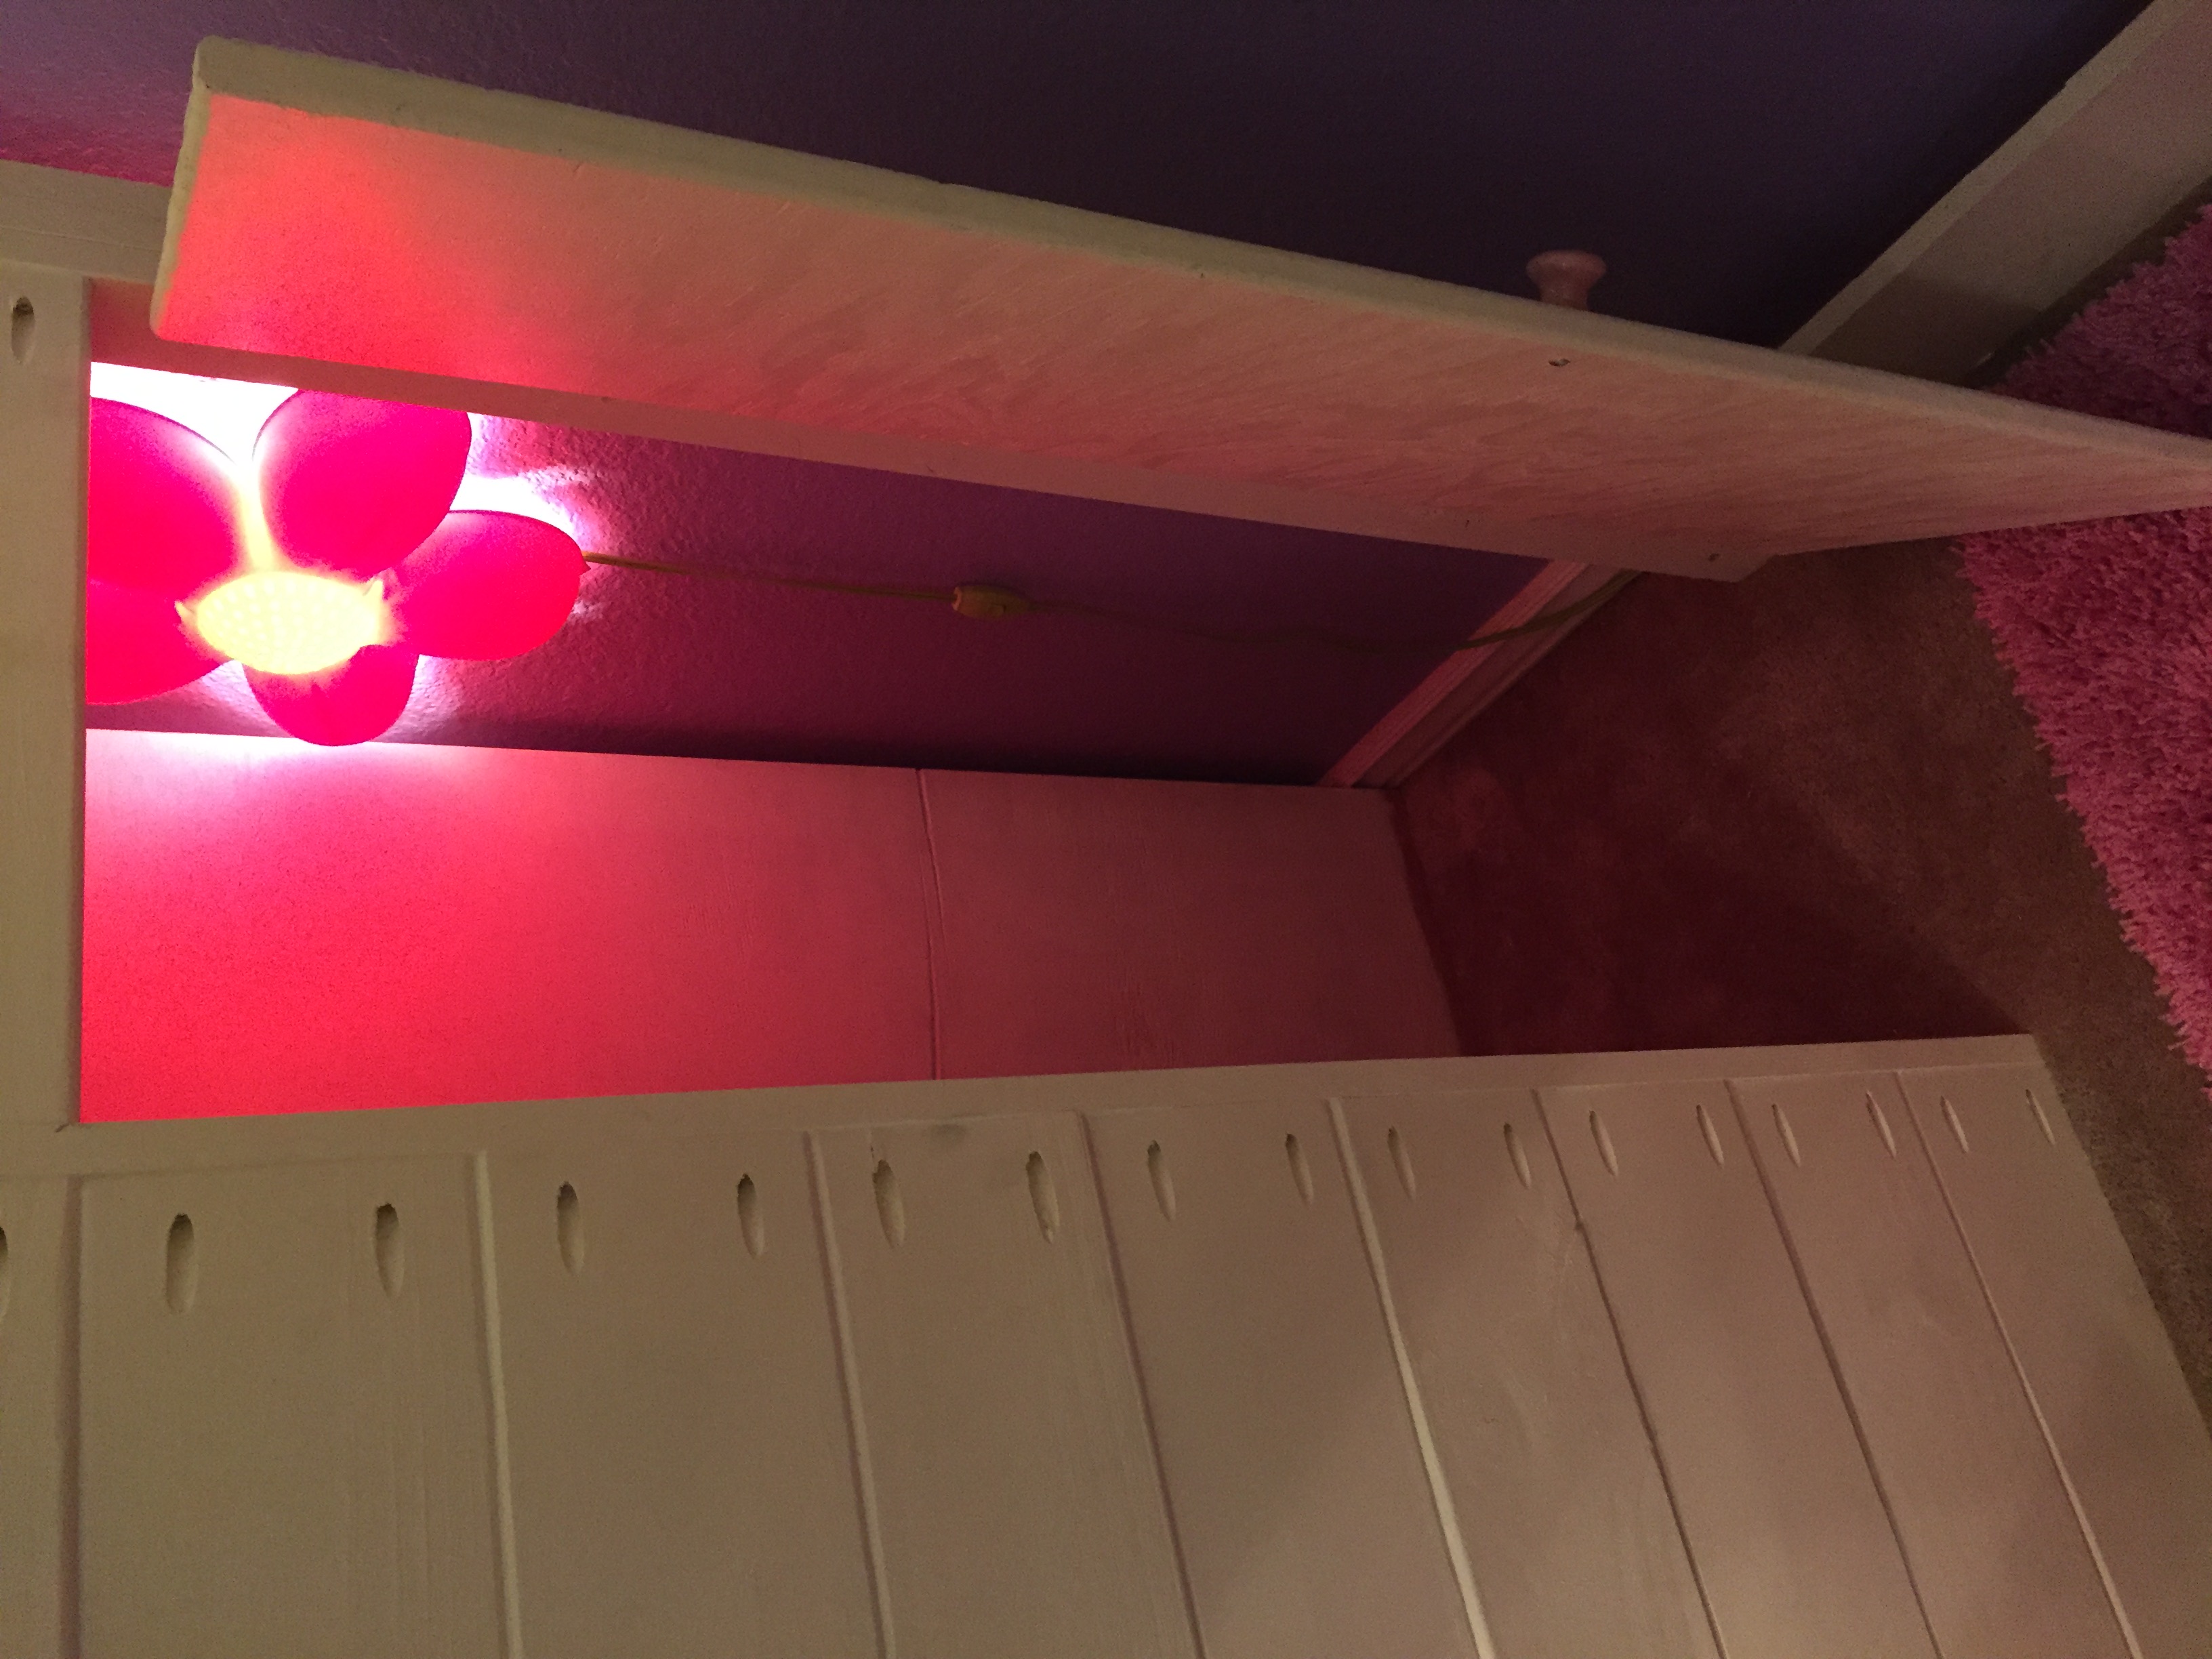
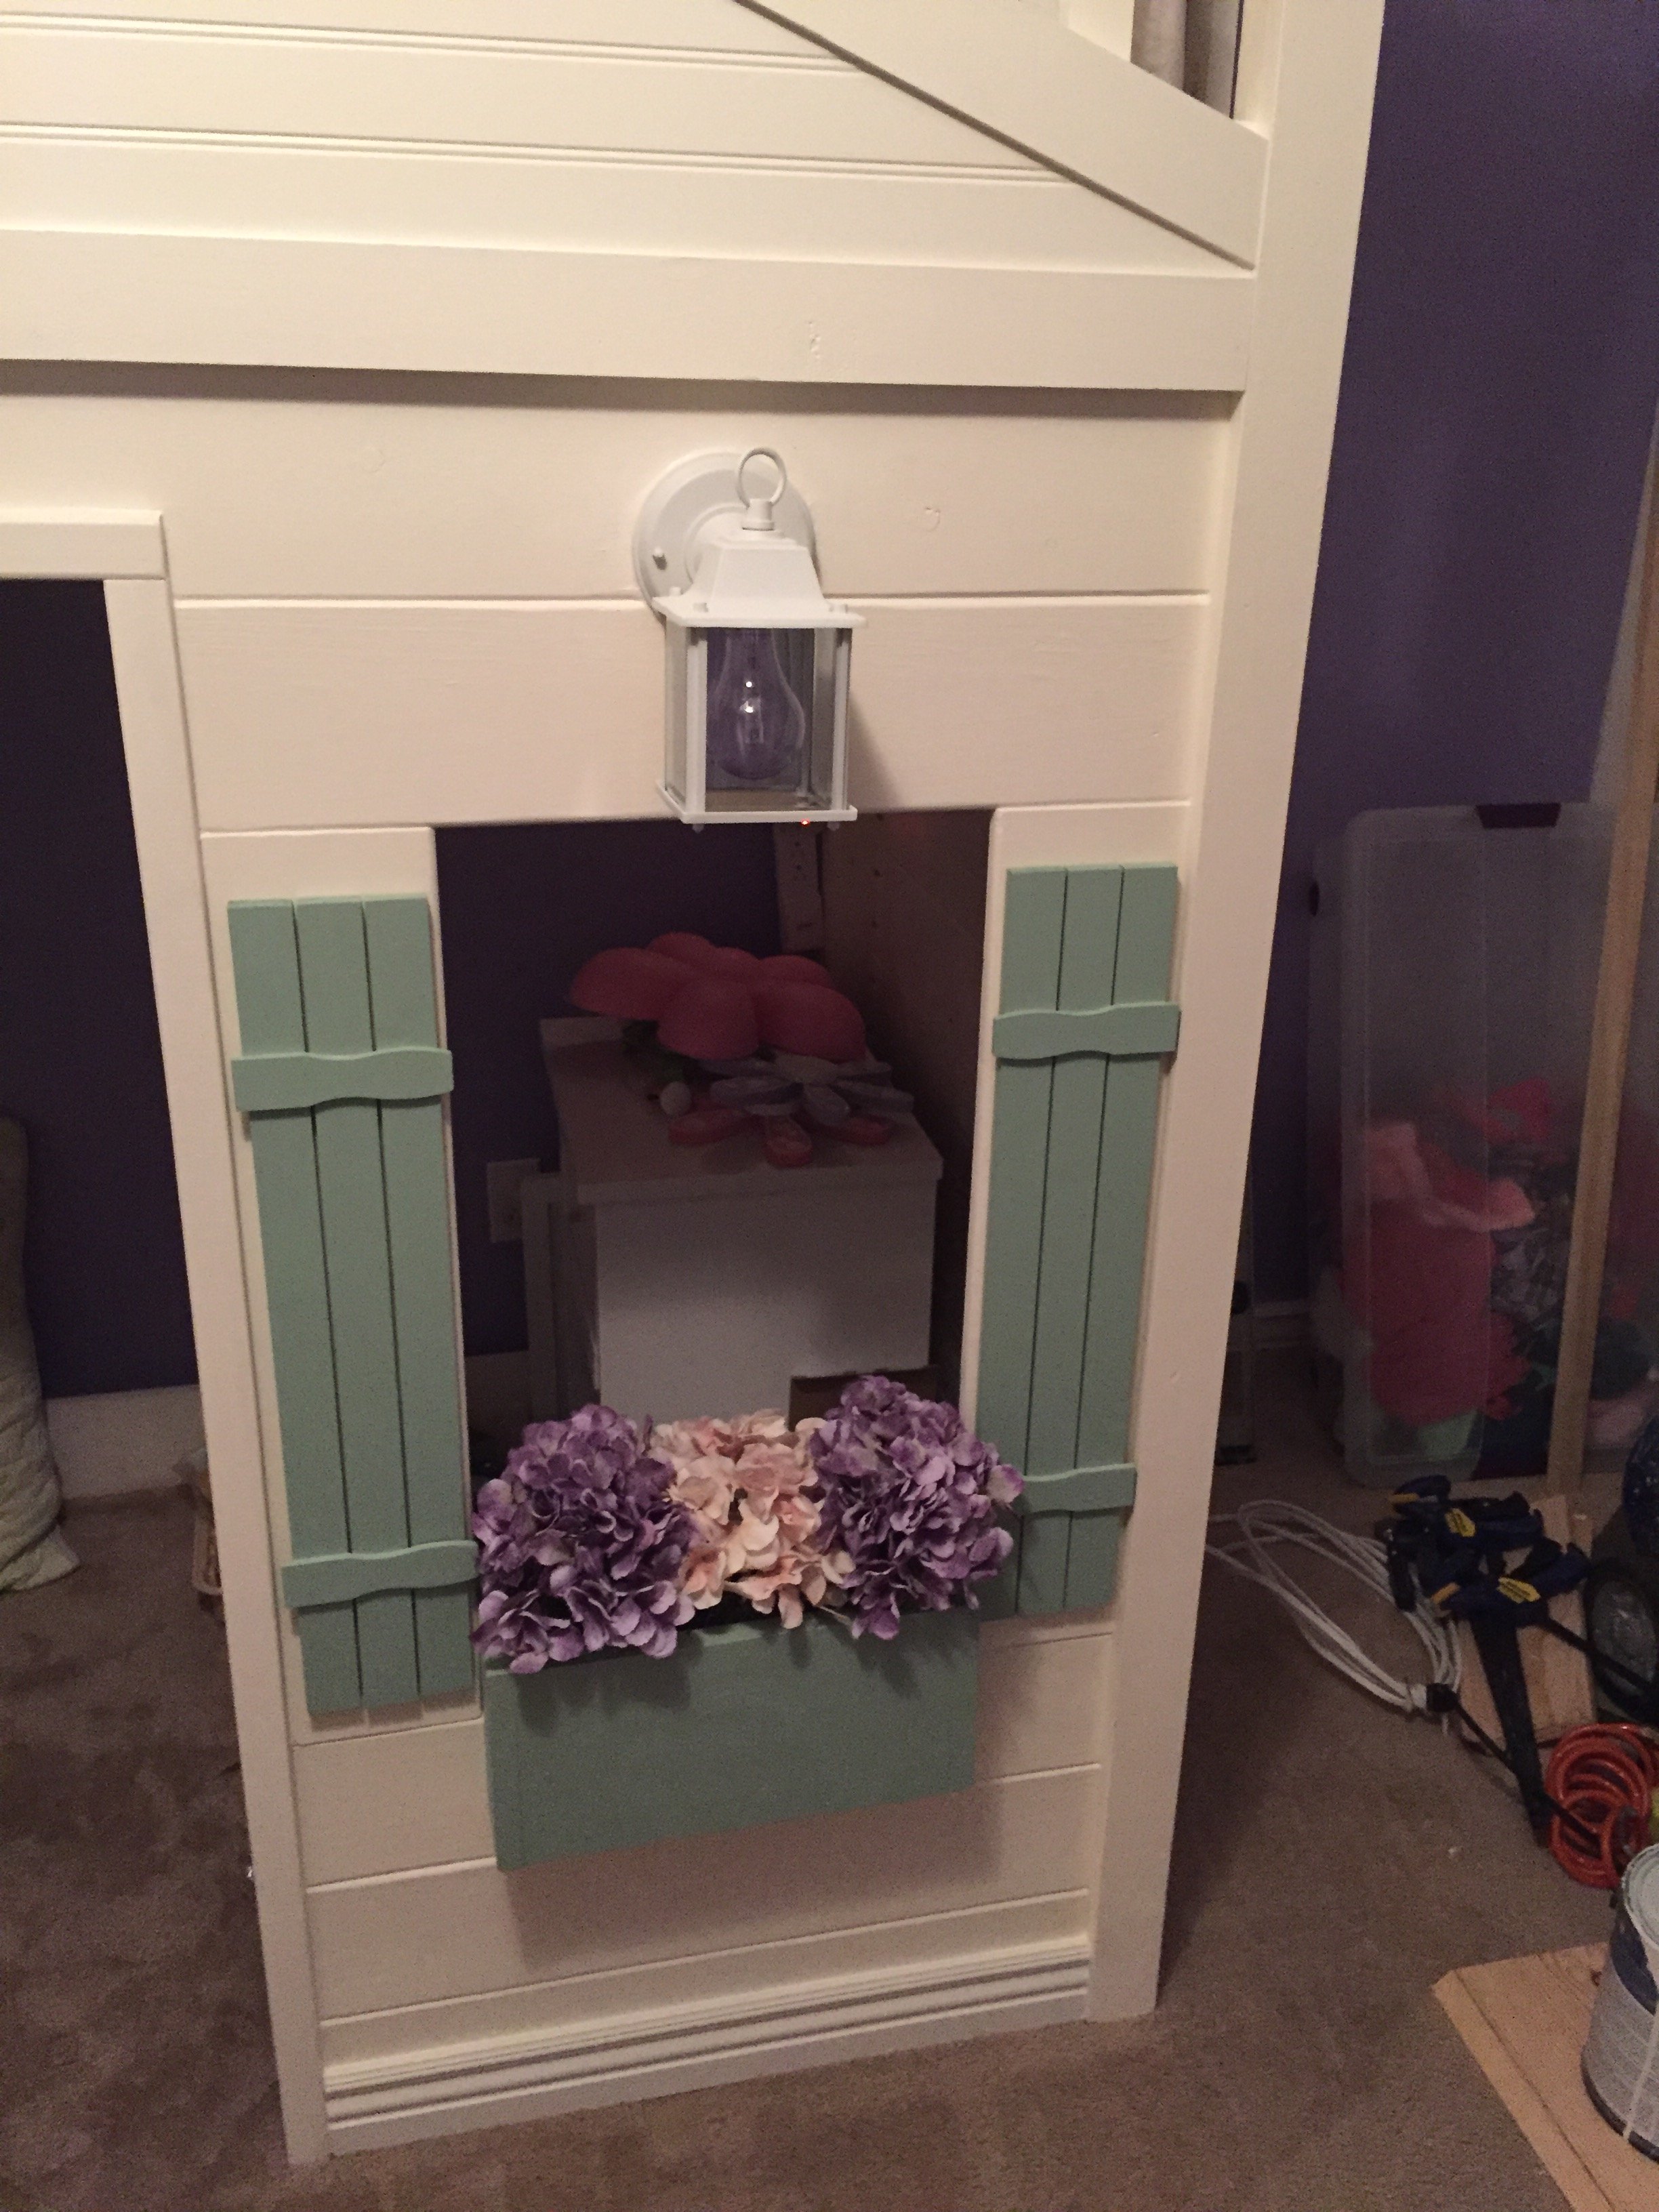
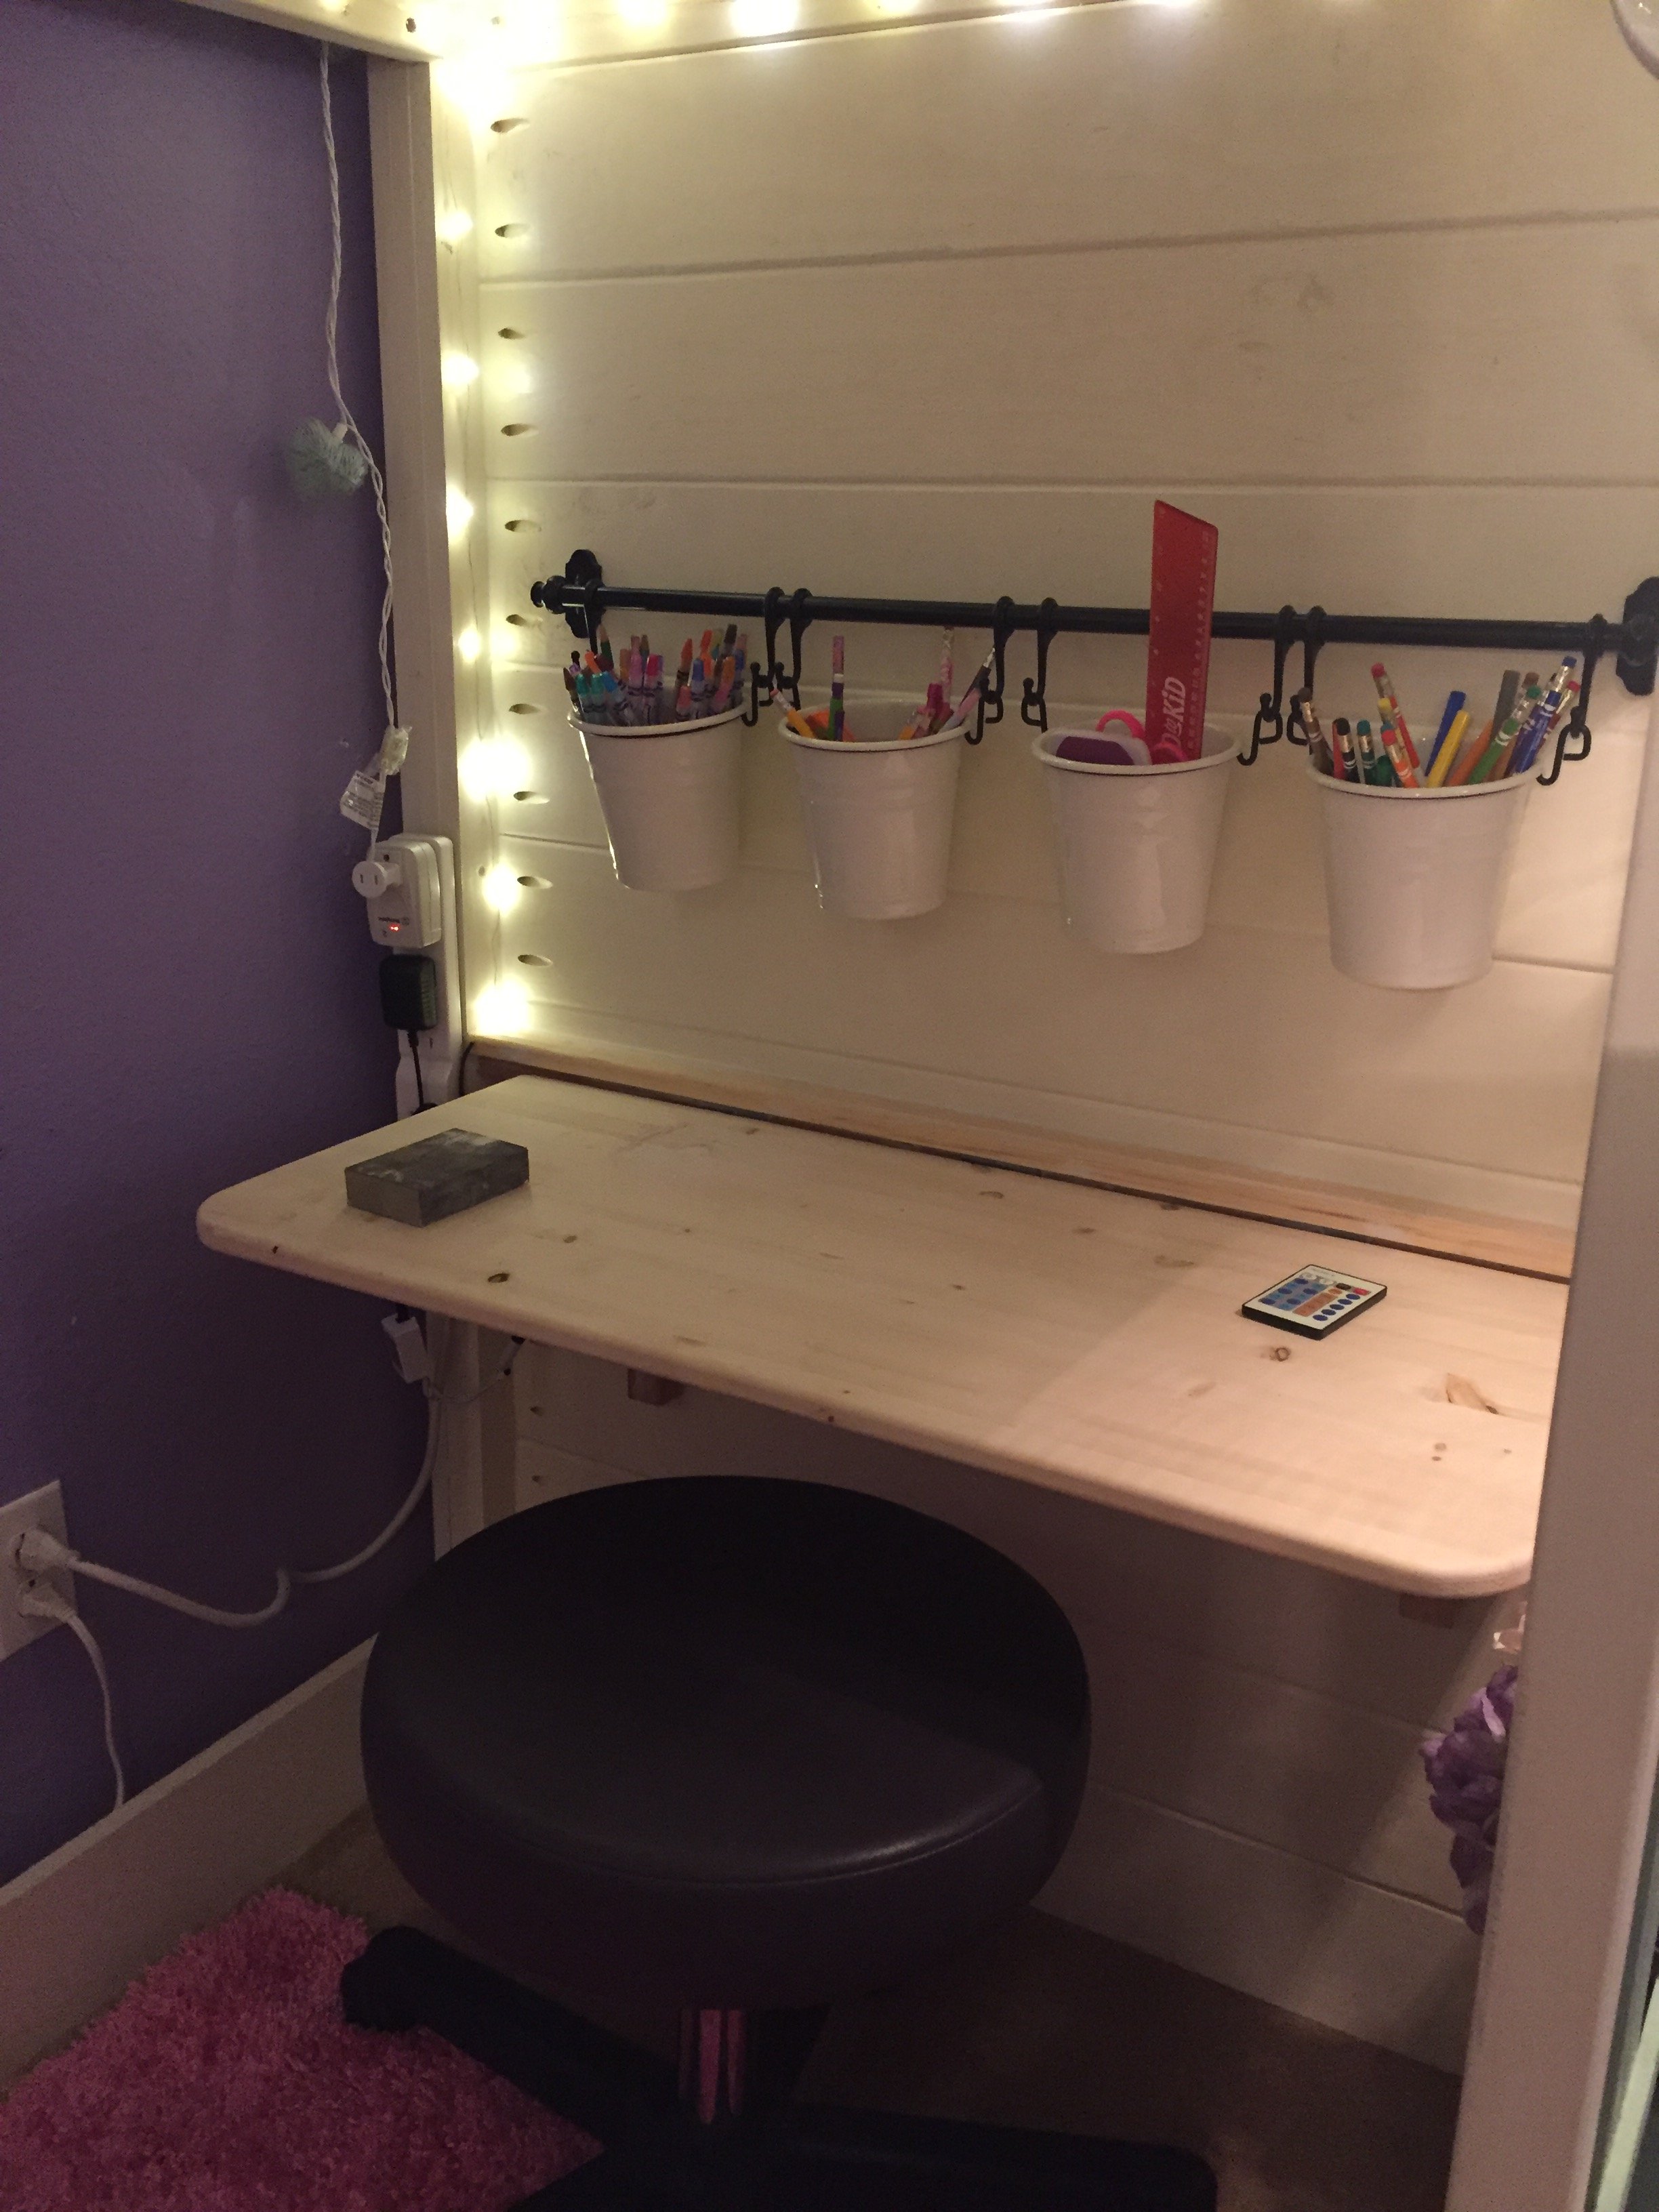
Cottage Loft bed playhouse with stairs, lights and desk
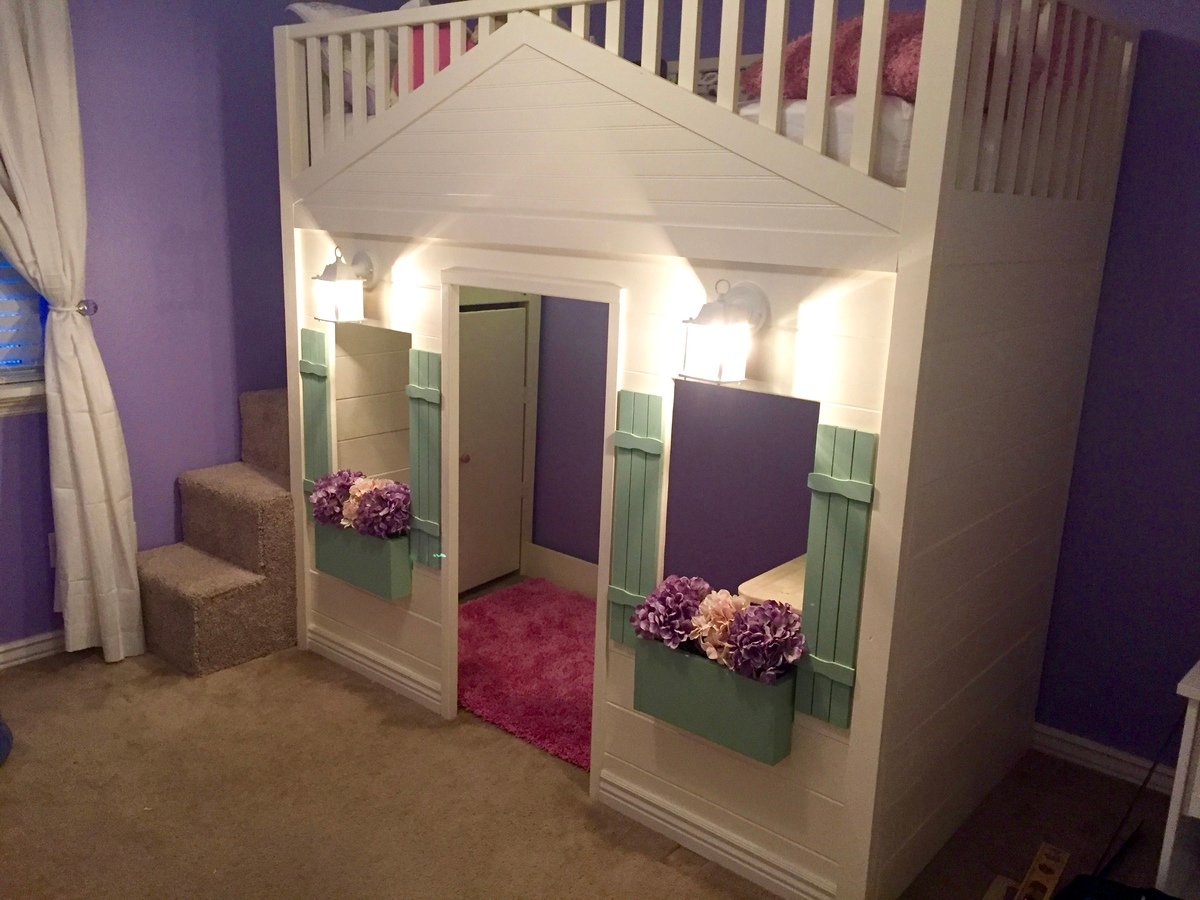
We took the loft bed plans and modified a bit for our daughters bed. We made it a little taller including the doorway. Instead of a ladder we did a set of carpeted stairs with entry to the underneath space through a door on the inside and added a light for a 'secret' hideout. Everything else were just some added features. We built flower boxes and added foam blocks with silk flowers. For the gable we used bead board. For the shutter we used small wood strips and the horizontal pieces are just the free paint sticks from lowes cut down. We then added wired in lights hooked up to her light switch. (she loves this part) Then he built a fold down desk that can be opened or closed for when they want to play in there. The school supplies we used the rod and tin buckets from Ikea kitchen area. Over it took about 6 weeks to do everything between watching the kids and working. Cost for materials and the extras came to a little over $600.
Built from Plan(s)
Estimated Cost
$600-$700
Estimated Time Investment
Week Long Project (20 Hours or More)
Finish Used
White color= Behr -Polished Pearl (we matched it to annie sloans Old White)
Green trim color- Valspar- green trellis
Green trim color- Valspar- green trellis
Recommended Skill Level
Intermediate
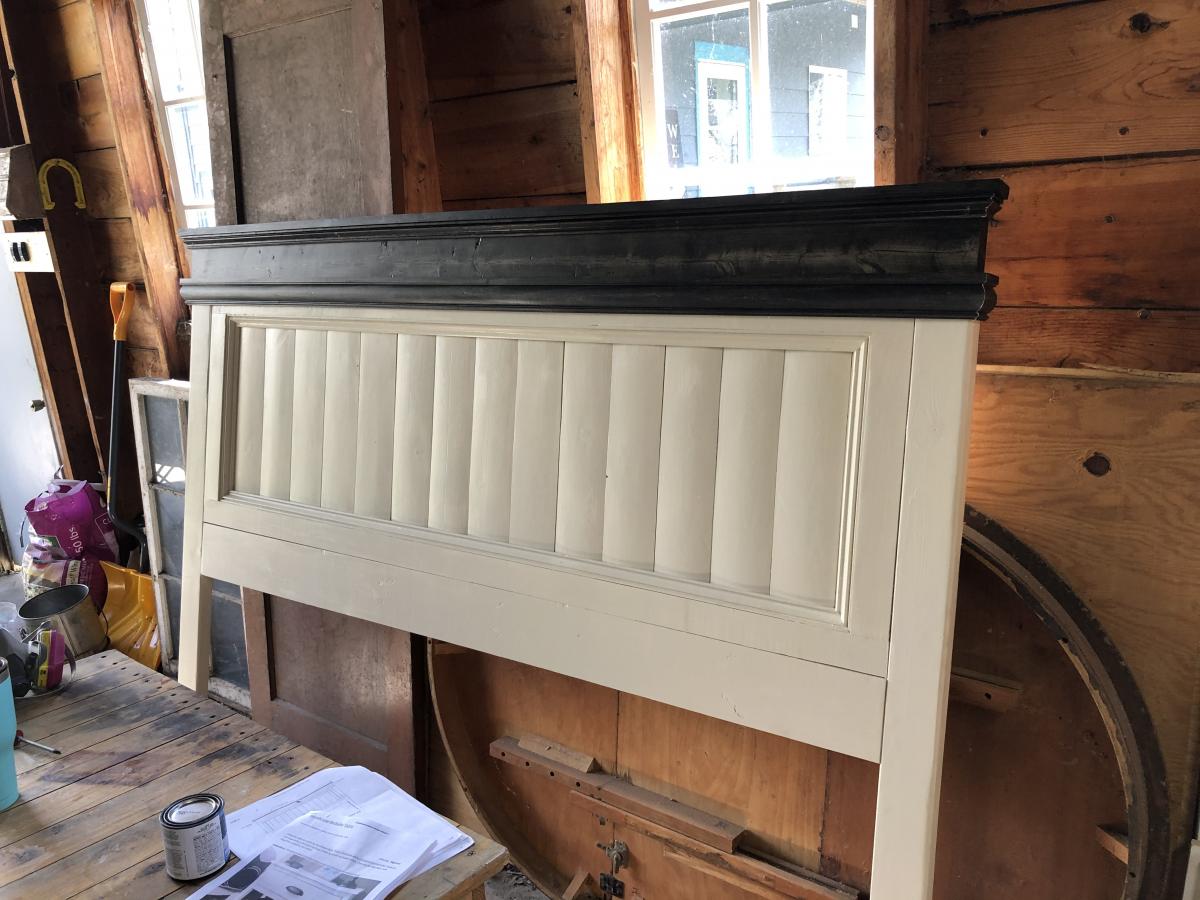
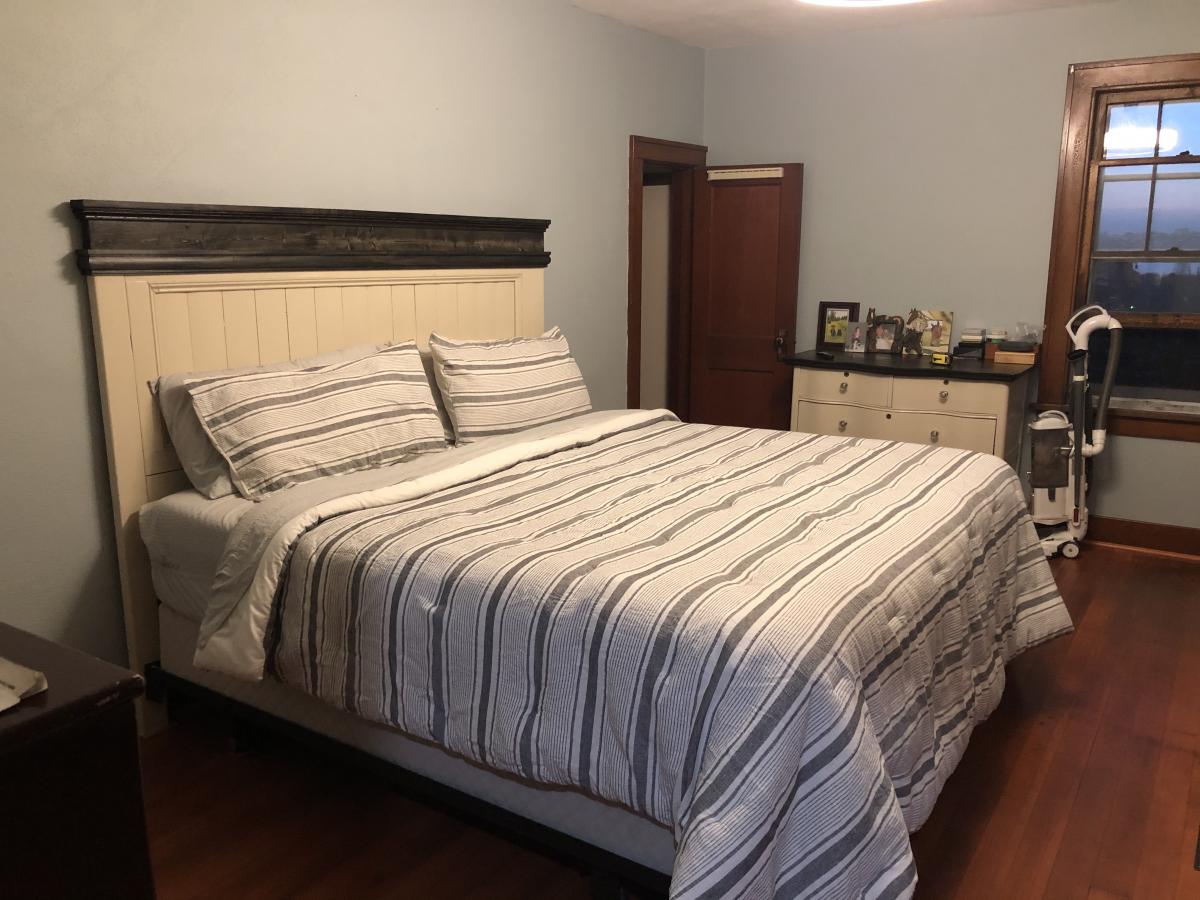
King Sized Fancy Farmhouse Bed

Created our own King sized Fancy Farmhouse bed (headboard only) using Ana White’s plan! Overall, a well laid out plan, very easy to complete! We went with a two tone color scheme to match an antique dresser I refinished last year. Note: we used nickel gap “ship lap” for the panel of the headboard and used the pocket hole jig to secure the pieces together, traditional tongue and groove probably would have been easier, but I love how the nickel gap looks finished!
Estimated Cost
$200
Estimated Time Investment
Day Project (6-9 Hours)
Finish Used
Cream colored paint is Valspar Gloss Almond enamel paint
Dark stain is Cabot Ebony with 2 coats of satin poly
Dark stain is Cabot Ebony with 2 coats of satin poly
Recommended Skill Level
Intermediate
Shiplap Fireplace Wall

Built a shiplap wall with an electric fire place and mounted T. Built a custom mantel out of Birch plywood.
Jim F
Built from Plan(s)