Board and Batten Hall Tree
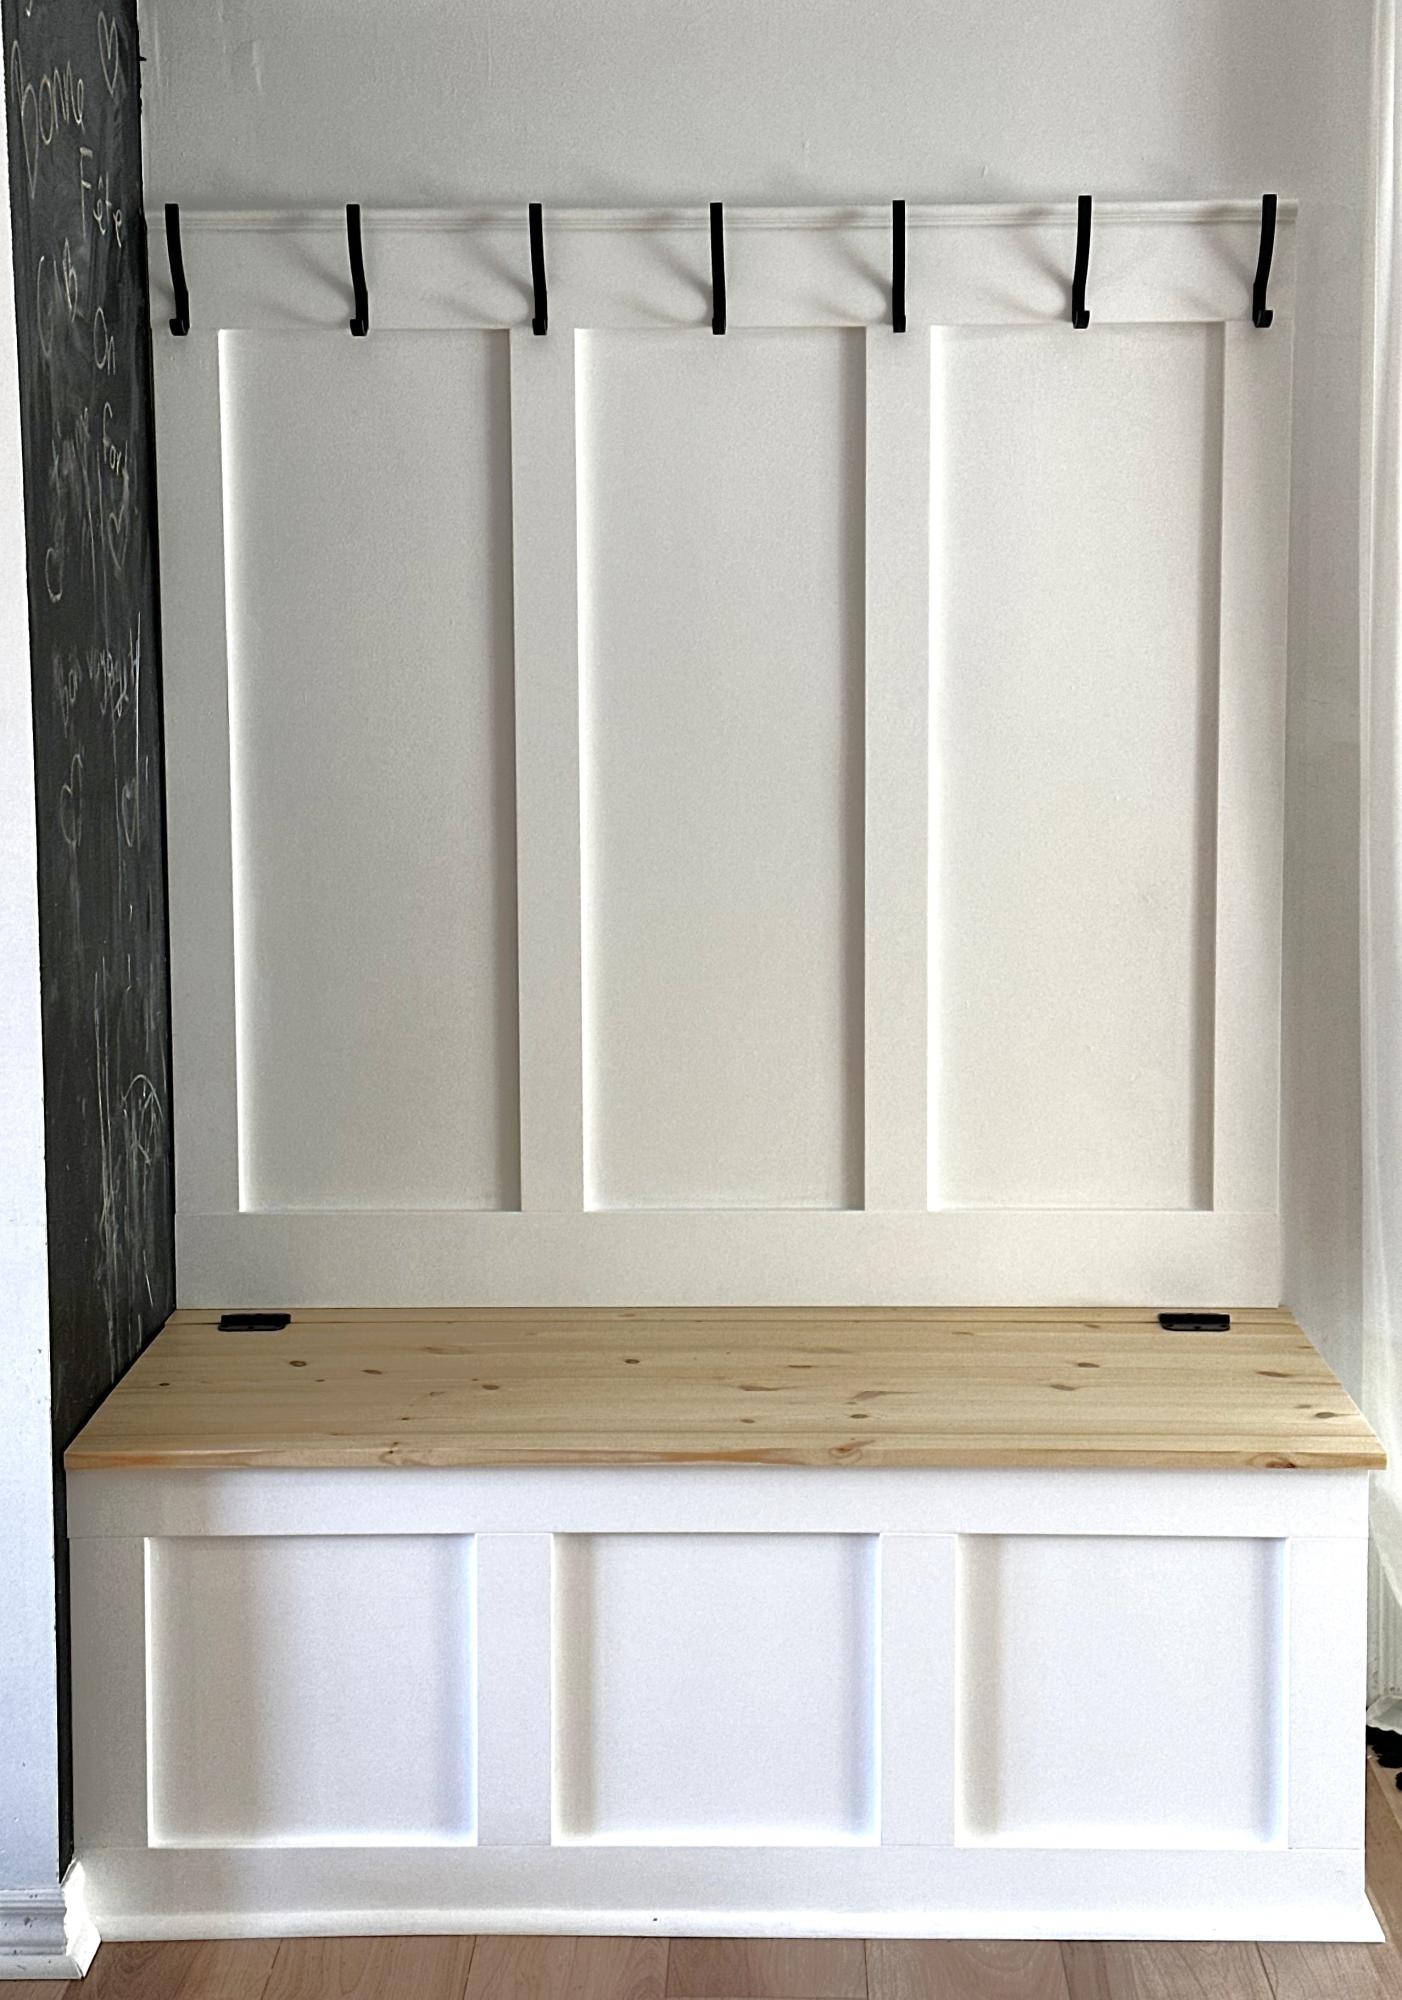
Just love this and there is storage inside the bench.
Sylvie
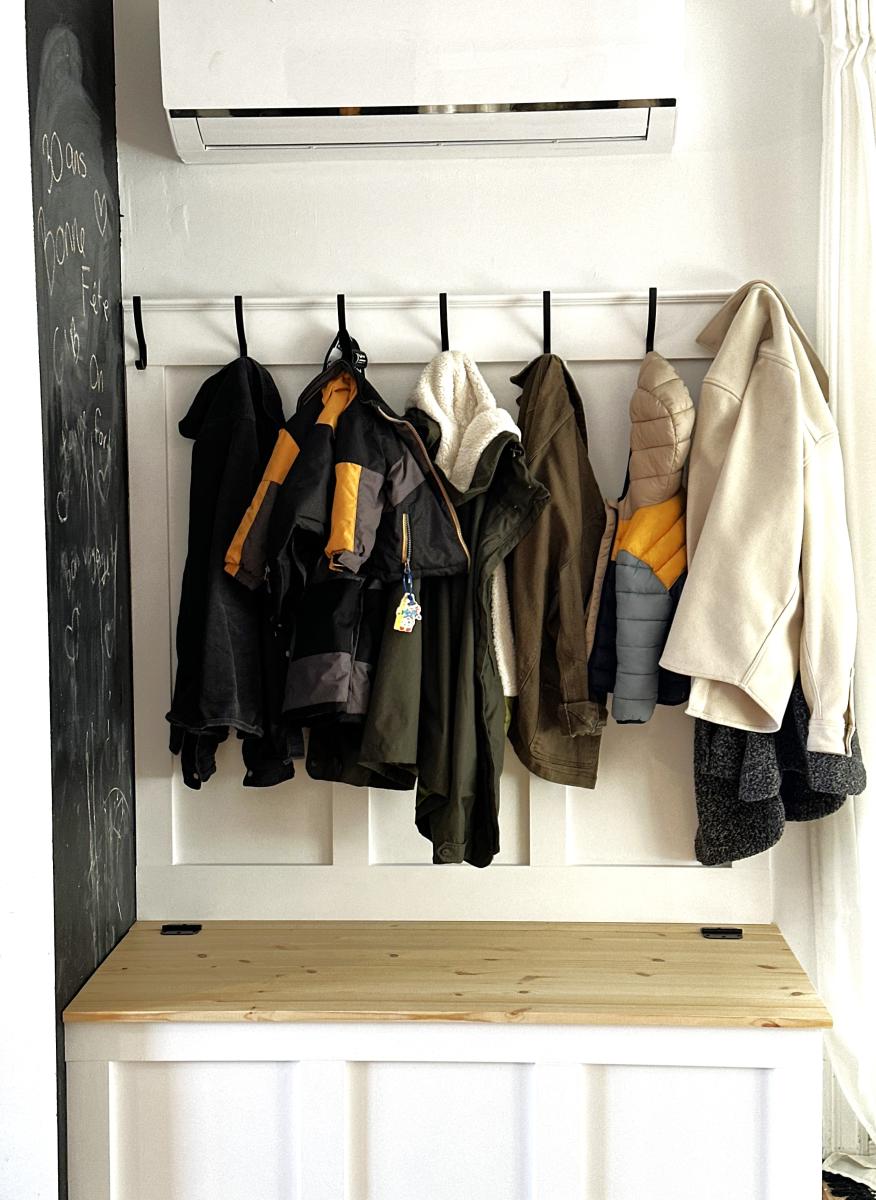

Just love this and there is storage inside the bench.
Sylvie


Project: was great fun
Labor: 2 hours -- 15 year old son helped. He loved it.
For: Gracie/ age 4. Also, the rest of us.
Lumber: mostly 2 by 6 Why? Gracie needs a partner
Thanks: to Ana, and all
Level: just beginner.
Hope: to do more projects inspired by Ana and other

Tue, 09/04/2012 - 17:45
This Looks like a terrific teeter totter! Seems the kids are having fun on it! I would love to make this for my house. I love the blue and red together. Very nice!!!
Tue, 09/04/2012 - 17:47
This looks like a terrific teeter totter!! Very nice and it looks like the kids are having a ton of fun! Also love the blue and red!
Sat, 10/20/2012 - 06:37
I love it. Makes you want to jump on and have fun.
The kids are sure having fun. What a great gift for Gracie
and the whole family.
One of a kind. Great Job!
Sat, 10/20/2012 - 06:47
I Love it. Great gift for Gracie and the rest of the family.
The tennis balls are a great accent to the blue and red.
Makes you want to hop on and have fun.
Great Job Rodney
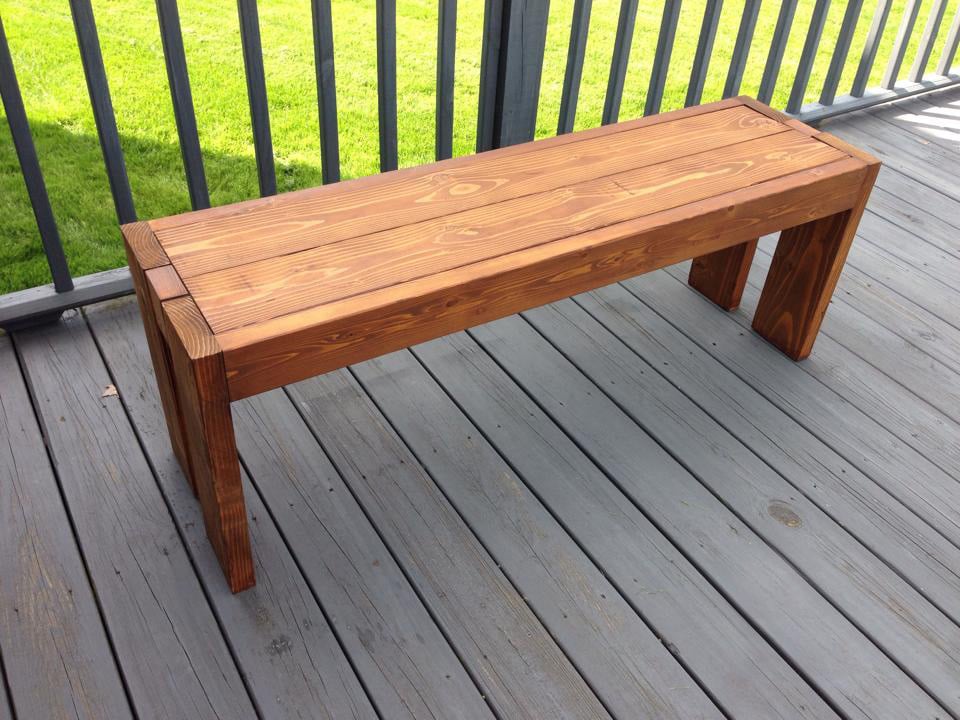
I've built a few projects from Ana's site, but this was my first try at something intended to hold people! It came out very well, and is living out on my deck. It's the only piece of deck furniture I have that's heavy enough to not blow around when it's windy. Thanks, Ana!
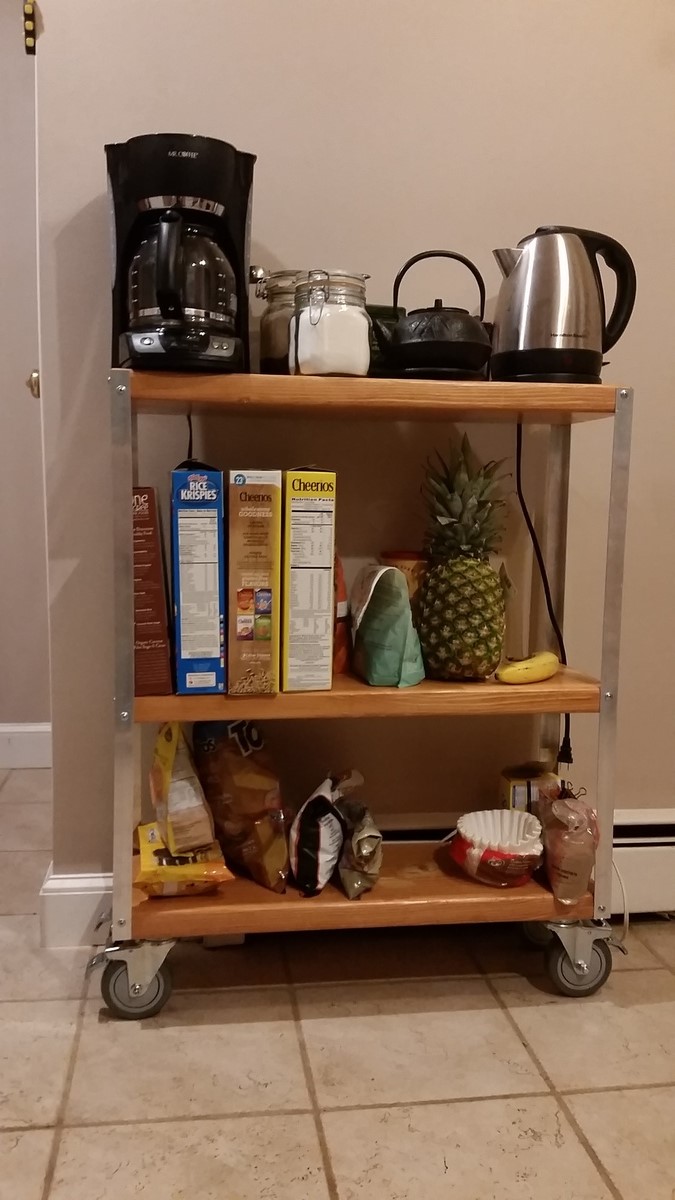
I followed the basic Industrial Cart plans, but made it 36" high instead of 24"ish. We wanted a countertop type of space for tea/coffee and a shelf big enough for cereal boxes.
Lessons learned: Treatign (sanding/staining/sealing) the wood takes the most time, and regular wood fill is ugly - next time I will try to find transparent fill or leave the suface uneven.
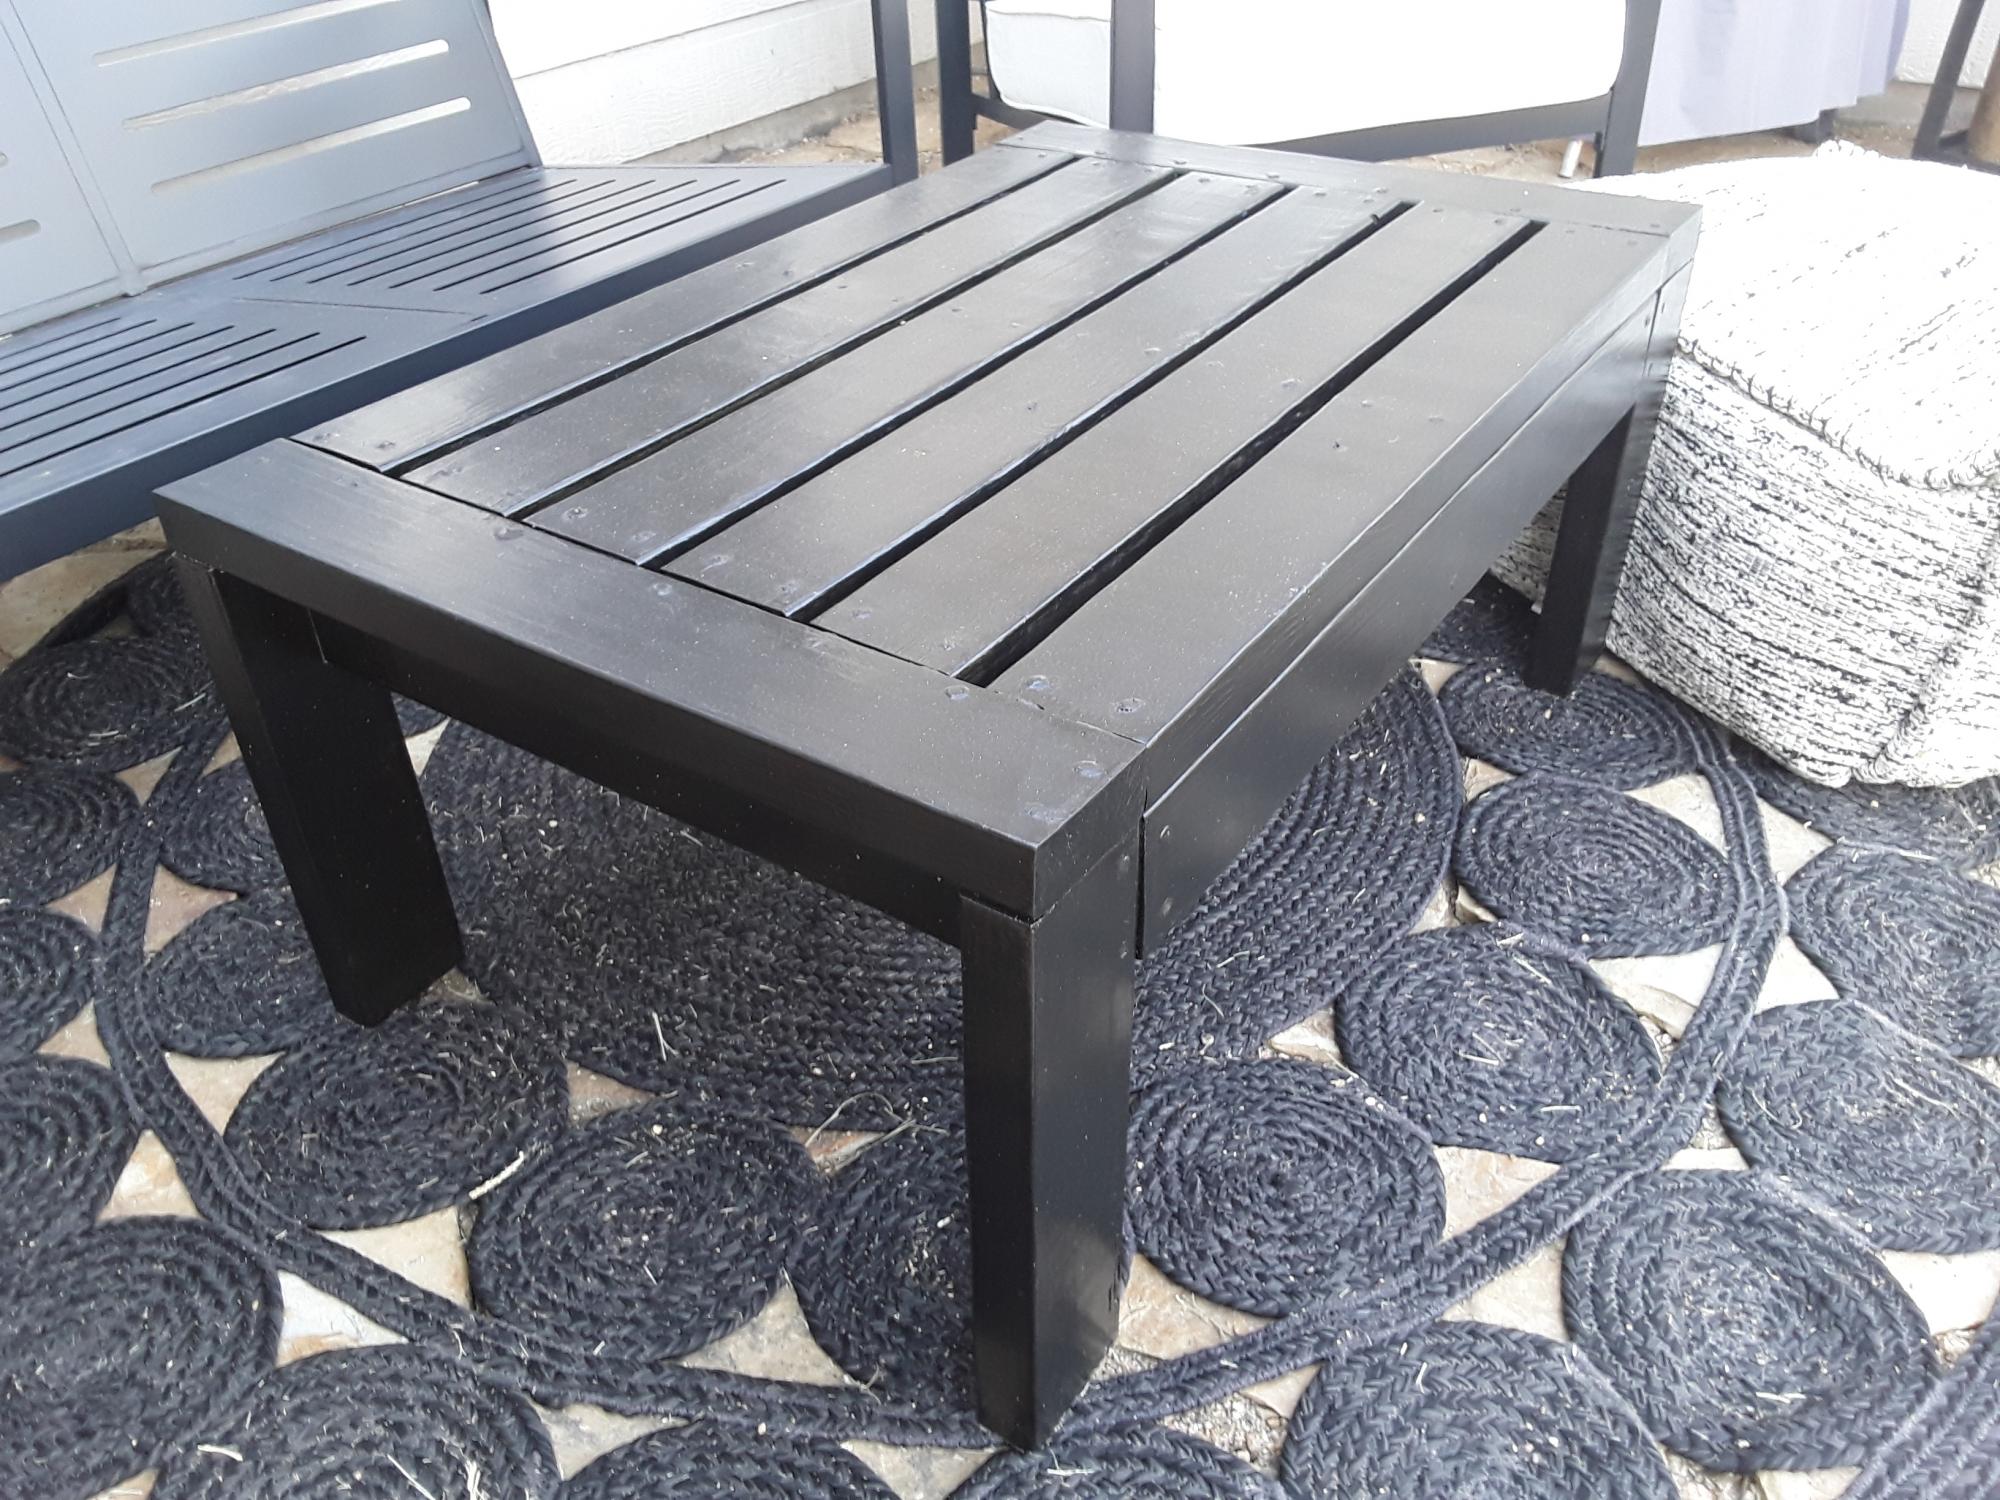
Outdoor Coffee Table
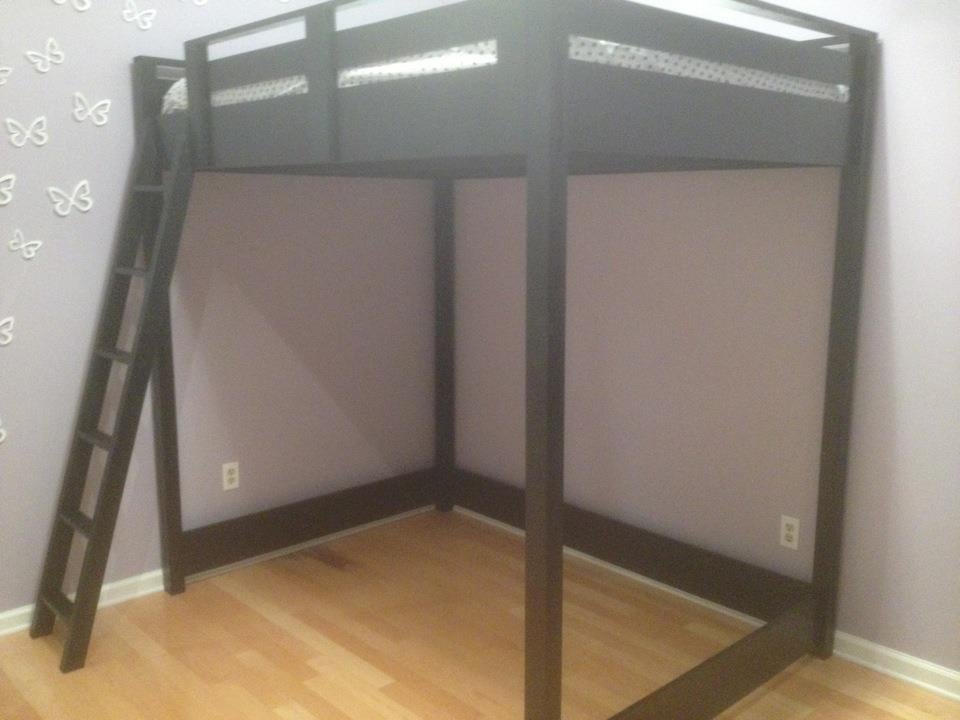
I used the Loft Bed design as a starting point but modified it to meet our specs. We used the Full Size version (added the 15 inches to the width and also made all the legs 8 inches higher. We felt like the plan was great but we wanted a little more headroom underneath. This did make figuring out the ladder dimensions a bit complicated, but with some common sense (and a little trial and error) we were very pleased with the results! We originally were going to just purchase an IKEA Stora loft bed. It was on sale for approximately $300.00 plus shipping, which would have been an additional $300.00! Instead we built this and kept the price around $250.00. This bed is extremely sturdy, doesn't squeak at all, and can easily hold a full size adult. Thank you Ana for the great plans!!
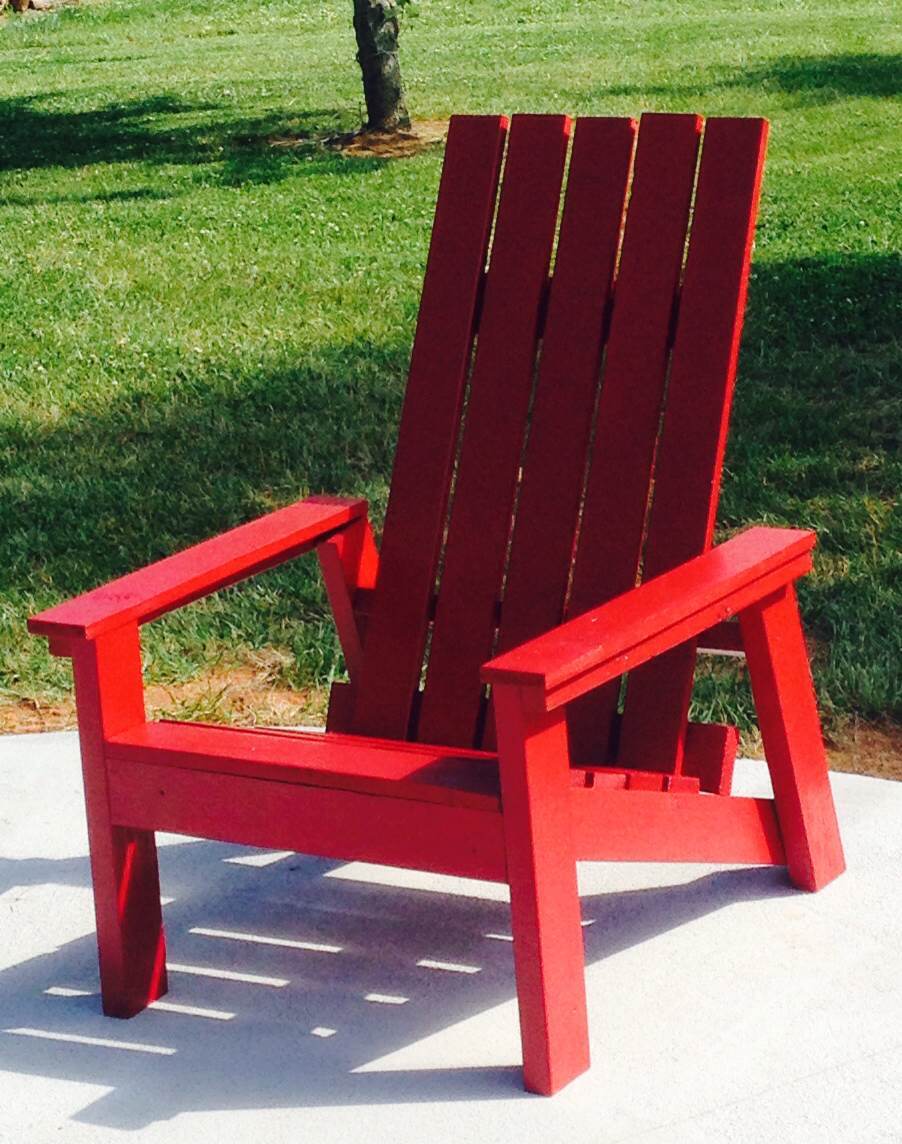
This was my first wood working project! Now I just need to make 3 more.
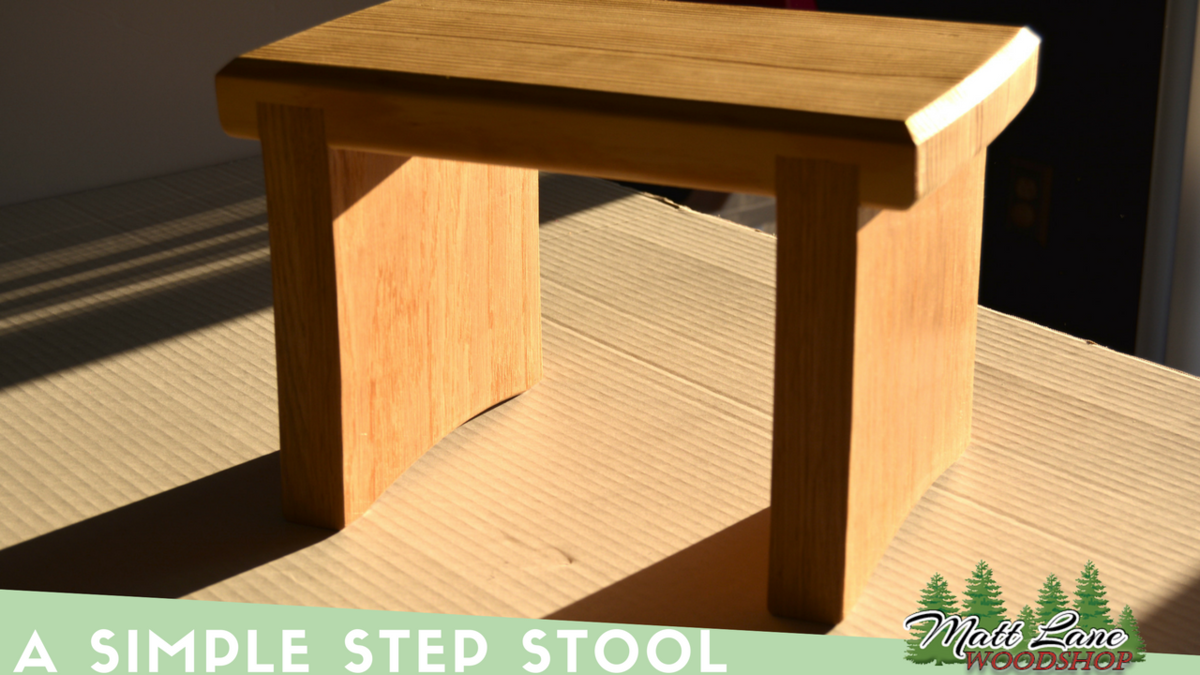
This is a simple wooden step stool I built for my daughter using some wood I had around the house. I wanted to build a small stool that was easy for her to carry around and access items that she needed.
We really needed something to put our recycling in. A paper bag on the floor just wasn't cutting it anymore! I saw this plan and knew it would be perfect, especially because it fits your normal grocery store paper bags. It was also my first project using a Kreg-Jig and I love it. A lot. Just fyi for anyone on the fence like I was for a while.
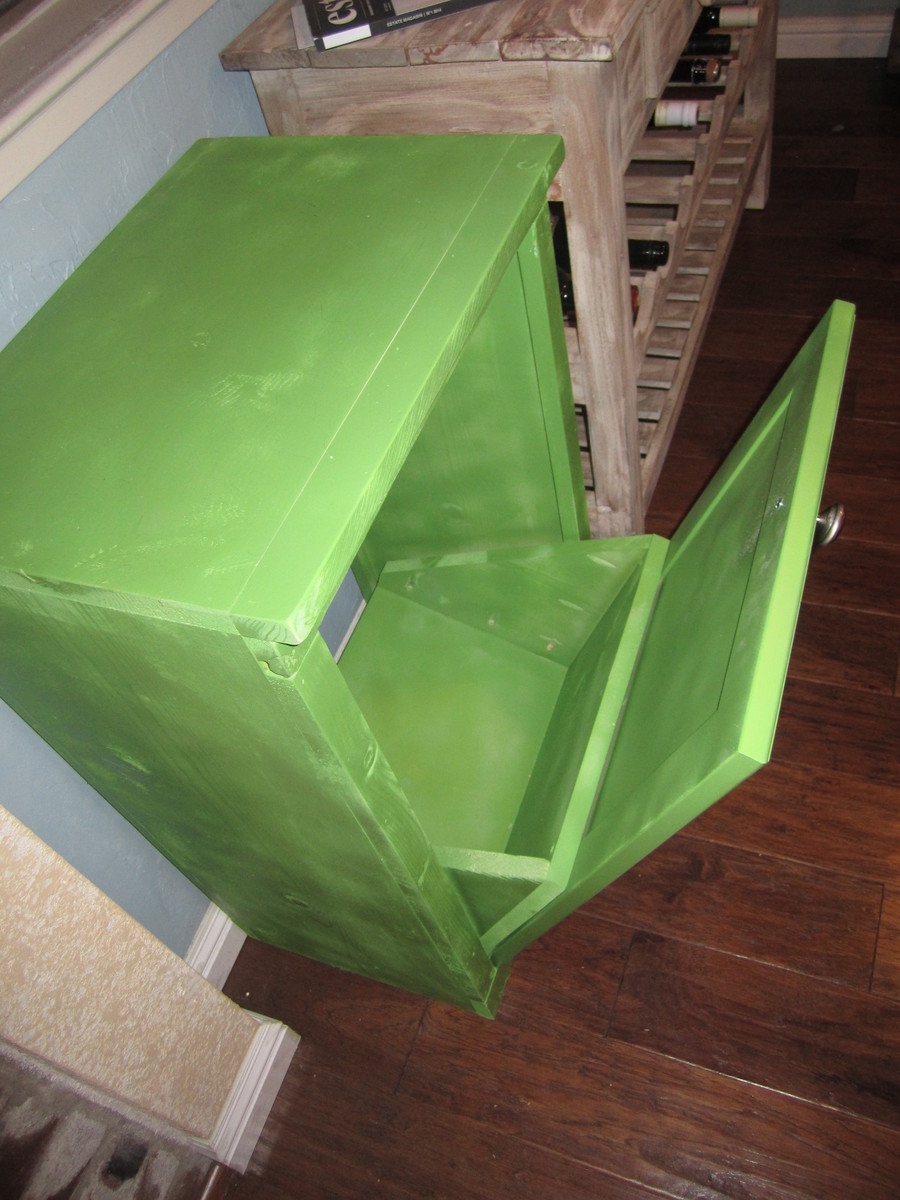
Our own mix for the sliding door console. Stained the entire unit with Jacobean stain, then light grey chalk paint. Distressed with 150/220 grit and waxed. Top and shelves are Jacobean with 4 coats of satin polyurethane. Absolutely love how this came out. Roughly $300 spend at home depot on all supplies. Wife and I finished in about 17 hours this weekend.
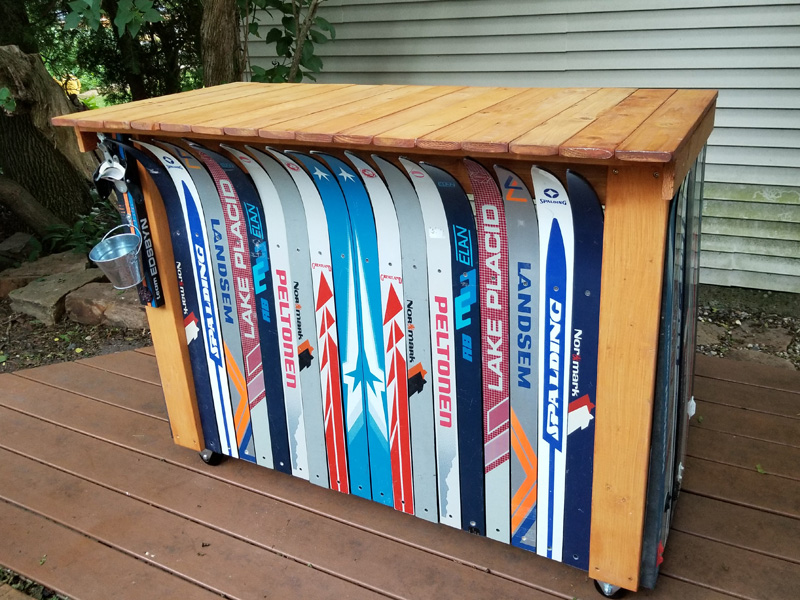
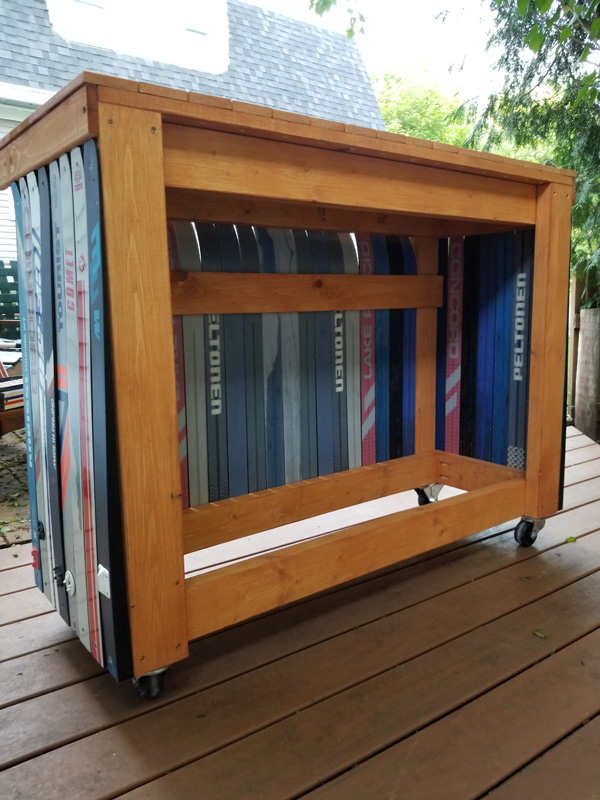
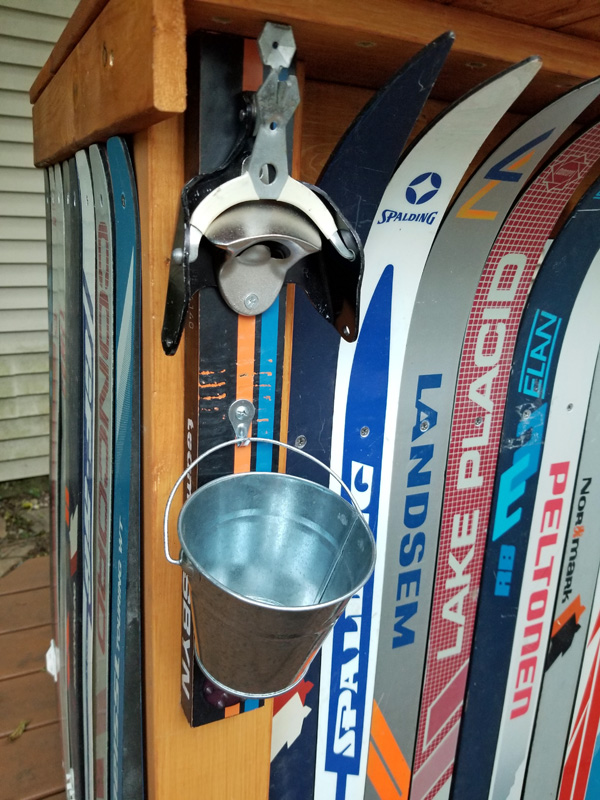
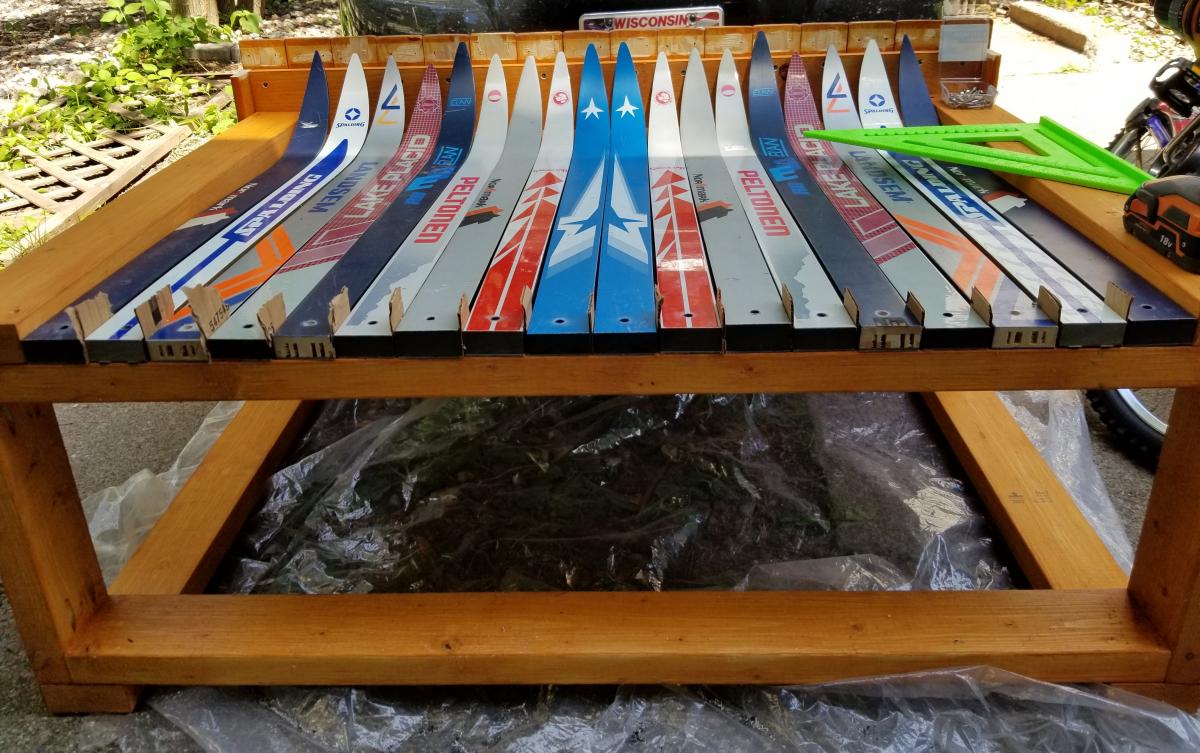
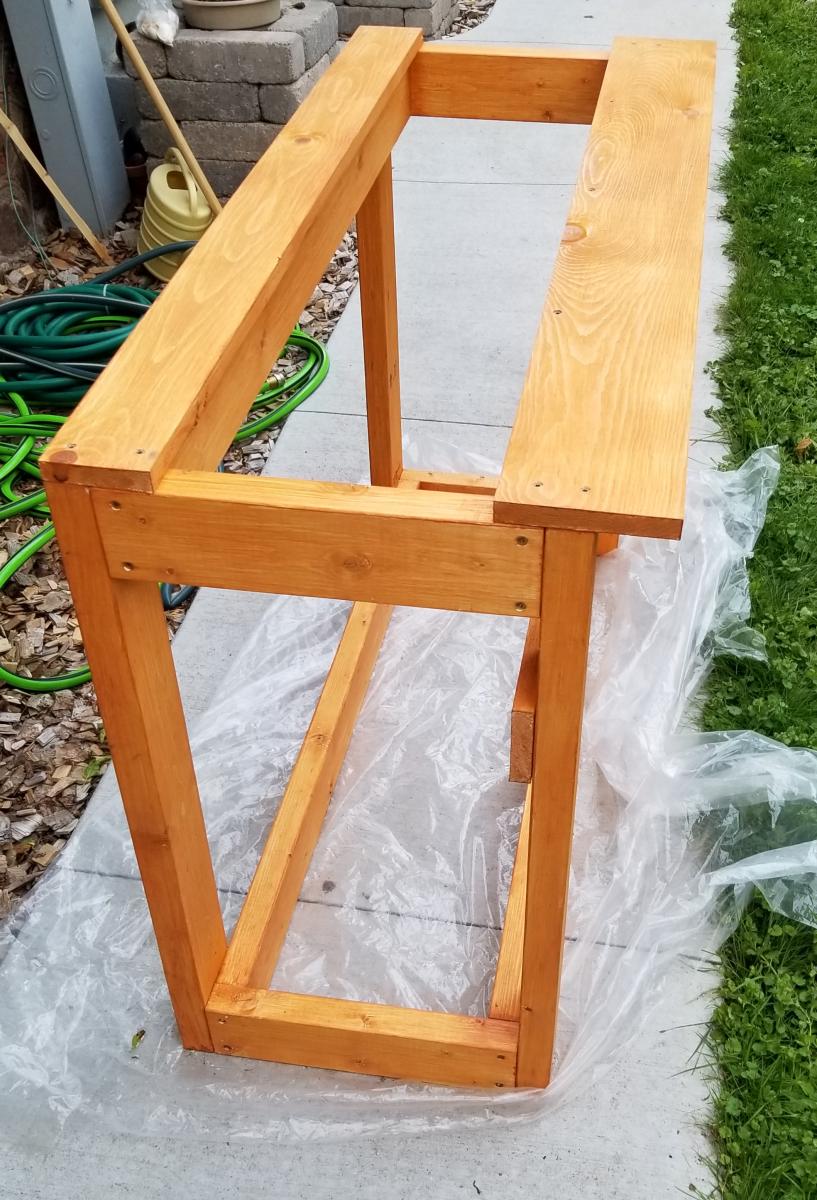
I'm calling this a Skiki Bar which is a word play on Tiki bar. It is based on the Simple Rolling Cart design. I used my own dimensions according to the width of cross-country skis. I have a large number of these old skis for projects. They are sold for very cheap at garage sales, etc. The top of the bar is made from boards that I had removed from an Adirondack chair set, which I had made Ski chairs with. So those were already stained and they matched the stain I used on the pine 2x4 frame of this Skiki Bar. I already had a pair of wheels laying around so I only had to buy 2 more of the same size. The pictures were taken before I installed a shelf on the bottom with some scrap plywood I had in my garage.
I estimated the time to factor in how long it takes to stain all the boards and let them dry.
On the left edge I installed a Ski bottle opener I made.
I estimated my cost on what I bought that I didn't already have. I bought the pine 2x4's (also a 1x4, 1x6), Construction Screws, Stainless Steel Screws (For attaching skis), and 2 wheels.
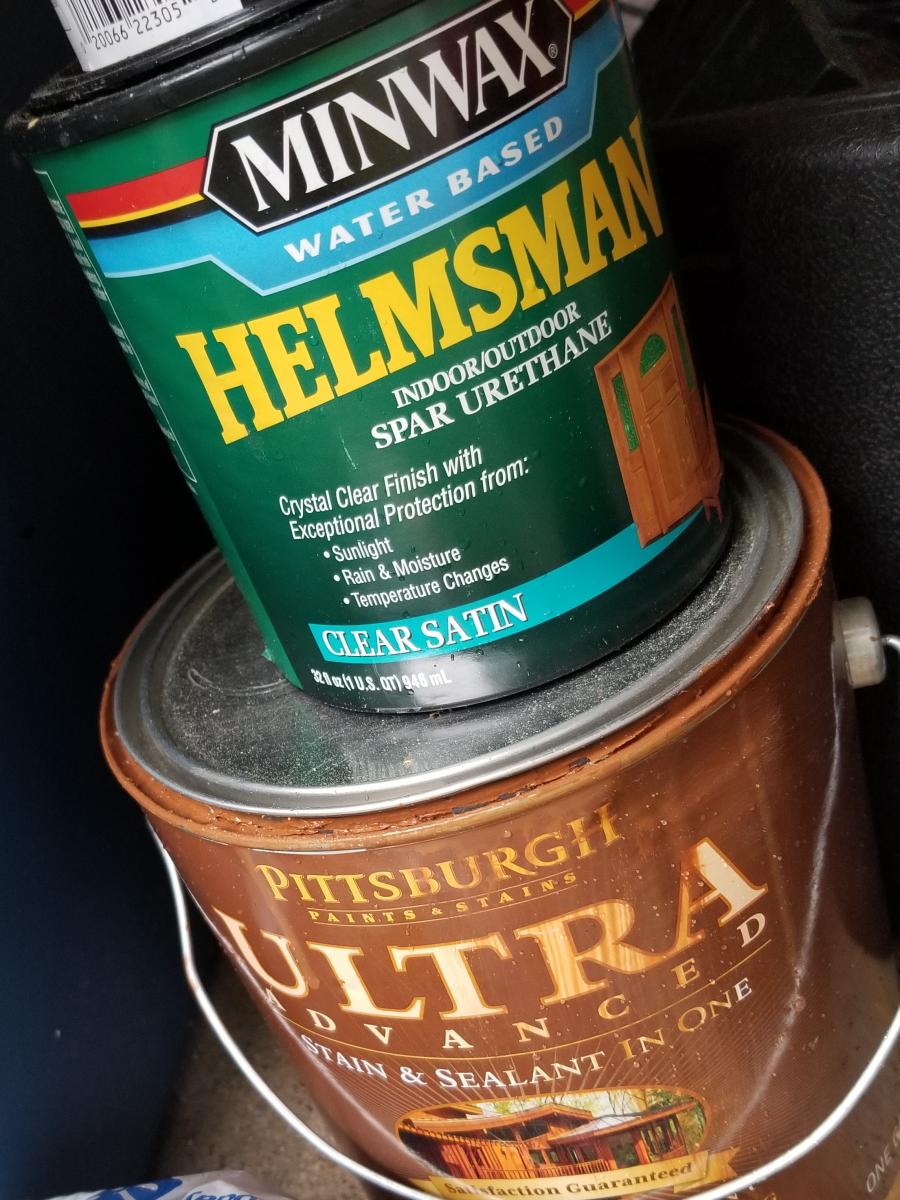
I already had: Skis, Bar top boards, 2 wheels, deck screws (attaching the bar top boards from underneath), stain, clear coat, wood glue and tools.
My next project is to make Ski bar stools. Thanks for having a look at my design!
These chairs are fairly easy to make. The side boards were the hardest part.


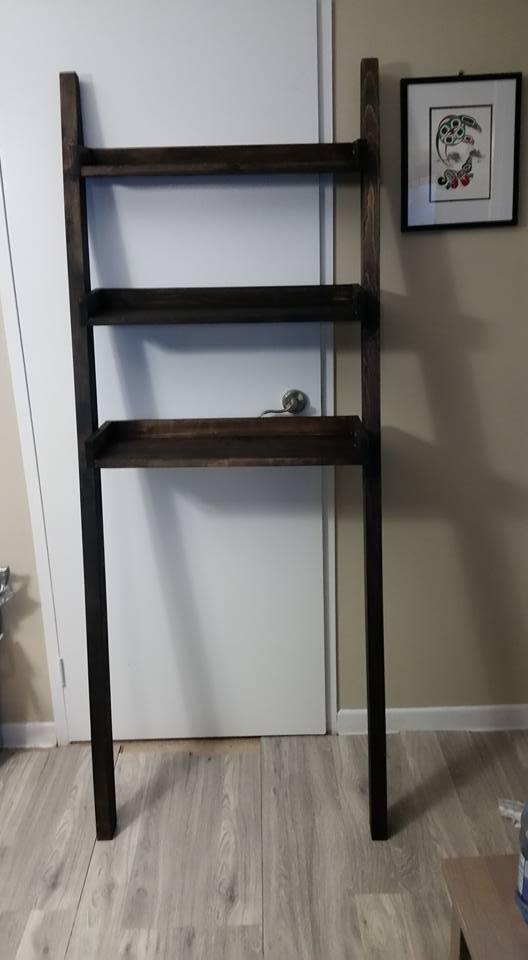
I followed the directions and made two of the same shelf -- using a expresso gel stain. I love it in my bathroom!
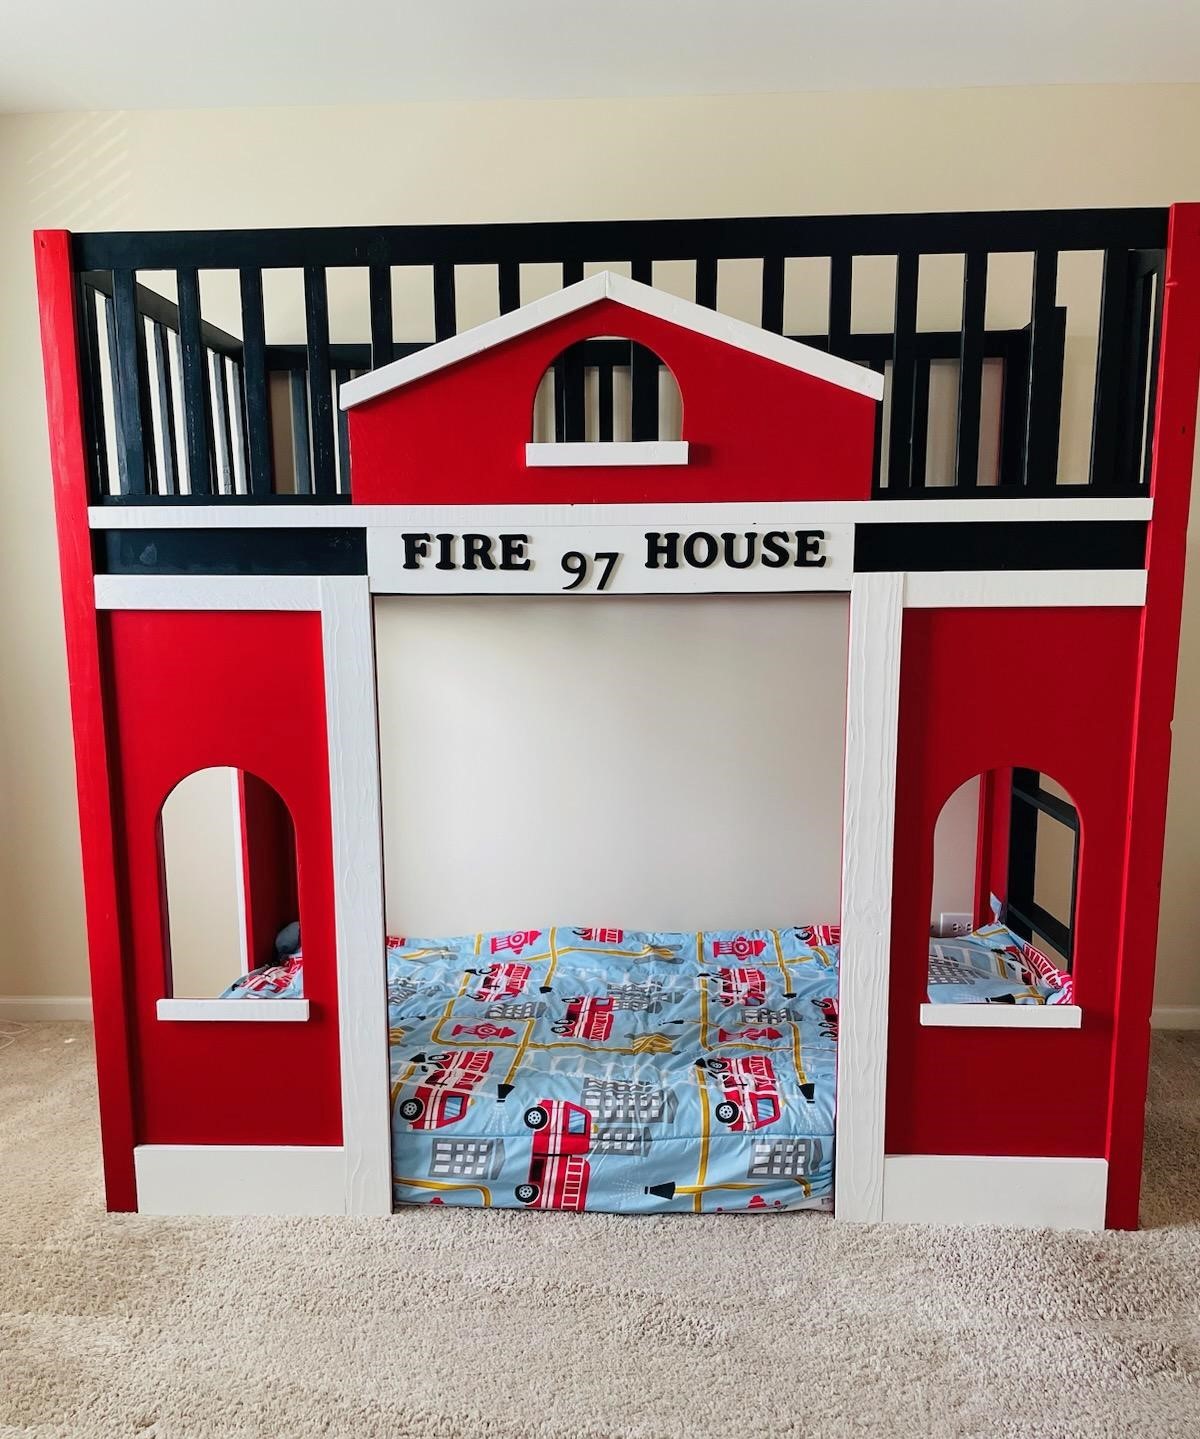
Our son moved up to a big boy room and we made him the Fire Station bed. He LOVES it. Not quite ready for him to use it as a loft bed so he is sleeping on the bottom for now.
Kaity
This is a Christmas gift for my granddaughters, and it was a huge hit! It is white pine 1x4's with 4 coats of polyurethane for a smooth finish.


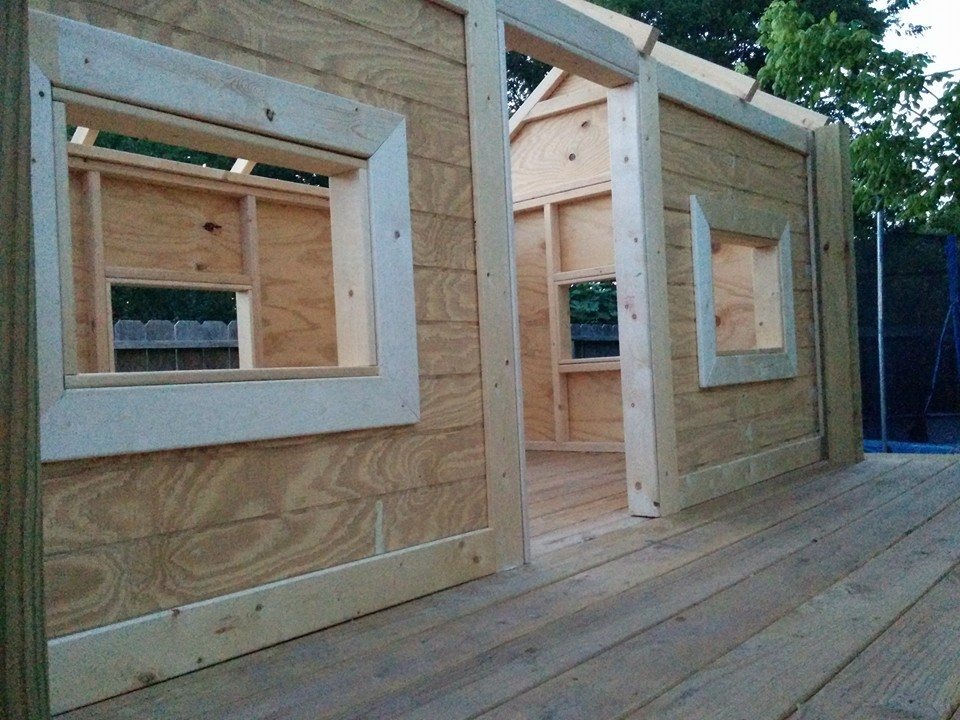
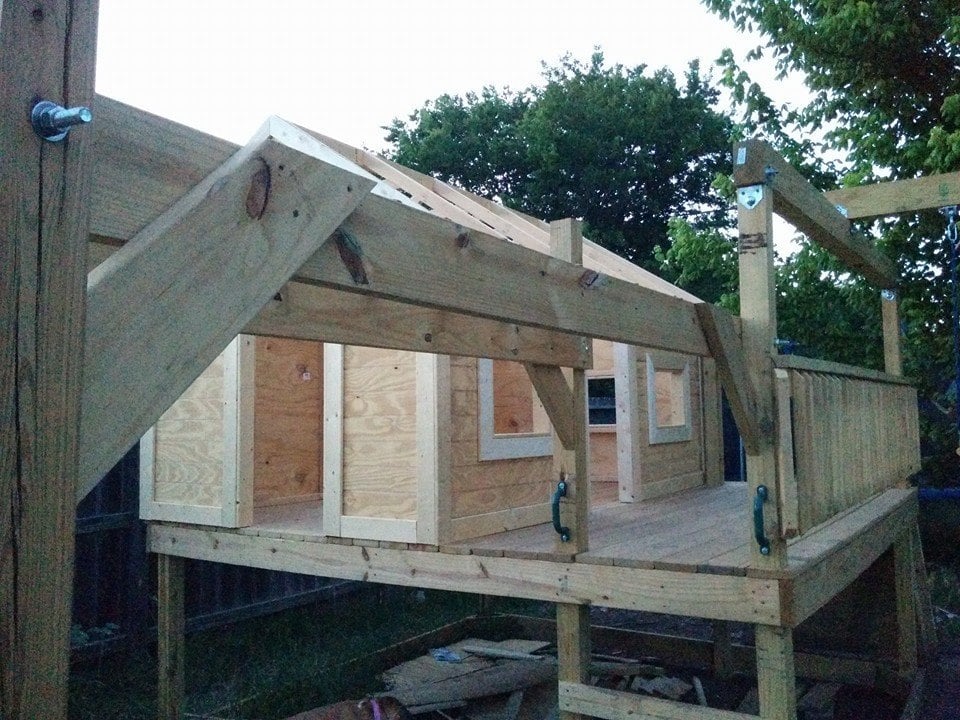
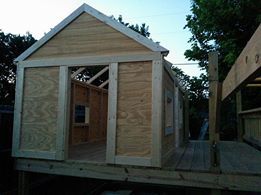
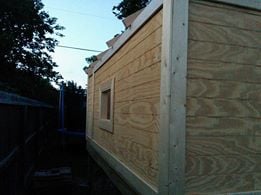
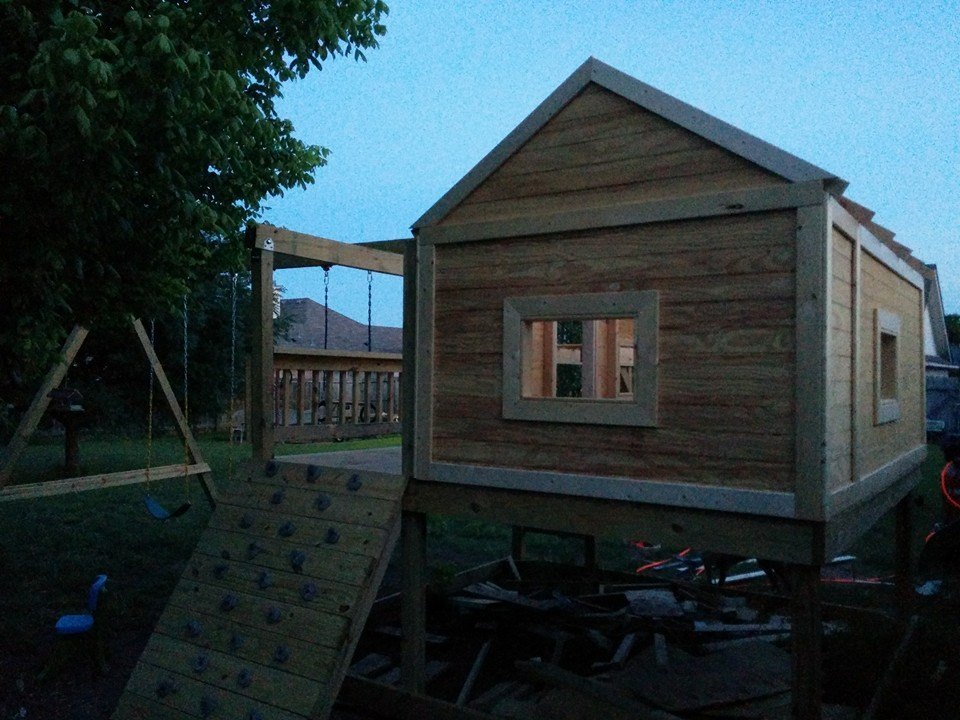
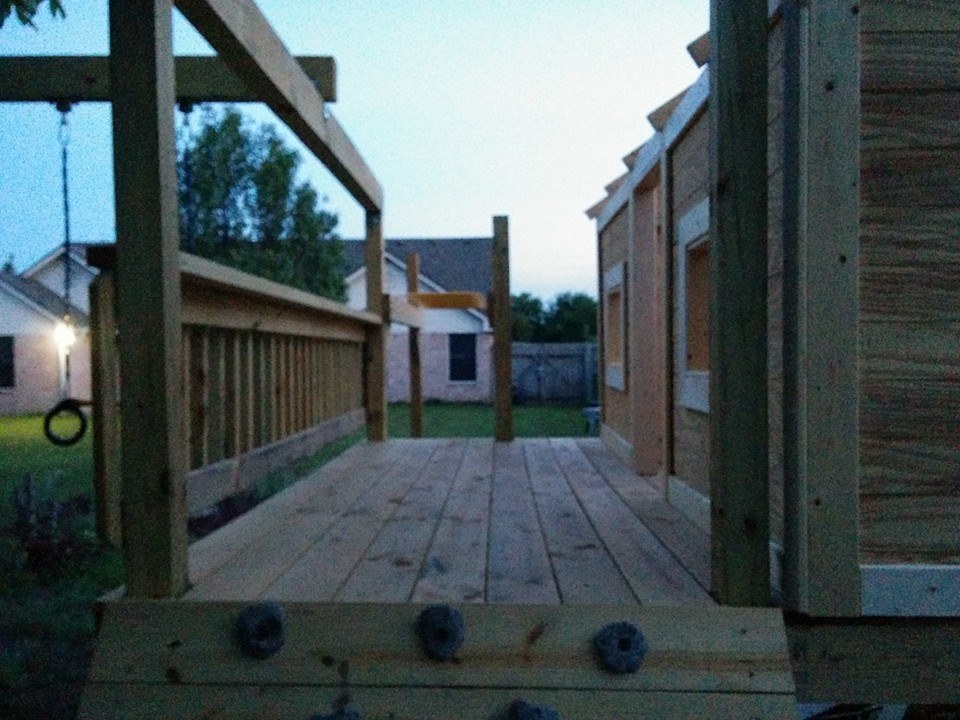
Built using the plans as a starting point and built it bigger than the plans called for.. The deck is 10x10 and the playhouse is 6x10. I used pressure treated lumber for everything but the playhouse. I still need to paint the house and stain the deck, then put the roof on.. if it would stop raining.. Once i'm done staining the deck I can put the slide back on also. ''
Swings, monkey bars, and rings / trapeze was ordered from Amazon.
