Barn Door Console
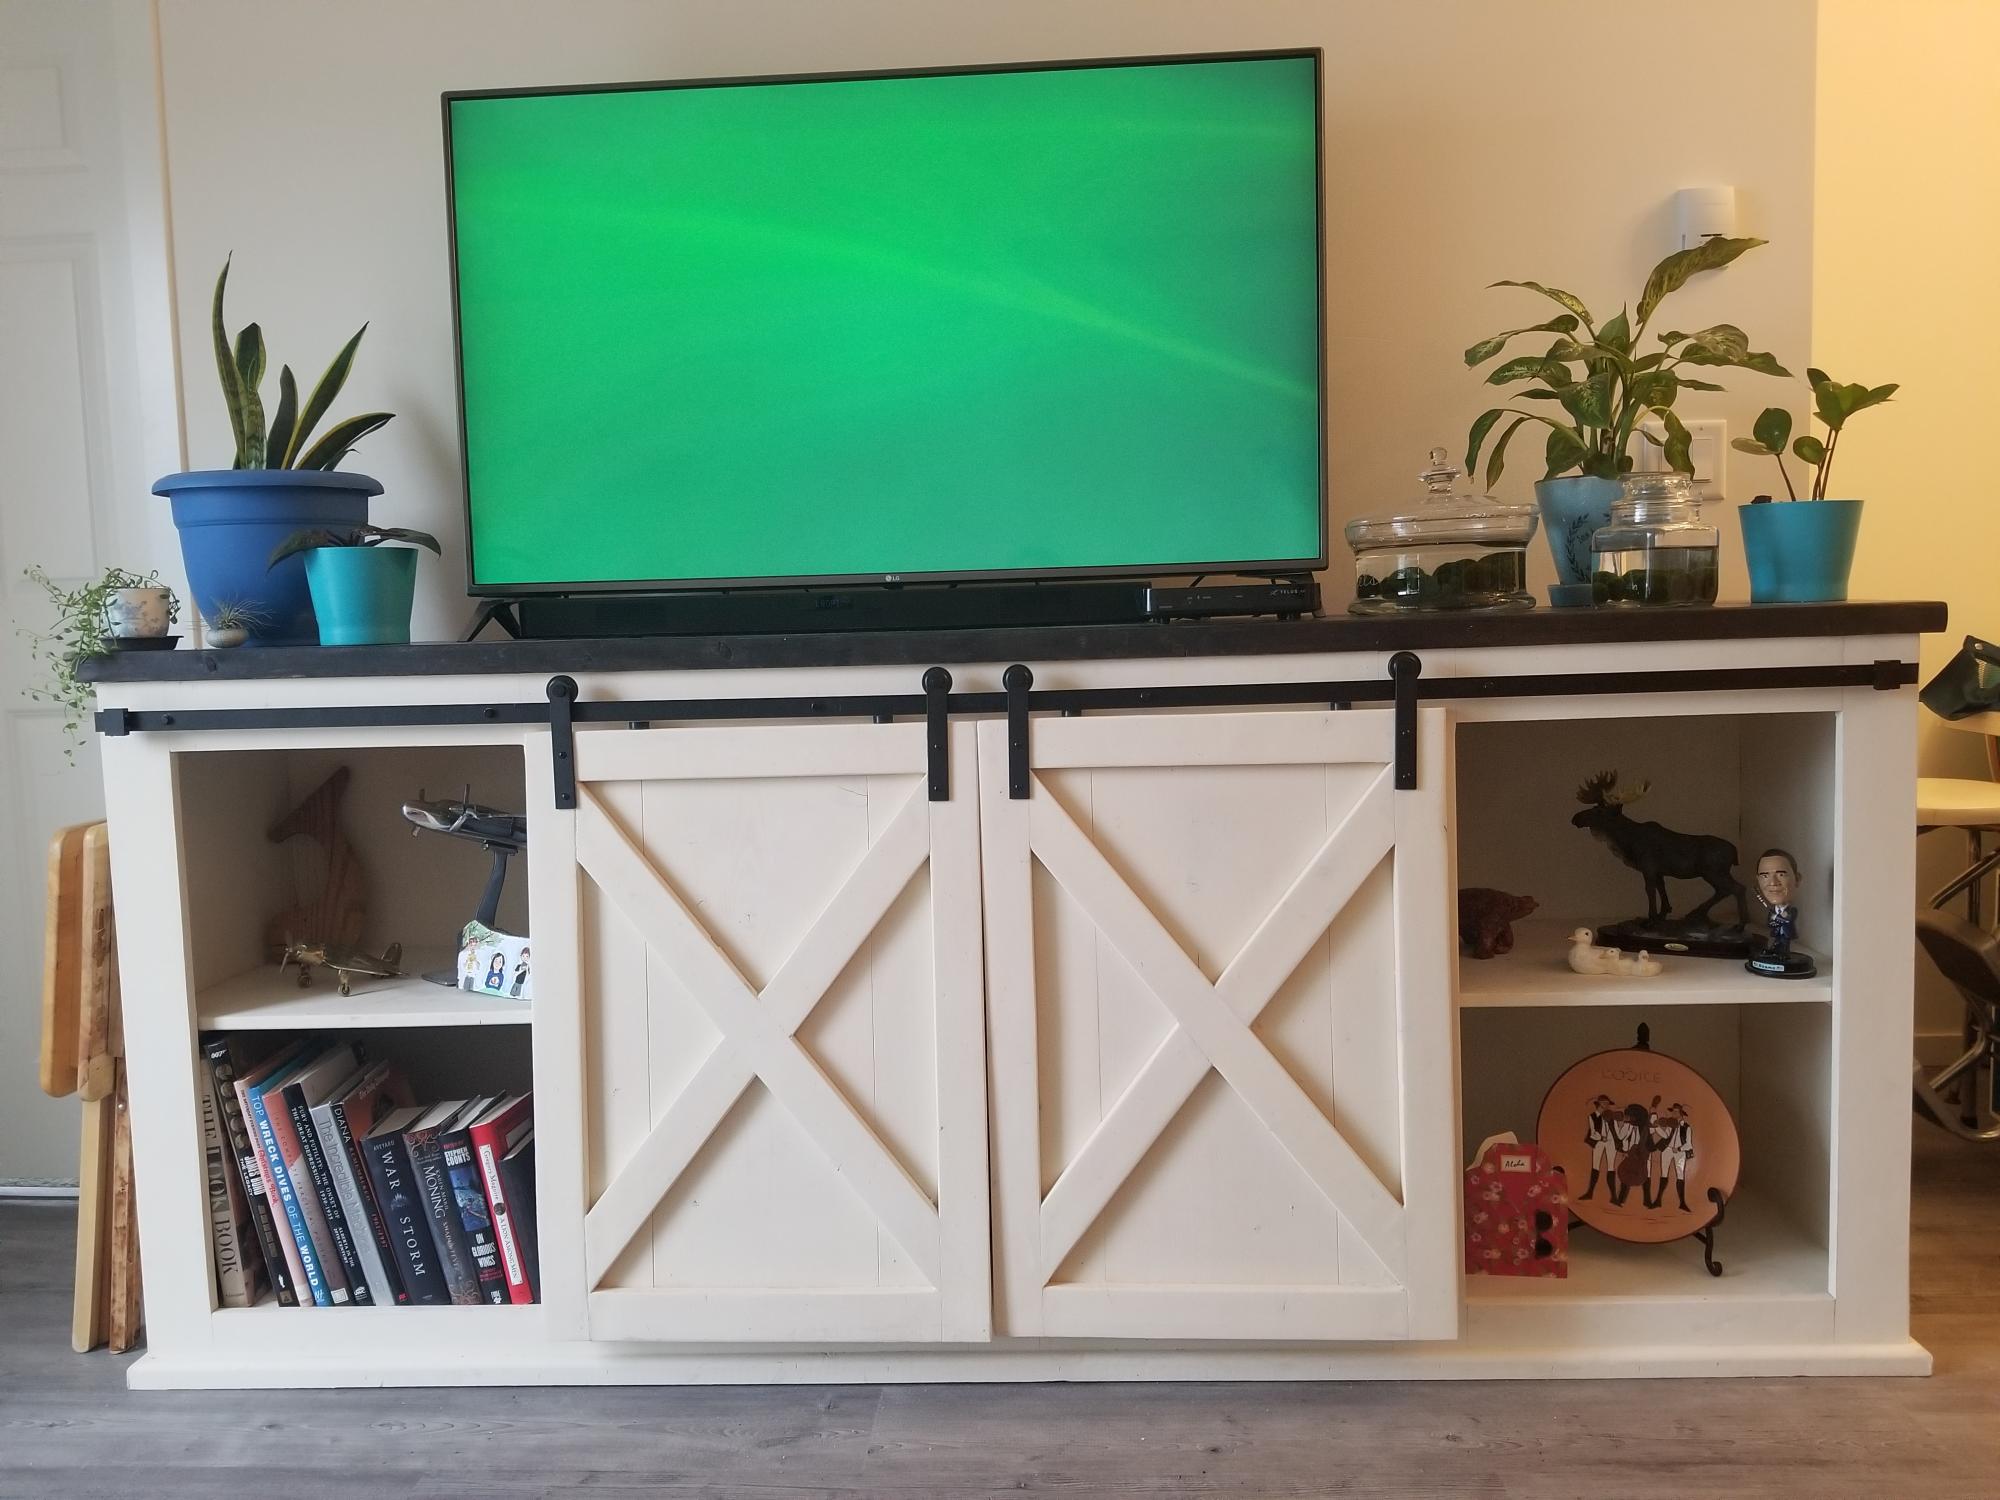
Barn Door Console by David!

Barn Door Console by David!
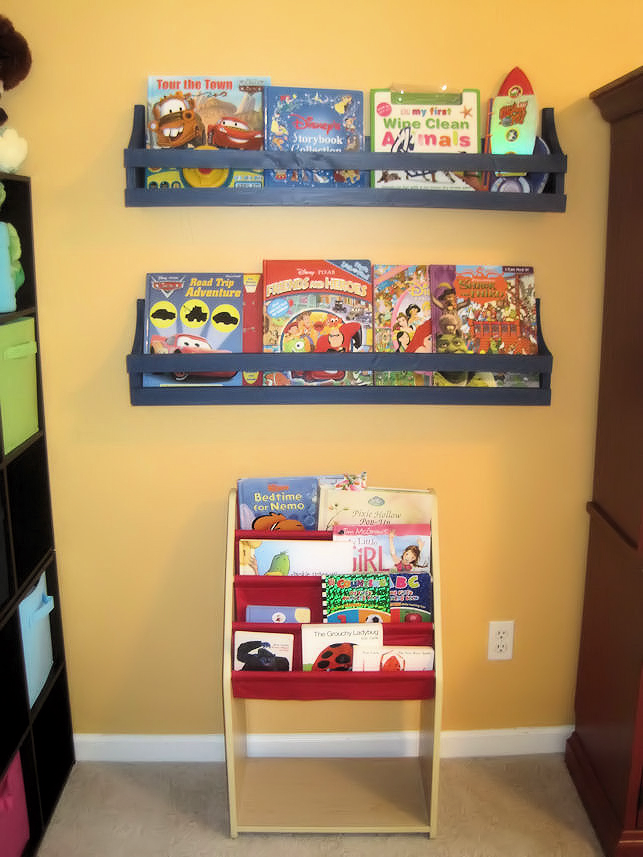
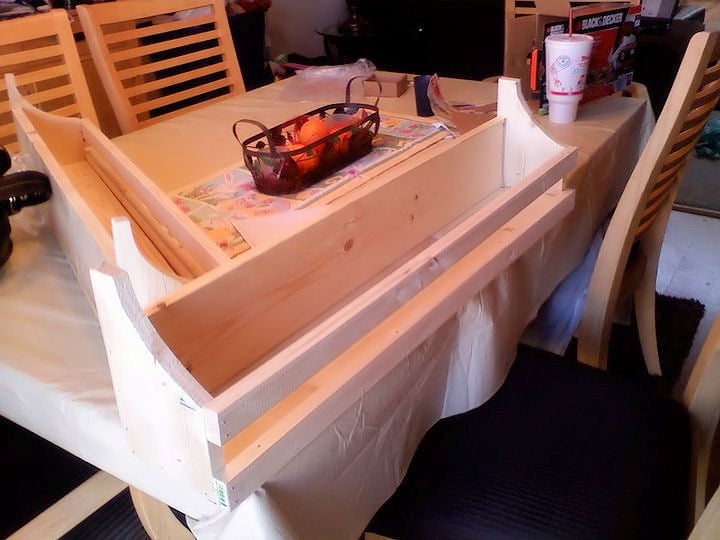
While my husband was deployed for a year I decided I wanted to redo the kids playroom. I wanted them to have a space that was organized. Somewhere easy so that what they were taught about putting their toys and books in a specific spot at school could be followed at home too! Well this is the plan that I had found Ana's site with. I loved these shelves on PBKids.com but hated the price. It was an amazing day in the Clark house hold finding Ana's blog! I had to build them right away! and well I did! they are Amazing and the kids love them! (keep in mind this was my first time building anything lol)(sorry for not posting this sooner)

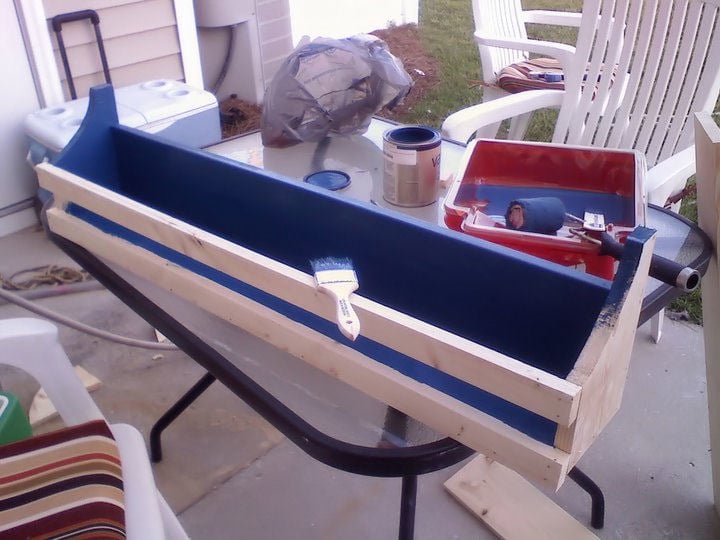
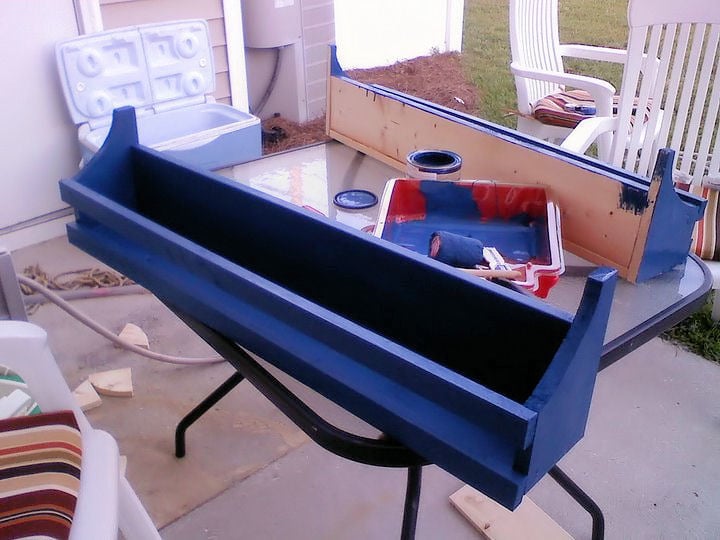
Wed, 06/15/2011 - 19:09
I love the color of the shelves. They look so good in that adorably decorated room!
In reply to What a cute room! by brookifer86
Fri, 06/17/2011 - 12:07
Thanks hun! I love them... and thanks about their playroom.. I had just known what I wanted and worked hard to get it just right lol.. they love it too!
Mon, 06/27/2011 - 13:00
Hi - We've got ours all finished but not sure how we are going to install them. We know they'll go into a stud but I'm curious how you did it.
In reply to How to install by Guest (not verified)
Mon, 06/27/2011 - 15:39
well the way i did it was get two screws found where the studs were and right above the top bar i rested my drill on it and I put each of them into the back of the shelf because I knew a book would cover the screws... now you can always add the same color paint over the screws to help them blend better when there isn't a book in there. Hope this helps. It made them really secure for when the little ones would get the books down. I know some suggested picture hooks.. but to me it just didn't seem sturdy enough.
In reply to The way i did it. by mandylynn523
Mon, 06/27/2011 - 19:14
We thought the same thing and I'm definitely not worried about a screw showing if a book is missing. :) I actually thought of picture hooks too but knew right away it wouldn't be sturdy enough for my kids.
Thank you!
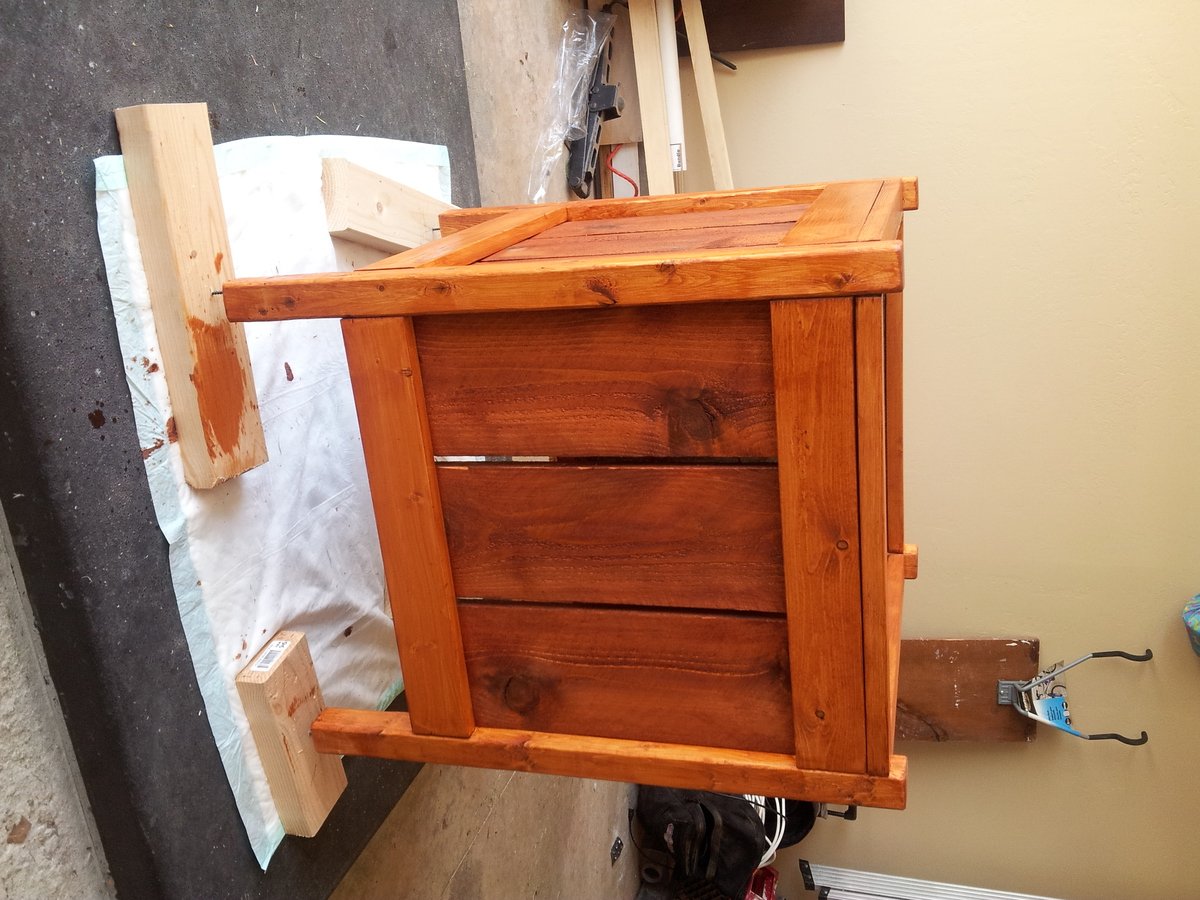
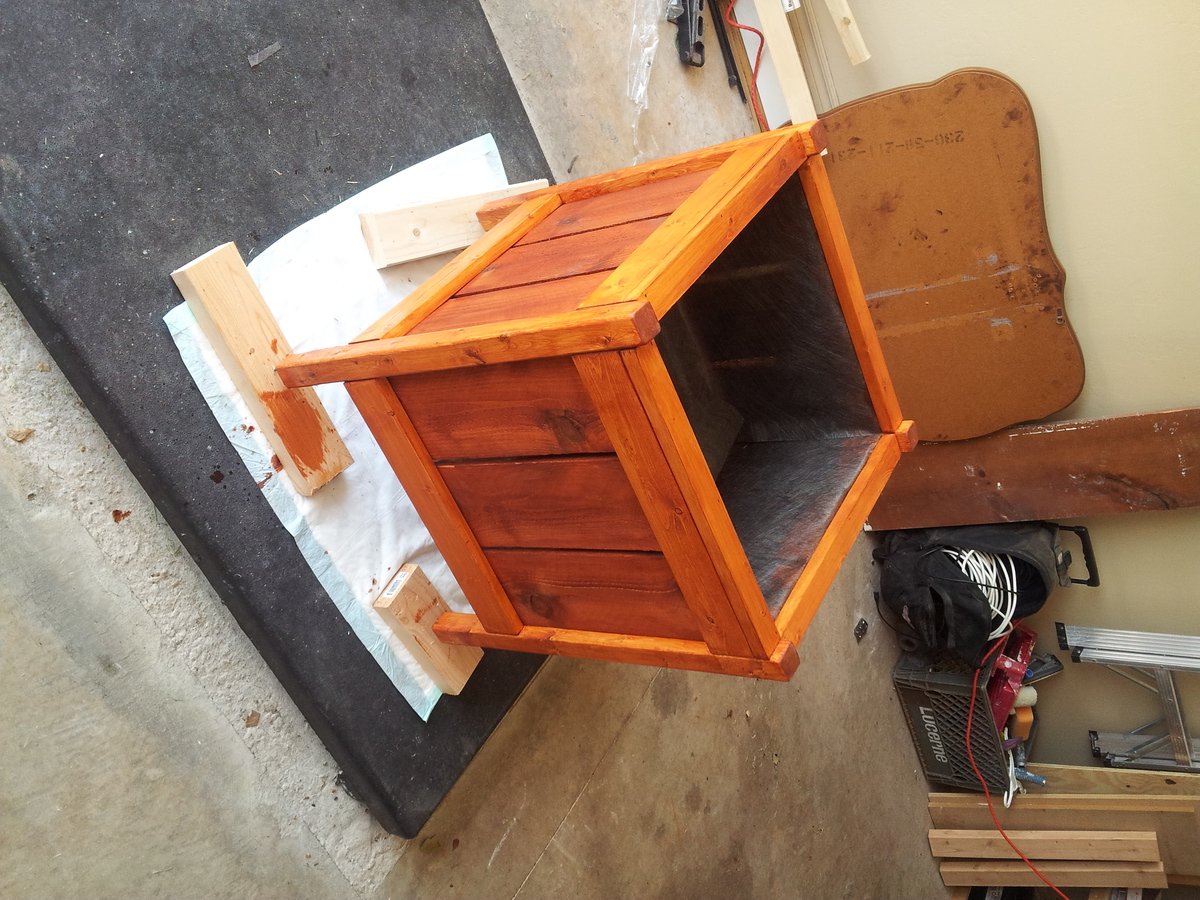
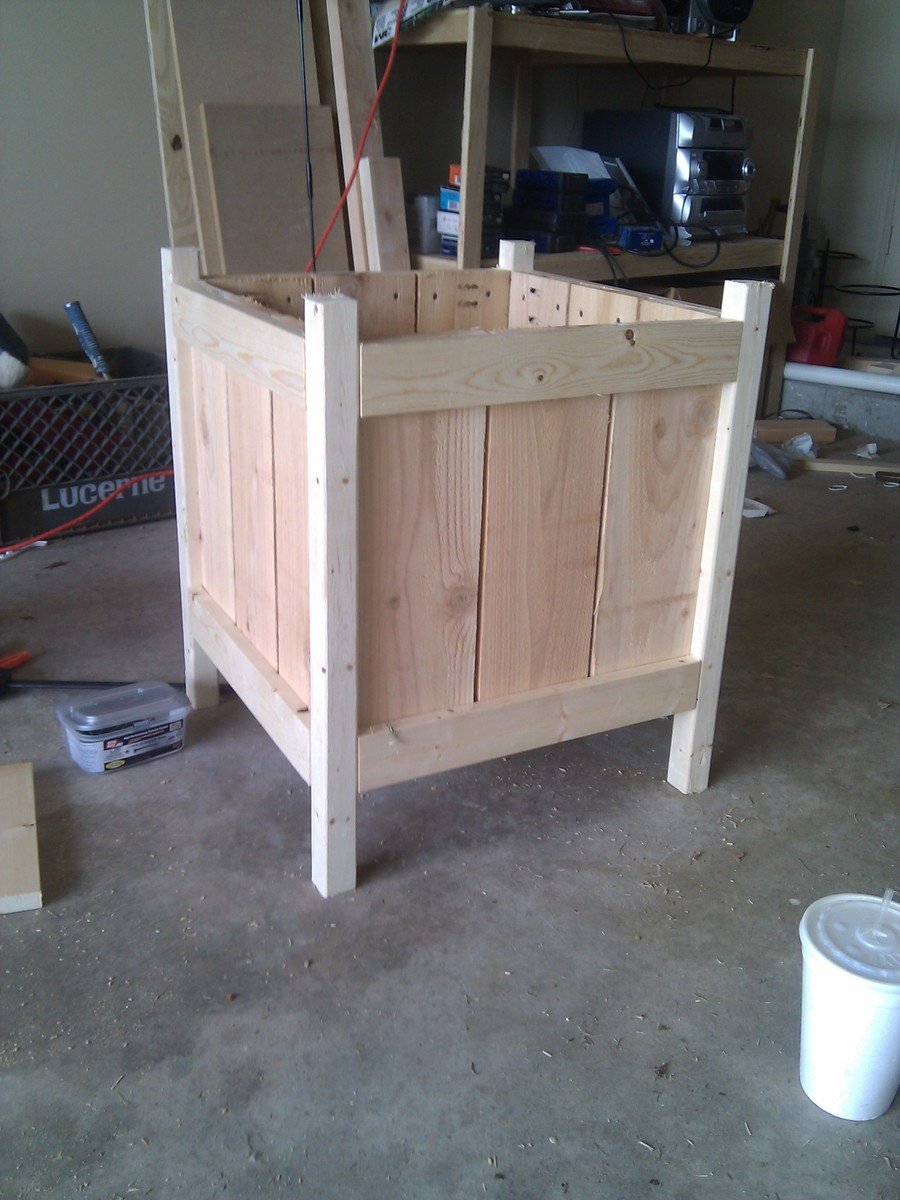
This is a cedar planter created using the plans from this website. I modified the legs some and also put a 1x2 across the top to finish it out. It is stained using Cabot Australian Timber Oil Stain in Mohagony Flame. I think it turned out great...and so does my wife!
I wanted a new TV and my wife wanted new furniture...we both won...
From a pine tree in the back yard to a great looking crib that will hopefully stay in the family for generations.
We had to take down a pine in the back yard to make room for a barn so I had it milled into lumber for future projects. I was able to get the majority of the lumber I needed from that tree, everything except for the 4x4's and 2x6's. I got what I thought was pine but after staining it I quickly realized that it was not (maybe hemlock?). The grain didnt match at all so I had to track down some new wood and remake the pieces. Boy was that frustrating! I also bothered myself to hide as many fasteners from (finished) view as possible. It made the project a bit more involved but the finished product made it all worth it.
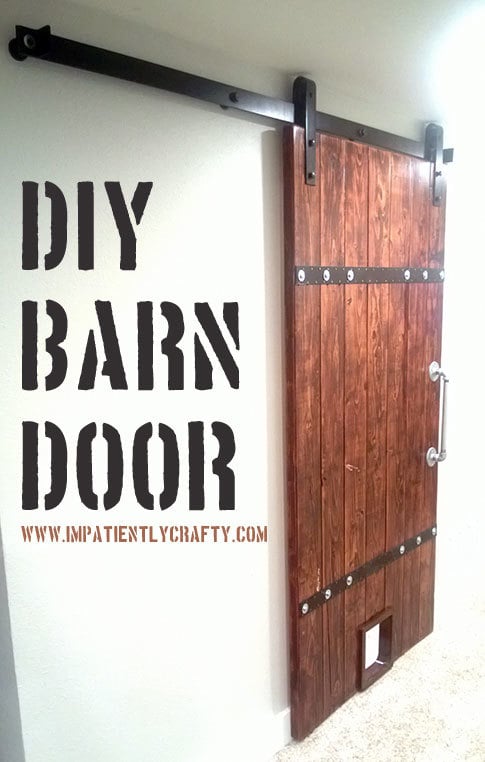
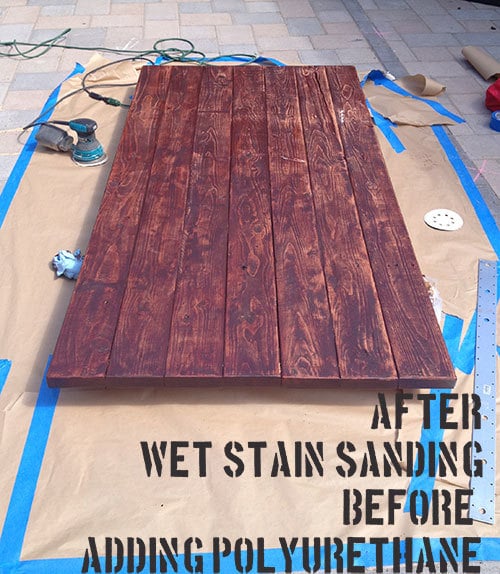
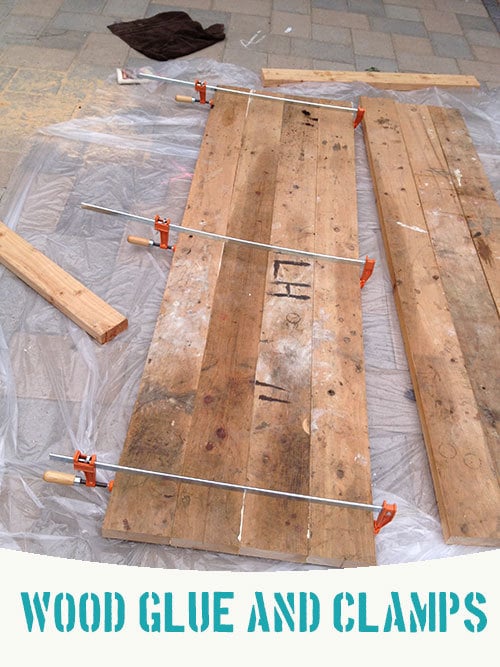
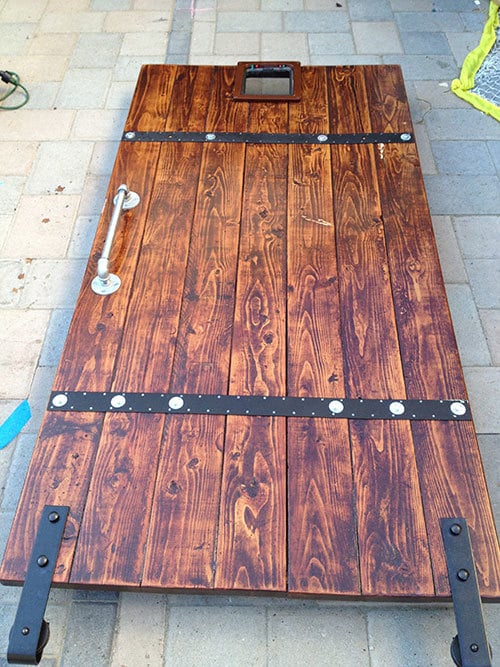
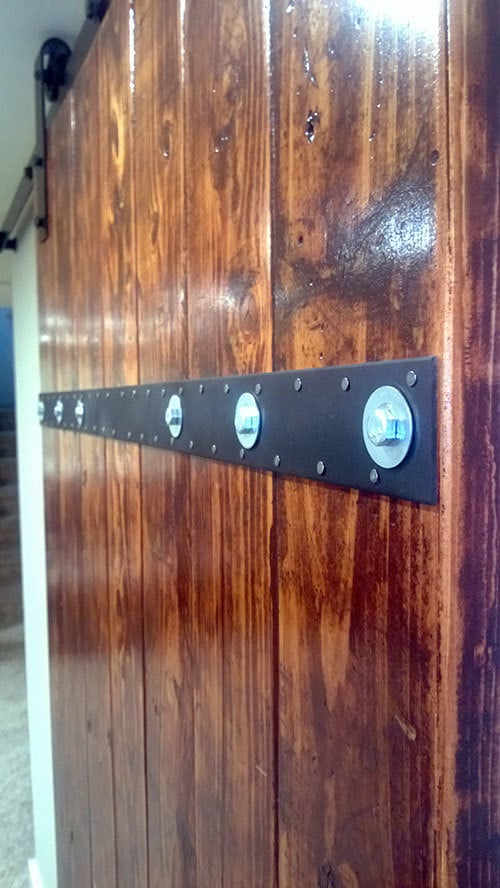
I made his Barn door out of the wood that was left in our garage when we moved in. Using (7) 2x6 boards and adding stain sanding and hardware, it became a super functional industrial rustic (is that a design style LOL) door! (I added a cat door to for our cat ;))
In reply to I love the strapping. This by Pam the Goatherd
Thu, 08/01/2013 - 11:08
Thank you! I was just super happy that I didn't have to cut the strap ties lol. now if our cat would just get used to using the cat door.....
In reply to I love the strapping. This by Pam the Goatherd
Thu, 08/01/2013 - 11:08
Thank you! I was just super happy that I didn't have to cut the strap ties lol. now if our cat would just get used to using the cat door.....
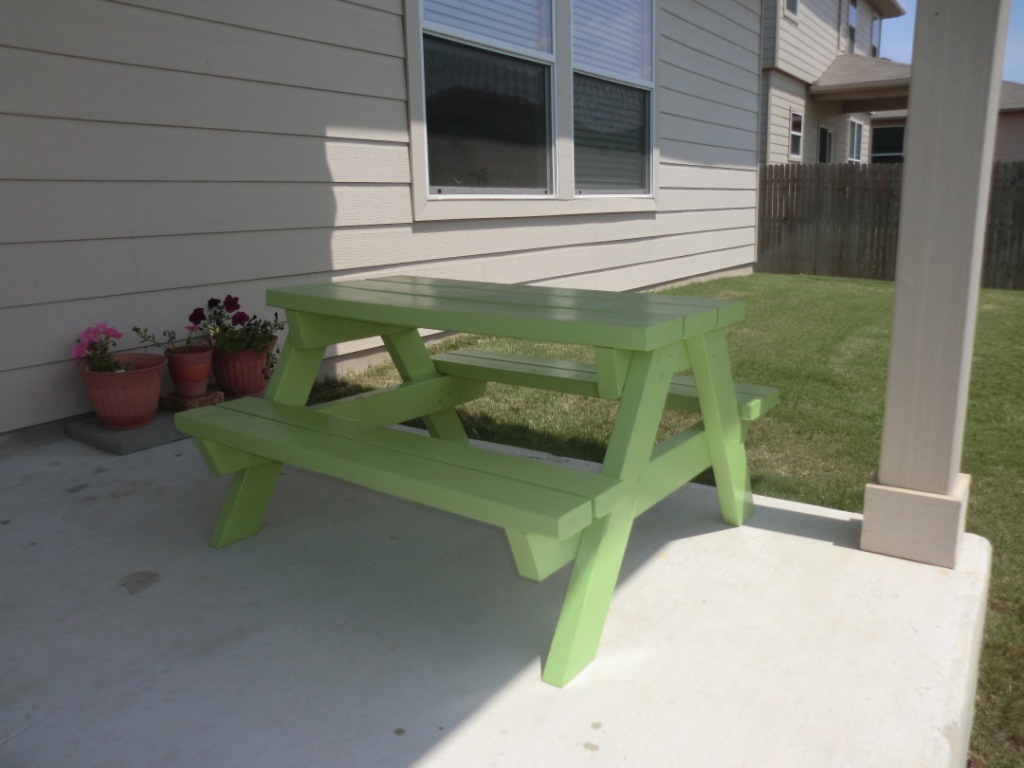
My kids needed a picnic table and I was less than impressed with what the stores in the area had to offer... I ended up with some leftover wood from the builders in our developing neighborhood and voila! A picnic table. It took 2 or 3 hours to construct, and a few more for sanding and painting.
Tue, 05/19/2020 - 18:58
Just built this and the plans were great. One error I noted. It only takes 5 2x4s if your plan the cuts.
One afternoon and $0 spent!
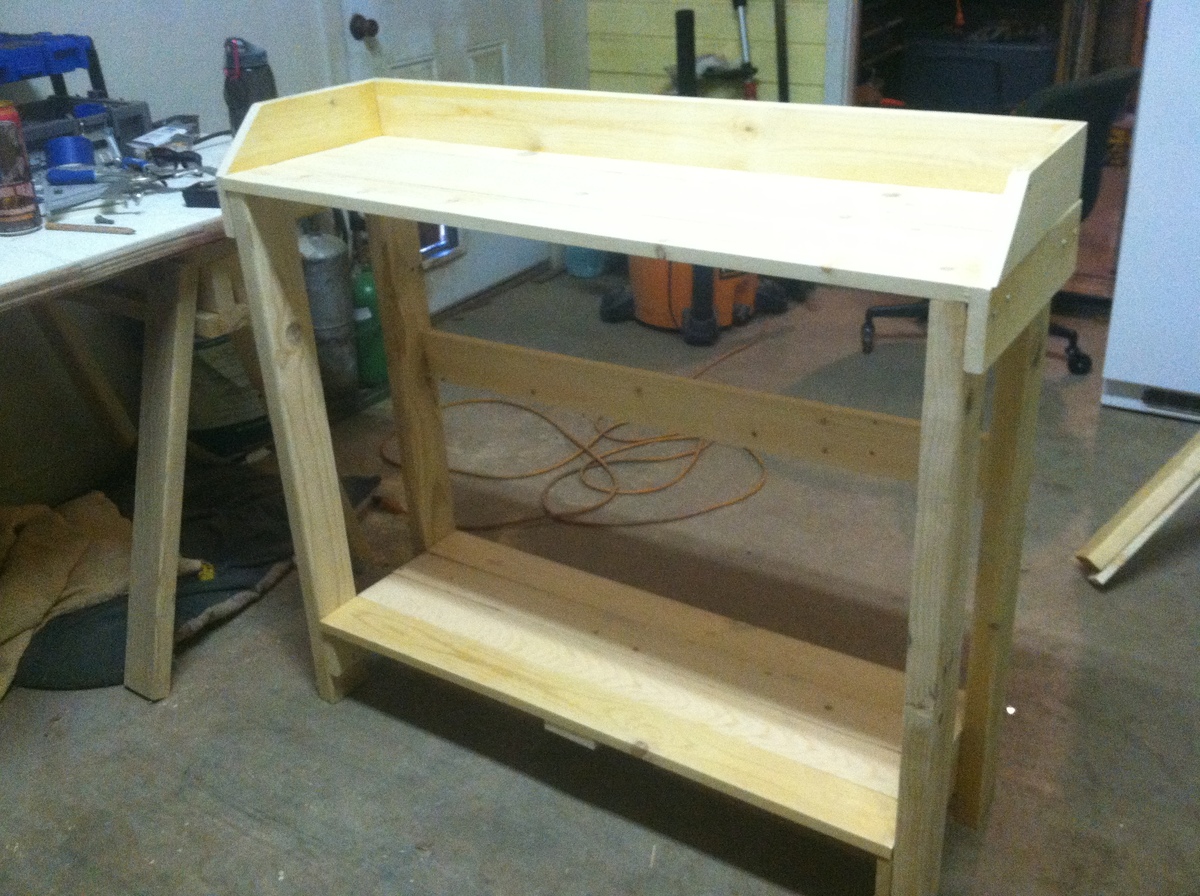
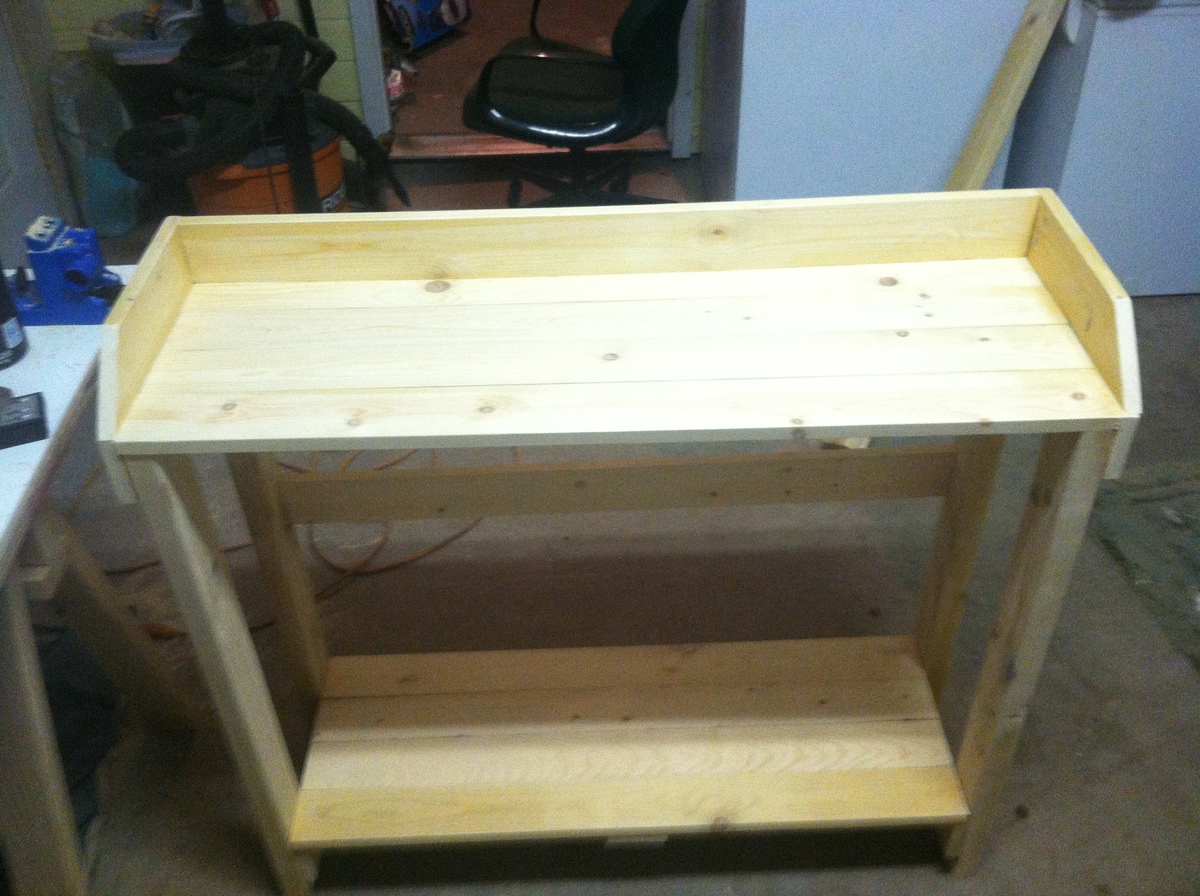
I had wanted a potting table for my front porch, and finally got it done one afternoon while my son was napping! I wanted a table that was functional but pretty enough to be front and center.
My table is a combination of Ana's and the one I found on 2 Crafty 4 My Skirt (http://2crafty4myskirt.blogspot.com/2012/04/mothers-day-potting-table.h…). I combined and modified the plans so that I could use scraps (could easily be built with pallet wood, too), so my dimension are a little weird, I know. My table is 39 1/2" from bottom to top (the top shelf sits at 36") x 44" wide. It's on the tall side, but it works well for our space.
Tools Used:
Compound miter saw
Kreg Jig system
Ryobi driver
Kreg screws
Wed, 10/09/2013 - 21:28
I love the use of the window and the color contrast is fantastic!!!
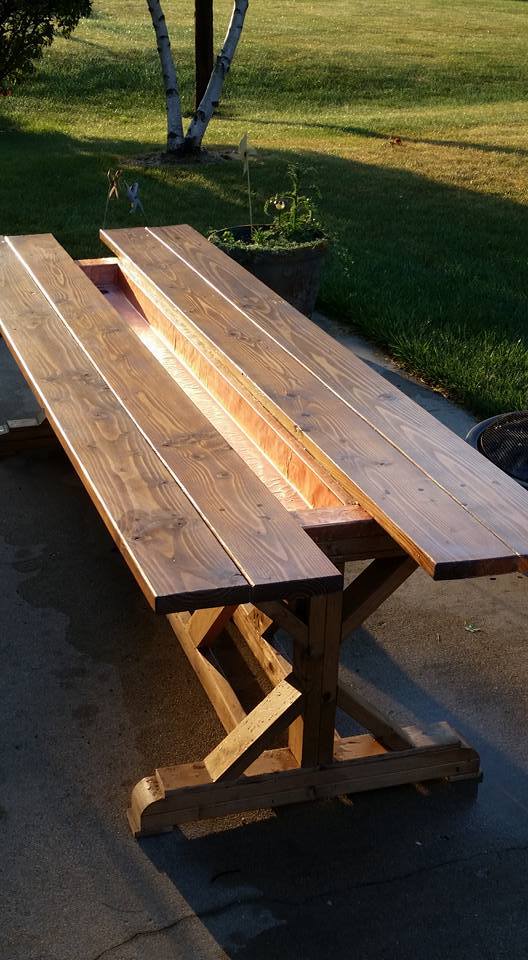
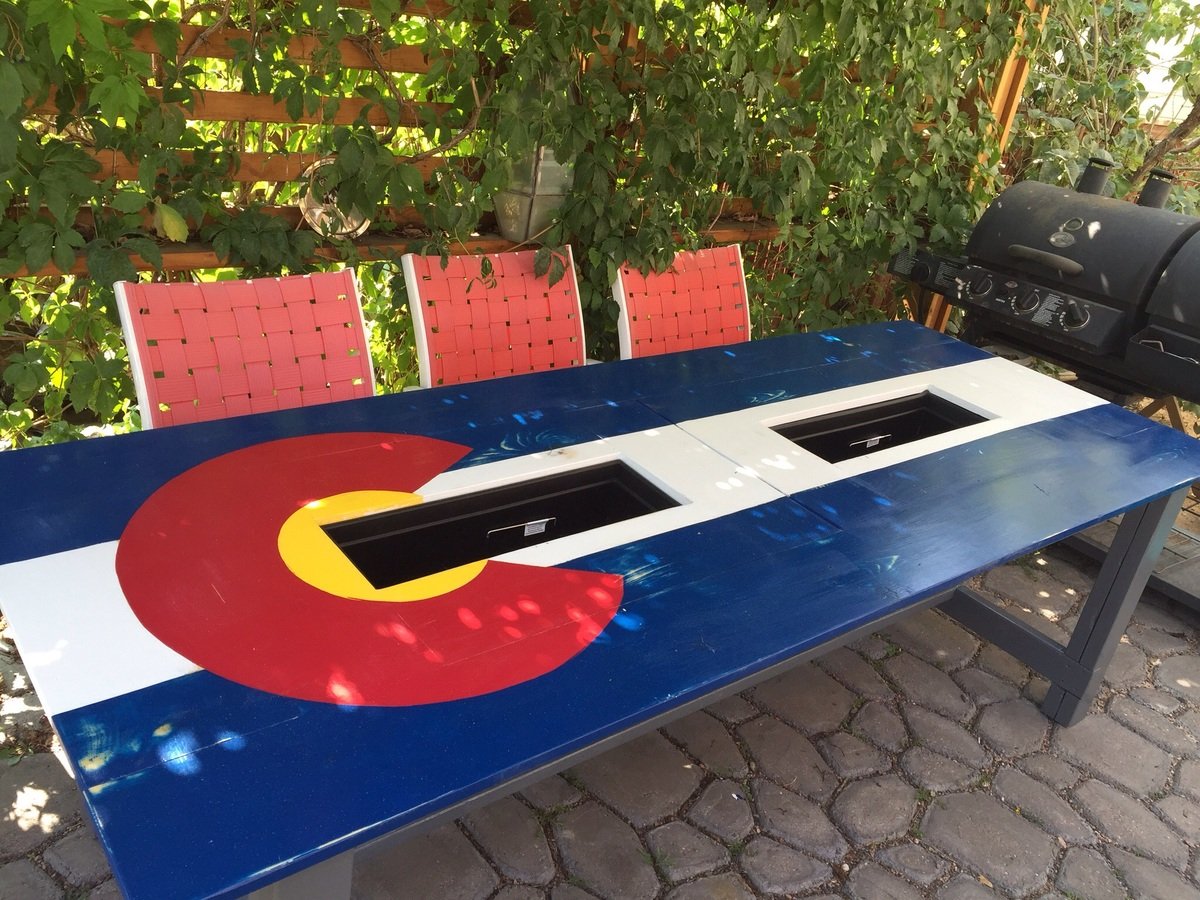
My version of Fancy X Farmhouse table with a built in copper cooler!!
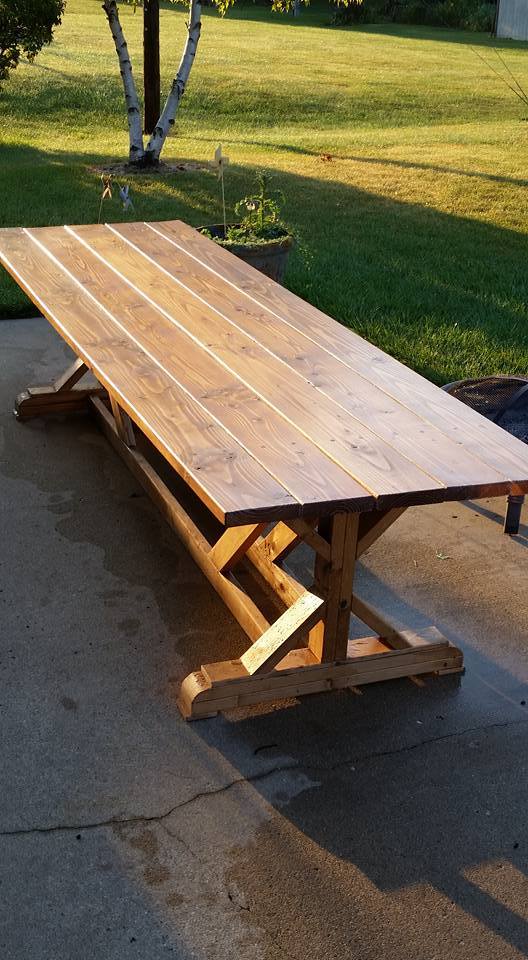
For the past few years our family has been enjoying building together. Our garage became a dumping ground for all the scraps and it got to the point where the piles became unmanagable. We build this cart from almost 100% scraps. The only piece that cost a bit where the casters, but we wanted to ensure that we could move the cart around in the garage so we purchased the most heavy duty ones at the big box store. This project took about one hour a night for a few days. Very pleased with how it turned out. Now that we have our garage back we can get back to building.
We have been searching for 3 years to find a sectional that would fit around our fire pit. The only thing we ever found were two curved sofas that cost $5000 needless to say, we kept looking. When I saw the weatherly plans I knew that I could modify them to curve around the fire pit. The piece is made up of three sofa sized pieces and connected by two triangular pieces. The HARDEST part of this project was finding the dimensions for the triangle pieces. It took 2 days, my dad and brother throwing trigonometry formulas at me, and a lot of trial and error. After that it was easy! I combined the plans for the sofa and the loveseat, so the loveseat would have the ends on them.
Sun, 06/26/2011 - 15:23
I am building a "bench in the backyard" and agonized about using an angle other than 90 degrees. I finally decided to go simple and easy as possible. We will see soon if it works out.
Isn't it so wrong that the wood for this whole project cost LESS than the cushions!
I am so envious of wherever you live. Beautiful!
Fri, 11/04/2011 - 09:49
But I think my triangular sections would be raised (to cushion height) table tops...
Now to build a deck so I can build THIS!!!
This is my second project - I made an outdoor cookng surface modeled after the Tryde coffee table. The 4x4's are 36" tall and made it 21" deep - this is great for my outdoor grilling station.
I truely enjoy this desig, and I try to use it for anything going forward.
I love the deep color that the minwax red mahogany stain brings - this has 3 coats of polyurethane.
If you notice the table next to the tryde table - my father in law came up with a design to make the grill tops taller than the standard configuration - I will try to send a cad version of this to Ana so that she can post it up on the site.
the ground is not level with the slate.


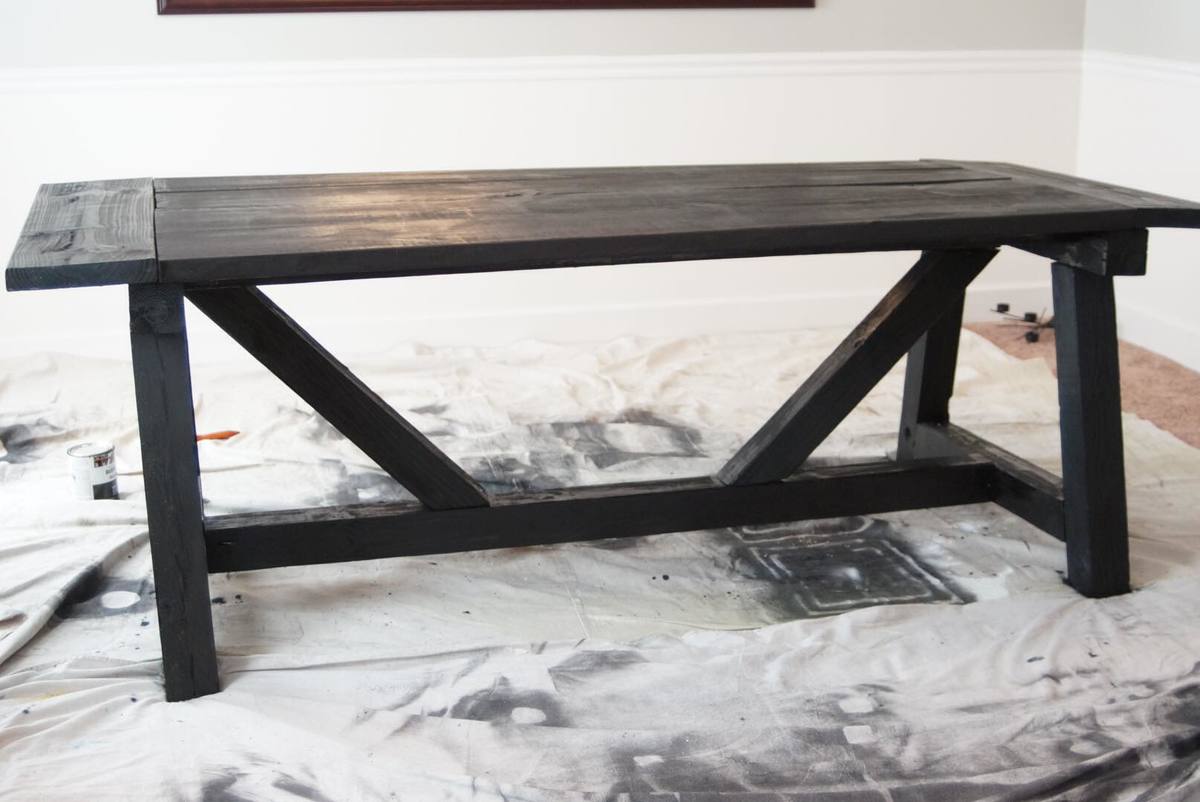
I had trouble with the angled cuts not fitting perfectly. I have a circular saw, not a table saw or miter saw, so I had to measure with a protractor and mark, then try to follow my lines exactly. Tedious, but I like the table. It is mad heavy though!
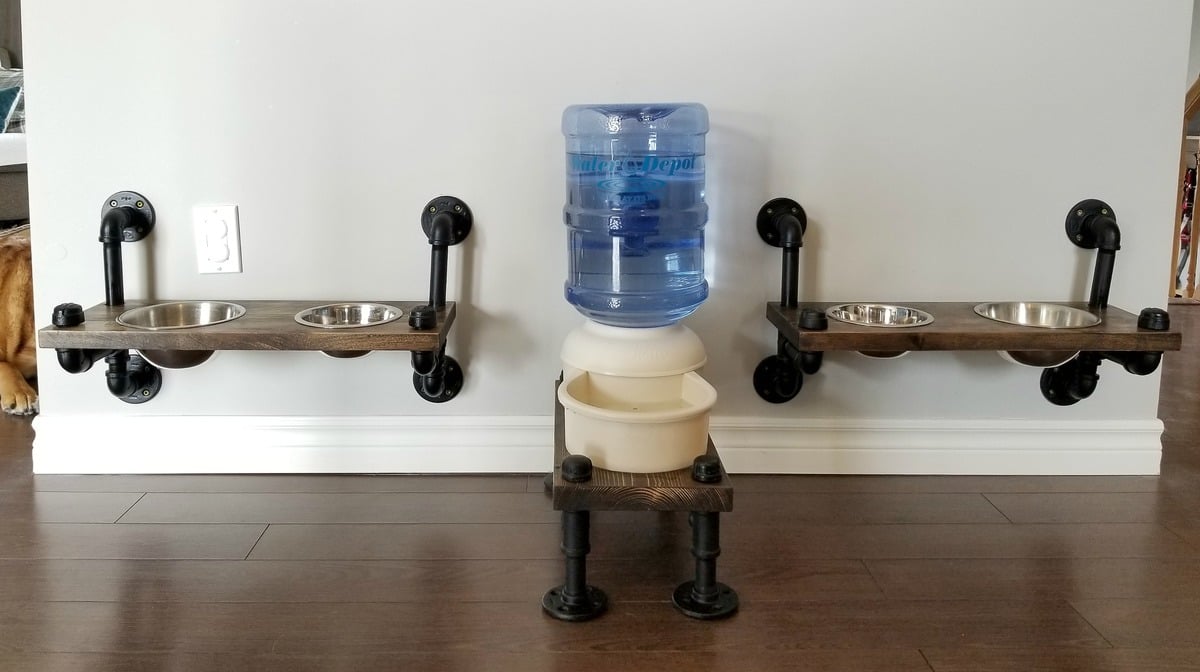
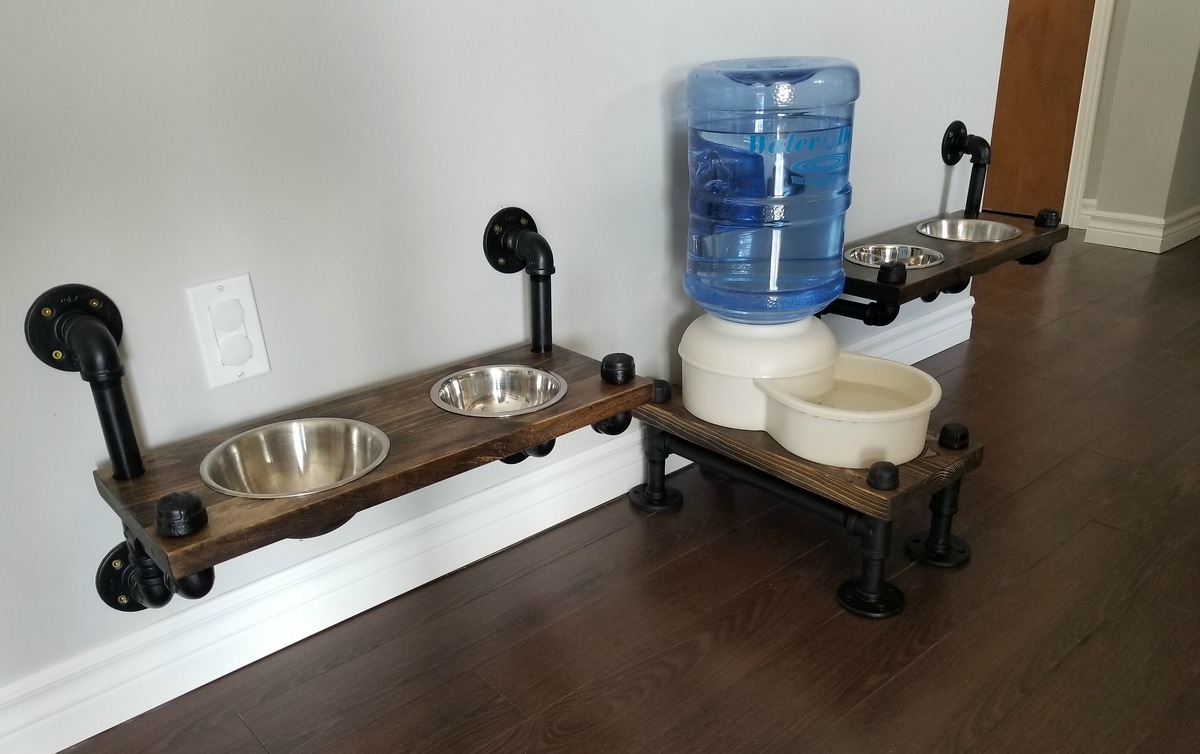
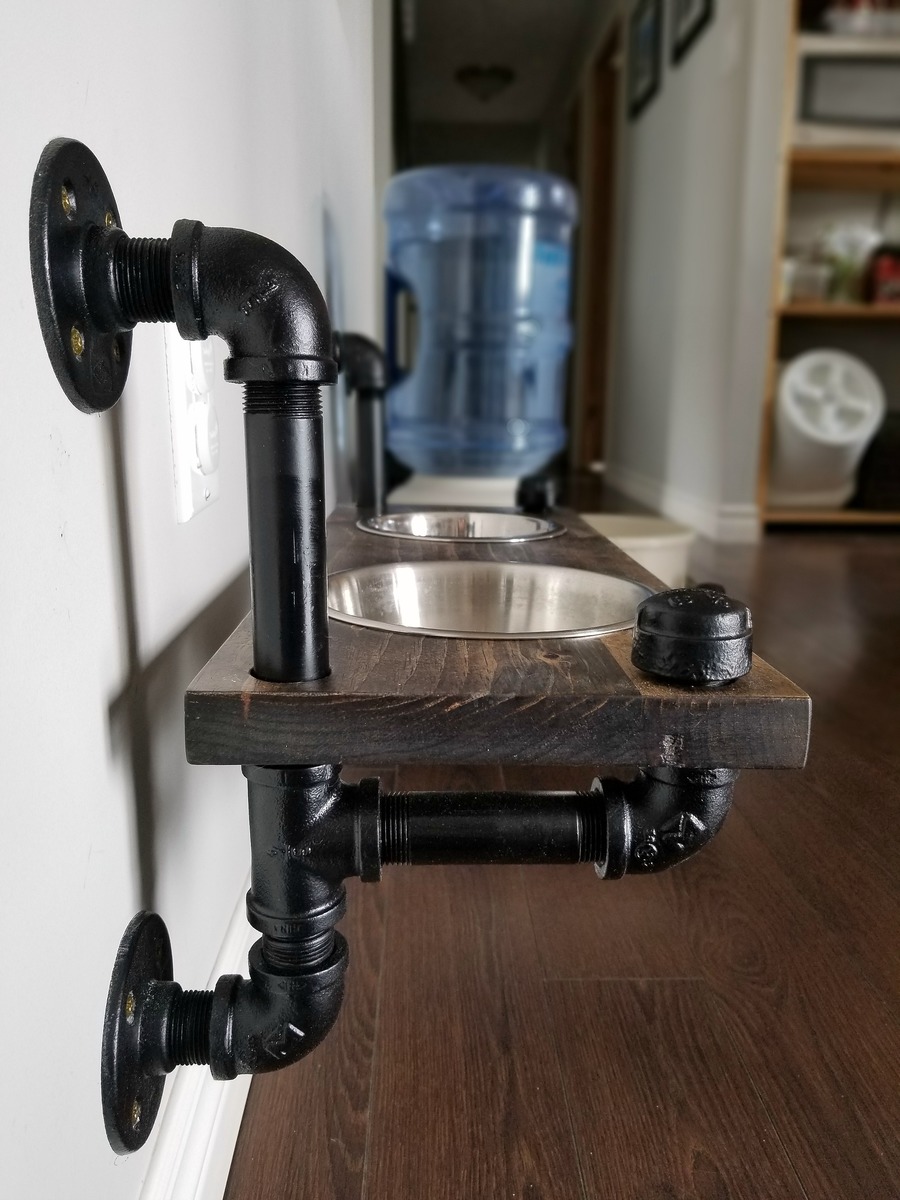
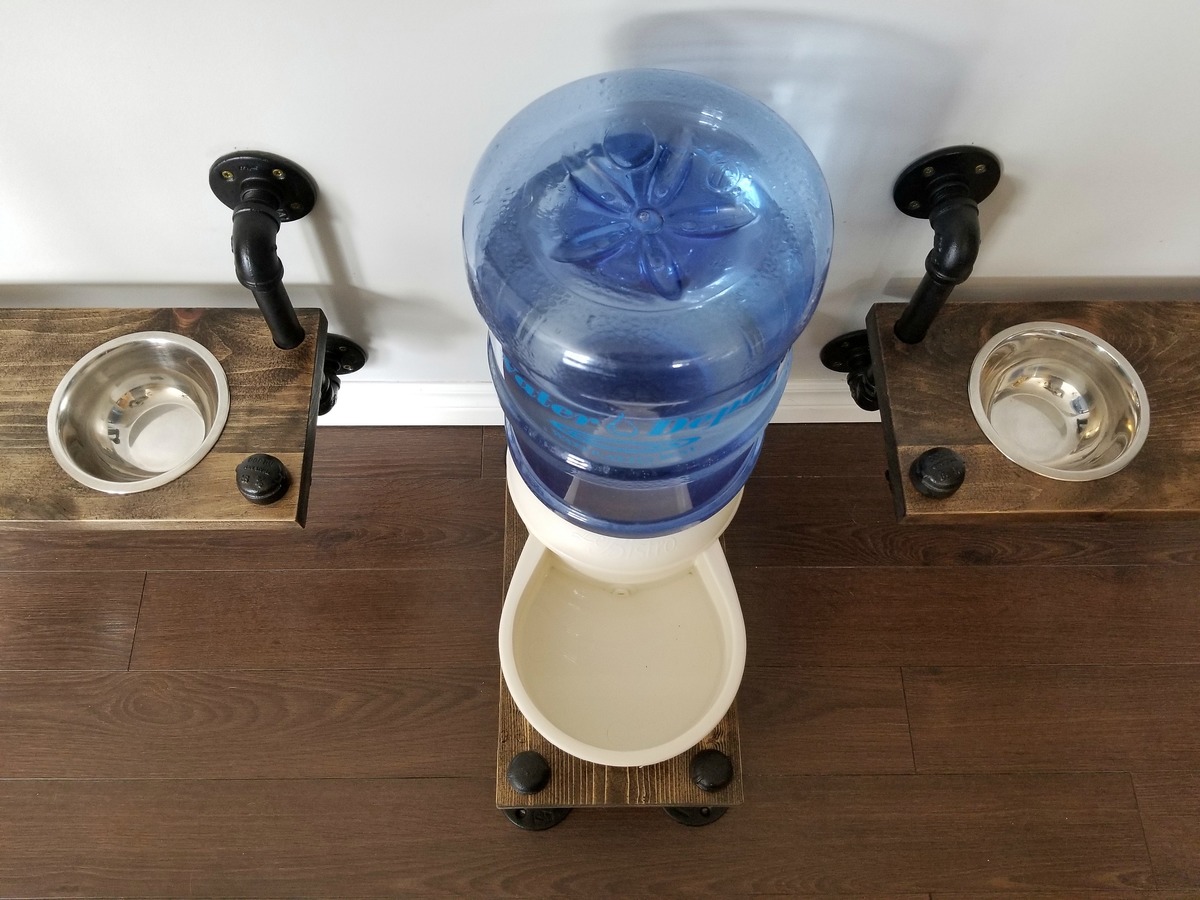
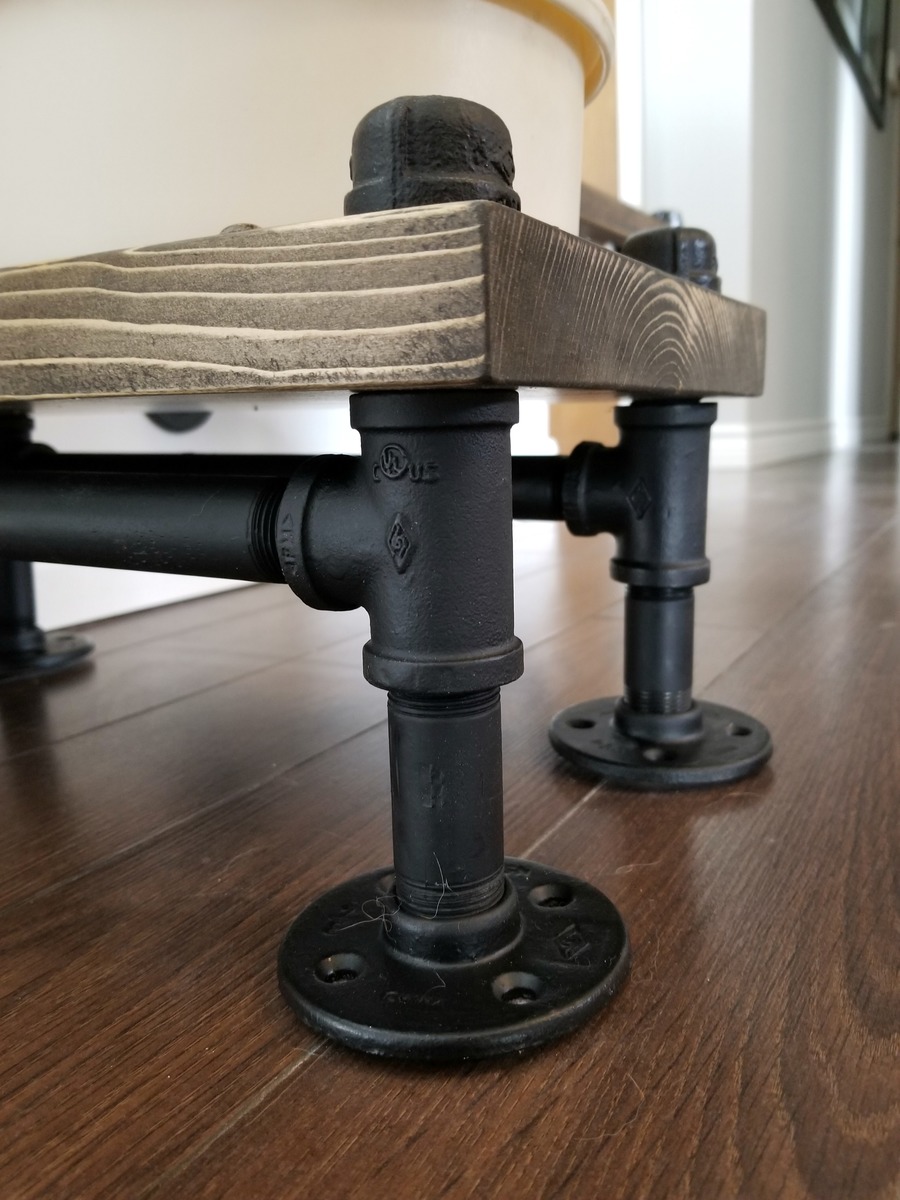
We built this feeding area to complement the plumbing pipe open shelving we installed in our dining room. The shelves for the bowls are mounted to the wall (use anchors or screw into the studs) and the water bowl stand is free-standing. This new setup takes up much less space and is easier to clean around than the usual mat and bowls on the floor.
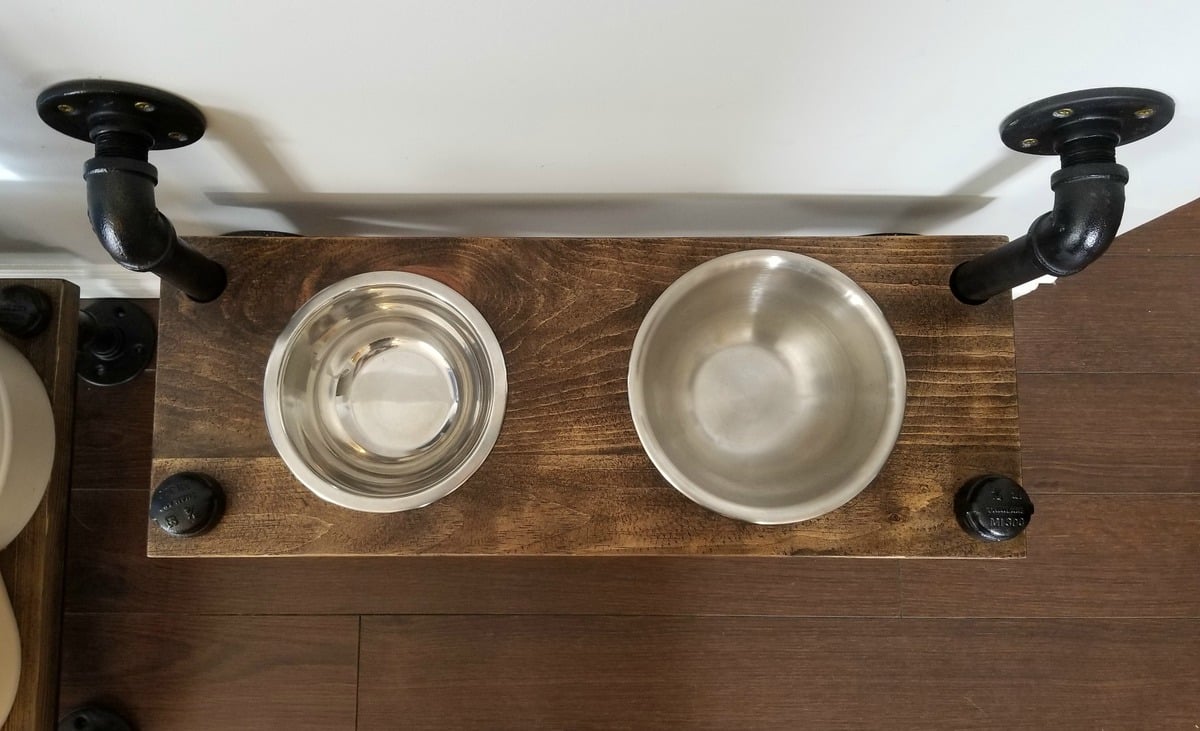
We built the shelves and water stand from reclaimed wood - each shelf is 8.5" x 22.5". The pipes are spray-painted in flat black.
Tips:
- trace around your bowls on your piece of wood and then cut the holes out smaller than the circles you drew so that the bowl edges rest on the wood and hold the bowl in place.
- to get a silky-smooth surface on the wood, after waxing and buffing, do a final buffing with extra fine steel wool.
See link to blog for details on the build and more photos.
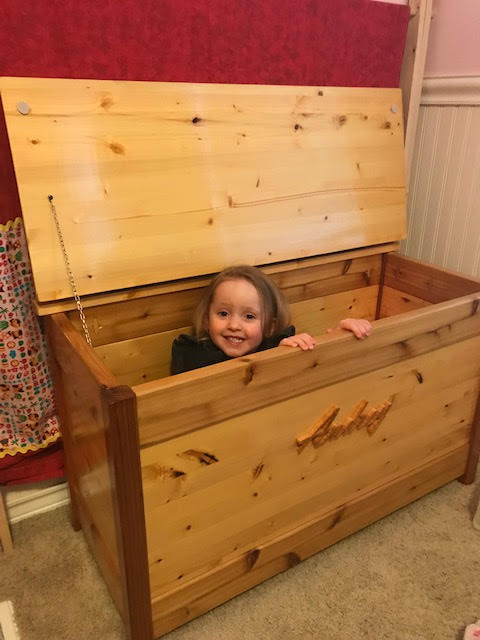
Love your website. My first project from your site was this cedar toy box for my great niece. I even used a scroll saw to cut out her name!
by Bruce

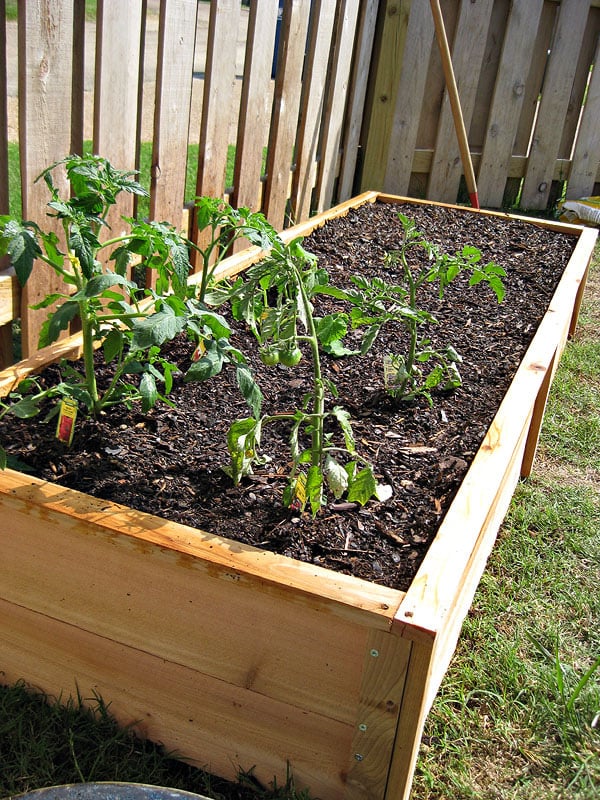
Since moving and finding Knock Off Wood, we decided now would be a good idea to try some gardening (again...after failed attempts!) These beds are so simple but beautiful out in the yard and for the first time I actually have vegetables growing. We used the cedar fence posts just as Ana suggested.

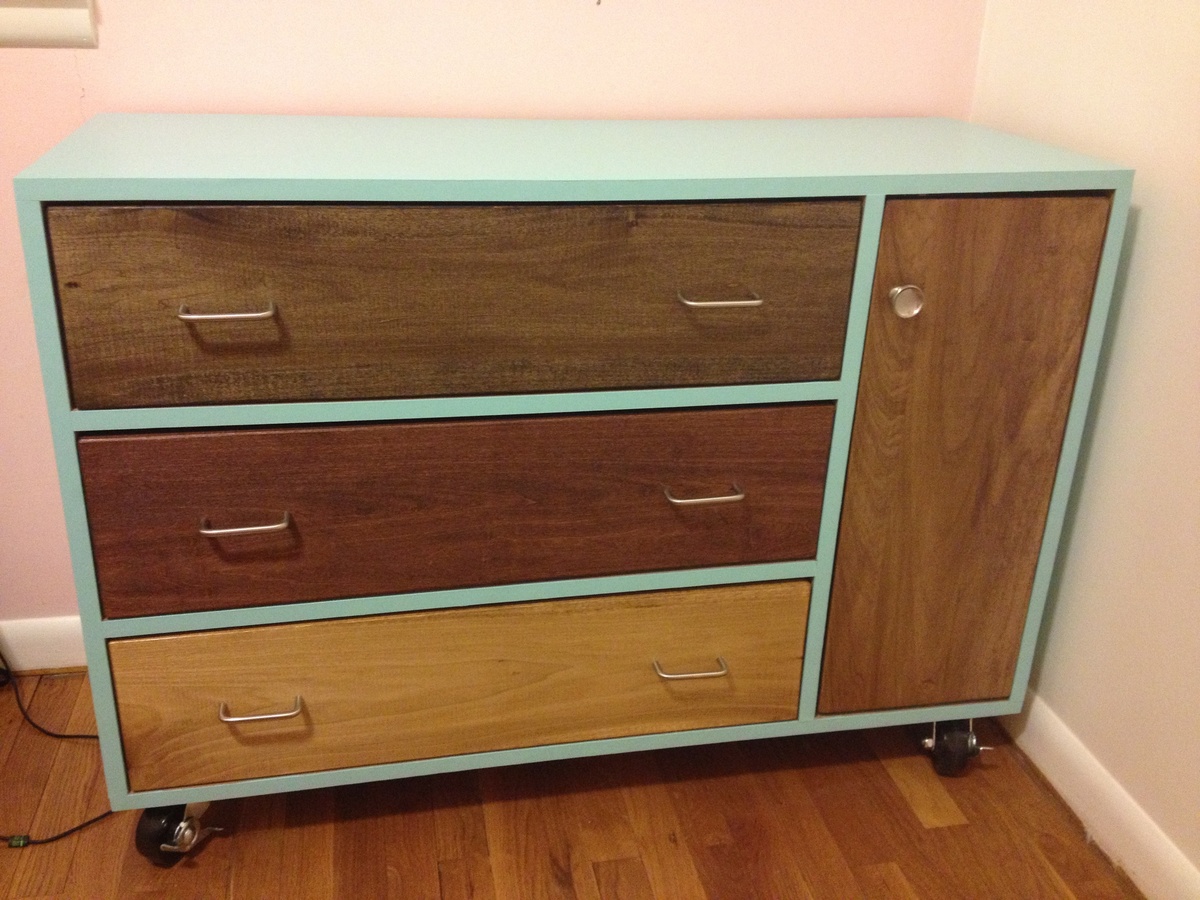
We used MDF board for the frame, and covered the cut edges with veneer. We used Poplar premium wood from Lowes's for drawer fronts and cabinet door. We shortened the length by about six inches, and replaced the three drawers on top with one large drawer so that it functions better for us.
Fri, 11/22/2013 - 08:20
Hi Andrea. I love your dresser. I wanted to ask you about staining the poplar. I have read that poplar does not stain well. Did you condition the wood first, or did you just wipe the stain on the bare wood?
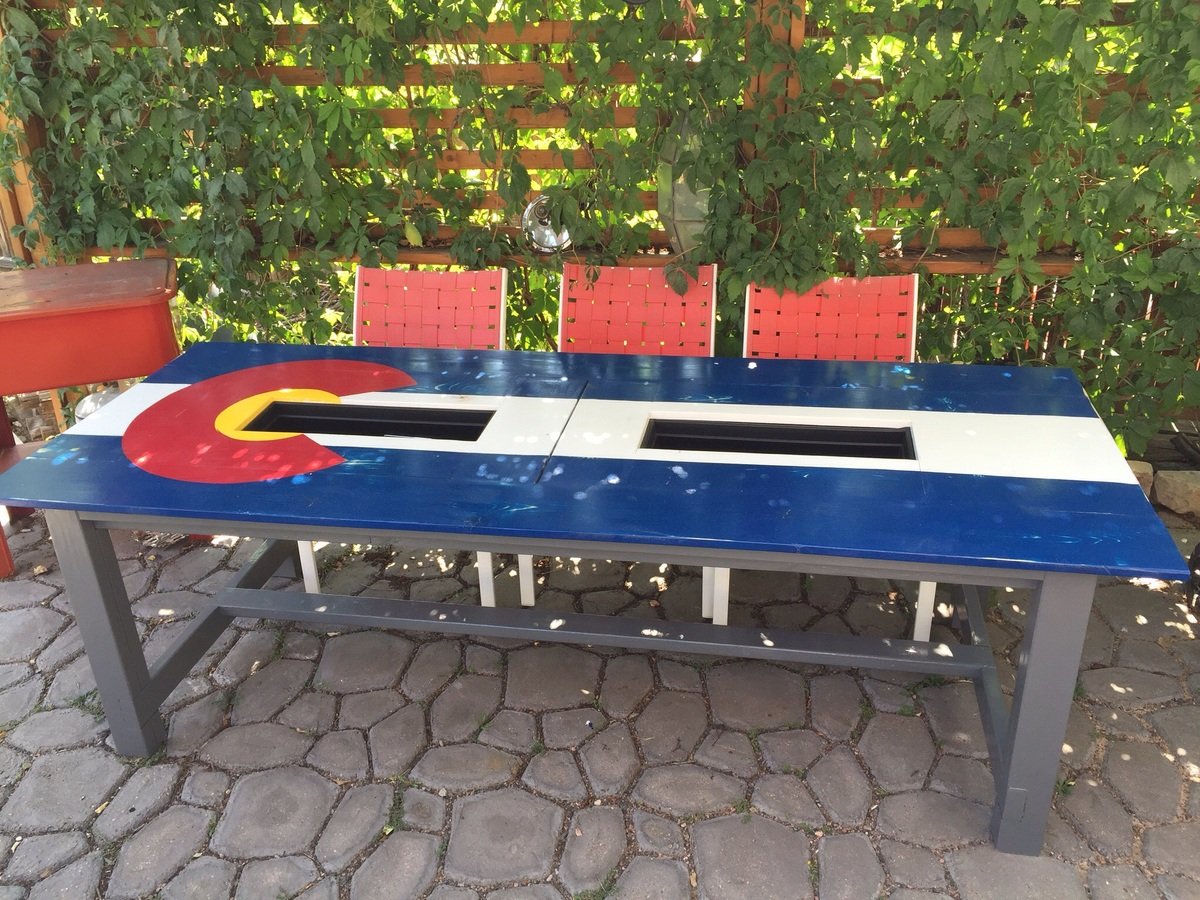
Farmhouse table base with drinkholder/planter inserts. Done up w Colorado pride!
