toy box
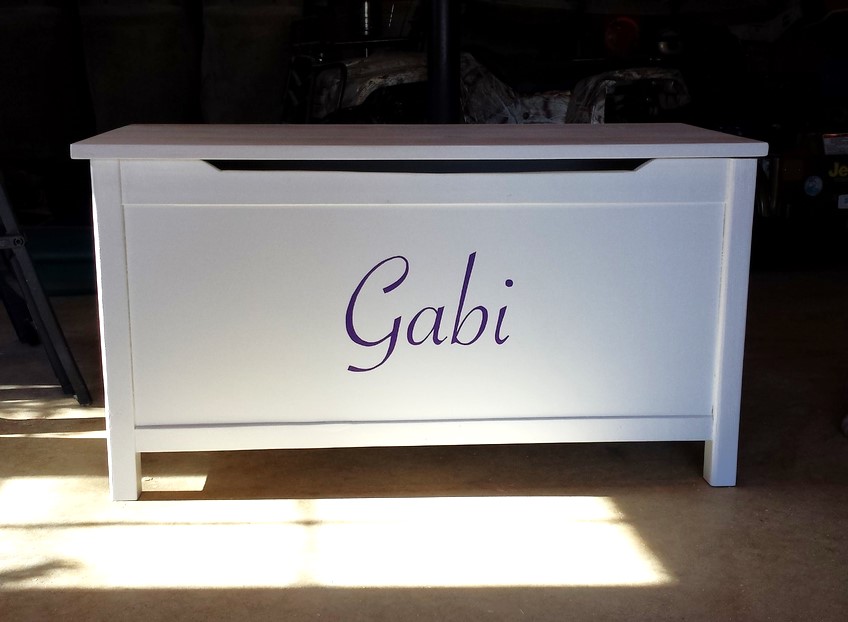
Simple cuts, kreg jig made all the difference when putting this together. Made for my niece's 2nd birthday and both she & my sister loved it.
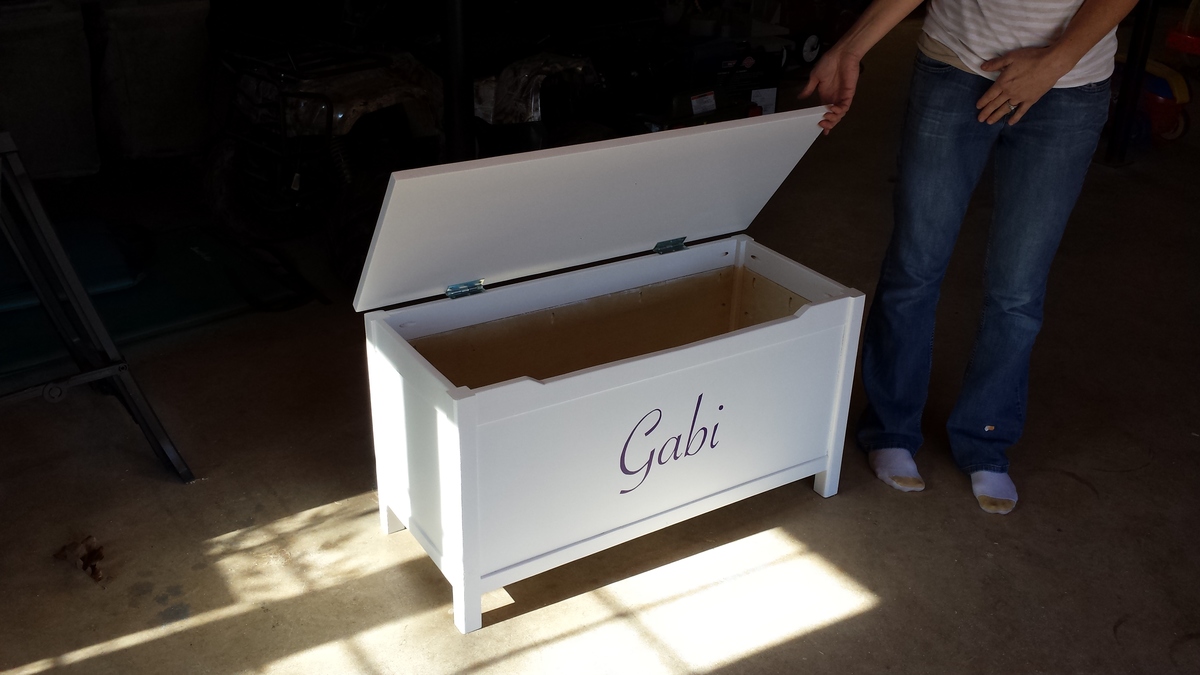

Simple cuts, kreg jig made all the difference when putting this together. Made for my niece's 2nd birthday and both she & my sister loved it.

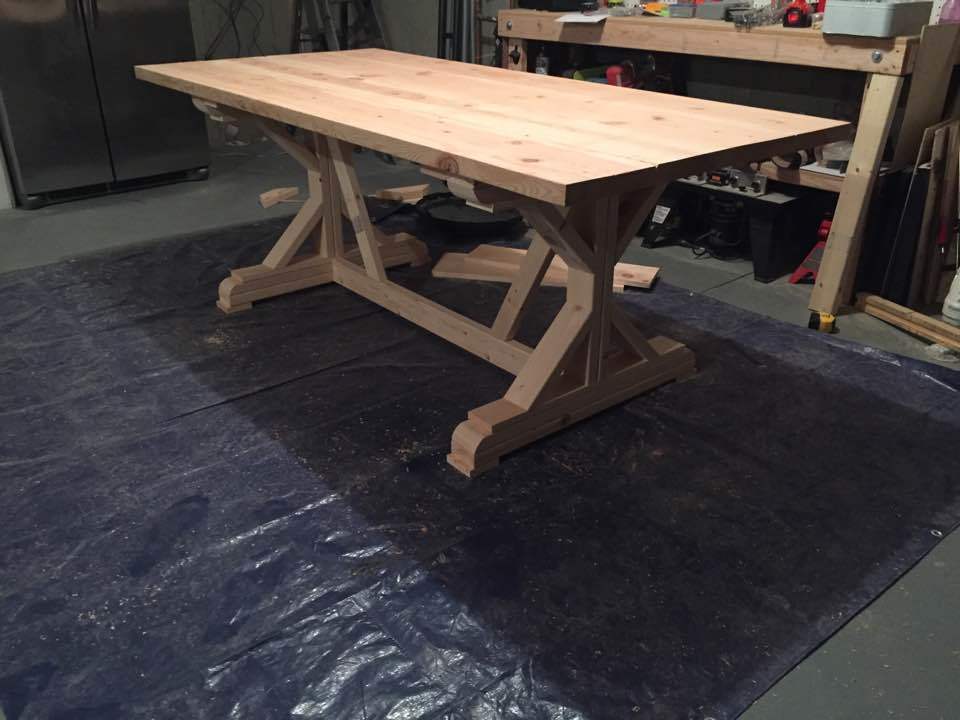
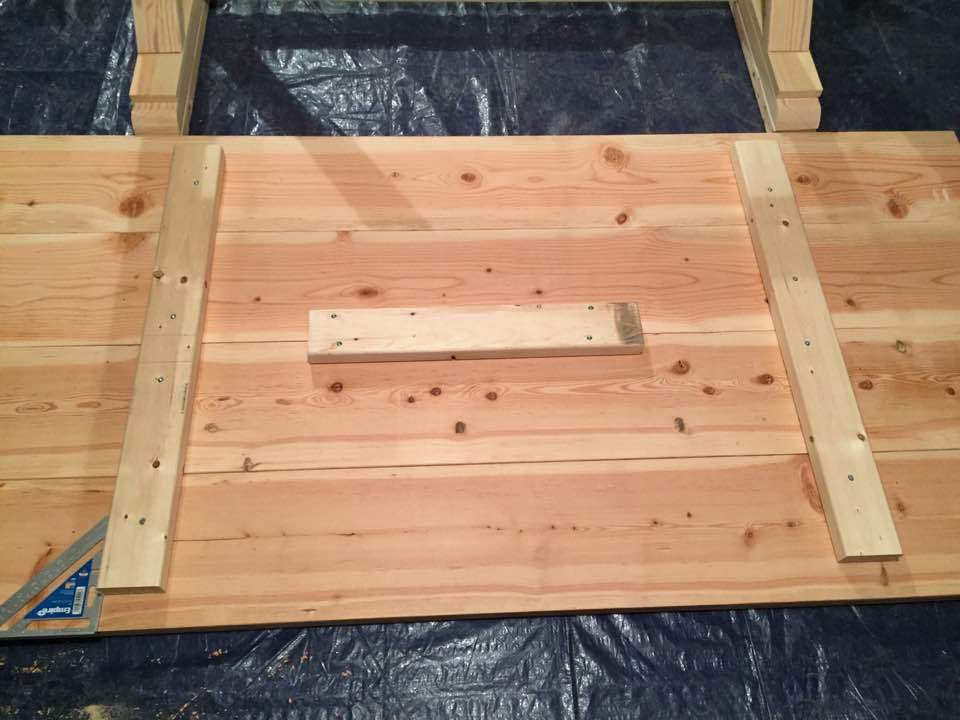
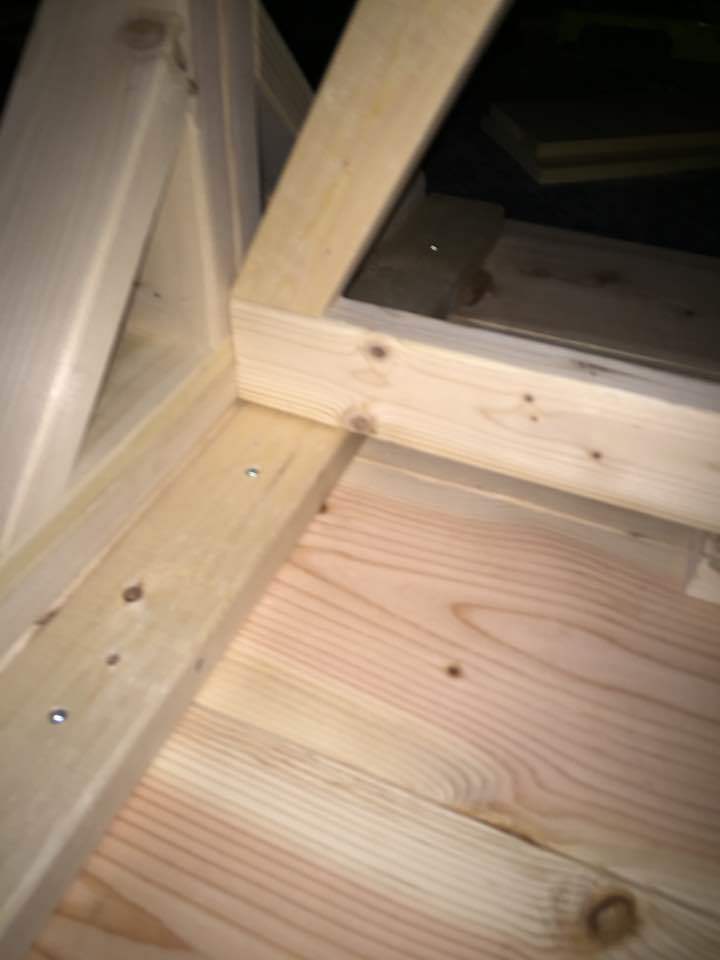
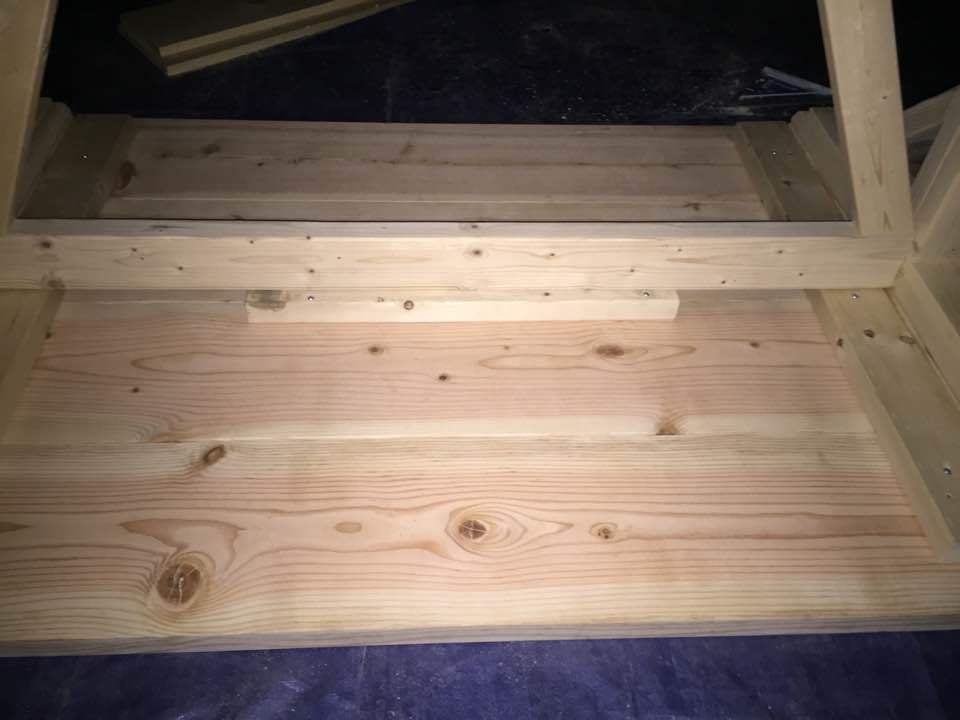
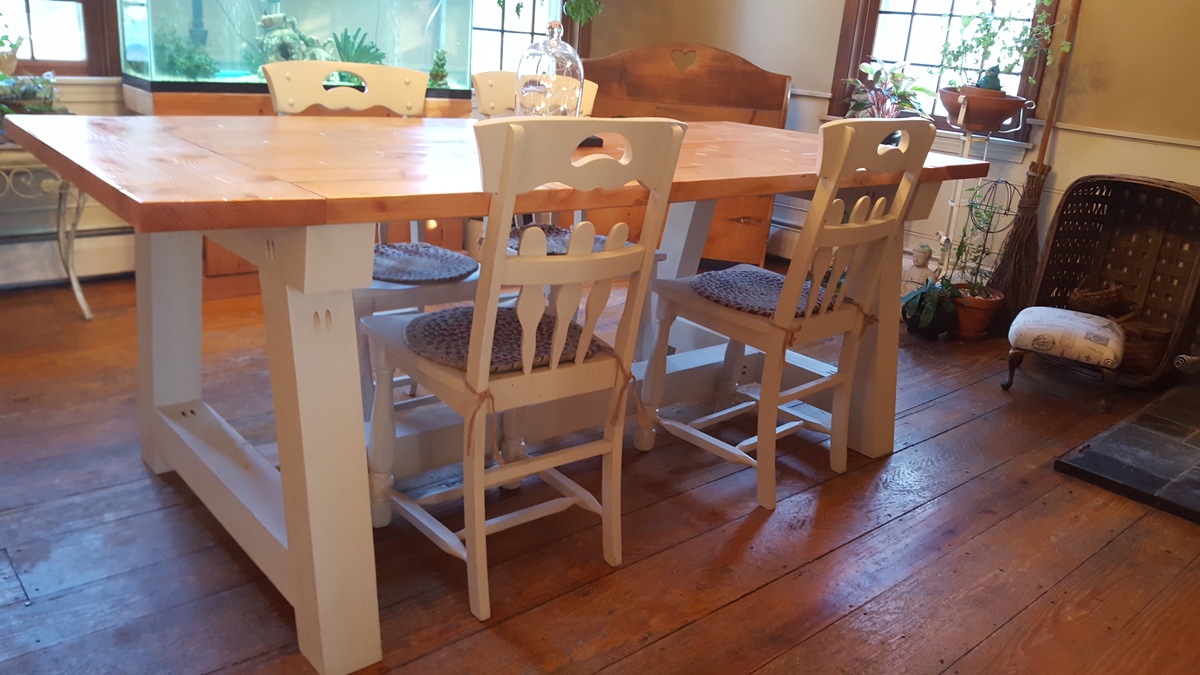
For my third project I built my brother-in-law the Fancy X Farmhouse table cut down to a size suitable for him and his girlfriend. When I read through the comments it seemed like alot of people had the same question: How do I attach the top?!?!?! As this was going to be used for an indoor dining table I didnt want to screw through the top if I didnt have to and I didnt want to use metal bracketry eithery. What I did required 4 inch screws and a 5/8 drill bit. Ive attached pictures to show where I placed the wood suport pieces. Two screws went through the top cross beam (connecting the two leg ends) into the center support piece and I put a total of 2 screws each through the sides of the two longer support pieces and into the top board of the legs. I used a 5/8 bit to drill about an inch (very rough estimate and essentially to countersink the screws an inch deep) into the 3.5 inch width of the 2x4s and then a smaller drill to pre-drill holes for the 4 inch screws. This allowed the head of the screws to sit about an inch into the wood and the threaded portion of the screw to dig deep enough into the second board without going through it. Overall it holds great and there are no visible screw heads on the top of the table!
FYI This technique DOES require aligning the cross beam with the top of the second 2x4 rather than the top 2x4 because you want to save enoughg room the support pieces. (See pictures)

Our new outdoor coffee table

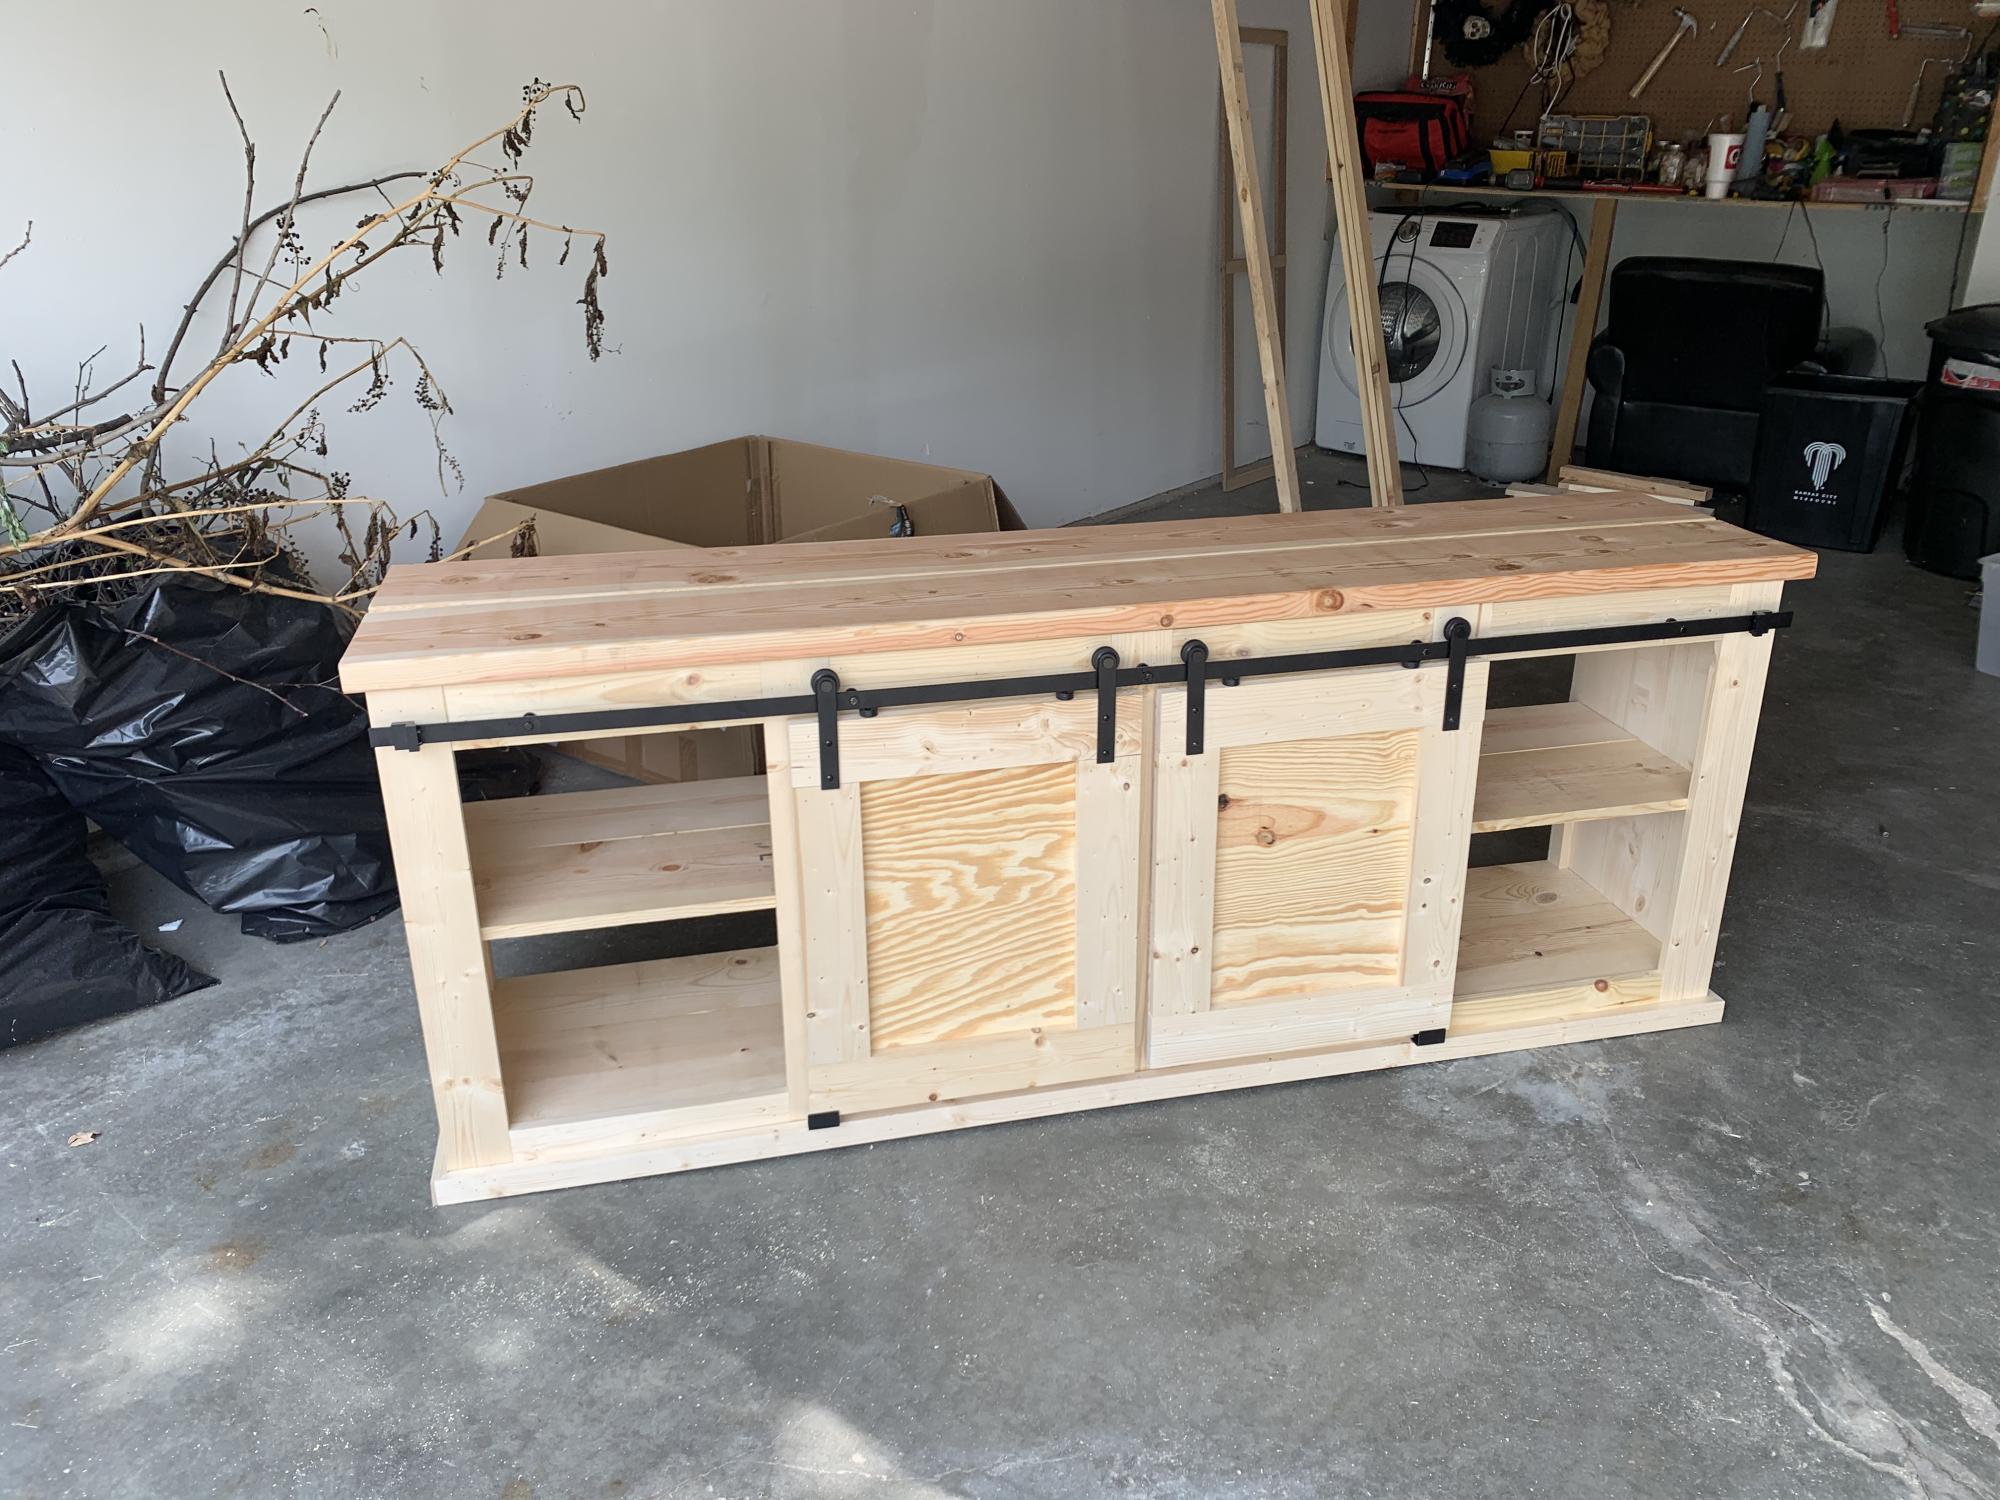
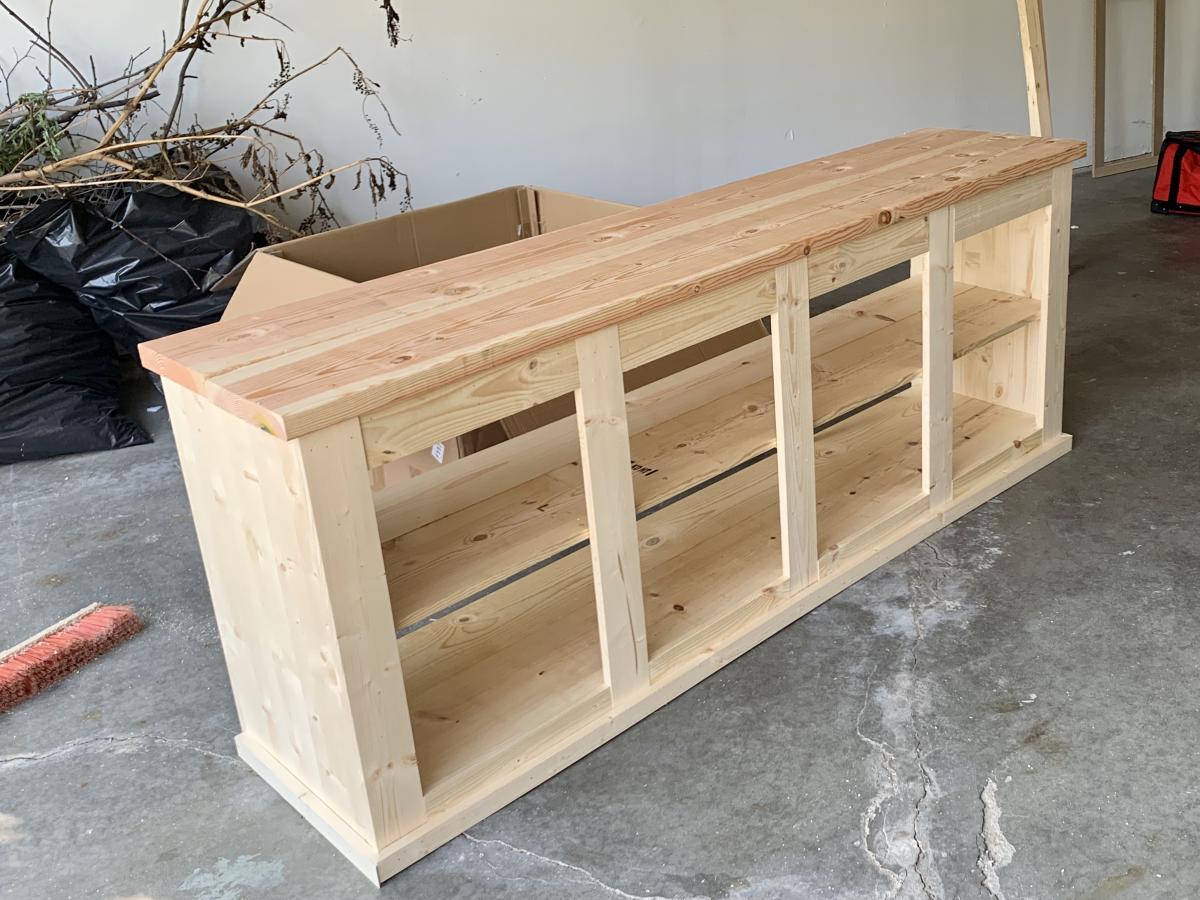
Another weekend project this time built for my brother and his girlfriend. I lowered the console from 37” down to 31” to accommodate a more natural seated eye level for TV viewing. This one was left natural so that they could paint and distress themselves.
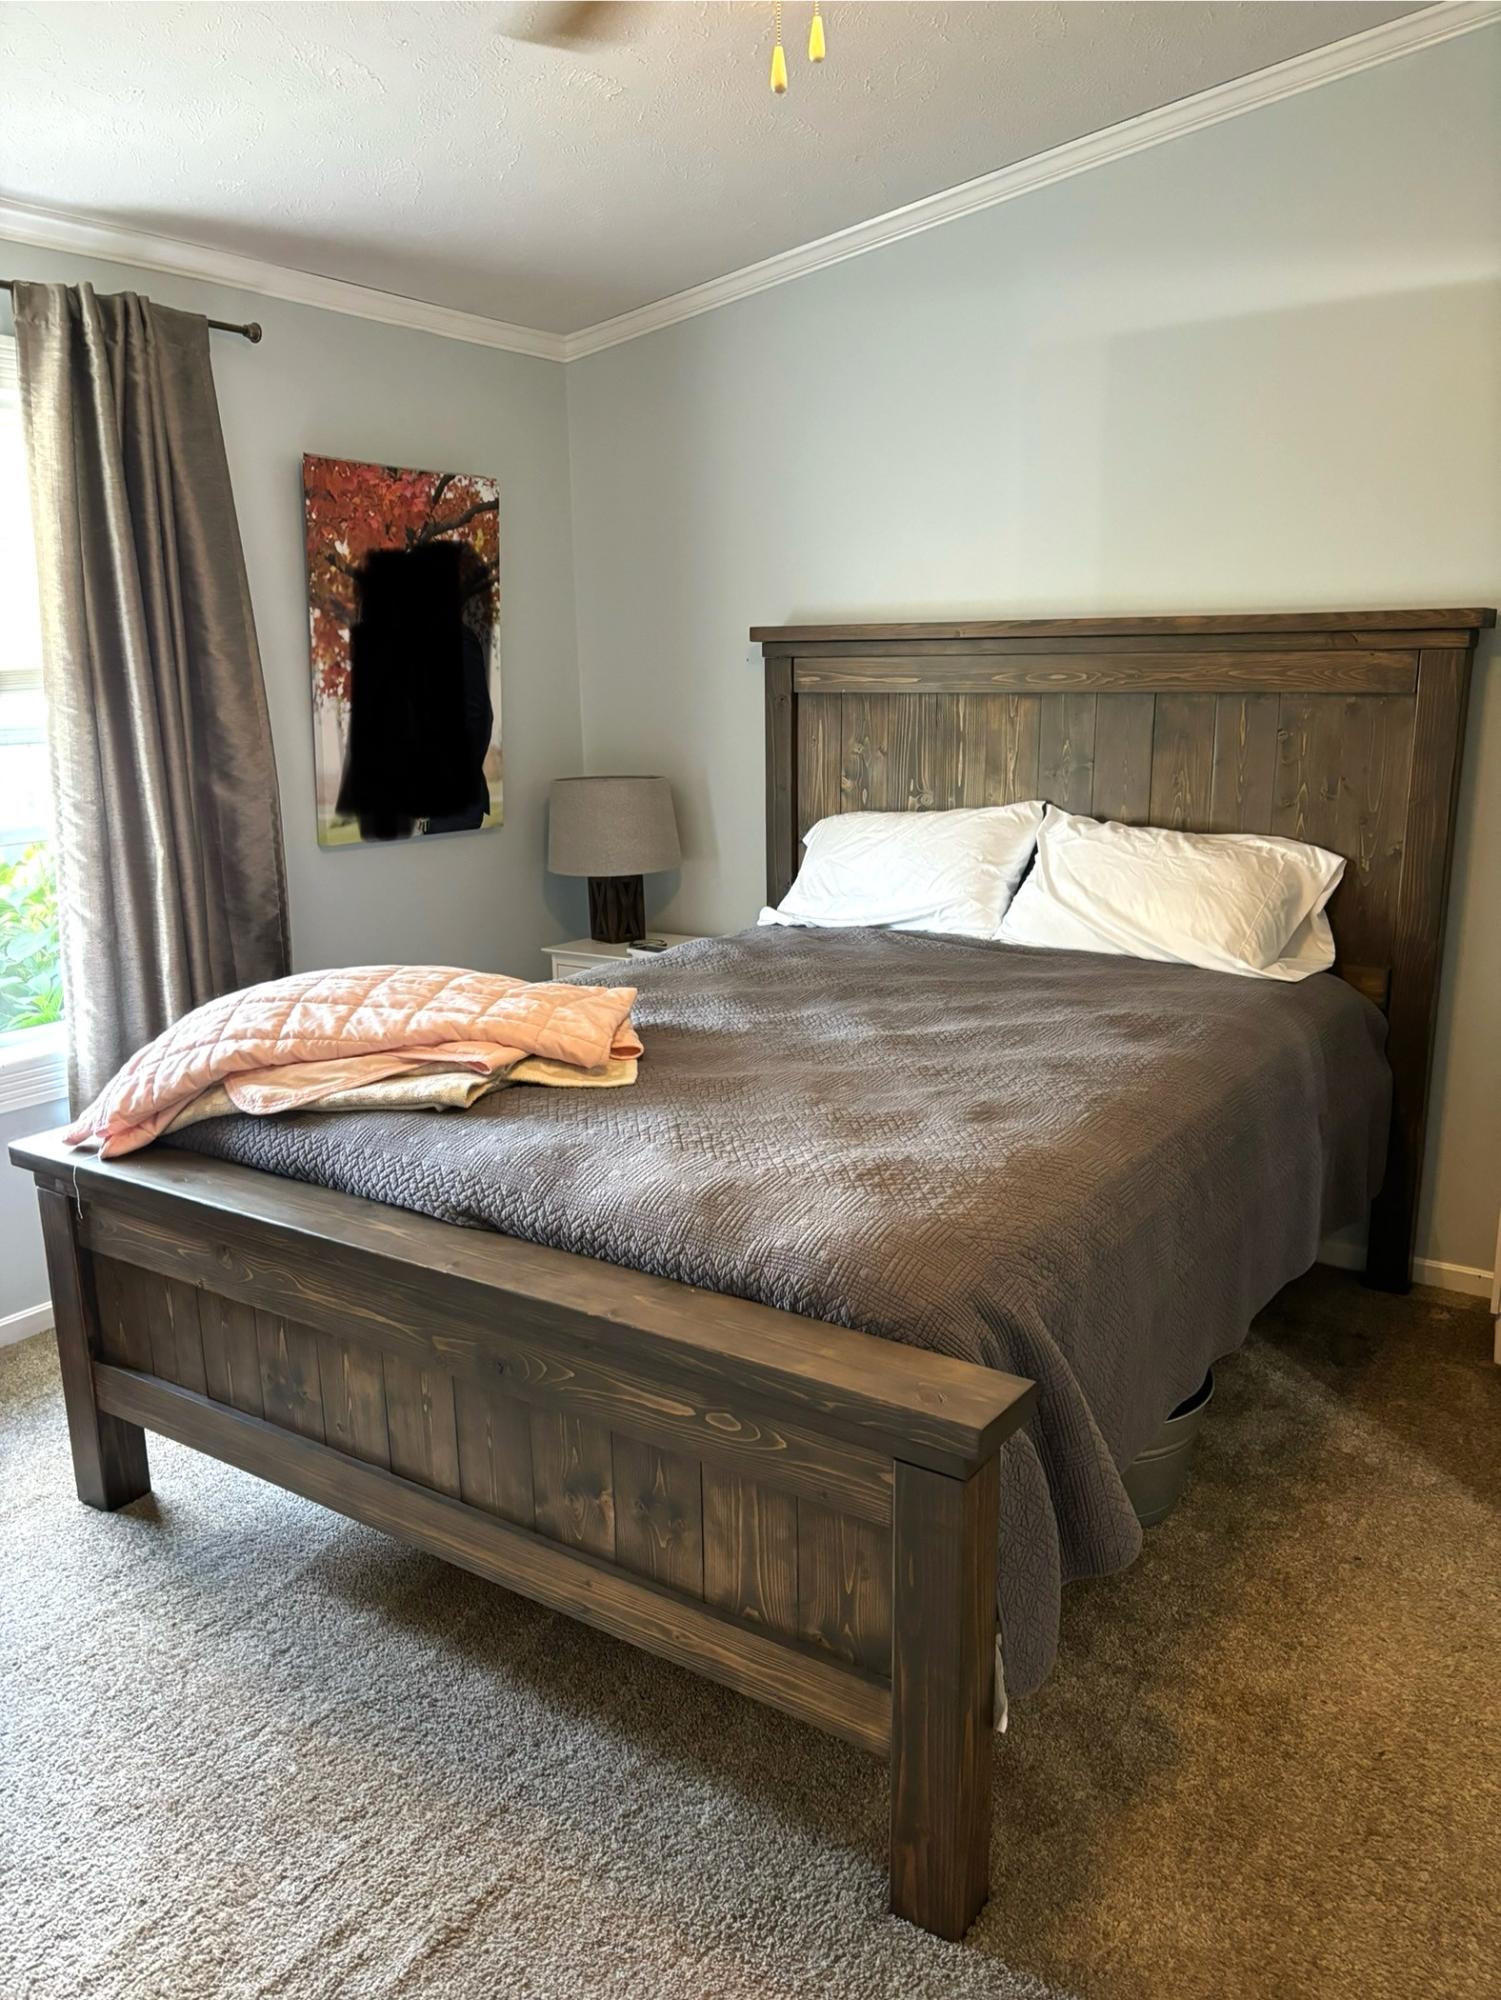
I made this in the evening over the course of a week. It’s exactly what I was wanting. The instructions are easy to follow. It is heavy and very sturdy. I added bed rail hardware from Amazon to make it easier to take it apart if we ever move and I added a couple inches to the legs so that we had a little more storage underneath. I stained it with briarsmoke from Varathane and topped with Varathane triple thick water based poly. We’ve used this finish a few times including a desk and our dining room table and it seems to hold up pretty well for us.
Shelby
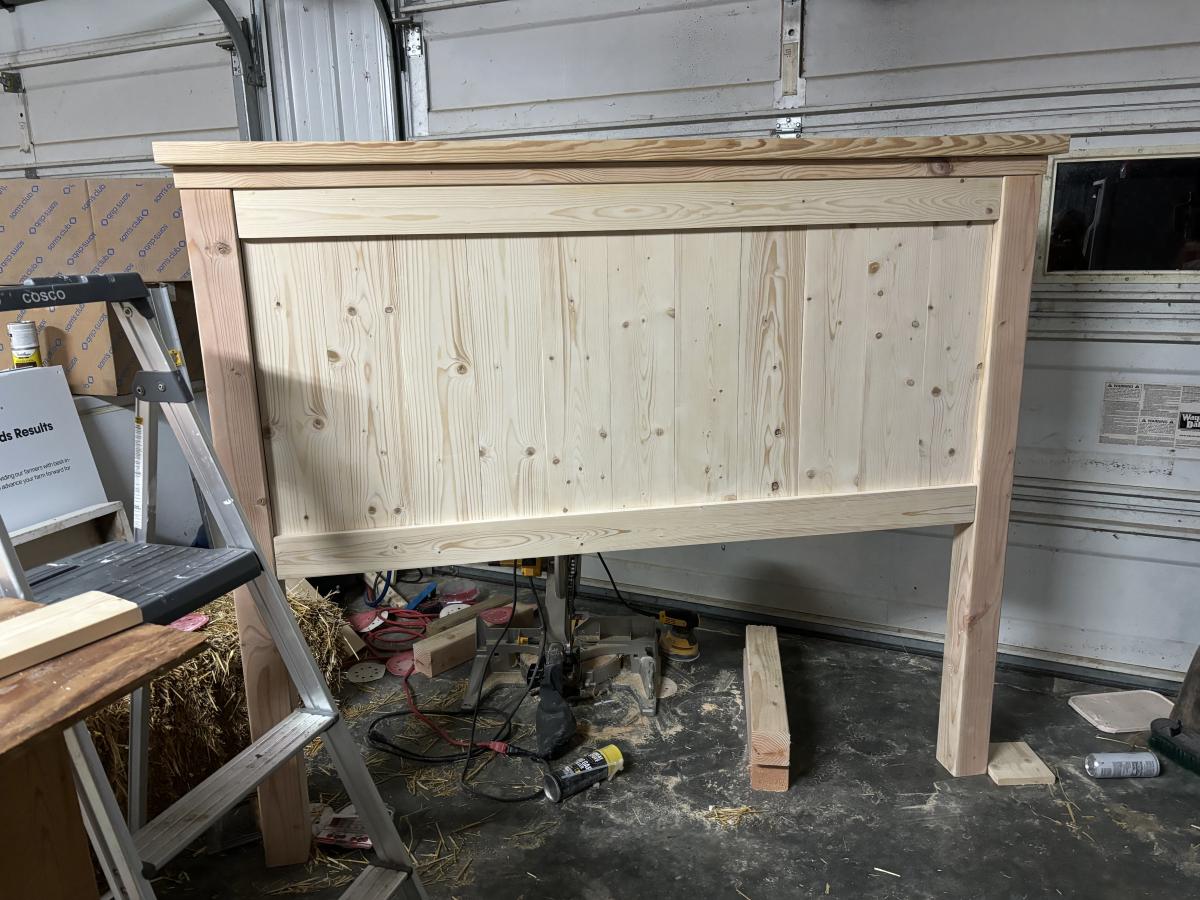
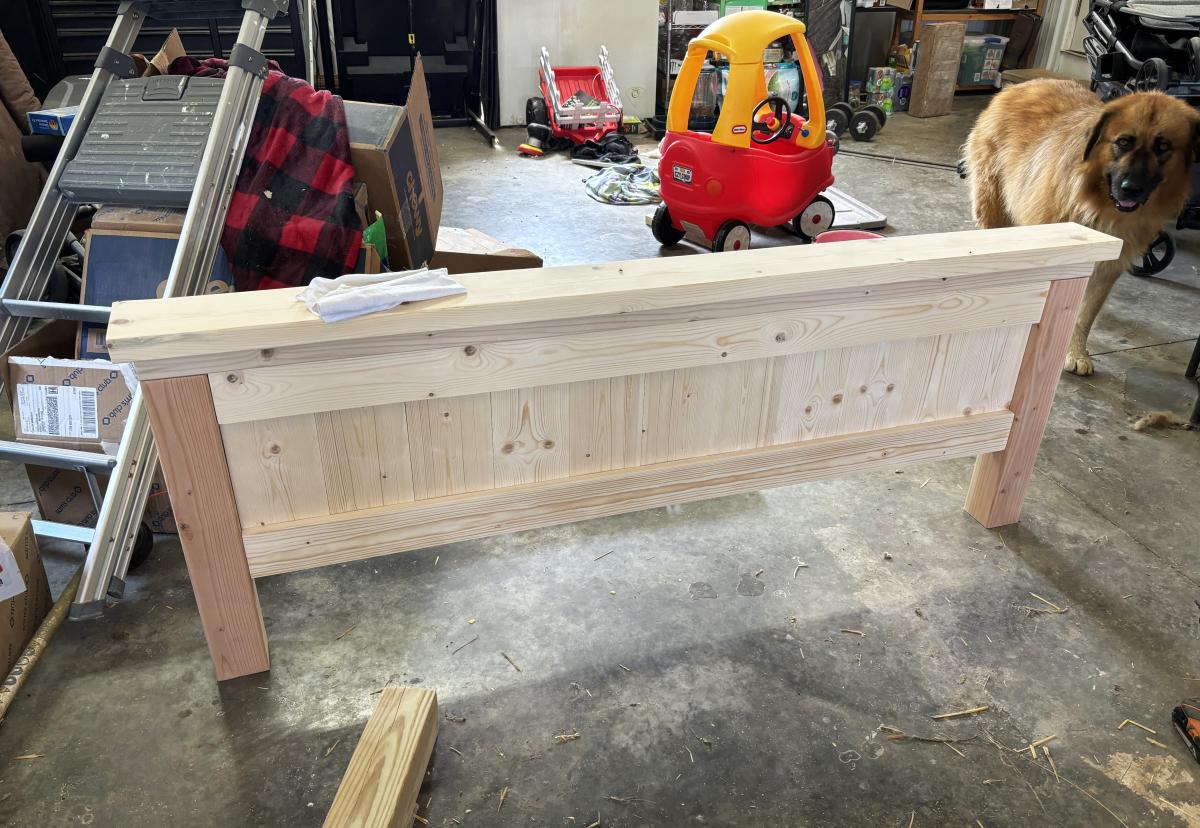
My first build! Came out great, my daughter loves it!
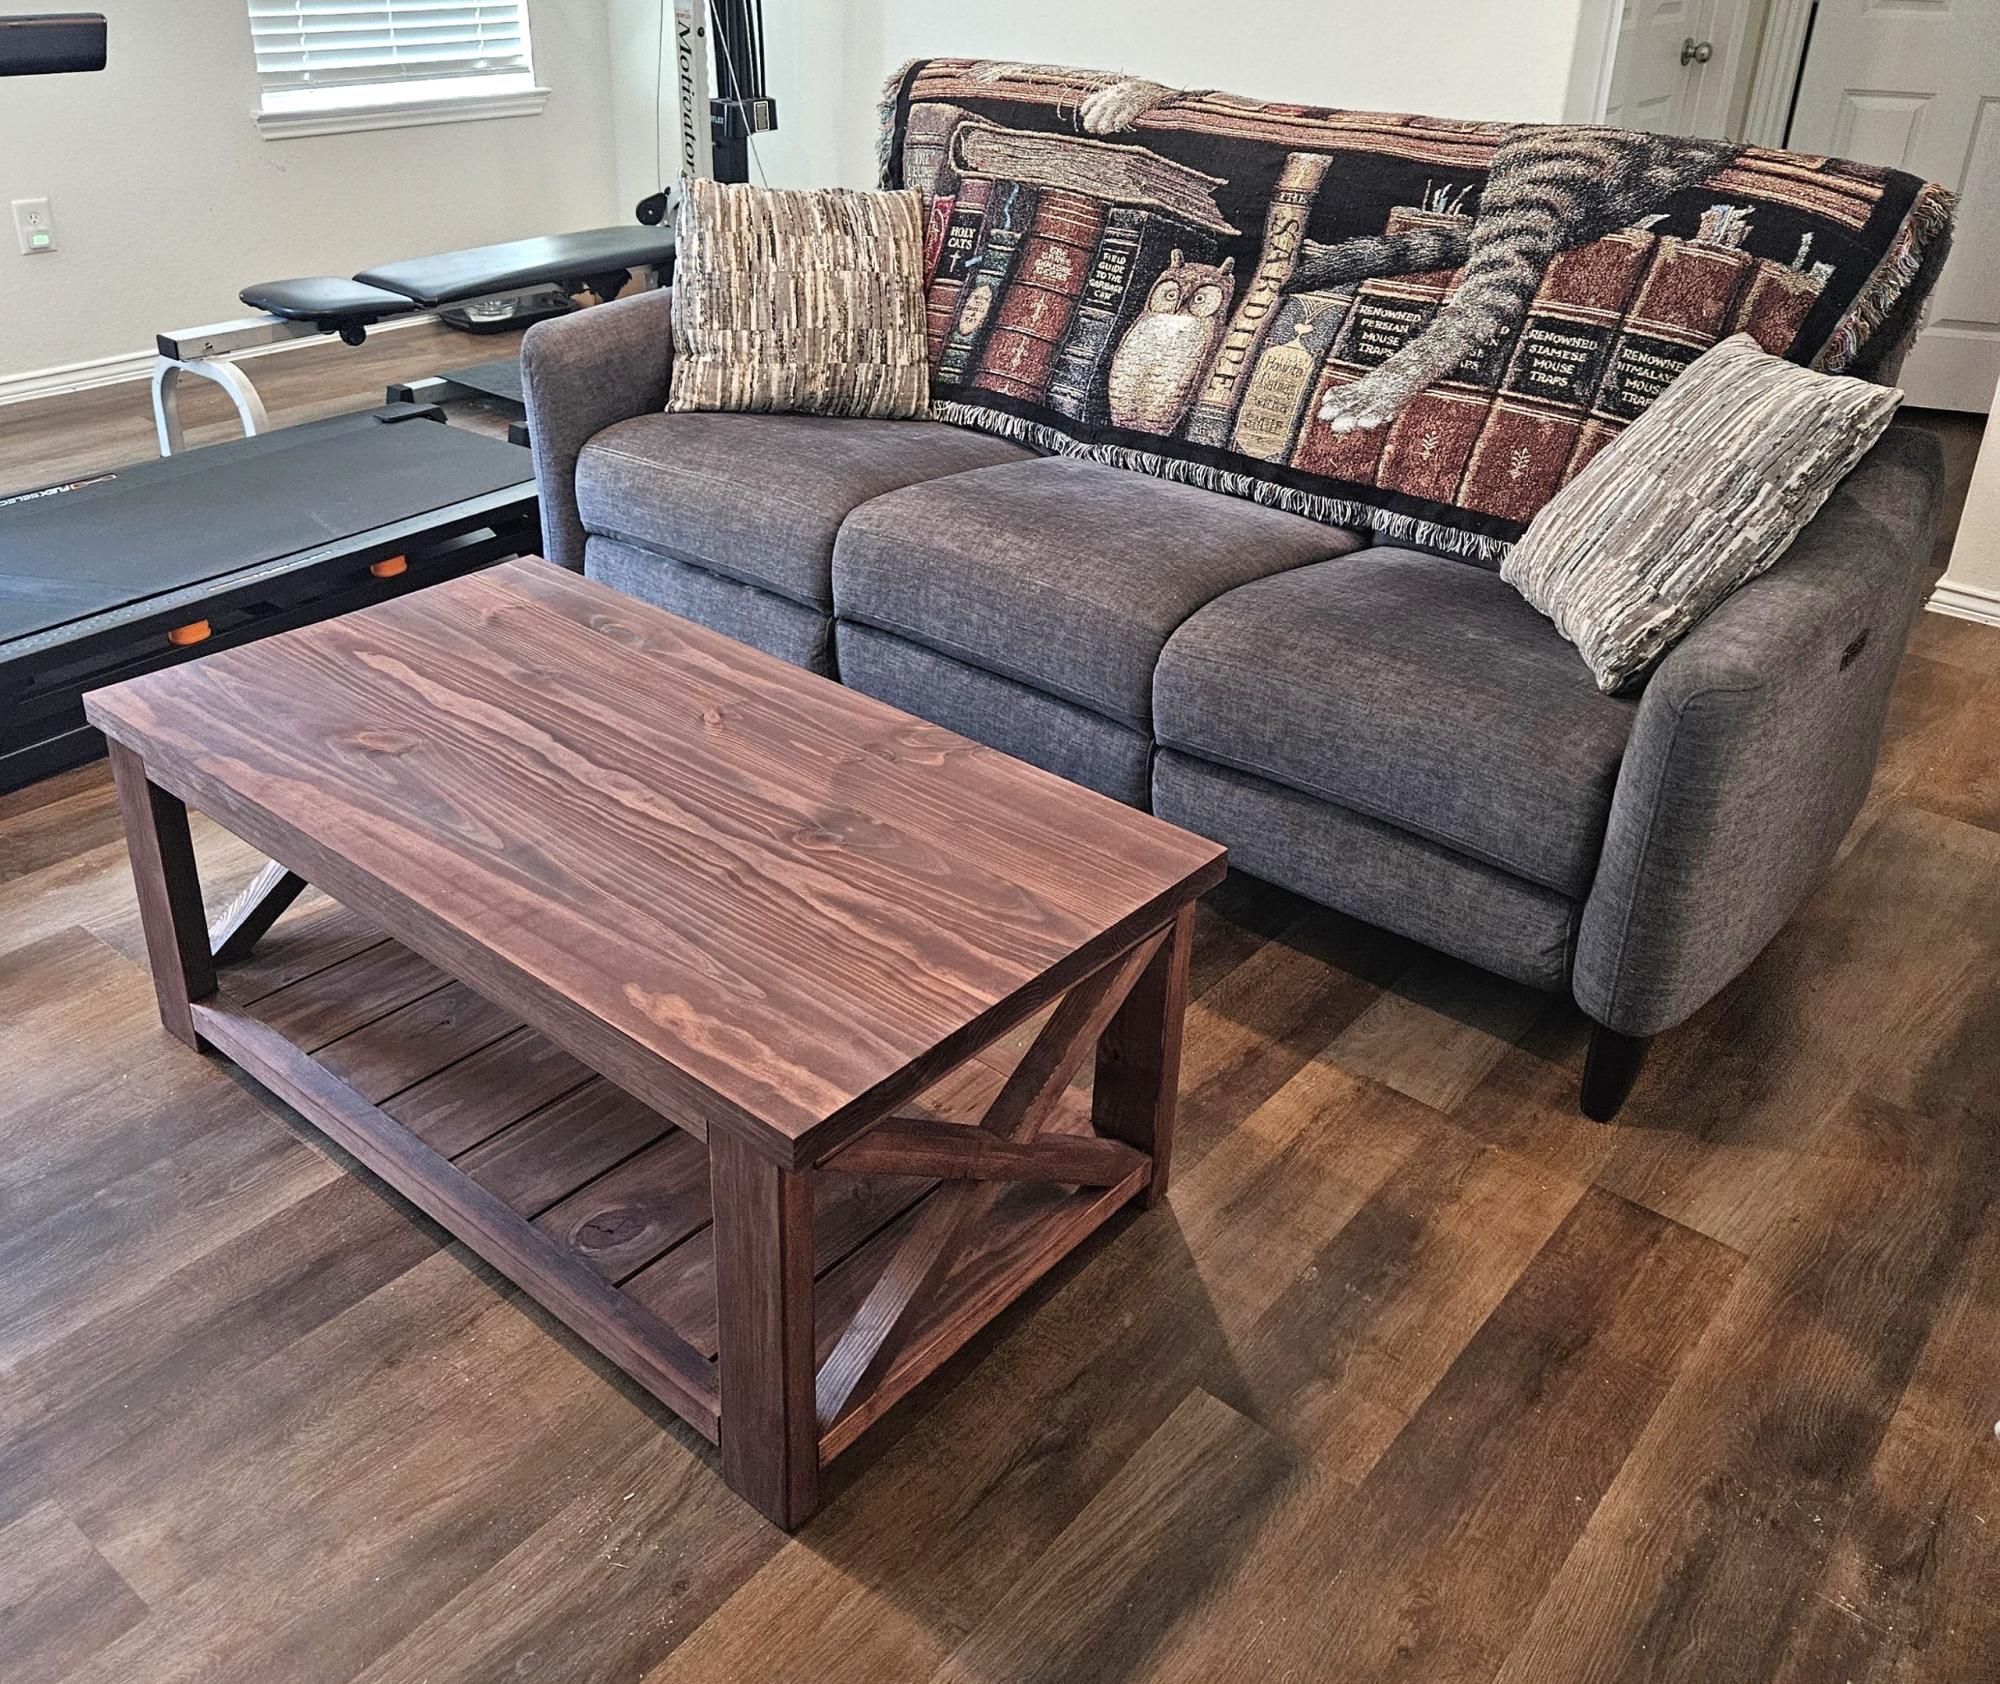
Farmhouse coffee table with Red Mahogany stain. Pocket holed so no screws show. - Roger
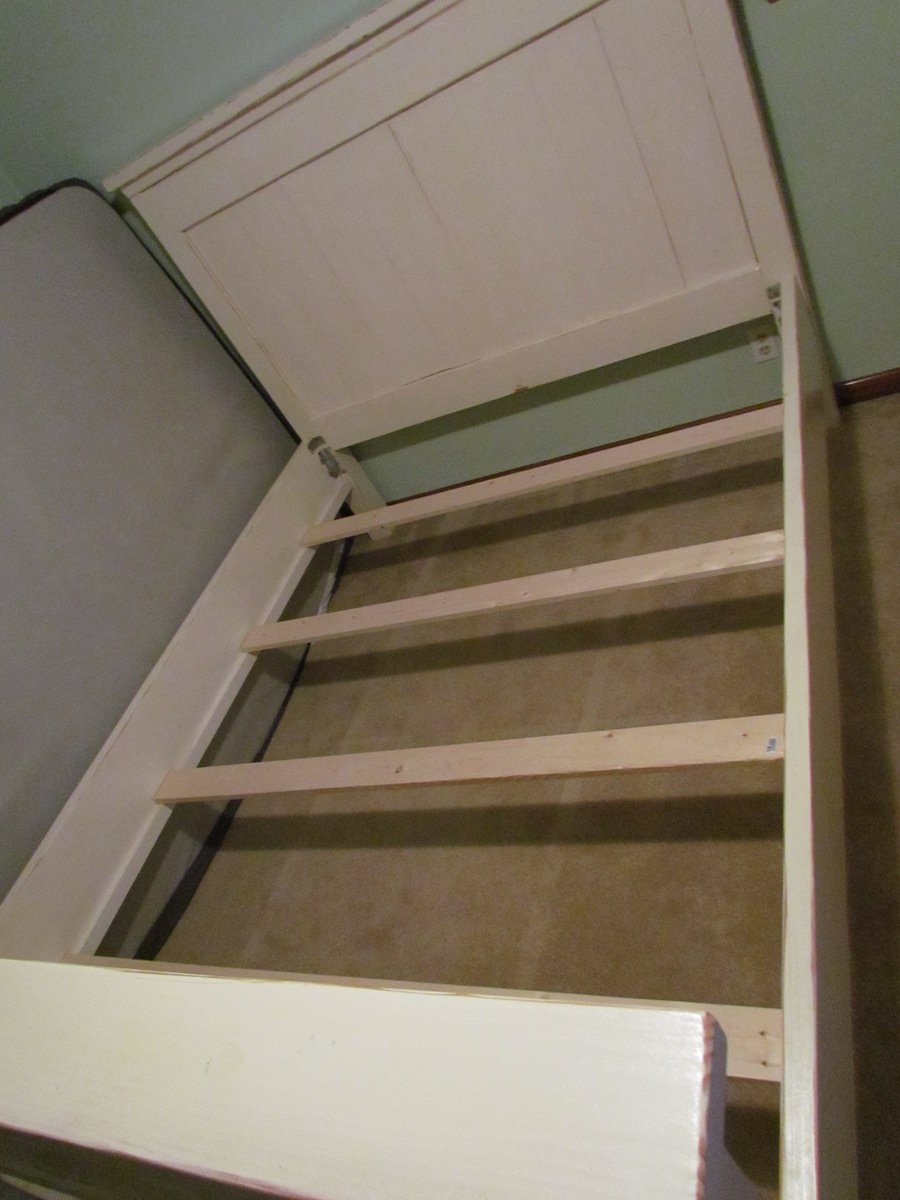
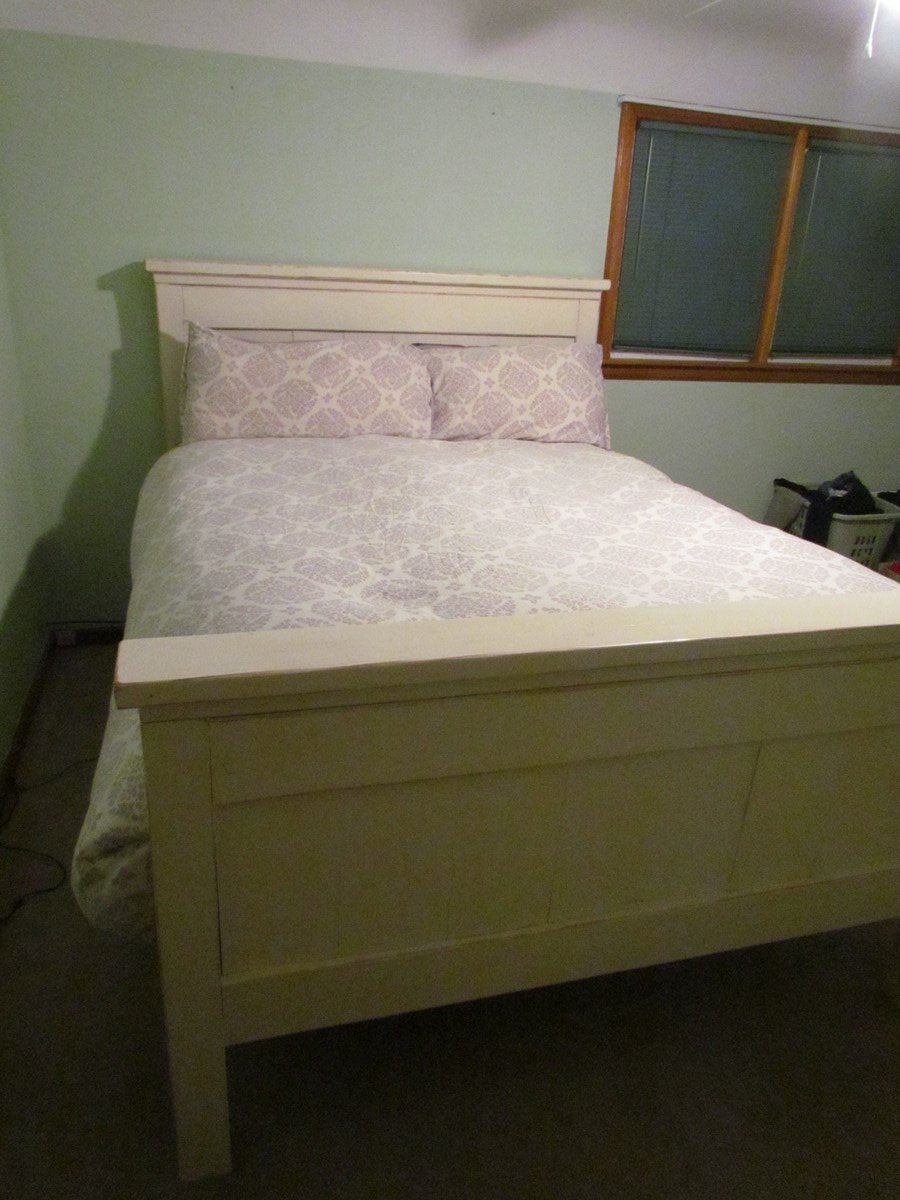
I used Ana's Queen size Farmhouse bed with the modifications for the box spring. I also changed the plans slightly, instead of the 1" x4" on the footboard and head board I used 2" x 6" at the bottom. I don't have a nail gun or finishing nails so this provided the stability and saved me a few dollars. I also made the corner posts longer than the plans to make the bed taller.
I love this bed, I made it extra tall, so you have to jump into it. And there is plenty of storage underneath!
It took me and my dad about 4 hours of actual cutting and assembling, but an additional 10-20 hours of sanding and painting. It took me a few months to actually finish it after work.
THANK YOU ANA for the plans!!!
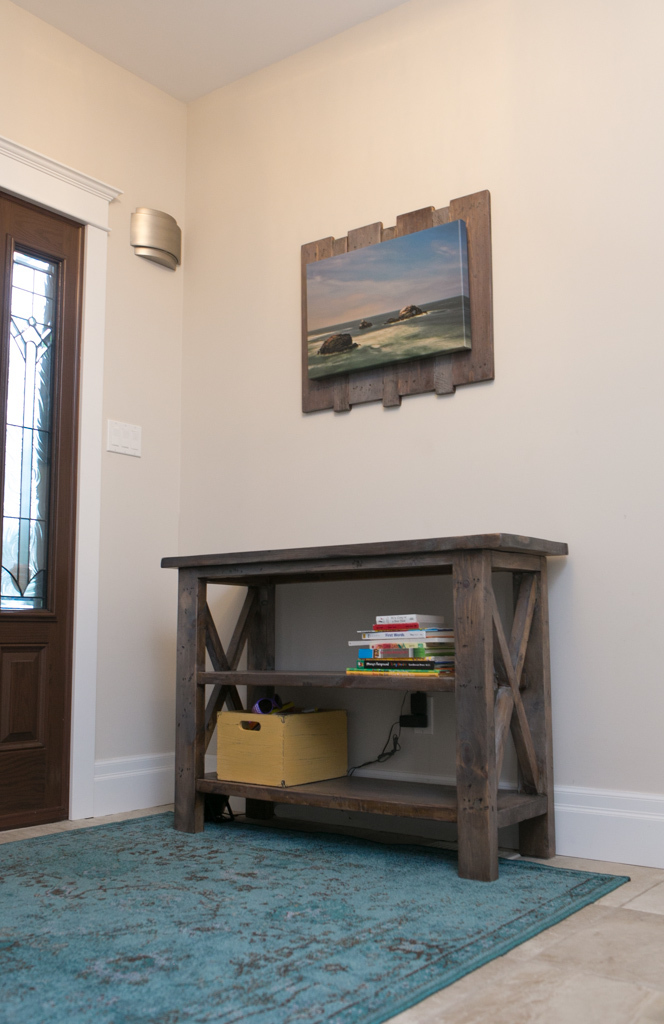
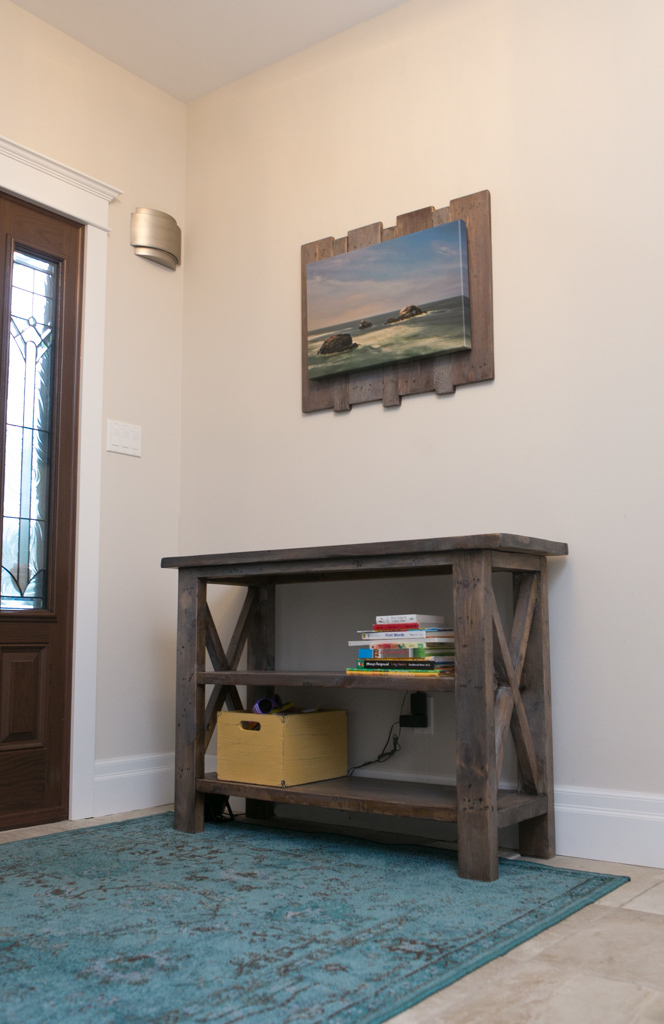
I modified the plan so that that I had a 48" table top and 4 legs only. I didn't need such a long version in my entry. The picture frame is from left over wood from the project.
Can anyone guess where I took the photograph in the frame? Somewhere in the lower 48 states.
Thanks Ana for the design!!
Daren
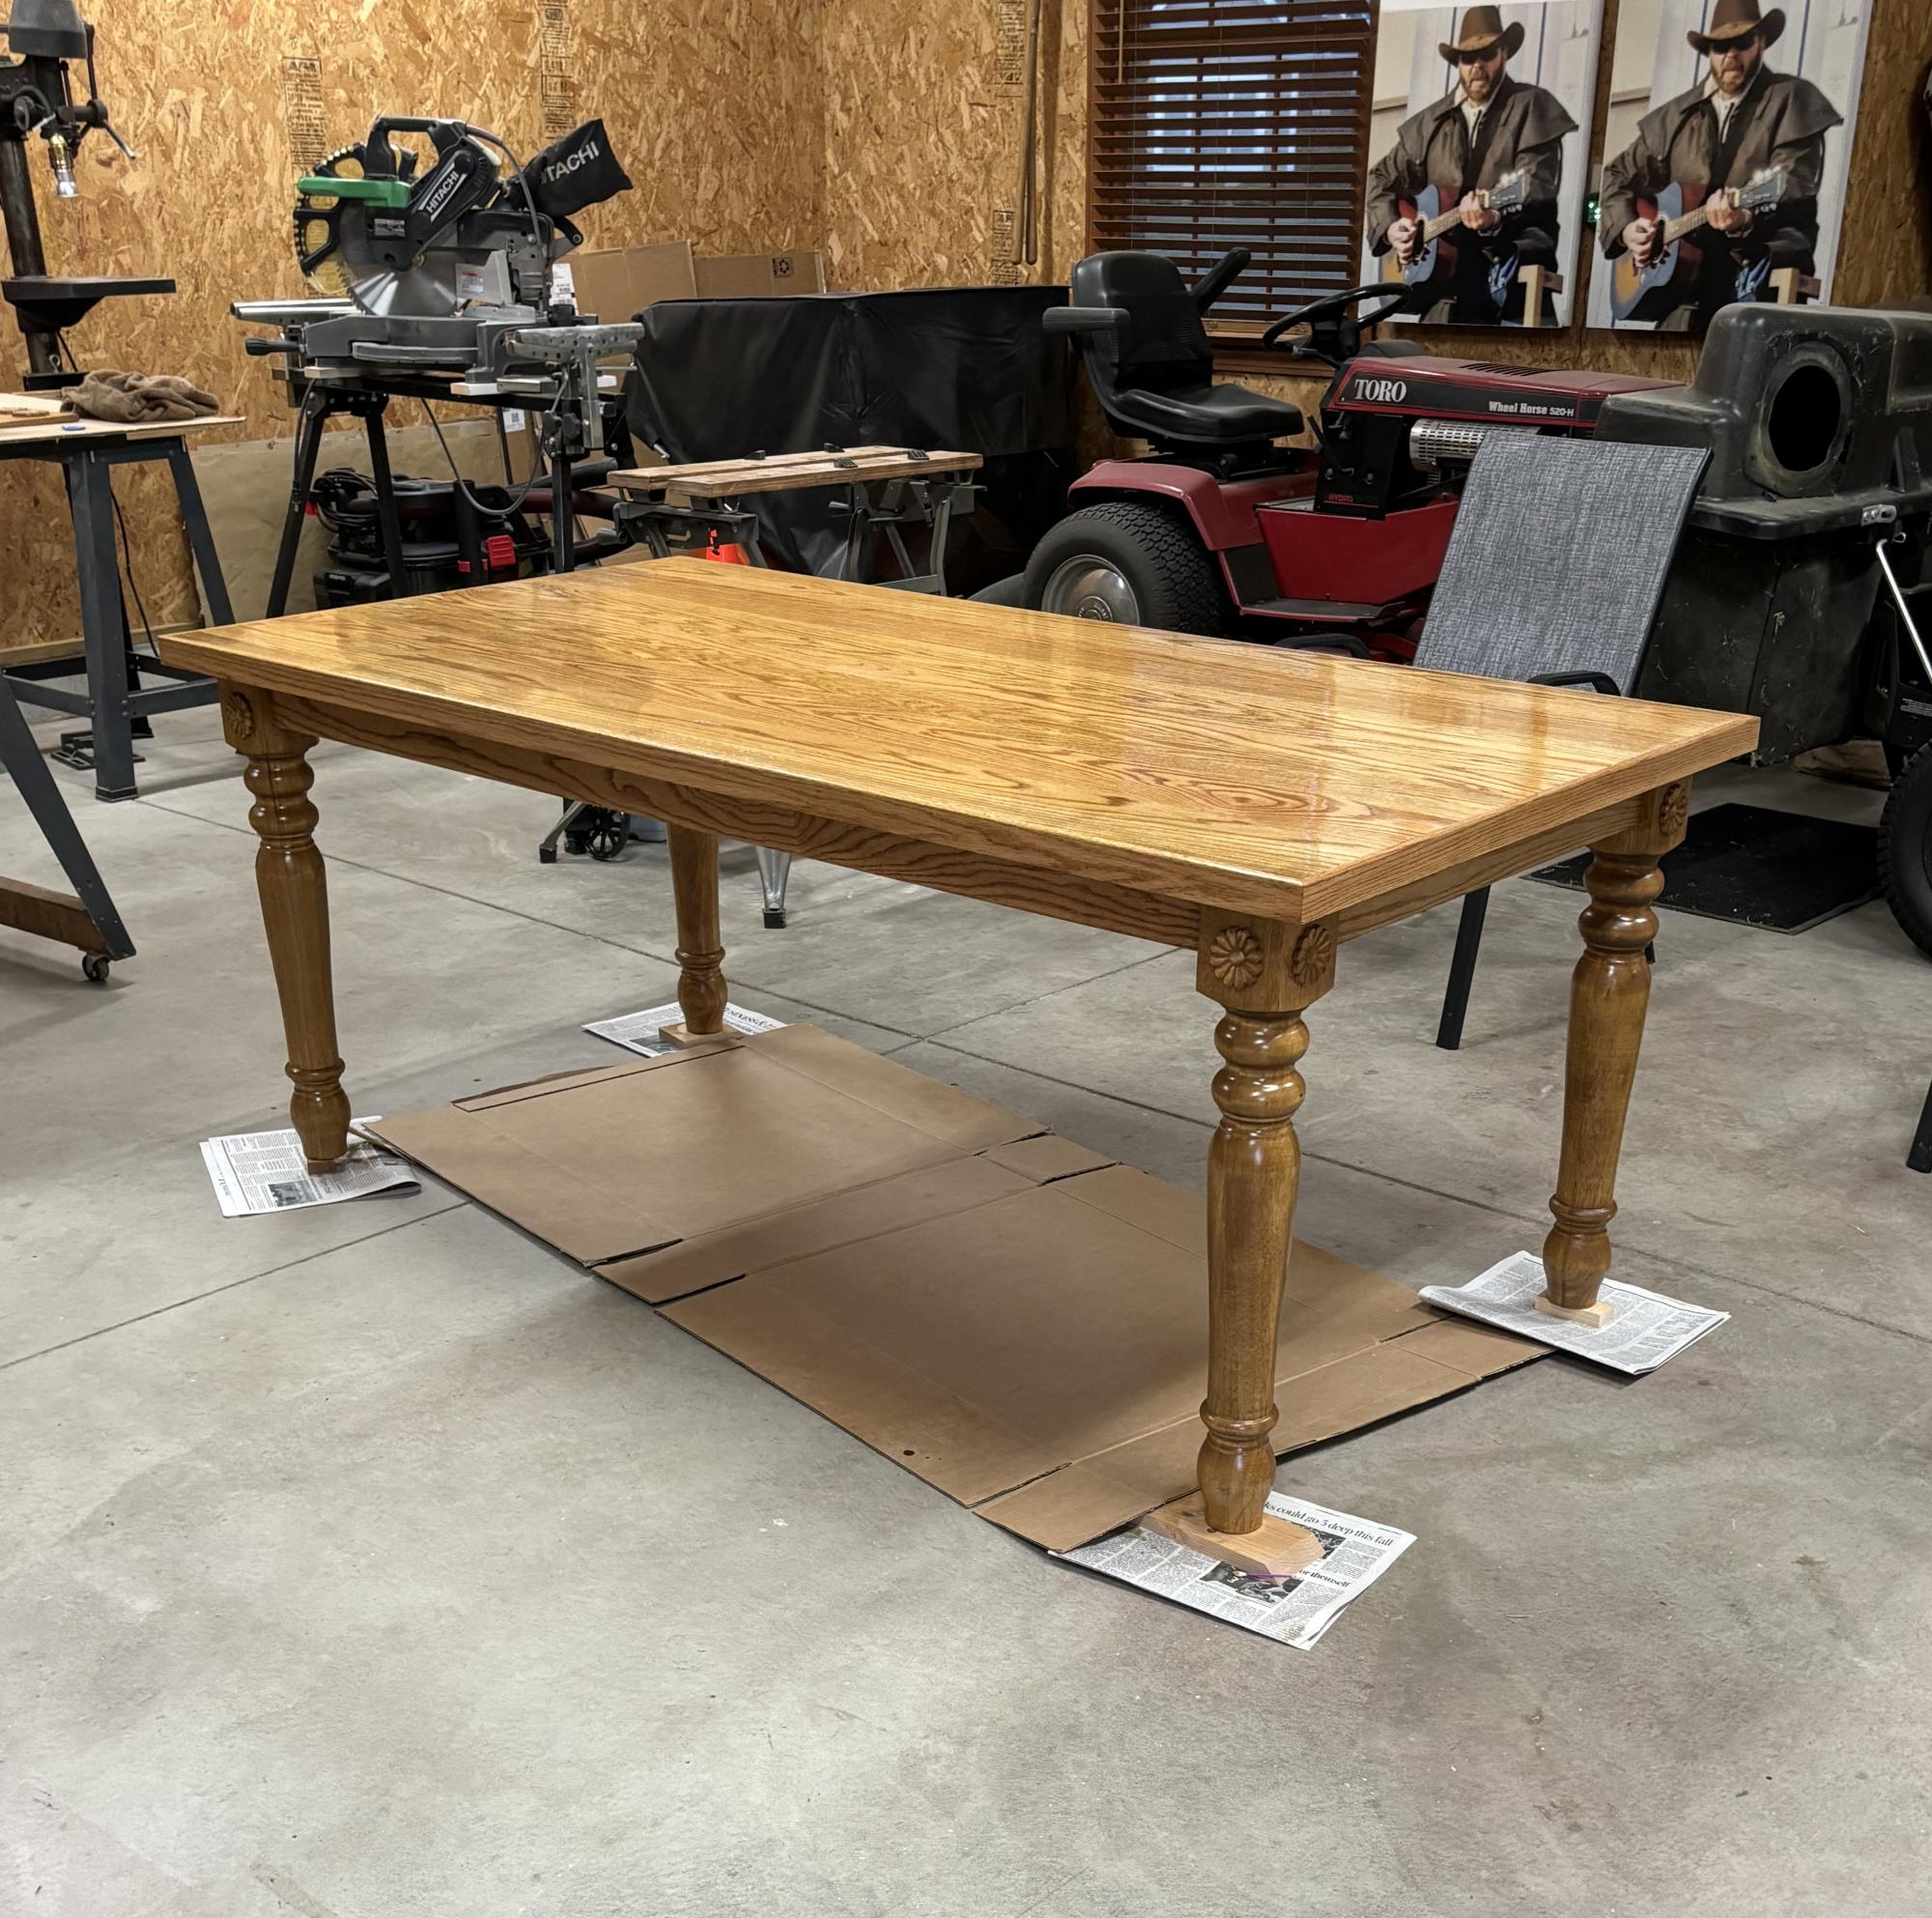
Red oak 38x72 farmhouse dining table - The board professor
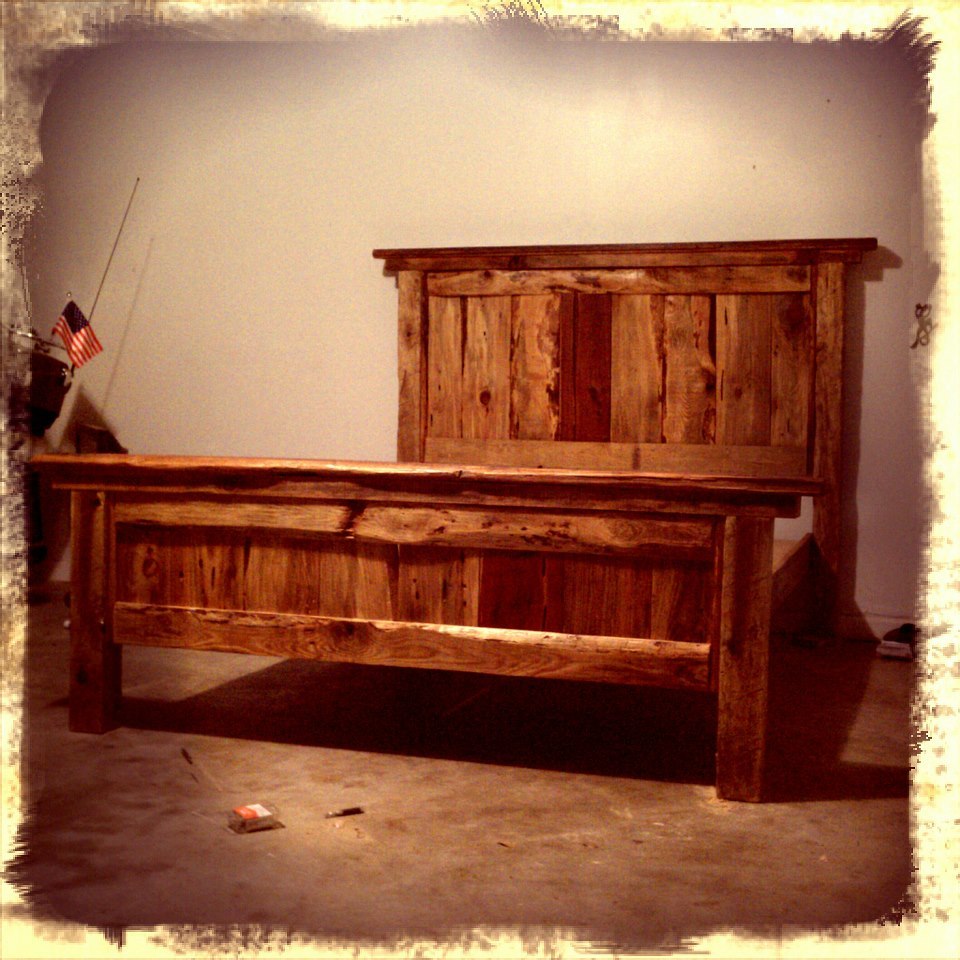
We constructed our farmhouse bed from rough-cut lumber (mostly pine with a few eastern red cedar panels). However, the top rails of the headboard and footboard were reclaimed from an old railraod depot and maintain their faded red color. I will admit, using rough-cut lumber practically tripled our efforts because nothing was square or even, but all in all, I think it was worth it!

Fairly easy table to built, just be careful measuring for coolers.

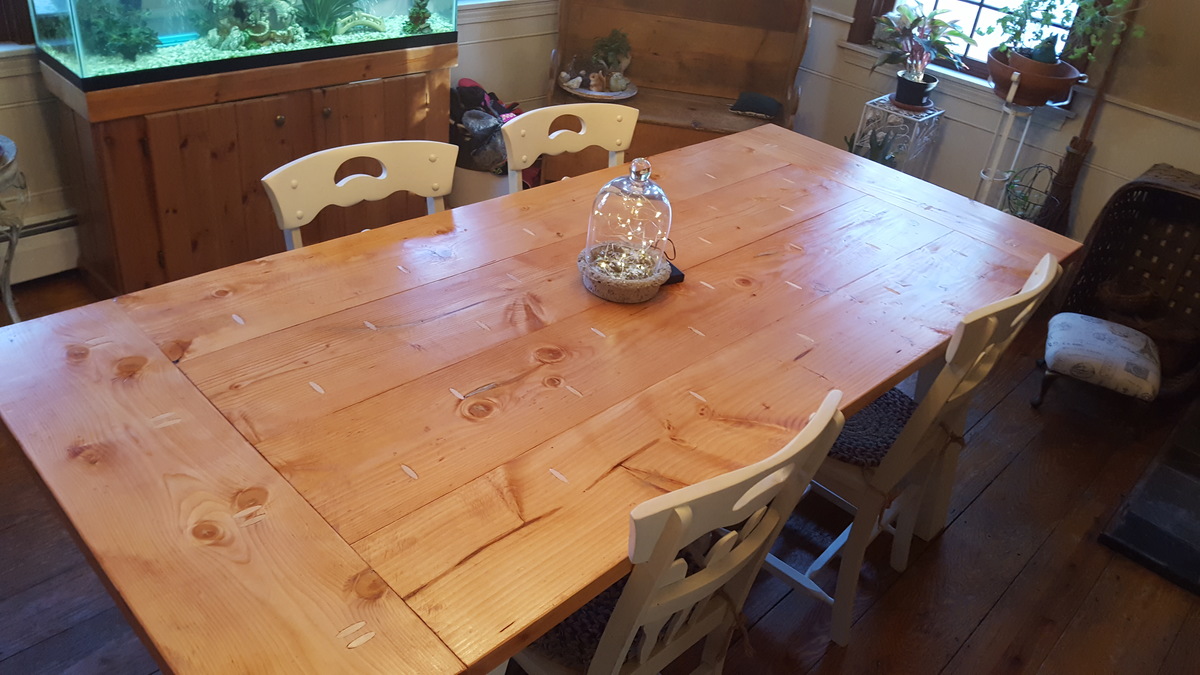
My husband built this table for me as an 8th Anniversary present. It came out absolutely beautiful! For the first time, we can host family and friends with plenty of room. I paired it with some chairs that we already owned. He will be building the matching bench soon.
He left out the 45 degree diagonals, may add them later. It is so sturdy, they are basically decorative.
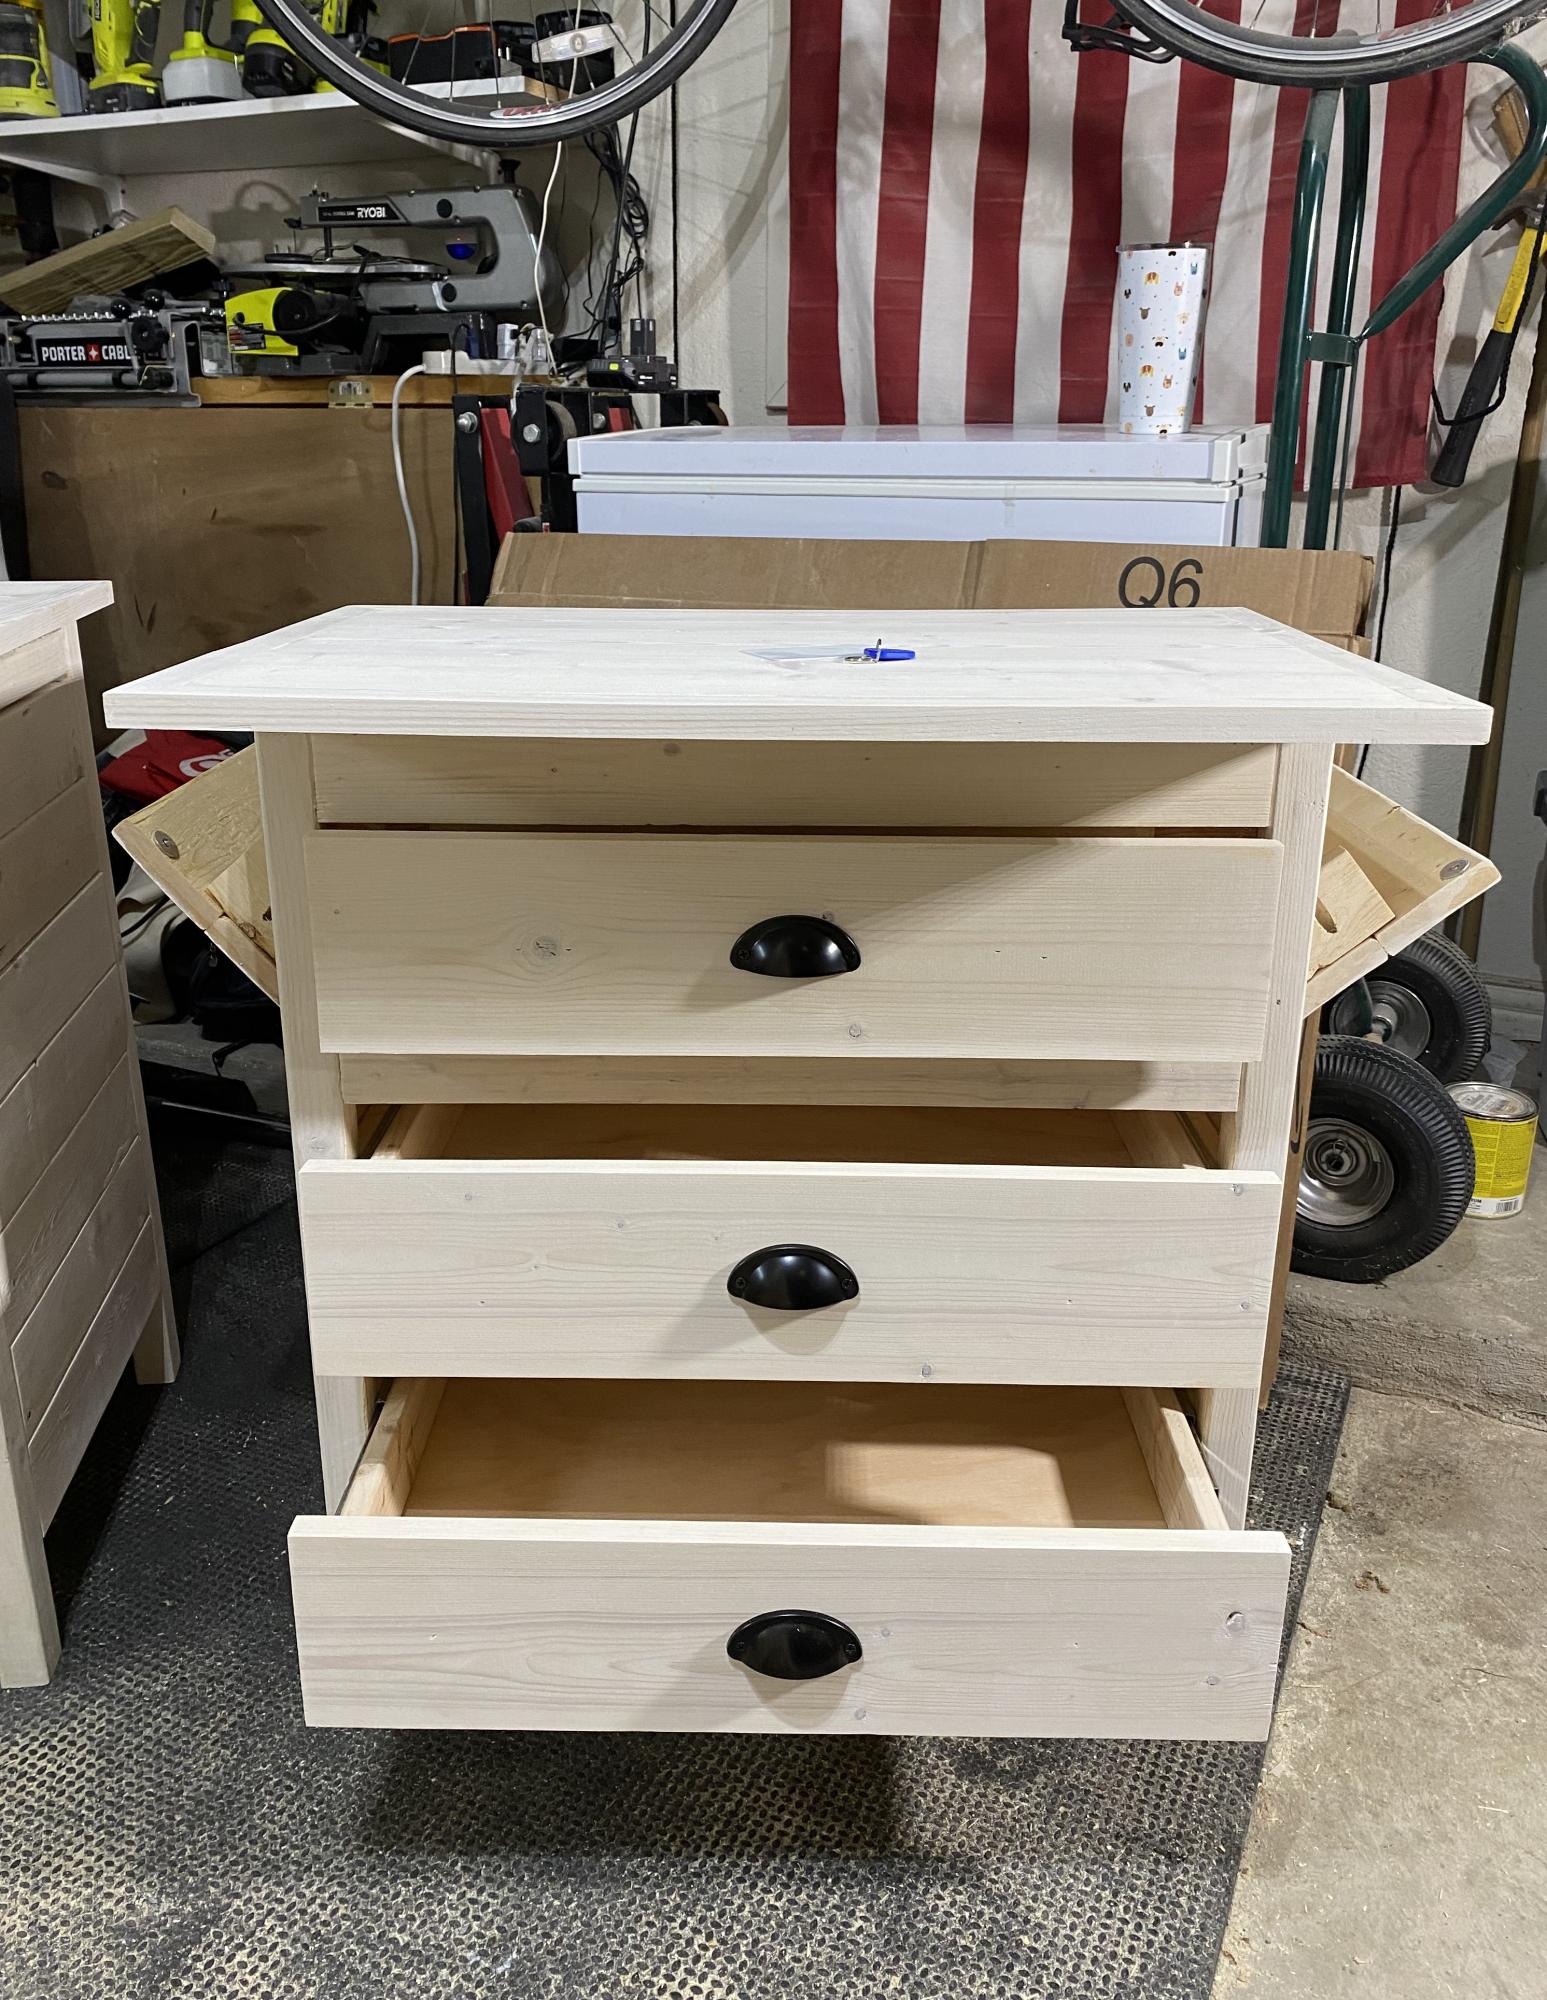
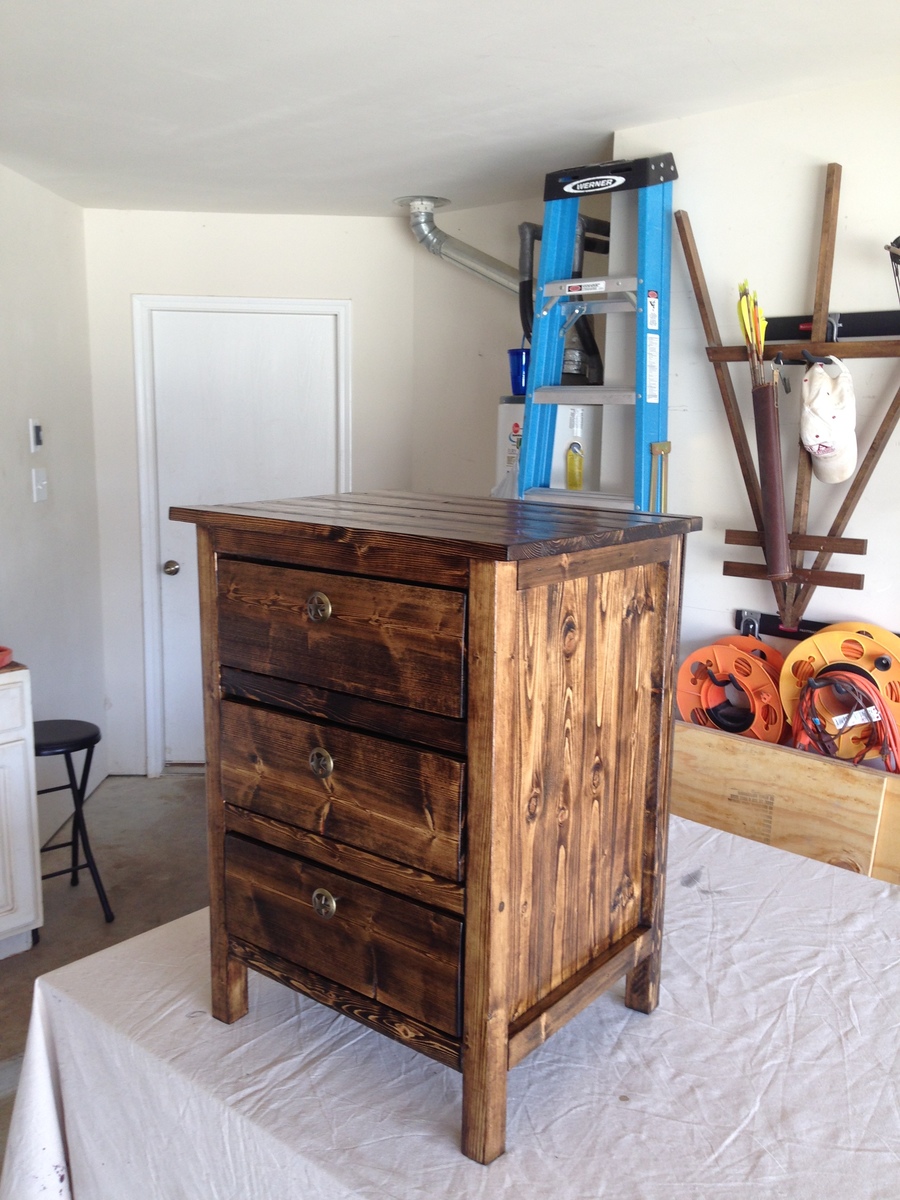
I adapted a plan to create concealment nightstands with three hidden compartments. A quick access space on each side and RFID locking storage under the top. - Julie J

I was looking for something to make for my niece for Christmas that could be treated as an heirloom to hand down to future generations...thus, it had to be sturdy. My mother made the mattress, pillow, and blanket sets. I loved the way this turned out and my niece was pleasantly surprised!
We started with the basic chicken shed coop plans and modified it some. We wanted the peak to be in the front for ease of access and to allow leaves from tree overhead and rain and snow to fall to the back away from the entrance. The windows raise from the inside using 1/8" wire secured on the inside with a rope cleat hook.
We added Dutch doors. We added latches for the pop door to keep it iopen or closed as needed. Dutch doors also have decorative latches and eyehook latches to secure them when they are fully open. I rested the shed on 12 in. x 8 in. x 12 in. concrete patio pier blocks to allow drainage. we extended the roof about 6 " to allow for extra protection and avoid dripping whe it rains.
On the inside I have a roost and a poop deck. Hanging from the poopdeck I have their feed to keep it off the floor and keep shavings, etc. from getting into the food. The poop deck and the floor are covered with comercial grade tile to facilitate easier cleaning.
Sat, 03/14/2015 - 02:50
Hi!
I love your coop and the modifications you made - I was planning on doing the same thing with the placement of the door. I was wondering if you could post a couple of photo of the inside of the coop? I'm especially interested in where you placed the roost.
Thank you so much for sharing!