Mini Farmhouse Table

This was a starter project, it was easy and fun to make. I think I turned out great for a beginner wood worker.


This was a starter project, it was easy and fun to make. I think I turned out great for a beginner wood worker.


Created using the plans/template from Ana White's monogrammed snowflake.
I decided to make a hanging B in the middle. Two small eye hooks and some thread.
Paint used was Krylon's ruby red glitter and a clear sealer
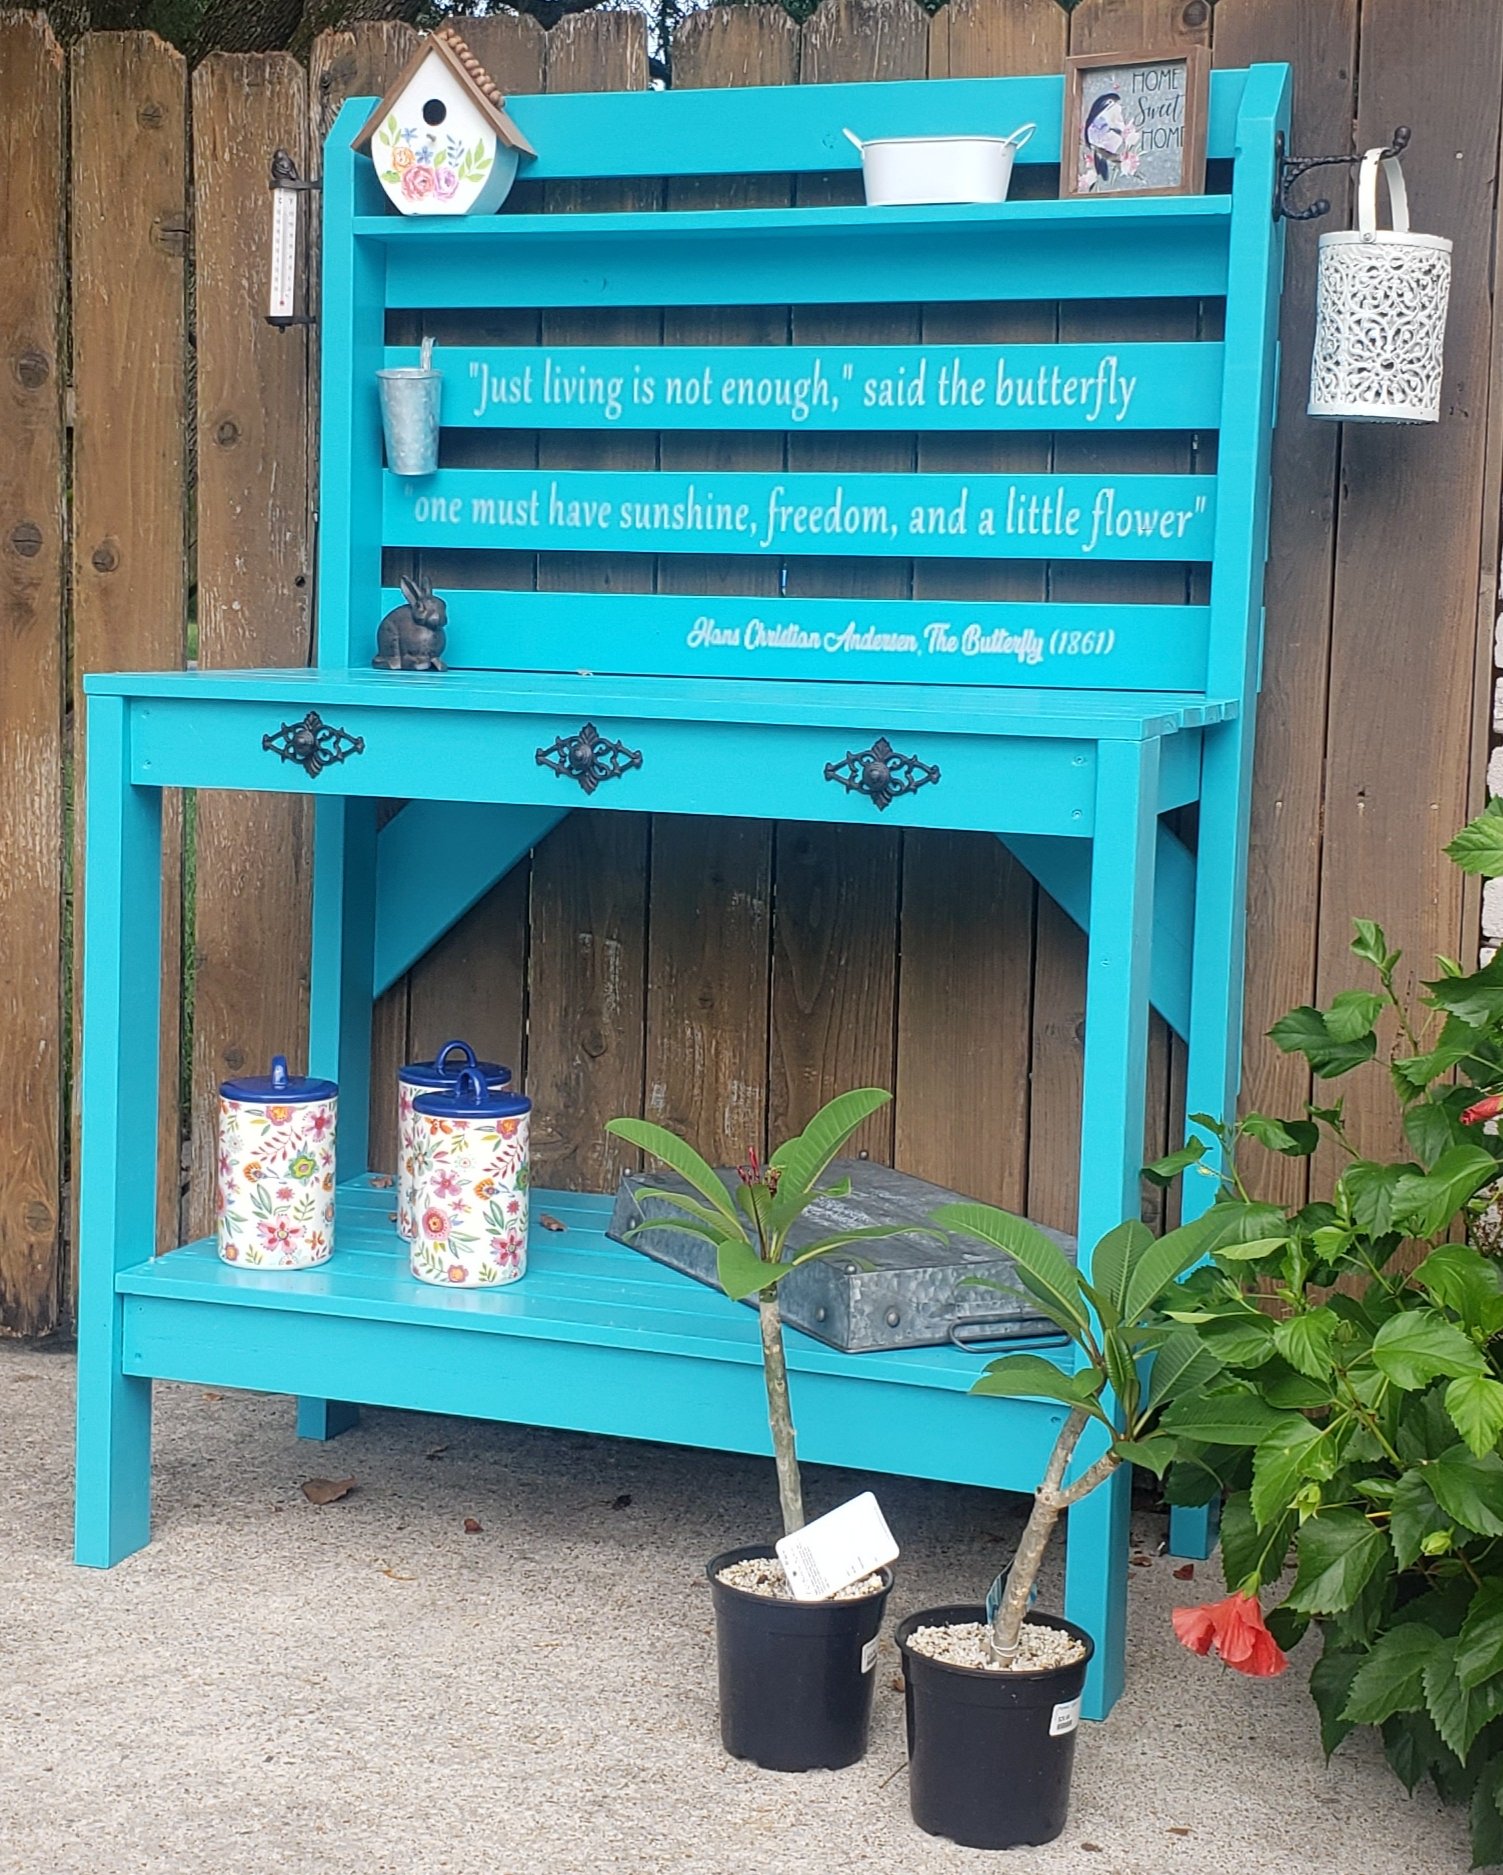
This was my first Ana White build and I love it! Built all by myself in 4.5 hours. Decided to paint it to match the plaster in our pool since it will be located close by. I am very pleased with how quickly it came together and how sturdy it is. I did an an additional 2x4 brace in the center of each top to help keep the 1x4's straight and hopefully prevent sagging.
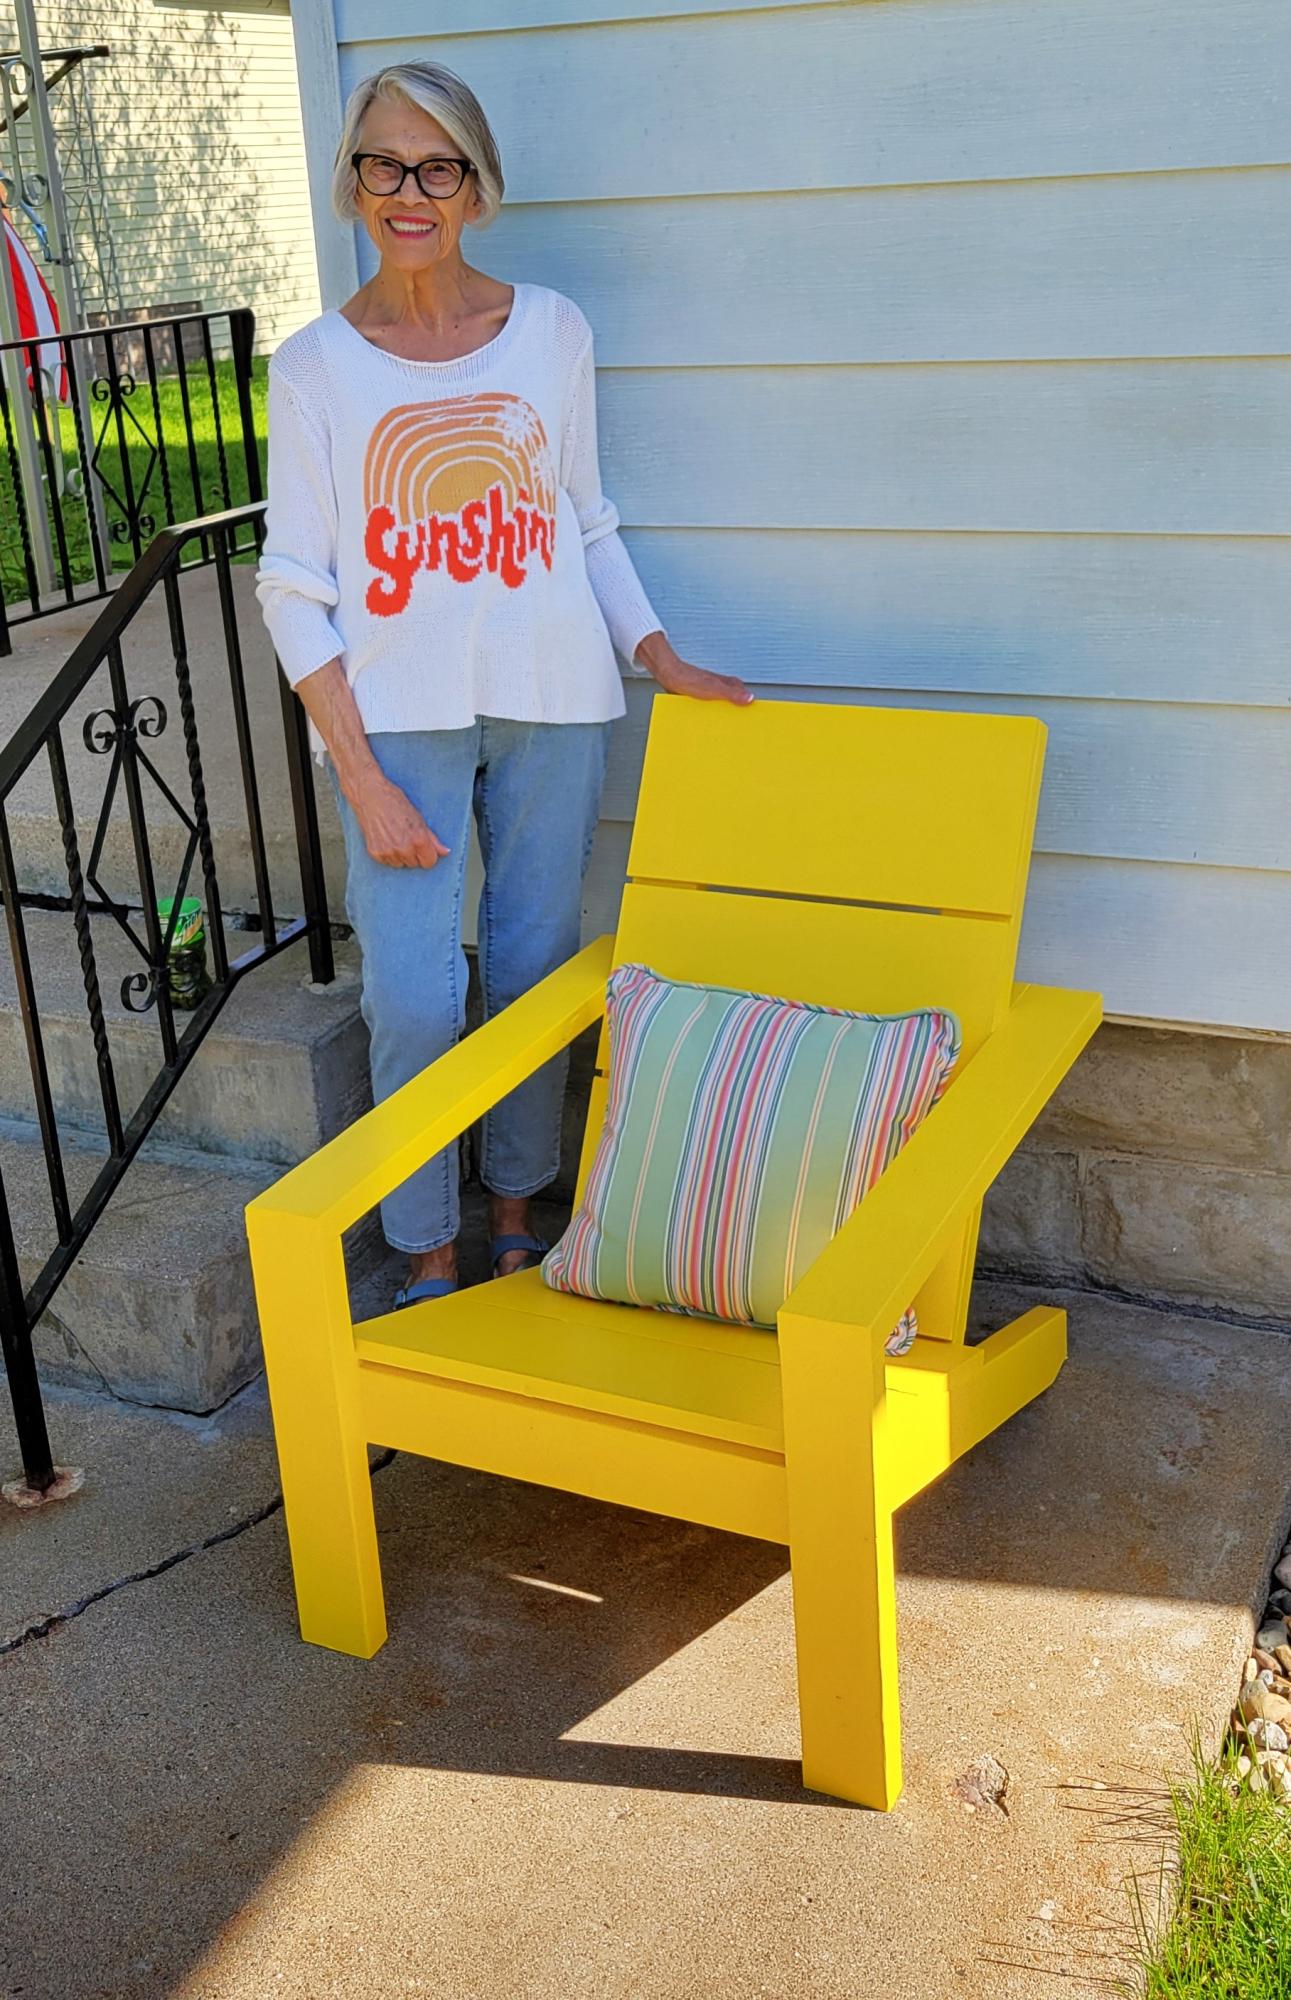
I made this chair for my mom on mothers day. She loves it and I was able to use some lumber from my dad's garage stash, who passed over Thanksgiving. So there was a special link for her to this chair. Loved the easy to follow plans, thank you.
cgauley.cg
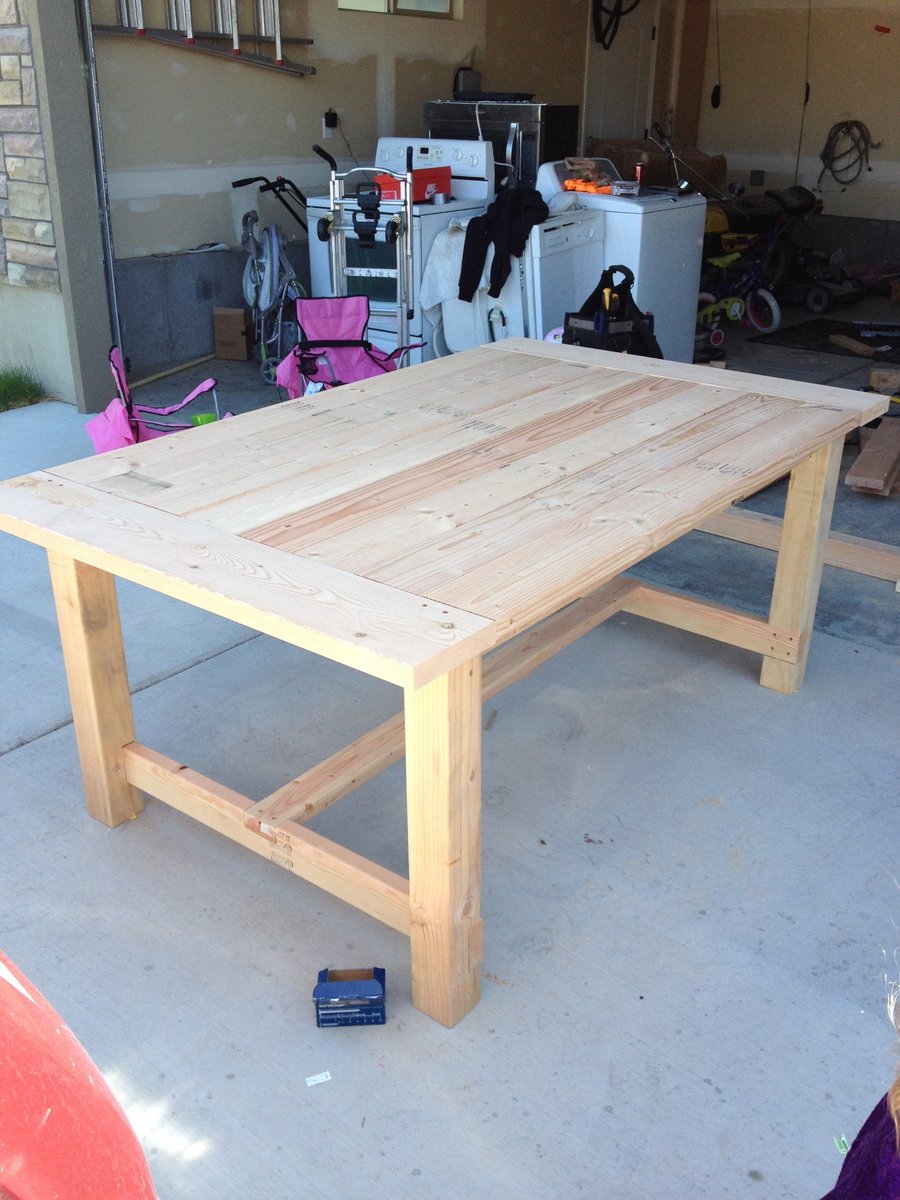
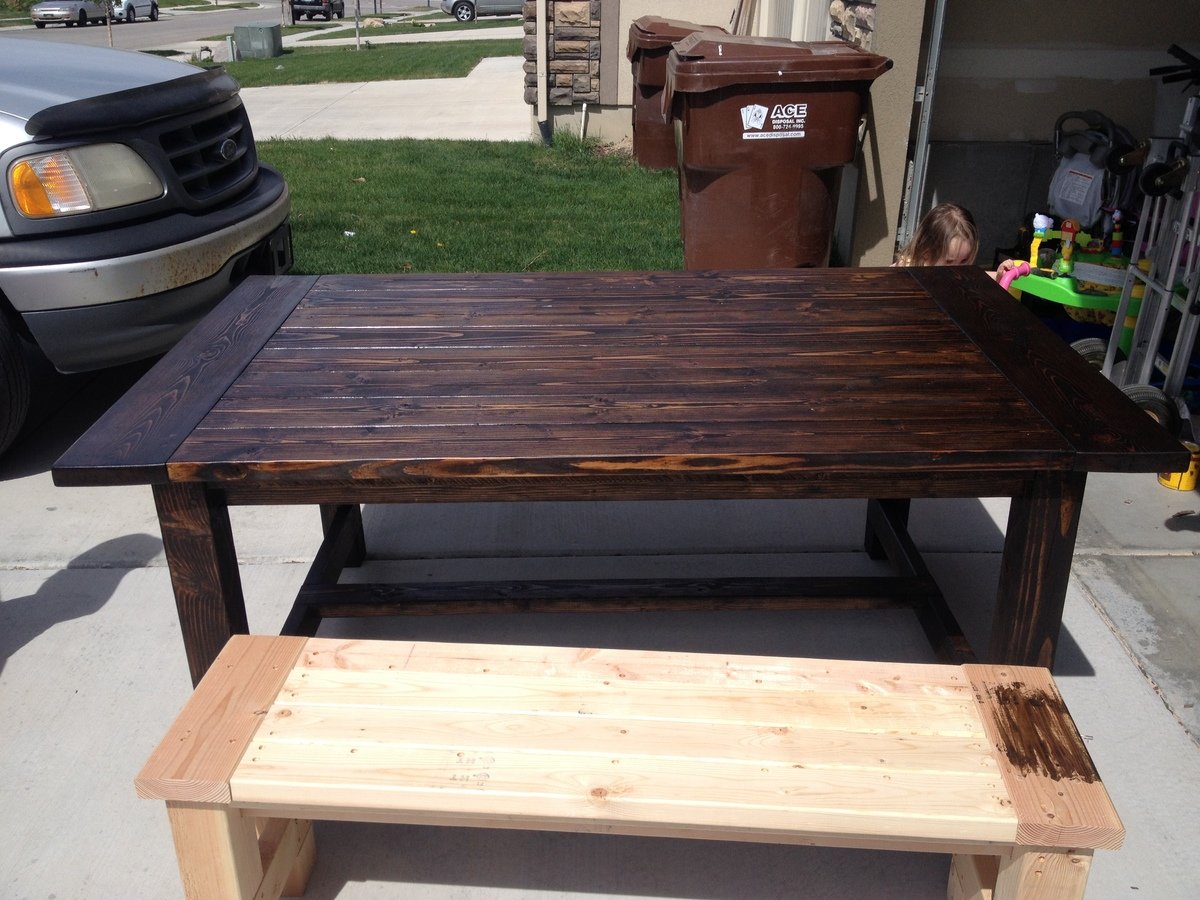
This was our first furniture building project. It took us about 20 hours to complete and we couldn't be more happy with the results. We used 4x4's instead of 2x4's for the legs. We also changed the dimensions of the table so that it was the perfect size for our kitchen. After completing the table we decided to build a bench as well. It is the same plan as the table, just miniaturized. We used Minwax Jacobean stain on the table and then topped with a clear coat. It is a very heavy, sturdy table.
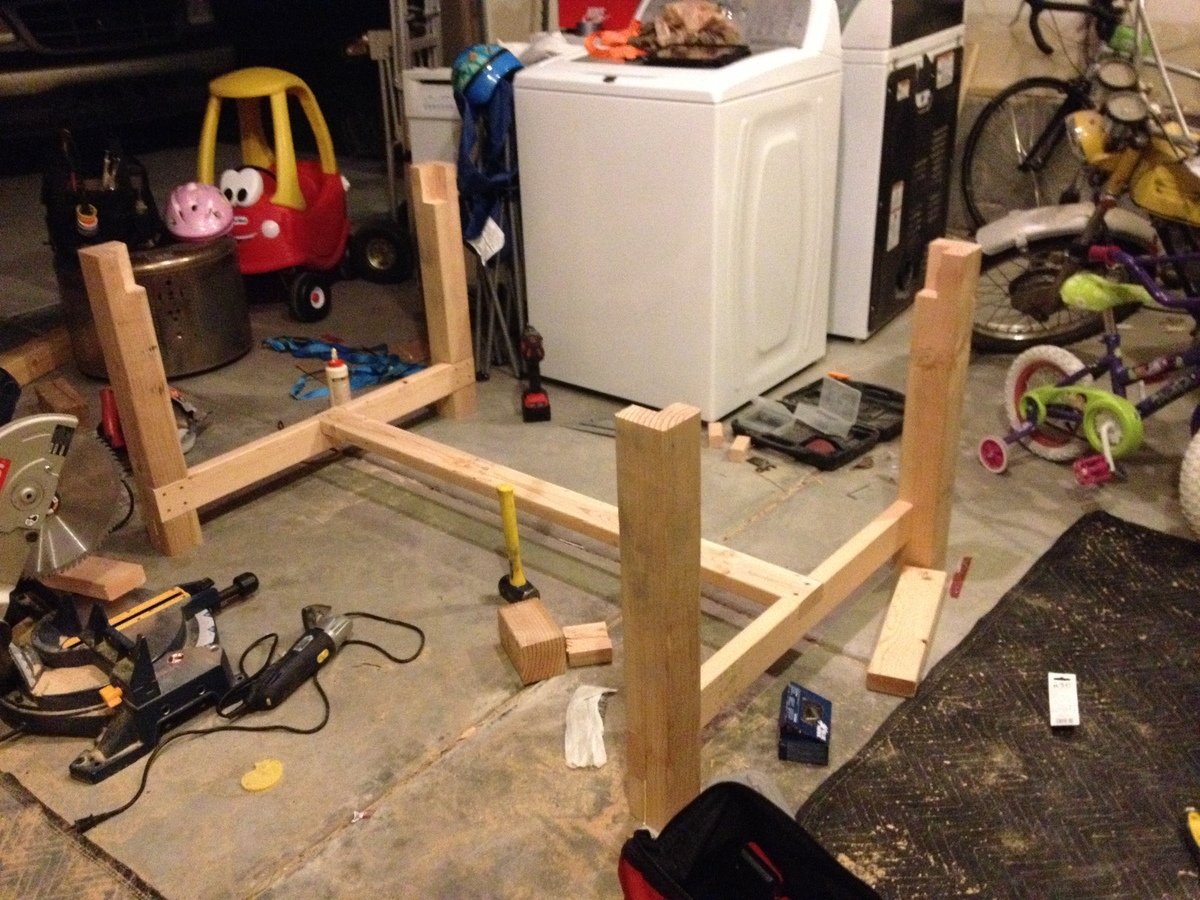
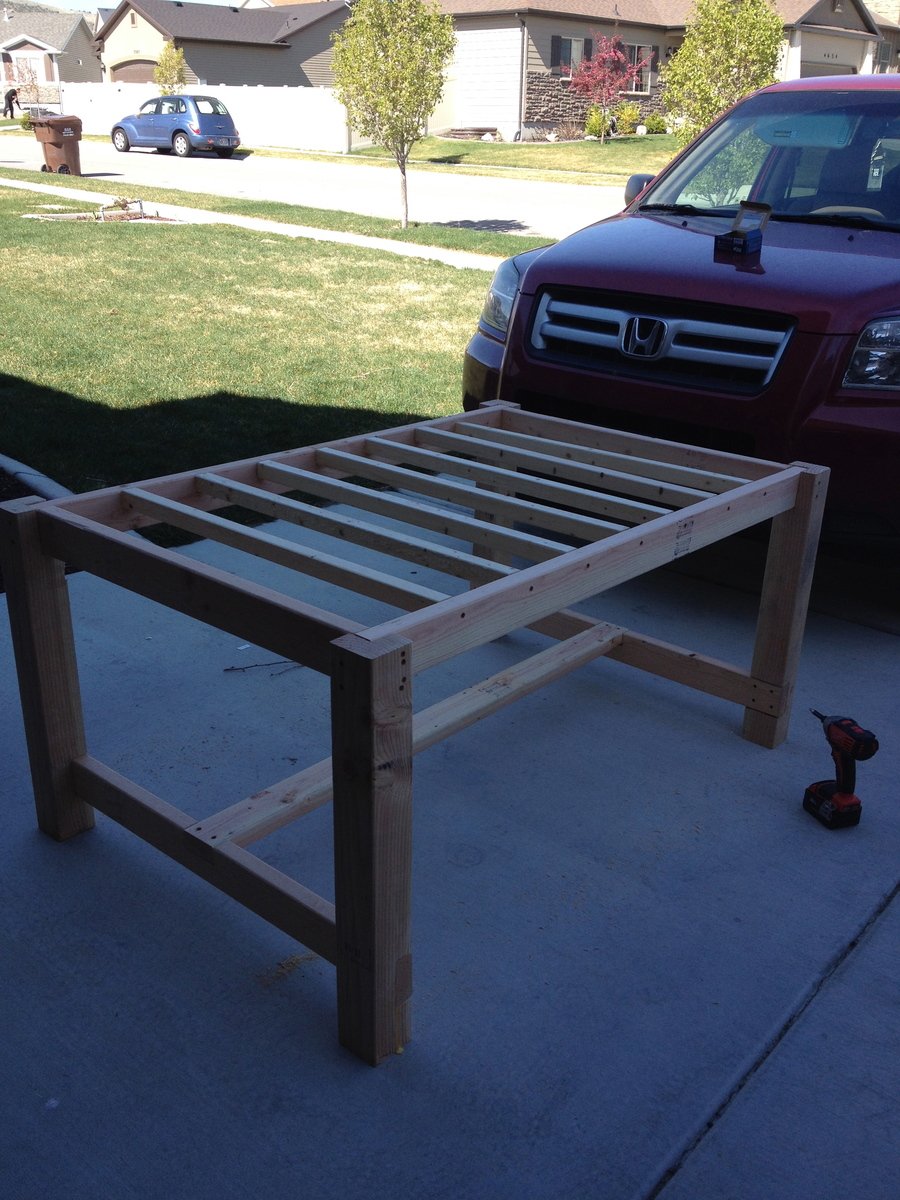
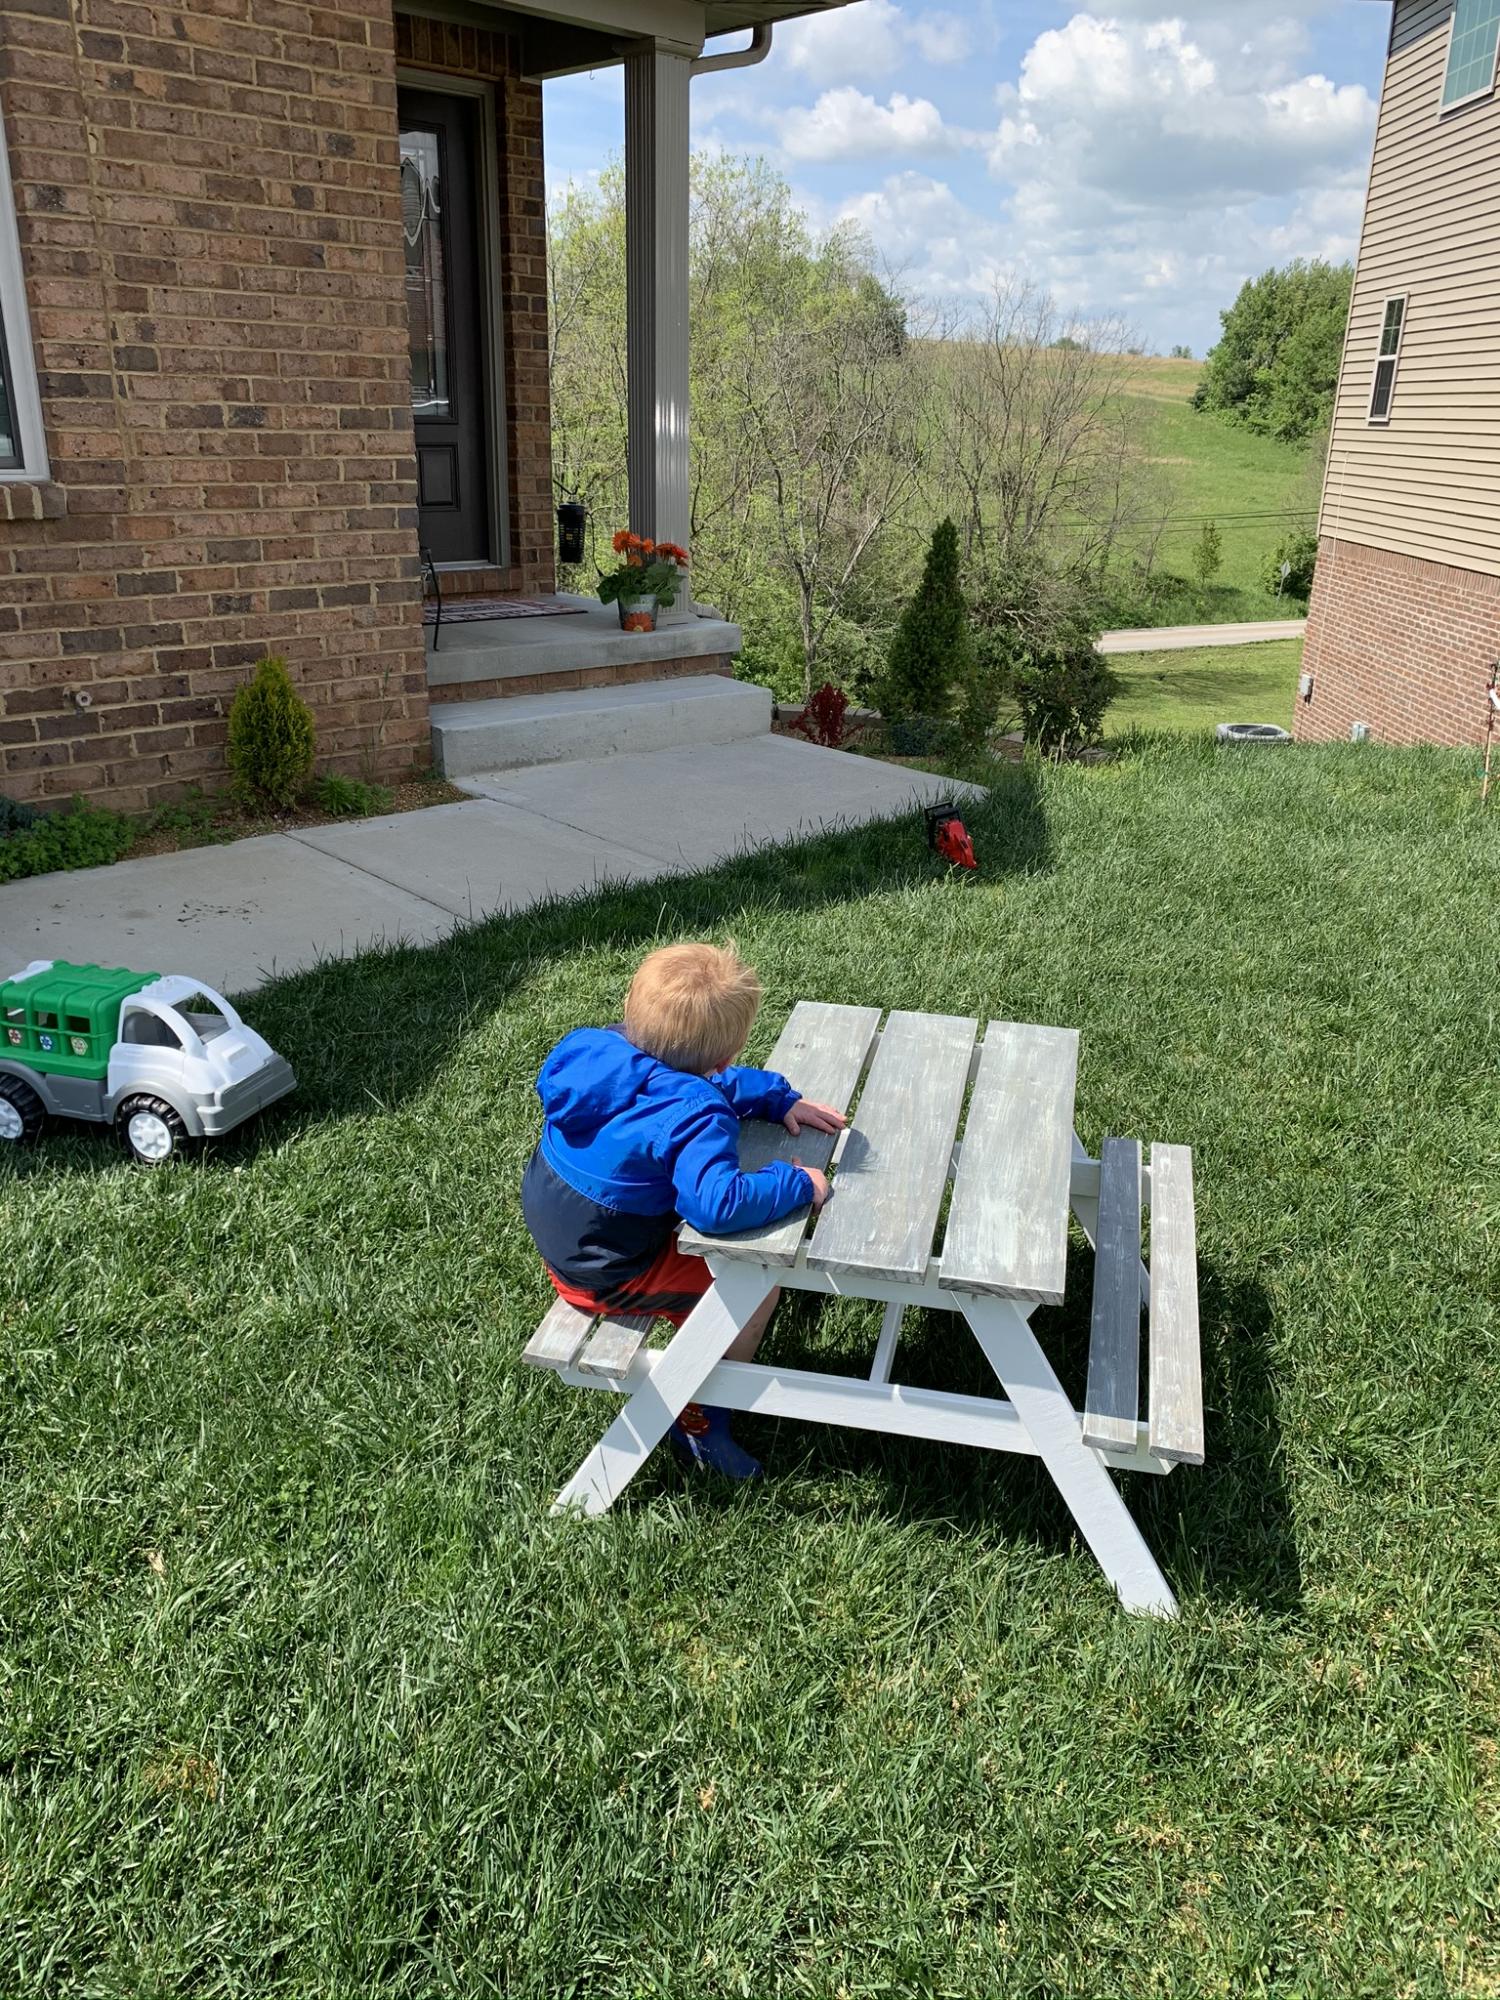
My son loves this table . Great size and super lightweight

The enclosed garden plan.
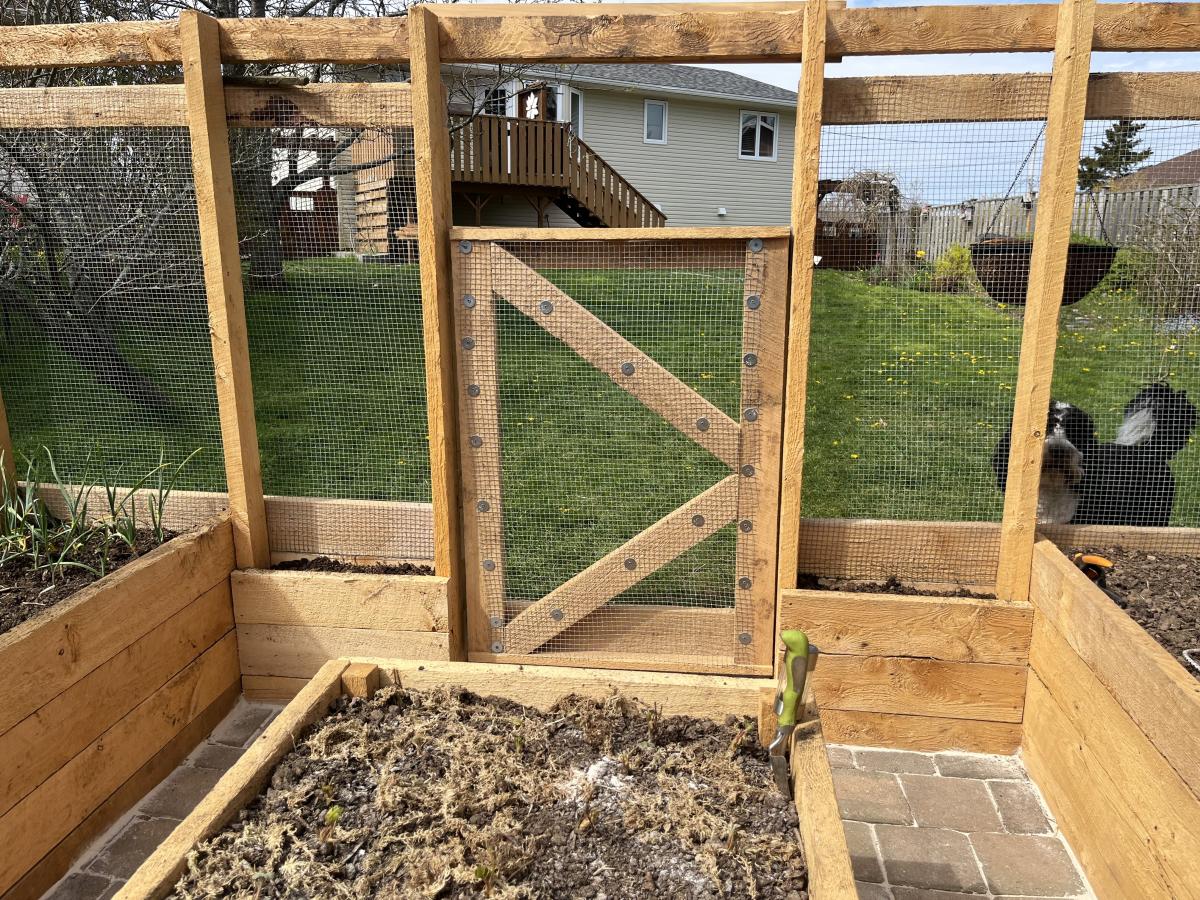
I made mine 12x12 and added a middle The instructions were very easy to follow. I also had old paver stones, sand and gravel kicking around from a project from last year so created a floor to help with weed control. I used screws and fender washers instead of staples to attach the caging. I added two tiny beds to the inside for sweet peas to grow up the caging to attract pollinators. Let the growing begin!
Barb
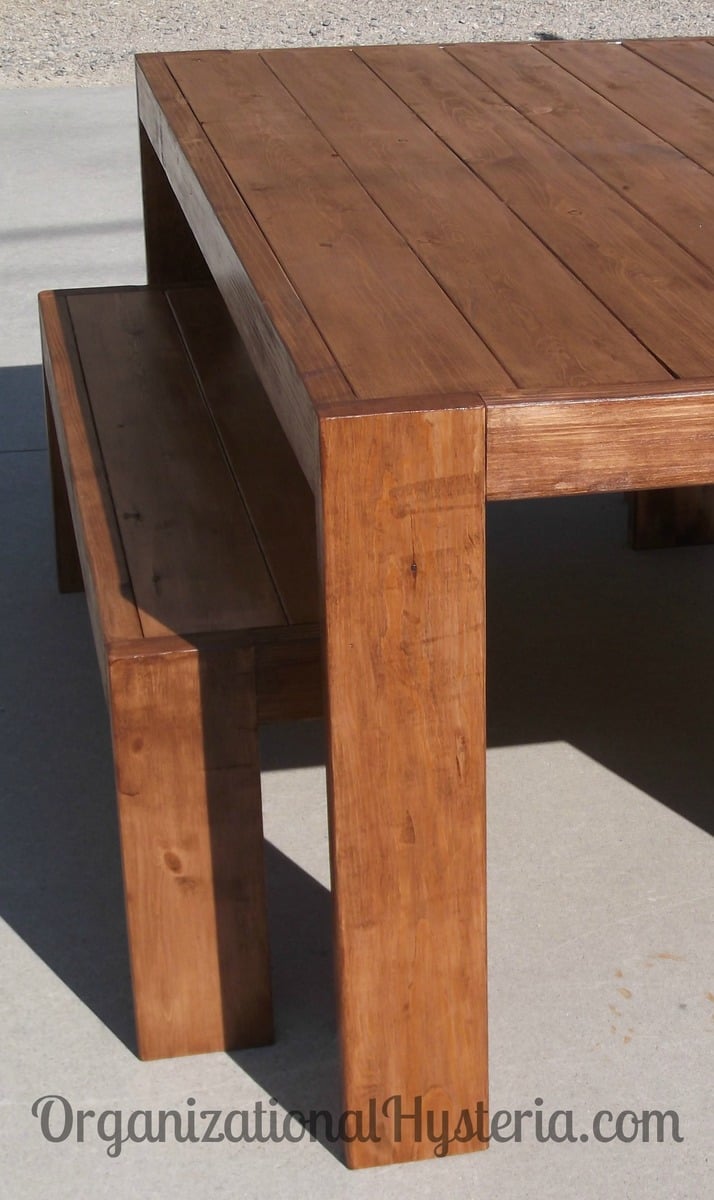
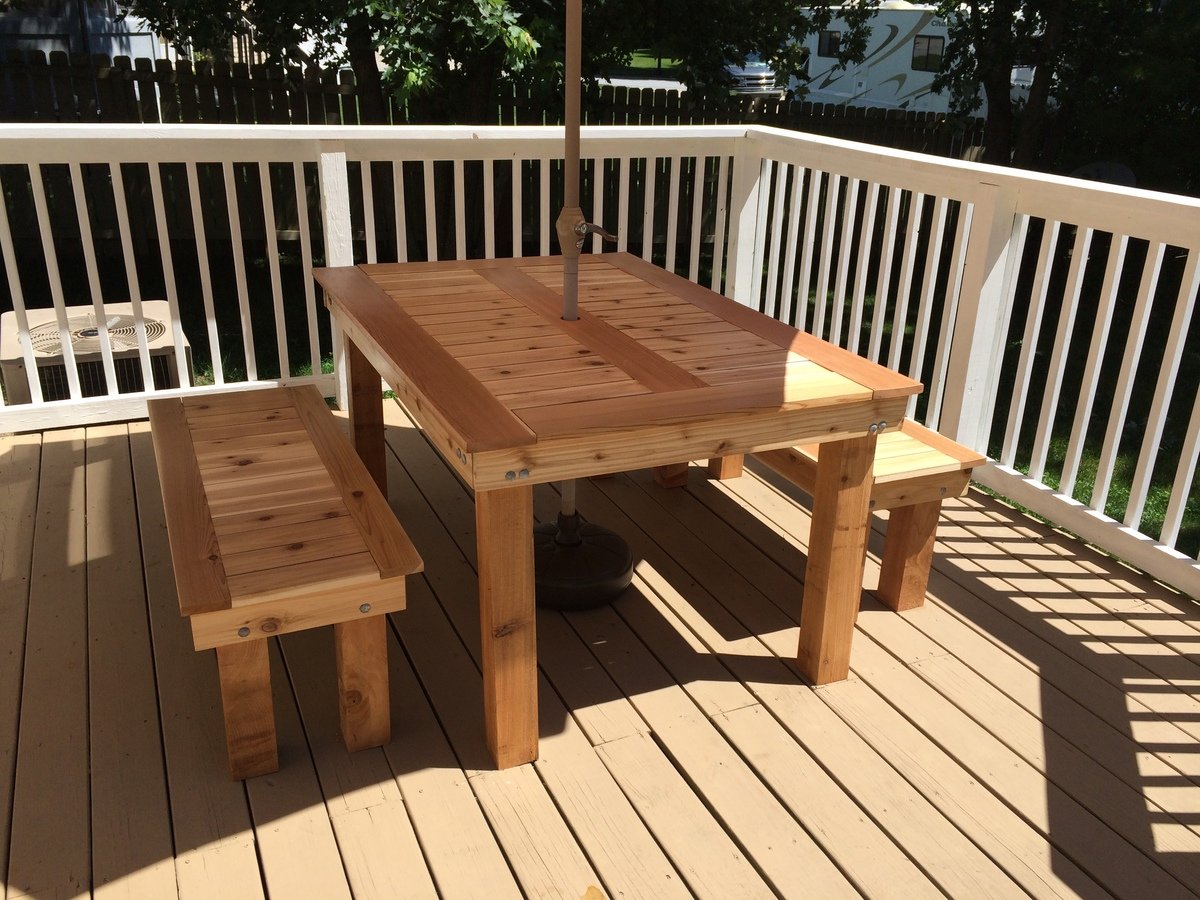
My husband and I built this project in one day, for less than $100, including the matching benches! We used inexpensive white wood boards and made sure to find the straightest ones in the best shape. The table is easy to assemble and SO sturdy. It can easily sit 4 adults on the benches or 6 smaller people, more with extra chairs on the ends.
I've wanted to build this table for quite some time and it couldn't have turned out better, I just wish we were keeping it for ourselves. :-)
I share more details on my blog if you'd like to check them out, thanks for looking!
Happy Building,
Danielle
organizationalhysteria.com
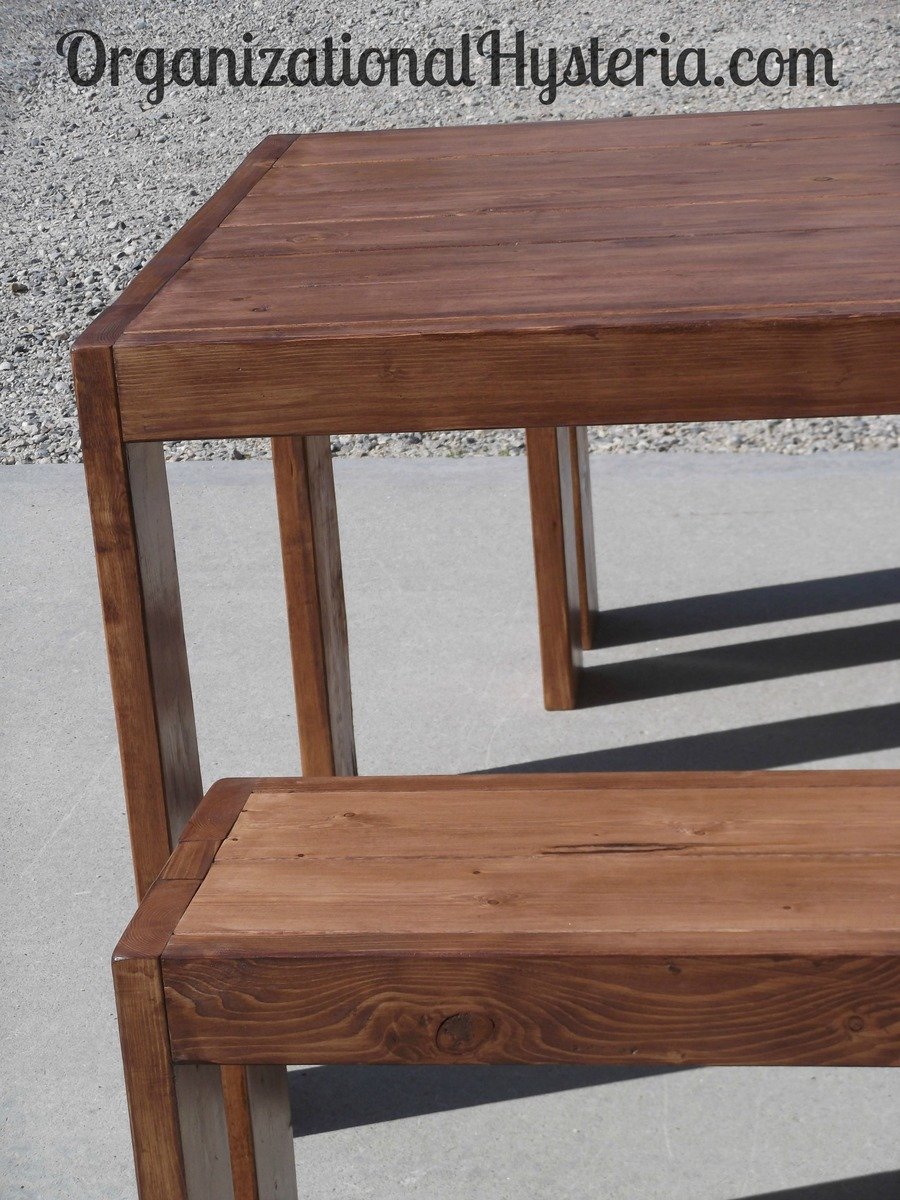
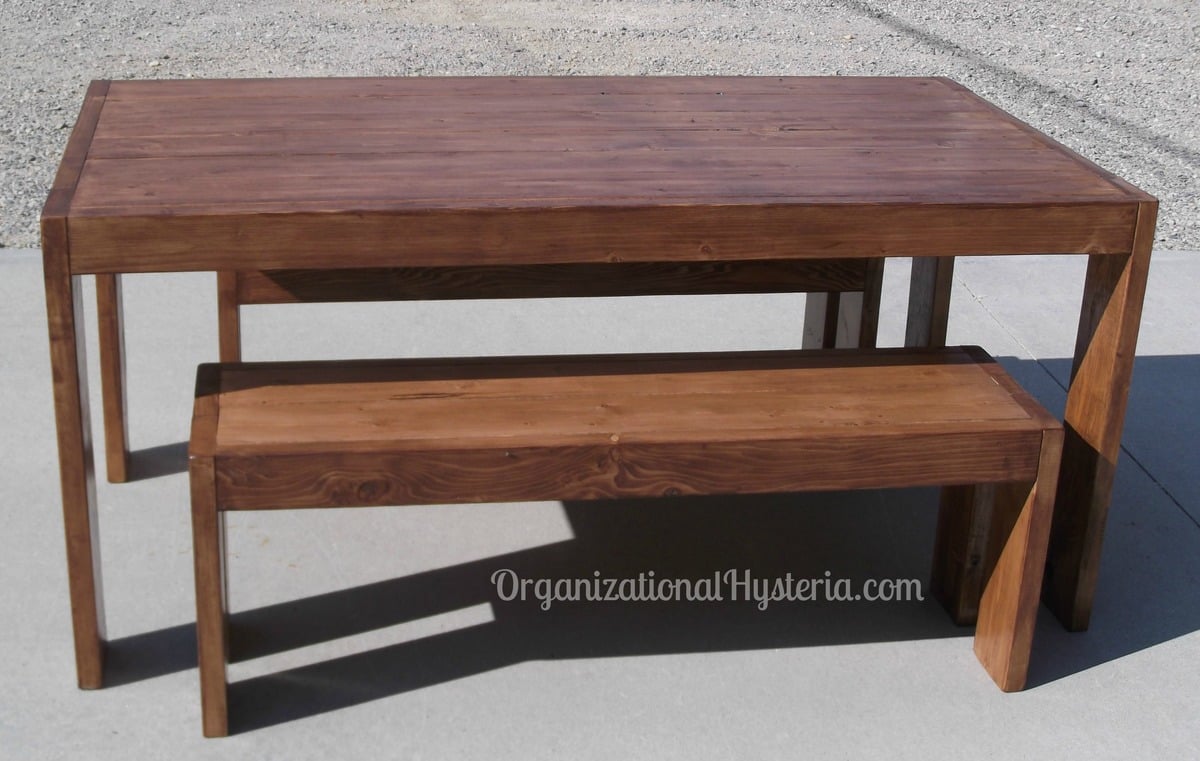
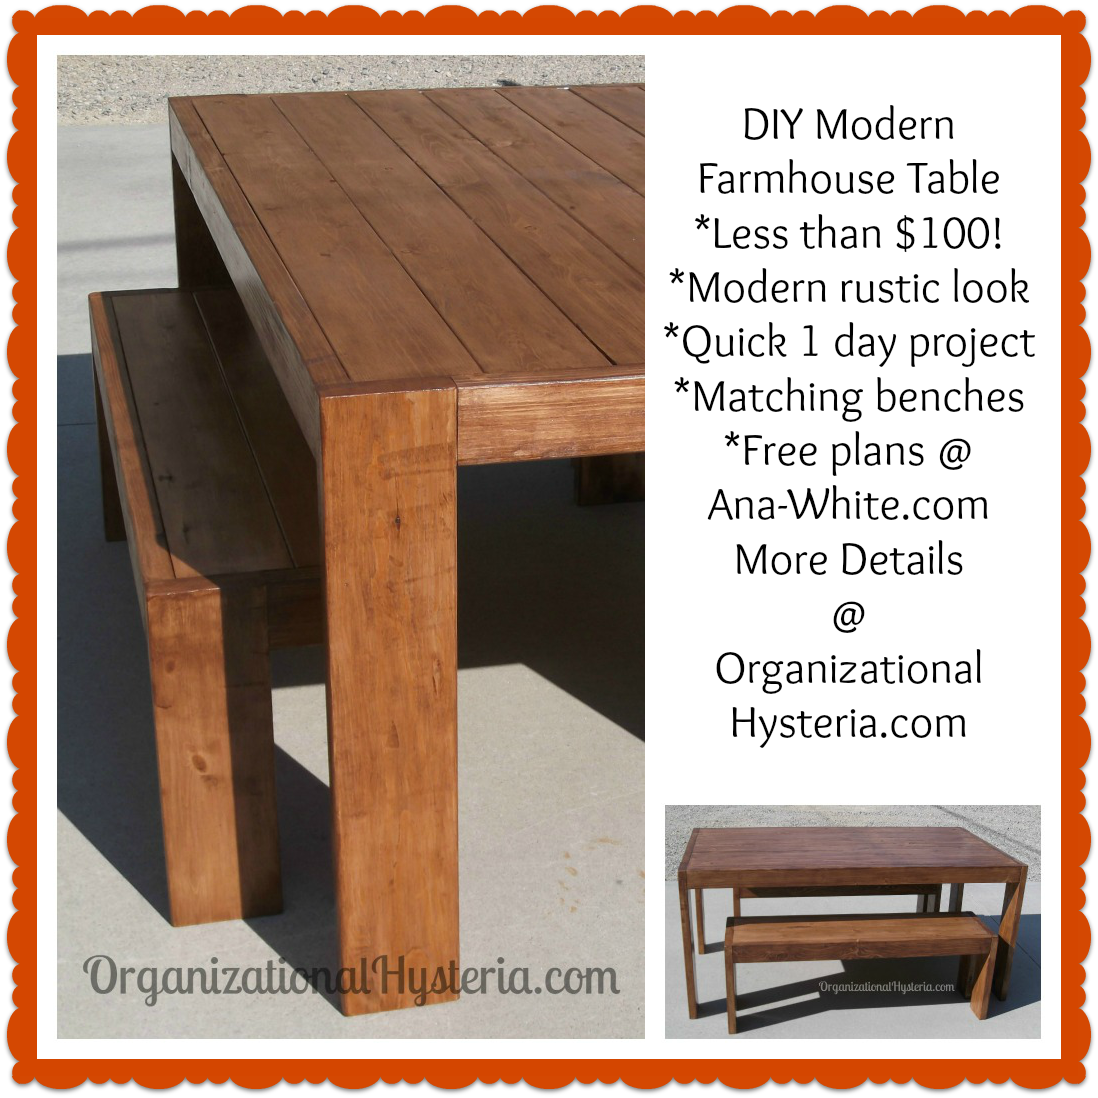
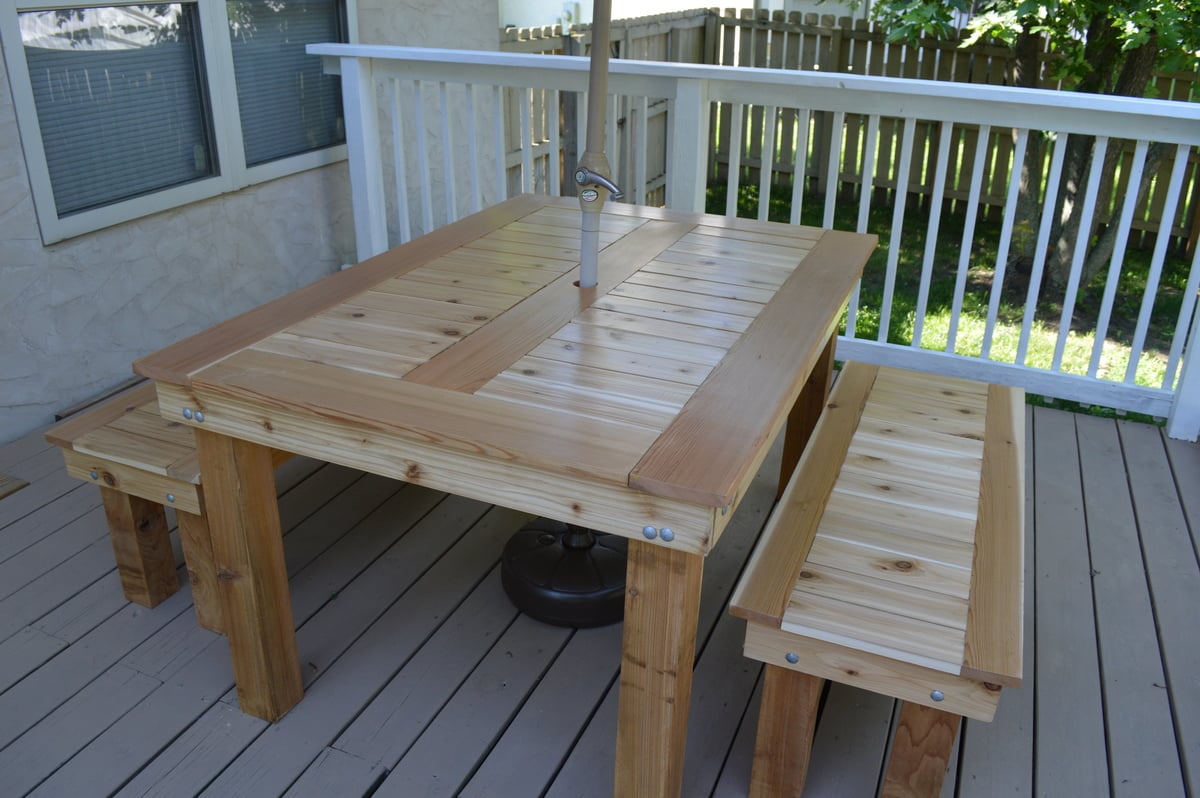
My wife and I loved the version that Finns-Dad made but we wanted it to be rectangular. The top is 1x6s around the edges with 1x4s in between. The frame is 1x4s. The bench tops are all 1x4s with 4x4 legs. There are 3/8 inch lag bolts in the legs. We did 4 coats of the urethane.
This was my first major project, and while there are many things that I would do differently if given the opportunity, we're still very pleased with it.
Thu, 01/01/2015 - 09:04
I really like the changes you made to this table, it looks really nice.
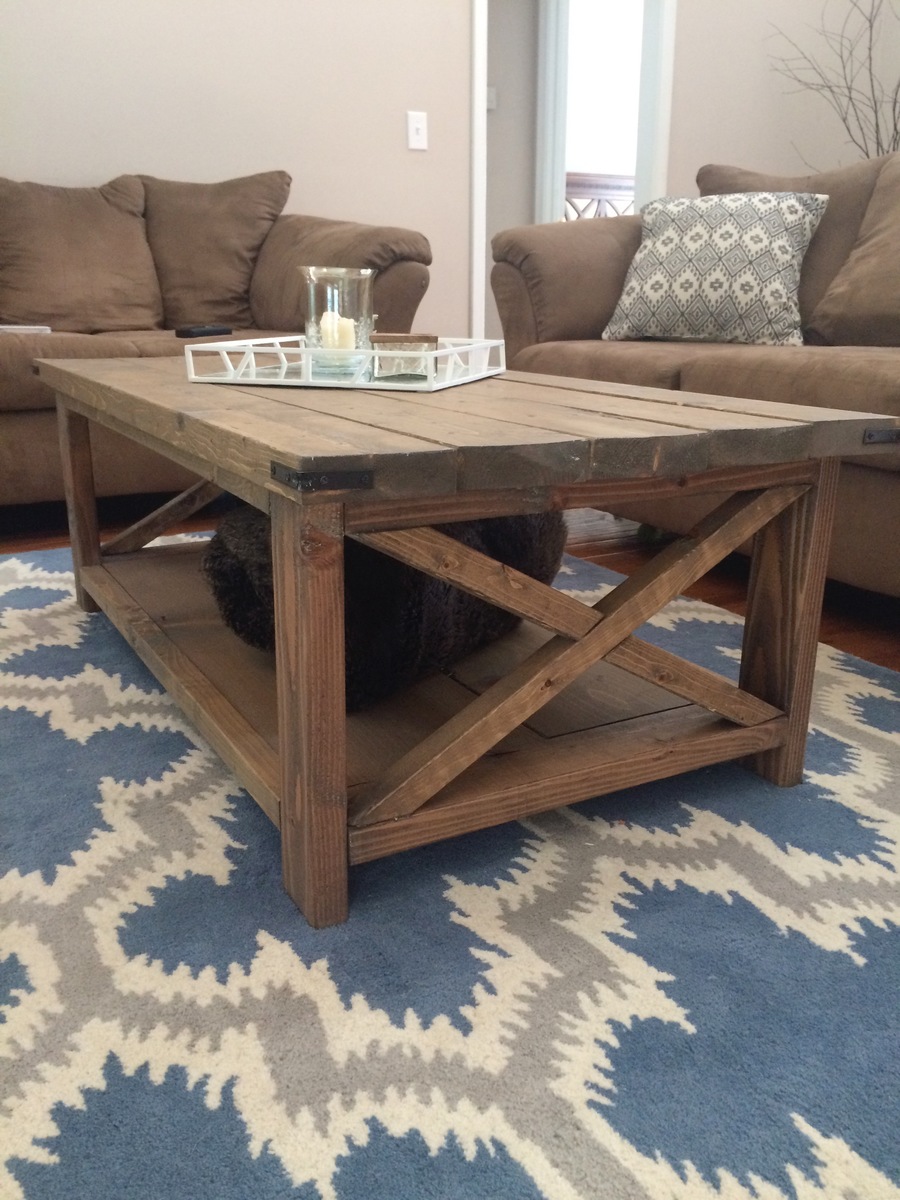
This was my first project from Ana's website! She does such a wonderful job making the plans easy to follow for the novice builder.
I really needed a rustic coffee table for my new living room. All of the retail stores expect you to pay hundreds of dollars for a table less than half of the quality. I am so happy with how the table turned out! I already have a list of other furniture that I want to add to my home. Thanks so much for all you do, Ana!
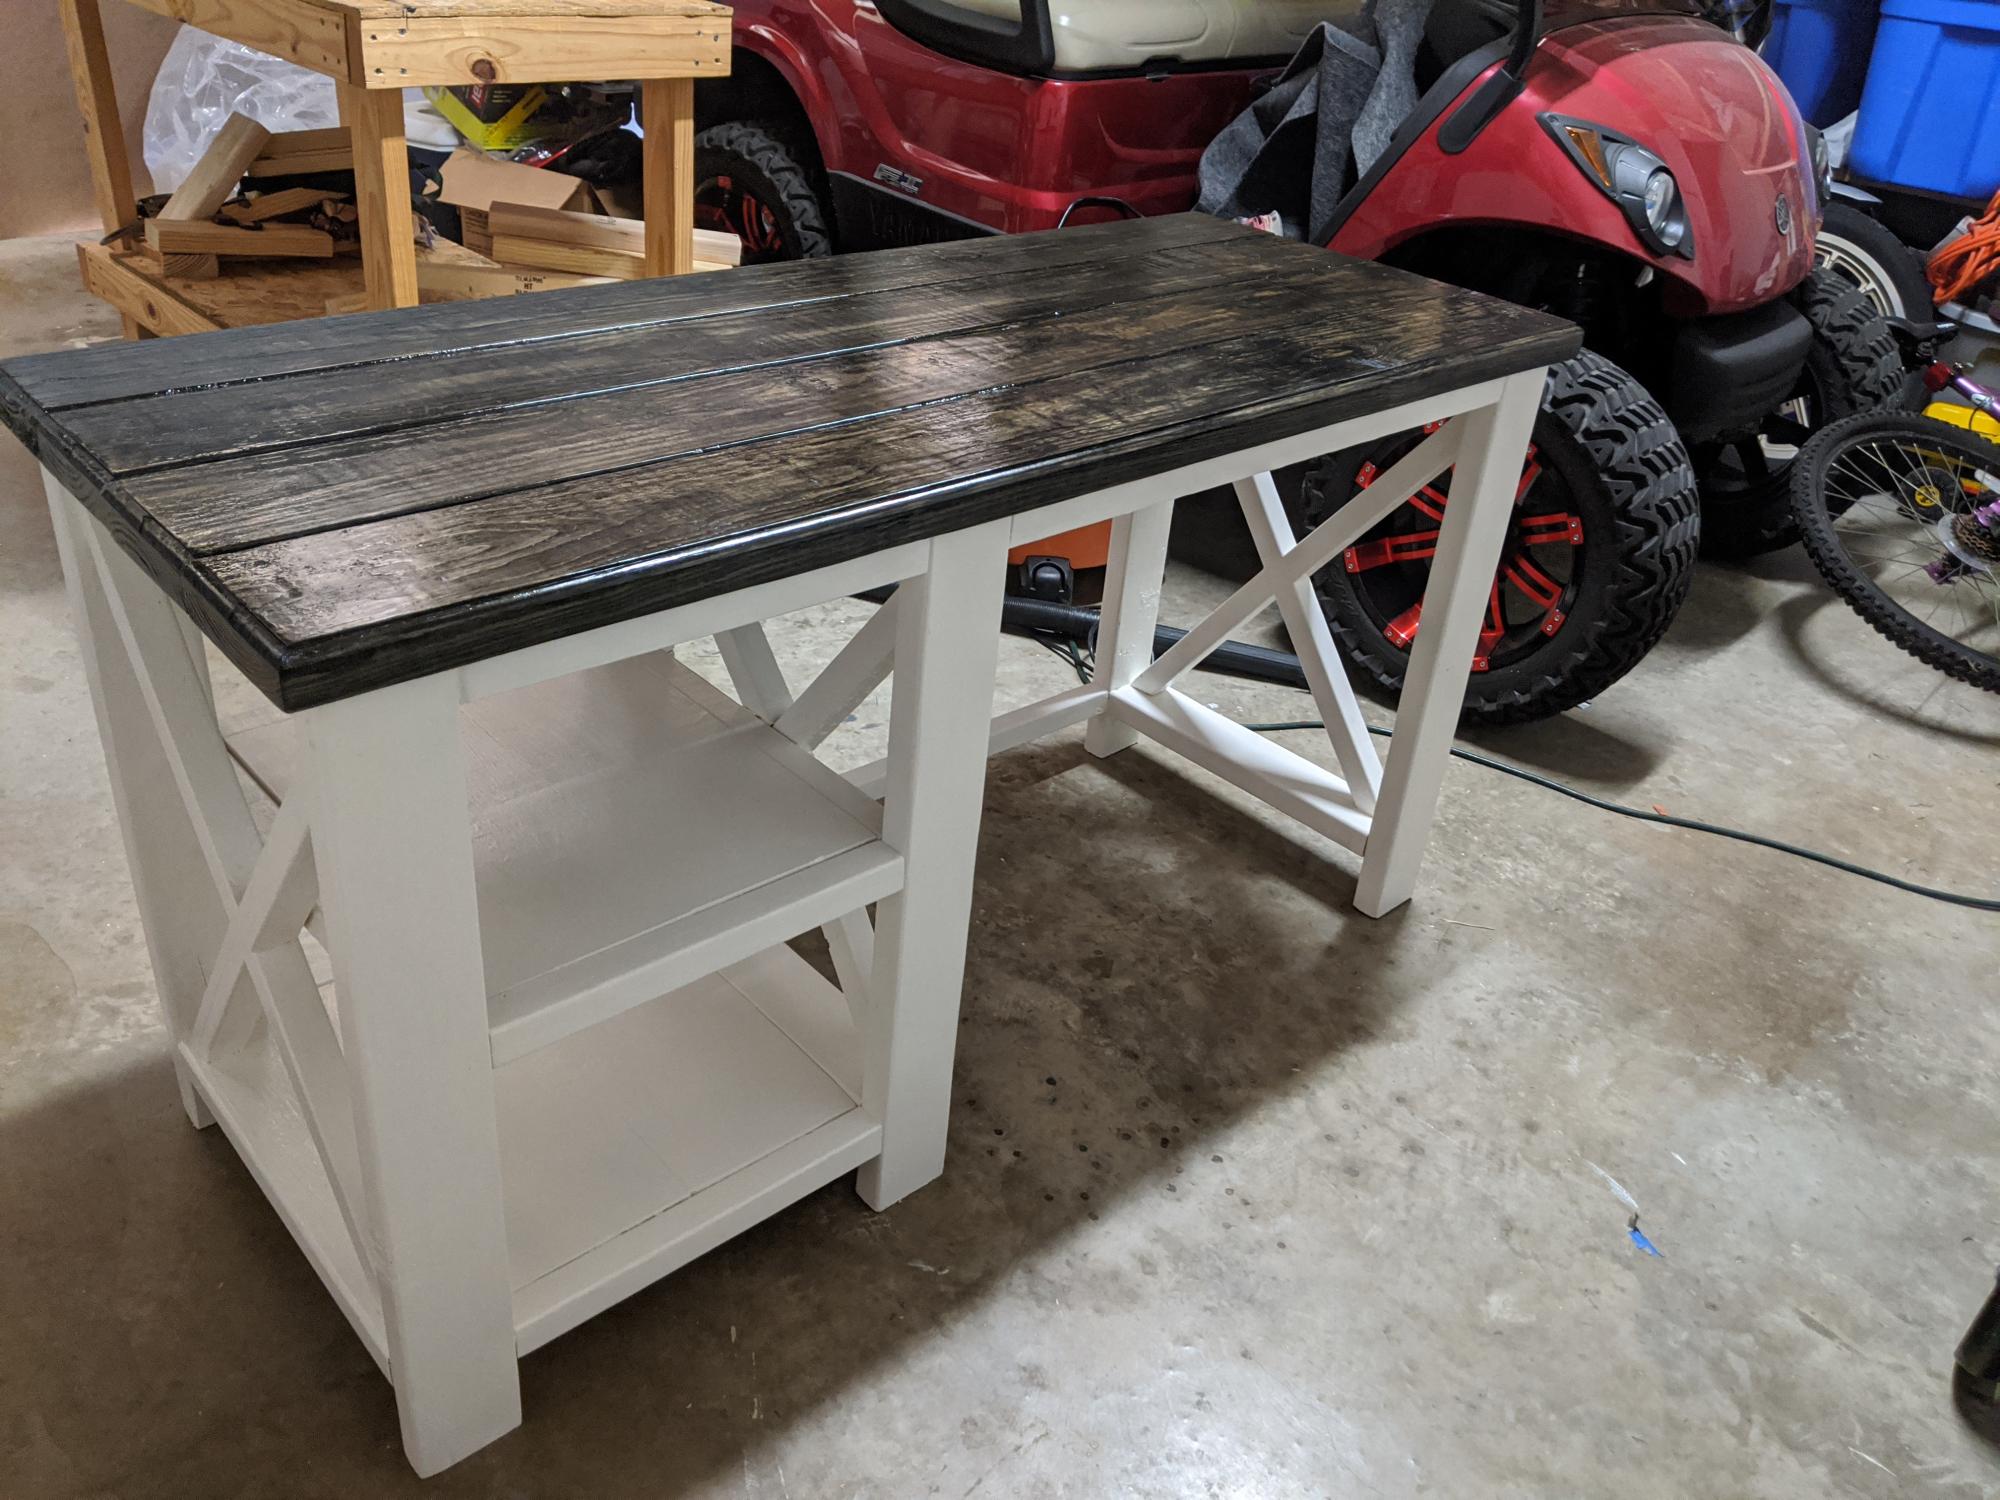
The only modification was I used 1x8's instead of the 1x10's on the plan and I also routered the edge of the top, first time attempting this.
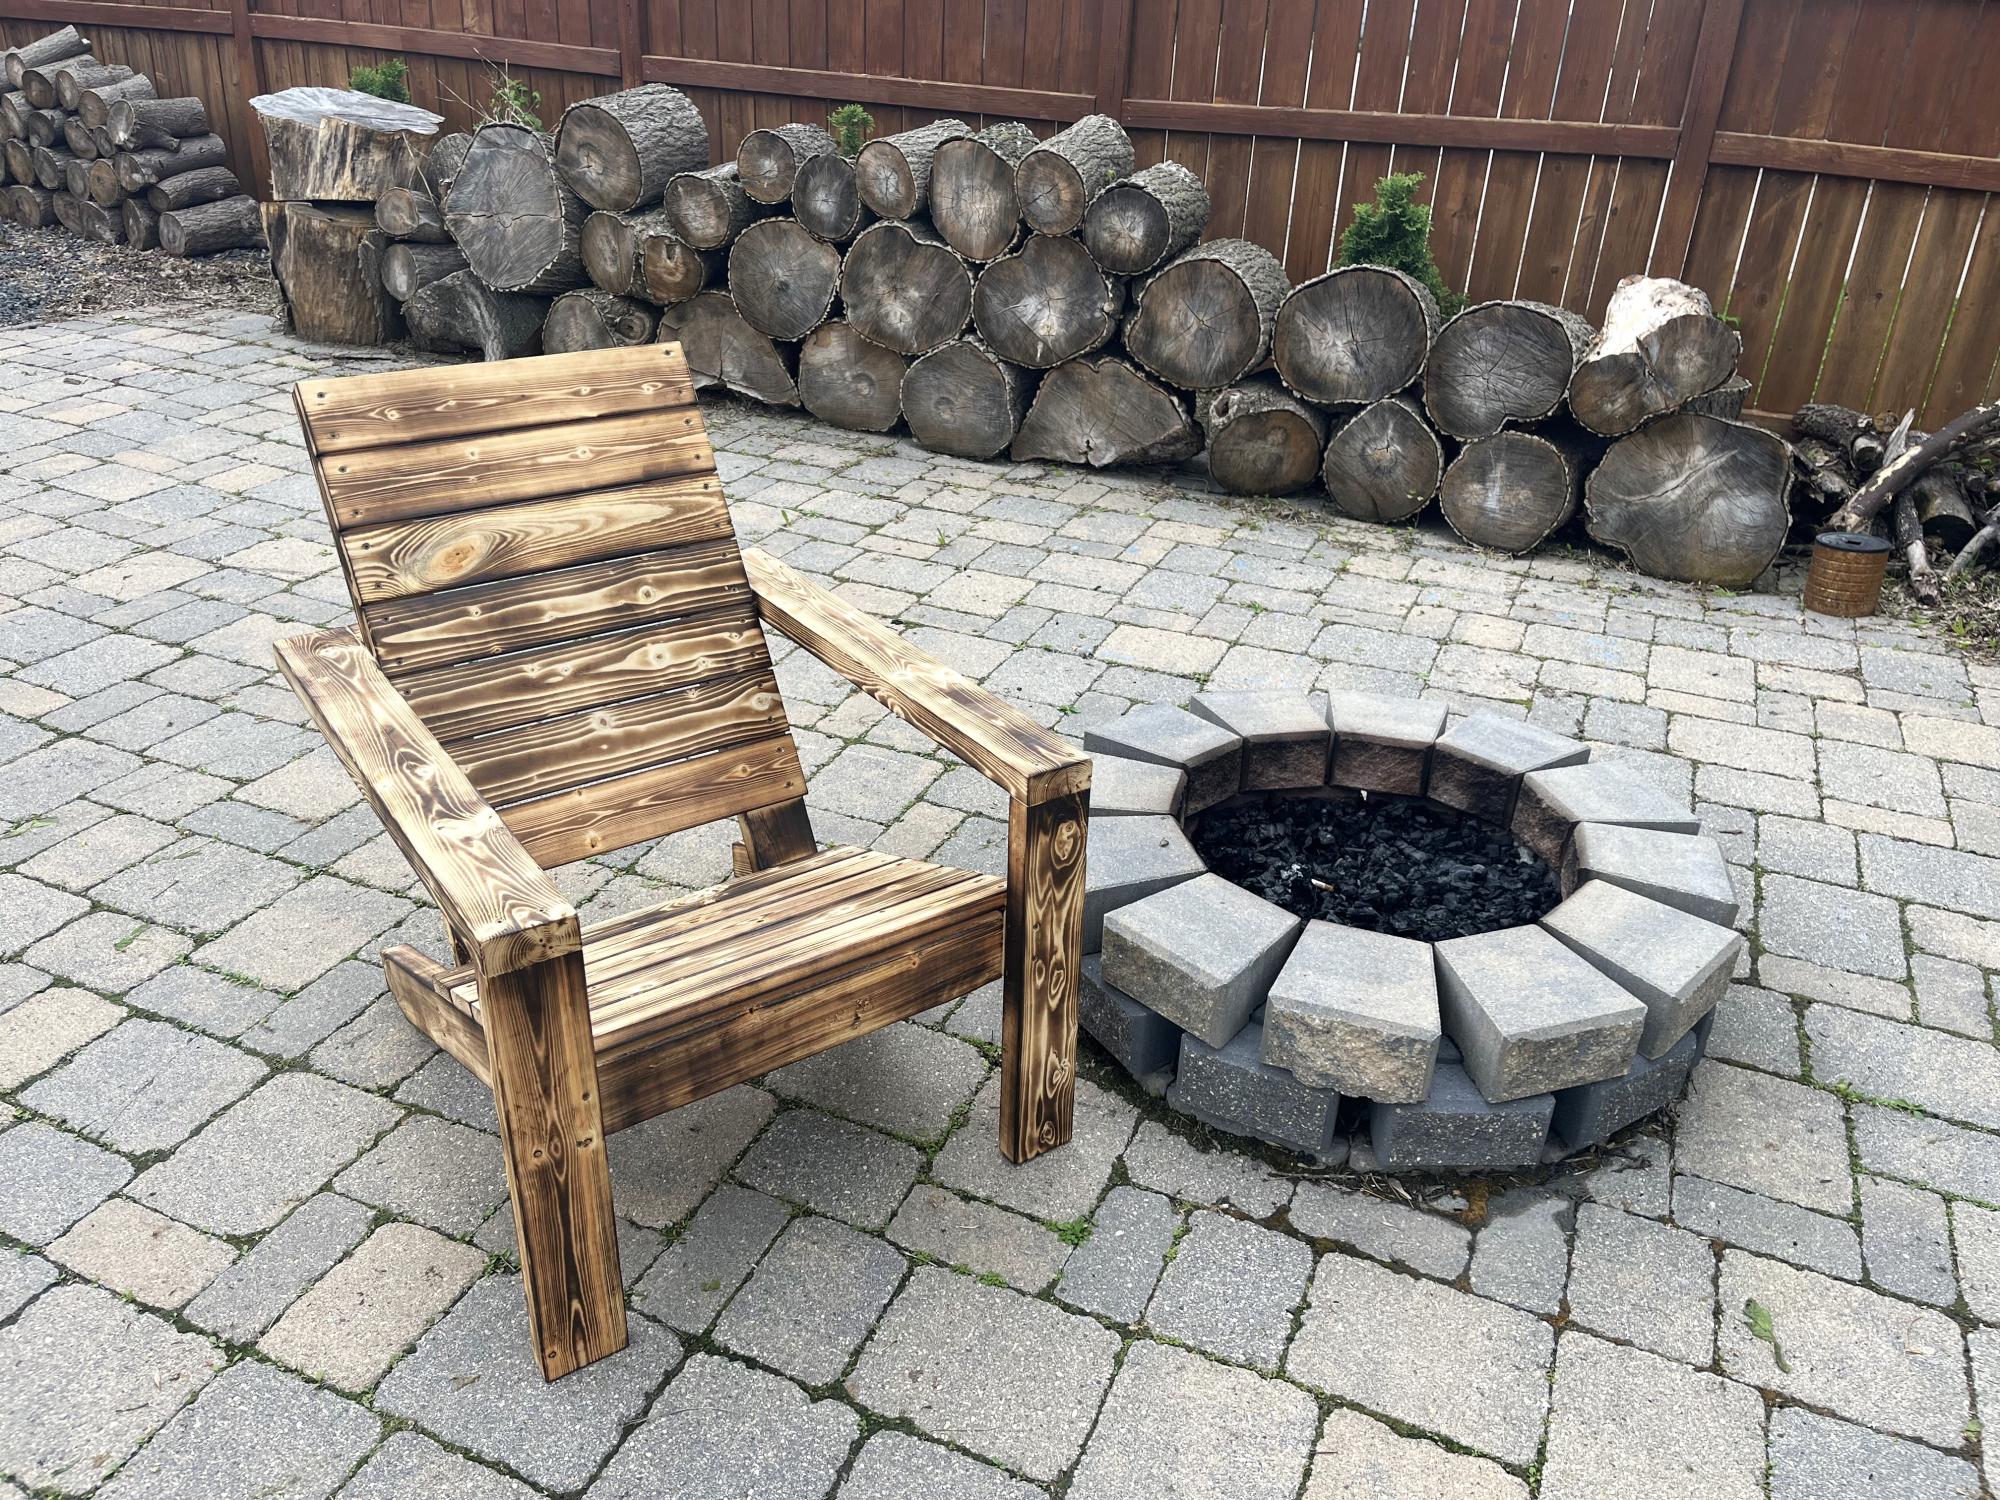
Followed the plans. Burned then sealed.
Toker
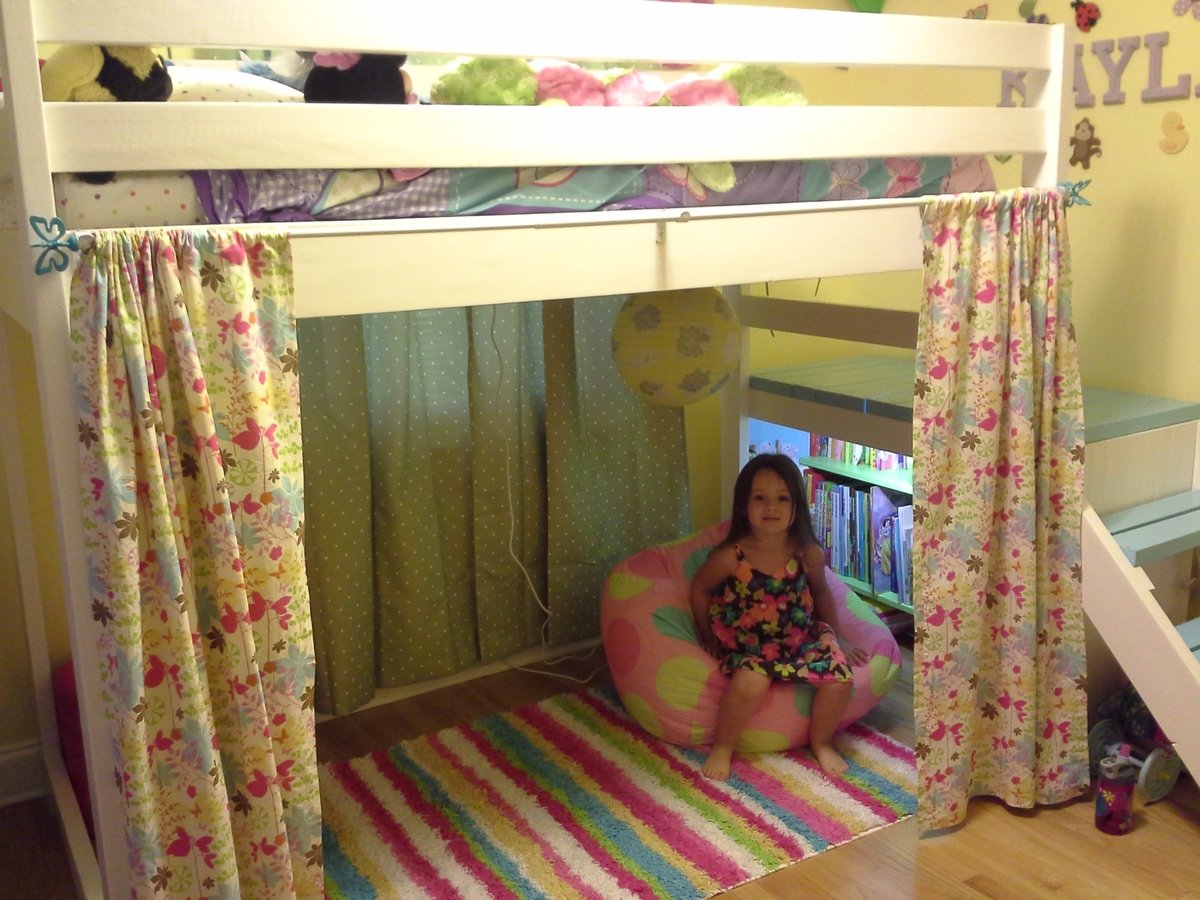
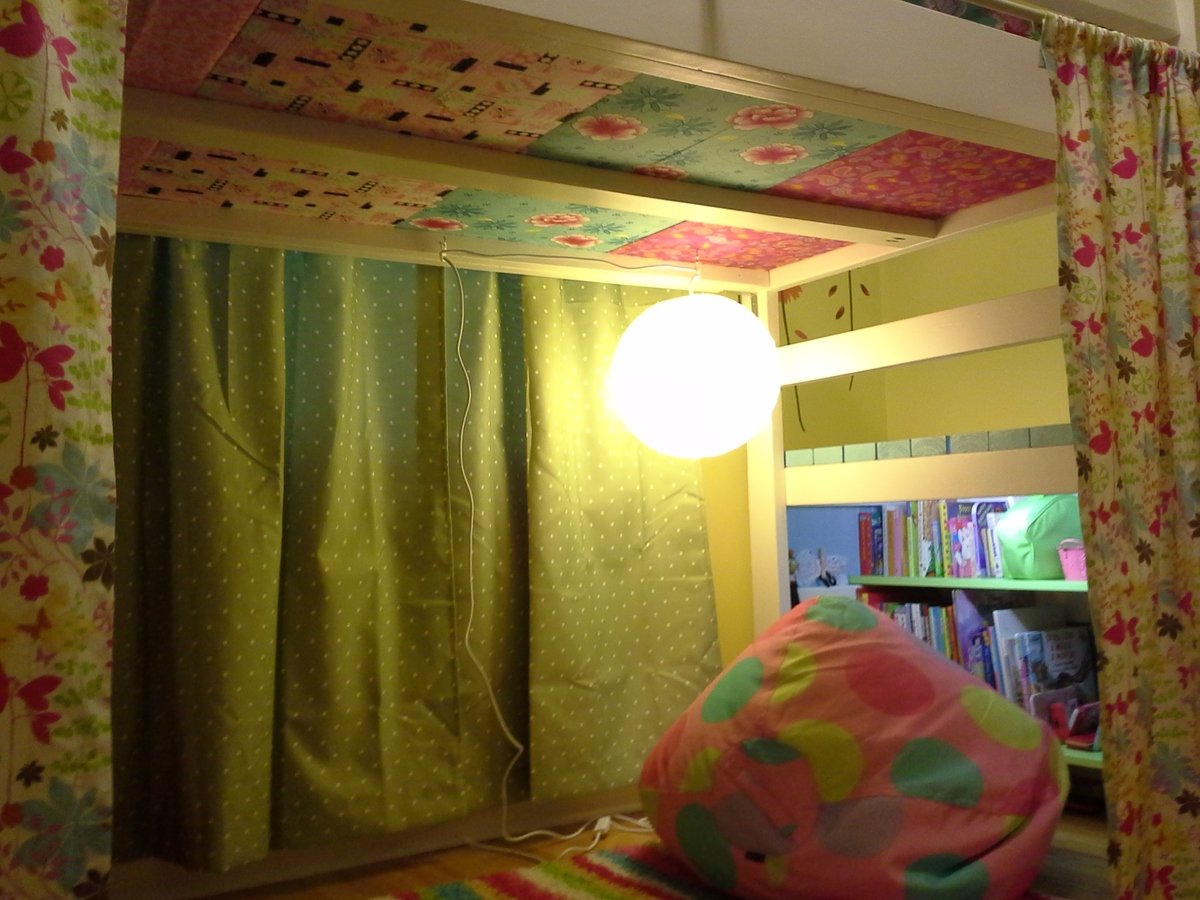
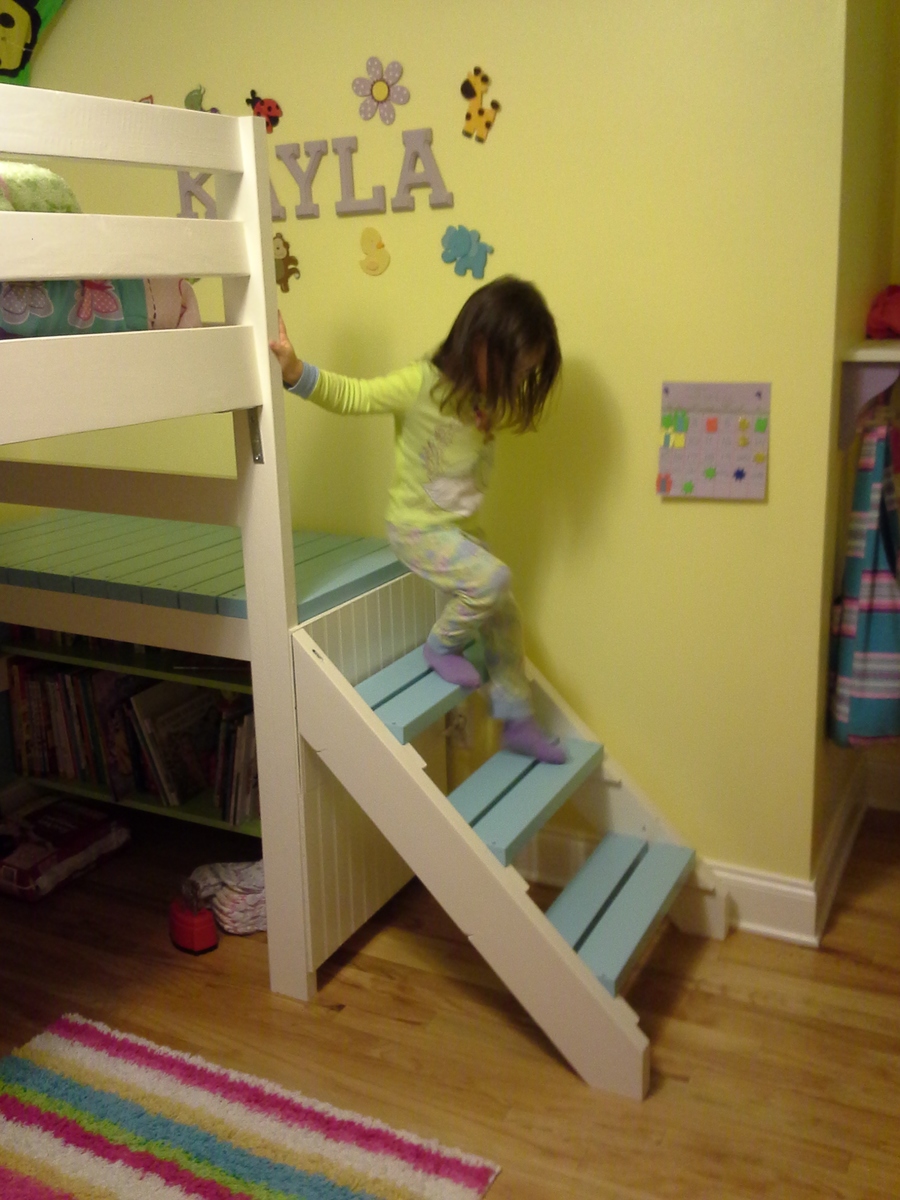
My daughter is 3 and though her room isn't terribly small, I thought this project would be awesome all the same. I wanted to do the doll house bed, but I figured this bed would grow with her more and I liked the platform at the end so I just added a curtain and called it good.
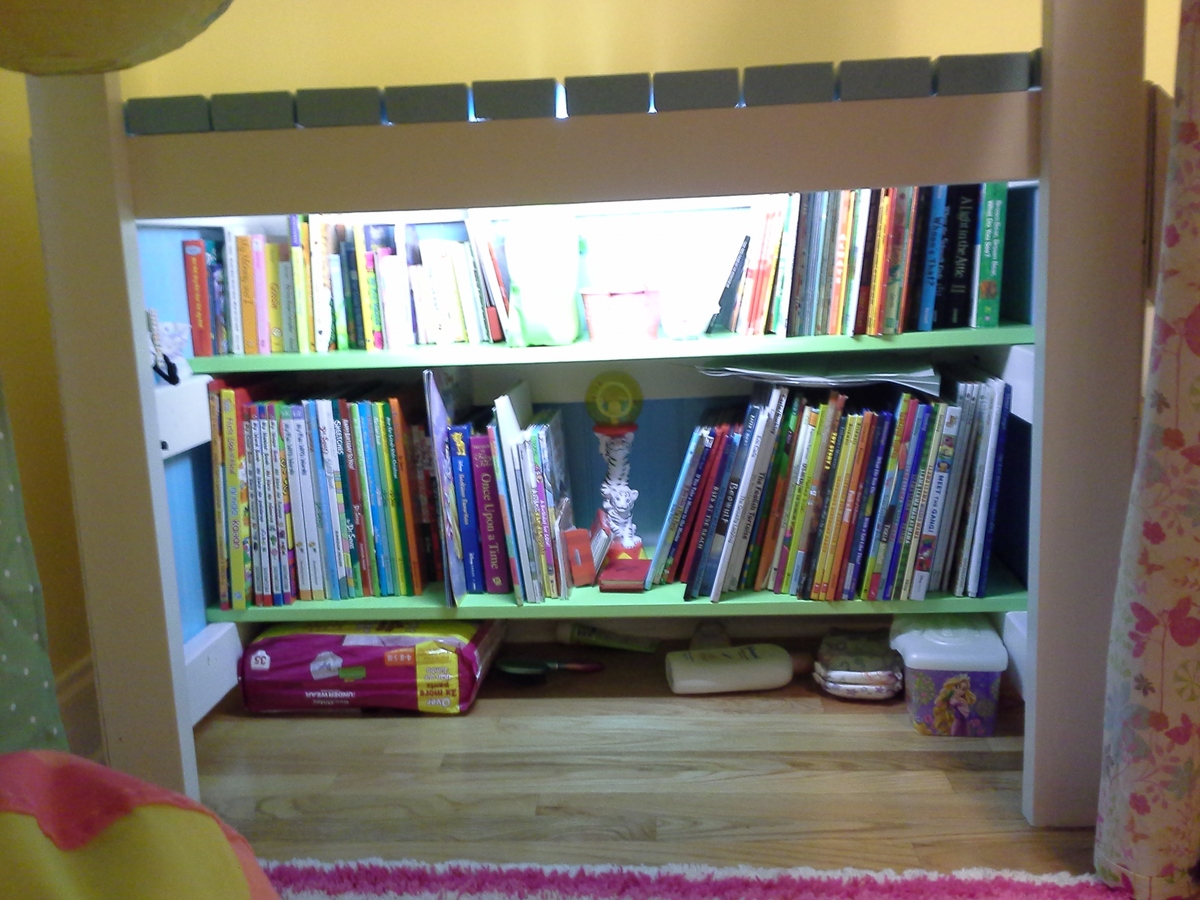
The book shelf is by and large my favorite part of the project. I just added some more 2x4's, a sheet of 1x10 and some left over bead board paneling that I had and used left over paint from her play kitchen that I had previously repurposed from an old entertainment stand. I added an inexpensive, small fluorescent light to the book shelf, out of sight, and found this great, inexpensive paper lantern.
I also added a support beam down the middle of the mattress area and used some 1 in MDF board that I had from another bed and wrapped it in fabric (which ended up being a little pricey, but she loves her ceiling)
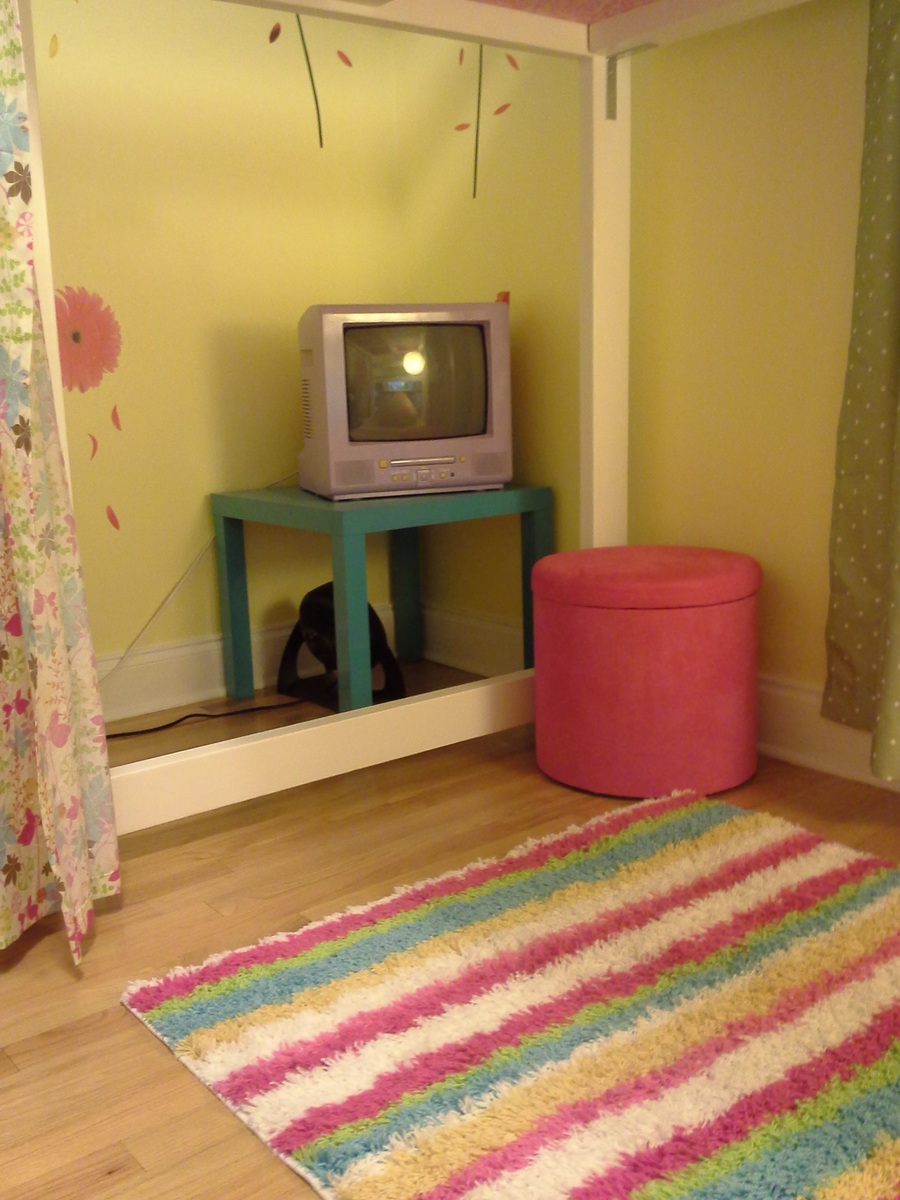
Because she is so young, I pushed the bottom of the bed against the wall instead of building a railing off the platform because I was afraid she would fall as she still gets up in the middle of the night. This worked out because the space that was left at the head of the board fit her TV stand and laundry basket without leaving a foot print on the actual area under her bed. With the curtain up (and almost always closed, as insisted on by the primary tenant) it really is like a clubhouse under there. I can't even begin to go into the hours she spends under there with her books; who doesn't love that?!
This was my first "from scratch" projects and I learned a few things. 1. Don't strip screws inside of pocket holes. 2. Sand more than you think you need to, especially if you plan to paint. 3. Staining might be a faster way to go, 2 coats of primer and 2 coats of paint takes a lot of time if you want to avoid runs. I would say painting took twice or three times longer than the building! 4. I may avoid lumber from the big box stores from now on, or be much much more careful in picking it out, but I had a 3 year old running circles around me as I was picking it out, so I guess I can cut myself a little break.
Finally, price wise I would say I spent more than I thought I would at first. Lumber was more expensive than a lot of posters mentioned, which is strange, because I thought NC was supposed to have cheap wood. But just for the lumber, I would say I was at or a little over $100. I would say all together I spent between $150 and $200, but I added a good bit, and honestly, fabric isn't cheap either, and I bought about 9 yards all together. With that being said, I think this bed was well worth the investment. I couldn't have gotten something like this for anywhere near that price in a store.
Oh, and I built the entire thing completely alone as my husband was out of town when I got the bug to do this. It didn't come out perfect, but every project I do is an improvement from the last and it's for a kids room! As long as it is sturdy and safe, and it definitely is, and is still attractive, then that's all that matters. My daughter loves it!
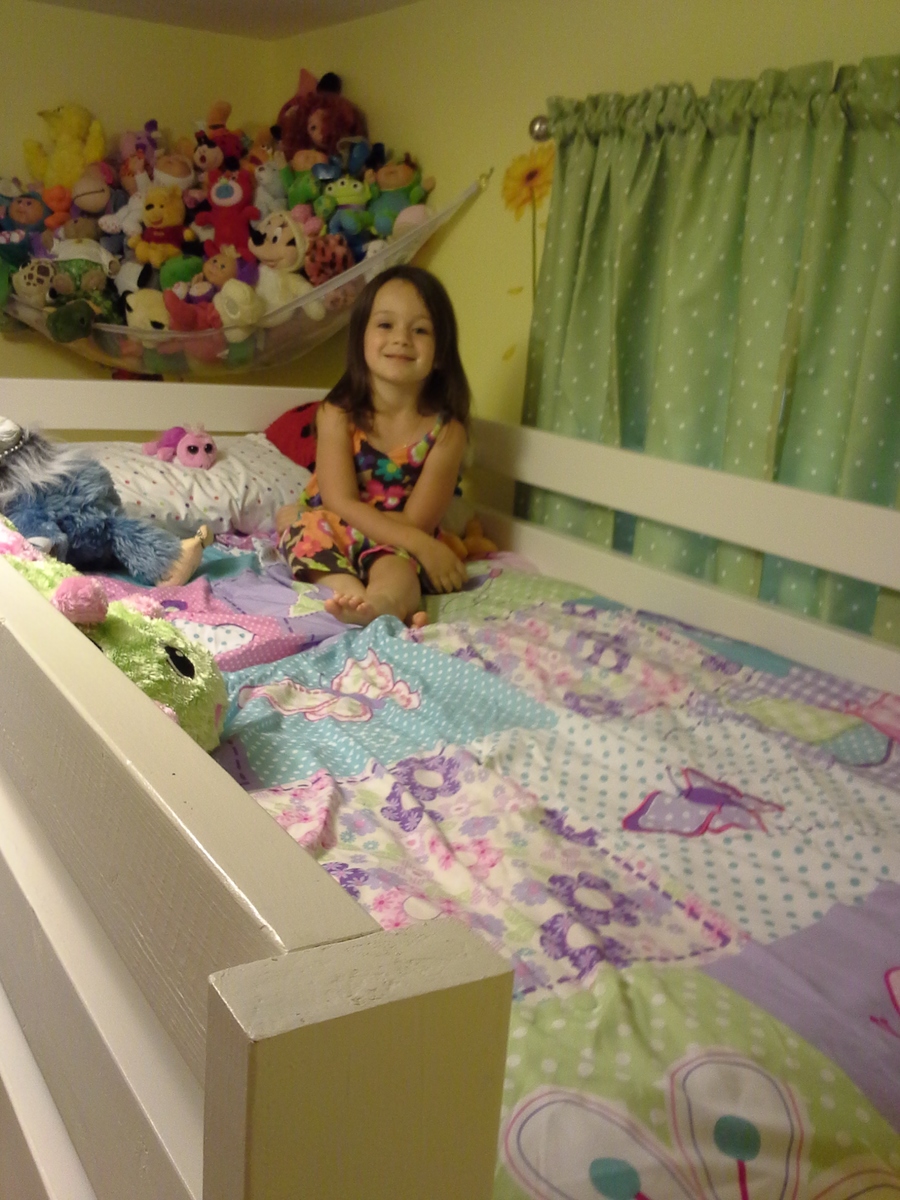
Wed, 09/12/2012 - 13:11
This is wonderful!!! I kind-of wish i would of seen this before I made my daughter her farmhouse bed-but I love that too. I can only imagine how special your daughter feels :) I bet your husband was pretty impressed as well!
I also want to say I appreciated you points. I too have found that painting is tedious and I too have stripped my screws before!!!!
Wed, 09/12/2012 - 23:03
You did a great job with this bed. I really like how you did the "ceiling". And yep, no matter how much you spent to build it, there is no way you could buy a bed like this for that amount of money. I also built this bed (with a 2nd bed below it) and when all was said and done, it came in at around $200. More than I had planned, but far, far less than if I had went to a furniture store (which I will probably never do again thanks to this site).
Thu, 09/13/2012 - 09:01
I love your loft bed. As much as I love the white with the blue steps. I may just stain mine! This will be my first big wood working project, I will be more comfortable with my husband or friend helping me on this one.
Sun, 01/27/2013 - 20:14
I want to make this bed and paint it similarly to you (white with some colour on the platform) but I am pretty sure I could not build this bed and then move it into my daughter's room after the fact. I am pretty sure I will have to do all the final assembly in her room, but I don't want to paint it in her room, either. At what stage did you paint? Would it be wise to paint all your pieces before assembly?
Mon, 01/28/2013 - 07:45
Paint pieces, assemble carefully, then touch up any nicks and dings.
It's far easier

So my husband and I bought a 60" flat screen and decided to mount it above our fireplace where a mirror had previously hung. Come to find out that with the age of our house, and chimney it was going to cost us almost as much as the TV itself did to have it professionally done. So we decided to build a new, much larger mantle over the existing one so that our TV, WII and DVD player had a home on the mantle as well.
We ran across several problems while designing this. 1. the next buyers may not want this huge mantle here to put their TV on and 2. because of the age of the house and lack of plug ins, how where we to hid all the cords.
The new mantle sits over the old and above it about 3". It is attached to the wall, with 3" boards attached underneath that simply sit atop the old mantle. The boards are in a serpentine fashion and not only hid the cords underneath, but also the power strip that everything plugs into. The TV not only sits on the new mantle but is also secured to the wall behind it. The front of the new mantle hides the space between and any cords. And we stained it to match the old. So unless you are very closely inspecting it, you wouldn't even know there are hidden cords or that it is not completely original.
Problem solved. If a new owner wants to revert back to the old mantle, all they need to do is remove the top, patch the holes and dust the original back to its former glory.

This build was the one that really got me into woodworking. I fell in love with this bed - and Ana White - as soon as i stumbled onto the plans online.
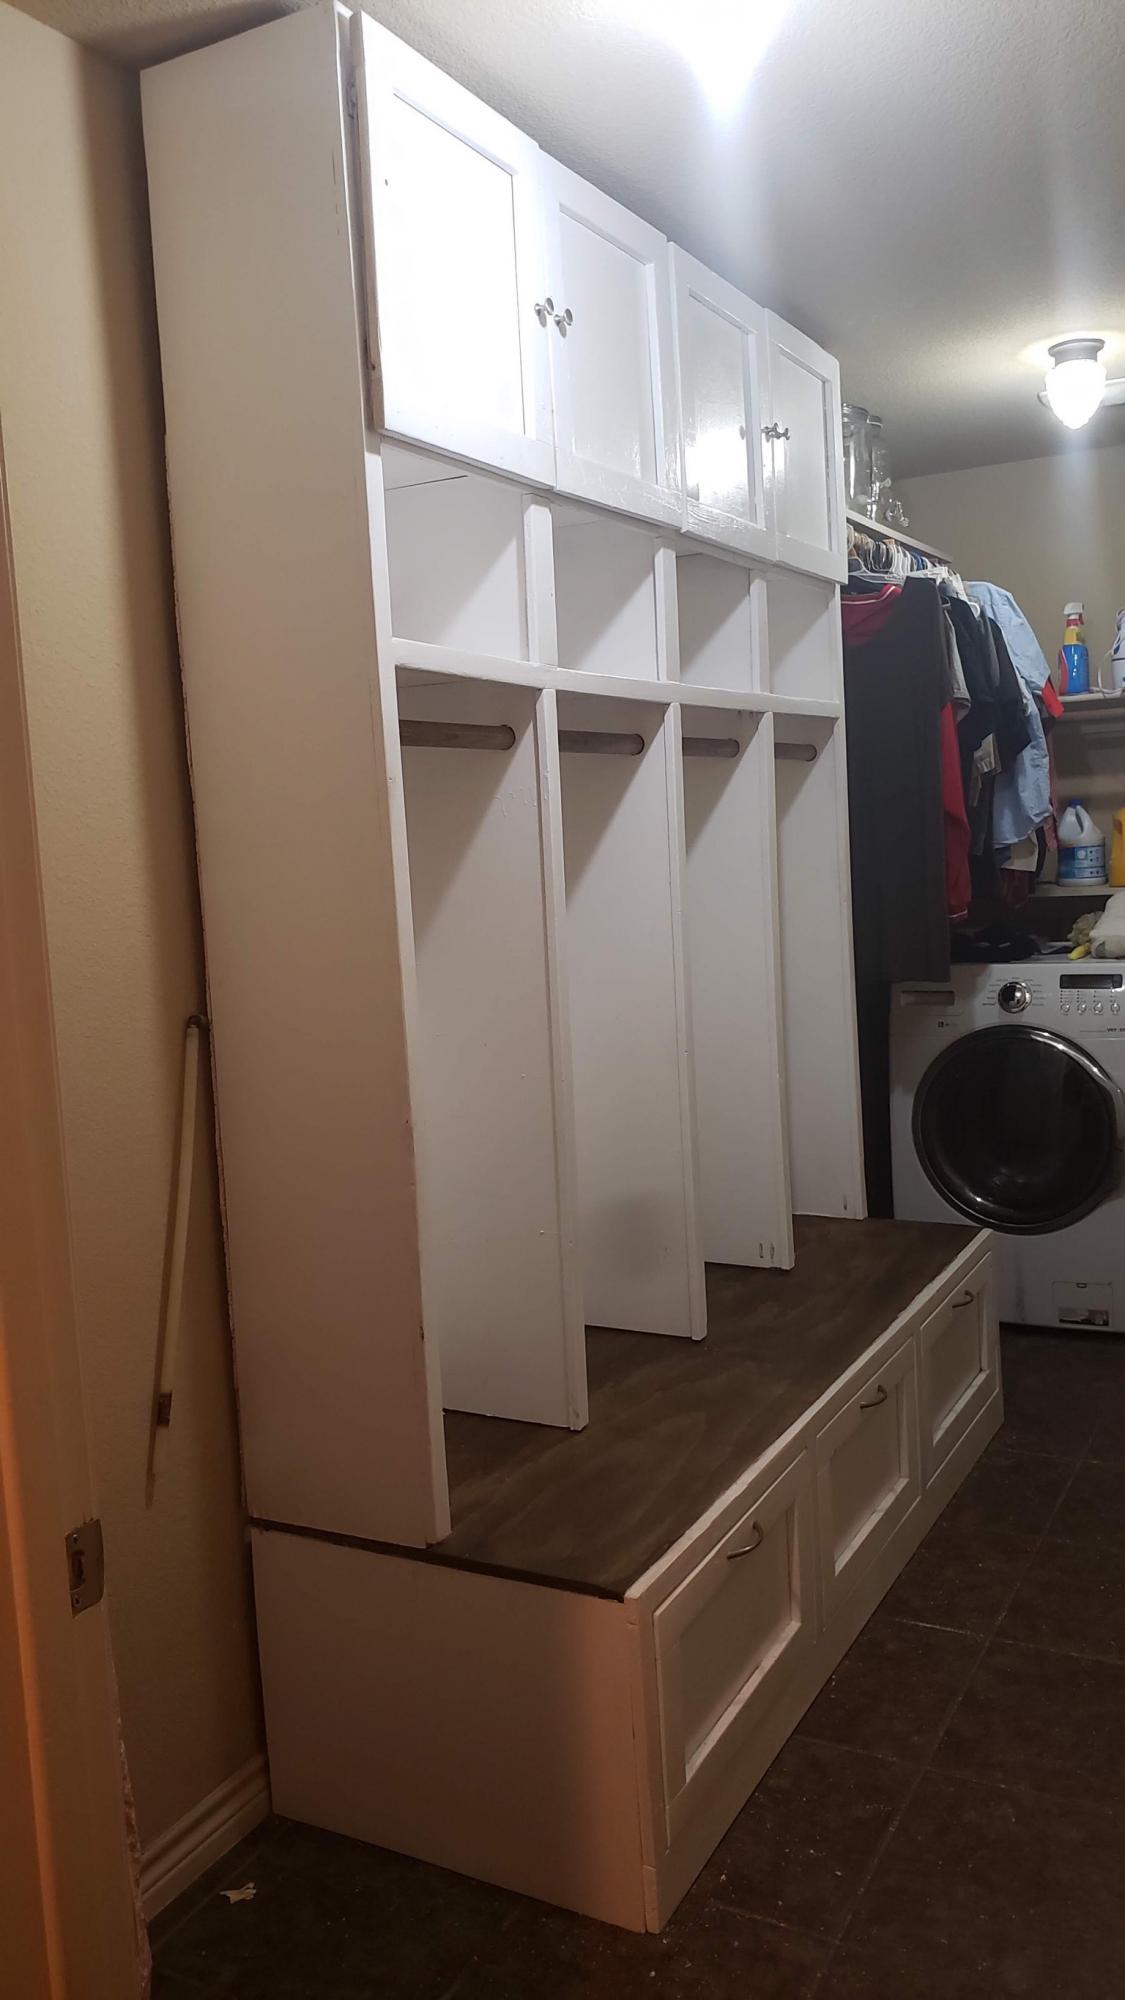
I really liked the mudroom bench, so we created our own version. Thank you!
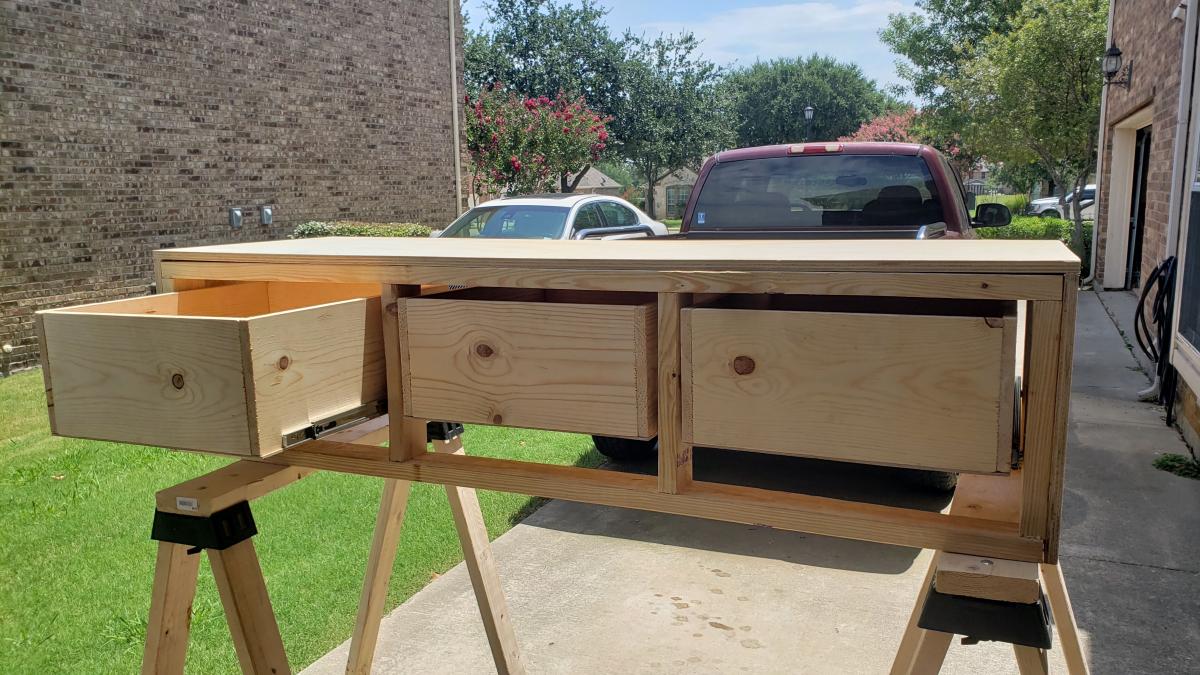
These were a lot more work than expected but turned out amazing! I used a drill + jigsaw for the center. To do the designs I printed the logos across 4 sheets of paper each, lined them up, then cut them out. Next, I covered the entire area on the boards I wanted to logo into painter's tape. Then I used my cutouts a a stencil and a box knife to out out the logo. Finally, I prepared for spray paint and spray painted the logos. Pulled the tape off and BAM. Finally a bunch of coats of polyurethane. Lights from Amazon.
chewyTBG
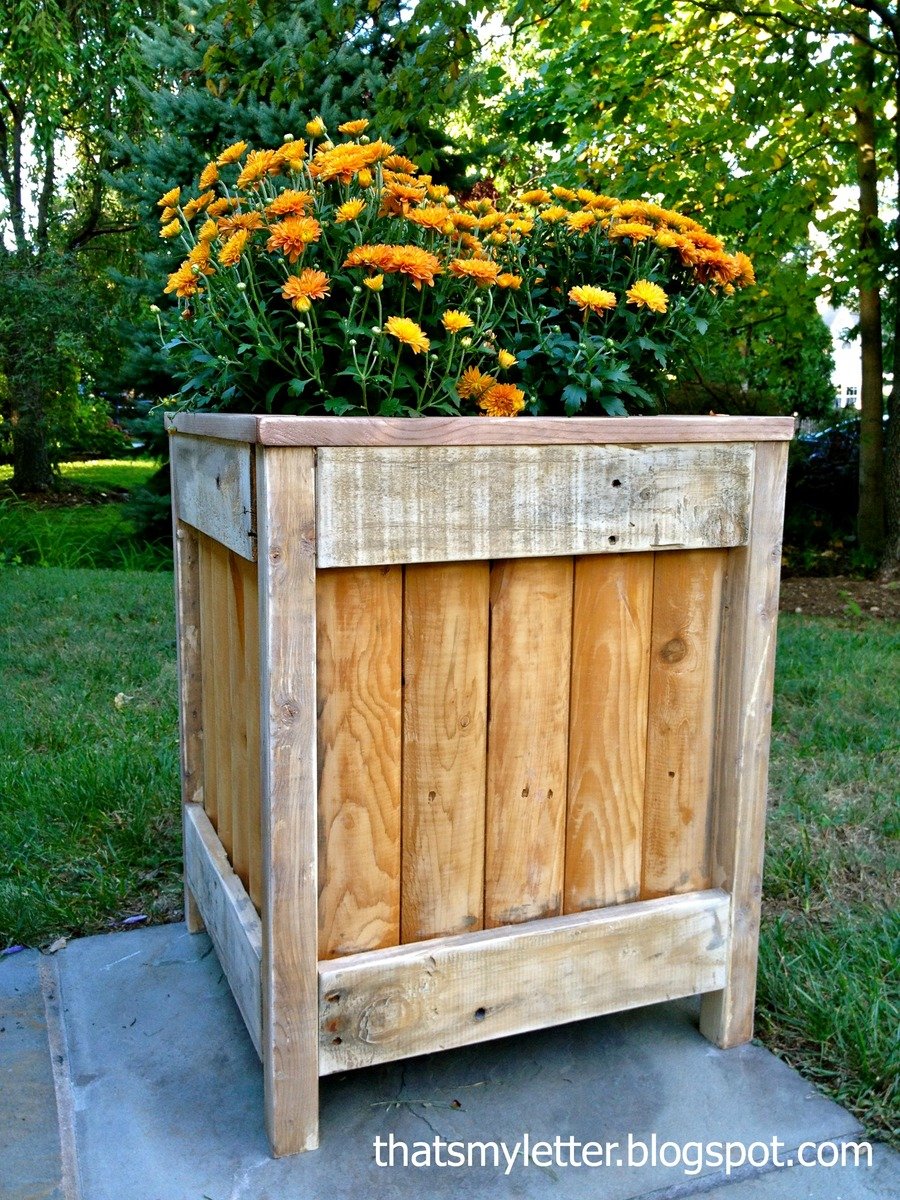
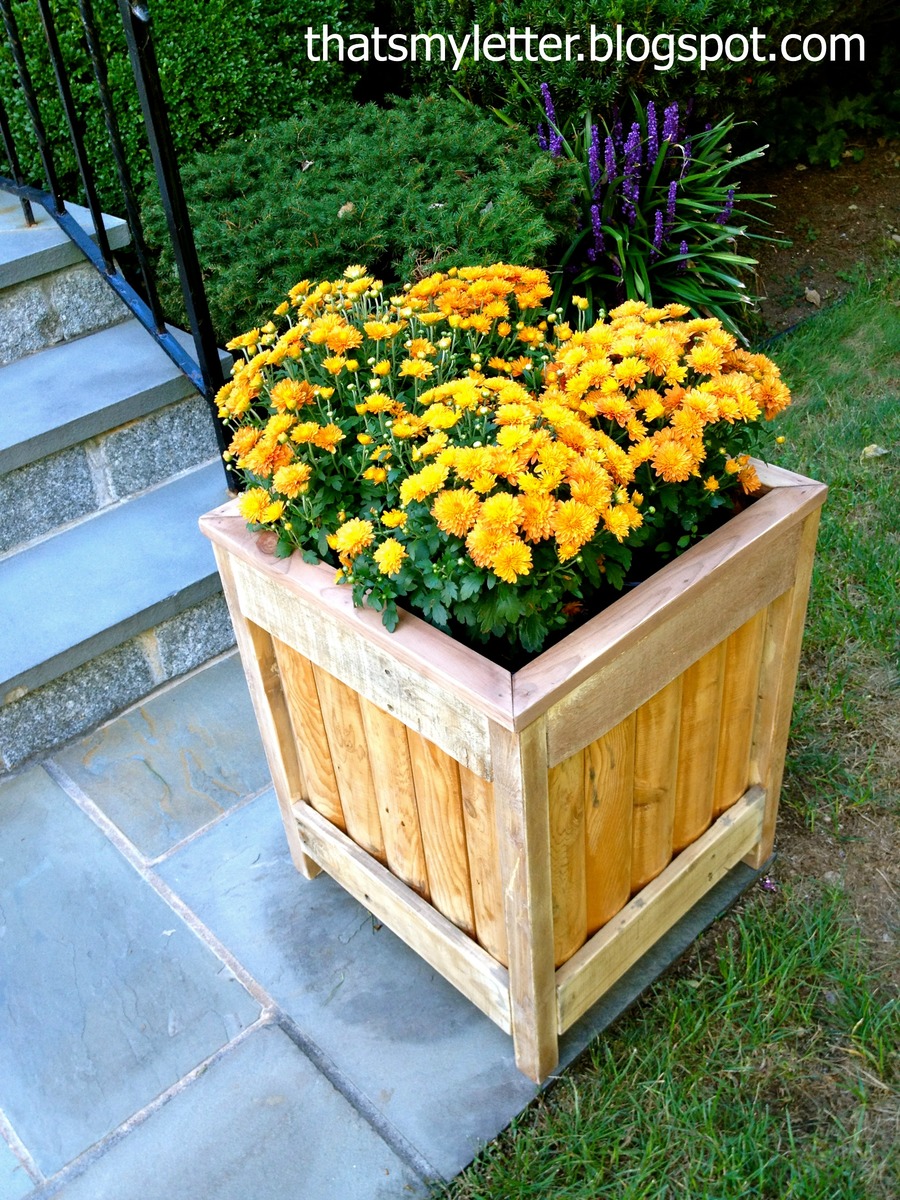
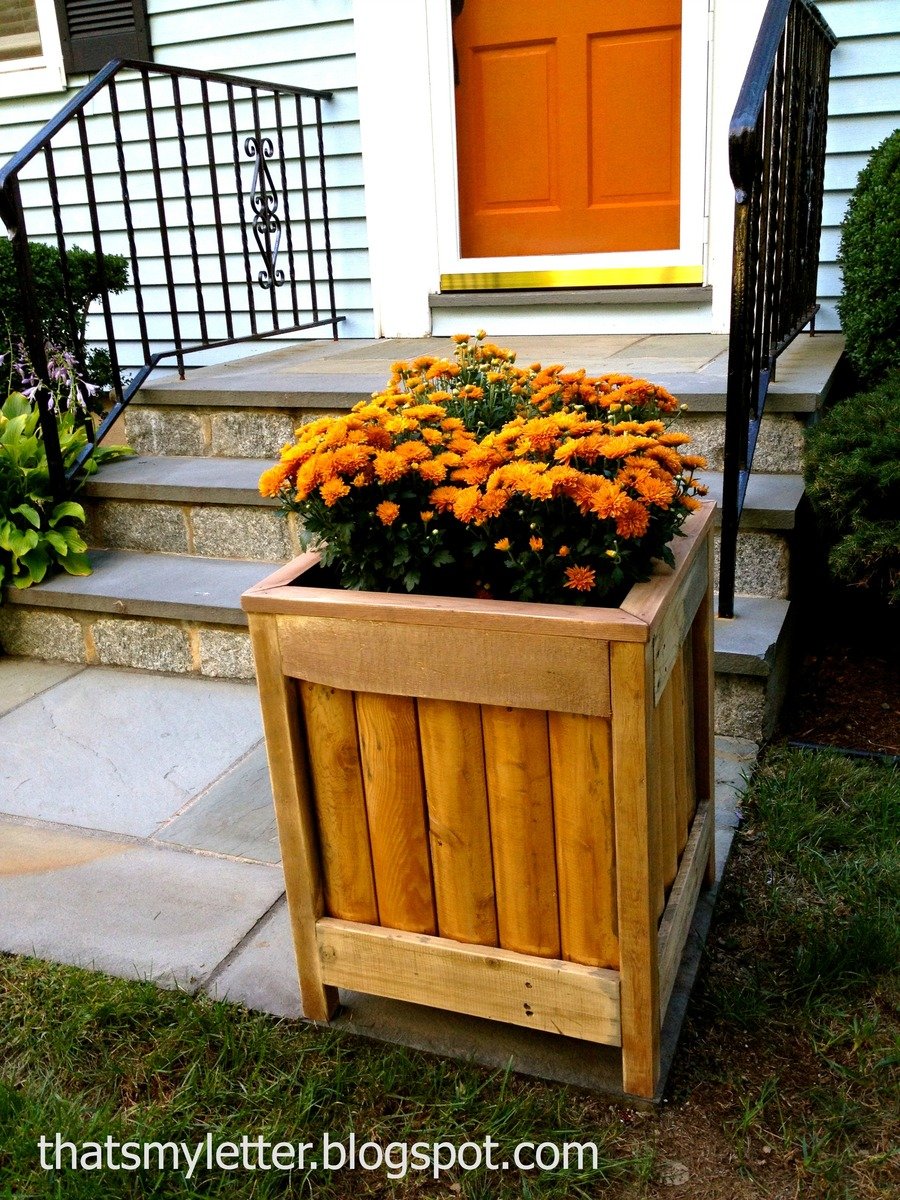
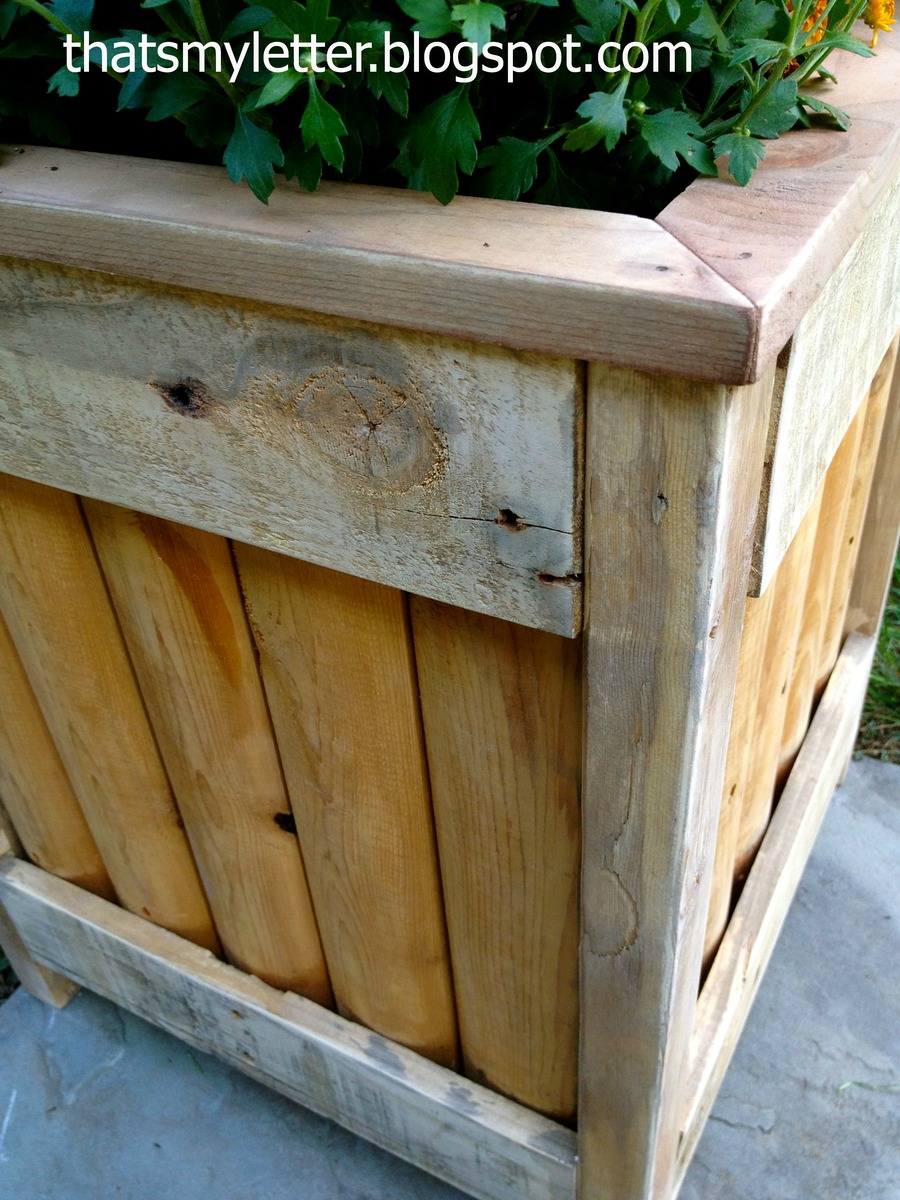
Easy outdoor planter made from piece of scrap fencing.
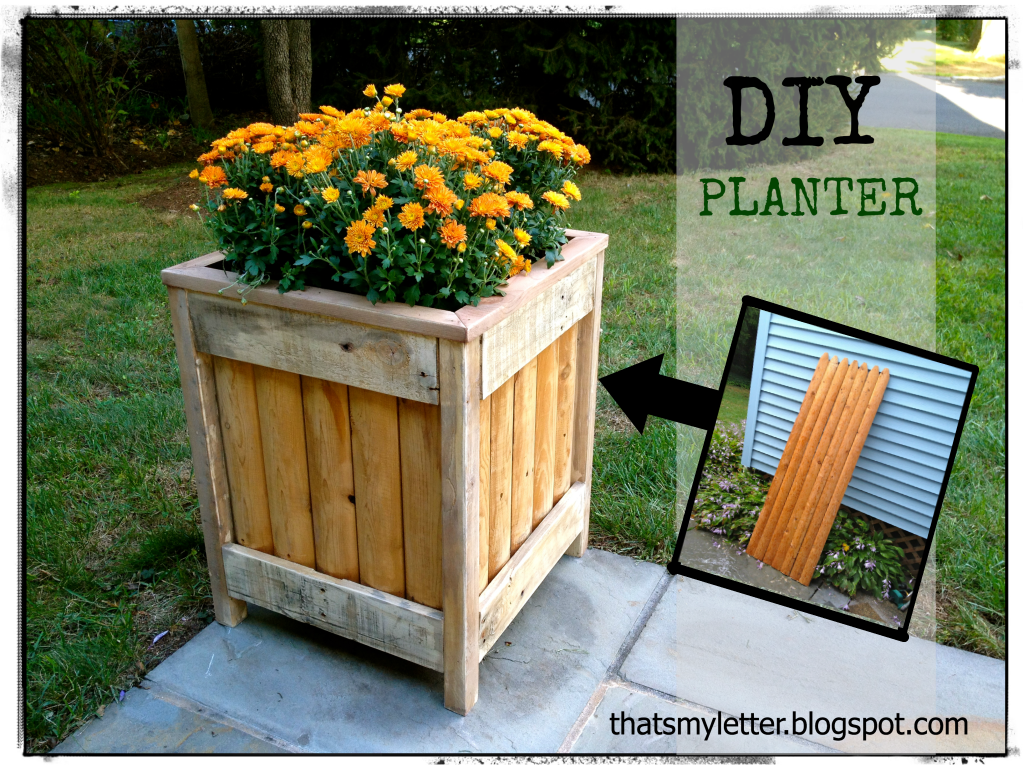
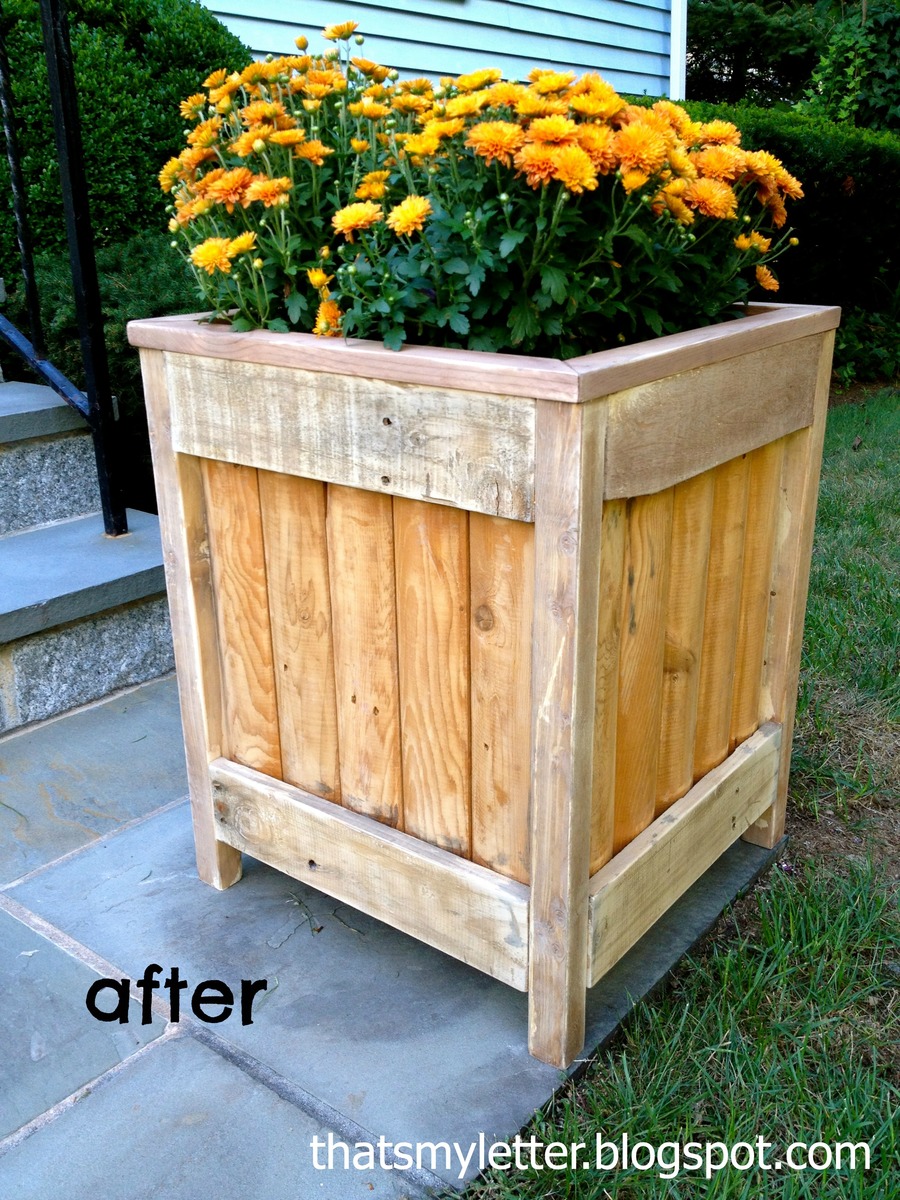

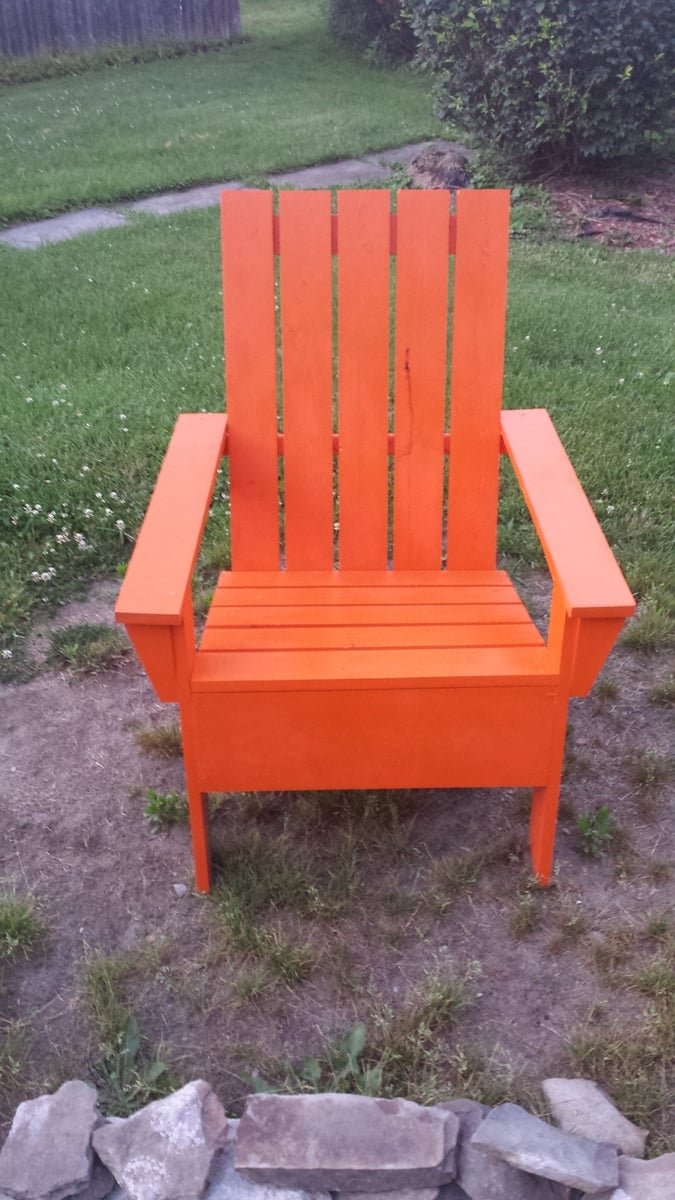
I built these chairs last summer, they came out amazing! Everybody loves them! Thank you Ana. I also built the sofa for my sun room. Pictures to come.
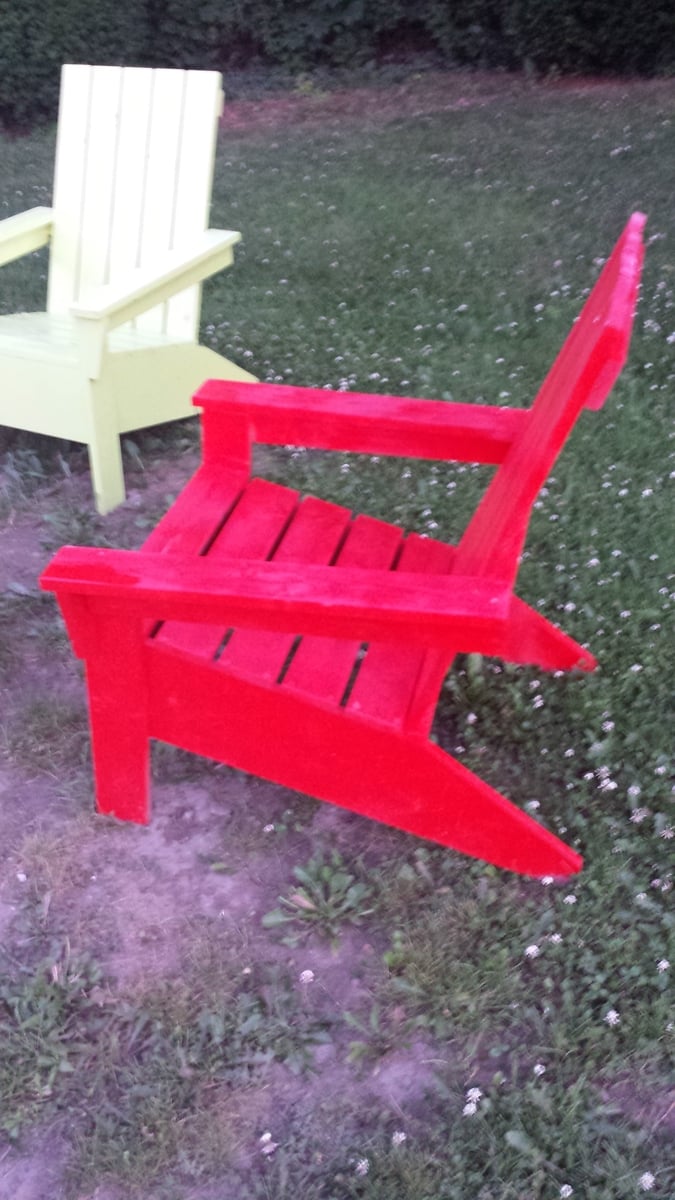
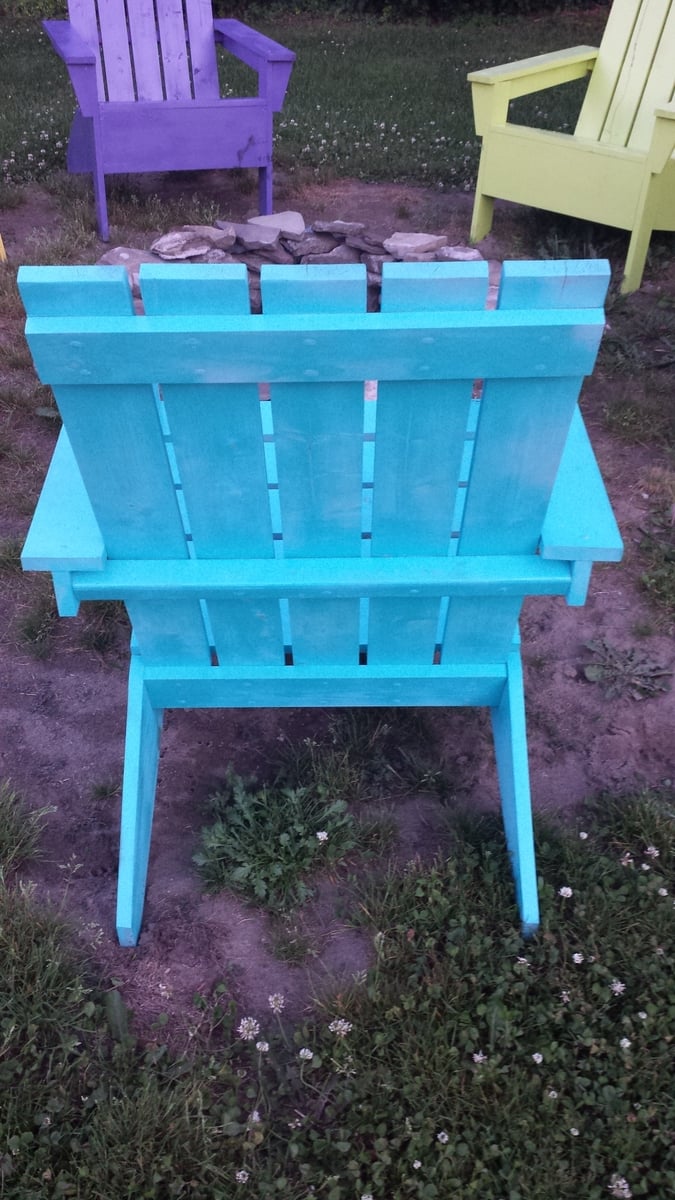
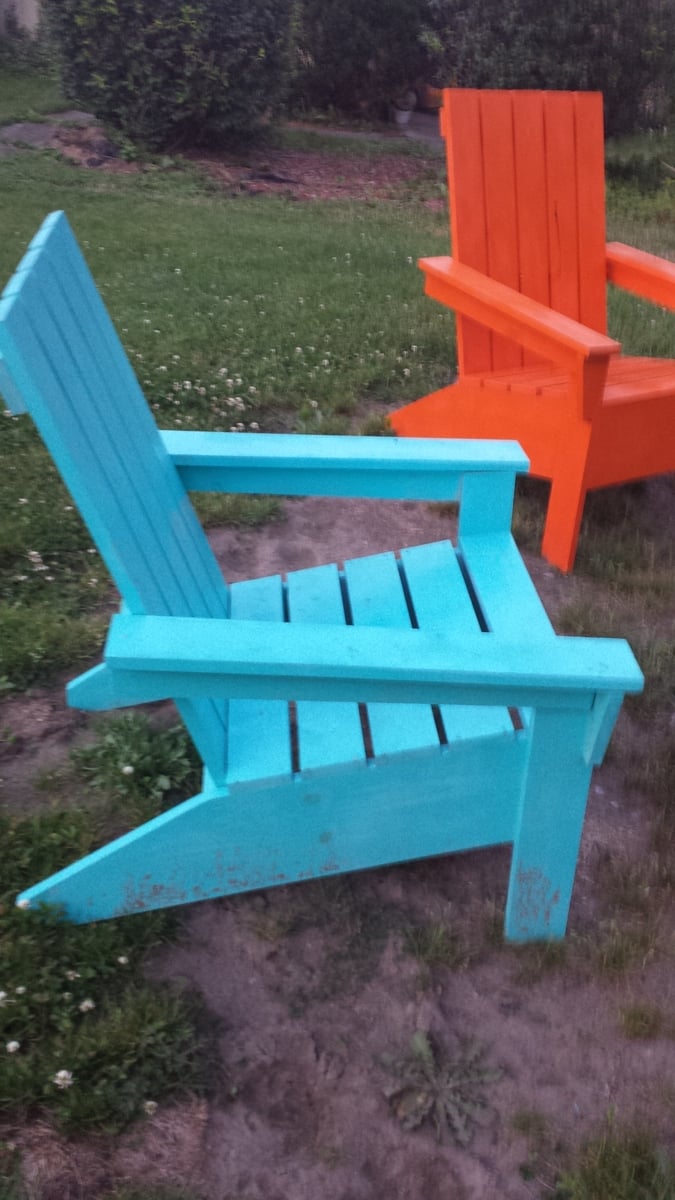
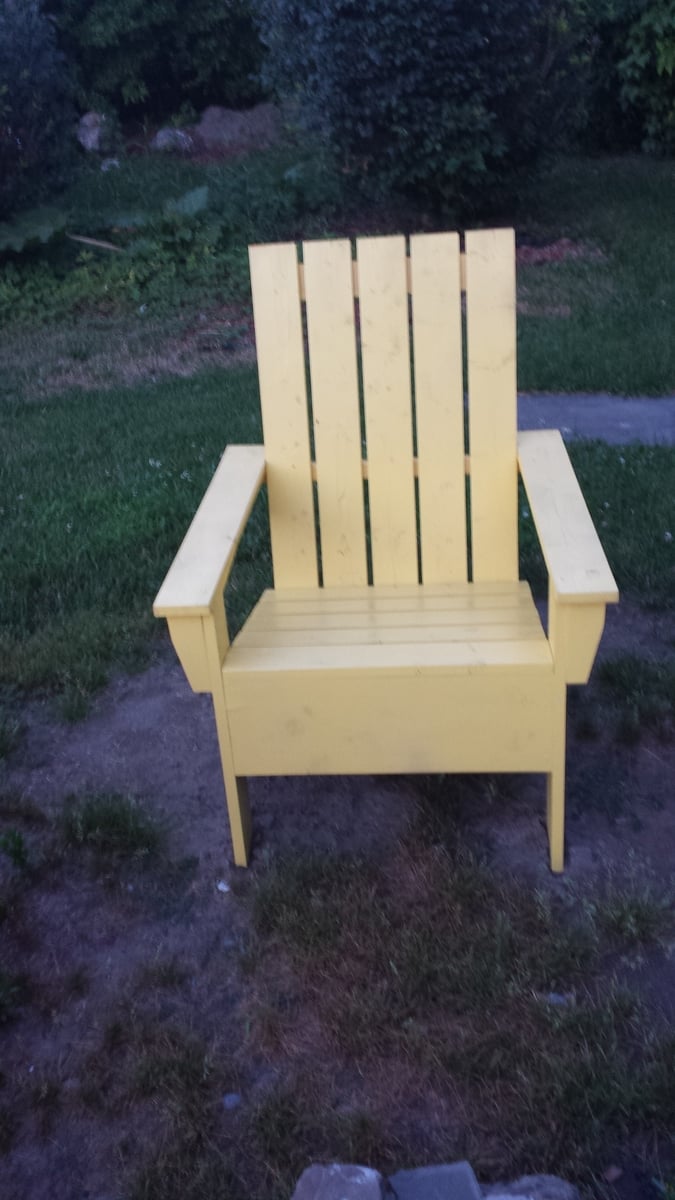
Sat, 05/04/2019 - 08:18
My husband made 4 of these with some slight modifications like rounded arms and back.
However the best function he added were 2 wooden wheels he attached to the back legs, we now can move these chairs easily on our deck.
Our goal was to make them look like well worn beach chairs, we used milk paint for that effect. It still lets the grain show through.
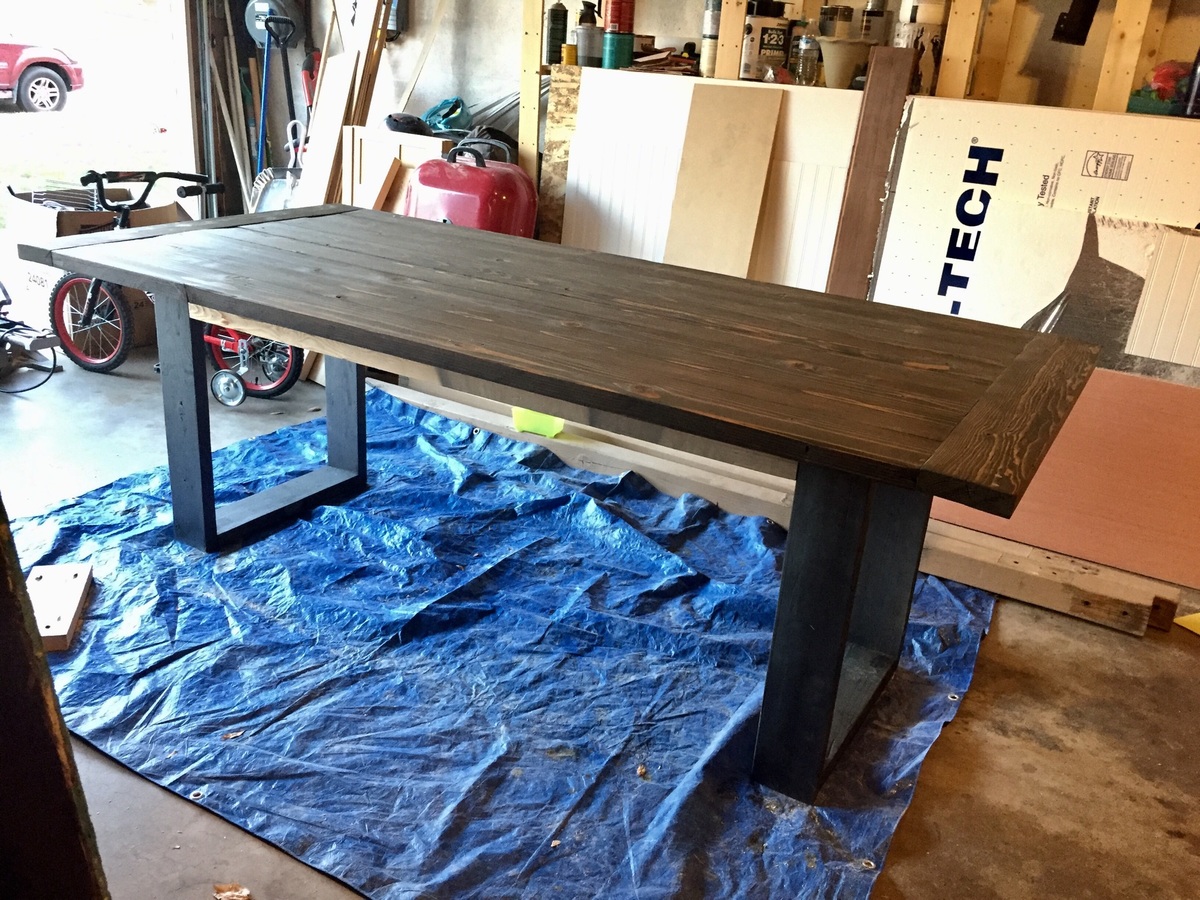
Made this out of just 2 x 6 boards.
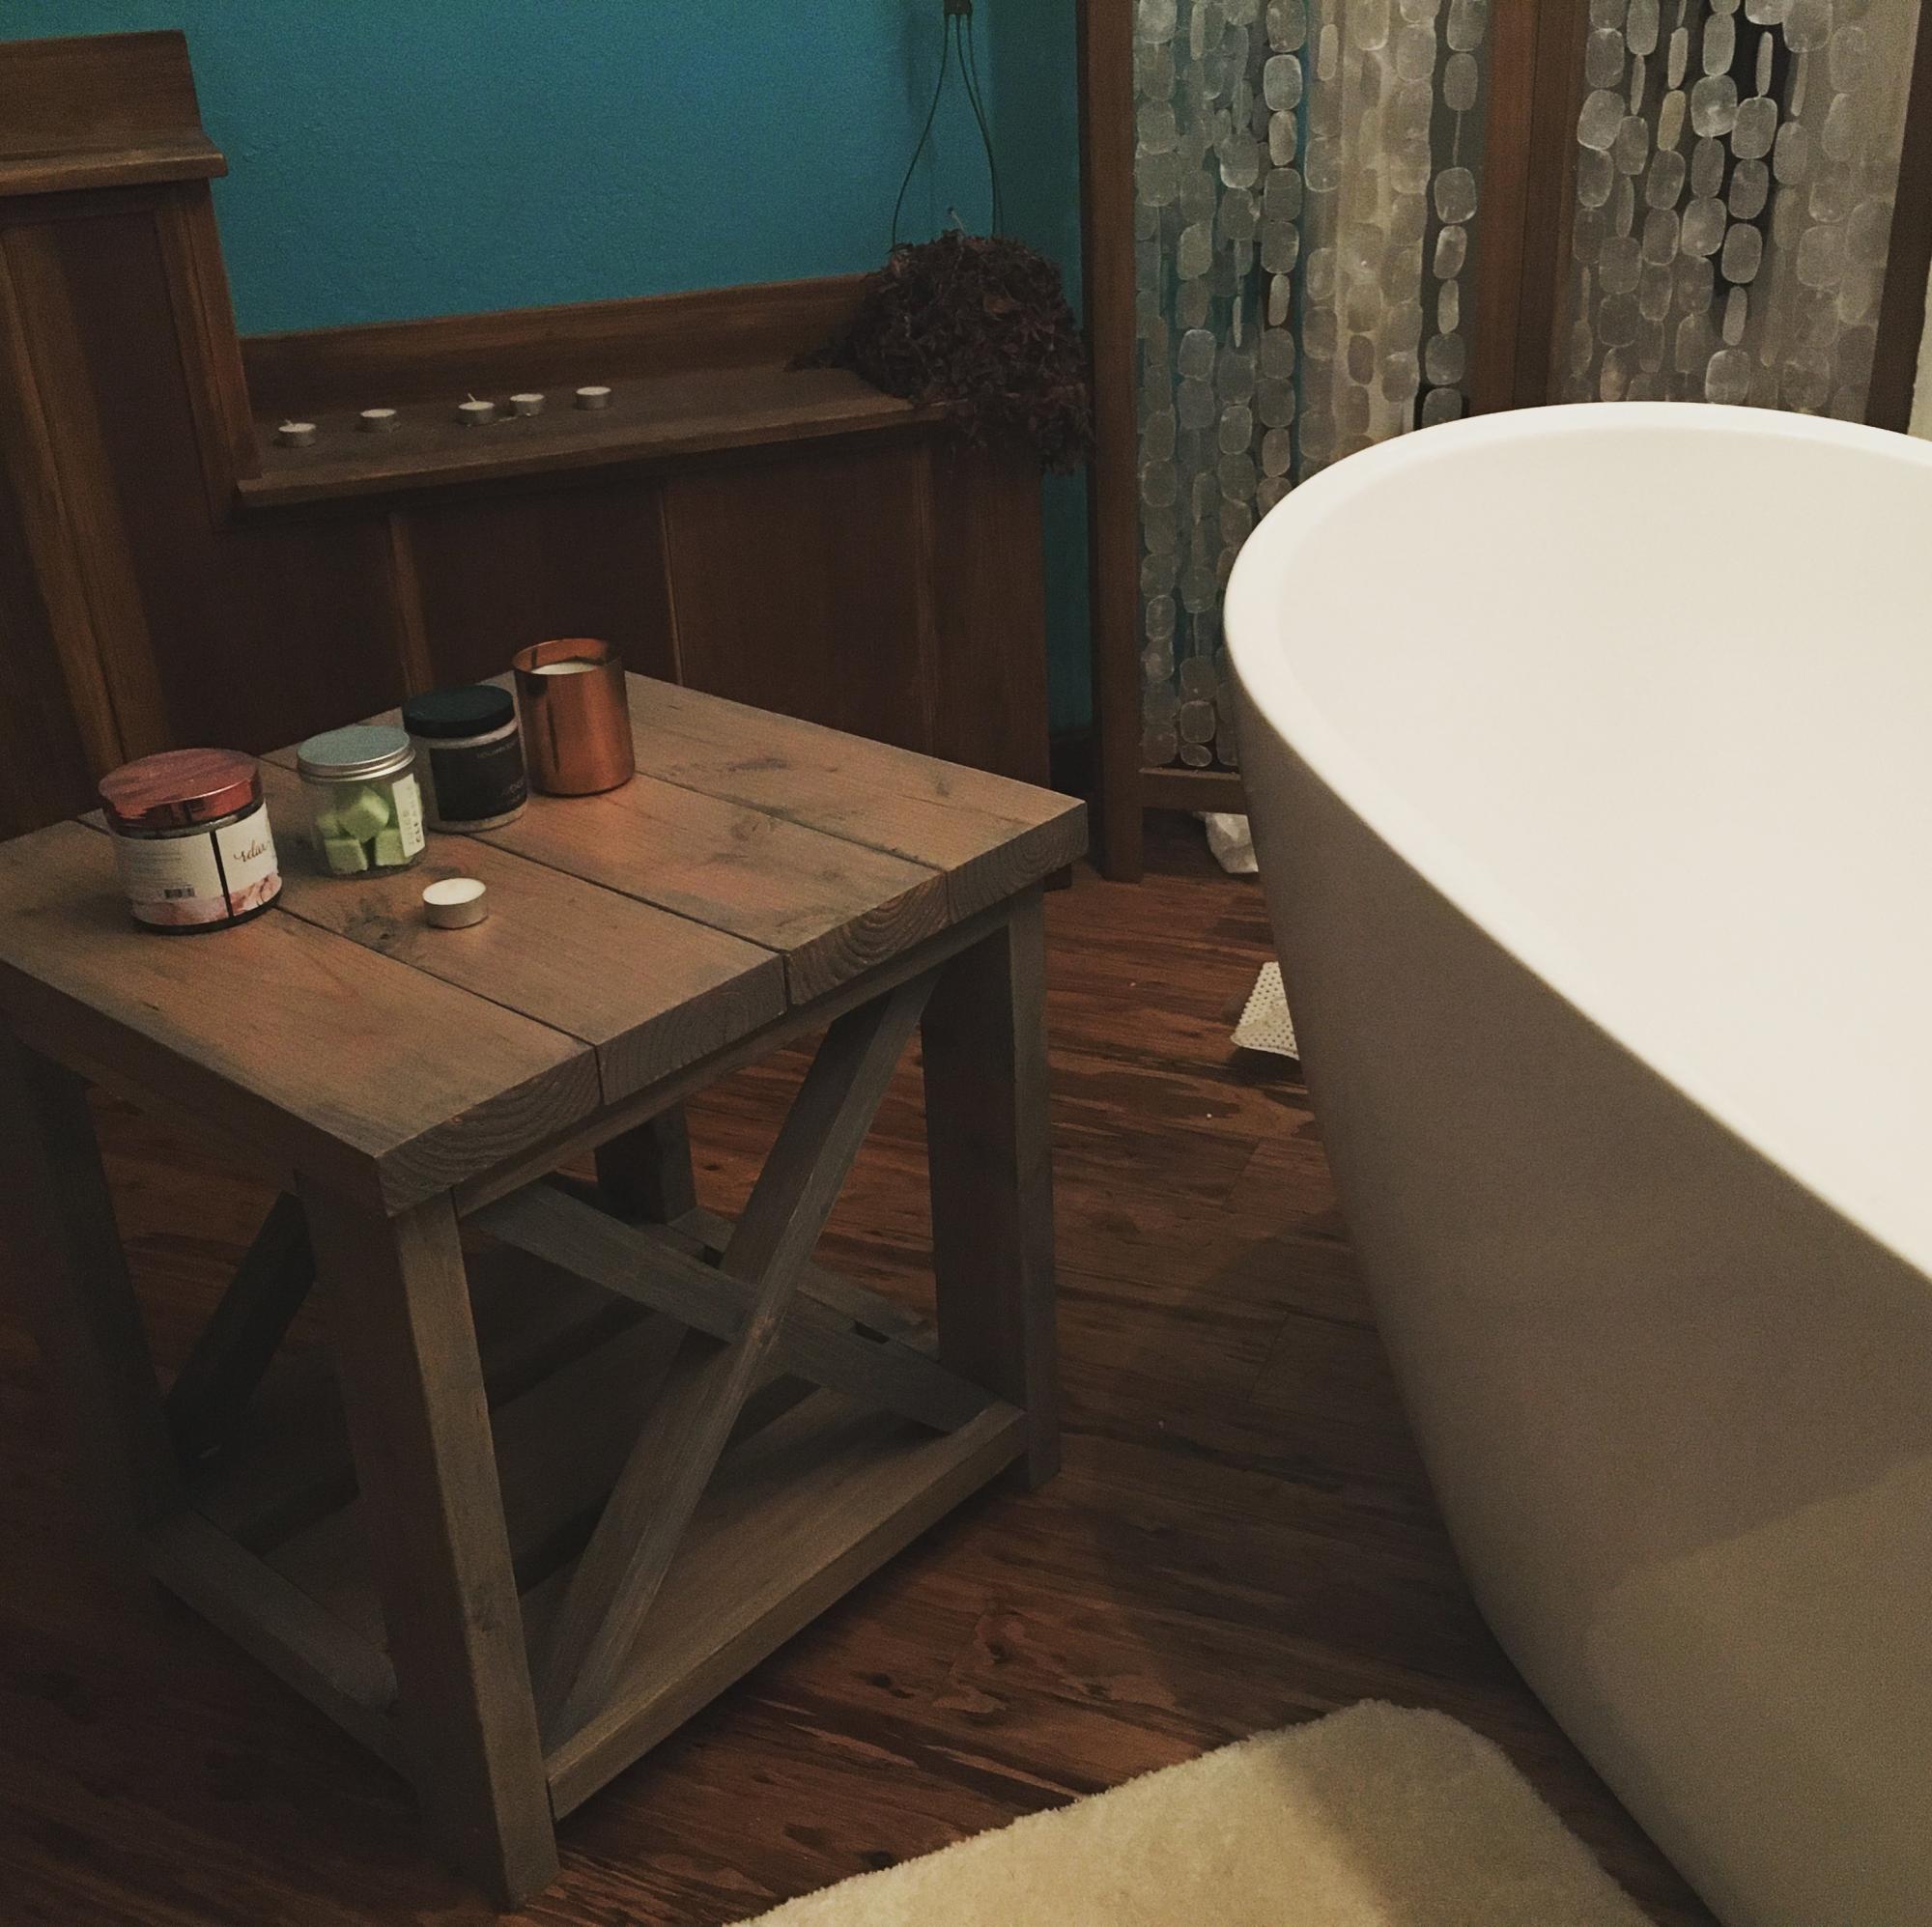
Take a deep breath in... then out. Relax as the warm water soothes your muscles. Then look at this freaking amazing end table I made! And this was only my third project ever! Great plans and easy to make.
***Only necessary change to plans was for the decorative Xs. The 2x2s must for the decorative Xs on the small version of the end table must be AT LEAST 25" not 22" as the plans call for. The 22" 2x2 did not reach diagonally (especially when making miter cuts).
I used pre-conditioner on the pine/douglas fir wood before applying the stain.