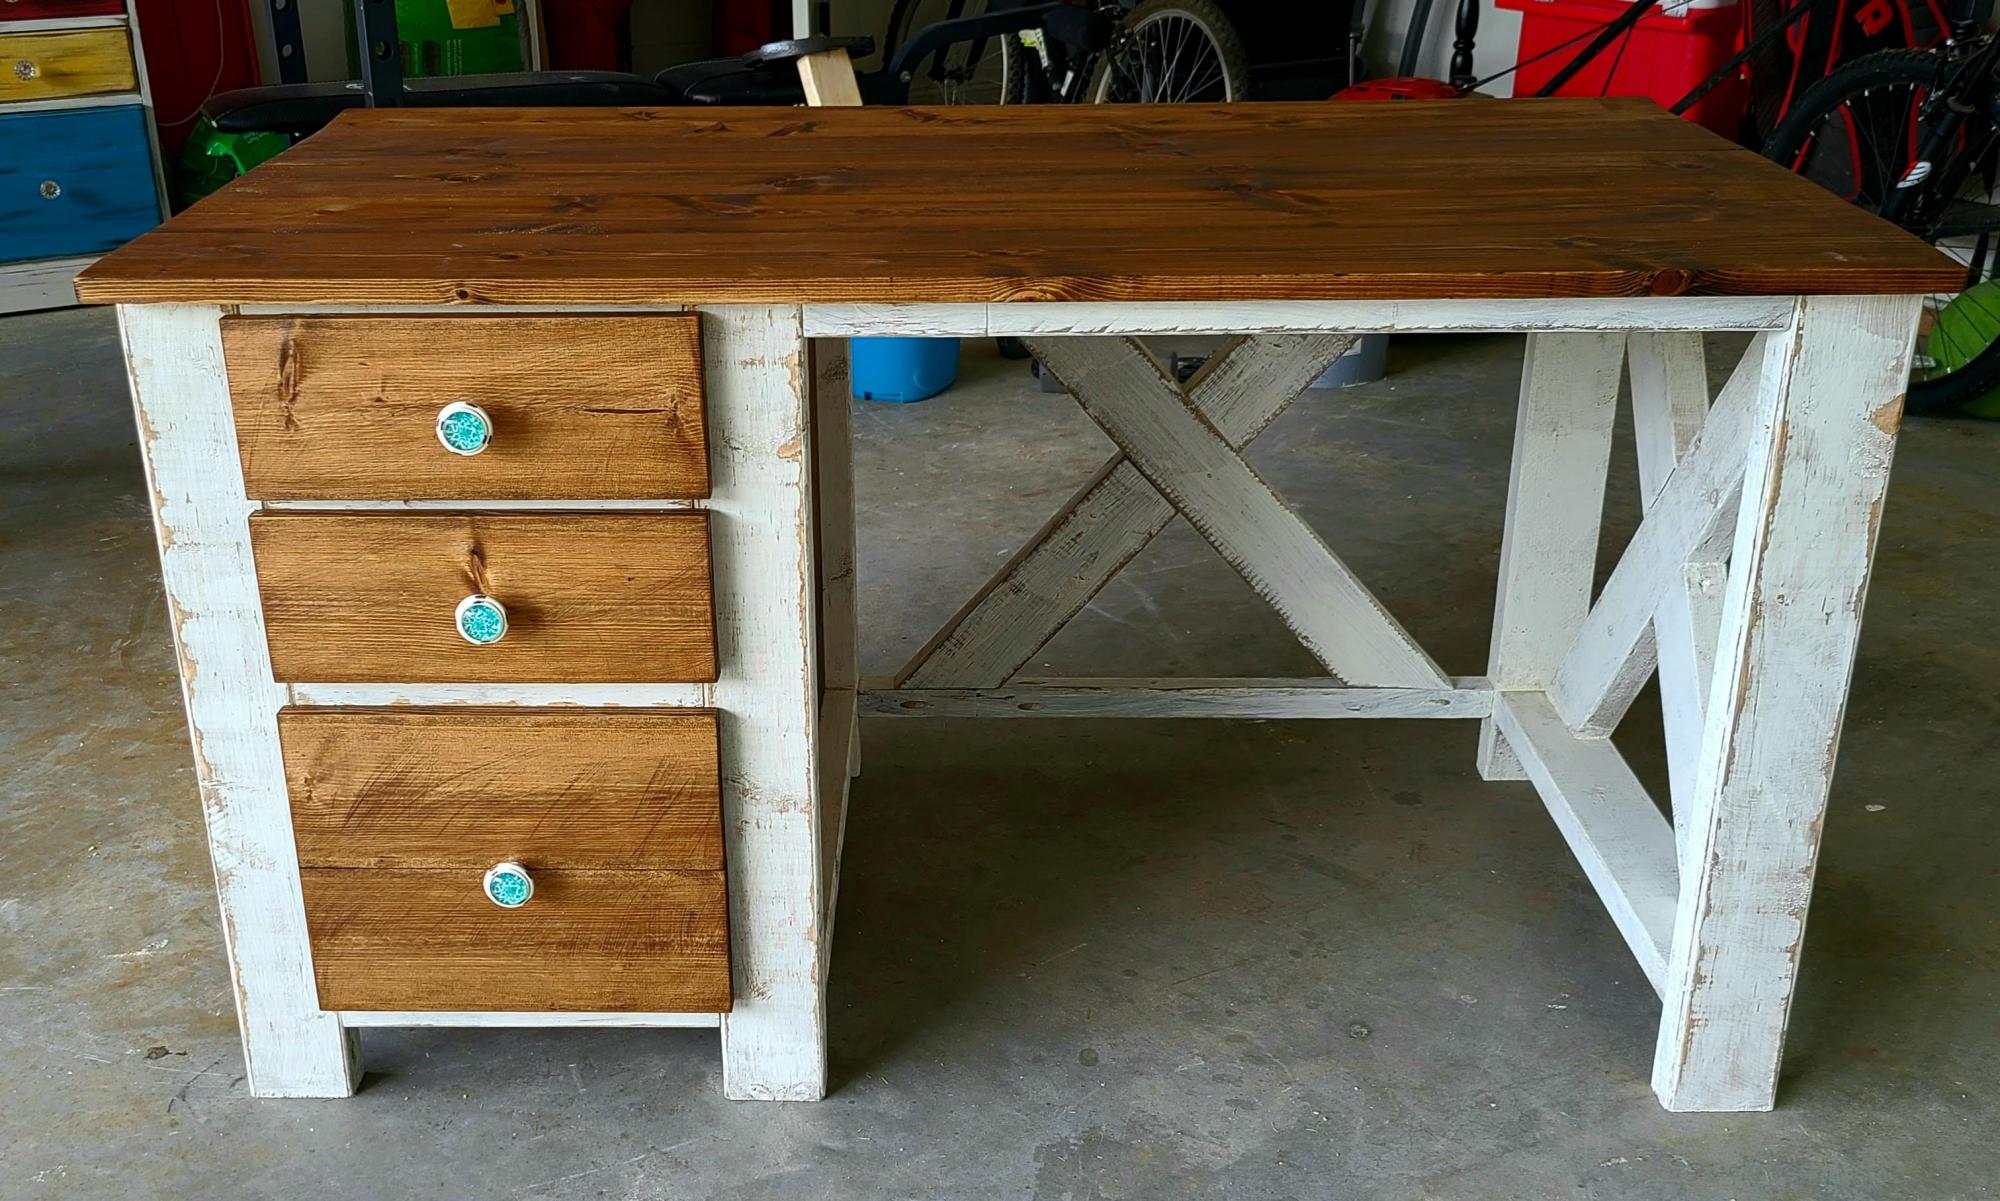
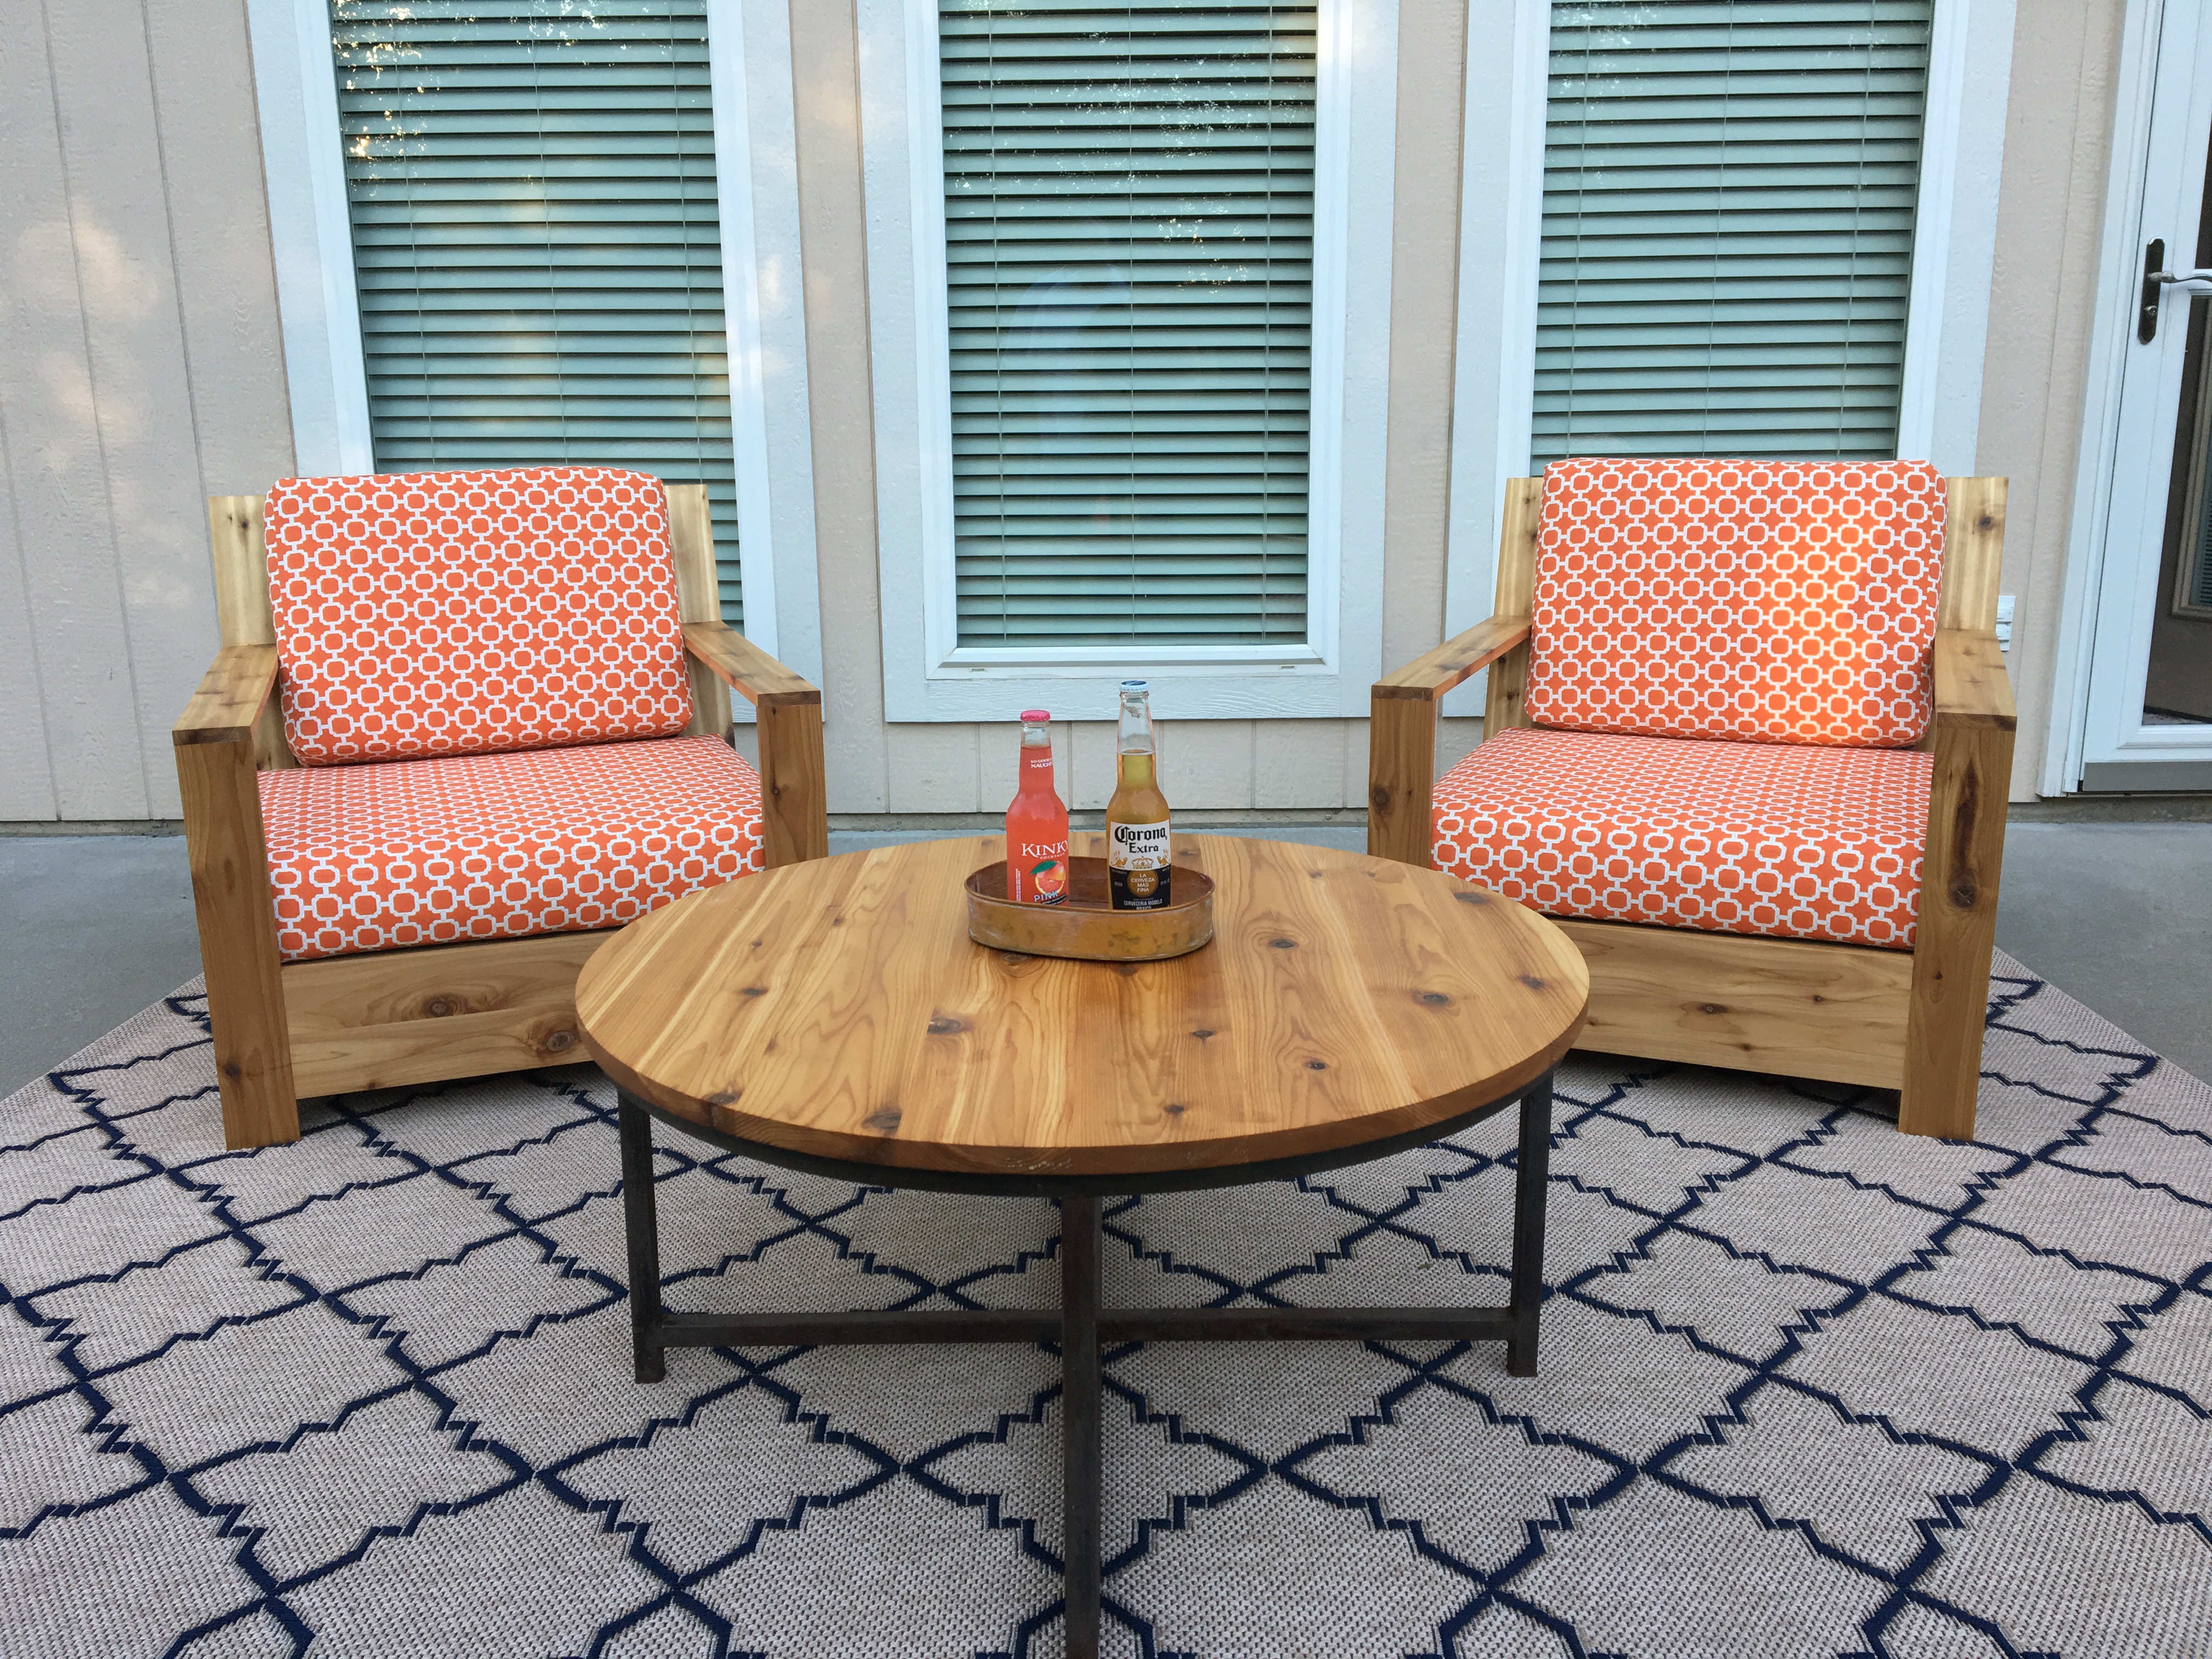
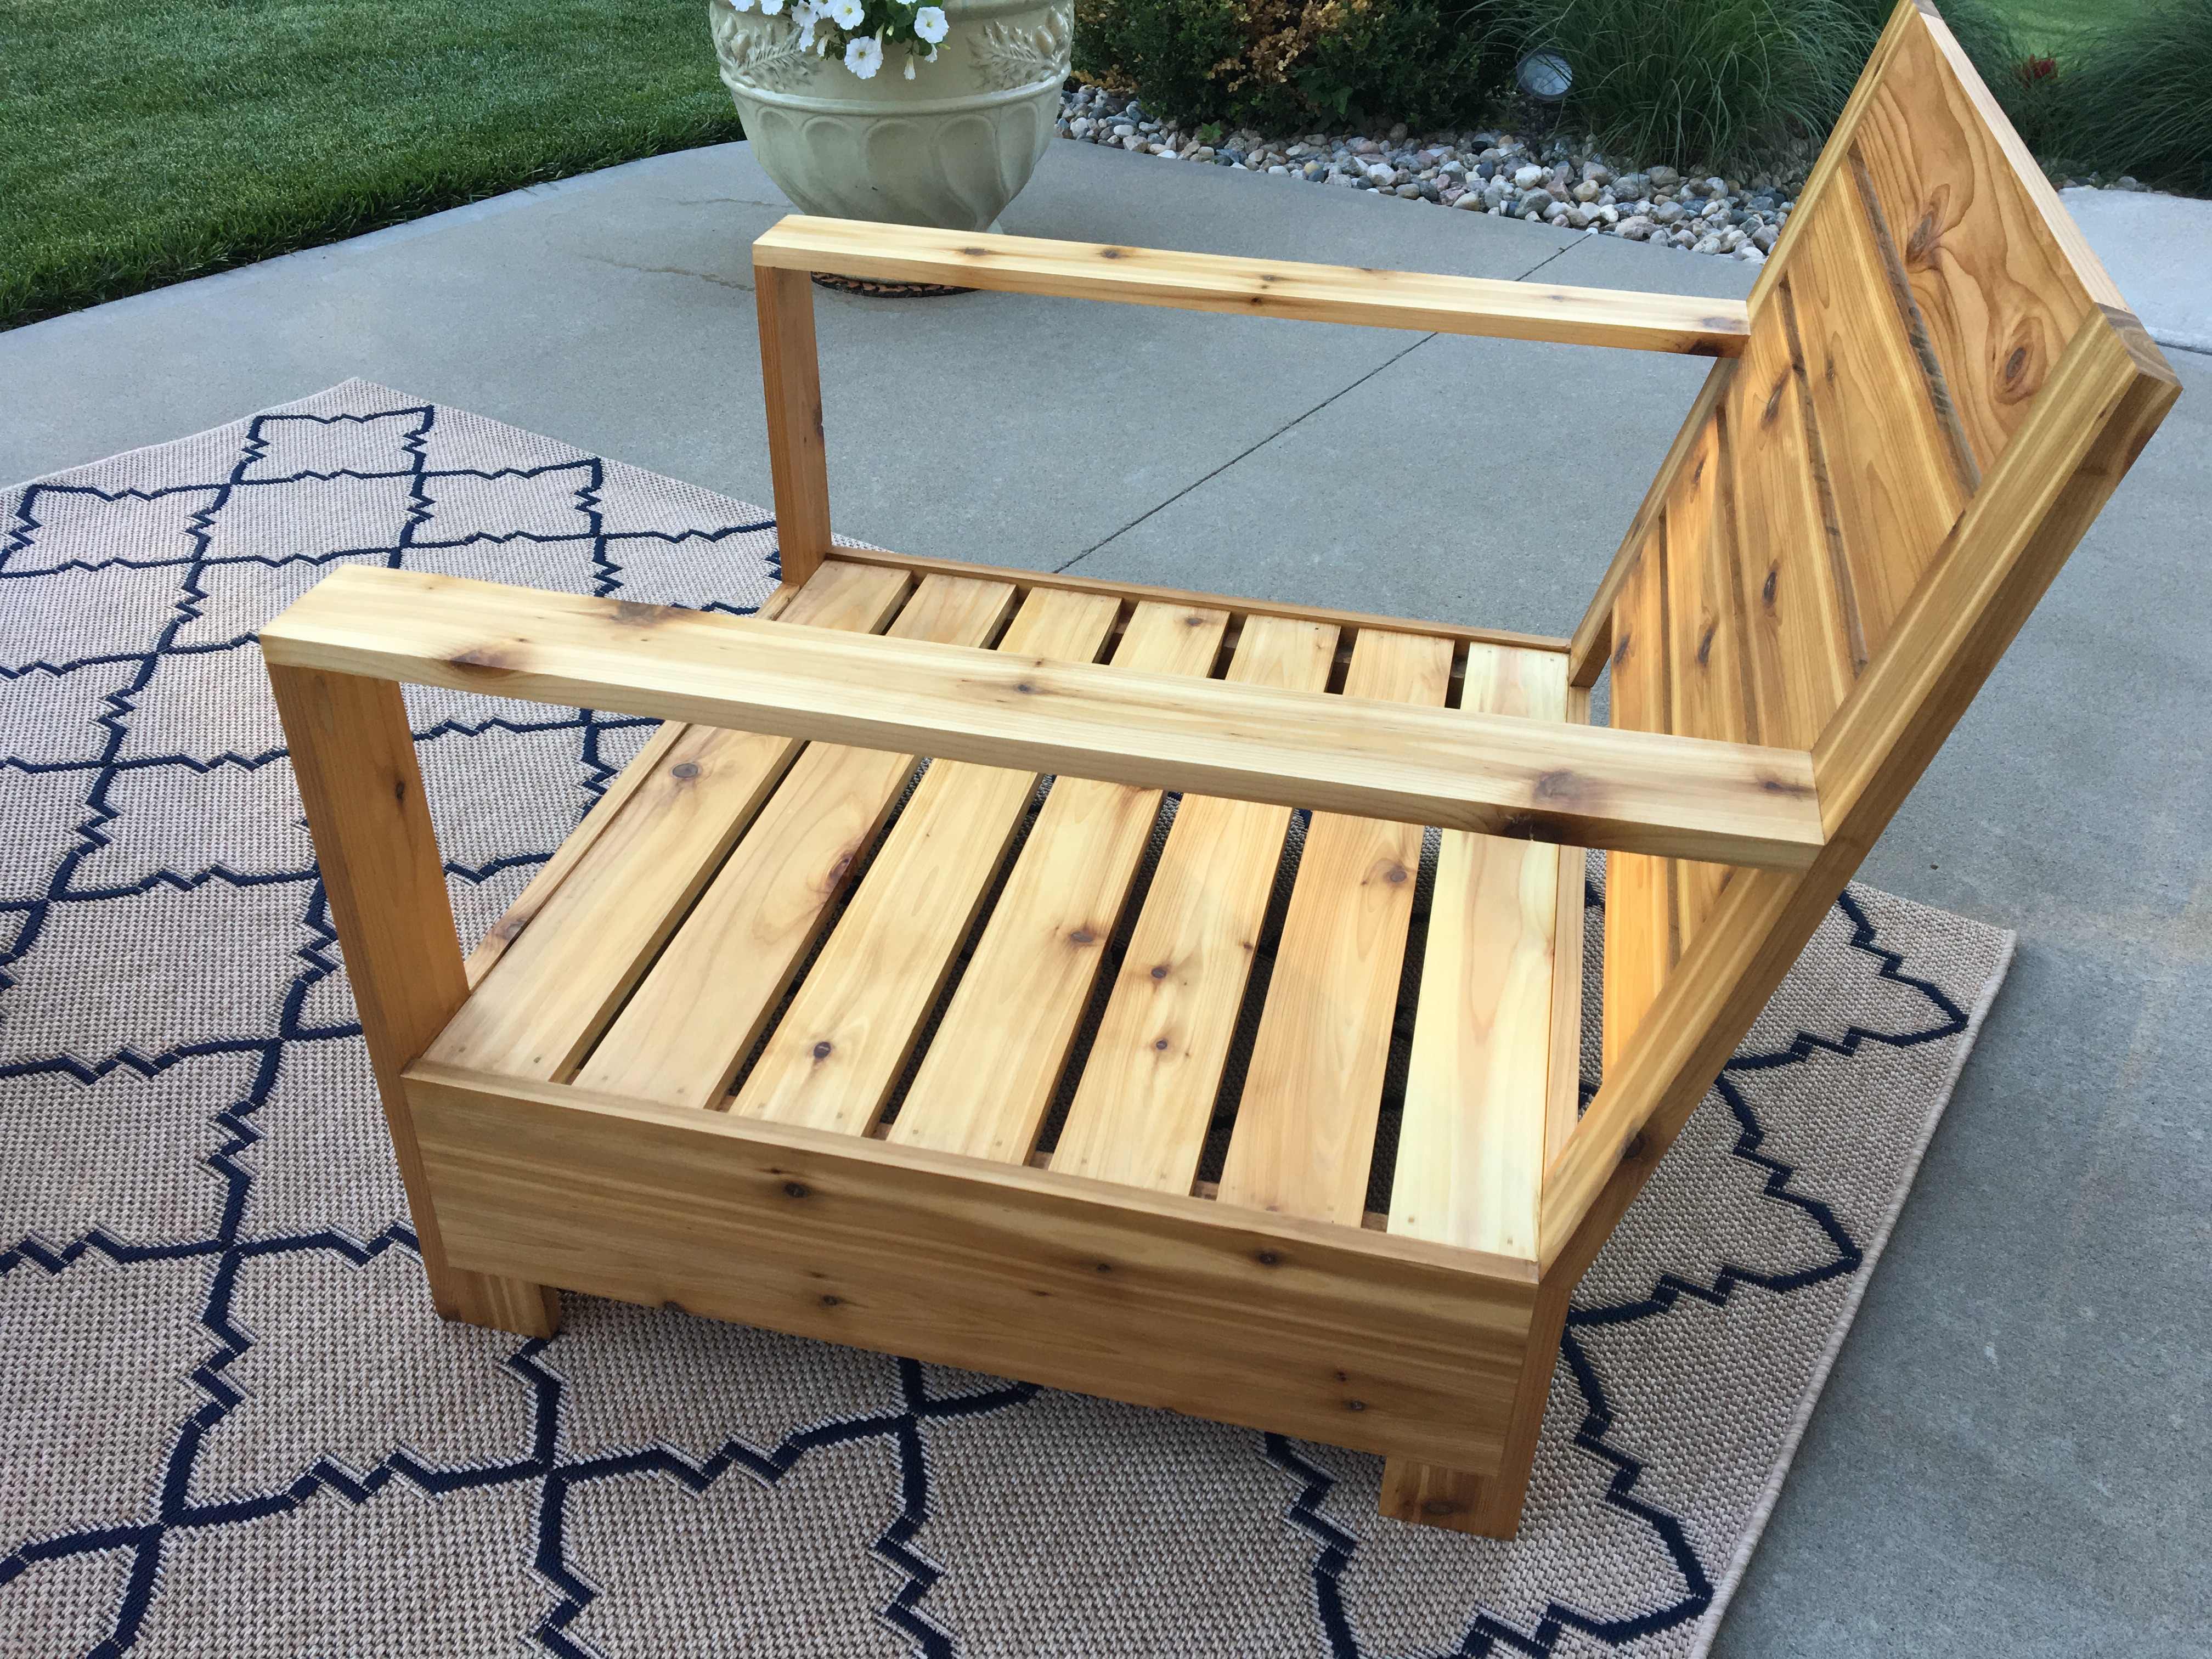
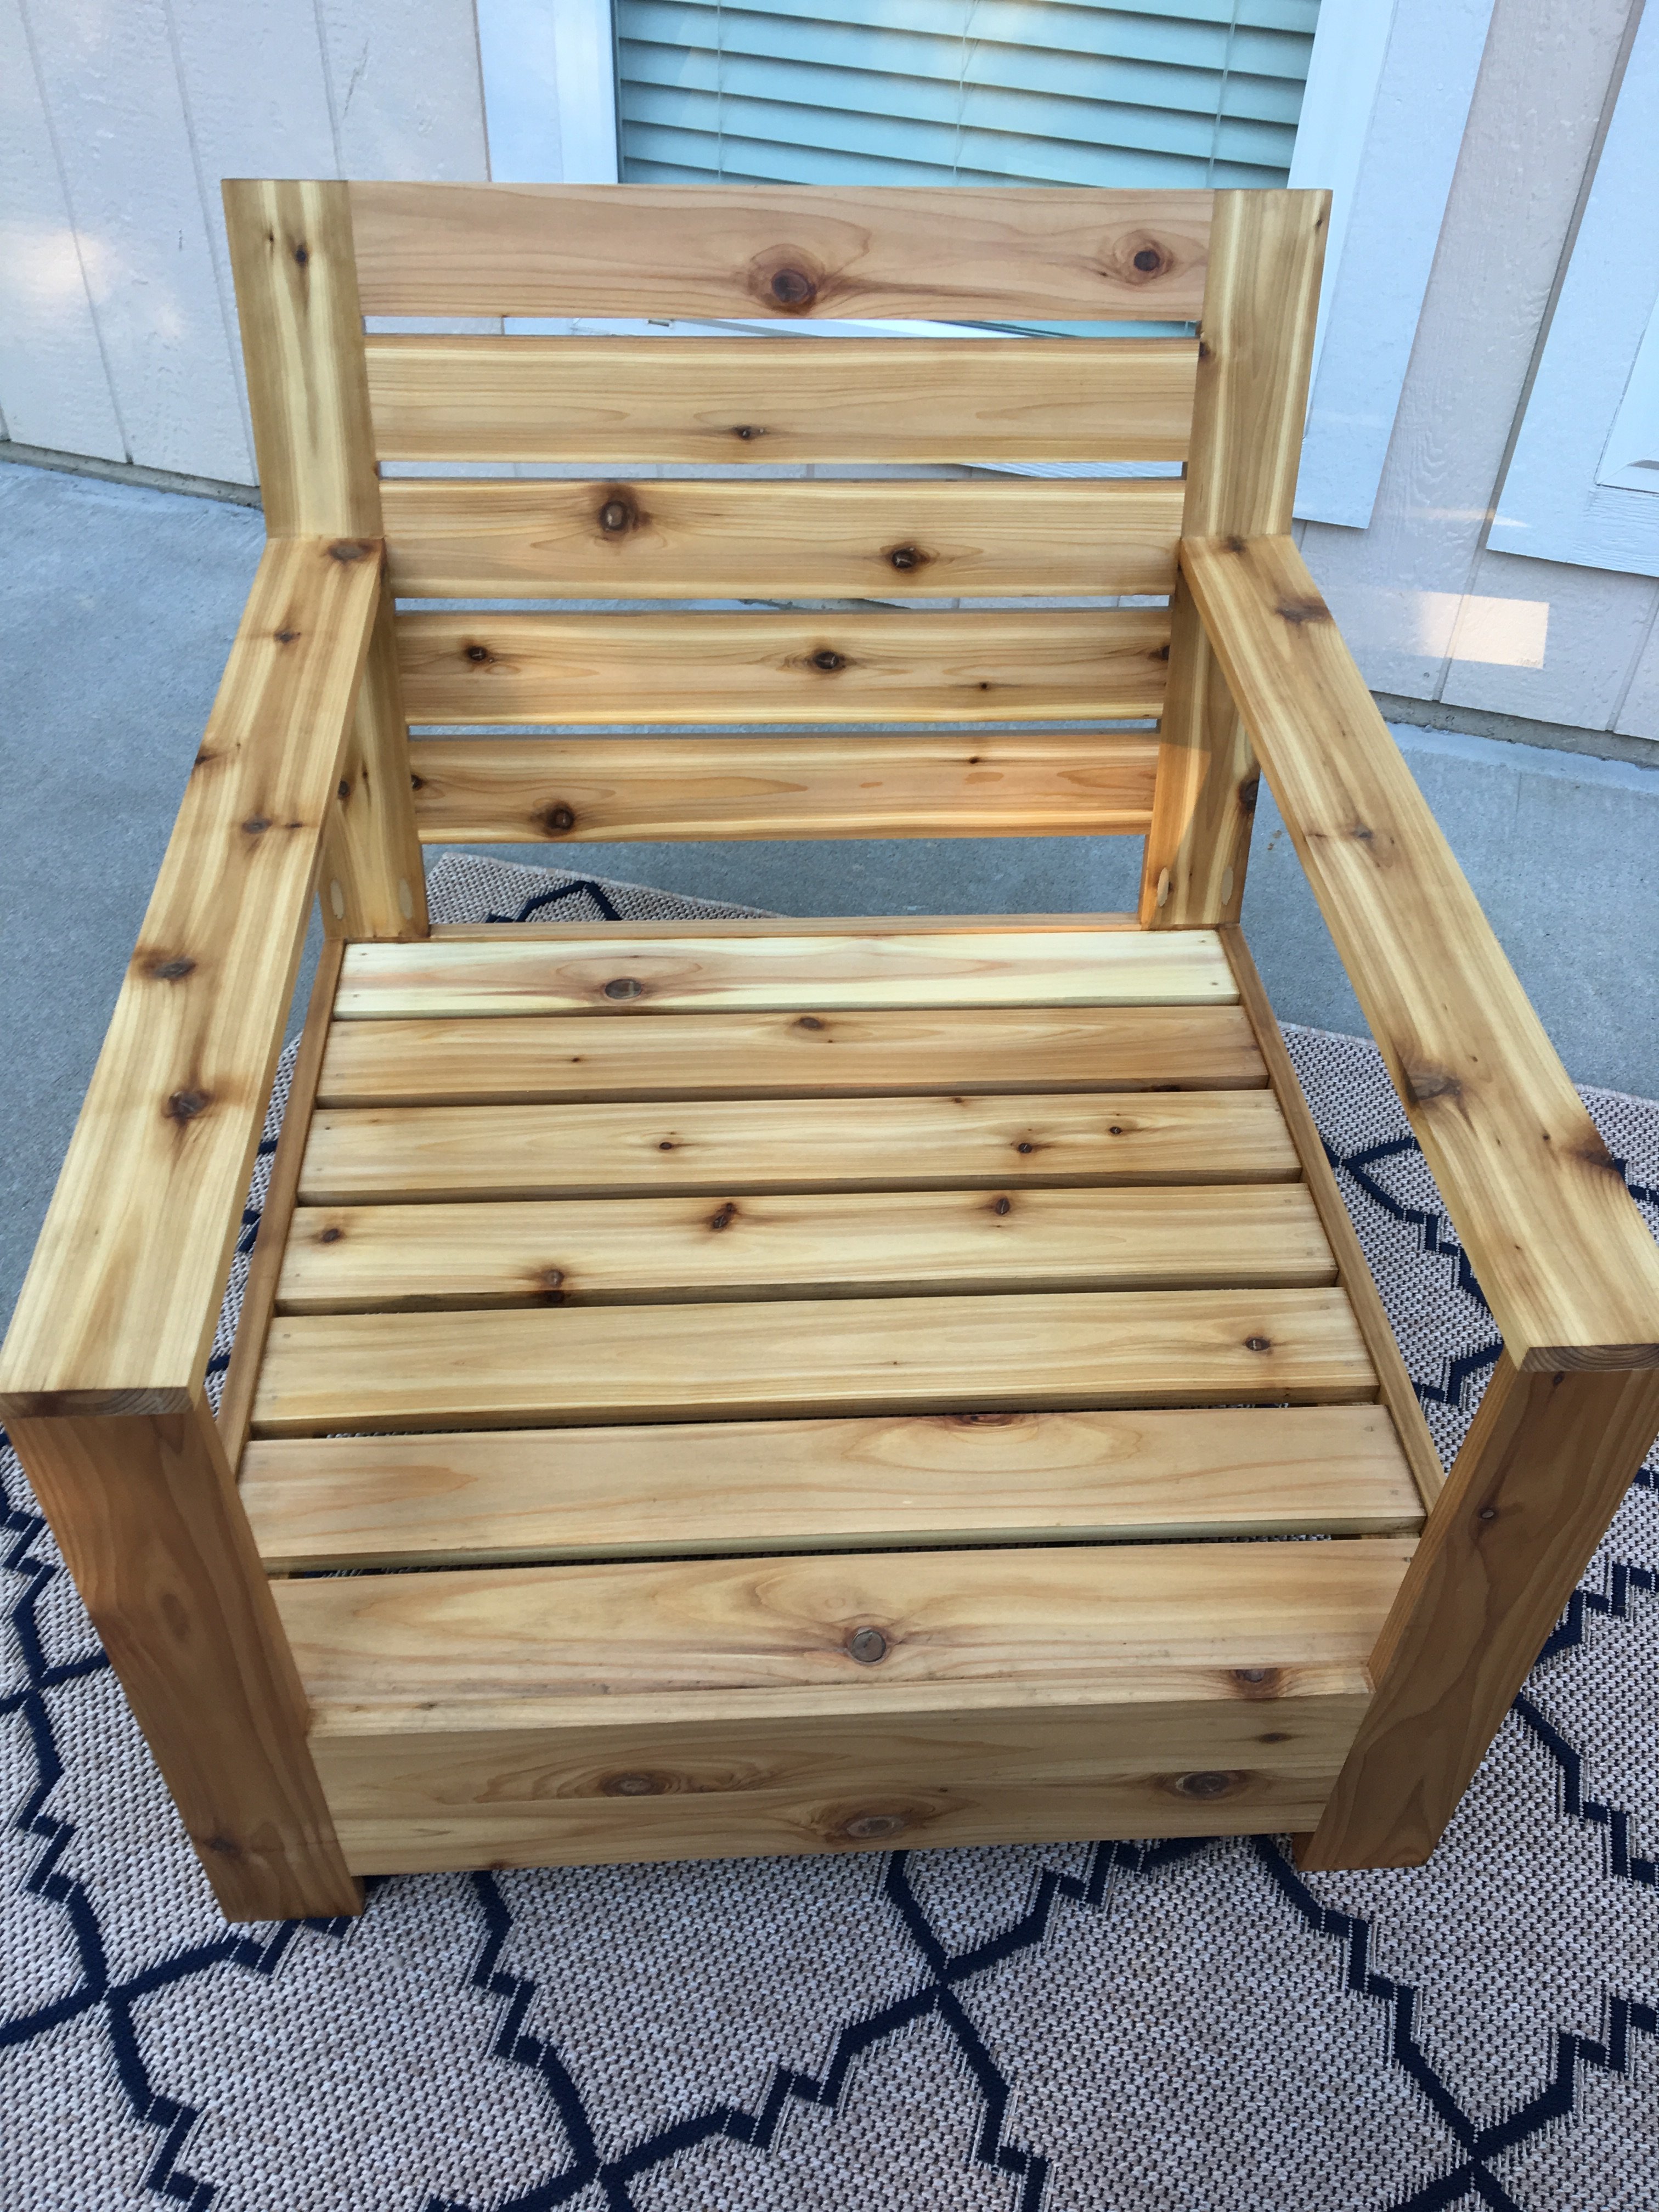
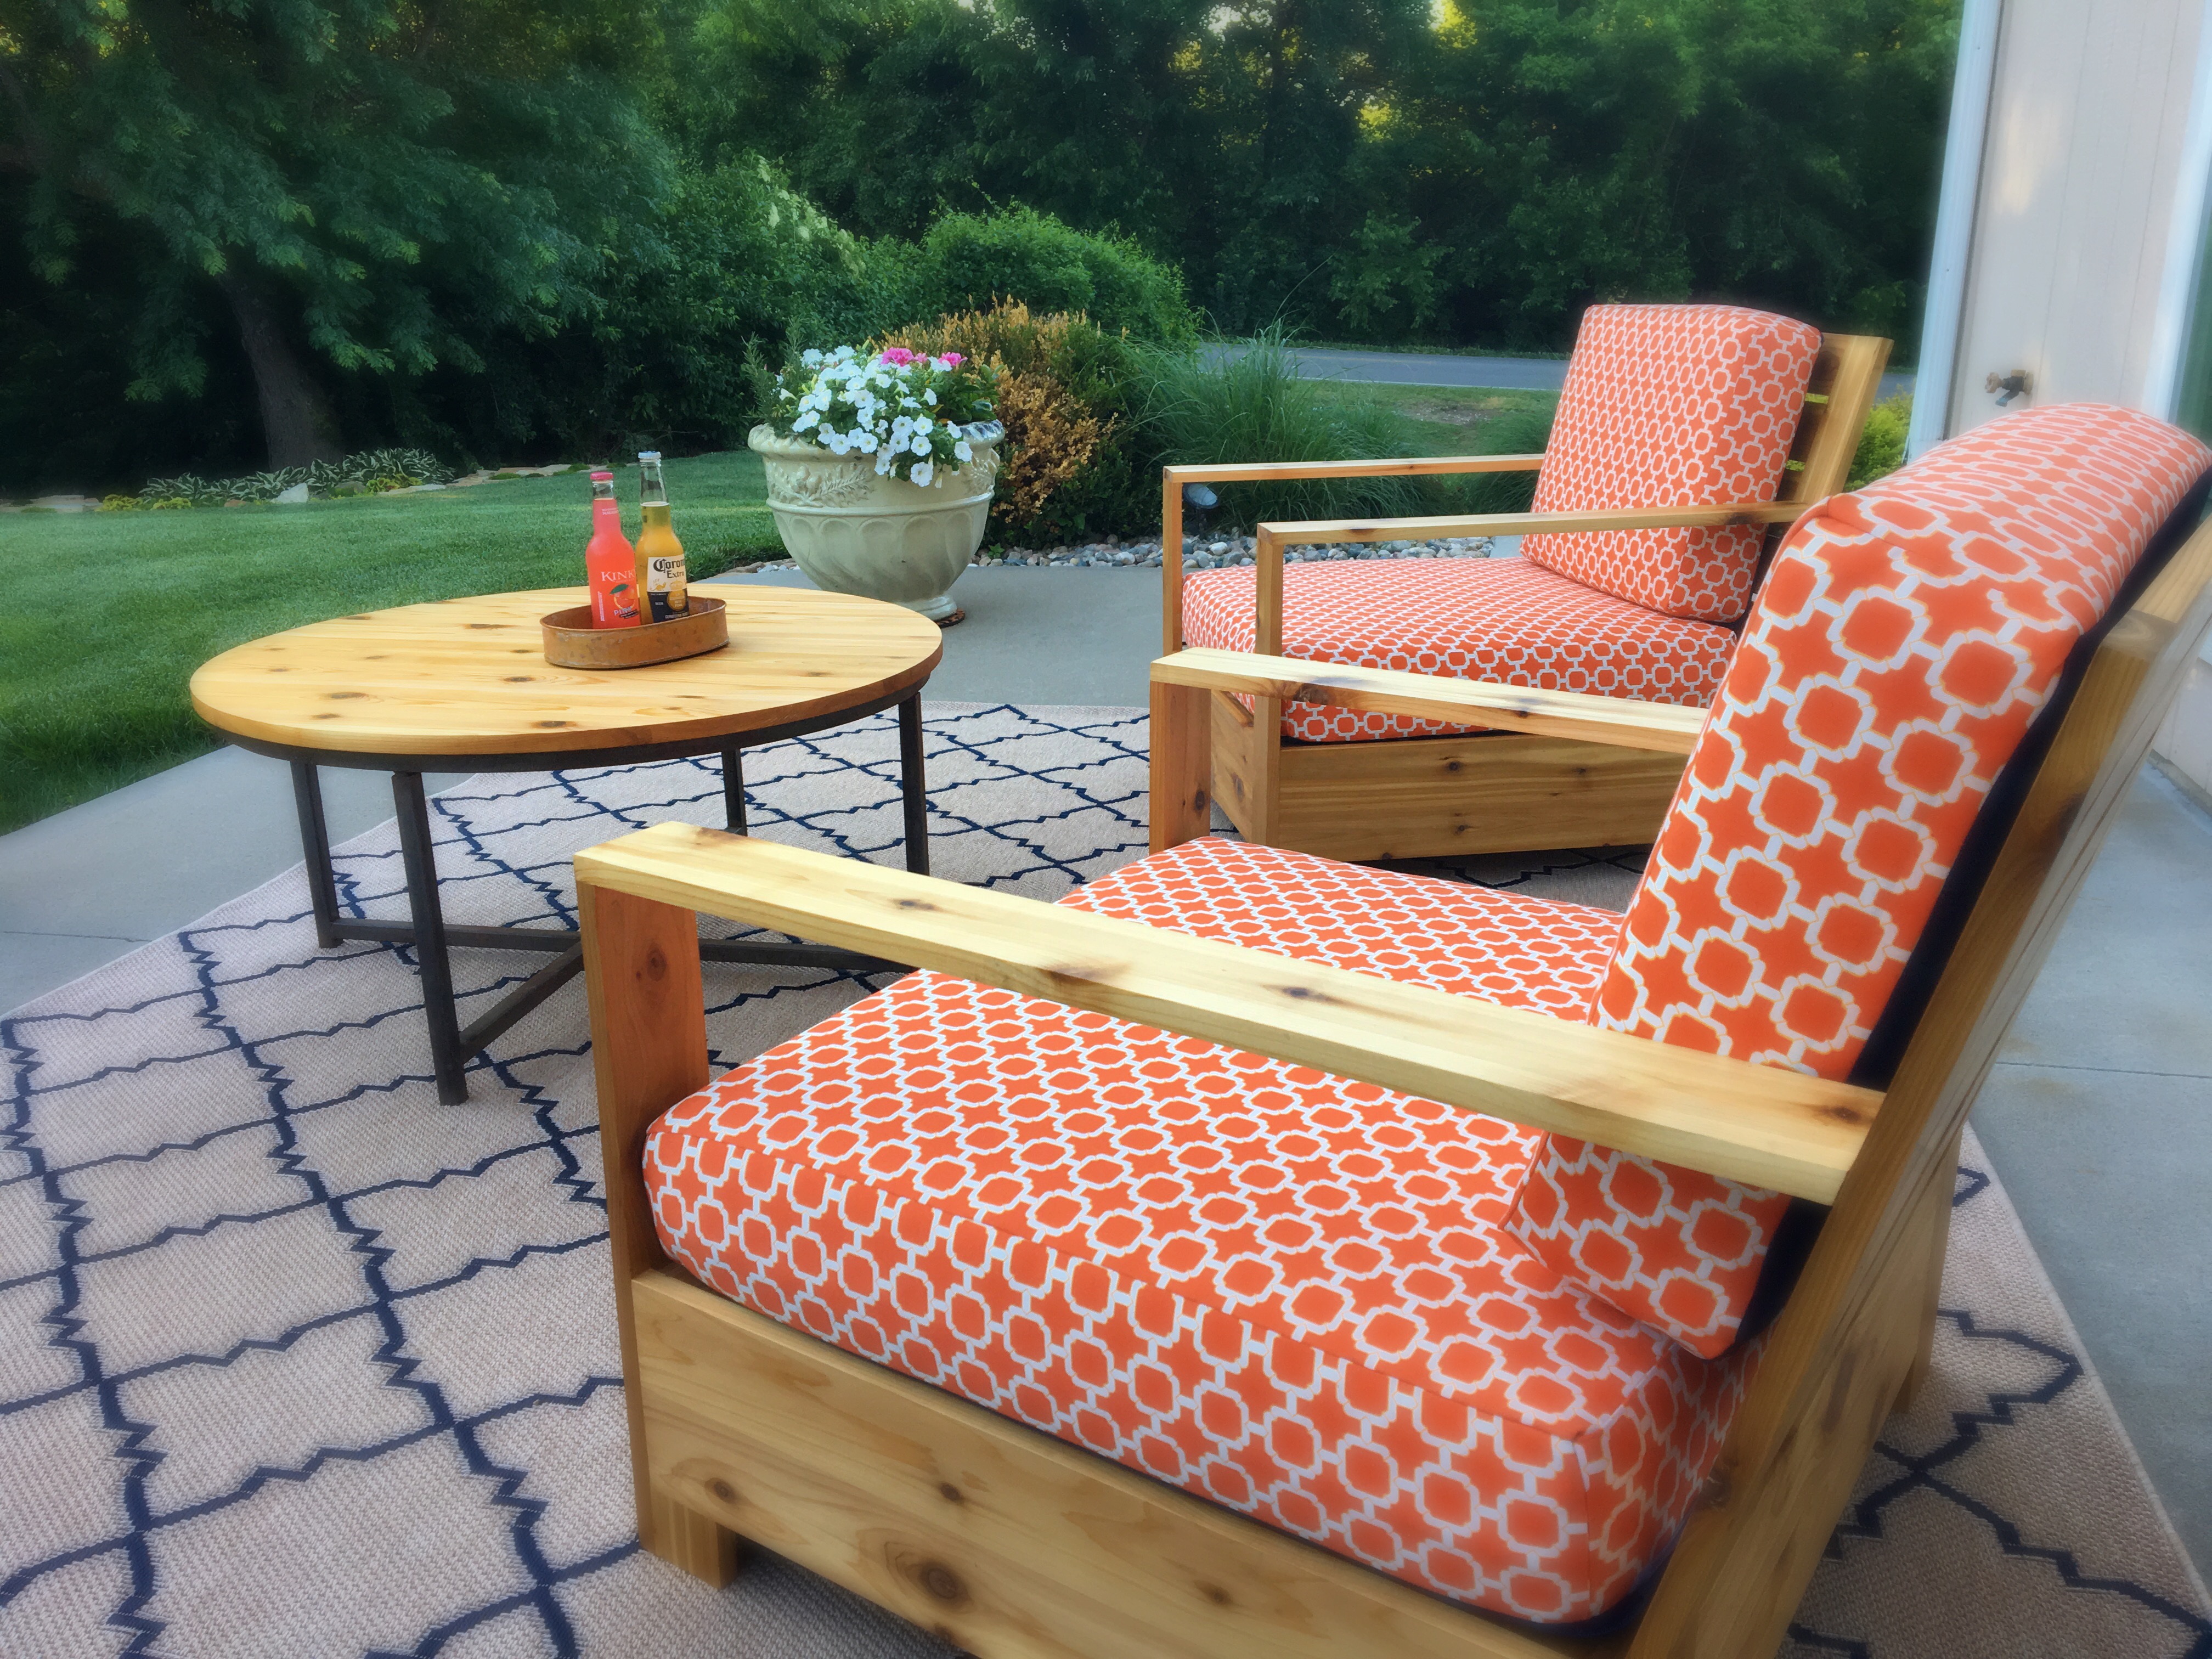
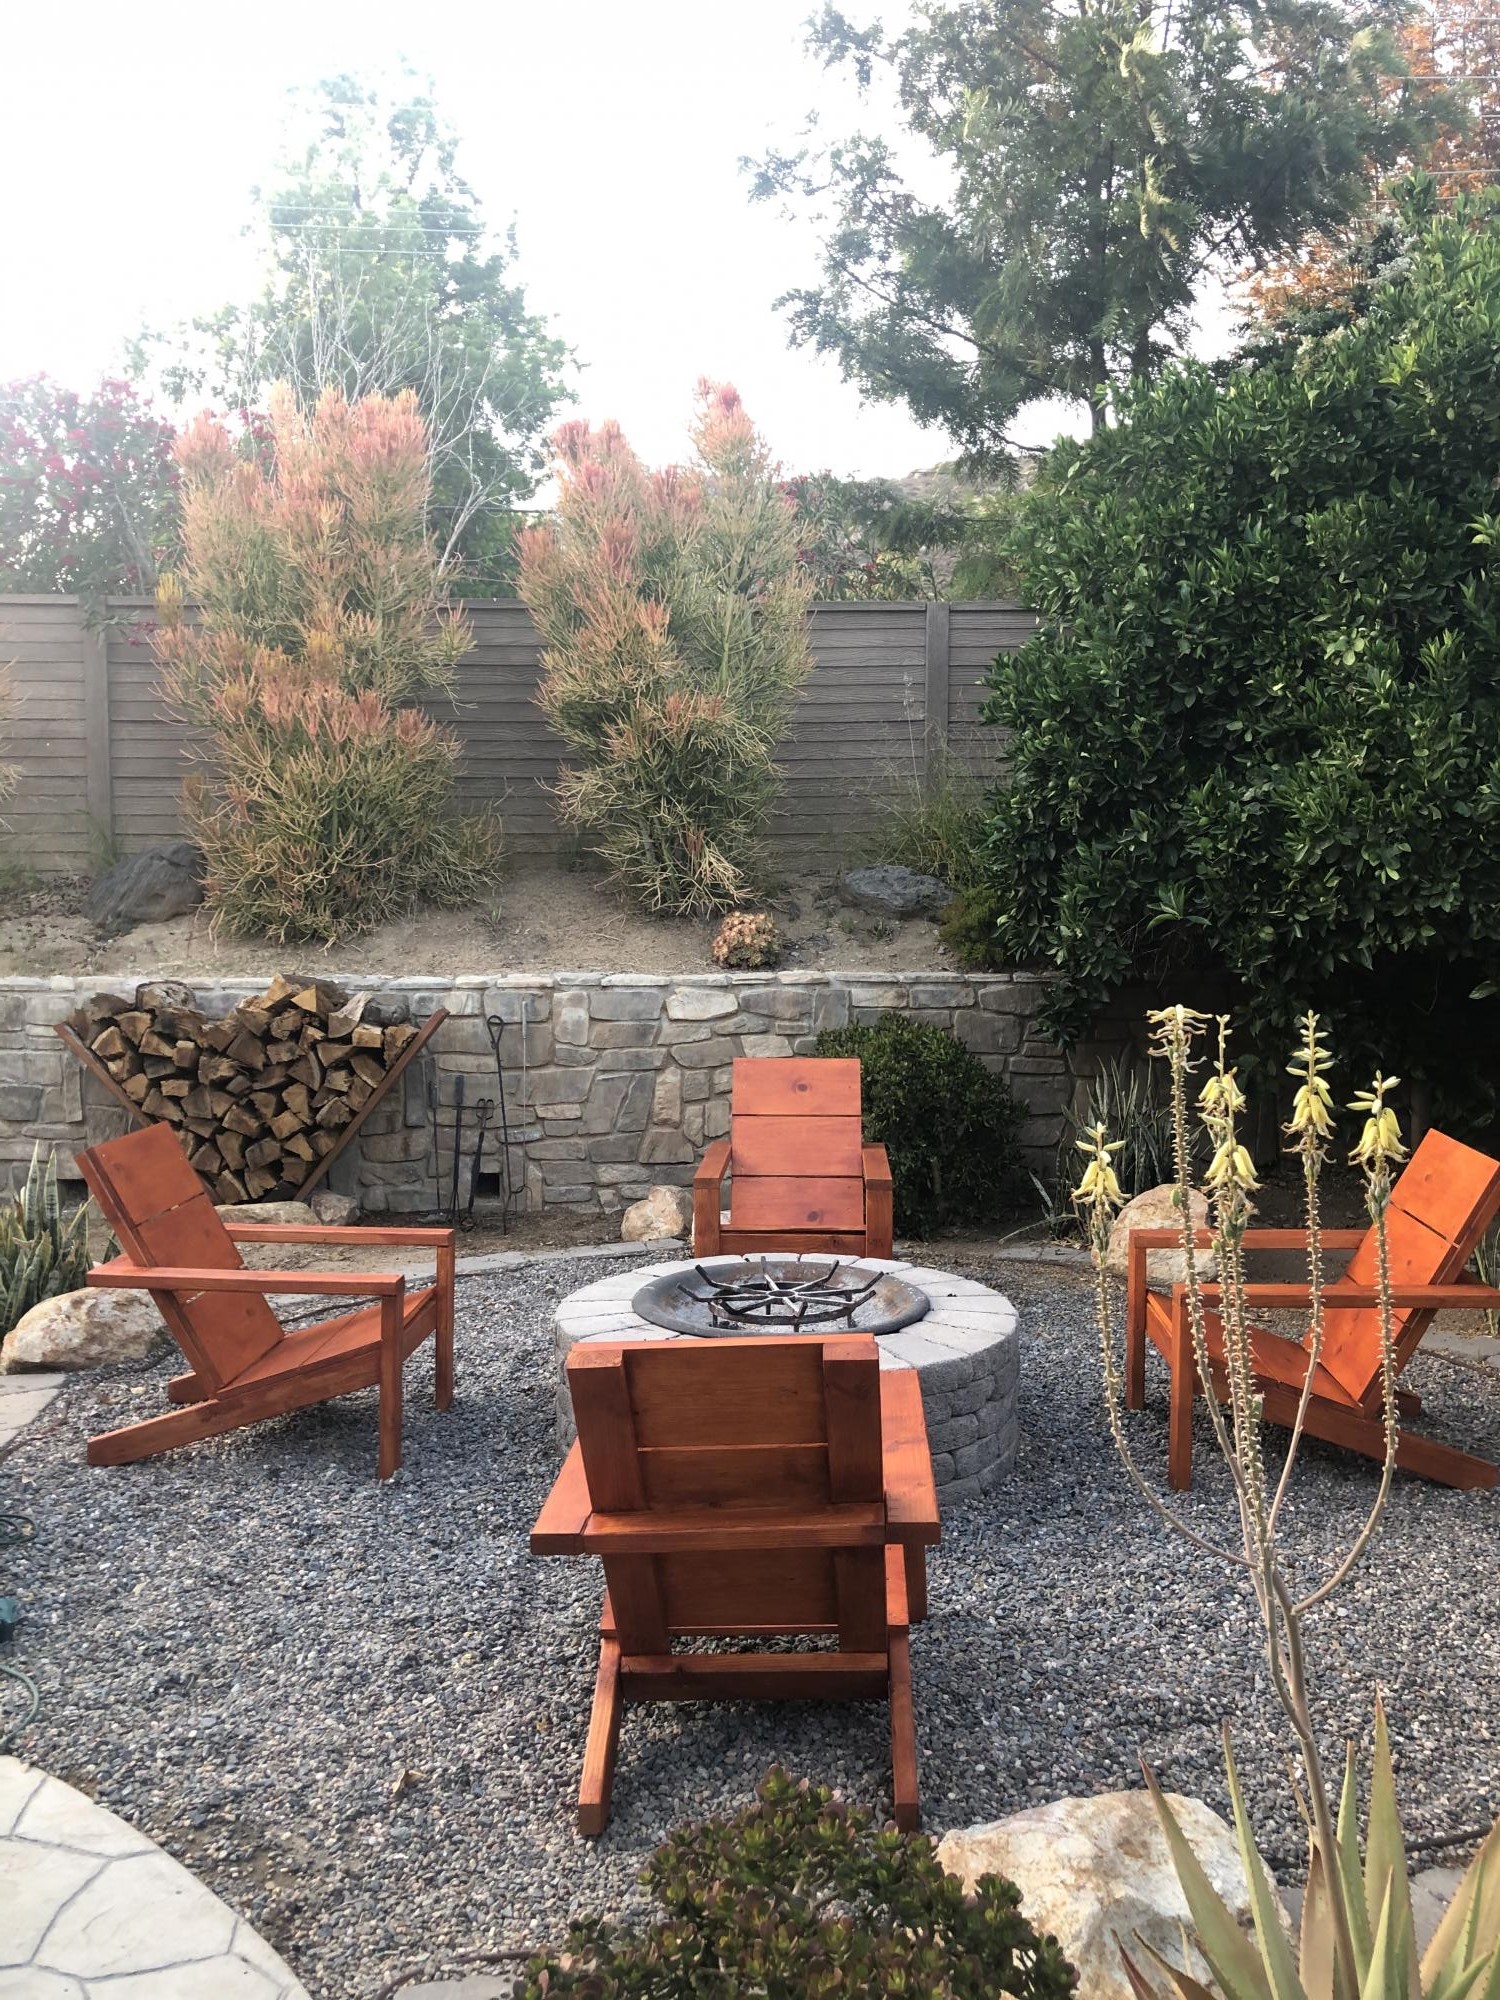
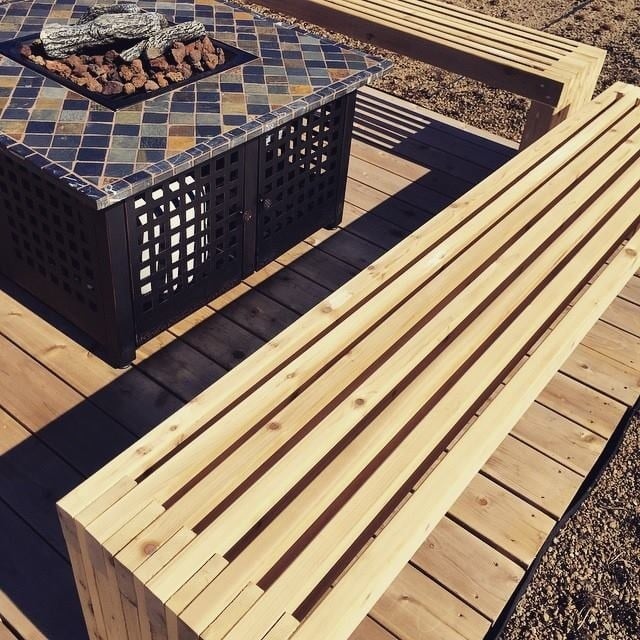
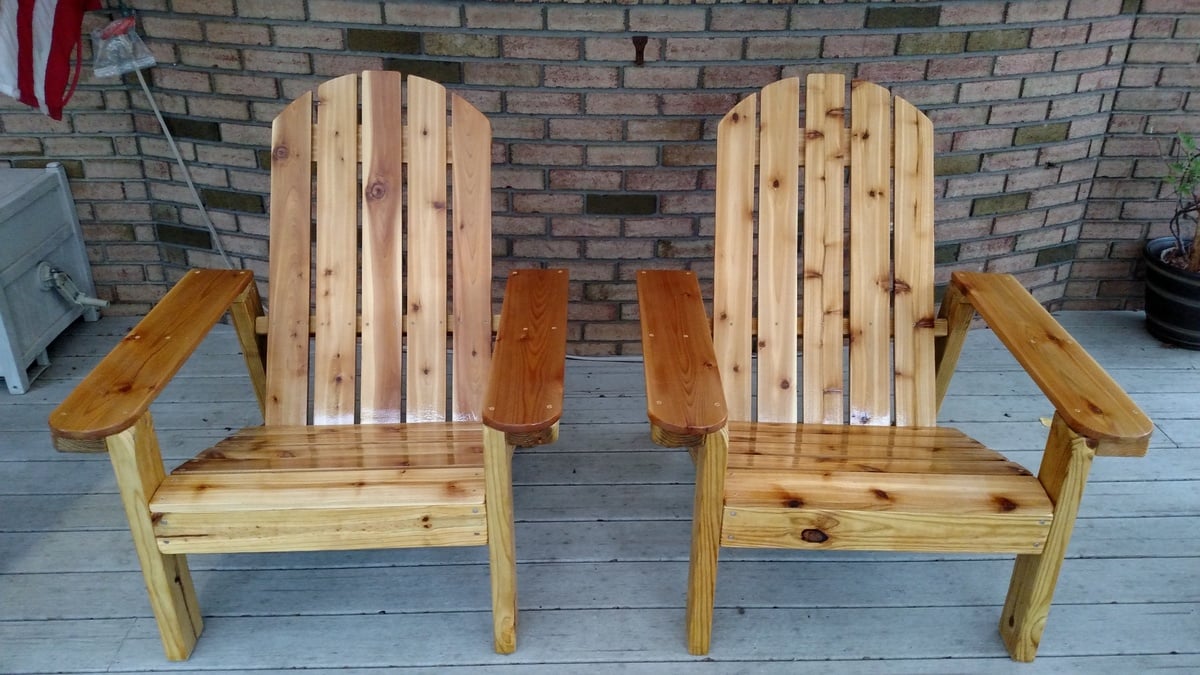
Charcouterie
![](/sites/default/files/41EB05CC-B4CD-43BE-BB9F-2643FA981D5B_0.jpeg)
Expressing stain
Expressing stain
This is the first thing I've ever built and with a few minor imperfections, it turned out great. I wanted a rolling table for my laptop, but needed a larger one than the plan for my big laptop and to use a mouse. My table is about 26" x 18". Since I don't have the proper saw, I bought a sheet of MDF at Home Depot and had them do the cutting for me and it cost abut $35 bucks total. Casters were about $8 & paint was $11. I decided to do mine with the shelves so I'd have storage for laptop peripherals like usbs, external hard drive, and cords. I was really scared to get started screwing stuff in, but once I did it was pretty easy. I did slightly crack the wood on my first screw and read up about it and figured out I screwed too close to the edge. It only took a couple hours to put together, the painting was the long part.
The main modification on this project is the locking casters that allow us to use it as an island or a side counter. The legs are also 4x4's rather than 2x4's. The tabletop is five 2x6's at 48" (just cut 8' board in half) joined with glue and pocket hole screws. I attached the top to the frame with three support planks and pocket hole screws (pic attached). The frame and legs are painted white and the top and shelves are stained with Minwax Ebony and three coats on Poly.
Ana, thank you again for such a great service to all of us novice builders. This was a blast and extremely useful for our family. We are most grateful!
I needed a big space for my two kiddos to do art projects. I also needed to get rid of an old dresser we were using to store games, puzzles, and art supplies. The shelves underneath provided the space for all the things previously housed in the dresser and gave my girls 9 feet of glorious work space. Now we don't have to interrupt their creativity to eat dinner.
I modified the parson tower desk by adding a third shelf beneath to hold the longer (9 foot) desktop that I needed. Instead of MDF I used paint grade pine panels. It was only a little more than MDF for the pieces that I needed (1 @ 3/4 x 16 x 96 and 2 @ 3/4 x 16 x 72) and didn't come with the toxic sawdust.
Hand made bathroom vanity check us out on Facebook marney Marie
Followed your plan for cedar planter had fun building it thank you so much I added my touch to it of the burn look
JR Lopez
This is what I hope to be the first of a whole outdoor set. This is the BBQ table for our patio. We had one of those large BBQ's but with many years use, it's fallen apart and we can't get parts for it anymore so.. back to the small BBQ and the need for a table.
Built from this plan only modified to suit our needs!
This was project number 2 for the wife to replace some kitchen chairs the dogs chewed on when they were younger. I didn't have a jigsaw so the cutouts in the legs were done with a small hand saw and chisel - i recommend the jigsaw. Cutting and fitting the "x" beams was interesting. After struggling for a bit with remembering basic geometry they came together without too much trouble. I went with three pieces for the top joined with pocket hole screws and seated on top of some left overs from my fancy x desktop boards to beef it up just in case. Staining is always a bit discouraging until the poly goes on then bam!, grain comes out and it looks great.
I couldn't believe how easy this project was to make. I'm so glad I made my own outdoor sofa and loveseat rather than paying big bucks for a set at the store!
Coffee station with trash can holder and storage.
Royce and Lynn Ledford
My two girls (9 and 12) share a room and their dressers (cheap from Ikea) were not only taking up too much space, but also falling apart!
I used Ana's closet organizer plan as inspiration for this, adding more shelves since they won't have any drawers to use.
All of their clothes fit (though its tight!) and they each have their own space, plus much more space to move in the rest of the room.
I made a google sketchup file to work with, but I'm not sure how to upload it?
Basically, I just bought 7 1x12 boards (6' length).
I used 4 of them as uprights: one on either side wall because I couldn't find any studs!?
Then one more is the top shelf (for storage of things they don't use often)
Then the final three were cut to make the shelves - I had very little waste.
One 6' wood dowel (1.25" diameter) for the closet rods. I screwed them directly into the vertical supports instead of using a bracket.
Additionally, I used a couple small 1x4 scraps to make a toe-kick for the middle bottom shelf and a brace at the top. I was going to use the top brace to attach the whole unit to the back wall, but it ended up being too tight a fit and too heavy to pull out to drill into it :) So I think its stable for now at least!
I chose to leave it unfinished because I was in a hurry and the boards I got (at Lowes) were really clean and smooth to start with. The girls have been using it for a few months so far and I don't see any problems with it (splinters, etc.)
I managed to get a picture while it is tidy (hardly ever) and also a picture of the curtains I made to replace the doors - much easier to see the whole space now, and still close it up when (always!) its not tidy.
I absolutely had a minor design change. But there was not a single plan I found with measurments! Can always count on Ana White's blog! I found FREE unfinished hardwood being scraped and I was able to use it as my table top. I found the large wheels on ebay for around $20, they are old heavy duty 10 inch lawn mower wheels. I bought the frame wood and plumbing hardware from lowes, and the 4 inch casters from a tractor supply company! I also used a finish from this blog. Had an amazing time building this table, can't wait to DIY some more!
Easy to follow plans. Took about 3 hours to complete.
I needed a screen door but one on hinges wasn't a option. So I built one as a barn door. The center bottom panel is a doggie door. Lynda Westbrook
Fri, 10/20/2023 - 06:47
Do you have a problem with insects coming around the edges? Or is this an interior door and you just needed good air flow?
We made for our two oldest. This is our first couple project
Or rather a family project.
With some extra scraps of wood and paint, I tested my new miter saw by building this frame. I also finished it to match the green in the rustic media console cabinet that I had just built.
Built both using the rustic x end table and console plans. Wanted the shelves stained and inlaid so that took some thinking on how to assemble. Used valspar "white rose" paint and jacobean minwax stain.
Definitely one of my favorite rooms in the house. Not shiplap but reclaimed wood. Had to deal with lowering everything because of the trunk lines but overall we love it.
Leslie Webber
We had to get rid of our standard dressers awhile ago, since they were in awful shape. We tried only hanging clothes, but that was a disaster too (our daughter stood on the wire shelf). I was so excited to find these plans. The dresser is super sturdy and was easy to build. No more problems with standing on them, heck I could even stand on them.
The angle iron was really expensive, so we went with wood rails instead. It was super easy to do and really cheap.
I used the basic bunk bed plans from the site, but made it a bit taller (21.5") and fitted a drawer under the lower bunk. The girls can store some of their Maplelea doll clothes in it.
This was a fun project to build. I did change somethings around. I used plexiglass on all doors instead of plywood and it turned out great. Took a lot longer than planned but in the end it was worth it!