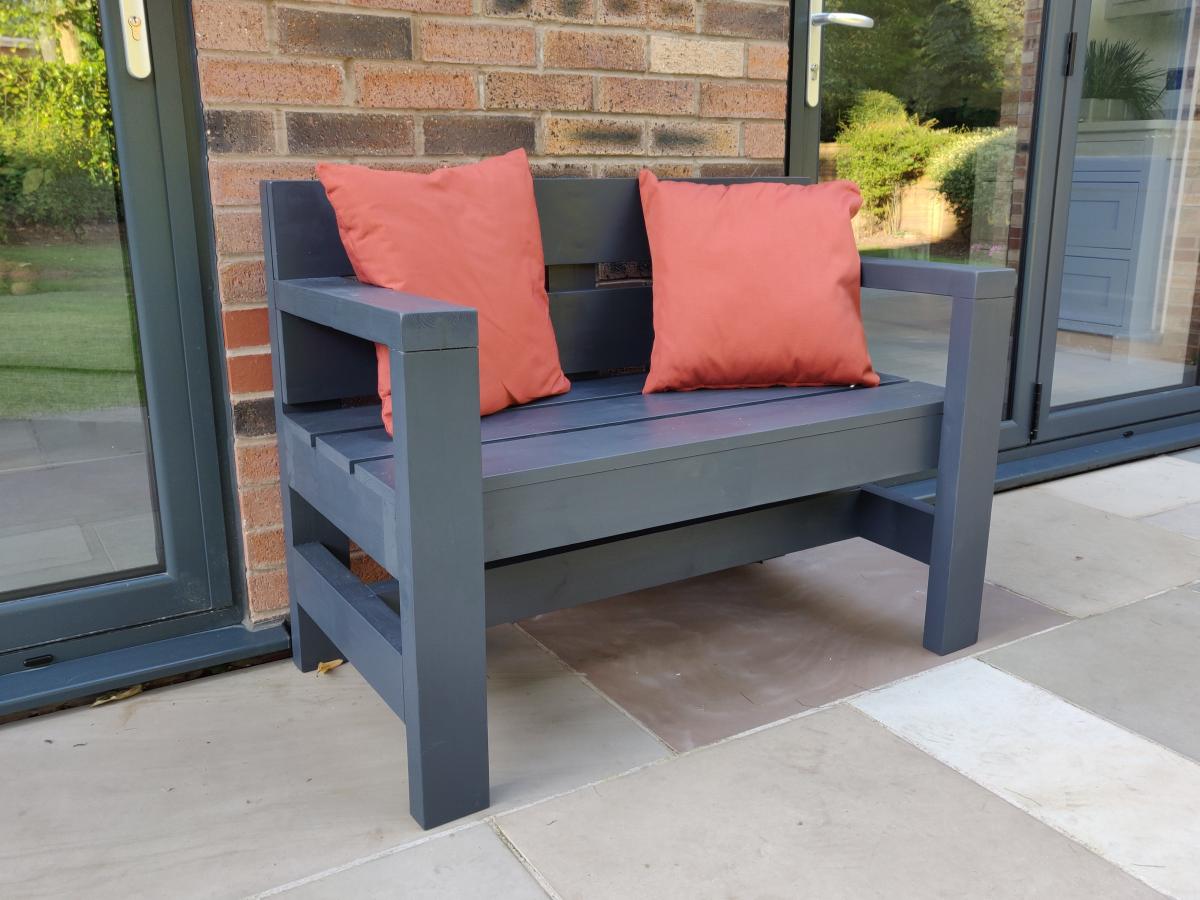
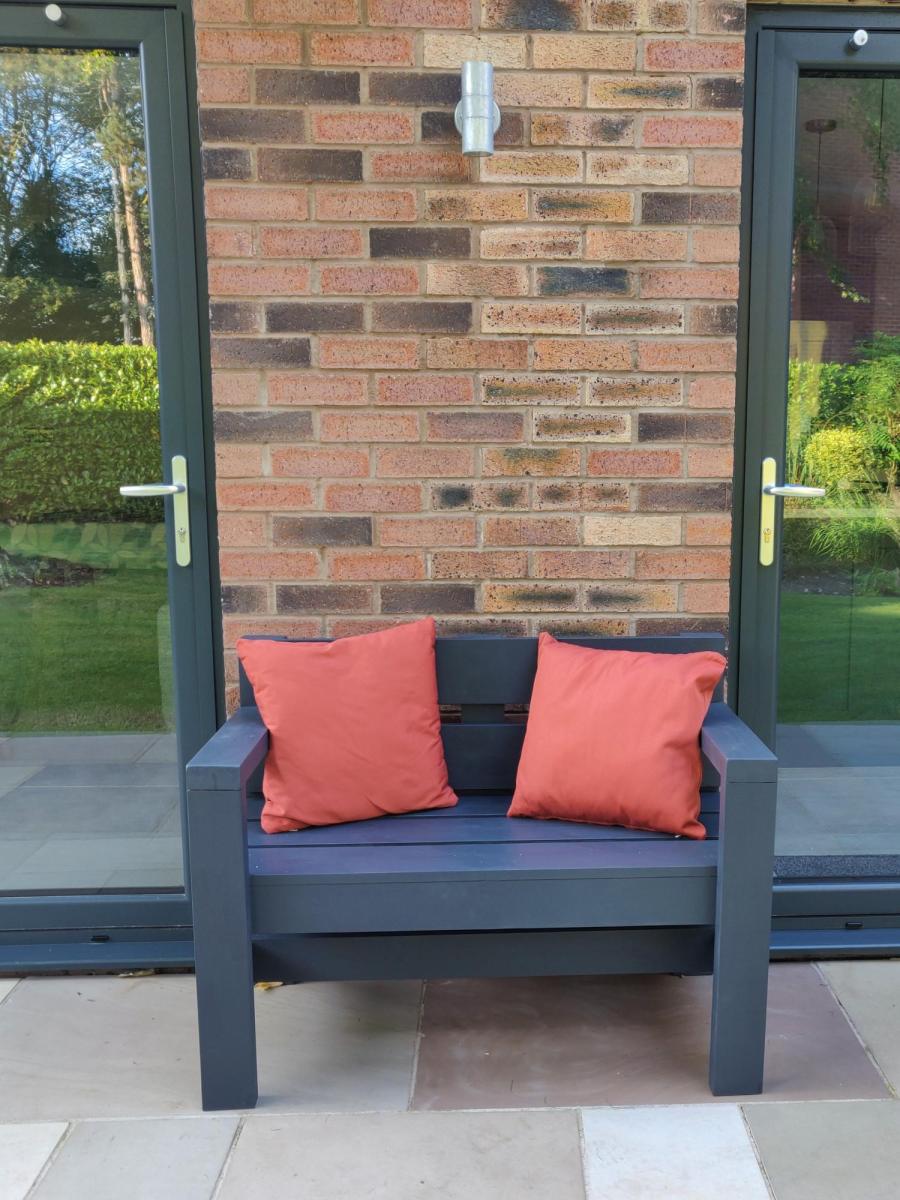
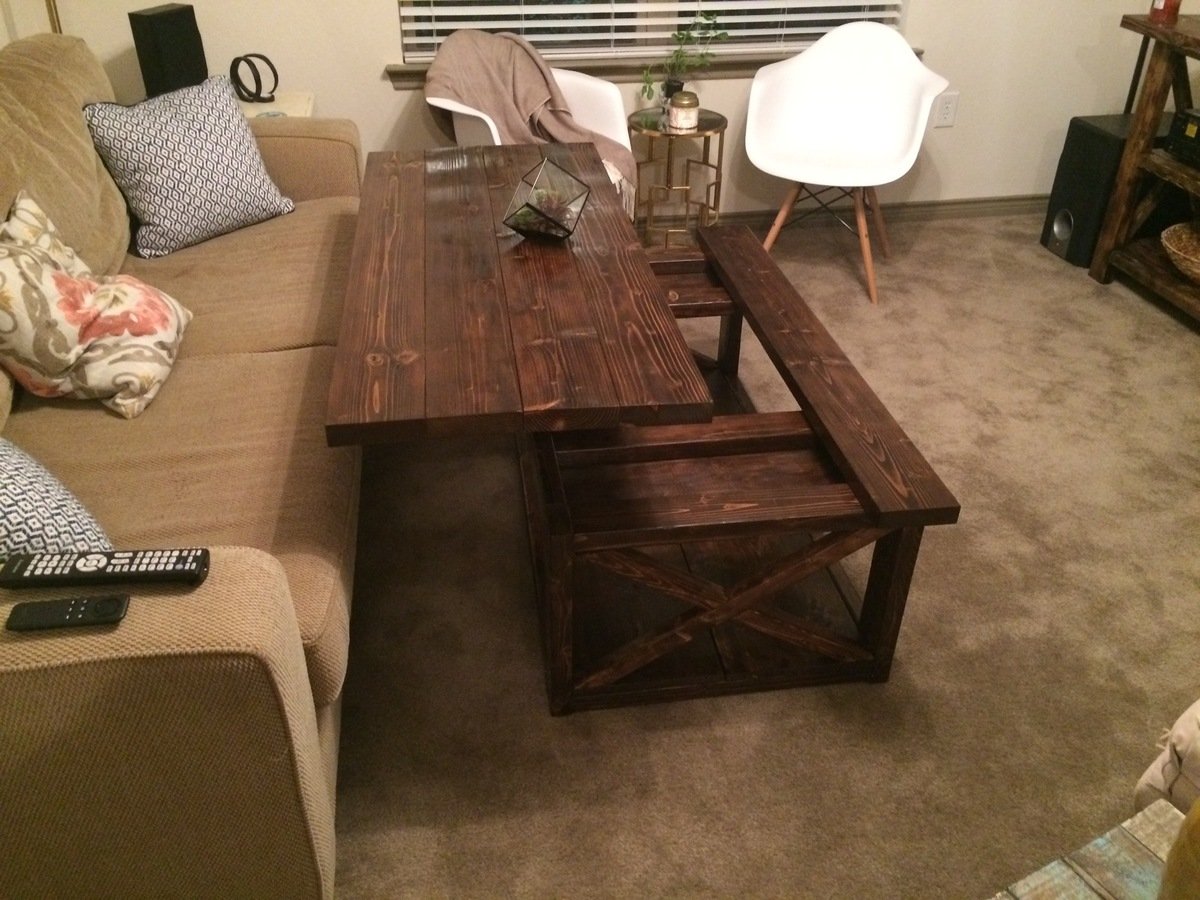
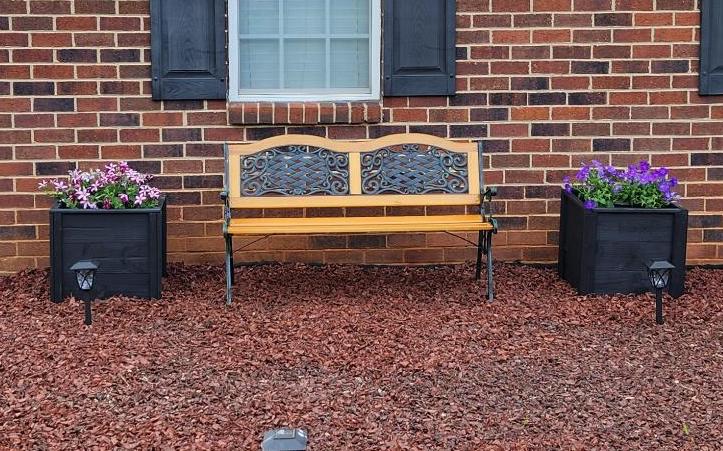
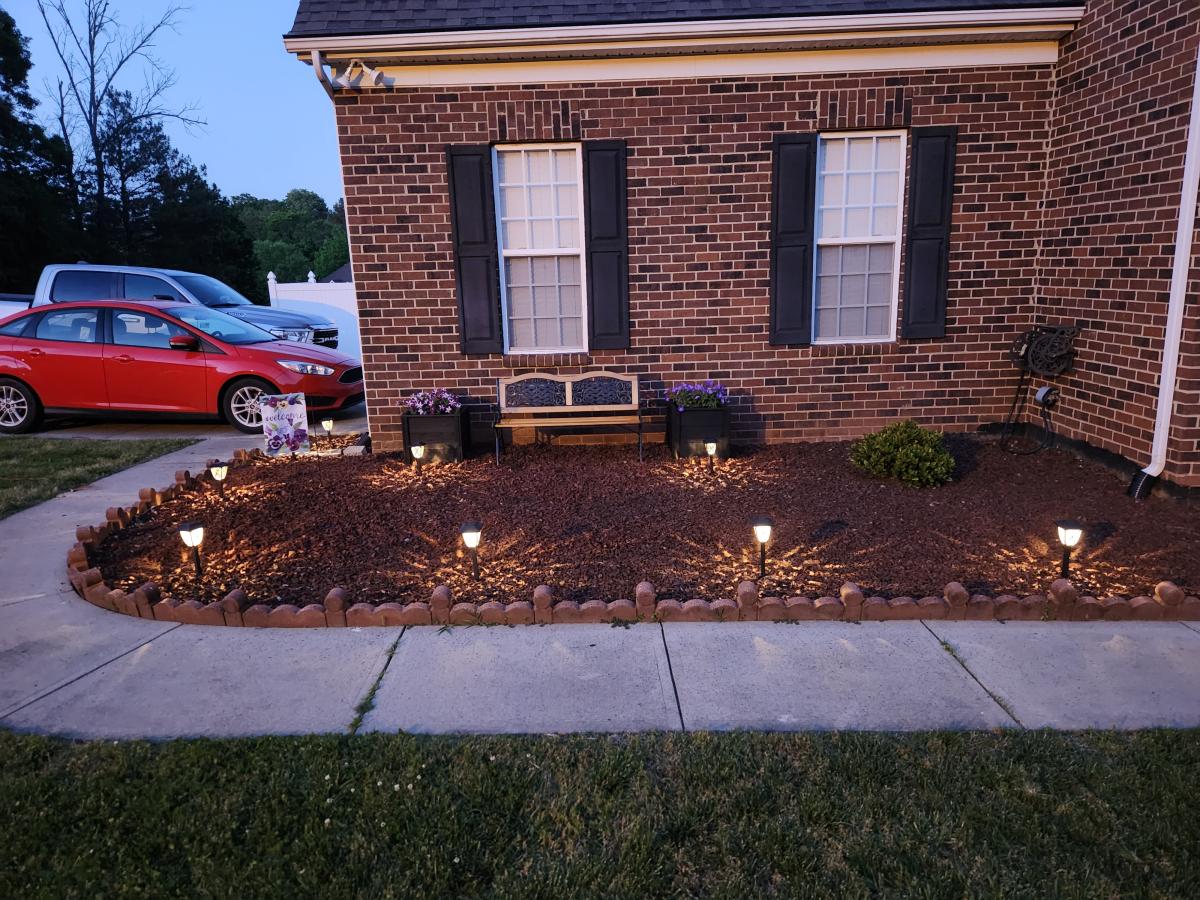
(Mini) Modern Park Bench
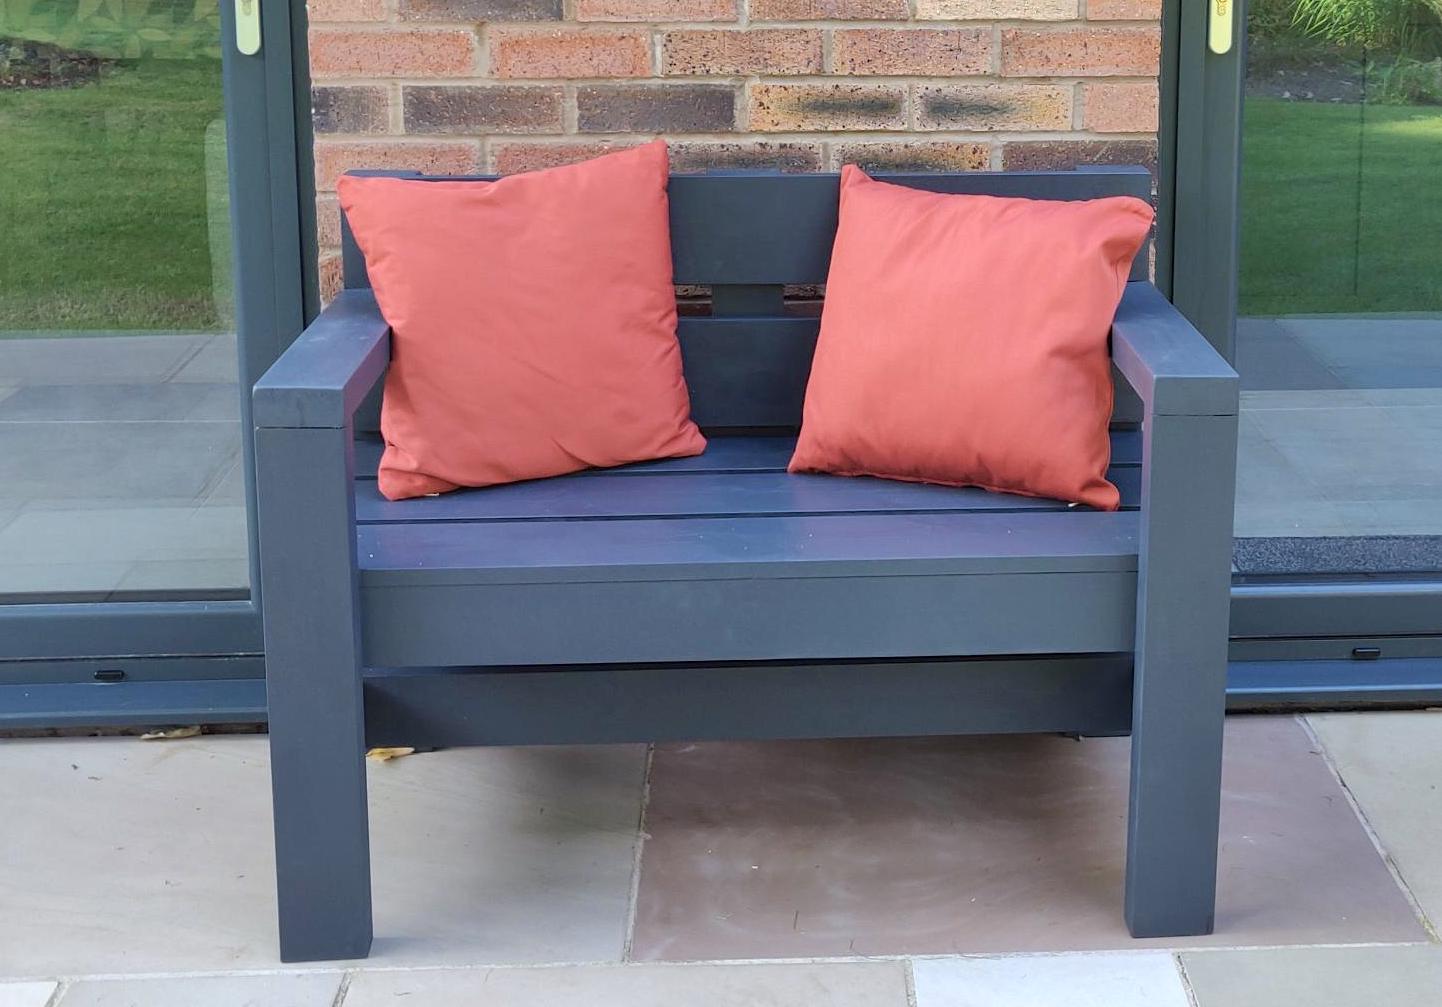
I needed a replacement outdoor bench to fit a small space between two door openings. Reduced the length of the Modern Park Bench to about 44". Also reduced the depth by removing one of the seat planks to retain a sense of proportion.
Had some issues with some of my 2x4s being a bit twisted which impacted the overall build quality but I'm happy with the end result considering the price/time invested.
Tip: spend some time in the lumber yard picking out your own wood - I wish I had.
Built from Plan(s)
Estimated Cost
£35 in timber.
Less than £5 for the finish.
Less than £5 for the finish.
Estimated Time Investment
Afternoon Project (3-6 Hours)
Finish Used
Two coats Cuprinol Garden Shades in 'Urban Slate'
Recommended Skill Level
Beginner


Comments
Ana White Admin
Mon, 03/22/2021 - 16:07
Love this size!
Superb solution for that space, thanks for sharing!