Community Brag Posts

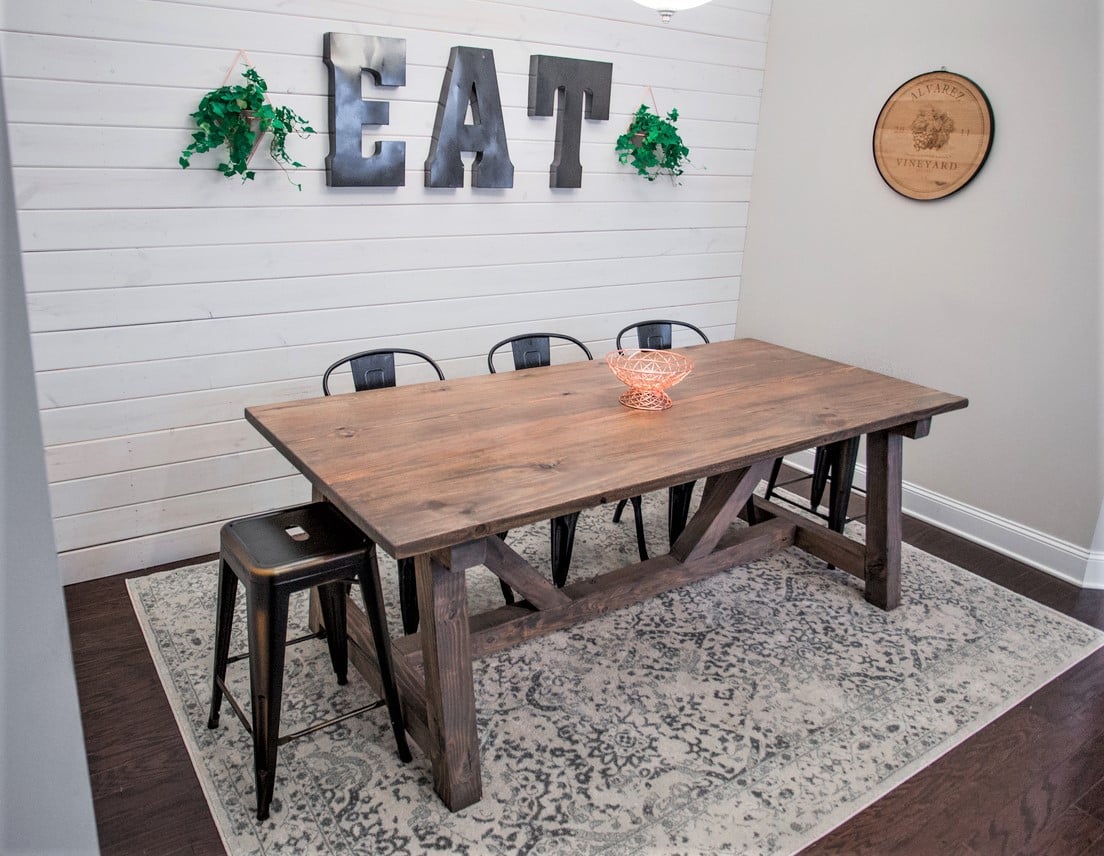
Modern Dining Room Table

Submitted by Highway6 on Thu, 07/16/2015 - 11:22

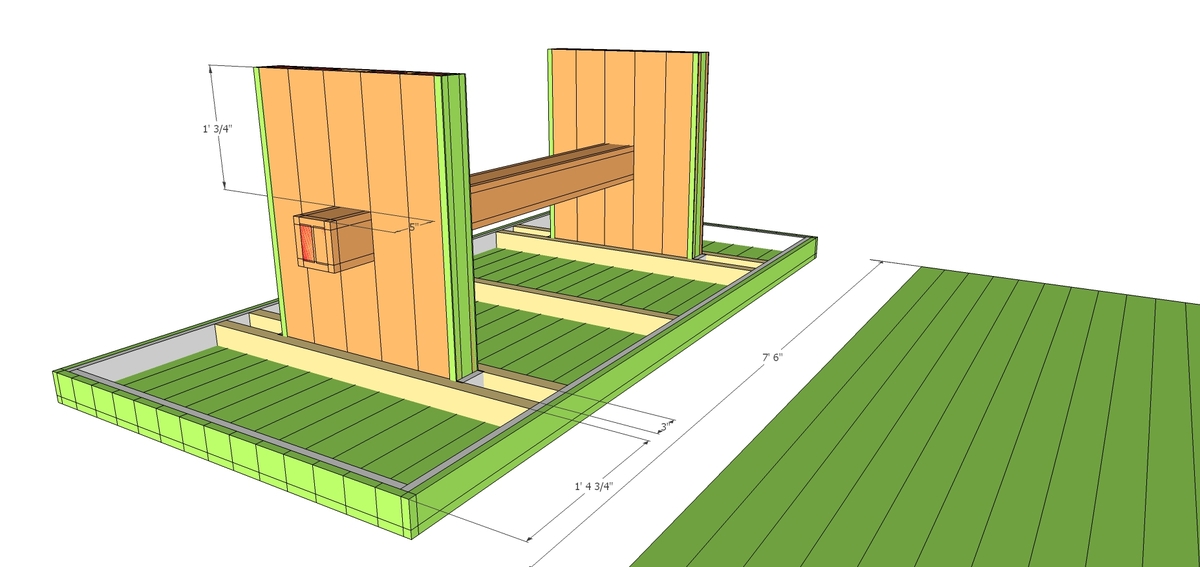
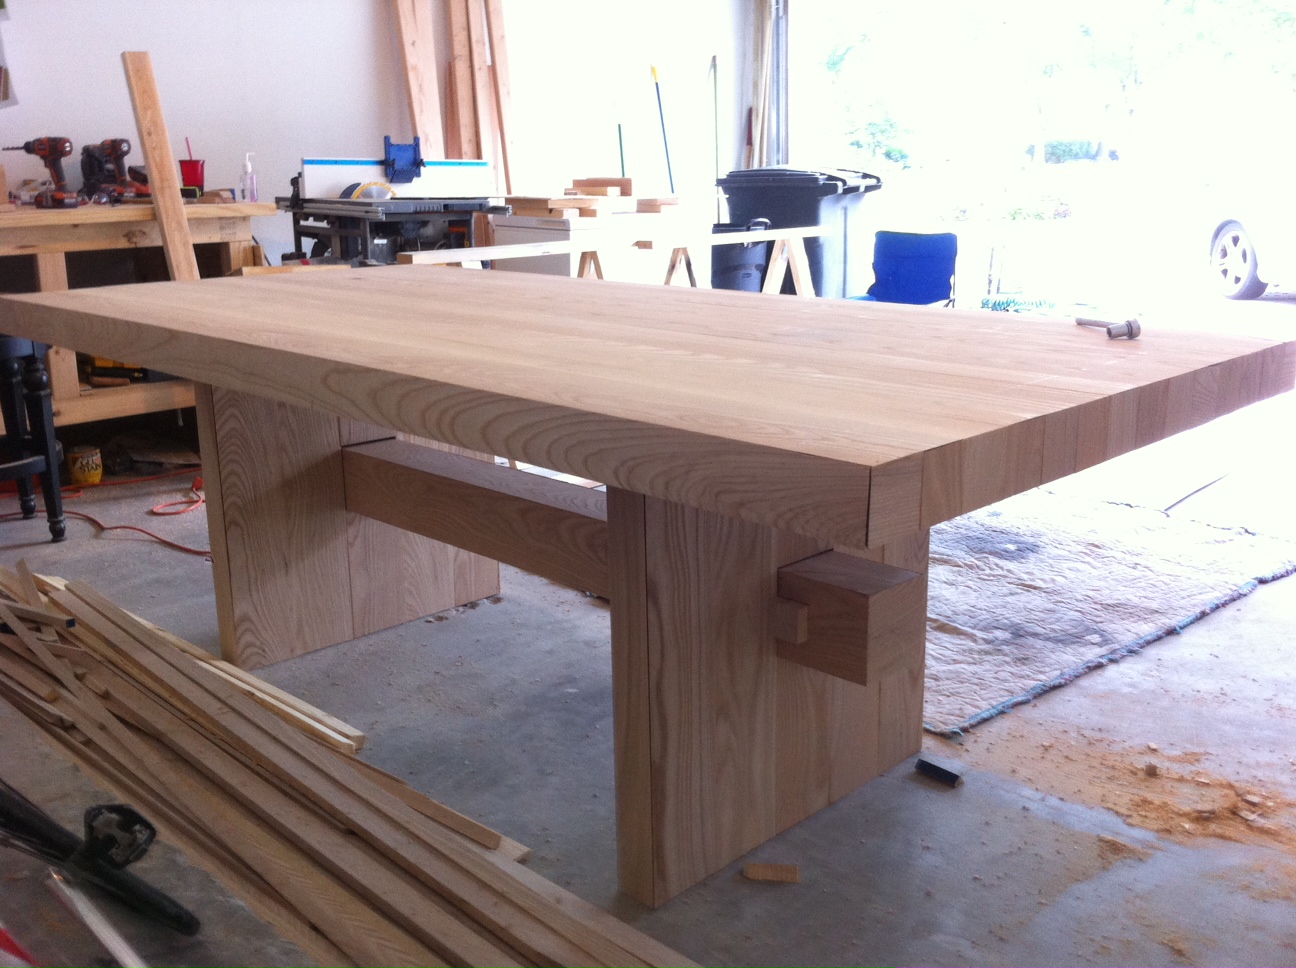
Plans developed myself after sneaking photos from the underside of the table at West Elm. 

Pine 2x4s make up backbone of the 2 legs and the horizontal piece underneath.

Used the figure 8 fasteners for members going across the table top to allow for any slight seasonal movement of the table top.

Not shown, but each leg is secured to the table top with (4) 2.5" bolts and a countersunk t-nut

Because I'm a beginner, this has taken up 75% of my weekends since mid-March.  Would not recommend this as a 1st major project.  3 way bevels are a pain in the arse. Thank God for the Timbermate filler.. that stuff worked great to give me crisp corners.

modern dining table

Estimated Cost
$450 in Ash.
Couple hundred more in finishing materials, screws, pine 2x4s, miscellaneous odds and ends
Estimated Time Investment
Week Long Project (20 Hours or More)
Finish Used
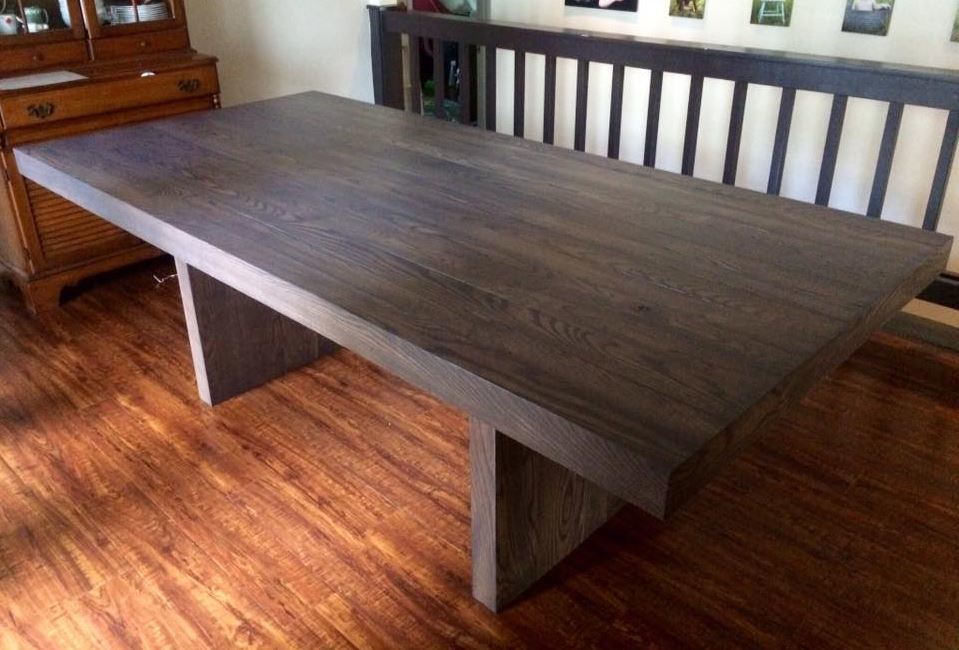
50-50 Rustoleum Kona and Weathered Gray.

Polycrylic Clear Satin - 3 coats (5 on table top) with brown paper bag sanding between coats.
Recommended Skill Level
Intermediate

Comments

Highway6

Wed, 01/13/2016 - 13:54

I don't have plans, sorry.

I'm a heavy sketchup user... had a detailed sketchup model that I put some key dimensions on (what you see above), and an exploded table view that color coded my pieces by wdith and gave the lengths of each board.. Lot of it was measuring as I went along.

jwells1

Thu, 03/03/2016 - 16:41

This is the table i want to build. It is the only my wife and i both agree on. Is there any way you could go through the steps? the sizes of wood you used and how you kept them together. Please responf back here or Message me!!! The way you did the legs is what really has me.

Plus One Puzzle

Submitted by mtairymd on Sun, 02/04/2018 - 08:29

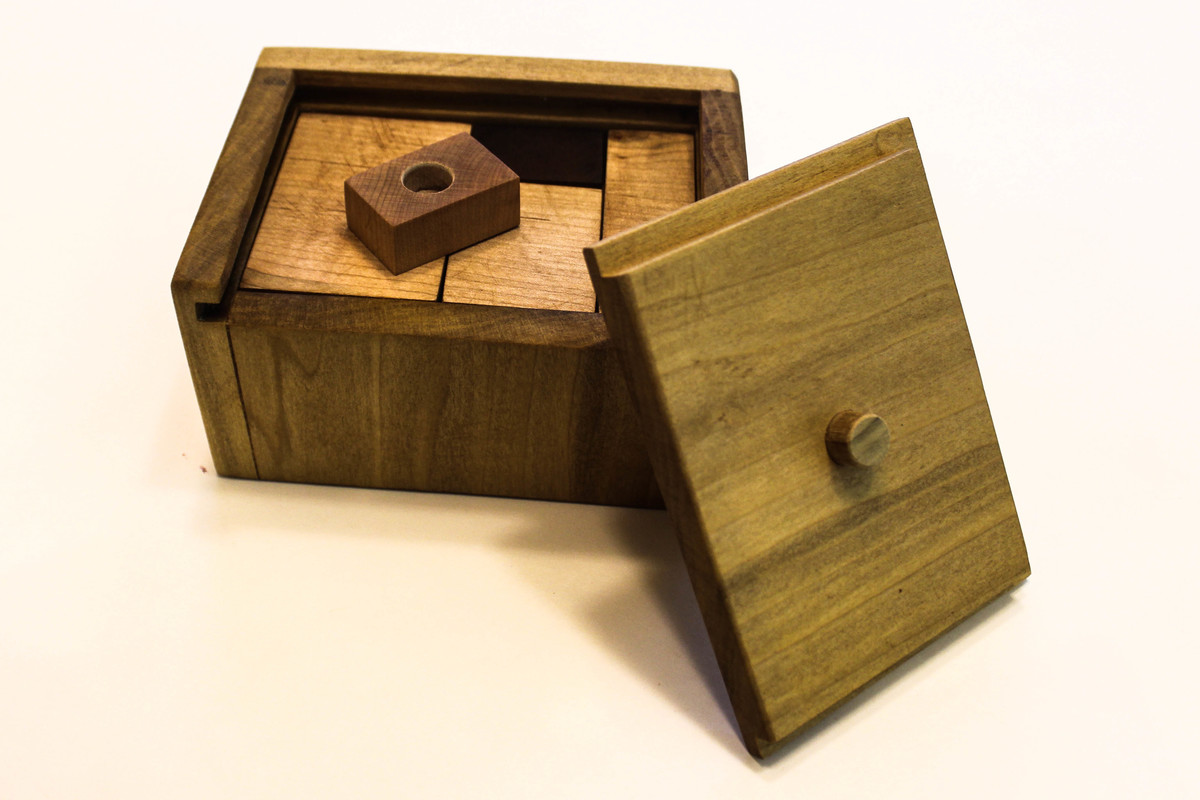
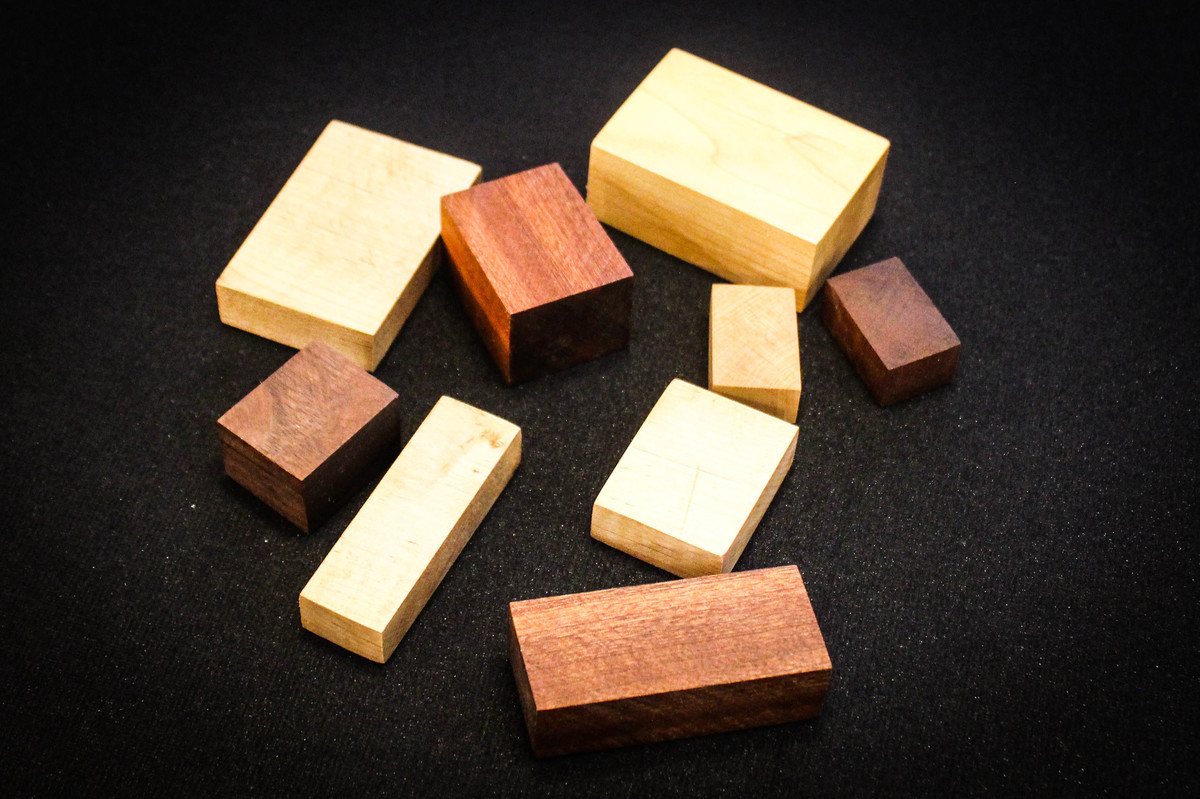
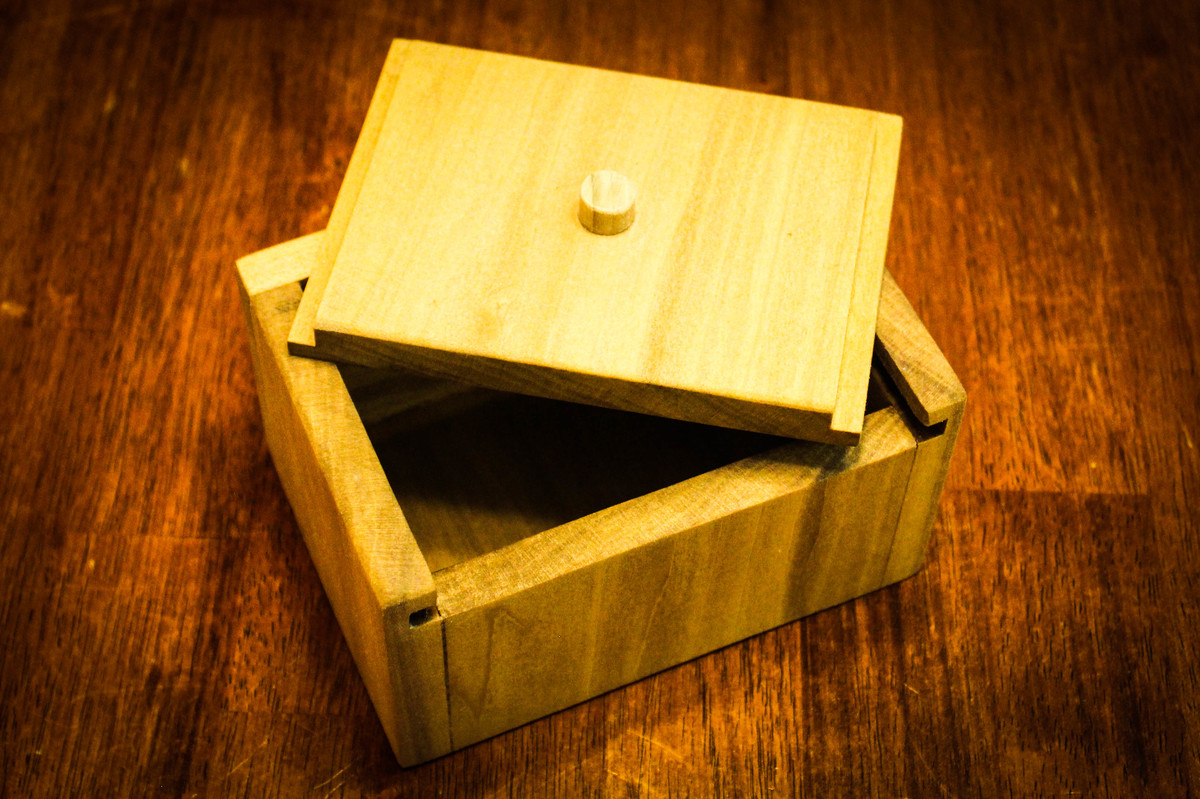
This is one of my favorite puzzles so far. You are given 8 blocks that must be placed in a box. They will fit and the box will be "totally filled." Once you are done, slide the lid on the top to complete the puzzle. Your test subjects might feel pretty smart by knowing that they solved this puzzle within a few minutes. However, you have a surprise. Pull the extra piece from the lid and tell them to place it in the box. I've tested this puzzle with 20 people so far and the common response is "No Way!". But yep, it can be done.

This video shows the solution but doesn't answer the why. Do you see a difference?

https://youtu.be/D8V0wRFAoz8


Estimated Cost
Besides the box, everything was built with scrap wood.
Estimated Time Investment
Afternoon Project (3-6 Hours)
Finish Used
Oil
Recommended Skill Level
Beginner

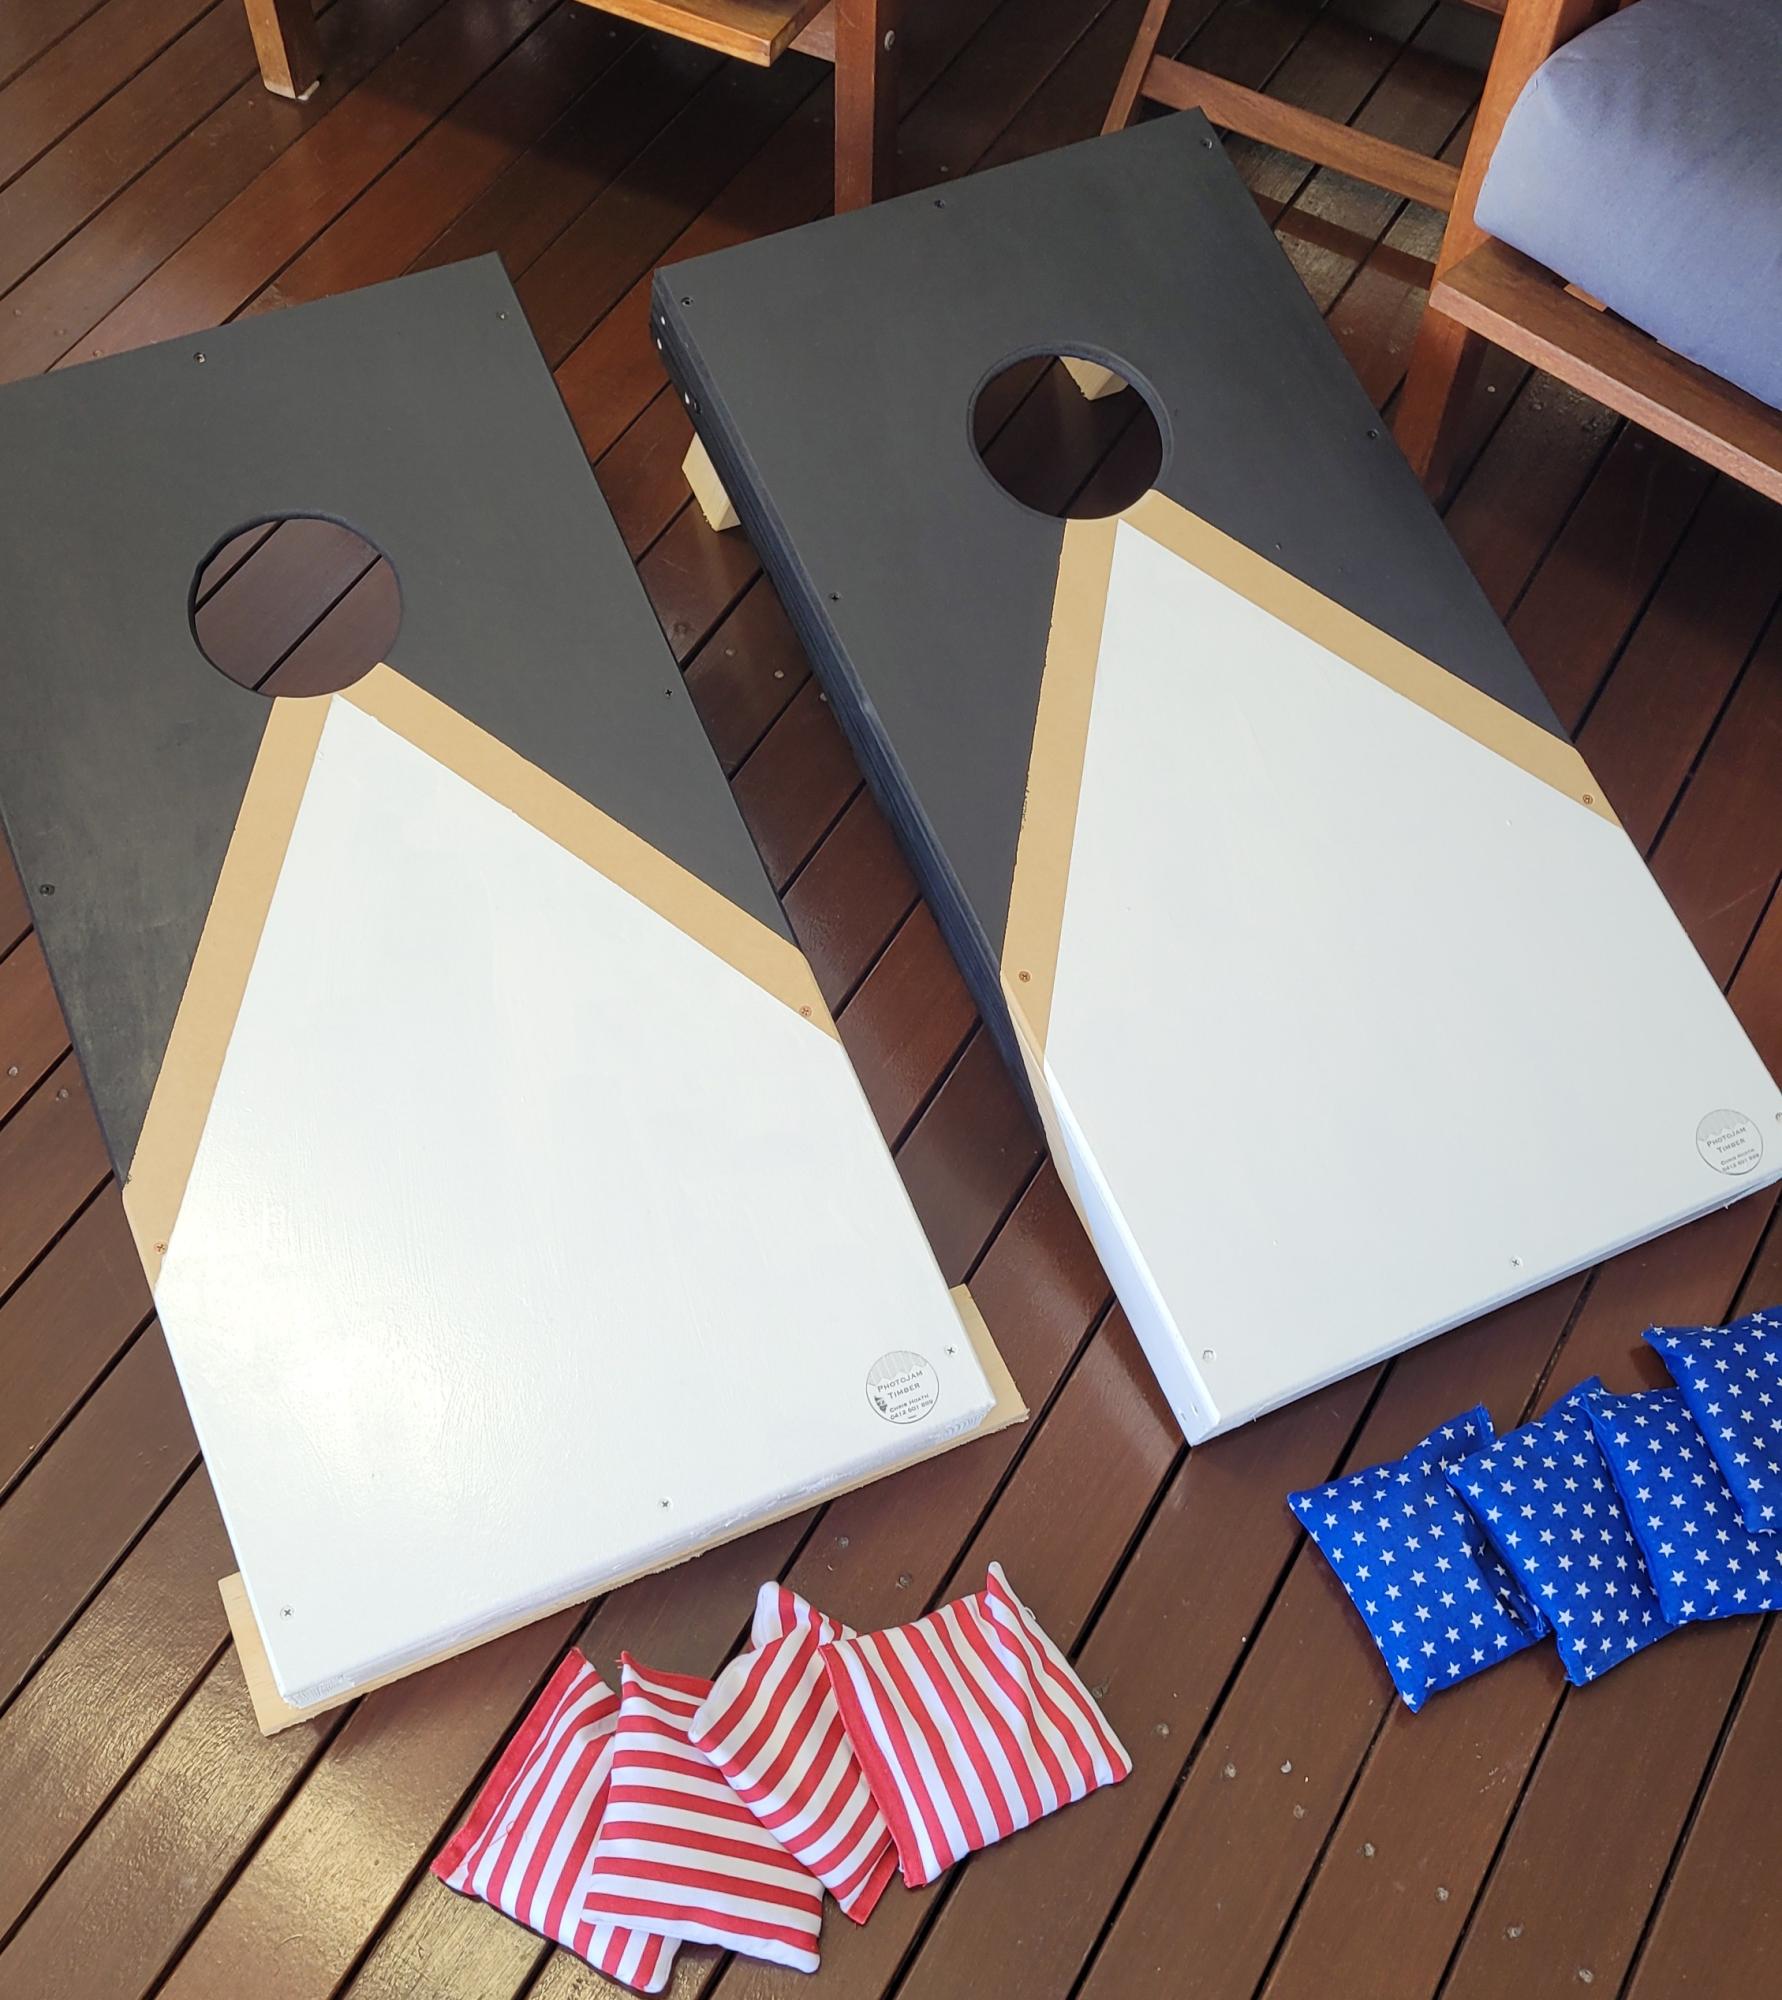
Corn hole

Another great tutorial and project done. Thanks Ana

Comments

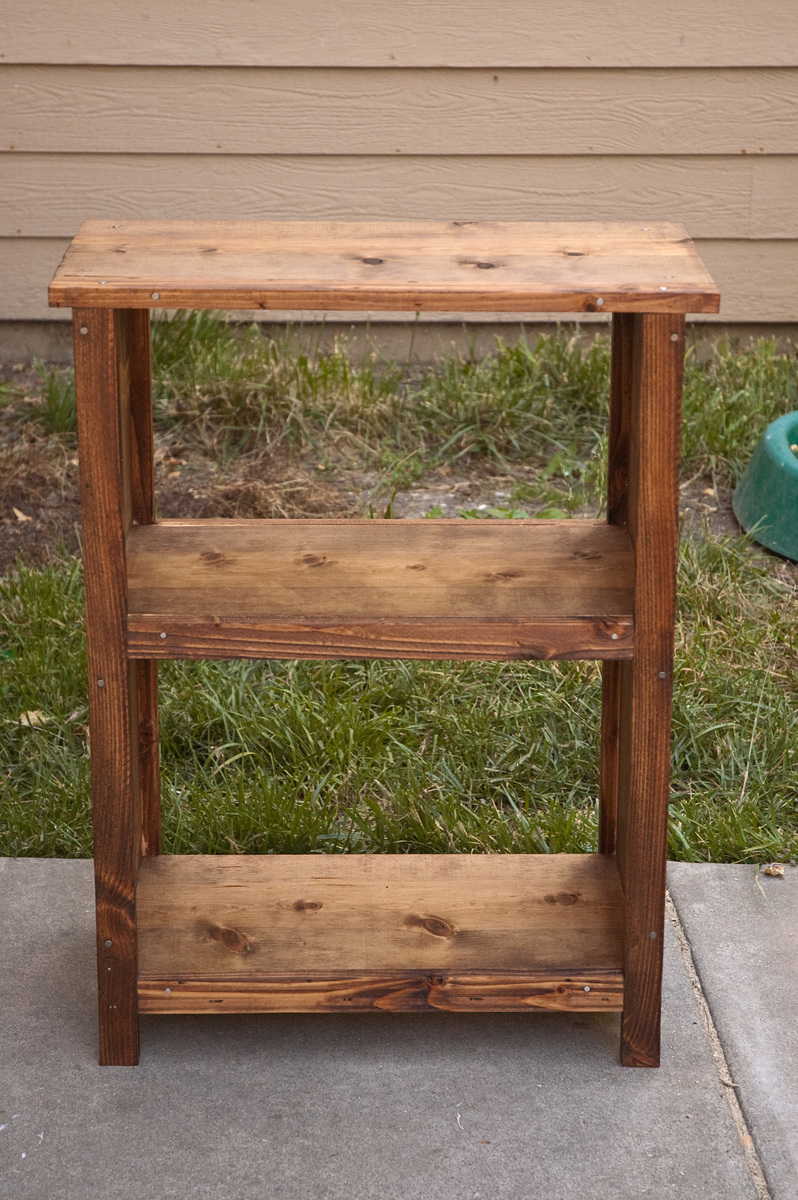
Simple Bookshelf

Submitted by binah06 on Thu, 05/26/2011 - 18:47

Came together pretty easily. Took about half a day.

Built from Plan(s)
Estimated Cost
$20 for wood, $20 for screws, nails, sandpaper and stain
Estimated Time Investment
Afternoon Project (3-6 Hours)
Finish Used
Minwax stain in Provincial. Tung oil as a finish. Might put a better finish on later.
Recommended Skill Level
Starter Project

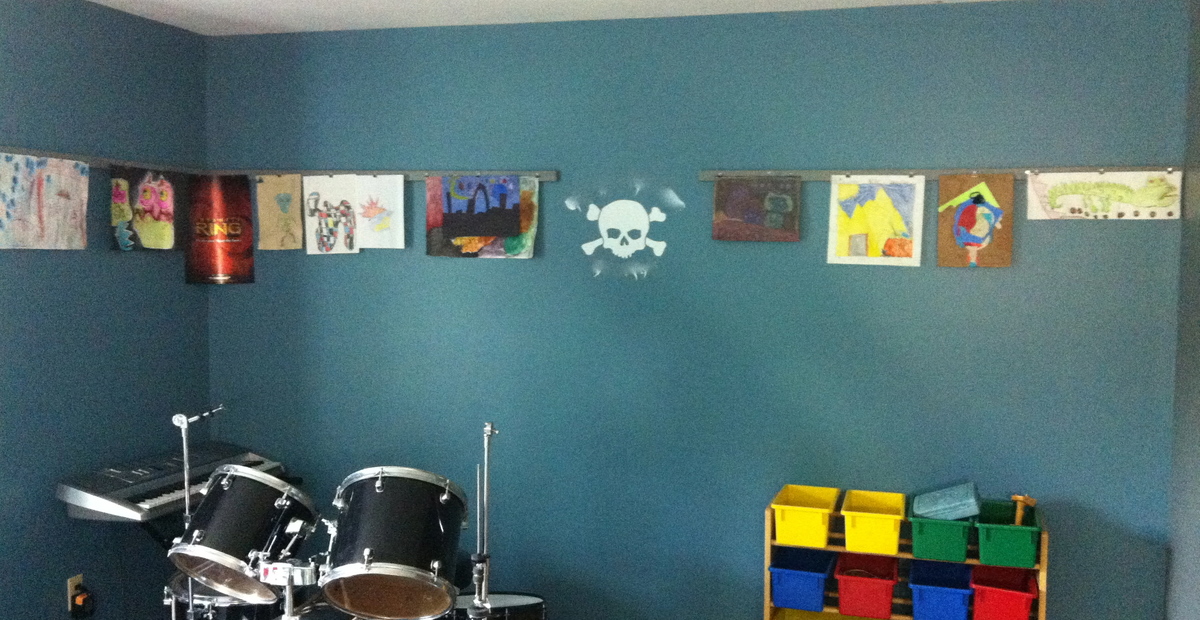
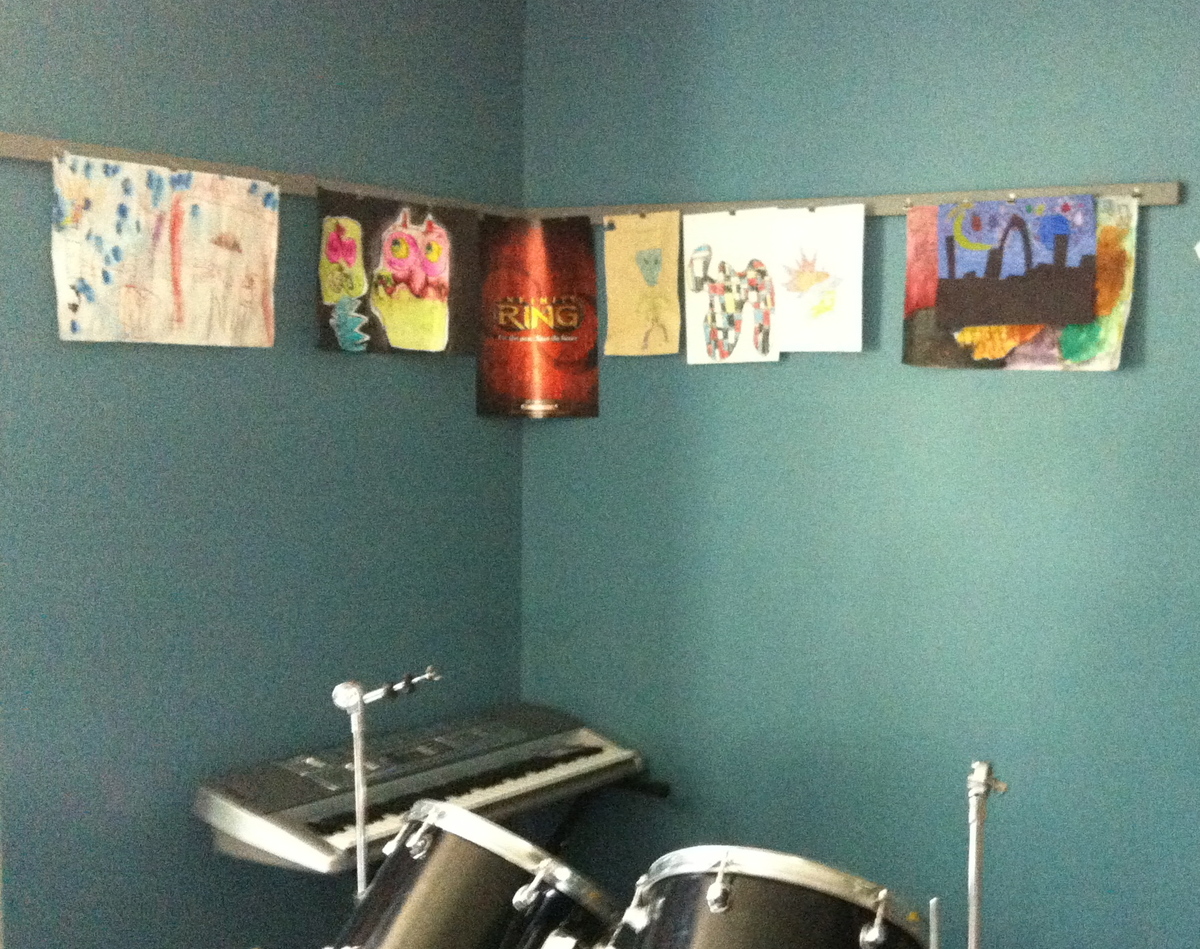
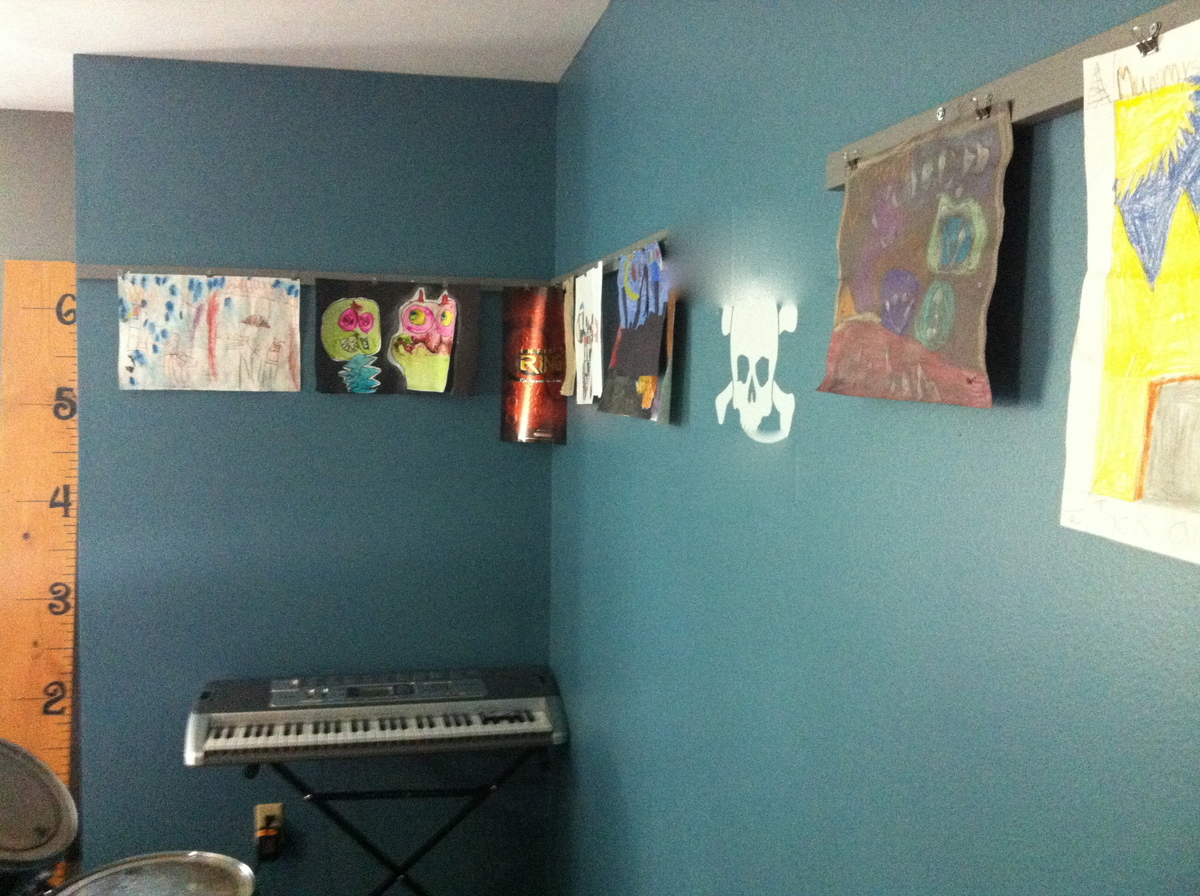
Clip Rail Gallery

Submitted by Debi G on Wed, 07/17/2013 - 09:16

My son and I both enjoy changing out the artwork he chooses to display in his bedroom. We will be making another clip rail for the kitchen, right above the row of coat hooks. Waiting for the paint to dry is the most time consuming part of this project. Cheap & easy!

Built from Plan(s)
Estimated Cost
$4.00 for clips and board
Estimated Time Investment
An Hour or Two (0-2 Hours)
Finish Used
Painted to match a different wall of the room.
Recommended Skill Level
Starter Project

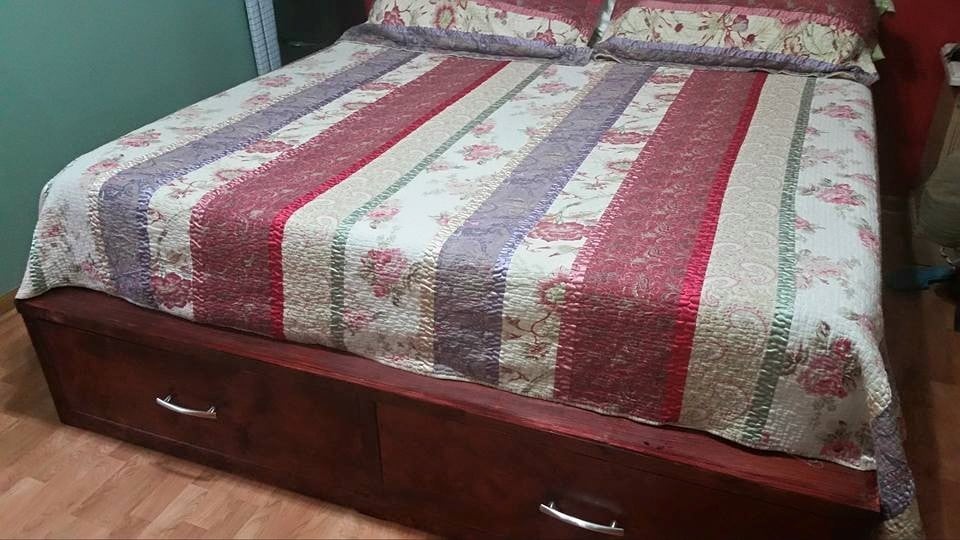
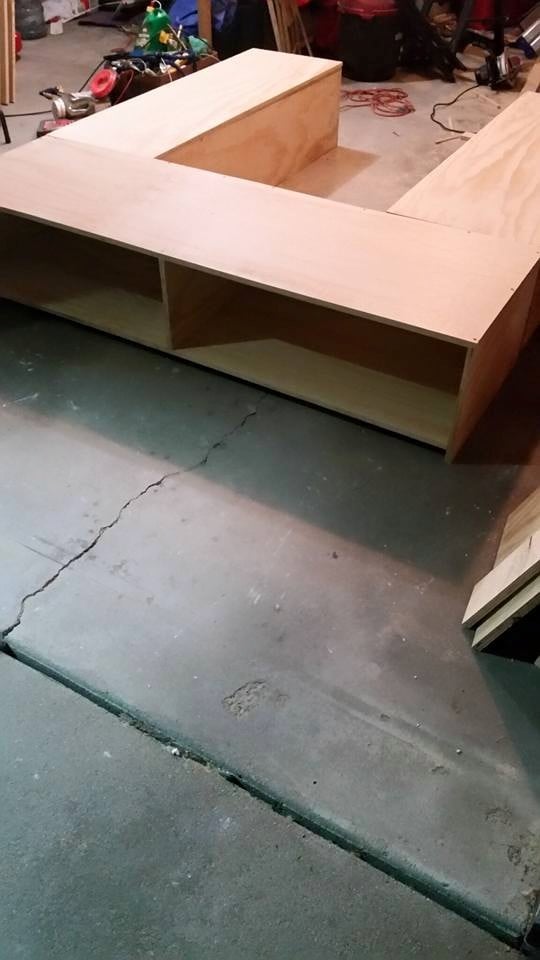
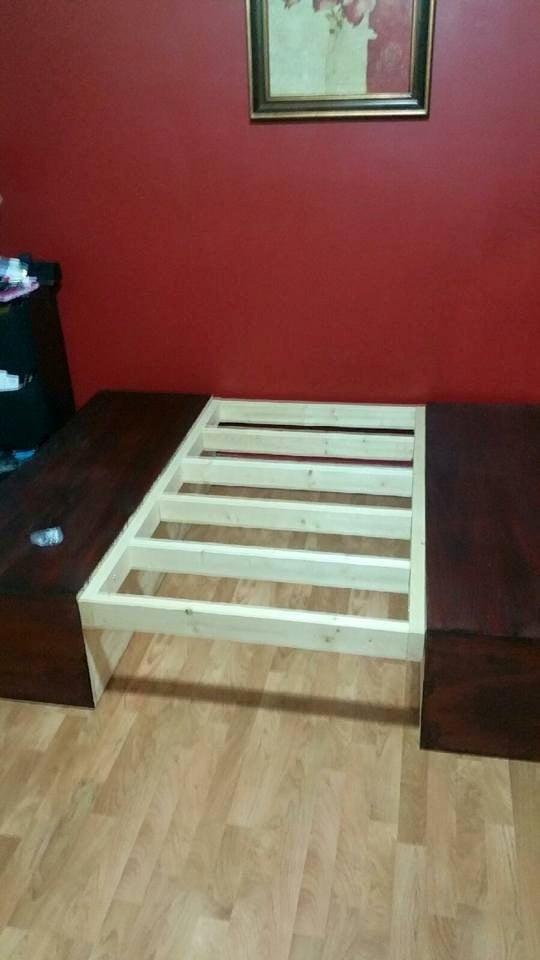
King Storage bed

Submitted by Pbelton40 on Mon, 07/20/2015 - 06:57

From start to completion, it was exactly two weeks.  One of those weeks, I was sick and didn't get a chance to do much.  I believe we picked the hottest days to work on this project, so we were taking more breaks than actually working.

Built from Plan(s)
Estimated Time Investment
Week Long Project (20 Hours or More)
Finish Used
Bombay Mahogany stain
Recommended Skill Level
Beginner

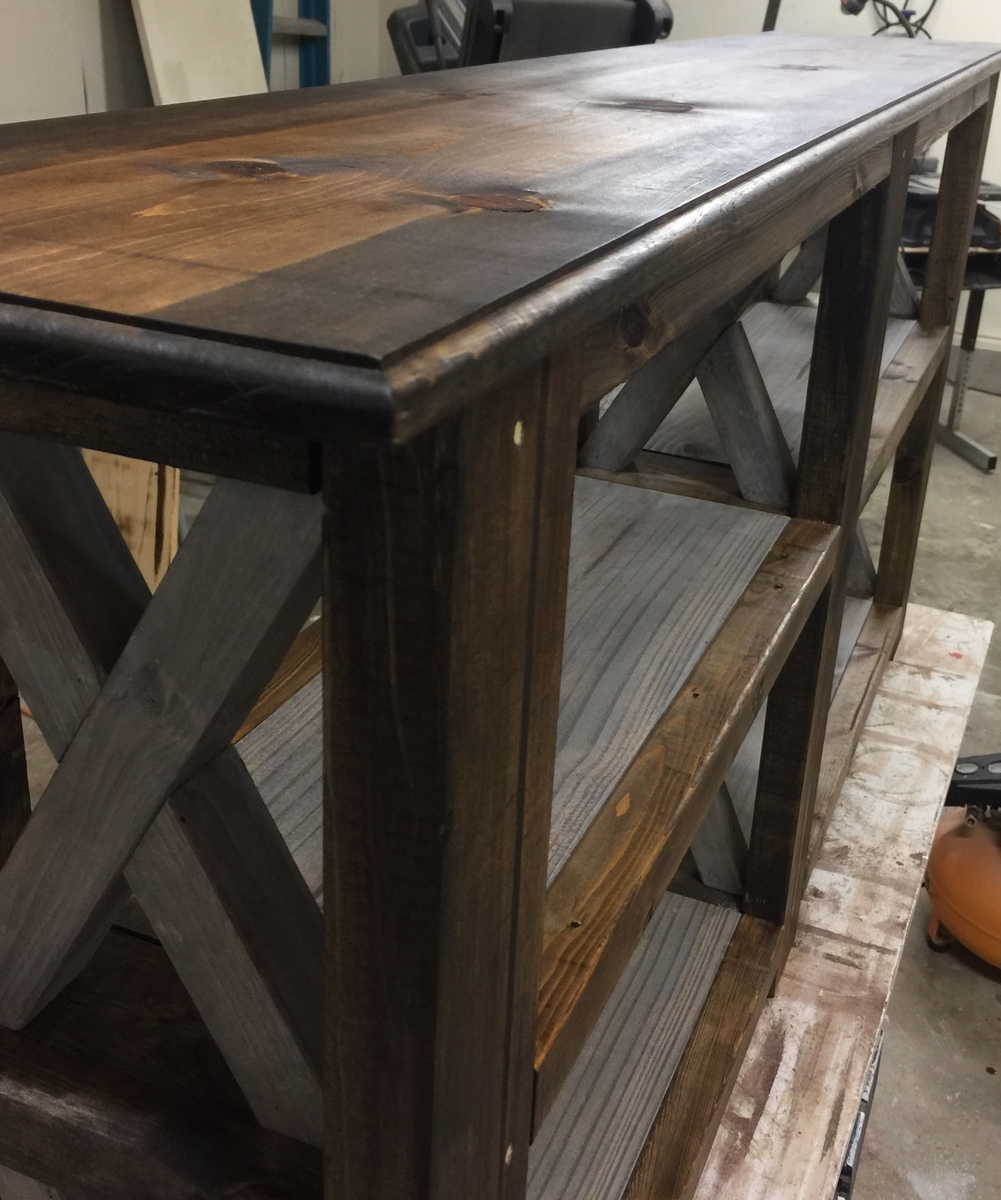
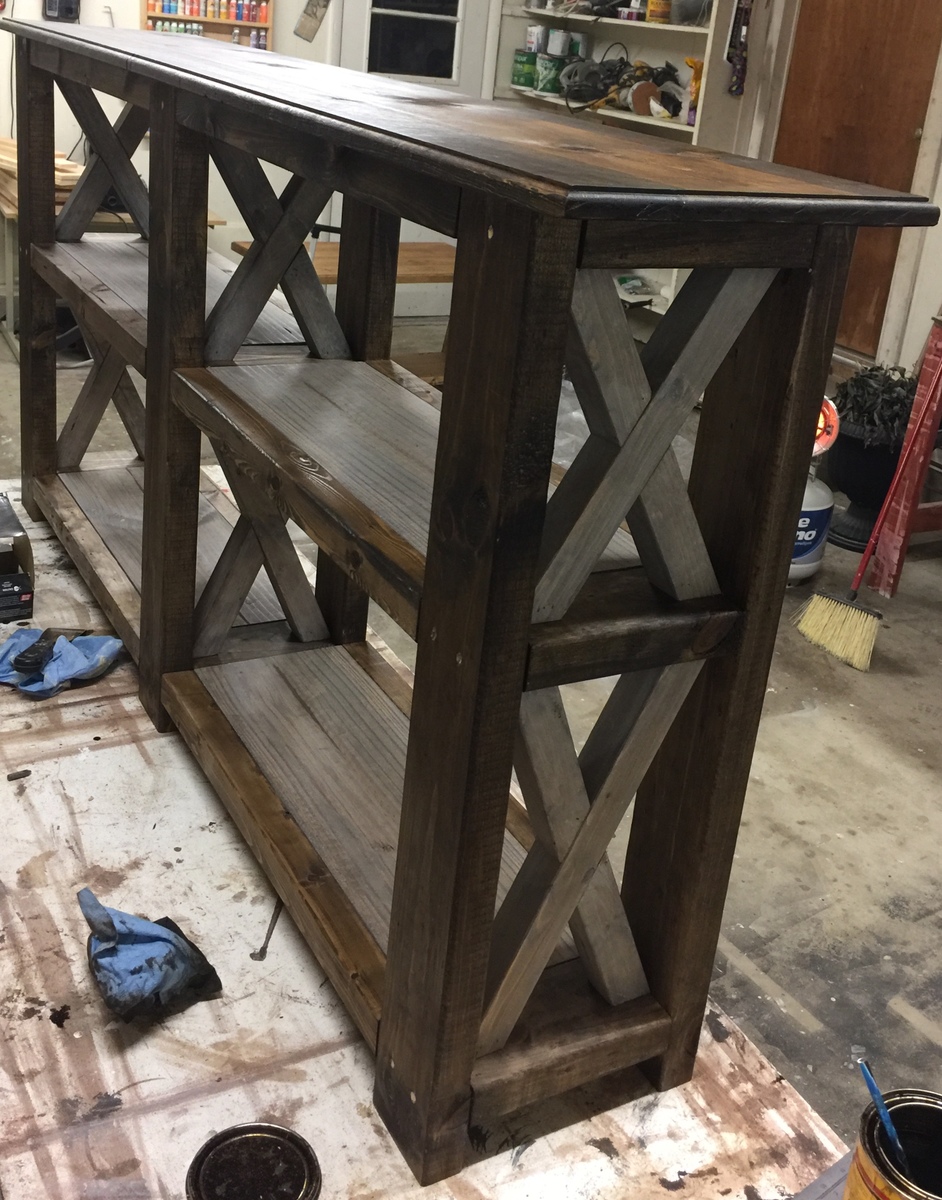
Console X Table

Submitted by Worrell16 on Wed, 02/14/2018 - 19:43

A lot of fun to try.  X’s were challenging, and used the pickled white washed stain for the first time.

Estimated Cost
$75
Estimated Time Investment
Afternoon Project (3-6 Hours)
Finish Used
Simple dark walnut with white wash stain.
Recommended Skill Level
Beginner

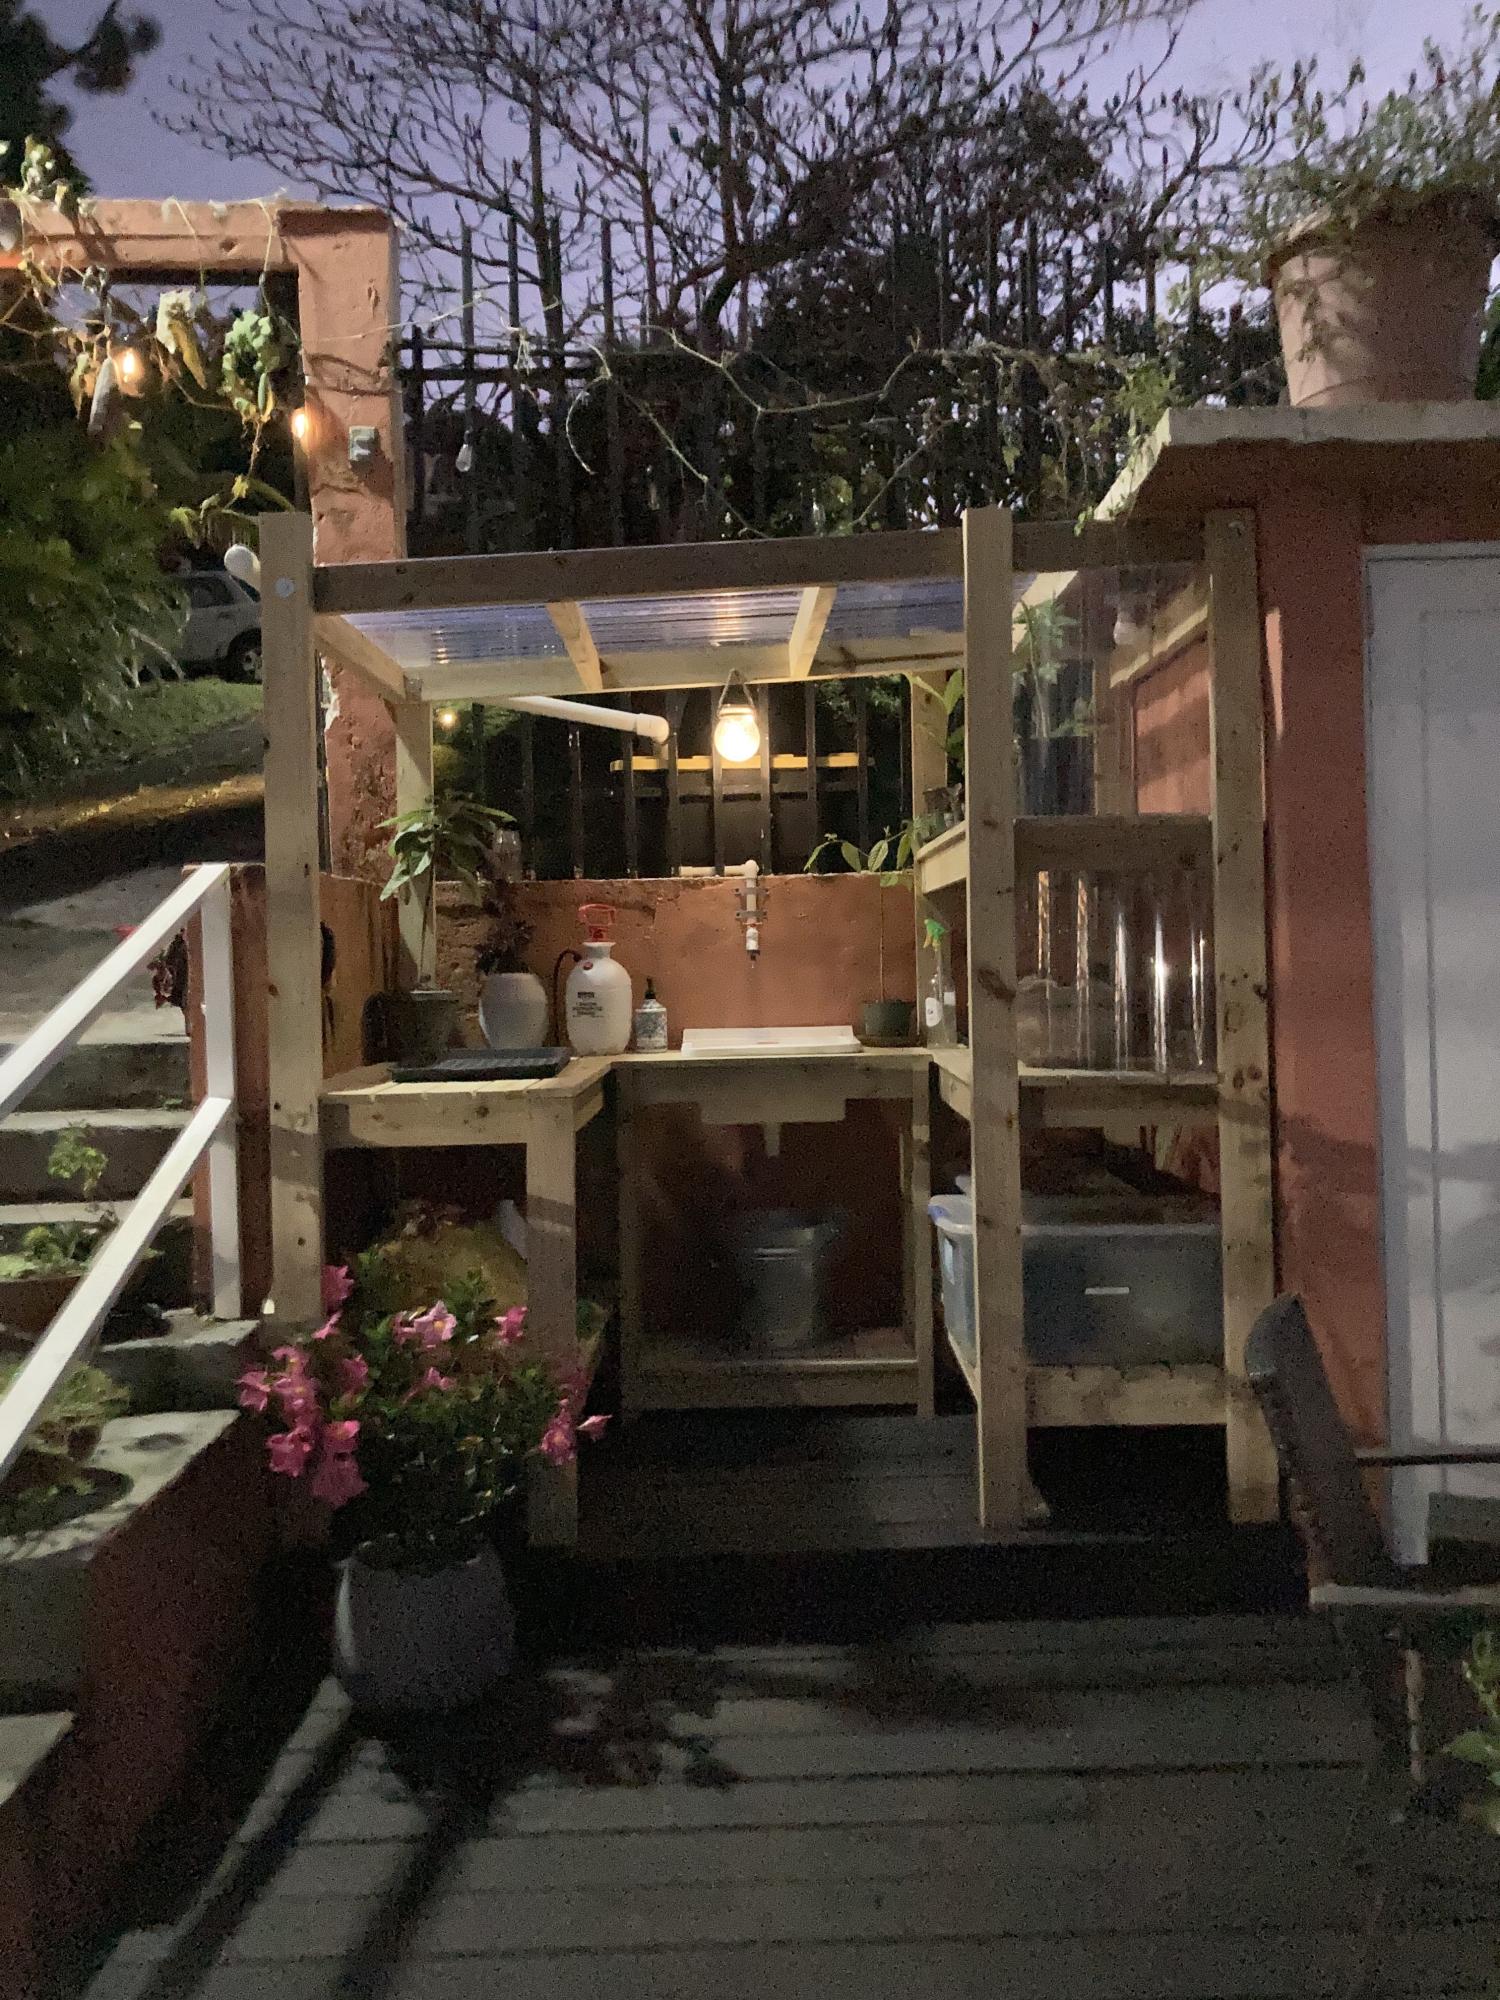
Pottling bench/greenhouse/water collector

Submitted by richvide0 on Tue, 03/15/2022 - 08:58

I modified the simple potting bench into 3 components. The potting bench, a place for seedlings and a sink.

We get a ton of rain up here in the mountains of Puerto Rico. So much so that it tends to drown seedlings if they aren't covered. So I took the Simple 2x4 Potting Bench plans and modified them to fit the space I had picked out for the project. Since we get so much rain I wanted to collect it. So I added a clear pvc roof and with a gutter made with pvc pipe which flows into a 27 gallon storage container. This disperses into the sink. There is a bucket under the sink to collect the water.

Note: I had to add a 2x4 support under each shelf. I made the two big shelves a little longer so it needed it to support the 1x4s.

I am an avid gardener so I should have given myself this gift after years of not having any level/proper space to work.

Comments

Outdoor Screen

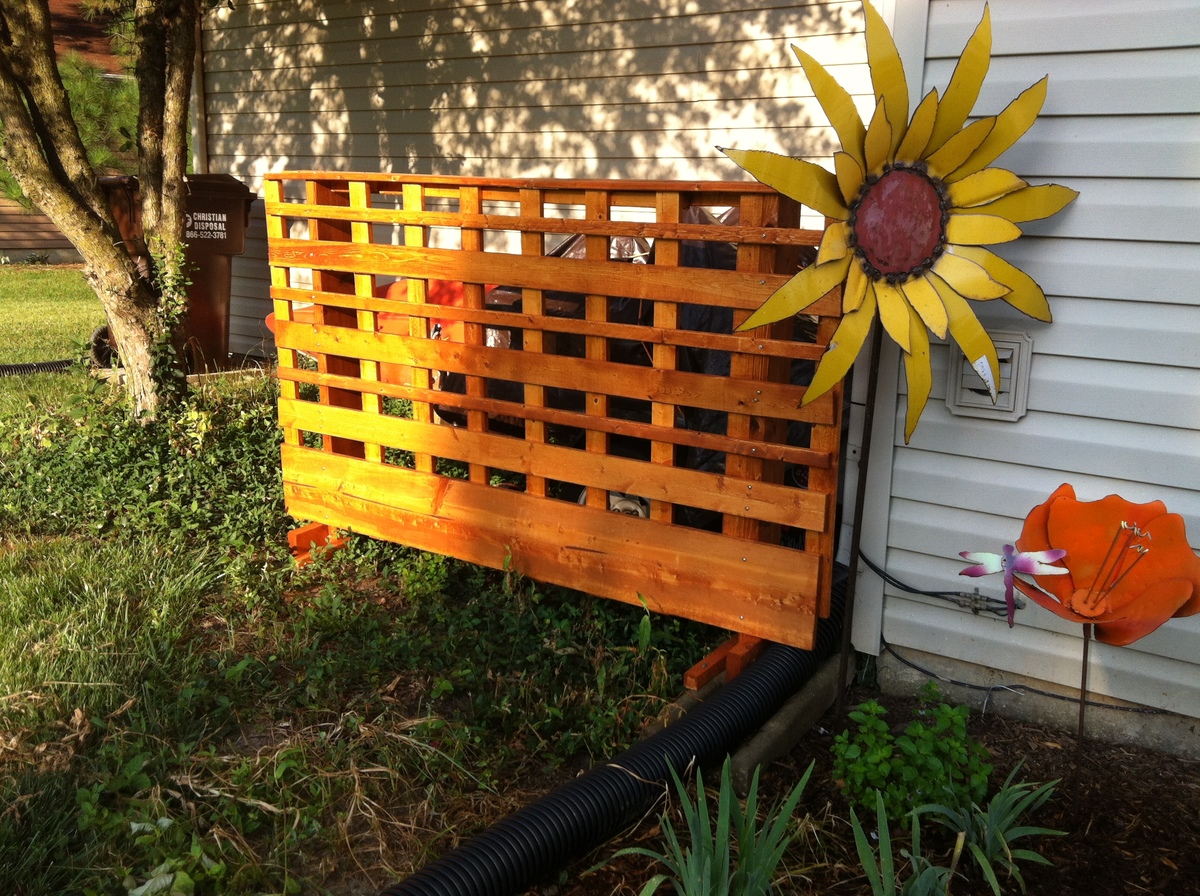
Submitted by Debi G on Fri, 07/19/2013 - 06:30

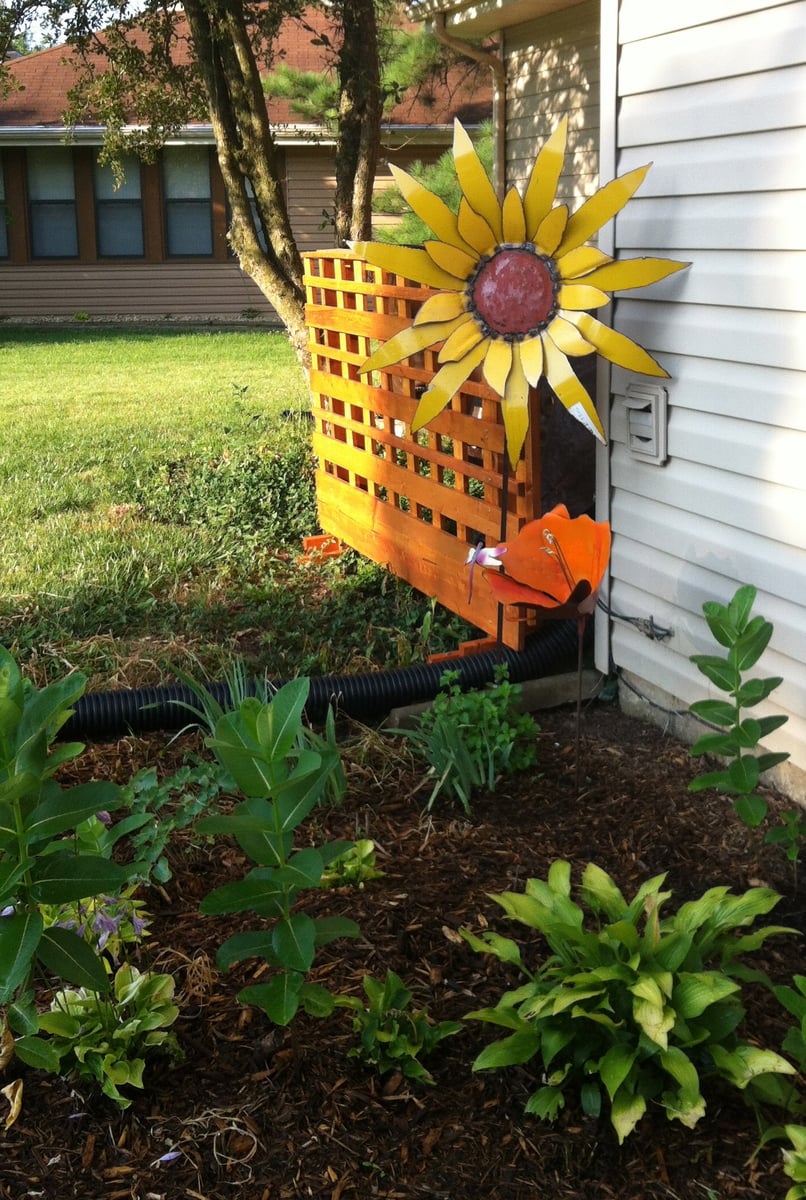
Technically, we are not allowed to store trailers or boats outside of our garage. Since our back yard faces a popular path for runners, pedestrians and cyclists, I came up with this solution and we have not been reported.

The size isn't ideal (peekaboo canoe), but I went with boards I already had. I didn't sketch this out ahead of time, just pieced it together using a 6" board as my vertical guide and a 3" board as my horizontal guide.

Instead of digging post holes, I built it onto feet so that it's free-standing and portable. We can move it any time we need to get the trailer out from behind it.

Next summer, I may put planter boxes on top and build a second panel as well.

Estimated Time Investment
An Hour or Two (0-2 Hours)
Finish Used
outdoor stain with sealer
Recommended Skill Level
Starter Project

A version of industrial closet in white, plus two nightstands!

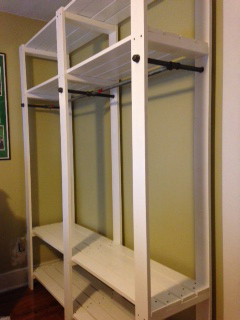
Submitted by kalabarge on Thu, 07/23/2015 - 06:59

My husband and I live in a 1935 house with very little closet space, so this is perfect for us!  We painted it white to match our molding and bed, and adjusted the design a bit to fit the space.  We made it 7 ft. tall to match the height of the molding on the door next to it (which turned out well for us, as you can hang pants without them touching the bottom shelf).  We had less than 6 ft. of space for the width, so had to do without the center shelves.  We used 1/2 in. pipes because we needed to use a cross piece in the middle to connect the pipes, and the hardware store only had them in 1/2 in. sizes.  Decided to leave the screws exposed to go with the exposed pipes.  It all worked out very well!  So much so, that I decided to make two matching nightstands out of the extra wood we bought (all by myself smiley)!  Thank you, Ana!

Built from Plan(s)
Estimated Cost
About $200.
Estimated Time Investment
Weekend Project (10-20 Hours)
Finish Used
White semi-gloss interior paint. Used small roller for smoothest finish.
Recommended Skill Level
Beginner

4x4 Table w/ "Restoration Hardware" Finish

Submitted by AndyAlva on Fri, 09/06/2019 - 12:57

Loved how rad this table turned out. I wanted a mad beefcake table top -- so I chose 2x12s for a more industrial look. To get perfect seams and a completely flat surace for the table top, I planed each 2x12 multiple times, followed by many sessions in a jointer to get my edges to a beautiful 90 degrees. Once I had the top measured out to the length and width I wanted, I ripped the pieces down closer to a 2x10. Following that, I domino joined the pieces with a crap-ton of glue and clamped it for 2 days. To finish, I created an original 5-step stain process (including white wash) to get a weathered, Restoration Hardware-inspired final look. So stoked on it! (Wifey loves it too, so that's a huge win). 

-Andy 

Built from Plan(s)
Estimated Cost
$150
Estimated Time Investment
Week Long Project (20 Hours or More)
Finish Used
Minwax Stains Used:
- Jacobean
- Classic Grey
- Weathered Oak

Varathane Stain:
- Briarsmoke

White Wash -- 80% Walmart Matte White, 20% Water
Recommended Skill Level
Intermediate

Comments

Animal Print Sling Chair

Submitted by jamie_C on Wed, 06/01/2011 - 21:05

Couldn't wait to build this when I saw the post go up- I bought supplies right away! Got this chair done throughout one Saturday. The sewing part took the longest (I've only used sewing machines maybe 4 times in my life! I got one for Christmas 2 years ago.. thought maybe it was time to break it in!!) Got the fabric on sale at Joann's for $8 and spent about $8 on cedar 1x2's. Did the entire project with very little help- I am quite proud of myself! I am pretty excited that I was able to make the fabric sling portion!

My 2 year old was SUPER excited about this chair... he got so upset waiting for me to get the sling put in and was crying until it was ready for him to sit in! We had a movie night in the backyard and set up this chair under our tent canopy. He loved it!

Estimated Cost
$20
Estimated Time Investment
Afternoon Project (3-6 Hours)
Finish Used
Used a clear poly spray for protection. This wood didn't need anything else- it's beautiful as is!
Recommended Skill Level
Beginner

Farmhouse table with matching bench and rooster centerpiece

Submitted by Ctarbell03 on Sat, 07/20/2013 - 14:23

Saw this table after a few people did it themselves and absolutely loved the look. I decided on using the 4x4's for the stretchers because I really liked the heavy timber look it gave to the table. This is my biggest project so far and I'm very excited how it turned out. Now I just have to make the other bench to finish it all off.

Also have to give credit to http://tommyandellie.com/index.php/2012/01/13/new-and-improved-farmhous… - Definitely amazing step by step plans on here, I just modified it a little to add a little more space on the table top by adding another 1x8 in the middle

After I got the table done I saw the plans for the reclaimed soda crate caddy so I used some scrap wood to make a rooster centerpiece for napkins and silverware.

All in all I'm very happy with everything.

Estimated Cost
150
Estimated Time Investment
Week Long Project (20 Hours or More)
Finish Used
Red mahogany stain and a couple coats of poly to give it a little shine
Recommended Skill Level
Intermediate

Comments

coltonmckey

Sun, 07/28/2013 - 13:45

Nice work!! How did you get your joints on the table top to line up so perfectly?! It looks great.

Patio Revamp, Part 2

Submitted by BrookeEye on Mon, 07/27/2015 - 08:54

We needed a new table for our patio, so we looked no further than Ana's plans. I was going back and forth deciding between various table plans until I saw the plans for the Providence Table and Providence Bench, and it was love at first sight. The whole project turned out to be a relatively easy build for us, and we are just about as "amateur" at woodworking as it gets! We used white pine for the entire project. We shortened the table about 18 inches to fit our space. It is so gorgeous, we have gotten tons of compliments from guests so far and we absolutely love it! Thanks, Ana!!

Estimated Cost
$70 for the wood
$20 for the paint
$15 for the stain
$20 for the Kreg blue kote screws and brushes;

$125 Total.
Estimated Time Investment
Weekend Project (10-20 Hours)
Finish Used
Behr Exterior Paint in Pure White for the bottom;
Minwax Classic Gray stain for the top boards with Minwax Spar Urethane (for exterior use) in Satin as a sealer (on the top only).
Recommended Skill Level
Beginner

Comments

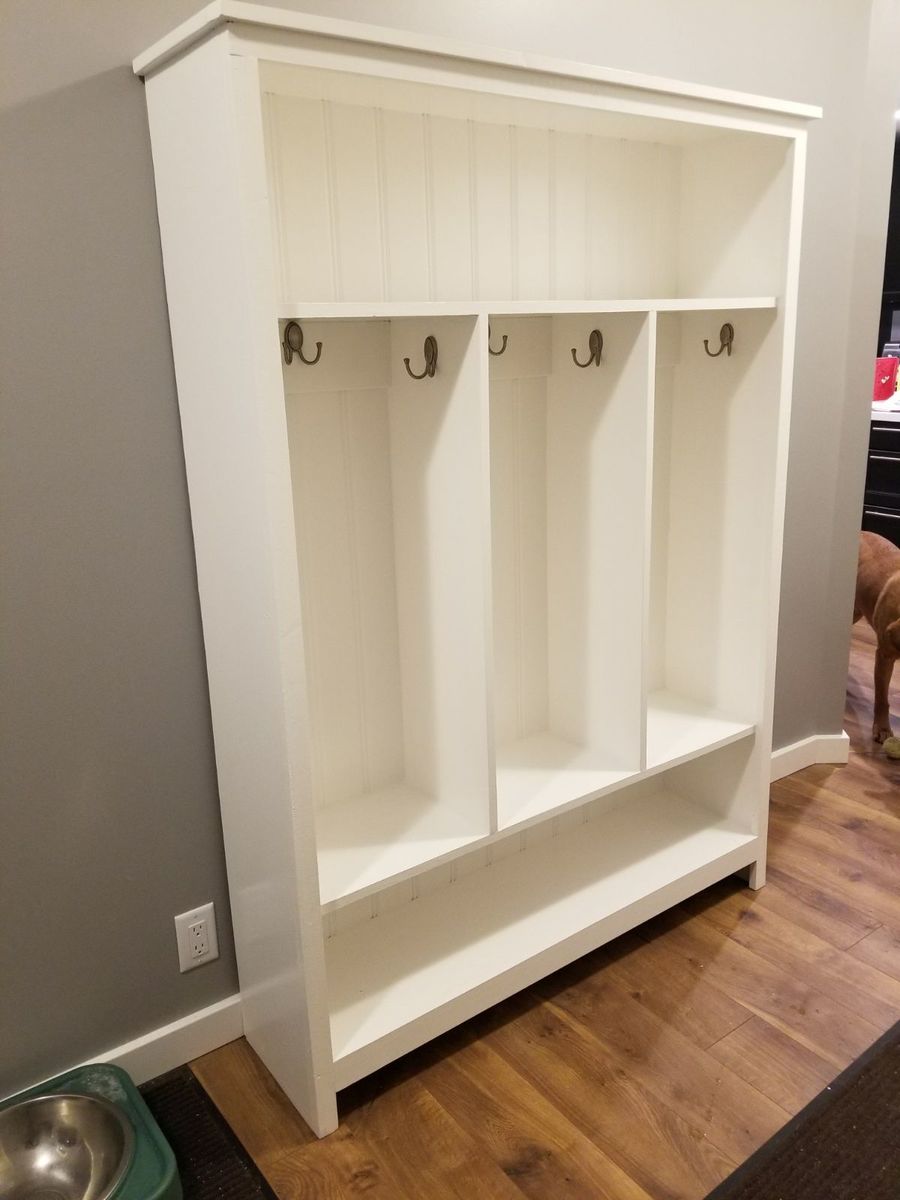
DIY Locker

Submitted by Cjmoore27 on Sat, 02/24/2018 - 07:57

Thank you so much for the well explained plans! We had HD do all our 1x12 cuts so it would fit in the car (they were happy to help). We ended up painting it in Polar Bear White Semi-Gloss, and It turned out great! 

Built from Plan(s)
Estimated Cost
$230 (had to buy the kreg jig and paint)
Estimated Time Investment
Weekend Project (10-20 Hours)
Finish Used
Polar Bear White Semi-Gloss Behr Premium Ultra Latex
Recommended Skill Level
Intermediate

Outdoor Canopy Daybed Modified

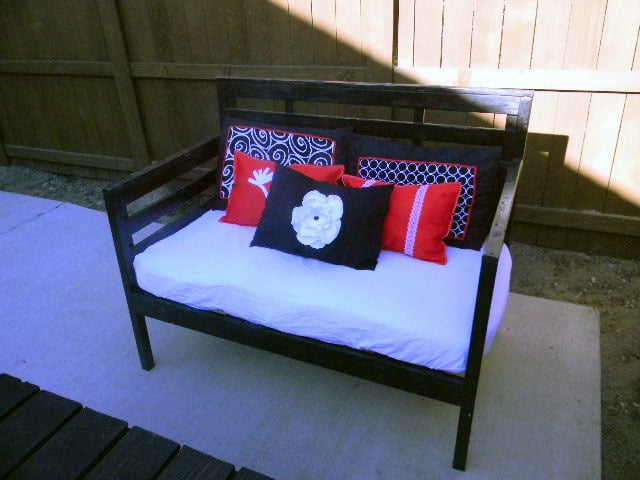
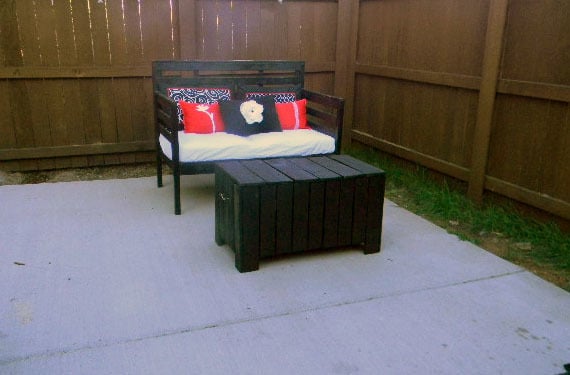
I really loved the outdoor daybed, but after discussing it with my husband we decided to go without the canopy feature. We, also resized the bed from a twin size to a toddler size (which happened to be almost the same dimensions as our love seat). In order to make the daybed without the canopy, I had to put the top pieces on last in order to have them go all the way from edge to edge. All in all, this was a super easy project, and I had a lot of fun doing it!

I got the crib mattress free of craigslist, and since a crib mattress is already covered with vinyl, I didn't do anything extra to waterproof it, and the fabric came from the home decor remnants section at our local fabric store for $4 a yard, which I applied a 40% coupon to. The throw pillows are not the ones we will be using, but I haven't made those yet, so these are just for looks :)

Estimated Cost
I spent a total of $63 with stain, screws and enough wood left over to make a table to match
Estimated Time Investment
Day Project (6-9 Hours)
Finish Used
I used minewax stain in ebony, and applied several coats to get the look I was going for... I don't typically like stain, and I probably won't use it for a project like this again...
Recommended Skill Level
Beginner

Comments

brookifer86

Mon, 06/06/2011 - 13:56

I love this! The fact that it's bench-sized, that it fits a waterproofed crib mattress, all of it! I'm totally doing something like this with the crib mattress we got secondhand.

CreativeBaggage

Sat, 06/11/2011 - 00:13

I think now that I have done this one, I may do one with the canopy for my daughter's room... Ana has so many amazing plans, I have the hardest time making up my mind on anything! But, so far this has held up great.

Tanya (not verified)

Tue, 07/26/2011 - 11:33

Going to be making the outdoor daybed for my daughter this weekend and think this will make a very great reading bench for her room! We are going to make a bunch of throw pillows out of old sheets and just make it nice and comfy looking!

CreativeBaggage

Tue, 07/26/2011 - 11:38

I absolutely love that idea, and the thought of re-using old sheets to make new pillows. For these ones, I used some fabric I had around and a bag of fill, but when I ran out I was in search for old teddy bears no longer being played with :) I would love to see pictures when you are finished!

(mini) Camp Loft Bed with underneath storage

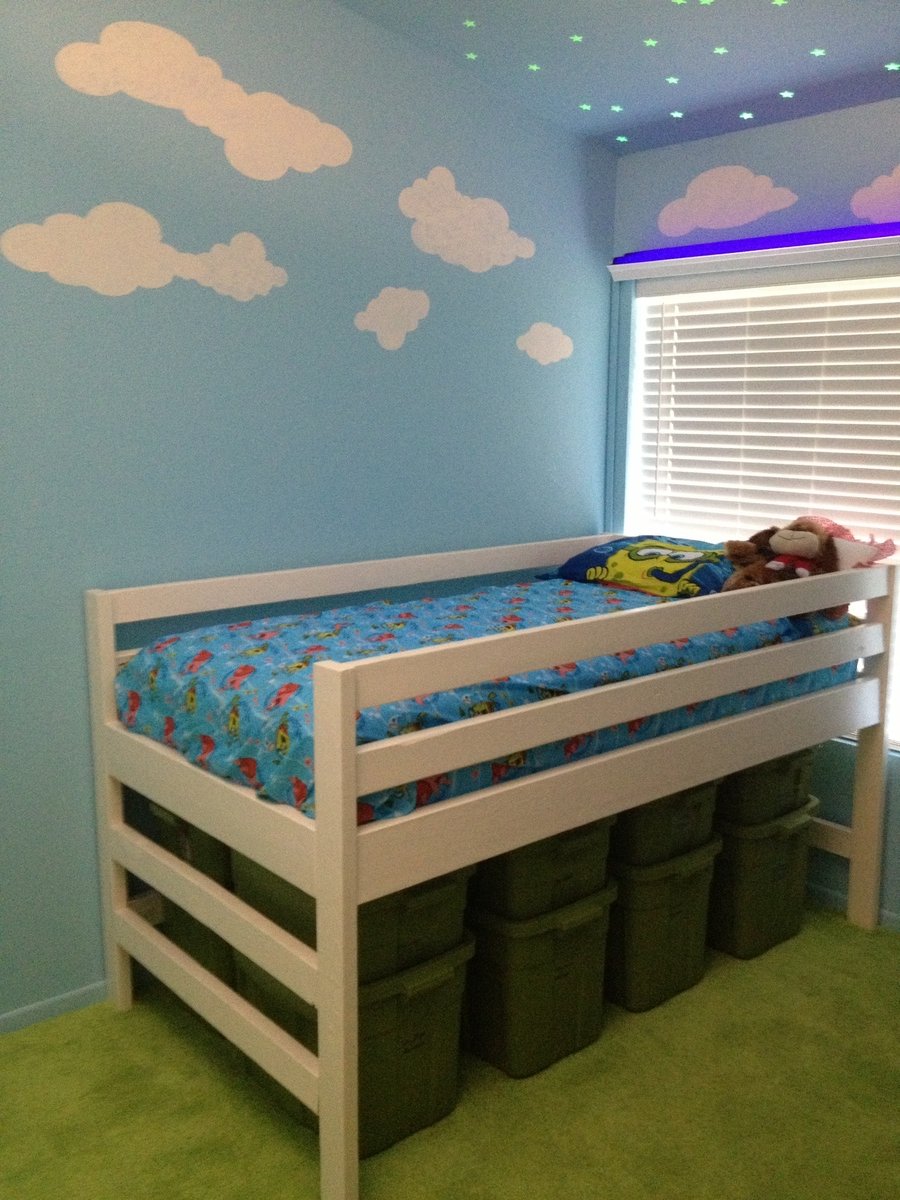
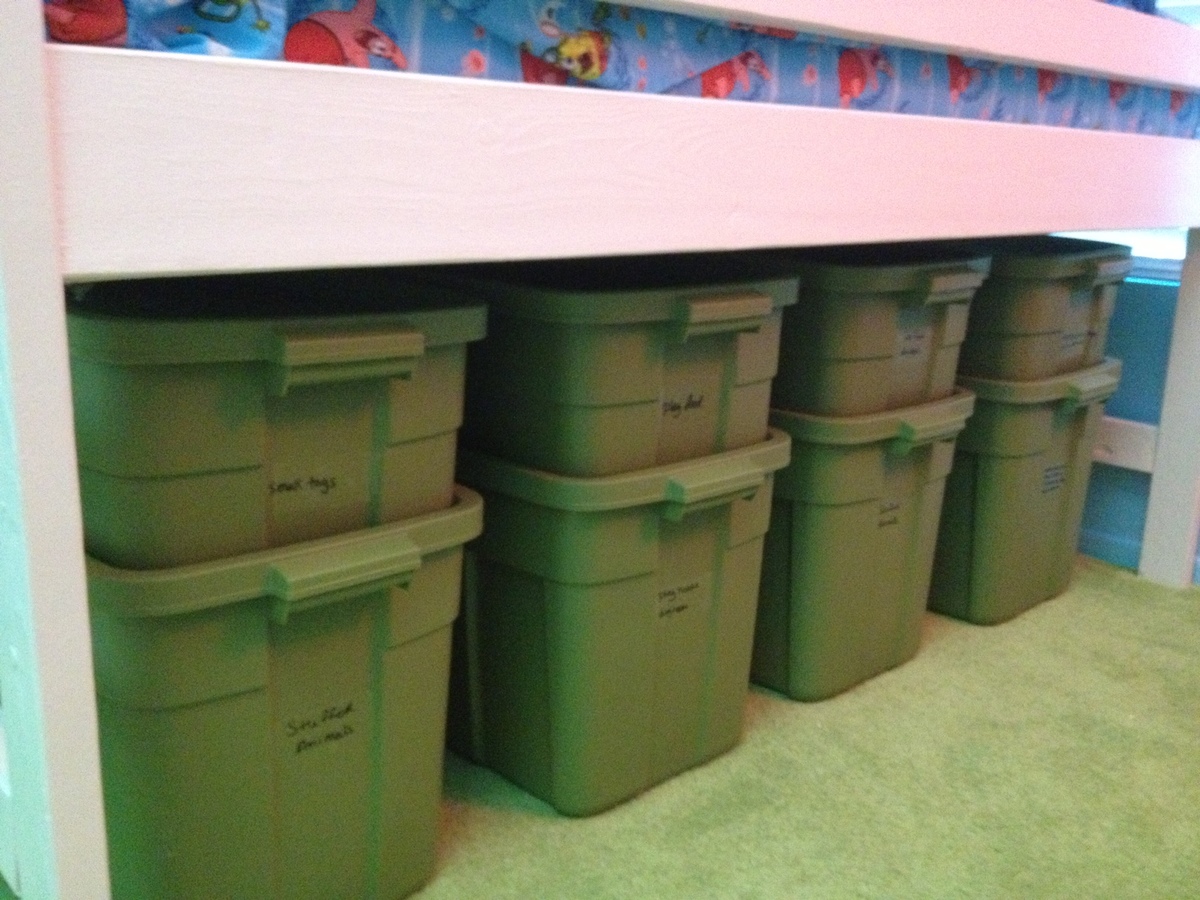
I used Ana's Camp Loft Bed plans but without stairs and lower to the ground. Our room is super small and there wasn't enough room for stairs. We also wanted to be able to lift her into the bed in case she falls asleep on our laps, etc. Our daughter is 5 and the ladder works fine. We needed as much storage for toys, etc. as possible we made it 44-1/2"H - that left 26"H underneath, just high enough to stack one 18 & one 10 gallon Rubbermaid container underneath (Home Depot). x7 = 196 total gallons of storage! She loves to lay sideways (with Shorty2) and a pillow to her back to watch SpongeBob on the TV mounted on the opposite wall.

I kept blowing out the pocket holes on the ends of the boards when I used the Kreg screws that I got at Lowes. They have a slightly larger washer head. I am a cabinet installer by trade so I used some other pocket screws (which have a trimmer head) I had on hand where I could. Their trimmer head didn't blow out as easily. For the spots that I had to use the longer Kreg screws I just grinded off the "washer" outer ring of the screw using my bench grinder. After doing that, they worked fine.

I reinforced everywhere I could (& where you couldn't see them) with L brackets. Especially under each step of the ladder.

I was originally going to put a curtain across the bottom but I did not allow enough clearance for the tubs to be slid out. It probably would have just ended up being a hassle to close and just left open all the time anyway.

My wife got the honor of painting - I hate painting!

Thanks Ana...Good Luck!

Estimated Time Investment
Weekend Project (10-20 Hours)
Finish Used
White paint
Recommended Skill Level
Beginner

Floating Shelves

Submitted by wmbnbama on Fri, 07/31/2015 - 08:20

Floating shelves for small master bathroom.  1x2" with thin poly on top and bottom.  Ripped a 1x4" to cap the front.  Stained with dark walnut. 

Estimated Time Investment
Afternoon Project (3-6 Hours)
Finish Used
Dark Walnut with top coat of poly.
Recommended Skill Level
Beginner

Two tone planter

Submitted by Markb25 on Mon, 04/18/2022 - 11:49

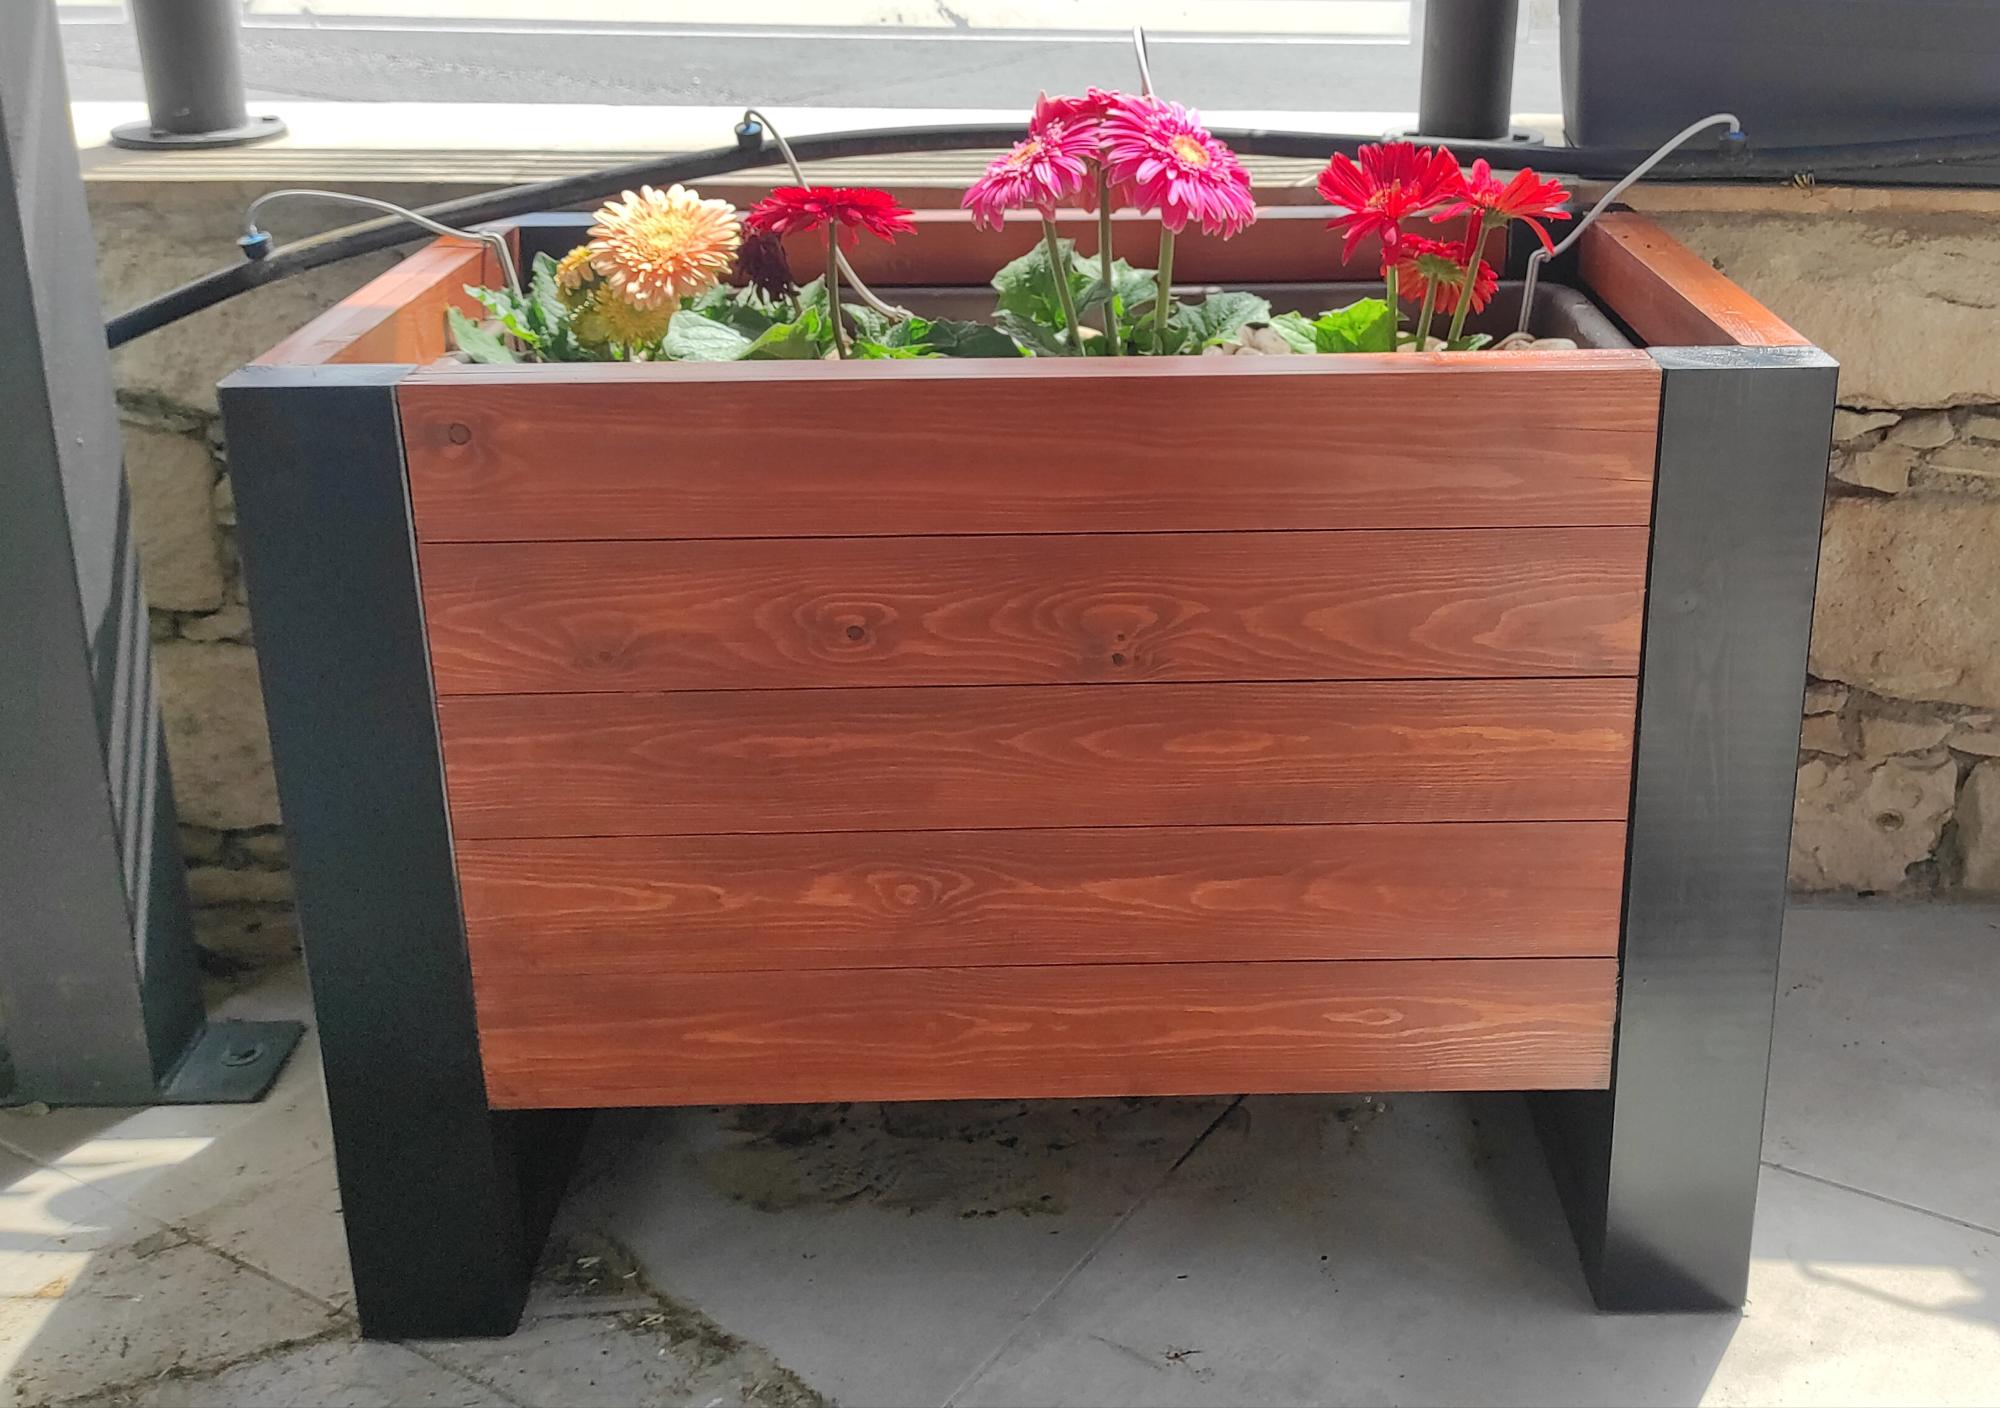
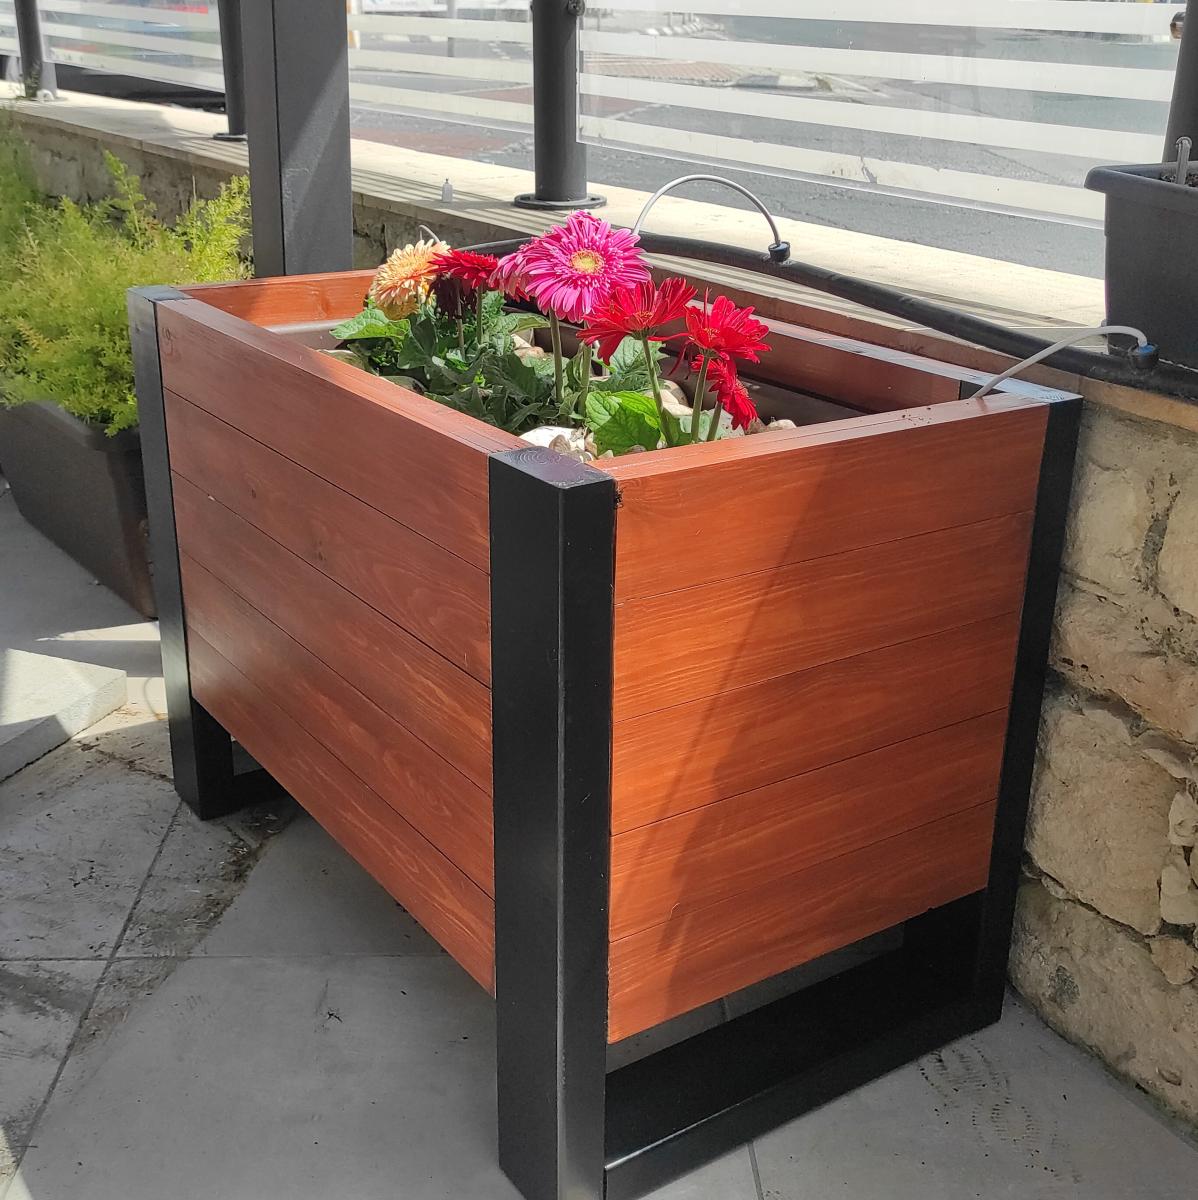
Nice and simple planter, the frame uses 2x4 for the legs with 2x3 to frame the lower section internally, along with 1x2 to provide a base for plastic plant pot to sit on. The sides are use 1x4 attached internally with pockets screws and glue so there are no visable fixings ruining the look, additional strips of 1x2 are placed at the very top to give the rim a wider and more aesthetically pleasing finish. Finished in ebony and medium oak followed by three coats of Polyurethane and the addition of small plastic feet/sliders on each corner to prevent damage to the paint if slide along concrete floors.

Comments

My First Chair!

Aside from a small train table and a vegetable garden, this is my first furniture build! Sadly, I was not able to move past the first step without the help of my husband. I chose this chair because it seemed like a very simple build, but it was quite challenging, even with the help of my hubby.

This chair cost me about $34 to build. I had to buy screws, a square, top coat, and eventually a right angle clamp. The next chair should cost me $4 plus the cost of the paint.

On the next chair, we will definitely switch up steps 6 and 7. It was very difficult to screw in the screws on the very back seat slats once we attached the back slats. Also, side note, it didn't saw in step 6 or 7 which size screw to use, so we used the 1 1/4 inch screws. We used a size 8 in width. My hubby thinks we should have used a 6. I didn't even know screws came in different lengths AND widths!

Our chair ended up a bit loopsided and rough in some areas. I wish I would have sanded it more before painting it. Also, I was way off on attaching the second back chair leg, so I had to cut off a little bit of the left over 1x2 and glue and screw it to the bottom of the leg (see pic below). Then, I shaved off some of the top of that leg with my mitre saw.

Also, I initially tried making this with pocket hole screws, but quickly learned that that level of woodmaking was above my pay grade. I switched back to the 2 inch screws and it was just fine. We used wood filler to hide the screws as much as possible.

Despite how difficult this first build was, and despite how imperfect it is, I am totally in love with the chair and with woodmaking! My husband and I really bonded and enjoyed our time together making this. My 2 year old daughter just loves it (and it didn't break when my children sat on it!). I've already bought the wood for the second chair and, after that, have plans to move on to the Elementary Trestle Table!
Estimated Cost
$34
Estimated Time Investment
Afternoon Project (3-6 Hours)
Finish Used
Left over Behr paint sample, "Clear Pond." I think this is by Ralph Lauren. Plus a top coat spray.
Recommended Skill Level
Beginner

Comments

cdswhite

Wed, 06/08/2011 - 19:43

Hi - I also thought this would be an easy build for my first project but it wasn't!! I also had a hard time keeping the pieces together (so they could be attached) and I kept having to check where I screwed previously, so I wouldn't put another screw in the same path as the previous one. Nice job and love the dedication it takes to fix and see through things to the end.