Community Brag Posts

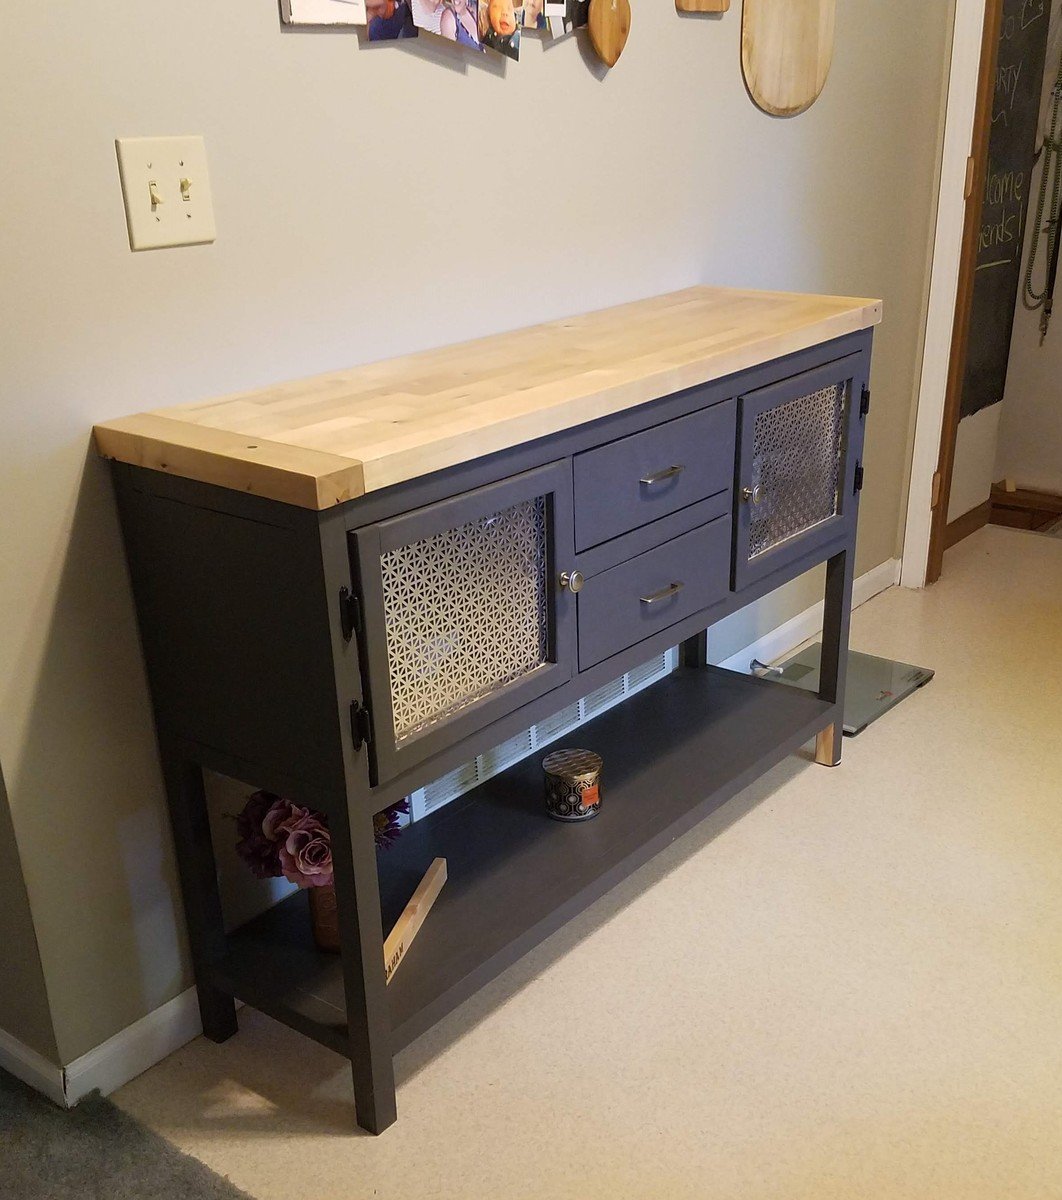
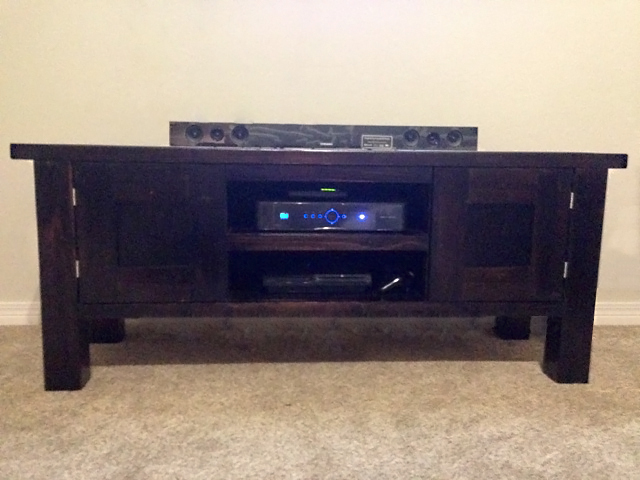
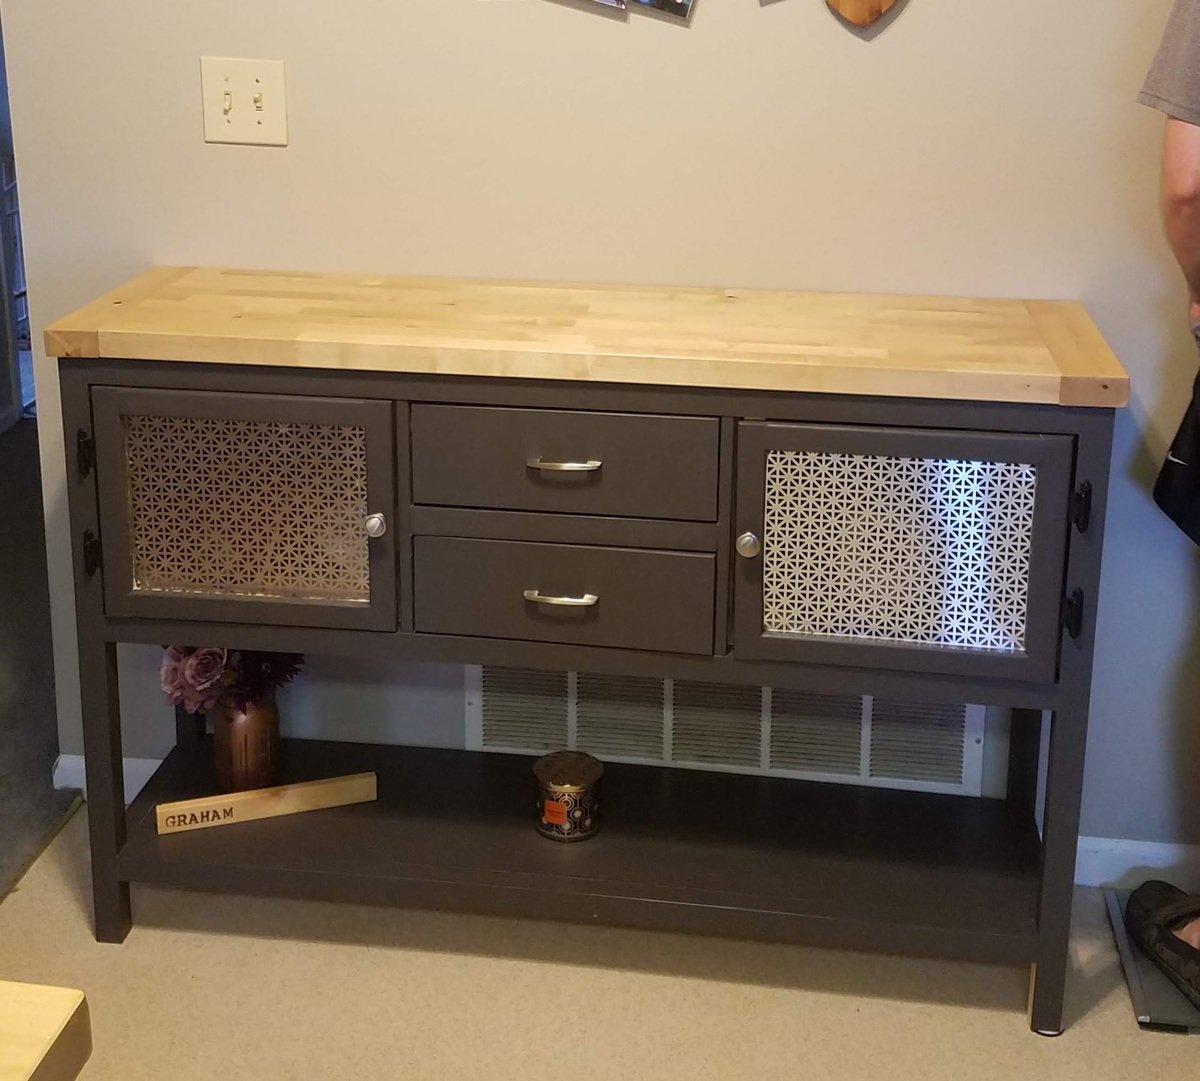
Ryhan Console Table

Submitted by tssroo on Sat, 08/11/2018 - 18:45

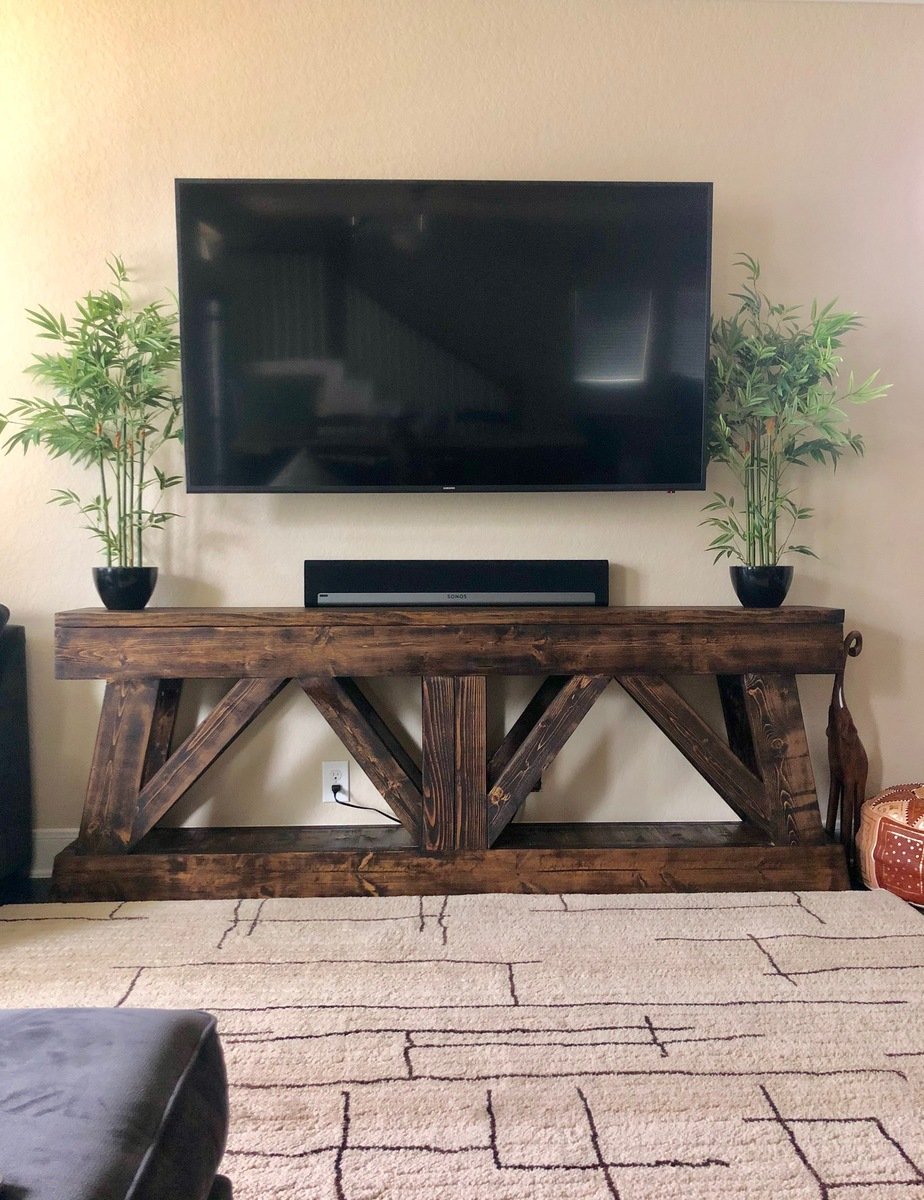
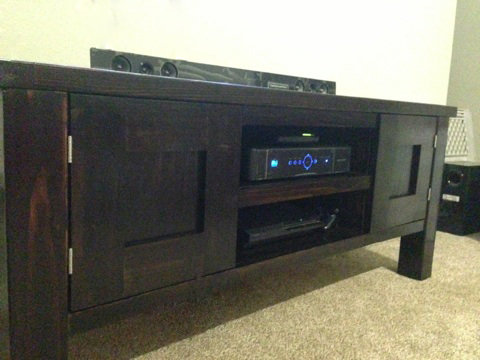
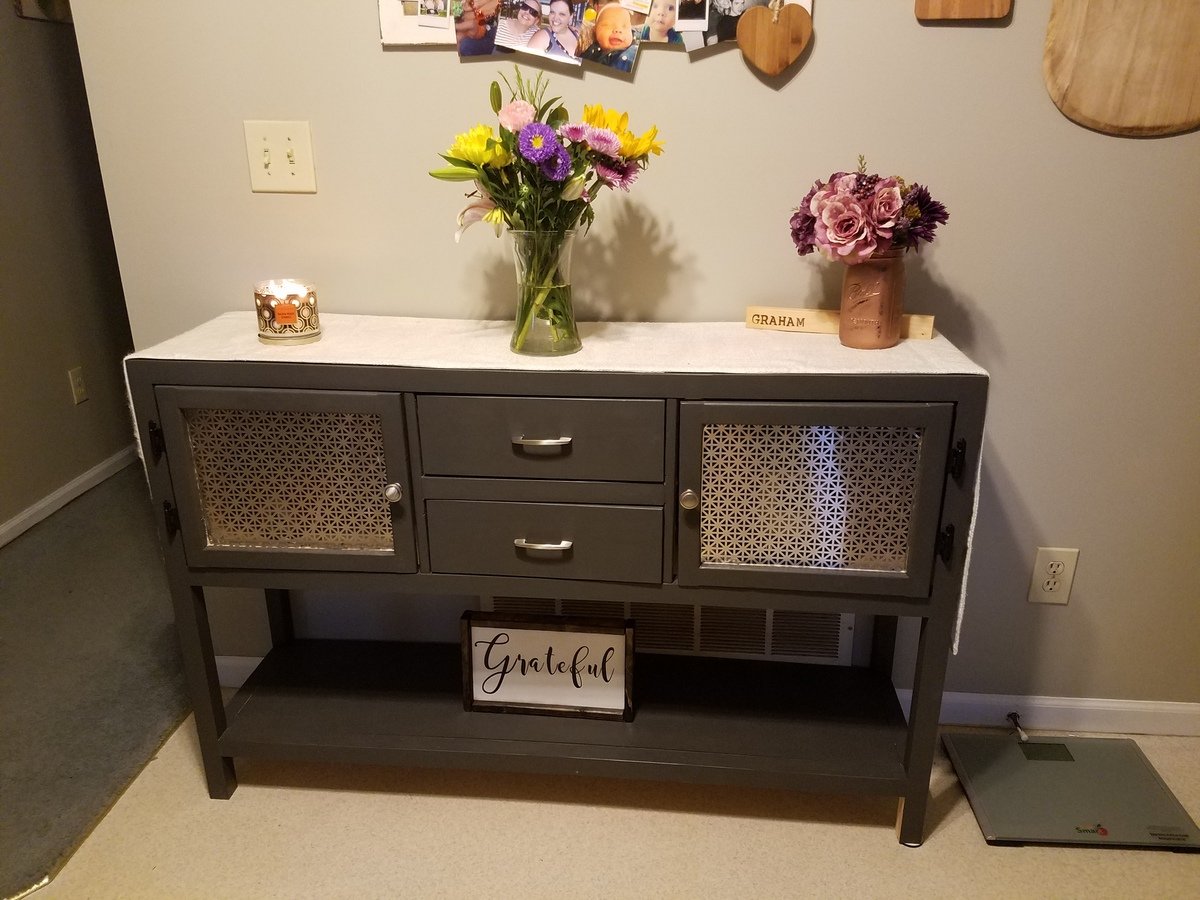
We really wanted a narrow console tabtabltabtable for this space. This was perfect! Modified the original plans to add to the width and height so it is counter height. We added a butcher block top to match our existing kitchen cabinets. I used aluminum decor inserts from Home Depot for the doors. Thank you Ana for your amazing plans!

Built from Plan(s)
Estimated Time Investment
Weekend Project (10-20 Hours)
Finish Used
General Finishes Flat Finish, Sherwin William's Intellectual gray
Recommended Skill Level
Beginner

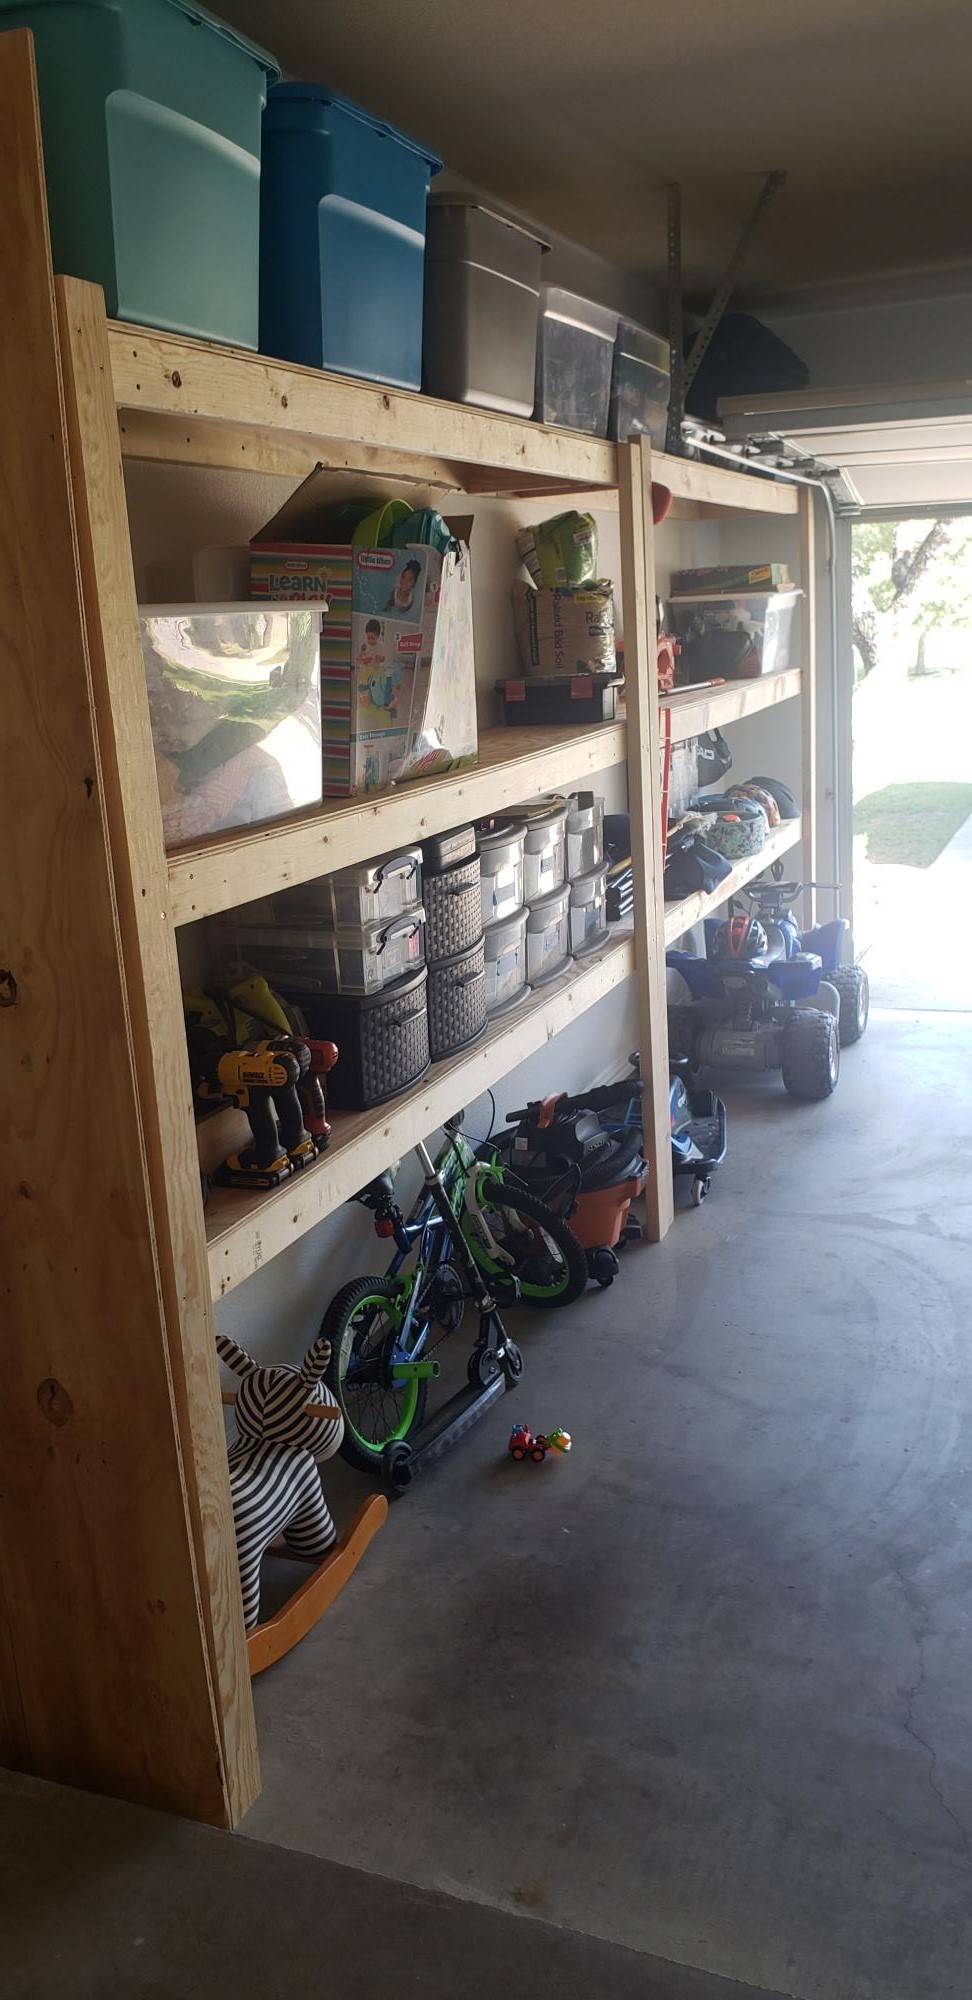
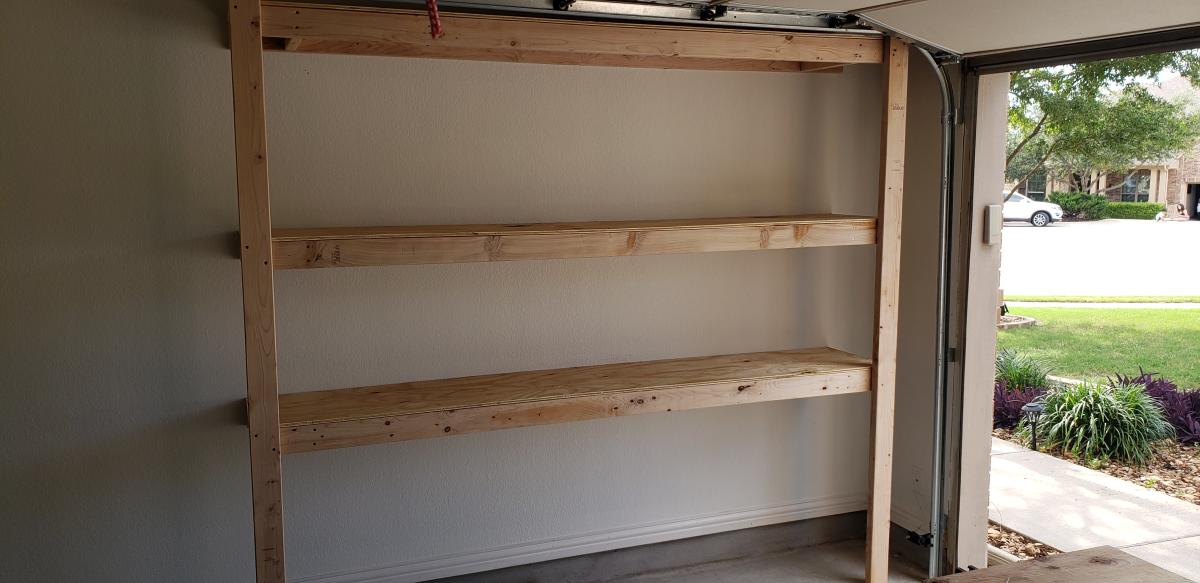
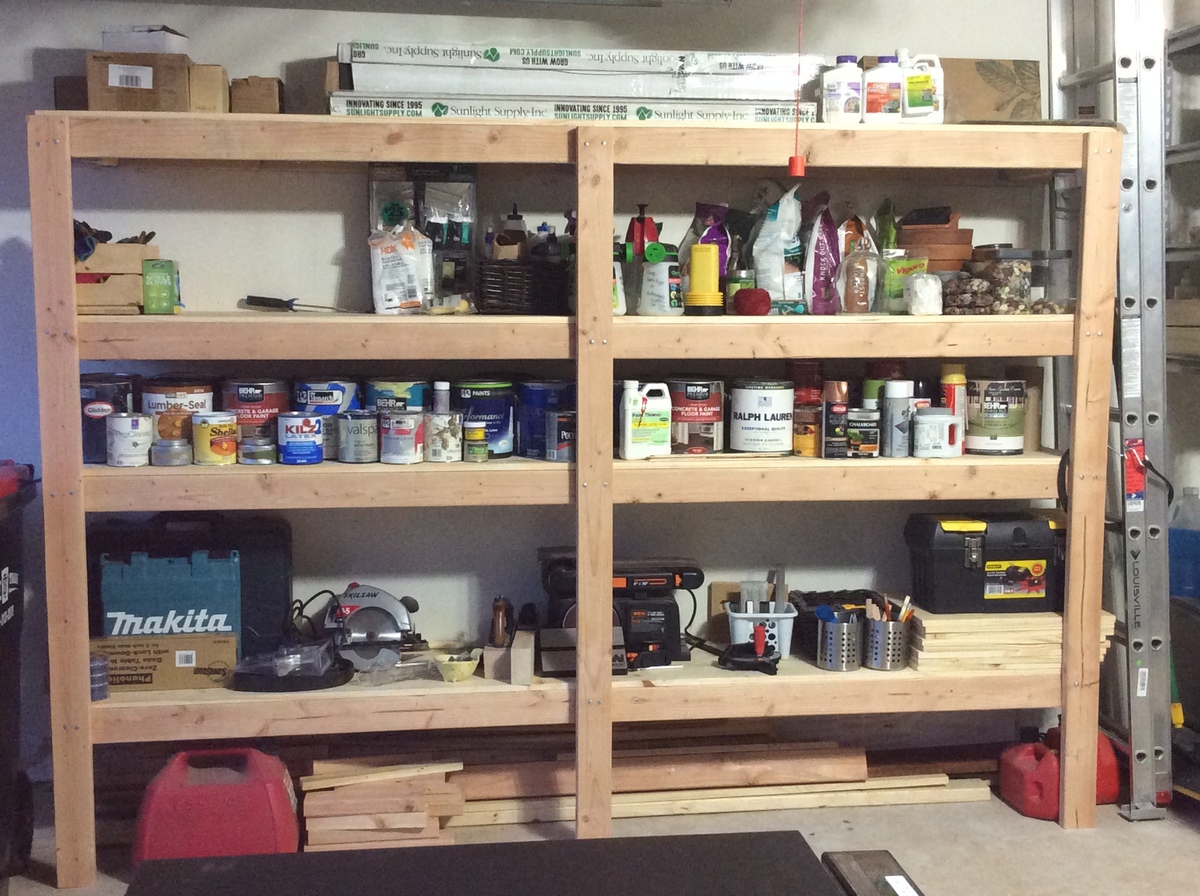
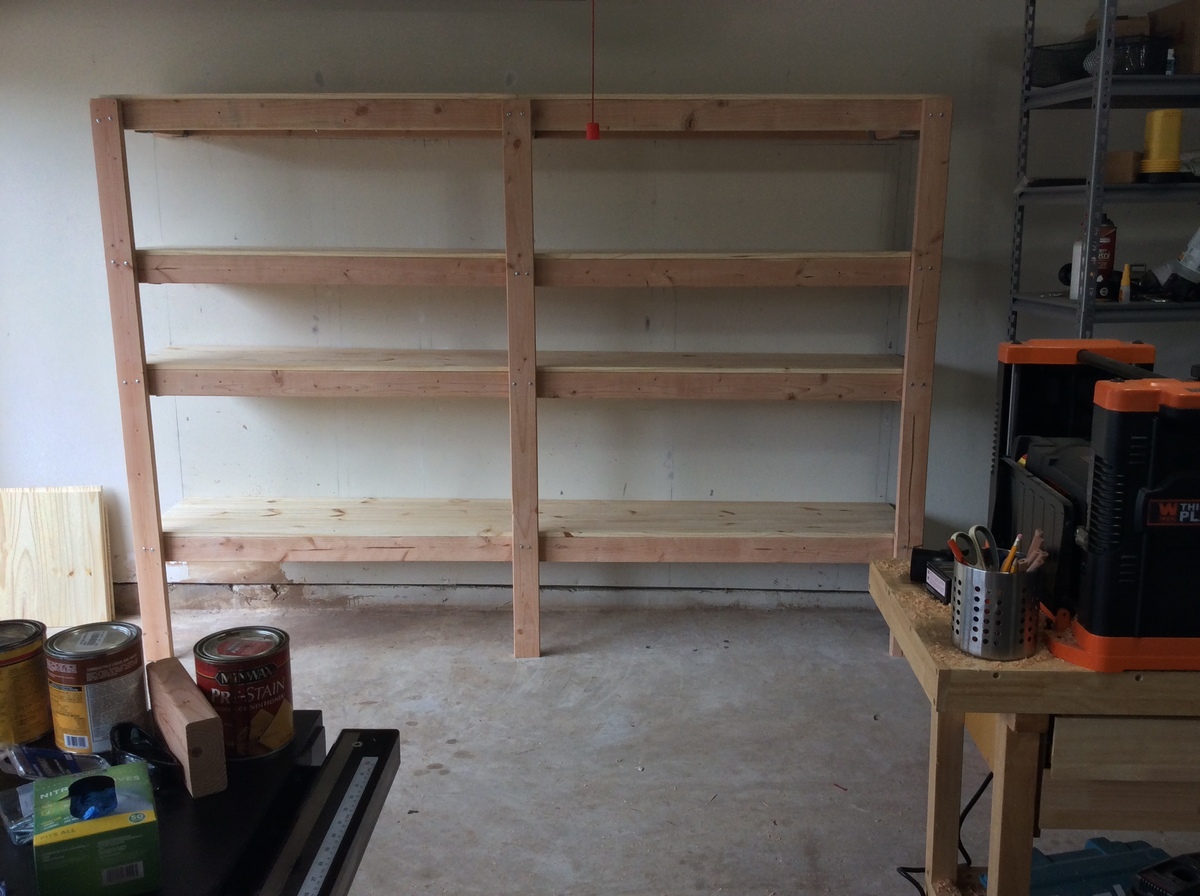
16" Garage shelves

Submitted by Anonymous (not verified) on Sat, 05/28/2022 - 21:37

I followed your plan for my 16 inches garage shelves and I absolutely love it. Tons of storage and easy to customize. Each 8 foot shelves is now costing $120 in material - which is still a great deal! Thank you @Anawhite 🙏

Comments

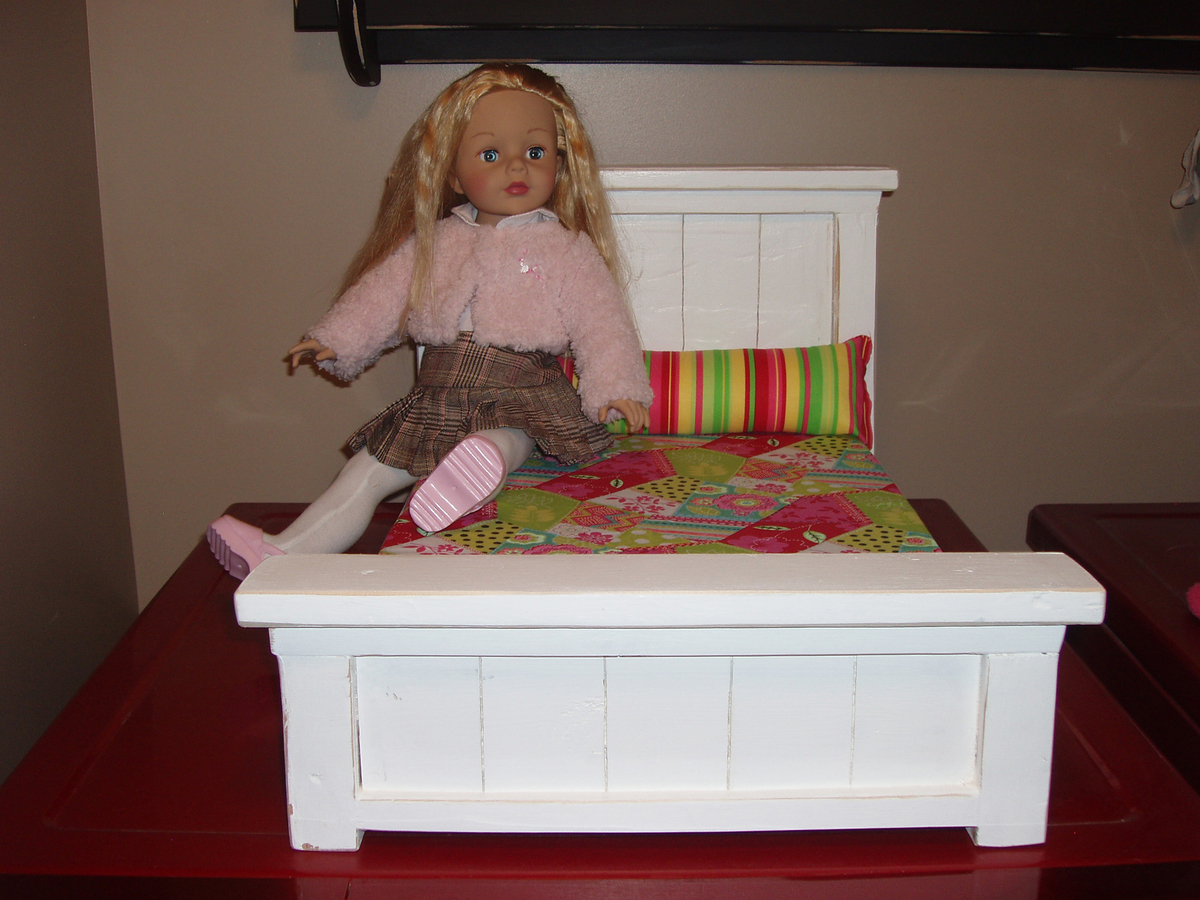
Doll Farmhouse Bed

Submitted by canesa on Fri, 07/15/2011 - 00:22

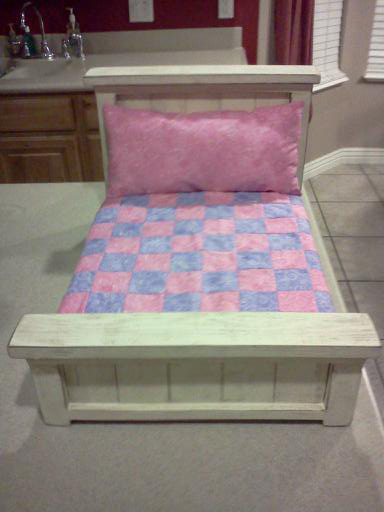
When Ana posted the plans for the Doll Farmhouse Bed I quickly started thinking of all the little girls I could build this for. I ended up building 4 of them. The first one was definitely my learning curb, the other three went a lot smoother and just looked better!

Estimated Cost
$10
Estimated Time Investment
Day Project (6-9 Hours)
Finish Used
I painted two of the beds Antique White, lightly distressed the beds with 120 sandpaper and glazed them with Ralph Lauren Smoke glaze. I painted the third bed Antique White, lightly distressed it with 120 sandpaper and rubbed it with Minwax Dark Walnut Stain. I painted the last bed in white and lightly distressed it.
Recommended Skill Level
Beginner

White Wash Pickled Farmhouse Table

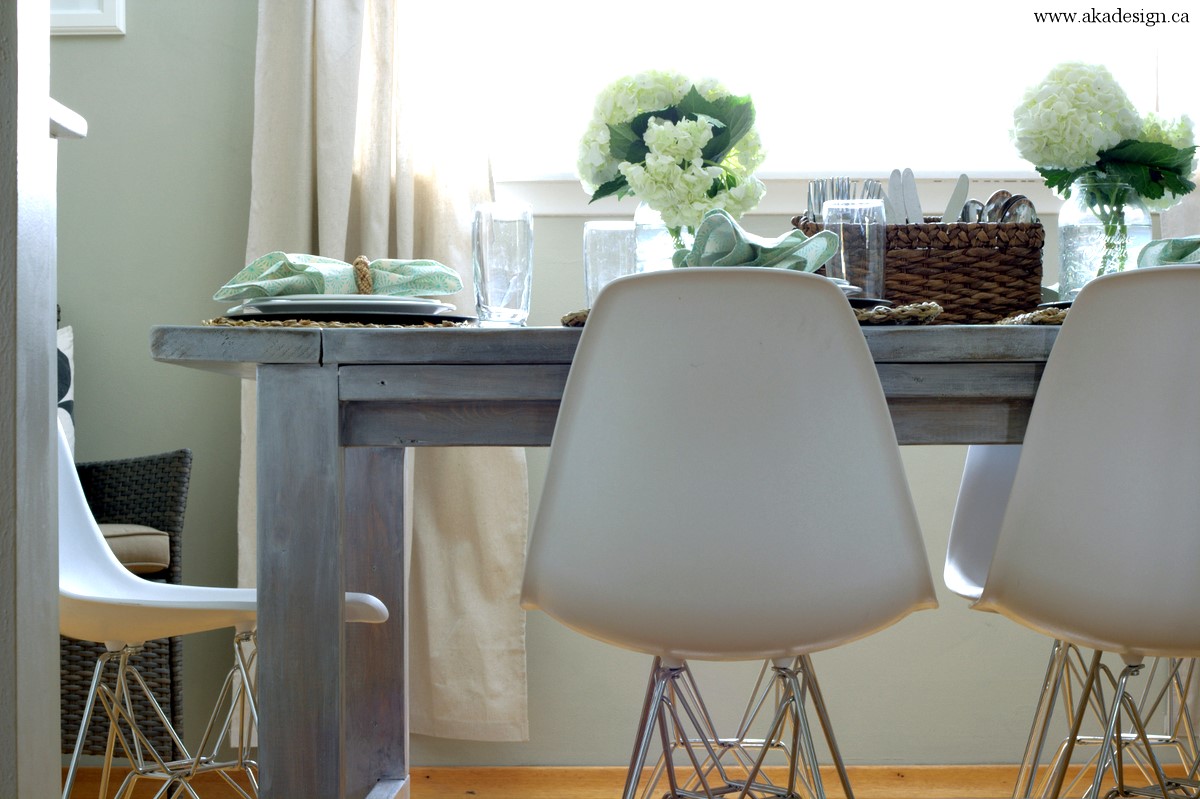
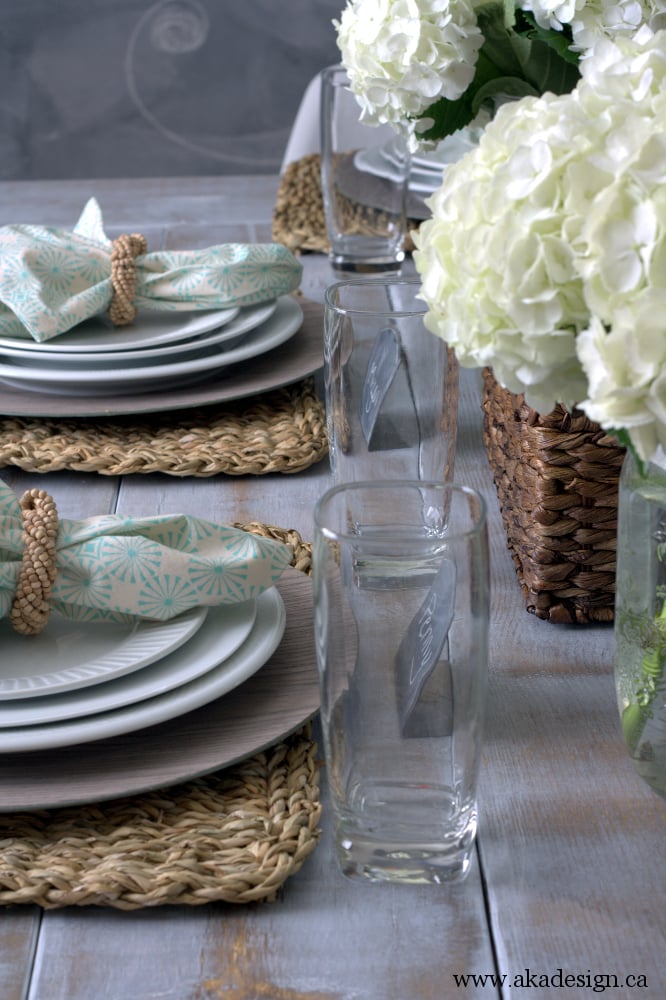
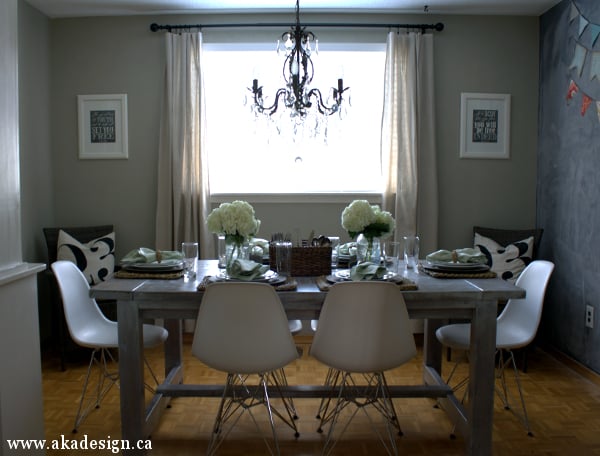
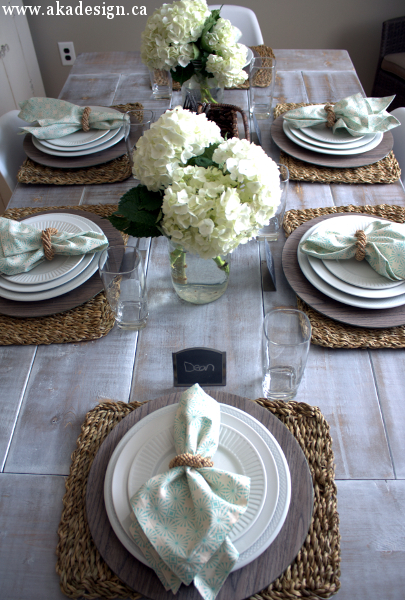
When we sold our last house, we sold the dining room furniture we had custom built with it. We did projects, homeschooled and ate off of a folding table for the first 7 months we lived in our new house. Until we built our new farmhouse table!

Estimated Cost
300
Estimated Time Investment
Weekend Project (10-20 Hours)
Finish Used
We chose to white wash/pickle our farmhouse table. All the instructions can be found here: http://www.akadesign.ca/white-wash-pickling-get-the-restoration-hardware-look-for-less.
Recommended Skill Level
Beginner

Comments

Stackable Wood Pumpkins

Submitted by mtairymd on Fri, 09/18/2015 - 13:22

Build Instructions:

http://www.instructables.com/id/Stackable-Wood-Pumpkins/

This is a simple project made from some scrap wood I had laying around. As shown in the pictures, the pumpkin boxes can be spaced side by side or stacked vertically on a porch, mantle or table. In addition, the group can be stacked inside one another for easy storage. Since they are made from wood, I recommend LED Tea lights versus a candle for the illumination.

Estimated Cost
$10
Estimated Time Investment
Day Project (6-9 Hours)
Finish Used
Paint
Recommended Skill Level
Beginner

Slim Trus Console Table by Drew Cameron

Submitted by deaconcam on Thu, 09/13/2018 - 09:30

This project was a great learning experience and turned out fantastic. The mitered/beveled cuts were a bit tricky for me, It took me a while to understand how to use my miter saw to make the cuts correctly. Other than that, the building plans were clear and easy to follow. Cara, an author at Inspired Workshop, posted the plans at the following link: https://theinspiredworkshop.com/diy-slim-truss-console-table/ 


-Drew Cameron

Built from Plan(s)
Estimated Cost
$100
Estimated Time Investment
Weekend Project (10-20 Hours)
Finish Used
Minwax PolyShades Espresso Oil-based Interior Stain
Recommended Skill Level
Intermediate

Comments

Backyard seating

Submitted by Anonymous (not verified) on Mon, 06/06/2022 - 13:17

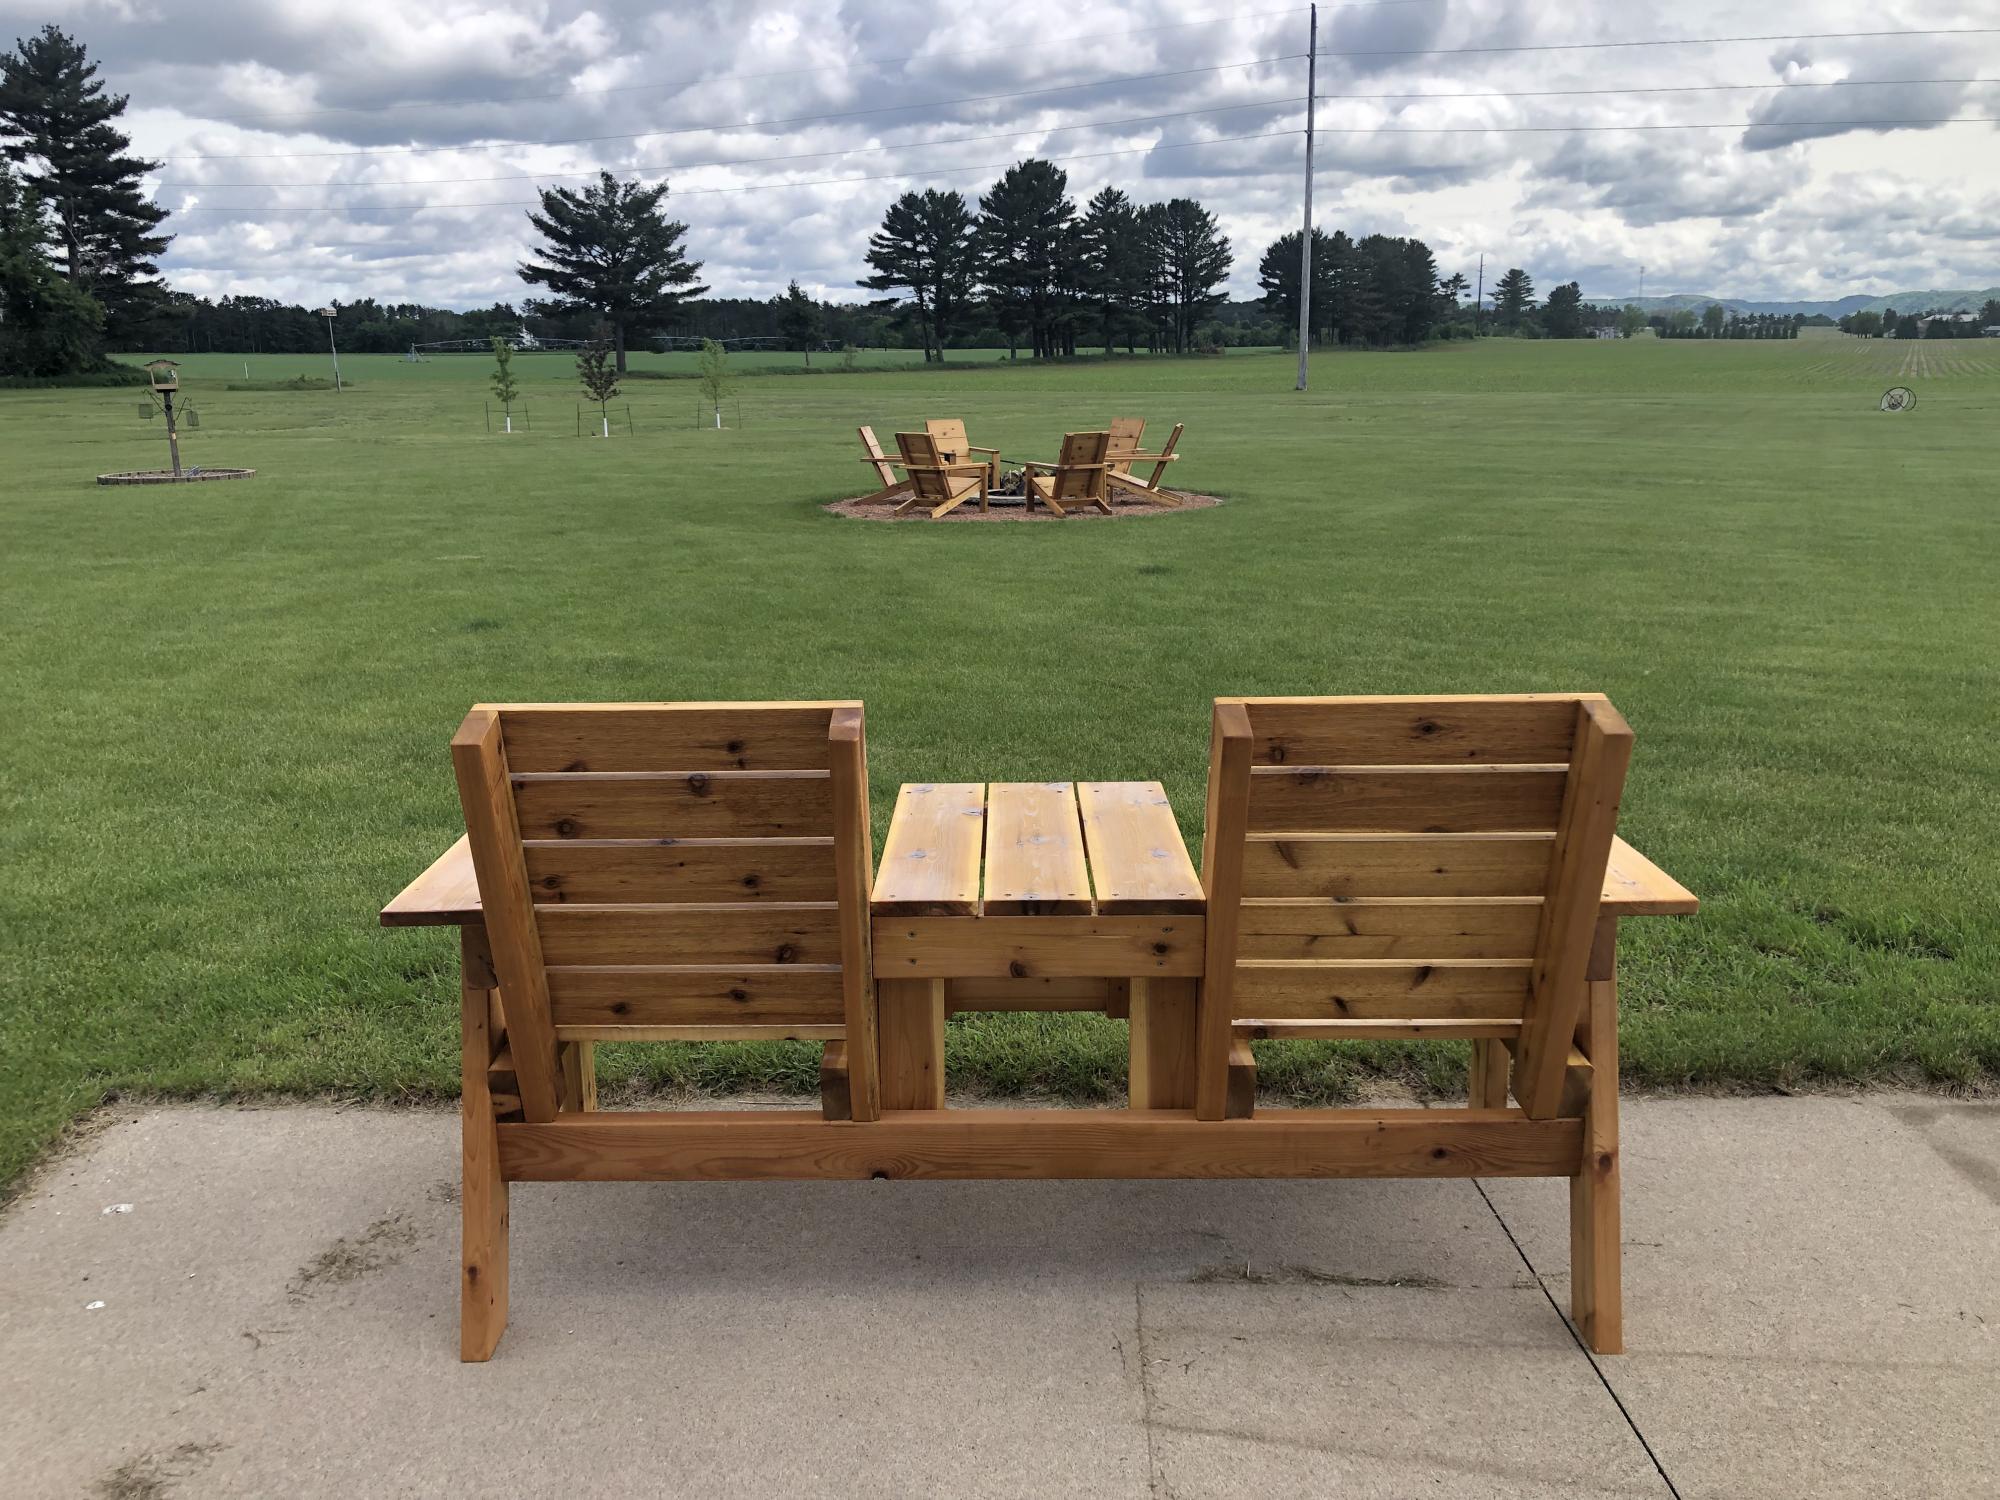
We needed some additional seating in the backyard so I built 6 Adirondack chairs for the fire pit and the bench using the plans that you have shared on Facebook. They turned out really nice and so far they have been a big hit!!

Thanks!!

Comments

Harriet Higher Chair

Submitted by glennj on Sun, 07/17/2011 - 08:04

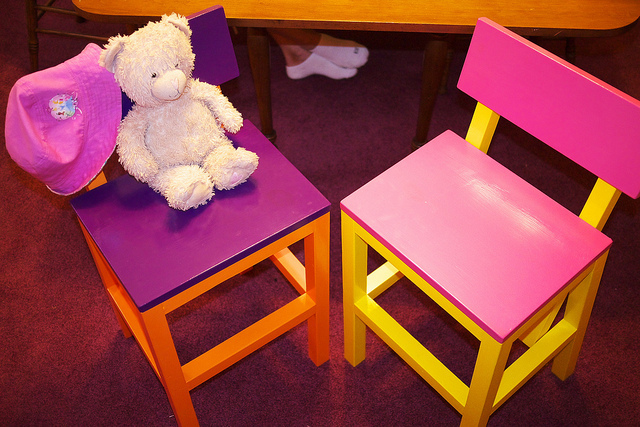
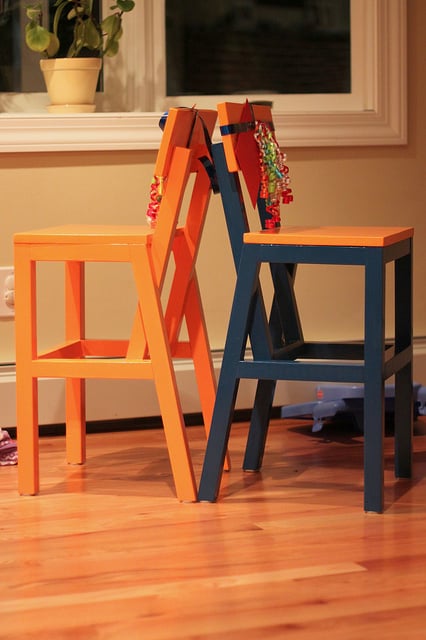
Well I decided for my first project/projects to make chairs for my girls. They turned 2 and 3 last month. I also made a couple of chairs for friends of ours who have twin boys that also turned 3. Once I got the hang of it making the chairs didn't take to long but painting seemed to take forever. But I love how all the chairs turned out.

Built from Plan(s)
Estimated Time Investment
Afternoon Project (3-6 Hours)
Recommended Skill Level
Beginner

Comments

glennj

Mon, 07/18/2011 - 15:45

I am happy I made them too. The are super sturdy. Toddlers climb all over them and when they aren't looking adults sit on them. No problems. I am making a couple more but a little taller for our kitchen.

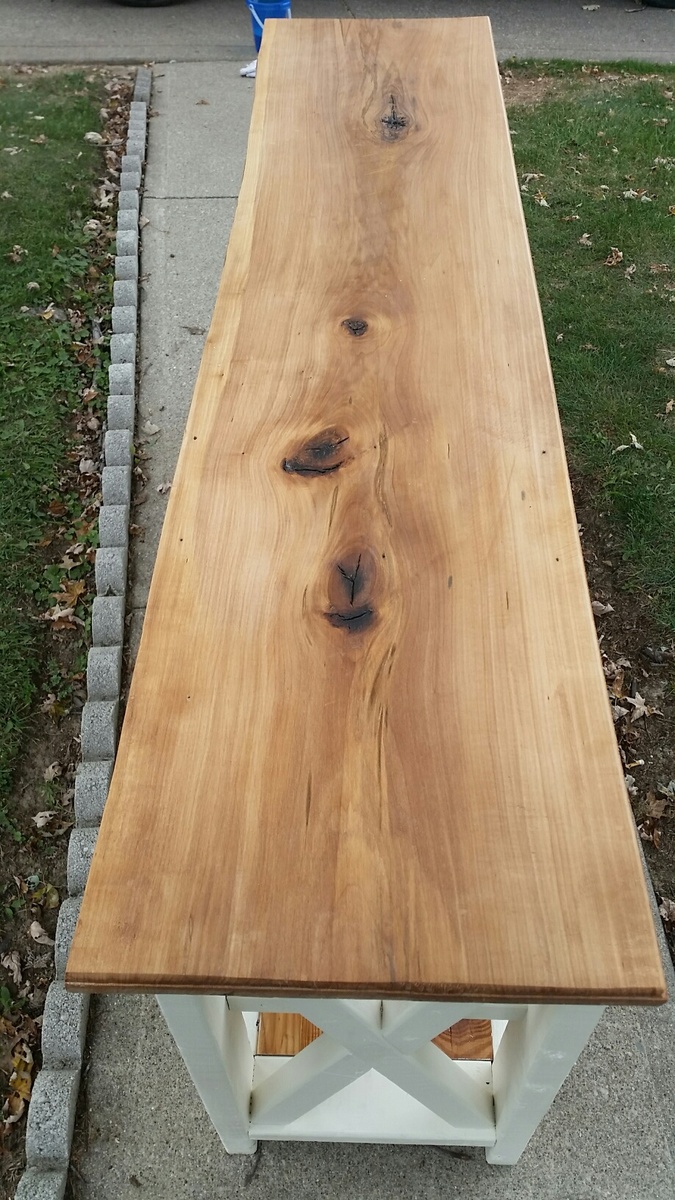
Rustic X Console Table

Submitted by weav3887 on Mon, 09/28/2015 - 04:46

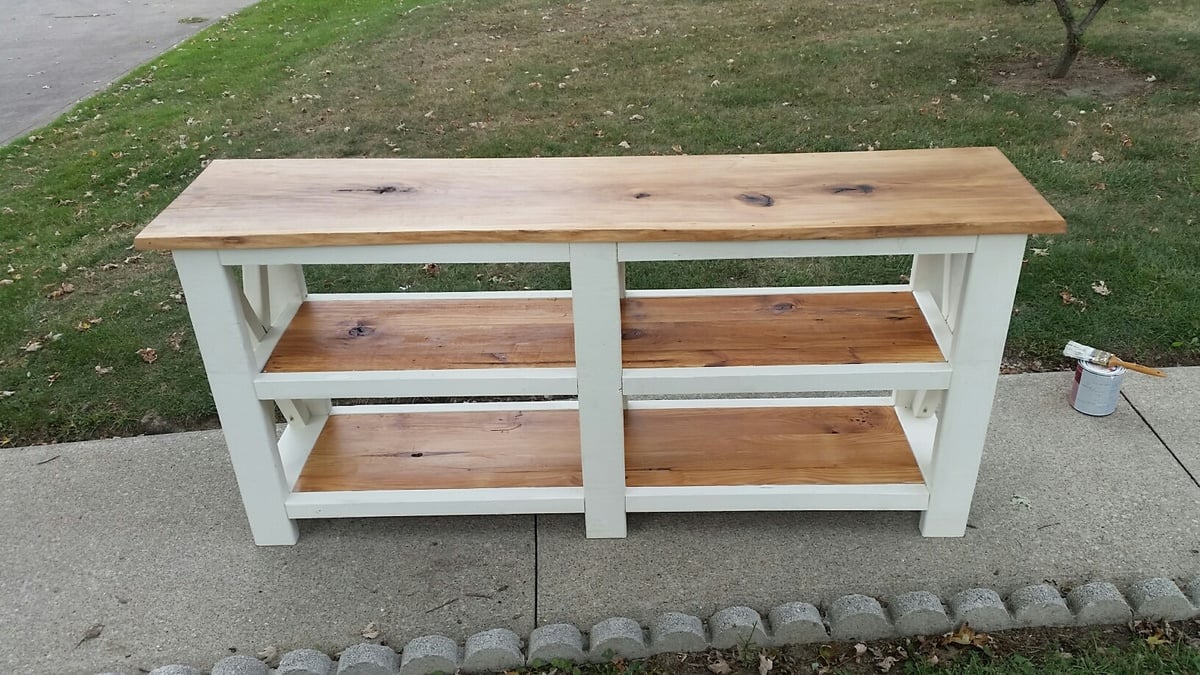
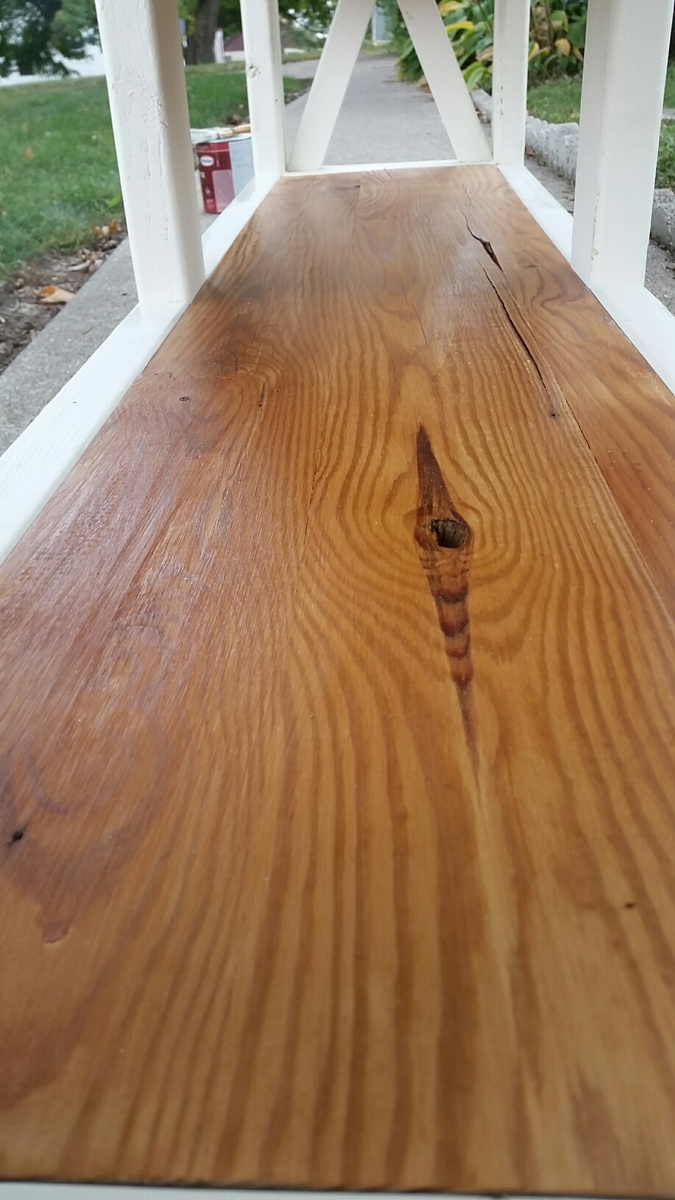
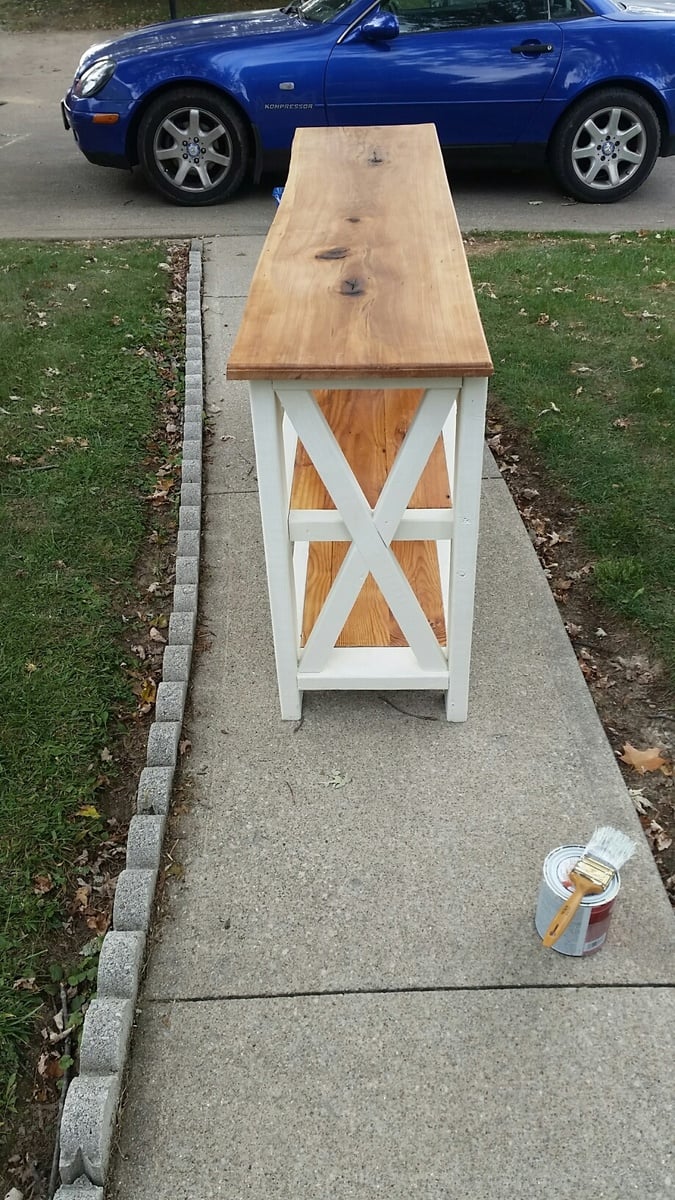
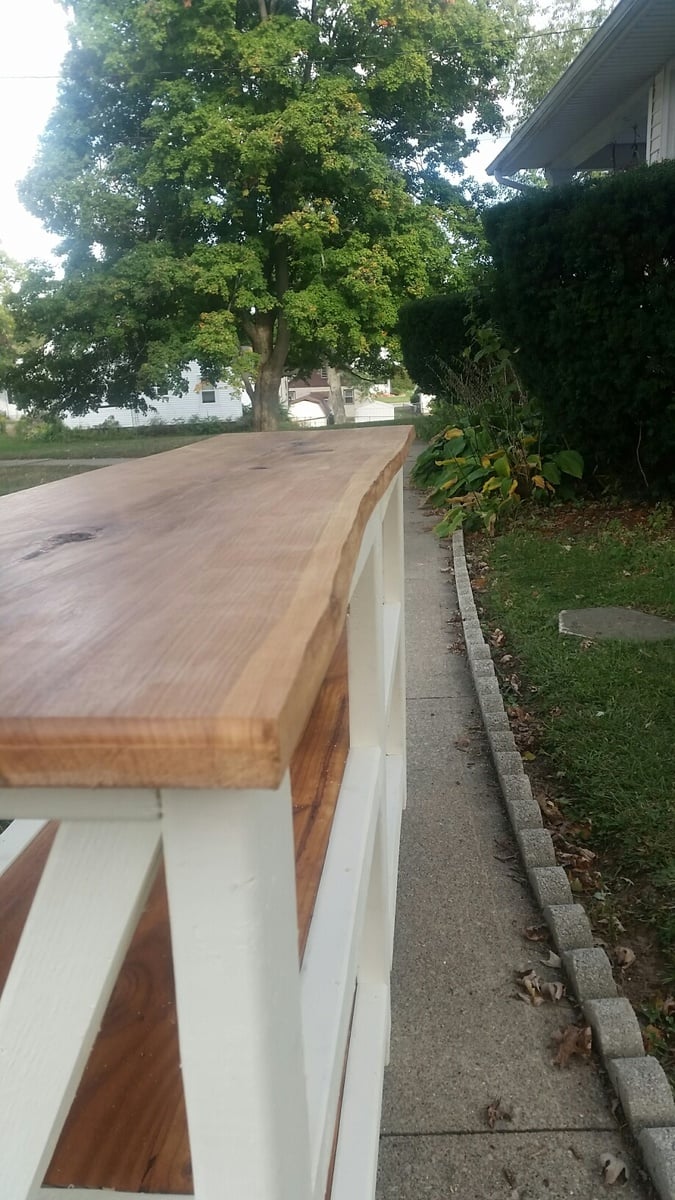
I followed Ana's plans to a T except my length is 10" shorter. Top shelf is a 1" x 15" solid Oak amish cut board.  I left a live edge on the front as I really liked the flow of it.  The bottom two shelves are 100yr old pine plank boards that a friend of mine tore out of his attic. 

Built from Plan(s)
Estimated Cost
I already had the wood for the shelves and stain. Spent $25 on paint, screws, and 2x4s.
Estimated Time Investment
Weekend Project (10-20 Hours)
Finish Used
Minwax Oak
Recommended Skill Level
Intermediate

Comments

DIY outdoor chairs for our firepit

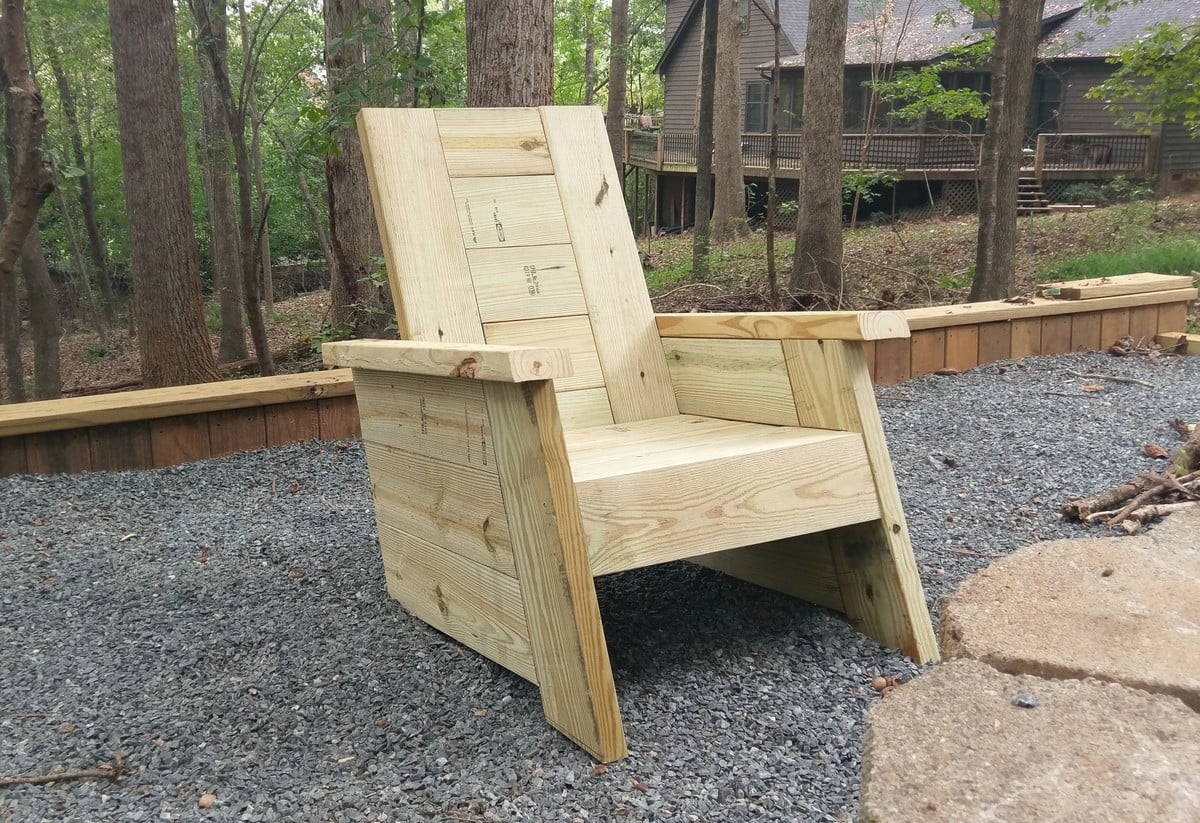
Here is one of the new chairs I'm building for our new fire pit.  They are made out of four pressure treated 2x6s (and one 2x4), and have a comfortable 18" seat depth, 19" seat width, and 110 degree angle for the backrest.  

More information, and a link to our plans are located on our blog, FamousArtisan.com

Estimated Cost
$50
Estimated Time Investment
Day Project (6-9 Hours)
Finish Used
None yet.
Recommended Skill Level
Intermediate

Comments

Tryde Coffee Table

Submitted by dreamer43 on Sun, 07/24/2011 - 01:35

Tryde coffee table made from a combination of pine and recycled wood from old pallets.

Built from Plan(s)
Estimated Time Investment
Weekend Project (10-20 Hours)
Recommended Skill Level
Beginner

Comments

Tryde Media Console with doors

Submitted by blawson972 on Wed, 08/21/2013 - 15:04

This was my second project. It took a little longer than I wanted because I don’t have a table saw :( I didn’t trust Lowe’s to cut the plywood for me since it needed to be perfectly square and they only guarantee their cuts to be within 3/4" so I had to wait to go to my dad’s house to borrow his, but other than that it went pretty fast!

I kept to the plans for the most part, but I added some trim and cabinet doors. I knew that at my house the inside of that cabinet would be a hot mess in a matter of days, so I wanted to have a way to cover it up! I just used 1x4’s to frame the doors and leftover scrap 1/4" plywood from the back for the faces. I used a router to rabbet out the doors so I could inset the plywood instead of it just sticking off of the back. They turned out pretty good considering they were my first and I had never used a router before! Overall, I am really happy with this one! I’ll be making the matching pieces this weekend - the coffee table, end table, and entry table.

Built from Plan(s)
Estimated Cost
$75-$80 + stain/poly
Estimated Time Investment
Weekend Project (10-20 Hours)
Finish Used
I used Minwax pre-stain wood conditioner, 2 coats of dark walnut oil based stain, and 2 coats of polycrylic in clear satin. It turned out great!
Recommended Skill Level
Intermediate

Comments

Craftsman Style Playhouse

Submitted by aerialc on Fri, 10/02/2015 - 11:57

I mainly followed ana's plans for this playhouse. Instead of a plywood roof I used cedar shingles. I also added plexiglass to the windows.

Built from Plan(s)
Estimated Cost
$450, including deck.
Estimated Time Investment
Weekend Project (10-20 Hours)
Finish Used
Ready Seal - Dark Walnut
Recommended Skill Level
Intermediate

Comments

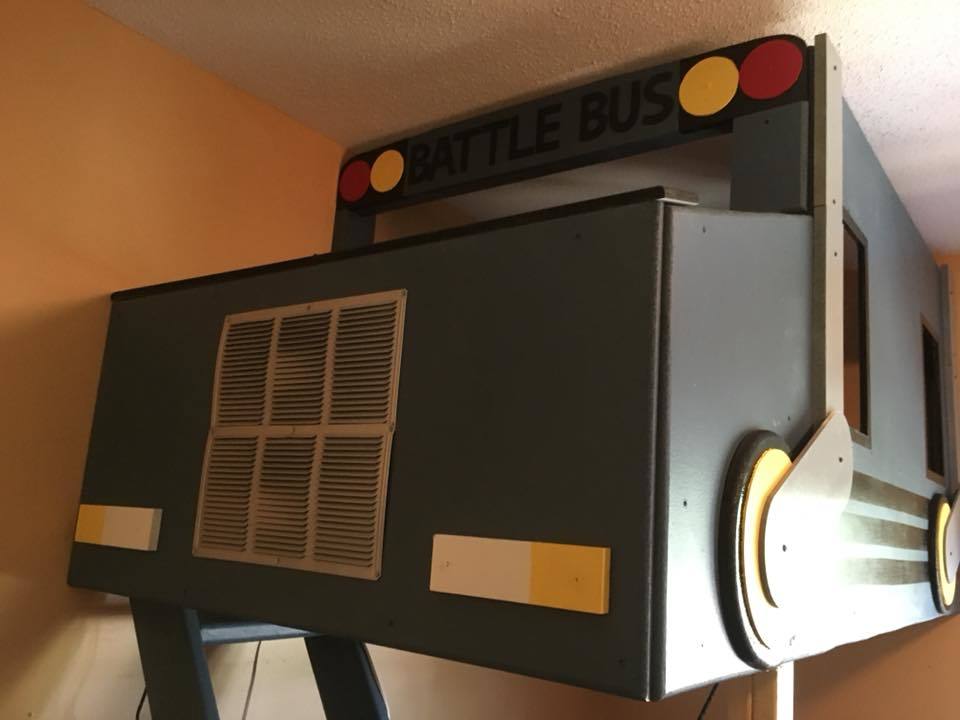
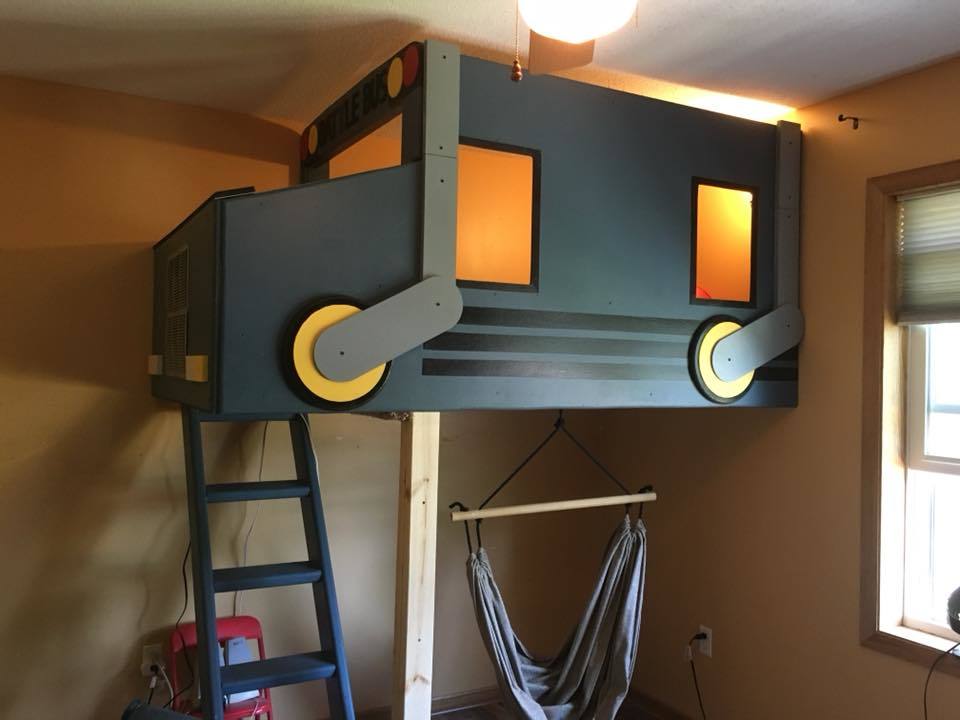
Fortnite Battle Bus boys bedroom loft

Submitted by bbcarey on Mon, 10/15/2018 - 08:31

We remodelled my son's room and what better theme than Fortnite for an 8 year old... and what better loft than the Battle Bus!!

Estimated Time Investment
Week Long Project (20 Hours or More)
Finish Used
Latex paint
Recommended Skill Level
Intermediate

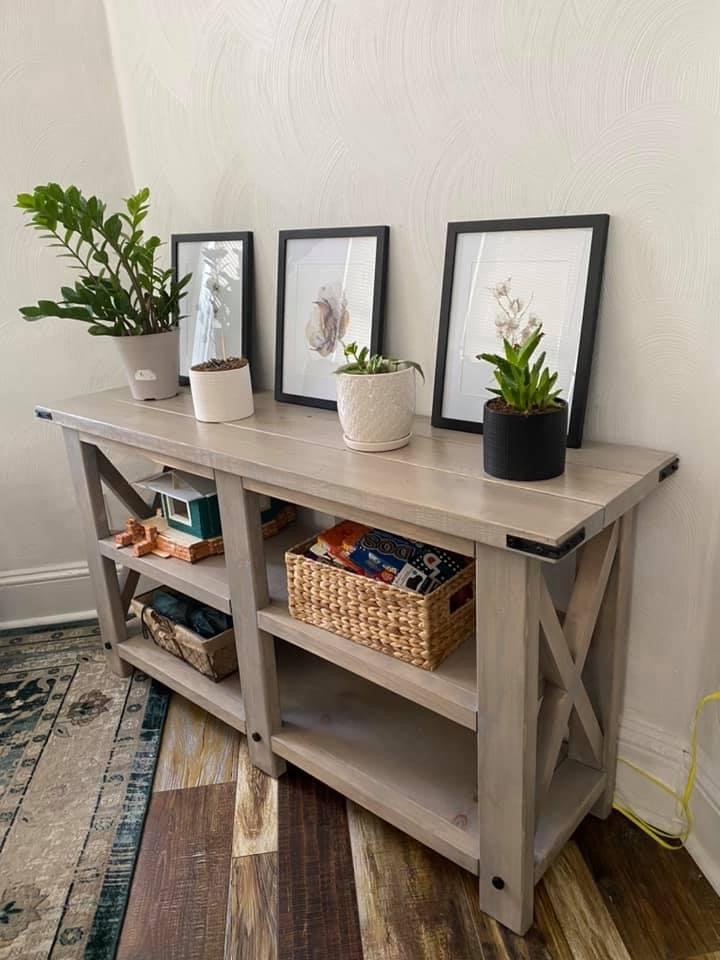
Rustic x console table

Submitted by Anonymous (not verified) on Sun, 06/26/2022 - 18:38

Built this for a friend of mine, but didn’t need it quite as long…I absolutely love this table!!!

Built from Plan(s)

Comments

Bathroom Storage Cabinet

I built this cabinet to store magazines and diapers (towels when the time comes) in the small 1/2 bath.

The top was made with left over oak pieces from when I ripped out the carpet and 2x12 stairs and replaced with oak treads.

Estimated Cost
$20 (already had the treads)
Estimated Time Investment
An Hour or Two (0-2 Hours)
Finish Used
jacobean stain on top, pale sandy beige paint with jacobean stain used as glaze on body.
Recommended Skill Level
Beginner

Comments

Debi G

Wed, 07/27/2011 - 11:15

I just created something similar. The way the top and body coordinate, and how the top cubbies are sized make this a stand-out.
Something similar would work for my classroom, too.

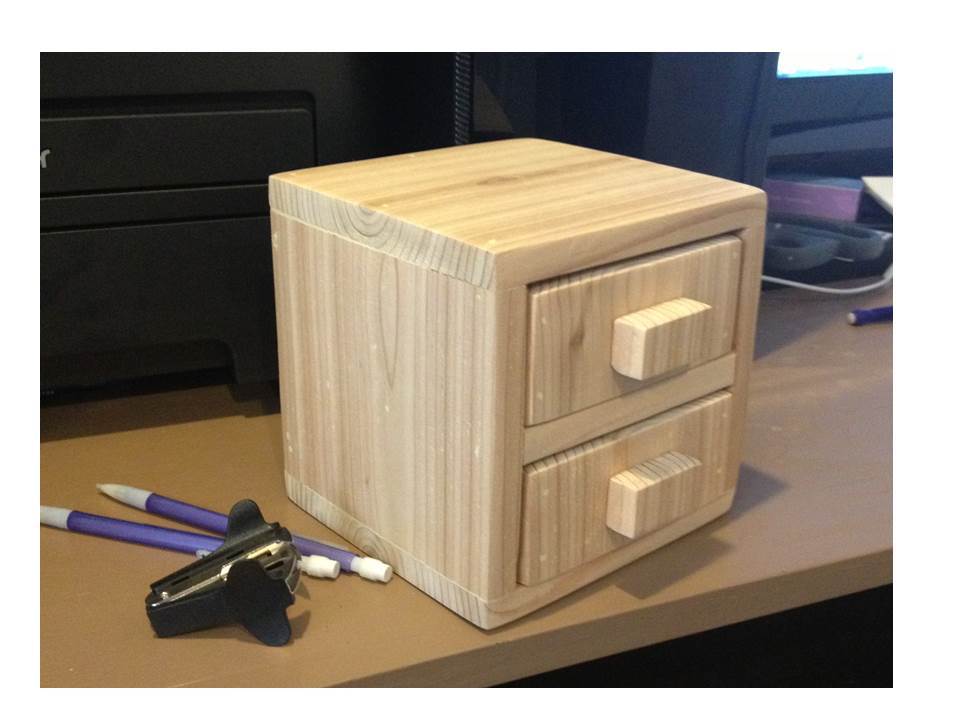
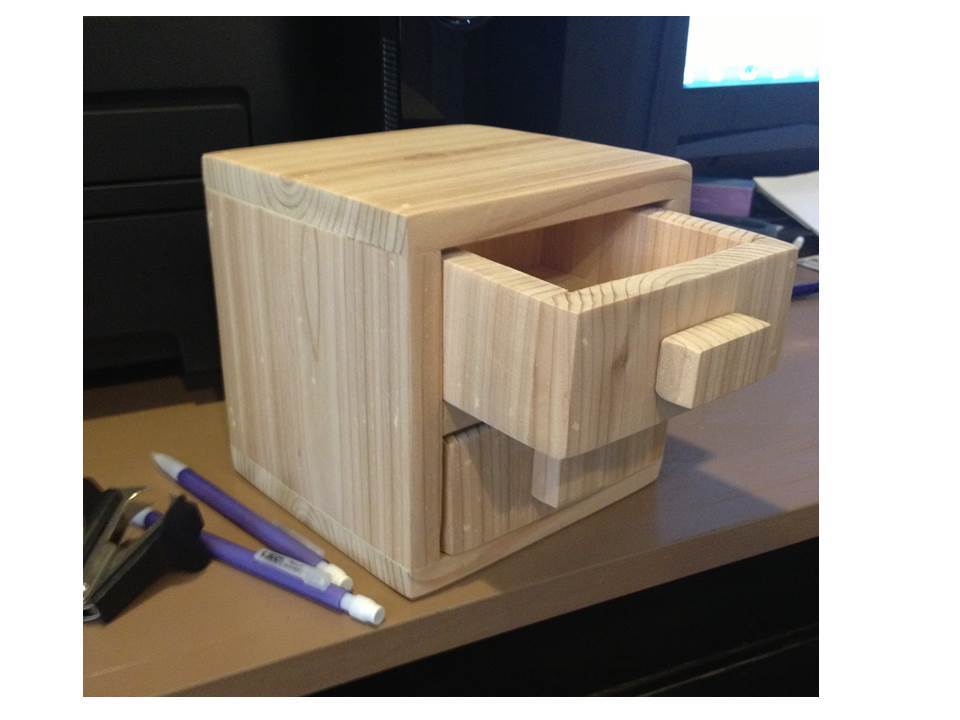
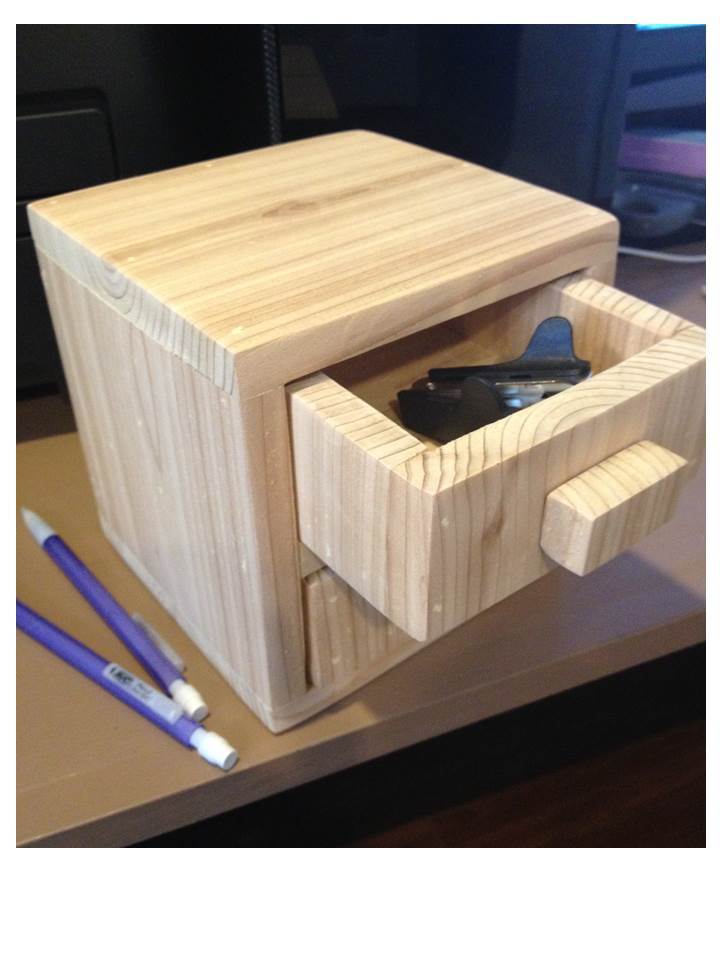
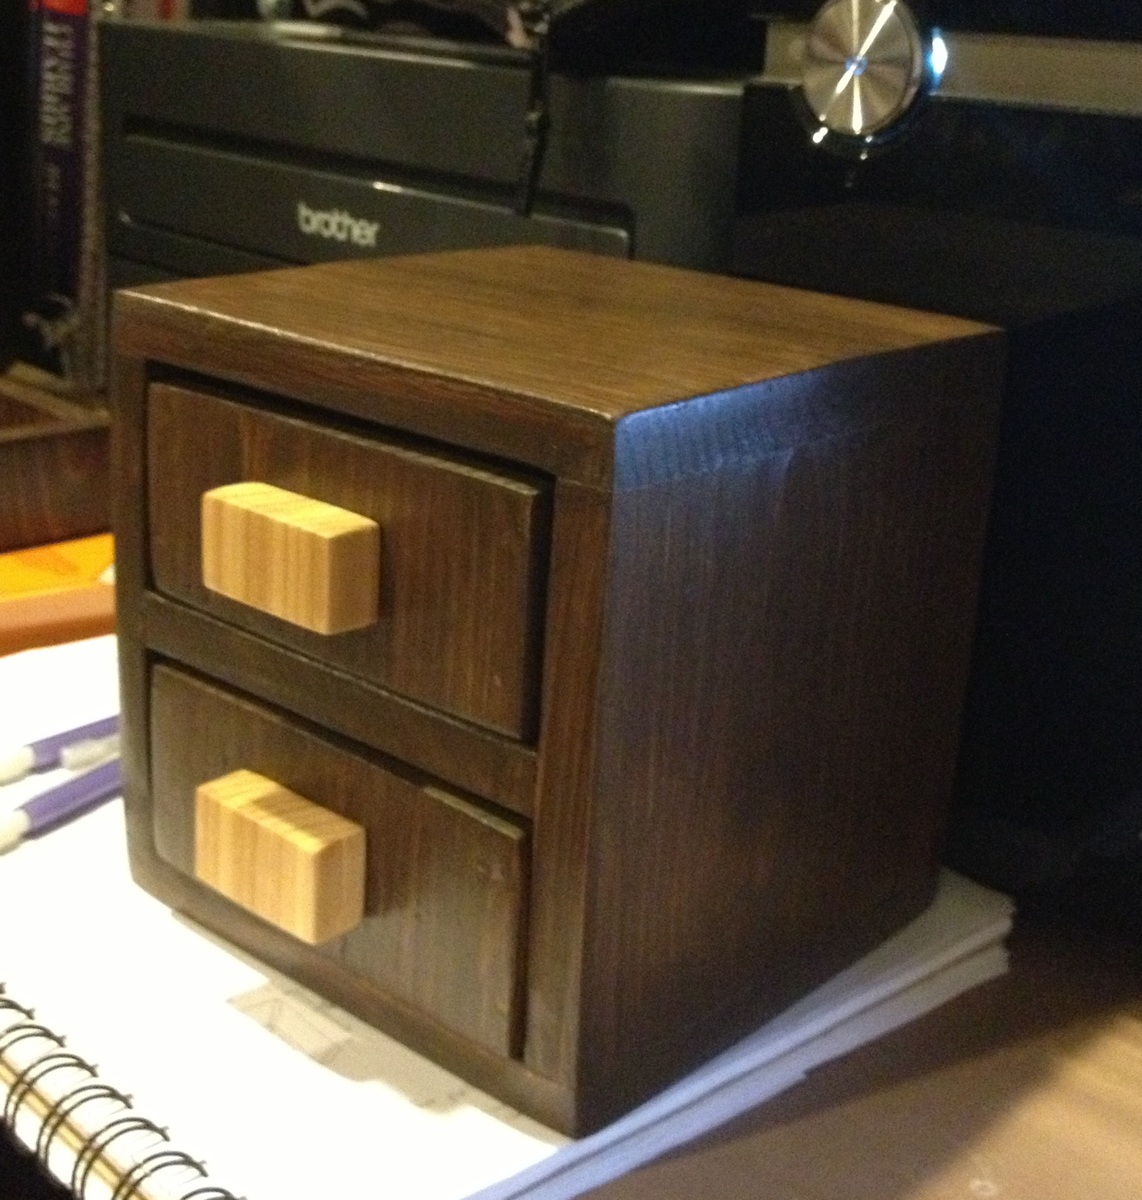
Cedar 2-Drawer Desktop Storage Cube

Submitted by JoanneS on Sat, 08/24/2013 - 15:02

This is the prototype build for the Cedar 2-drawer desktop storage cube. It is made from 1 piece of ½” x 5 ½” x 6’ fence picket, about $3 for wood. I had based this plan on a board that is ½” thick and 5 ½” wide, and had identified areas in the plan where you’ll want to measure and cut as you build. I found this especially important on the prototype build, since it turned out the picket I bought was 5 3/8” wide, which affected the depth of the shelf, length of the drawer sides, and the size of the drawer bottom. Measuring and trimming as you go gives the best fit for all the pieces. Probably the most helpful thing besides keeping the measuring tape handy, was some 60-grit sandpaper. After everything was assembled, I used 60-grit sandpaper with my palm sander to sand down any high spots caused by cupping, to get the outsides nice and smooth. Followed up with some 220-grit for a nice smooth final sand. The pulls are some ¾” x 1 ½” pieces of the cedar, sanded well on all sides. I just cut these from the scraps, and they are glued on. You can use regular knobs or pulls if you like. You may need a shorter screw or a ¼” spacer, since the drawer face is only ½” thick. The screws for regular knobs are normally sized for a ¾” thick door or drawer face. This build took about 3 hours. Finishing time will depend on the type of finish used. My words of advice for building this would be: Take your time measuring. Measure twice before cutting. Sand thoroughly. Have fun!

Estimated Cost
$3 for wood, + finishing materials
Estimated Time Investment
Afternoon Project (3-6 Hours)
Finish Used
I plan to stain this with Minwax Express Color in walnut, to match the 1-board cedar desk accessory set that I posted last week. But I had to brag this one with it au naturale, because I thought the grain on the cedar was so pretty and I wanted to show it off. It has a neat kind of striped look which is pretty all on its own. I’ll add the stained picture of it below, later this weekend.
Recommended Skill Level
Beginner
Comments

Garage shelv

Submitted by Anonymous (not verified) on Tue, 10/23/2018 - 18:38

104.5” long, 17 1/2” wide. Heughan varies but on average is 72”. My garage slopes downward, so each front leg is a different length which made the unit level. I used joist hangers instead of pocket holes. 

Estimated Cost
$300
Estimated Time Investment
Week Long Project (20 Hours or More)
Recommended Skill Level
Intermediate

Outdoor chair

Submitted by Anonymous (not verified) on Sat, 07/09/2022 - 22:36

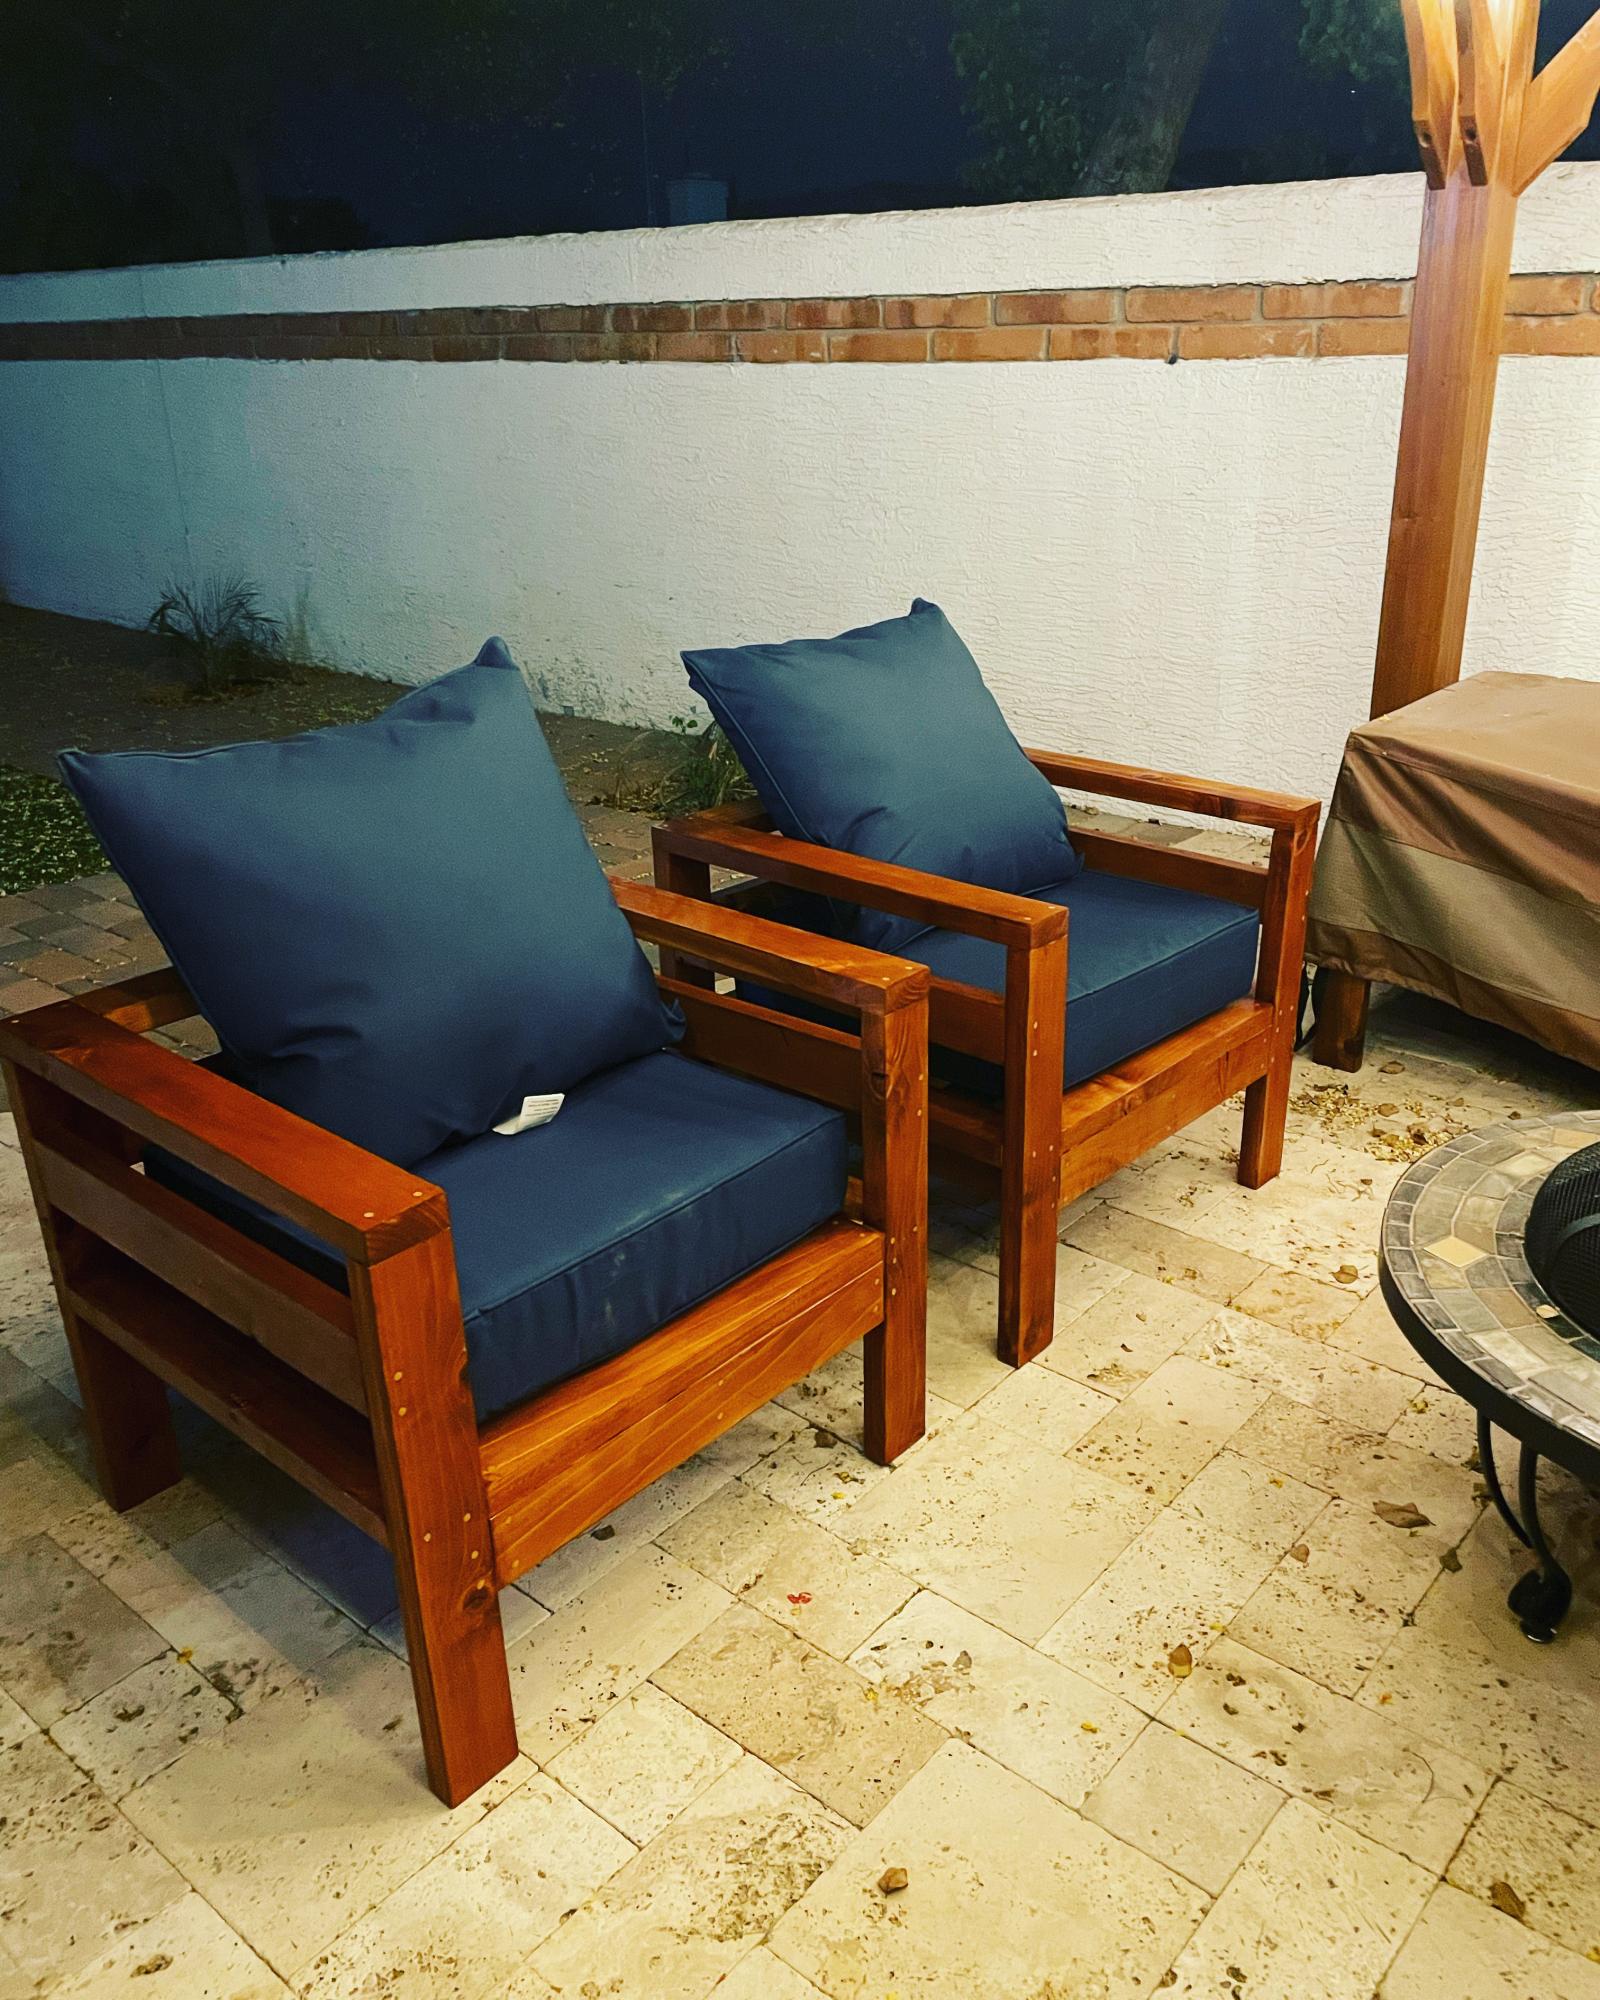
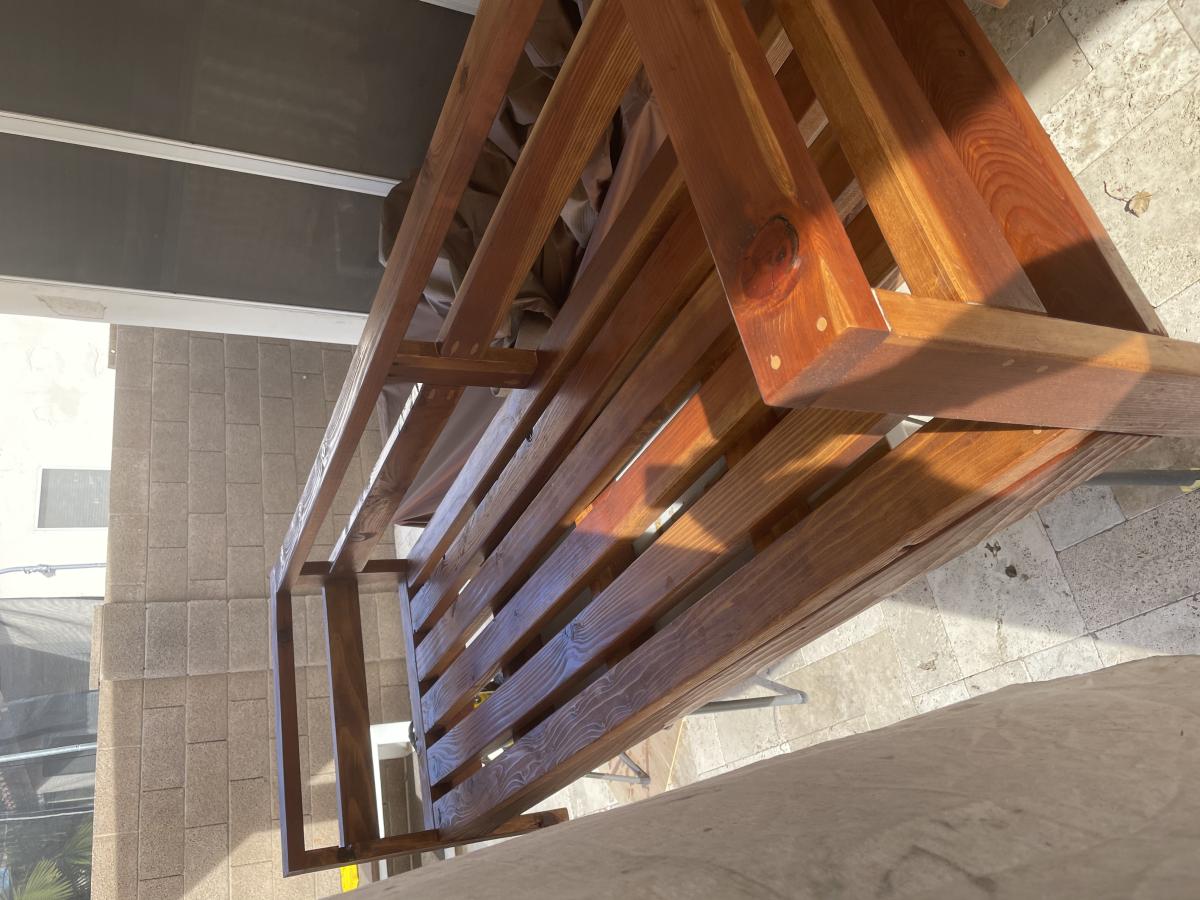
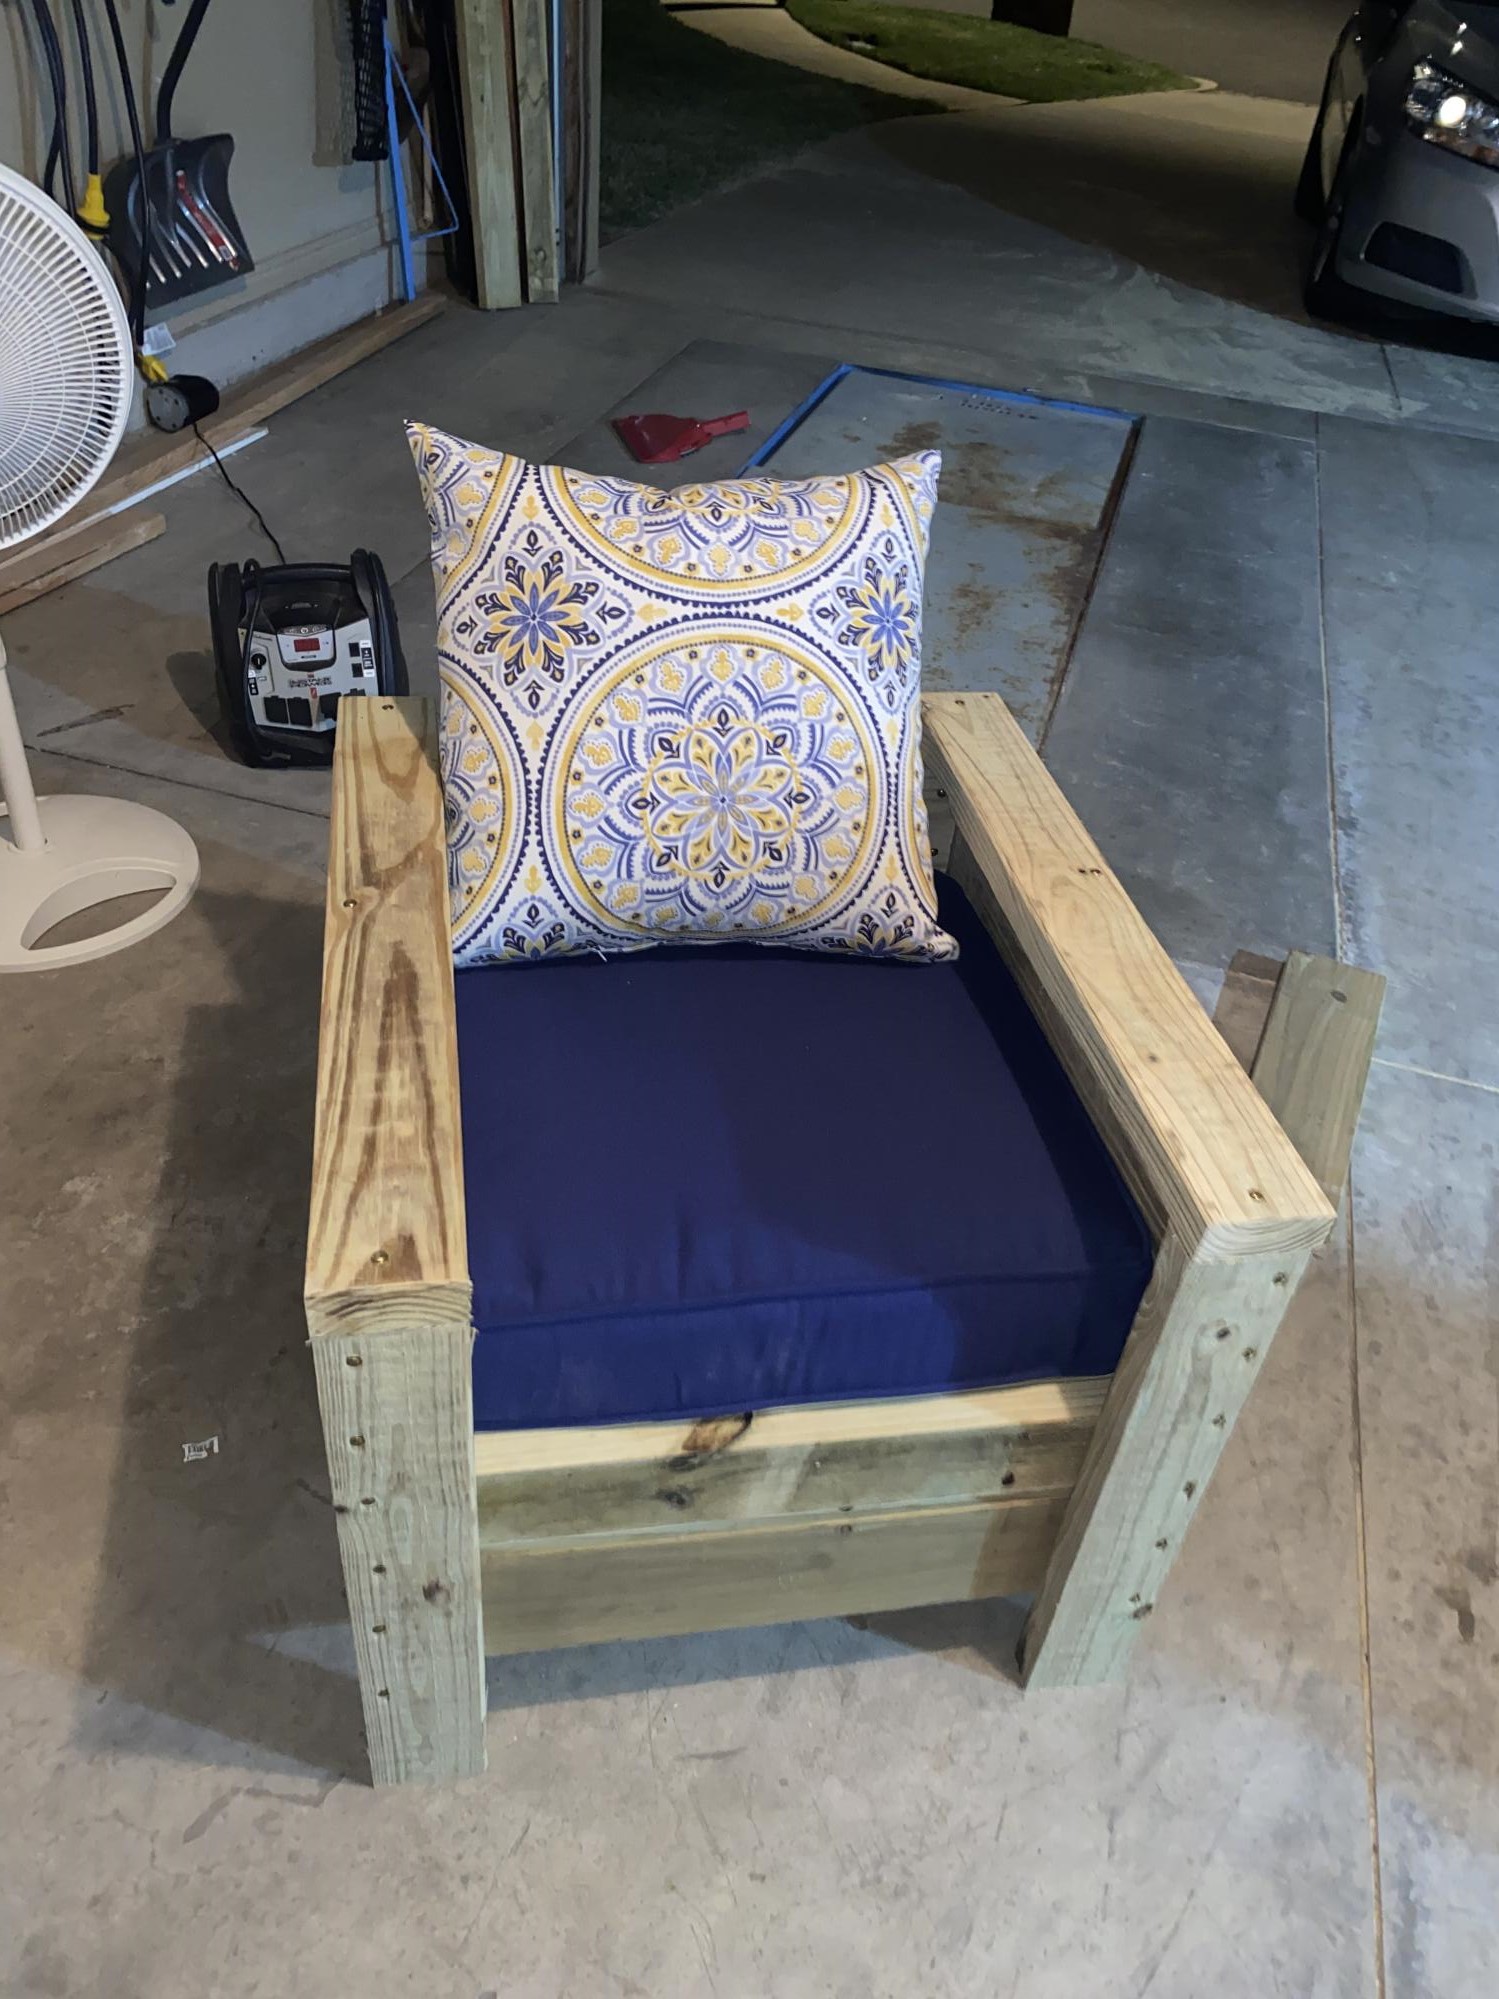
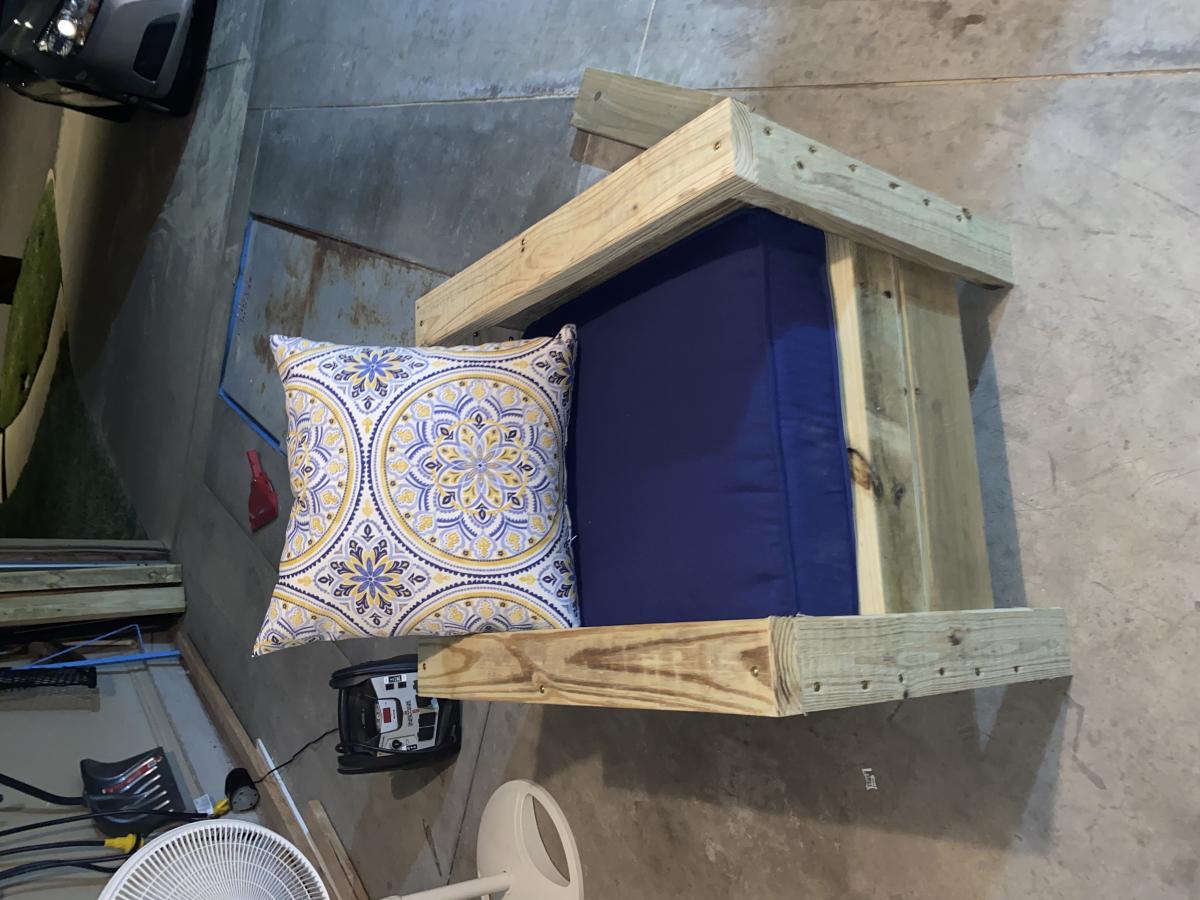
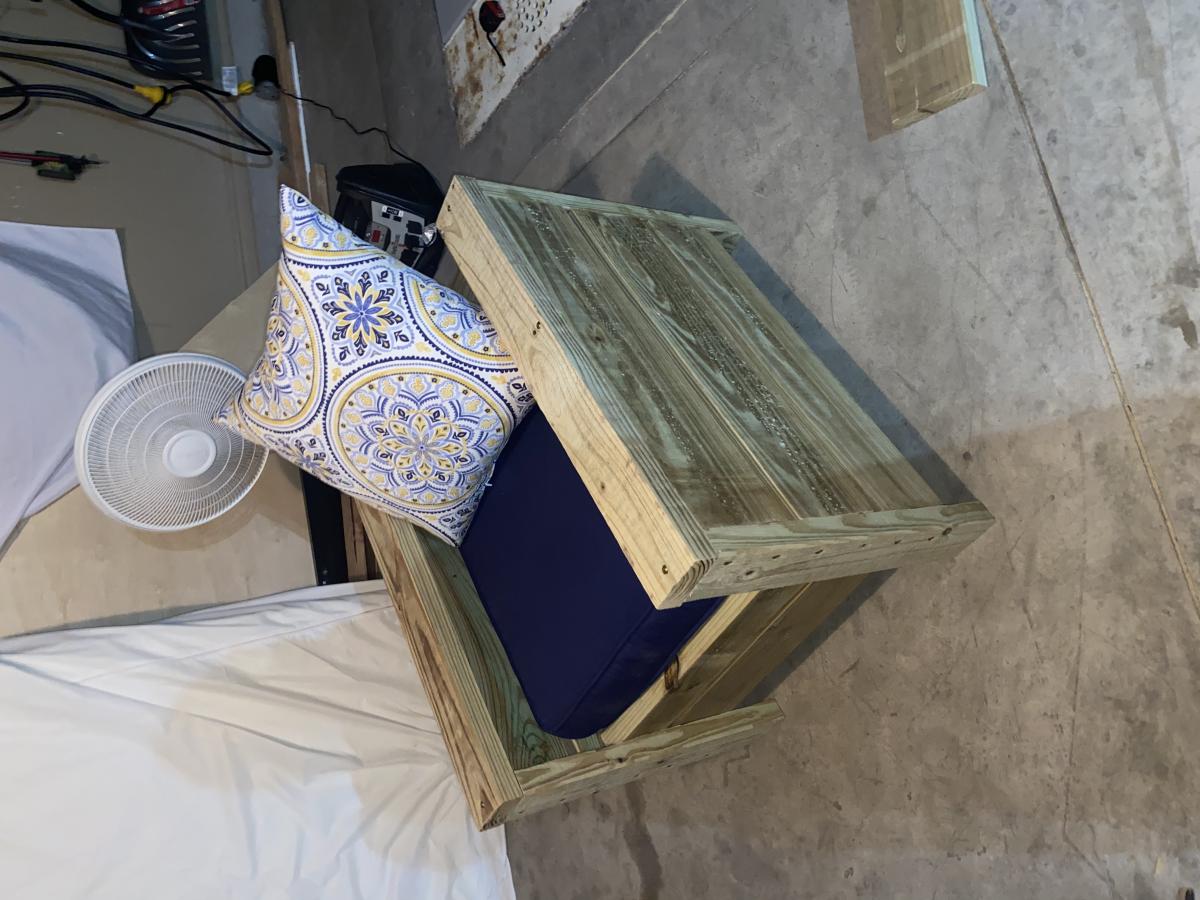
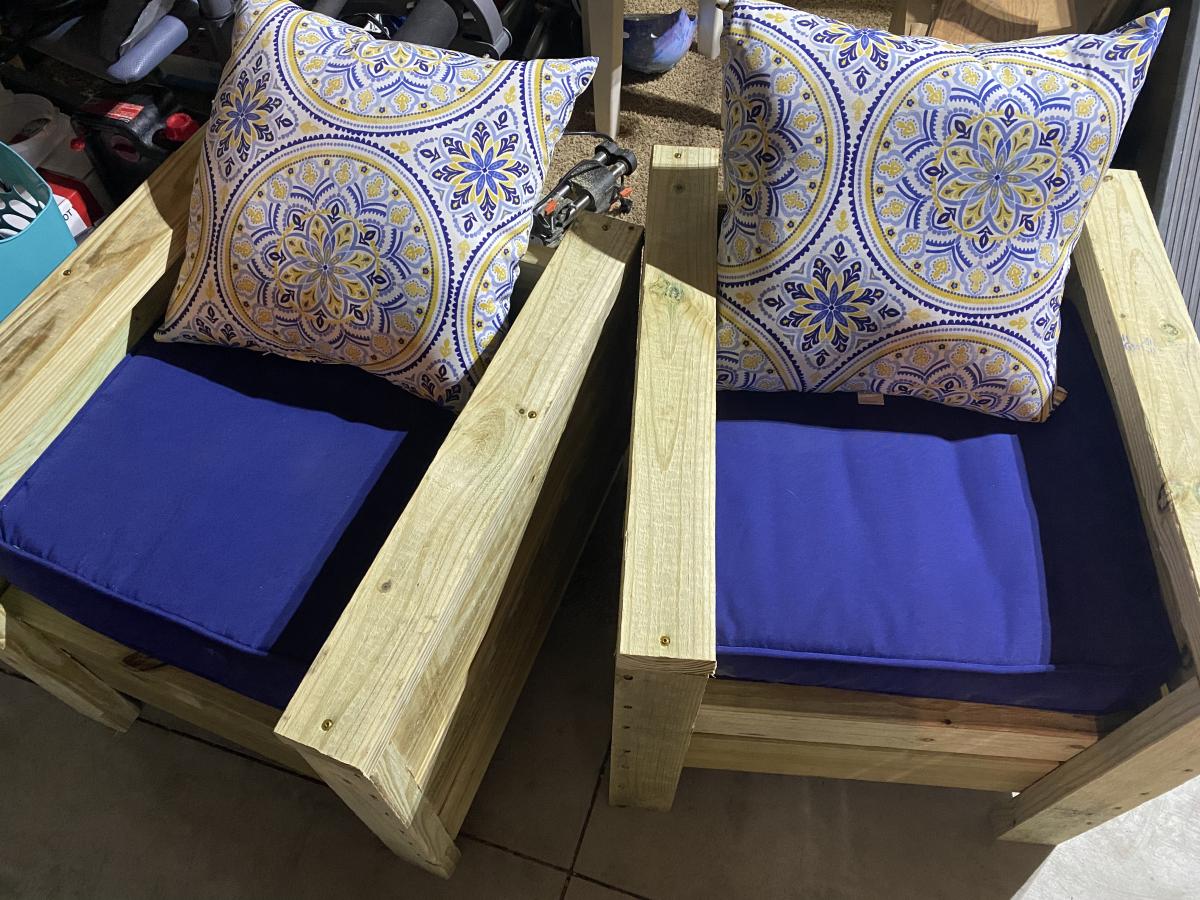
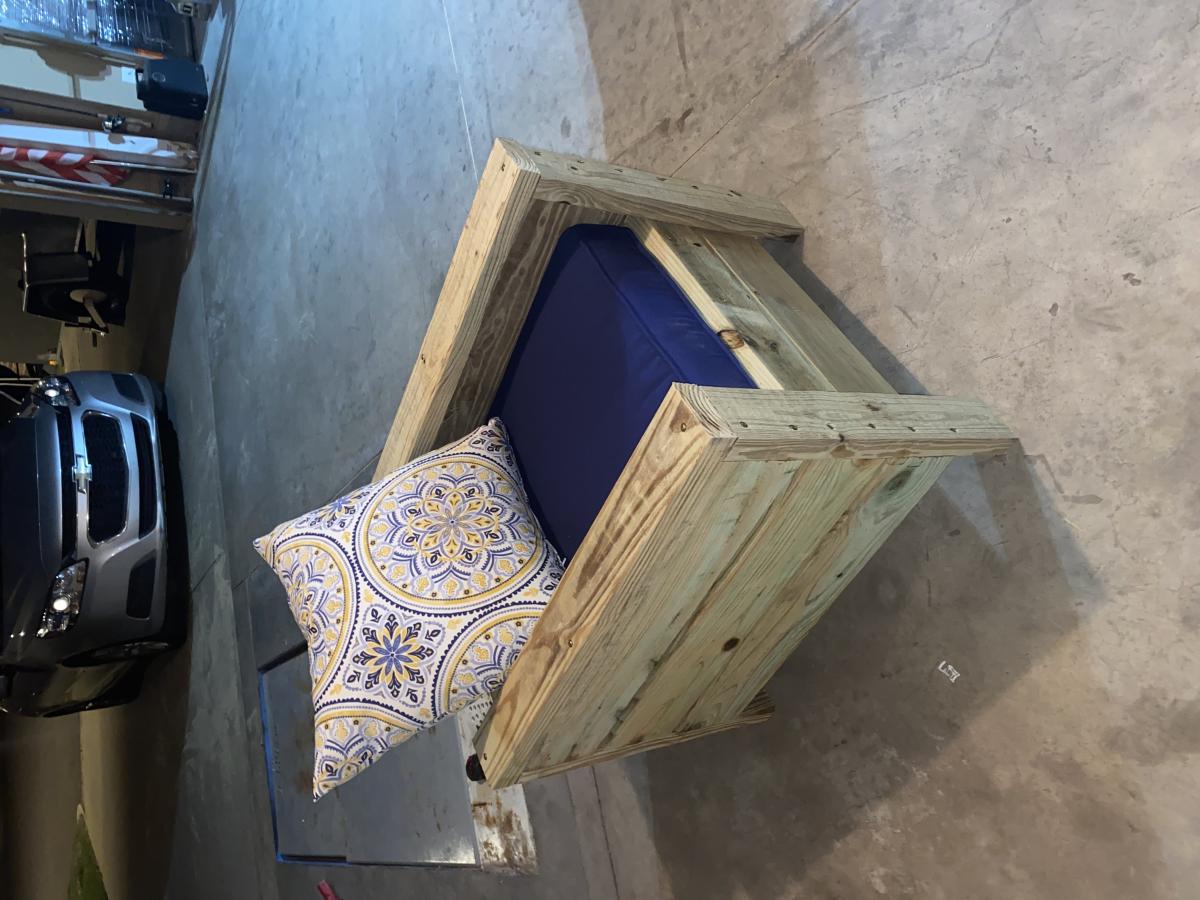
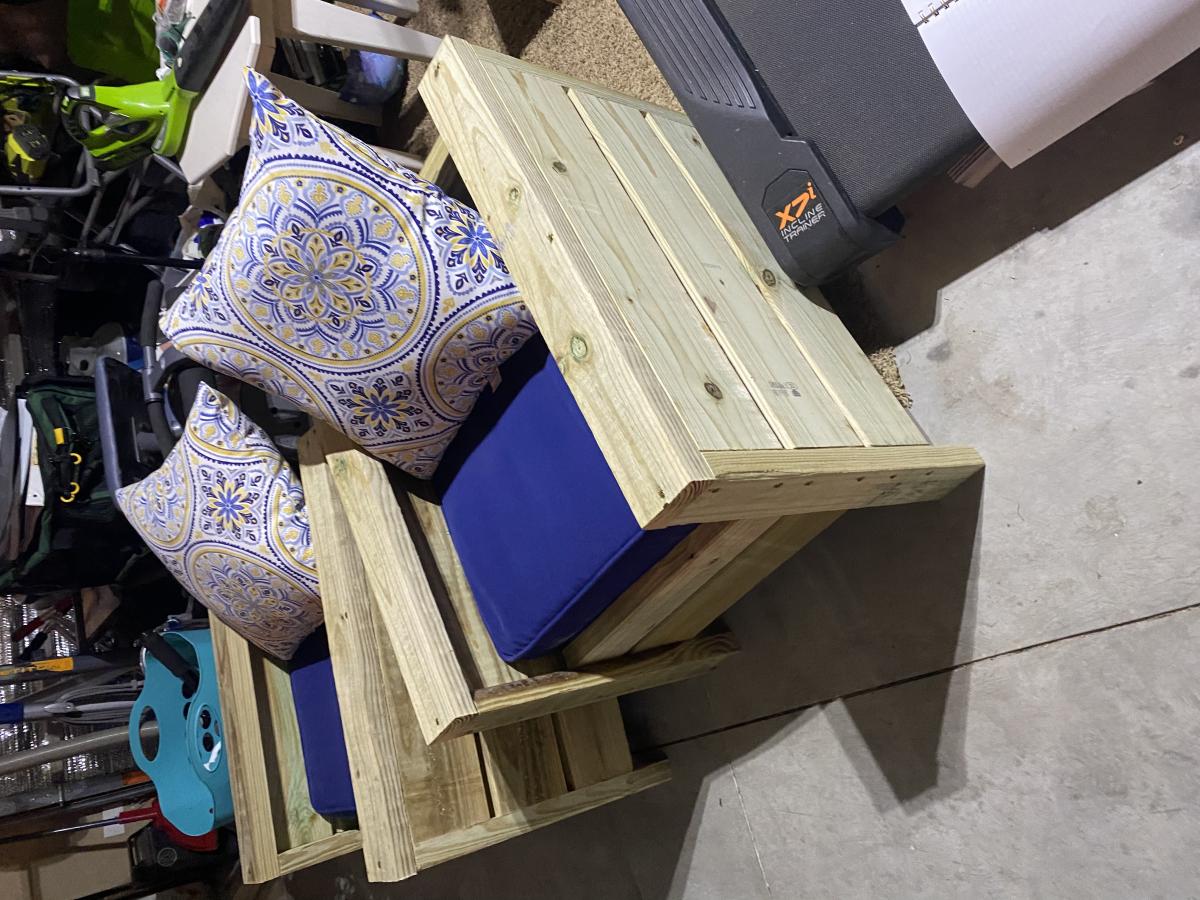
I have not yet sanded or sealed the chairs. I made two in 5 hours because I ran out of screws and had to go and get some more but I made these for my husband and my 15 year wedding anniversary to be able to spend more time outside after the kids go to bed. It cost me $130 plus the cushions to build
Comments