Community Brag Posts

Outdoor Daybed with Canopy

Submitted by calimomma on Wed, 07/04/2012 - 00:19

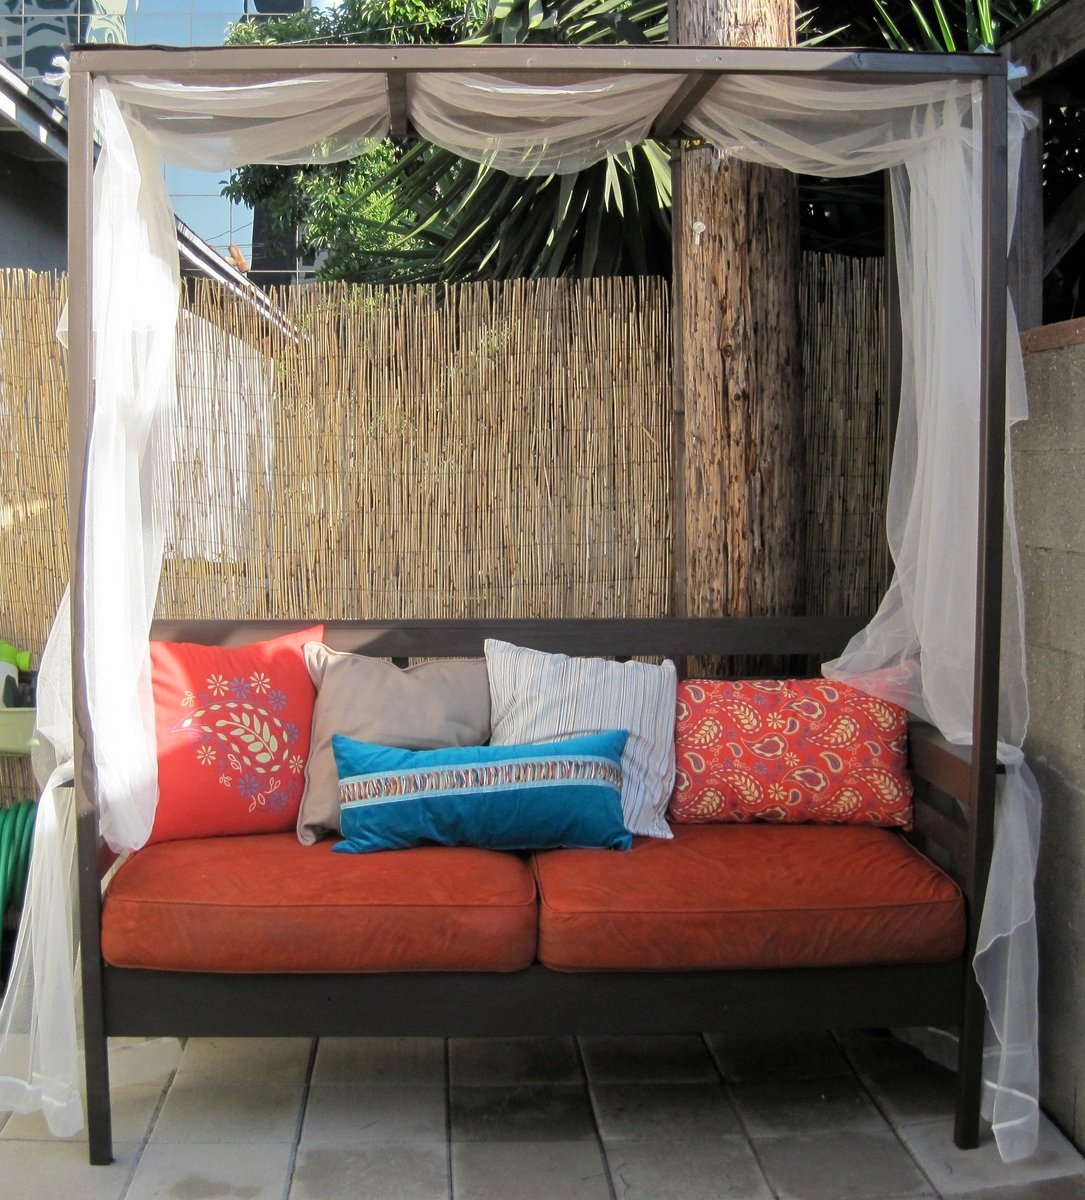
Thank you anawhite.com for this project! It was exactly what I was looking to build for my outdoor space. The outdoor daybeds with this look are WAY too expensive for us to buy and these plans were just what I needed!

My husband and I built (and painted) this project over one weekend. Not included in that time are 2+ hours shopping for materials on the friday night before and extra hours over the next few days to buy pillows, tie on the drapery, and finish the cushions.

We actually changed the plans to make more of a smaller 'daycouch' rather than a 'daybed' because we had some old cushions from a loveseat we just got rid of that I wanted to repurpose. It worked out great for our small space. If you do change the proportions keep in mind that a 1X3, 1X4, etc., are not exactly 3", 4", etc.

This project is totally doable, so go for it! The only things I would recommend are that you have some skills with power tools, know a little about carpentry (the directions are pretty spartan), and paint the pieces beforehand (if you have the patience; it really does cut down time on painting all those slats).

*Important note: the materials list is missing 2 2"X4"X8" (for the 2 cleats) that you need to complete the project.

Built from Plan(s)
Estimated Cost
$260+ (includes pillows and cost of way more paint than we needed)
Estimated Time Investment
Weekend Project (10-20 Hours)
Recommended Skill Level
Intermediate

Comments

calimomma

Fri, 07/13/2012 - 23:26

Thank you! We are pretty happy with the way it turned out. If you do the project please post a pic!

Spice rack customized for my space

Submitted by Imadeit on Wed, 07/20/2016 - 13:22

At the end of the day, my spice rack did not look anything like Ana's plan, but it did make my creative juices start.

I hung mine on my wall.  I used a premade panel as the backing which I then stained.  I boxed in the panel with a thin 1x2 along the sides so that the hanging wire would not show.  The shelves are 1x3 trimmed with the same 1x2 to provide a ledge so that the spice bottles won't fall off.

Still waiting on my labels to arrive so have not loaded up the jars yet!  Splurged on the jars from a specialty bottle company.  They are high grade impact resistant plastic that is super clear and lightweight.  The lids have a hinged top with one side having shaker holes and the other open to be able use a measuring spoon.

So proud of the finished result.  Thanks Ana!

Built from Plan(s)
Estimated Cost
$300 since I bought 100% of the material. Of this, $125 was the bottles.
Estimated Time Investment
Day Project (6-9 Hours)
Finish Used
Dark oak MinWax stain with satin poly included. Annie Sloan chalk paint with a 60/40 mix of avocado and English yellow with her clear wax on top.
Recommended Skill Level
Beginner

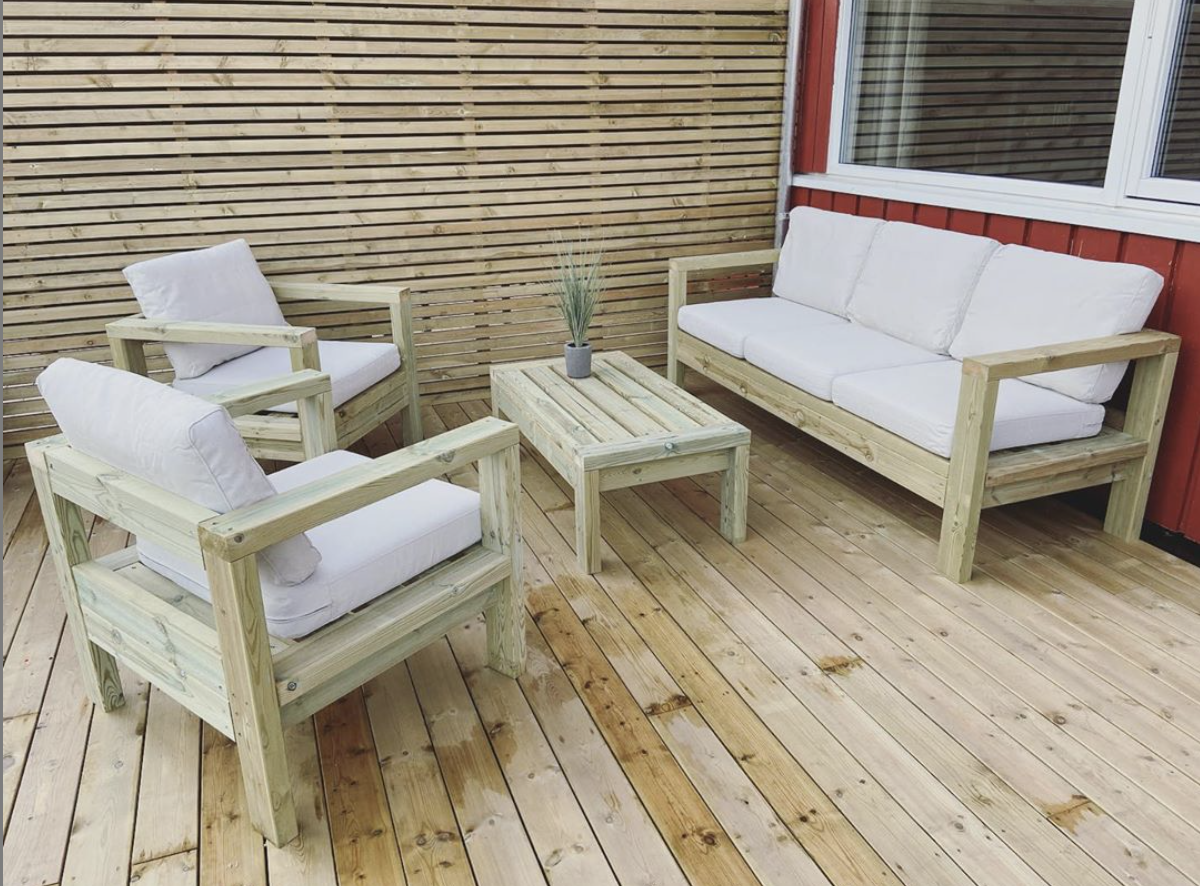
Outdoor sofa with table and matching chairs!

So, we decided after not finding any outdoor furniture, that why not make them! So this is the result, made a few changes to the size and measurements so the pillows from IKEA, would fit perfectly. Now we are waiting for them to be ready to oil/paint. We also made the chairs with the sofa plans, so happy we did that. Thank you so much for the plans! We are so happy! IKEA pillows name are: Sitting pillow - FRÖSÖN/DUVHOLMEN 62cm by 62 cm. Back pillows - FRÖSÖN/DUVHOLMEN 62cm by 44 cm.

Estimated Cost
$240
Estimated Time Investment
Day Project (6-9 Hours)
Recommended Skill Level
Starter Project
Seasonal And Holiday

Kitchen Island for a Friend

Submitted by Jake on Fri, 07/06/2012 - 08:41

I made this kitchen island for a friend who wanted it unfinished. I got the plan from Ana's site but it was submitted by Brookifer86. I made no changes to the original plans. I did splurge on a project top from Lowes at $22 and the stair stiles (i think you call them that) for the legs at about $2 each. What a really nice project and so easy to build. Hardest part was the 22 cross members on the bottom shelf. I think I will make another one but try to add a small drawer.

The lady that I made the table for has wanted to start building. So I made one small easily fixed mistake for her to fix. When she gets here to pick the island up I will hand her safety glasses, hearing protection, square, pencil and tape measure and let her go to work. She is also bringing shaker pegs that she can install. Should be fun.

Built from Plan(s)
Estimated Cost
$50
Estimated Time Investment
Afternoon Project (3-6 Hours)
Finish Used
None. The recipient will finish it her way.
Recommended Skill Level
Beginner

ACCENT TABLE

THE TOP OF THE TABLE WAS MADE FROM A PINE TREE I CUT DOWN IN MY BACKYARD, THE LEGS ARE MADE FROM 4X4S I FOUND ON THE SIDE OF THE ROAD

Estimated Cost
$30
Estimated Time Investment
Afternoon Project (3-6 Hours)
Finish Used
Latex polycrilic by minwax
Recommended Skill Level
Beginner

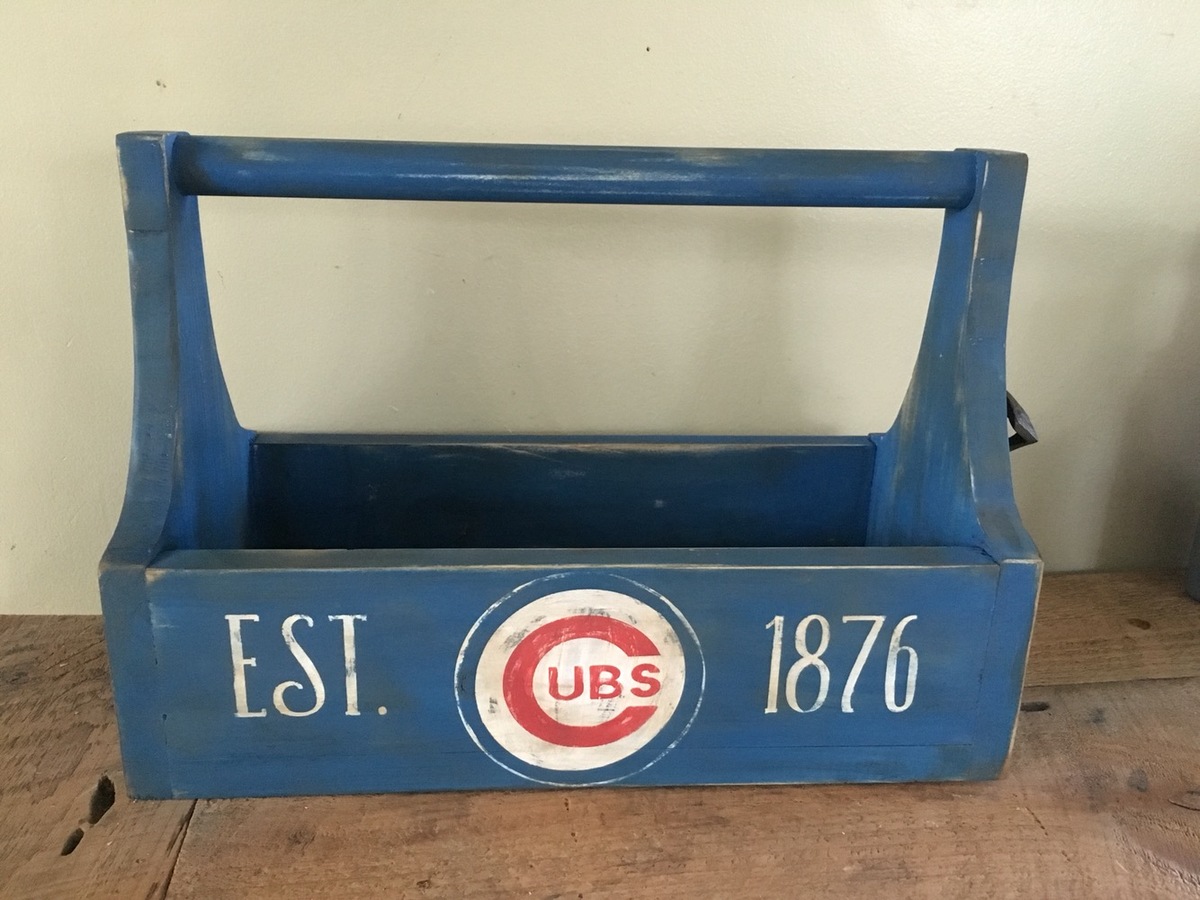
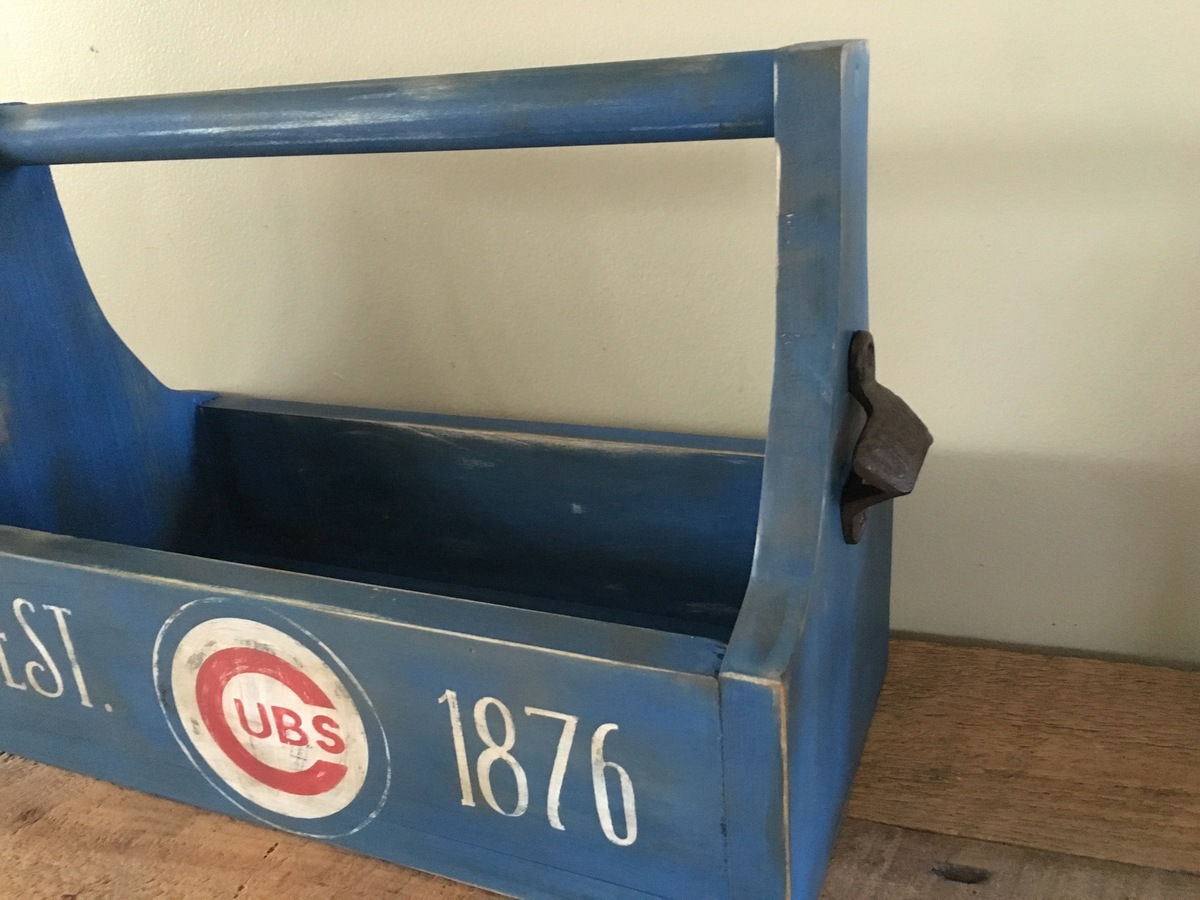
Cubbies Caddy

Submitted by Anonymous (not verified) on Sat, 07/23/2016 - 13:42

Just a fun tool caddy for the sports lover (Cubs or other teams) out there.  It has a beer opener on the side so you honestly don't have to move when cracking open a cold one.  Be it soda or beer that doesn't require you to twist it off.  

Estimated Cost
10 dollars
Estimated Time Investment
An Hour or Two (0-2 Hours)
Finish Used
Chalk paint
Recommended Skill Level
Beginner

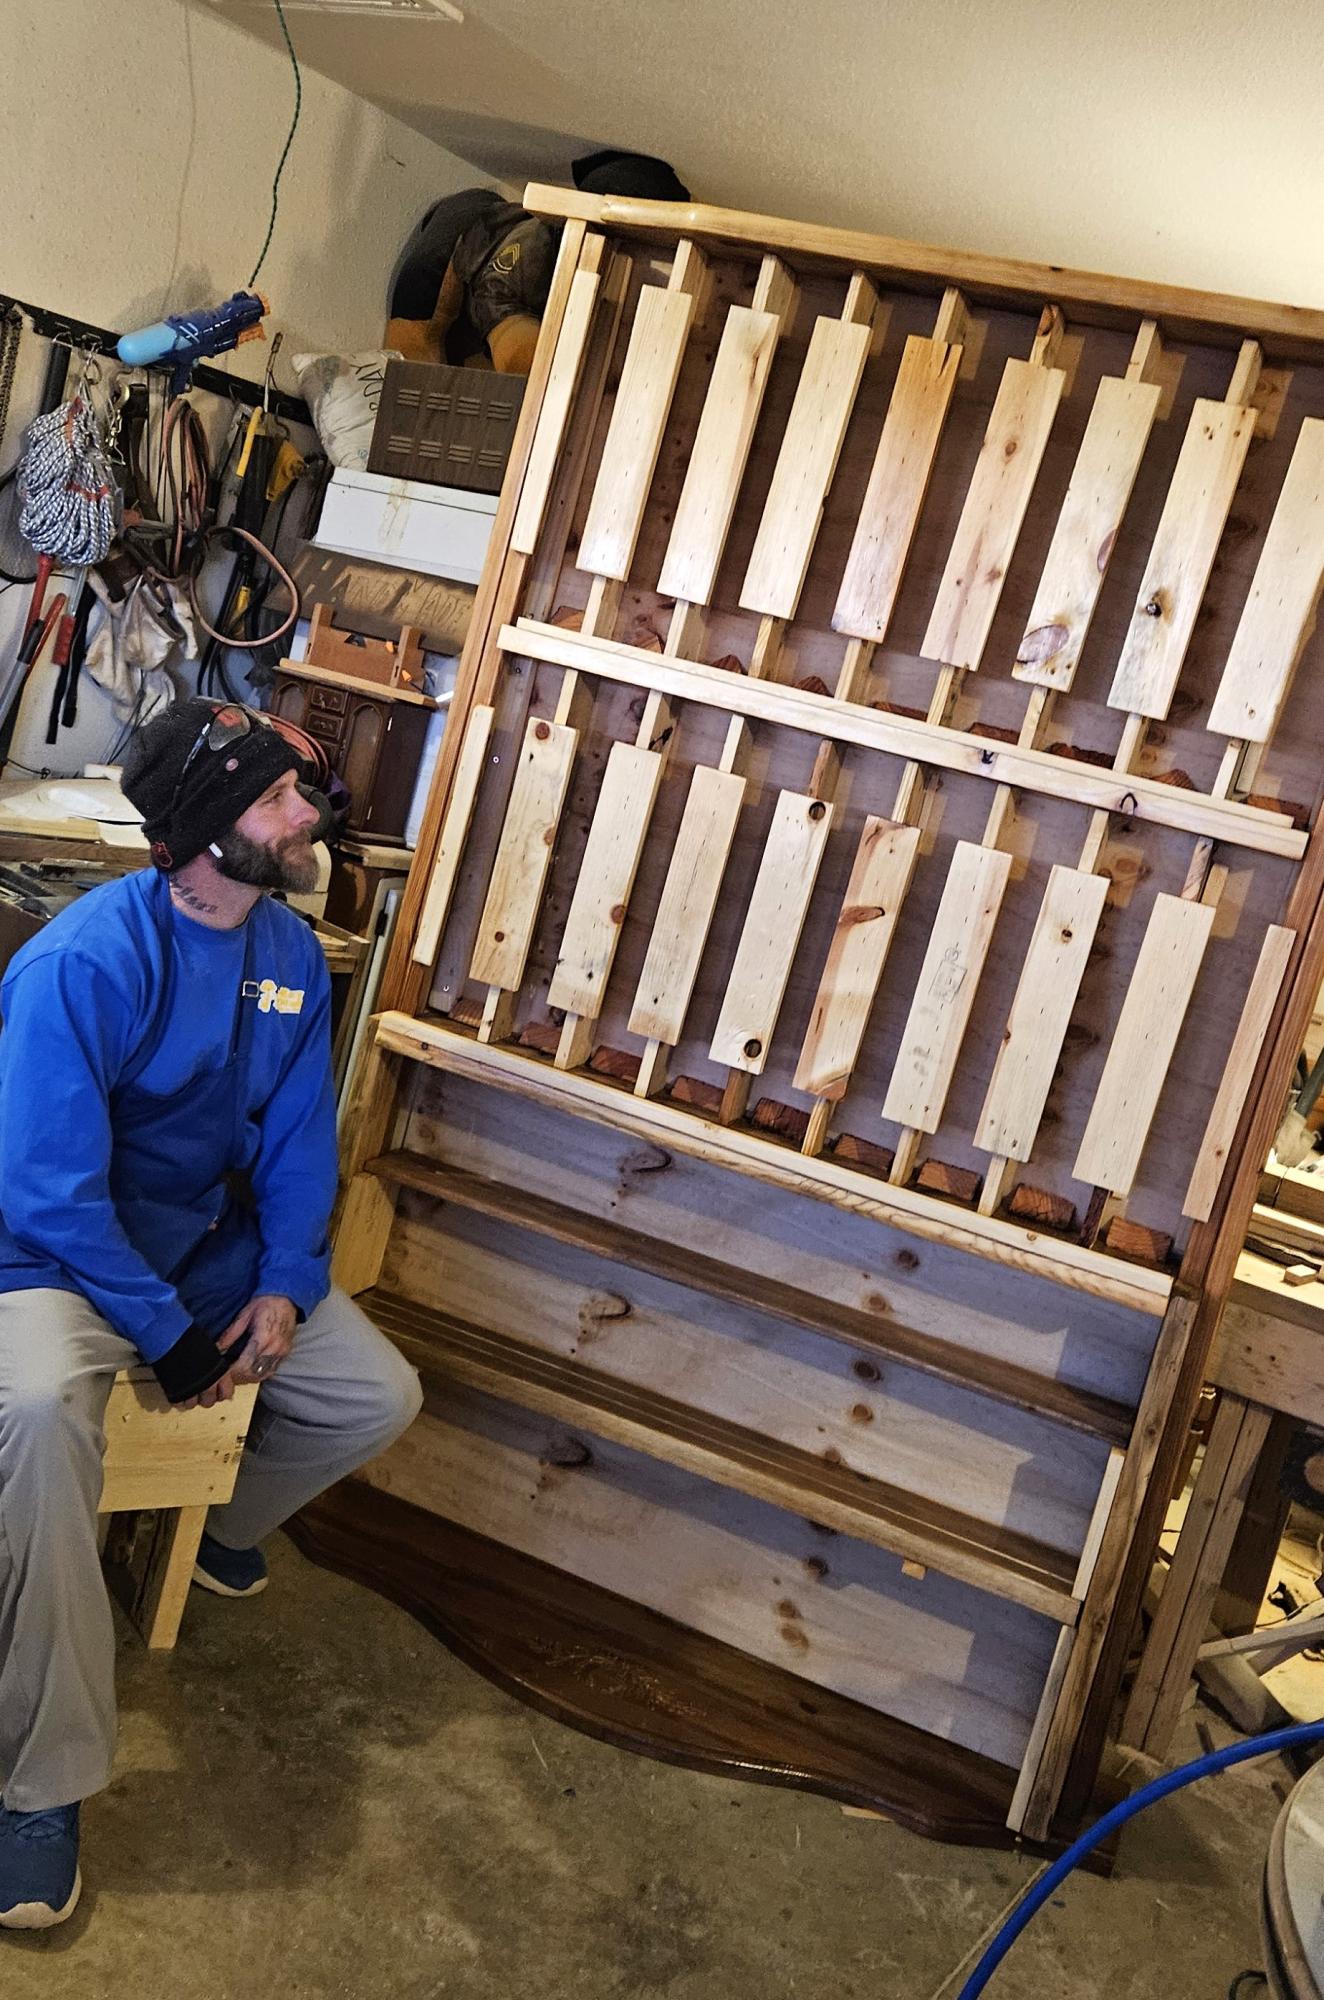
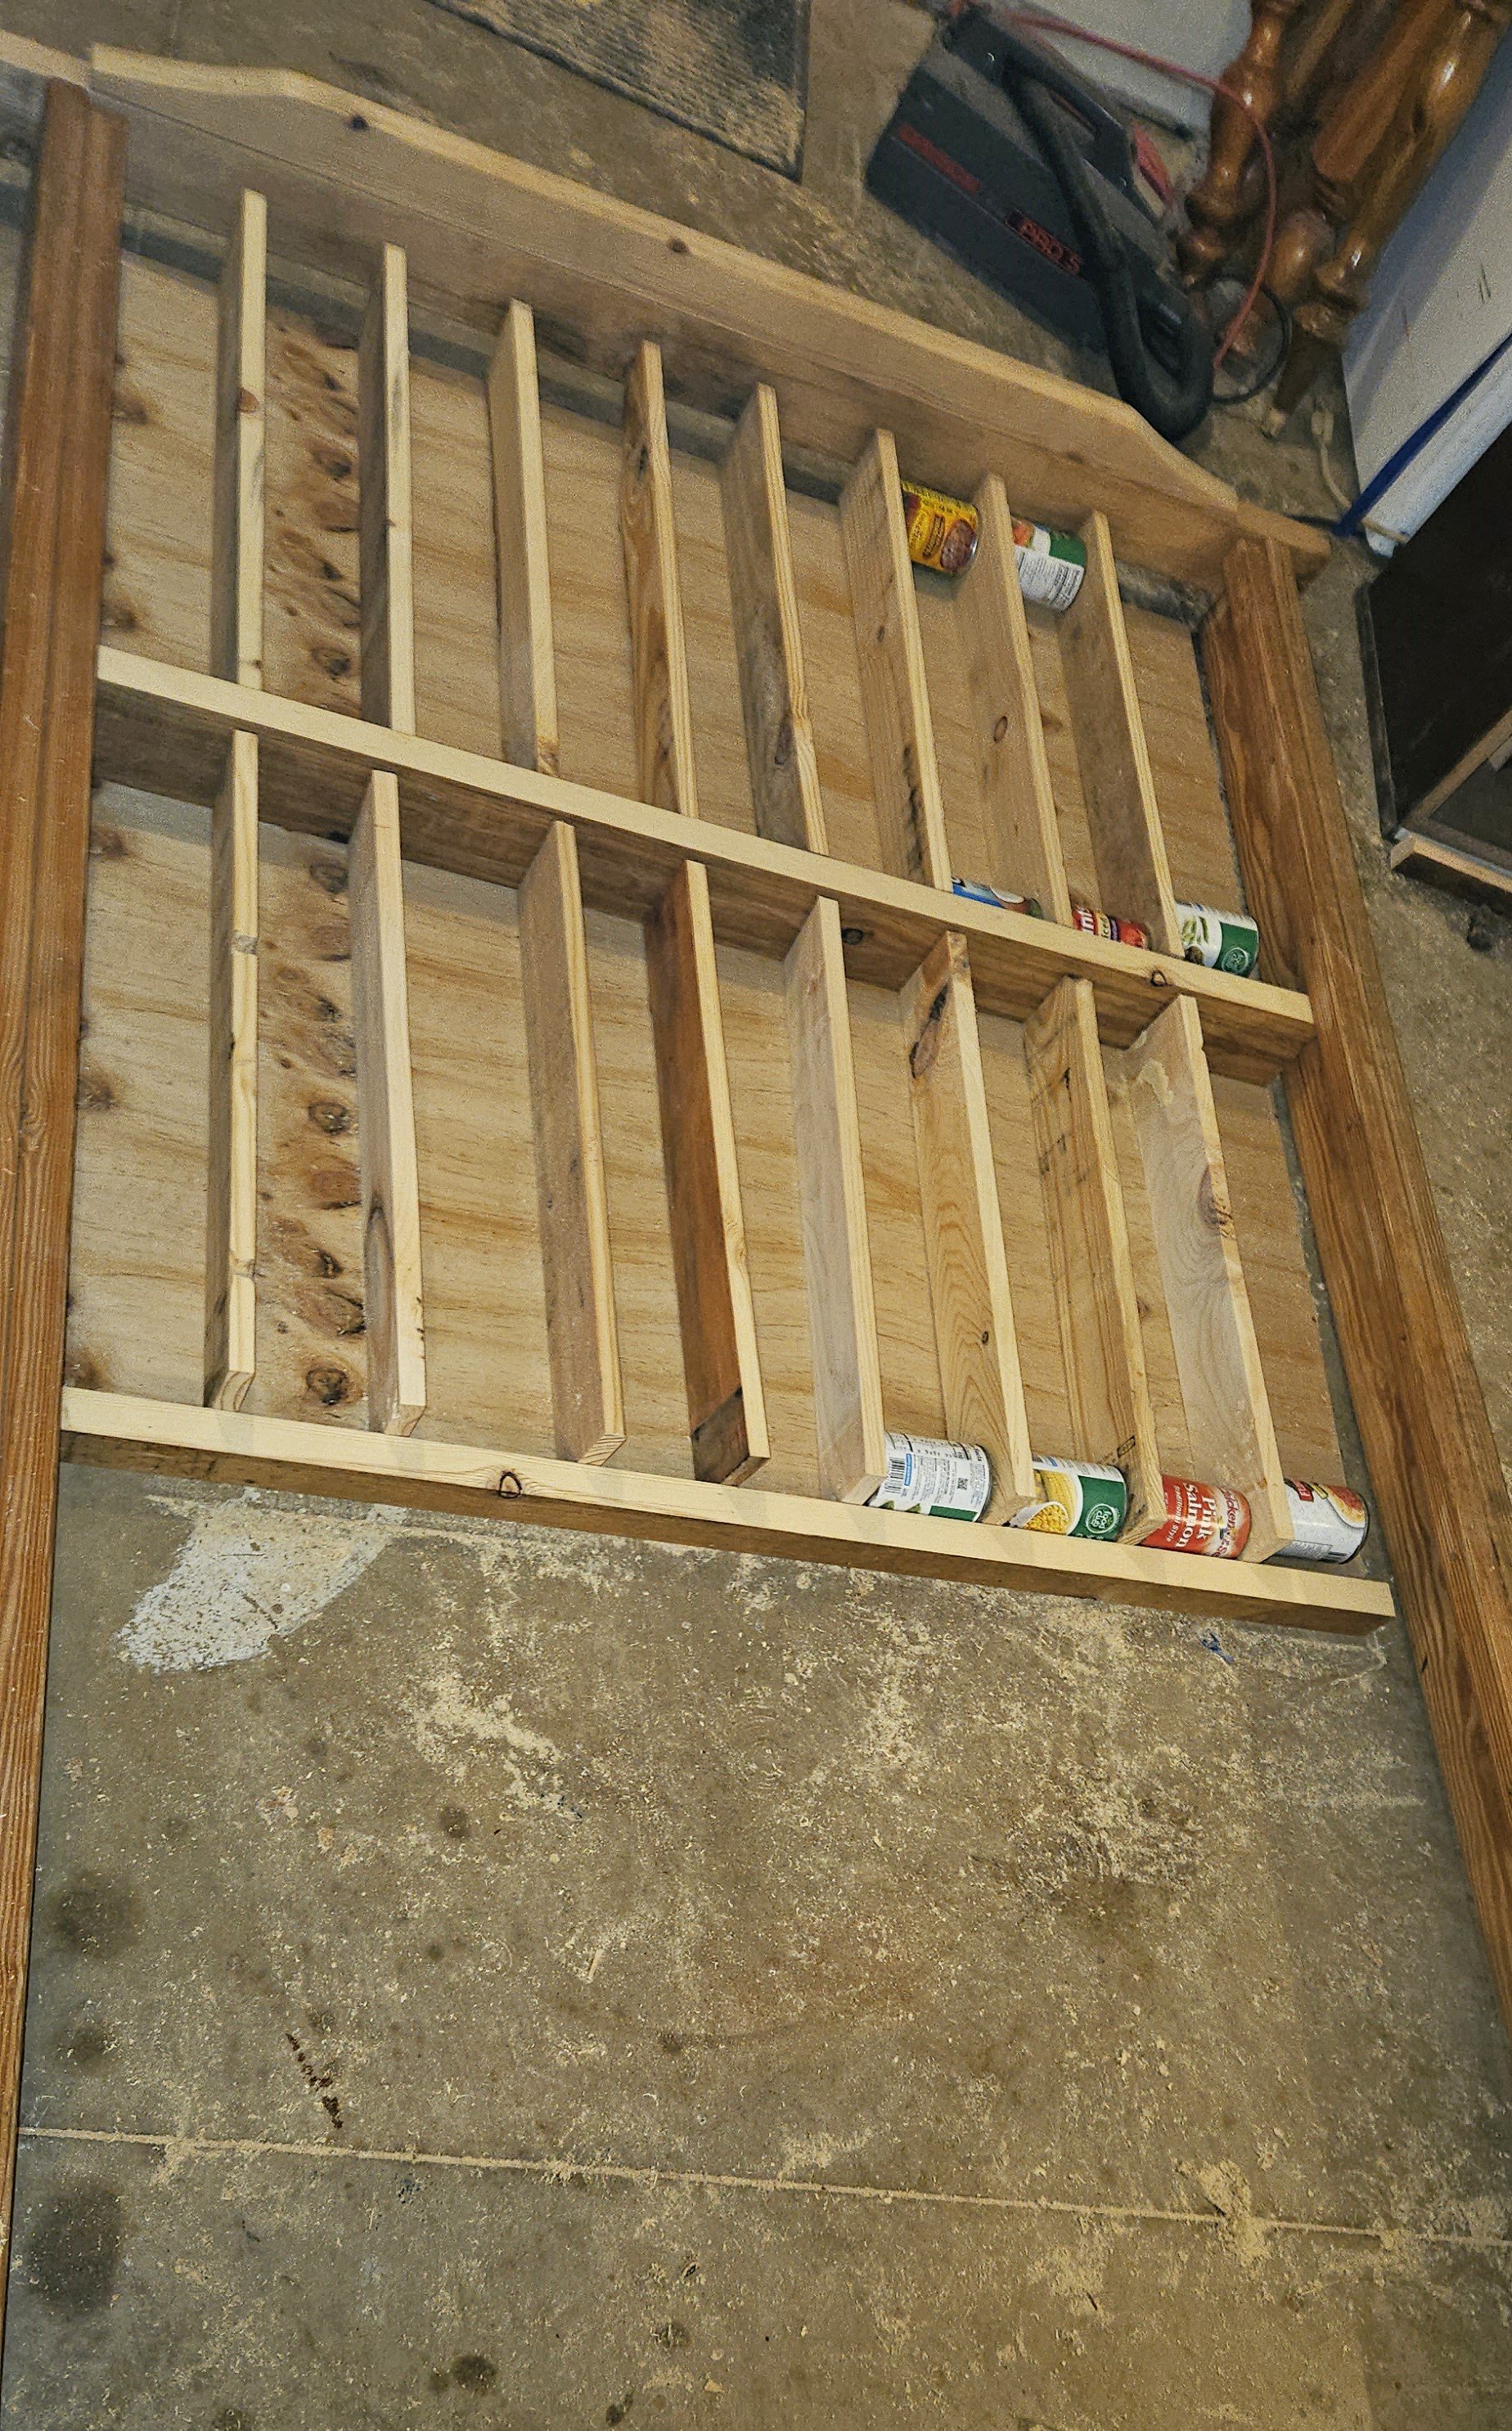
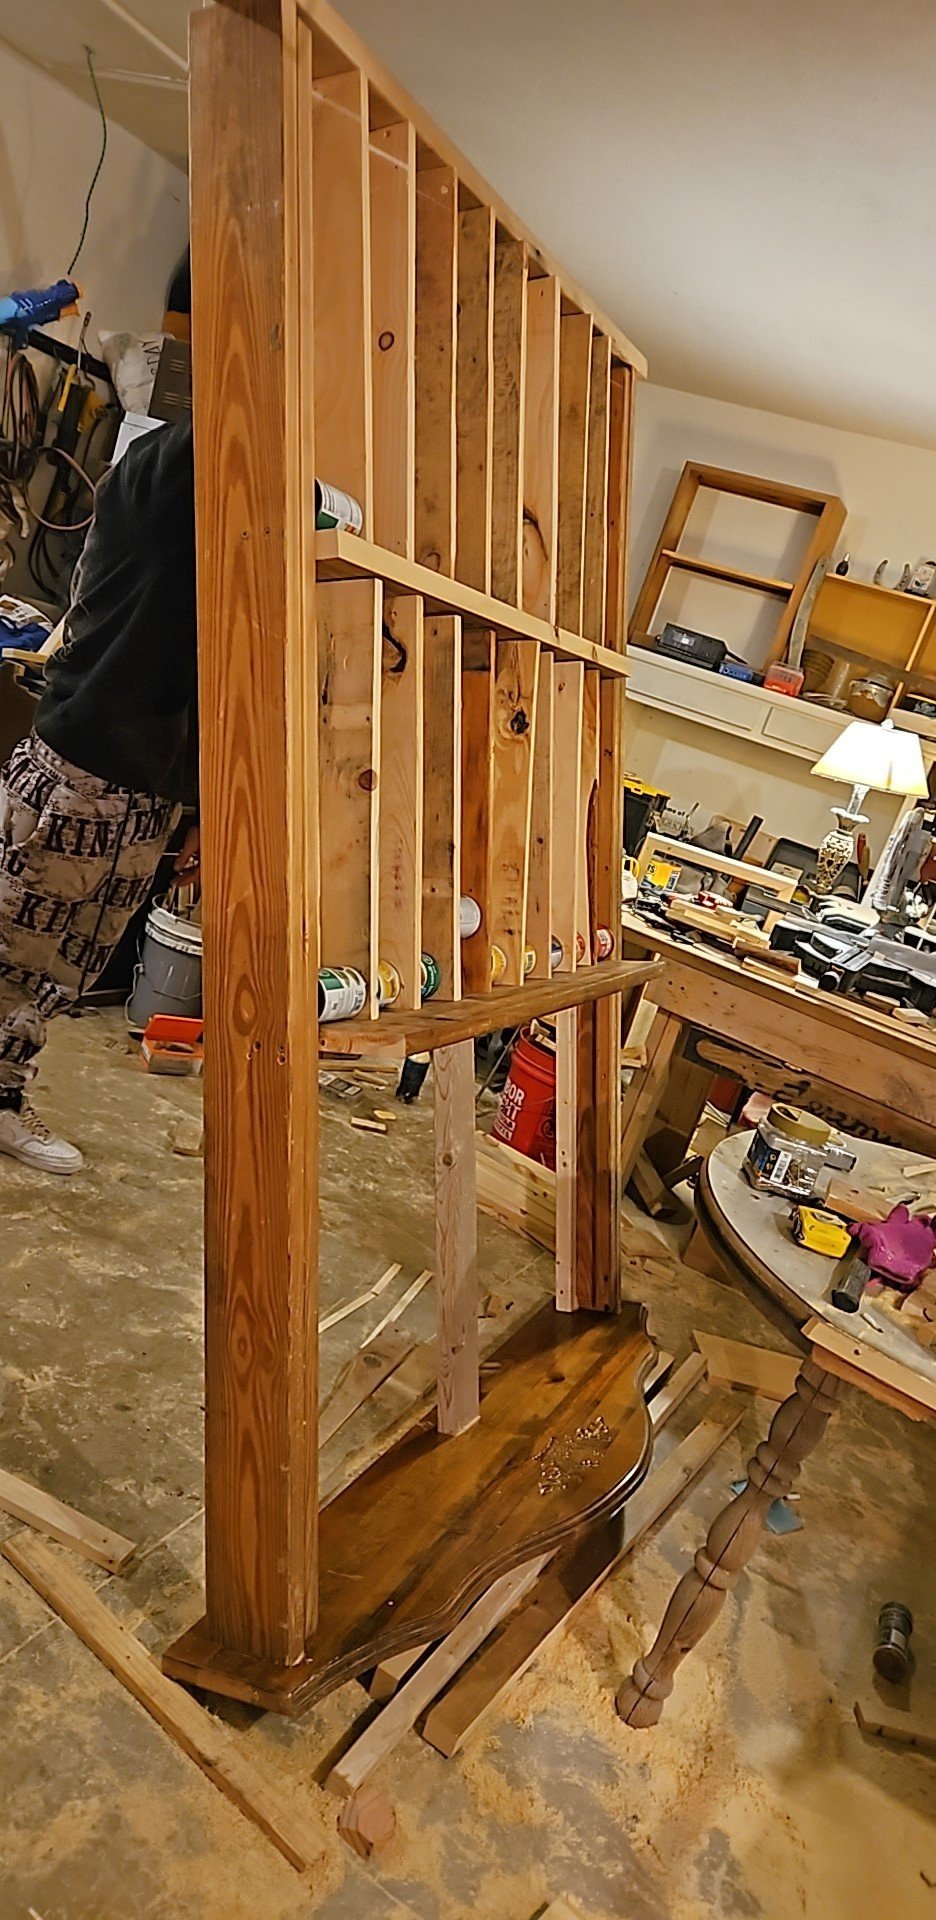
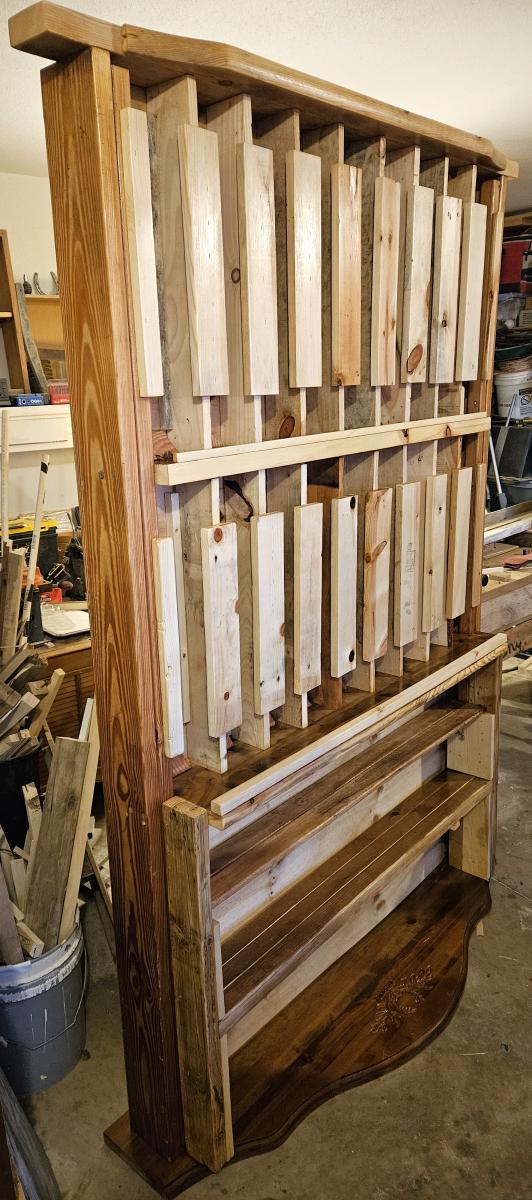
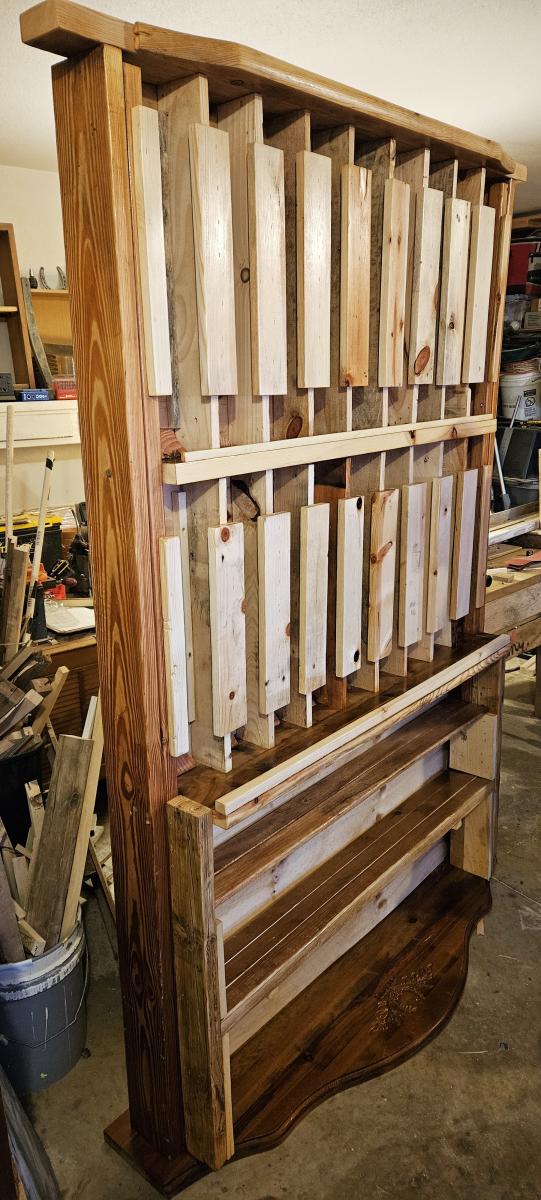
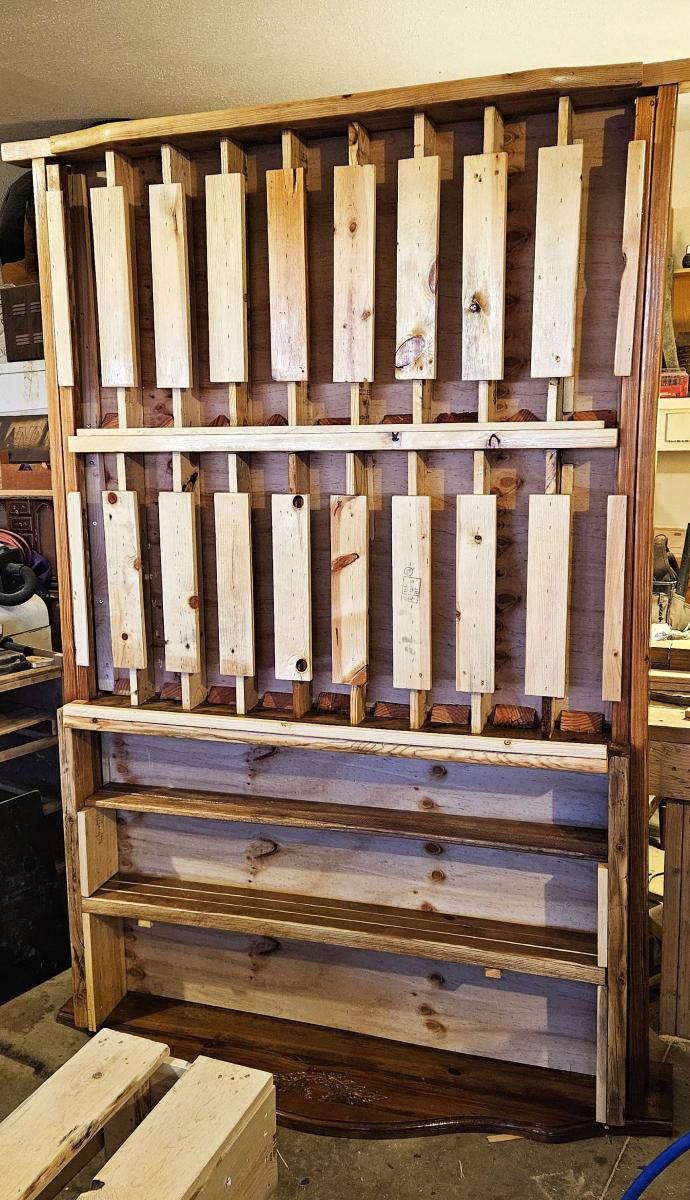
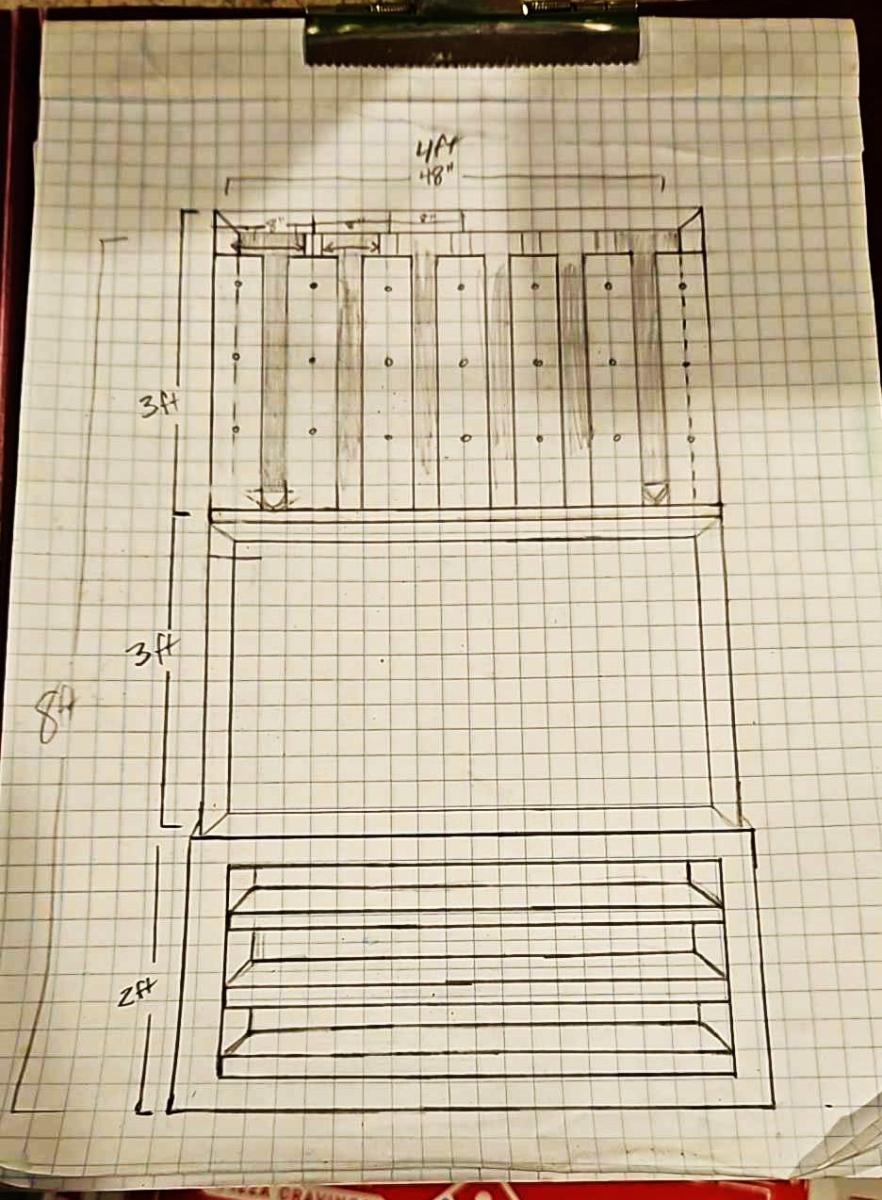
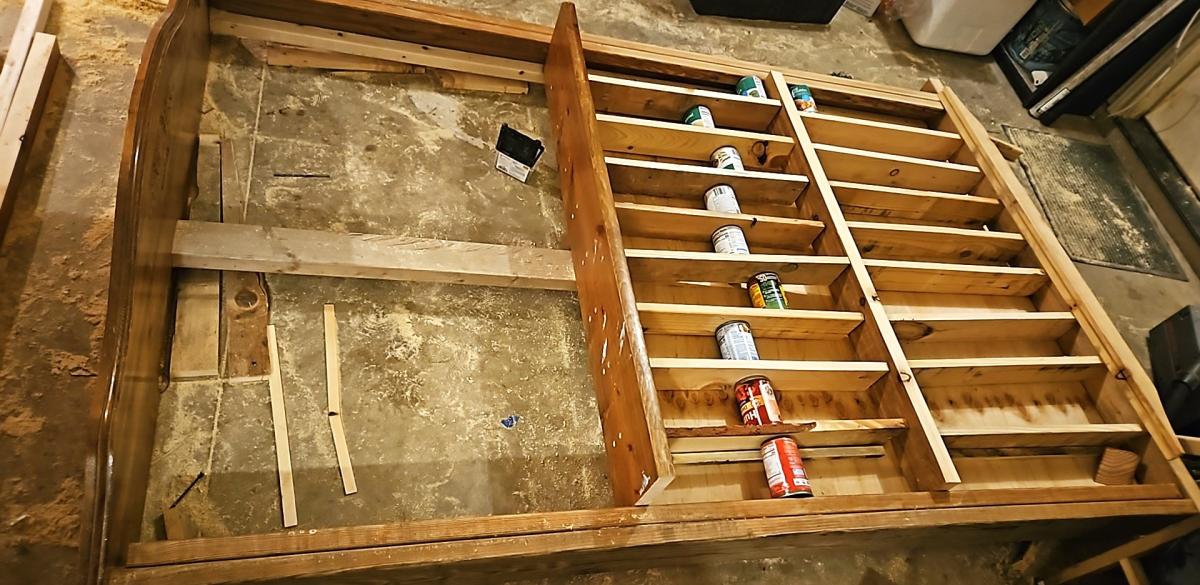
Dry Can Storage - Holds 144 Cans!

Submitted by Anonymous (not verified) on Sun, 01/14/2024 - 18:27

can holder

can holder

144 can dry storage for a pantry. In Amarillo Texas.

Jeremy Racette

Comments

Aphotecary console pallet wood top

Submitted by Joppedaman on Thu, 04/24/2014 - 13:05

Built from scratch whith fake drawers, 3 big doors with shelves inside

reclamed palletwood top plained and sandered, finished with Osmo hardwax.

Estimated Time Investment
Week Long Project (20 Hours or More)
Finish Used
osmo hardwax on top and antique white waterbased paint
Recommended Skill Level
Advanced

Comments

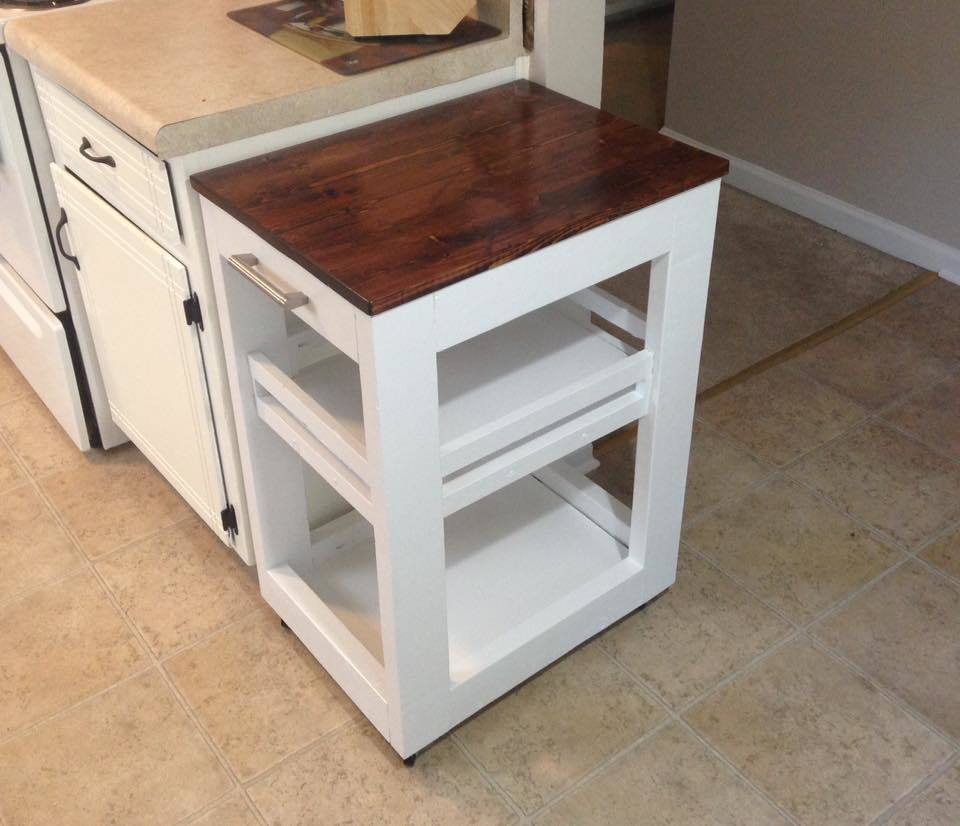
Kitchen Cart

We needed a little extra workspace and storage in our kitchen, so I put this together for the wife. She wanted a smooth surface and wanted it to look a little less "clunky", so I modifed the plans from More Like Home a bit. It works great in our kitchen and it was fun to make.


Plans at: http://www.morelikehome.net/2012/10/day-3-build-kitchen-cart-with-2x4s.html


Estimated Time Investment
Weekend Project (10-20 Hours)
Finish Used
Red Oak stain with three coast of satin finish on top. Gloss white paint.
Recommended Skill Level
Beginner

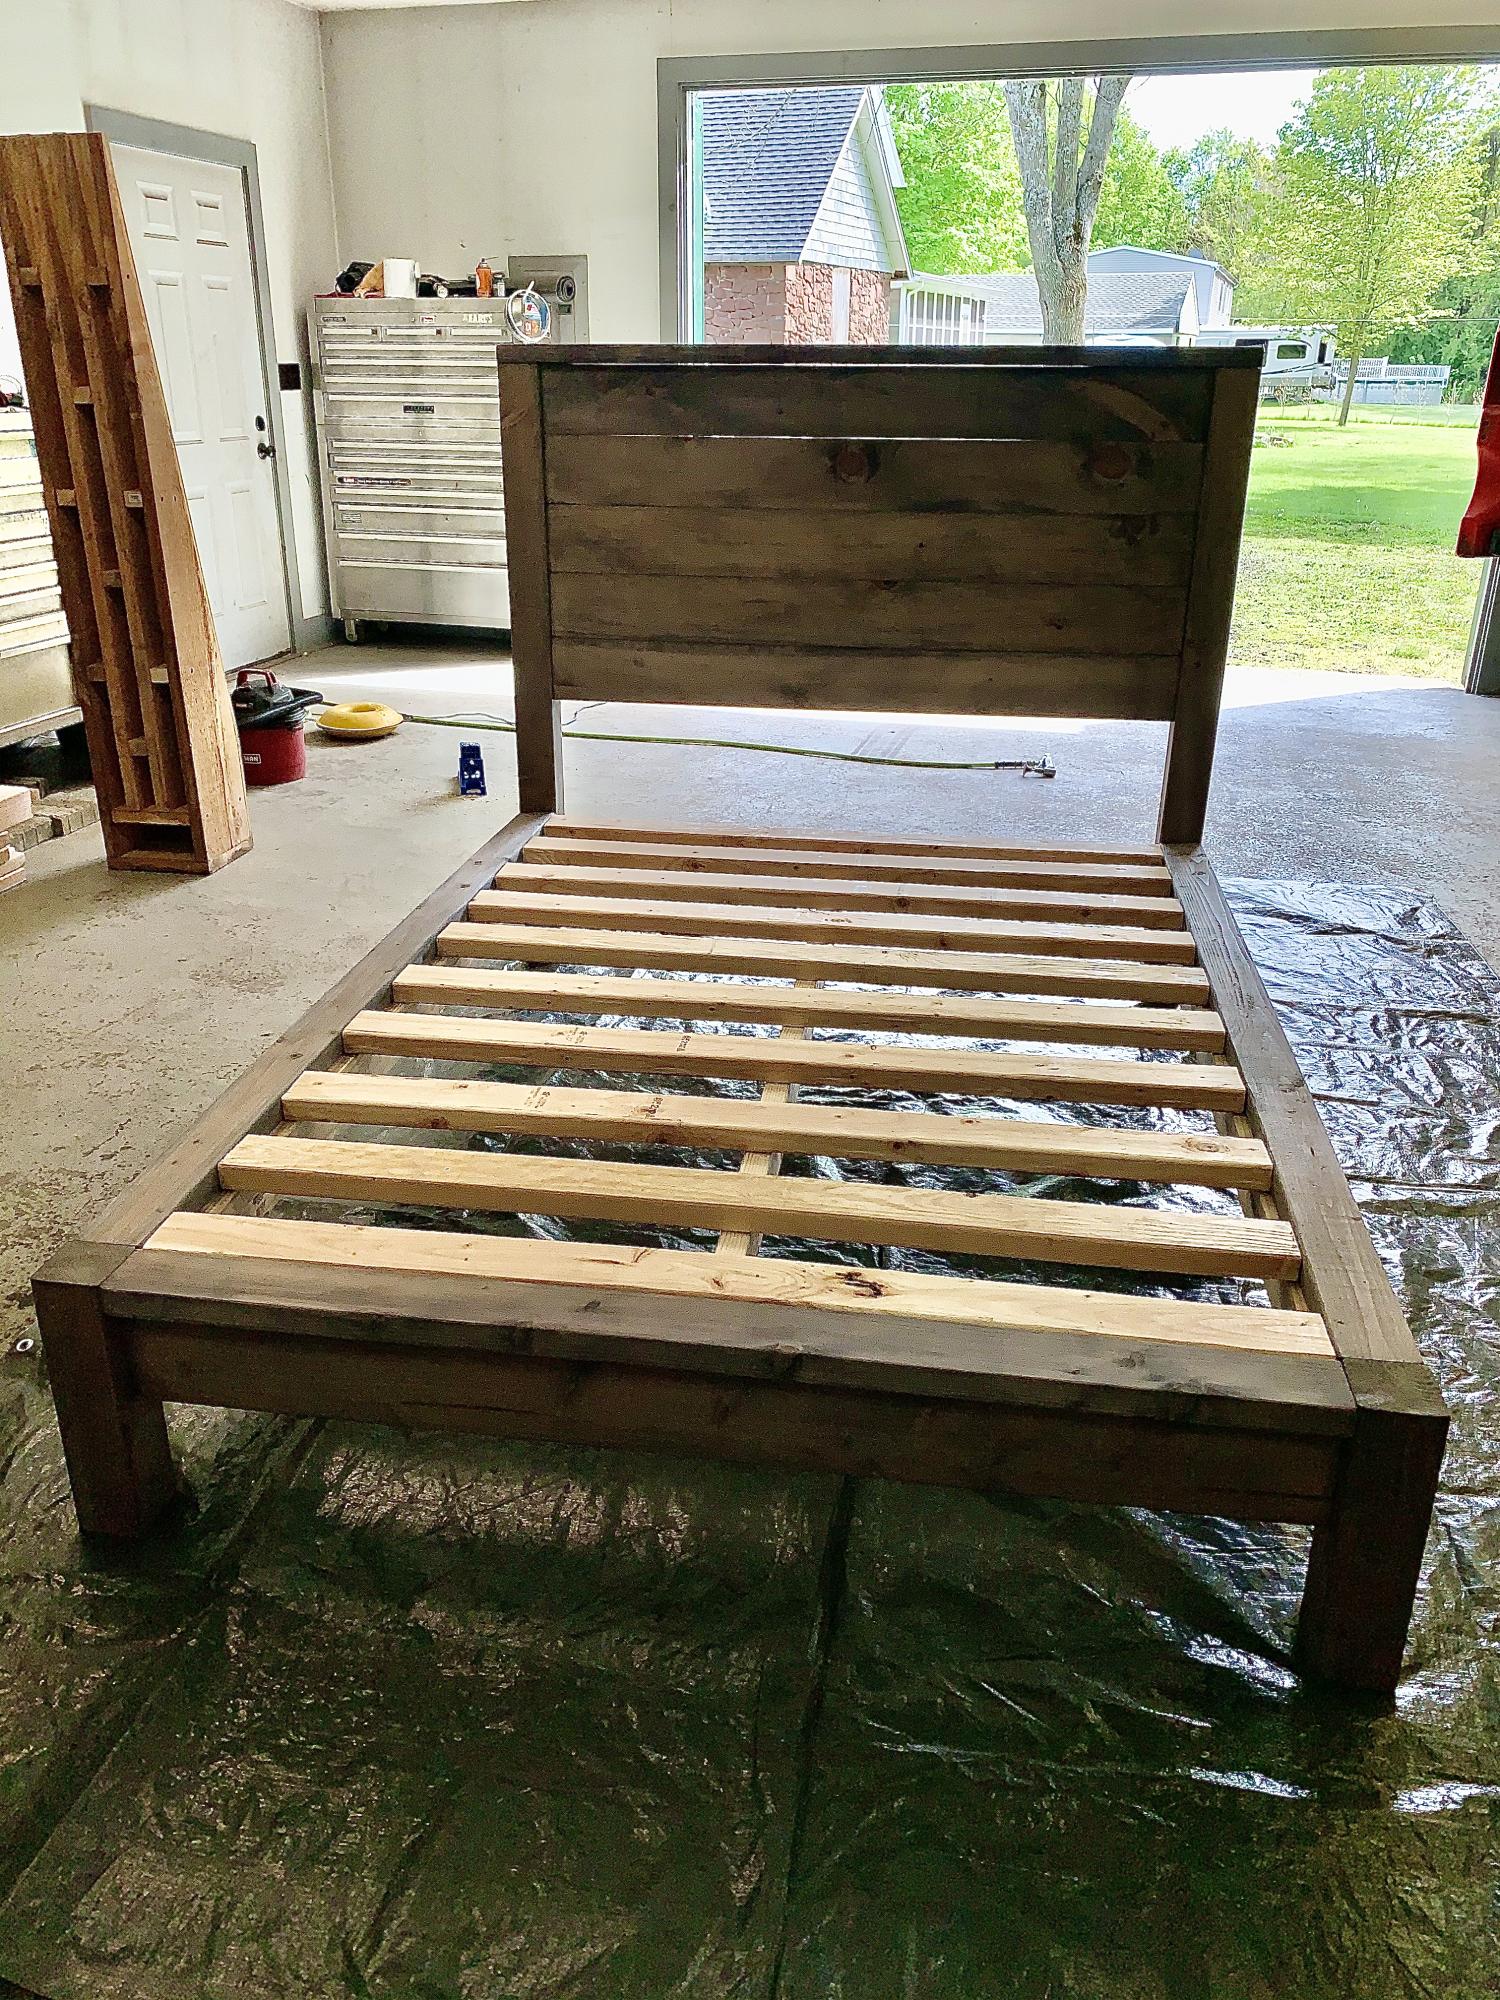
Modern Farmhouse Bed

Submitted by Anonymous (not verified) on Sun, 05/17/2020 - 16:52

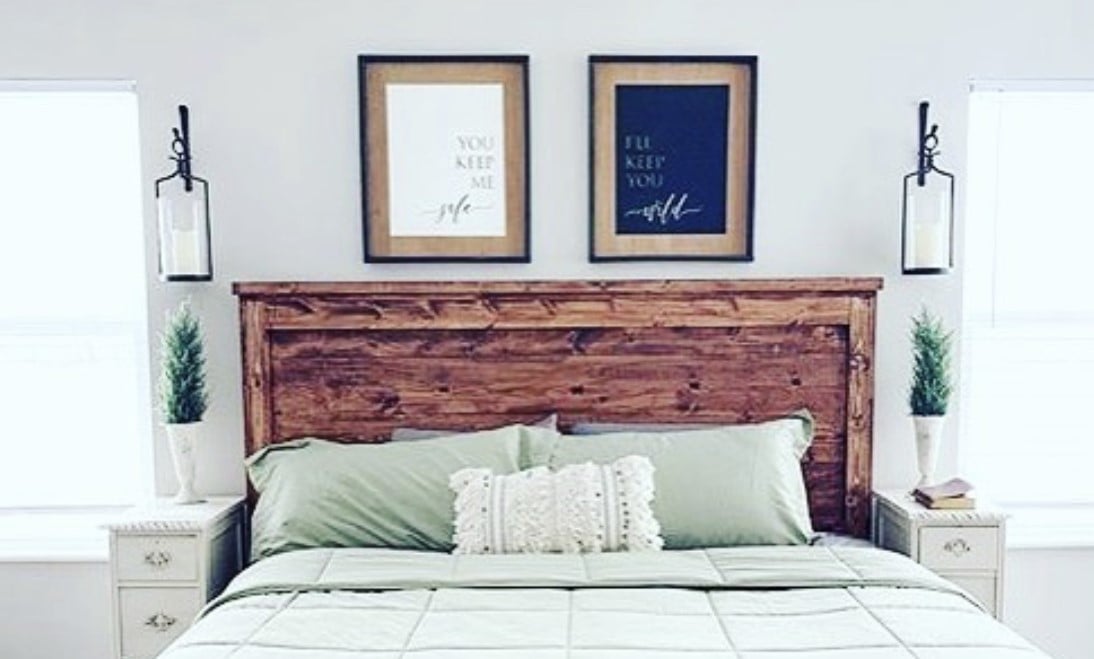
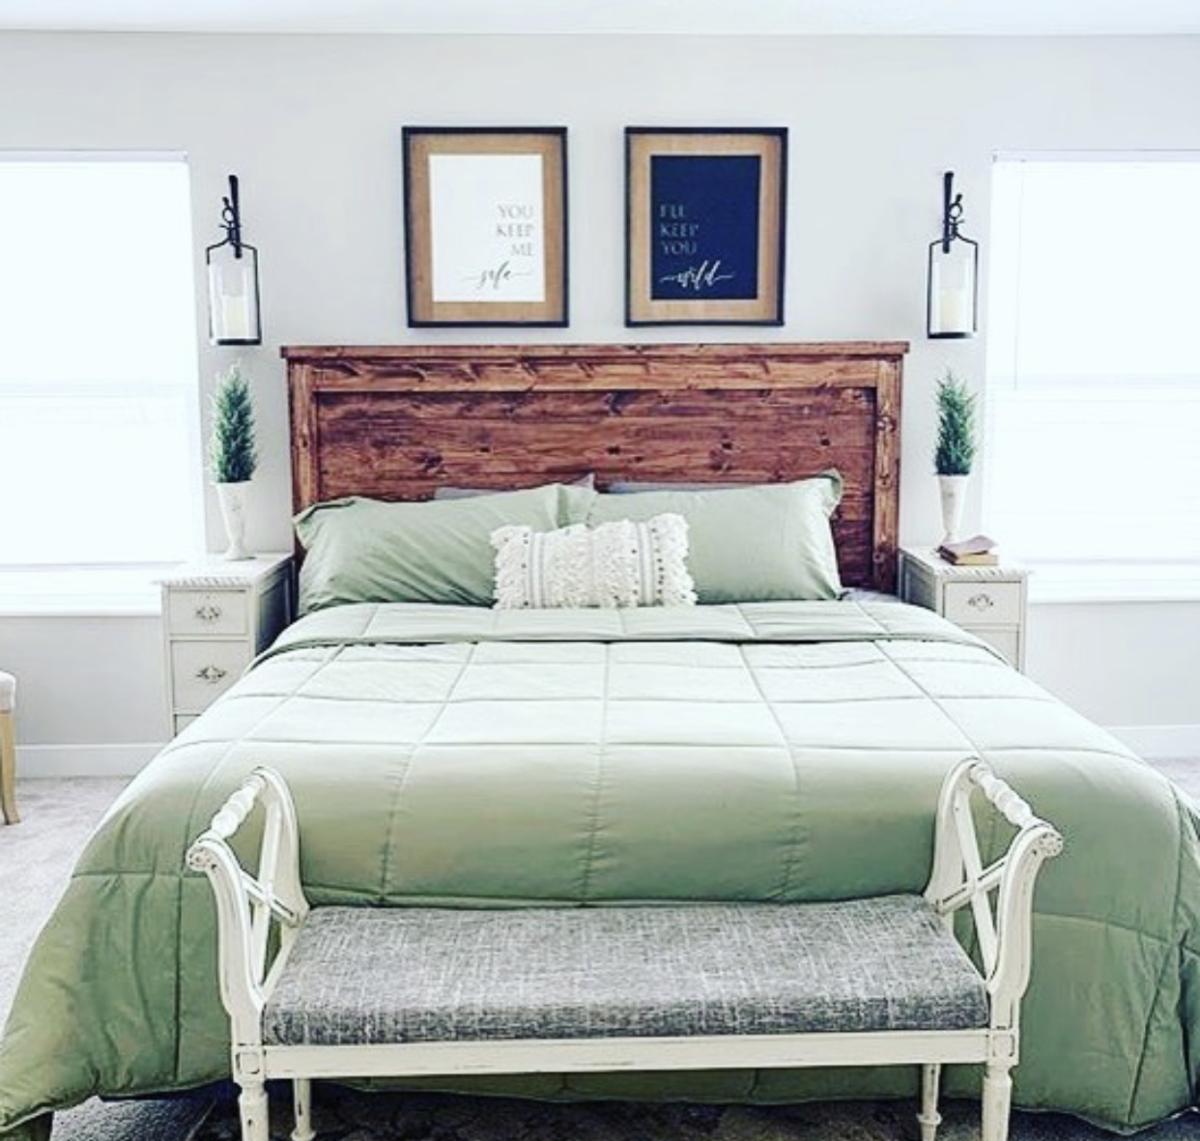
Made this in a weekend, took us about 12 hours total. Loved how it came out and used the recommended stain. I ended up doing three coats on the headboard. My boyfriend and I used douglas fir, definitely came out very sturdy. We did have to make some adjustments and it was a bit of a learning process with the pocket holes. The plans should be a little more detailed but if you take your time the pieces come out so great!

Built from Plan(s)
Estimated Cost
$200
Estimated Time Investment
Weekend Project (10-20 Hours)
Finish Used
We used varanthane weathered wood accelerator in gray. I sanded everything done with 320 grit and stained the wood twice. The boards for the headboard needed a third coat. I also used a rag and rubbed additional stain on any errors that looked thin and to remove excess brush marks.
Recommended Skill Level
Intermediate

Comments

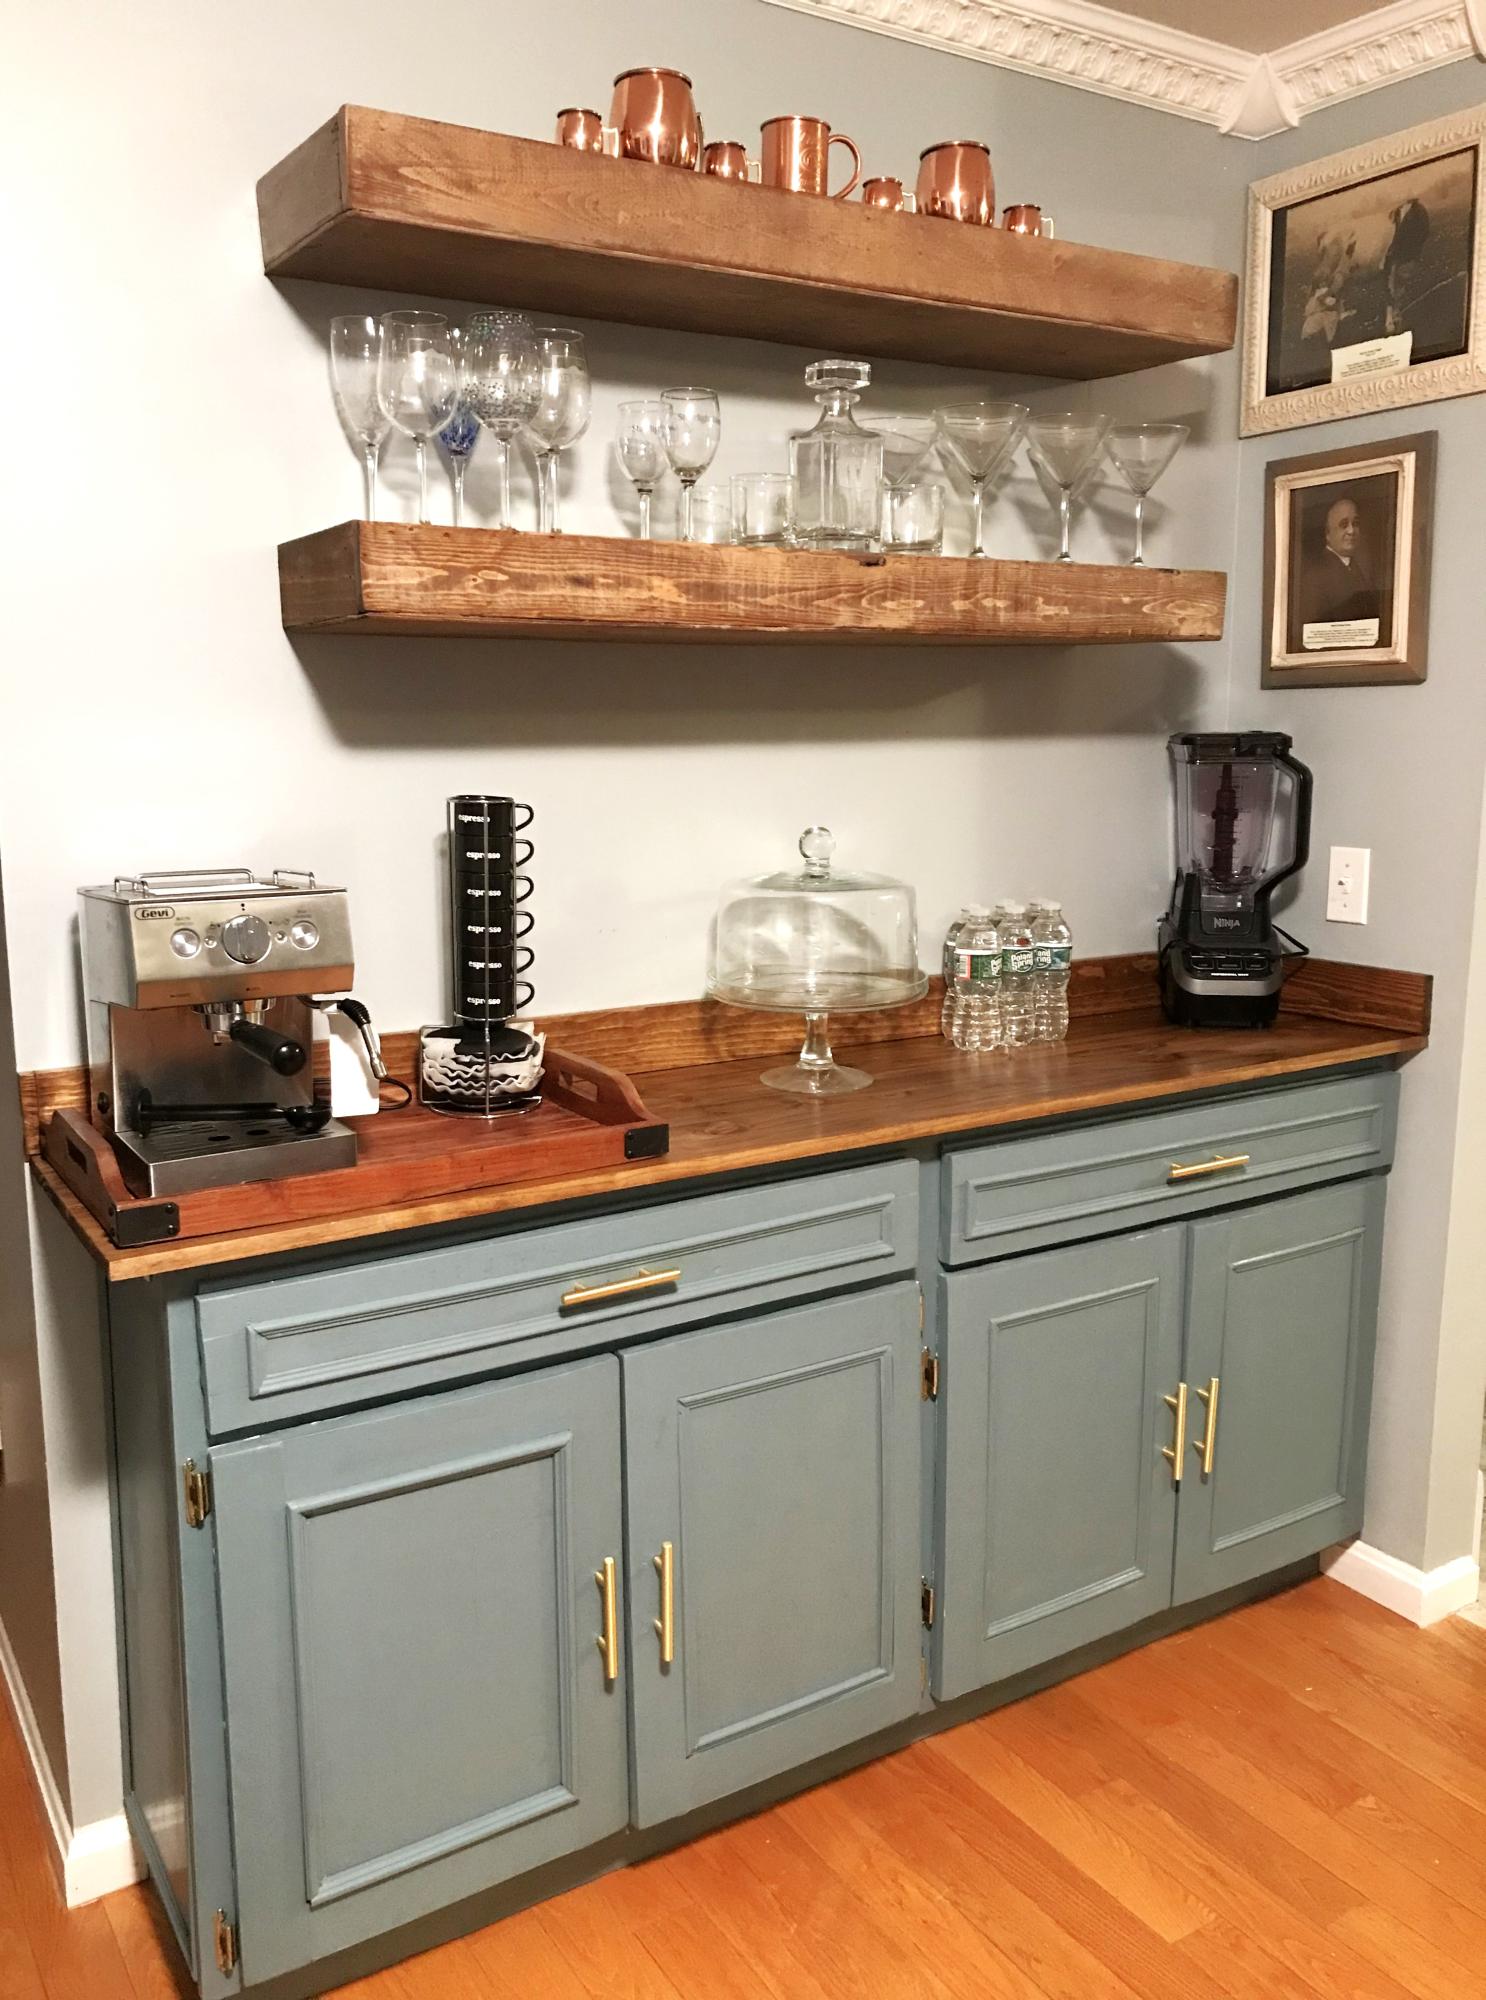
Bar Cabinet with Floating Shelves

Submitted by Anonymous (not verified) on Mon, 01/15/2024 - 18:36

I had never built cabinets before, but I’ve been wanting to learn how to, and this corner in our house had been screaming for a bar area for awhile. I’m quite happy with the result, given that I’m only one year into woodworking! Thank you, Ana, for all your inspiration!

Jaclyn Pietrafetta

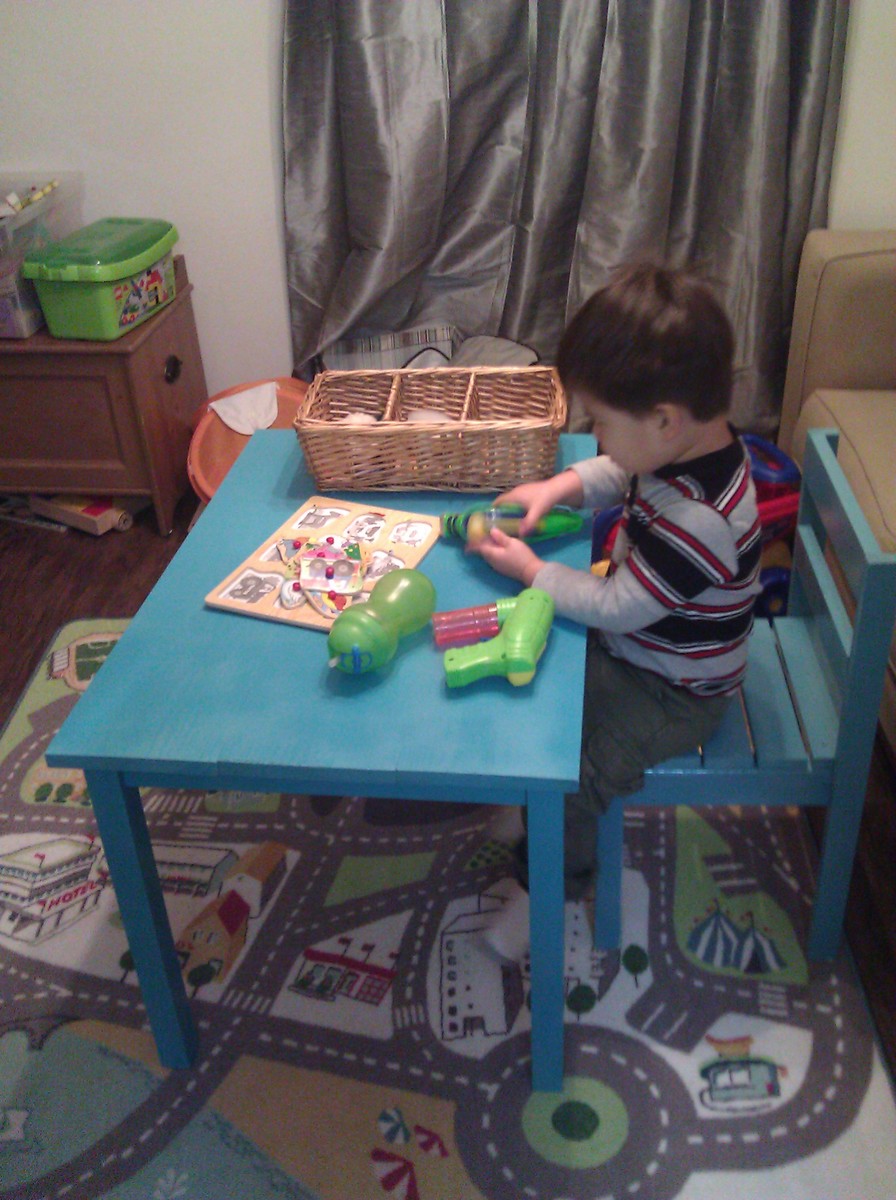
$4 chairs + Clara's table

Submitted by solomonson on Mon, 07/09/2012 - 19:33

My little boy needed a table to sit at. The adults needed a “kids table” for when we have dinner guests. This served both functions. I had enough scrap for two chairs and spent a few bucks of the lumber for the table, some Valspar primer and spray paint, and there it was.

The only modification I made to the chairs was that I used pocket holes to fasten the back aprons to the side aprons for added strength instead of using wood screws through the end grain. I was barely able to squeeze my drill in the square but did it by severely contorting my wrist and hand.

Built from Plan(s)
Estimated Time Investment
Day Project (6-9 Hours)
Finish Used
I used Valspar primer and spray paint - can't remember the name of the color but it's easy to find according to the lid.
Recommended Skill Level
Beginner

Camp Loft Bed with Rock Wall

Found this awesome project but decided to add on a rock climbing wall and an underslung Hammock to upgrade it to full Birthday present levels. My son now calls it his "Epic Bed" and absolutely loves it!

Estimated Cost
$200
Estimated Time Investment
Weekend Project (10-20 Hours)
Finish Used
Used 2 coats of primer included Dutch Boy wall paint and sealed with Polycrylic.
Recommended Skill Level
Beginner

Smaller Version finished in colonial

Submitted by Anonymous (not verified) on Thu, 07/28/2016 - 09:19

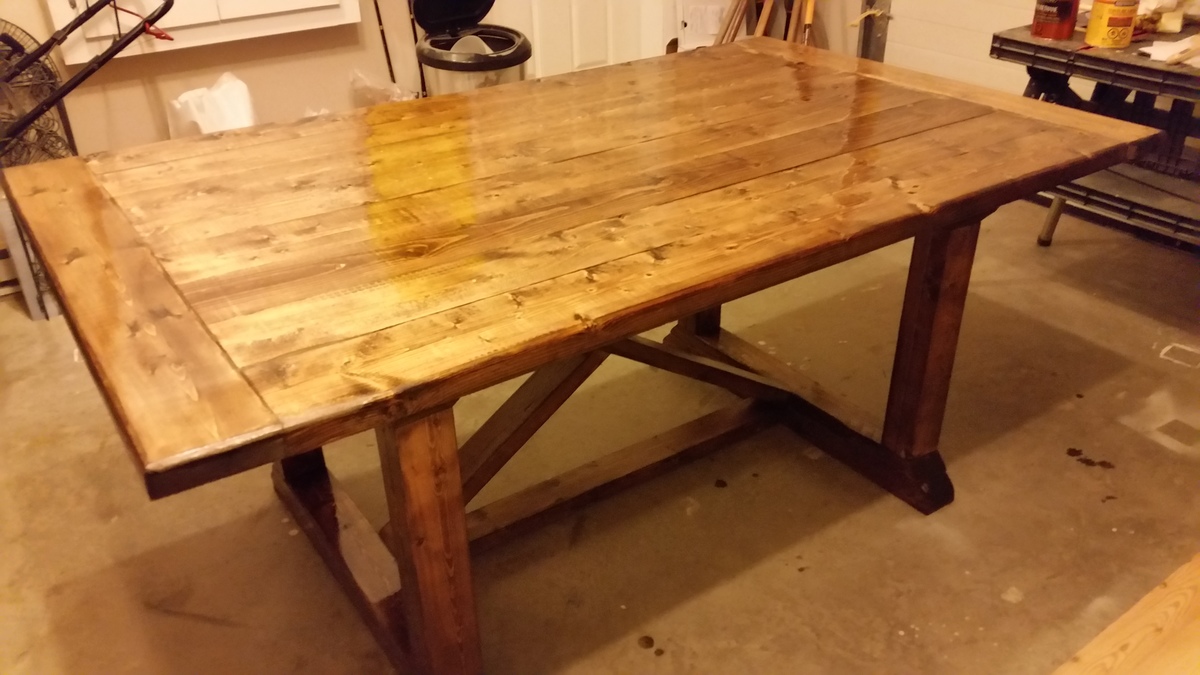
I modified the table to be a little smaller for a space. it came out beautifully. Love this build as it allows for a very large yet stable table that allows for seating on the ends as well. 

Built from Plan(s)
Estimated Time Investment
Weekend Project (10-20 Hours)
Finish Used
Minwax Colonial
Recommended Skill Level
Intermediate

Truss table

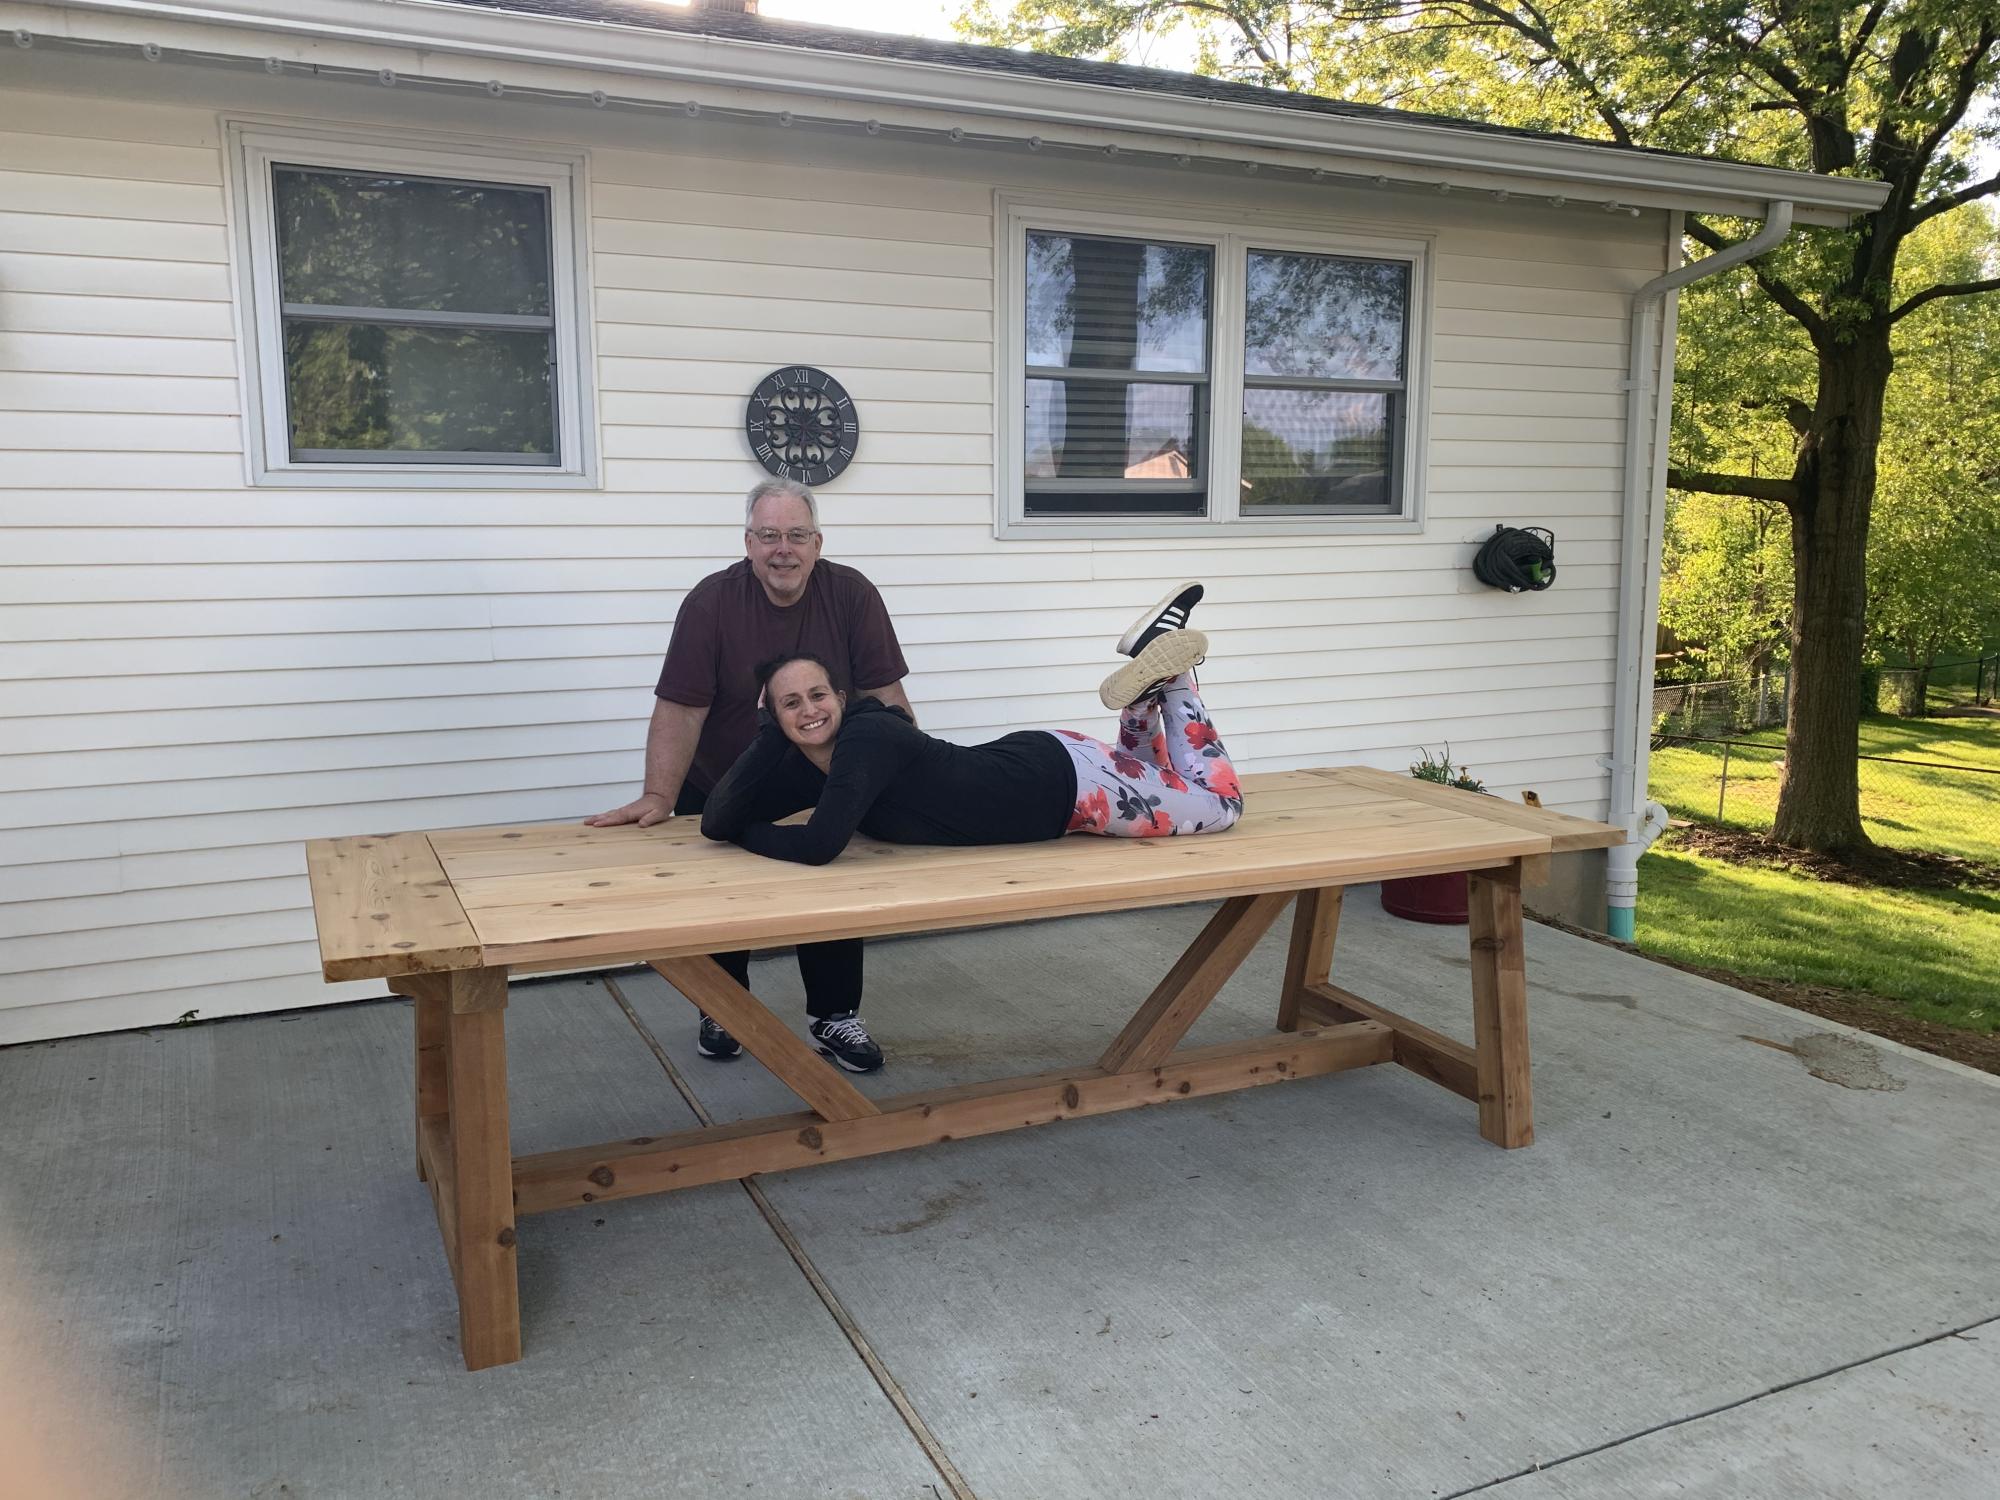
Submitted by Anonymous (not verified) on Wed, 05/20/2020 - 01:46

My dad and I built this table together just the 2 of us last Tuesday

Built from Plan(s)

Comments

Ana's Adirondack Chair

These were my first set of full size Adirondack chairs. I have several of the kids version. A friend of mine was moving and wanted some to set on her new patio. They were fairly simple to make but the painting was a little time consuming. All in all, I loved the way they turned out and she was pleased :)

Estimated Cost
$35 per chair (including paint)
Estimated Time Investment
Weekend Project (10-20 Hours)
Finish Used
Rust-Oleum Gloss Regal Red
Recommended Skill Level
Beginner

Comments

A farmhouse coffee table

Submitted by akutz on Tue, 04/29/2014 - 09:08

The Flickr gallery for this project is at https://www.flickr.com/gp/akutz/86502i/.

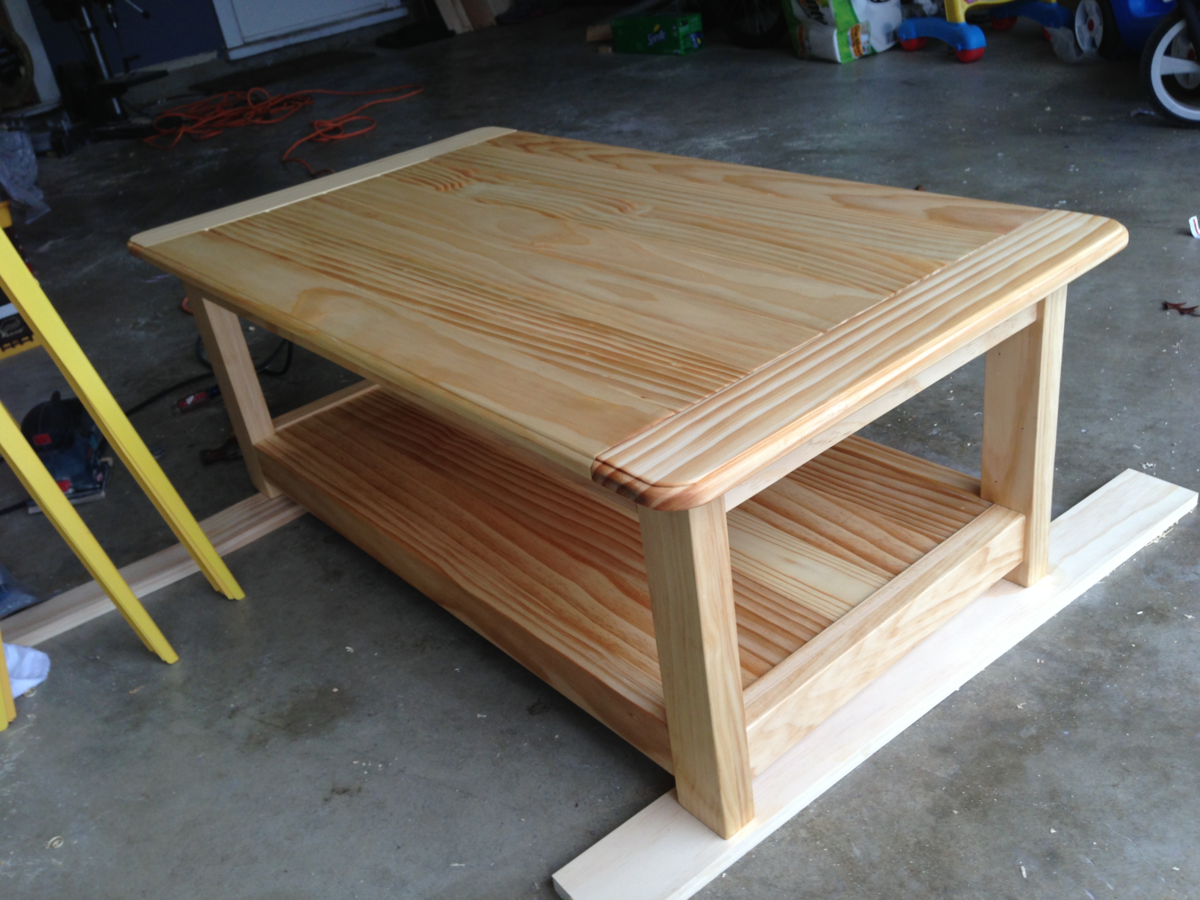
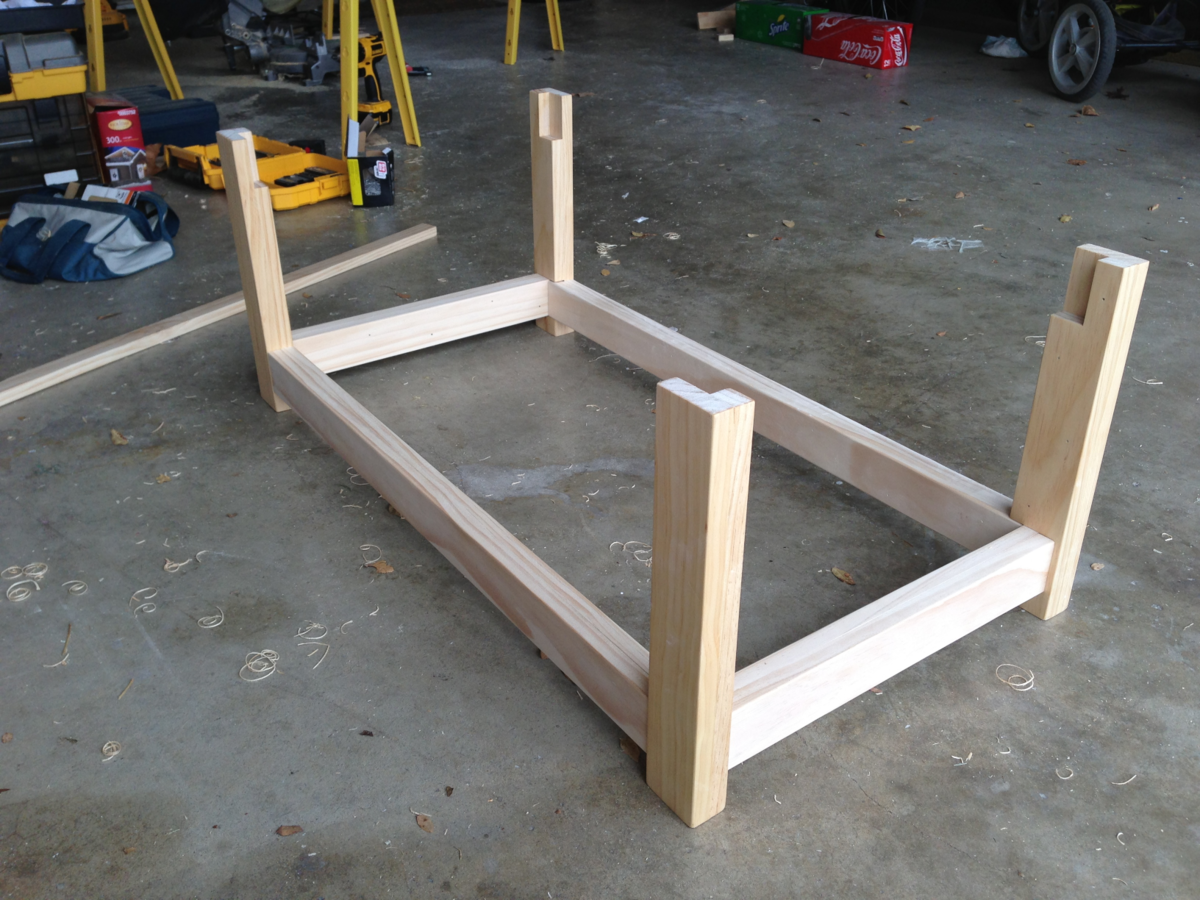
A friend of mine asked me if I'd build her a farmhouse table per the plans at http://ana-white.com/2009/12/plans-farmhouse-table-knock-off-of.html. Sadly I still haven't gotten around to building her one (sorry Jennifer!), and that's partly because even after practicing my skills on smaller projects, a full-sized table still seemed like a big job. Around the same time my two year old daughter was walking all over the house, and our coffee table presented a constant threat of head-banging and side-hurting danger. Then I realized I could build a miniature version of the farmhouse table as a coffee table, and in the process round the corners to make it baby-safe!

Unfortunately I'm not disciplined enough to write down the exact measurements, or at least not keep them since I never think anyone will be interested in these things later. I take pictures just to show friends and family. However, since these plans came directly from the aforementioned link of the farmhouse table, it should be easy to figure this out. The only differences were that I created the outer dimensions based on the space the unit would be taking up in my living room. And with a couch with a chéz, it was important to stick to those.

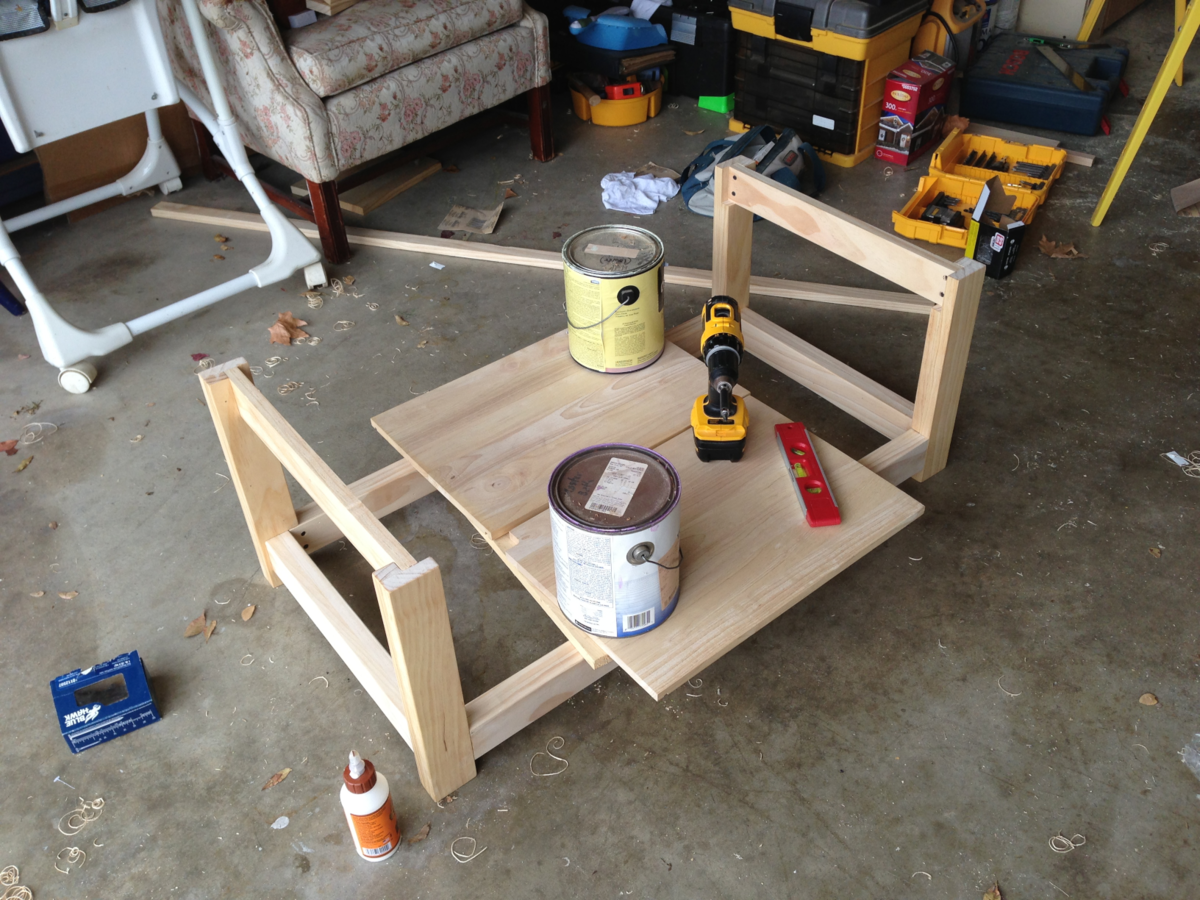
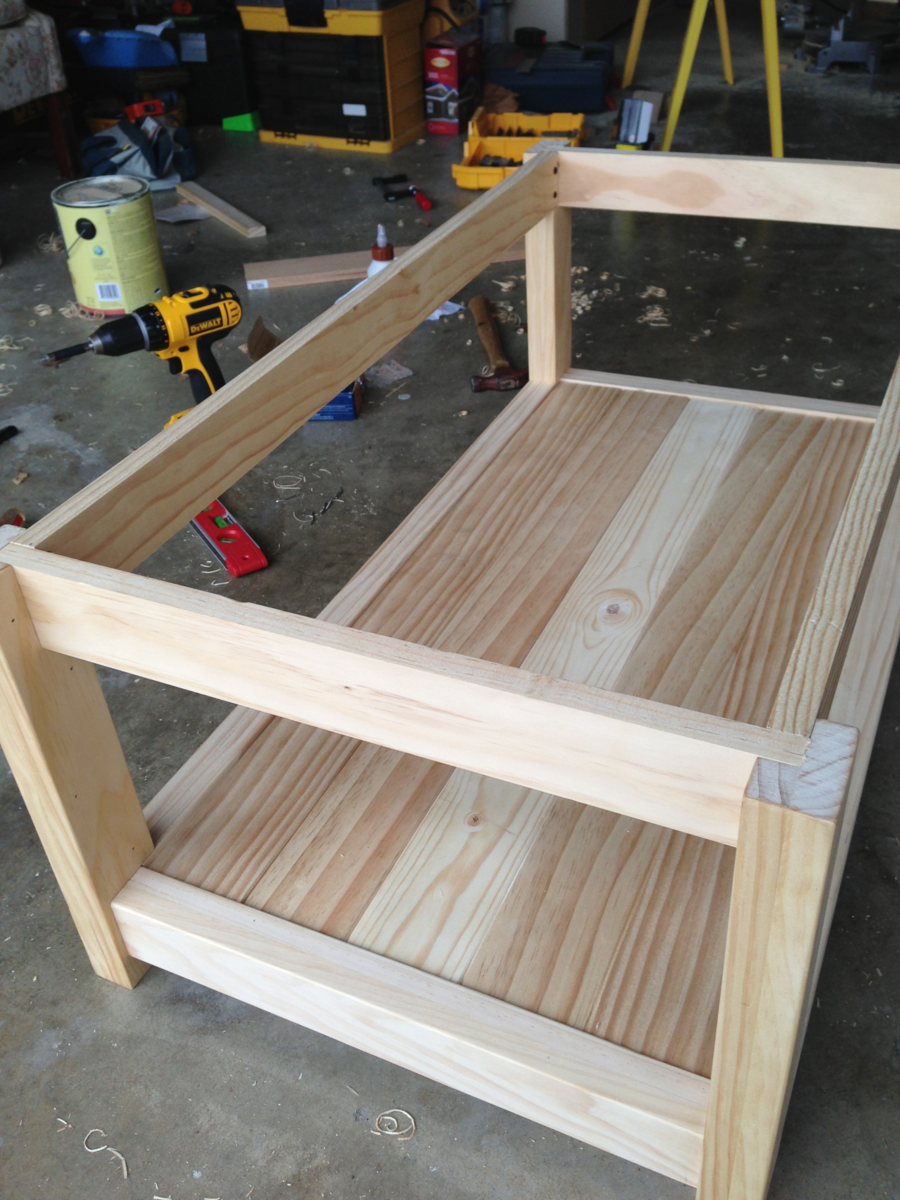
Also, as you can see, I added a second level to the table so that we could place things on it, but also for stability. This was not difficult to do since I just created an internal shelf to place the planks across the bottom.

Since my father is a master carpenter, and I explained to him what I was doing, he also recommended that I not fasten the upper or lower planks to the outside with any single piece. He said that due to weather-caused expansion and contraction throughout the year, if I fastened the planks together at the ends with the bread boards, there would be much cracking. That's why you see the bottom supports fastened to the underside of each plank with an individual block of wood, and not with one long piece. That way the planks can move independently of one another. that's also why they're not fastened together long-ways.

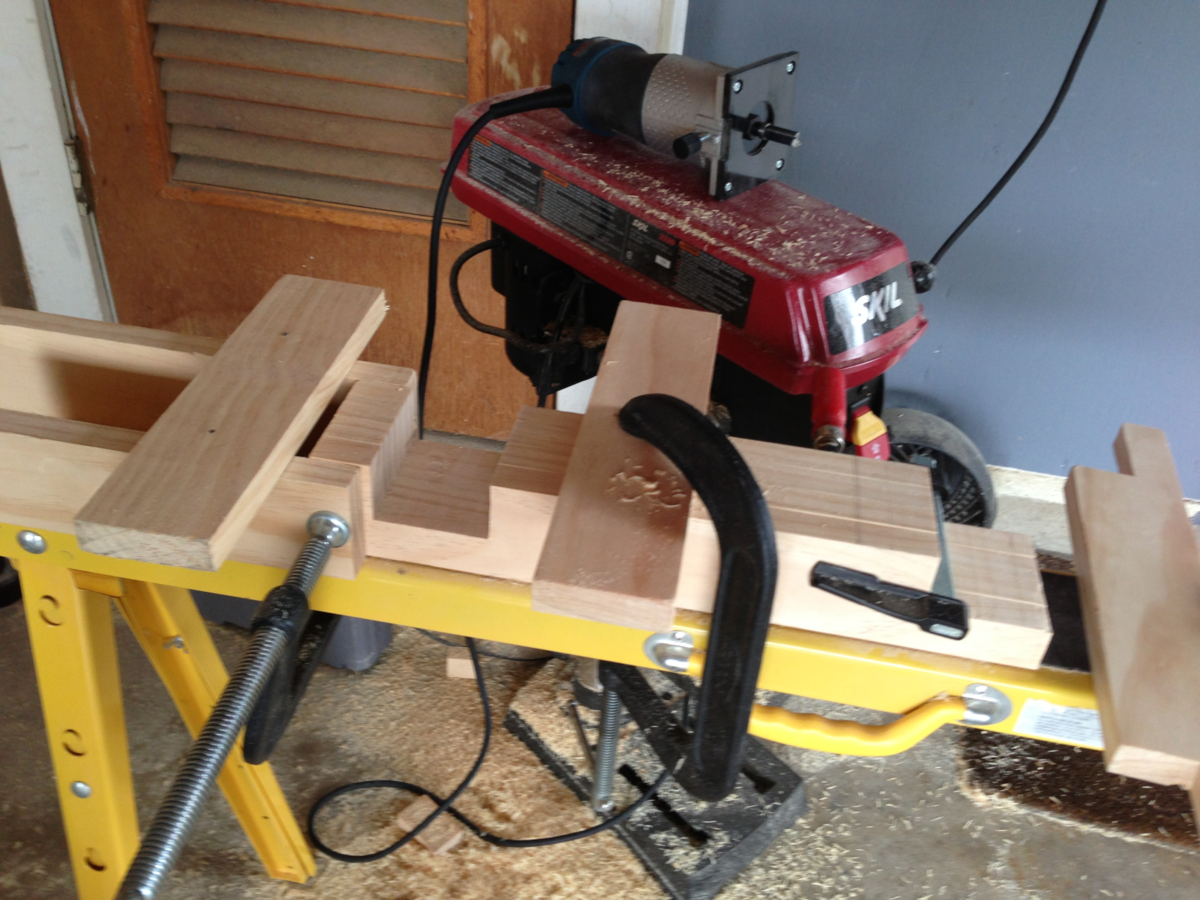
One last note. I built those legs several times. The only way I was ever able to get them correct is when my father told me to buy a long router bit, clamp the legs together, and route them all with guides. He said getting cuts in four separate posts even like that is one of the hardest thing to do if you don't make the cuts at the same time. He was right, and with his approach the table was perfectly level!
Estimated Time Investment
Week Long Project (20 Hours or More)
Finish Used
Clear minwax stain and clear minwax wax
Recommended Skill Level
Beginner

Coffee Table/ Rustic table

Submitted by KathaKon on Mon, 08/01/2016 - 08:08

That was my first real handmade project after just reading and following Ana Whites story and her diy projects for a while.

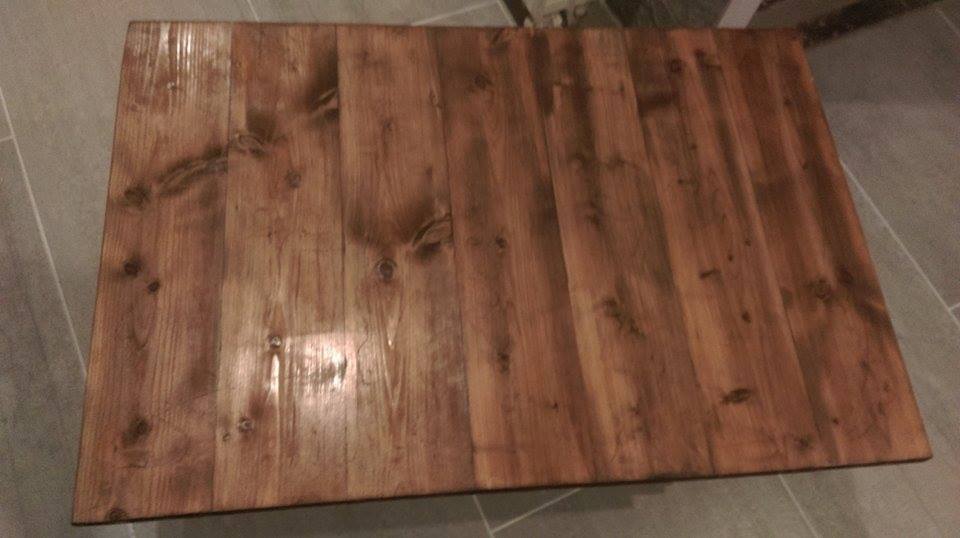
I´m coming from Germany and it took quite a while to "translate" all the lumber measurements to the german equivalents, since we don´t have the same ones. So I just took the similar lumber sizes I could find in a hardware store (Baumarkt), all in all 23 € for pine lumber plus wheel casters for 30 € each, which was the most expensive part of the project. I modified the size of the table as well and am very proud to present you my first project: my very first industrial coffee table for the home office.

I made the stain myself, by the way!
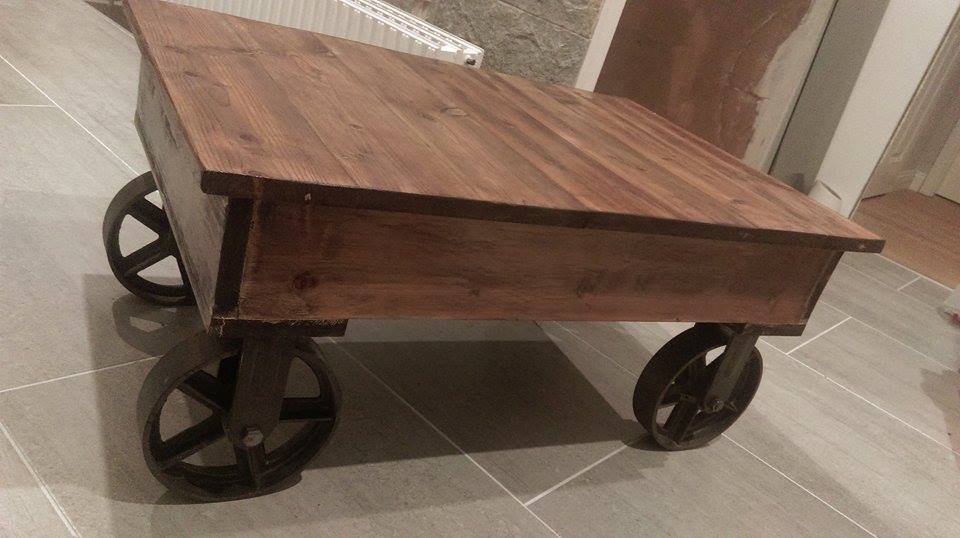
Here is the summary:

- one layer of black strong coffee (3 table spoons + 500 ml hotwater)

- 2-3 layers of steel + vinegar solution (sanding a bit inbeween)

- 2-3 layers of spar varnish (sanding a bit inbetween)


Hope you like it;) and thanks a lot to Ana White for being so creative and delivering loads of beautiful diy projects for woodwork lovers all over the world!


Looking forward to my next project!!!

Built from Plan(s)
Estimated Cost
aprox 160 €
Estimated Time Investment
Weekend Project (10-20 Hours)
Finish Used
stain + spar varnish
Recommended Skill Level
Beginner
Back