Small entry table
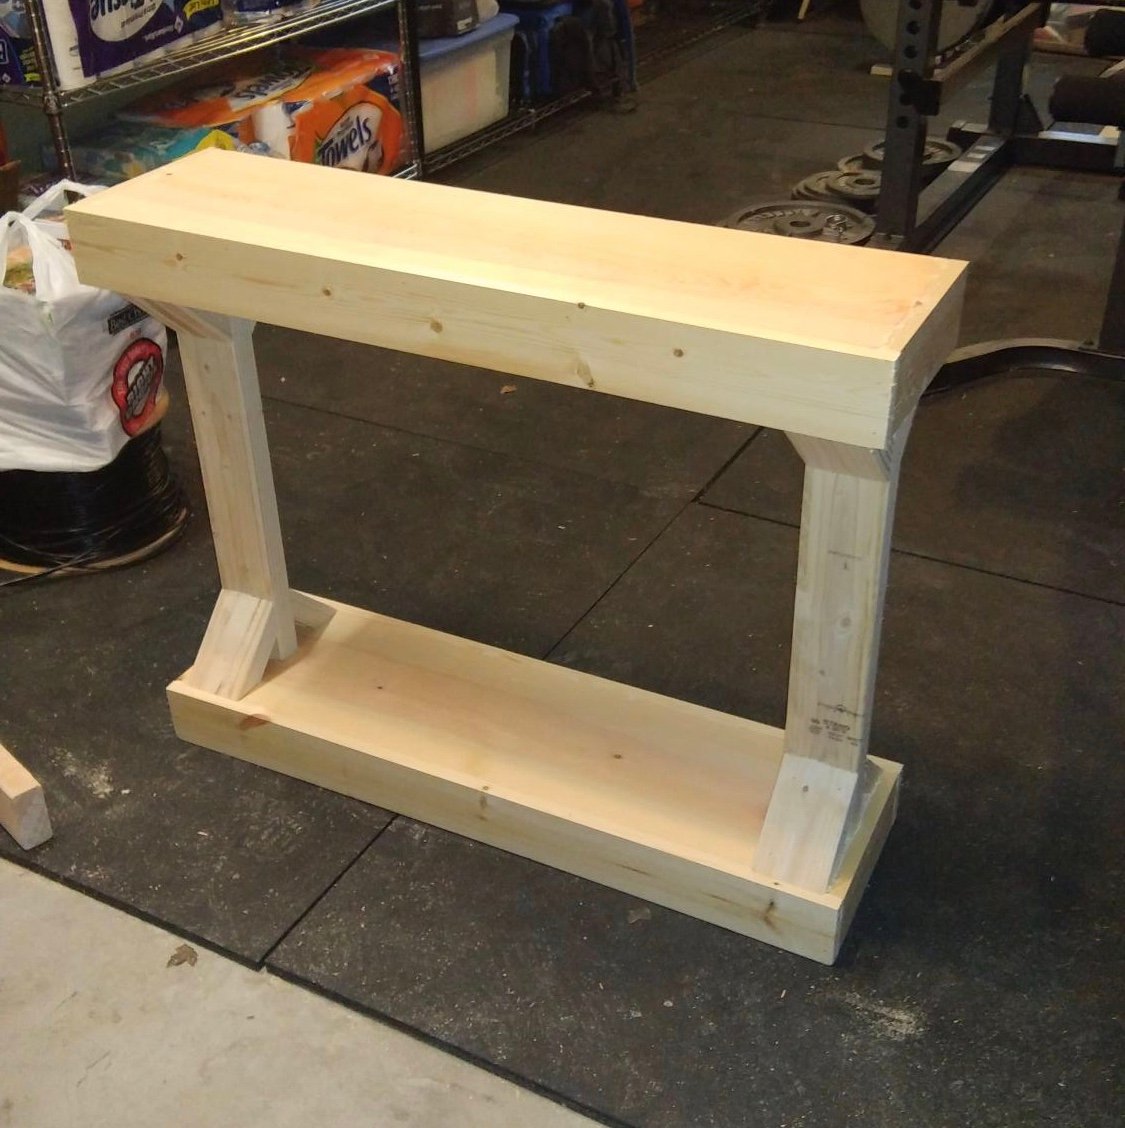
First attempt at trying this.

First attempt at trying this.
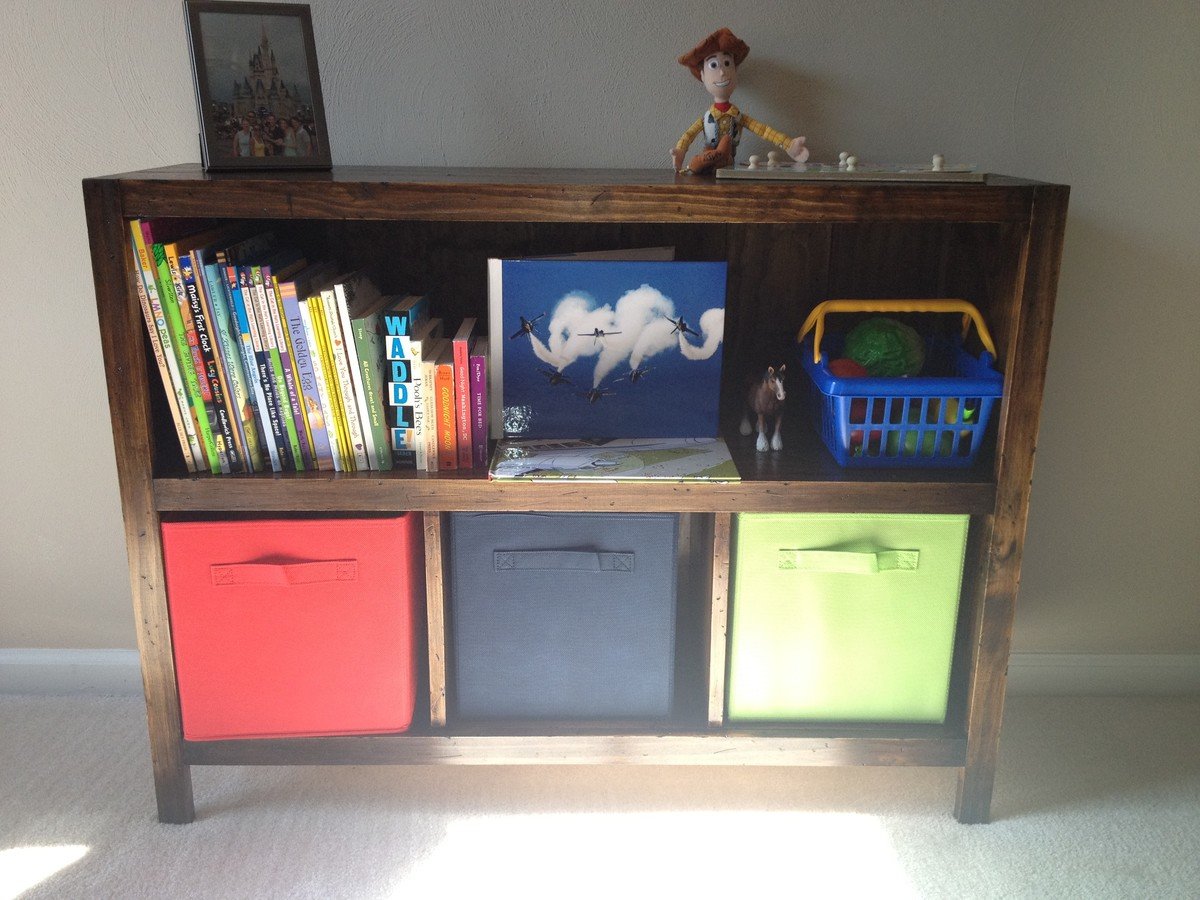
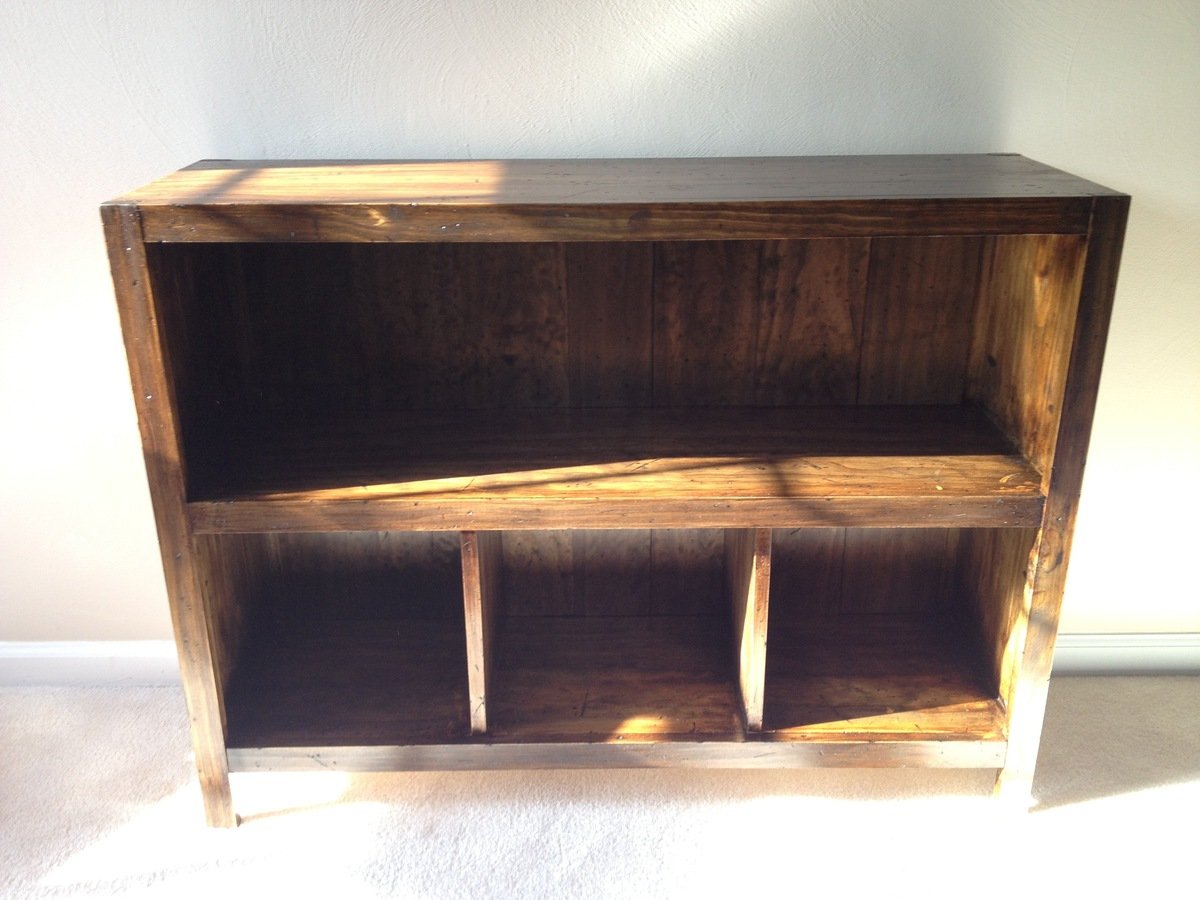
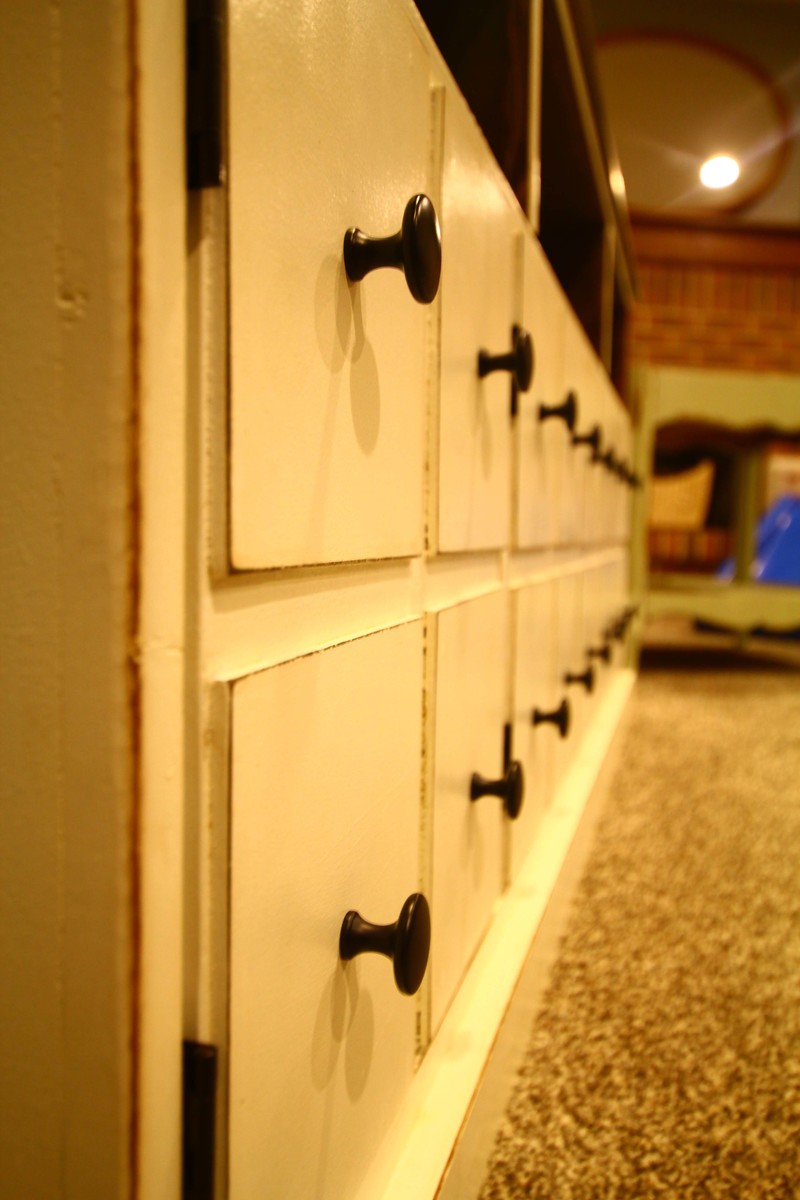
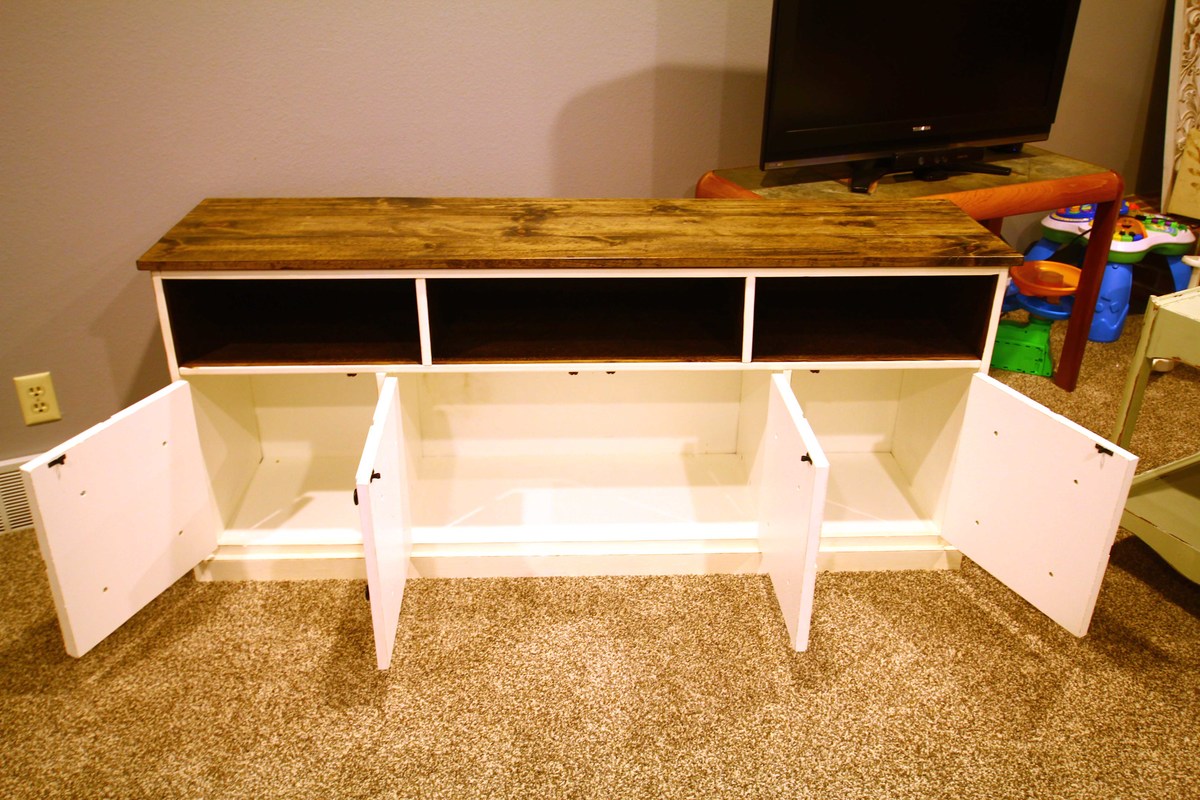
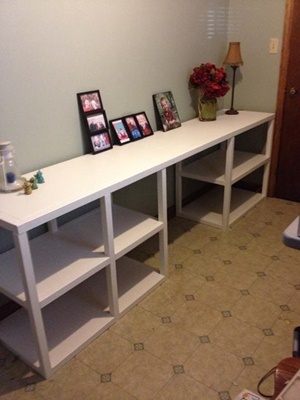
I followed the plans for the '6 cube bookshelf' but wanted an open shelf on top as well as a back board. For the back I purchased a few feet of 1x5 pine and cut it to fit snug between the lower and upper 1x2s that were used as trim. I left out the middle 1x2 board on the back (from the original plans) so that everything fit flush. I secured the back boards with finishing nails across the middle shelf and some wood glue.
Mon, 04/16/2012 - 06:22
do you have plans for this amd a wood cut list? I want to do this for my boys....
Tue, 04/17/2012 - 17:20
I just followed the plans for the 6 Cube bookshelf already listed. The only modification was leaving out the backside middle horizontal 1x2 so that I could lay in the back boards vertically. The original plans don't have a back included in the cut list. I finished the project and stained it before adding the back just to make the finishing easier.
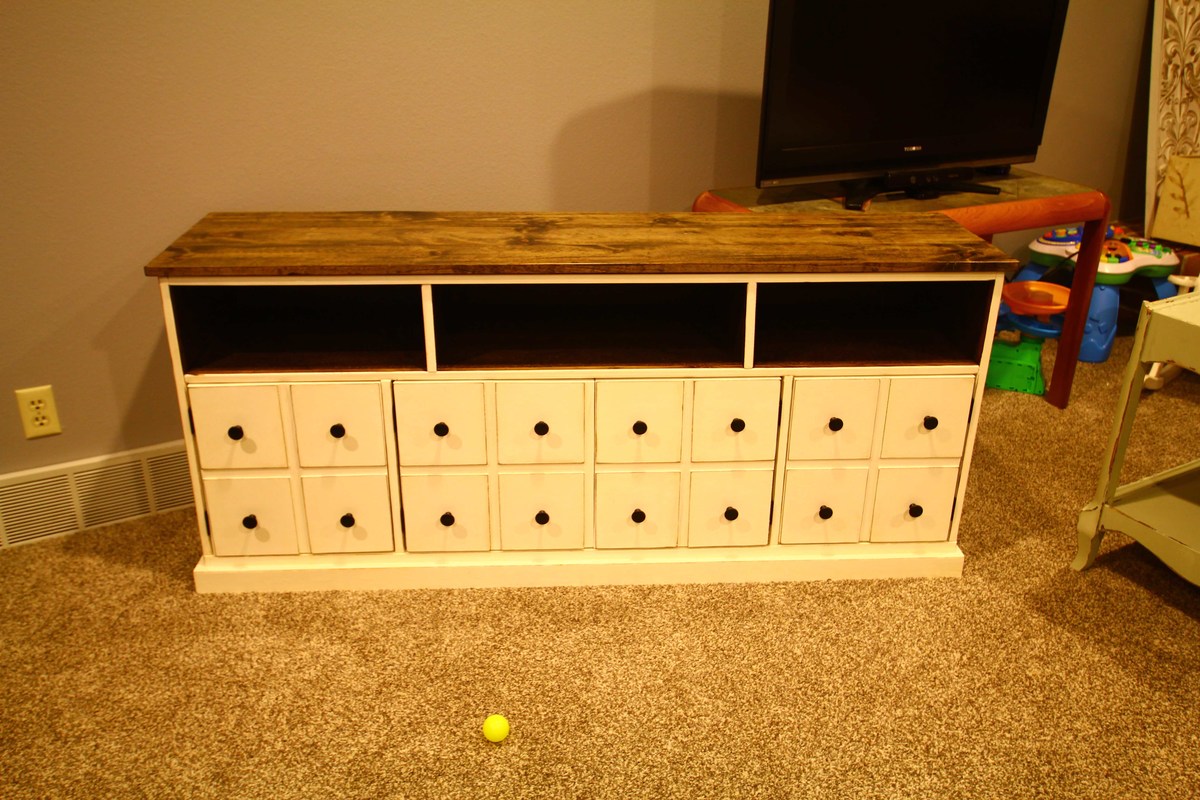
This was more work than I thought! It was also much bigger than I thought and I couldn't move it on my own. My husband and I had to wrestle it onto a skate board to move it across the house. :)
I love it!! It is full of imperfections, but I think it adds character.
I built it out of old garage-shelves. The hardware was from ebay and was super cheap. I already had paint and stain lying around. That's why it didn't cost much!
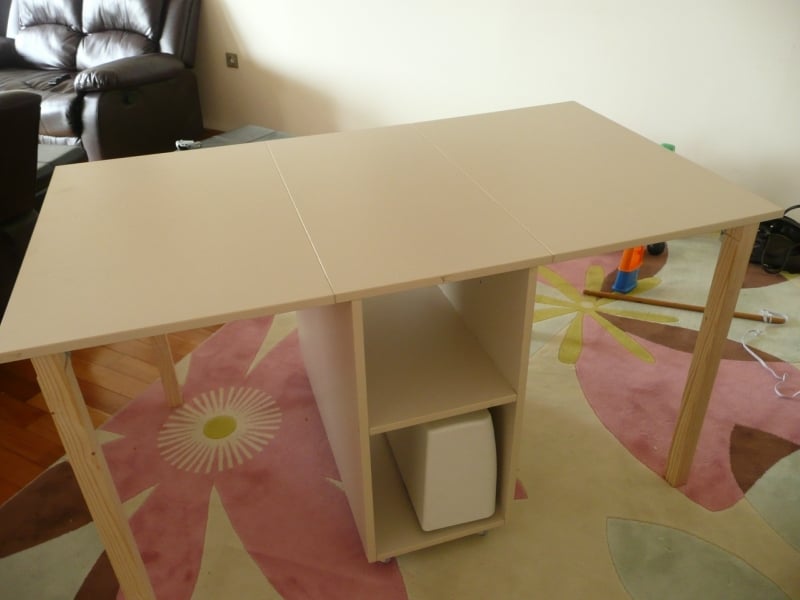
greate project for small place
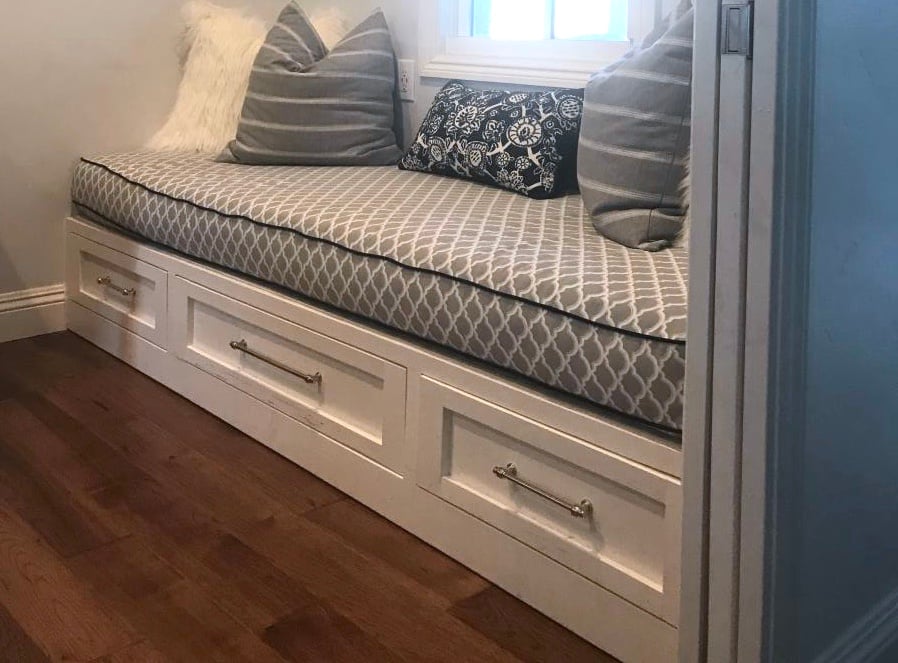
Ana White, you inspired me! My husband bought me a miter saw for Christmas but I was too afraid to use it for all of my woodworking dreams...and then I found your blog!
I am a mother of six young kids but I watched your videos over and over and I reworked your plans to fit our little build-out and voila! We are beyond thrilled with the results! We have a new bed for overnight guests and a great reading nook for 2-3 people at a time!
Thank you for empowering women in the BEST way. My husband was there to help me with the heavy lifting and to cheer me on when I needed it. But if I hadn’t found you, I’m not sure I would have tackled it in the first place. Thank you and God bless your family!!
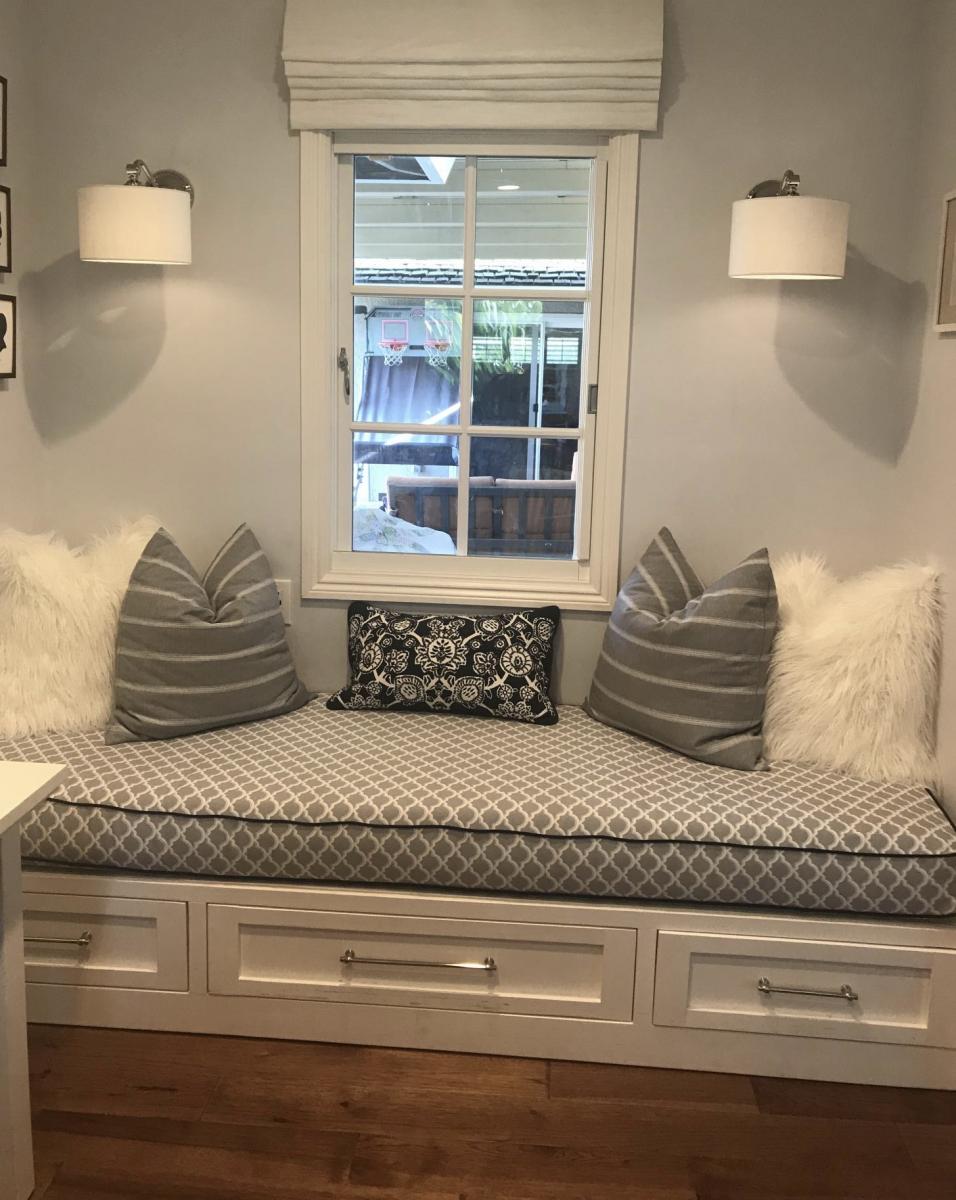
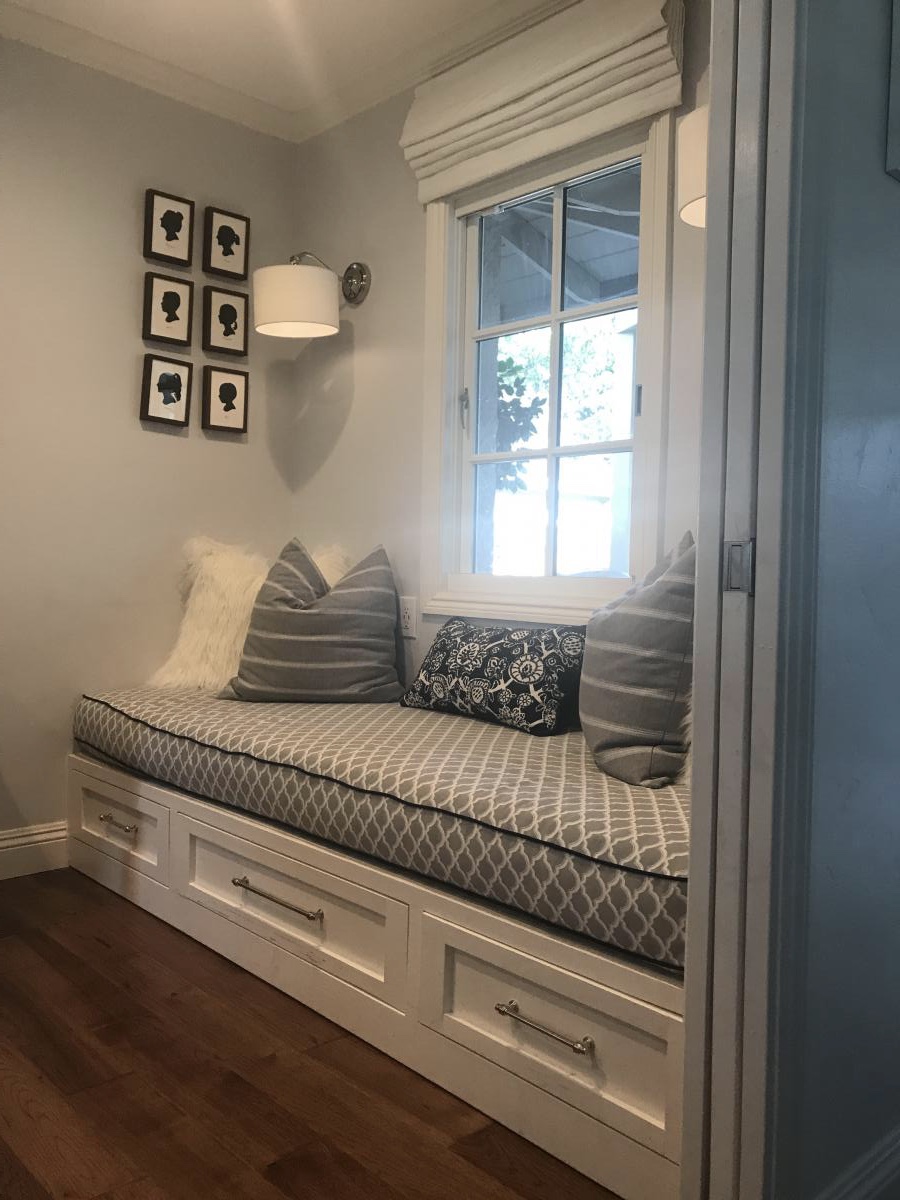
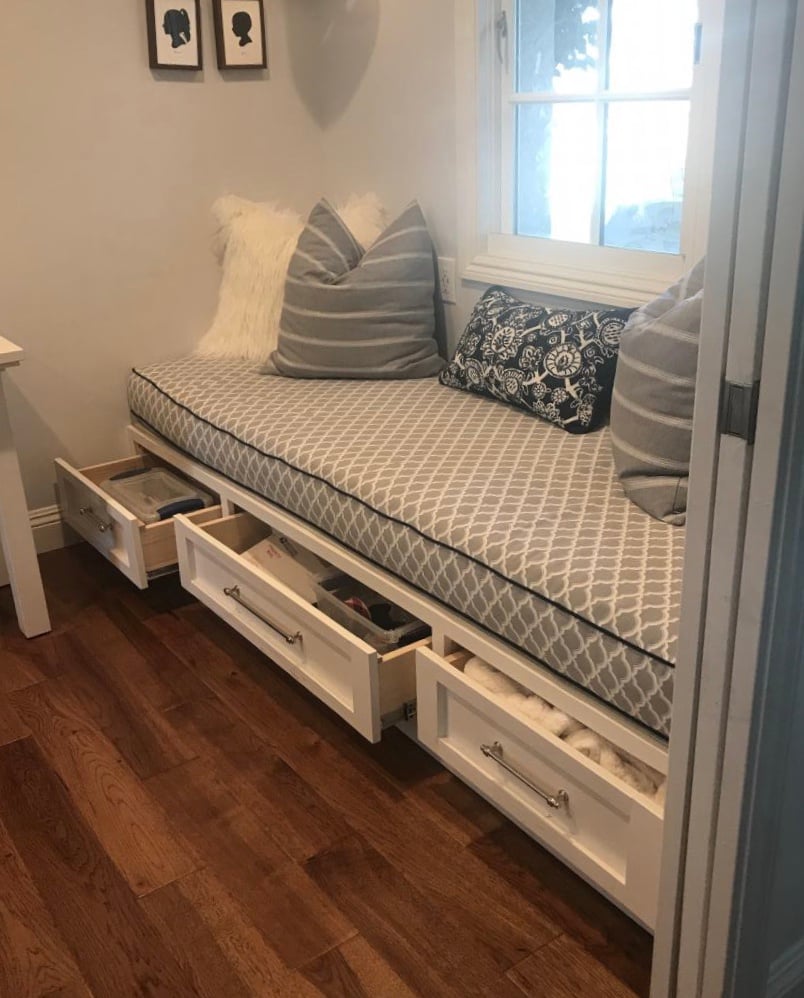
Sat, 03/14/2020 - 14:11
We are building a bed for my son with drawers. Would you mind giving the dimensions of the drawers you mad? Thank you
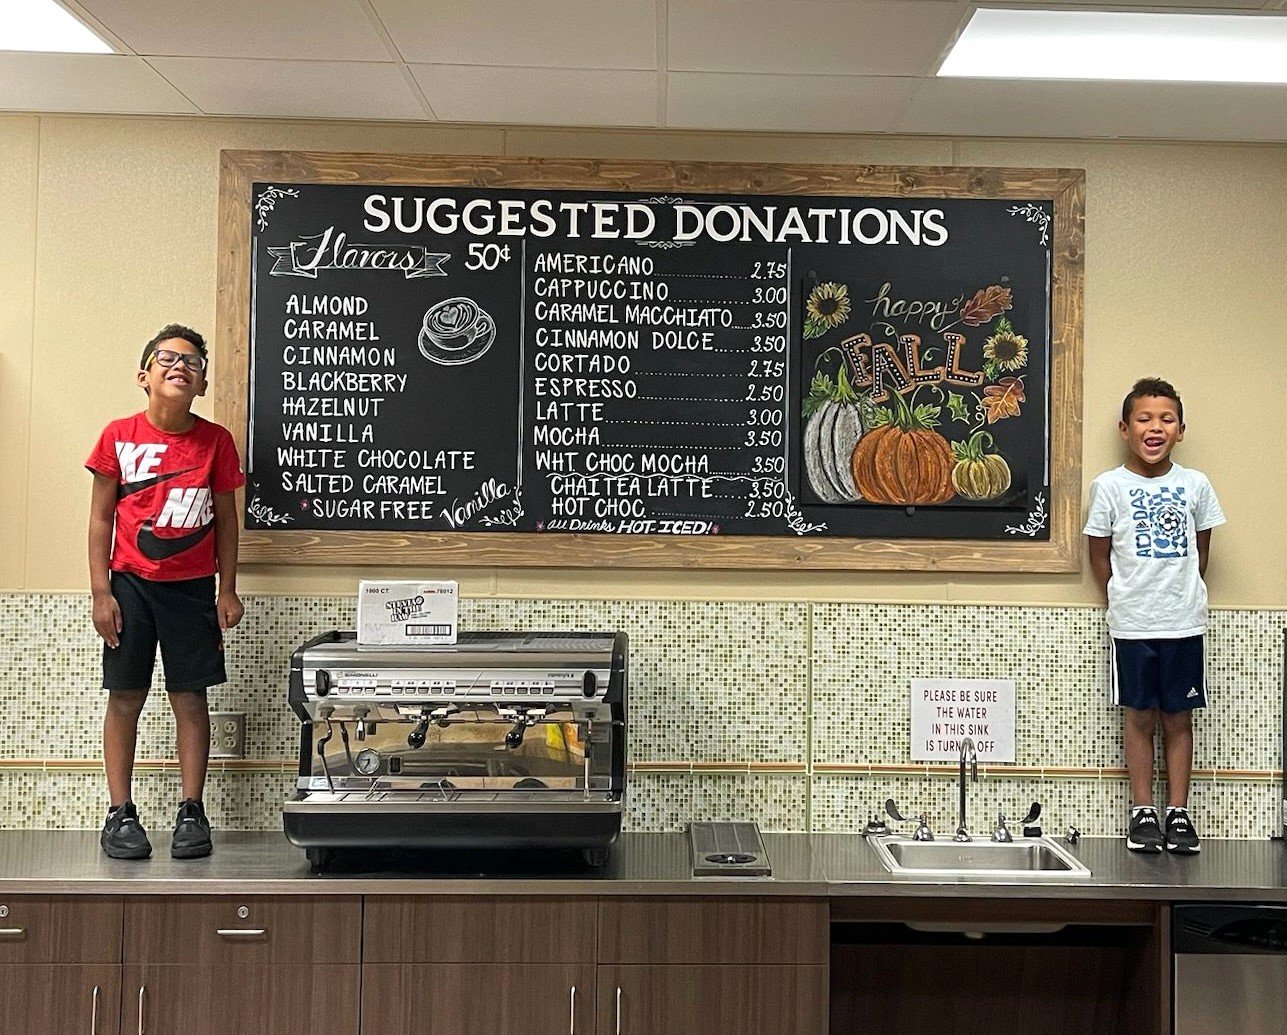
Extra large chalk board for church coffee shop. Made from plywood 90 x 40 (cut by Home Depot), chalk board paint, pine boards for frame. Used stencils for most lettering. The board on right is attached with Velcro strips so it’s removable so that I can change out every season. Super easy to build.
Sheri Robertson
Great fun Easy Project! I am in absolute love with this table and give it the rustic feel and look that we were going for. We tried to get the knottiest pine that we could find with also the different colors. We love that look of pine!
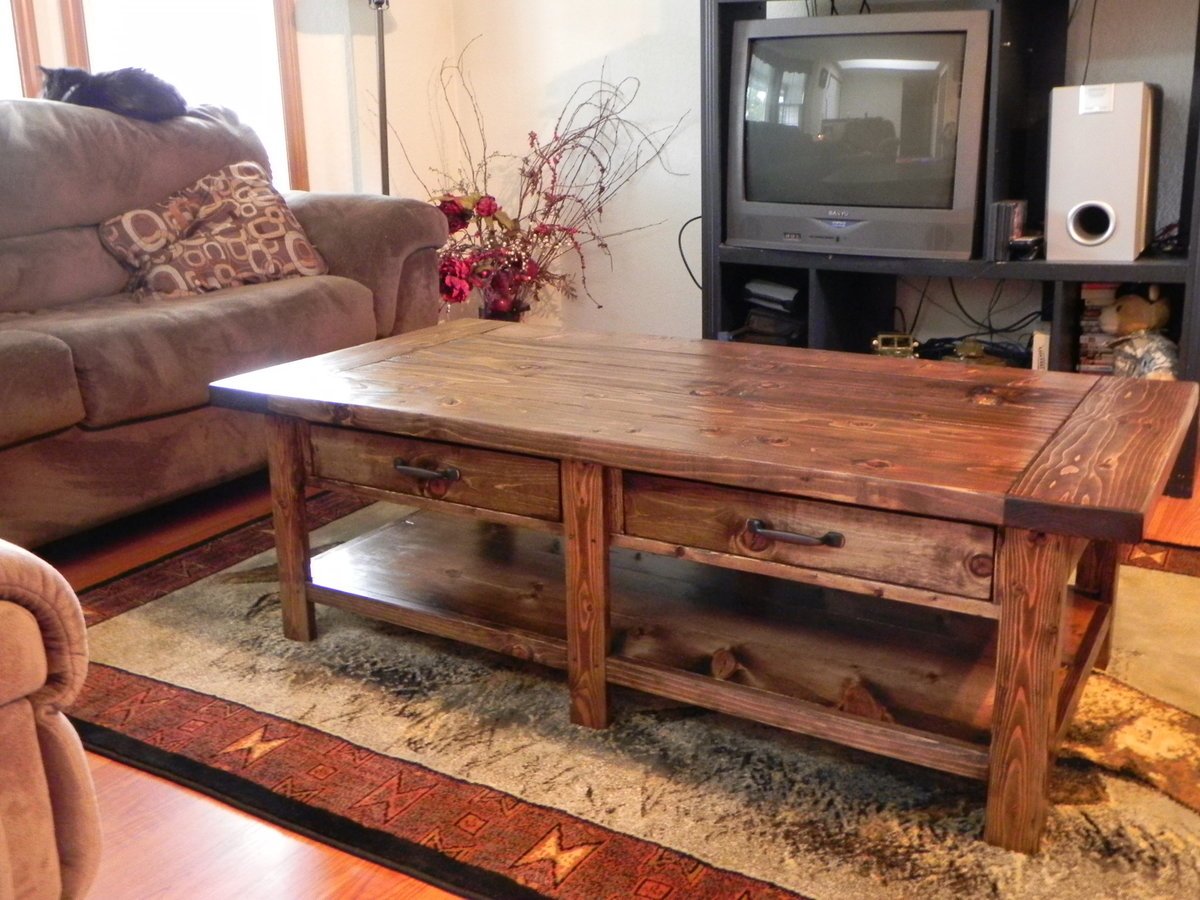
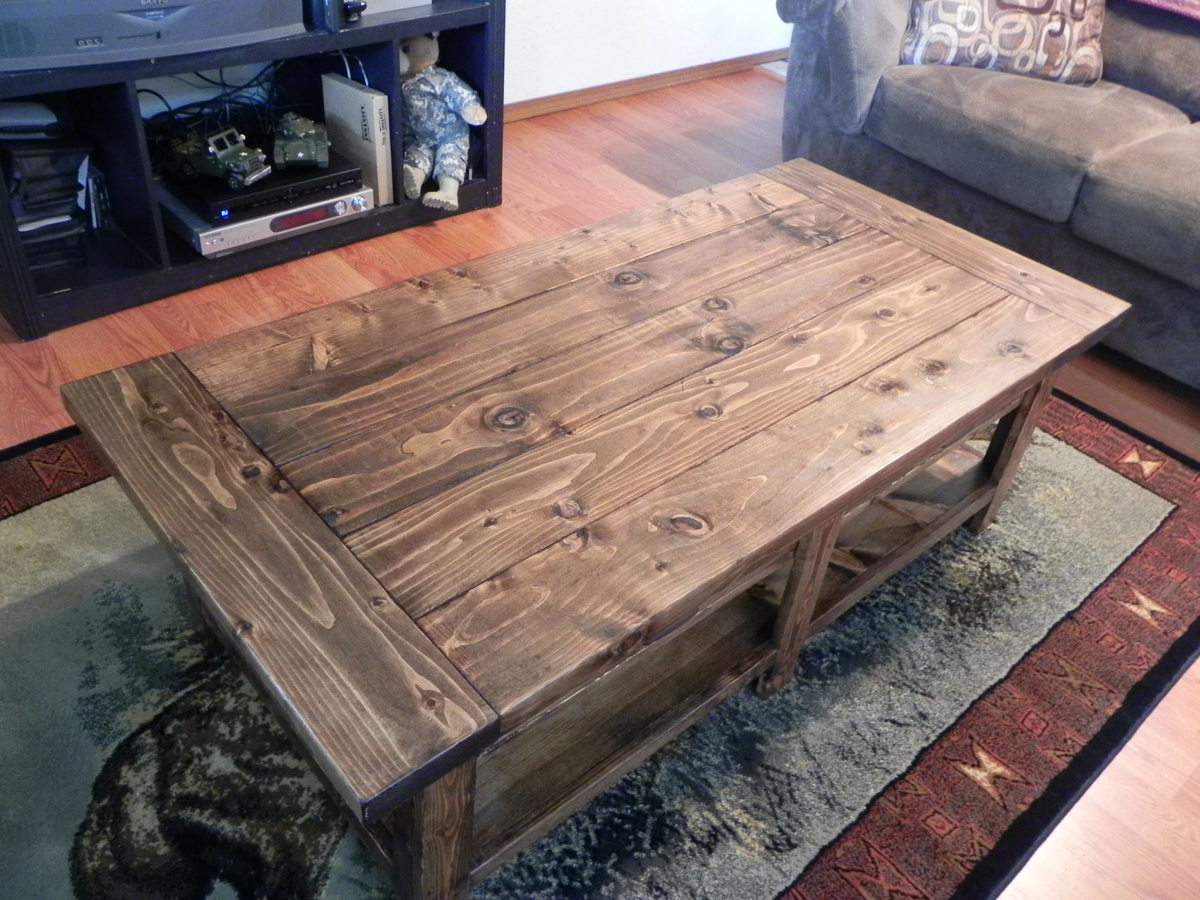
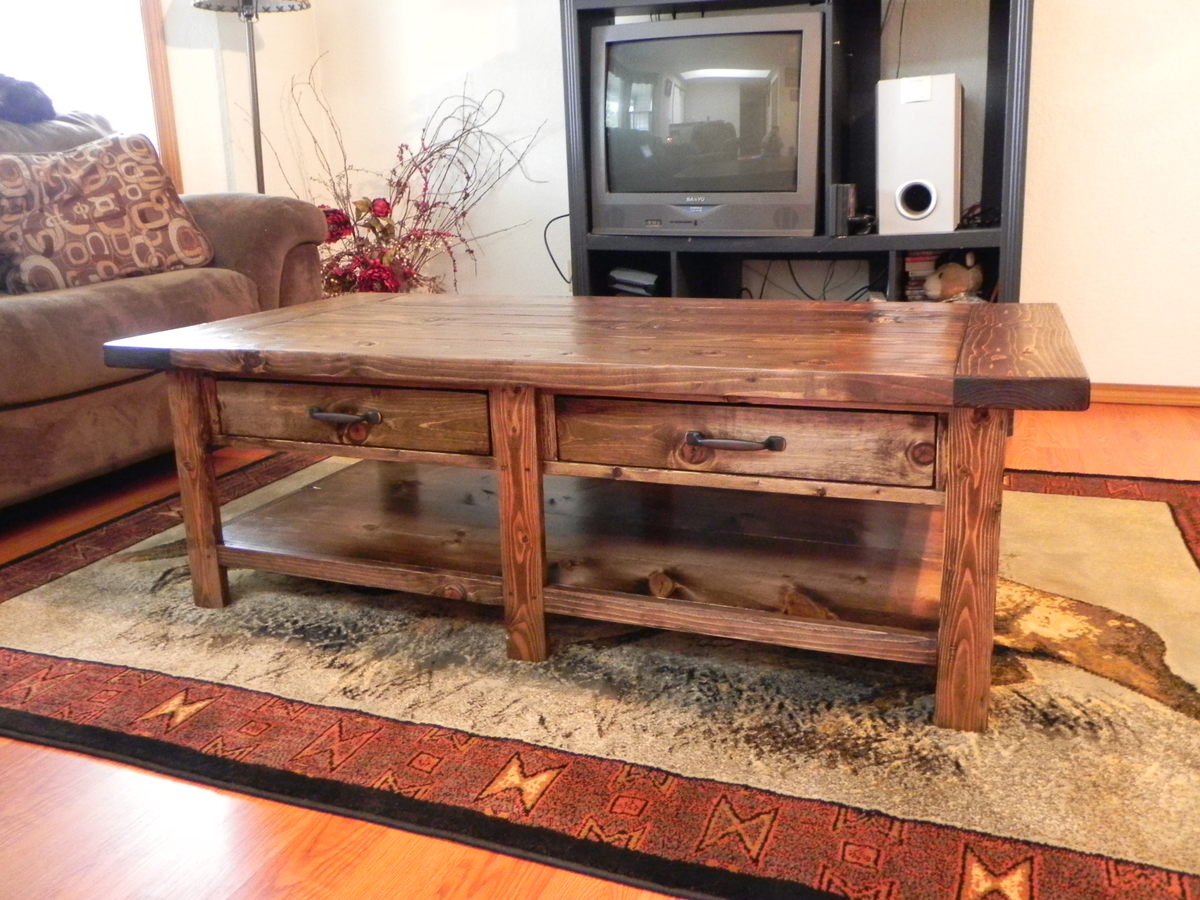
Wed, 04/18/2012 - 13:26
It's good to know I'm not the only one who likes the knots and swirls and different shades in the pine boards! The last time I was at the lumberyard, when I told the lumberyard-guy that I was building furniture he tried to direct me to the clear pine. I had to explain to him that I like the character that the knots and such give to a piece. He thought I was nuts, but he still helped me find the straightest boards in the rack.
Tue, 07/30/2013 - 08:17
Hi I love your piece and think it came out great. I noticed on the original plans that 2 x6 pieces were listed. Did you use them in your project?
Thanks
Sat, 08/17/2013 - 10:42
Sorry it took me so long to reply and thanks for the compliment. But, yes we did use 2x6's on this table.

This was my first project and I wanted to surprise my fiance for her birthday. The hardest part was keeping her out of the garage! I used the plans for the iTable and it was really easy to follow even for a rookie like me. I adjusted the dimesions a bit because 40' would've been awkward for our living room. It ended up being about 34 1/2 or so and I also used 1x10's instead and made the legs 18' so it matched our couch's height. Fun fact: don't forget to factor in the width of your saw blade when cutting..I botched the first cut by about 1/8 BUT did that for the rest so it still ended up being square lol. Anyways, hope you like it and I'm looking for a new project already! Cheers!


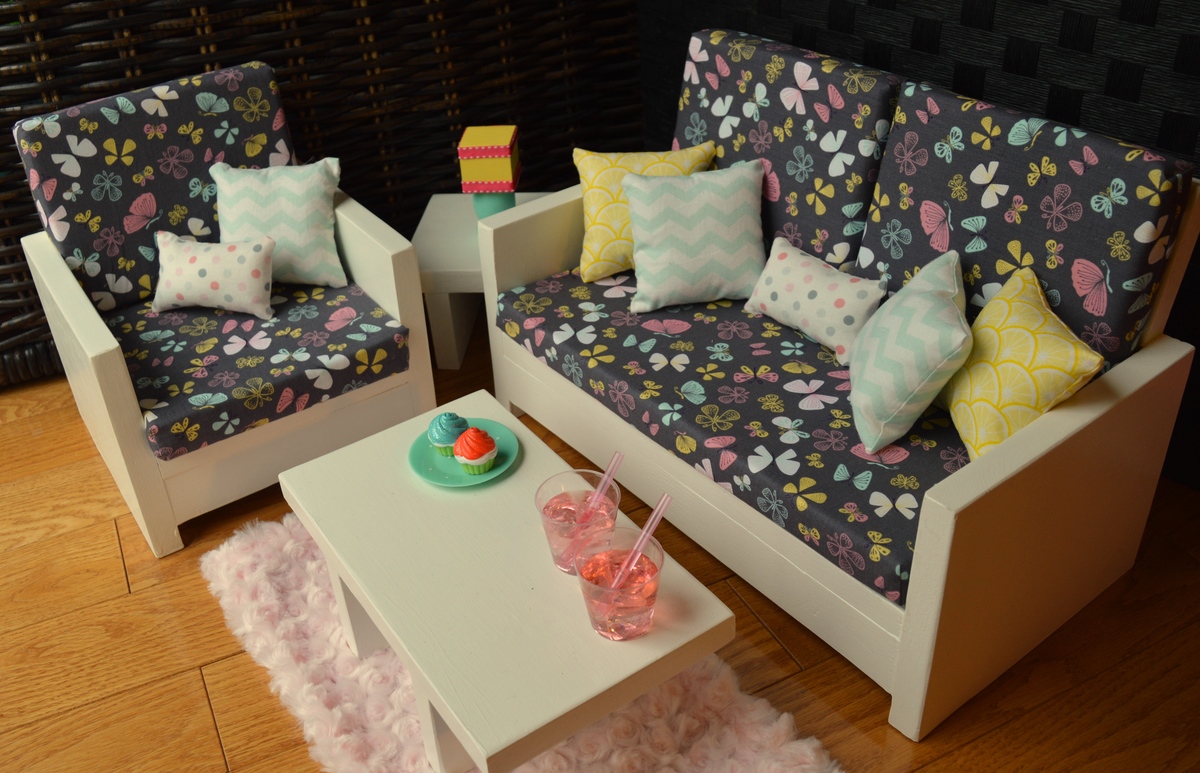
I made this American Girl living room set with pine wood. It is painted white and 2 coats of polyurethane are applied. The cushions and pillows were sewn by myself using high density foam and fibre fill. I have made 5 sets and am really enjoying making them that I have opened up my own etsy shop!
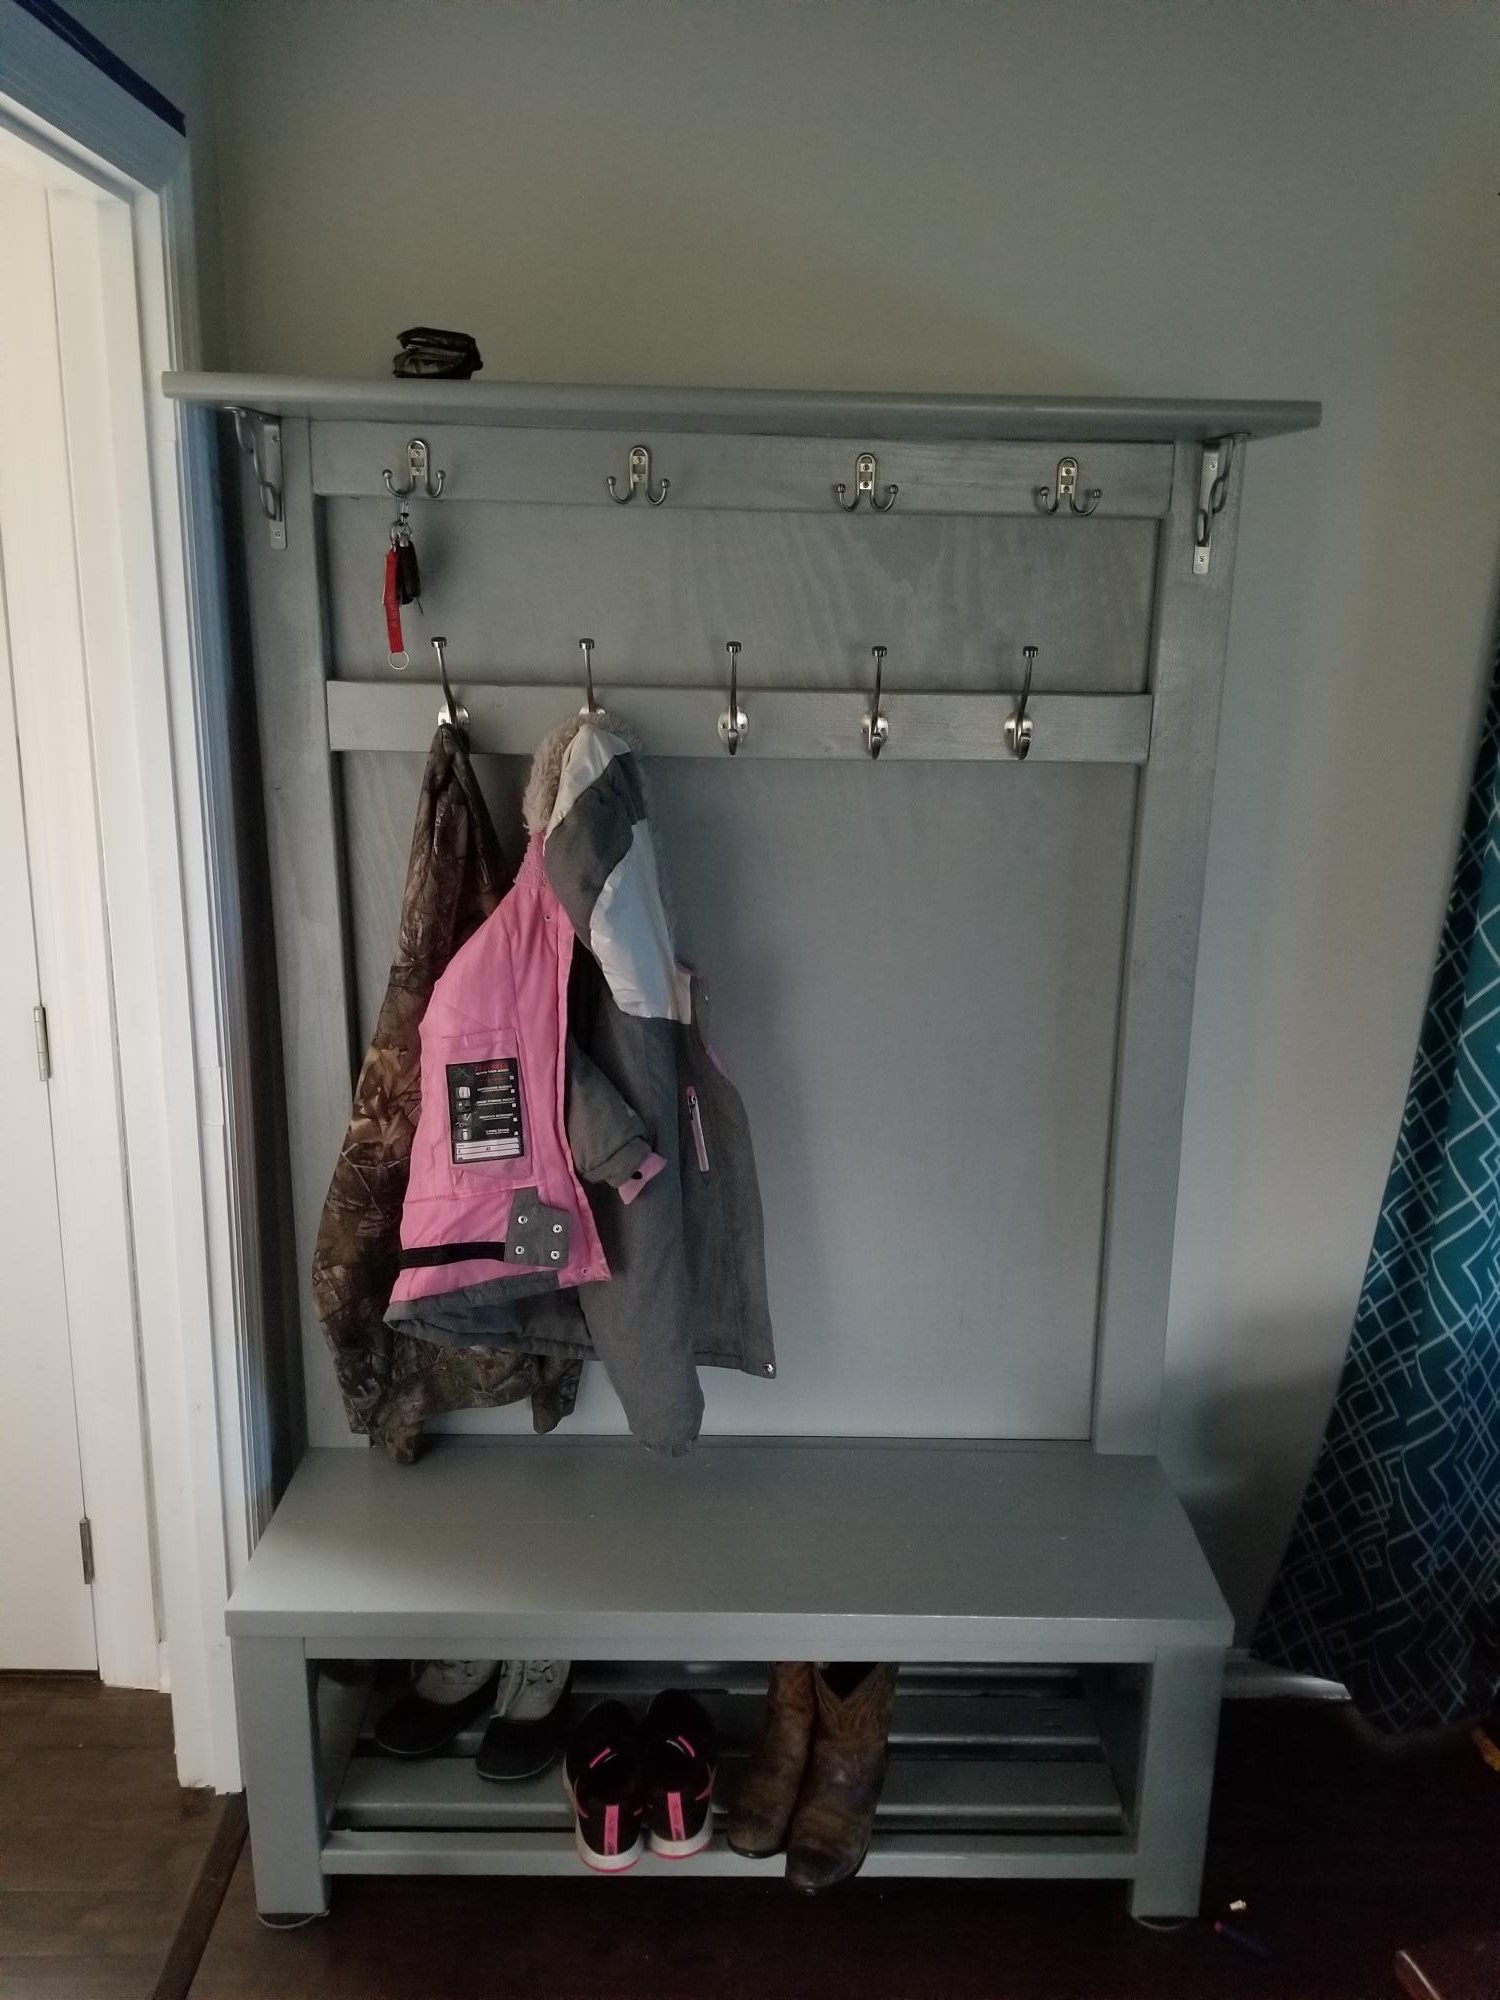
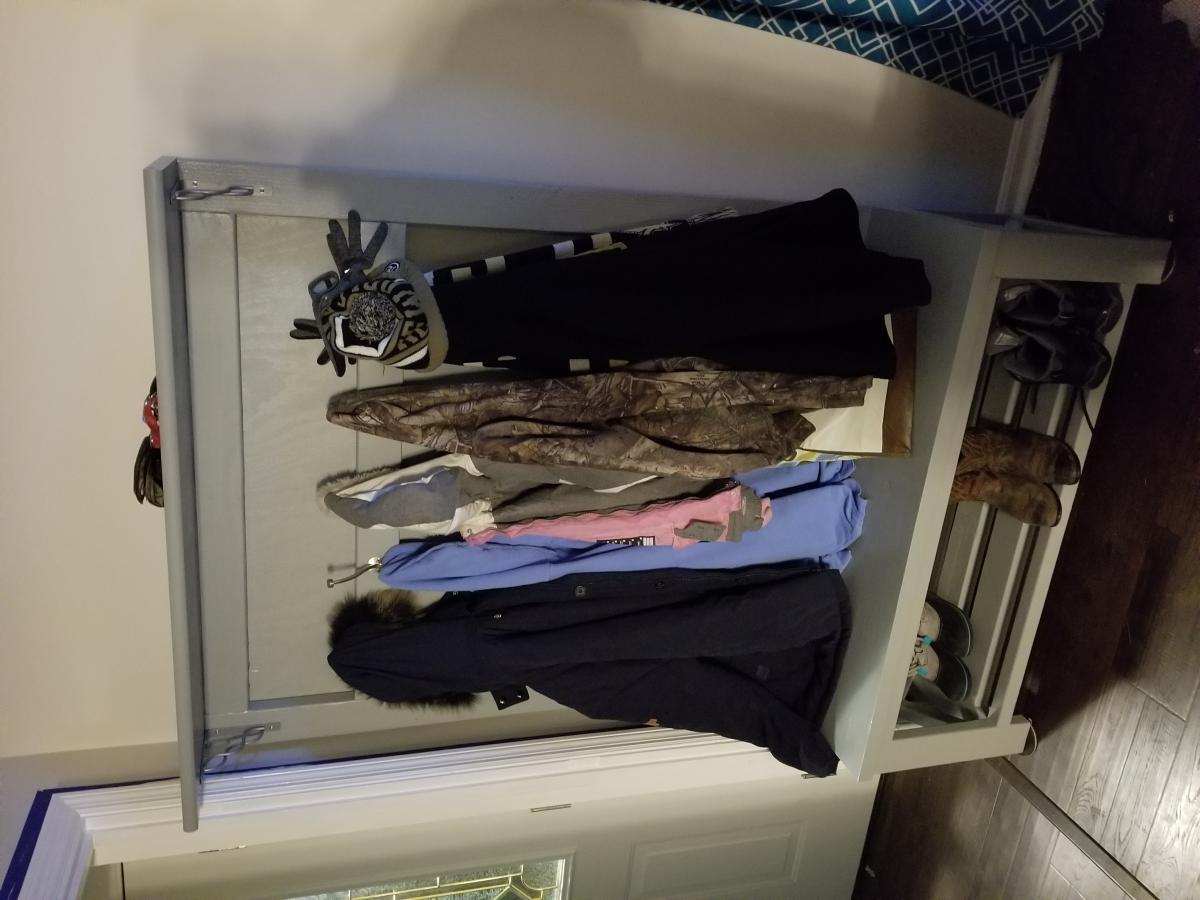
These plans were awesome! Thank you so much for sharing!! I added a few hooks on top for my keys and found this top board at Lowe's for $10, no I have a place to lay my wallet and phone. I tweaked mine to fit my needs but again, this plan was amazing, that KS for sharing! I look forward to making more of your projects.
Note: I chose this project as a weekend long project because I applied paint and it did take much longer for the paint to dry in this cold weather. The build was approximately 1 day.
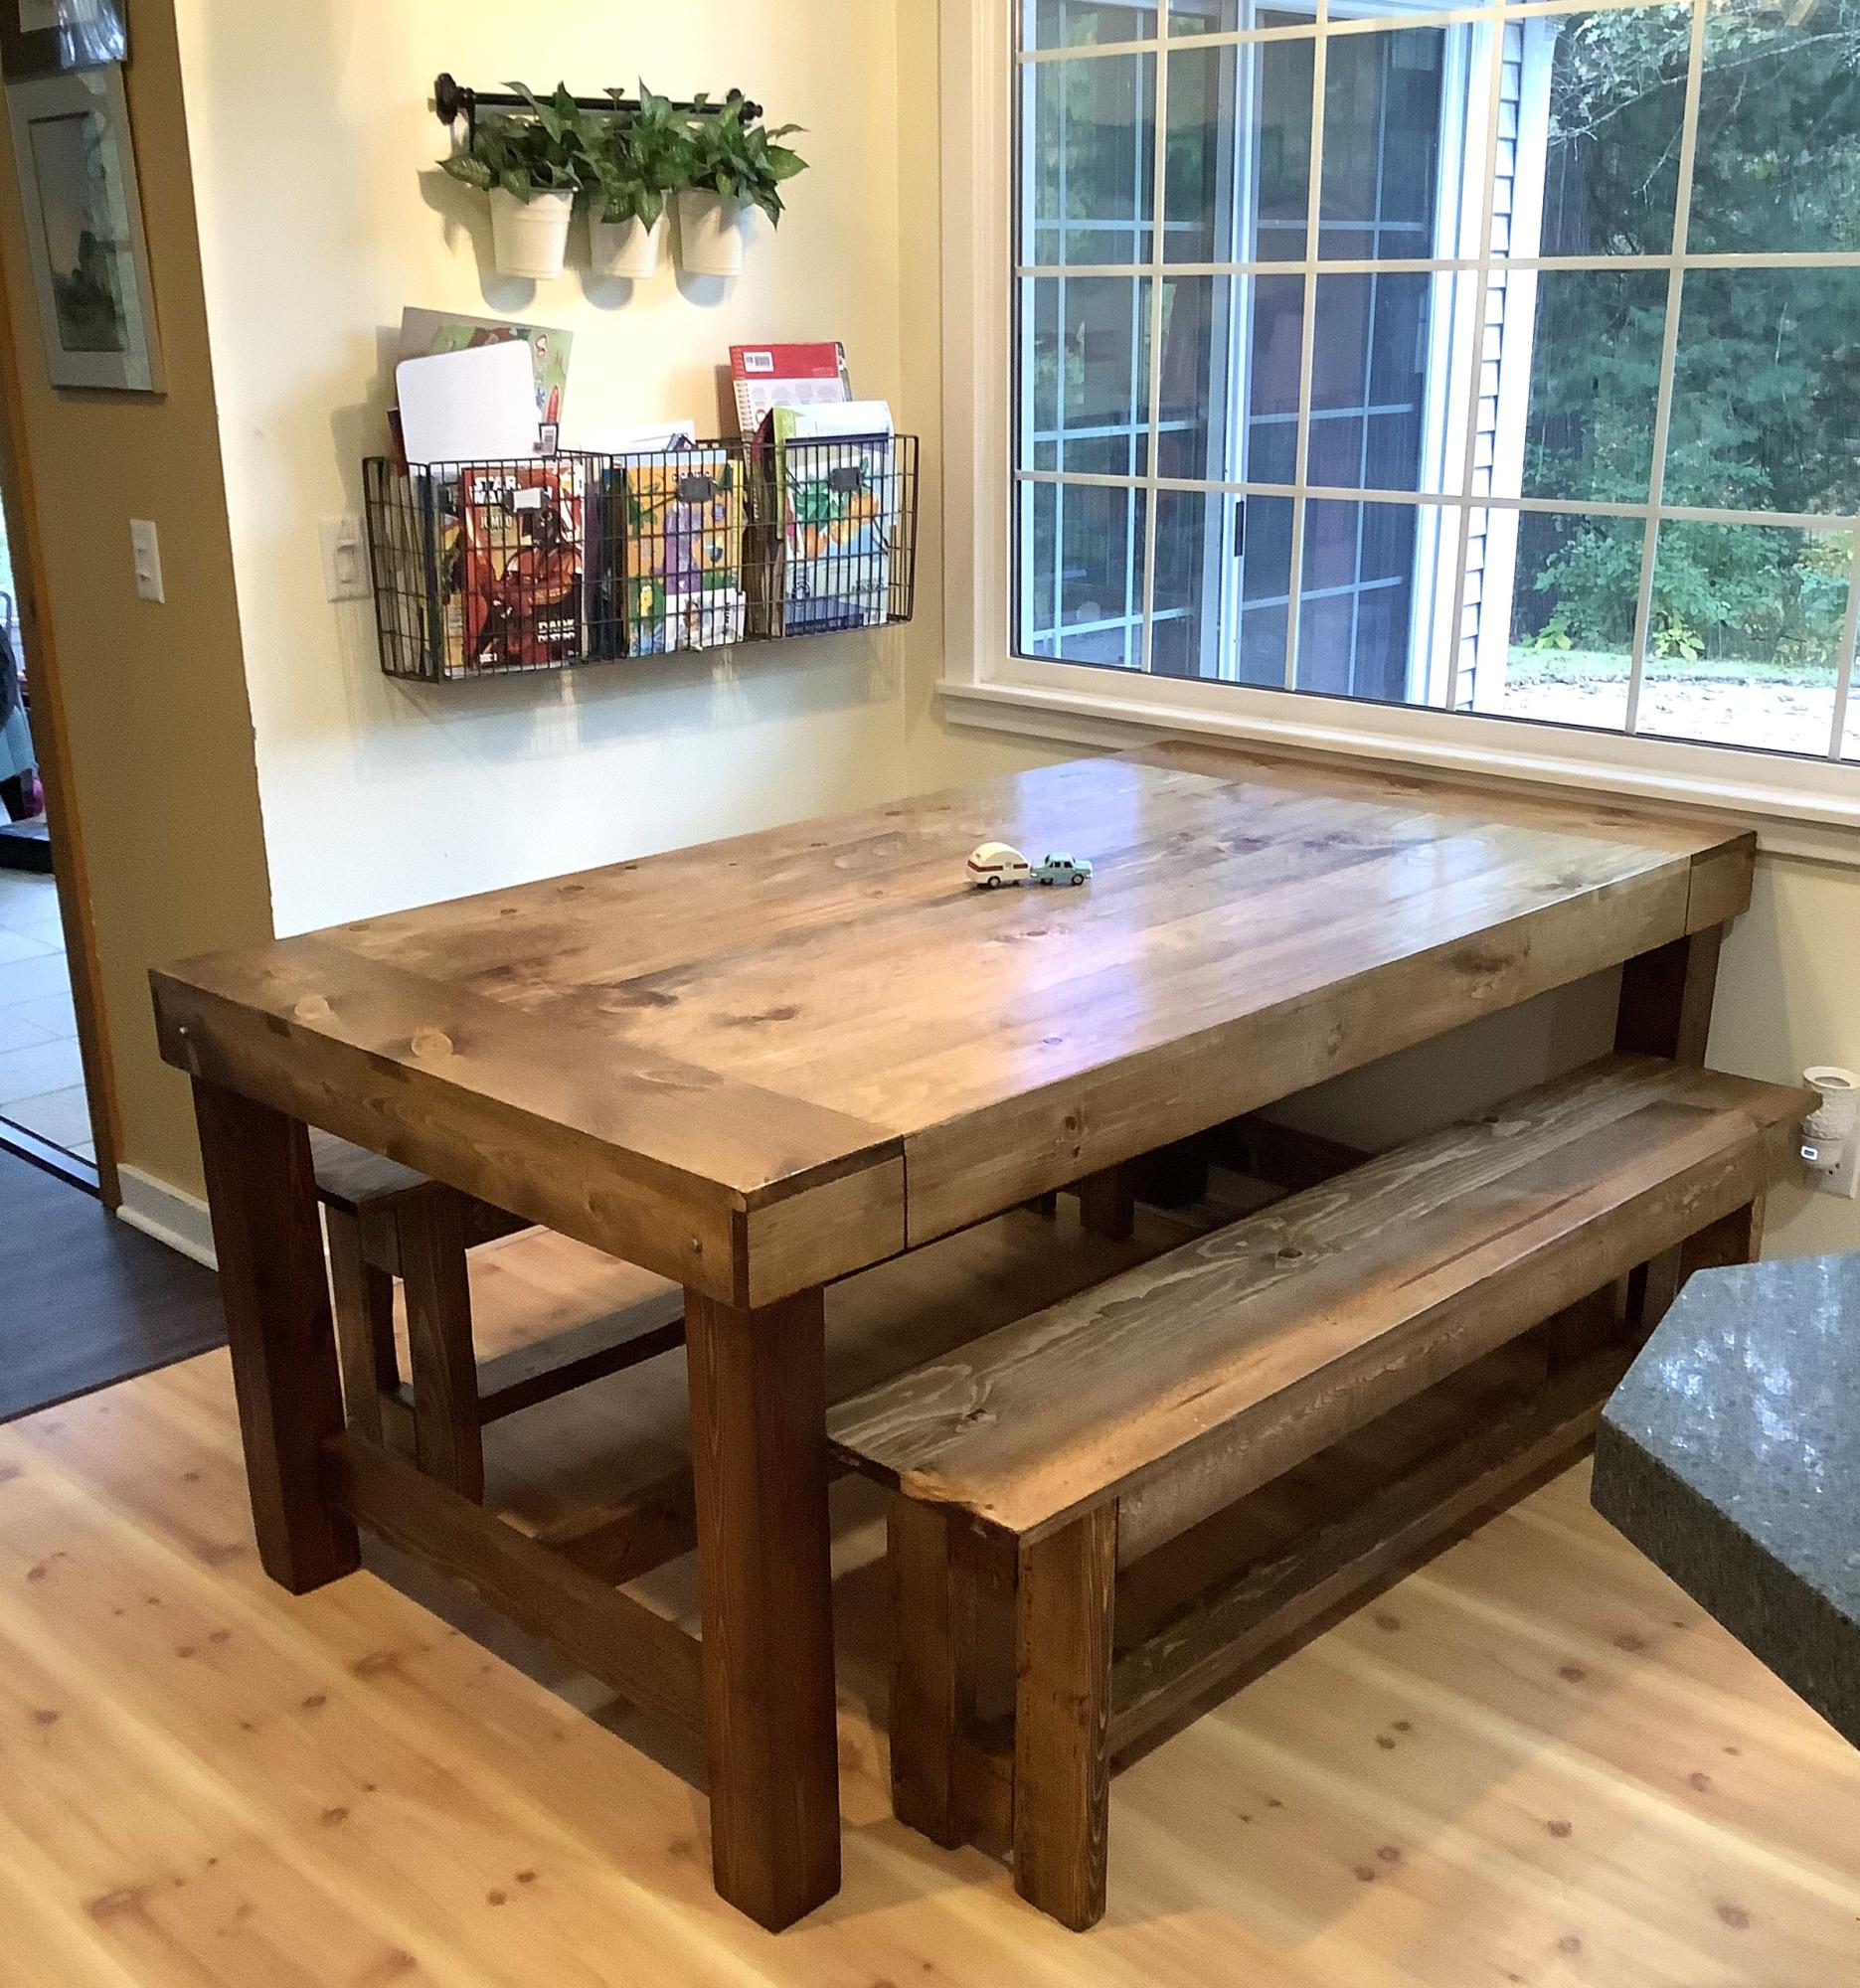
Modified two building plans into one farmhouse style table. Two of Ana’s benches as well.
Grace LeBlanc
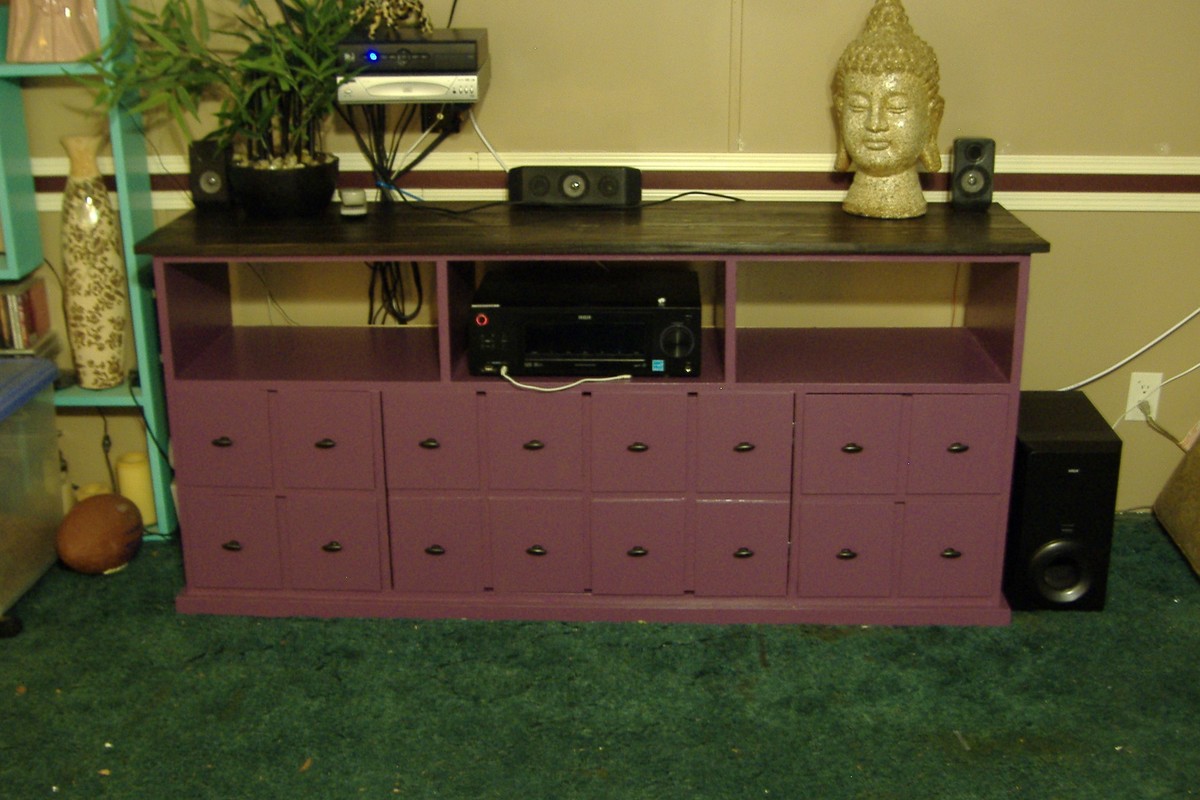
Loved this plan, also! In fact, a male co-worker helped me pick out the color! I made the open shelves taller and left the back off so my media components could get lots of air flow!
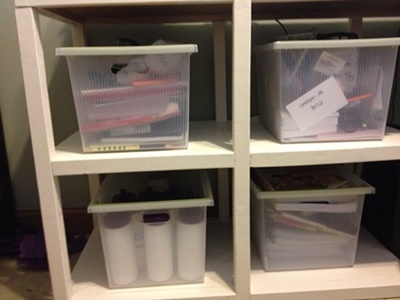
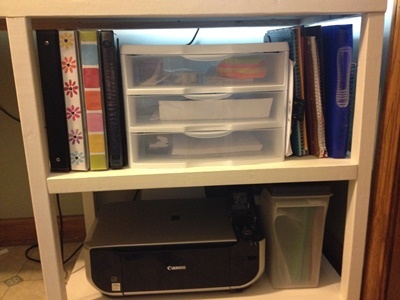
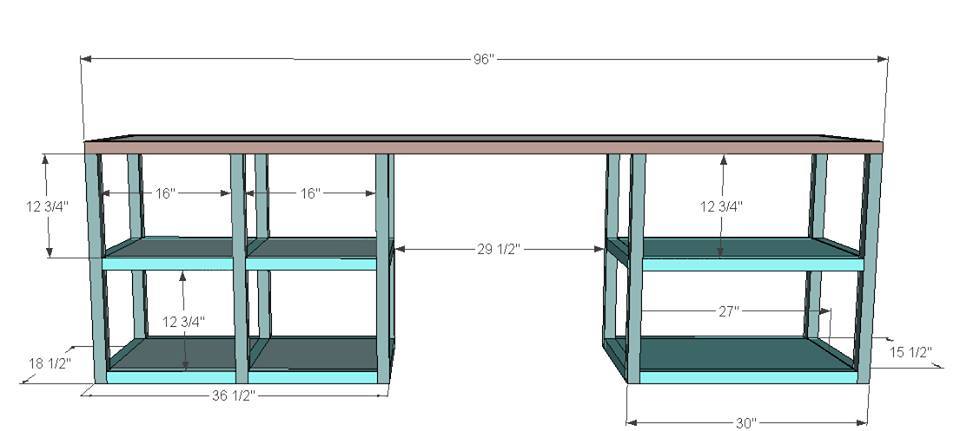
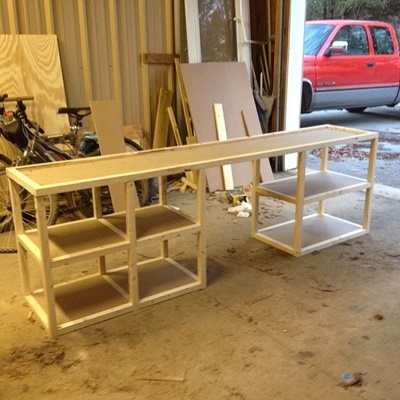
I needed a desk that served not only as a space to work, but something that had good storage and didn't take up way to much floor space.I looked and looked and couldn't find anything I loved until I ran across the Parson's Tower Desk plans on Ana-white.com. The depth of the desk was perfect, but I needed more storage, so I decided to play in with sketchup and see if I couldn't make it more of what I needed.
I ended up with a supersized Parson's Tower Desk!
It has four smaller cubbies to the left side and 2 wider shelves to the right side.
You can see a front view and all the pictures at the blog post!
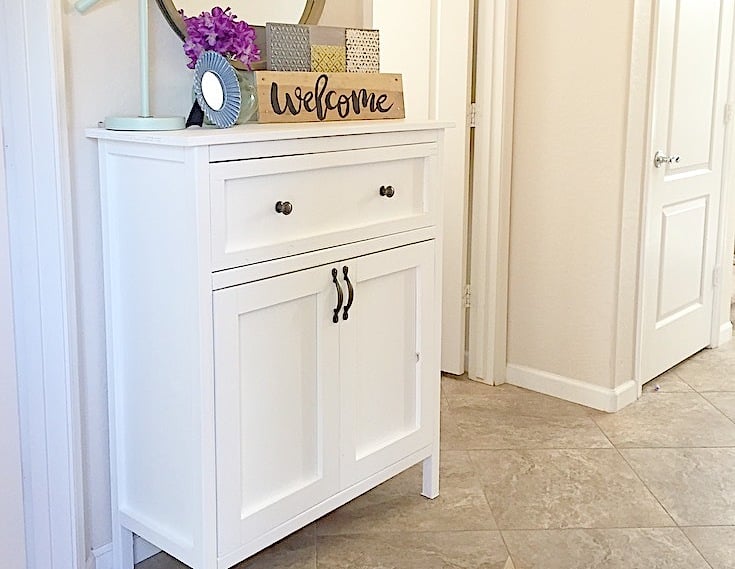
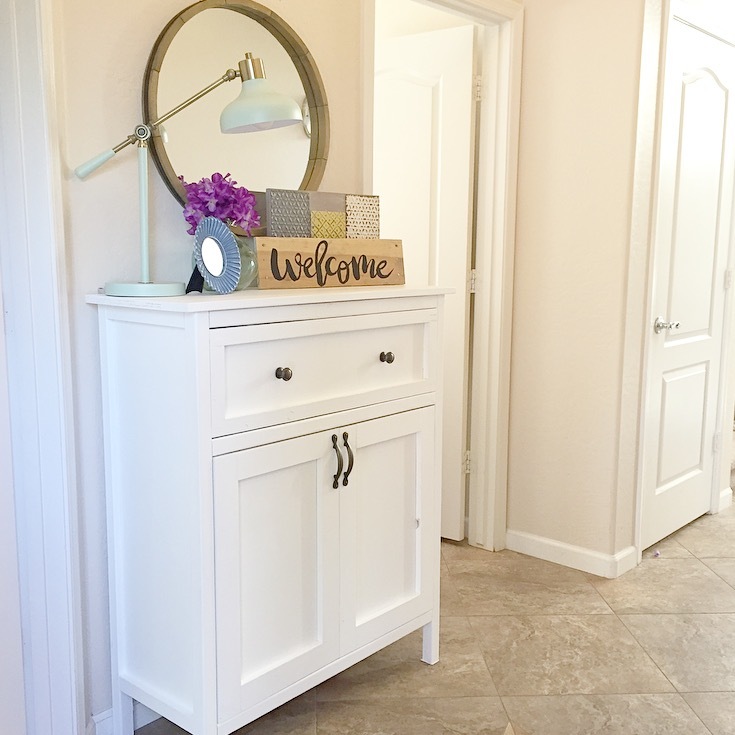
I need some shoe storage near my front door that would hide all of our shoes. I used the plans from the book for the secretary's desk and added an extra shelf. Check out my blog post for step by step pictures.
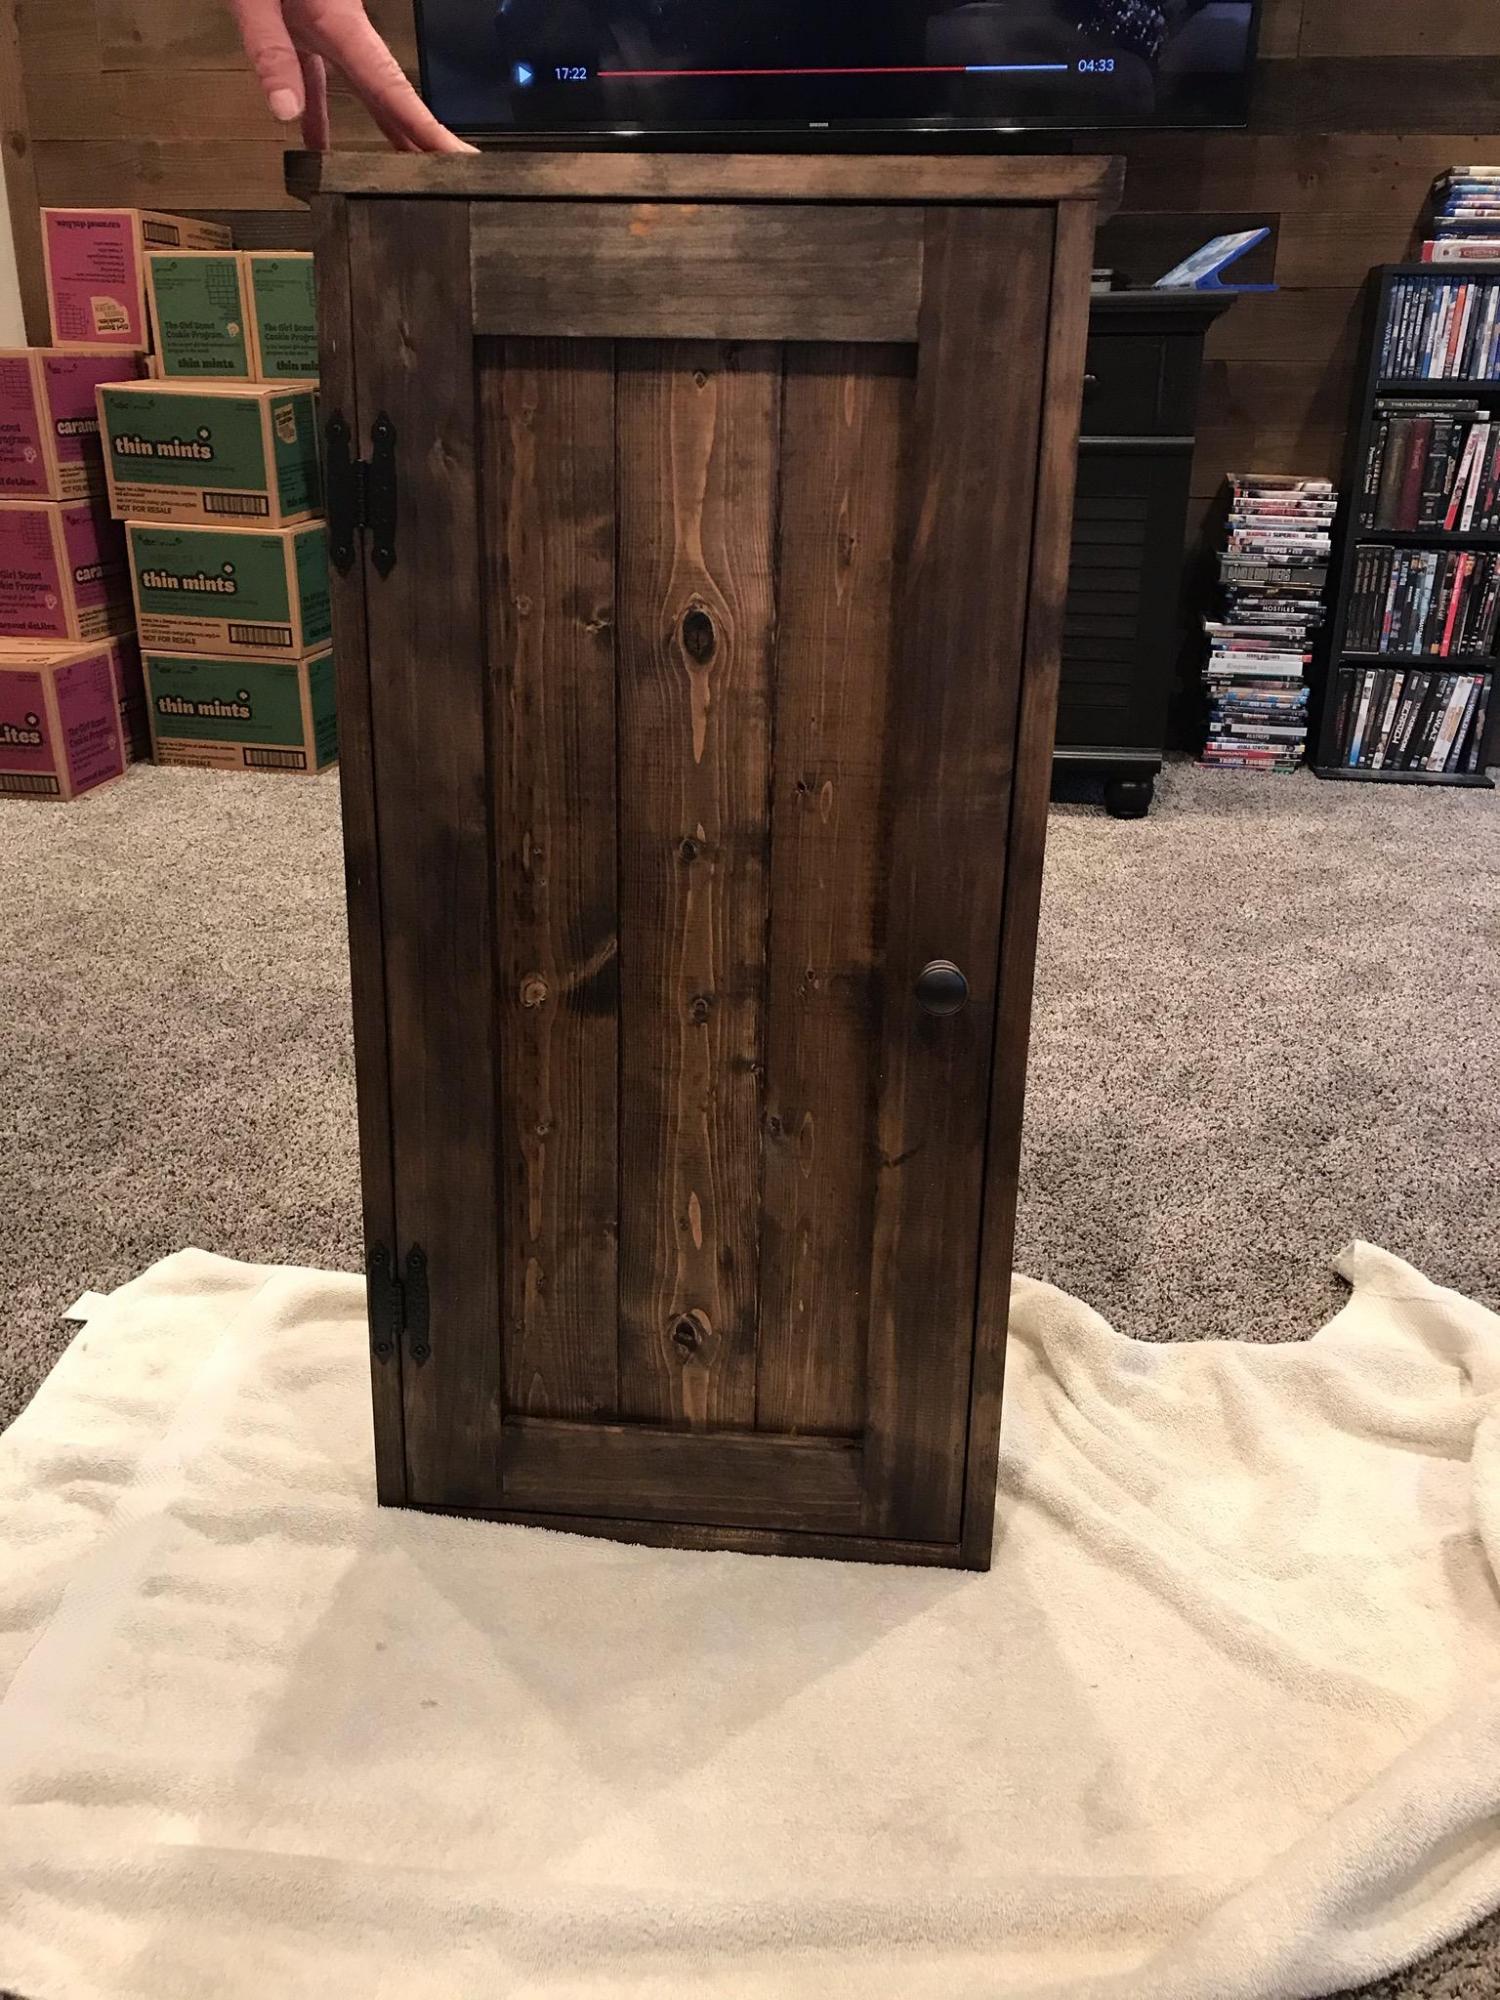
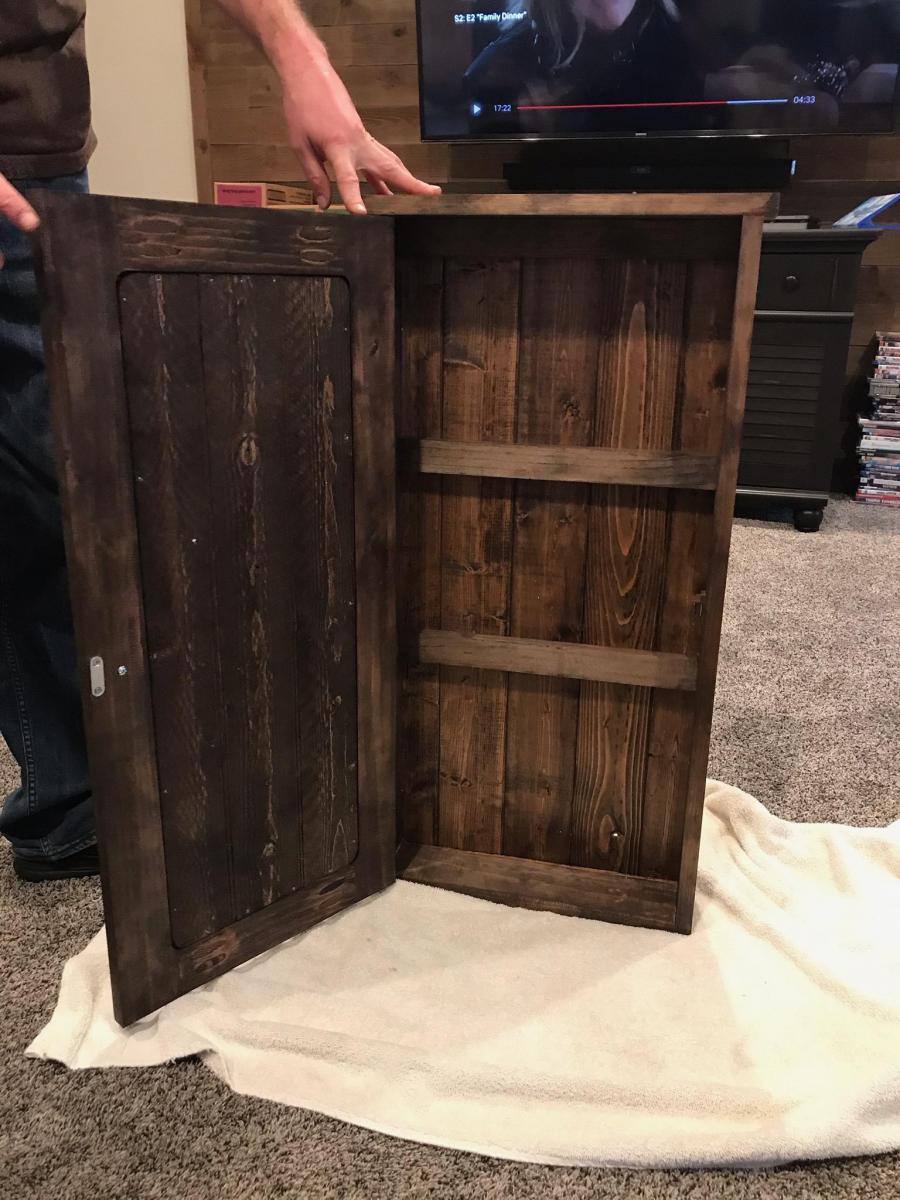
The plans were simple to follow. Made some small changes, used some pine wood wall paneling from Lowes. The pine paneling was used on the back and door. Both were inset with a routed step the same thickness as the panels.
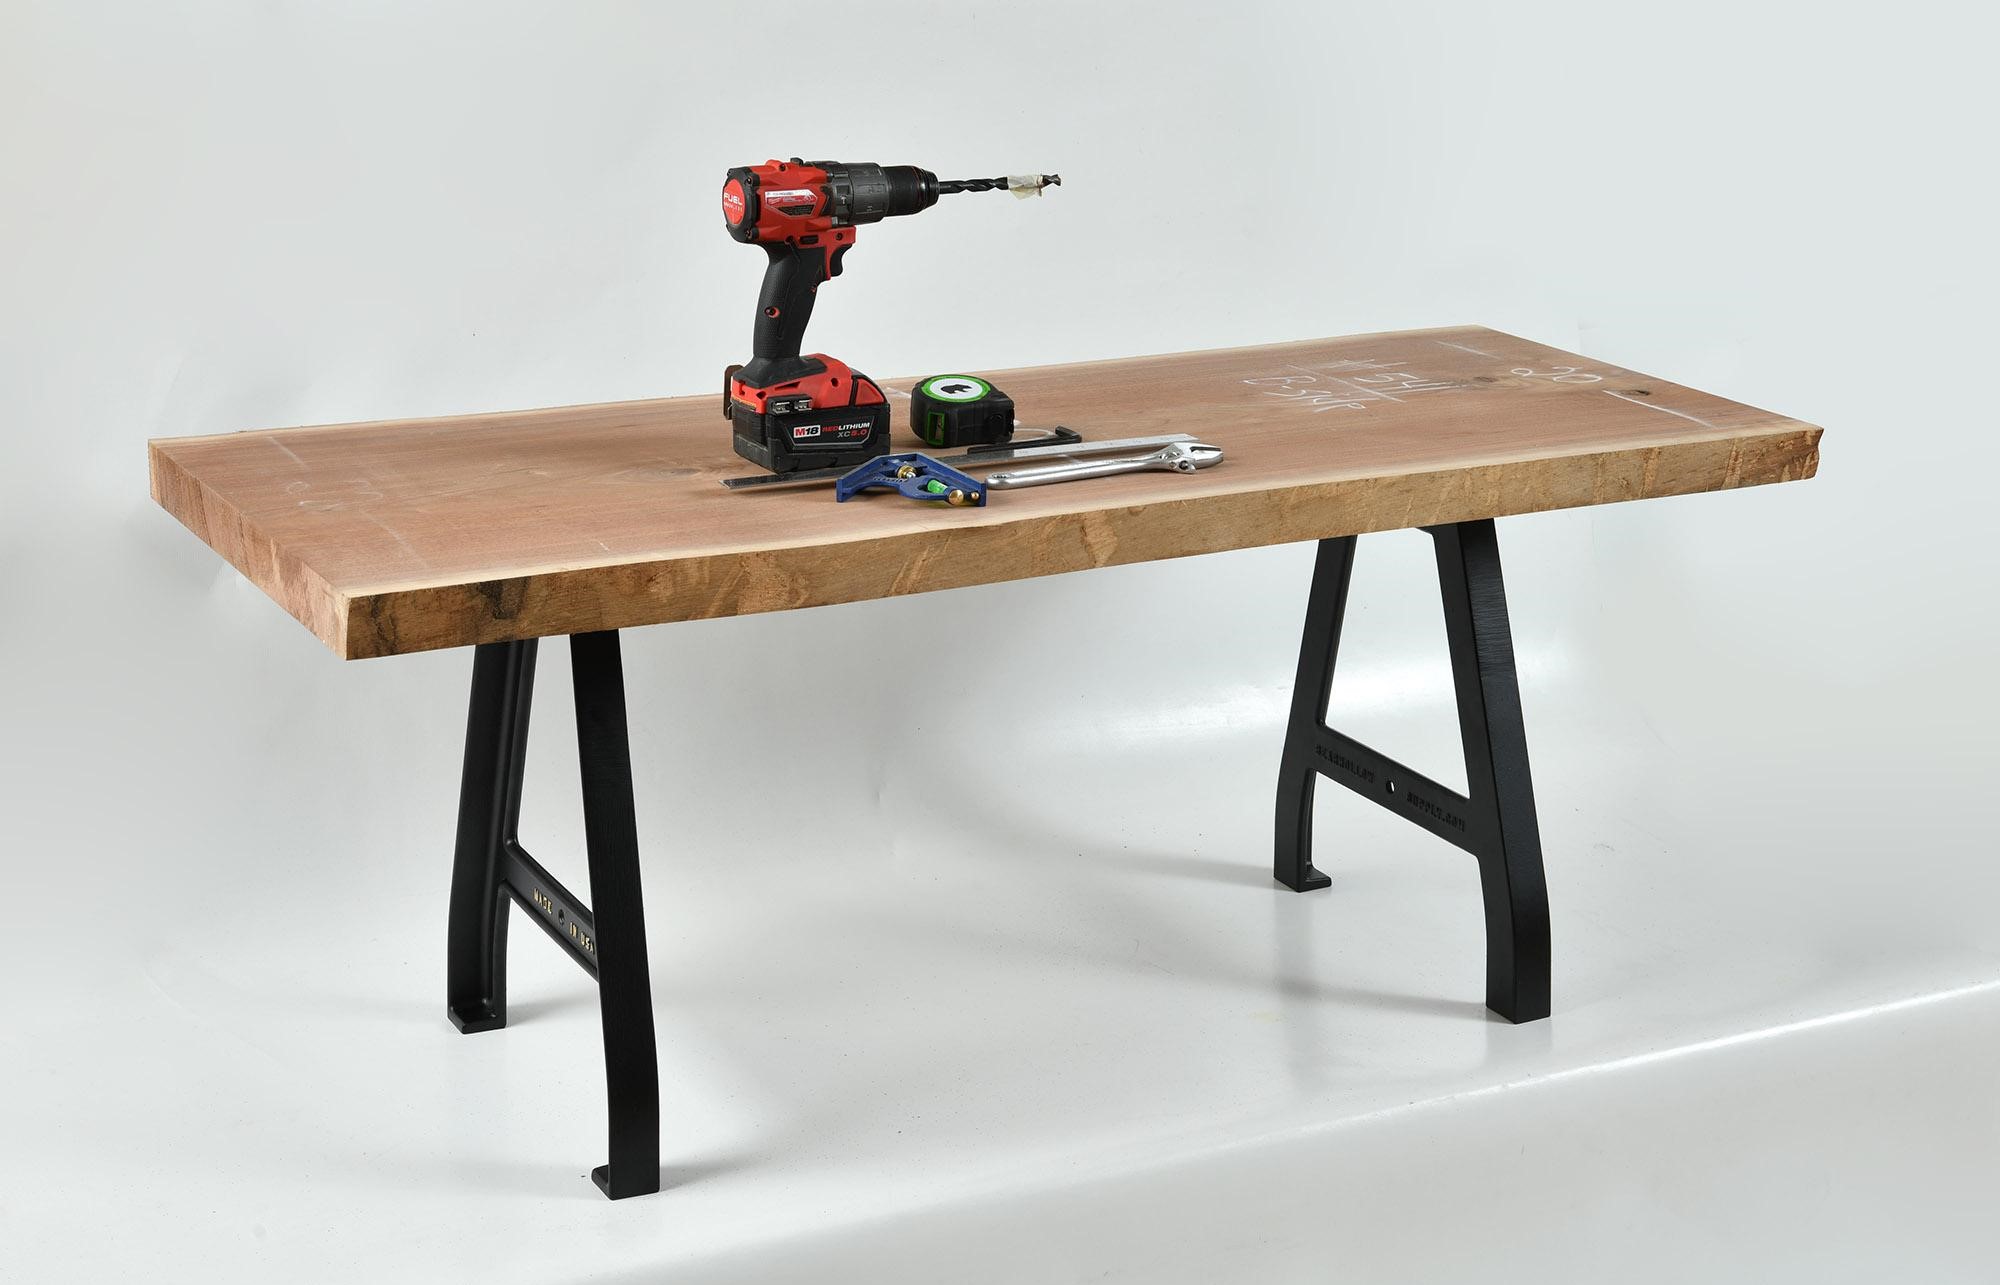
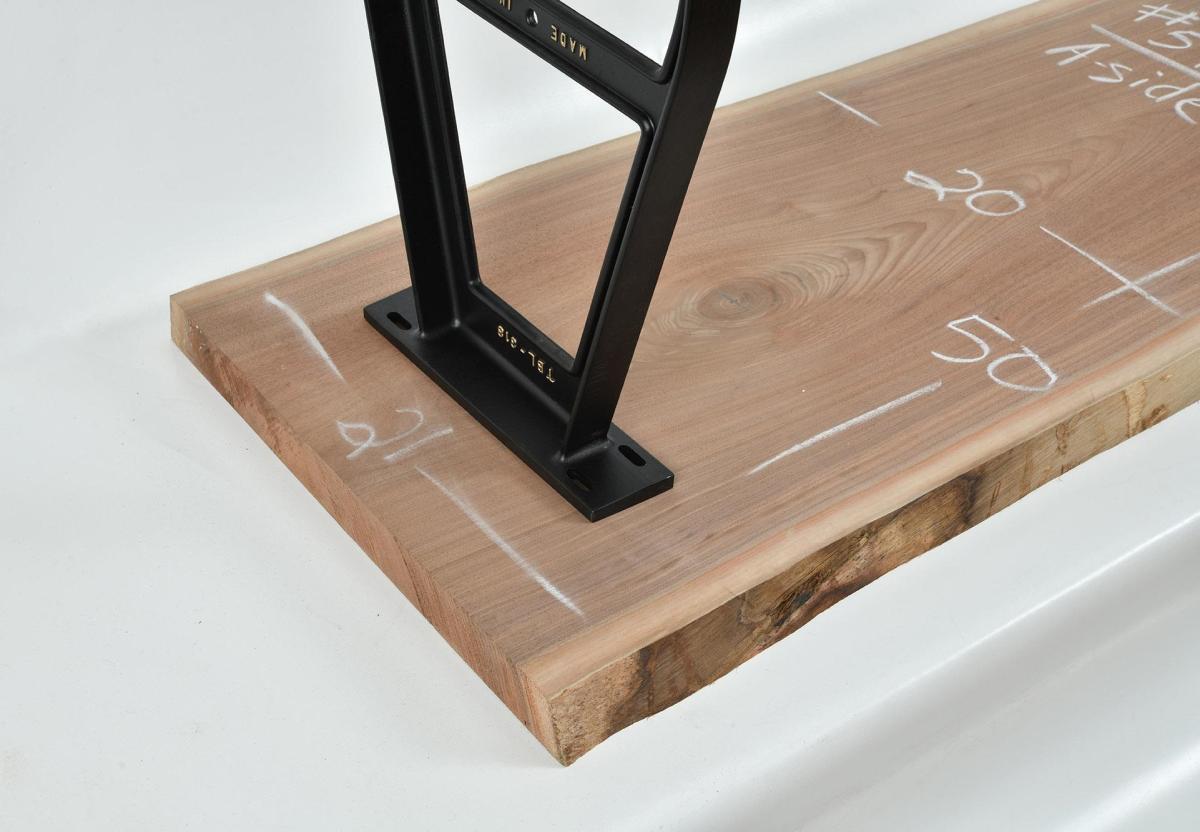
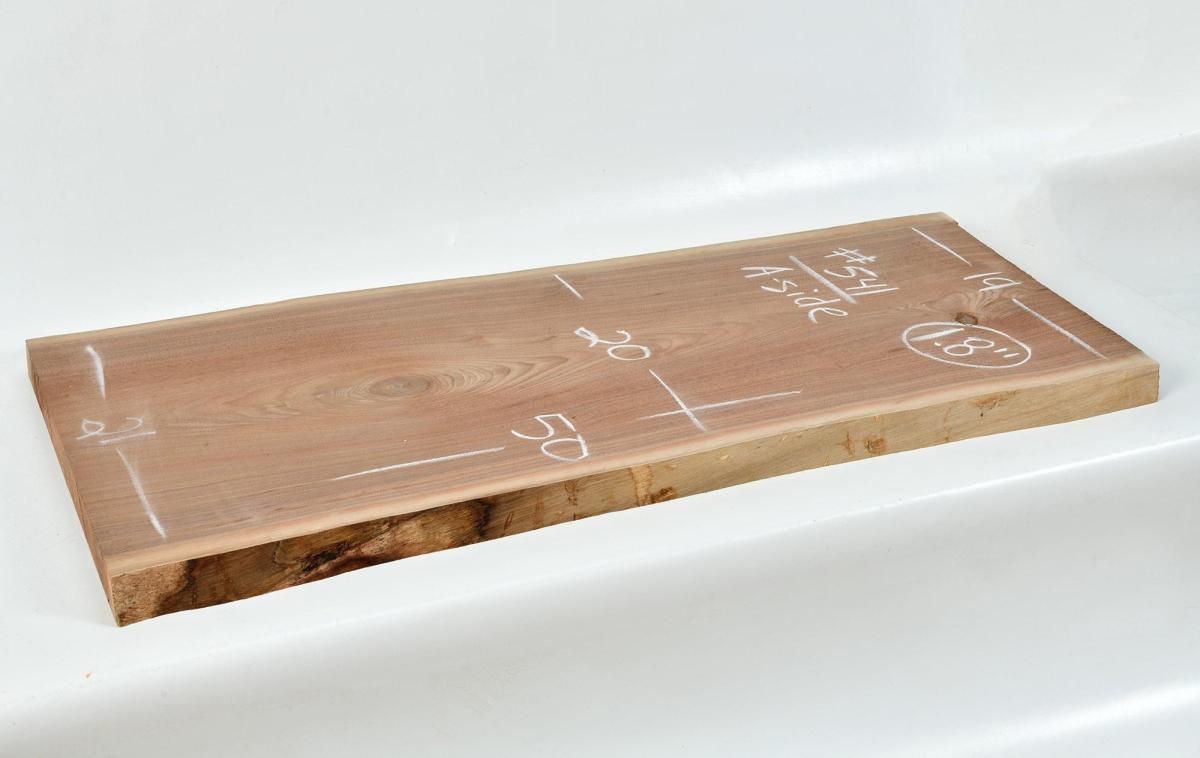
I built a simple, yet very classy table using table legs from Bear Hollow Supply. All you need is a table top, which in my case I used a nice looking wood slab. Then you just attach the legs and you're done. It's a very simply process and the final results is a great looking table.

I was able to build the bed with the Rockler surface mount brackets and this allowed complete removal of the side rails without any screws. We are a military family that moves every 3 years and this makes it so much easier and less wear and tear on the beds. Any family that moves consistently can understand that the hardware can only take some much abuse before it compromises the integrity of the furniture.

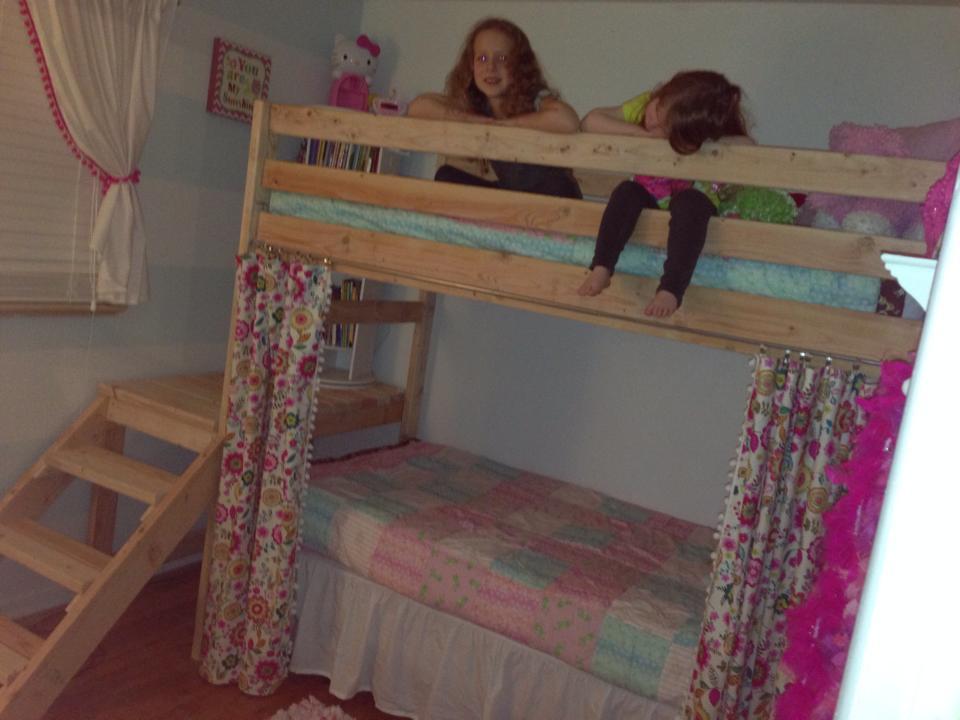
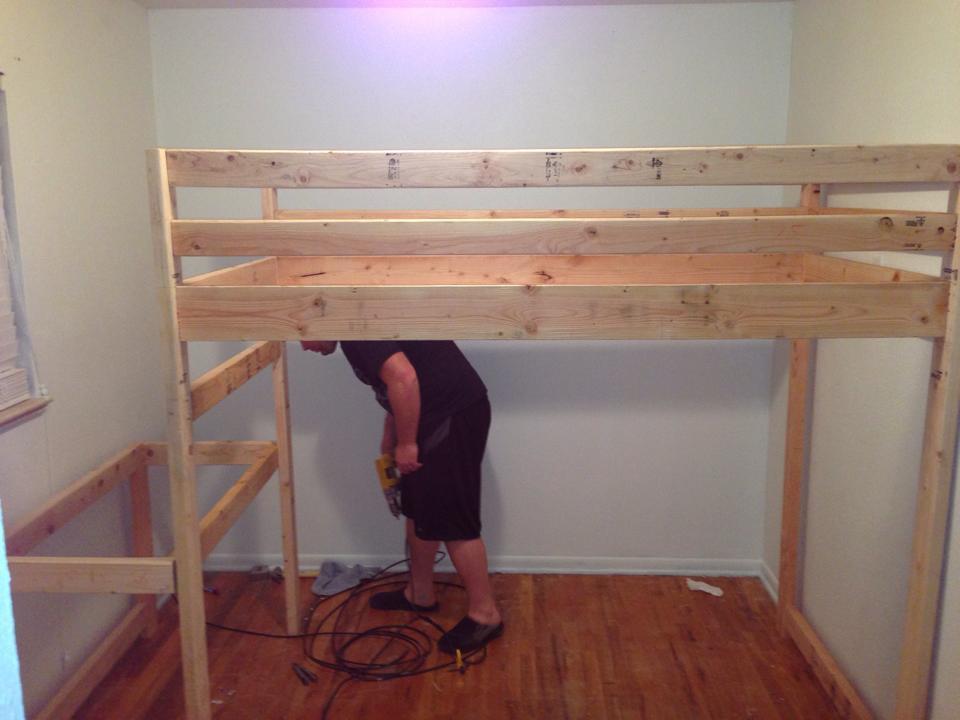
My girls each had their own room that they never used! So, dad decided to combine their rooms which gave us an office. They have since spent more time in there then anywhere in the house but it was a mess! 2 beds in a tiny room was not working! So I made dad make this bed, and it is AMAZING! It has made my life so much easier getting them ready in the morning, not tripping around beds, and they spend time in it, and take pride in keeping it clean!!
We added about 6 inches, making it normal bunk bed height, but didn't change anything else. No finish yet, because I love the look and haven't decided what to do. We also, did not use a kreg jig. Hubby just drilled in sideways, and it worked fine.
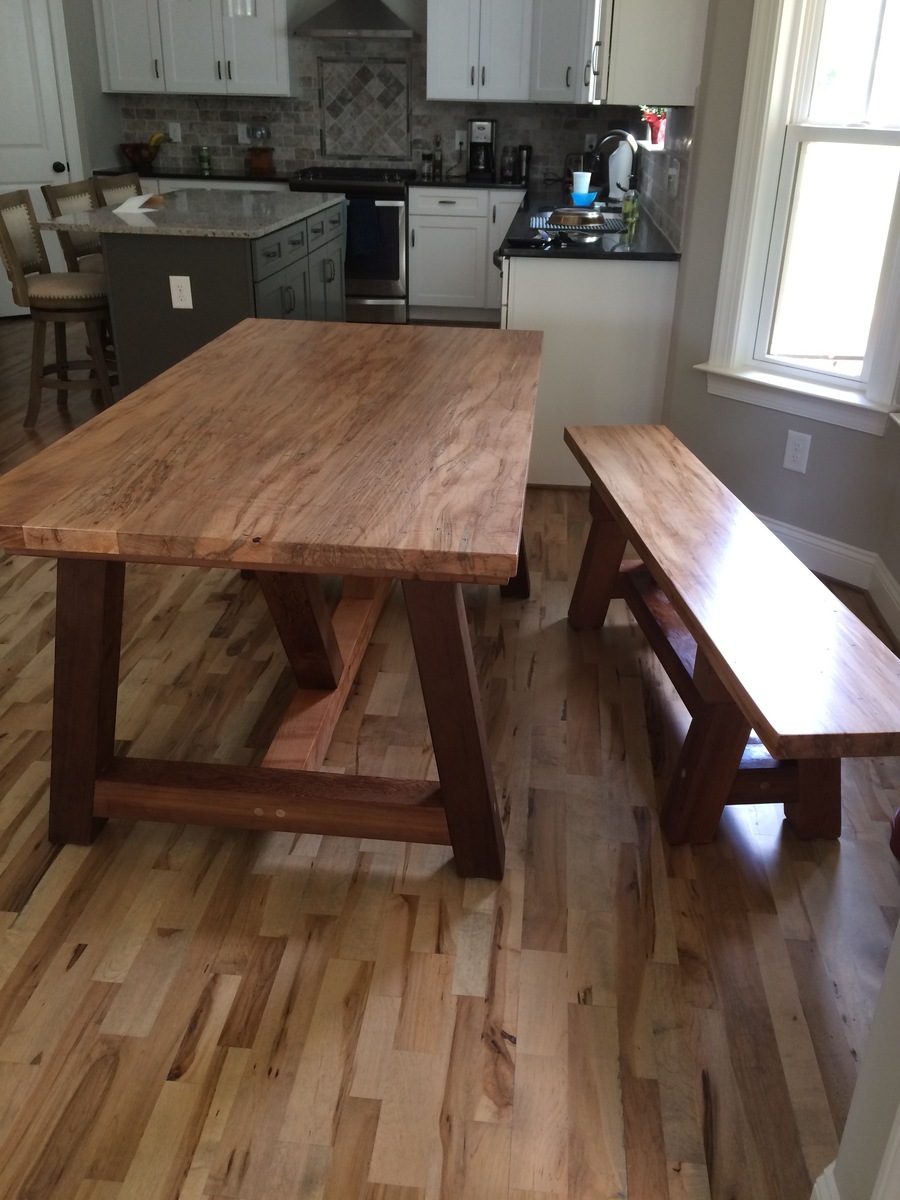
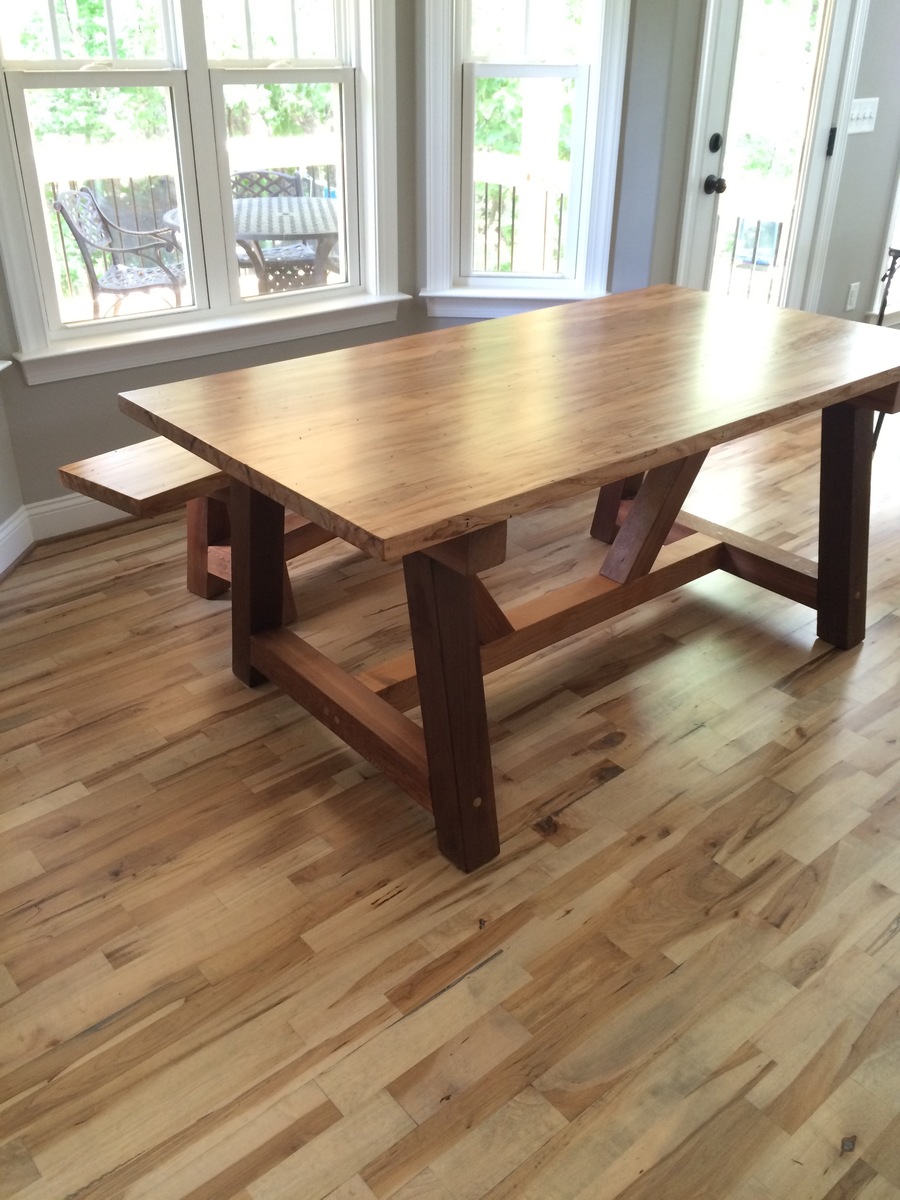
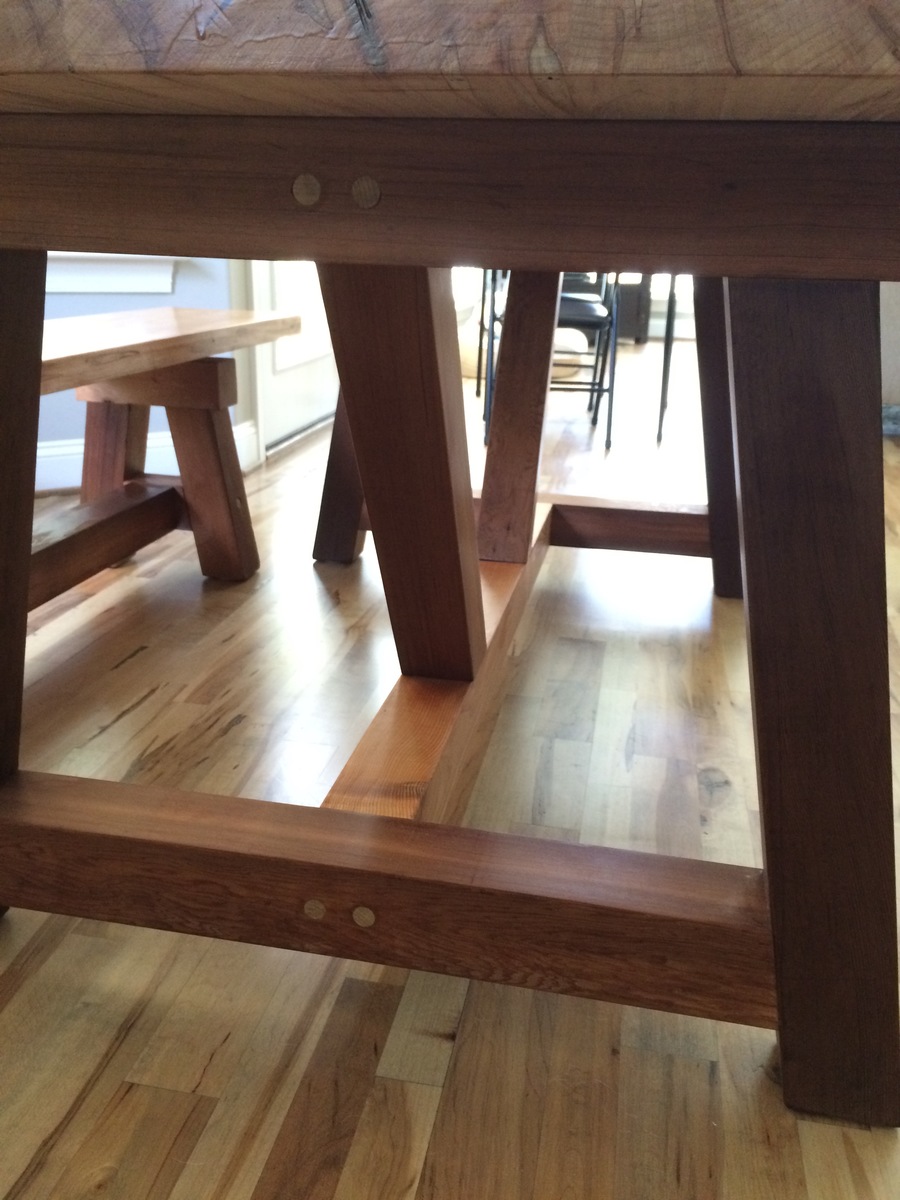
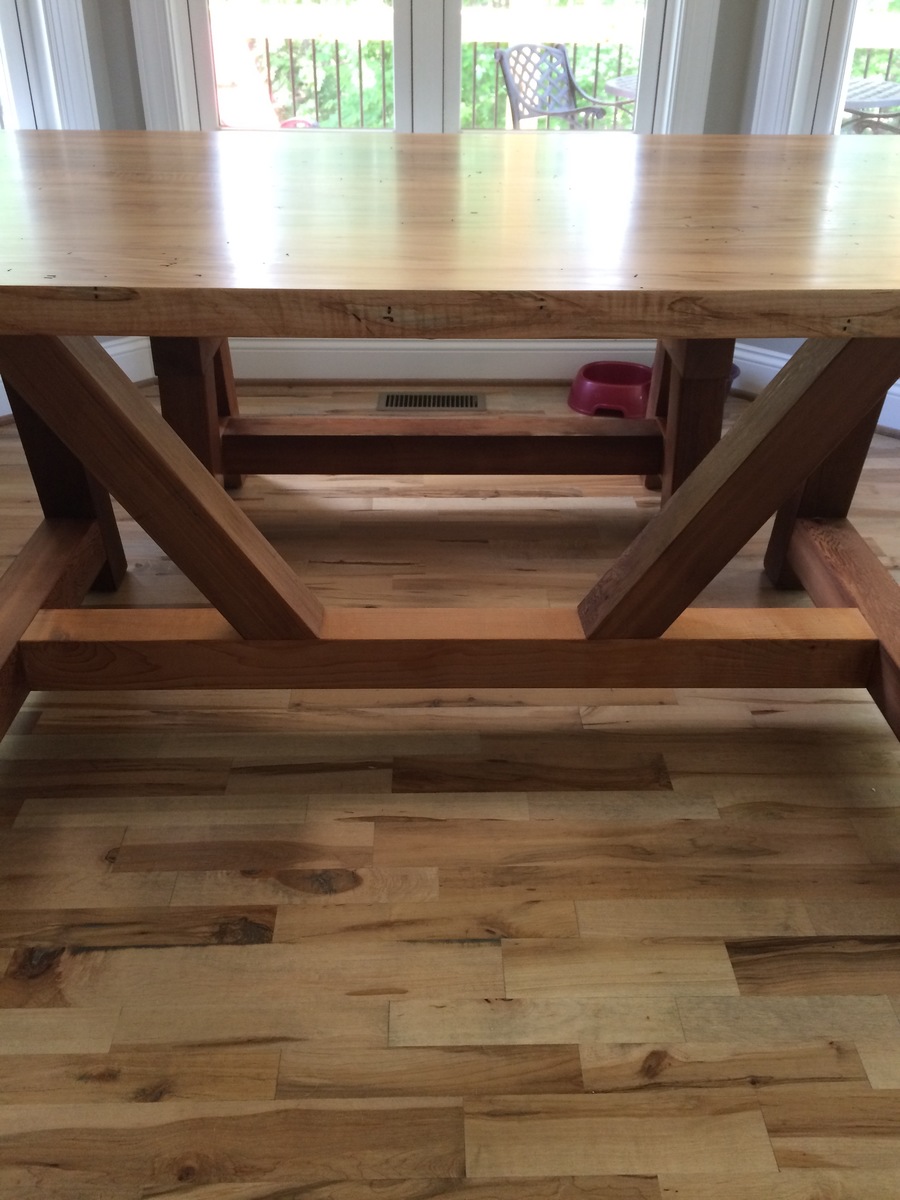
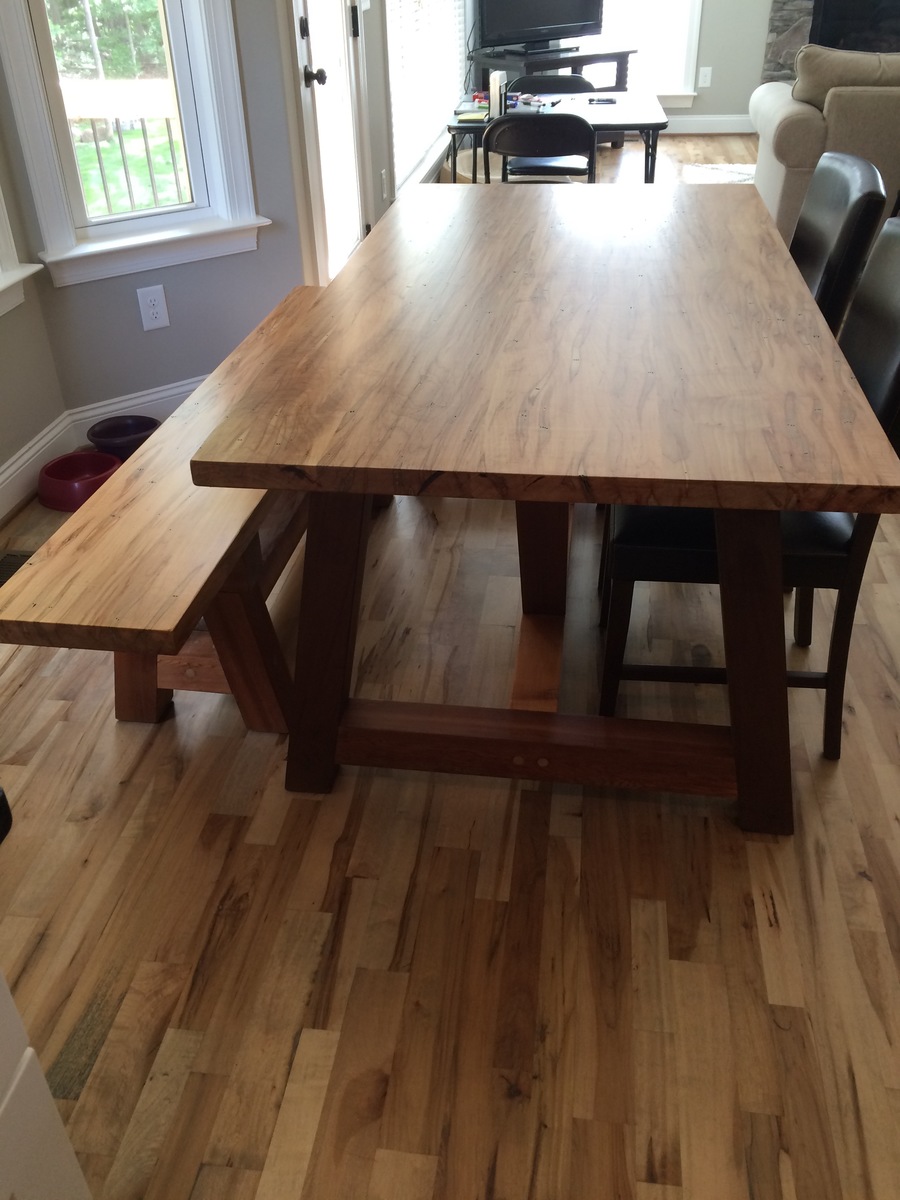
Solid Wormy Maple Top, "clear" grade, no knot westerd red cedar 4 x 4 legs, 4 inch lags (no Kreg Jig), Spar Urethane on top (clear satin, 3 coats), and Danish Oil on legs (one coat to keep "dry look"). Wormy maple boards, S4S, joined and plained. Bench is one solid piece of wormy maple, same top coat as table top.
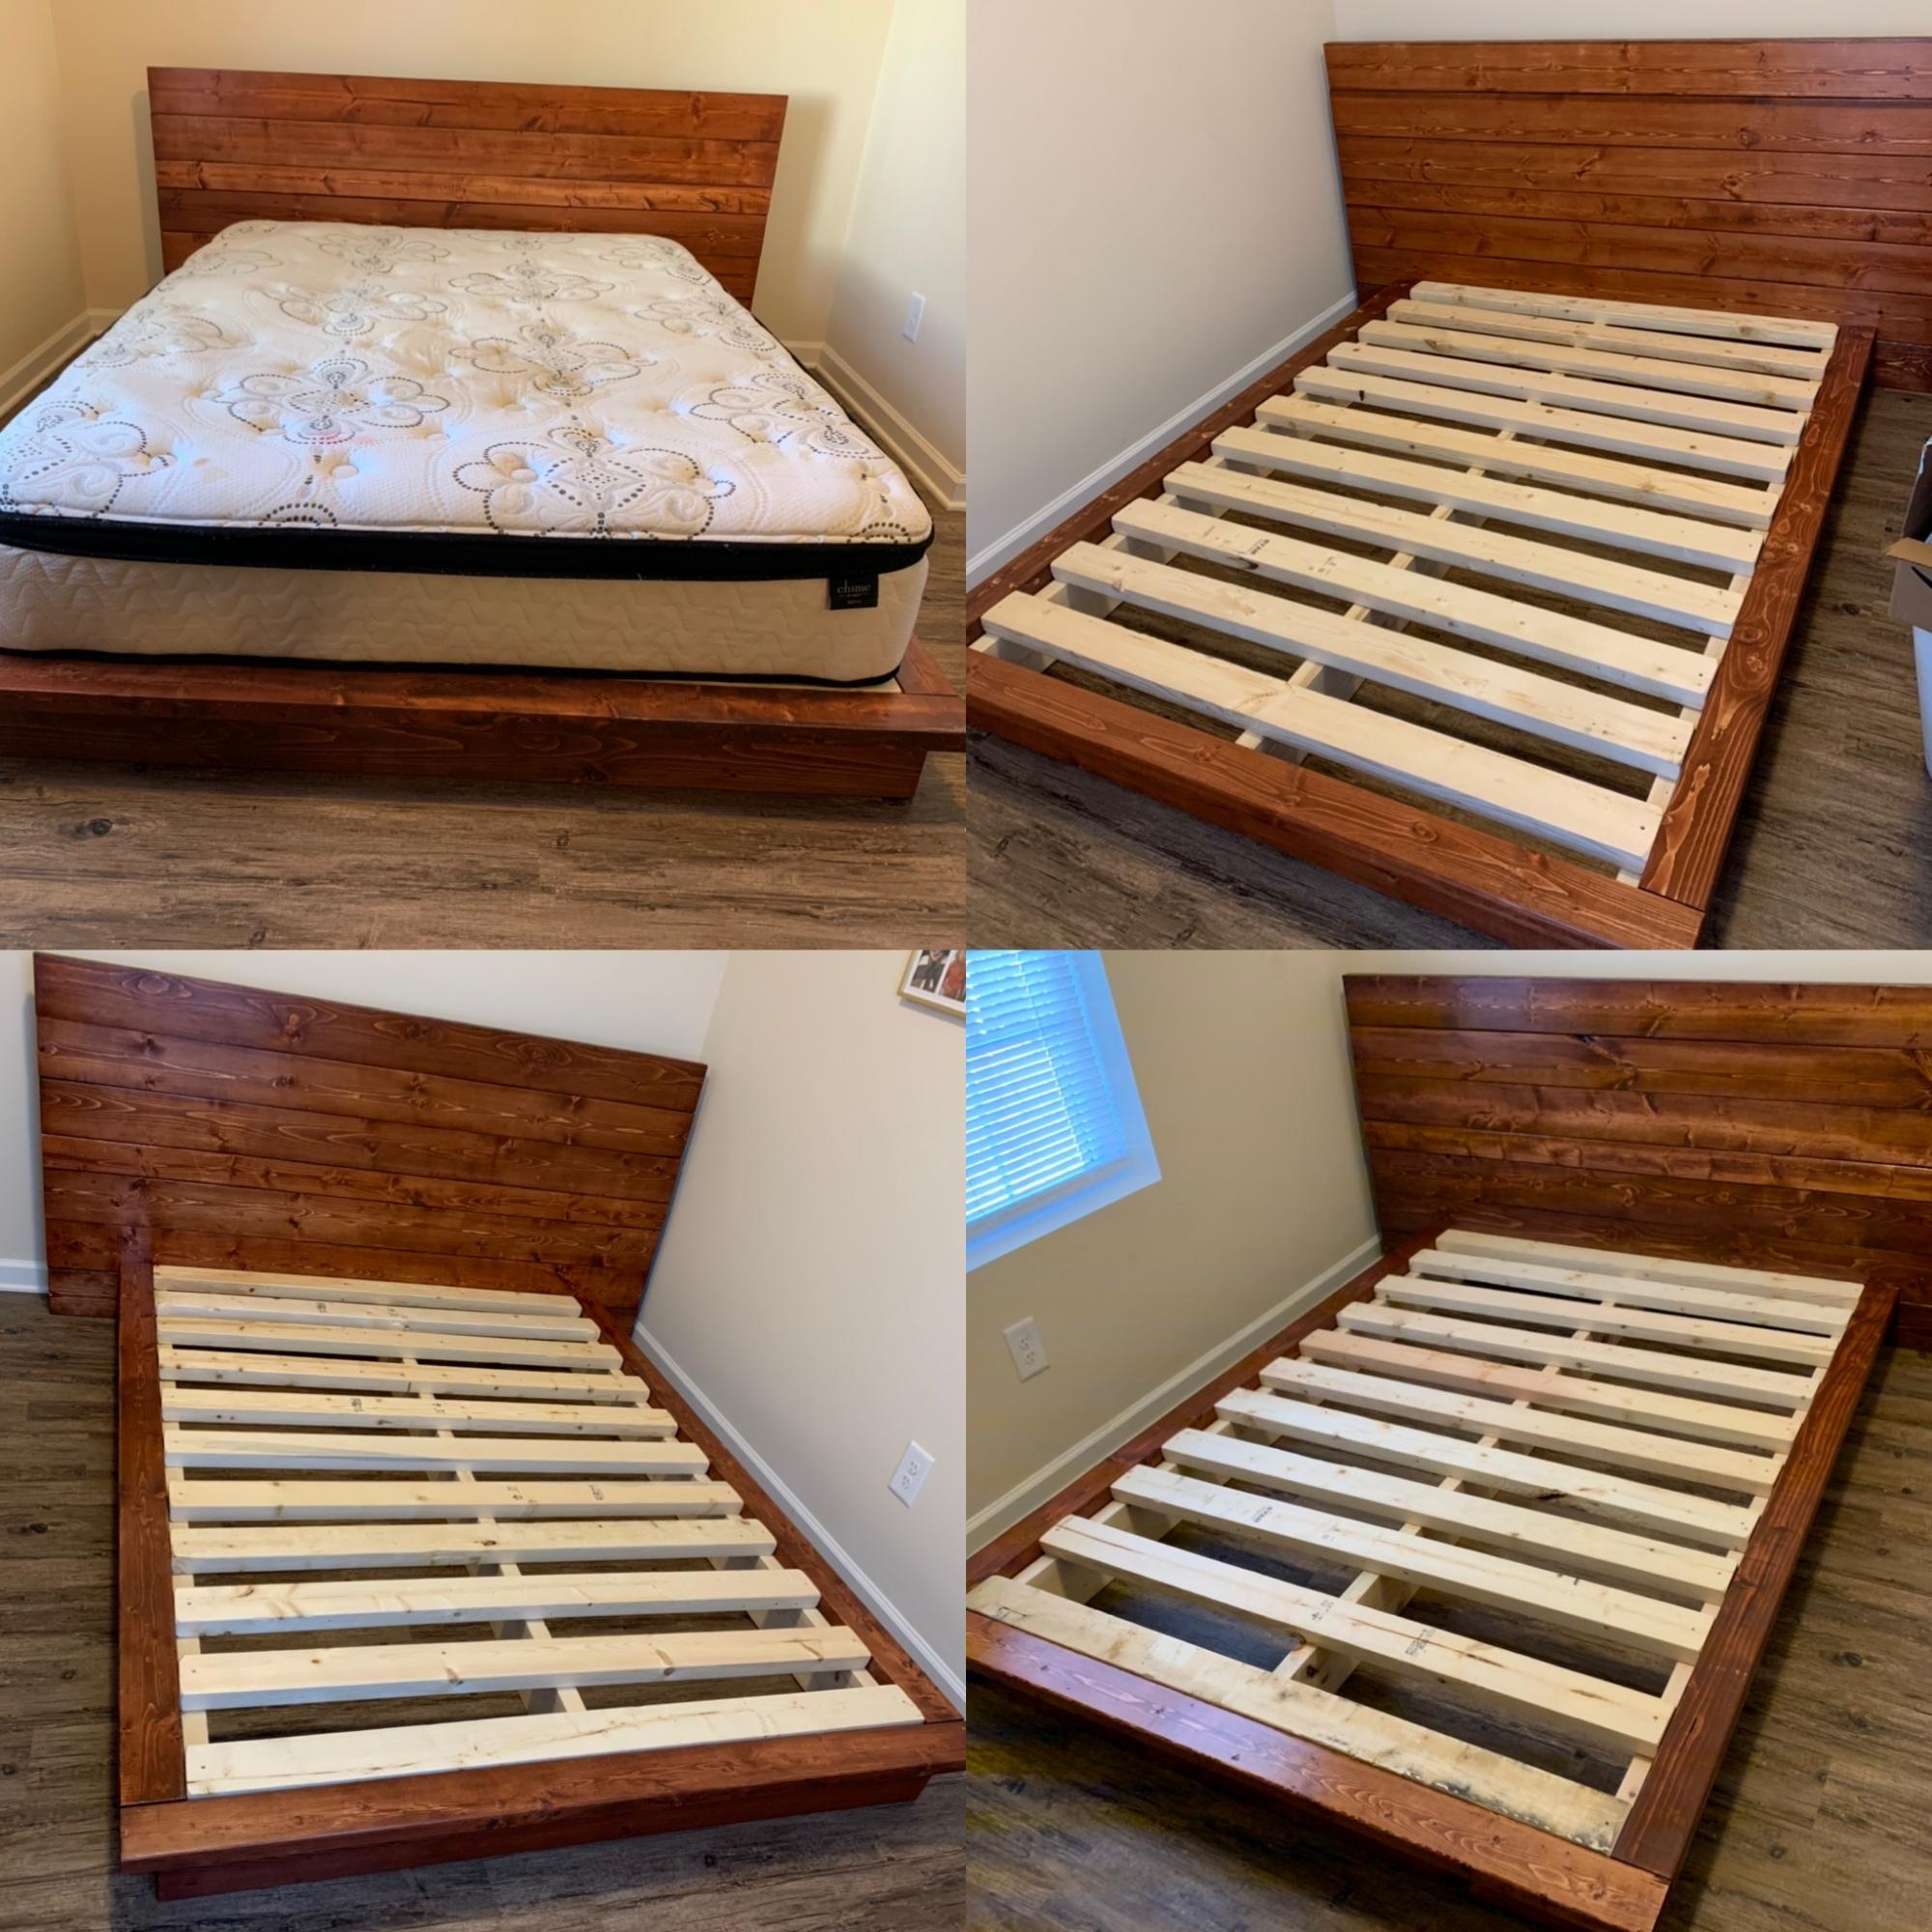
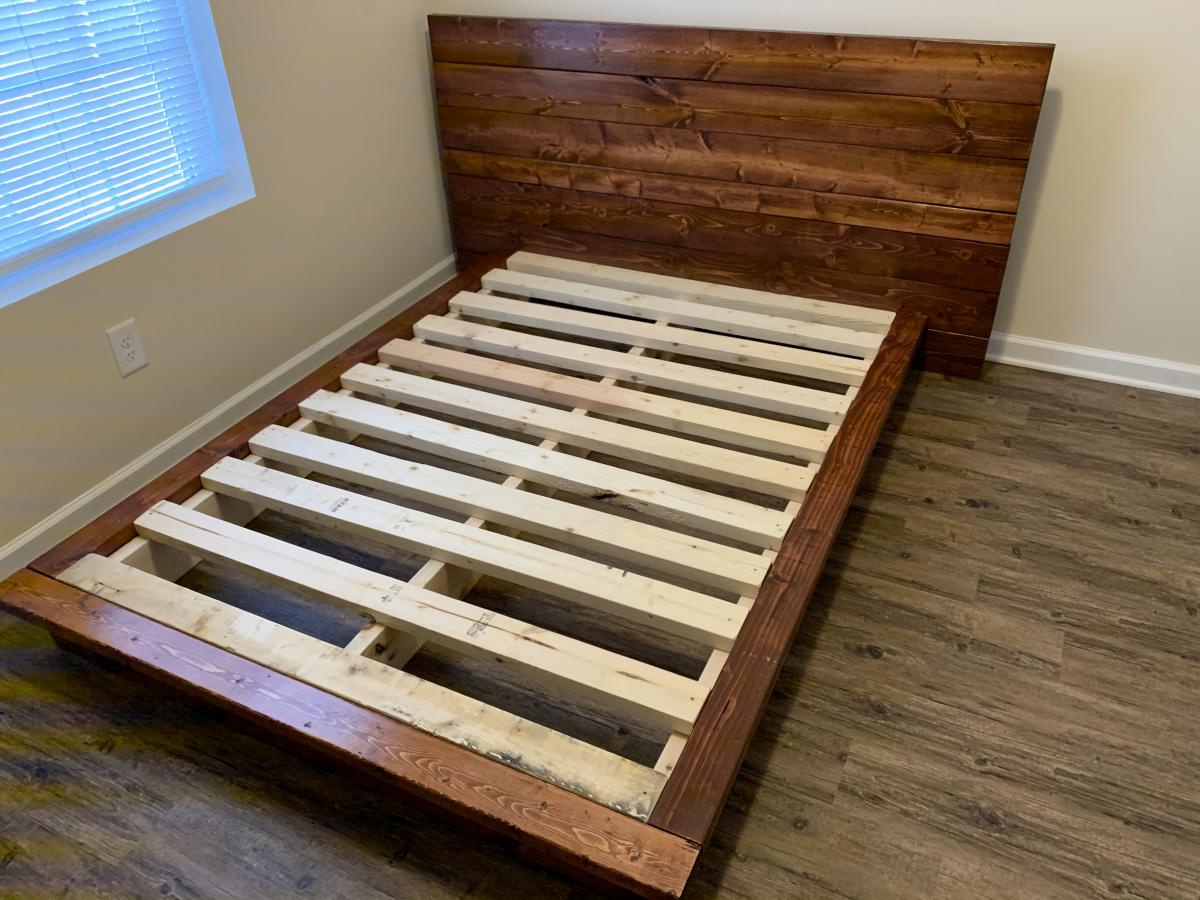
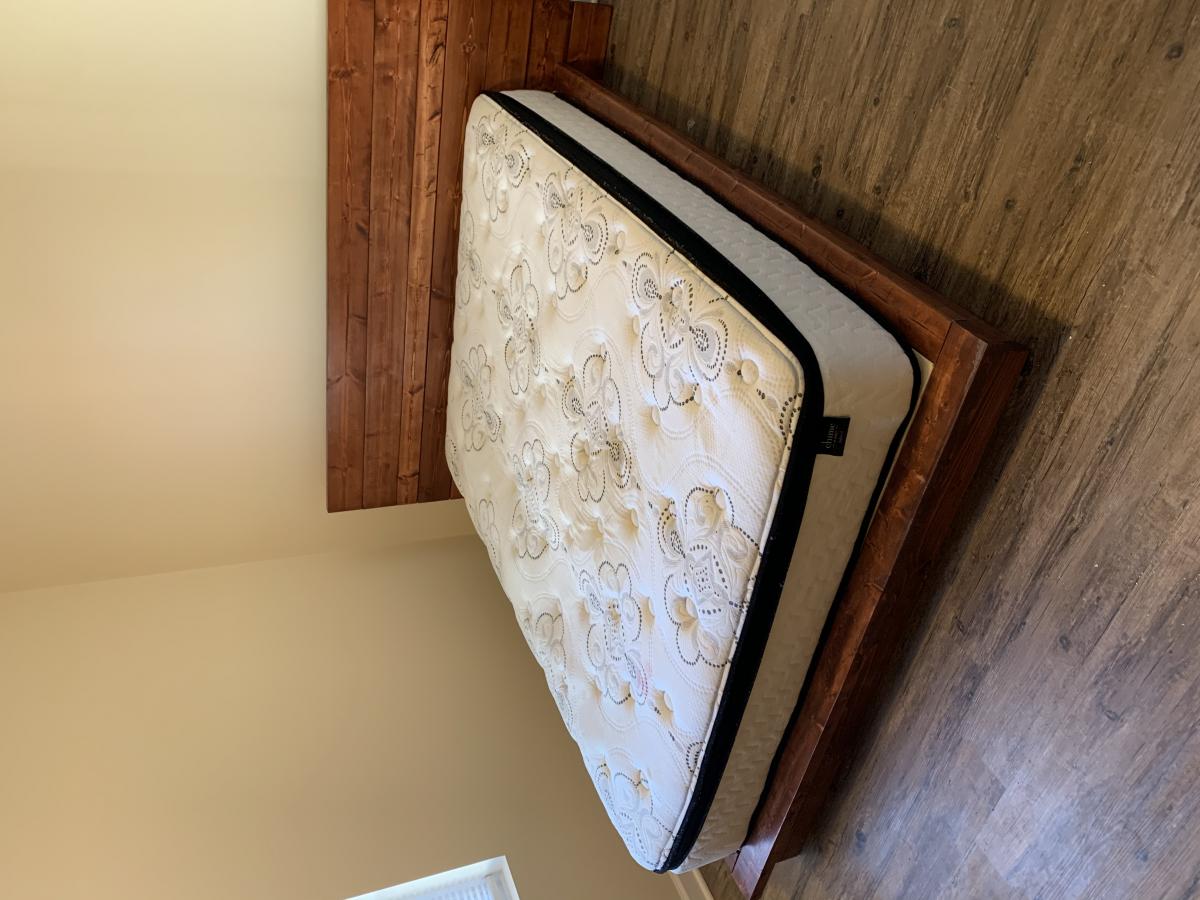
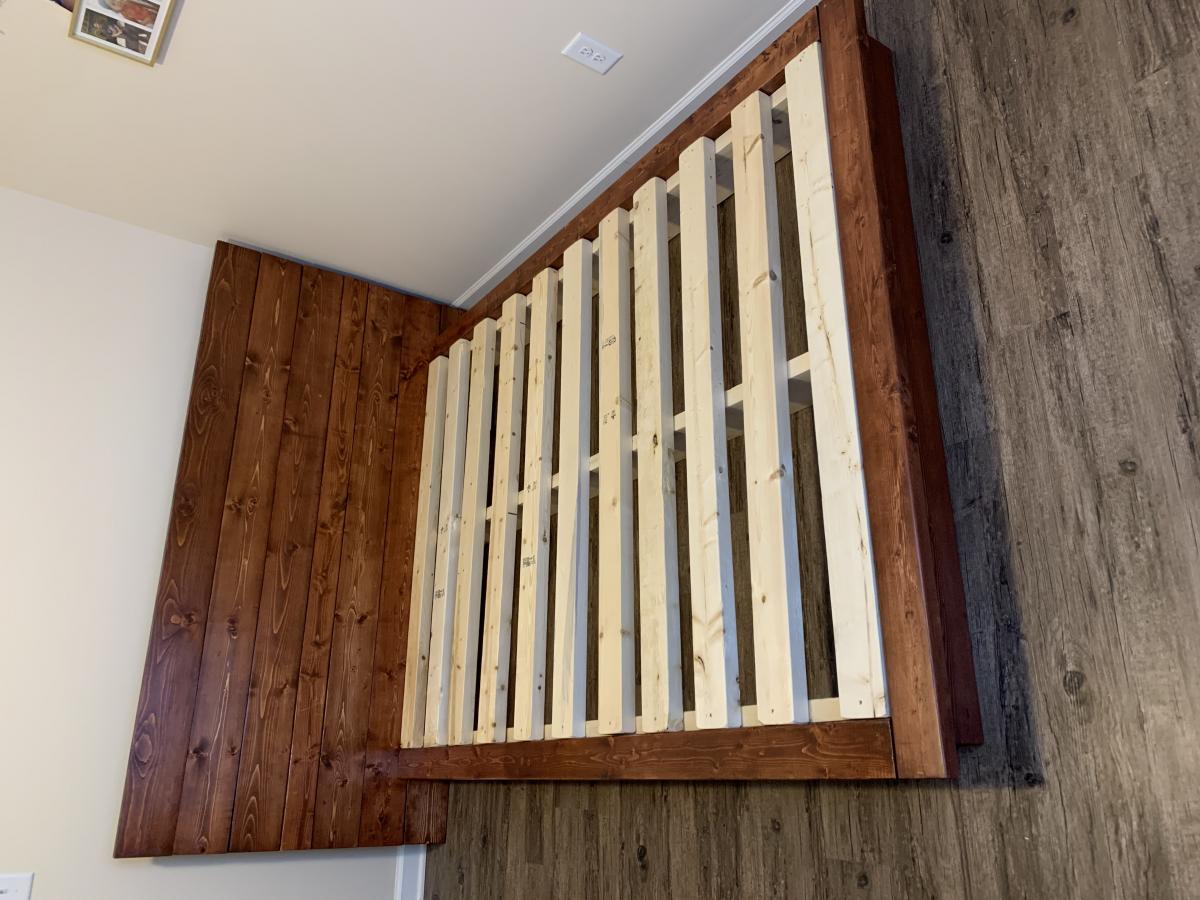
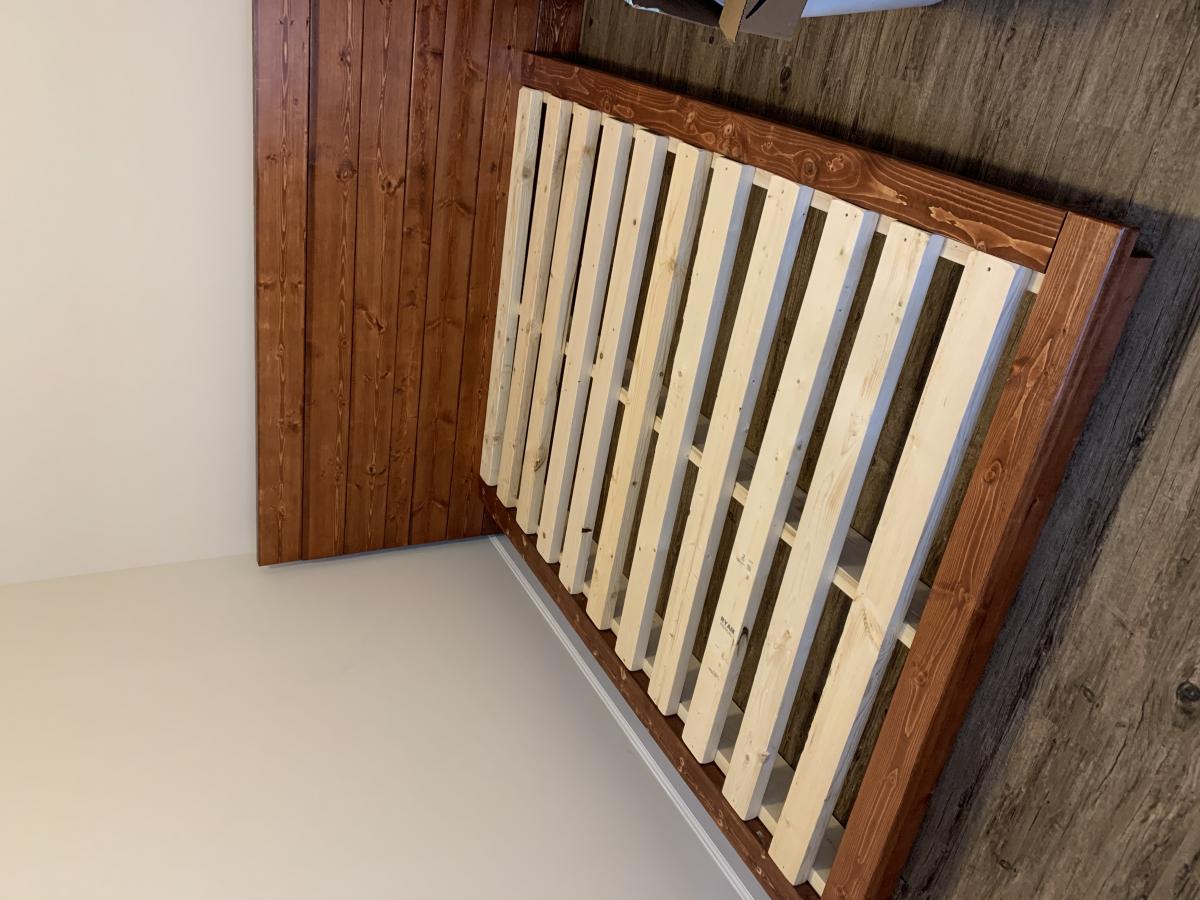
A lady that my husband works with just got her forever home through Habitat for Humanity. We wanted to do something special for her and her kids so we used Anna’s platform plans to build one queen and 3 full size bed frames. The plans were easy to follow and assembly was a snap on delivery.
To make the fulls we took the queen dimensions and modified the cuts for the full size mattress dimensions.
Thank you Anna for helping us to make 4 beautiful additions to our friends home.
